In SANXBOX, you’ll be preparing a forge cave for the African Assembly — a good prospector doesn’t ask why. In this guide, we’ll go over all the required elements, and then give some specific advice on completing the mission.
Prospect Details
Difficulty: Hard ()
Approximate Time to Complete: 6-8 hours for a solo player
Recommended Level: 30 – You’ll need to be at least level 30 to complete this mission, since its objectives includes crafting Tier 4 deployables
Your objective for SANDBOX is to put a handful of Tier 4 deployables in a specified cave, and then power them. This mission is easy — and even includes drop insurance — but will take quite a bit of time, since you have to tech up to Tier 4 and craft some expensive stuff.
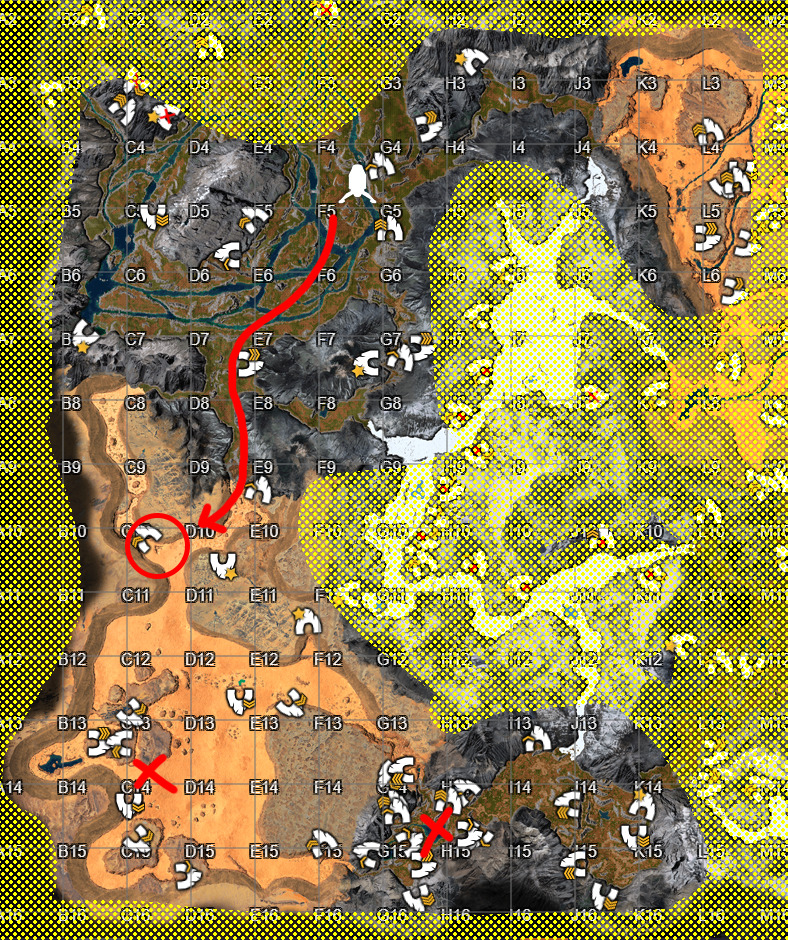
The goal of this mission is simple: put some stuff in a cave — but getting the necessary materials will take time
The build location is circled red, with a route from the dropship indicated. The two red X’s represent two possible locations for a mining base. Yellow areas are out of bounds and unavailable for this mission.
There’s quite a bit of flexibility in terms of how you approach this mission. The wildlife in the Forest is slightly more dangerous, but the Desert has more frequent storms that require you to take cover. The two biomes are basically equivalent in terms of risk; therefore, you should set up your mining base in whatever biome appeals to you more aesthetically!
Preparing for SANDBOX
You’ll need to unlock the following blueprints to complete the mission:
These guys can be a piece of cake, or a serious pain, depending on how you handle them.The trick is to move slowly into a cave so that only one or two pop up at a time. When they do, if they’re close, simply sprint up to them and knife them in the mouth. If they’re far away, quickly shoot two arrows at their mouth. If you’re fast, you can kill them before they get a chance to attack.
You don’t need a light source to see the cave worms, since their mouths glow in the dark
If you don’t notice them pop up and either hear them spit, or start taking damage, run back the way you came, then slowly move back towards them to find them. You can dodge the poison if you’re very fast and move perpendicular, but this is hard to do in a cave. It’s a good idea to have a stack of Cooked Meat when you enter caves, just in case you screw up and need to heal.
Mission Walkthrough
Step 1: Teching to Tier 4
We won’t be giving step-by-step directions for this part of the mission, since it boils down to this: collect a ton of resources and mine every cave you can until you’ve got what you need. There are too many resources required to list them all here, so instead here’s an ordered list of all the workbenches and other deployables you need to craft, and what they’re used for:
You’ll need to pick a spot to set up your base. The Riverlands is where you land, but it’s also got the most distance between caves. The densest distribution of caves is in the Forest biome south of where you drop, in G-14. However, that’s also the longest walk, so it’s reallyup to you; your best bet is simply to pick the biome you like the best, and set up your mining base there.
Once you’ve teched to Tier 4 and have your Fabricator, you’ll need to craft the following objects before you can complete the mission:
You’ll therefore need an Electricity Tool in order to run power to the Electric Furnace, which is required to create Composites (which are in turn required for the Electric Dehumidifier). The Electric Furnace can be powered with a Biofuel Generator (see Electricity for more info).
Step 2: Setting Up the Forge Cave
Once you’ve got your two generators and the fuel to power them, plus the worklamps, electric furnace, and dehumidifier, you’re ready to go finish the mission. Don’t forget to bring your Electricity Tool and your Machining Bench as well. You should be able to just barely carry all of the deployables plus some gear to the forge cave.
Depending on whether or not you have any of the carry weight talents, you may not be able to also bring your Machining Bench. If this is the case, deconstruct your machining bench — you’ll get half of the materials back — and collect/craft any Iron Ingots you’re short (you’ll need 40 to remake the bench) and then head out.
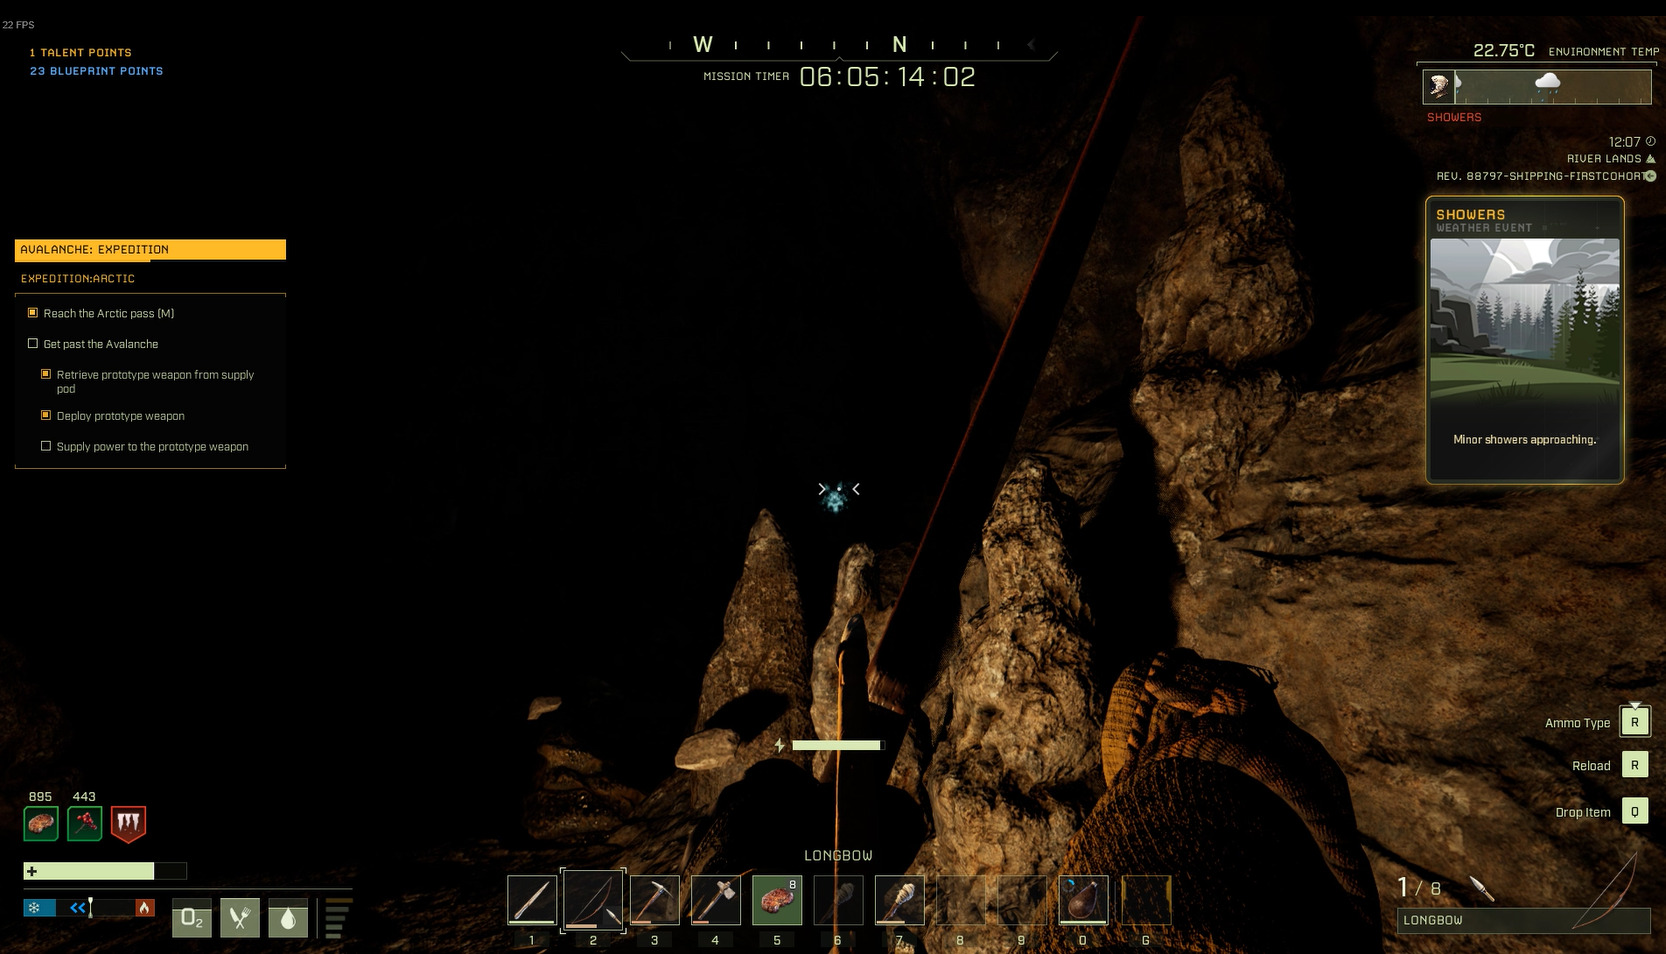
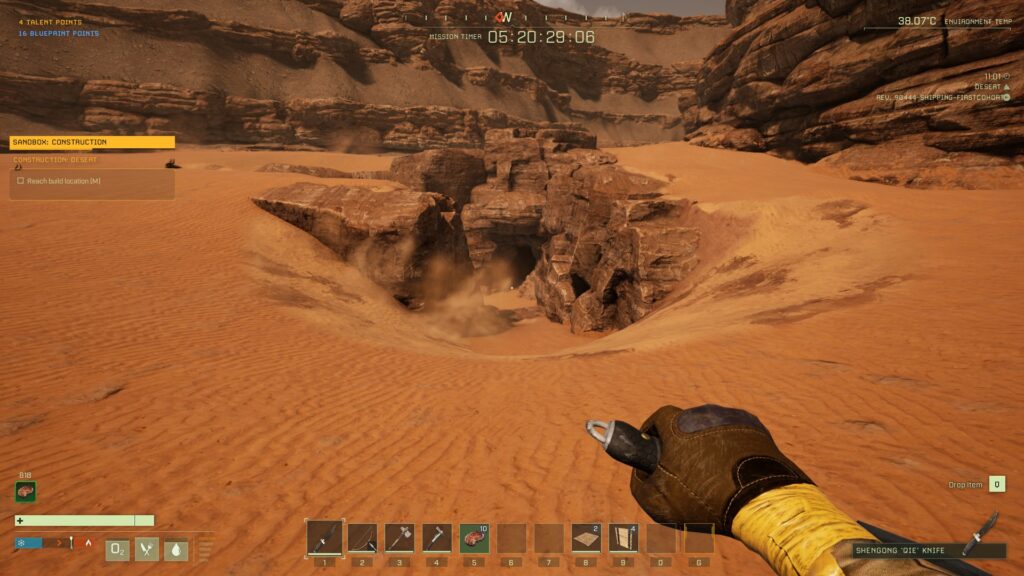
You’ll need to reach the blue circle in C-10, and then head down the path into the cave. It’s pretty hard to miss:
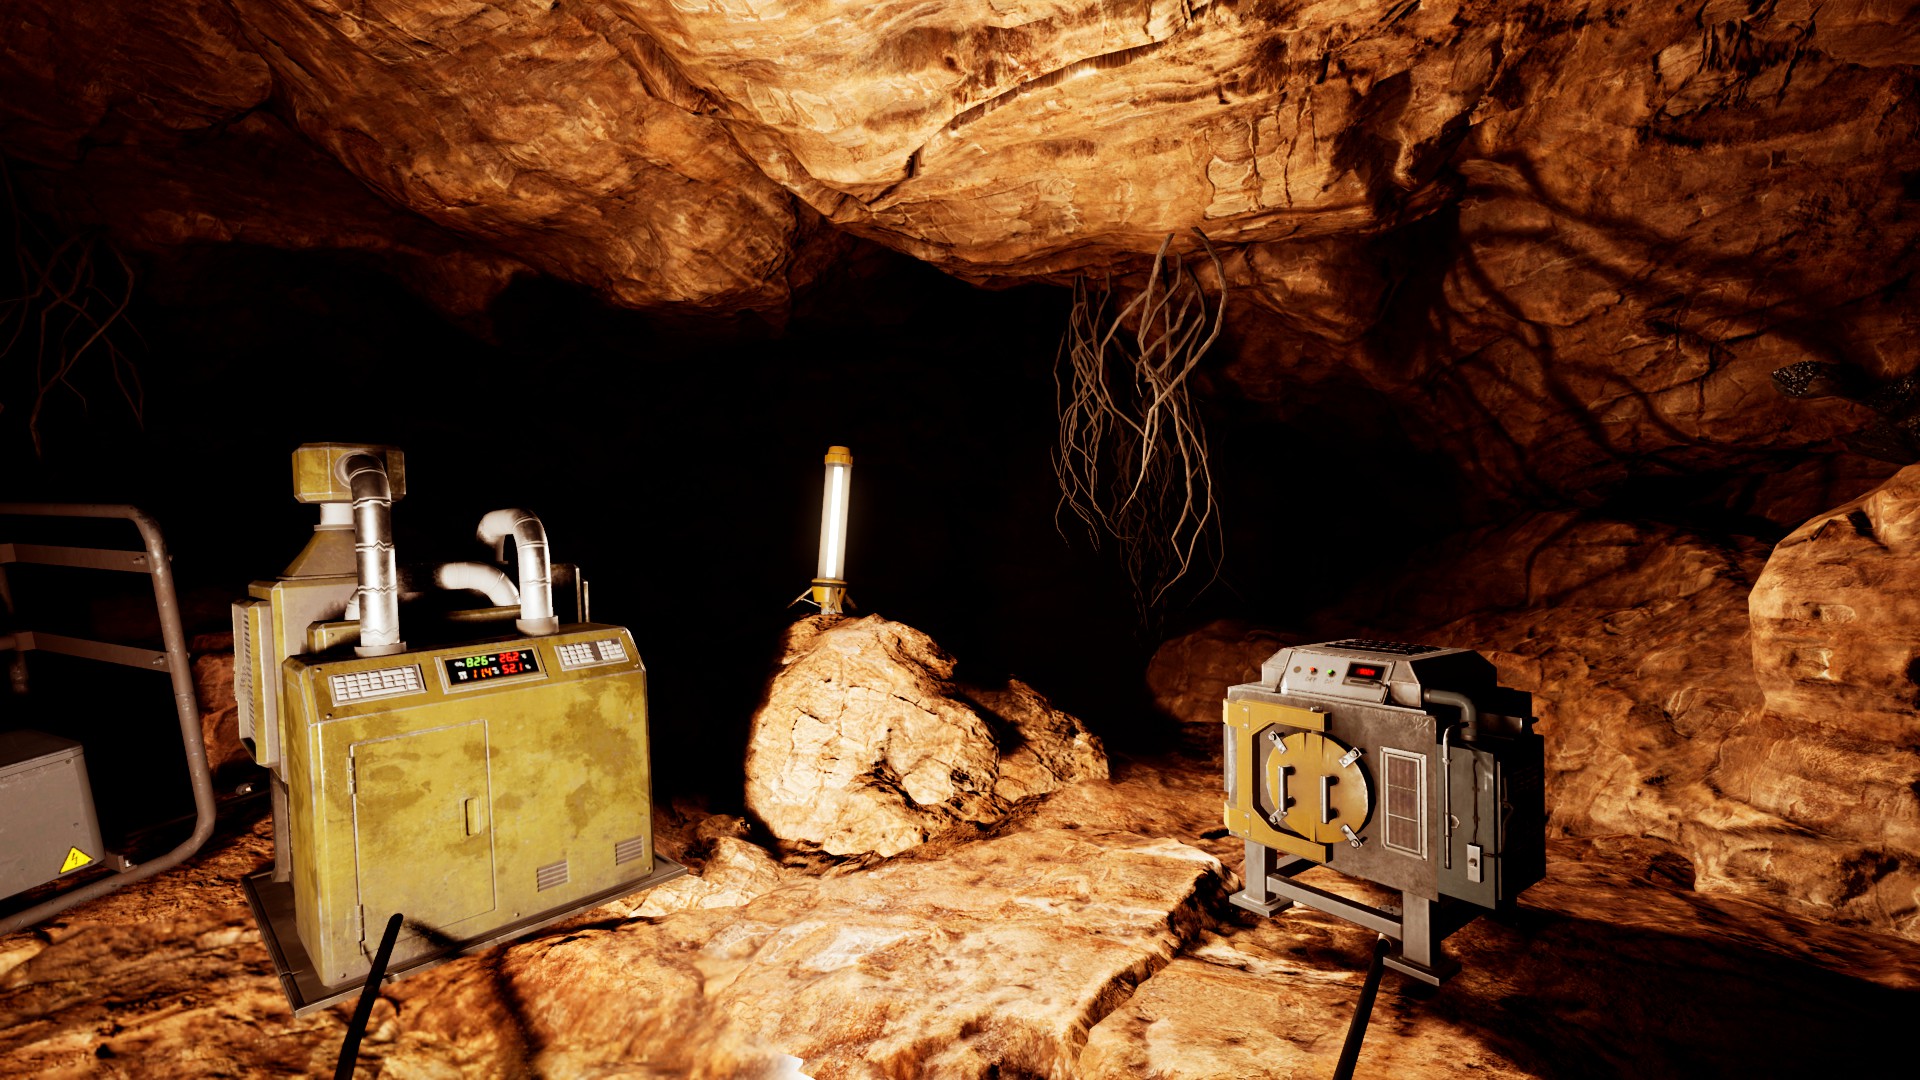
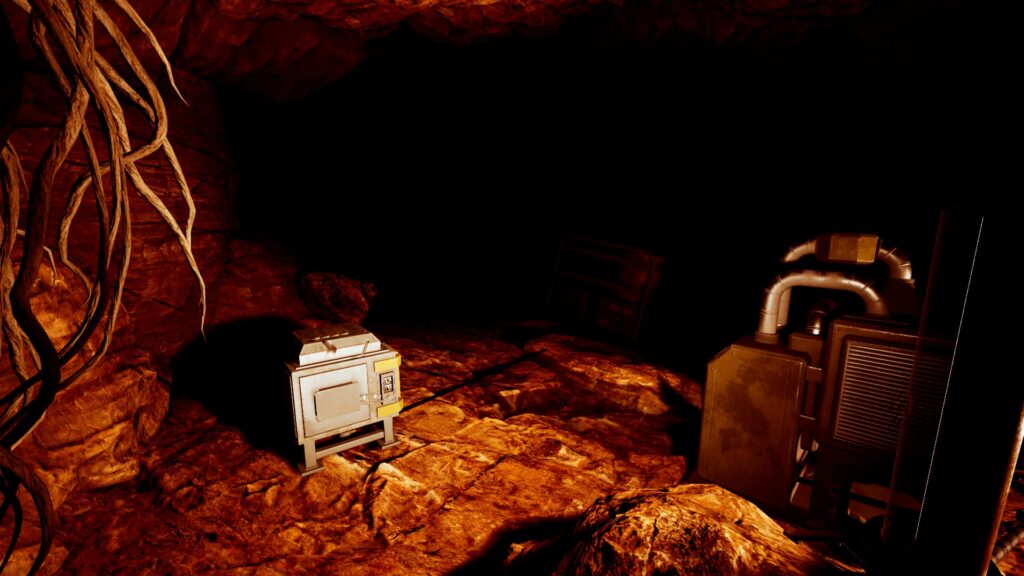
The cave
There are a few worms that will pop up when you enter the cave, so make sure you’re ready (don’t walk in with 5 HP, basically). The cave is mostly flat, so you should be able to take out all the worms with your knife relatively easily. Once you’ve dispatched the worms, start setting up all the equipment. One of the two Biofuel Generators needs to power the Electric Furnace; the two worklamps and the dehumidifier can run off of the other one. (If you need help with wiring, check out our guide on Electricity for detailed instructions.)
Once everything is deployed and powered, you’ll get a notification that the mission is complete, and you can head back to the dropship.
We hope this SANDBOX guide was helpful! Drop us a line in the comments below if you have questions or suggestions.
Share this article:
DanielD
Unabashed FromSoftware fanboy still learning to take his time with games (and everything else, really). The time he doesn't spend on games is spent on music, books, or occasionally going outside.
Update for this mission – Assume one of the many changes over the last few months was that generators produce 5k not 2.5k, so you only need 1 to complete the mission (Furnace 2.5k, lights 150×2 and humidifier 500).


Update for this mission – Assume one of the many changes over the last few months was that generators produce 5k not 2.5k, so you only need 1 to complete the mission (Furnace 2.5k, lights 150×2 and humidifier 500).