DEATH RAY is a scanning mission for the Lagos Unit of the UDA. Your job is to deploy a radar at several waypoints and protect it from aggressive predators while it finishes collecting data. This walkthrough will tell you how much you need to prepare and how to complete the scanning objectives efficiently.
Since this is a Scan mission, you will need to retrieve a scanning radar from a supply pod and deploy it at each of the scan locations. The device occupies the backpack slot on the character, so you will not be able to use the backpack during this mission.
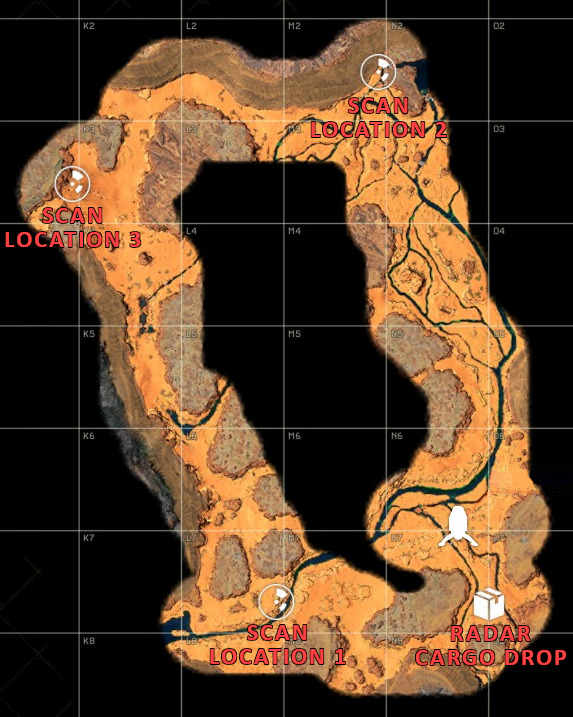
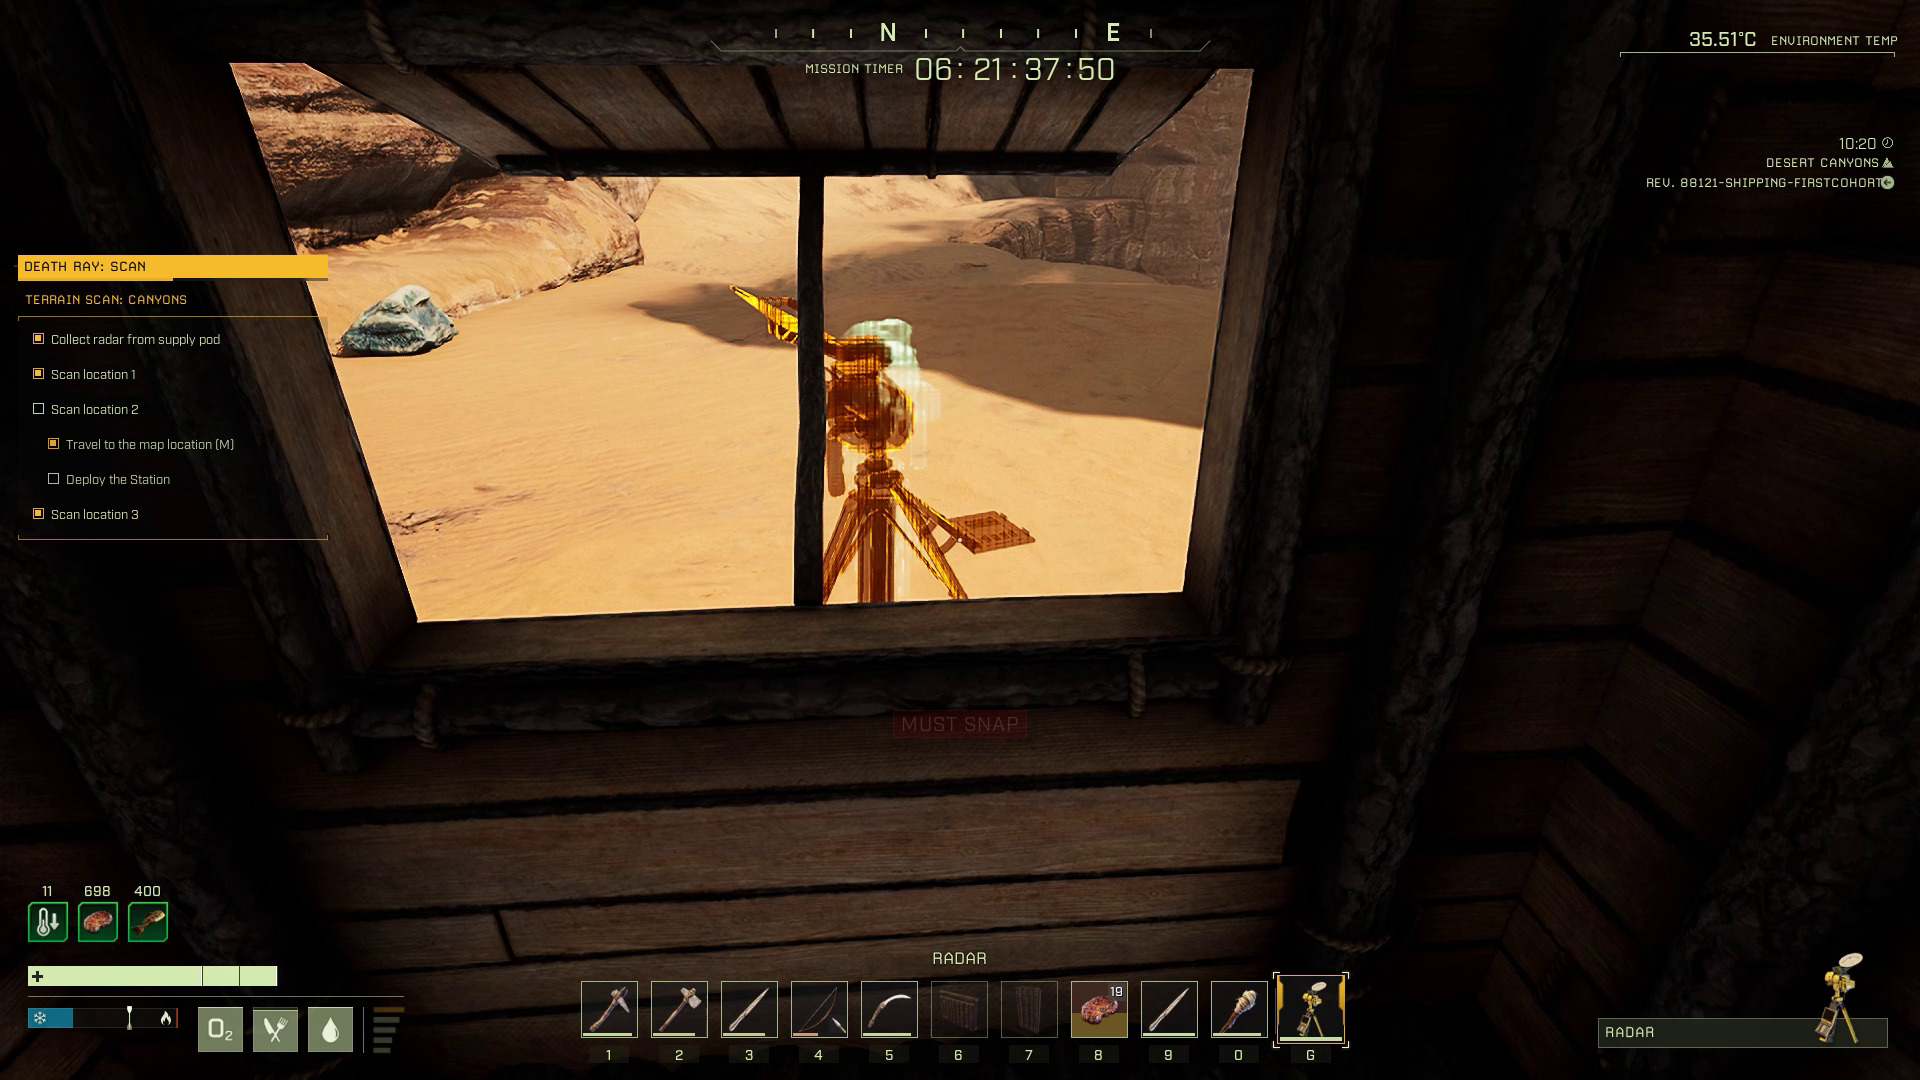
The supply pod drop site and each scan location are identified on your map at the beginning of the mission. As you move toward each scan location, you will see an orange hologram that shows you where you need to deploy the radar.
Orange holograms will light up where you need to deploy the radar. Sadly, you cannot change the color.
In order to deploy the scanner,hit G to select the radar in your hotbar, move to a position where you see the radar line up with the hologram, and then press the RMB to place it. You will need to activate the radar a couple times to complete the scan. When finished, hold X over the radar to pick it back up.
This scan mission will take you on a nearly 10km loop through desert dunes, rivers and mesas.
Preparing for DEATH RAY
The desert is densely packed with fauna, but there is little vegetation and undergrowth to hide predators, and all predators can either be killed easily with one or two critical shots with a basic bow, or easily avoided (in the case of elephants). It is recommended that you have the bone scythe unlocked to make preparation fast and easy. The Wood Breakdown talent in the Survival — Resources branch will allow you to craft all the sticks you need. Cloth armor will also provide some defense from predators and the heat.
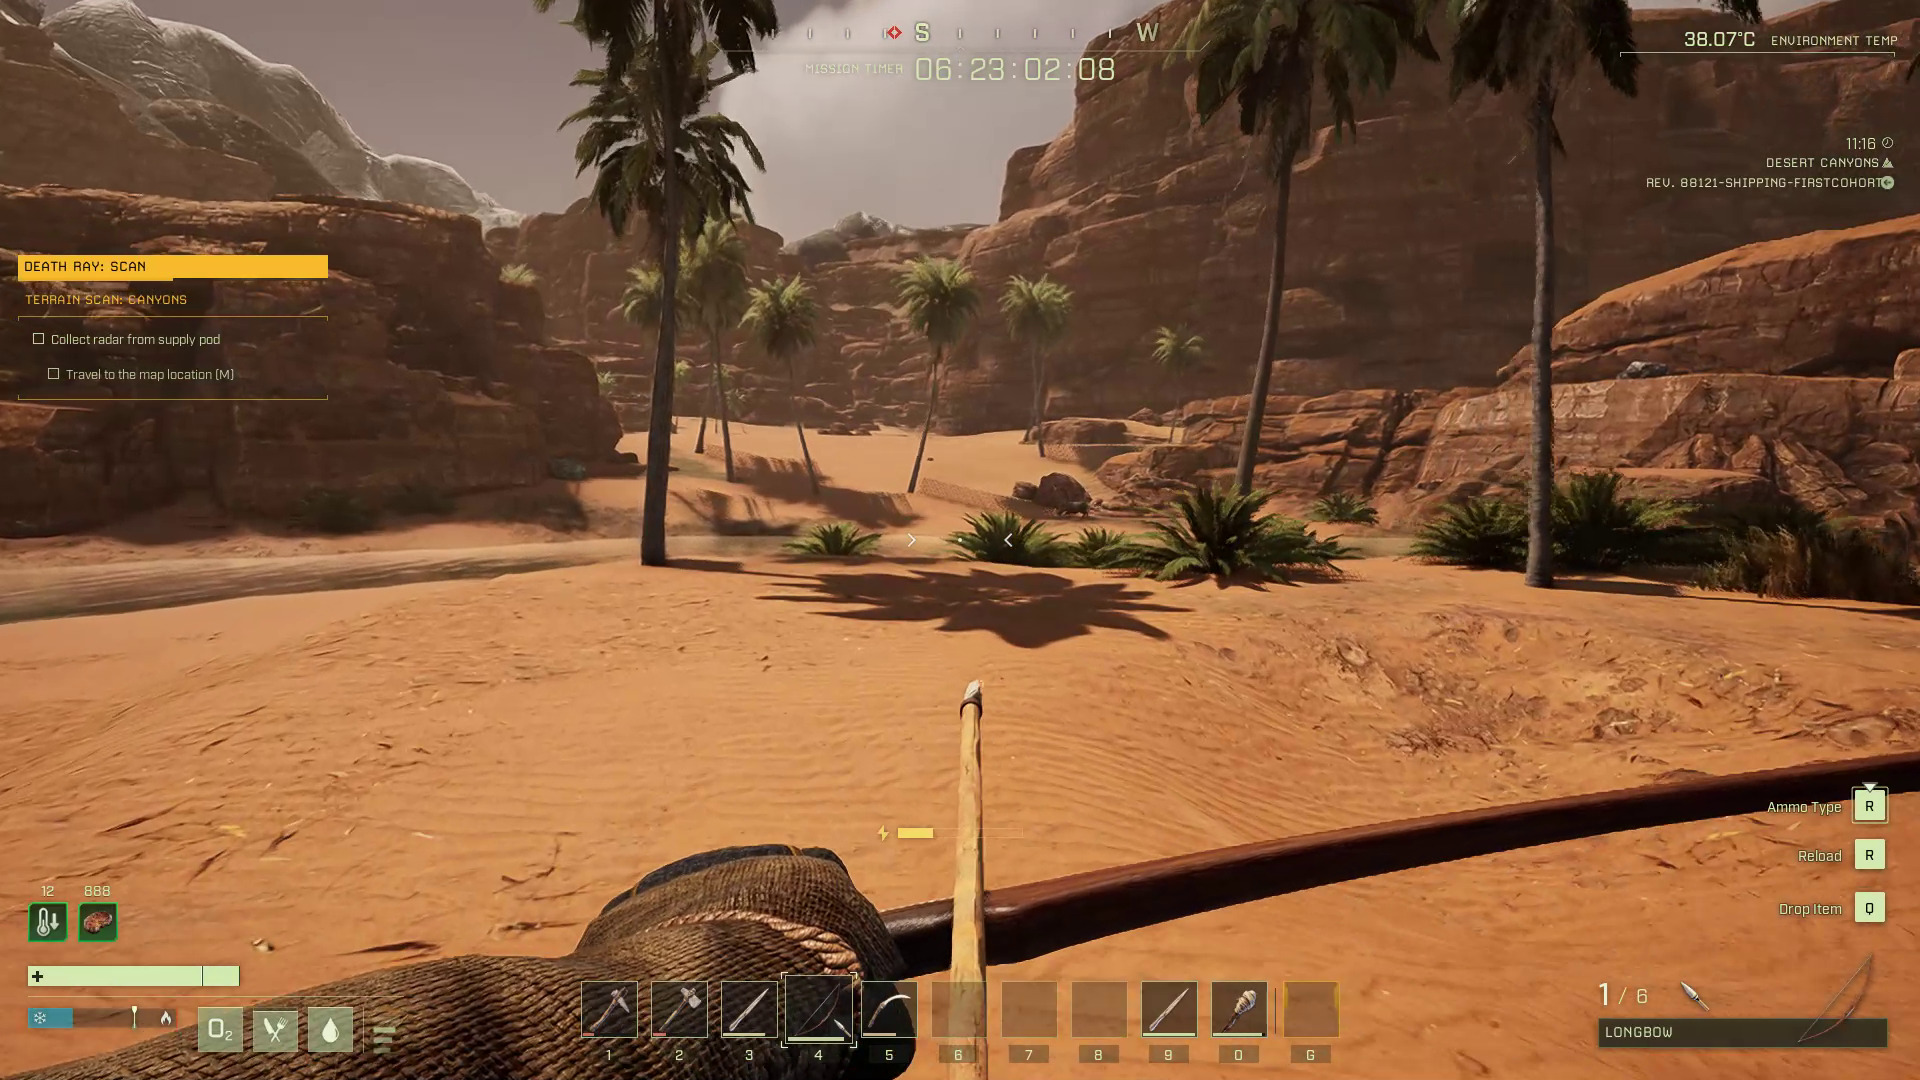
This is the first survival mission that takes place entirely in the Desert Biome. In the desert, resources are more localized than in the Forest Biome.It is best to prepare yourself for travel near the rivers next to your dropzone where there are plenty of ferns and palm trees.
All the resources you need to get started are near the dropzone: water, game, and crafting materials.
You will need to harvest enough fiber, sticks, stone, and wood to fashion basic tools and weapons and (optionally) put together a portable shelter. You will need to start with the stone knife, stone pickaxe, and stone axe. (If you make a bone knife, go ahead and destroy the stone knife.) You may want to go after easy prey like chamois first, and stay near deep water to take down predators more easily.
Crafting a bone scythe as soon as possible will make preparations go much faster and reduce the distance you need to travel for resources. It also saves time to craft a campfire fast and start cooking some meat for the journey. Craft a few bone arrows to start, and then get moving. With every animal you take down and skin you can craft a few more.
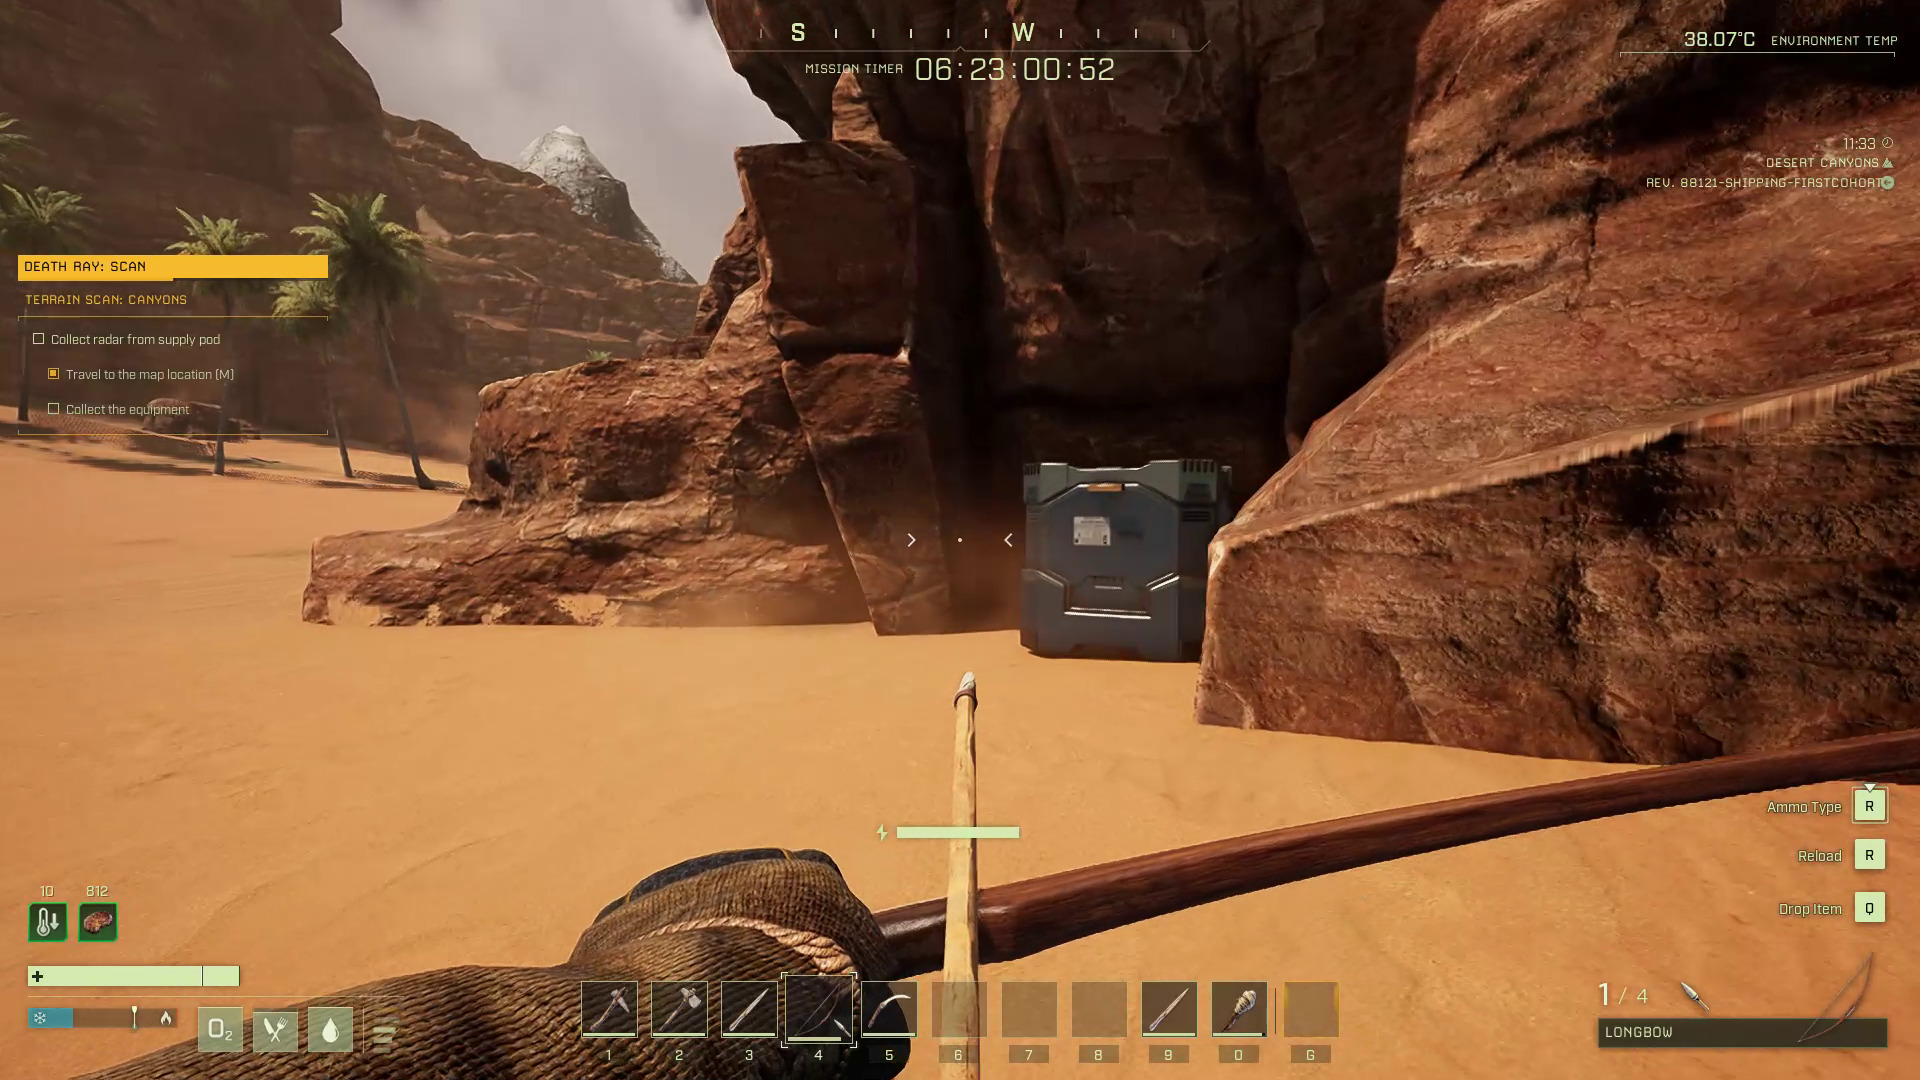
Interact with the cargo box to open its inventory and either CTRL+LMB or click-and-drag it to the G-slot in your hotbar.
Open your map and find the location of the supply pod, and then put a marker on it by double-clicking the RMB on that part of the map. When you return to the normal view and turn toward the supply pod location you will see the marker on the compass. Travel to the location and retrieve the radar from the pod. It will occupy the G-slot in your inventory hotbar. Now you’re ready to put some kilometers on your envirosuit.
Step 2: Travel to a Scan Location
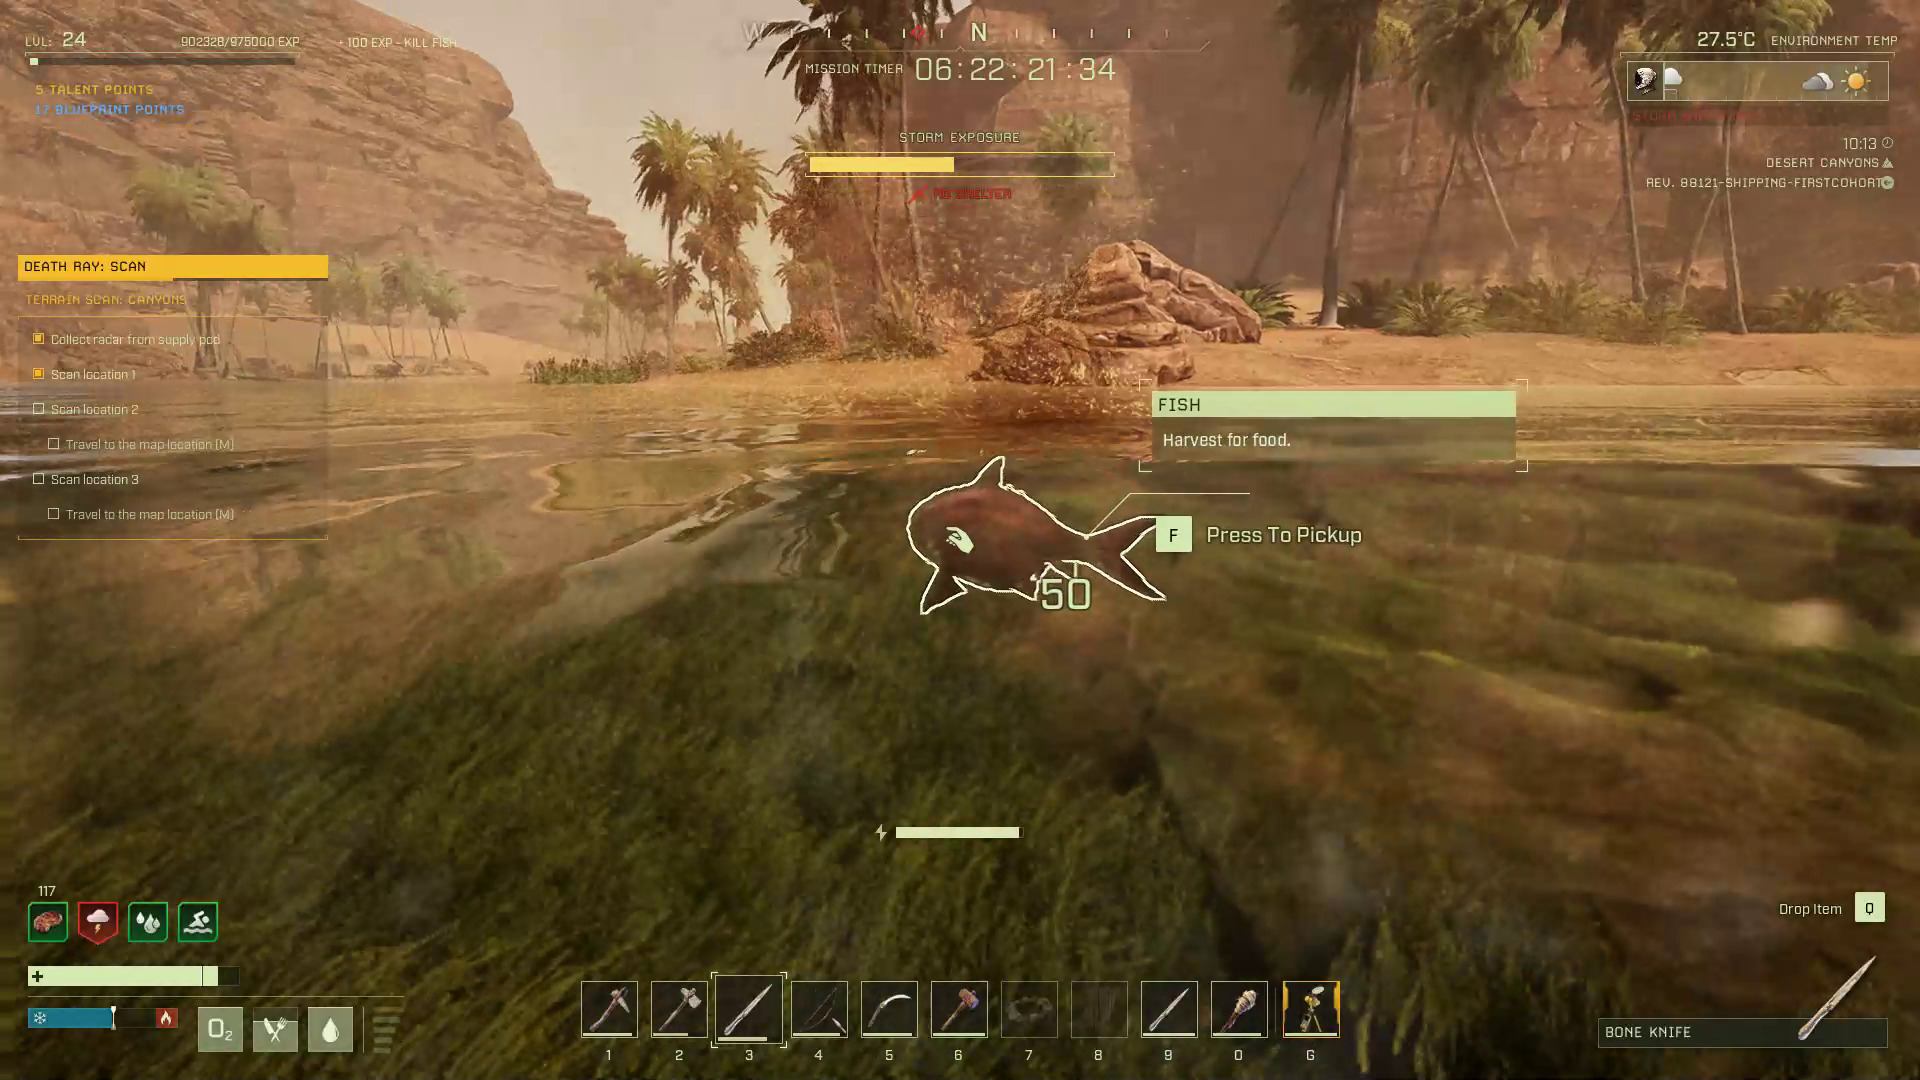
It does not matter which scan location you move toward first. Moving through the Scan Locations in a clockwise order (1, 3, 2) will bring you past a lake with fish you can kill and cook for an HP-boosting food source. Also,if you chop the tops of the palms you will often find young coconuts which ripen into another HP-boosting food.
Take a break at this lake near L6 for some rest and fishing to fortify your health.
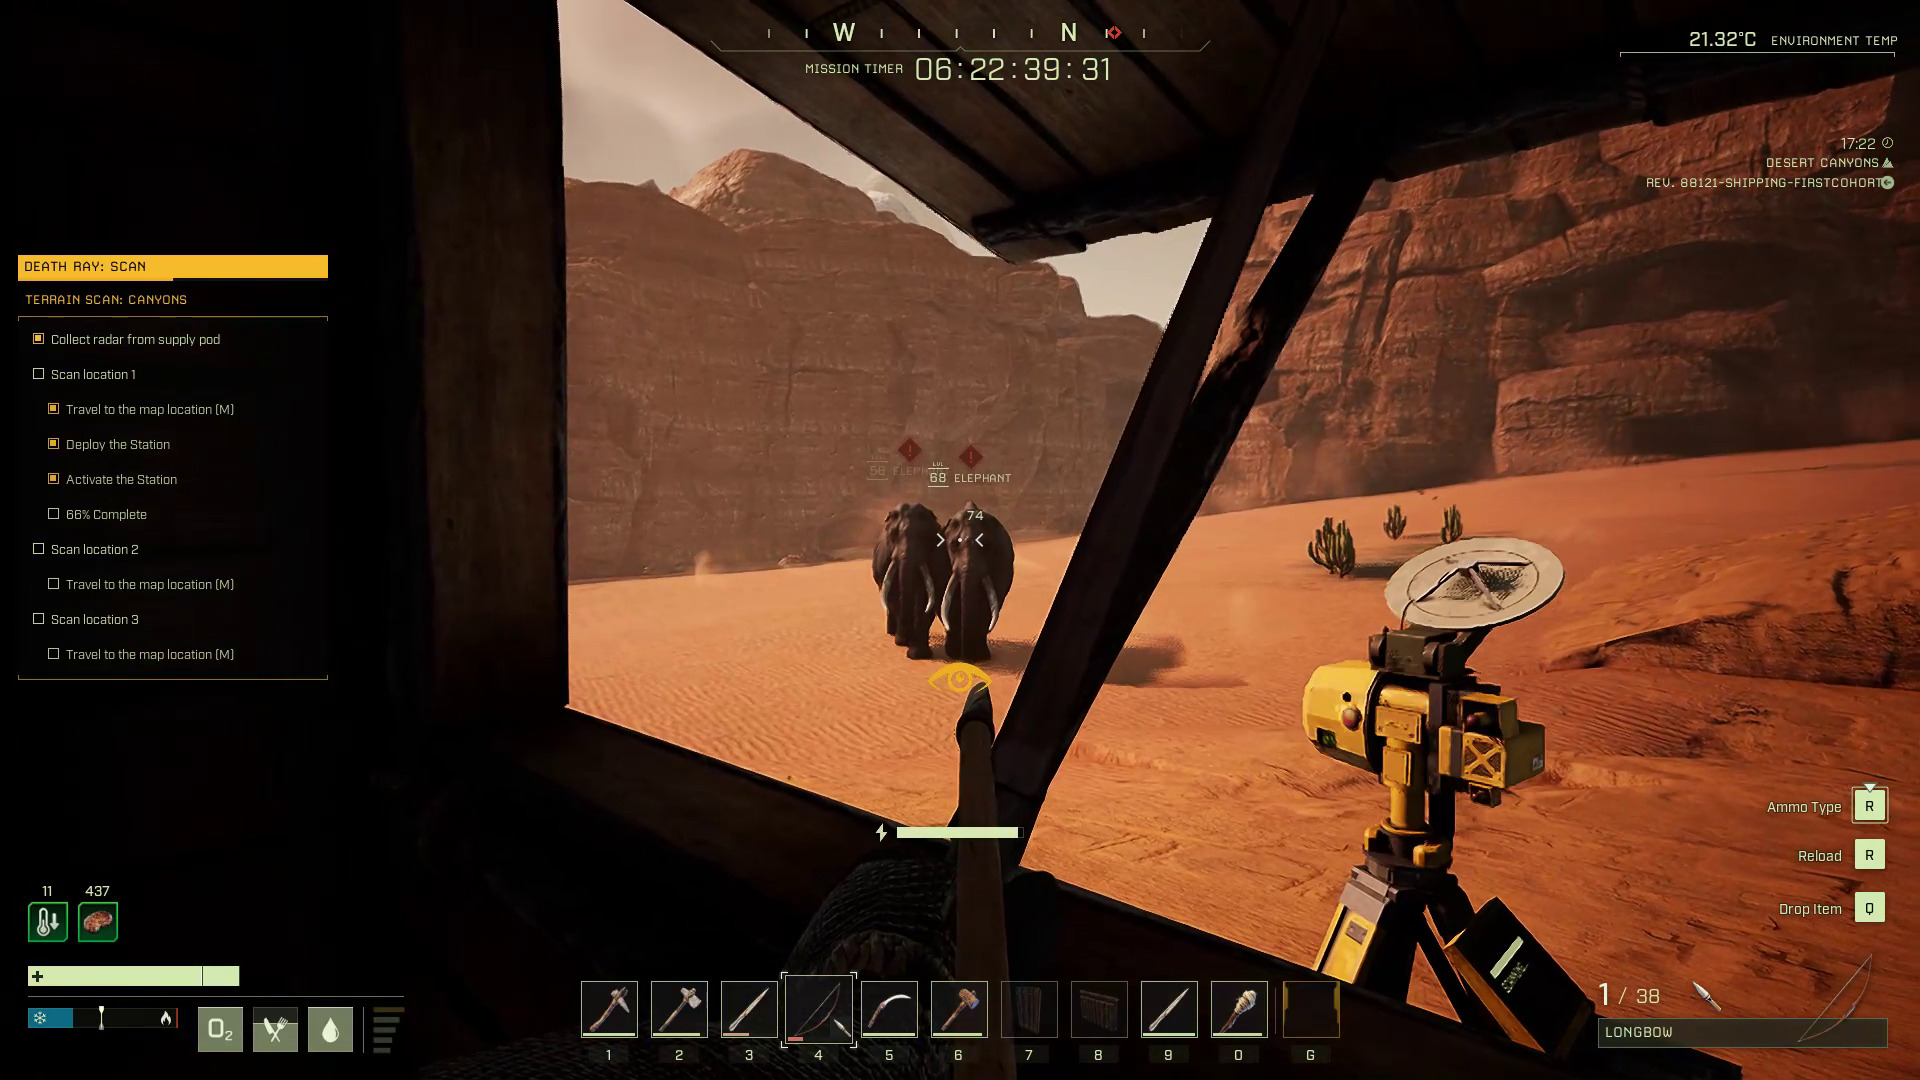
The canyons will force you to come close to predators as you move. Elephants can be avoided easily. You can usually move past boars and hyenas, even if they start to notice you. Cougars, however, are extremely territorial and should be eliminated from a distance. Try to sneak attack each time. The density of predators is high enough that if you fail to kill on the first hit you may agro several predators at once.
Once you arrive at a scan location, it is a good idea to clear out all nearby predators before starting the scan (especially at Scan Location 1).If you do not, and you do not take down each radar attacker in one shot, you will agro all nearby predators. It is also a good idea to place a portable shelter and a bedroll down a safe distance from the scanner. Make sure it is outside of the aggro range of predators that may be near the scanner, and set your spawn point on the bedroll.
Put de lime in de coconut…err, the green hologram in the orange hologram.
Once the area is swept, go up to the scanner hologram and place the scanner. (If you have trouble placing the scanner, check the prospect notes section above for a short guide on how to do this.) Go up to the scanner after it is deployed and follow the instructions to turn it on. You will see the percentage completion of the scan in the mission objective window on the left side of the screen. Once the scan is about half finished, predators will spawn in and run up to attack it.
Step 3: How to Defend your Radar
You have two choices to play each scanner fight: embrace the full survival experience, or channel your inner mouse and cheese the radar battle to get through it. There are plusses and minuses to both approaches, and you can replay the mission later for a different experience.
For the cheese method, run back and hide in your shelter while the predators pummel your radar. Eventually, they will get bored and meander away. Either wait for them to leave, or when they deaggro use the opportunity to sneak-attack and get the XP.
These beasties came to play! Aim for the head.
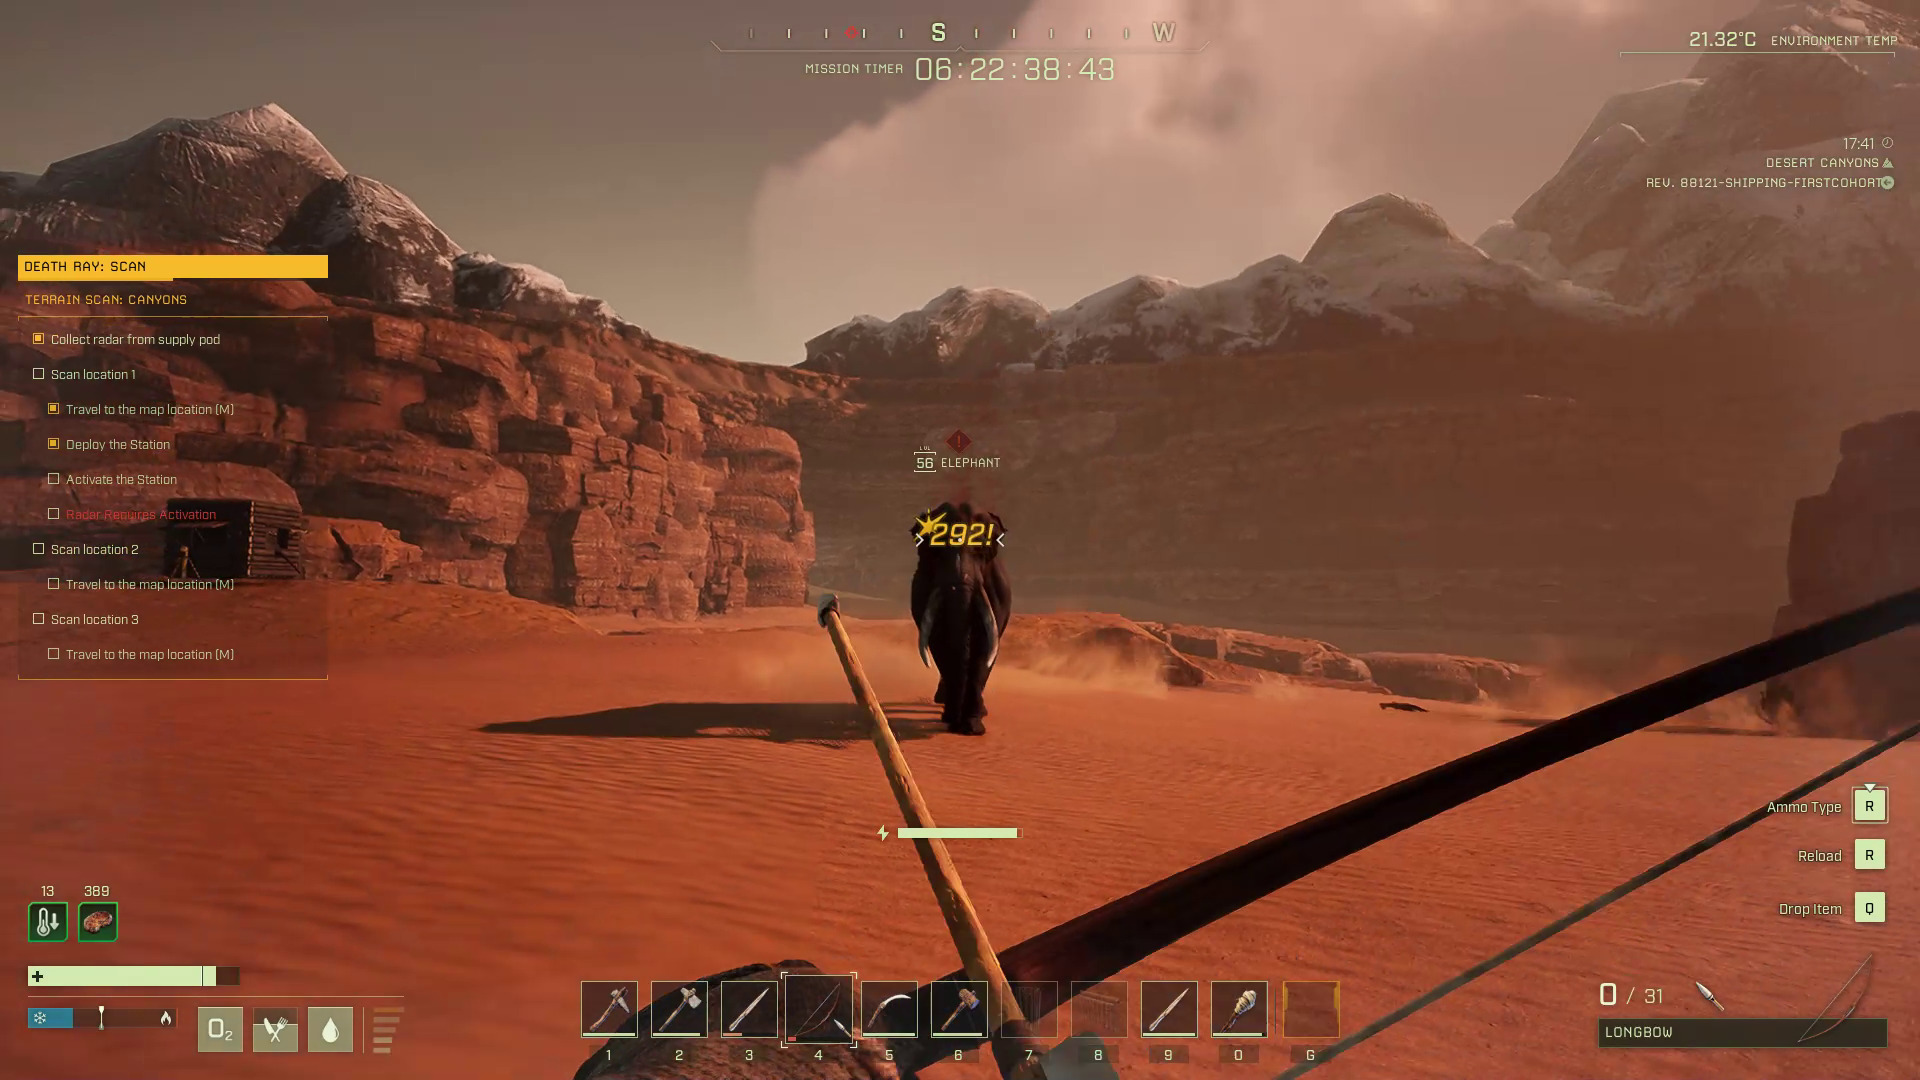
For the full survival experience, know that in DEATH RAY every fight is easily winnable by sending a bevy of arrows at the weak points of your attackers.Open the menus below if you want sneak-peeks at the predators your radar will provoke when it is turned on.
One (1) Elephant. Its weak point is between the eyes near the top of the trunk. If it survives the first volley, wait until it is almost on top of you and then sprint to the side a good distance. Turn around and find the weak point again.
Two (2) Hyenas. Their weak points are their heads. Don’t wait for perfect shots; body shots do substantial damage. Dial it in with each new arrow. If they get too close, switch to your knife and slash at their heads. If you are overrun, remember there is deep water nearby.
One (1) Cougar. Its weak point is the head. It closes fast, but has low health. Try for one or two good critical hits and it will be down. If it closes the gap, switch to your knife and go for the head.
After dealing with the radar attackers, make sure to reactivate the radar to finish the scan. Once it finishes, remember to pick up the radar (by looking at it and holding X) before you move on to the next scan location.
Epilogue
Once you pick up the scanner for the last time, the mission is complete. You have two choices to end the mission. Not surprisingly, these are the full survival experience and the extra sharp cheddar cheese method.
The shortcut home is to pack up your bedroll to deactivate your spawn point and commit hari-kari. Try falling from a great height (repeatedly if necessary) or offer yourself as a willing sacrifice to a hungry desert predator. Only do this if you do not mind the XP hit and have not brought along any permanent gear from the Orbital Station that you want to keep. You will respawn near your dropship with nothing but your envirosuit, making the return trip to orbit quick and dirty.
The other option is to take the scenic route back. By now you know what you need to do for food, water, shelter, and protection in the desert. Flex those skills and enjoy the sights as you take a victory lap back to your dropship.Along the way you can take the time to explore other parts of the map, take some awesome screenshots, or maybe run through one of the biggest caves on Icarus between M5 and N5!
We hope you are enjoying playing ICARUS, and that you found this mission walkthrough helpful and entertaining. Please share your comments or questions below, and then get down to the planet and start surveying the desert!
Share this article:
SurvivalSherpa
SurvivalSherpa is an avid gamer spending most of his time at the nexus of the survival, crafting, building, and role playing genres on any platform, especially to test indie titles in EA. AFK, life is about work and education in STEM fields, reading fantasy, and sipping great coffee in the Pacific Northwest.
Thatch ramps help get up / down the canyon scan sites..
samyala
3 years ago
Note the L9 North Cave is open (I think it’s the only place where there is 1 aluminium. From there you can access the forest biome (not out of bound), and collect some necessities, like fruits and vegies. Build a cabin in the cave if needed, no worm there.
Follow the river (East, then up North to the scan zone. It’s on this way you can pick some medicine : Aloes. Then West, South and back to the pod.
Note that if you die and the radar is not on you but stored somewhere, you’ll have to pick up a new radar from the box.


Thatch ramps help get up / down the canyon scan sites..
Note the L9 North Cave is open (I think it’s the only place where there is 1 aluminium. From there you can access the forest biome (not out of bound), and collect some necessities, like fruits and vegies. Build a cabin in the cave if needed, no worm there.
Follow the river (East, then up North to the scan zone. It’s on this way you can pick some medicine : Aloes. Then West, South and back to the pod.
Note that if you die and the radar is not on you but stored somewhere, you’ll have to pick up a new radar from the box.
yes, the L9-cave is good to prepare food from the forest and fish for much stamina thrue the long desert-walk. good tip. THANKS