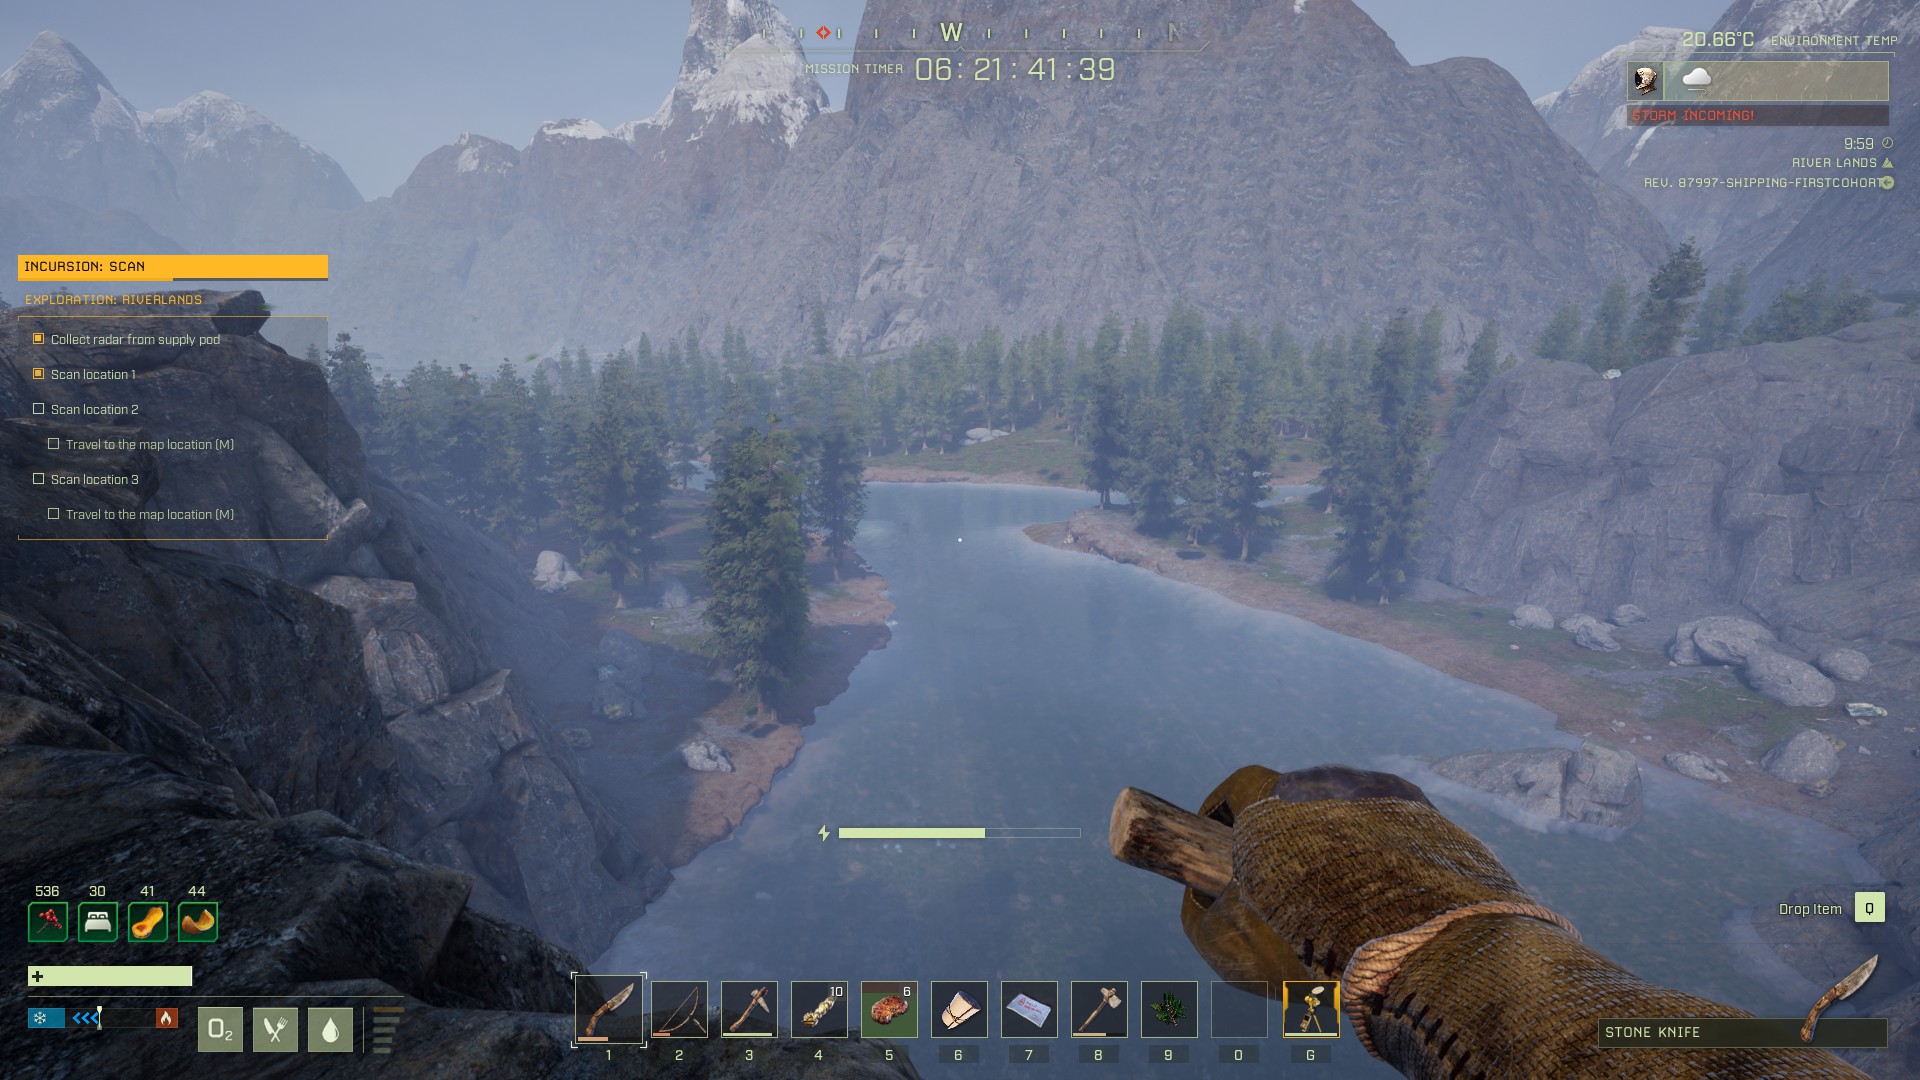
In the INCURSION mission, you’ll be surveying the Riverlands for the Lagos unit, in an attempt to discover new drop zones. This guide will first list the relevant details of the mission, and then provide a step-by-step walkthrough.
To complete the objectives, you’ll need to grab a radar unit from a supply pod, and then deploy and activate it at three scan locations. As long as you stay near rivers, this mission is incredibly easy.
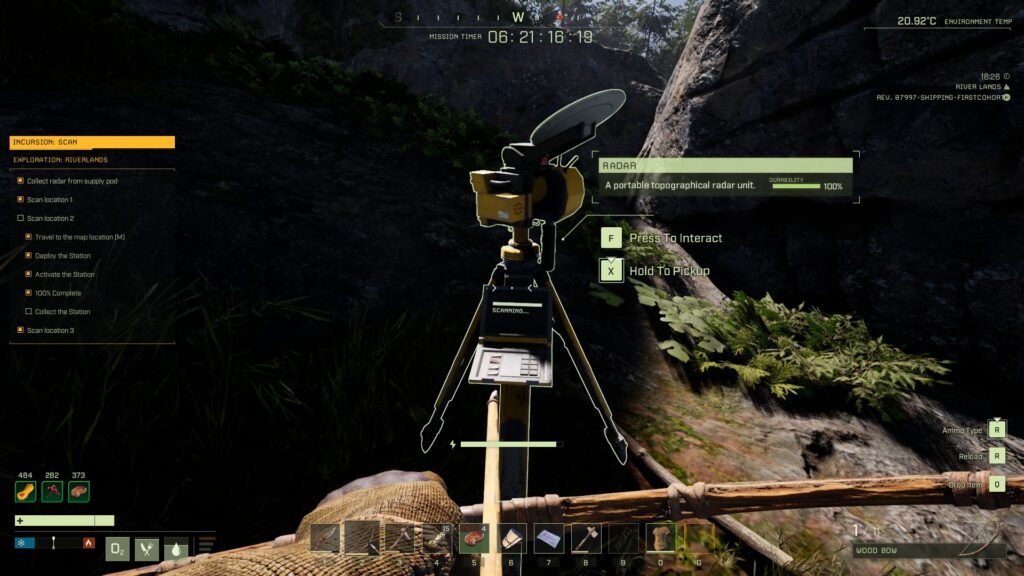
The radar unit
Preparing for INCURSION
Listed below is the minimum requirement for completing the mission.
The following talents will dramatically increase your chances of survival. They are from the Solo tree, but if you’re not alone this mission isn’t so difficult and therefore these aren’t so important.
‘Tis But a Scratch [Solo – Solo]: 2 point
-10/15% resistance to physical damage. There are a lot of dangerous predators on this mission, and unless you’re very lucky, you’ll end up having to fight one.
Very, Very Quiet [Solo – Solo]: 1 point
-15% perceived threat while in stealth. If you want to avoid bears, you’ll want this.
Additional Prep
If you want to make sure you can respawn in case you screw up while activating the radar, you can create a shelter and place a Bedroll in it before you place and activate each radar — this will give you somewhere to respawn. Don’t forget to take it with you when you move on to the next objective!
Mission Walkthrough
Note: Like many missions, this one ends once the final objective is completed; you can let your character die once you’ve completed the mission, and therefore get back to the Drop Pod much quicker. However, if you complete the objectives in a counter-clockwise loop starting with the northern-most objective, you should be only a ~5 minute run away from the Drop Pod when you finish the last objective, so this usually isn’t worth it.
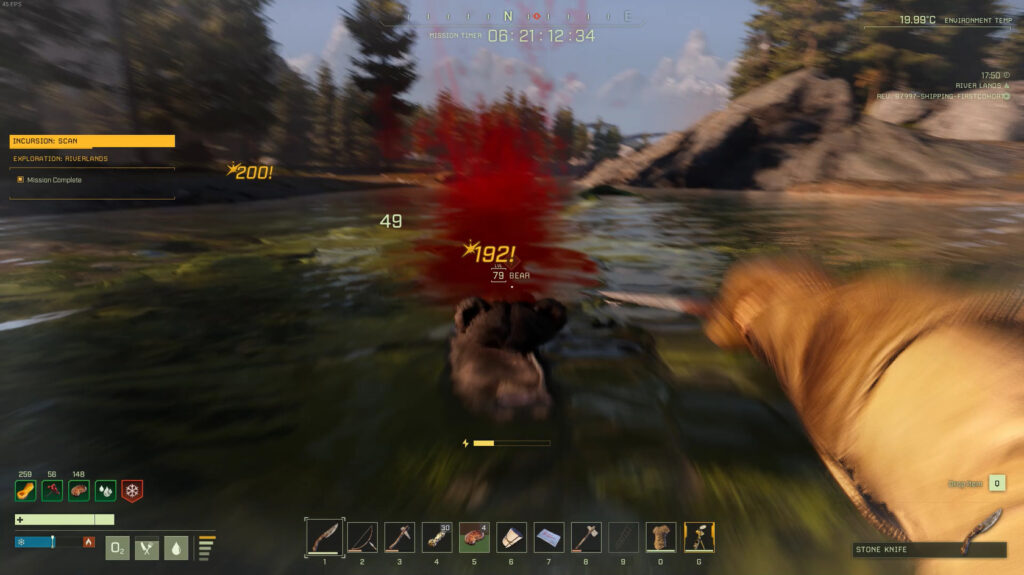
Fighting Predators in the Riverlands
This mission is made incredibly easy by the fact that you can follow the path of a river to every objective. In doing so, you’ll make yourself safe from any and all predators, because wolves and bears are not very good swimmers. If you draw the attention of a predator, simply sprint into the water, get to deep enough water that the predator has to doggy-paddle, and then let them get close enough that you can hit them with your knife. At that point, hold [S] to swim away from them while attacking with your knife. If done correctly, you can easily dispatch bears and wolves without taking any return damage.
It honestly feels kind of wrong
Part 1: Prepping and Grabbing the Radar
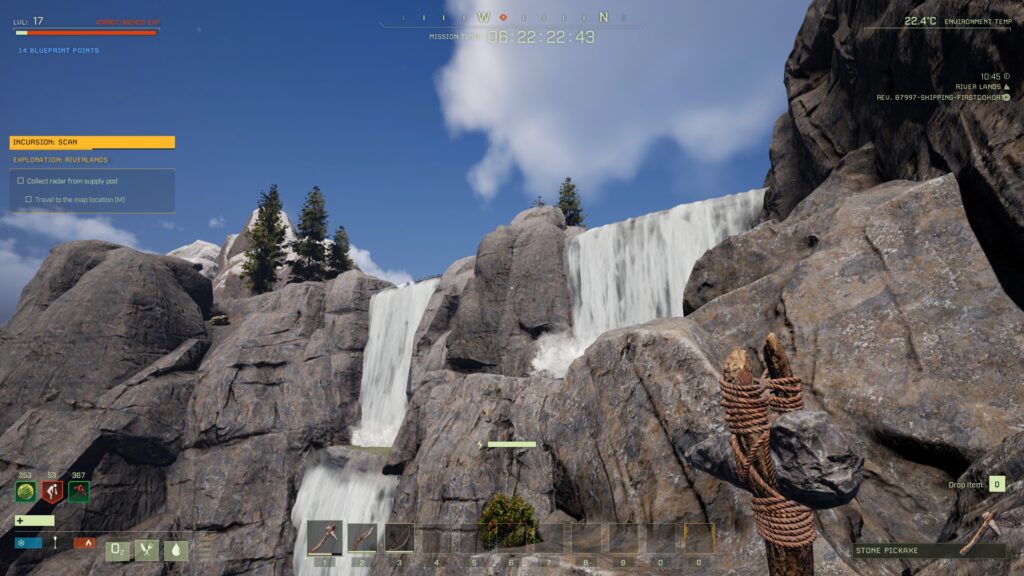
Once you land, open your map and find the Supply Crate , which should be nearby. Double-click it on your map to set a waypoint, and then head to it and grab the radar. It’s at the top of the waterfall, so you’ll need to head around and up rather than straight towards your waypoint:
The supply crate is at the top of this waterfall
Once you’ve got the crate, start farming for resources until you have the following:
You can slowly make your way north as you do so, but be on the lookout for predators; there are high-level bears and wolves in the Riverlands. As mentioned above, as long as you stick near a river, you should be safe. Cook some meat once you’ve killed an animal or two, and also cook any vegetables you’ve found. While you wait for your meat to cook, you can collect the fiber you need for your Cloth Armor.
Part 2: Deploying the Radar
There are three objective locations, and the most efficient route involves going to the northernmost one first, then circling around counter-clockwise: start with the objective in F-2, then go to the one in B-6, and finish with the one in E-6. Use your map and set waypoints to make navigation easier, and always keep a river by your side in case you run into trouble.
When you reach each objective, feel free to set up a temporary shelter to set a spawn point, then deploy the radar and activate it. Once you activate the radar, sprint a good distance away and then crouch to stealth. Predators will spawn and attack the radar, and then wander off — you can wait for them to leave, then return to the radar, reactivate it, then pick it up.
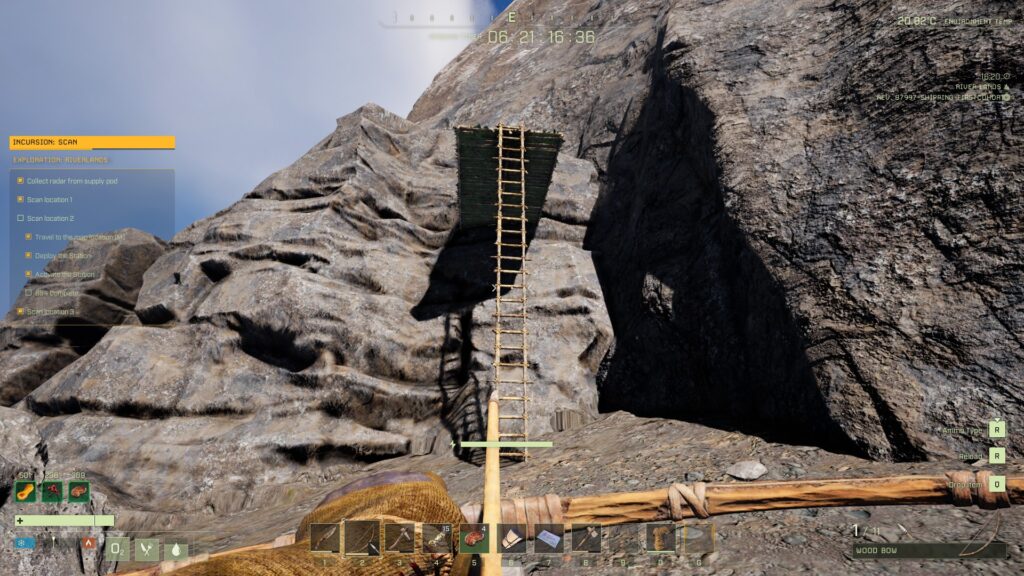
Sometimes, the predators will hang out kind of close to the radar. When this happens, just kite them into the water (see above tip on predators) and turn them into XP. Don’t forget to pick up the radar each time once it’s done scanning. The only area that the predators can be difficult to kite into water is the final scan location (in E-6). They’ll usually wander away, but if you end up needing to kill them, build 2 ladders and then a platform on the cliff face to the north of the radar’s placement location:
You can then safely snipe the predators from your platform. Once you scan the final location and pick up the radar, your mission is complete! You can return to the Drop Pod, or if you don’t have a very full XP bar, find the nearest bear and feed your prospector to it.
We hope this walkthrough for the mission INCURSION was helpful. Leave any questions or suggestions you have in the comments below!
Share this article:
DanielD
Unabashed FromSoftware fanboy still learning to take his time with games (and everything else, really). The time he doesn't spend on games is spent on music, books, or occasionally going outside.
Here’s what I’ve found: bears can and will attack your ladder, and can attack the platform attached to the wall if you’re standing on it. If you’re at least one floor piece out from the wall, however, they seem unable to reach you — and as long as you use a trapdoor floor variant, you can usually shoot the bear through the hole in the floor.
Darkwolf
1 year ago
Guide currently requires and update. Radars can now be destroyed, and stop working if you get too far away. Creatures and numbers have changed too. Location #1 now spawns 1 bear and 3-5 cubs. Location #2 Spawns 1 Jaguar and 3-5 Boars, and Location #3 spawns 1 Alpha wolf and 5-7 forest wolves. Fighting is now unavoidable as the creatures will destroy the radar. not sure if the Radar can be repaired/recalled.


Hmm. Does that ladder strat work with bears? They seem to be able to scale a sheer 90 degree mountain like nothing.
Here’s what I’ve found: bears can and will attack your ladder, and can attack the platform attached to the wall if you’re standing on it. If you’re at least one floor piece out from the wall, however, they seem unable to reach you — and as long as you use a trapdoor floor variant, you can usually shoot the bear through the hole in the floor.
Guide currently requires and update. Radars can now be destroyed, and stop working if you get too far away. Creatures and numbers have changed too. Location #1 now spawns 1 bear and 3-5 cubs. Location #2 Spawns 1 Jaguar and 3-5 Boars, and Location #3 spawns 1 Alpha wolf and 5-7 forest wolves. Fighting is now unavoidable as the creatures will destroy the radar. not sure if the Radar can be repaired/recalled.
Sorry bout that, wrong mission. I was thinking about the earliest scan mission, not this one. please disregard the last comment.