The RICOCHET expedition combines some of the mechanics of the Olympus expedition Dry Run with the action in the ZEPHYR expedition. While the UDA may want you to blast a tunnel to the Desert biome in the Oasis region, Icarus may have other plans. Sol says it best: “You’ve got worms”!
Objectives and Tips
You will have to power a biofuel drill to cut into a cave system that connects the Enclosed Wood and Oasis regions. This will require you to set up a base and craft several Tier 3 workstations.
Depending on what you want to do on this prospect, you may want to build this base near the entrance to the cave system. The transition cave to the Oasis that you are trying to open is stocked full of ore. Once on the other side, you can also raid the nearby transition cave from K13 to L12 in to the Frozen Traverse.
While you work on powering the drill, you may want to craft a strong ranged weapon and ammo (if you haven’t brought one already), as well as some Anti-Poison and Antibiotic Pills. You will need to defend the drill inside a cave against an army of Giant Worms.
Travel Through the Cave
Once you land, head east toward the cave entrance. If you have explored the Enclosed Wood before, you may already know the cave entrance is sealed. Once you reach the sealed cave, the location of a Supply Crate containing a biofuel drill will be added to your map. It is on an island just east of the cave entrance.
The ledges below the cave entrance offer shelter from predators, some nice morning views, and a motherlode of ore once the cave is opened
You will need to establish a base where you can craft the Tier 3 workstations needed to fuel the drill:
The Kitchen Bench can be used to craft Anti-Poison and Antibiotic Pills, which may be helpful as you will be defending the drill in a cave from poisonous enemies for 5 minutes.
Once you drill through the first cave wall, you will have access to about half of the ore in the transition cave. Feel free to mine it before you drill through the second wall, and to use the ore to craft stronger weapons for the fights to come.
Clear a Path Through the Cave
The first wave of the worm fight is very easy. After you pick up the biofuel drill, a hologram will show up on the cave entrance. Place the drill in the hologram and load it with a Biofuel Can at least 20% full, to be certain you have enough fuel. Once you activate it, you will have to defend the drill from attacks by cave worms for 5 minutes in a fight very similar to the end of UNEARTHED: Research.
To keep the drill running, you have to remain within a few meters
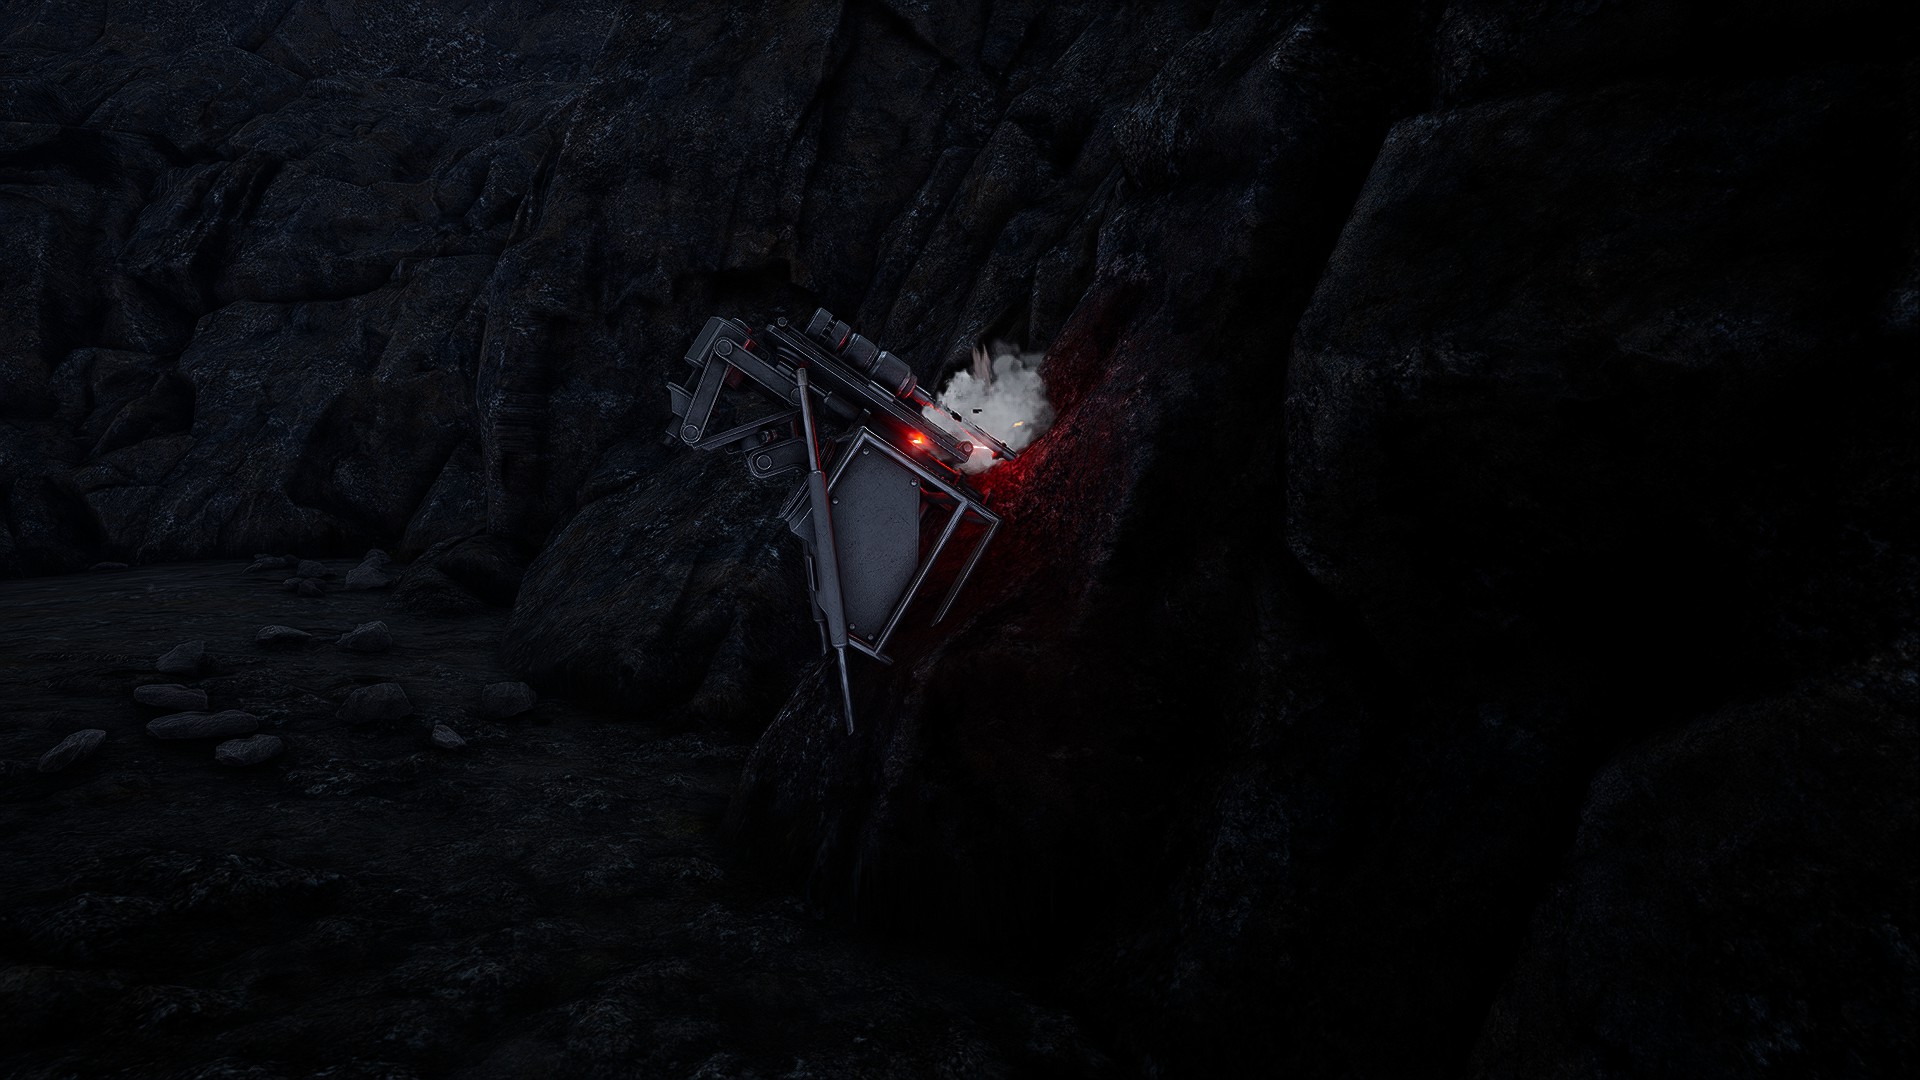
When 5 minutes are up, the cave entrance will explode dramatically, and you can pick up the drill and fuel can from a loot bag where it fell. Take them with you into the cave, and double check that you have a dependable light source. (A regular Lantern is ideal here.) Note that as soon as you enter the cave, the biome will change from Forest to Desert, so be prepared for a change in temperature and weather conditions.
Work your way through the cave until it ends at a wall with another drill hologram. Place the drill inside it and load it with the Biofuel Can. Now is a good time to take an Anti-Poison and an Antibiotic Pill, if you have crafted them. Once you activate the drill, you will have to defend it for 5 minutes while inside the cave — this time from Giant Worms.
Keep an eye out for the broken ground to get some advance warning of each Giant Worm attack
Some time after you start the drill, you will see one or more very large openings appear in the ground. Each time these appear, a Giant Worm will emerge soon after. This red desert form is identical in stats and capabilities to the blue arctic form encountered on the ZEPHYR: Expedition prospect.
Unlike the regular caveworms, these Giant Worms keep their mouths closed, except when they first emerge and when they are about to attack. Like the Sandworm, when the mouth is open you can get a critical hit on the mouth of the Worm, although it will take damage from body hits, too. A critical hit from a Hunting Rifle, or a few critical hits and body shots from a good bow (Caveworm, Recurve, or better) and Flint Arrows is enough to send each Giant Worm back underground.
If you get overwhelmed, the area above these stalagmites may be close enough to keep the drill running while far enough to slow or even stop Giant Worms from spawning
Once the drill counter in the Mission side panel reaches 100%, the wall will break open, again in a flourish of flying rocks and boulders. However, several Giant Worm stragglers will stick around for you to kill if you want the experience. They will be here until you kill them or you log out and log back in. In any case, this transition cave between the Enclosed Wood and Oasis regions is now open permanently.
Scan the Lower Falls Region
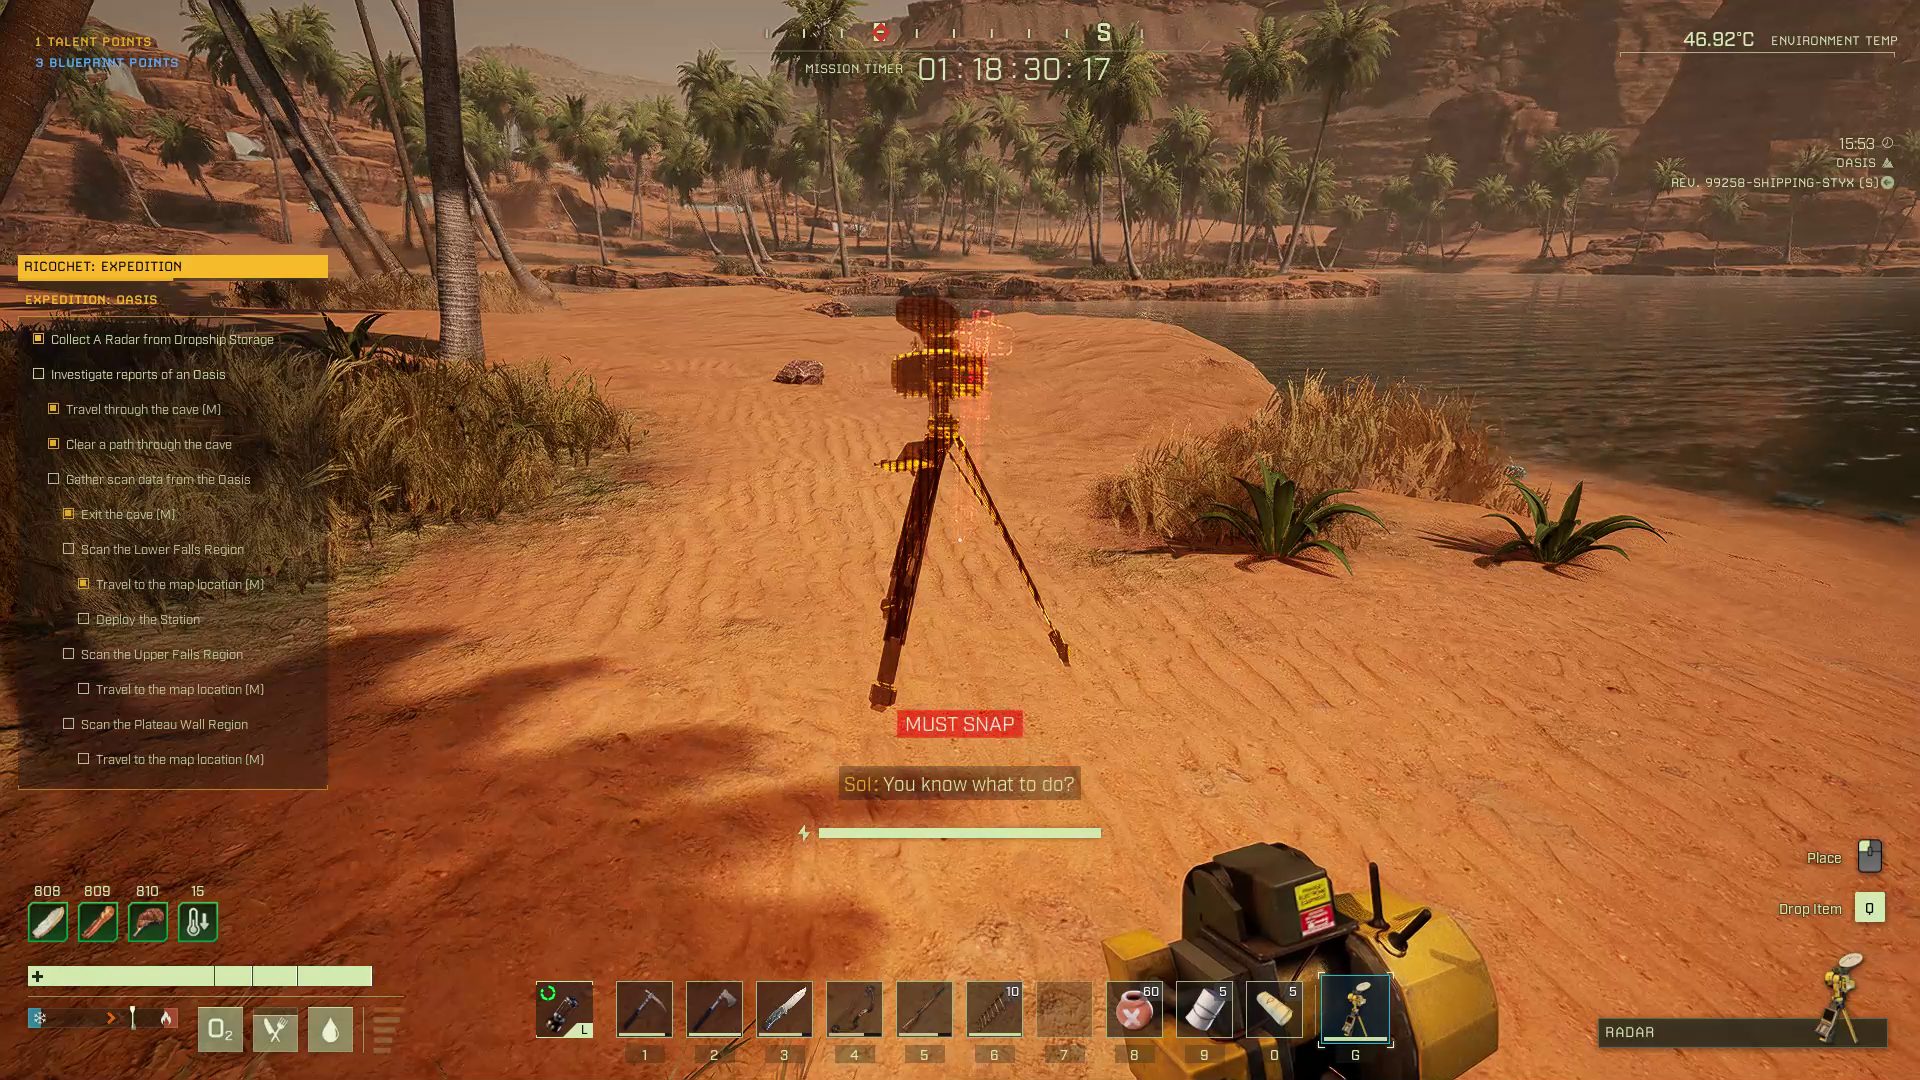
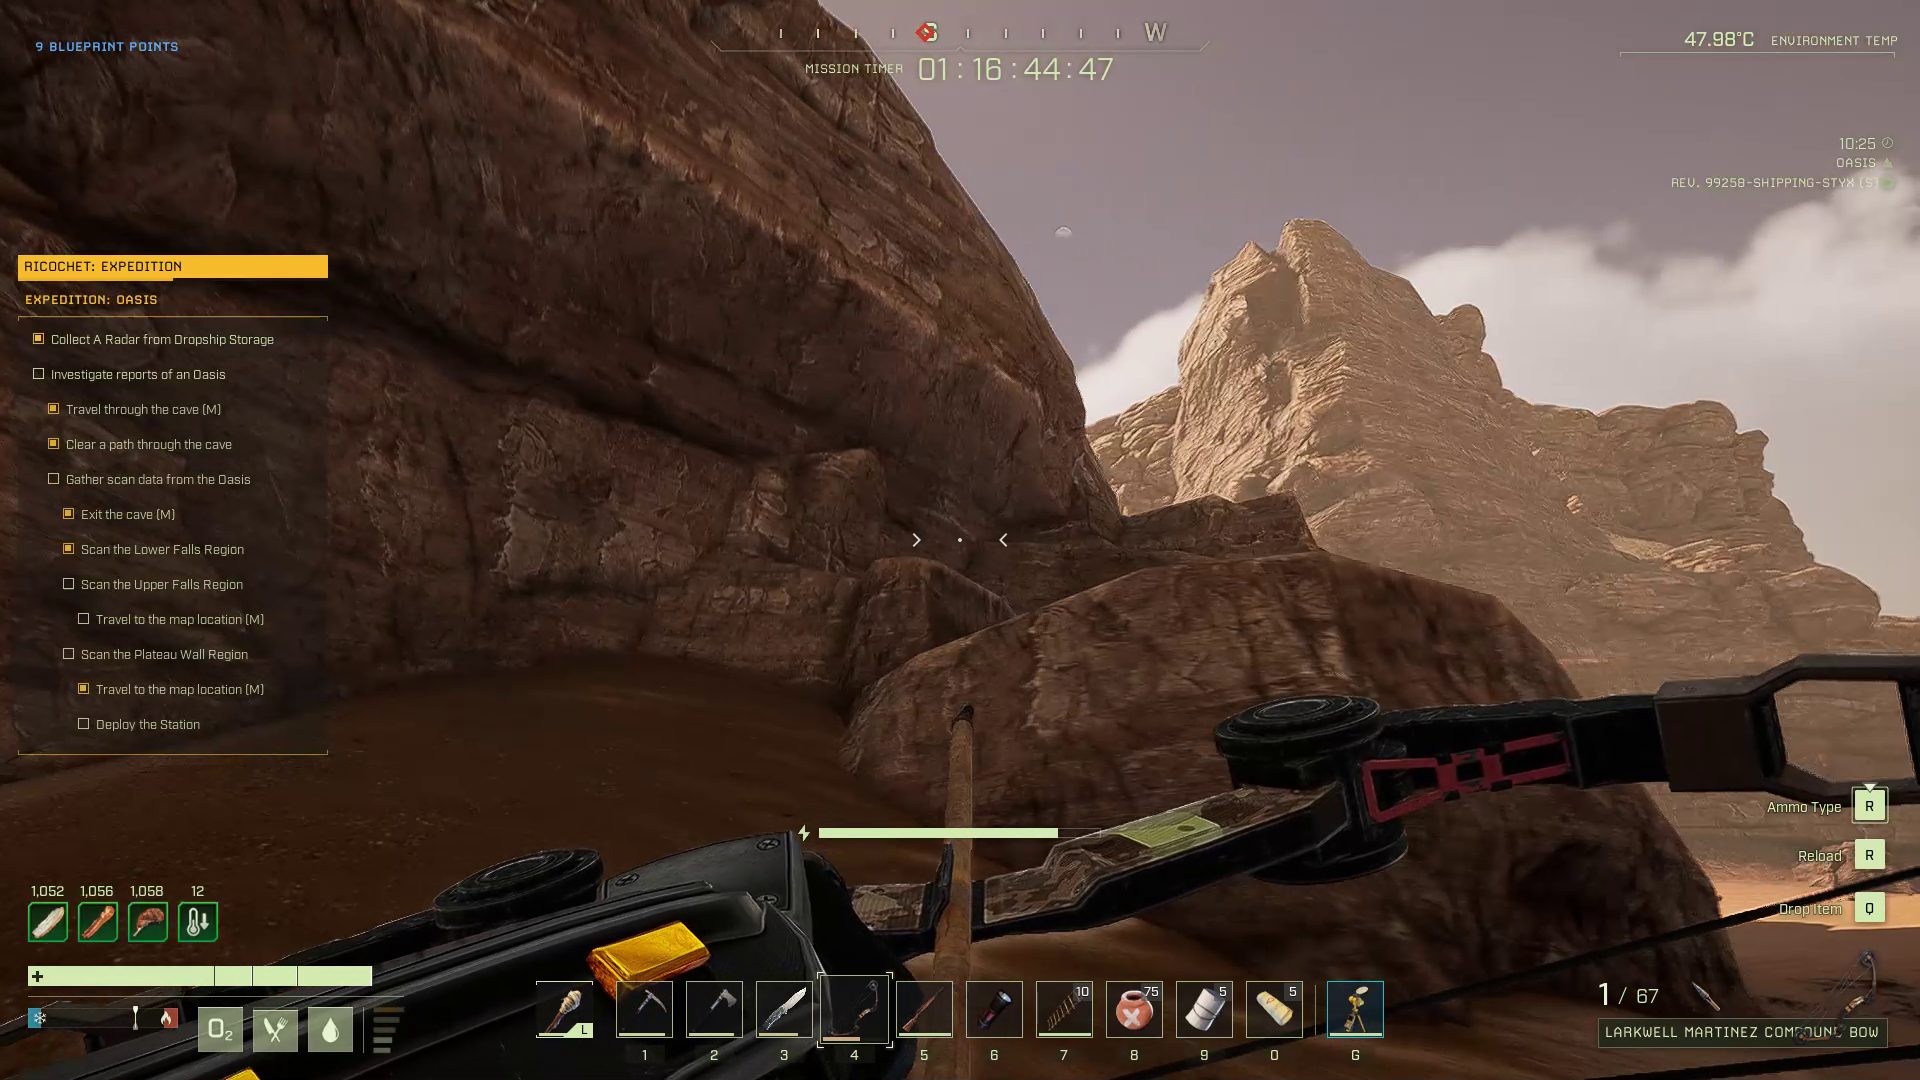
As soon as the transition cave is open, you are free to enter the Oasis region and perform your scans. Three scan locations in this region will be added to your map. Pick up the Radar from the Dropship if you have not already, and bring it with you into the Oasis region. Go to the marker in L14 and look for the radar hologram. Place the Radar in the hologram and activate it.
Move around the rocks, trees, and riverbanks to keep predators from using them for cover
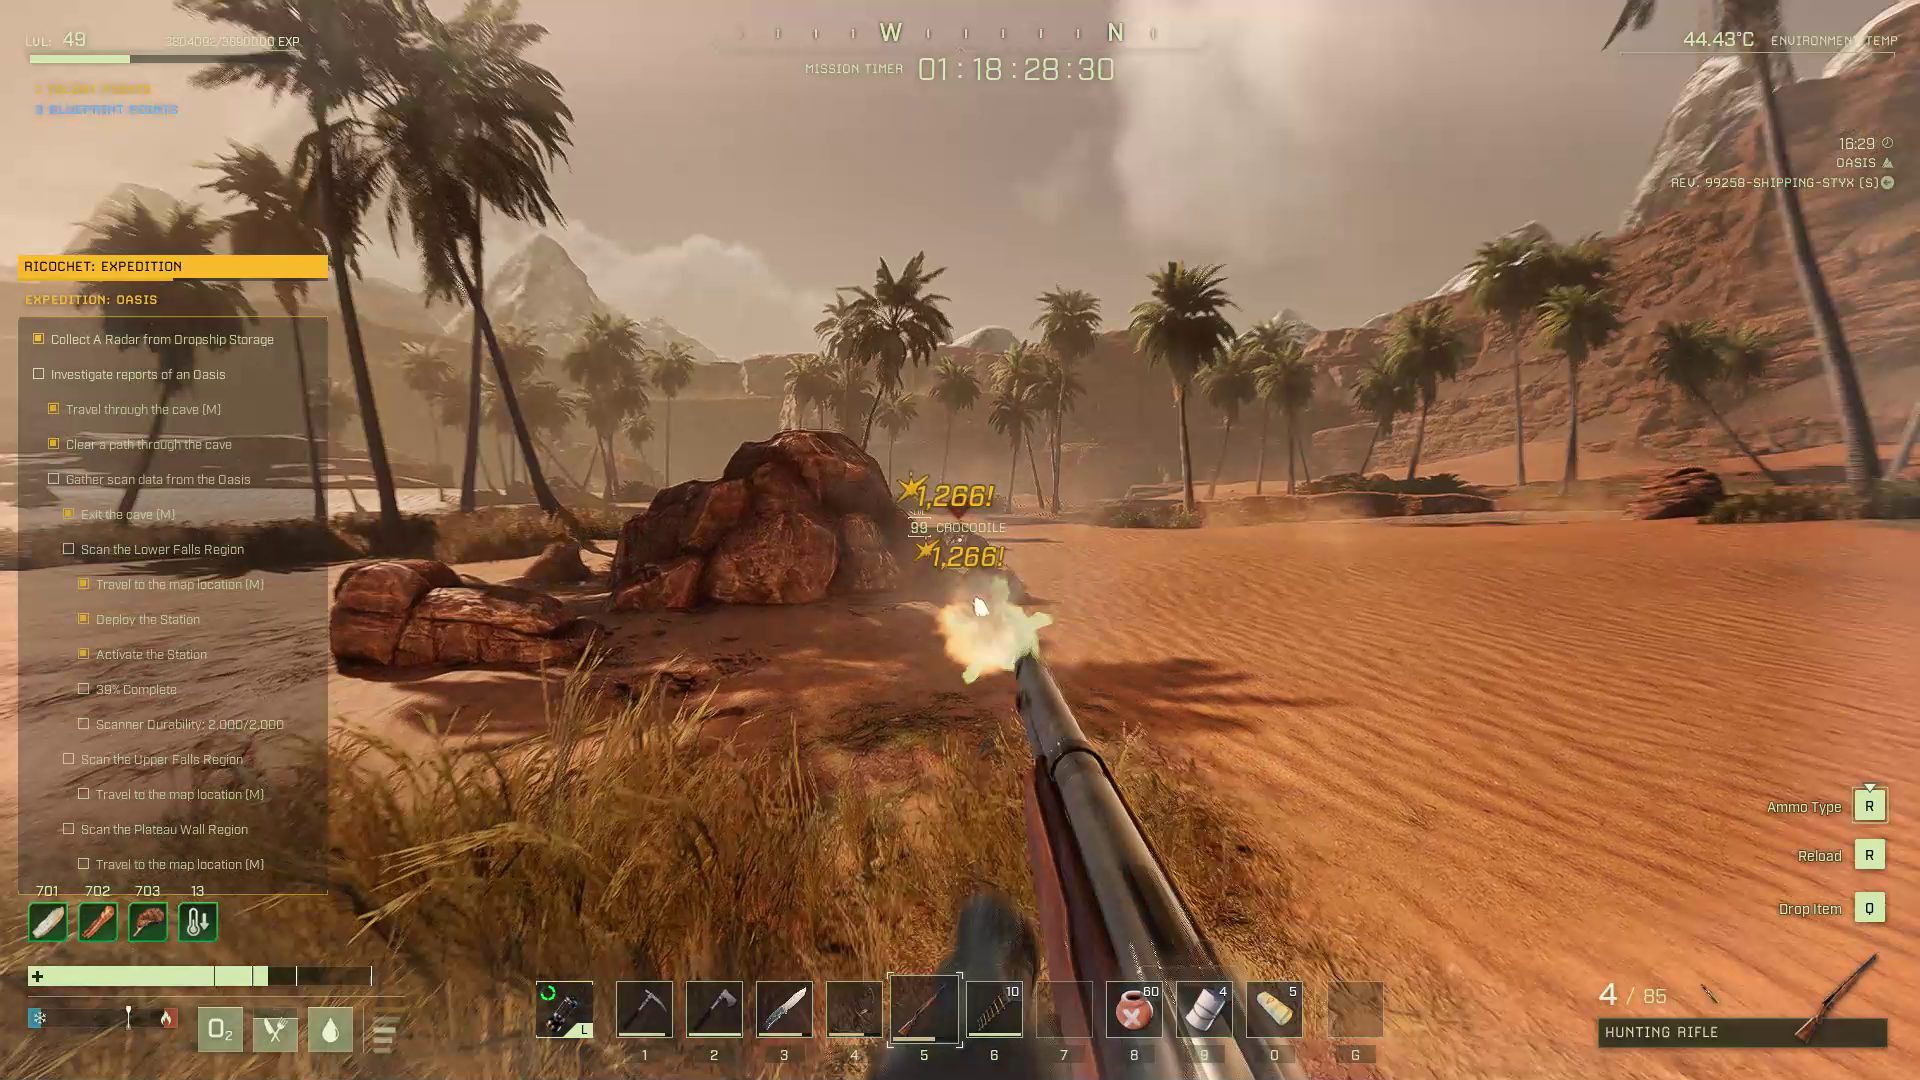
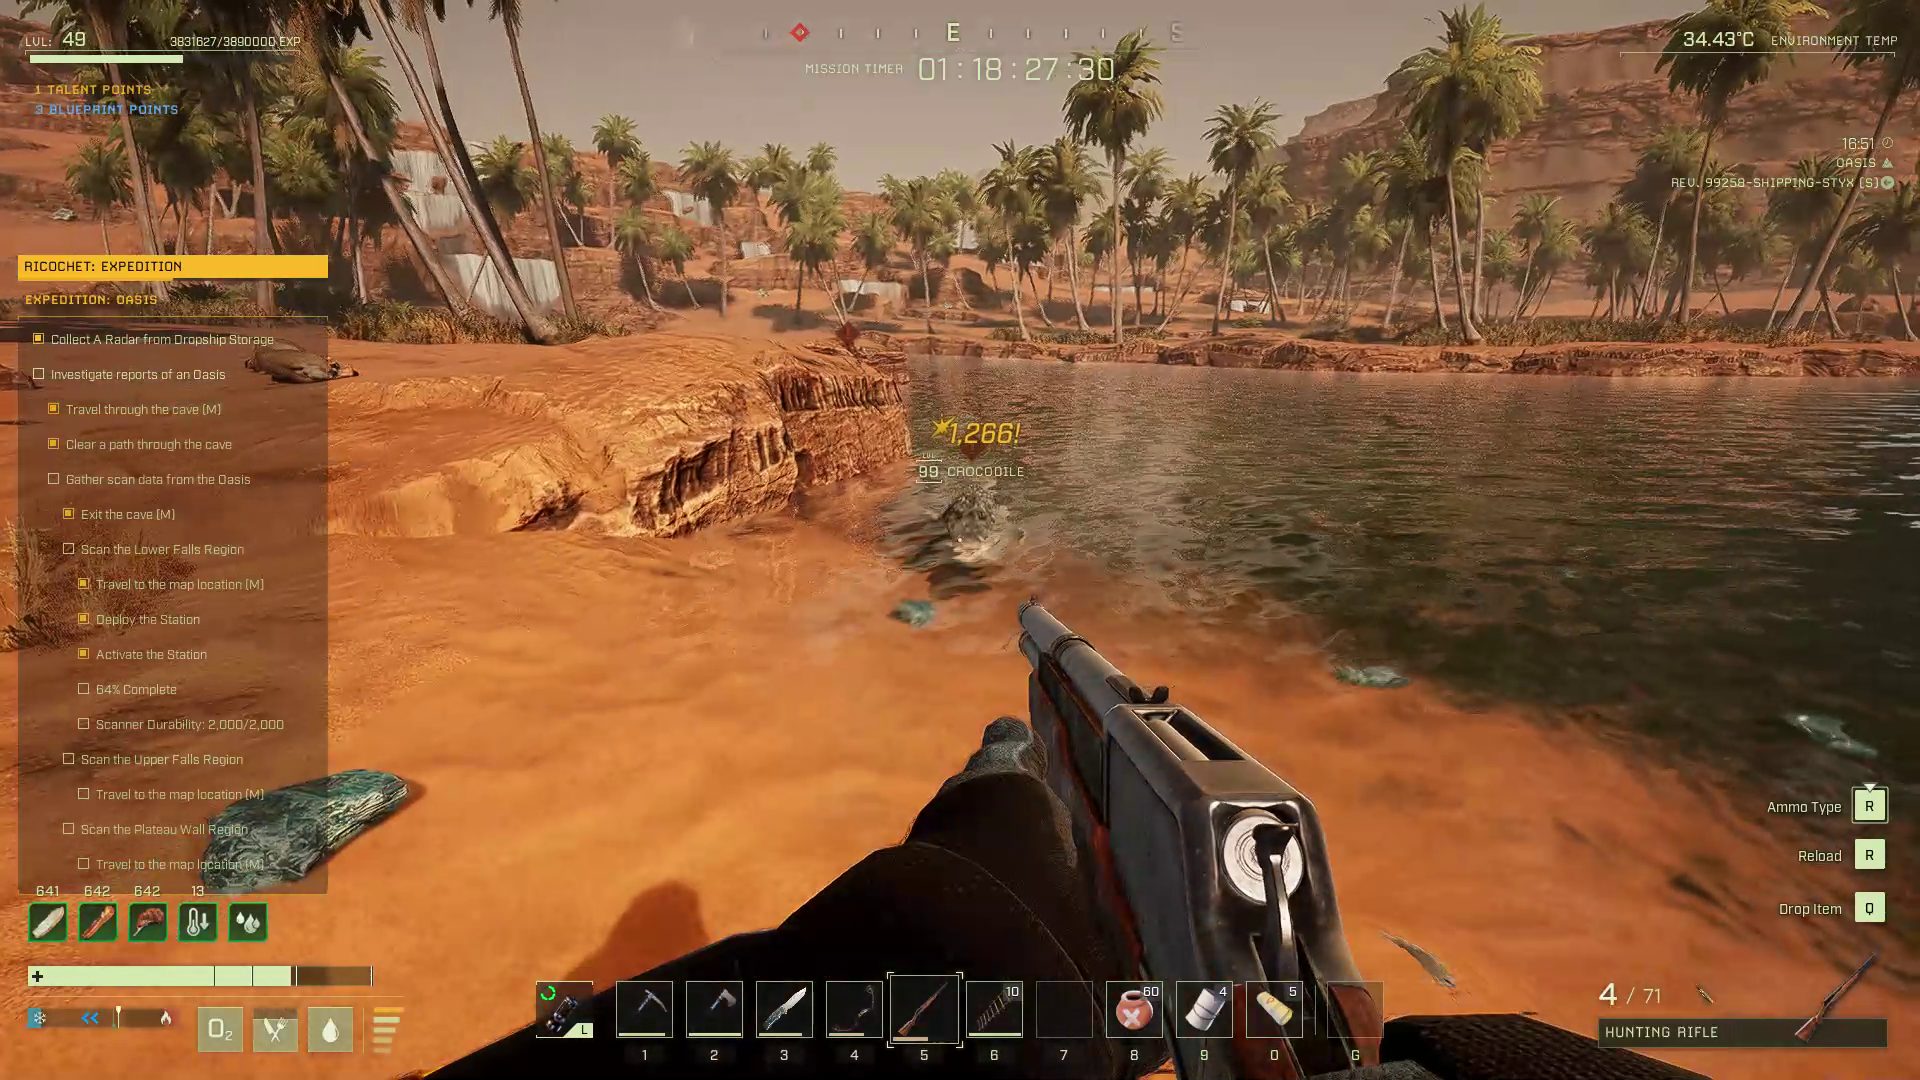
The Lower Falls region is the most challenging of the fights. You will be attacked from three directions by waves of Cougars and Crocodiles, and the rocks, palm trees, and river banks give the enemies more cover than you. Don’t be afraid to let the radar take a few hits for you. Move around the area to get better firing angles, but remember: you need to stay near the radar for the scan to progress. Consider using the ore from the transition caves to craft a Fabricator and Hunting Rifle with plenty of ammo. Each of the scans take 4 minutes to reach 100%, which is enough time for about 25 enemies to attack.
Once the scan is complete, repair the Radar, pick it up, and move on to the next signal marker on your map.
Scan the Upper Falls Region
The Upper Falls scan is at the marker in N13. This site borders water, like the Lower Falls site, but this time you do not have to worry about threats coming from it. Instead, waves of Komodos and Crocodiles will move around the banks of the lake to attack from both directions, as well as from behind the hill to the North. Also, keep an ear out for any Sandworm World Bosses, as they patrol the area to the north.
Each hedgehog can delay an attacker for several painful seconds while you finish it off from above
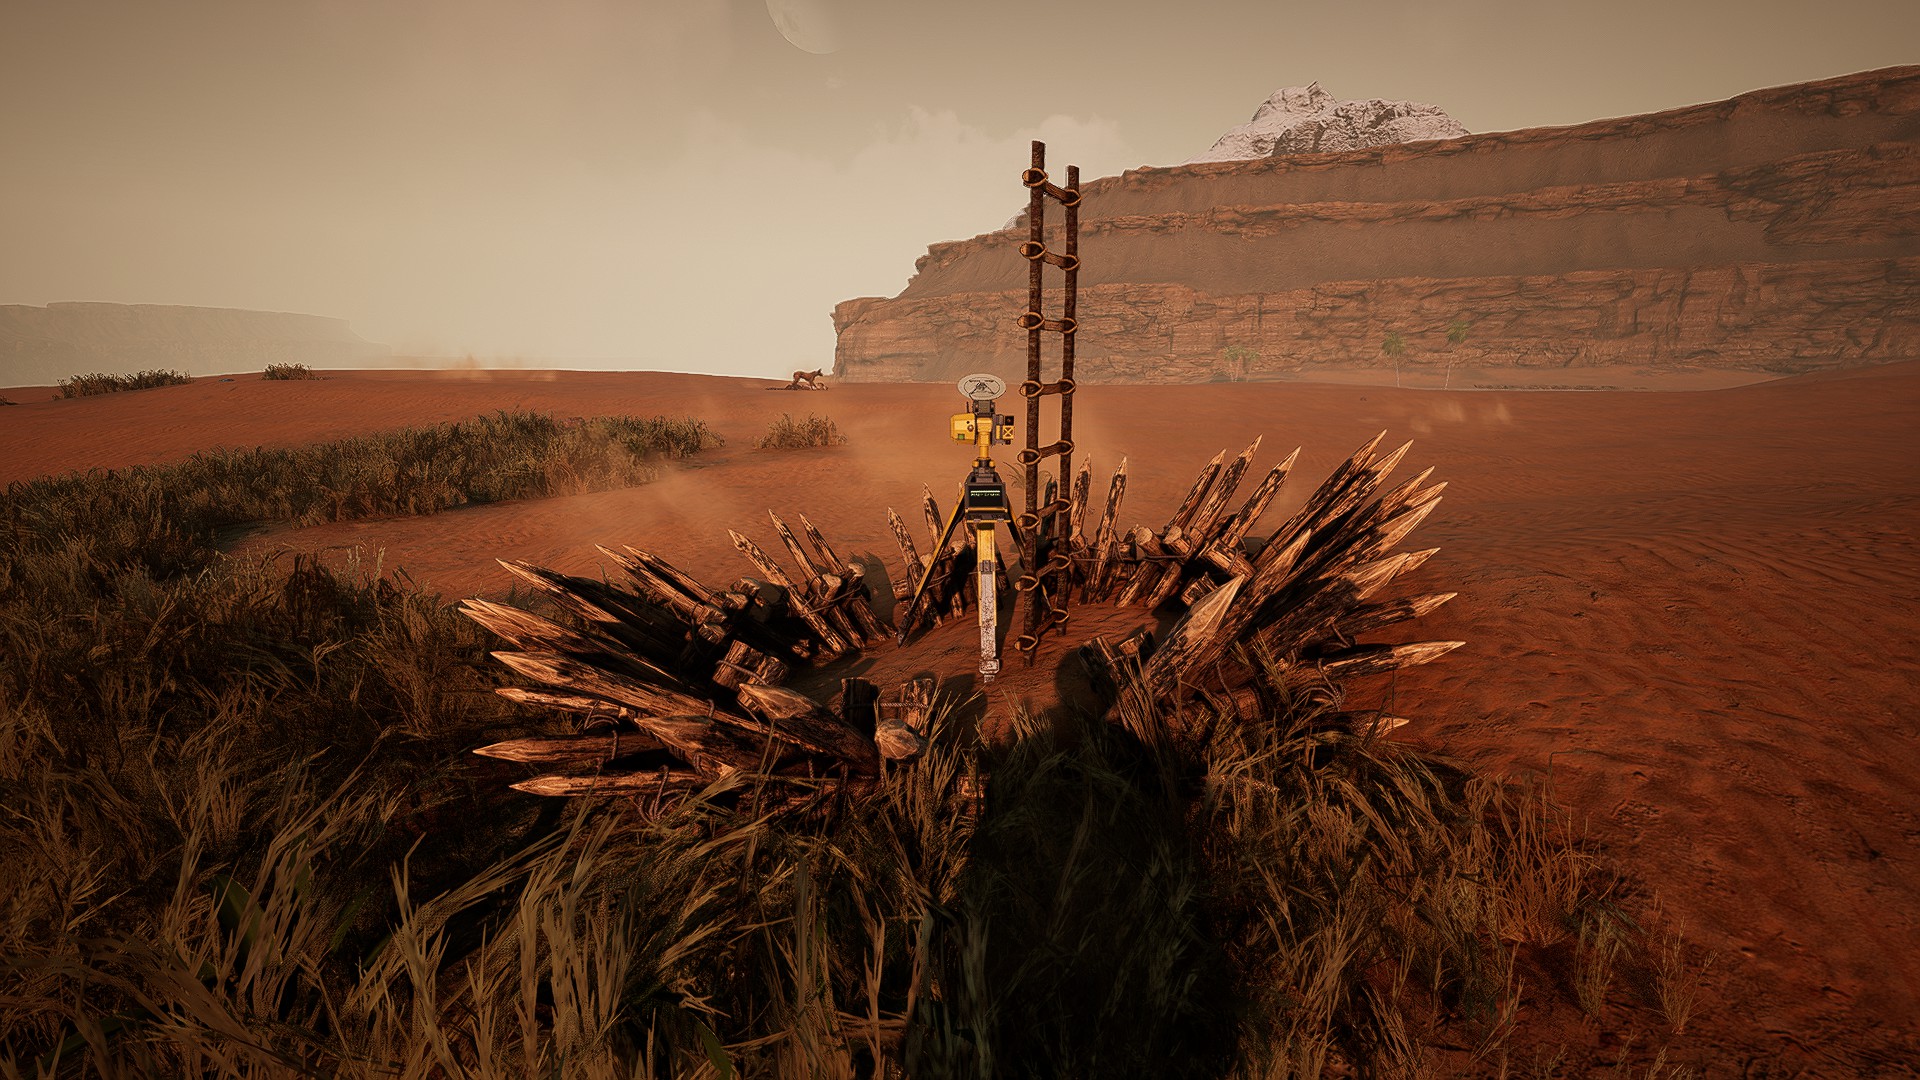
If you are using a strong ranged weapon and you have good aim, consider placing one or two Wood Ladders down next to the scanner and firing from the top of them. Both Crocodiles and Komodos have high health and move slowly. From a higher position, you can take shots at them when they are further away. A ring of about 10 Medium Wood Hedgehogs around the Radar can provide some additional defense, if needed.
Like the scan at the Lower Falls, this one will take 4 minutes to complete, which is enough time for about 25 enemies to attack. However, this location is next to a game trail that many predators use as they approach the lake, so you might have to fend off a few opportunistic attackers.
Once the scan is complete and you clear out any stragglers, repair the Radar, pick it up, and move on to the last scan location.
Scan the Plateau Wall Region
This last scan is quick and simple. Once you reach the scan location in N15, you will find out it is at the top of a butte. There is a staircase of rock ledges on the northwestern side of the butte that provides safe and easy access to the top with the aid of a few Wood Ladders.
Lower terraces are a natural stair and a place for ladders that is safe from predators
Once on the summit, find the hologram, place the Radar in it, and activate it. There is no point in making any preparations. On the top of the butte, no predators will be able to attack you. The scan will still take 4 minutes. All you need worry about is storms, and if you bring a portable shelter, this will not be a concern either.
NOTE: If you are not already using this strategy with the exotics radars, it works remarkably well. You still may aggro several predators, but they will not be able to attack, and you can either counterattack safely from above or find an opening to escape after you the scan is complete.
After the third scan is complete, the mission will be, as well. Stick around to find and extract exotics from the two veins on this prospect, explore the rest of the Oasis, or just head back to the Dropship to return to orbit.
We hope this walkthrough helped prepare for the worm battles and not get jumped by a crocodile! Let us know what you think in the comments below. NOTE: This is a brief mission walkthrough, a new format we are testing. It lets us cut to the chase with tips and tricks, and allows us to cover the many ICARUS missions and updates as they come out.
Share this article:
SurvivalSherpa
SurvivalSherpa is an avid gamer spending most of his time at the nexus of the survival, crafting, building, and role playing genres on any platform, especially to test indie titles in EA. AFK, life is about work and education in STEM fields, reading fantasy, and sipping great coffee in the Pacific Northwest.


I absolutely love your articles. Thank you for posting.