When you’re ready to confront Sin, talk to Cid and have him fly to the ‘Sin’ location. Then, head to the back of the airship and ride the lift. Warning: you are about to be put into three back-to-back boss fights, and there will not be any chance to rest and heal in between them.
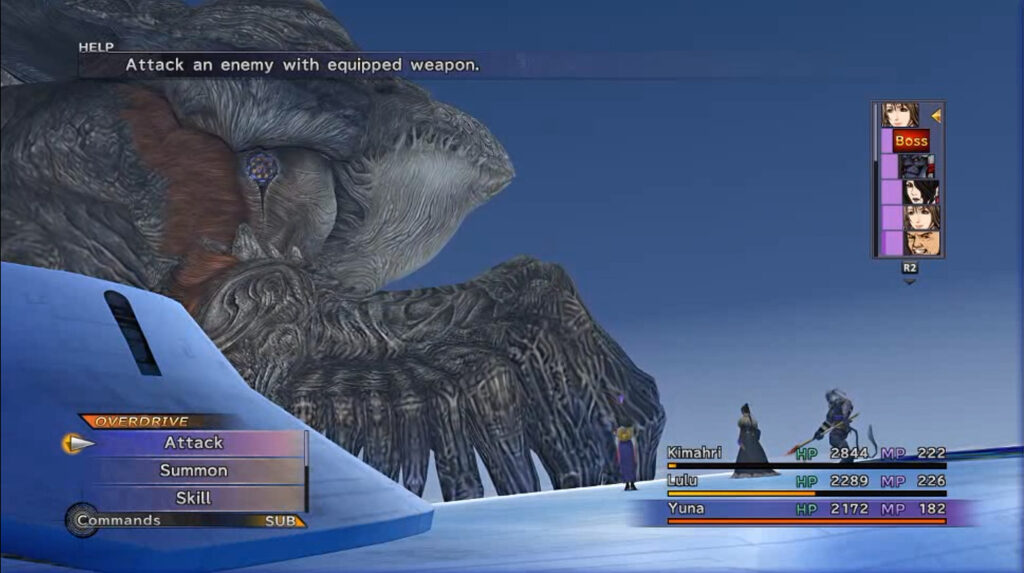
Left Fin
Similar to the Evrae fight, you can command Cid to move the ship close to or away from the boss with Tidus and Rikku. For the most part, it will only attack with a physical attack that hits the entire party. However, when you see a warning that says ‘Core gathers energy,’ this means that it will use Gravija on its next move. The attack deals 3/4 of the party’s current HP as damage, but can be avoided if the airship is far away.
If you give your party positive status effects (such as Protect or Haste), or if you inflict Armor Break or Mental Break on Sin, it will have a chance of using Negation. This attack will remove any Break effects on it, as well as Dispel your party from all buffs except Auto-Life.
You will begin the battle away from the boss. You can use Cheer to reduce the damage of Sin’s physical attacks. Then, depending on who your highest damage dealers are, you can either move in on it, or stay back and just keep attacking it.
Keep your HP up and avoid Gravija when it begins charging and the fight should go quickly.
Right Fin
This fight is exactly the same as with the Left Fin. So, just keep your HP up and use the same strategy to take the Right Fin down quickly.
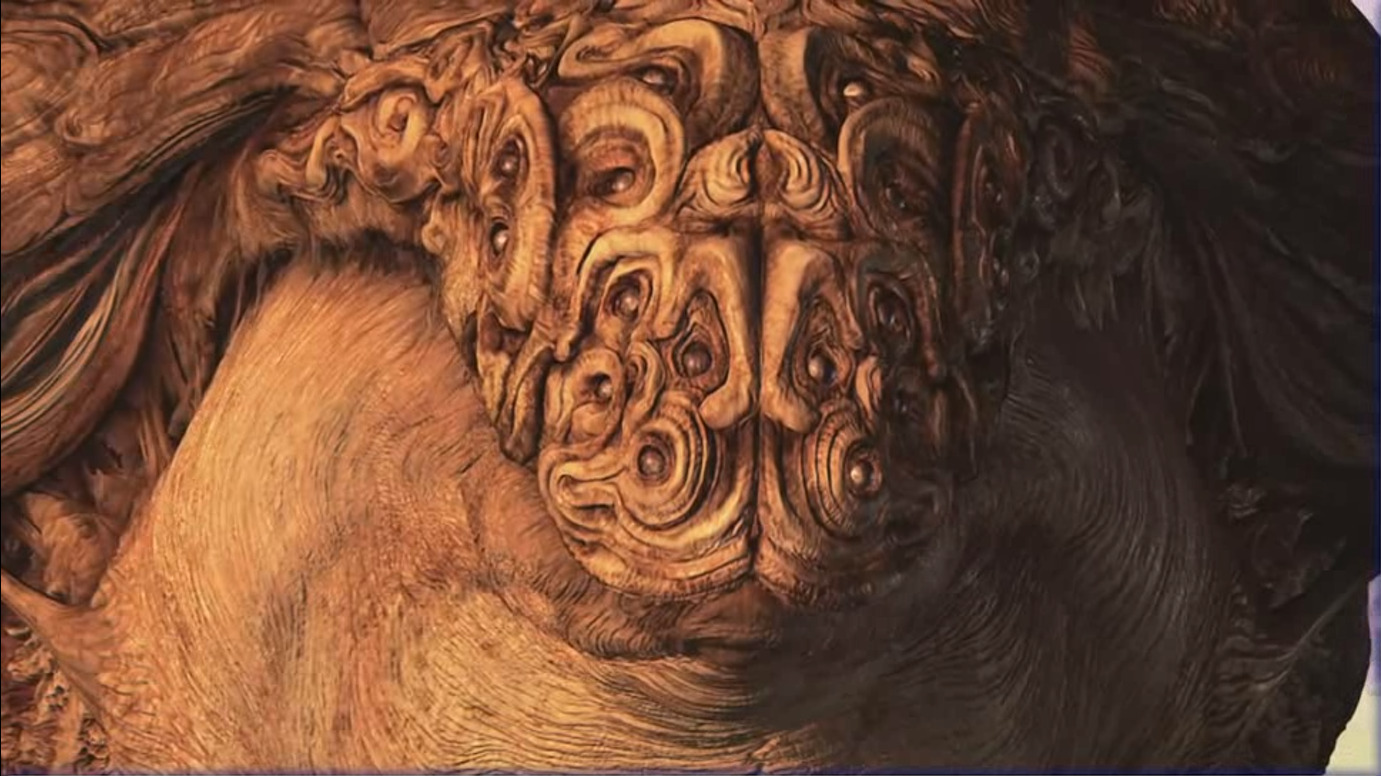
Sinspawn Genais
The fight consists of the Genais and a Core. The Genais absorbs Water and is weak to Fire. It can attack with Venom (which deals damage and inflicts Poison on a party member), Thrashing (which is a physical attack on your party), and will counter magic attacks with Waterga.
Once its HP gets low enough, it will retreat into its shell, and then counter attacks by using Cura on itself. It will also begin attacking with Sigh, which hits the party and inflicts Darkness.
The core will be out of range while Genais is alive, and any magical attack targeting it will be redirected towards the Genais. It will not use any attacks until the Genais goes into its shell, however, it can counter attacks with low-level elemental magic (like Fire) that will hit your entire party. It can also counter attacks with Negation if you have positive status effects on your party (the effects are the same as in the fight against the Fins).
Once it does start attacking, the only thing it will do is gather energy and use Gravija. But, unlike the last two fights, you will not be able to avoid it.
Focus your attacks on Genais first, and use powerful Fire attacks to bring it down quickly. When it retreats into its shell, you should be able to outdamage its Cura with Firaga. So, just continue attacking it until it goes down.
Once it’s defeated, you will want to take down the Core quickly. While it can’t kill your party members on its turn, the counters can kill you if you’re not careful (note that the lower its HP gets, the higher the chance that it will counter attacks). Keep your party’s HP around 1000 or higher (Al Bhed Potions will help make this easier), keep attacking it, and eventually it will go down.
After the battles, you will be back on the airship and be able to save and resupply on items, if needed. If you have any armor that resists Stone, Confuse, or Zombie, equip them now, as they will be helpful for the next fight.
Once you’re ready, use the lift on the back of the airship and speak to Yuna, and you will begin another boss fight.
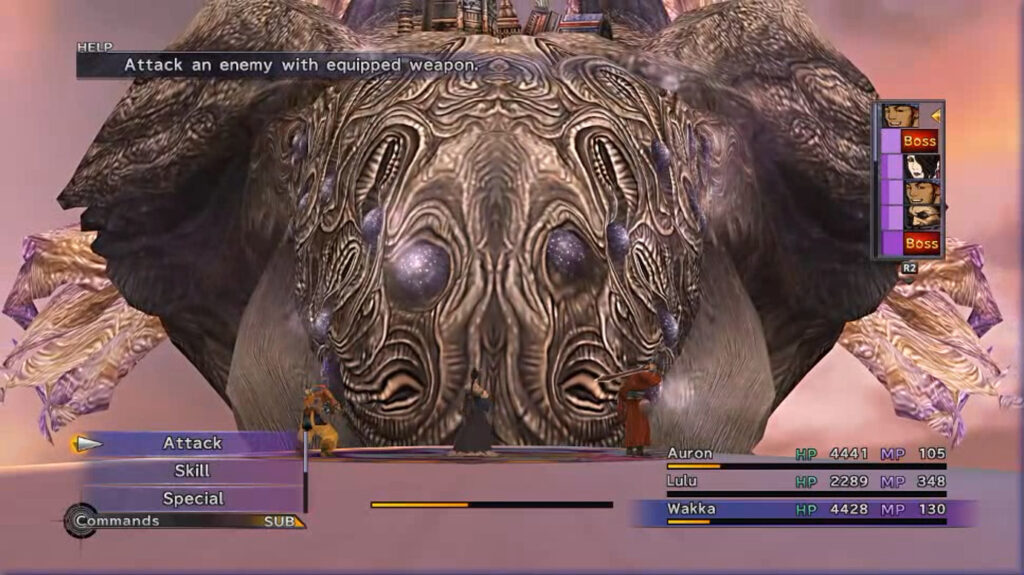
Overdrive Sin
This is a timed battle. If Sin’s Overdrive gauge gets full, it will use Giga-Graviton, which is an instant game over. However, the only way it will attack during the battle is by countering attacks with Gaze, which will hit the party and have a chance of inflicting Stone, Confuse, or Zombie.
Sin will be out of range for its first three turns. Make sure you use all of your highest damage dealers and give them Haste. Then, once Sin is in range, use Armor Break and Mental Break on it. Use your most powerful attacks on it (including Overdrives, Aeons, and abilities like Quick Hit and Doublecast, if you learned them). Meanwhile, keep an eye on any status effects Gaze may inflict on your party, and take down the boss as fast as you can.
Once the battle is over, you will be in a new area outside of the airship, with only a Save Point available. When you’re ready, head south and you will begin the final dungeon.
Sin — Sea of Sorrow
Note on Behemoth King
While in this dungeon you can run into the Behemoth King, who is a very dangerous enemy — when it’s defeated, it will automatically use Meteor, which will damage your entire party for at least 6000 HP. You can prevent this attack by either killing it with a counter attack, or defeating it with a weapon with the ‘Capture’ ability (though, keep in mind that this method will stop working once you reached the capture limit).
Alternatively, you can attempt to survive the attack by using Protect and Defending with your party members, which will greatly reduce the damage.
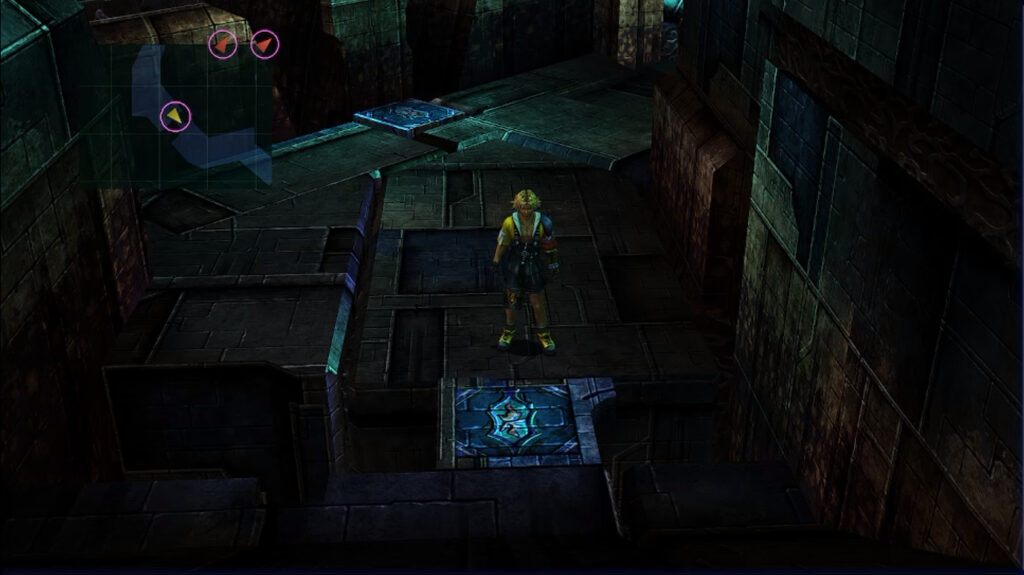
Navigating the Dungeon
Go down the path. When you reach the first split, you can go either way (they both lead to the same destination). When you see another split, you will only be able to go left. Continue until you see yet another split, and head south. You will reach a small opening on the west, where you will find a chest containing a Phantom Ring for Yuna. Then, go to the end of the path (you will be on top of a waterfall) to find another chest with a Special Sphere.
Turn around and go north. When you pass the split, there will be another small opening on the northwest to find a chest containing an Elixir. Then, continue until you see yet another split. Go until you’re at the top of a waterfall, and you’ll find a chest with a Wizard Lance for Kimahri. Now, turn around and go back to the split. Head east, pick up the Lv. 3 Key Sphere from the chest on the way, and keep going until you see a Save Sphere.
If you have any armor that resists magic attacks or elemental damage, they will be helpful for this fight. Make note of weapons you have that do elemental damage: while they can be used to deal extra damage, you could also accidentally heal the upcoming boss (you will see how in just a second). When you’re ready, head up the stairs, and you will be put into a boss fight.
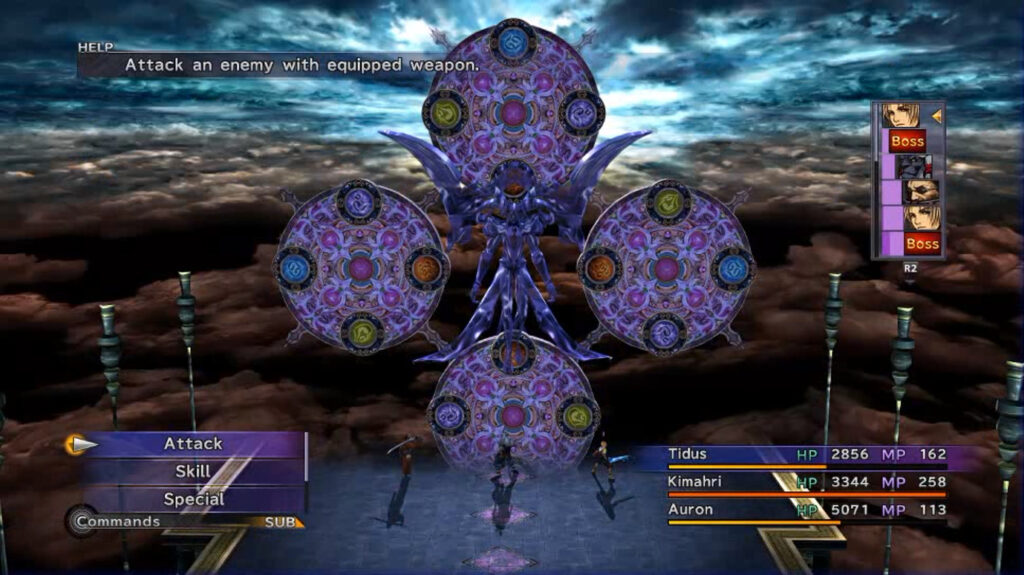
Seymour Omnis
Seymour will have four discs behind him throughout the fight, called Mortiphasms. Each of the Mortiphasms have four elemental sections, with each one corresponding to an element (orange is Fire, yellow is Thunder, blue is Ice, and purple is Water). The element of each disc closest to Seymour, as well as how many of them are matching, will determine his elemental resistances and weaknesses:
Four matching discs will allow Seymour to absorb the element, while becoming weak to the opposite element.
Three matching discs will allow him to absorb the element.
Two matching discs will grant him immunity to the element.
A single disc will make him resistant to the element.
The Mortiphasms also determine which spells Seymour will use on his turn. He will cast four spells — one on each party member, with the fourth being on a random one. The level and elements of the spells will depend on how many of the discs match:
If 1-2 discs are matching, he will cast the -Ra level spell of that element, equal to the number of matching discs.
If 3-4 discs are matching, he will cast the -Ga level spell of that element, equal to the number of matching discs.
These discs can be rotated by hitting them: magical attacks will rotate them clockwise, while physical attacks will rotate them counter-clockwise. Seymour is able to rotate them himself as well.
After getting hit six times, Seymour will begin glowing red, and will cast Dispel on your party. This is a sign that his next attack will be Ultima, which will hit the party for around 4000 HP. Since this version of Ultima deals special damage rather than magic damage, it cannot be mitigated unless you use Defend.
Once you deal enough damage, Seymour will begin charging Ultima after every three attacks. After Ultima is cast, he will rotate the four discs until they all match an element.
If you’re having trouble surviving the attack, you can have an Aeon take the damage for you instead — they will not get Banished in this fight (and you can have them use Shield to help survive it). Note: if you recruited Anima before this fight, you can summon her to get an extra line of dialogue from Seymour.
The battle will always begin with all of the Mortiphasms matching Fire. You can use NulBlaze to nullify most of Seymour’s attacks, and inflict Armor Break and Mental Break on him for more damage potential.
If you are able to survive his four -Ga attacks comfortably, it will be easier to not attack the Mortiphasms at all and just focus on using Seymour’s current weakness against him. Make sure that everyone’s HP is full before Ultima goes off (or have an Aeon ready to summon).
Once the battle is over, you will find yourself in a new area.
Sin — City of Dying Dreams
Note on Enemies
There are two enemies to watch out for here — they can inflict some unpleasant status effects on your party.
The first is the Demonolith; it has access to Breath, which can Petrify your party. It can also counter attacks with Pharaoh’s Curse: this attack can inflict Darkness, Silence, Poison, and Curse. The other is the Great Malboro; this enemy will cast Bad Breath on the party, which can inflict Poison, Slow, Darkness, Silence, Berserk, and Confuse. You can prevent it from using this ability by using Provoke.
If you want to fight both of these enemies, you will want to give your party armor that prevents as many of these status effects as it can, prioritizing Petrify, Berserk, and Confusion resistance.
Also keep in mind that you can still run into the King Behemoths from the last area.
Navigating the Dungeon
Go through the path until you see a door with a glyph on the right side. When you interact with it, it will say that “Ten fiends still seek eternal repose.” This means that you have to kill ten fiends in order to open the door. Once it’s open, there will be two more doors you can open the same way.
The second door requires you to kill another ten fiends.
The third one will require you to kill fifteen.
If you open all of the doors, you will find a chest containing a Lv. 4 Key Sphere.
Continue down the path and you will see a small bridge with a glyph on it. Stand on it to have it move you up a level, and you will find a chest containing a Four-on-One for Wakka. Then, ride the glyph back down. Just ahead, you will see another glyph in front of a column. Walk up to the column and interact with it using , to reveal another chest with a Defending Bracer for Auron.
Be on the lookout for these glyphs on the floor
Continue down the path until you see a large pit. There will be a ramp on the north end of it you can use to go down. Inside of the pit you will find a chest containing 20,000 gil, as well as a glyph that will lift you up when you step on it. Take this lift, and you will find two chests with an HP Sphere and a Defense Sphere. Then, take the glyph on the other side to go back down (the glyph you used to get here will become inactive).
Continue down the path until you see another split. Take the north end of it and continue all the way through it — past the Save Sphere, and ignore the way north for now. If you do so, you will reach a wall you can climb down using . At the bottom you will find a chest containing a Laevatein for Yuna. Now, climb the same wall back up and make your way back to the Save Sphere.
This is the final Save Sphere in the game. Once you go to the next area, you won’t be able to turn back.
If you have any armor with the ‘Stone Ward’ or ‘Stoneproof’ passives, they will be helpful for the next boss. When you are ready, head north and a tower with a purple glyph will appear — it will take you to the next area.
Sin — The Nucleus
This is a large arena where the camera will constantly rotate, you will see crystals appearing and disappearing, and pillars will be coming up from the ground. You want to collect ten of these crystals while avoiding the pillars (touching them will force you into a random battle, but you can run from if you want). When you pick up a crystal, you will receive one of the following items:
Once you’ve collected ten crystals, you will be taken to a new area. This will be your last chance to open your menu and work on your Sphere Grid and equipment: some of the items from the last area can be useful, so take advantage of this. When you’re ready, walk up to Jecht and begin a boss fight.
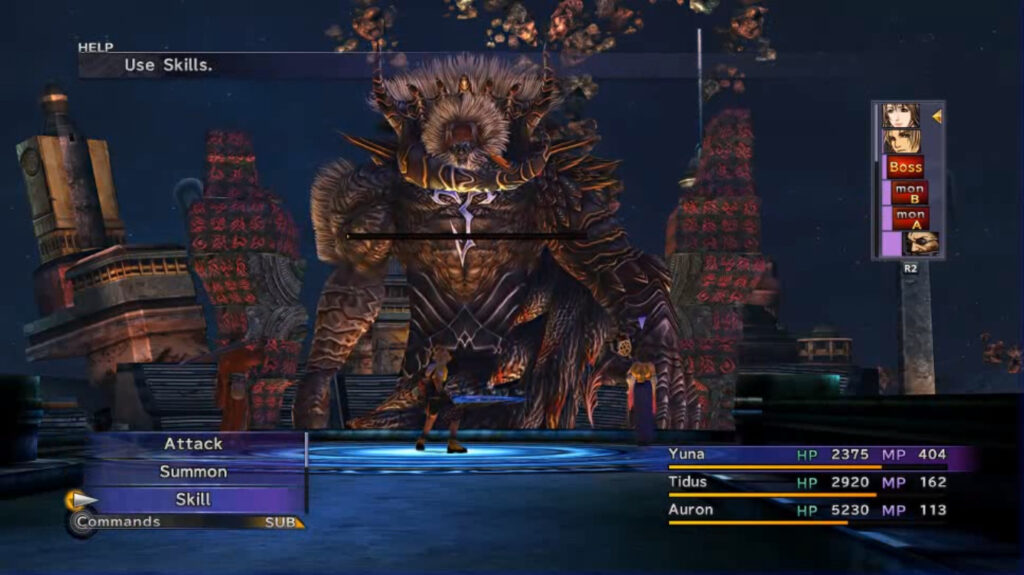
Braska’s Final Aeon
This is the final challenging fight in the game, and is considered by most to be the ‘true’ final boss. So, feel free to use your best items (such as Elixirs and Mega Phoenixes) now, if you’ve been saving them up.
Braska’s Final Aeon (BFA) will be accompanied by two Yu Pagodas throughout the fight. On their turns, they will use Power Wave on BFA, which will heal him for 1500 HP, remove any negative status effects on him, and charge his Overdrive by 20%. The Yu Pagodas can be defeated, but they will come back after a few turns, and add any excess damage used to kill them to their Max HP (they start with 5000 HP, so if you defeat one by dealing a total of 6700 damage to it, for example, it will have 6700 max HP when it revives).
If you do try to defeat them, it’s recommended that you take them both down at the same time — if only one Yu Pagoda is active, it will begin using Curse and Osmose on your party members. This version of Curse will inflict Curse, Poison, Darkness, Silence, and Sleep on one party member, while Osmose will drain a party member of all of their MP.
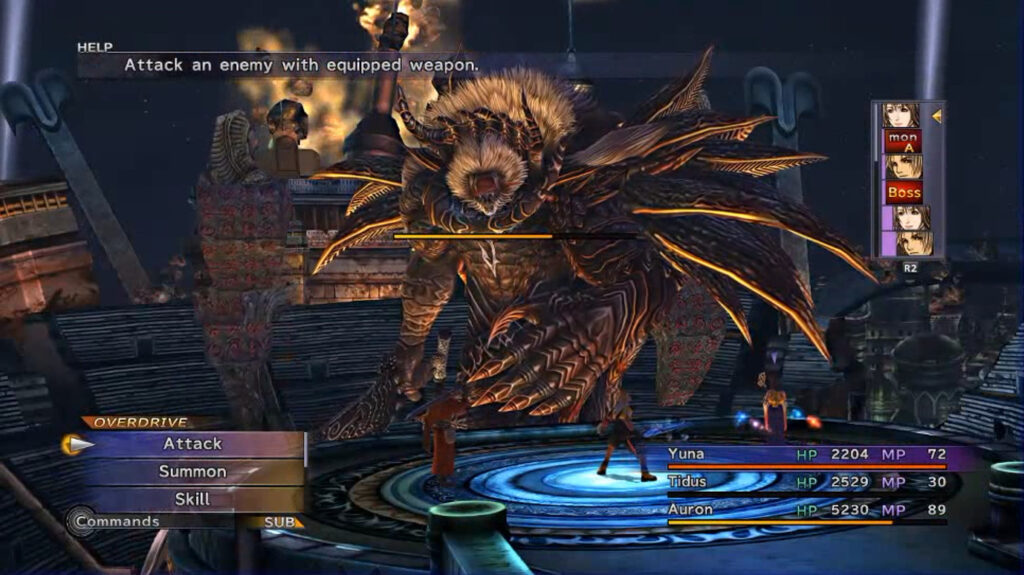
BFA himself will have two phases. When Phase One is defeated, he will pull out a sword and grow spikes on his back. His attack pattern doesn’t change much between phases, but he will have double his max HP, have a couple of new attacks, and some of his attacks from Phase One will be stronger.
Tidus will have a Trigger Command during the battle to talk to BFA, which will completely drain his Overdrive gauge. This will only work twice, however (if you try using it a third time, it will be ineffective), so it is recommended that you wait until the second half of Phase Two to take advantage of it.
Phase One
No matter how you set your party before the fight, your team will begin with Tidus, Yuna, and Auron. BFA will have access to a physical attack against one party member, as well as Jecht Beam. Jecht Beam will damage one party member and inflict Petrify on them. This can be dangerous, since the boss can then use his physical attack to shatter the Petrified character, removing them from the battle entirely. (Since Jecht Beam itself does damage, it can also instantly shatter someone if the attack kills them.)
When BFA’s Overdrive gauge is full, his next attack will be Triumphant Grasp. This will damage a party member twice, and inflict them with Zombie. If you have an Aeon out, he will use Jecht Bomber instead, which can deal about 4000 damage to them.
Give your party Haste, Protect, and Shell (Mighty Guard or a Mighty G Mix will also be good to get everything up quickly). Then, try to take care of the Yu Pagodas throughout the fight. If you can keep them from getting a turn, you can inflict BFA with Full Break and Poison to help inflict damage on him (just keep in mind that these effects will be cured if a Power Wave goes off).
Make sure you cure Petrify quickly, keep the Yu Pagodas down, and this phase should go smoothly.
Phase Two
BFA will be able to attack with his sword during this phase, hitting the entire party and Delaying them. His Triumphant Grasp will deal more damage during this phase, but will no longer inflict Zombie. His Jecht Bomber will now also be able to break the damage limit.
Once his HP is under 50%, his Overdrive will switch to Ultimate Jecht Shot. This will deal around 4000-5000 damage to your party, so it is recommended that you save Tidus‘s Trigger Command for this part of the fight. You can basically use the same strategy that you used during Phase One, just make sure to keep your HP up for the extra damage BFA can inflict during Phase Two.
After this battle, you will see a cutscene, and then you will be put into the final battles of the game.
Yuna’s Aeons and Yu Yevon
It is impossible to lose during this fight, as your party has a permanent Auto-Life effect. This means that no matter how many times your characters die, they will always come back instantly.
Aeons Phase
You will have to fight every Aeon that you’ve unlocked in the game (including the optional ones that you’ve unlocked), and you can pick the order that you want to fight them in. They will have the same amount of HP they did when they were in your party, but they won’t be of any threat because of the Auto-Life effect, so take them all out however you want. If you use Scan on the Aeons during this fight, you will see their thoughts while being possessed.
The Yu Pagodas from the previous fight will be here too, but you can just ignore them.
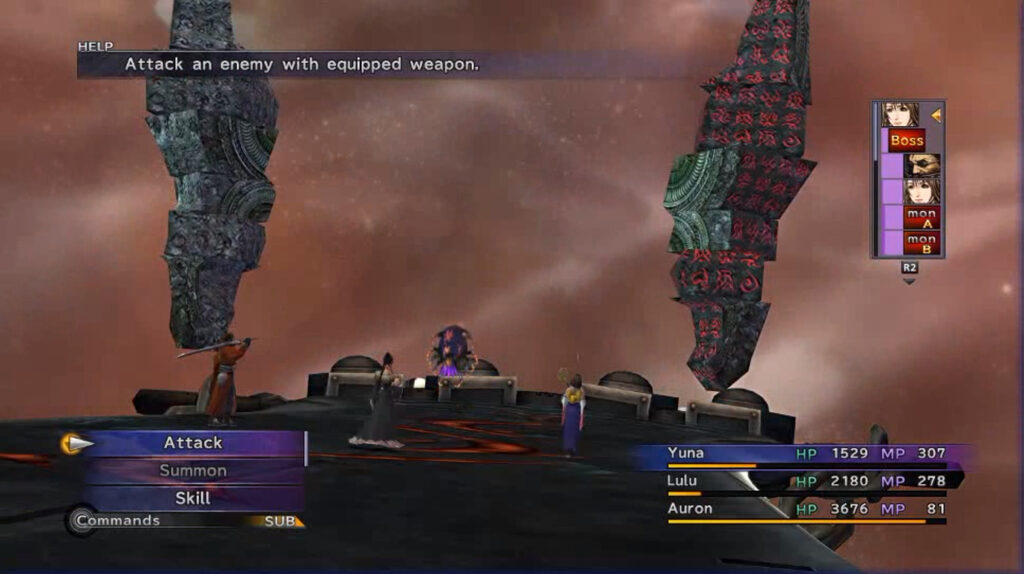
Yu Yevon Phase
After all of the Aeons are down, you will fight Yu Yevon. The only thing to worry about during this fight is that it will counter every attack by healing itself with Curaga, which will restore 9999 HP.
There are two ways to get around this healing: either inflict Yu Yevon with Zombie so that it will damage itself with Curaga, or cast Reflect on it, so it will heal your party instead. You will still have the Auto-Life effect here, so take the boss down however you want, just make sure you’re outdamaging its counter.
Congratulations, you beat Final Fantasy X!
There is no saving after completing the game, and it doesn’t feature a New Game+, so if you want to go back and do any side content that you missed, just load your last save and you can return to the Airship.
Share this article:
KainHighwind27
I'm a huge gamer who especially loves the Final Fantasy series. I will play just about any game, especially if it has anything resembling a Dragoon.