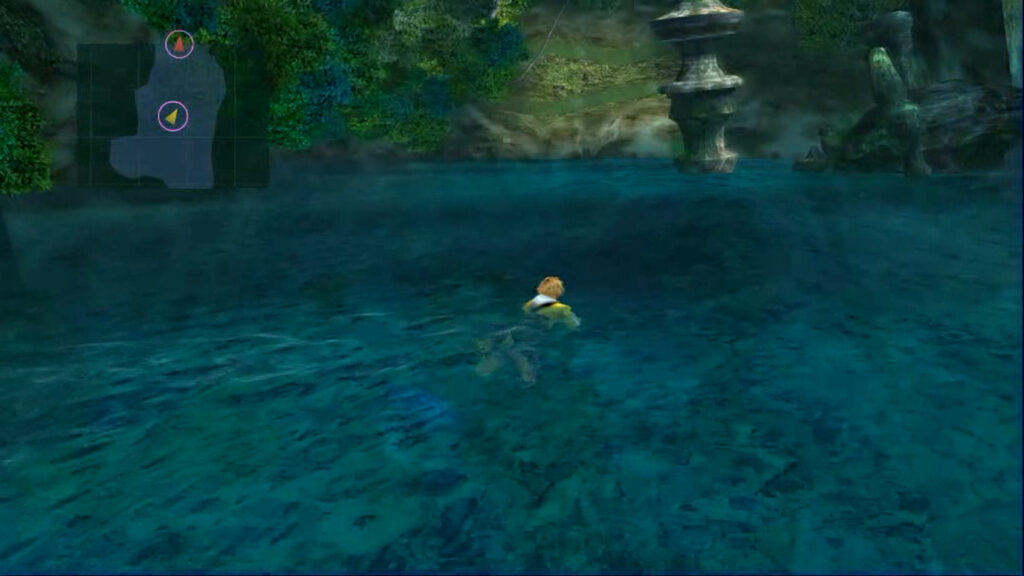
Before you head over to the group of people, swim east and you will find a chest with the Moon Crest. While there’s nothing you can do with this item now, it will become useful much later on if you want to get Celestial Weapons, the best weapons in the game. Then swim to the west side of the area to find 2 Antidotes.
Once you swim up to the group of characters, you will meet Wakka, the captain of the Besaid Aurochs. After the cutscene, you can talk to the other players to get 200 gil, 5 Potions, and a Hi-Potion. Speak to Wakka again, and he will join your party, and then you can continue.
Follow Wakka in the next area, and you will end up in the water again. As you swim along the path, you can find treasures containing a Phoenix Down, a Hi-Potion, and 2 Antidotes under the water. After a couple of cutscenes, follow the path west and you will find the entrance to the village.
Besaid Village
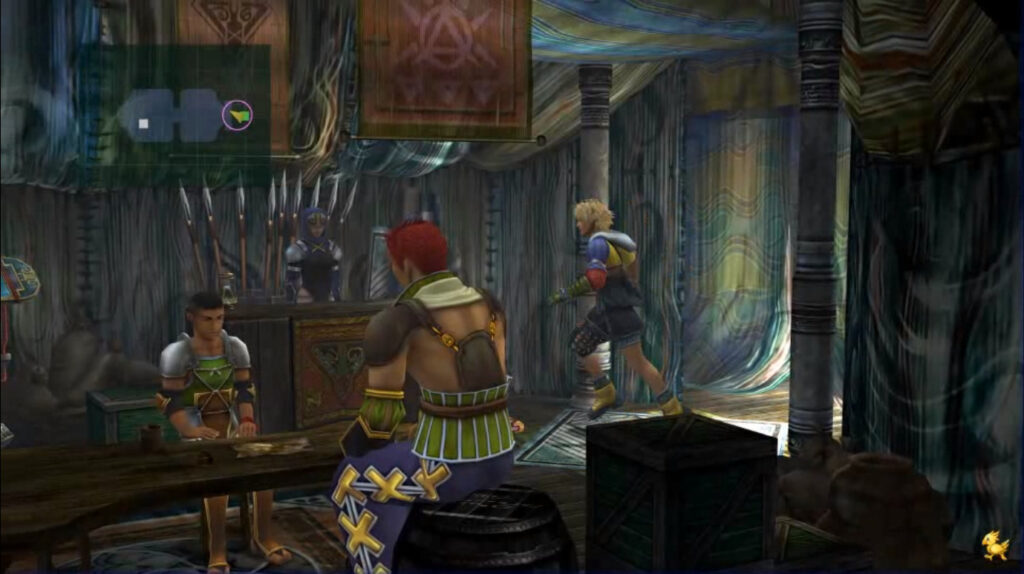
When you enter, a scene will trigger and you will be given a dialogue choice. What you pick doesn’t matter, so pick either option and continue inside. You will immediately see a chest containing a Phoenix Down, and behind the first hut on the left, you will find a hidden path that has 2 Potions, a Hi-Potion, and 400 gil. The first hut on the left is an item shop if you want to stock up on anything.
If you go into the second hut on the left, you can talk to Luzzu and Gatta to get an extra cutscene. On the floor near the entrance, you will find the Al Bhed Primer Vol. II. Leave the hut and go north to enter the temple. Once inside, approach the statues to trigger a cutscene. You can then leave the temple, and go to the middle hut on the right to speak to Wakka and take a nap.
Once you wake up, return to the temple, approach Wakka, and you will begin your first Cloister of Trials.
Besaid Cloister of Trials
The Cloister of Trials are essentially puzzle sections in the game, and you will never get into a battle while in them. In each Cloister, there is a hidden treasure that you can get by finding and using a Destruction Sphere. These treasures are optional, but you will have to get them from every Temple to get something later in the game. You can come back and get these later, however if you don’t get the treasure in this Cloister on this first visit, you will have to fight a superboss to get back in.
Follow these steps to complete the Besaid Cloister of Trials:
Touch the glyph on the other side of the room to reveal a stairway.
Go down to the next room and grab the Glyph Sphere, then place it on the next door to open it.
Grab the Glyph Sphere back from the door, and proceed to the next room.
Use the Glyph Sphere on the first recess on your left, which will reveal a Destruction Sphere (but don’t grab it yet).
Continue down the hallway, and touch the glyph on the opposite side of the pedestal you find to reveal a Besaid Sphere.
Take the sphere and place it on the pedestal to reveal a new path. However, do NOT move the pedestal now, or you will miss the treasure.
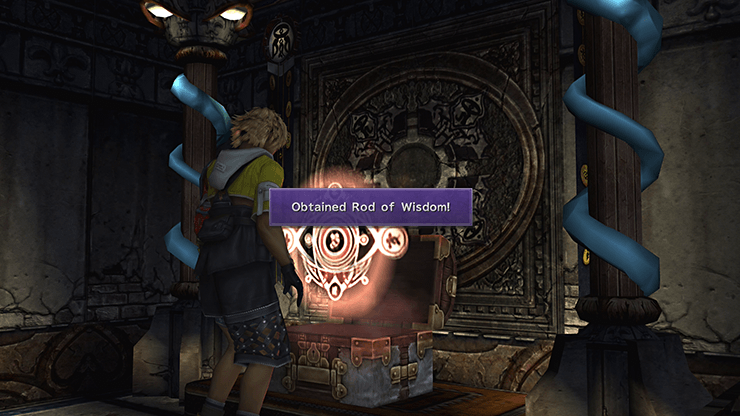
Go back and take the Destruction Sphere you found earlier, and place it in the wall where you found the Besaid Sphere, opening up a wall with a treasure chest at the end of the hallway.
Make your way to the revealed chest, and grab the Rod of Wisdom.
Now make your way back to the pedestal, move it to the shining glyph to finish the trial.
After the cutscenes, in which you’ll meet Lulu and Kimahri, leave the temple and run to the crowd.
Besaid Village
During the cutscene, you will be able to rename your first Aeon, Valefor. Once you gain control, walk over to the Summoner Yuna to begin another scene. During this scene, Wakka will ask you about Yuna, and you will be given a dialogue choice. Picking ‘Yeah!’ will increase her Affection (a hidden system in the game that affects some cutscenes). Afterward, talk to Wakka and choose to ‘get some rest.’
You will enter another dream sequence here. Simply walk to Yuna to continue the cutscene. When you regain control, head outside and you will receive the Brotherhood for Tidus. Before you continue, head back to the village, and speak to the clerk at the item shop. Then go to the hut in the northeast, and talk to the dog to get Valefor’s second Overdrive, Energy Blast.
Besaid Island
Yuna and Lulu will now be in your party. As you continue down the path, you will get into a couple of scripted battles. These battles will give you tutorials on each character’s role in battle, and how to use their abilities.
Tidus is an agile character that specializes in attacking agile enemies, while also having some supportive abilities and spells to help the party (such as Cheer). Wakka specializes in attacking flying enemies, and is the only character who can hit out-of-range enemies with physical attacks, while also being able to inflict various negative status effects on enemies. Lulu serves as the game’s Black Mage, so you can use her magic to deal a lot of damage, and exploit enemy weaknesses. Yuna is the game’s main healer and the only character that can summon Aeons, so she will have access to White Mage to heal and give your party some positive status effects, while also being able to summon Aeons to help in battles.
At this point you will also be able to swap party members in battle during battles by pressing . You will need to do this frequently if you want to level everyone evenly (characters have to take at least one action to gain AP), and to take advantage of every characters’ strengths.
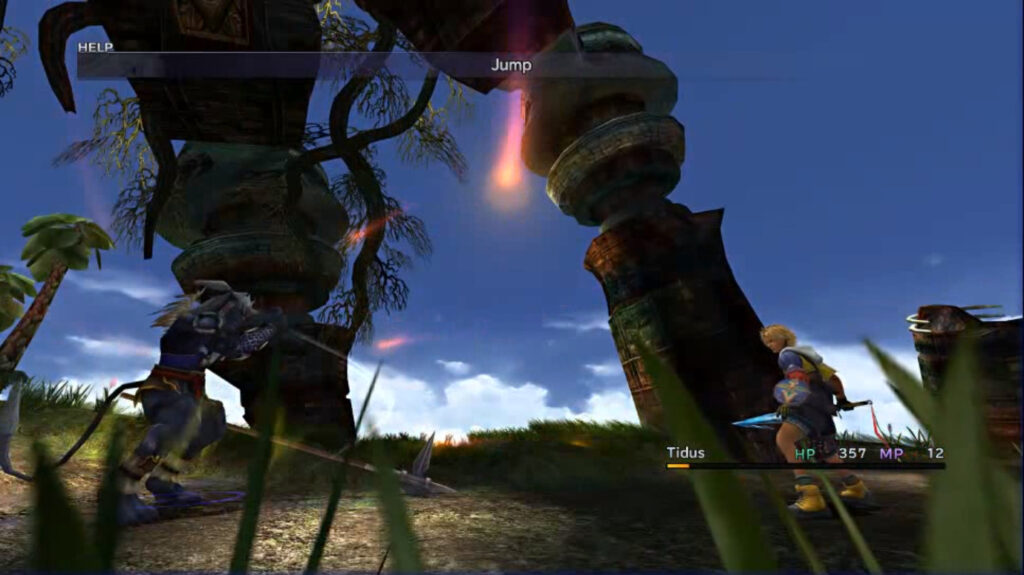
When you get to the next area, a short cutscene will trigger and you will be given a choice to pray to the statue or just watch (the choice doesn’t matter). Continue down the path, and you will get into a battle against Kimahri.
Kimahri only uses physical attacks, so using Cheer will help the battle go more smoothly; just keep attacking, heal if your HP goes under 200, and the battle will eventually end. After the battle is over, continue along the path, and after a couple more tutorial battles, you will eventually make it back to the beach where you first washed up.
One of these tutorials is on summoning Aeons. When summoned, the chosen Aeon will replace your entire party, and you will have full control over them. They will remain in the battle until you Dismiss them (by pressing and using the Dismiss command), or until they are defeated.
Make your way to the pier, and speak to everyone in the crowd to get various items. These include a Remedy, 3 Phoenix Downs, an Ether, a Seeker’s Ring, and 400 gil. Once you’ve spoken to everyone, make your way to the ship to head to the next area.
Share this article:
KainHighwind27
I'm a huge gamer who especially loves the Final Fantasy series. I will play just about any game, especially if it has anything resembling a Dragoon.