Anima is one of the three optional Aeons you can get for Yuna. You can recruit her any time after obtaining the airship, but you will have to have gotten all of the hidden treasures in the Cloister of Trials.
Cloister of Trials
As you progress through the game, you will go through a Cloister of Trials for each of the Aeons obtained in the story. Within each Cloister, there is a hidden treasure that you can find by using the Destruction Sphere that each one has. Once you’ve unlocked all of the treasures, the way to Anima will be available.
If you don’t get these treasures on your first visit, you will be able to go back to these Cloisters once you get the airship to redo the trails. However, it is important to know that if you don’t get them in the Cloisters located in Besaid and Macalania, they will be guarded by Dark Valefor and Dark Shiva, respectively, meaning you will have to fight them to go back in.
Hidden Treasure Locations
The following are not guides for the entire Cloister of Trials, but the steps to take while solving them to make sure you get the Destruction Sphere and the hidden treasure.
Besaid
After opening the first door, use the Glyph Sphere on the wall in the next hallway to reveal the Destruction Sphere, but don’t grab it yet.
In the next hall, examine the glyph to reveal the Besaid Sphere, and use it on the pedestal to reveal the exit, but don’t go through there yet.
Go back to where you found the Destruction Sphere and grab it, then take it to where you found the Besaid Sphere. This will reveal the hidden treasure Rod of Wisdom.
Kilika
In the third room, take the Glyph Sphere and insert it into the recess. This will reveal the Destruction Sphere, but leave it for now.
Take a Kilika Sphere and put it on the pedestal, then push it to the shining panel in the third room.
Remove the Kilika Sphere from the newly revealed area, the take the Destruction Sphere and put it there. It will reveal the hidden treasure Red Armlet.
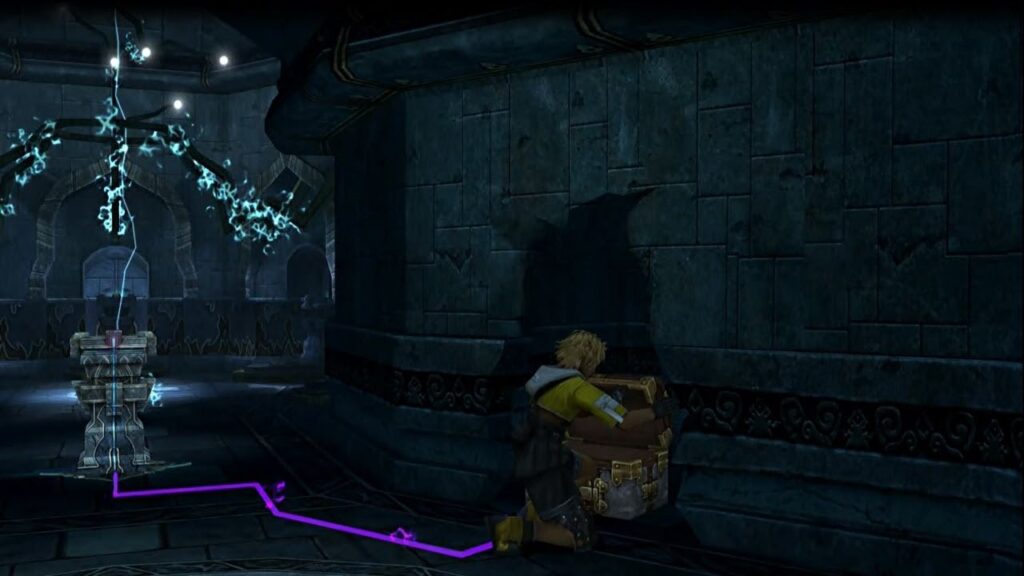
Djose
When you push the five pillars in the final room and make another pillar appear, go to the previous area and examine the glyph to reveal the Destruction Sphere.
Take the Destruction Sphere to the next area and place it on the lone pedestal. This will reveal the hidden treasure Magic Sphere.
Macalania
After completing the bridge, step on the shining panel on the floor to make a pedestal appear near you.
Take the Macalania Sphere from it and push the pedestal down. Follow it down and place the Macalania Sphere in any empty slot down there.
Go back up and step on the shining panel again. The pedestal will return with a Destruction Sphere now.
Take the Sphere and go down to the basement area. Place it in the right recess of the North wall. This will reveal the hidden treasure Luck Sphere.
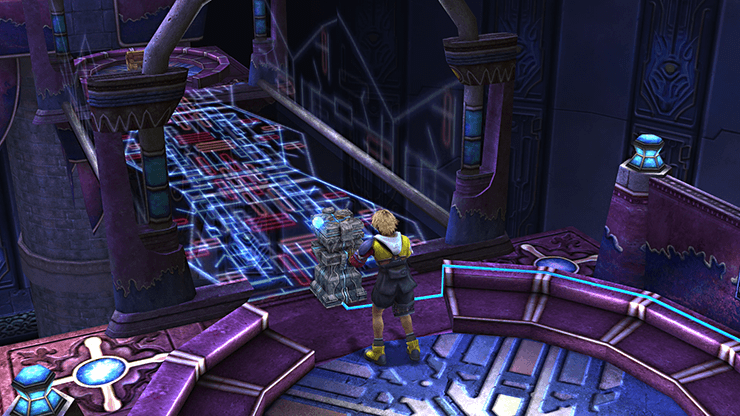
Bevelle
Once you gain access to the second level of the Cloister, take it to the 3rd stop, take a Bevelle Sphere off of the pedestal and leave it in the slot there.
Take the pedestal back, then get off on the 2nd stop to grab the Glyph Sphere.
Go back to the 3rd stop and use the Glyph Sphere on the glyph, unlocking the Destruction Sphere.
Now take the Destruction Sphere to the 2nd stop, where the Glyph Sphere was originally, and place it there to open a new path.
Go back to the 3rd stop and grab the Bevelle Sphere. Make sure you have 2 before moving on, as you can’t go back.
Now go through the path on the 1st stop to go through the newly opened path up.
In the new room, place one of the Bevelle Spheres on the slot, then step on the shining panel. This will allow you to take the path to the hidden treasure Knight Lance.
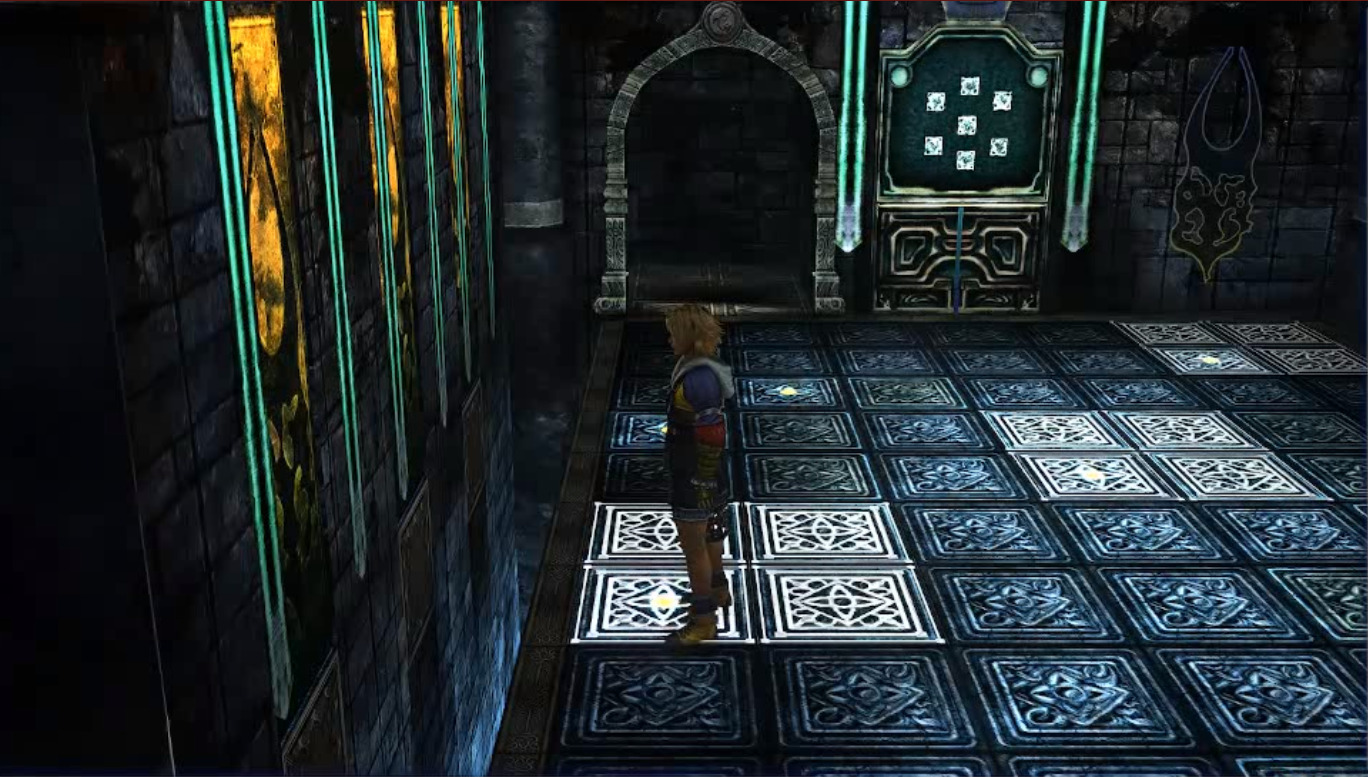
Zanarkand
It is impossible to get the Destruction Sphere treasure on your first visit to this Cloister. Once you reenter it, the screen will show you seven white squares. You must step on every panel in both rooms that lights up with a white square (there are three in the first room, and four in the second). Once you step on all of them, the screen in the first room will move to reveal the Destruction Sphere. Grab it an place it on the recess to the right of the screen in the second room, and you will reveal the Magistral Rod.
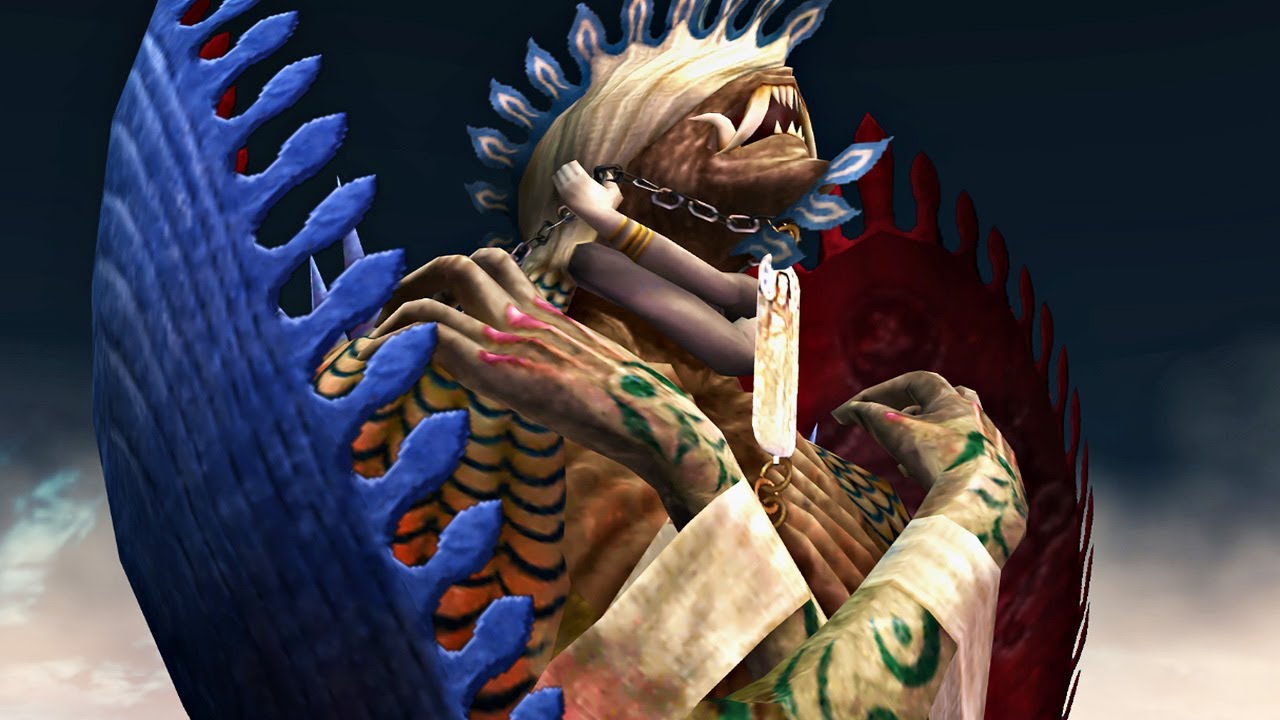
Obtaining Anima
Once you’ve gotten all of the hidden treasures and gained access to the airship, you’ll find Anima in Baaj, but the location needs to be unlocked. To unlock it, go to the airship menu and search the coordinates ‘x14, y57.’
Travel to the new location, dive into the water on the North side, and you’ll trigger a boss fight with Geosgaeno. As long as you have ‘Stone Ward’ or ‘Stoneproof’ on your party’s armor, the fight is really straightforward. Once defeated, you will unlock the path to the temple.
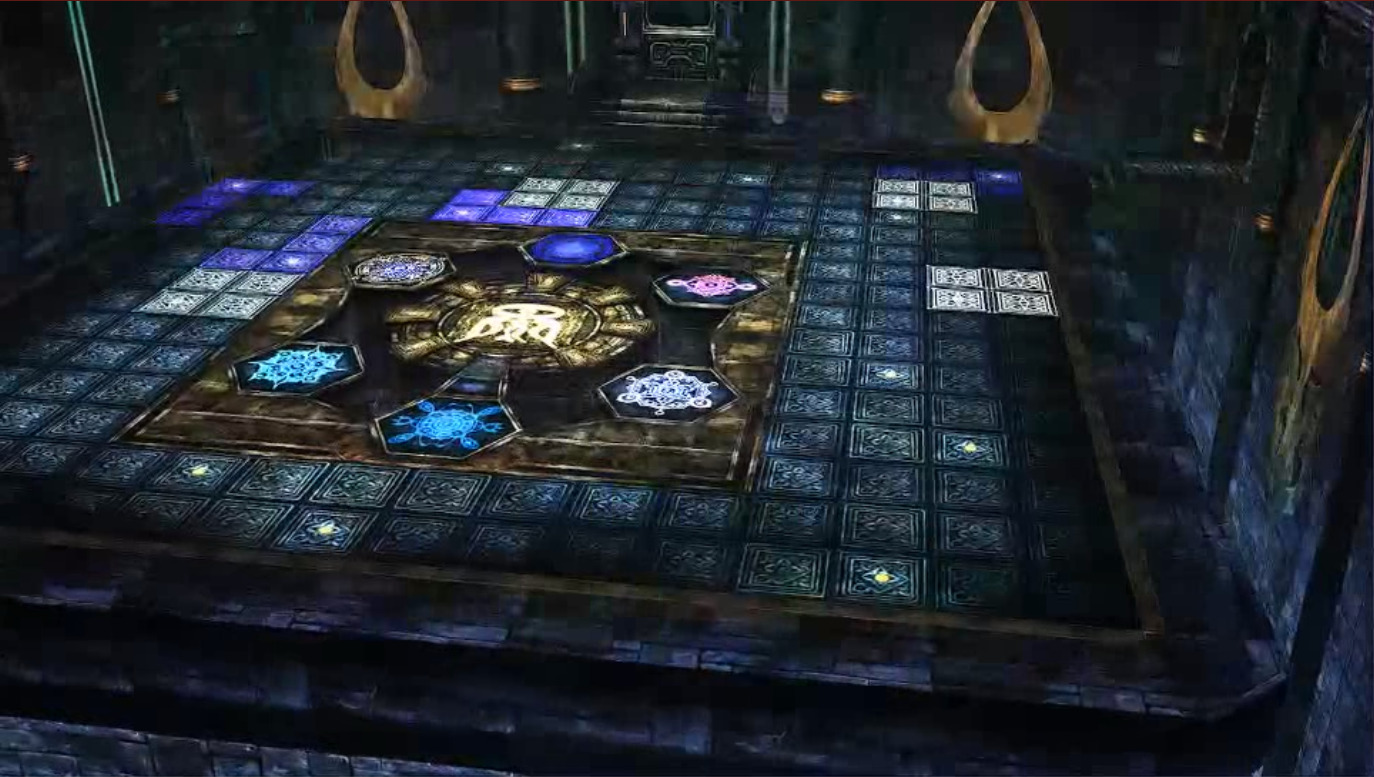
Inside you will find six statues, each corresponding with a Cloister location. A pattern will light up on each statue corresponding with the hidden treasure you’ve unlocked. When all statues are lit up, the seal blocking the next room will unlock, and you can enter to recruit Anima.
Obtaining Anima unlocks the achievement ‘Feel the Pain.’
Share this article:
KainHighwind27
I'm a huge gamer who especially loves the Final Fantasy series. I will play just about any game, especially if it has anything resembling a Dragoon.