One of the things Sons of the Forest does really well is reward you for discovering things on your own. The feeling of stumbling across a new clutch item or figuring out how to open a bunker all on your own is pure bliss. However, it isn’t an easy game, and many players may find ourselves stuck or not knowing where to go next (unless you’re only doing construction). When that happens, you can consult this guide to point you in the right direction.
Please note that Sons of the Forest is in early access. This guide will be updated with future changes.
Steps to Beating SotF
Below, you’ll find a summary of all the requisite steps for finishing the game — for more detailed instructions, refer to the subsequent sections of this guide.
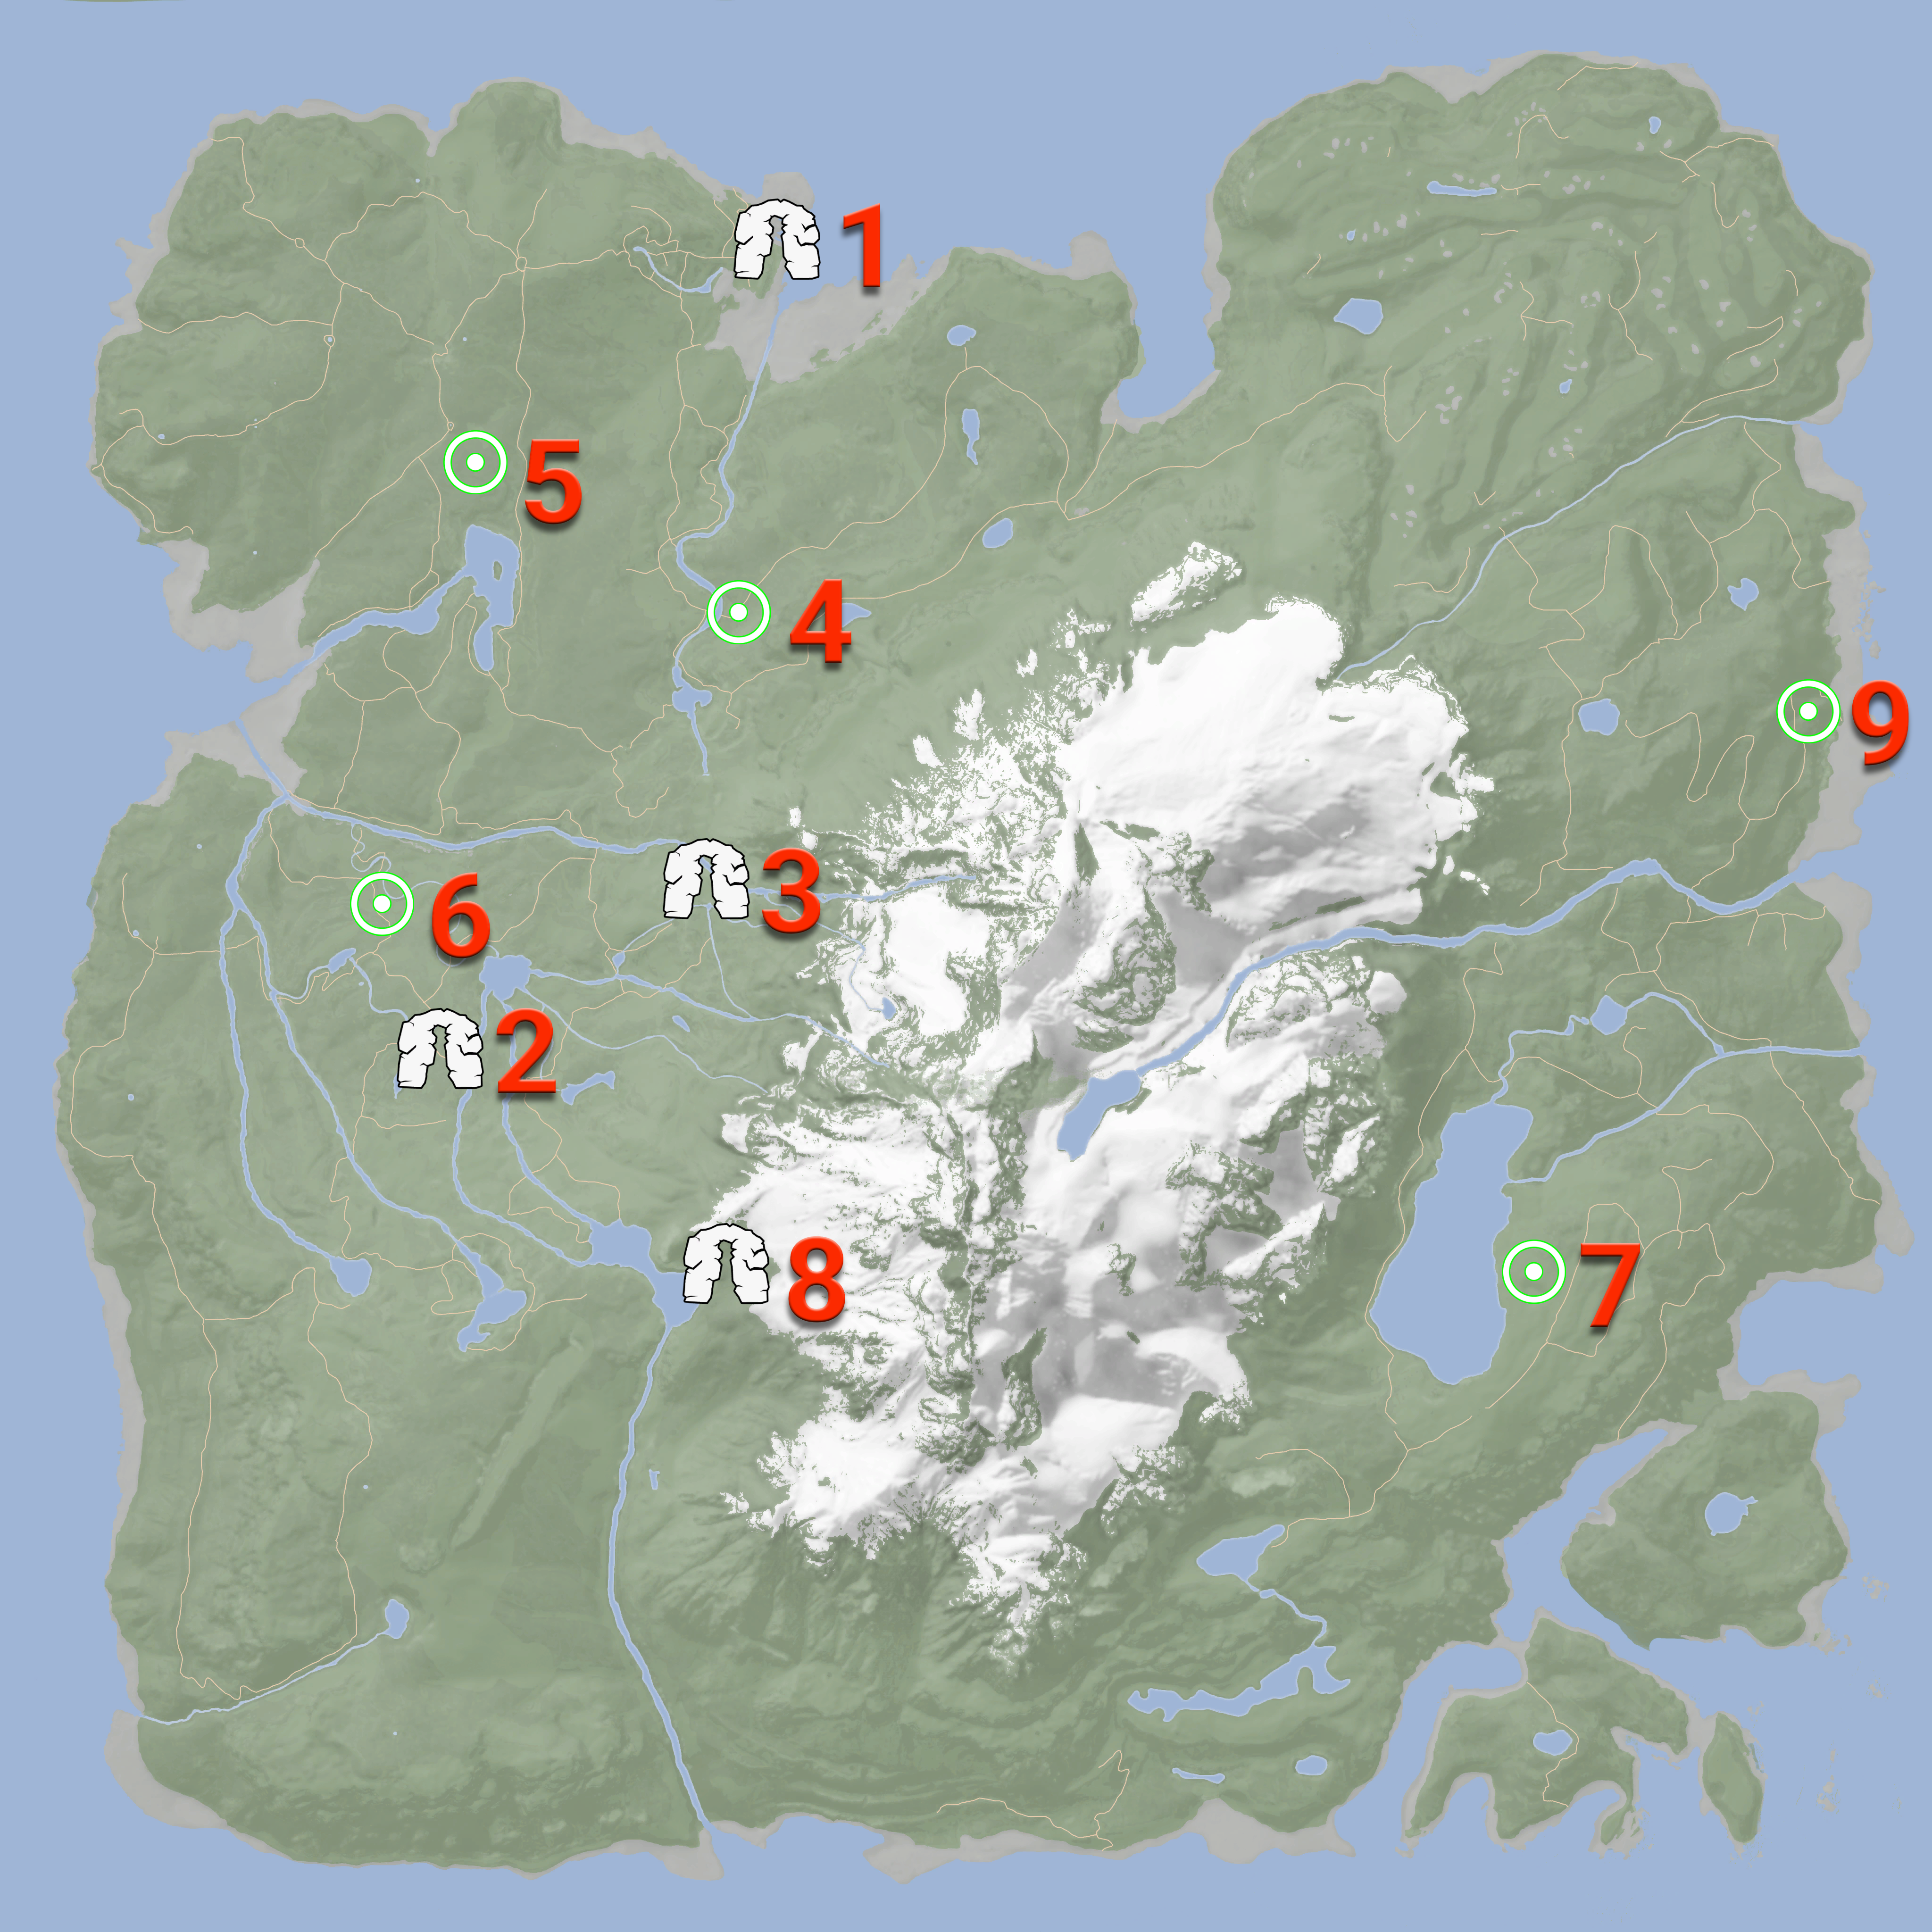
To finish Sons of the Forest’s story, you’ll need to visit the following locations, and collect the indicated items/perform the indicated action:
Note: Depending on where you spawn on the island, you might swap steps 1 and 2.
Detailed Routing Guide
Spawning on the Island
When you start a playthrough, you will be randomly be spawned in one of three locations:
Beach Spawn
Forest Spawn
Mountain Spawn
If you’re having a really hard time right out the gate, you can consult our Beginner’s Guide. It will go over the basics of survival and what you should be doing immediately at the start of the game. Two more important factors to keep in mind when starting is that you will need to nourish your character constantly with water and food.
As for the spawn locations, each of them have advantages and disadvantages for surviving. They also have their own items nearby that can make the game easier if you find them. These items can definitely come in handy later on, so here’s a list of them:
We strongly recommend (despite where you spawn) acquiring the modern axe as early as possible because it is a massive upgrade from the tactical axe. It is a better weapon and tool, because it does significant damage and staggers enemies, as well as cuts down trees faster.
Early Game
After you’ve familiarized yourself with the game’s mechanics, you can start collecting resources and exploring caves. Depending on how quickly you want to play the game, you might want to stock up on items and consumables before tackling the first three caves. Here’s a good list of articles with areas where you can loot ample supplies:
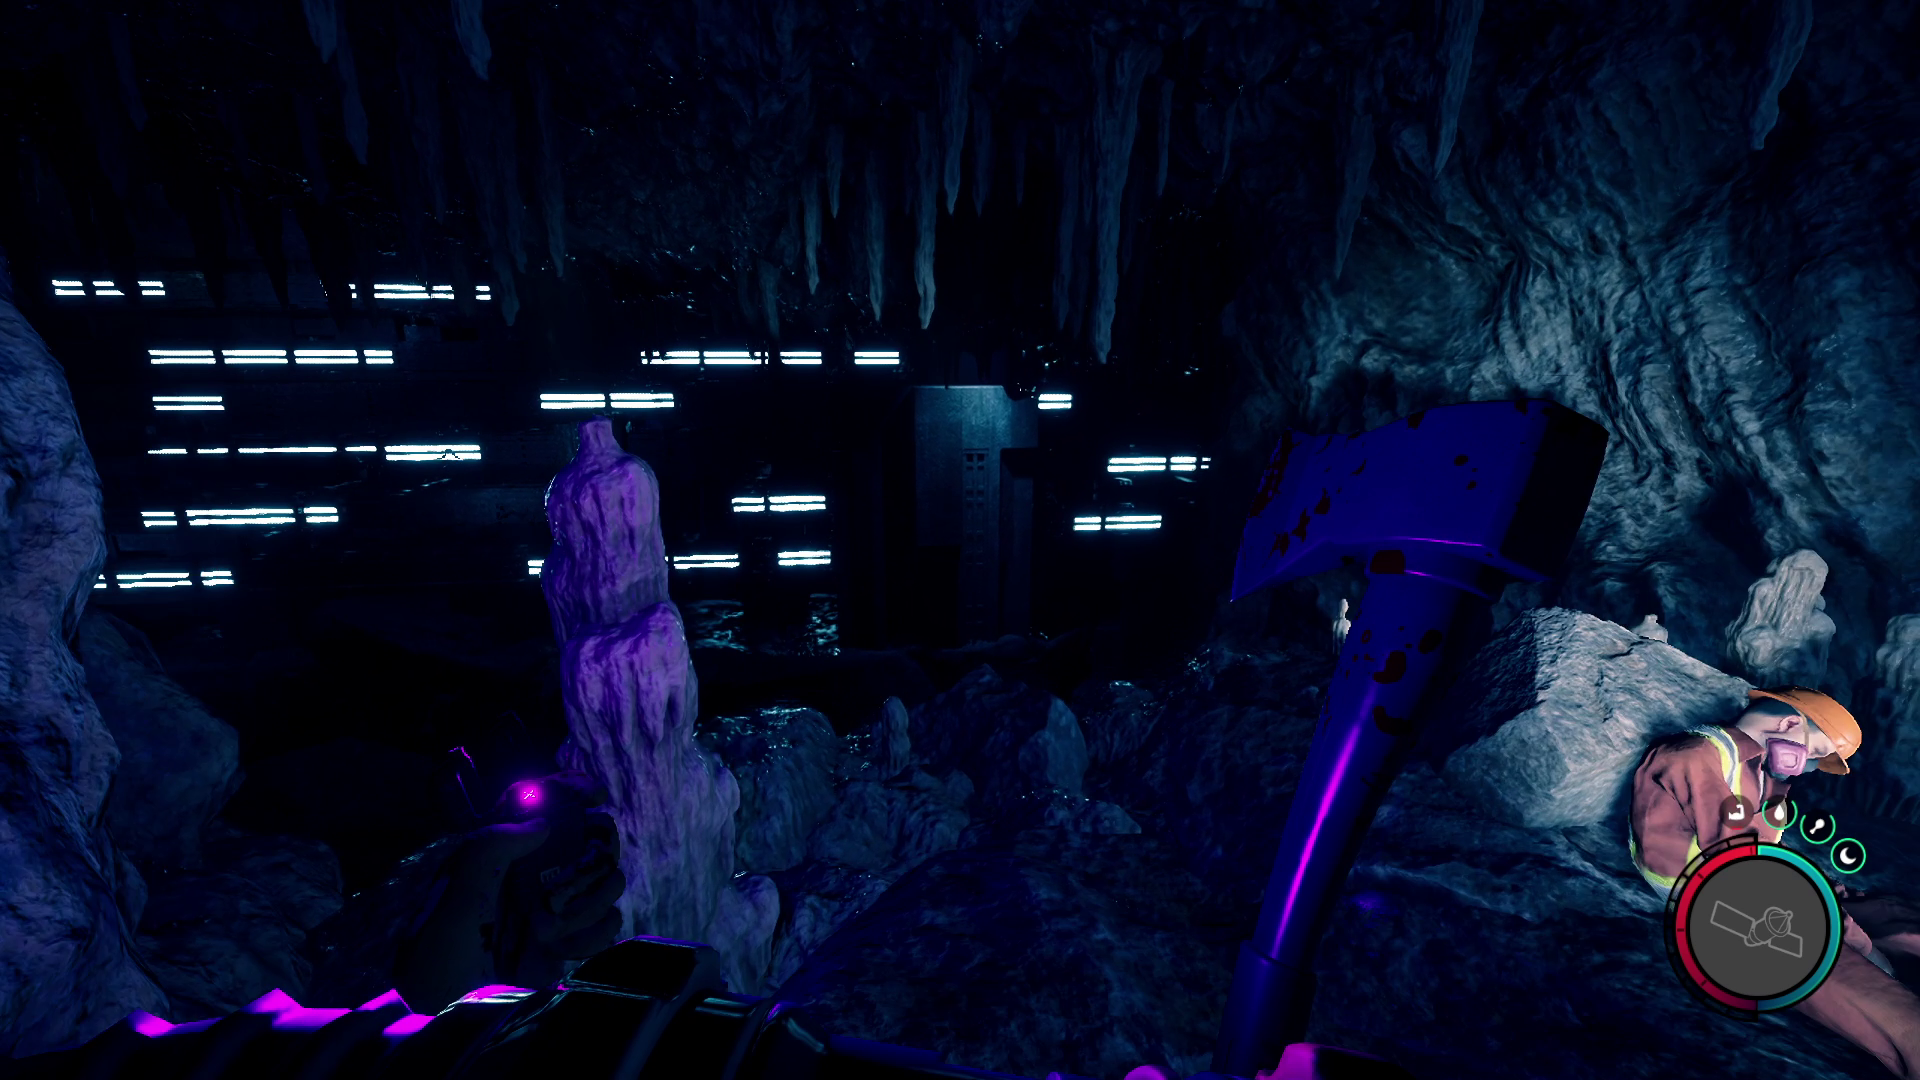
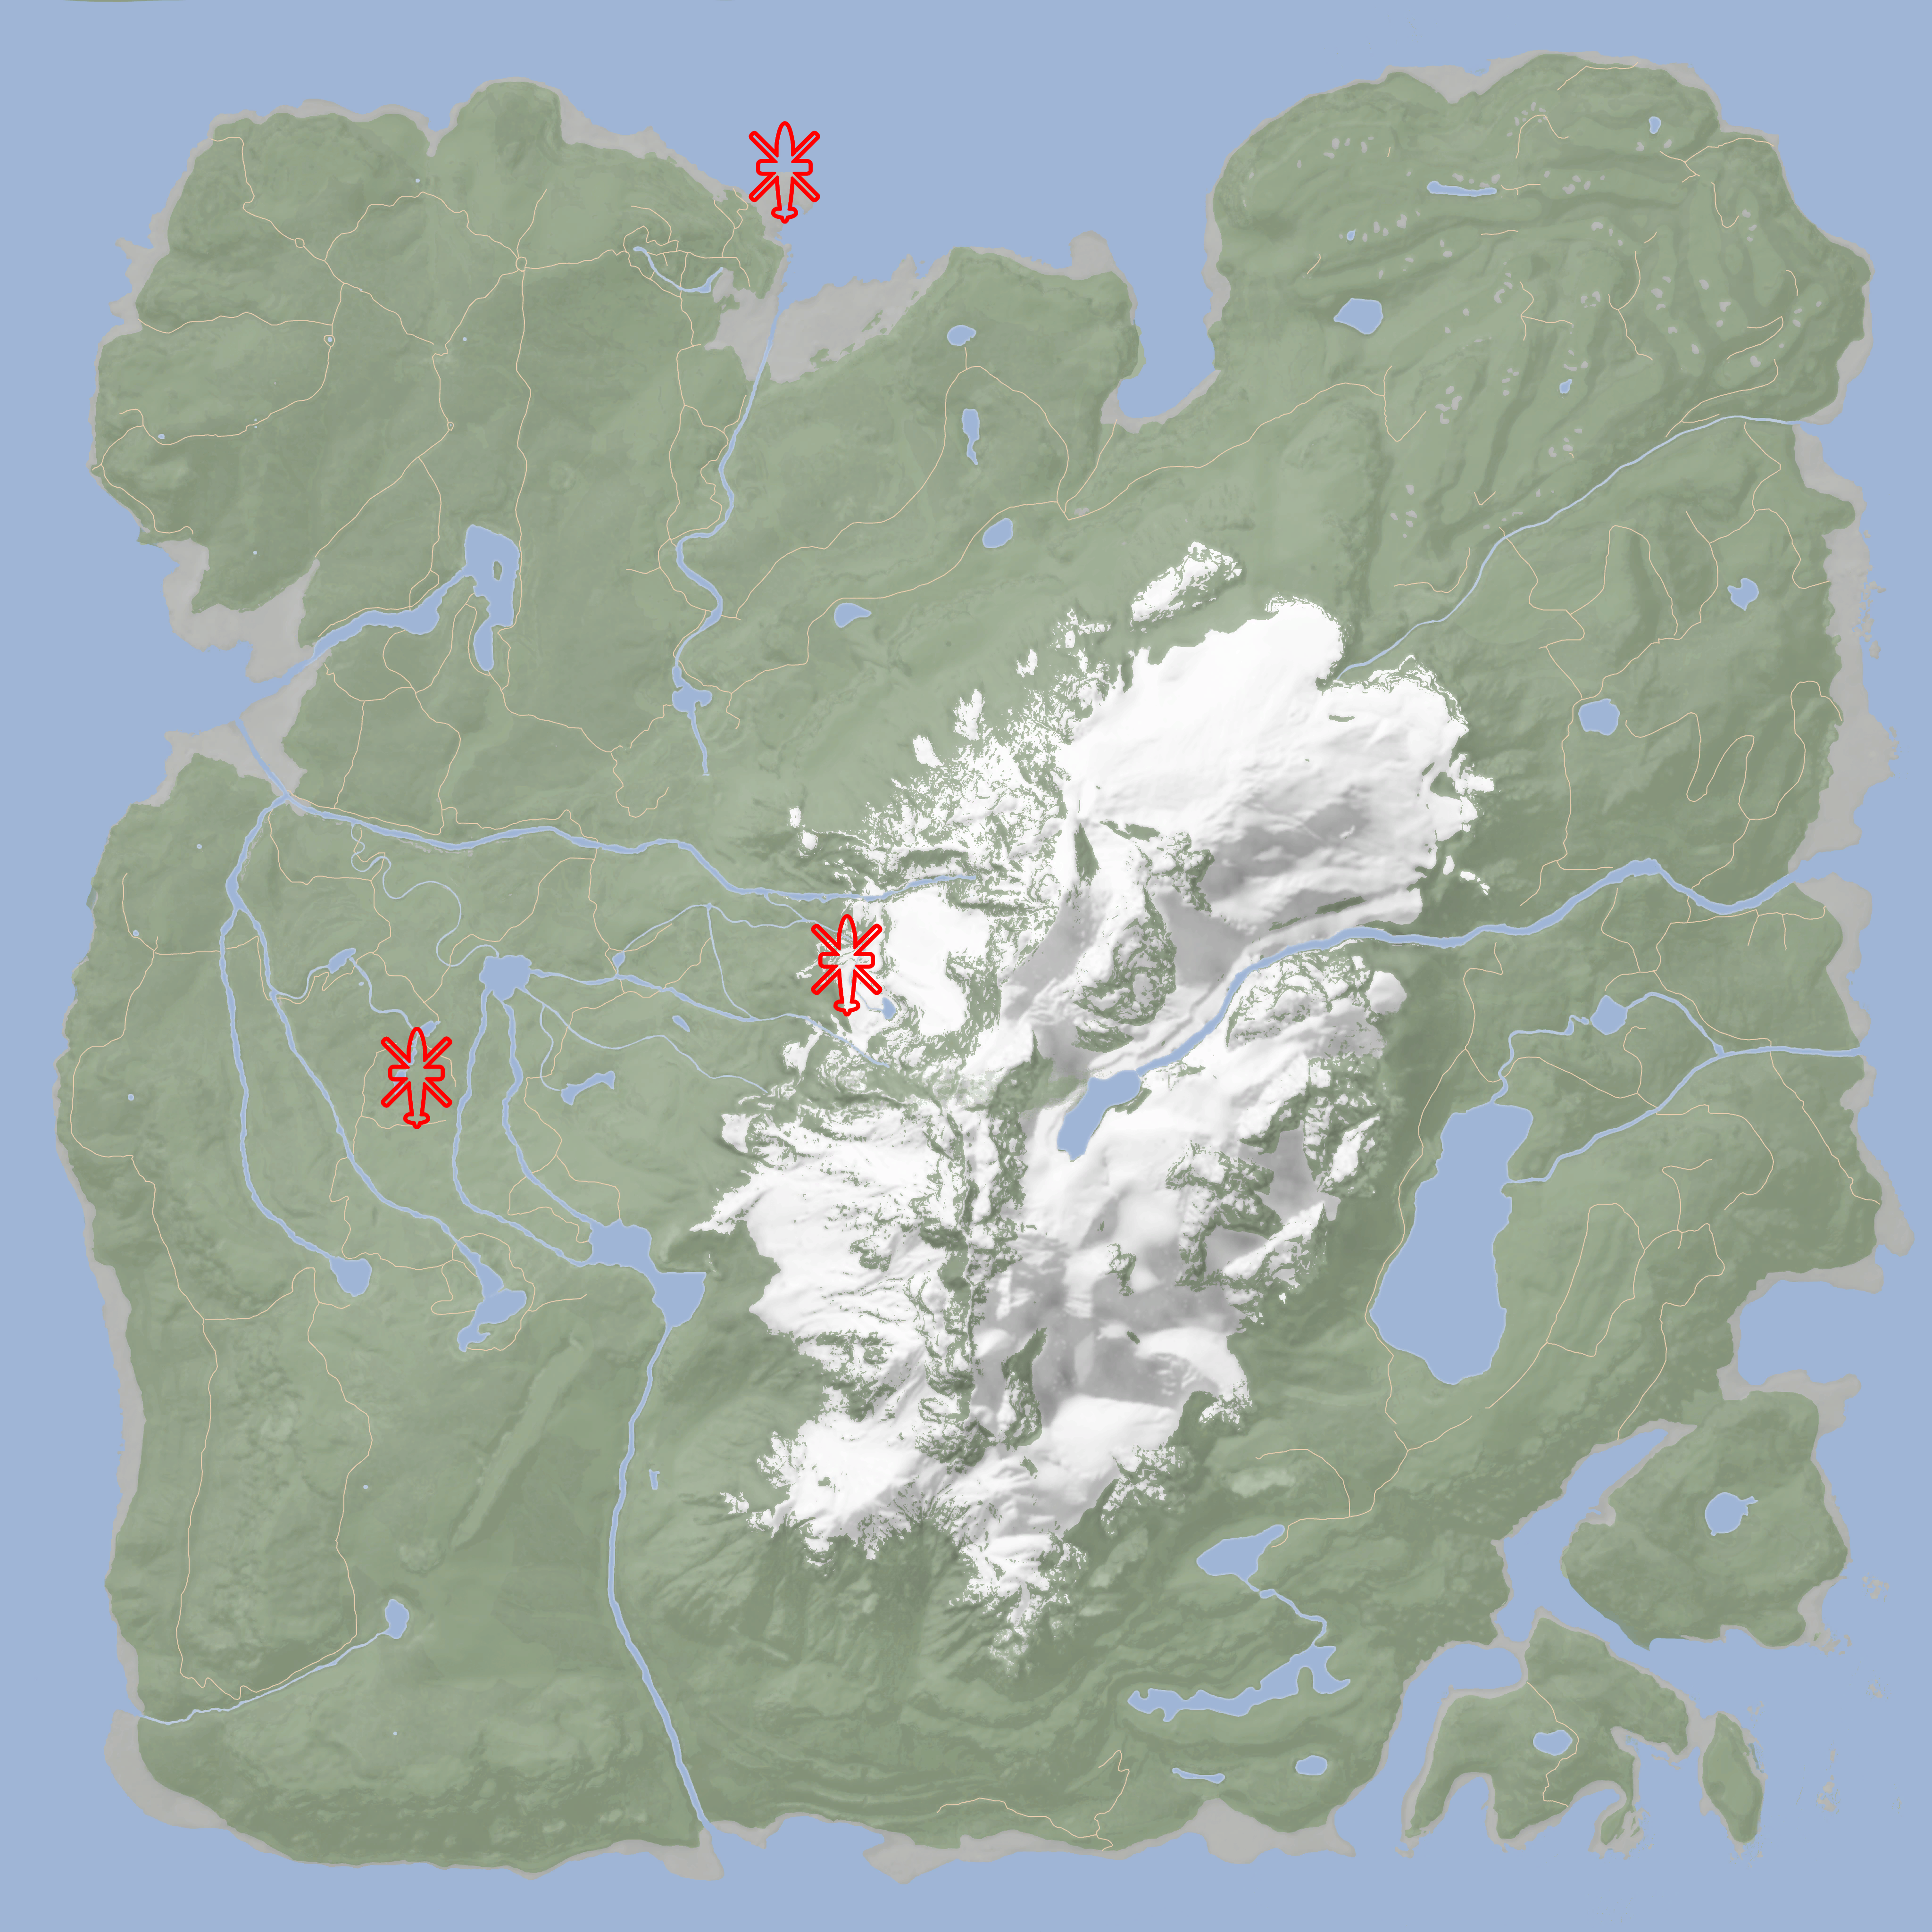
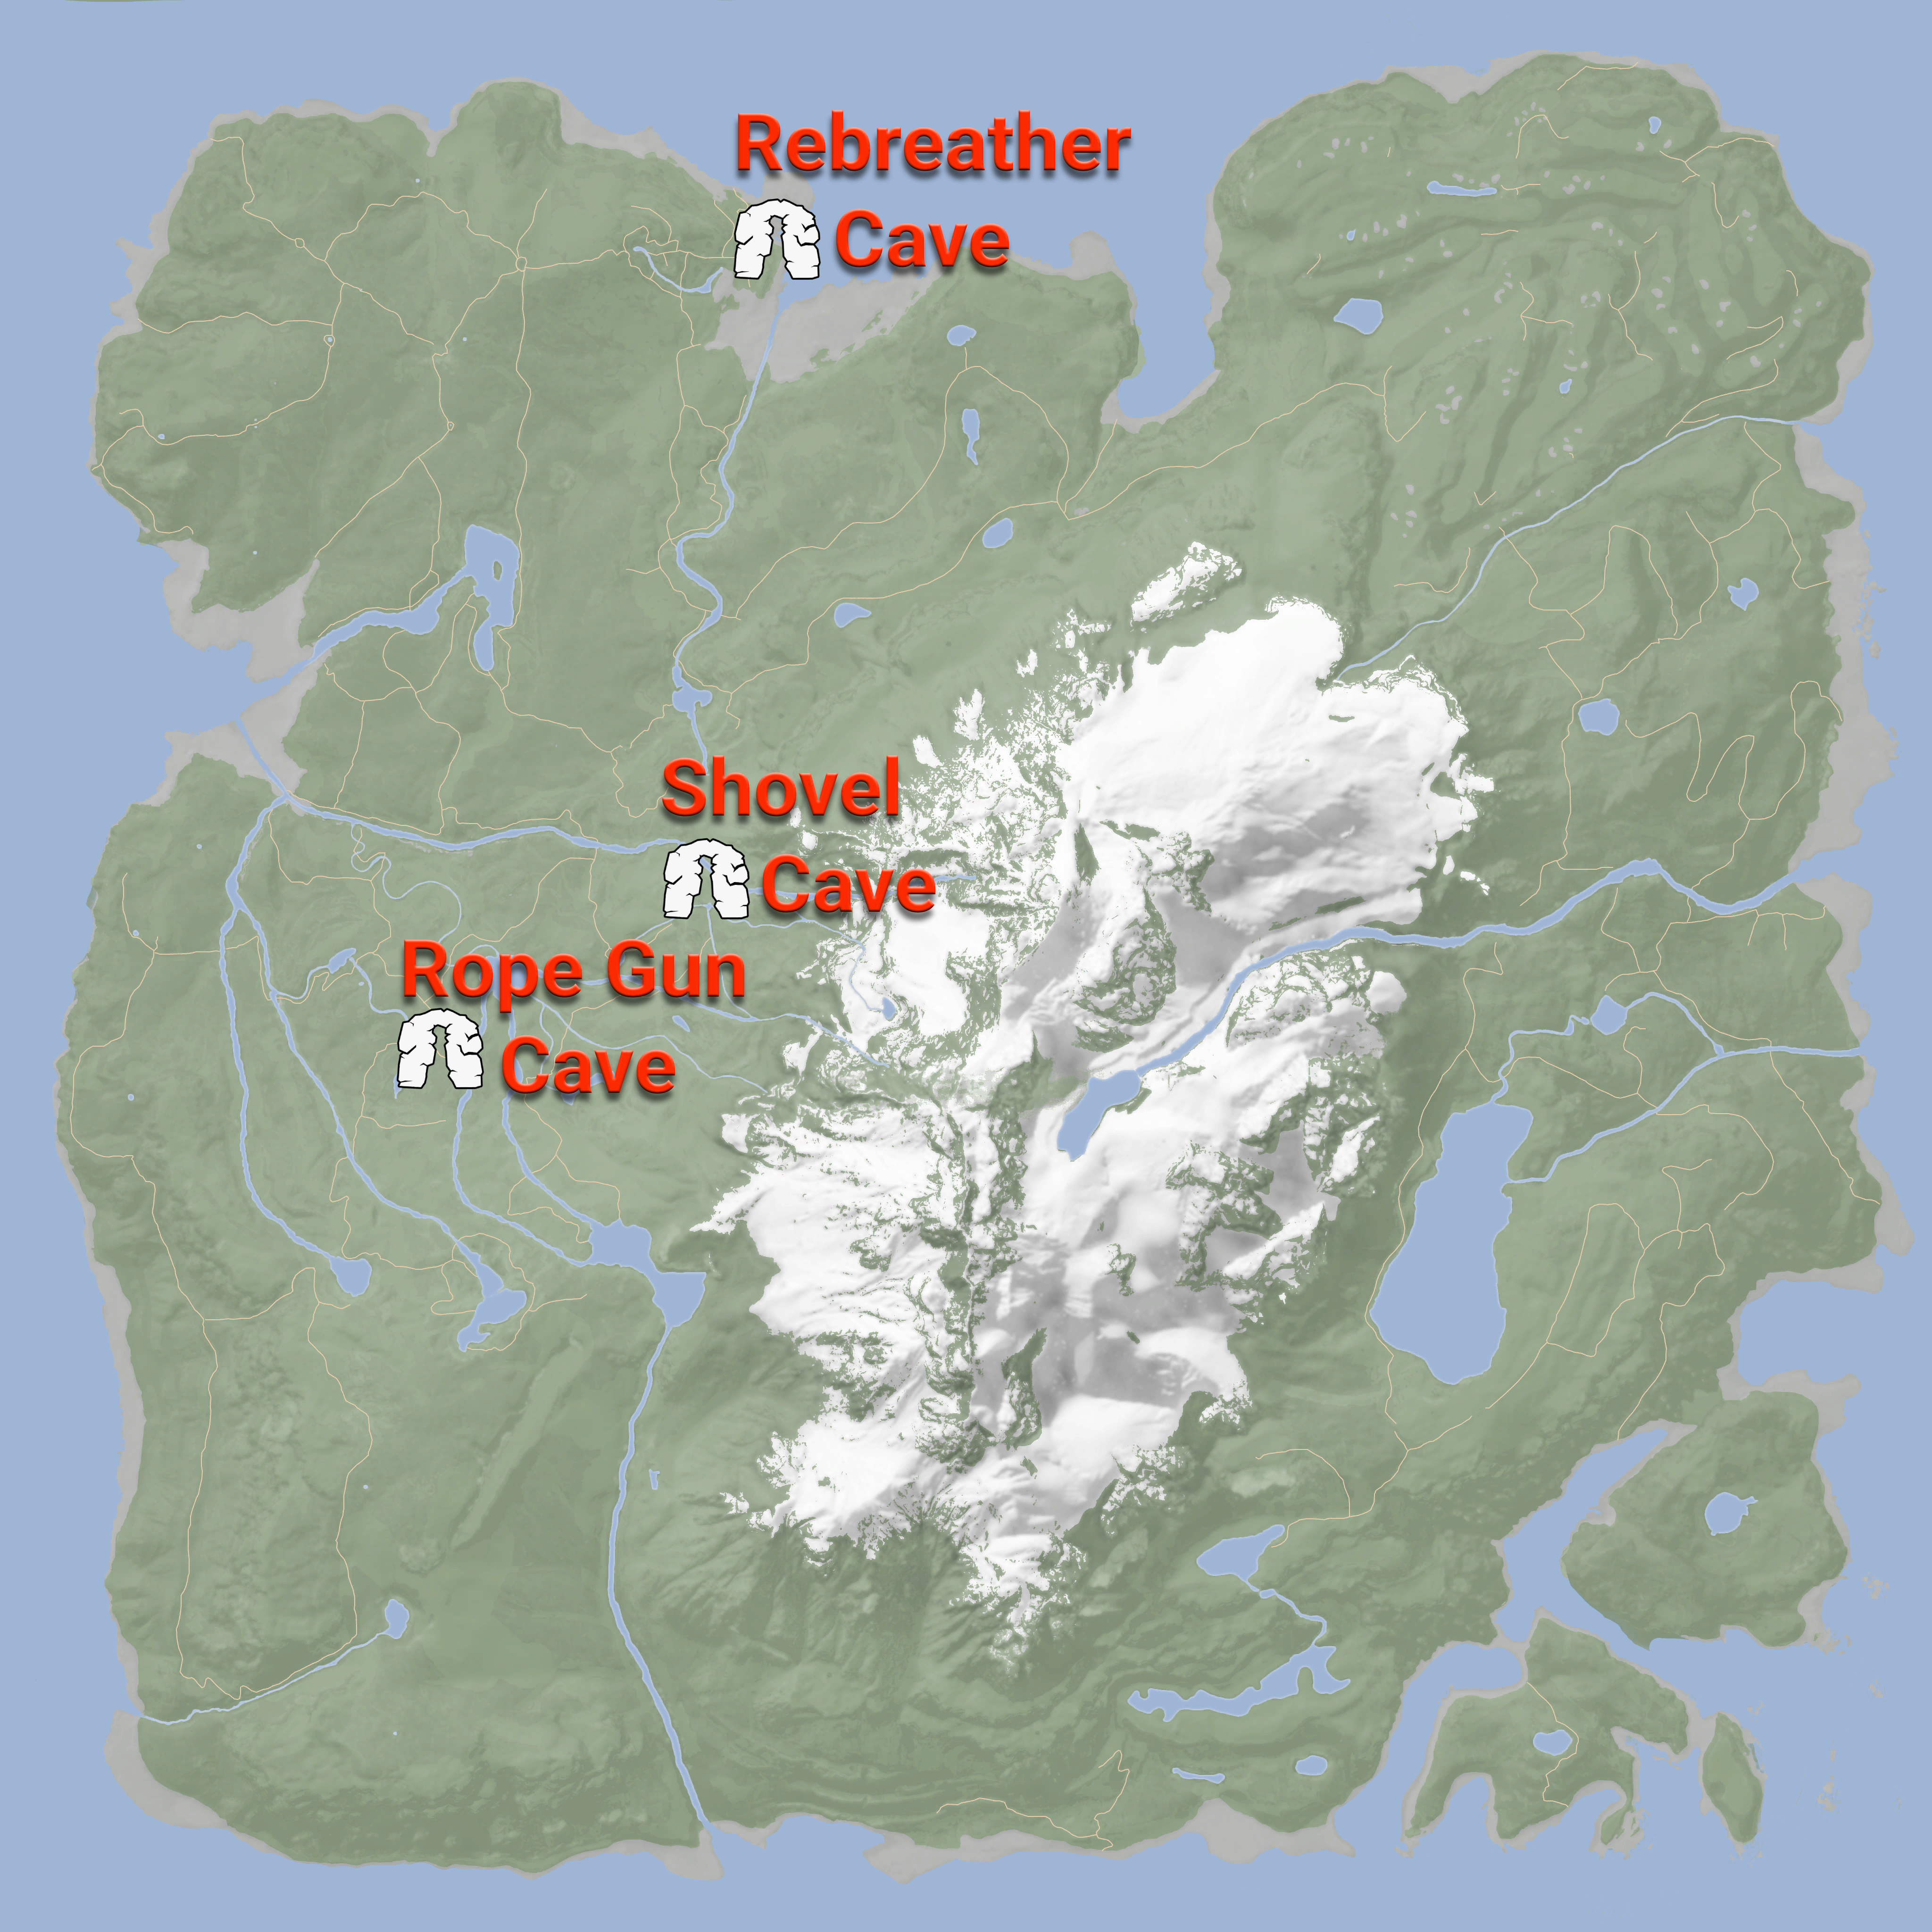
Now that you’re locked and loaded (literally, if you grabbed the pistol), you can start exploring the caves. The way this part of the game works is that you need items to help you get past otherwise inaccessible areas in order to progress the story. The first two mandatory tools are the rebreather and the rope gun; they’re each in their own cave. After obtaining the two, you can then go get the shovel in its cave.
Notice that they’re all by spawn points
You can either do the rope gun cave or rebreather cave first, but you have to do the shovel cave last because it requires you to use the rebreather and rope gun to enter it. We would recommend starting with the rebreather cave; it is easier and has fewer enemies. You can actually run past the enemies in all these caves, but there are a couple of places that you need to stop to use explosives (to destroy enemies that block the way forward).
Remember to save your game with a tarp tent before entering the caves. If you are stuck, or don’t want to miss any of the sweet loot (like the stun gun), consult our detailed guides. One tip that is worth noting is that inside two of the caves are laptops that will put new locations on your GPS tracker, so try not to miss them.
Now that you have the shovel, the island is your oyster. The midgame is similar to the start in that you need items to progress, but instead of tools, you are searching for keycards. The first place you want to head to is Maintenance Bunker A (you should have gotten its location from the shovel cave’s laptop); here you will find the maintenance keycard. From there, you should head to the Food Bunker, then the Entertainment Bunker. The Food Bunker has the VIP keycard and the Entertainment Bunker has the guest keycard.
Again, all of these locations will have laptops in them that give you coordinates for the next places to explore. There are also some excellent items at each of these spots: at Maintenance Bunker A you get the firefighter’s axe, at the Food Bunker you get the crossbow, and at Entertainment Bunker you get the chainsaw.
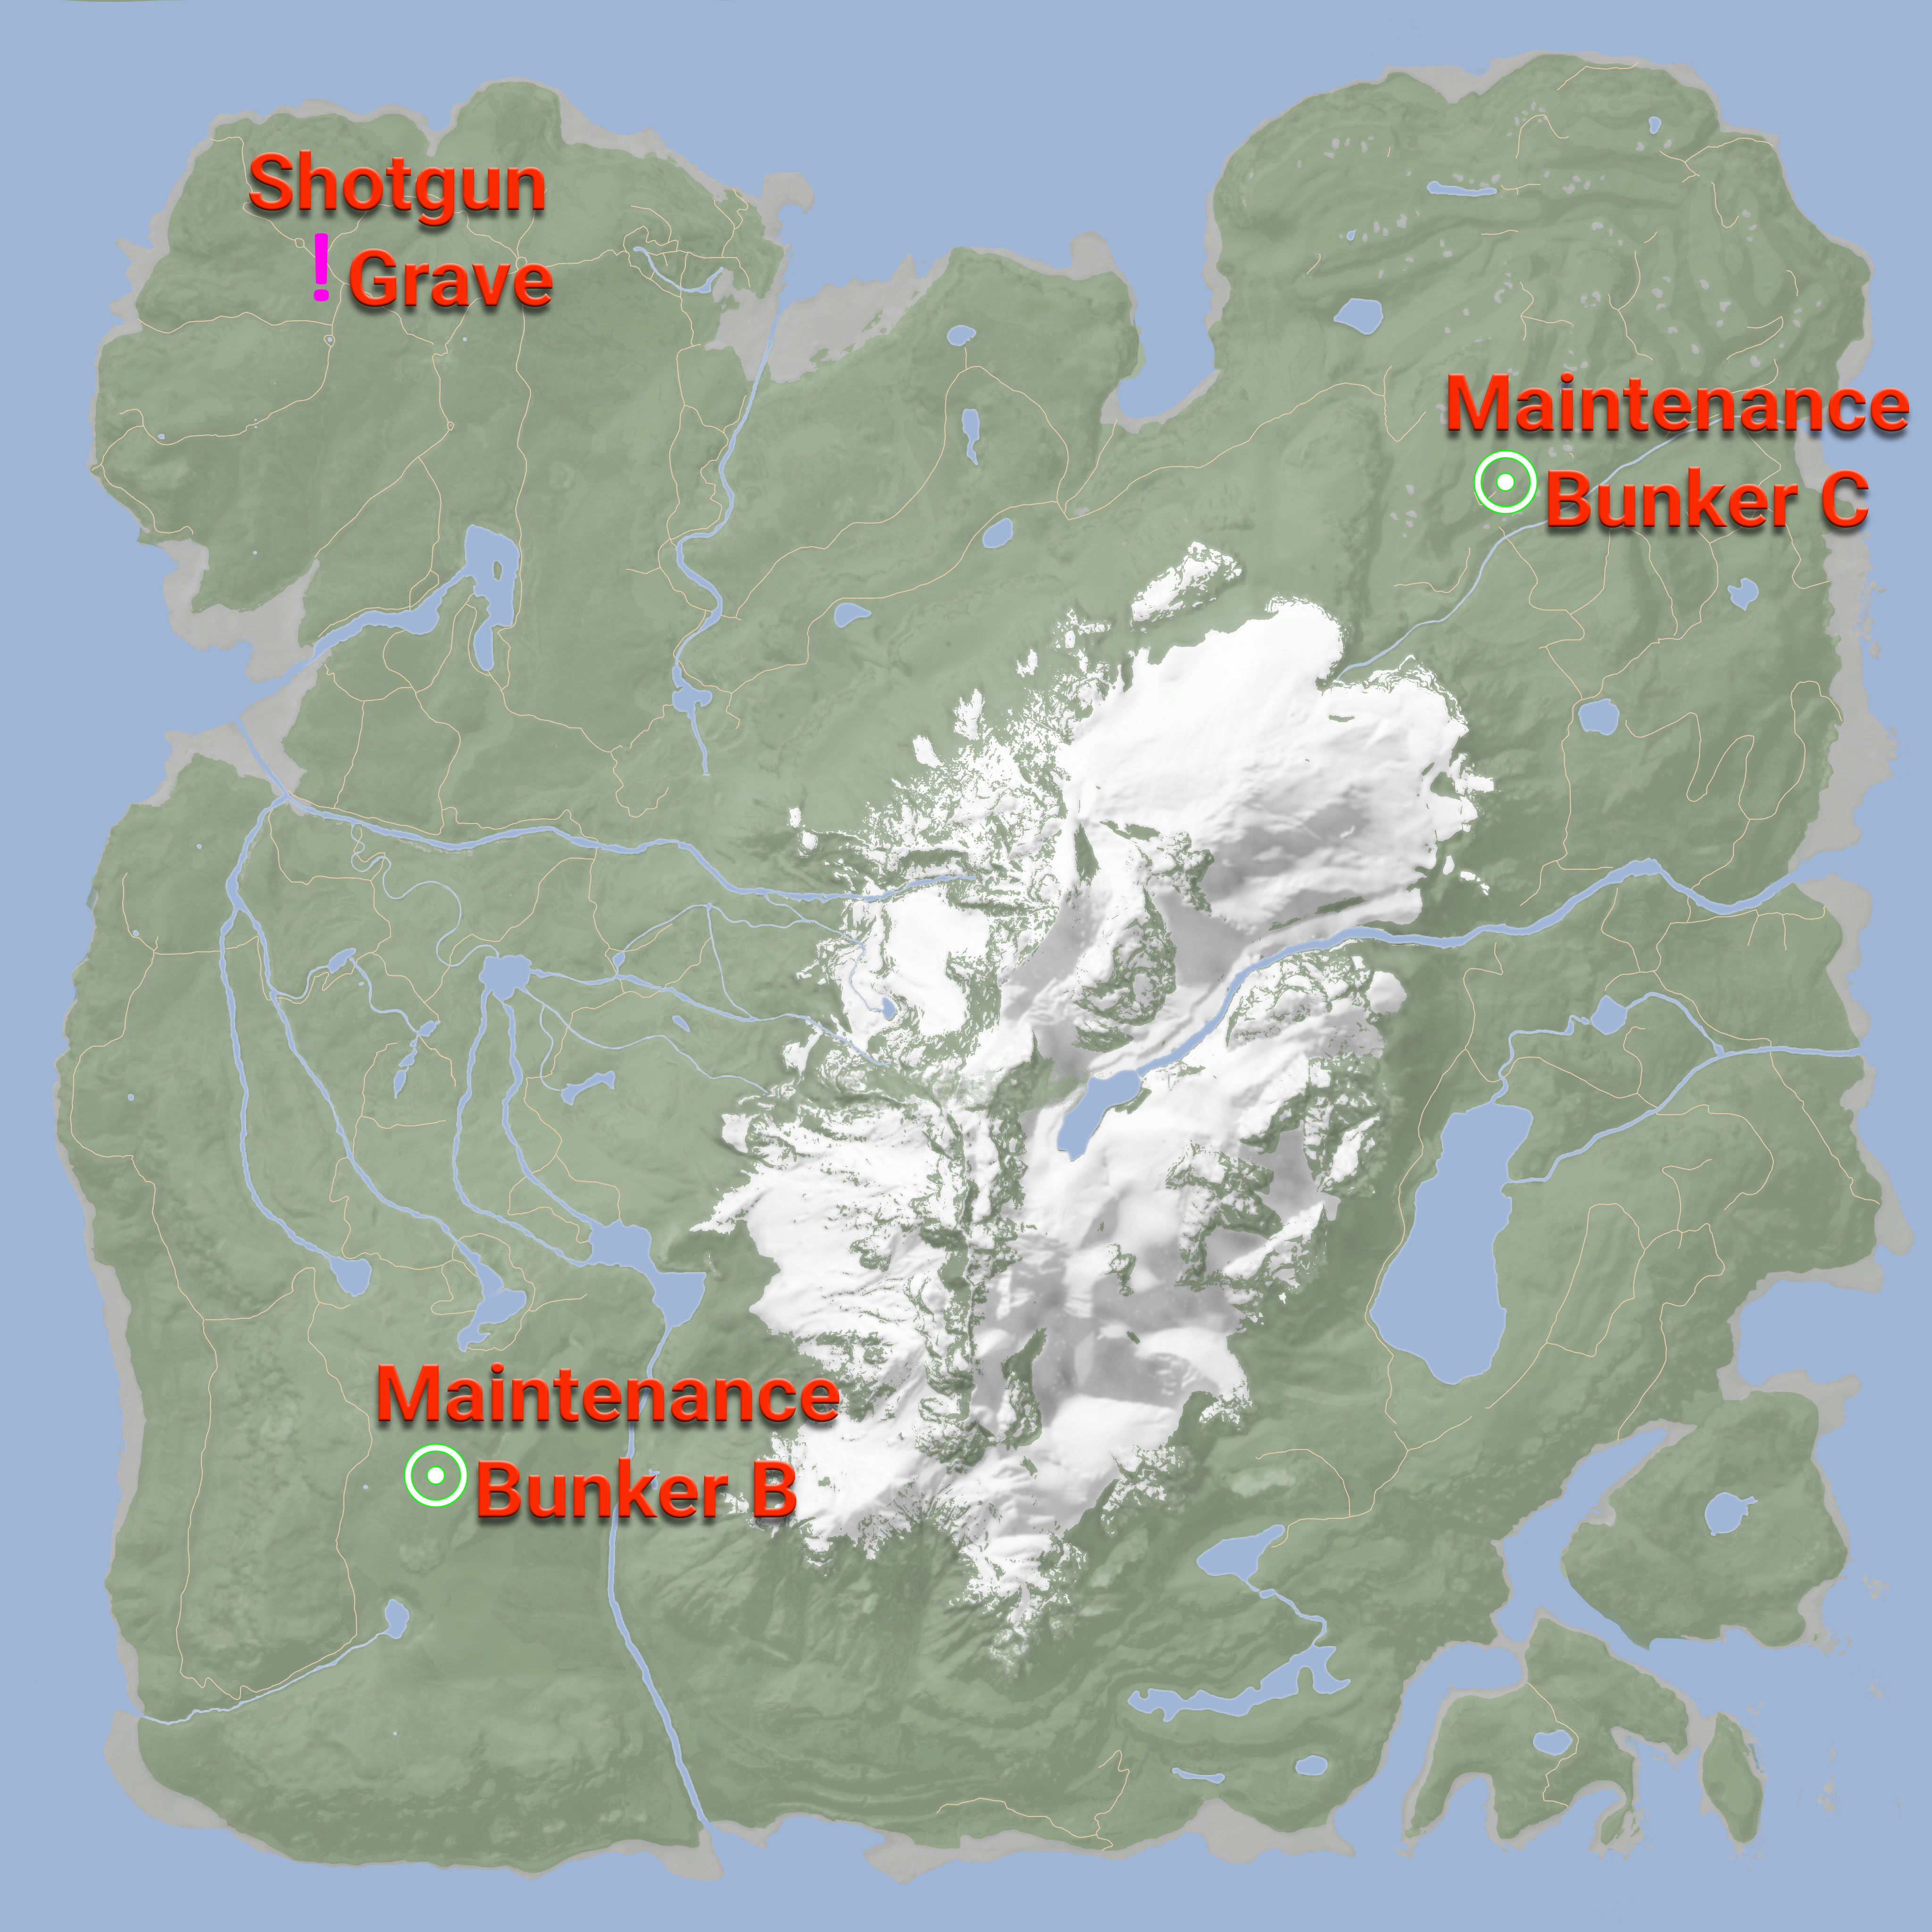
While above are the mandatory bunkers that you must visit for the story, there are also some additional ones that are accessible at this time. While not a bunker, it is imperative that you venture to the shallow grave in the northwest to dig up the powerful shotgun. Secondly, Maintenance Bunker B can be uncovered using the shovel, and looting the inside will grant you the compound bow. The last one is a bit out of the way, but buried on the golf course in the northeast is Maintenance Bunker C; there you’ll find the revolver.
Endgame
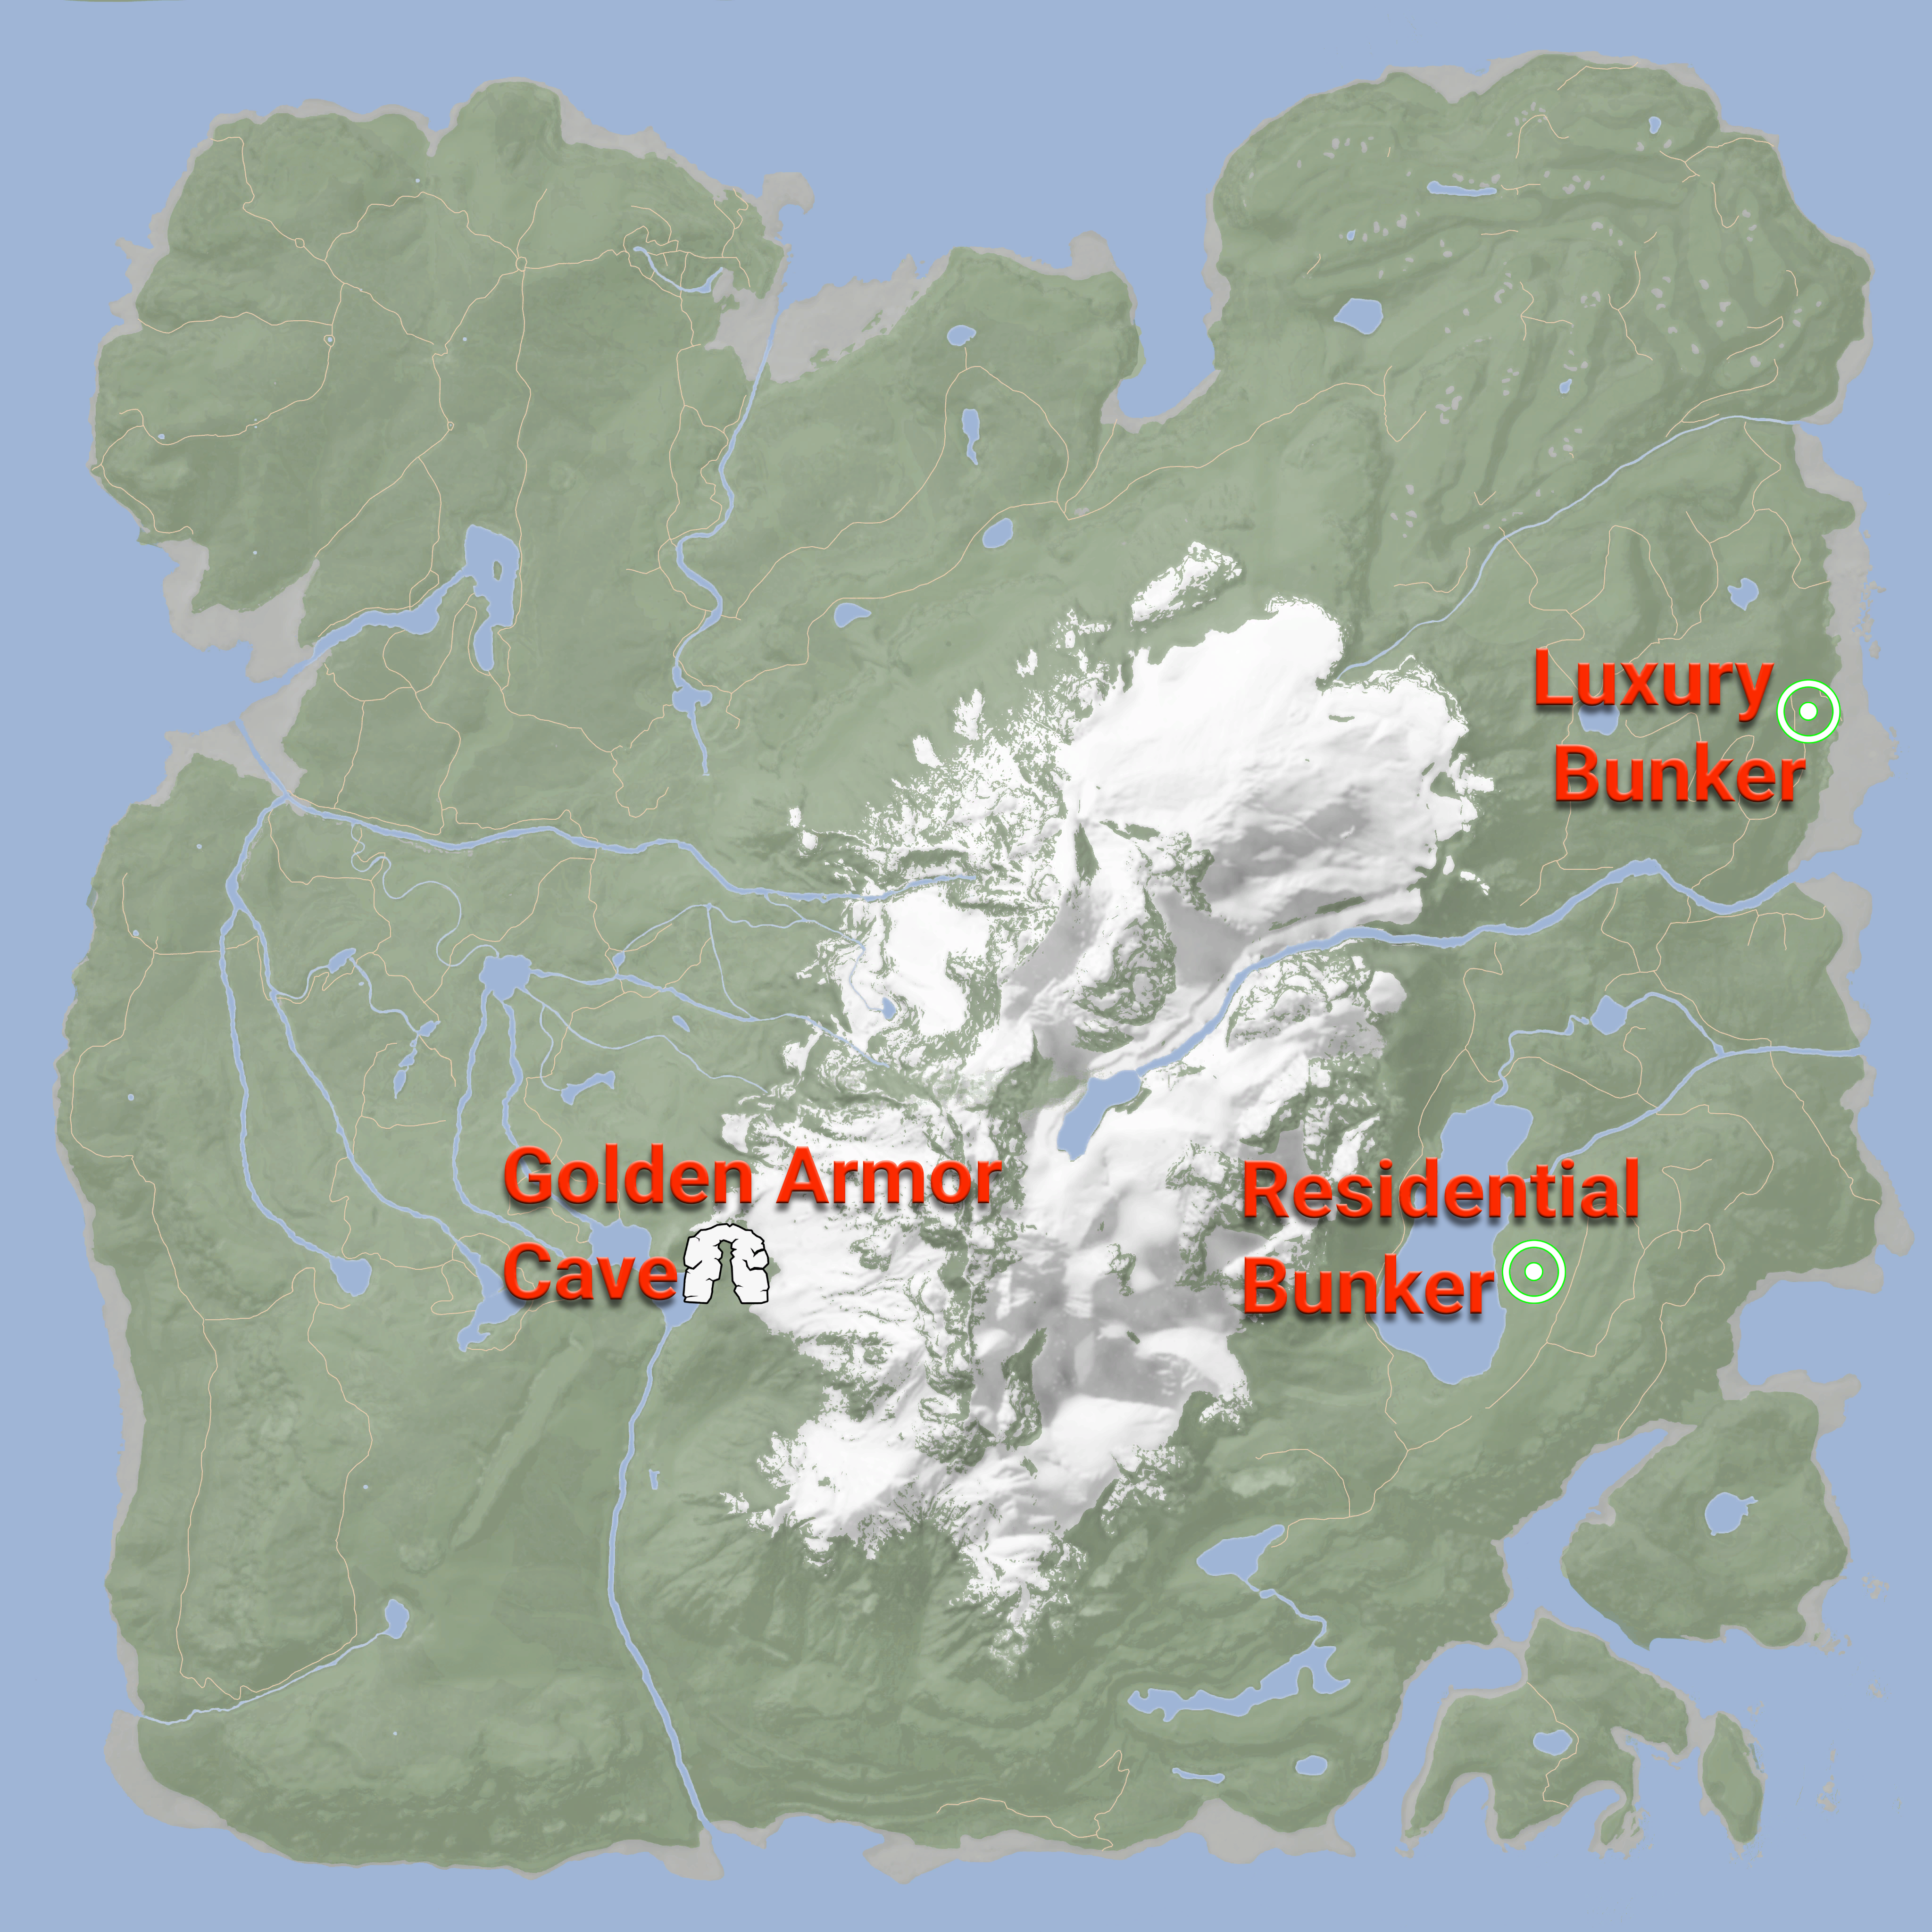
Are you sick of mutants yet? Good, because now you’re going to be fighting freaking demons (I hope you brought a cross). To help with that, you’re going to need protection (insert joke here). Luckily, there is such an item that defends against these unholy enemies, the Golden Armor. You can go to its cave first, or you can venture to the island’s eastern half, to explore the Residential Bunker. However, it can only be opened with the guest keycard. After dropping by those two areas, you’ll finish the game at the final bunker, the Luxury Bunker, in the northeast.
The reason you need to go to those locations first is that you need to be able to open two doors at the Luxury Bunker. Investigating the surveillance room in the Residential bunker is how you open the Luxury Bunker itself. The second threshold is inside the bunker: the character will have to be wearing the golden armor for the way to open. Once you’ve collected the gold armor and unlocked the final bunker, all that’s left is to prepare yourself to fight like hell. Good luck with the final boss!
We hope this walkthrough didn’t leave you eaten at a cannibal camp. Were there any tidbits that you felt should be included in the guide? Was there a certain boss or area where you kept dying? Let us know in the comments!
Share this article:
DanielD
Unabashed FromSoftware fanboy still learning to take his time with games (and everything else, really). The time he doesn't spend on games is spent on music, books, or occasionally going outside.