Ah, the shovel. Such a simple tool, yet one that is required to enter some of Sons of the Forest’s most important locations. You’d think you could use your hands to dig 6 inches into the ground, but no. Getting the shovel is somewhat involved, since in order reach it you must first collect two other essential items. In this guide, we’ll explain the prerequisites necessary for collecting the shovel, and walk you through exactly where — and how — to get your hands on it.
Necessary Items
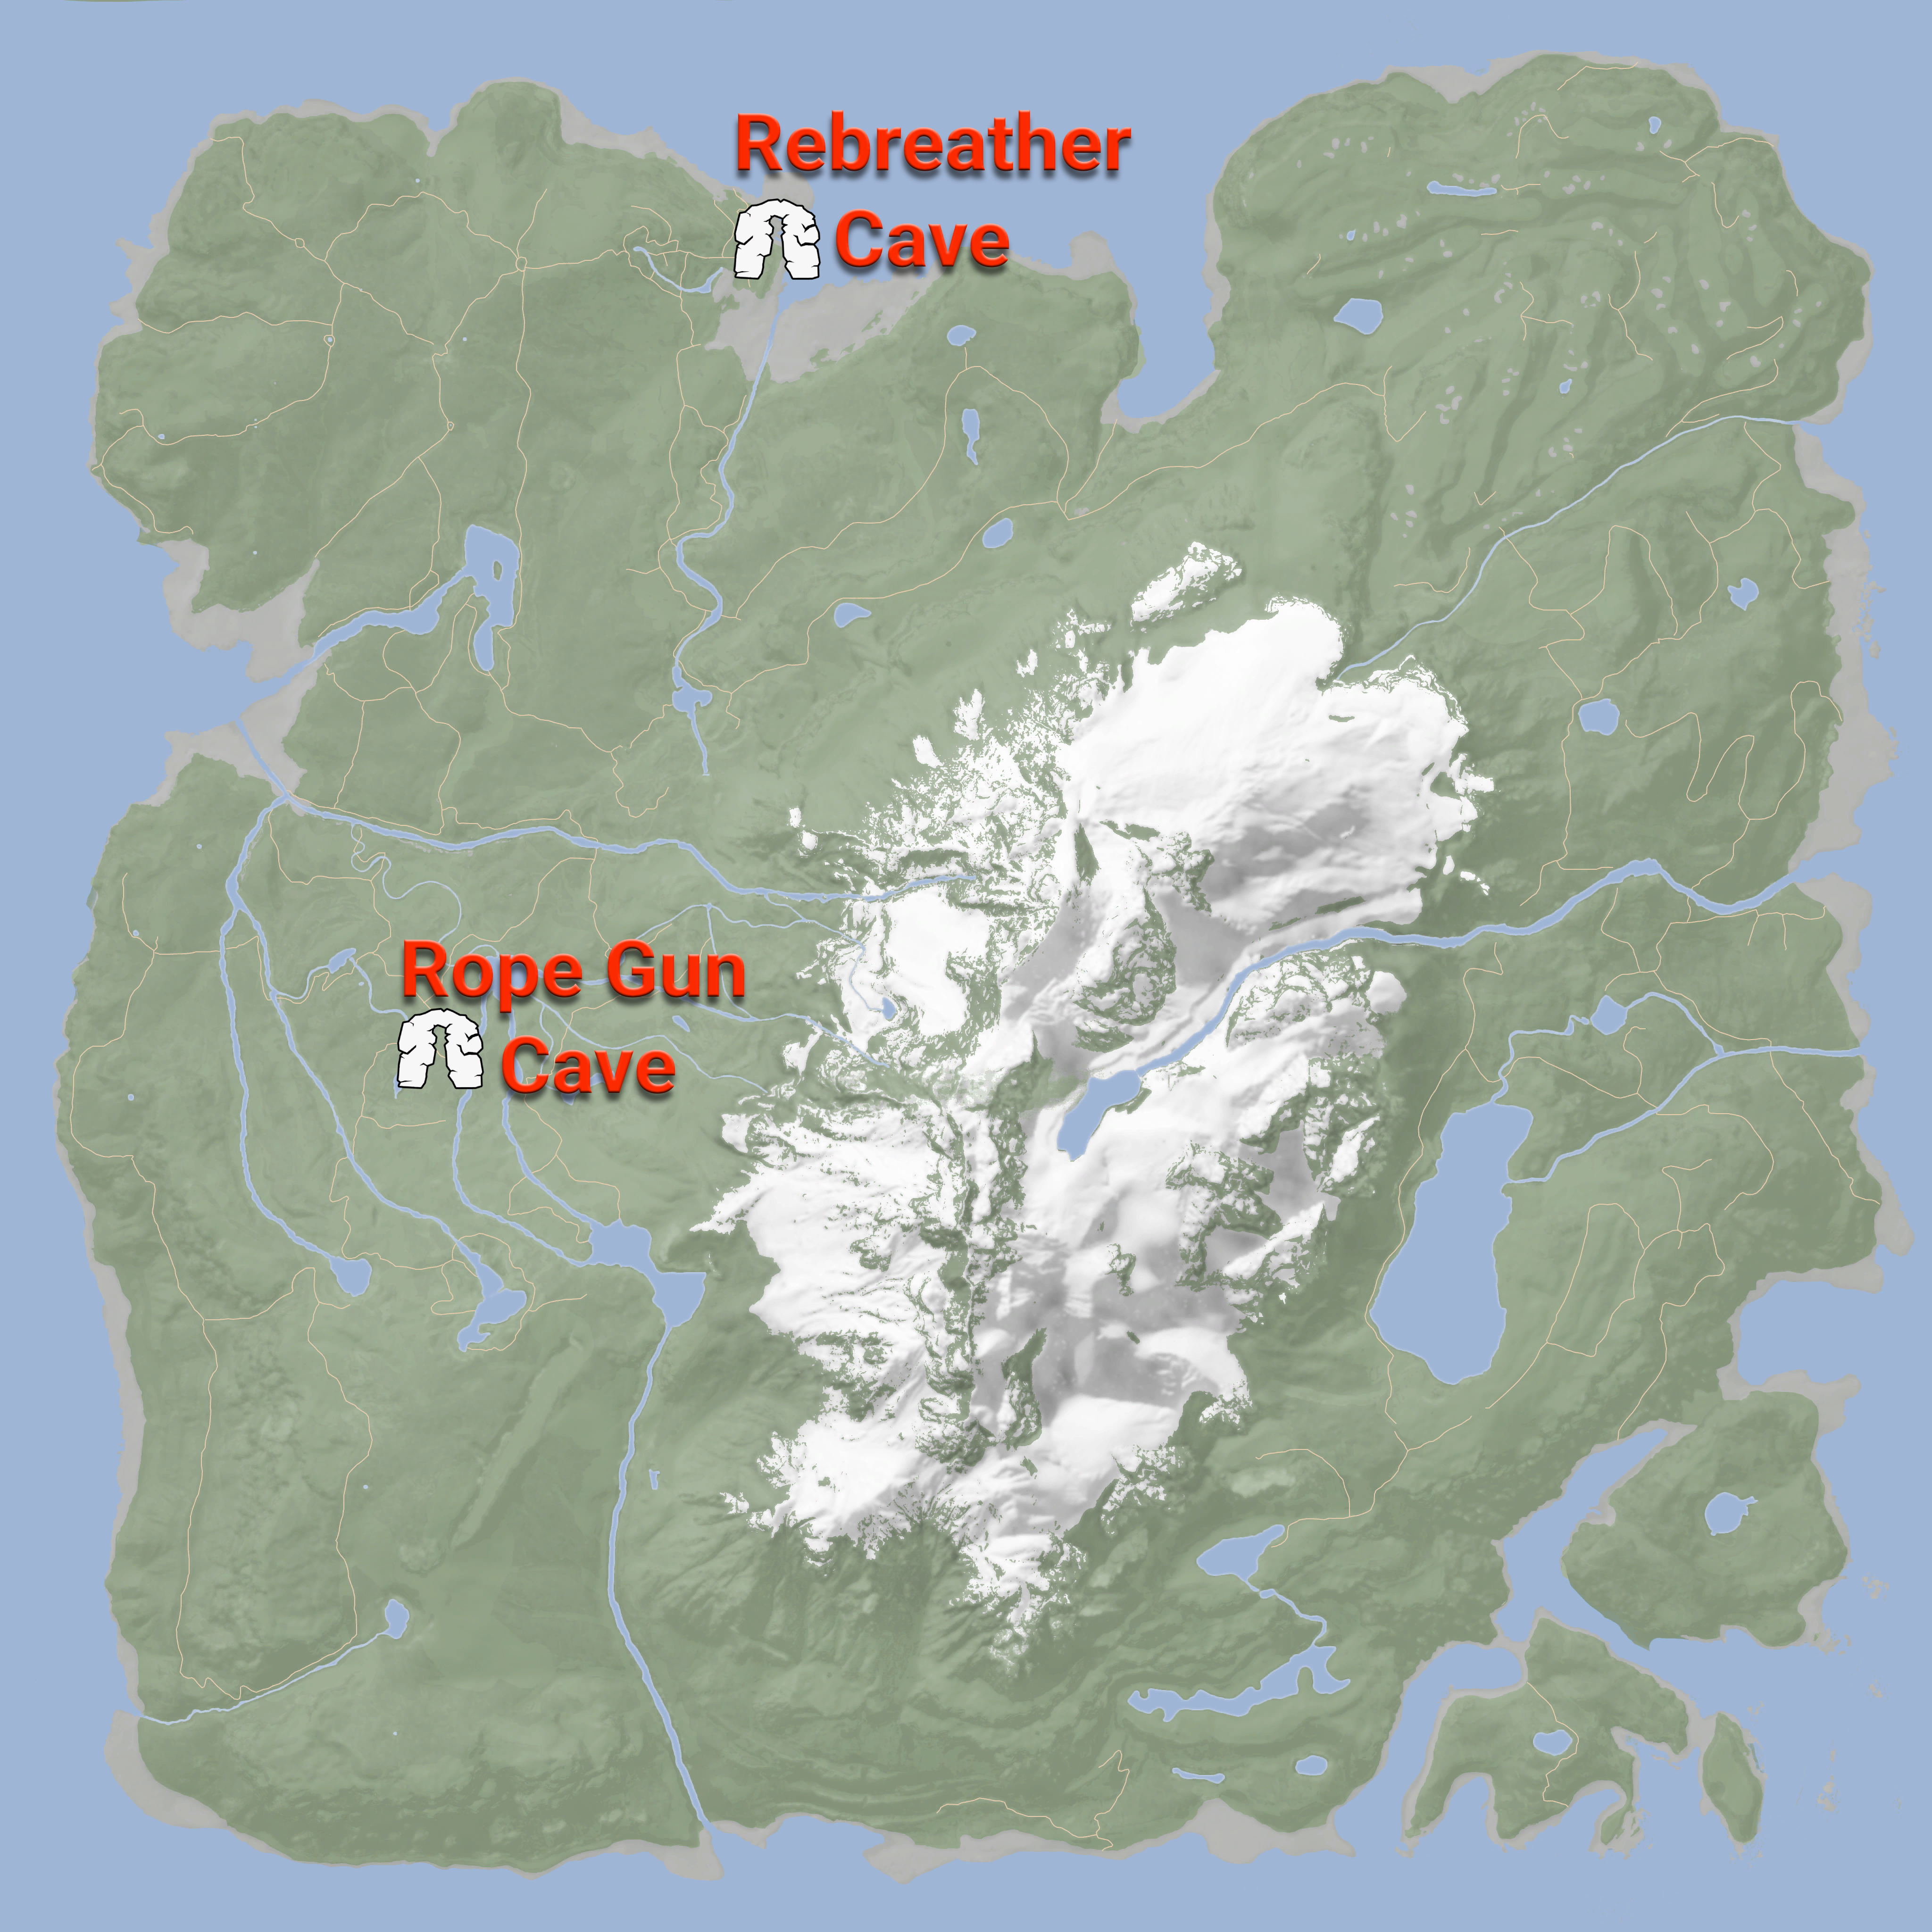
To get the shovel, you need both the rebreather and the rope gun. The rebreather is found in the cave that’s on the beach on the northwestern side of the island, while the rope gun is located in the cave closest to the western beach.
You can grab both of these items soon after spawning, since you’ll either spawn near the rebreather cave, or else fairly close to the cave with the rope gun. We’ve also created detailed guides to help you find them — the caves they’re in can be a bit confusing (not to mention full of enemies):
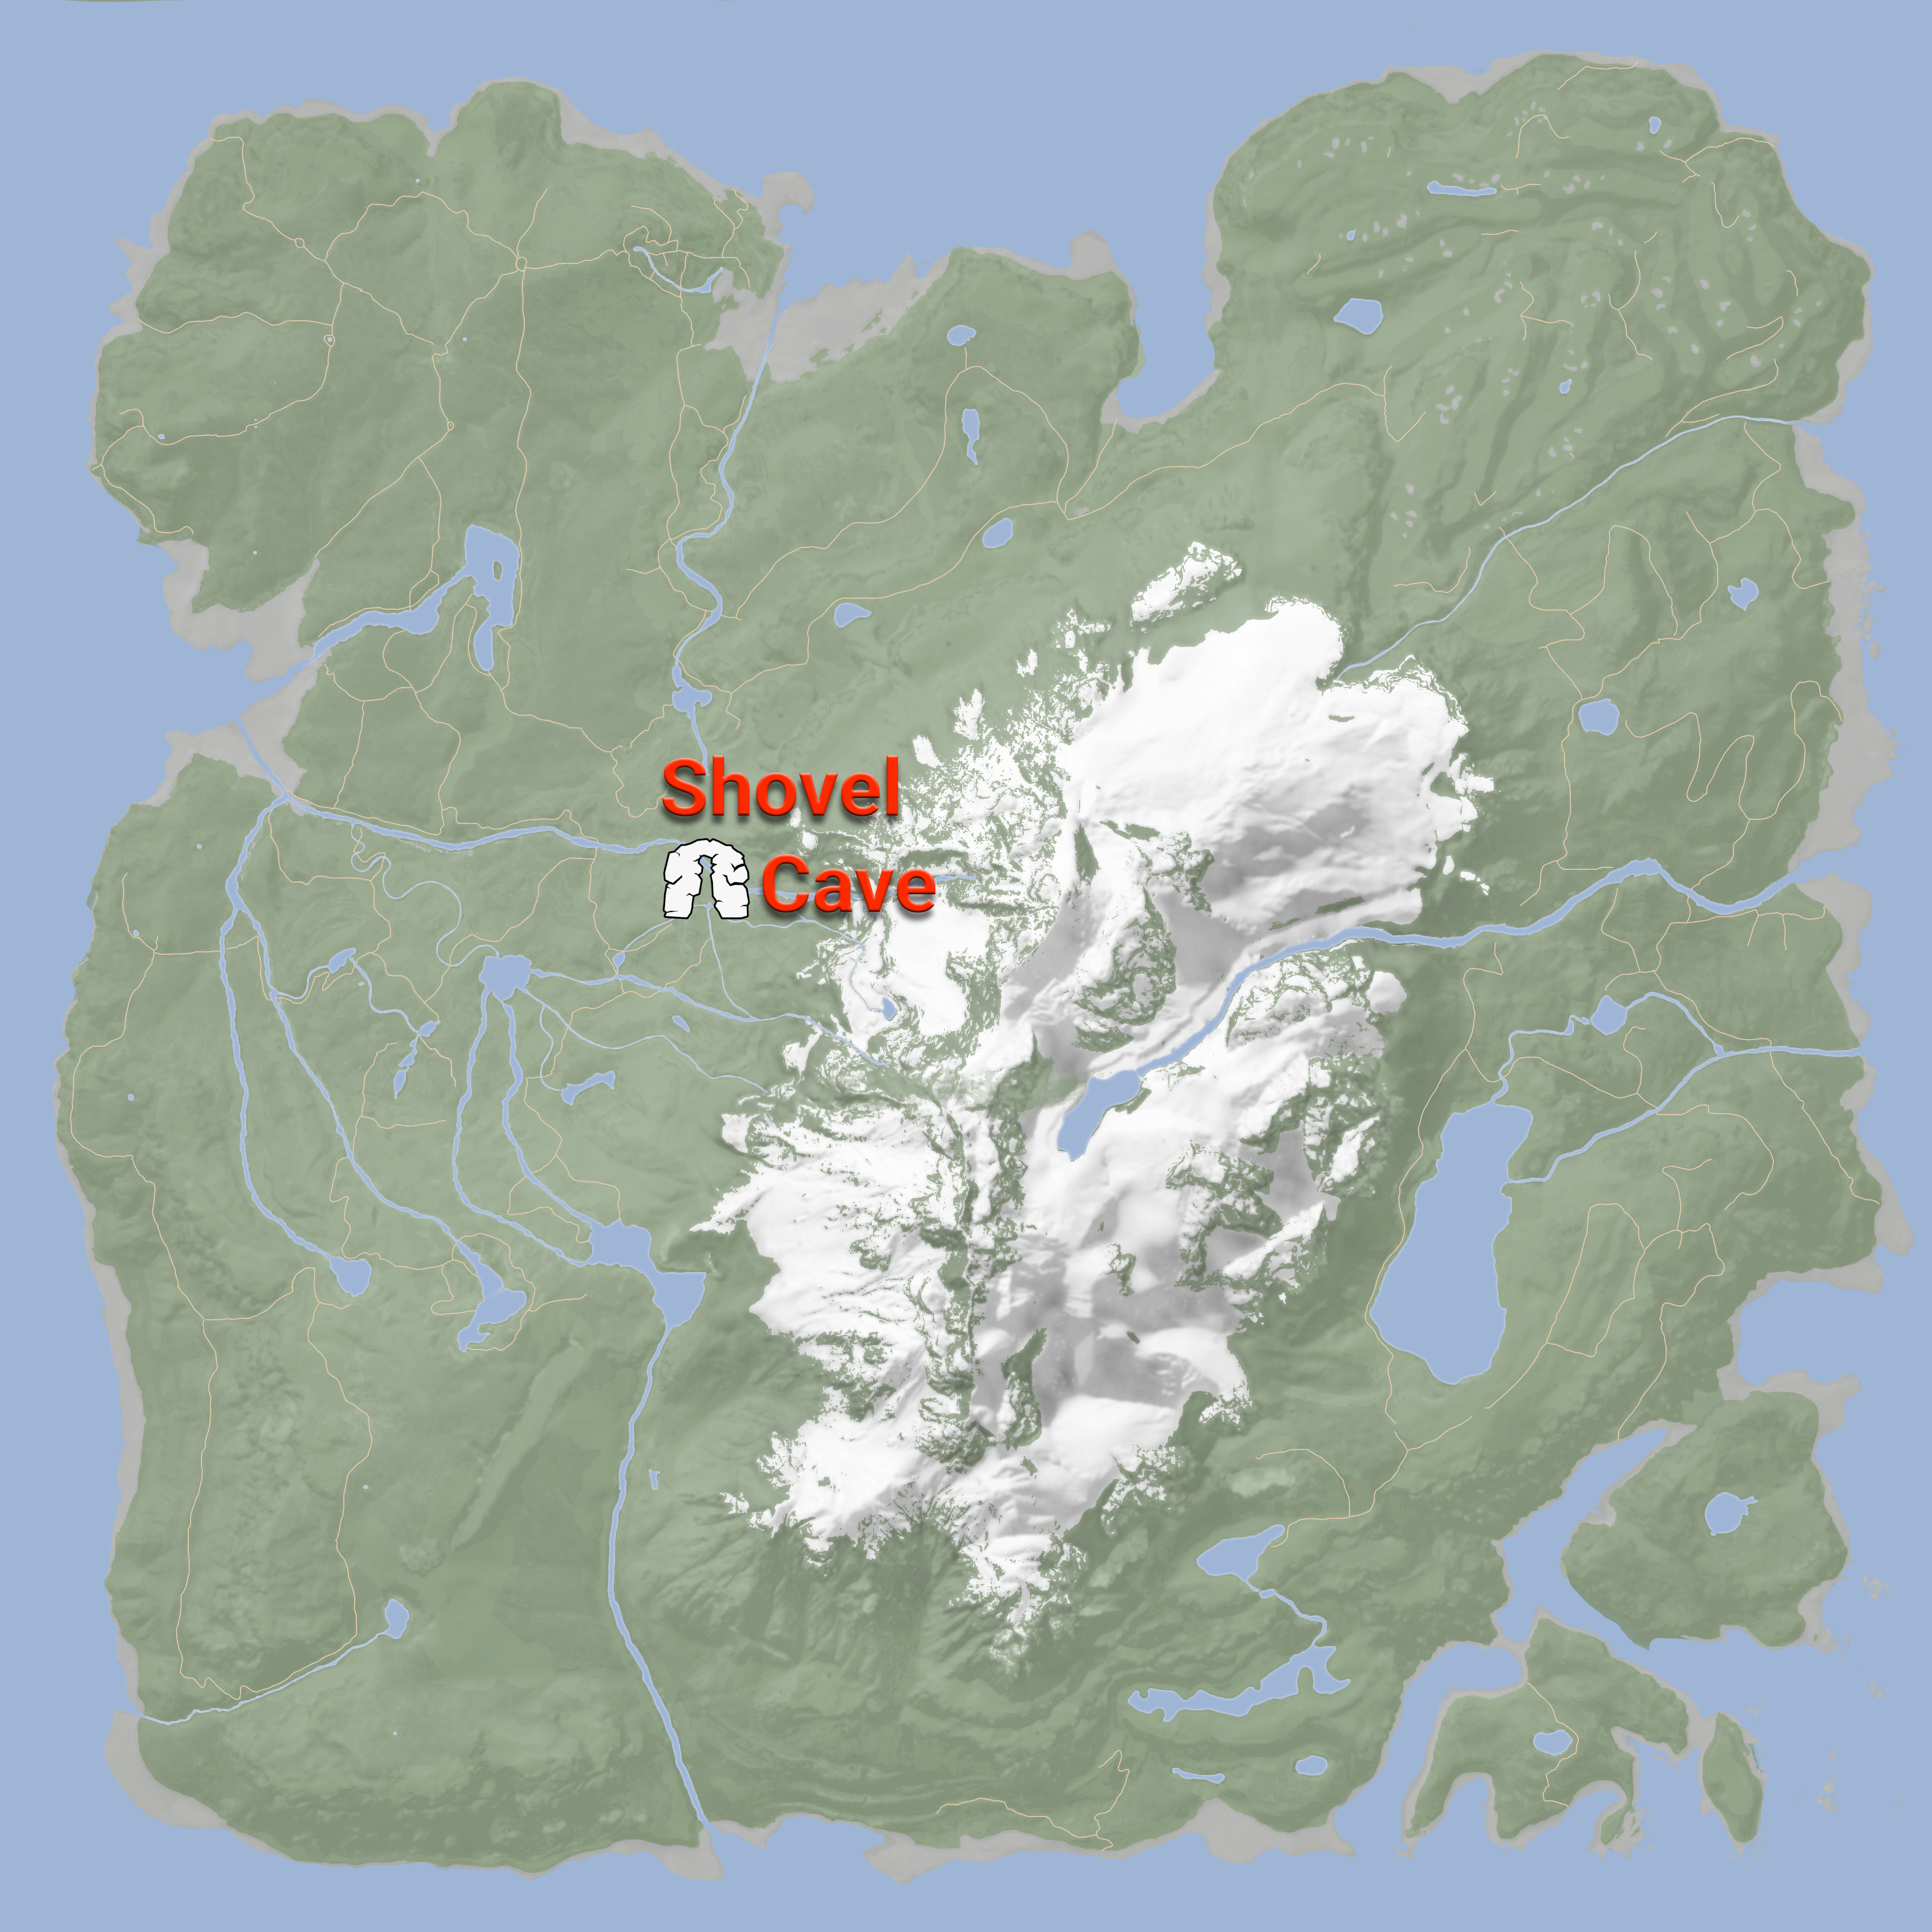
The cave with the shovel is close to the mountain spawn location (on the western side of the central mountain), and sits next to a larger river. It’s also fairly close to one of the purple GPS markers, so if you haven’t picked that one up yet, it can help you locate the cave.
Following the river should lead you right to it
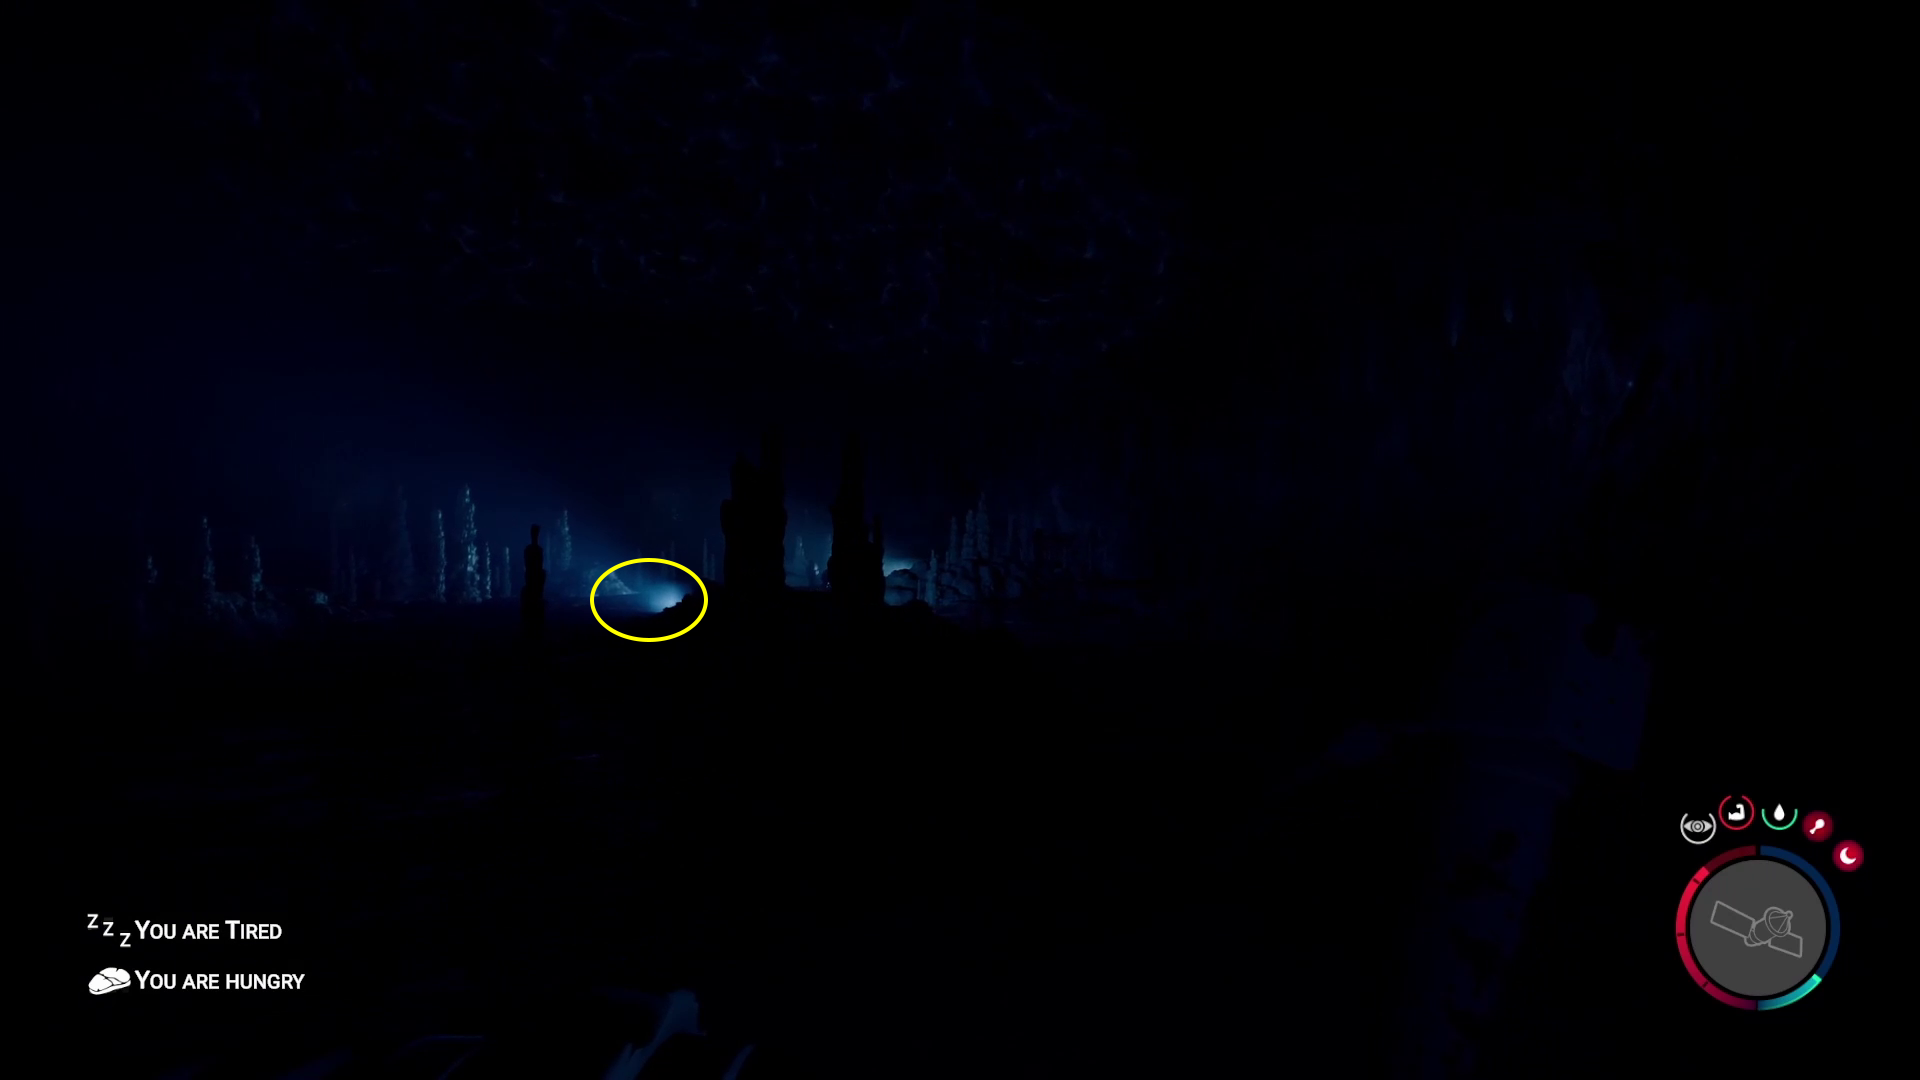
There are three dead men staked in the river out in front of the cave entrance, which is bad for them but does make it even easier for you to spot the entrance! One of these dead soldiers will also have the slingshot on their person. As with all the caves, you’ll need to smash through the boards. Before you enter, make a shelter and save your game, craft arrows, and otherwise prepare as well as you can — this cave is likely more dangerous than any you’ve entered so far. If you haven’t yet picked up the pistol, that’s something else you may want to do before entering.
Getting the Shovel
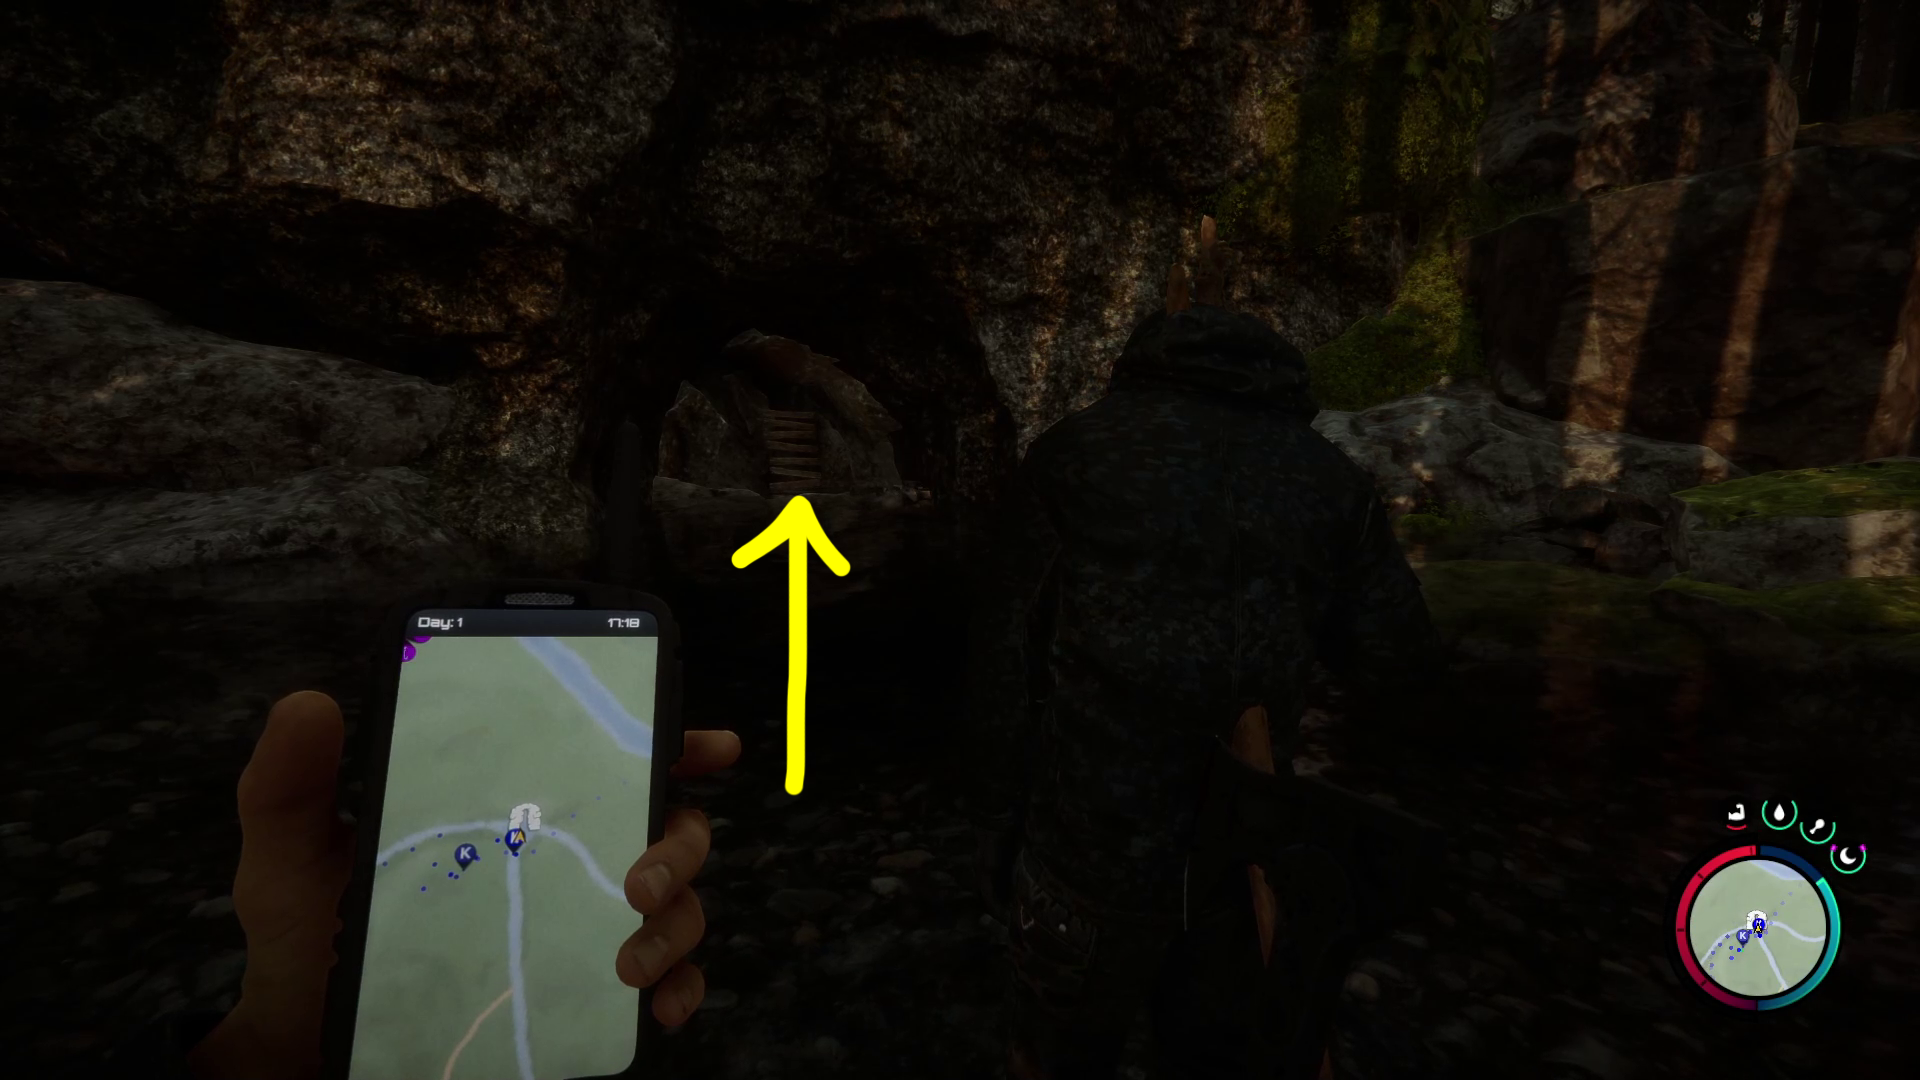
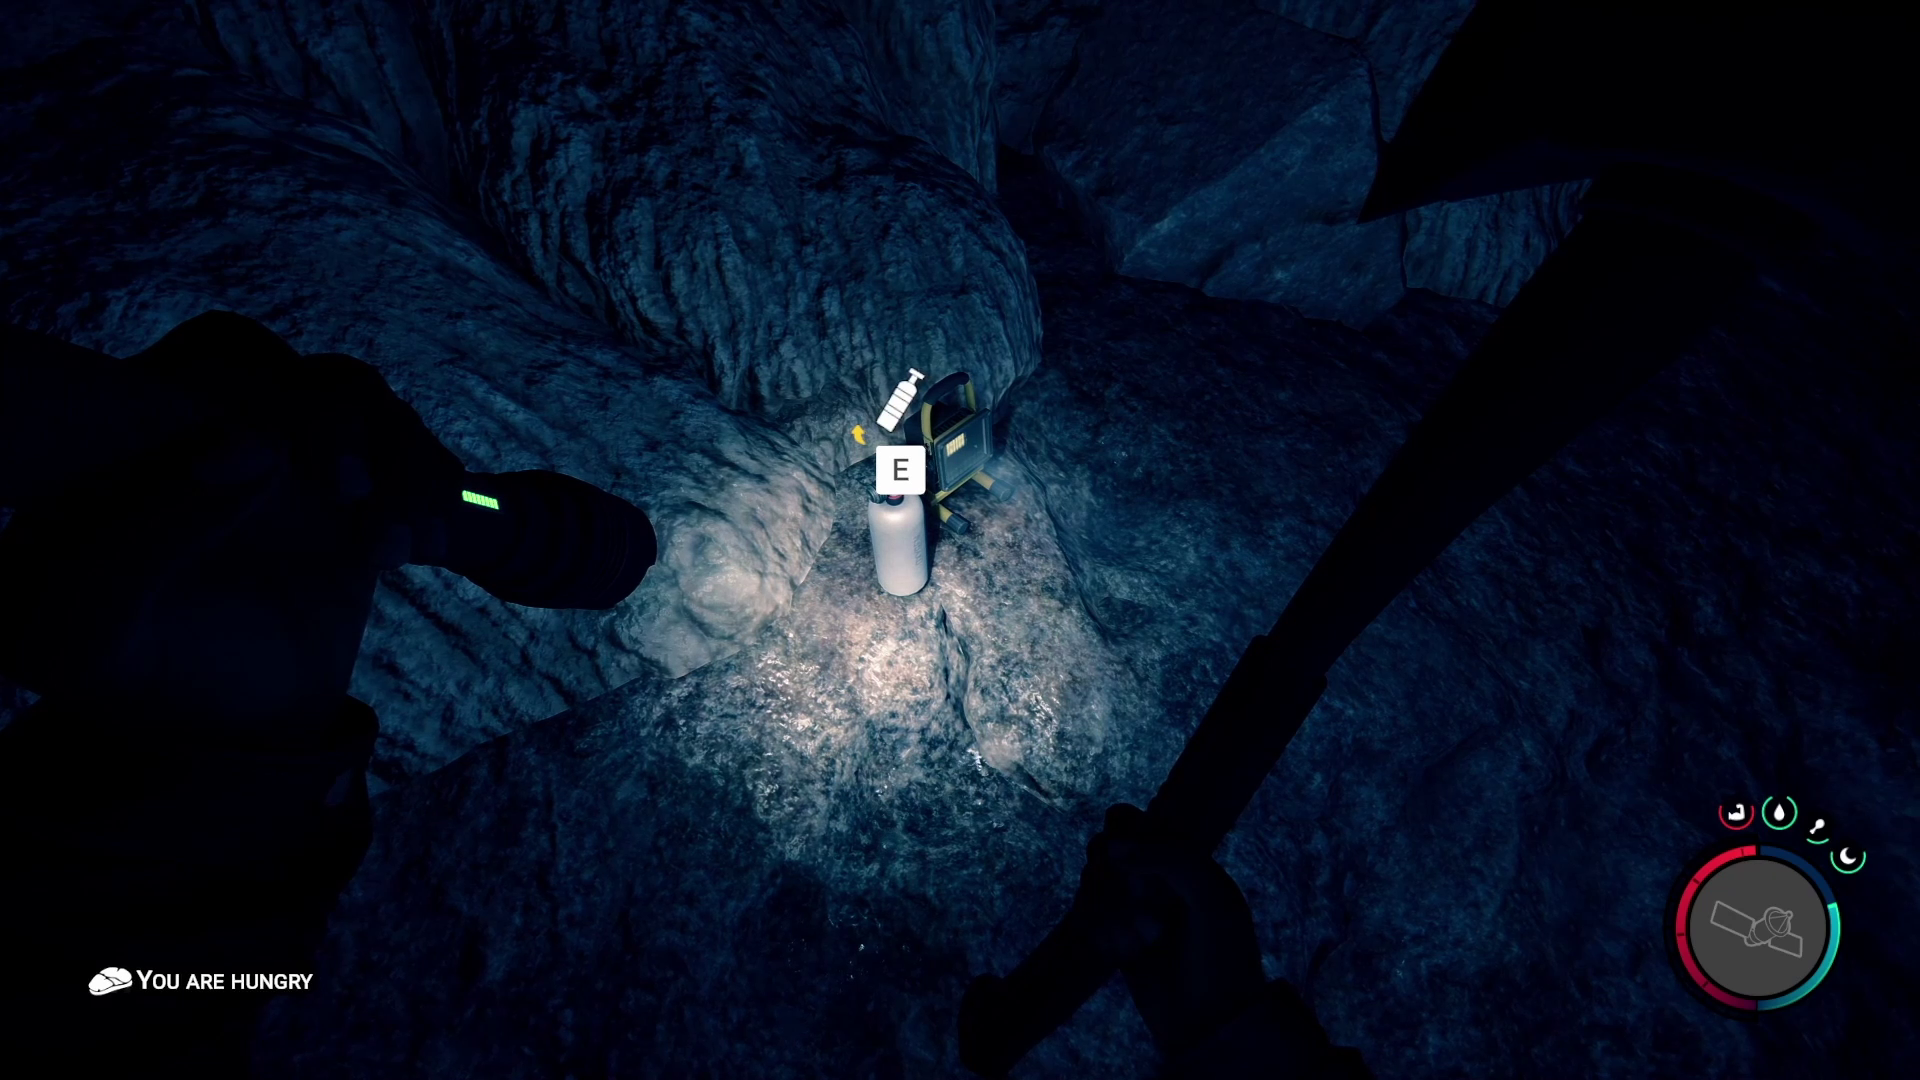
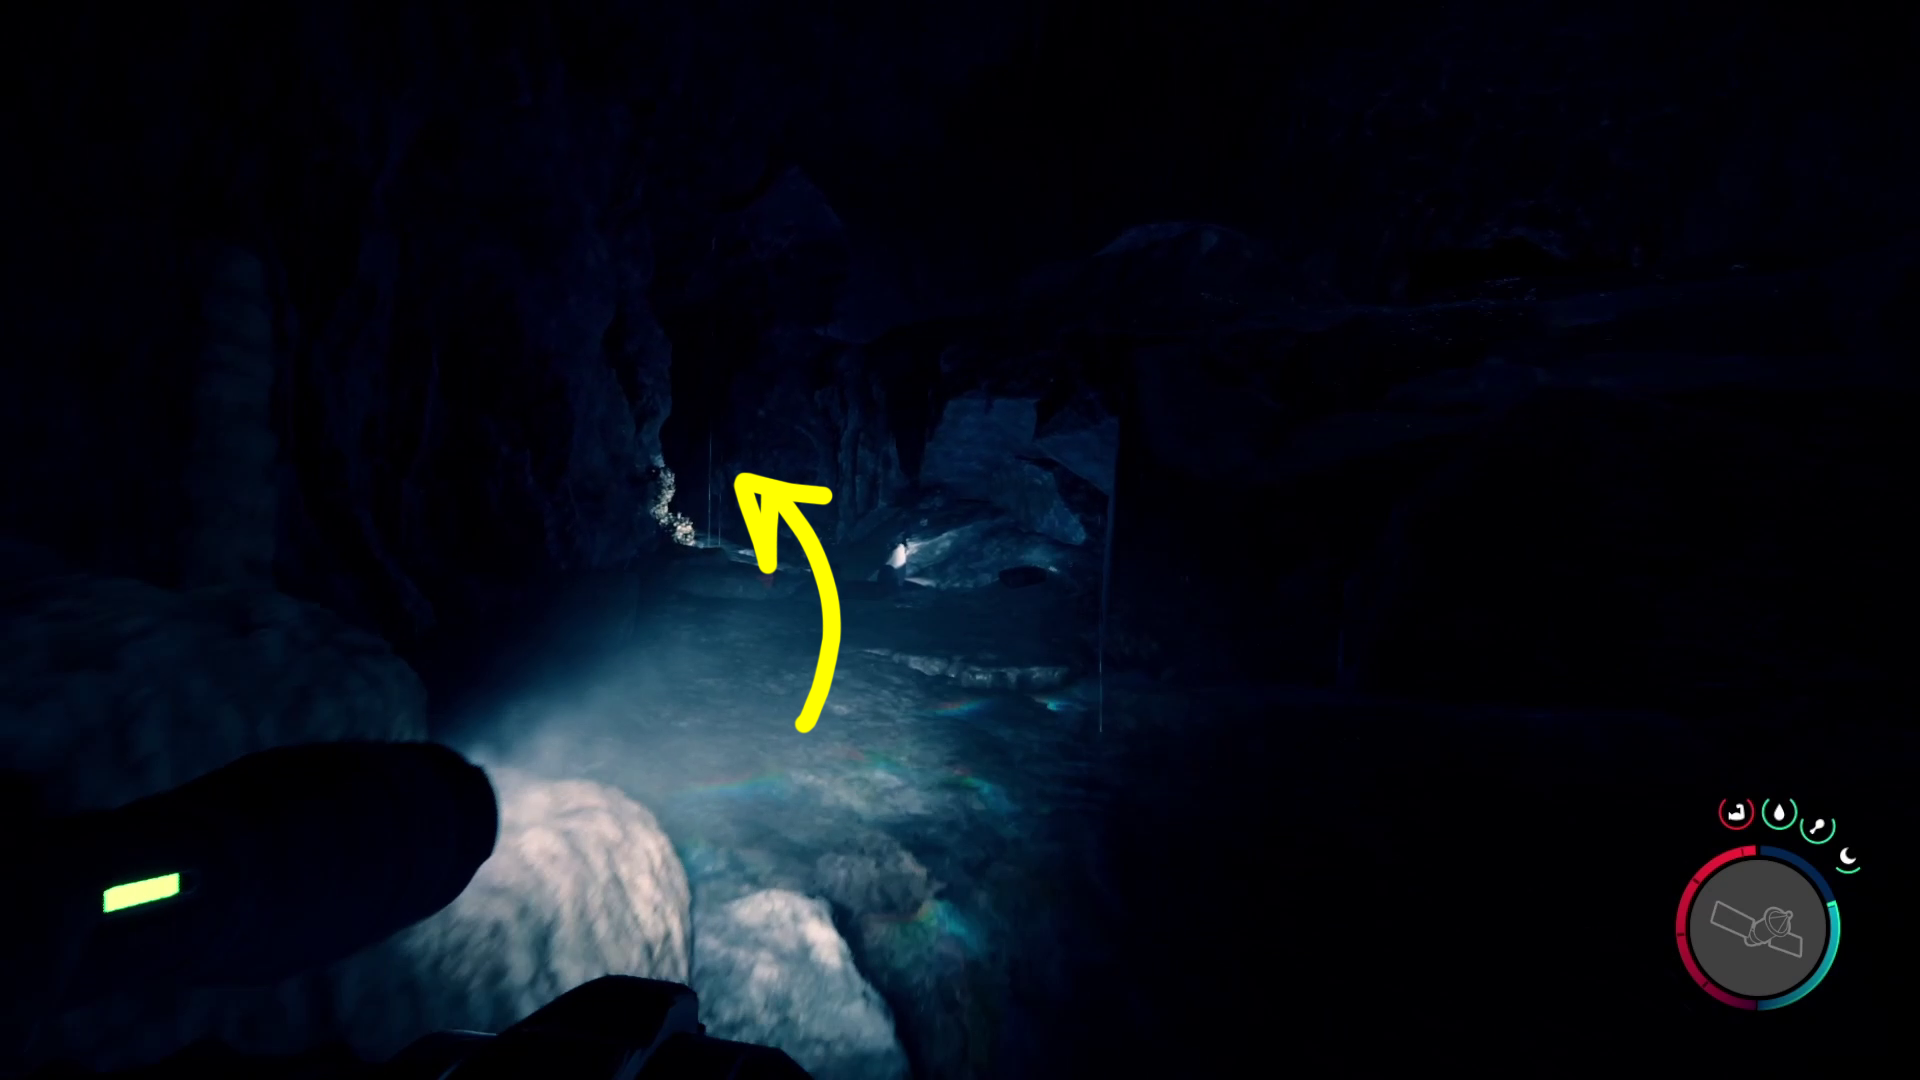
Upon entering the cave, head forwards carefully (there’s a pit you can fall into) and approach the area illuminated by a work light (1). The light is shining onto a zip line (2). Stand under it and look up, then press / / to take a little ride.
12
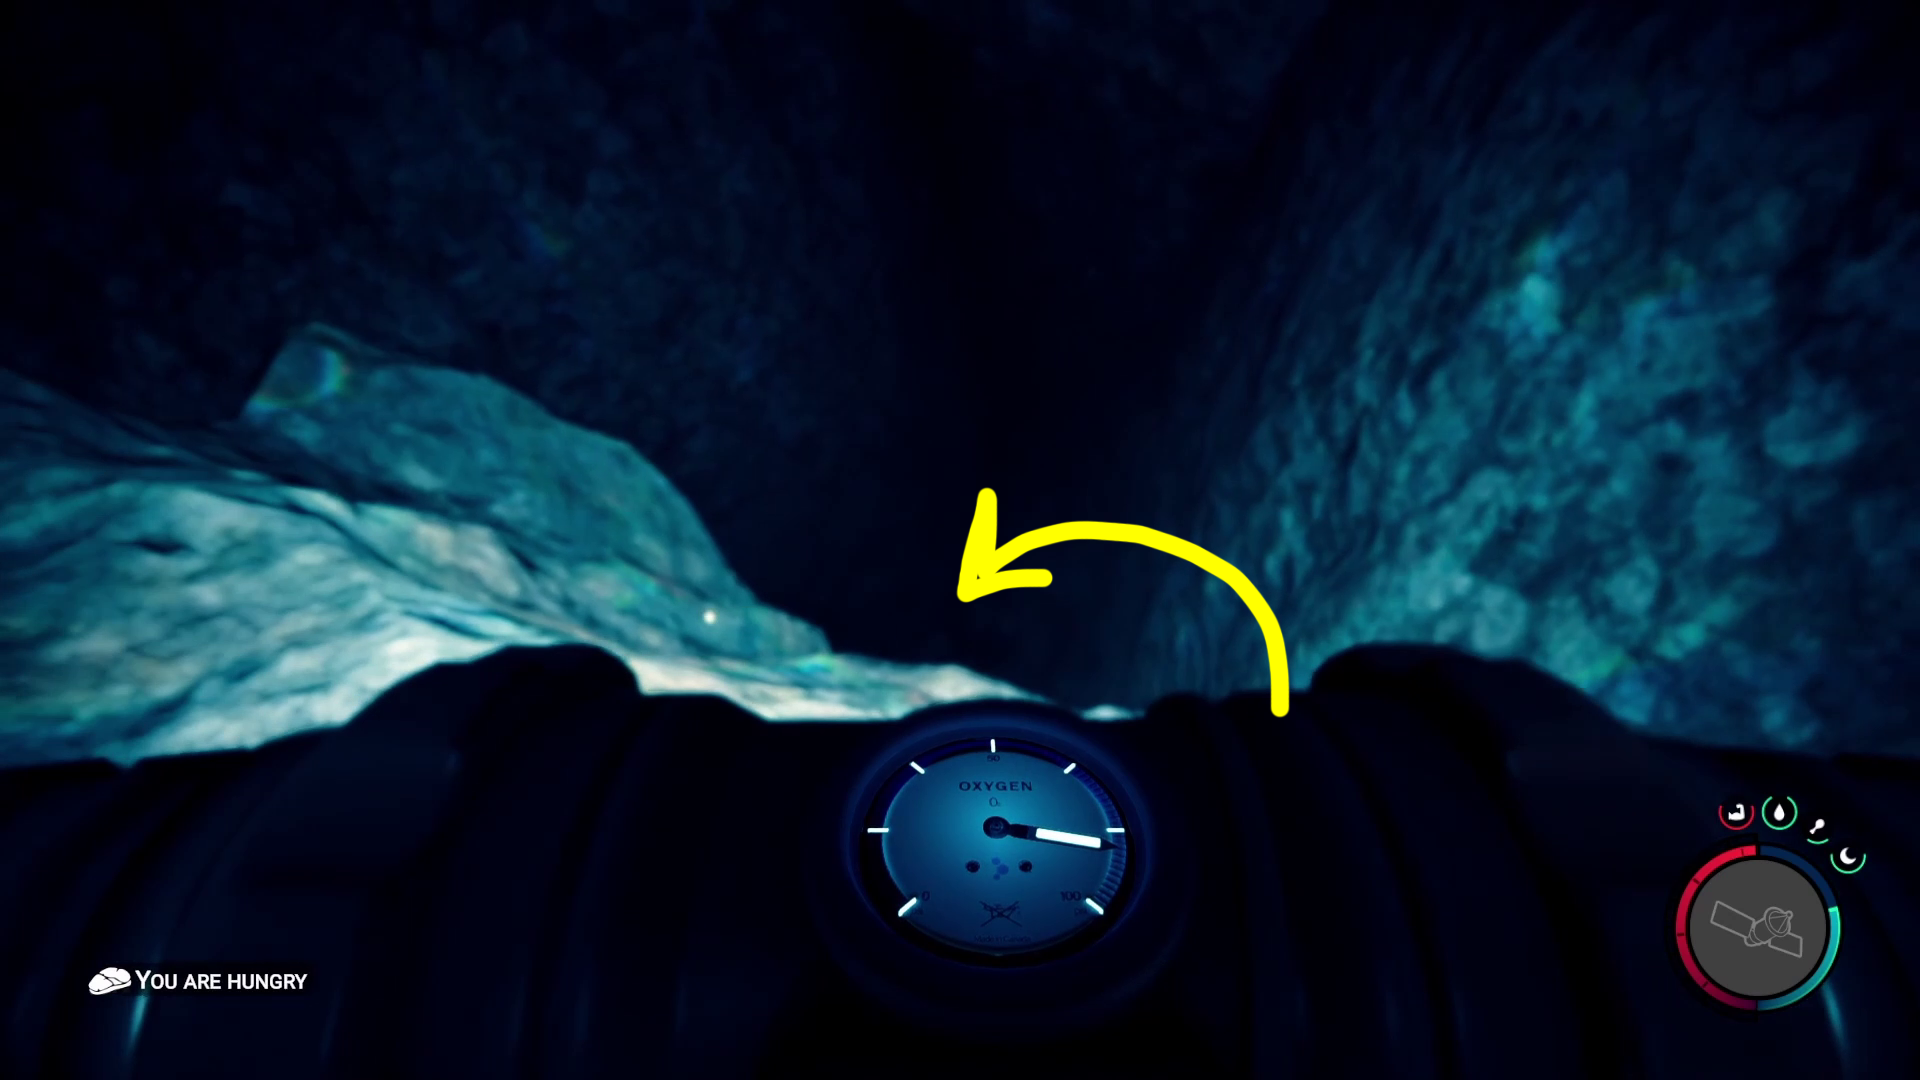
The zip line will drop you off near a large pool. Pick up all the bones and other loot around the edge of the pool — of particular note is an air tank near the work light (1) — and then dive into the pool. (You’ll equip your rebreather automatically if you don’t have it on.) Make your way to the bottom of the pool, where you’ll find a way forward (2). Follow it until you can’t go down any further, then continue horizontally (there’s only one way forward). After a bit of swimming, the floor will begin rising, and soon you’ll be able to swim up a ramp onto dry land.
12
There are numerous enemies ahead, and it can be easy to get lost and killed if you rush into the tunnels ahead. Instead, make your way slowly forward until you encounter enemies, then lead then back to the pool. There’s a spot you can stand on the right hand side of the pool you came out of (1) where you can stand safely — the enemies will try to attack you and end up drowning (2).
Hold block with your best axe while doing this, since sometimes they can get lucky and reach you. You can use ranged weapons from this spot if you don’t want to wait for them to drown themselves, and you can also just go in and out of the water to bait the enemies if you can’t manage to stand on the right side of the pool.
12
After tricking a bunch of the cave-dwellers into drowning themselves, you can proceed upwards on the path. You’ll run into a few more enemies, but they are spread out far enough you can take them one at a time. Holding down the attack button with your axe, and aiming for their heads, should let you take them out in one or two swings — if you get in trouble, just retreat back to the water. Along the floor of the right side of this passage will be a small grouping of items, like air tanks and the wetsuit. The path will start going downhill, and soon after you’ll start sliding uncontrollably.
You’ll land in another pool — once on land again, you can set up a tent if you have the tarp and stick for it, and save your game again and rest if you need to. When you’re ready, head into the passage just beyond the work light (1), making sure you loot the crates near the light. In the next “room” you’ll find more crates, and then you can continue forward. You’ll see a narrow gap that leads into a larger cavern — beyond it is a room chock-full of enemies. Fortunately, they can’t fit through the gap (2), so you can bait them to it and then use ranged attacks or good timing to dispatch them.
12
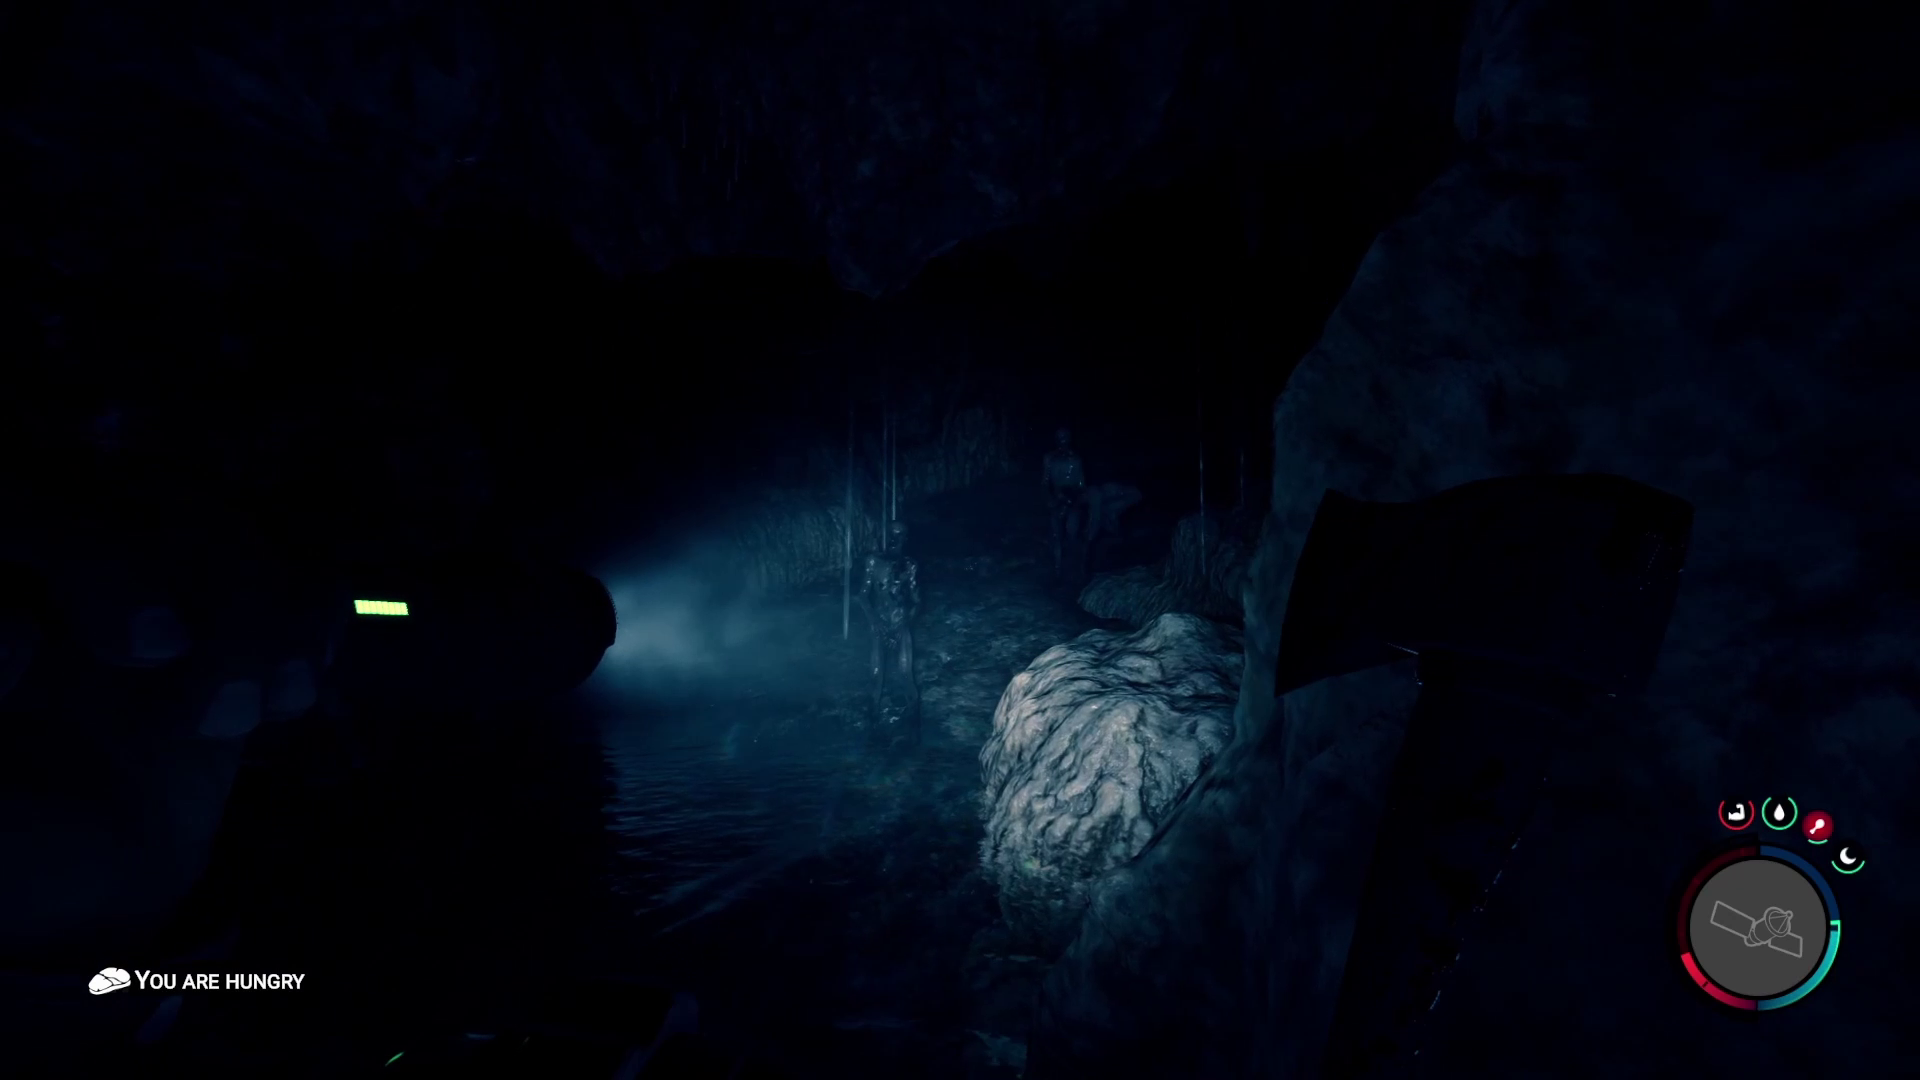
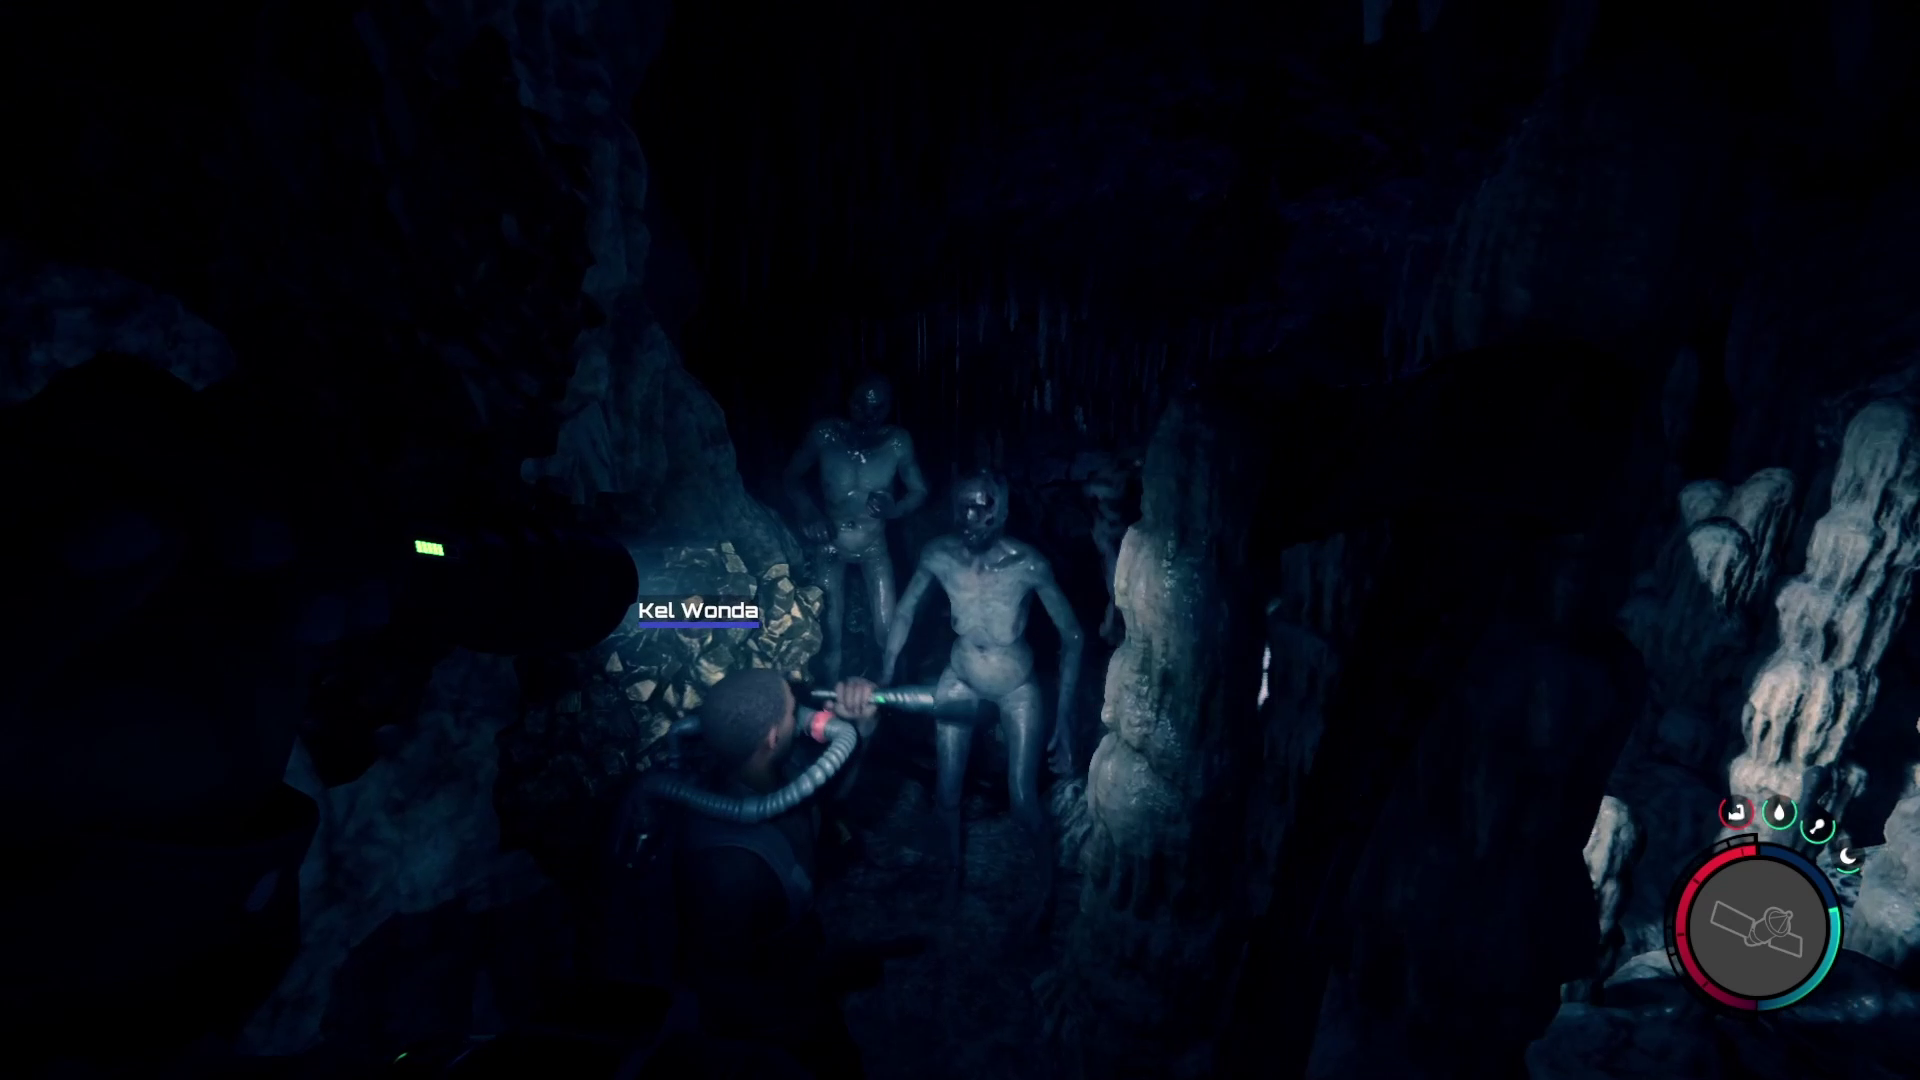
If they do manage to get through the gap, you know what to do — lead ’em to the water behind you! Once you’ve dealt with all the enemies, loot the crate and other stuff near the two dead workmen, then hug the right wall to continue forward (1). You’ll soon reach an even larger chamber (2), in which there are a number of large tooth-face mutants spewing their goop, plus two of the Siamese-twin lookin’ crawler enemies.
Ideally, you’ll sneak past the enemies here, but the crawlers are very hard to avoid, so it’s likely you’ll need to kite them back to the gap you used in image 2 above, or if they get through that, all the way back to the pool. Another option is to try to lob some grenades in the path of the crawler enemies, then sneak past the other foes.
12
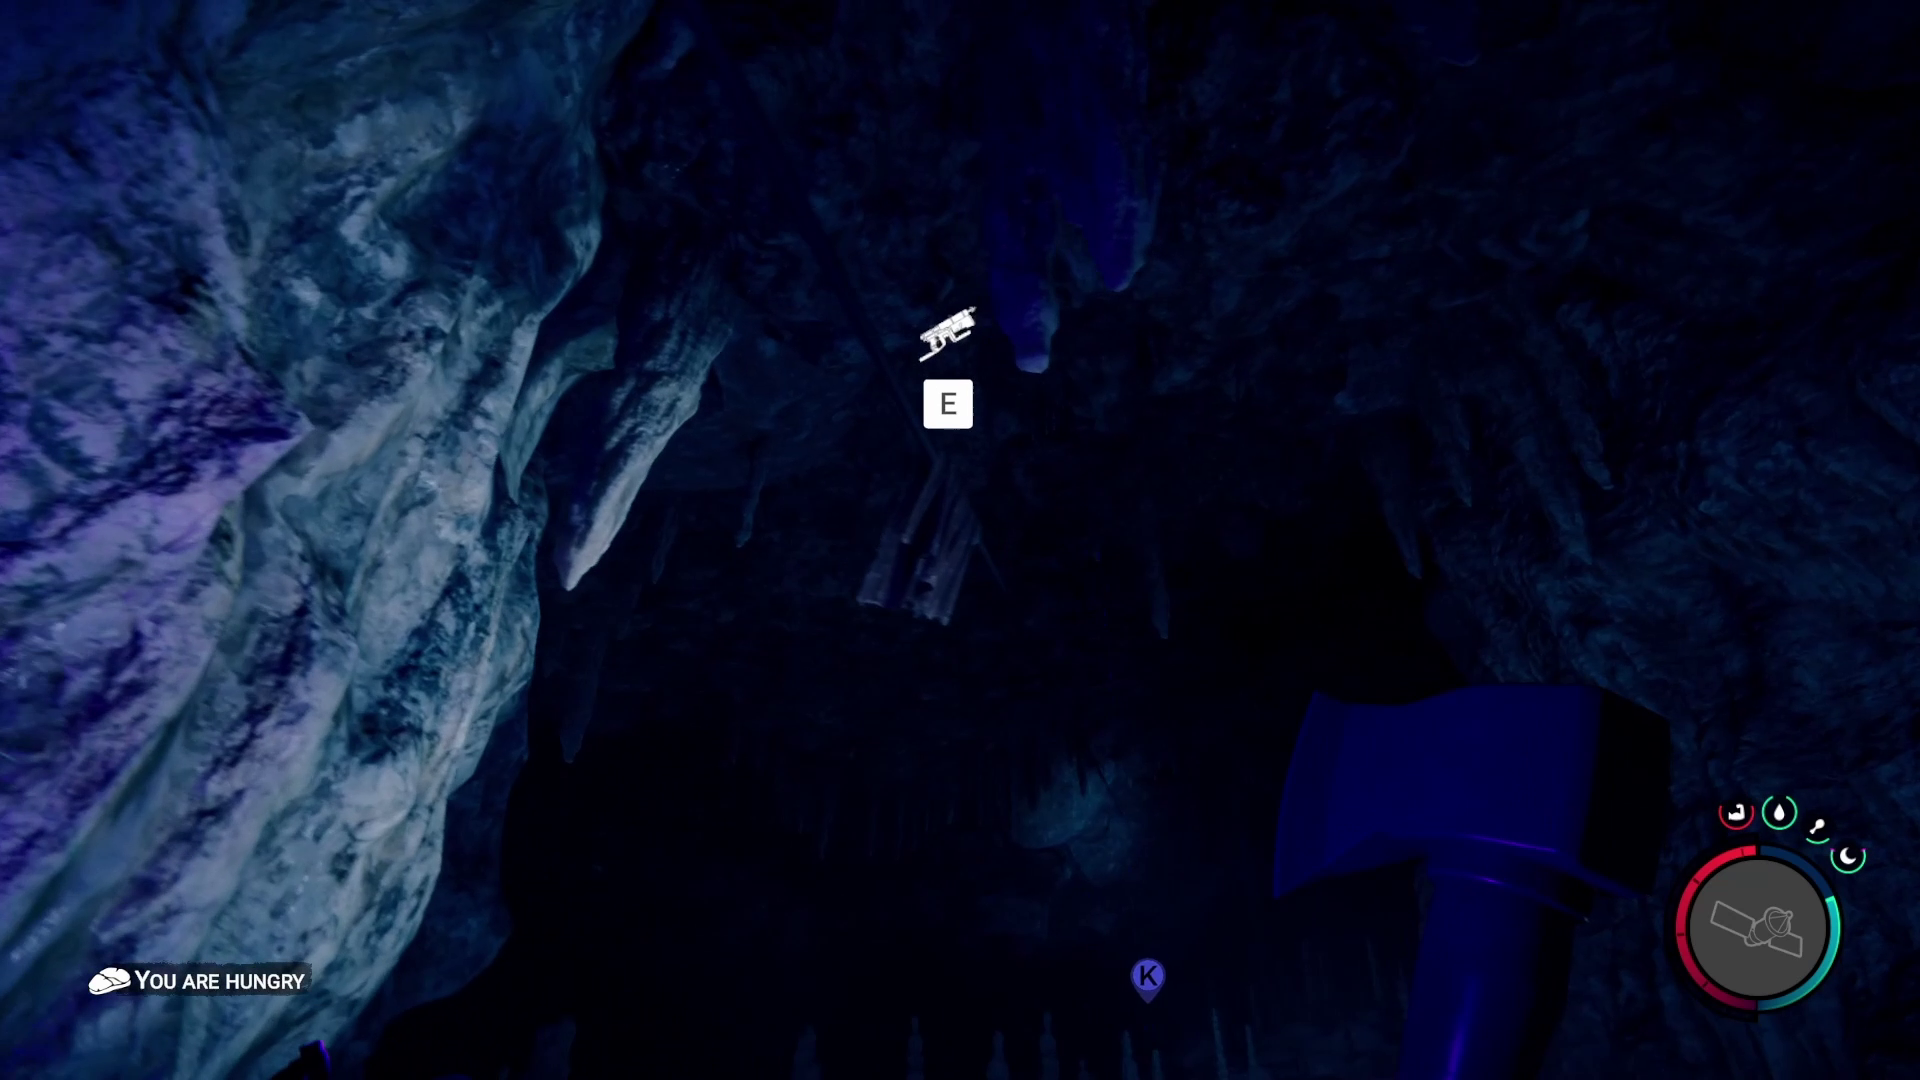
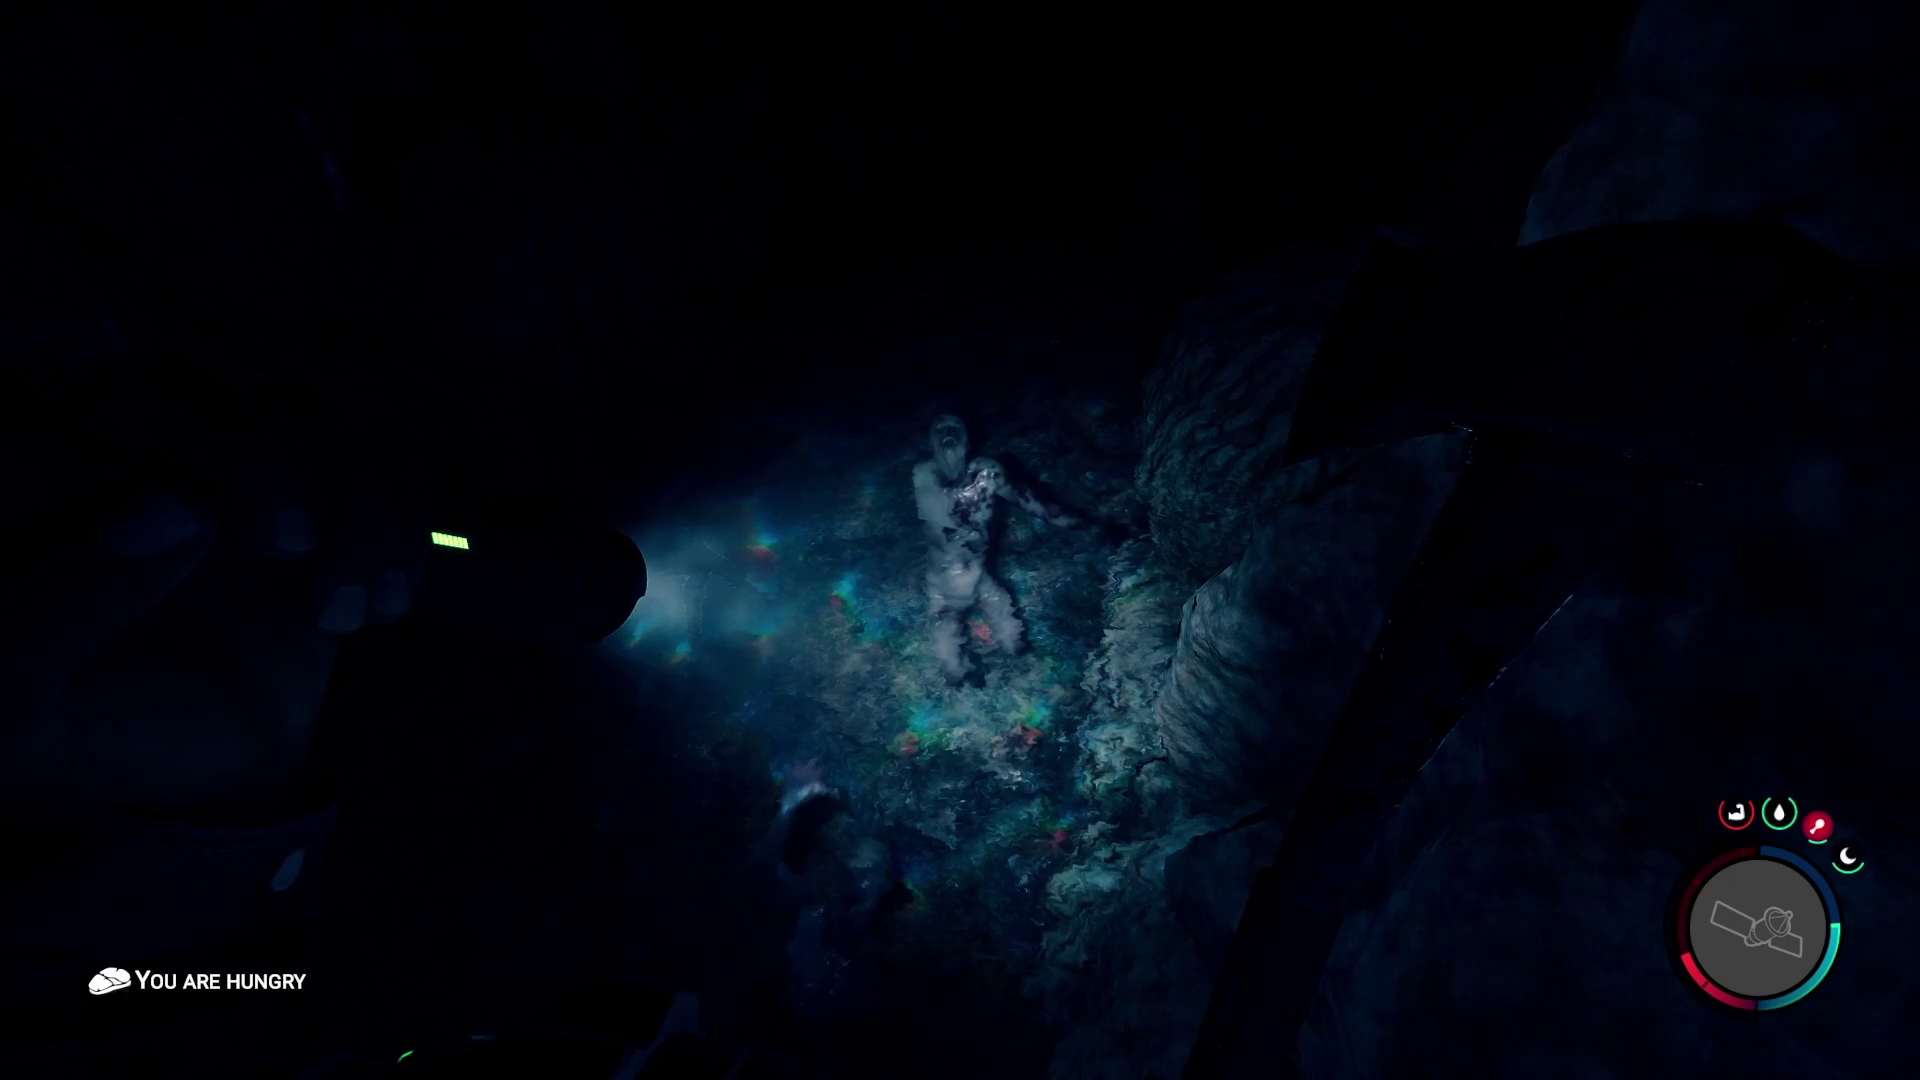
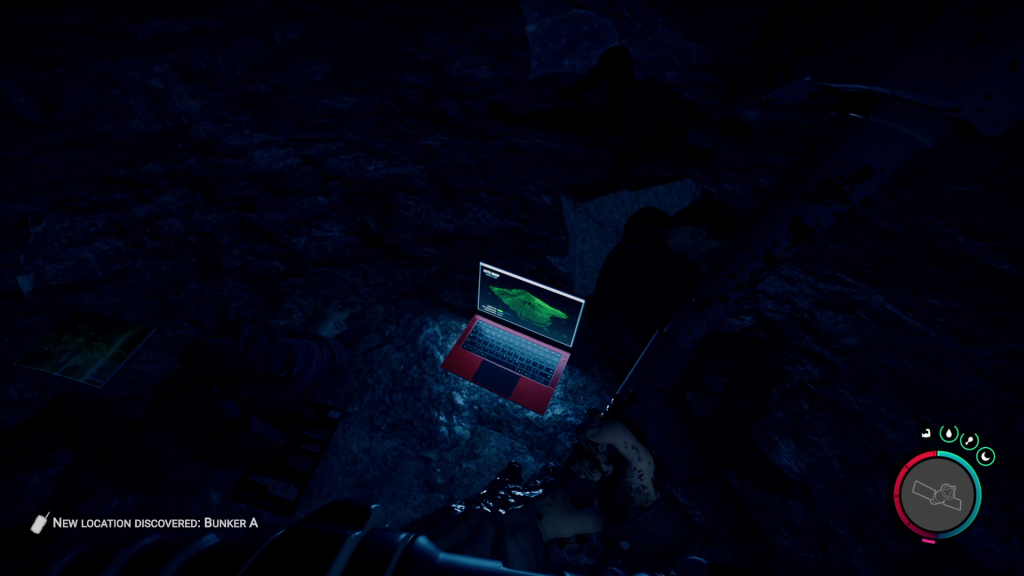
In the center of the room is the flashlight attachment for the pistol and shotgun— you can spot it from where you enter the cavern, as it’s the light source in the center of the room that’s closer to you (1). Turn your own light source off, and sneak over to the flashlight attachment and grab it from the corpse (2). There will also be a laptop next to the attachment; make sure you interact with it to get the location of Maintenance Bunker A on your GPS tracker (3), then head to the opposite corner of the cavern relative to where you came in (4).
1234
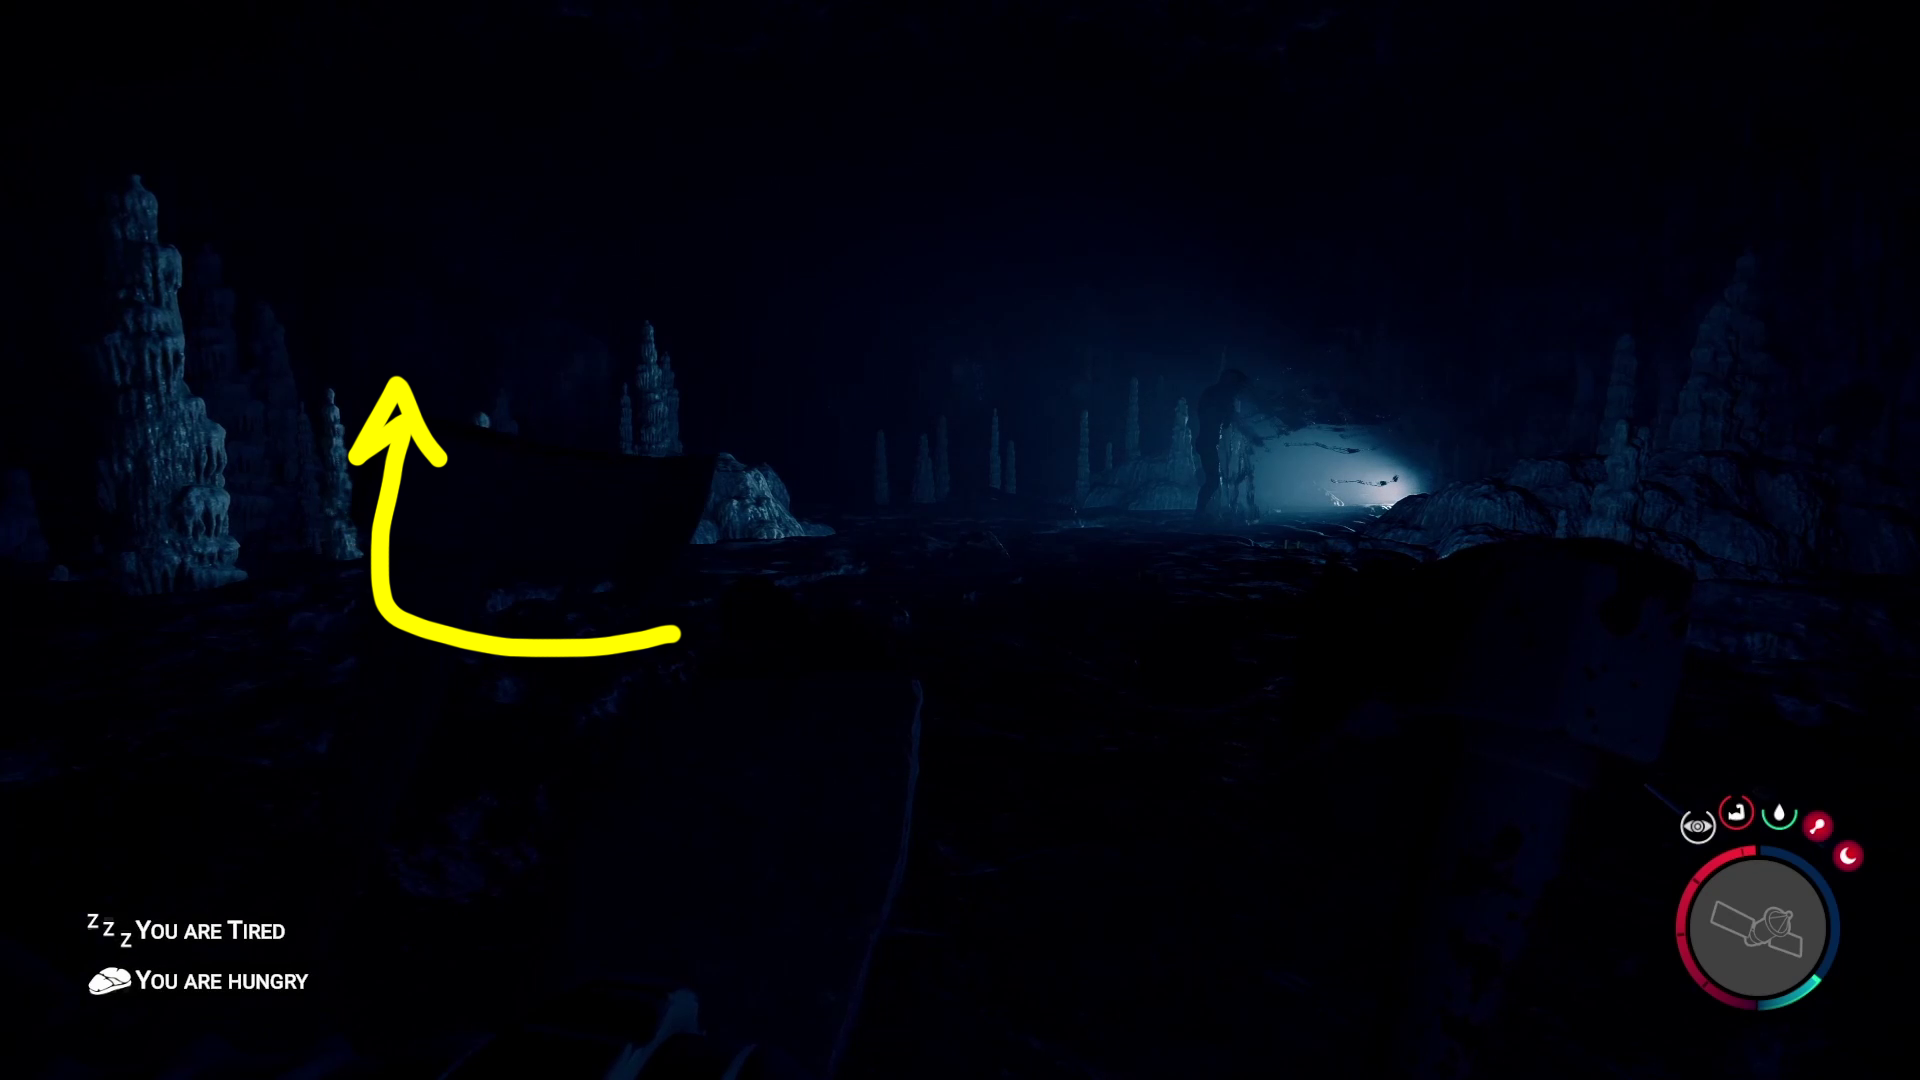
Once you get far enough away from the remaining enemies, turn your light on and look for a passage — you’ll know you’ve found it when you find the babies on the floor (1). Jump and sprint past them to avoid taking damage, and continue forward as the path goes downhill and then uphill. You’ll come to more water — swim into it and go forward, and you’ll soon exit the water. Don’t rush out, as there are numerous enemies immediately ahead.
Again, the safest strategy is to find a spot to stand in the pool and bait the enemies into drowning, then continue into the passage once they’re all dead. Watch out — in this pool, there are quite a few surprising places the enemies can reach (2). There are even more foes further along in the passage, so you may have to spend a fair bit of time baiting the enemies into the water if you don’t want to fight them.
12
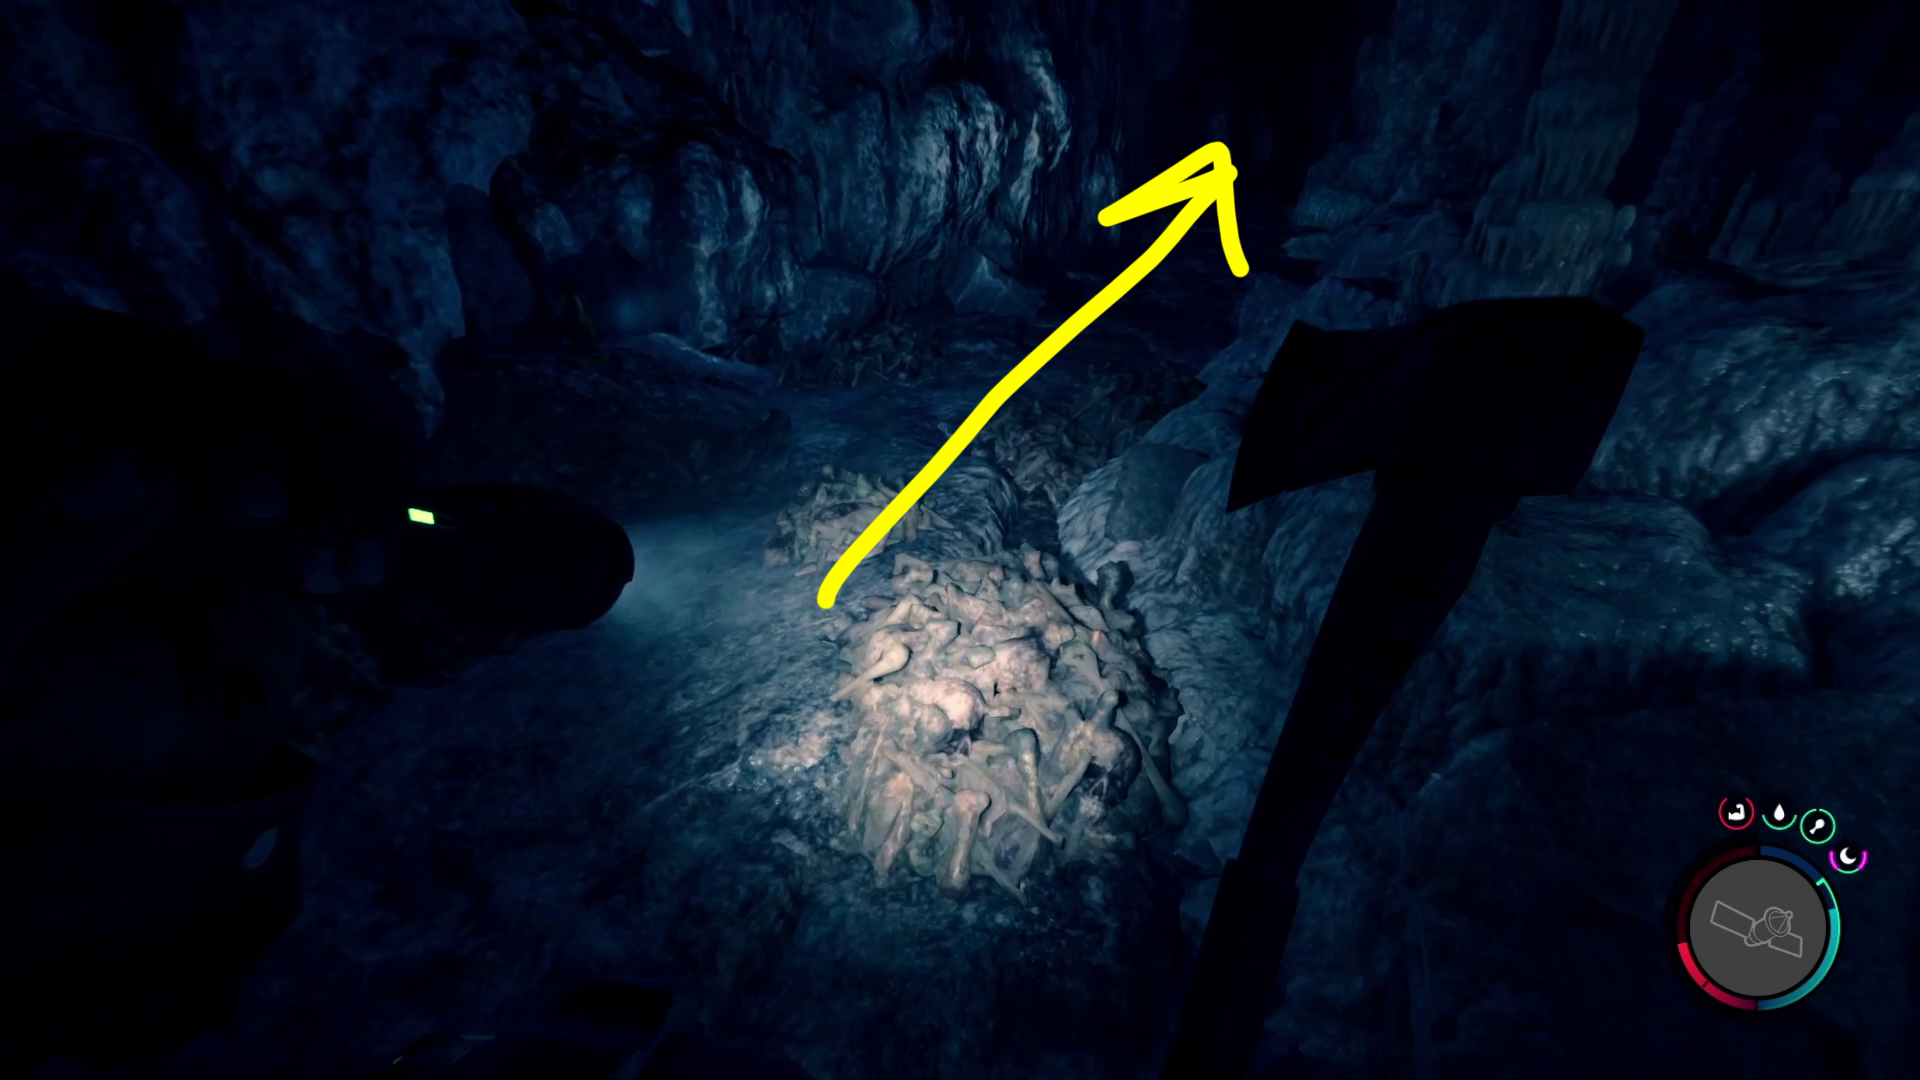
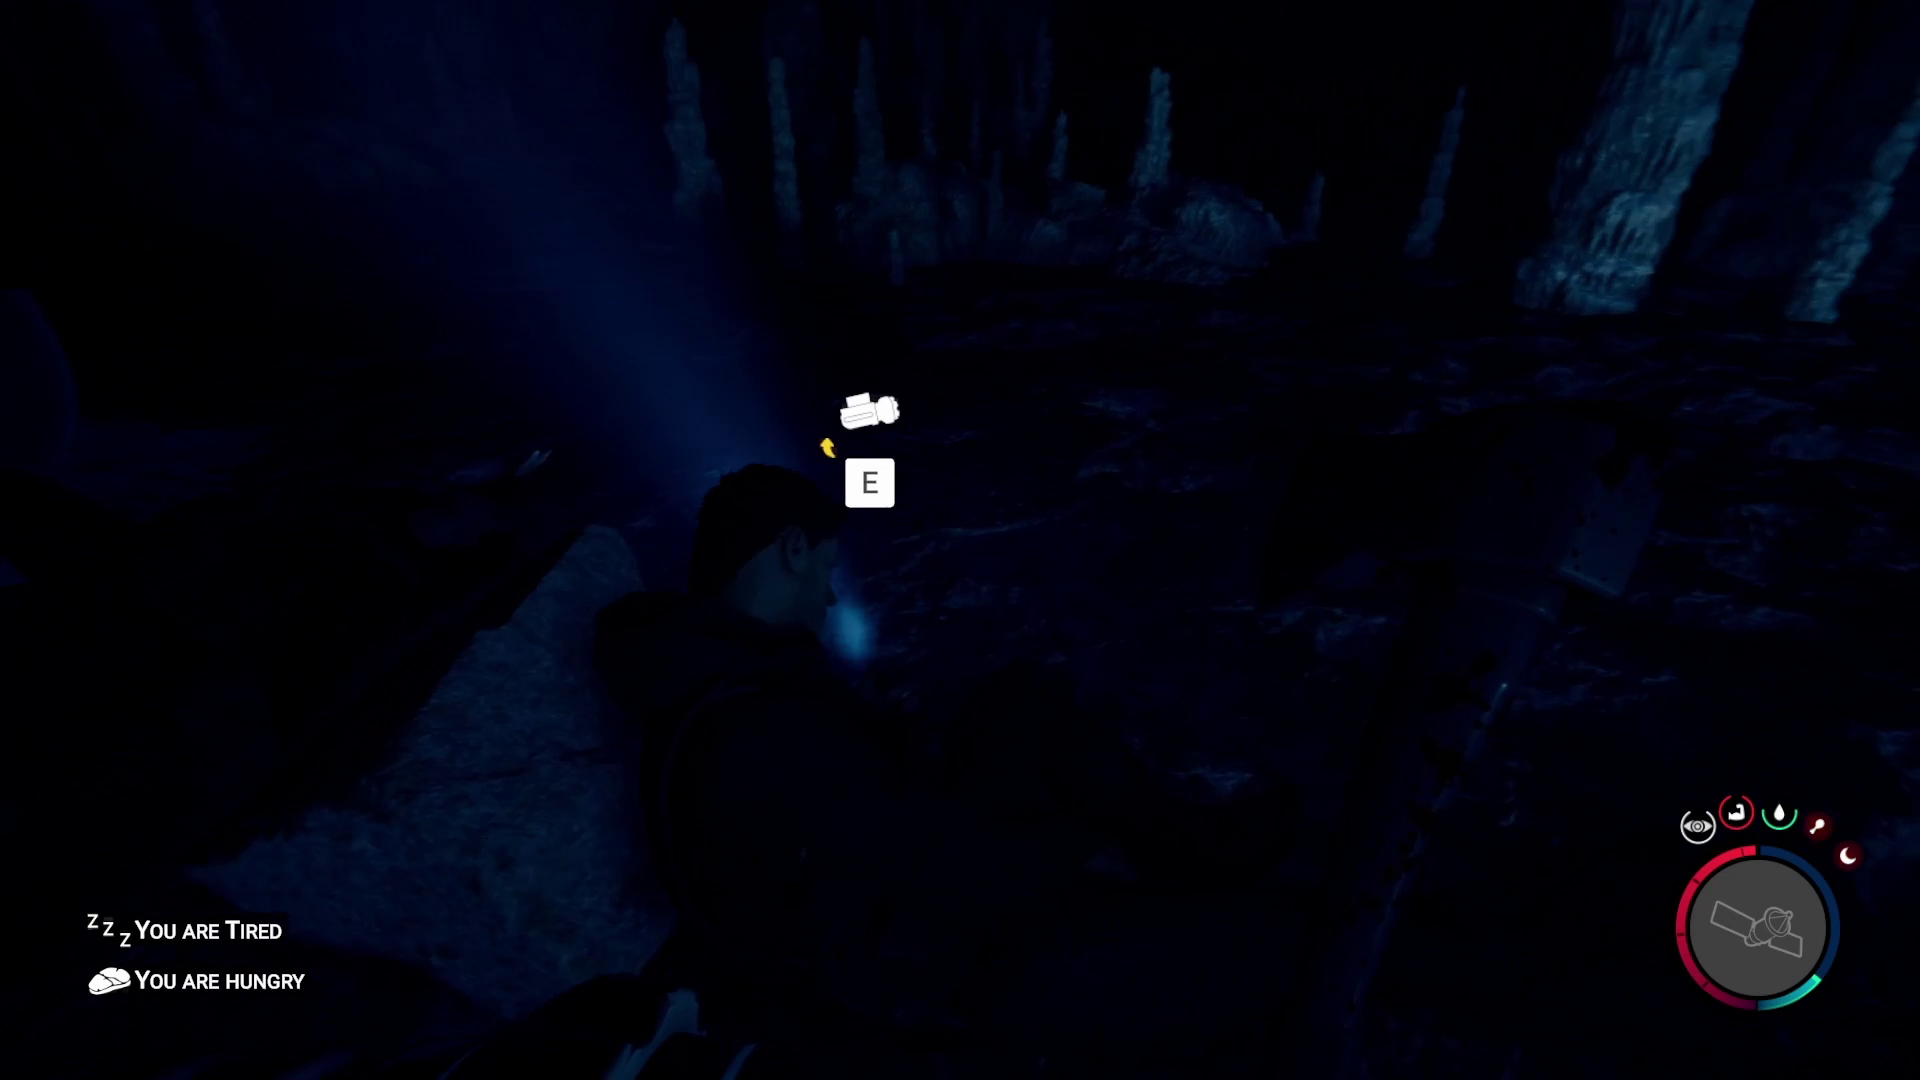
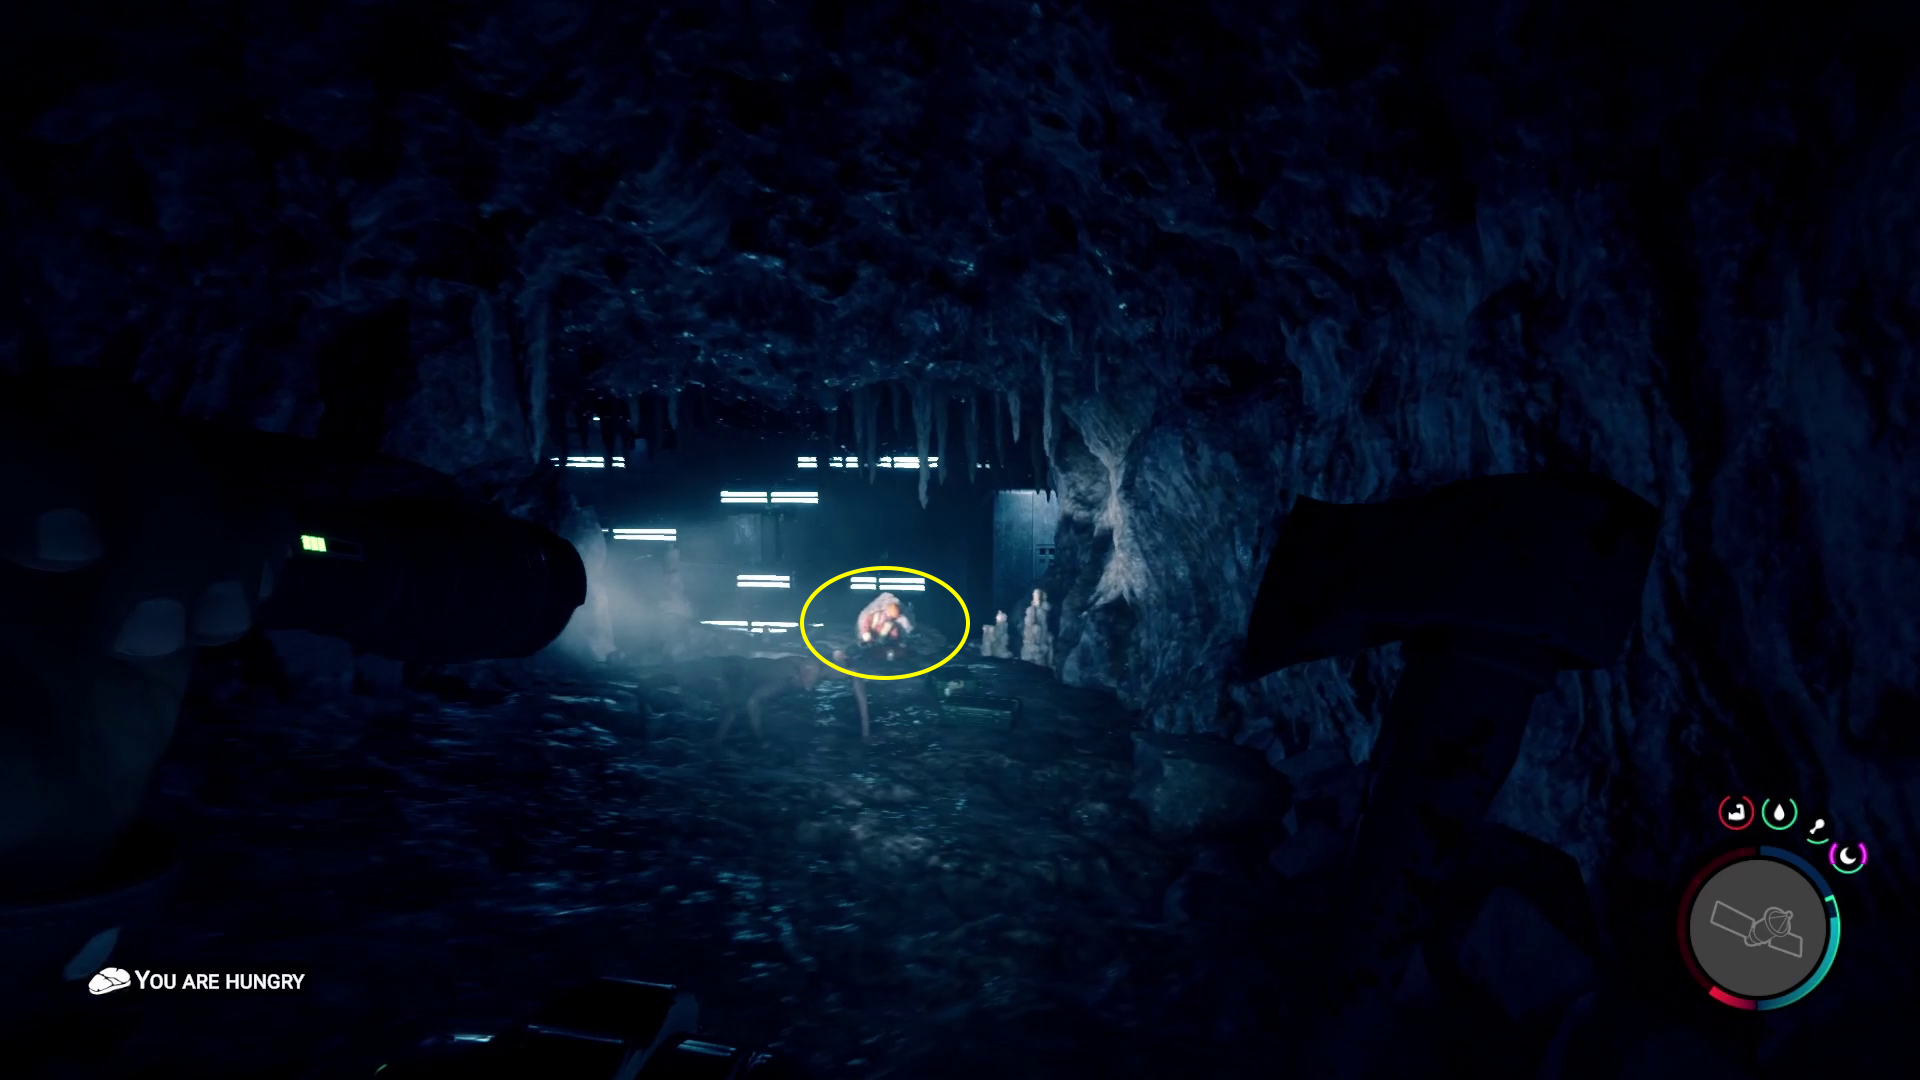
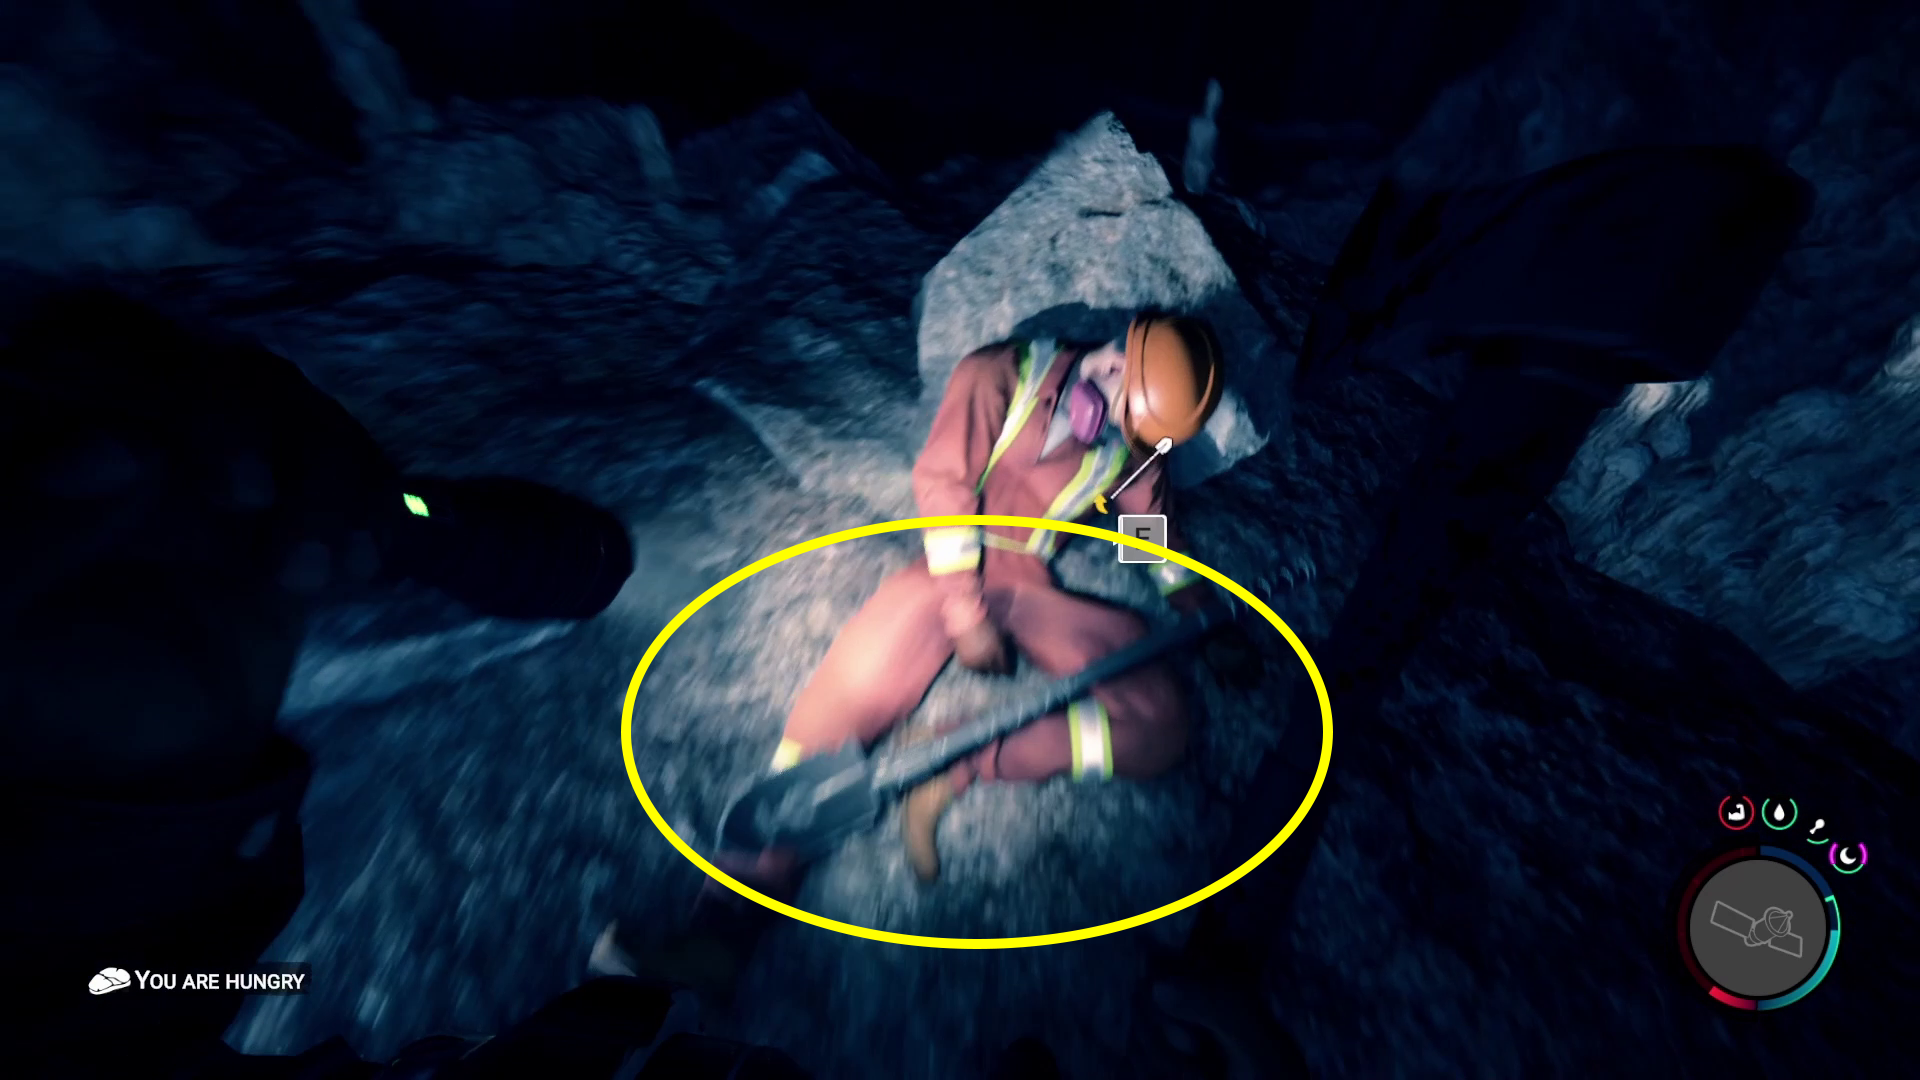
After dealing with all the enemies in the passage, continue forward and you’ll soon see some fluorescent lighting on the far wall. There are a large group of babies and another crawler here, but you can just run past them to the dead workman (1). He’s got the shovel in his lap (2), so snatch it and then sprint back to the water. There are crates to loot in the room with the shovel, but obviously you’ll need to deal with the enemies here if you want the crates’ contents.
12
To get out of the cave, you’ll need to go back the way you came. Enter the water again and swim back to the passage with the babies, and backtrack through the cavern where you found the flashlight attachment as well (hug the right hand wall and you’ll come to the passage you need). Continue through the room with the two dead workmen, and then go through the gap where you probably cheesed some enemies.
As you go through the narrow gap, the rocks on your left should explode, revealing a slug-looking enemy in a crack (1).Destroy it with explosives, and then continue through the gap the slug was occupying. You’ll come across some babies, so watch the floor! Past the babies is another dead workman — keep going a fair ways uphill and you’ll come to a spot where you can drop down. Do so, keep going forward, and then squeeze through the gap (2) with / / to exit the cave. You’ll find yourself back in the fresh air, one shovel richer.
12
We hope this guide on finding the shovel in Sons of the Forest was helpful! If you’re wondering where to go next, head to Maintenance Bunker A and get the maintenance keycard. Drop us a line in the comments if you’ve got questions or any suggestions for the guide.
Share this article:
DanielD
Unabashed FromSoftware fanboy still learning to take his time with games (and everything else, really). The time he doesn't spend on games is spent on music, books, or occasionally going outside.