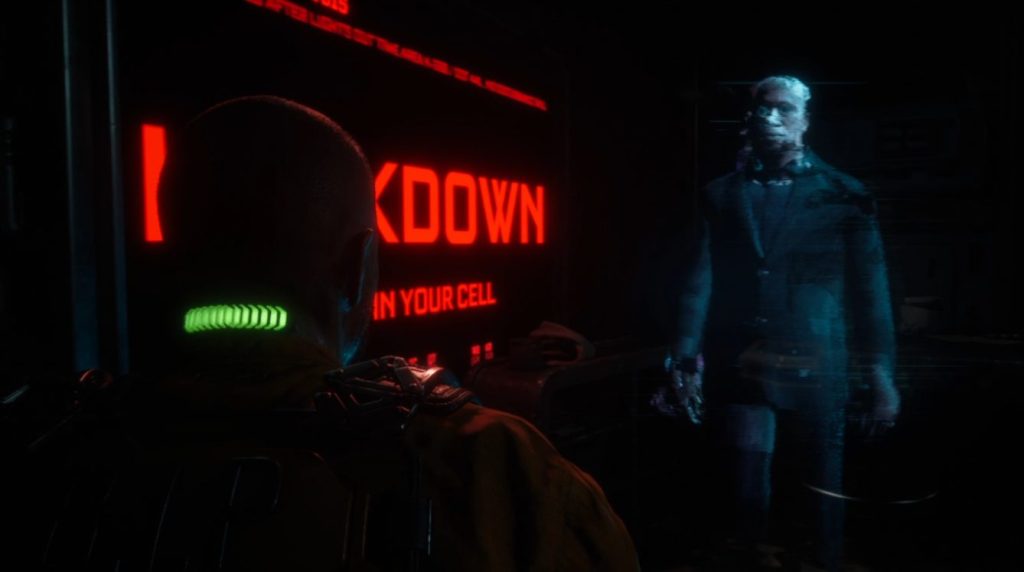
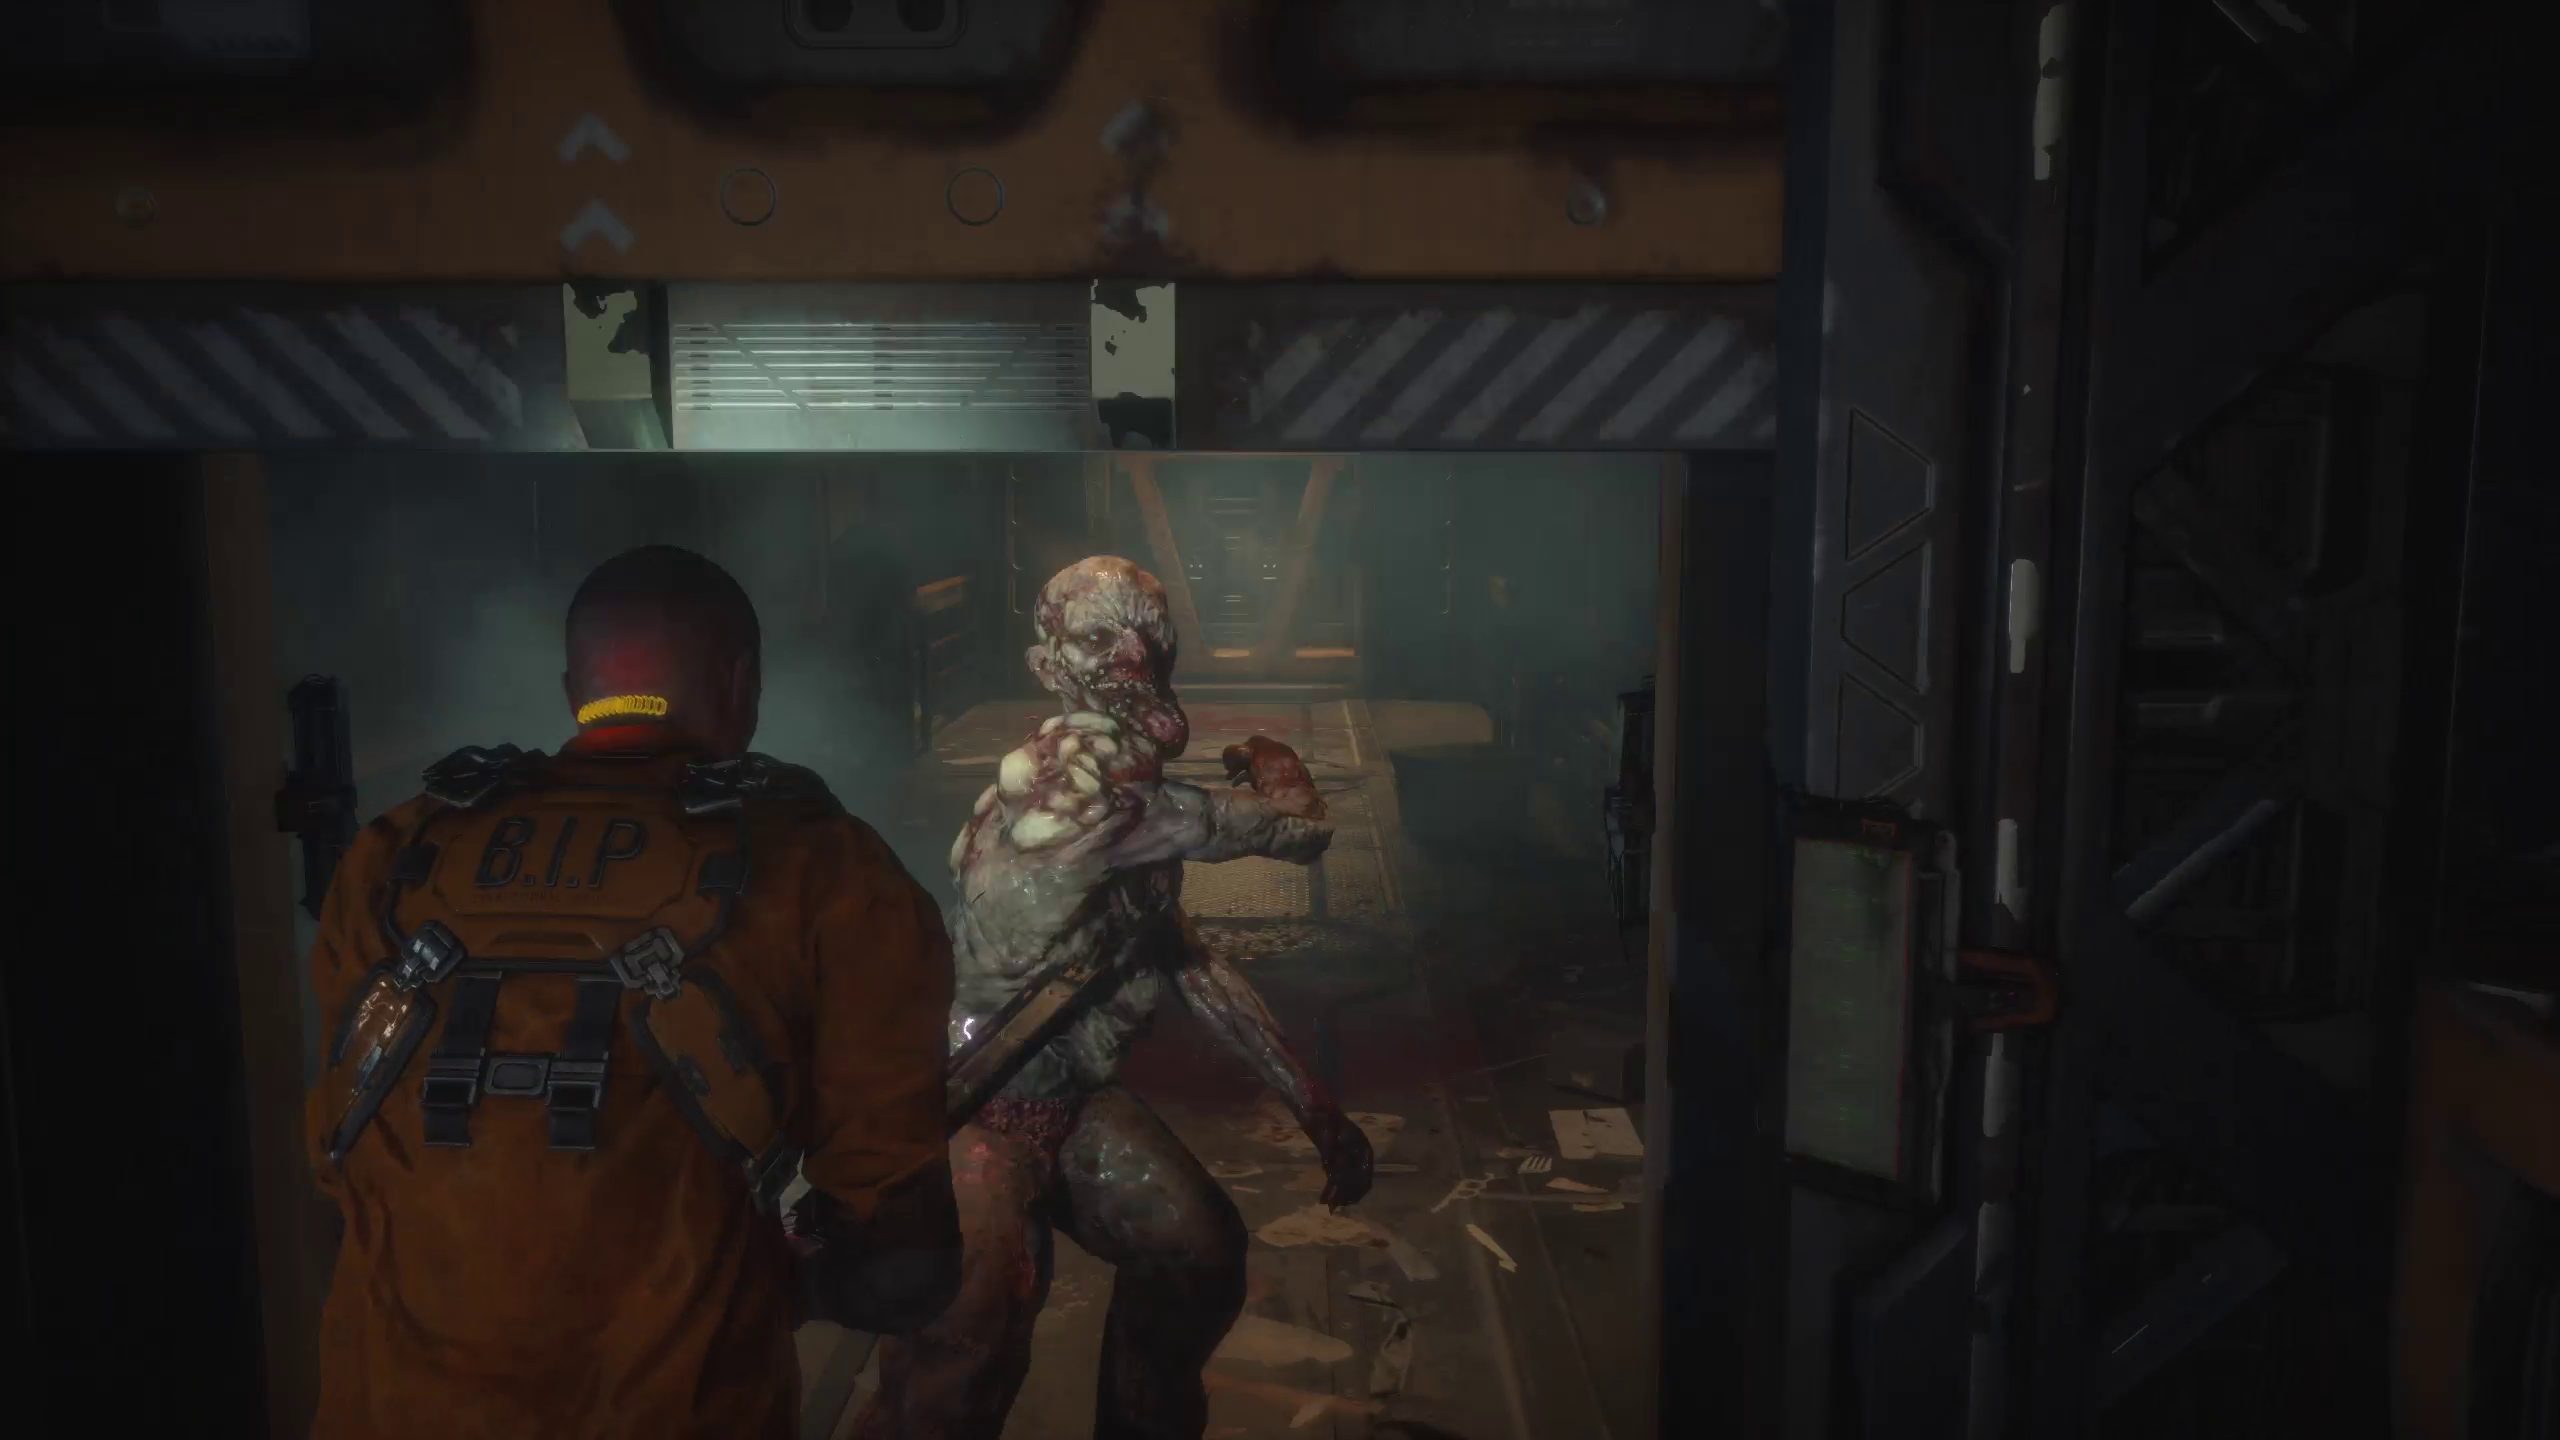
Once you begin the level, you can move forward through the area by following the path laid forward before you. There is no loot or collectibles until you reunite with Elias Porter, shortly after beginning this level. Be aware that you will be ambushed by a biophage as soon as you open the door (“Overbridge D503”) at the bottom of the stairs after the broken robot.
After you squeeze through a gap in the room after the ambush, a cutscene will play, where you’ll reunite with Elias Porter. After it plays, loot the lockers in the room you find yourself in, and then head into the next room, Security D505.
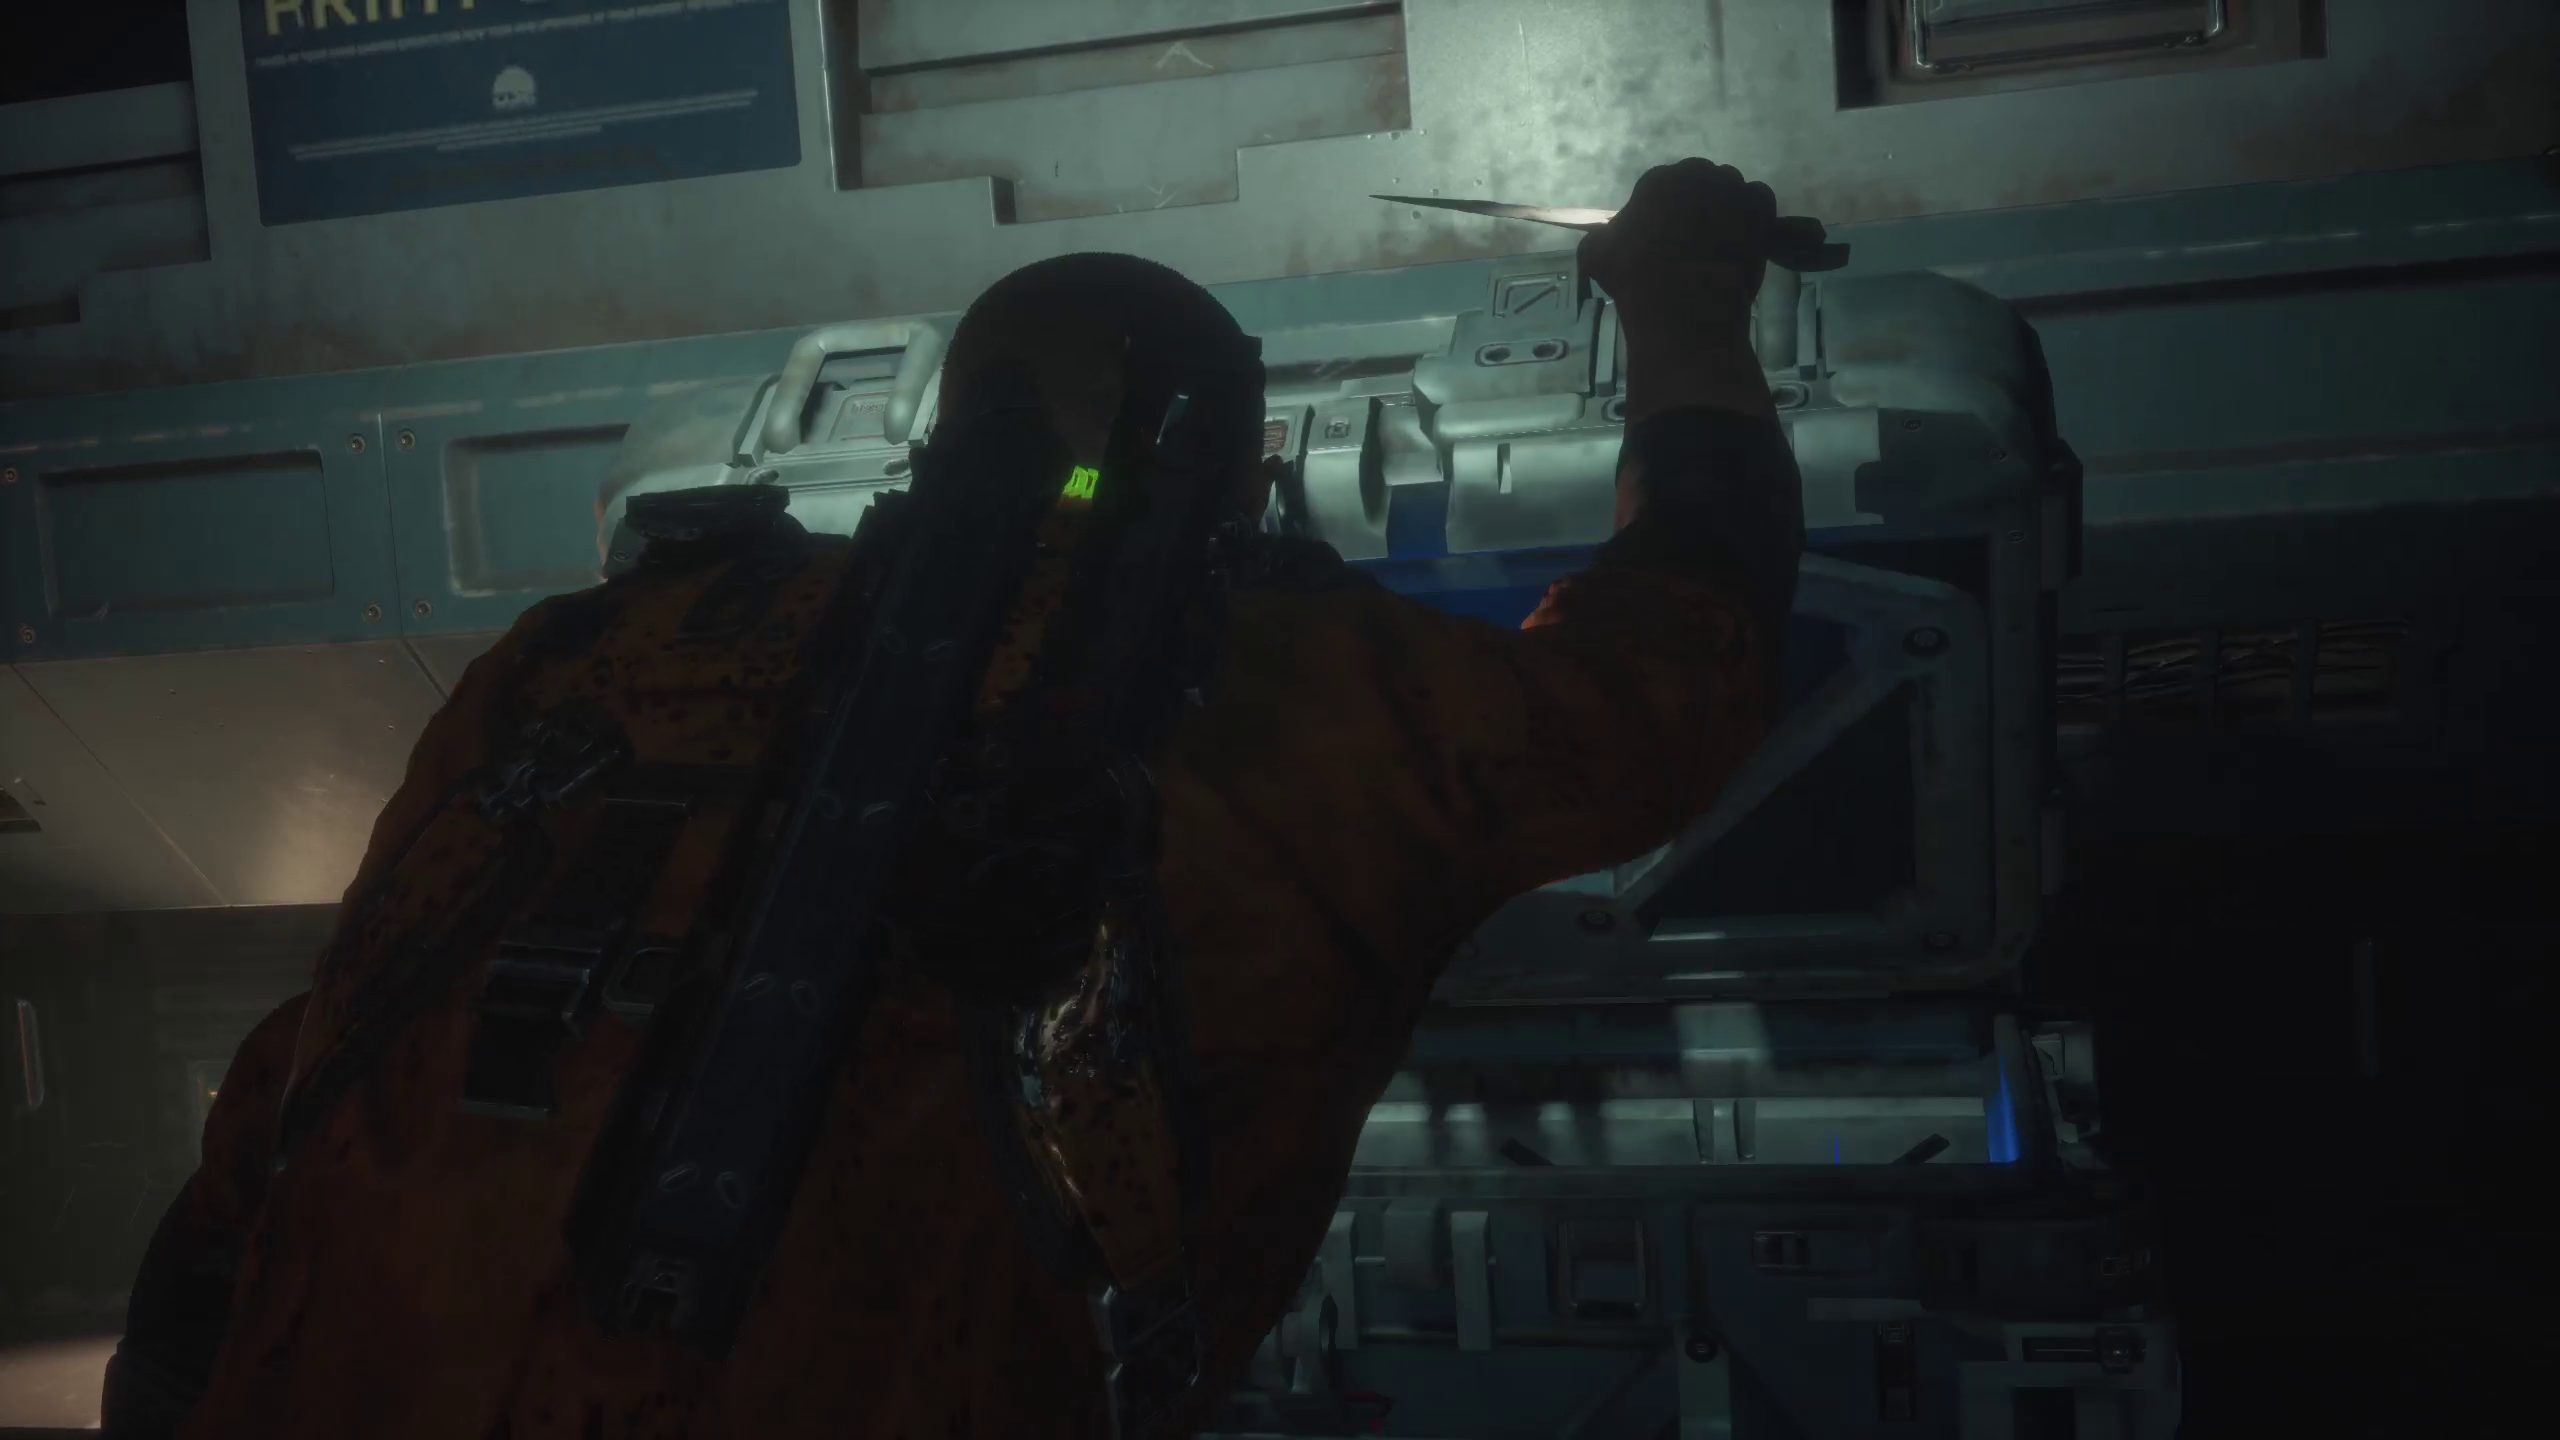
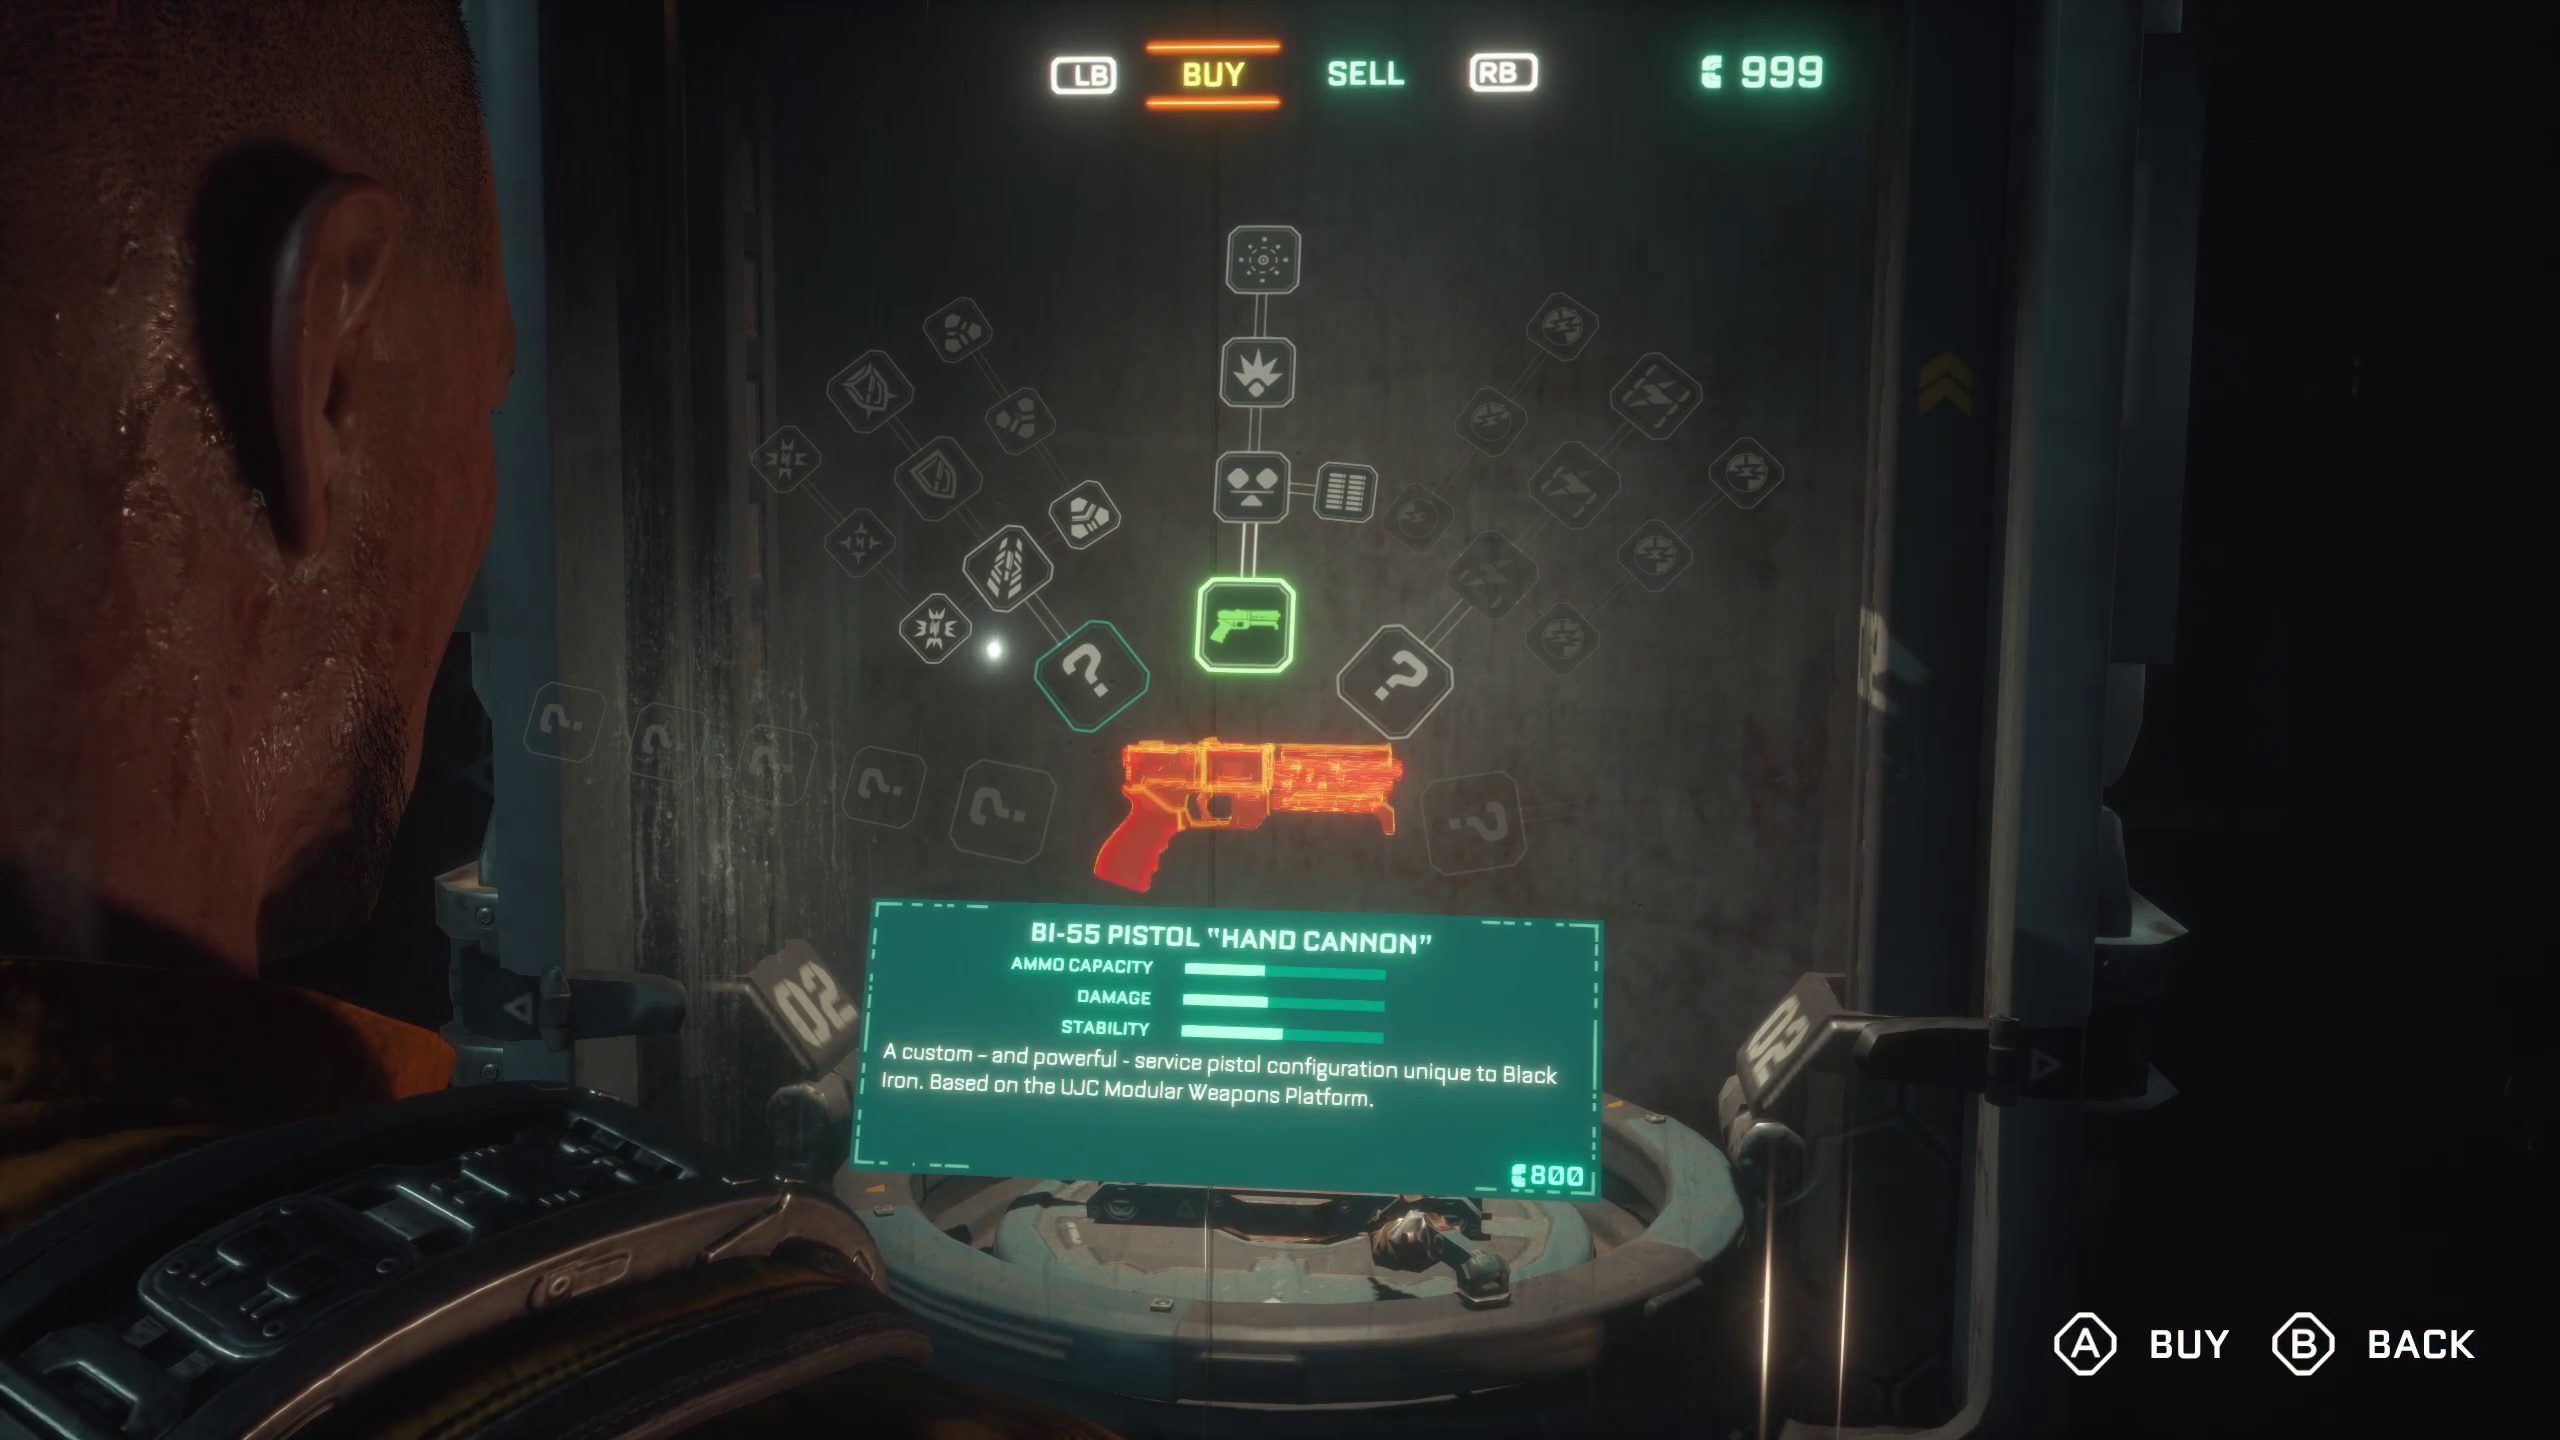
Print A Weapon at the Reforge
Here, Elias will will hand you a Weapon Platform, and tell you to make yourself a weapon at the nearby Reforge. Before you do, though, make sure to loot the chest to it’s right, where you’ll recieve enough Credits to make the weapon, as well as some other loot. Once you’ve looted the chest, go to the Reforge station. You’ll need to select the one option available to you and buy the BI-55 Pistol “‘”Hand Canon” with/ / . After you do that, a cutscene will play immediately, but don’t worry: you will be able to access the Reforge station again after it finishes.
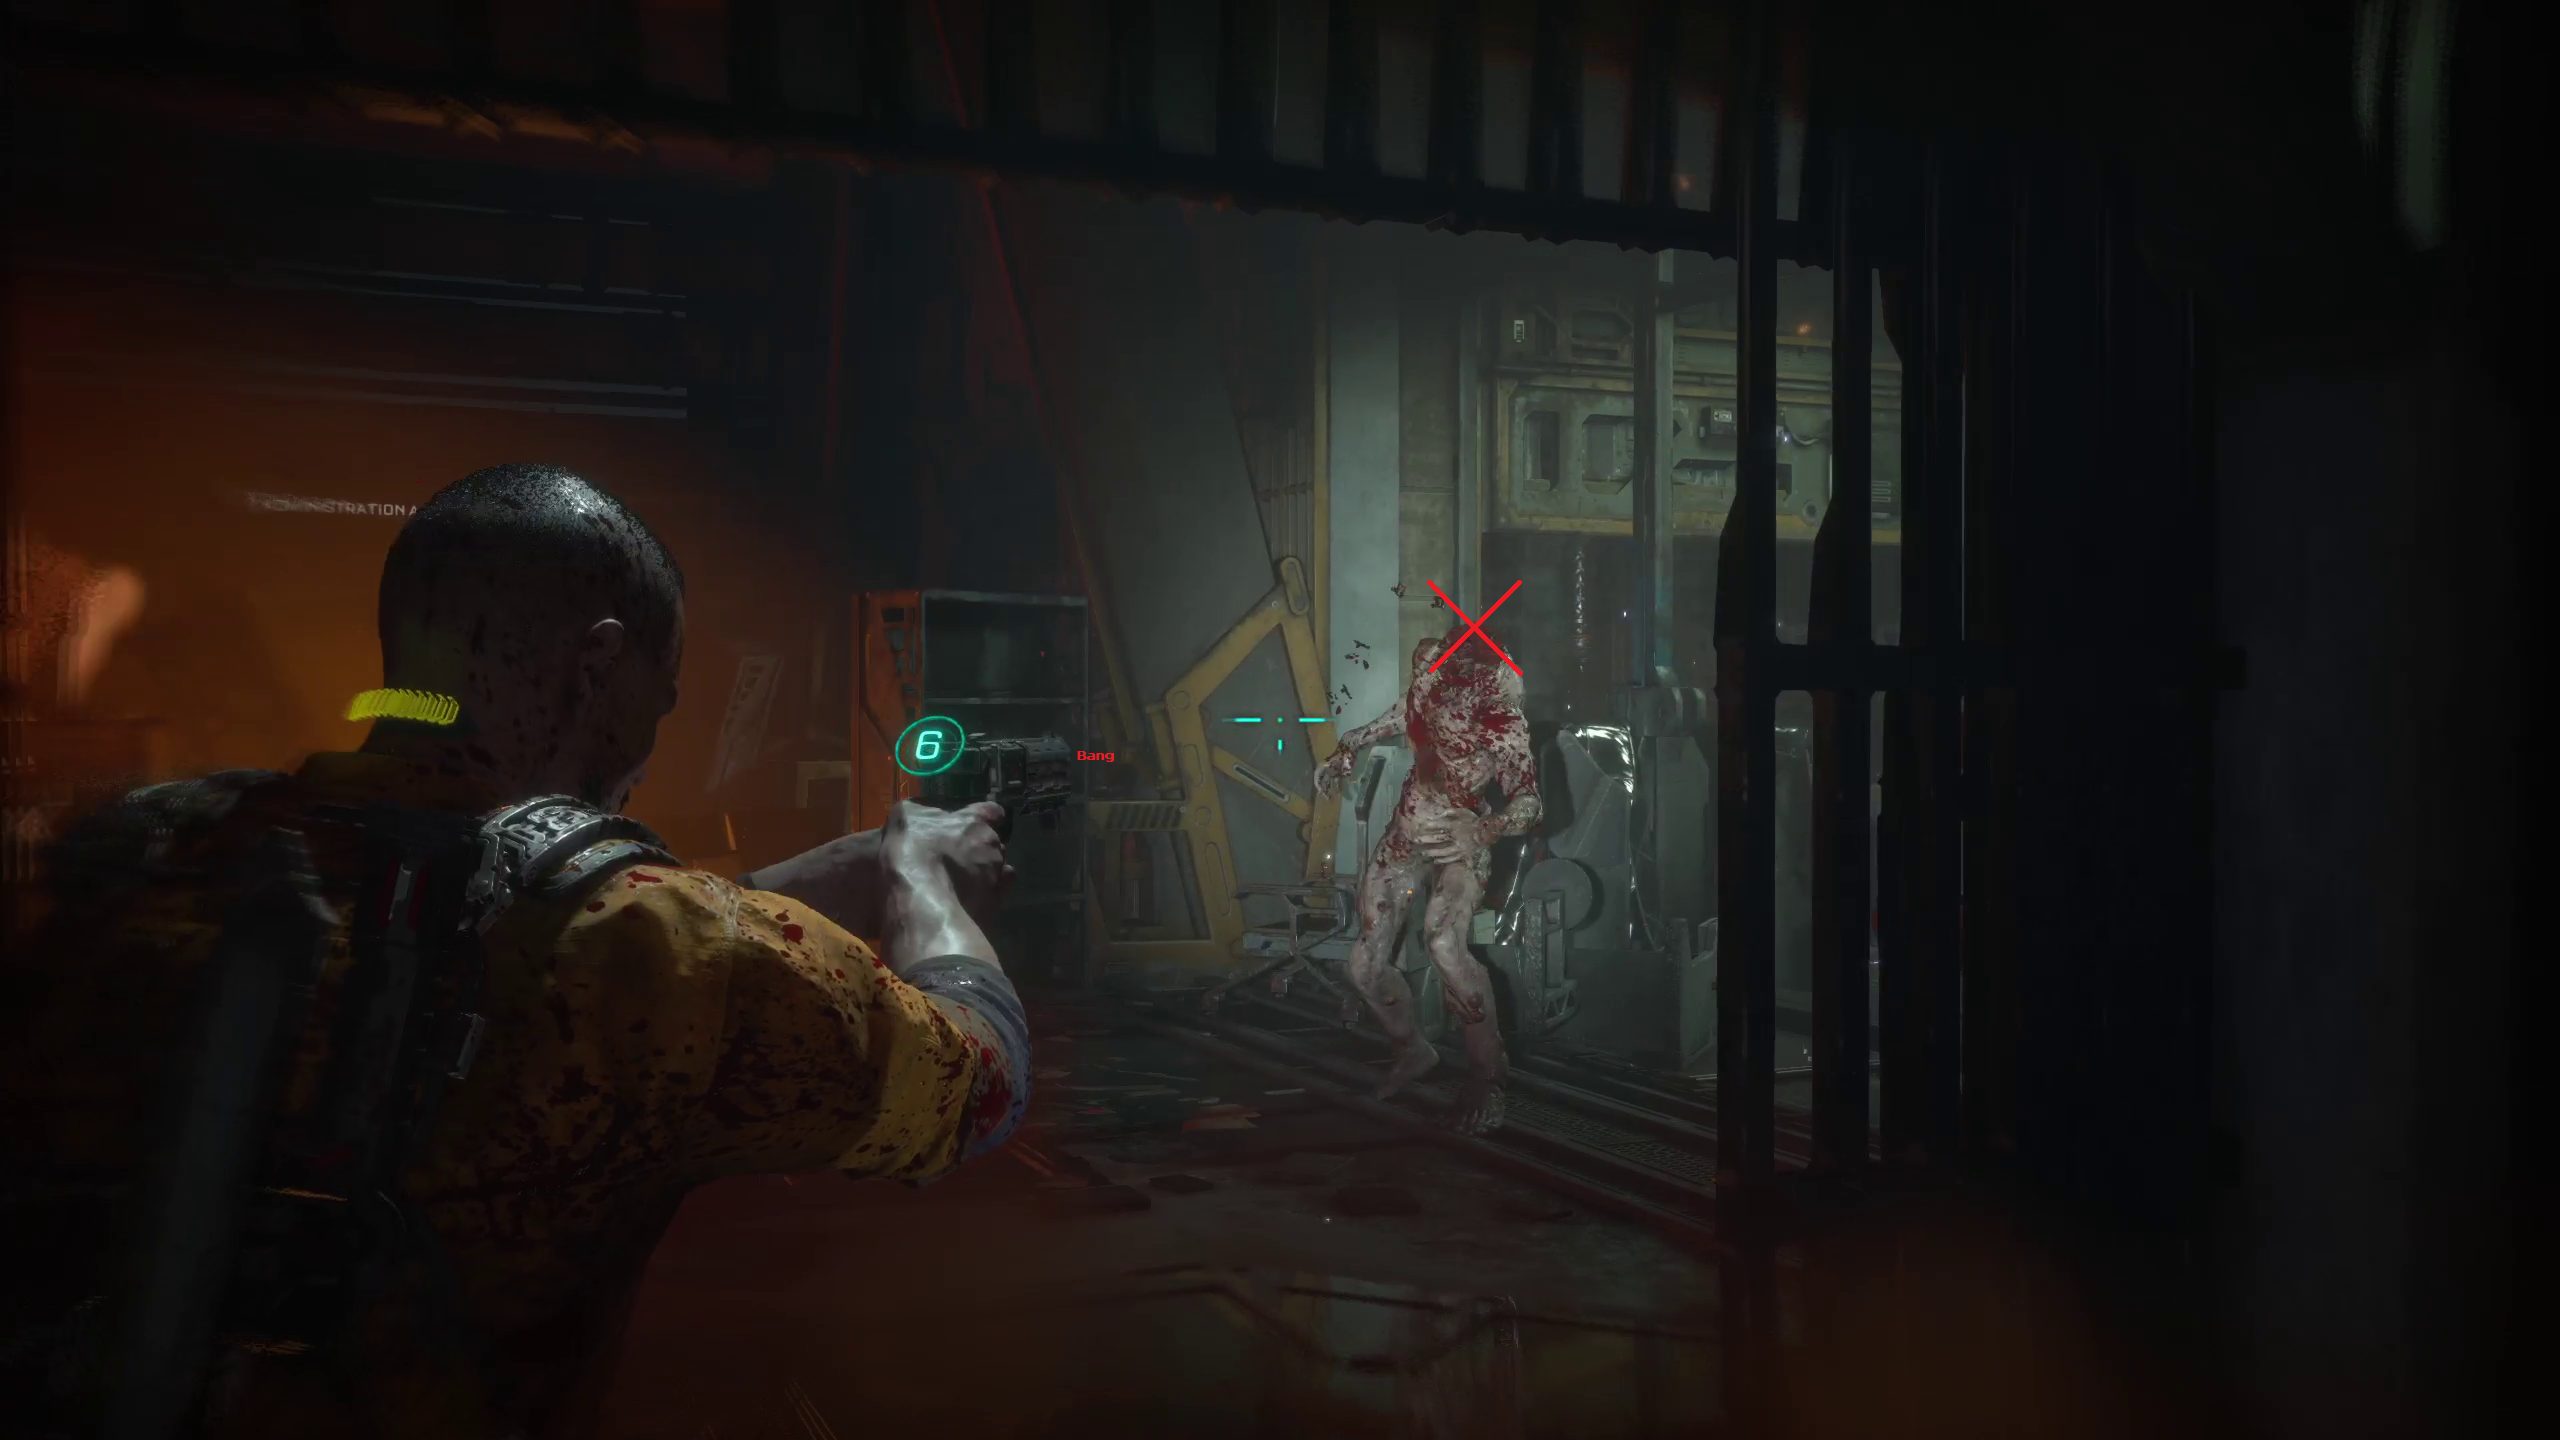
Exit Security
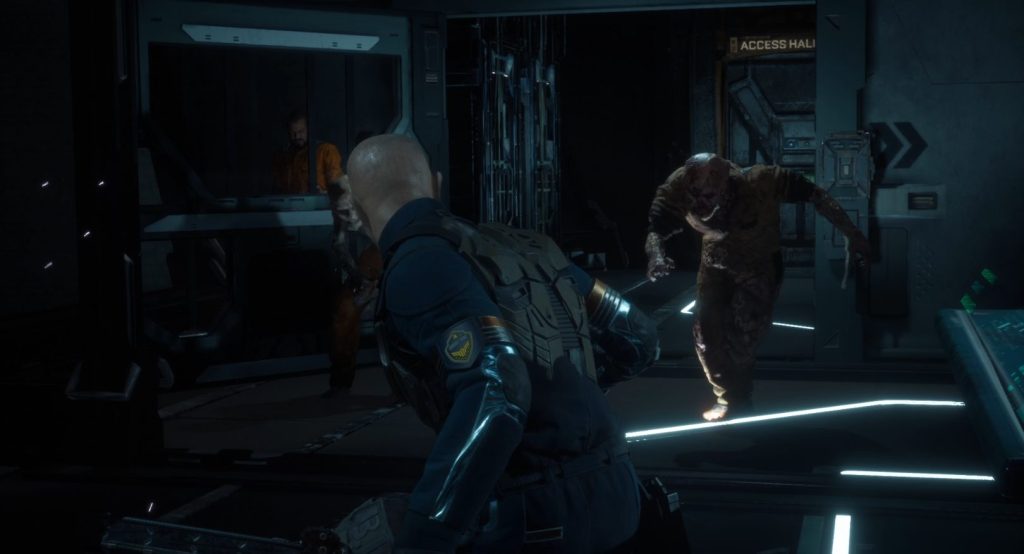
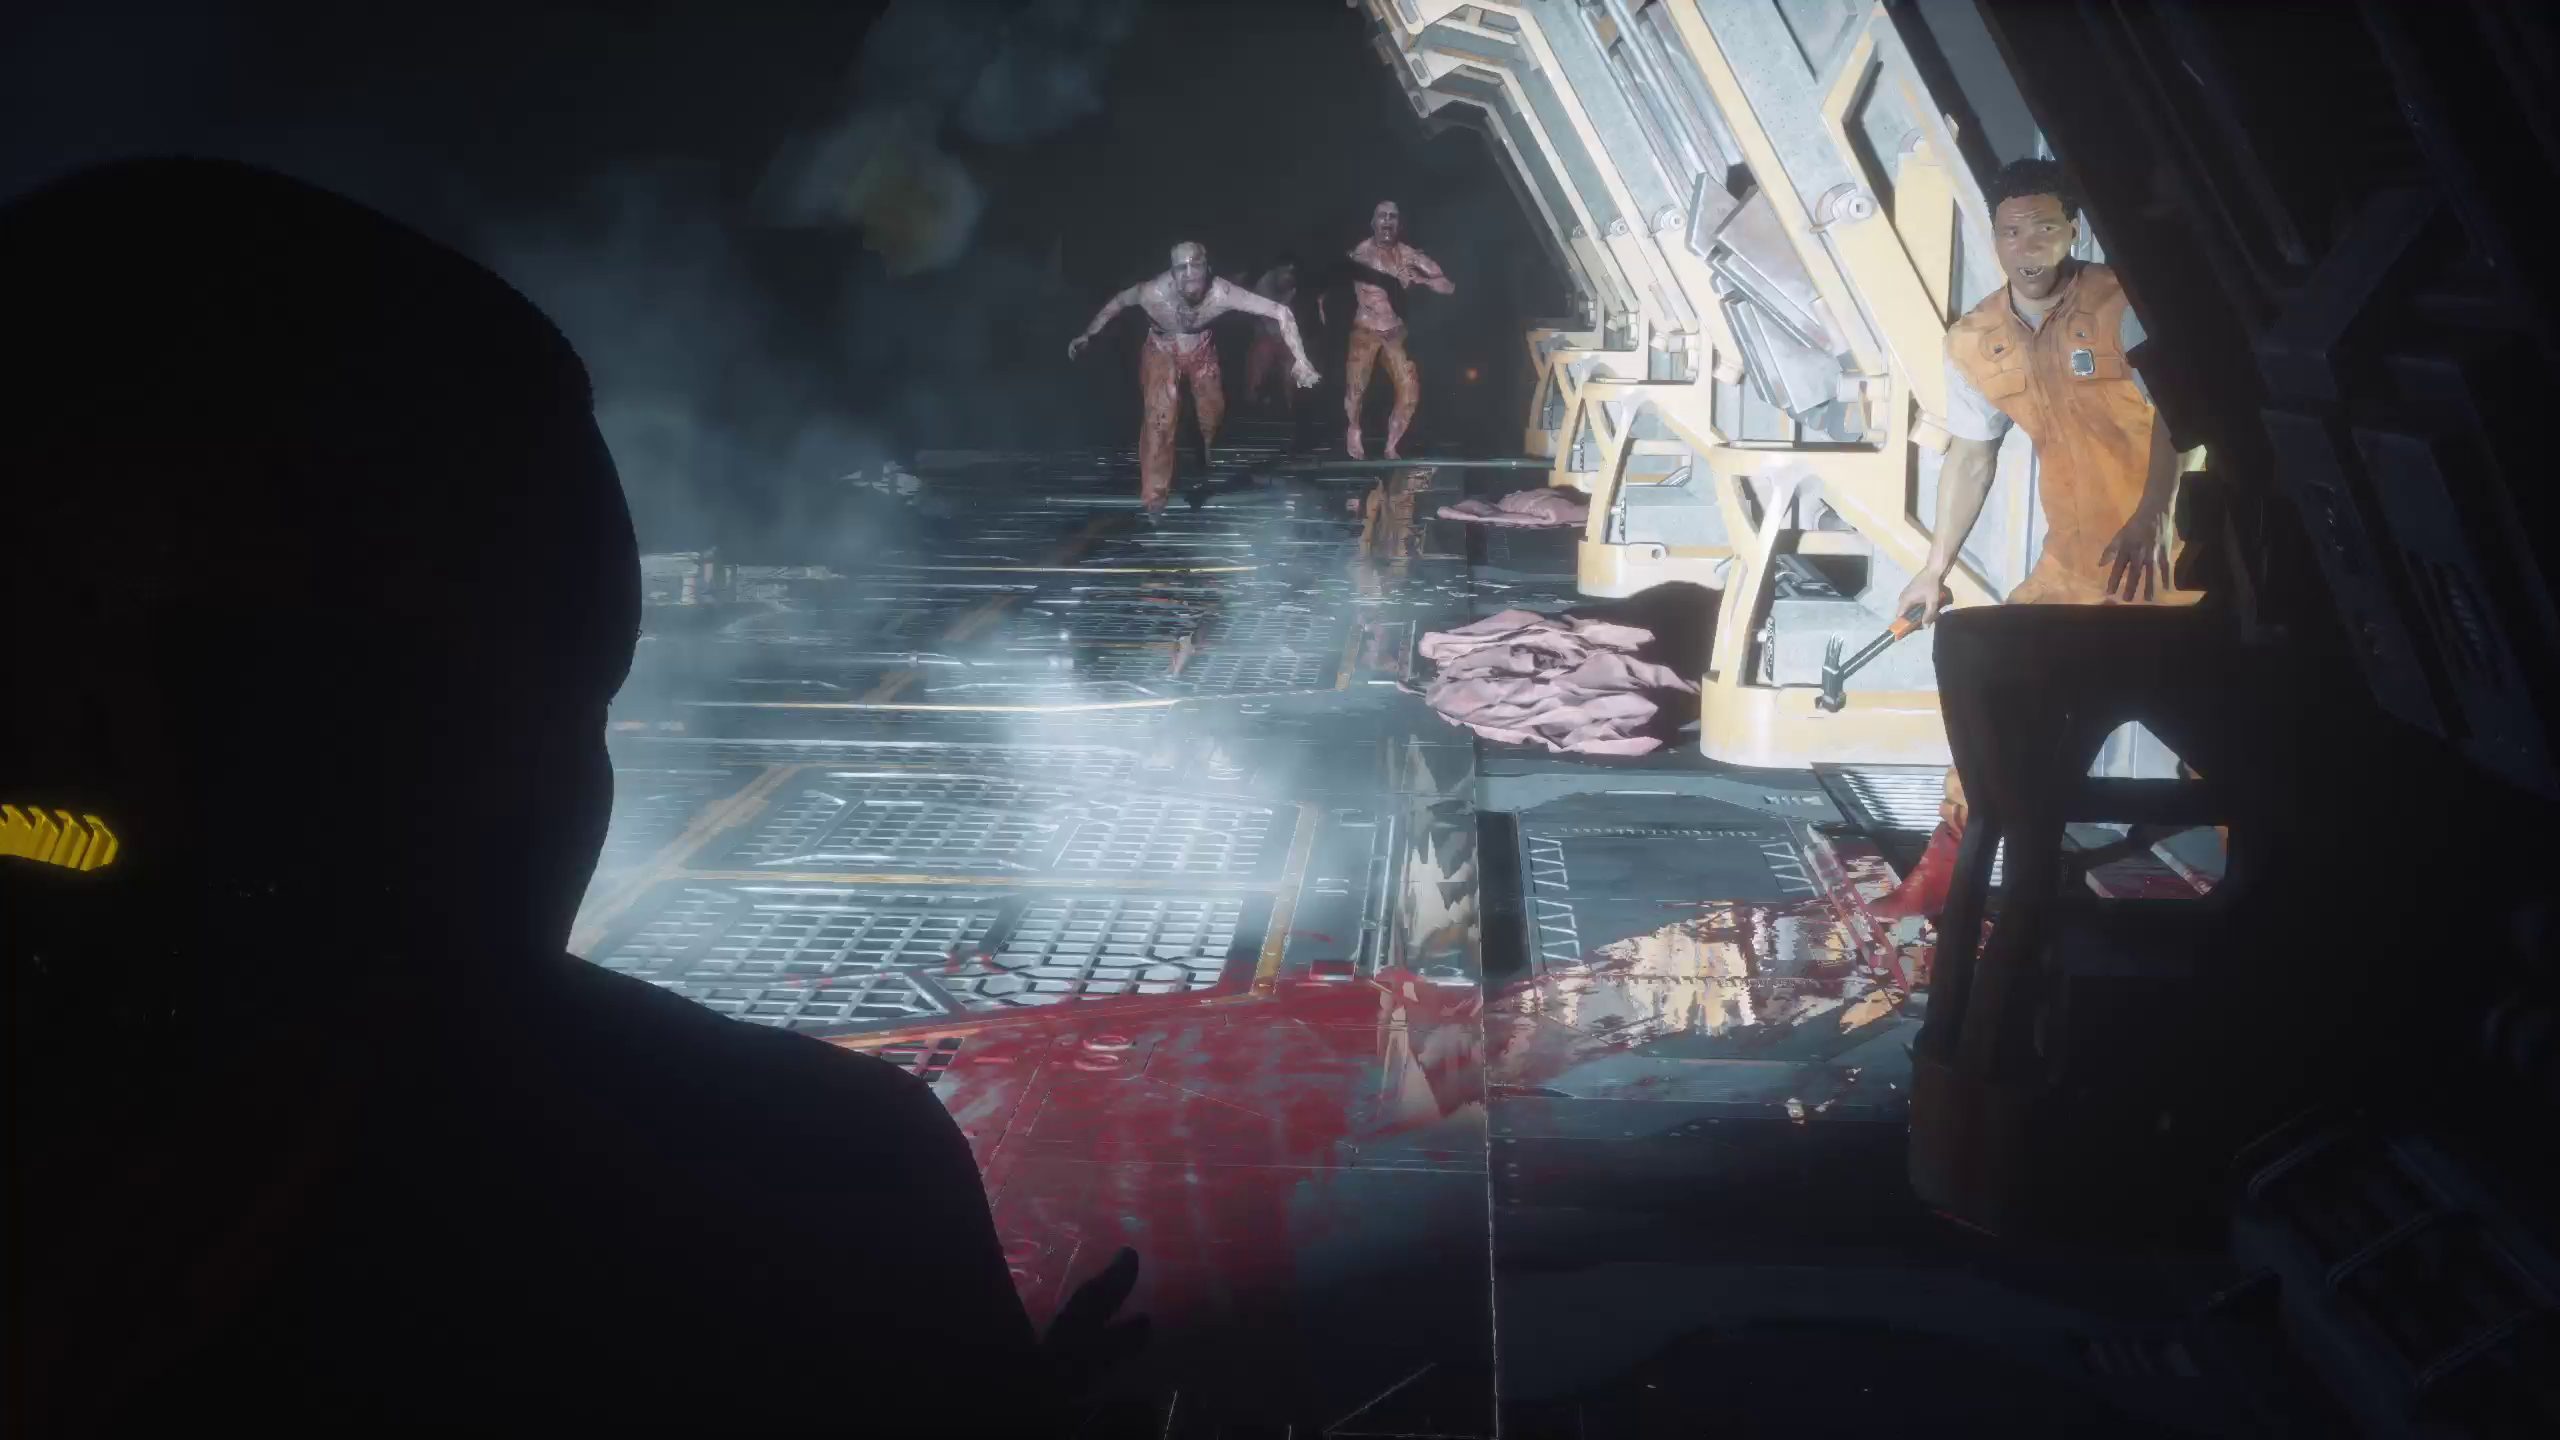
Once you are finished in this room, you can continue into Access Hall D571. You’ll witness a guard become a biophage, who you’ll have to fight as soon as the door opens. Now is a good time to test out your new gun! To use it, aim down the sights (/) and then press the attack button (/). It will take several shots to take out this enemy. After you do, continue to left, then use the lift to go down to Access Hall A105.
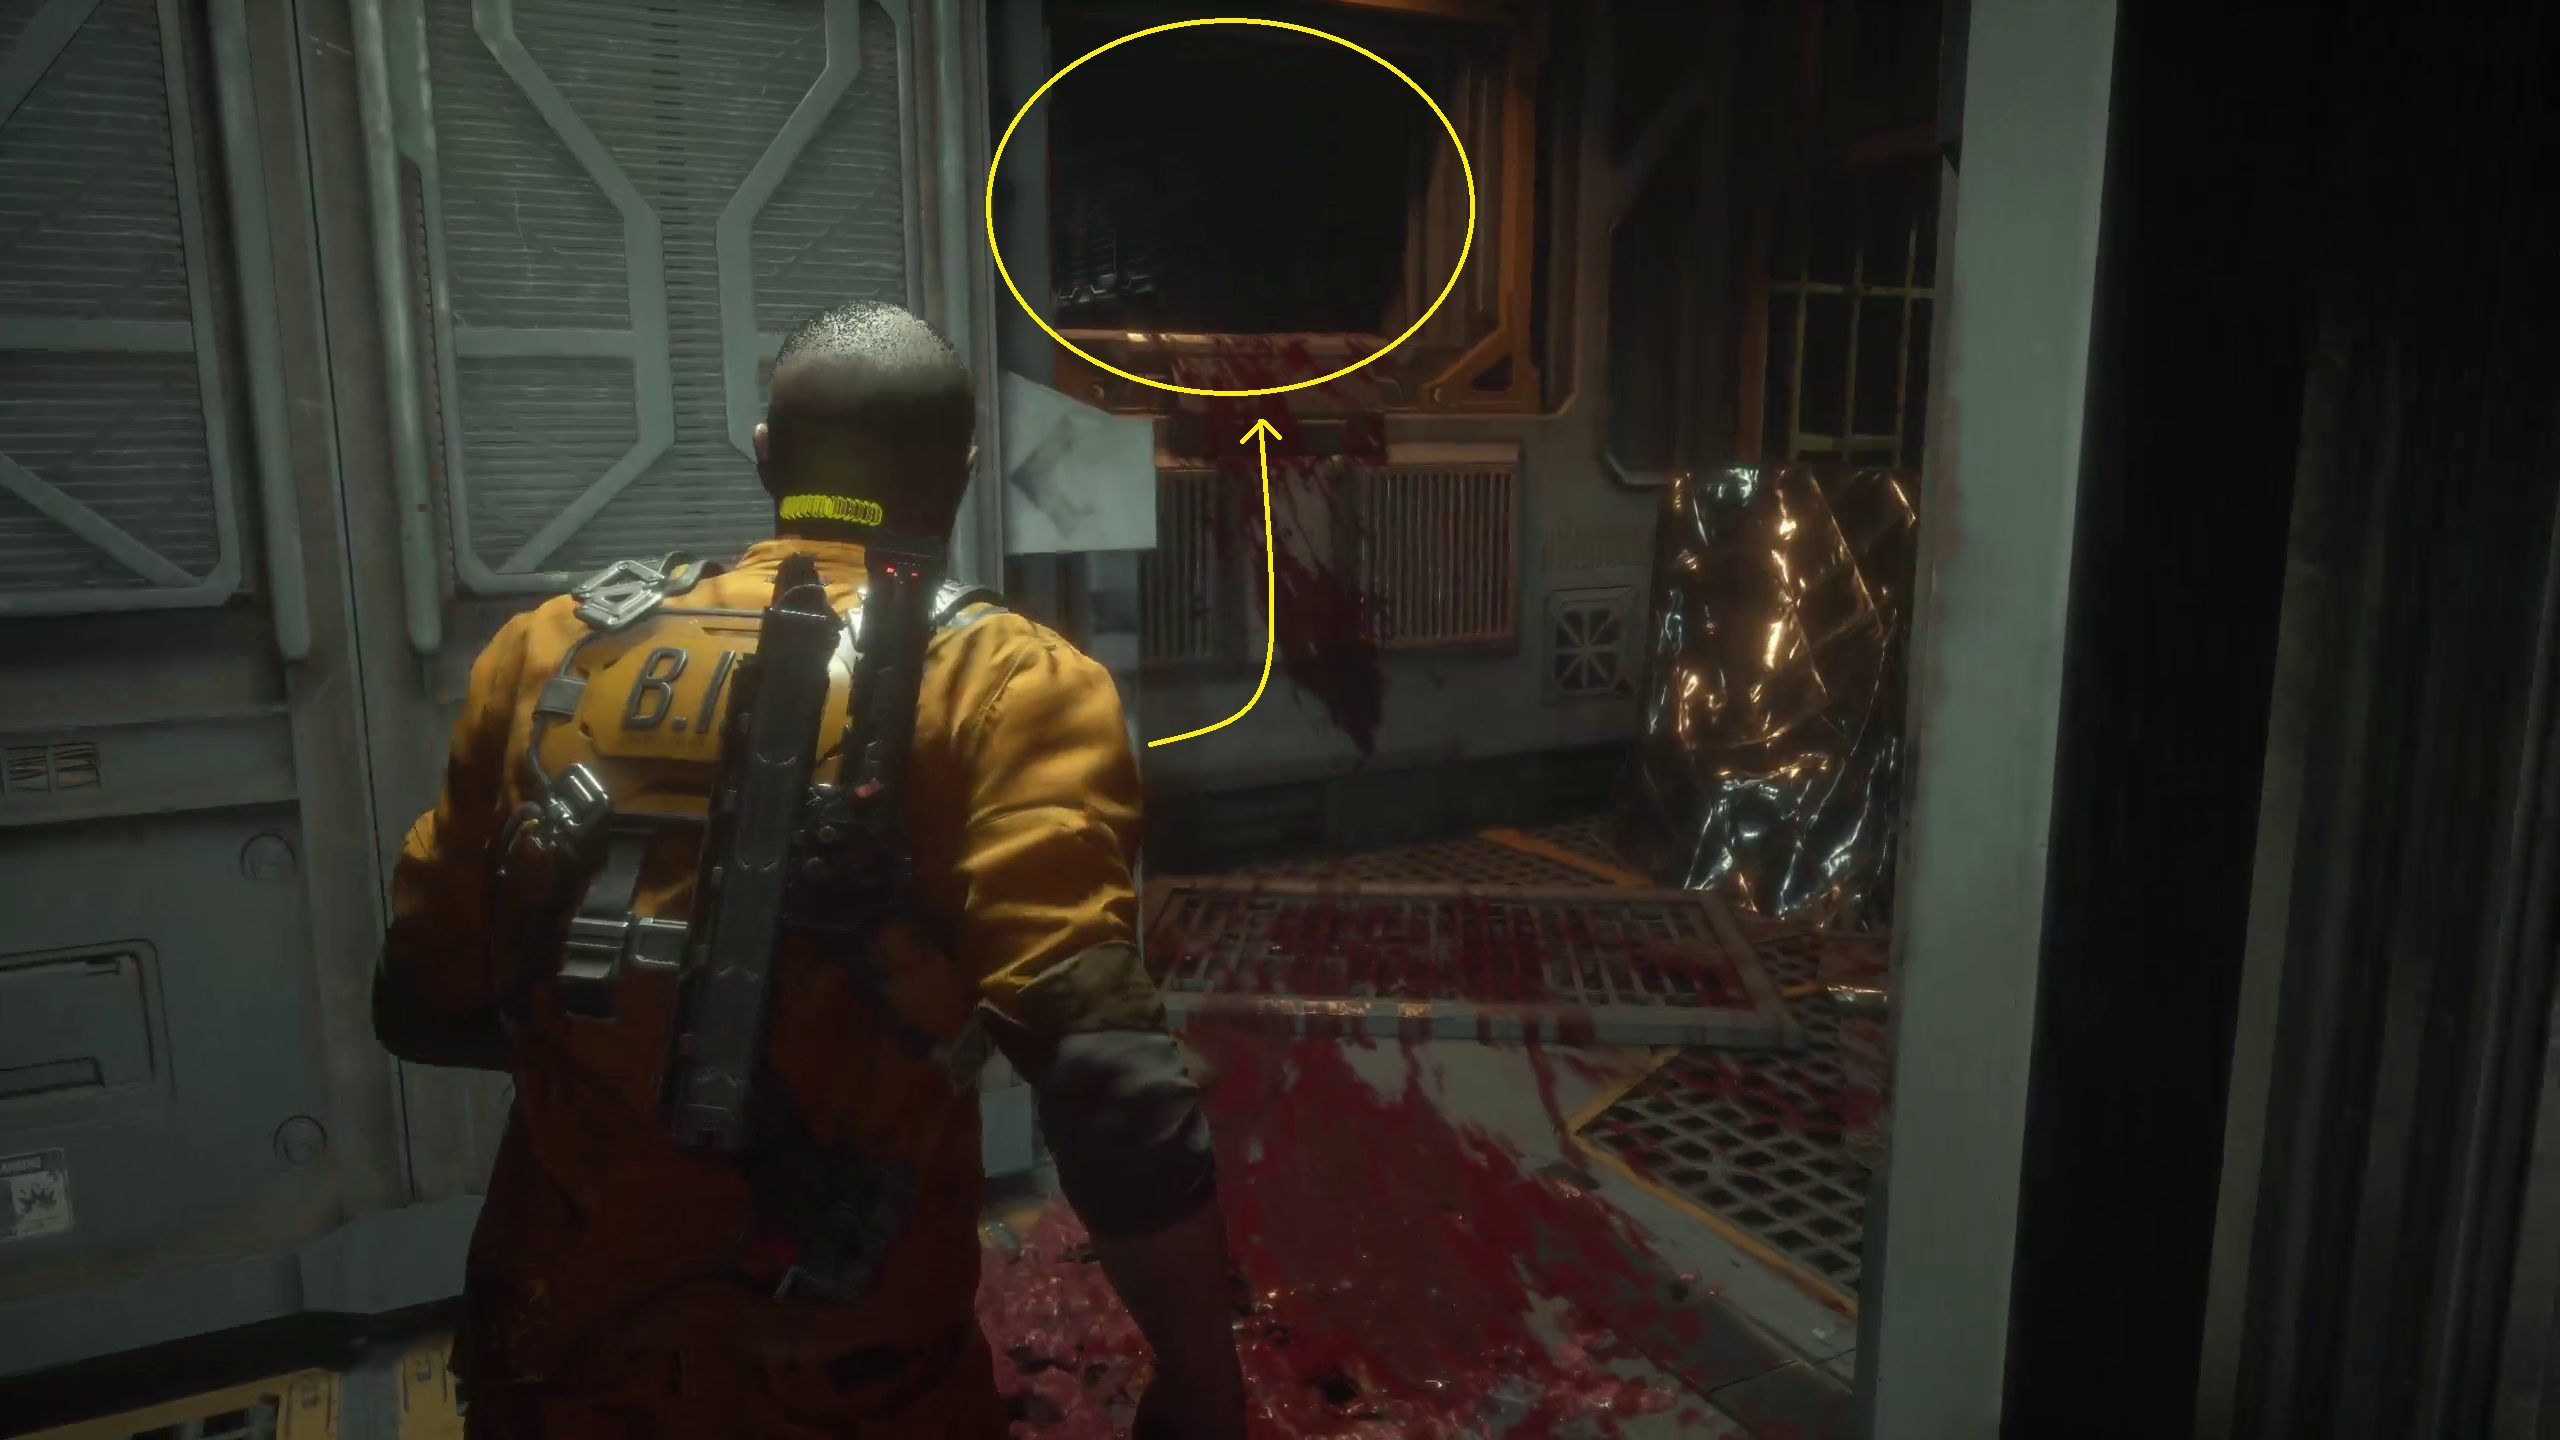
Locate the Medical Facility
Once through this door, continue forward and go right. In front of you will be an enemy who you can sneak up on. Crouch with / / and then approach the biophage. Once close enough, press / / to kill him.
Continue up the stairs, where you will come across a new enemy type. This overlarge biophage with the lumpy head has greater health than your typical biophage, and can spit green acid to damage you at range. You can simply sidestep these acid spits by walking to the left or right. In order to even up the fight, you should shoot the spitter’s head until it explodes, which will reduce him to melee. You can attack him after every single one of his melee attacks, so you can make quick work of him.
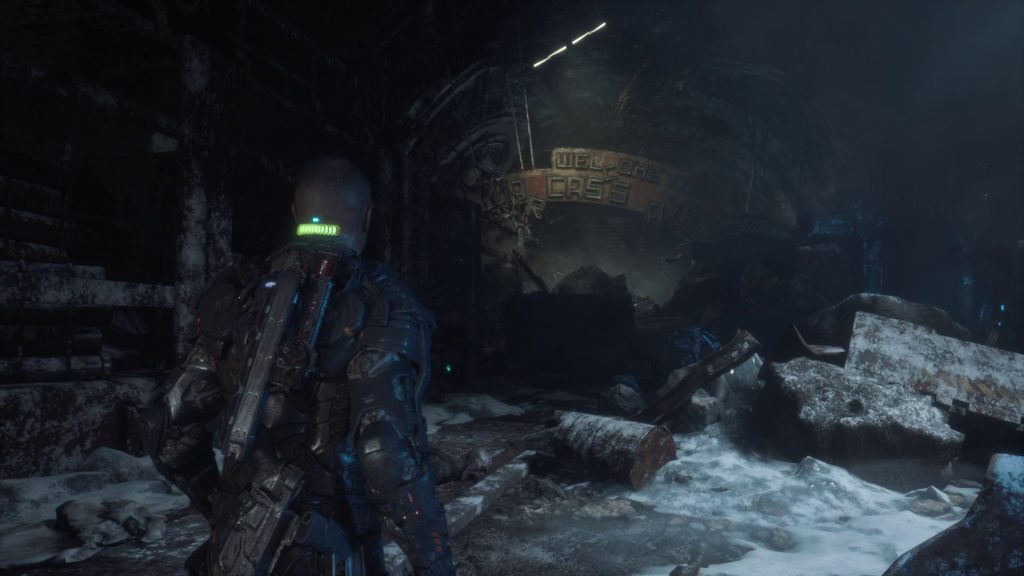
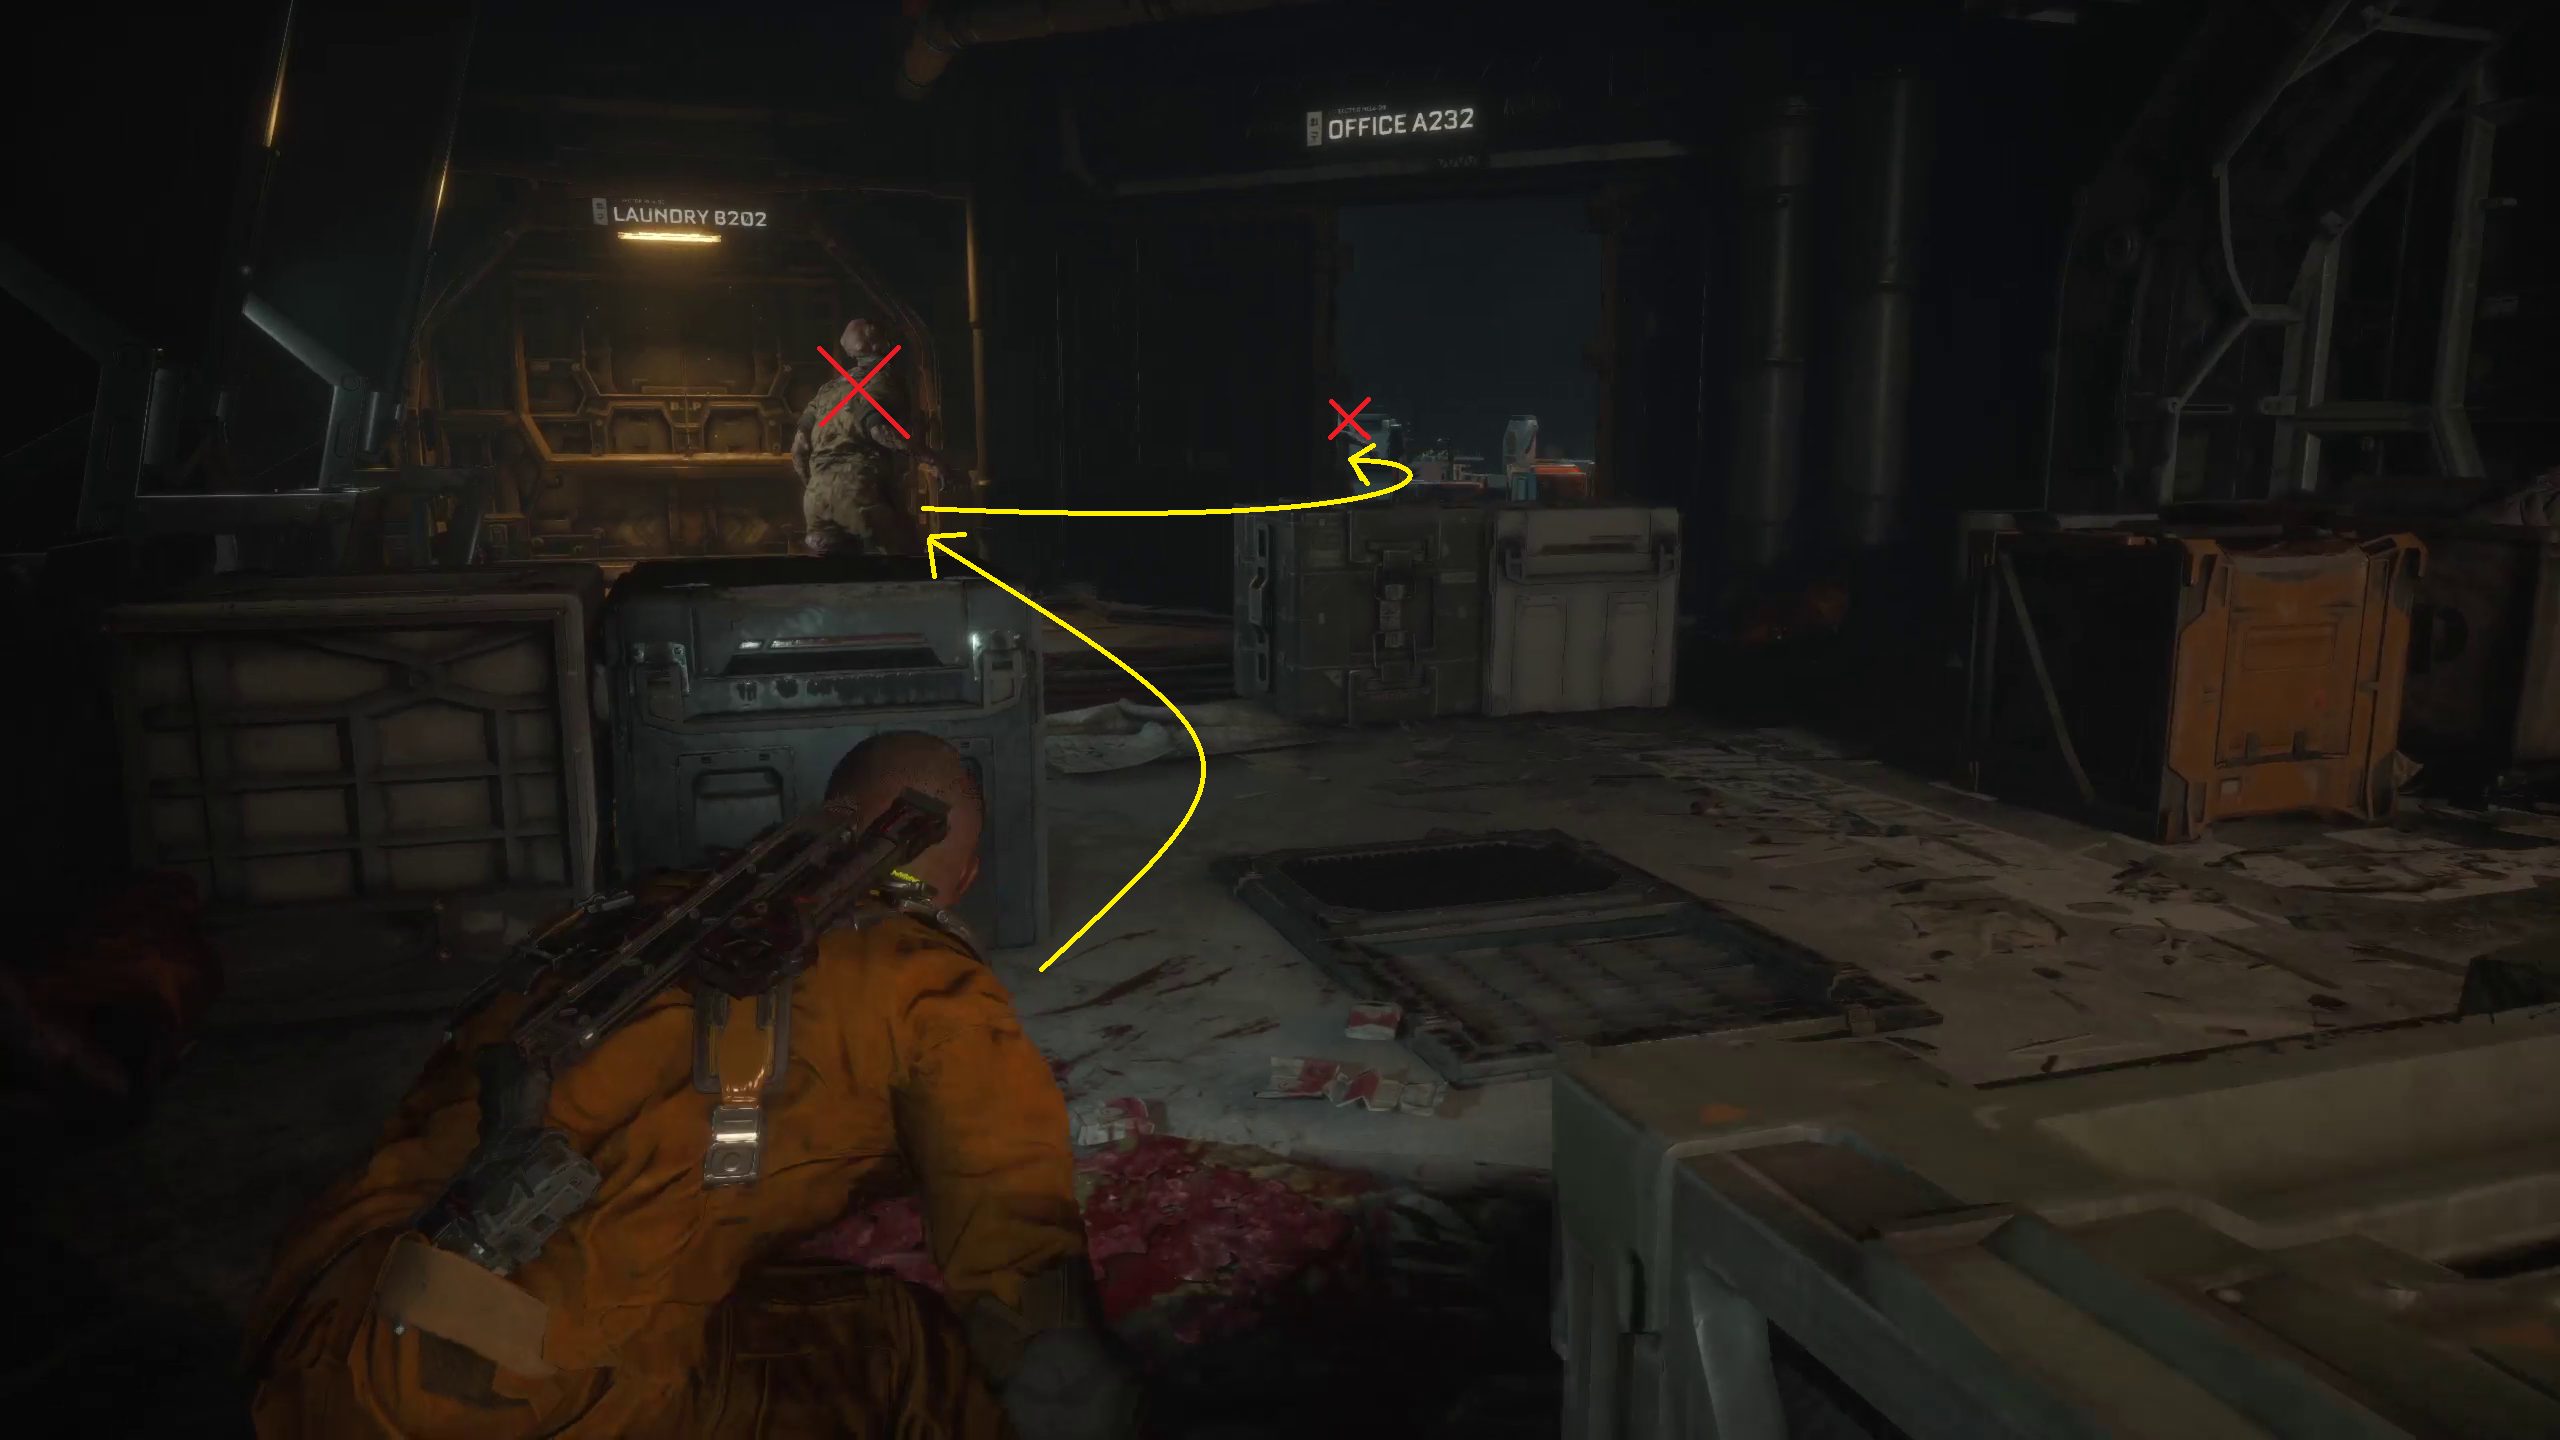
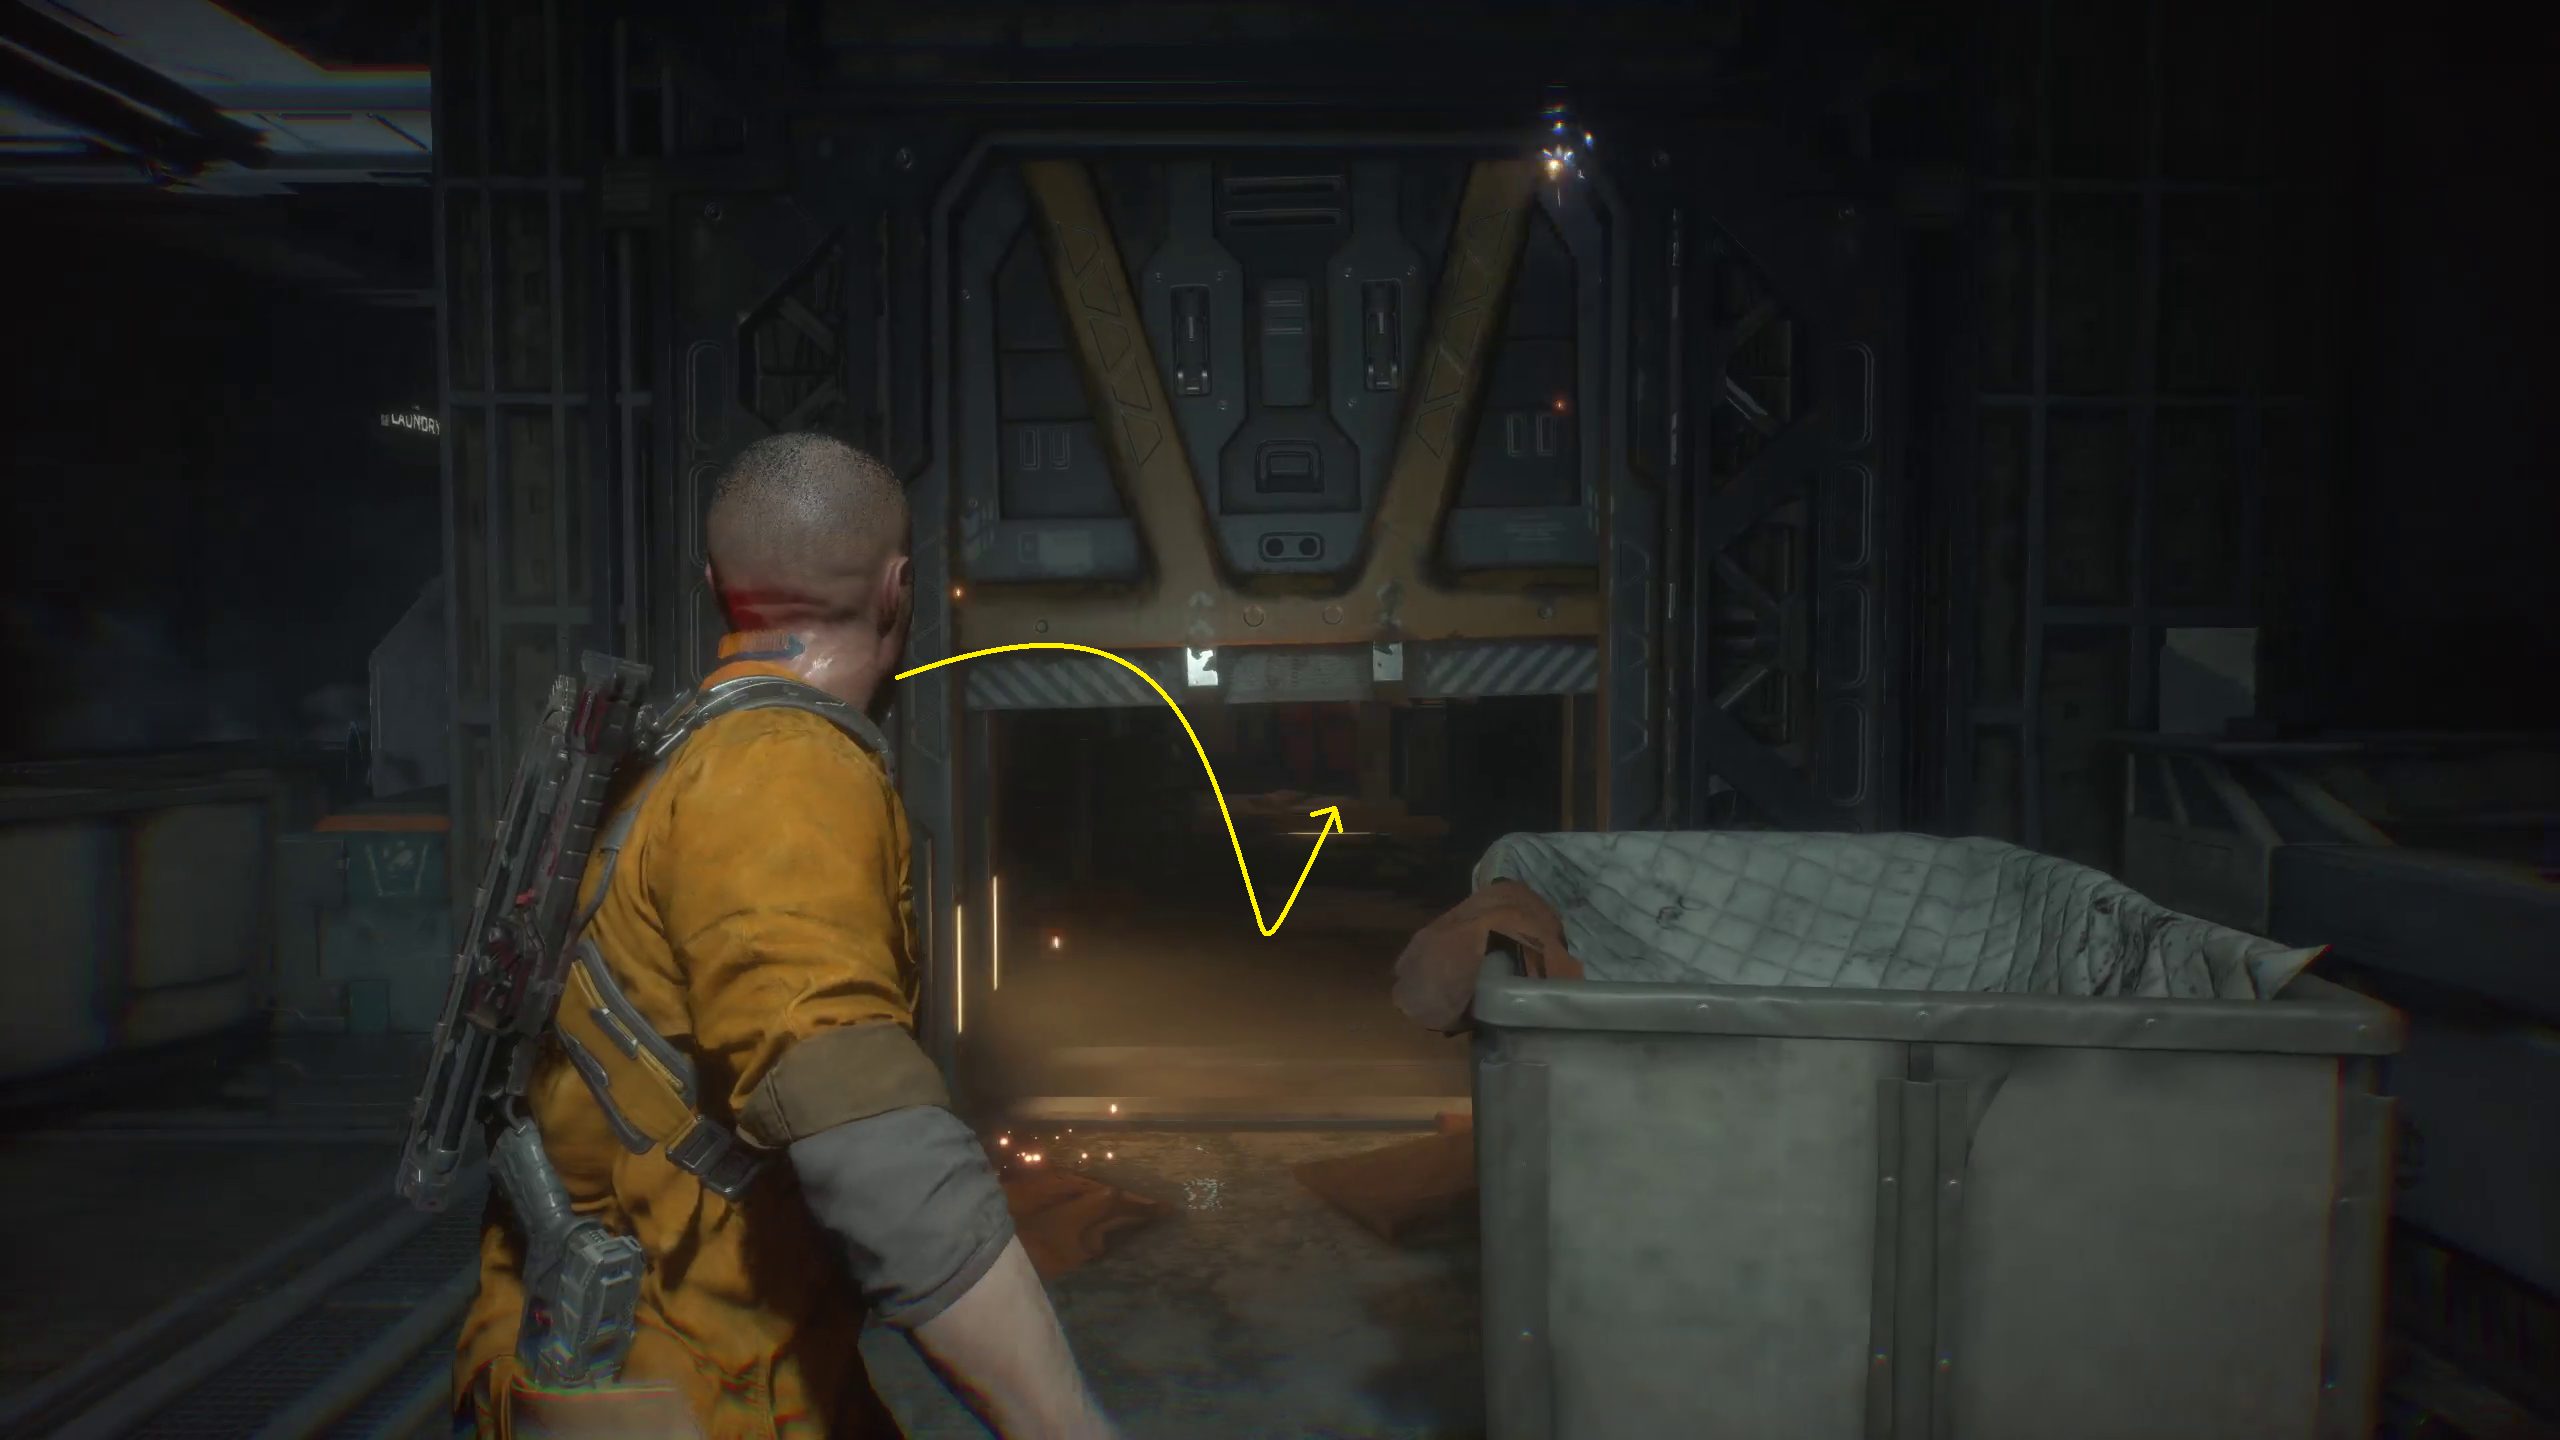
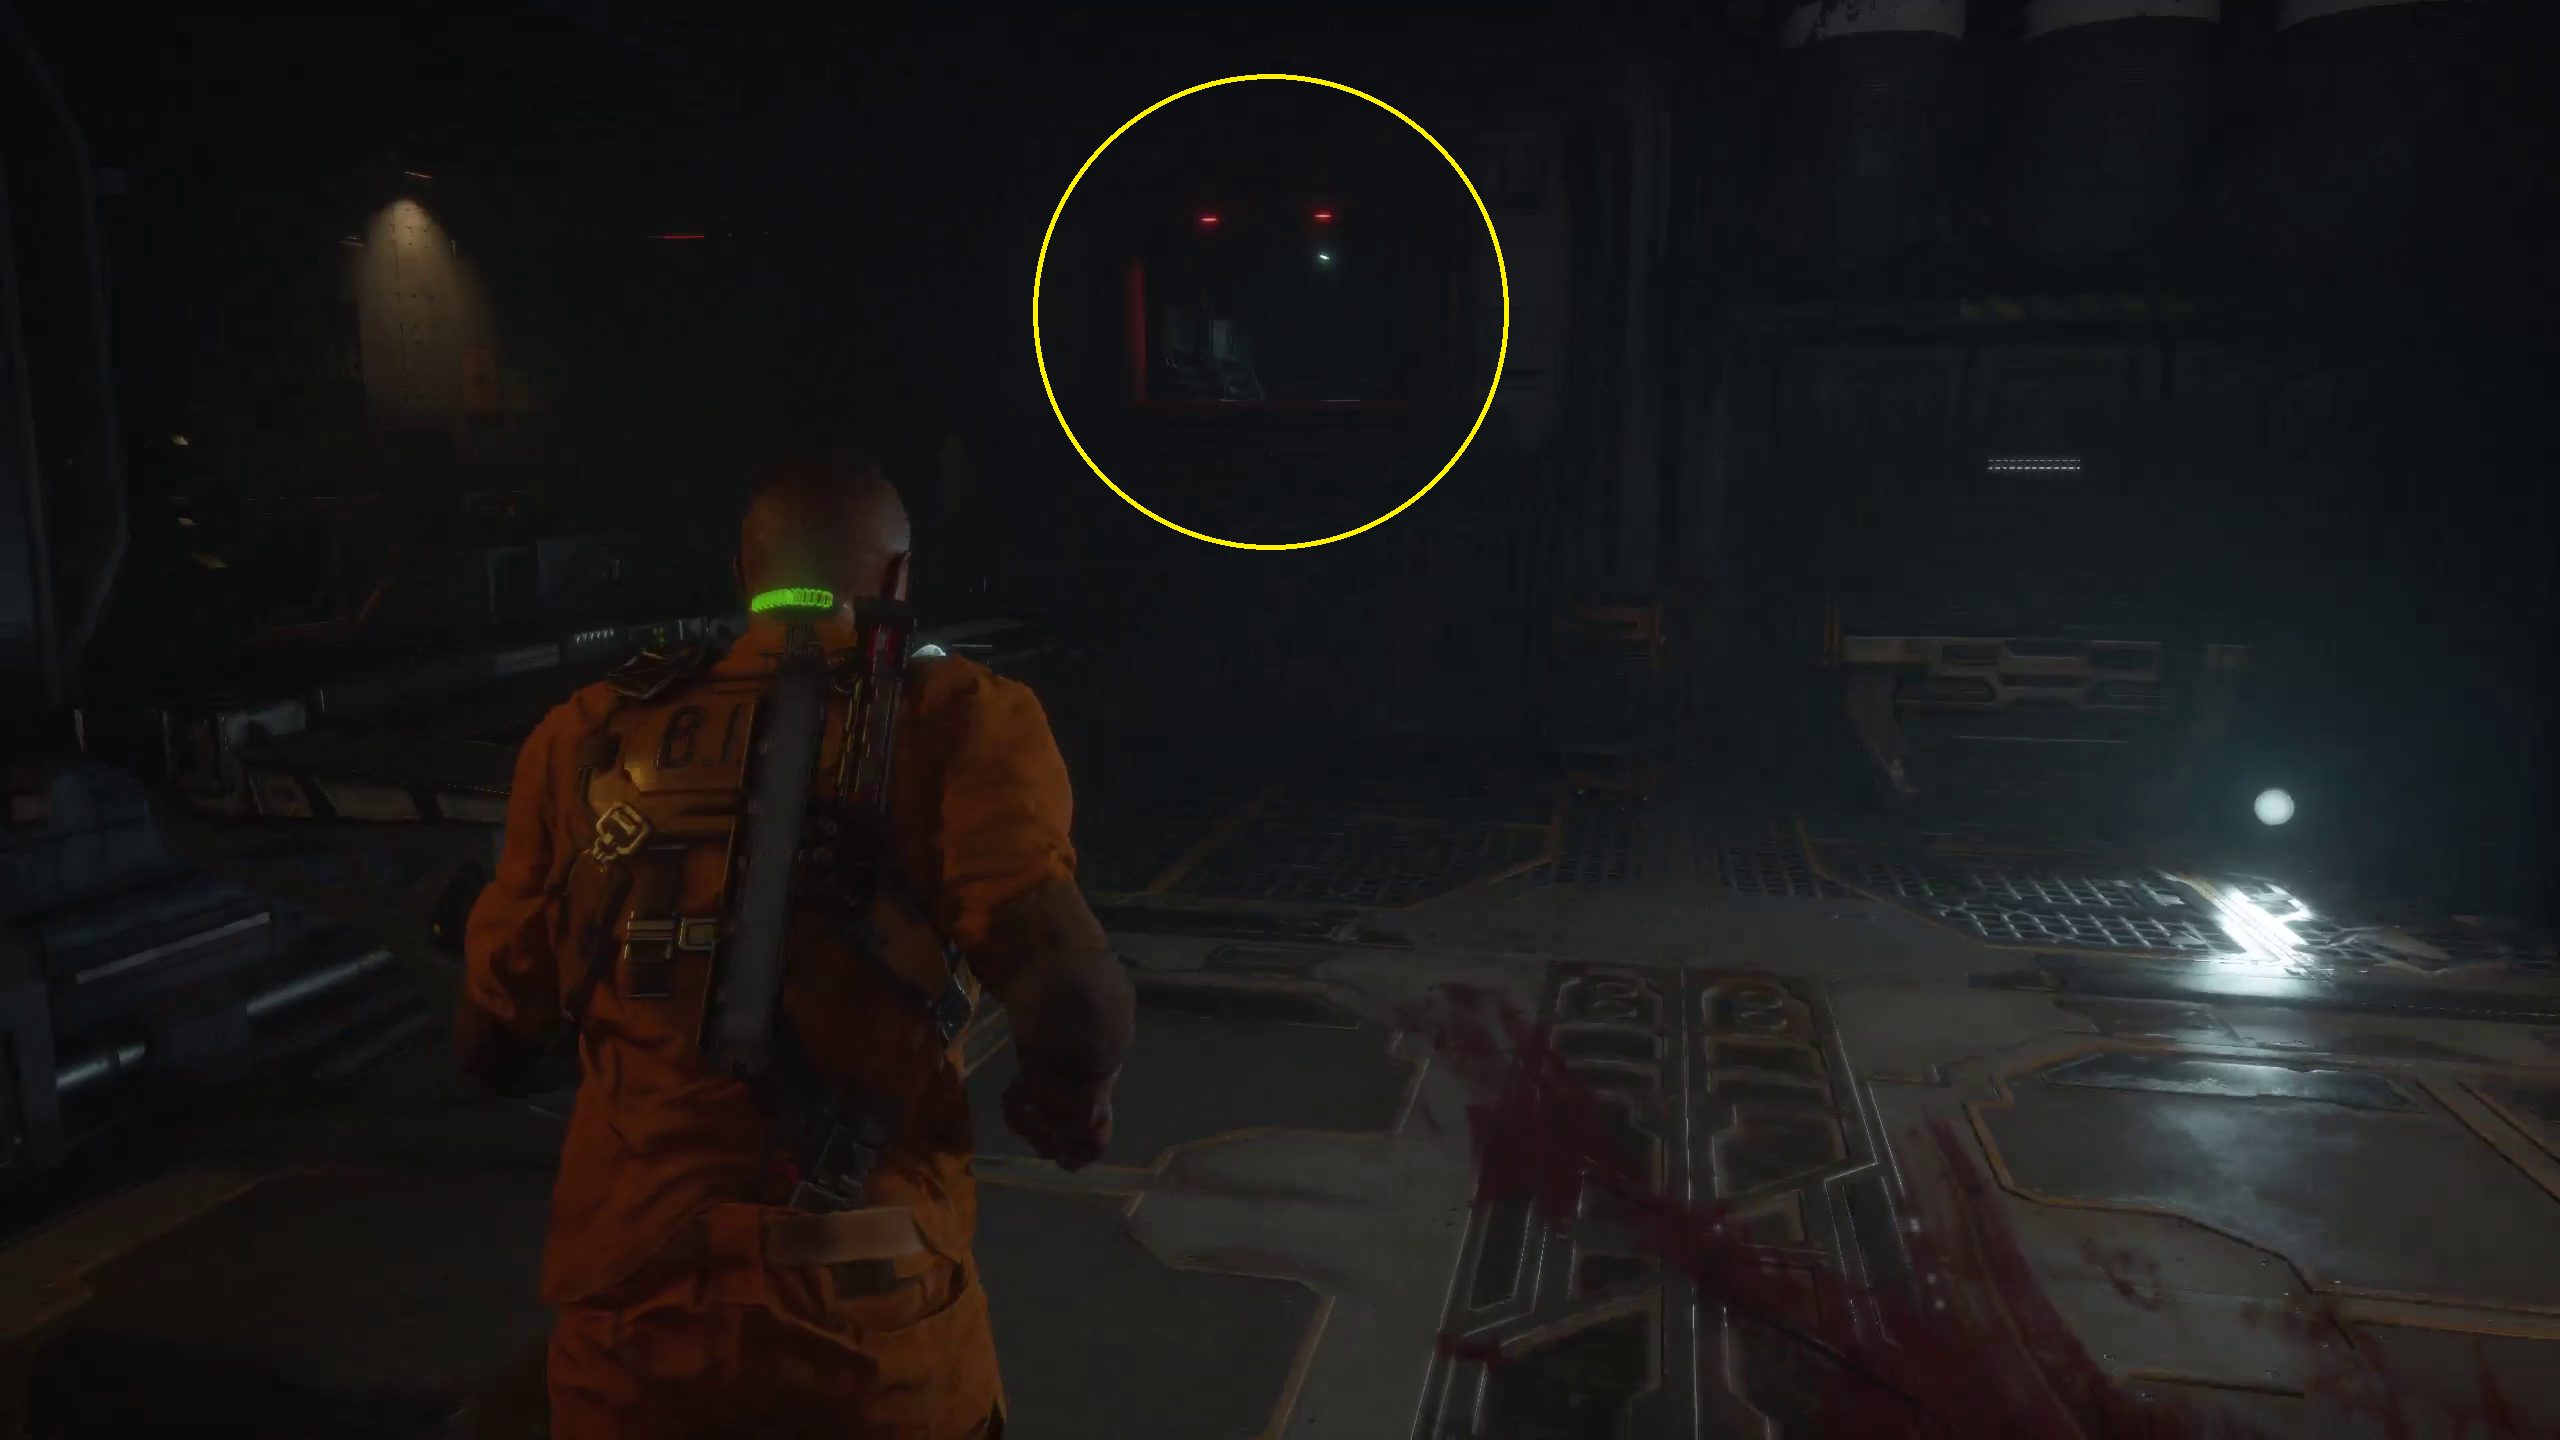
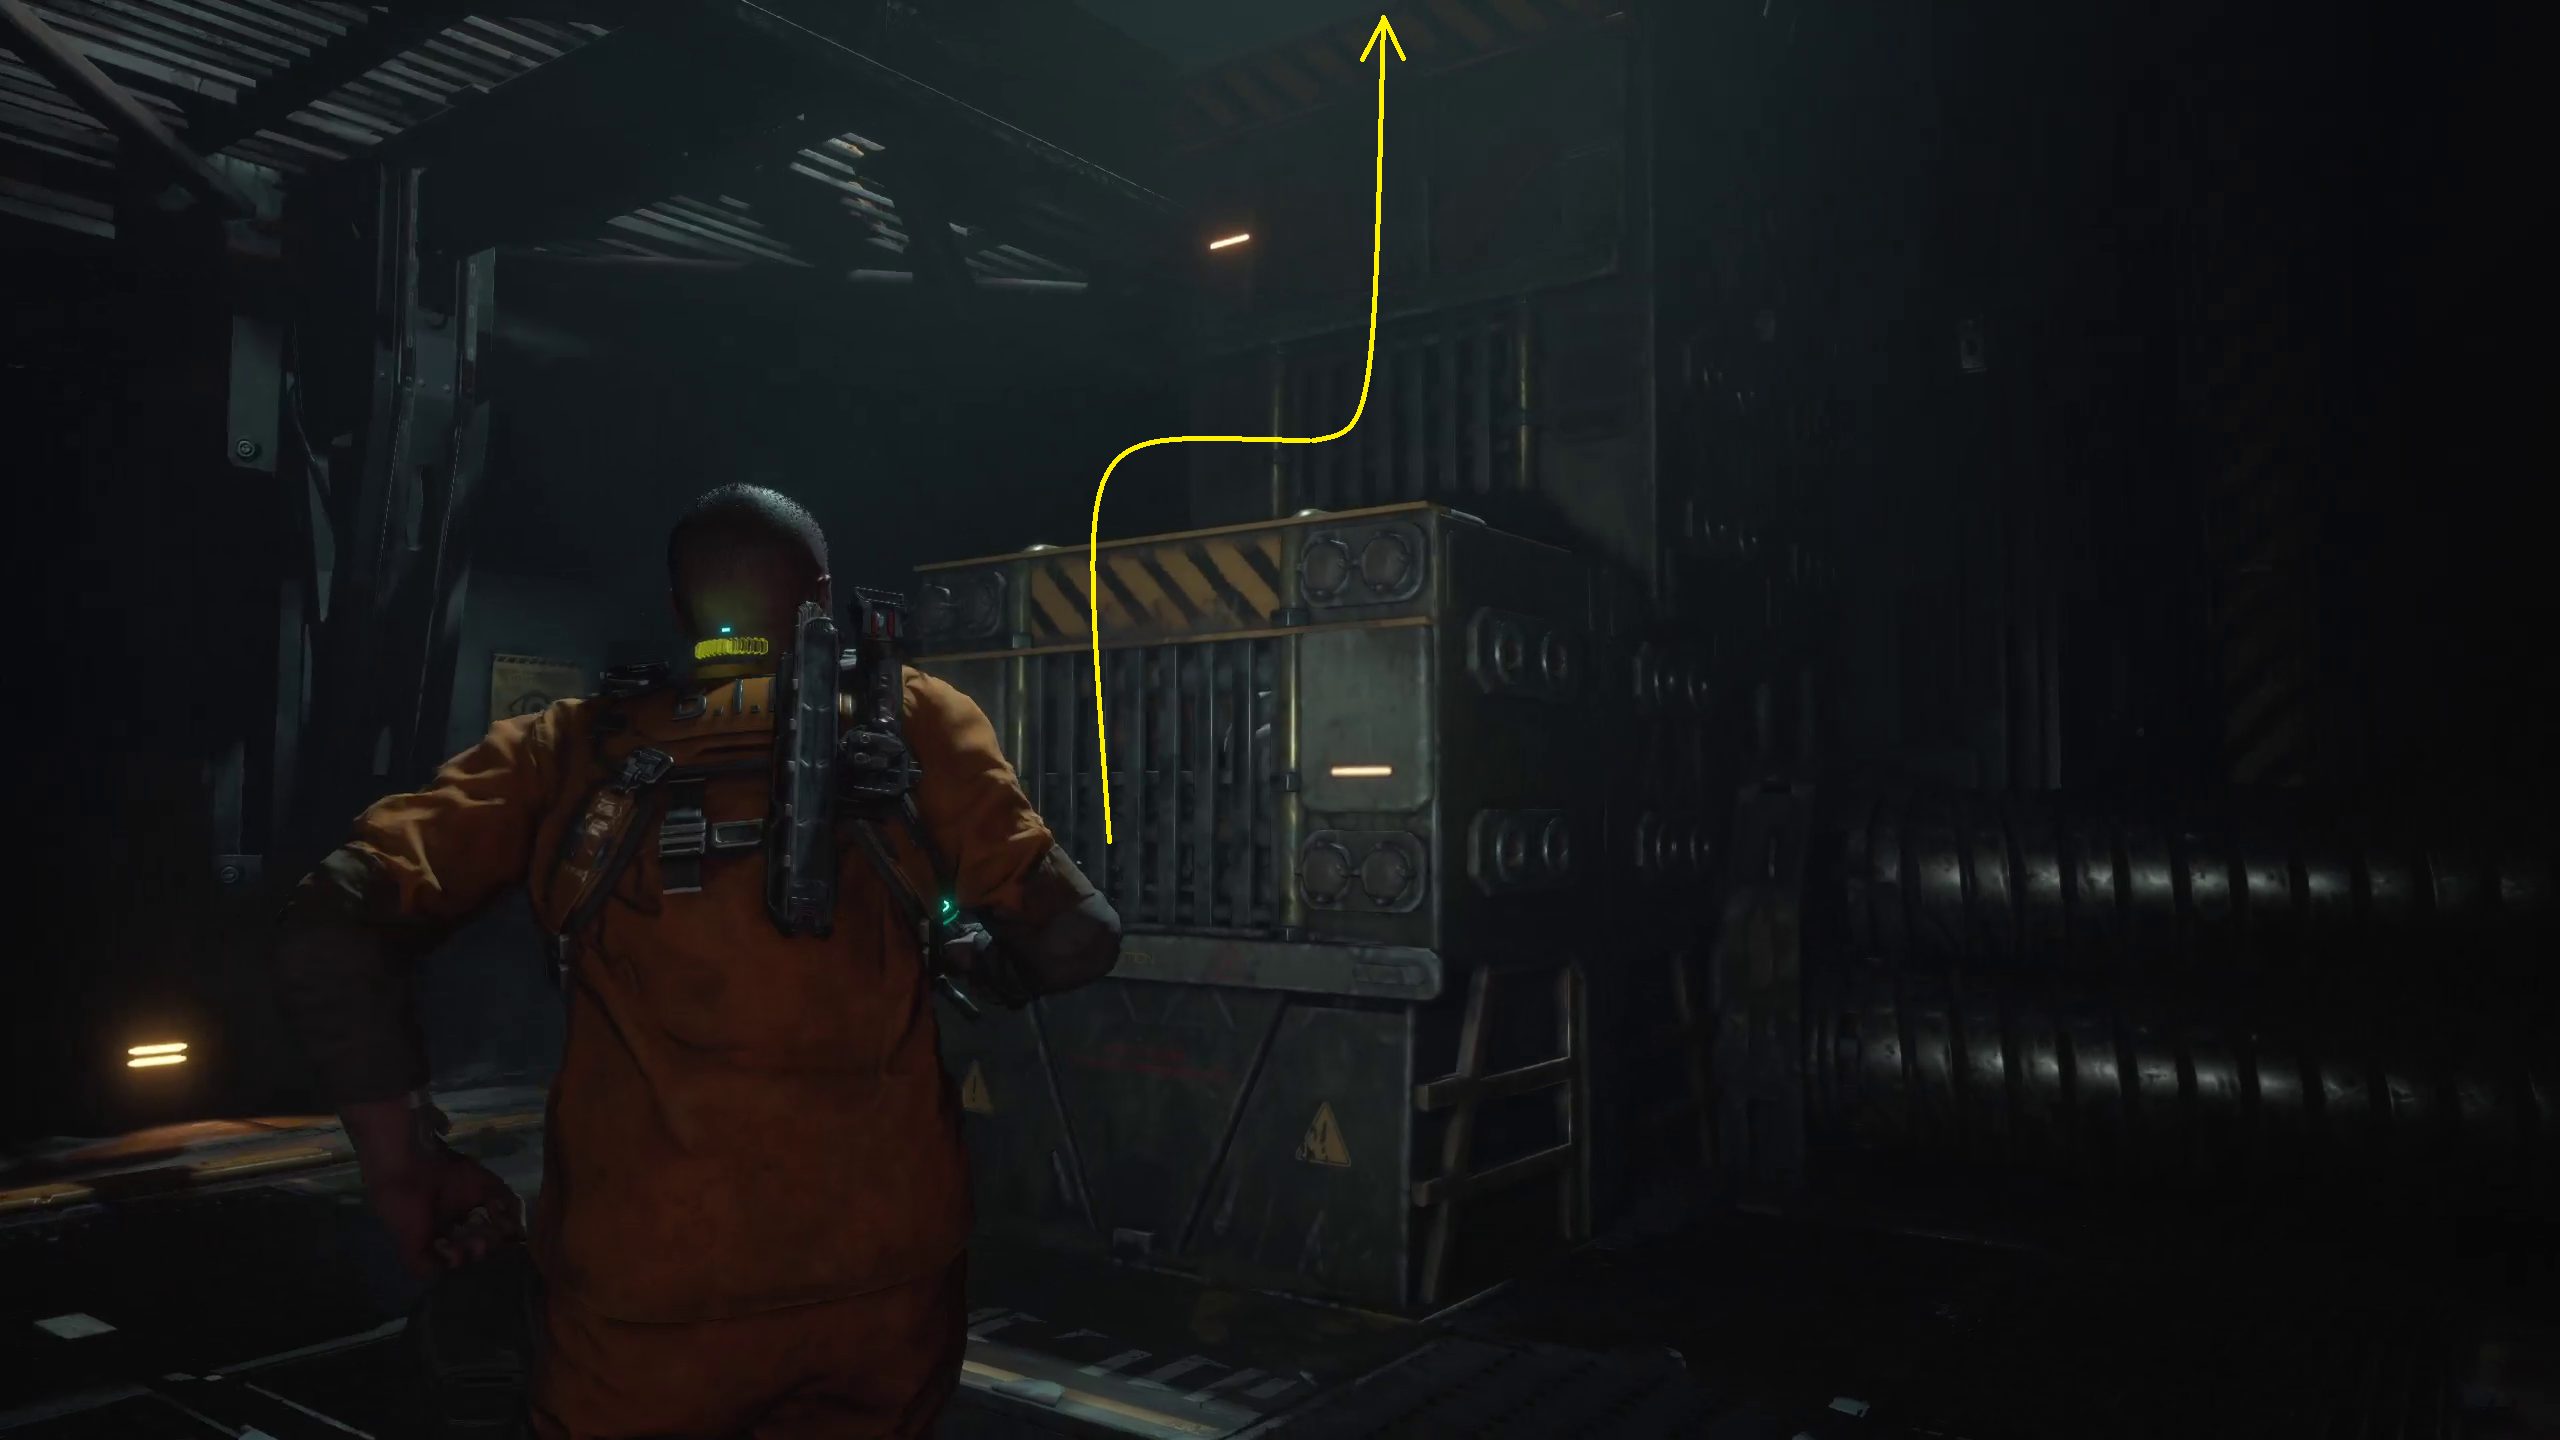
Continue through the door marked Recreation 225 and go left, then follow that path until you reach a vent in a side room. Go through it and drop down in front of the broken robot and dead guard (remember him). There will be two biophage in this next area. You can choose to take them out with stealth, or simply take them head on.
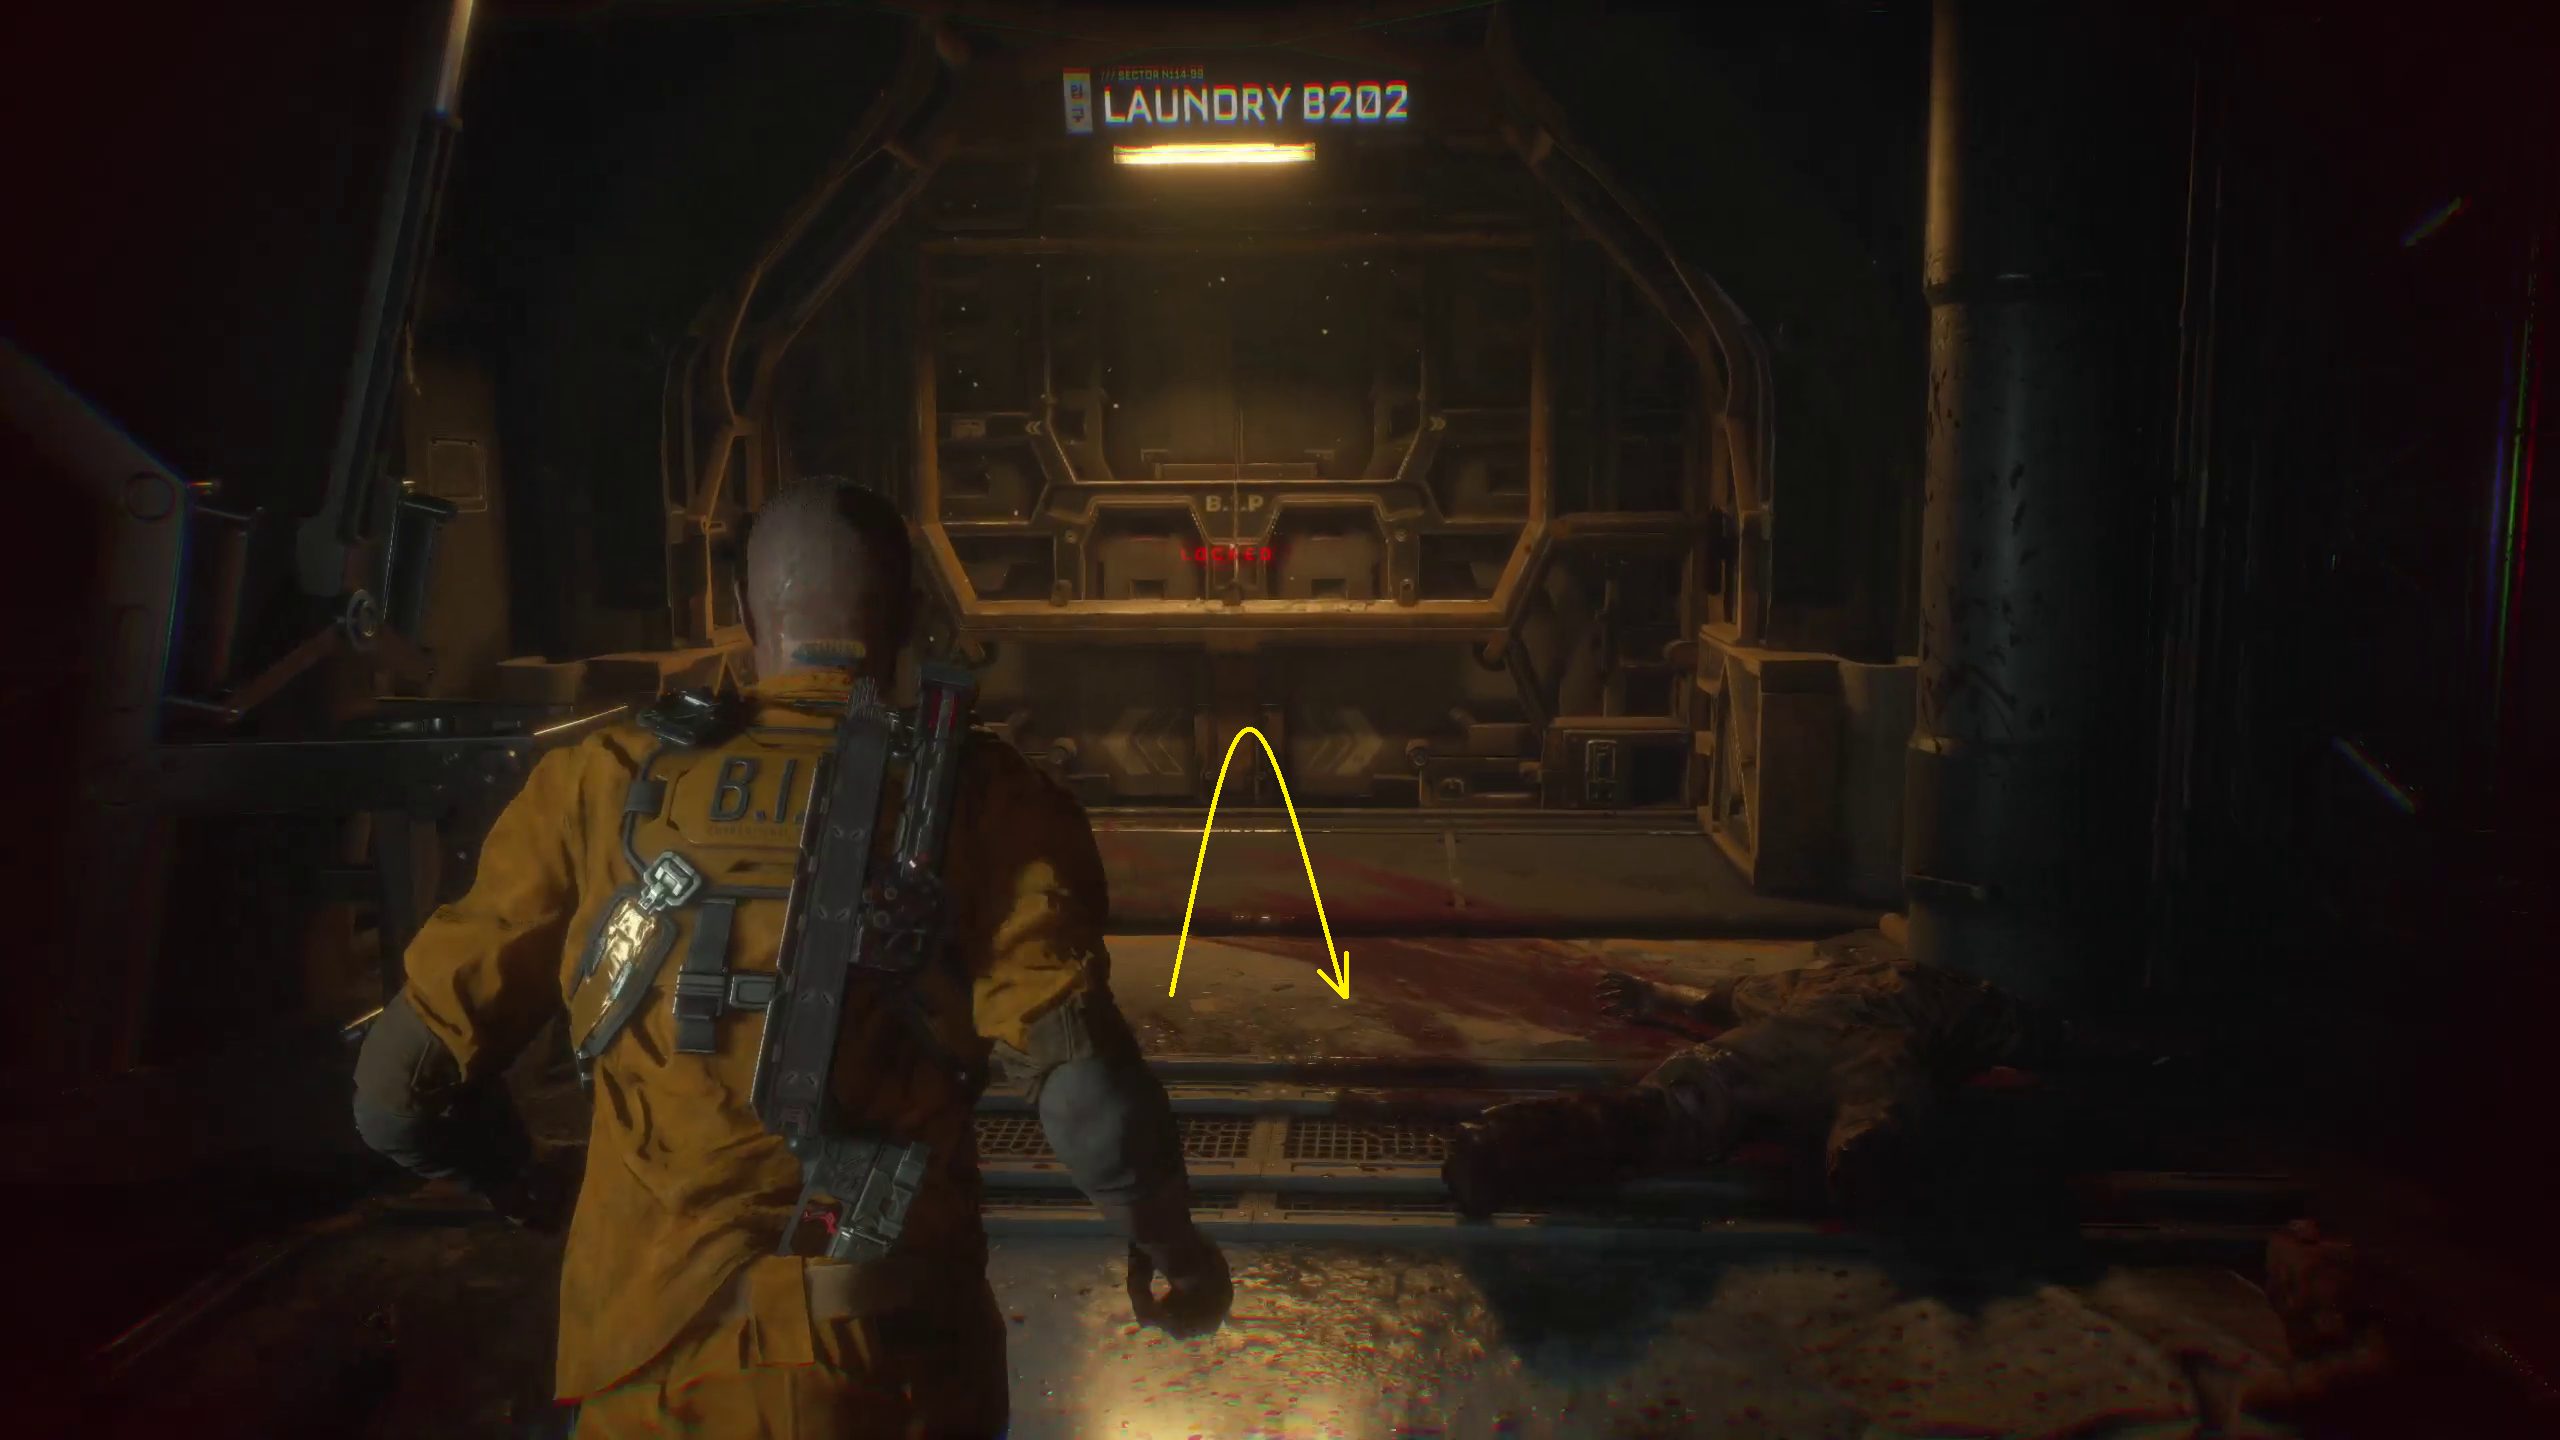
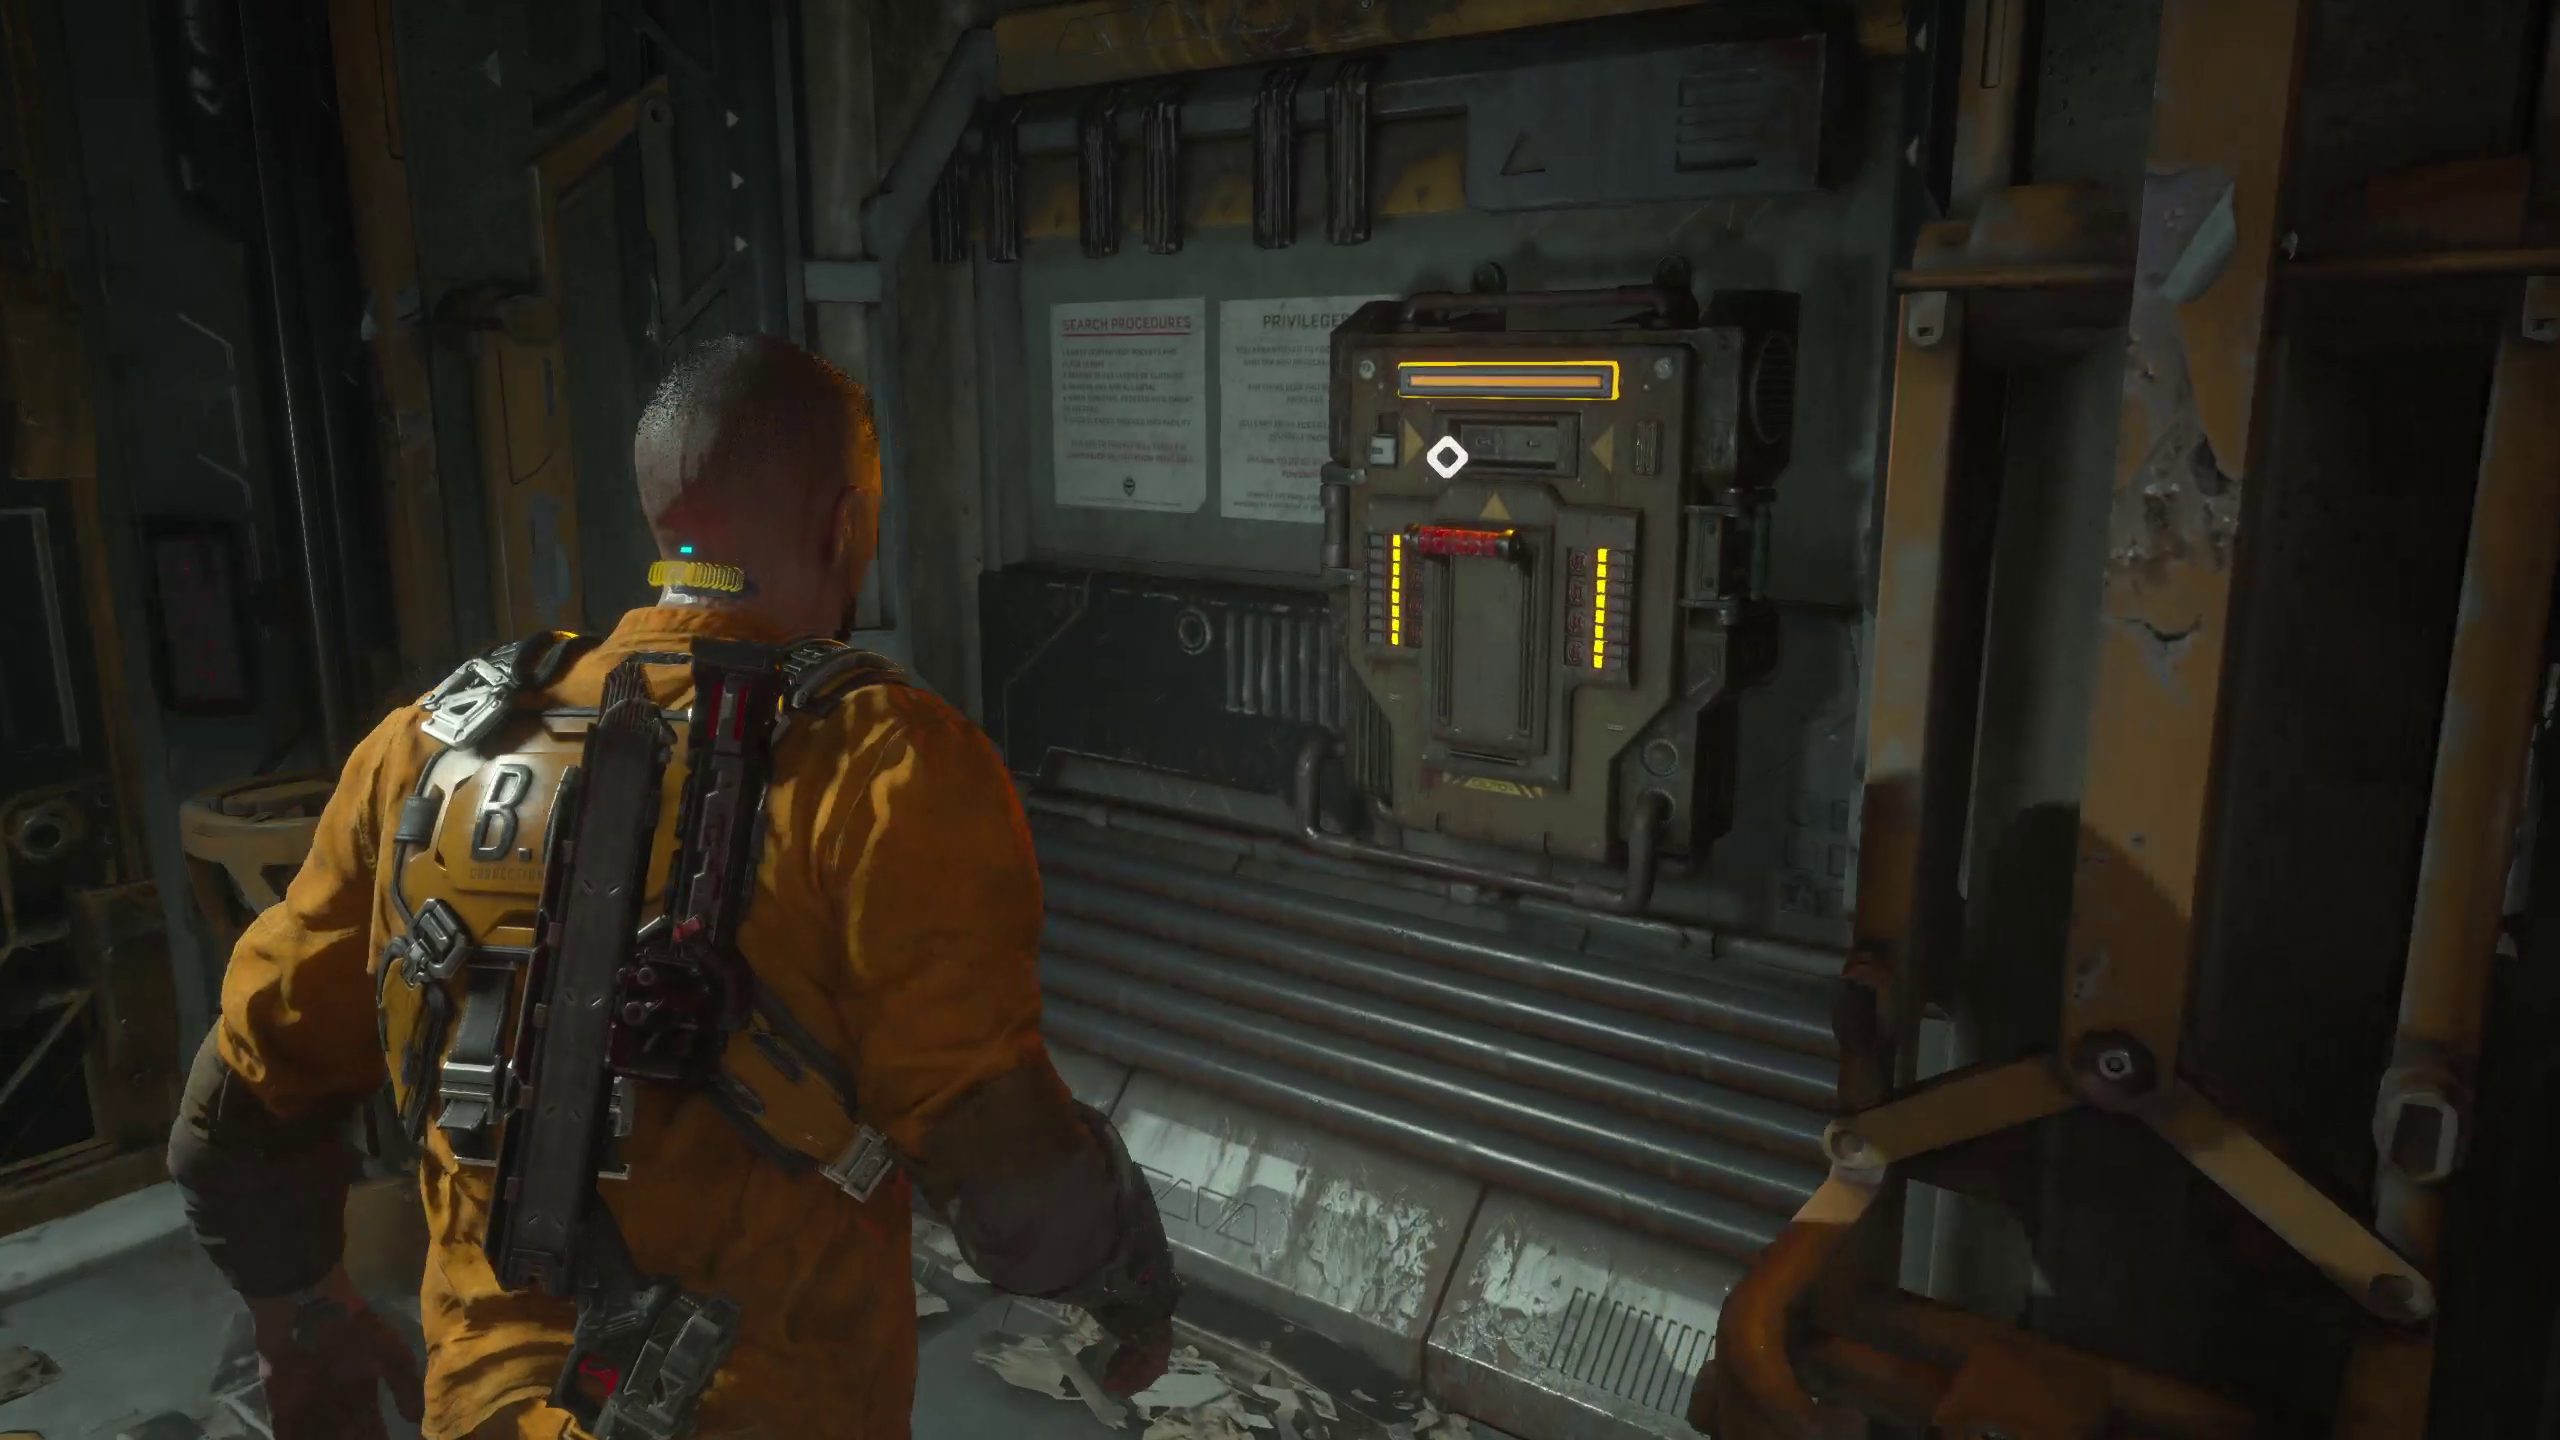
There are several glass cases in the room to the right, where the second biophage was. These sometimes contain loot, and if they do, be sure to break them with your melee attack. Afterwards, approach the illuminated, locked door to Laundry B202.
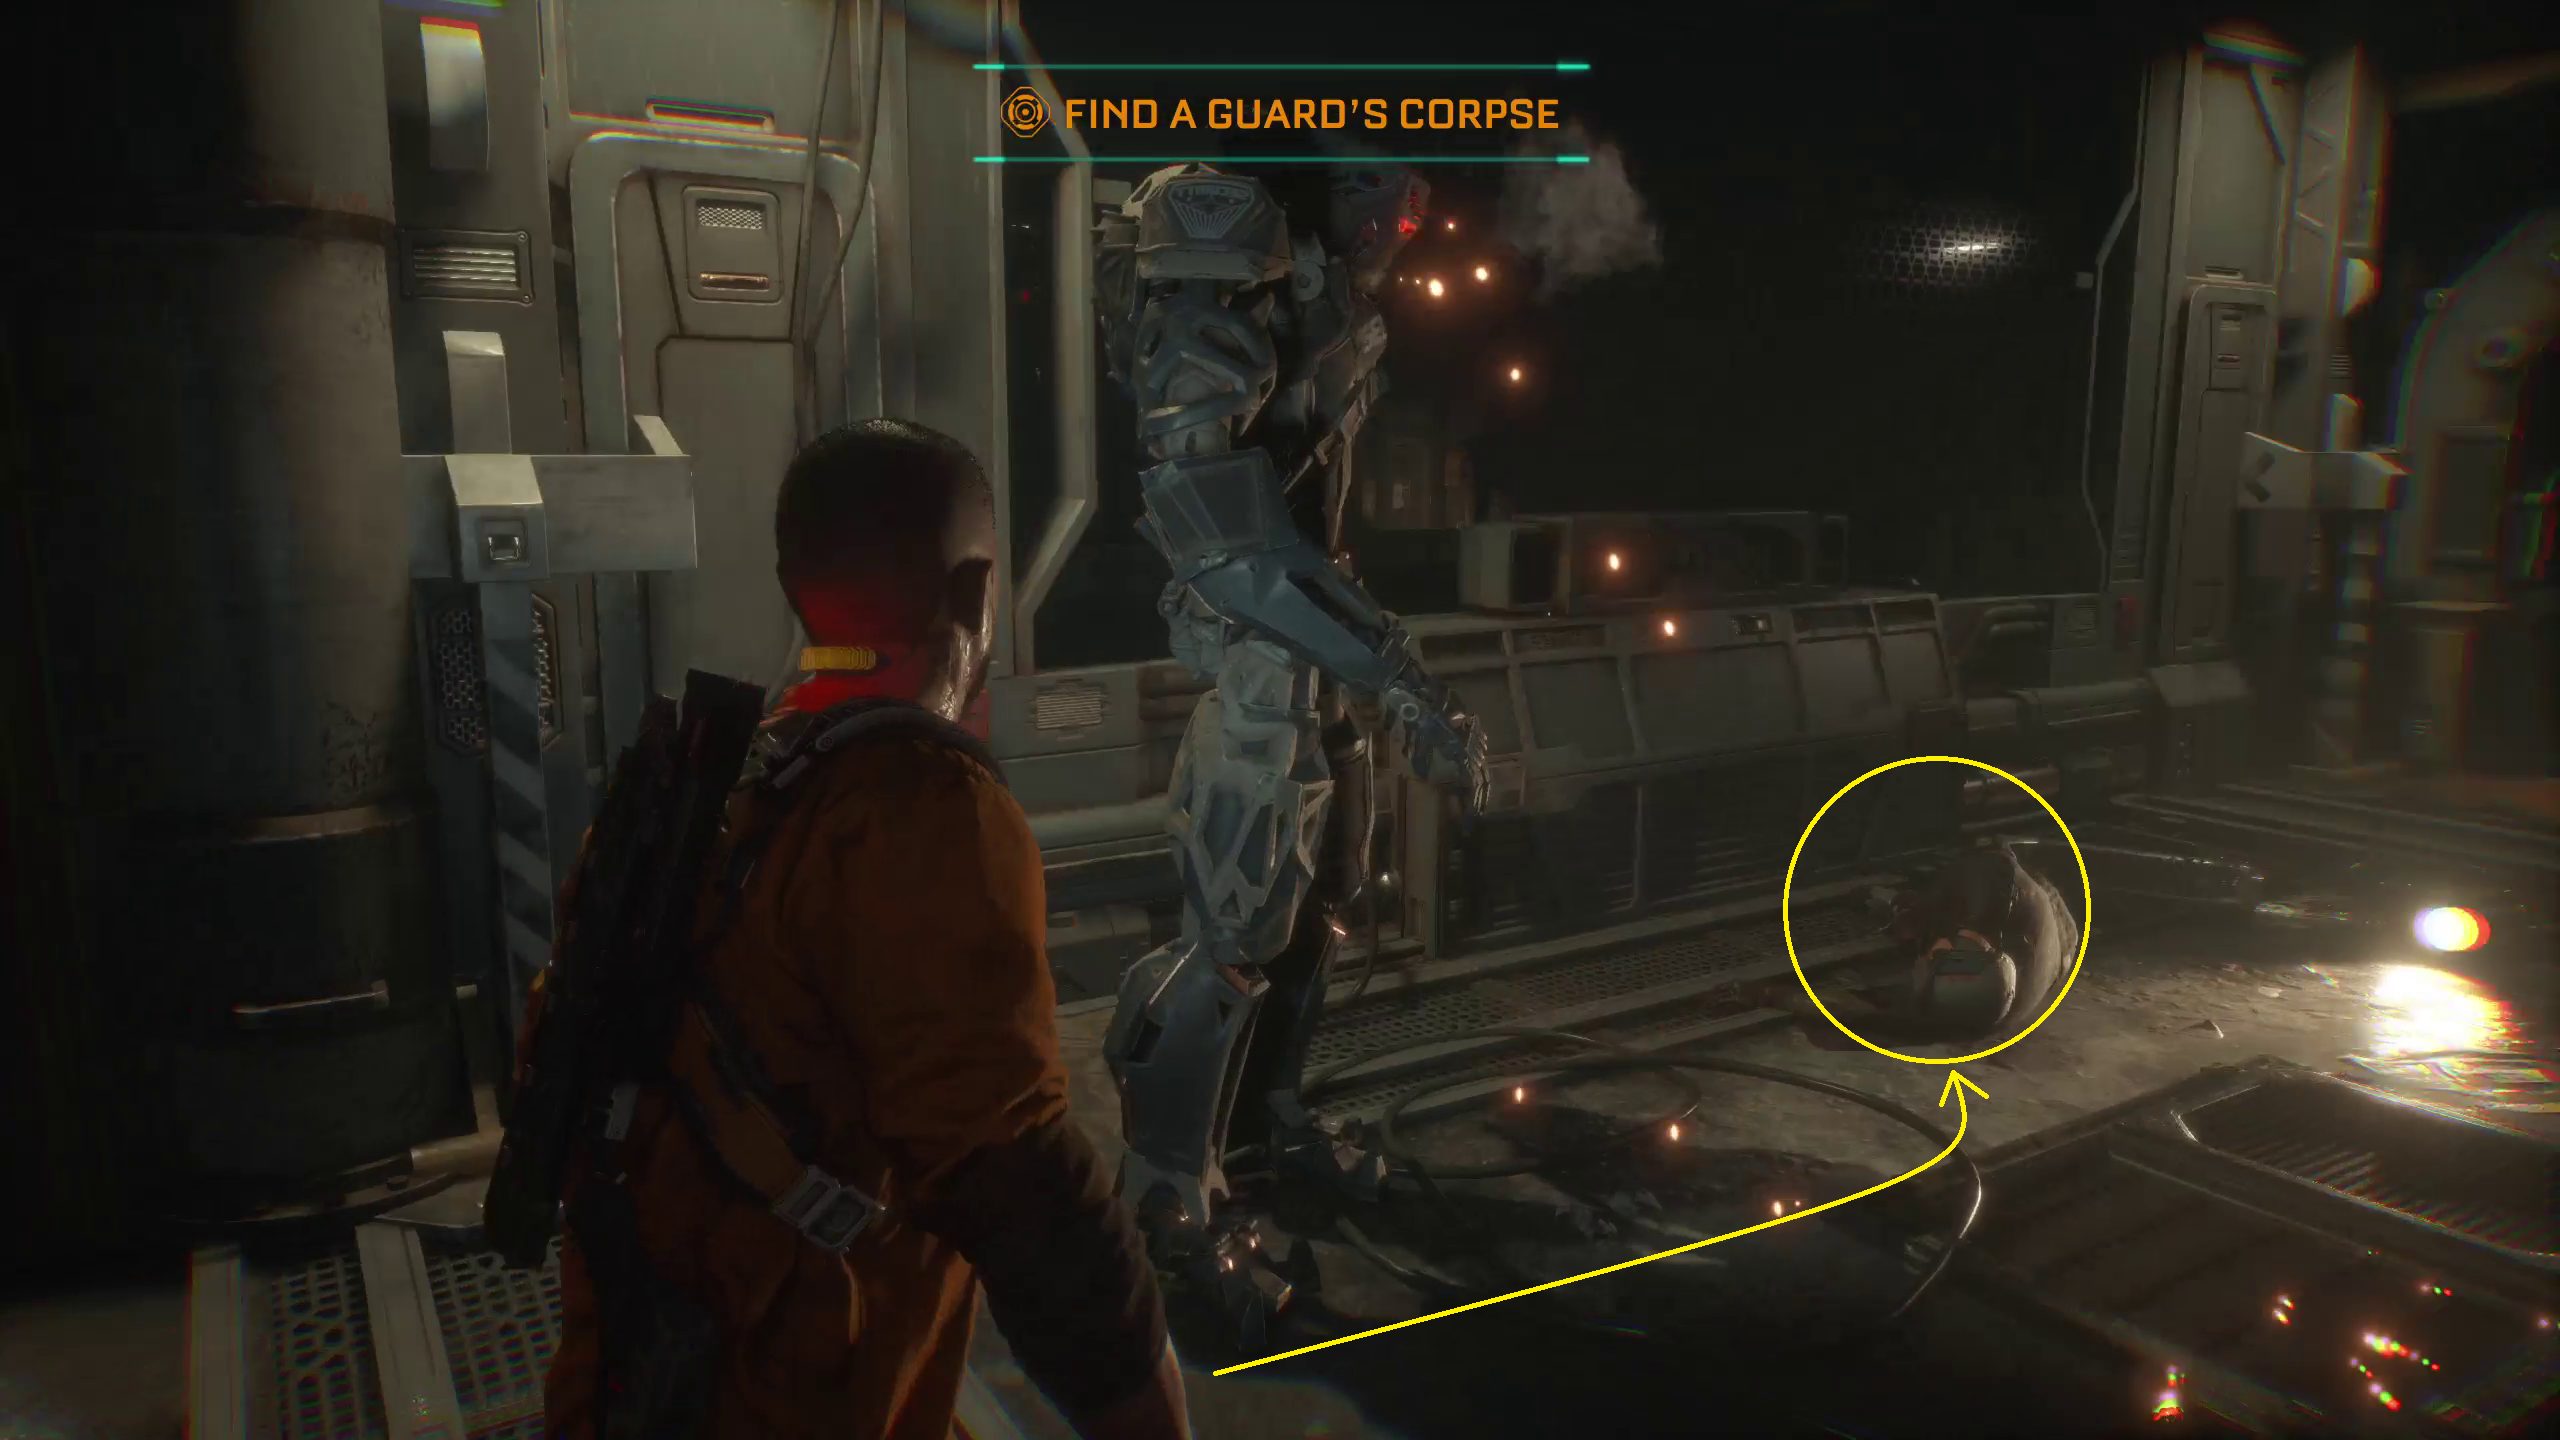
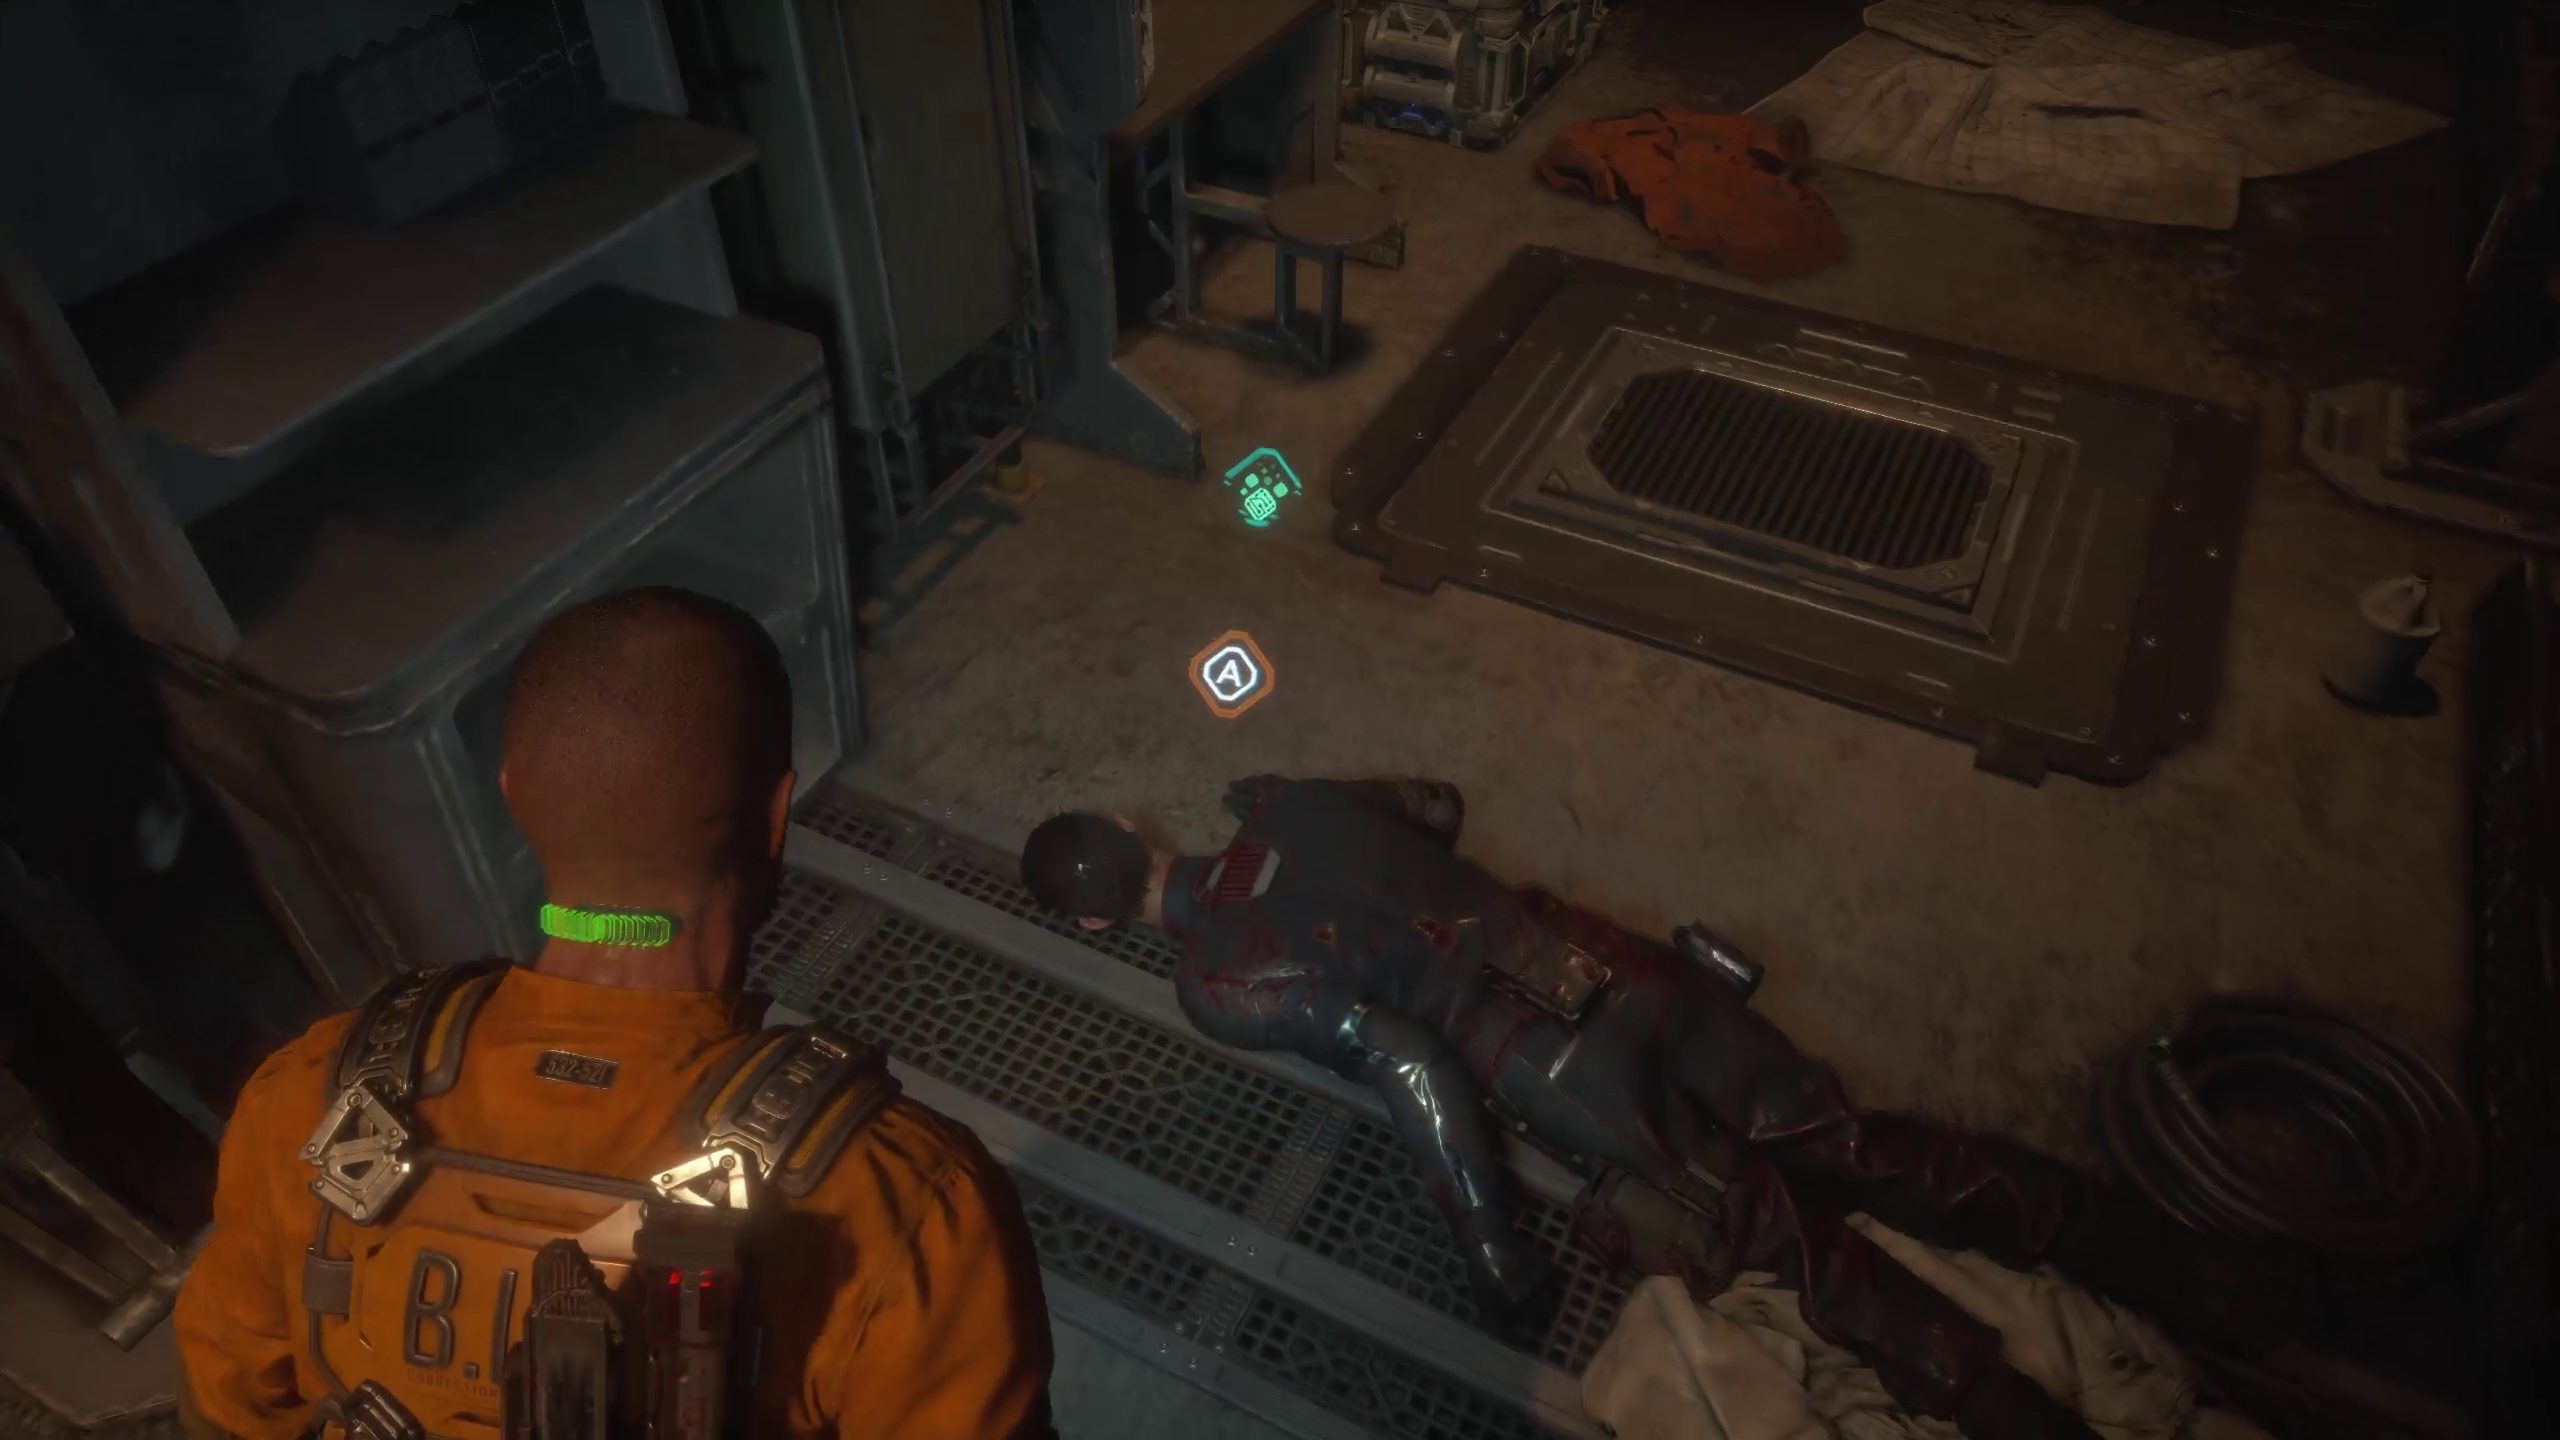
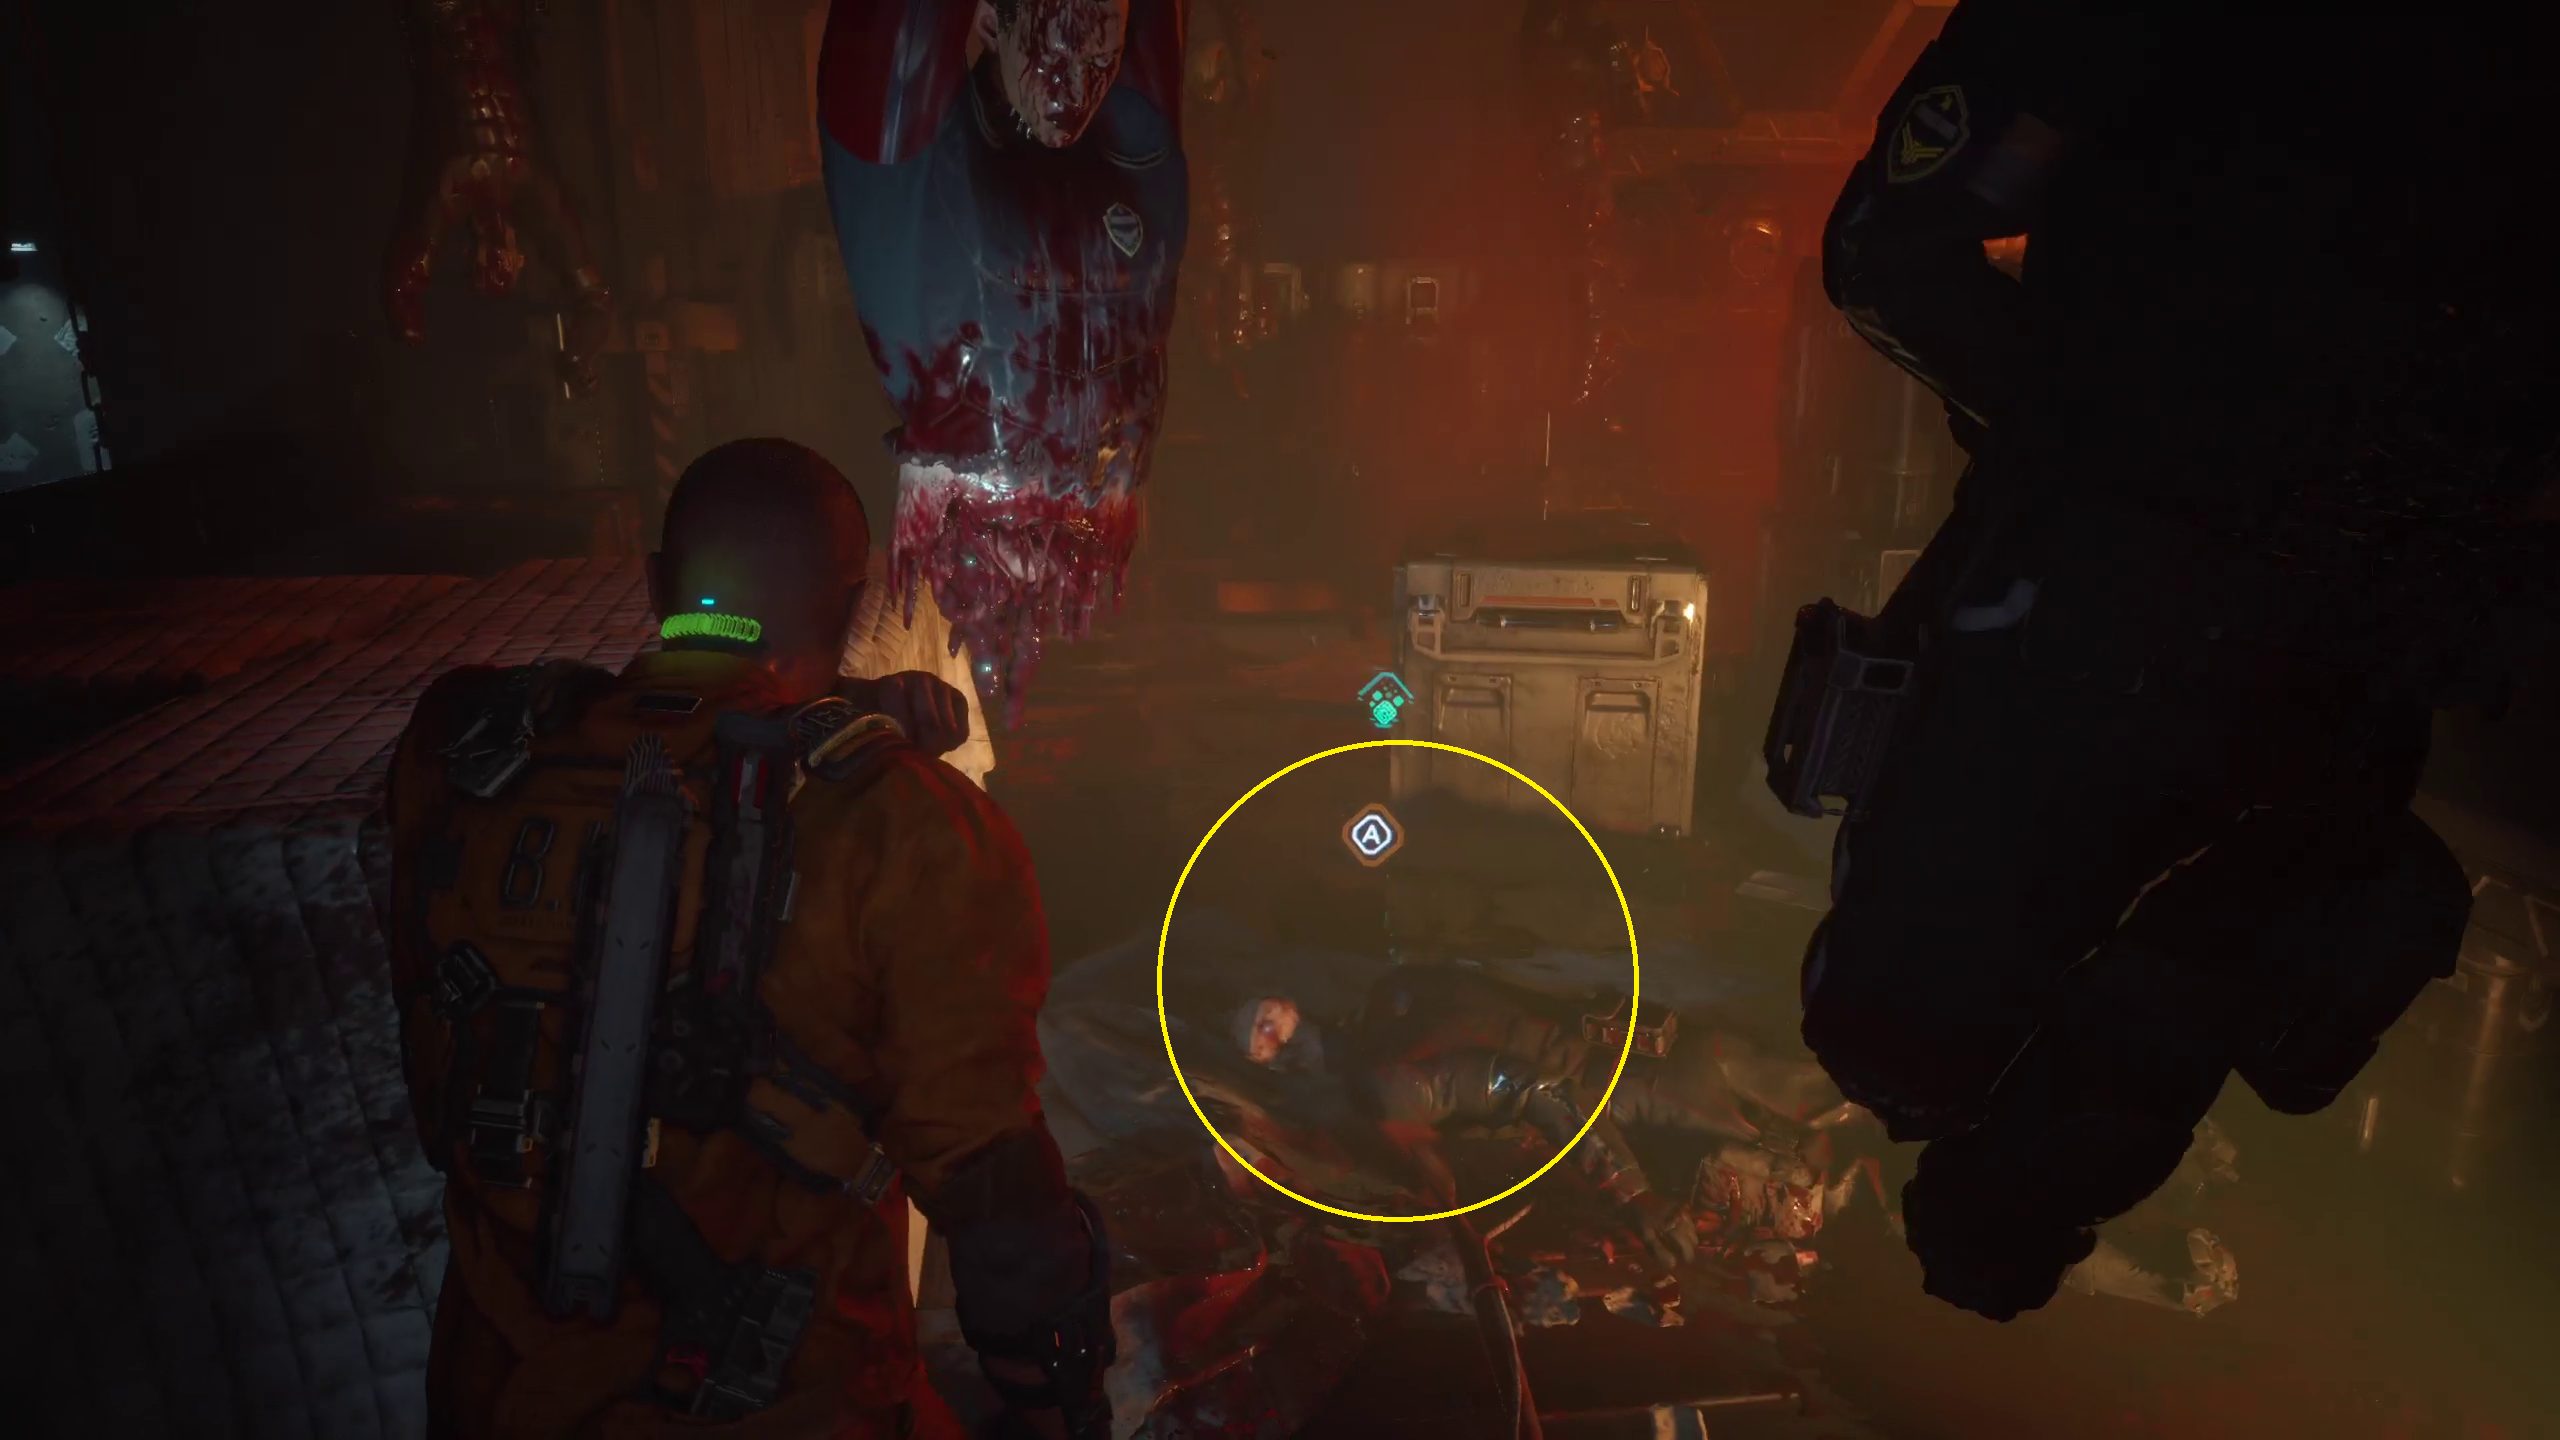
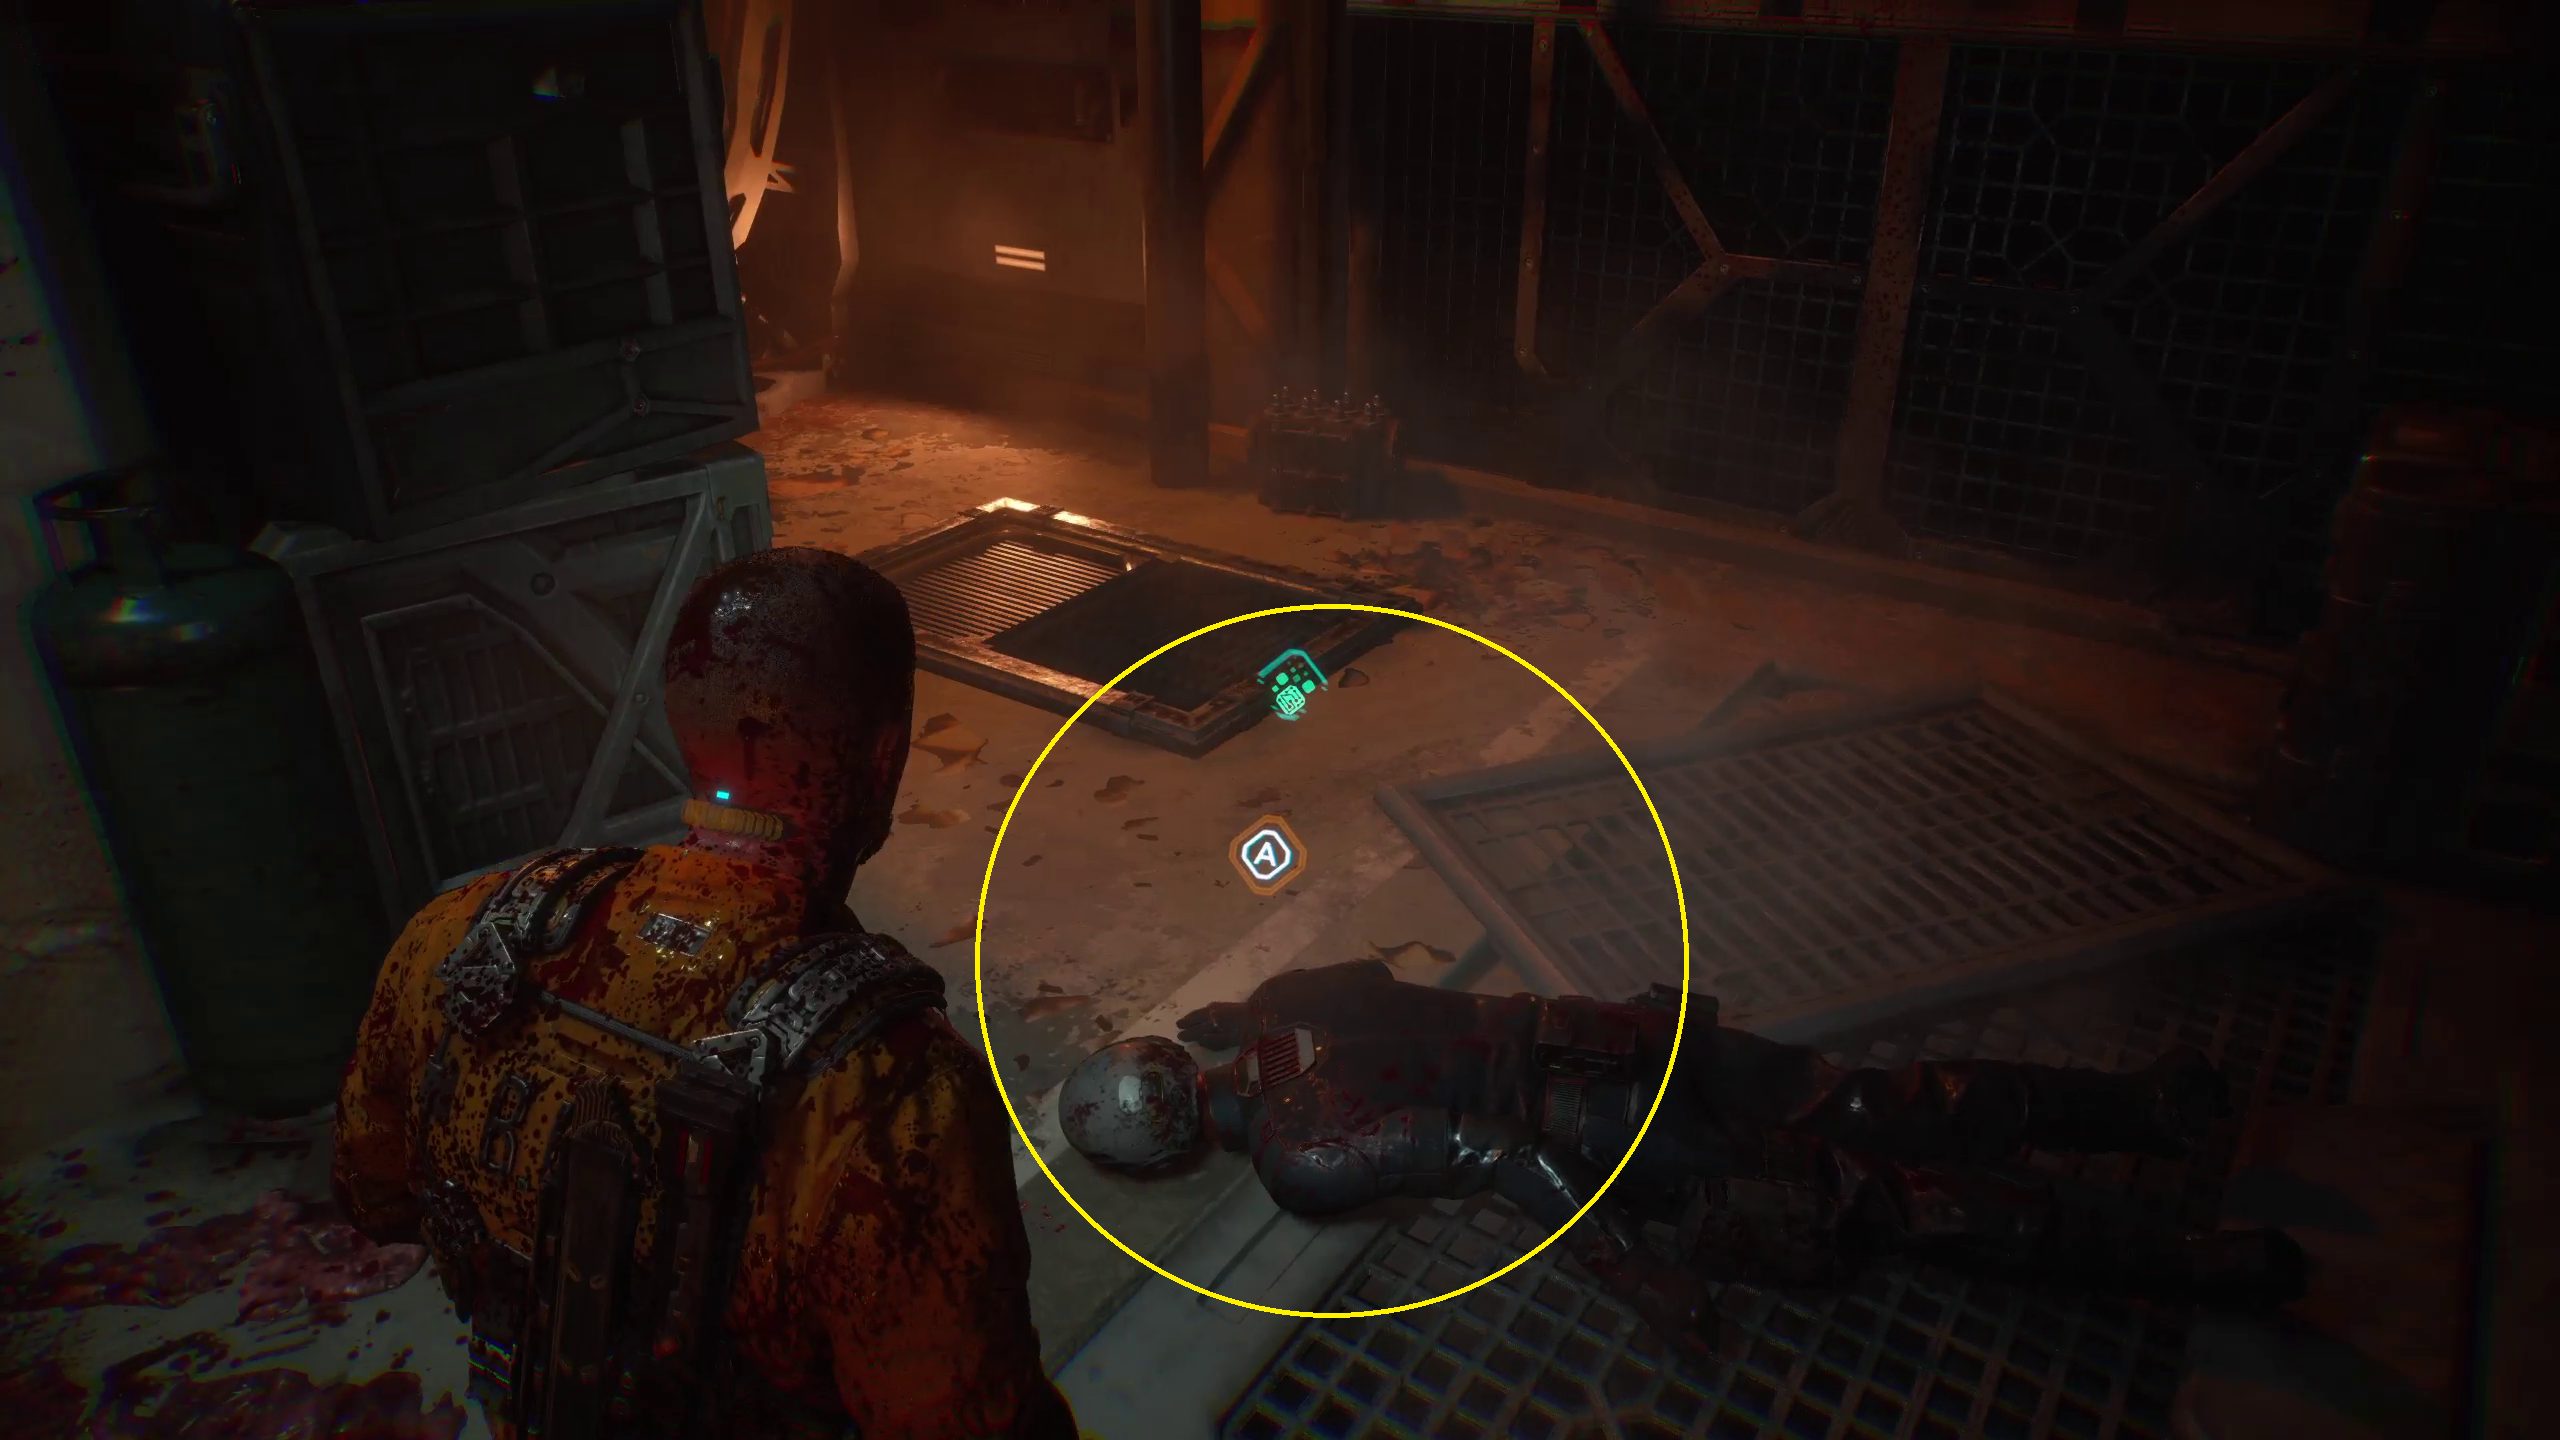
Find a Guard’s Corpse
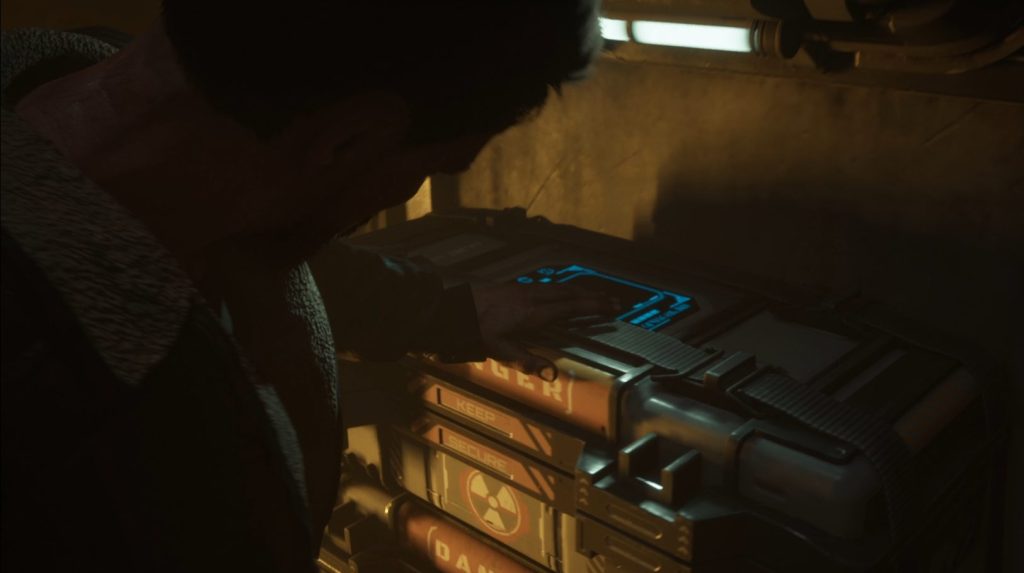
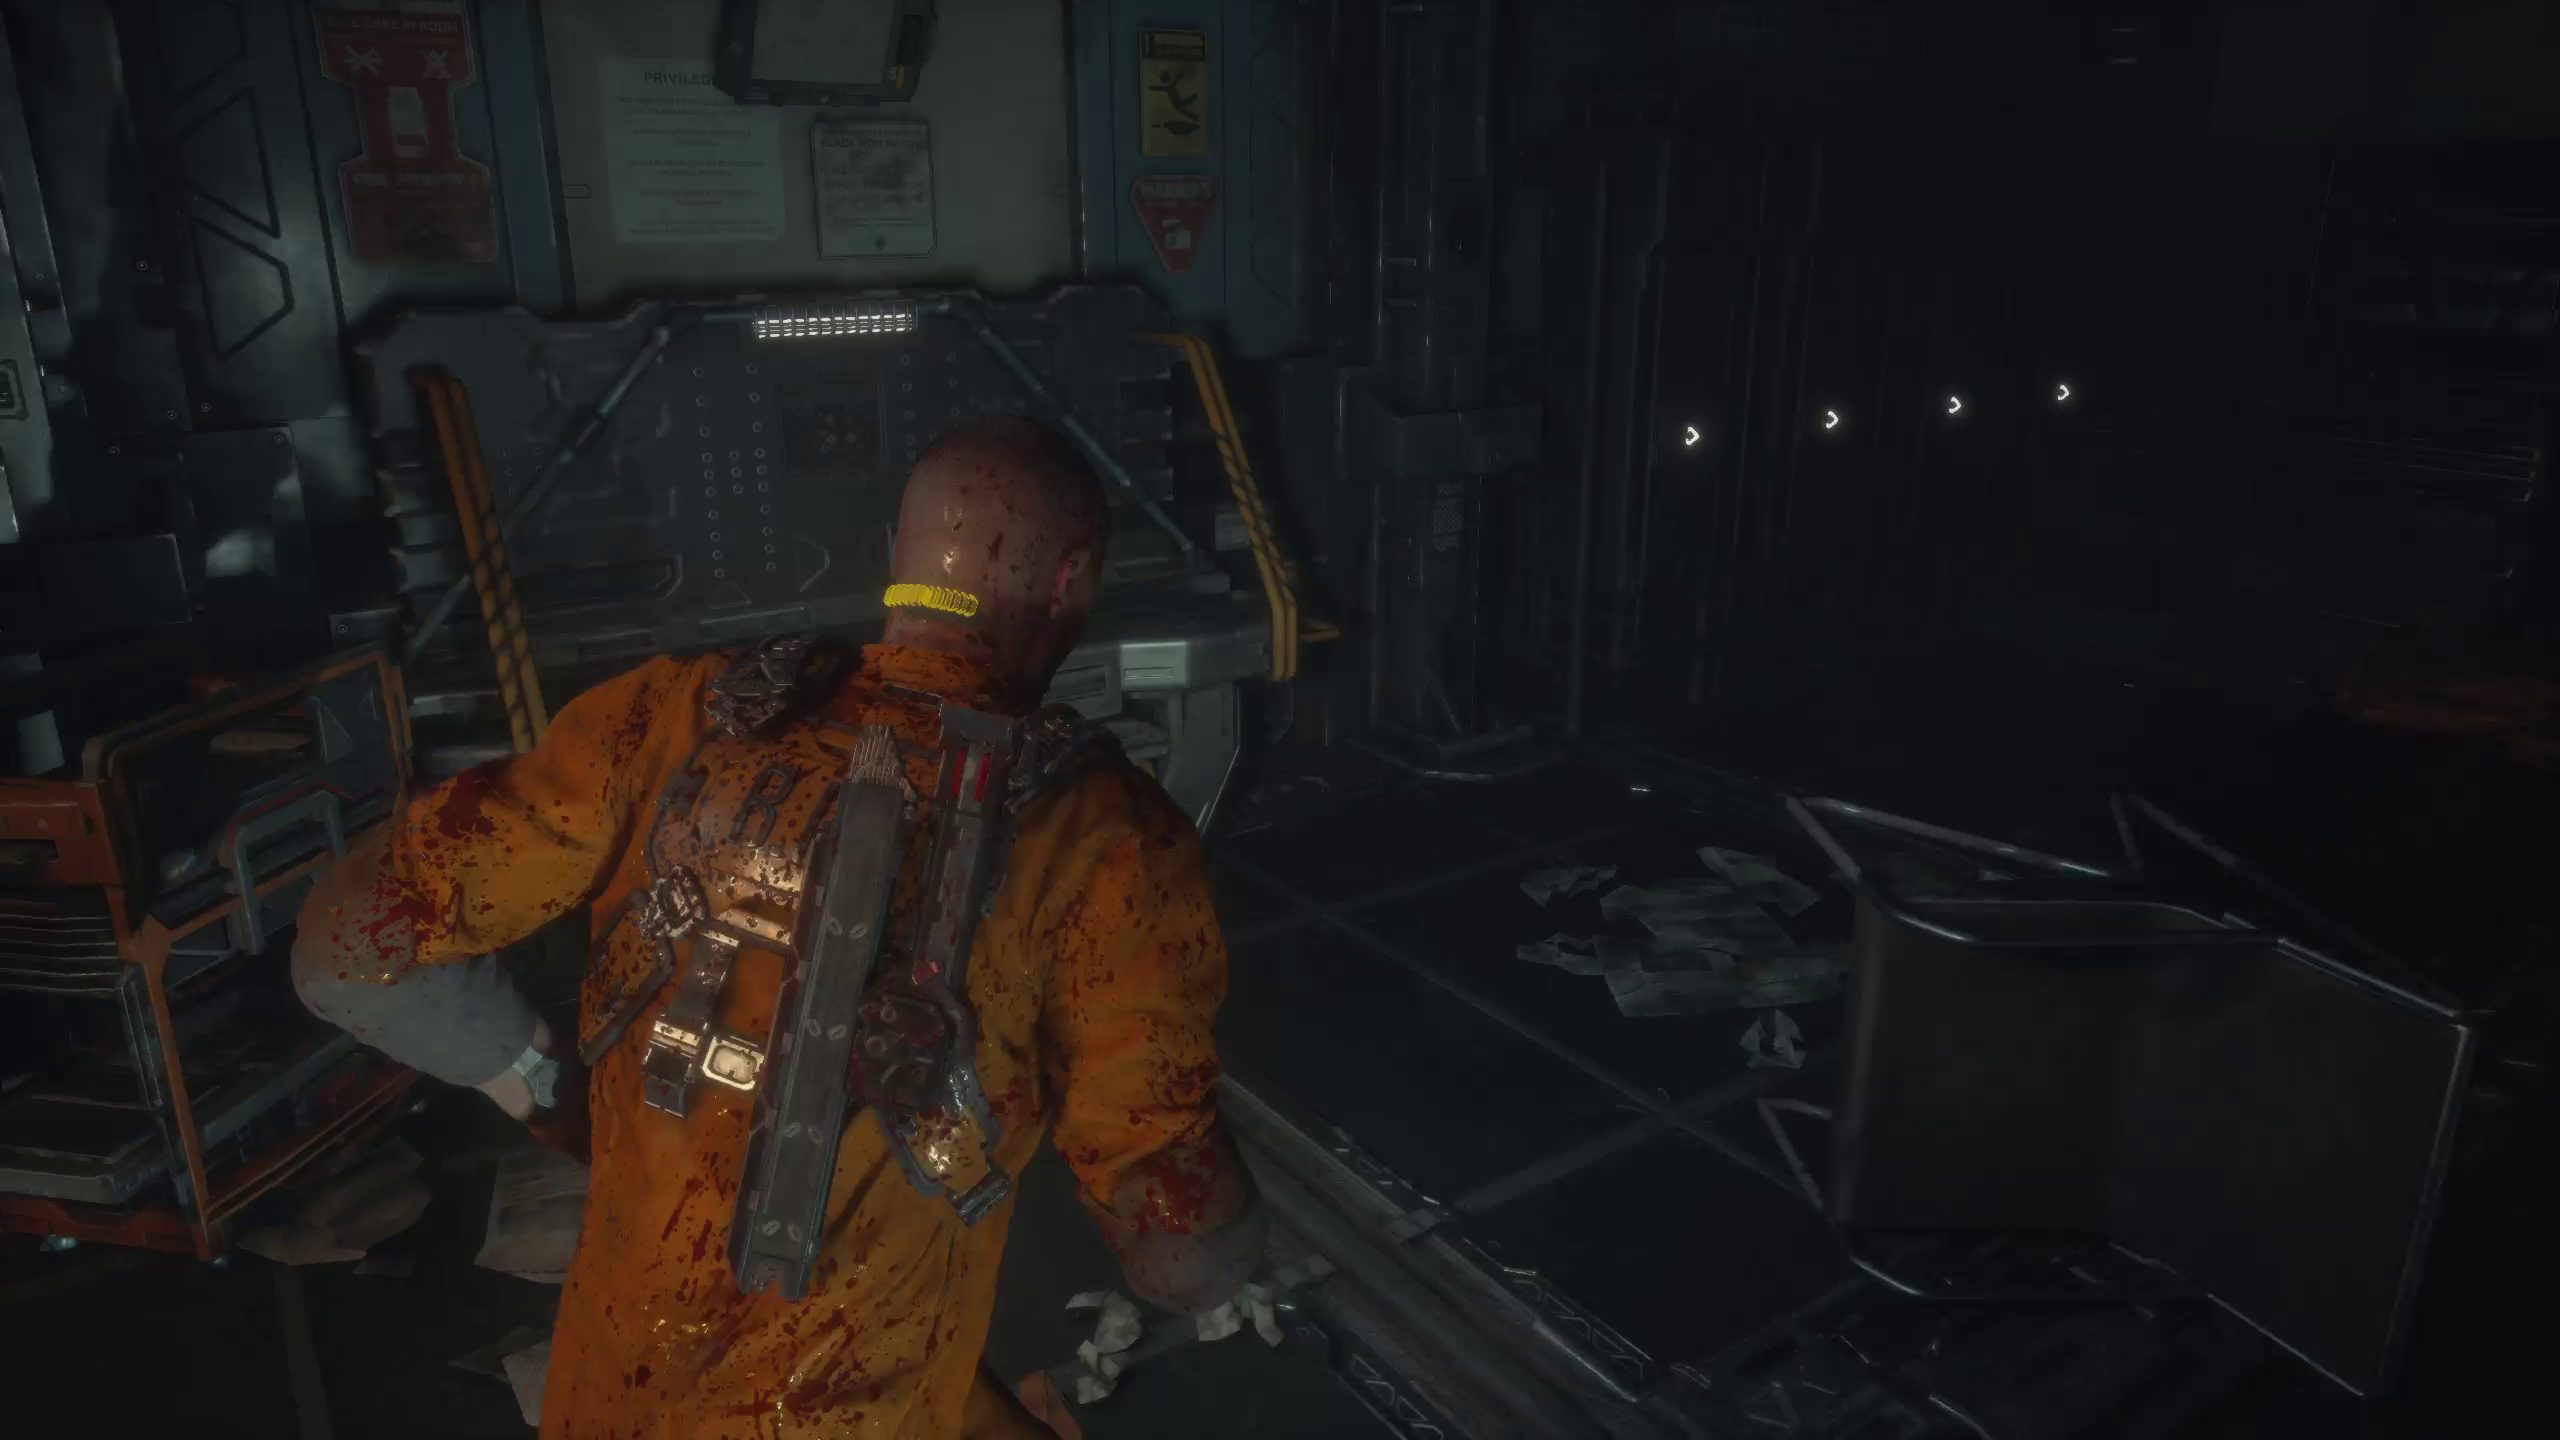
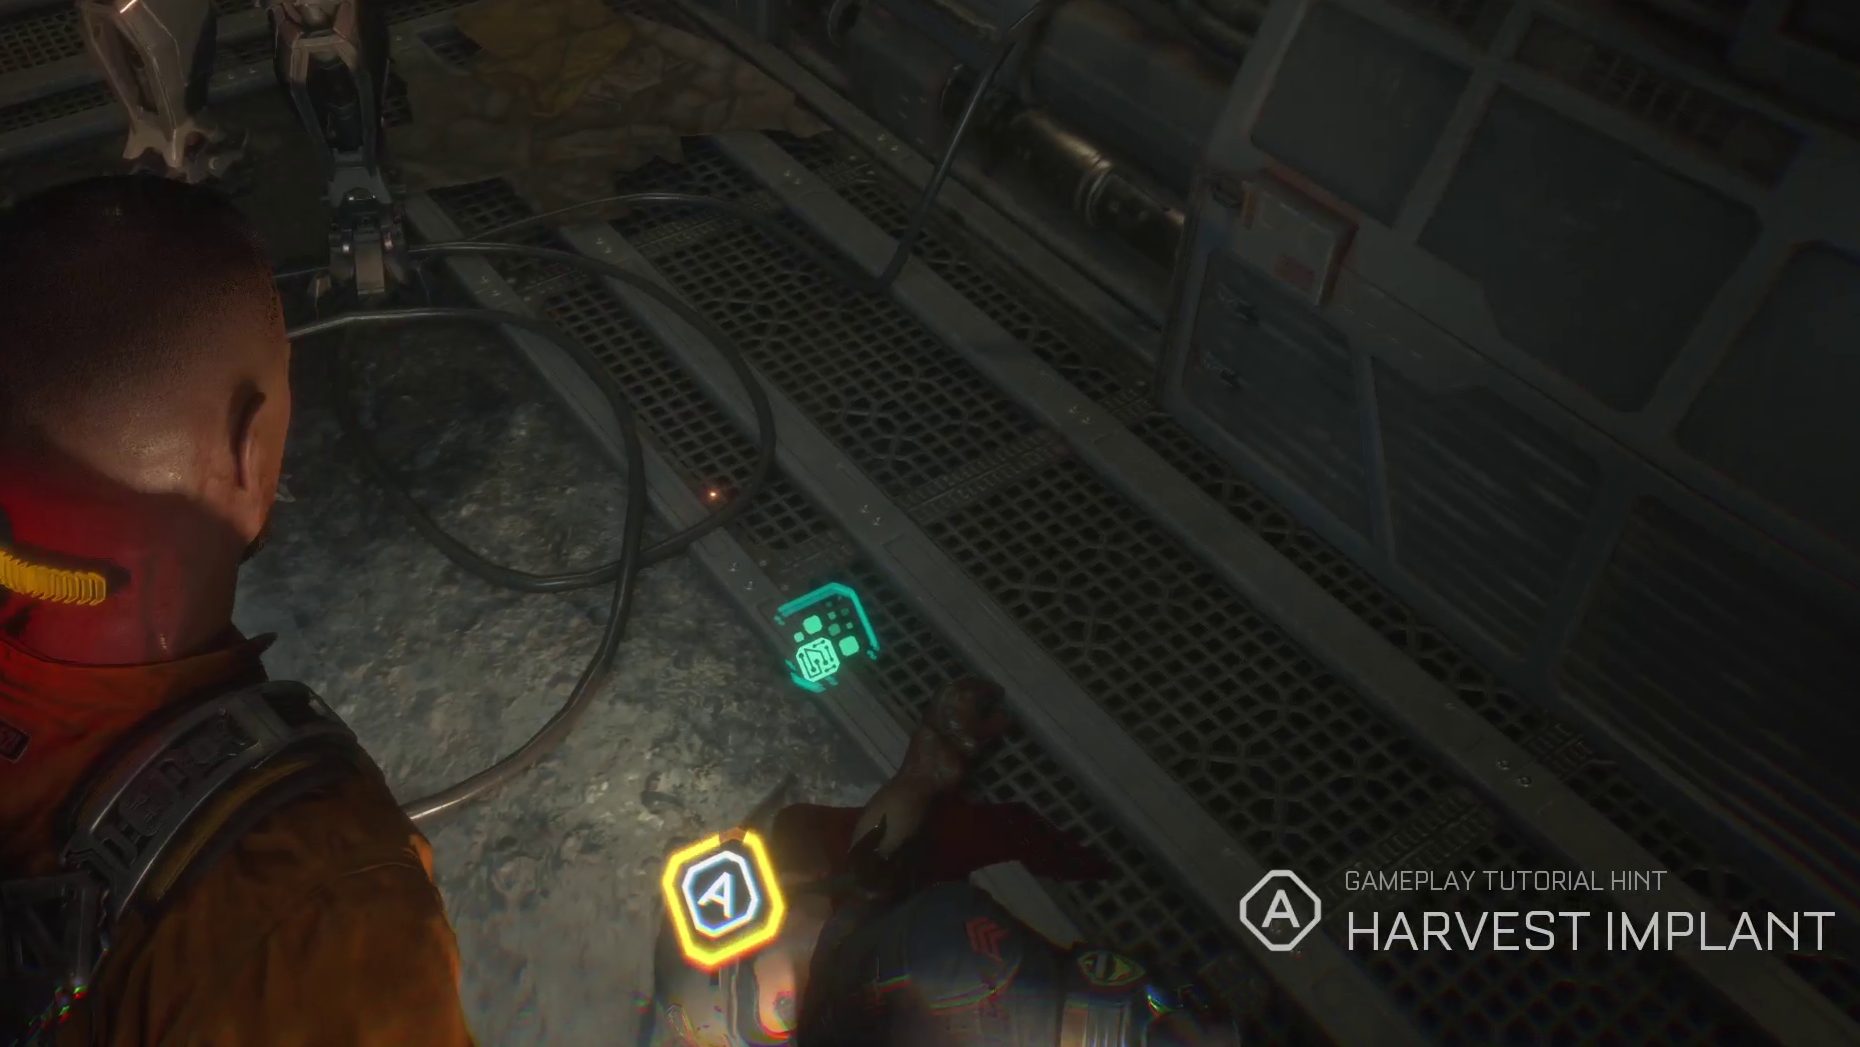
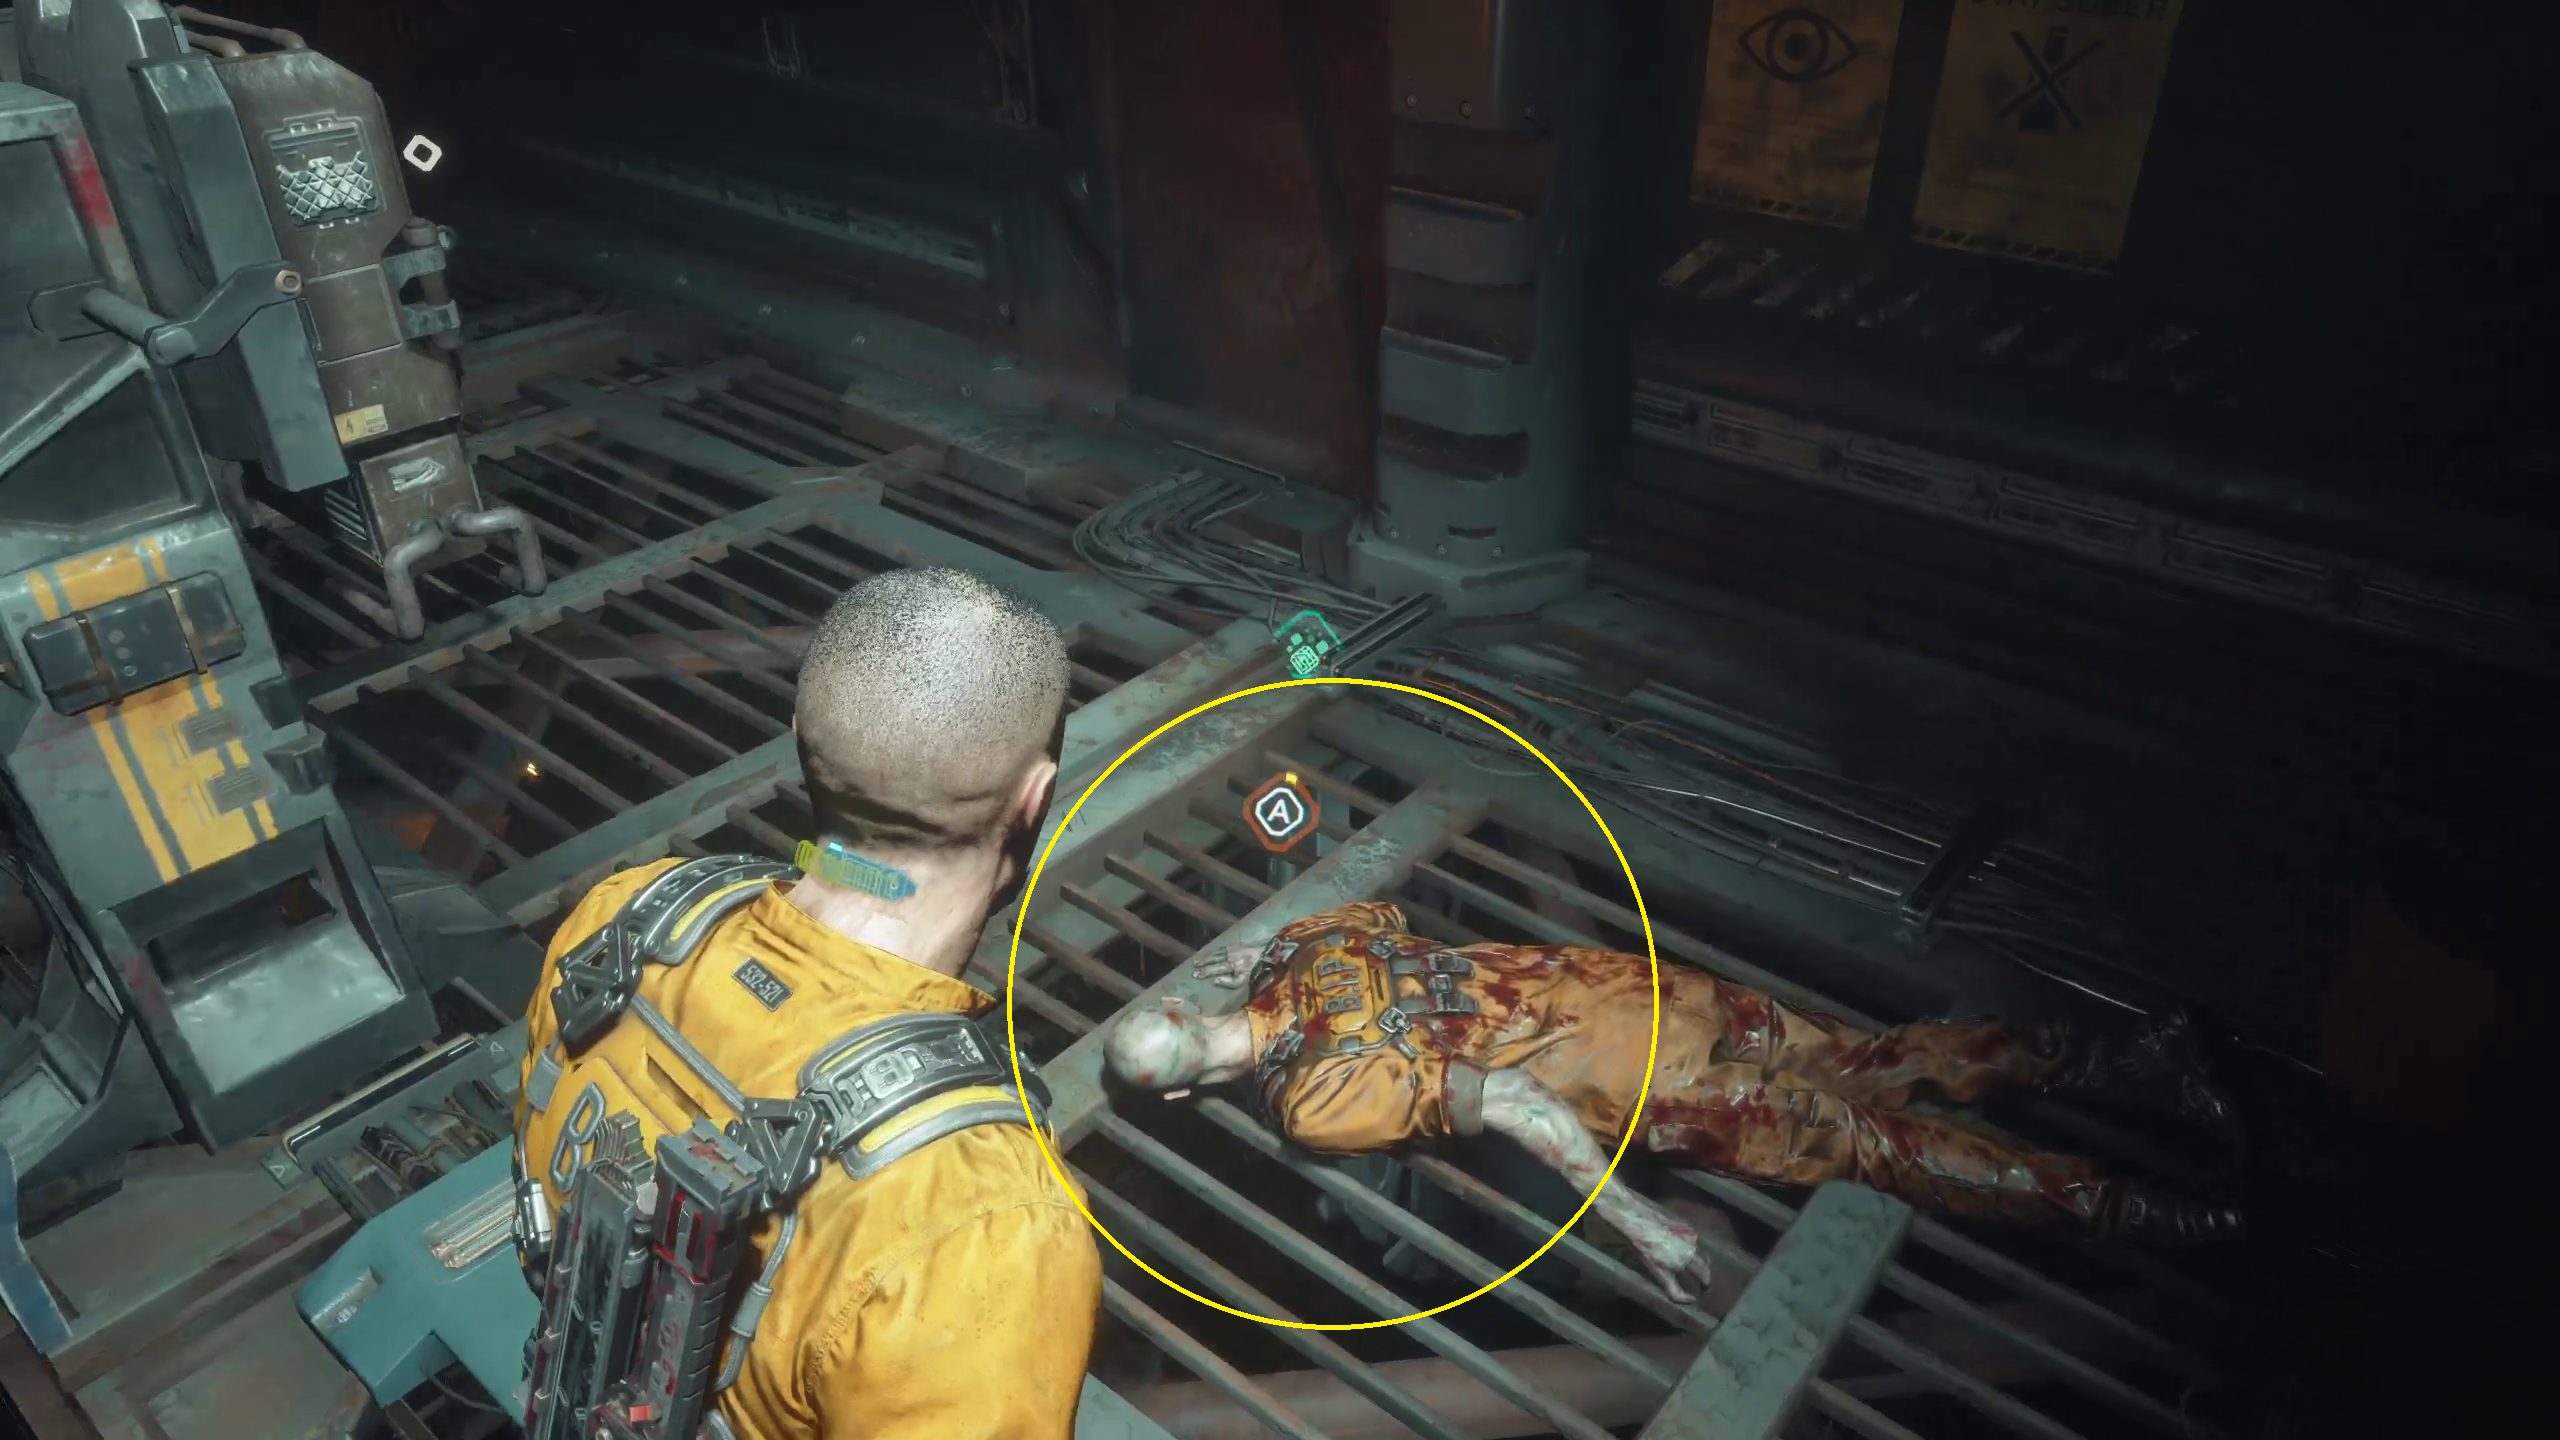
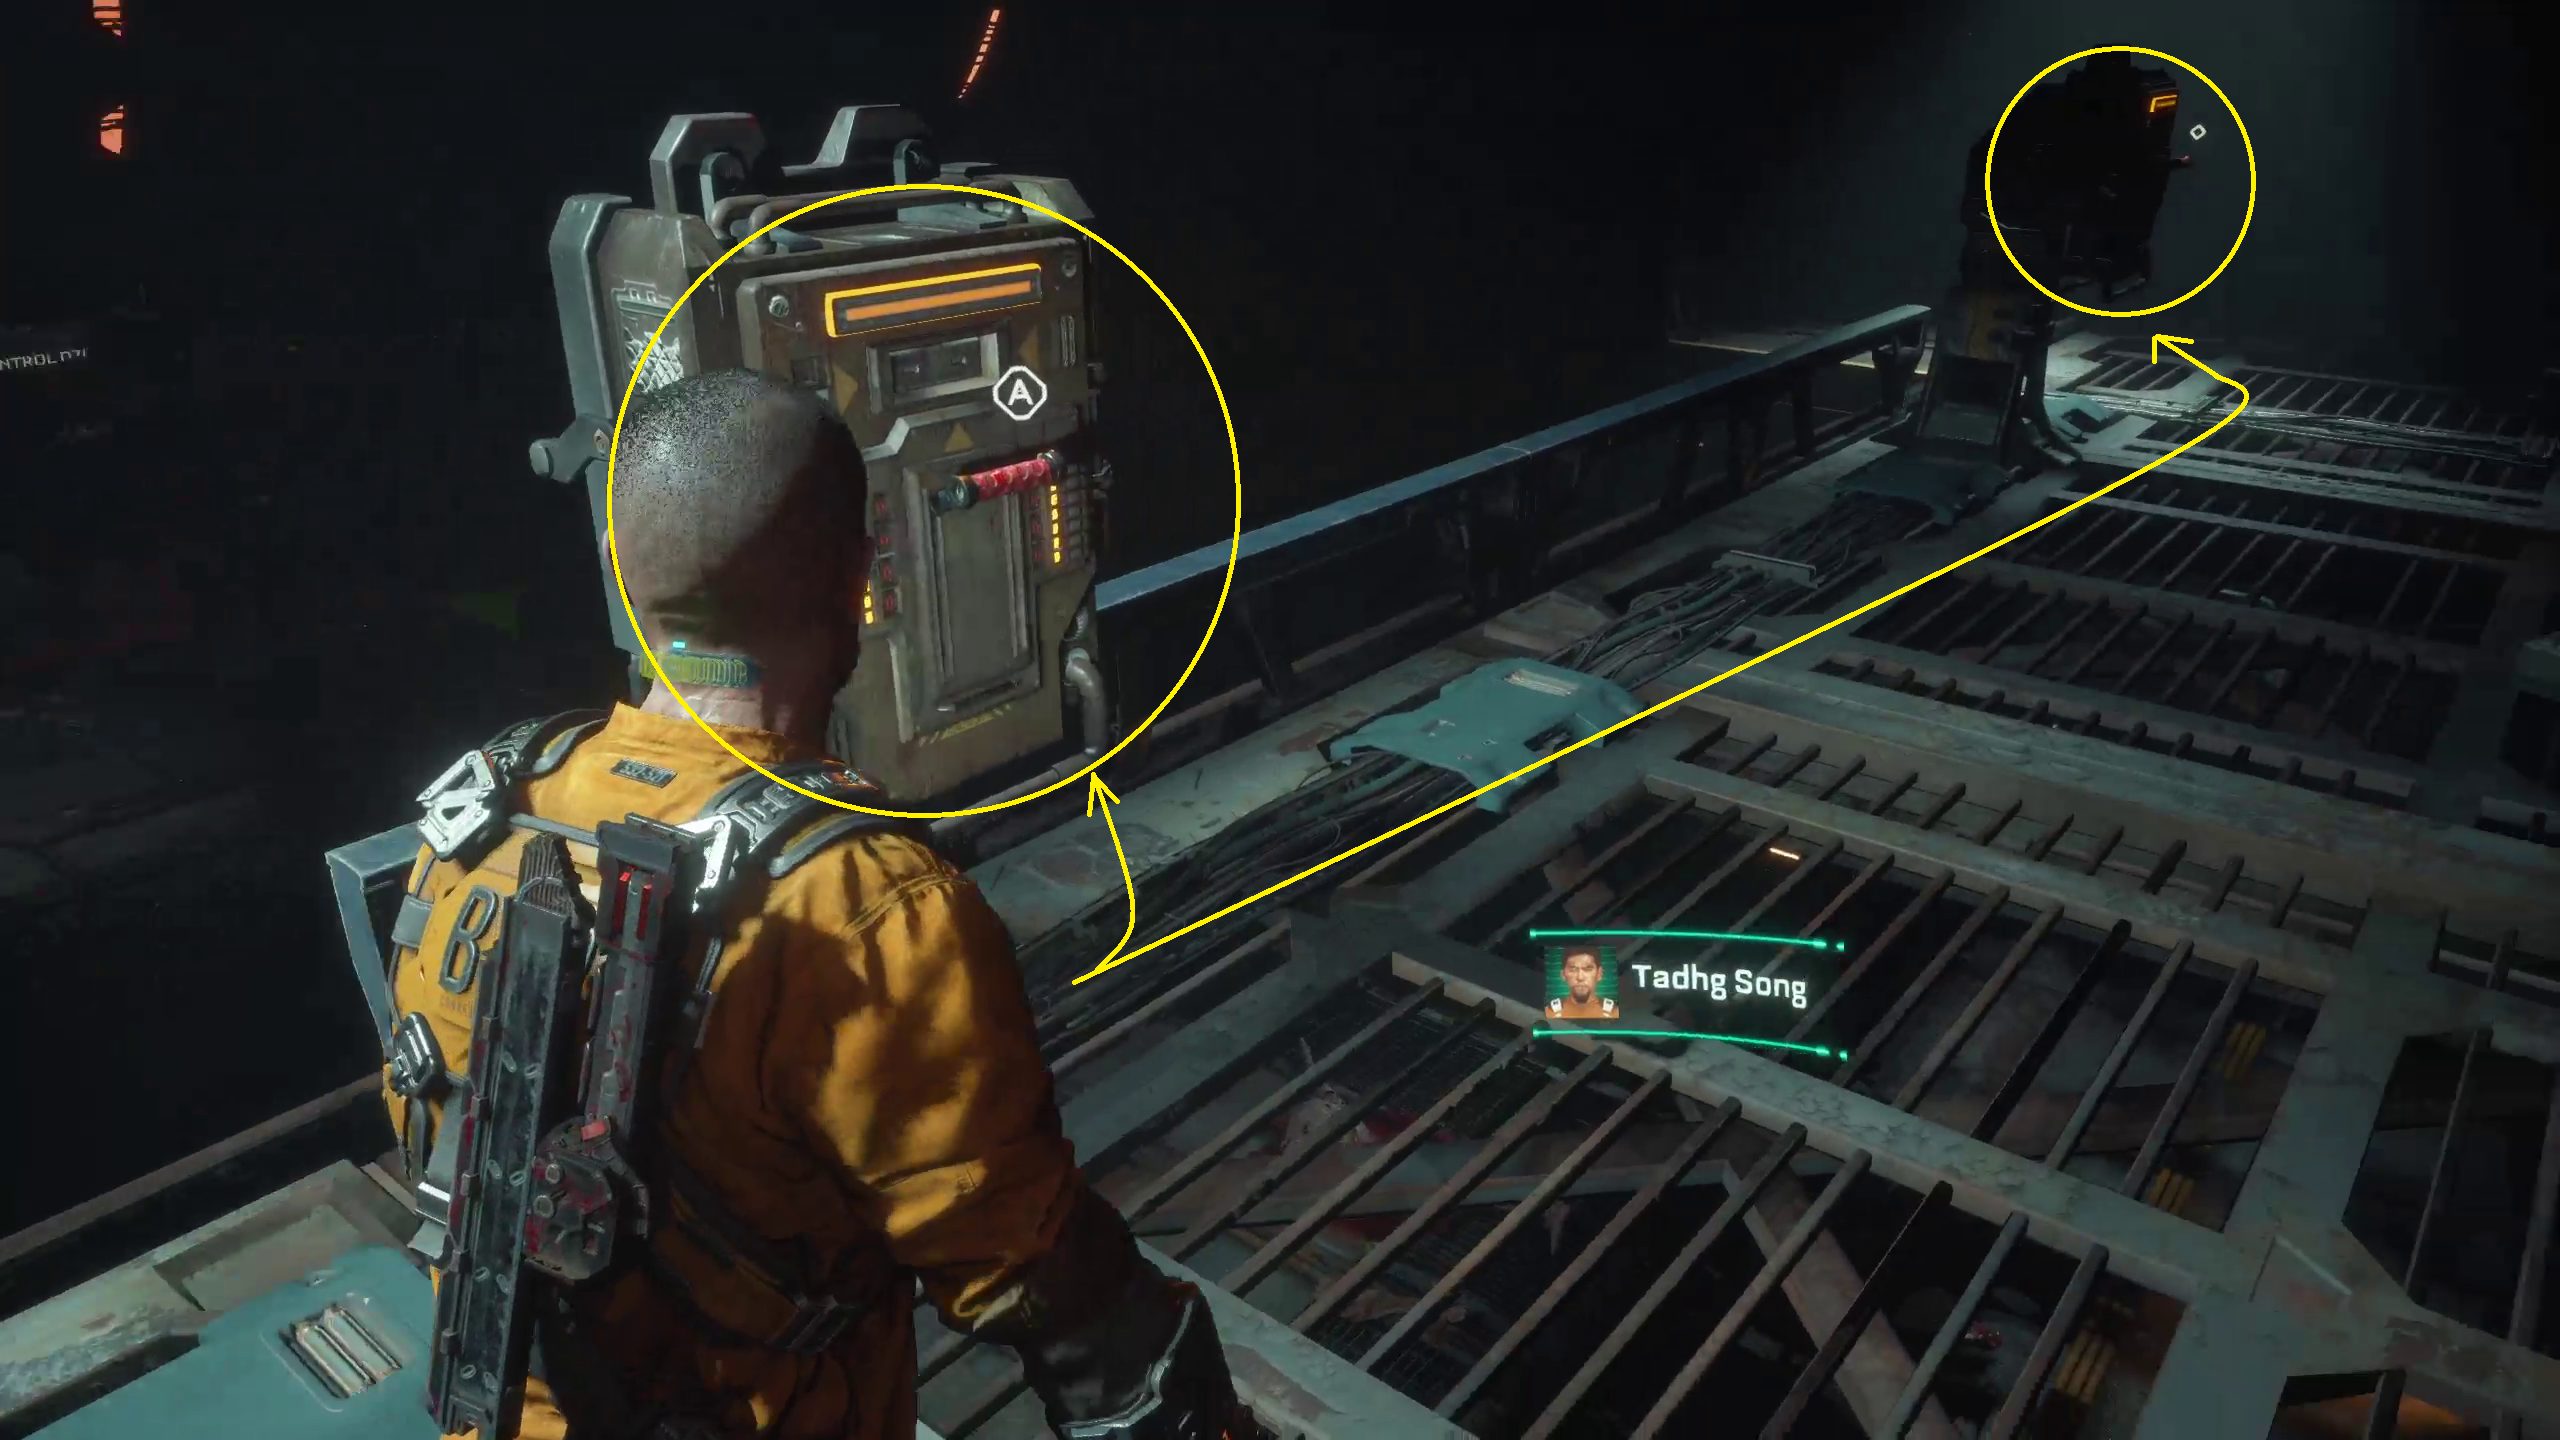
Elias will let you know that you’ll need that dead guard’s implant, so turn around and head over to him (next to the broken robot). Interact with him (/ / ) to harvest his implant. This is actually the DATA-BIOS collectible for Sgt. Eric Jane, as well as being a critical item for progression.
Locate the Medical Facility
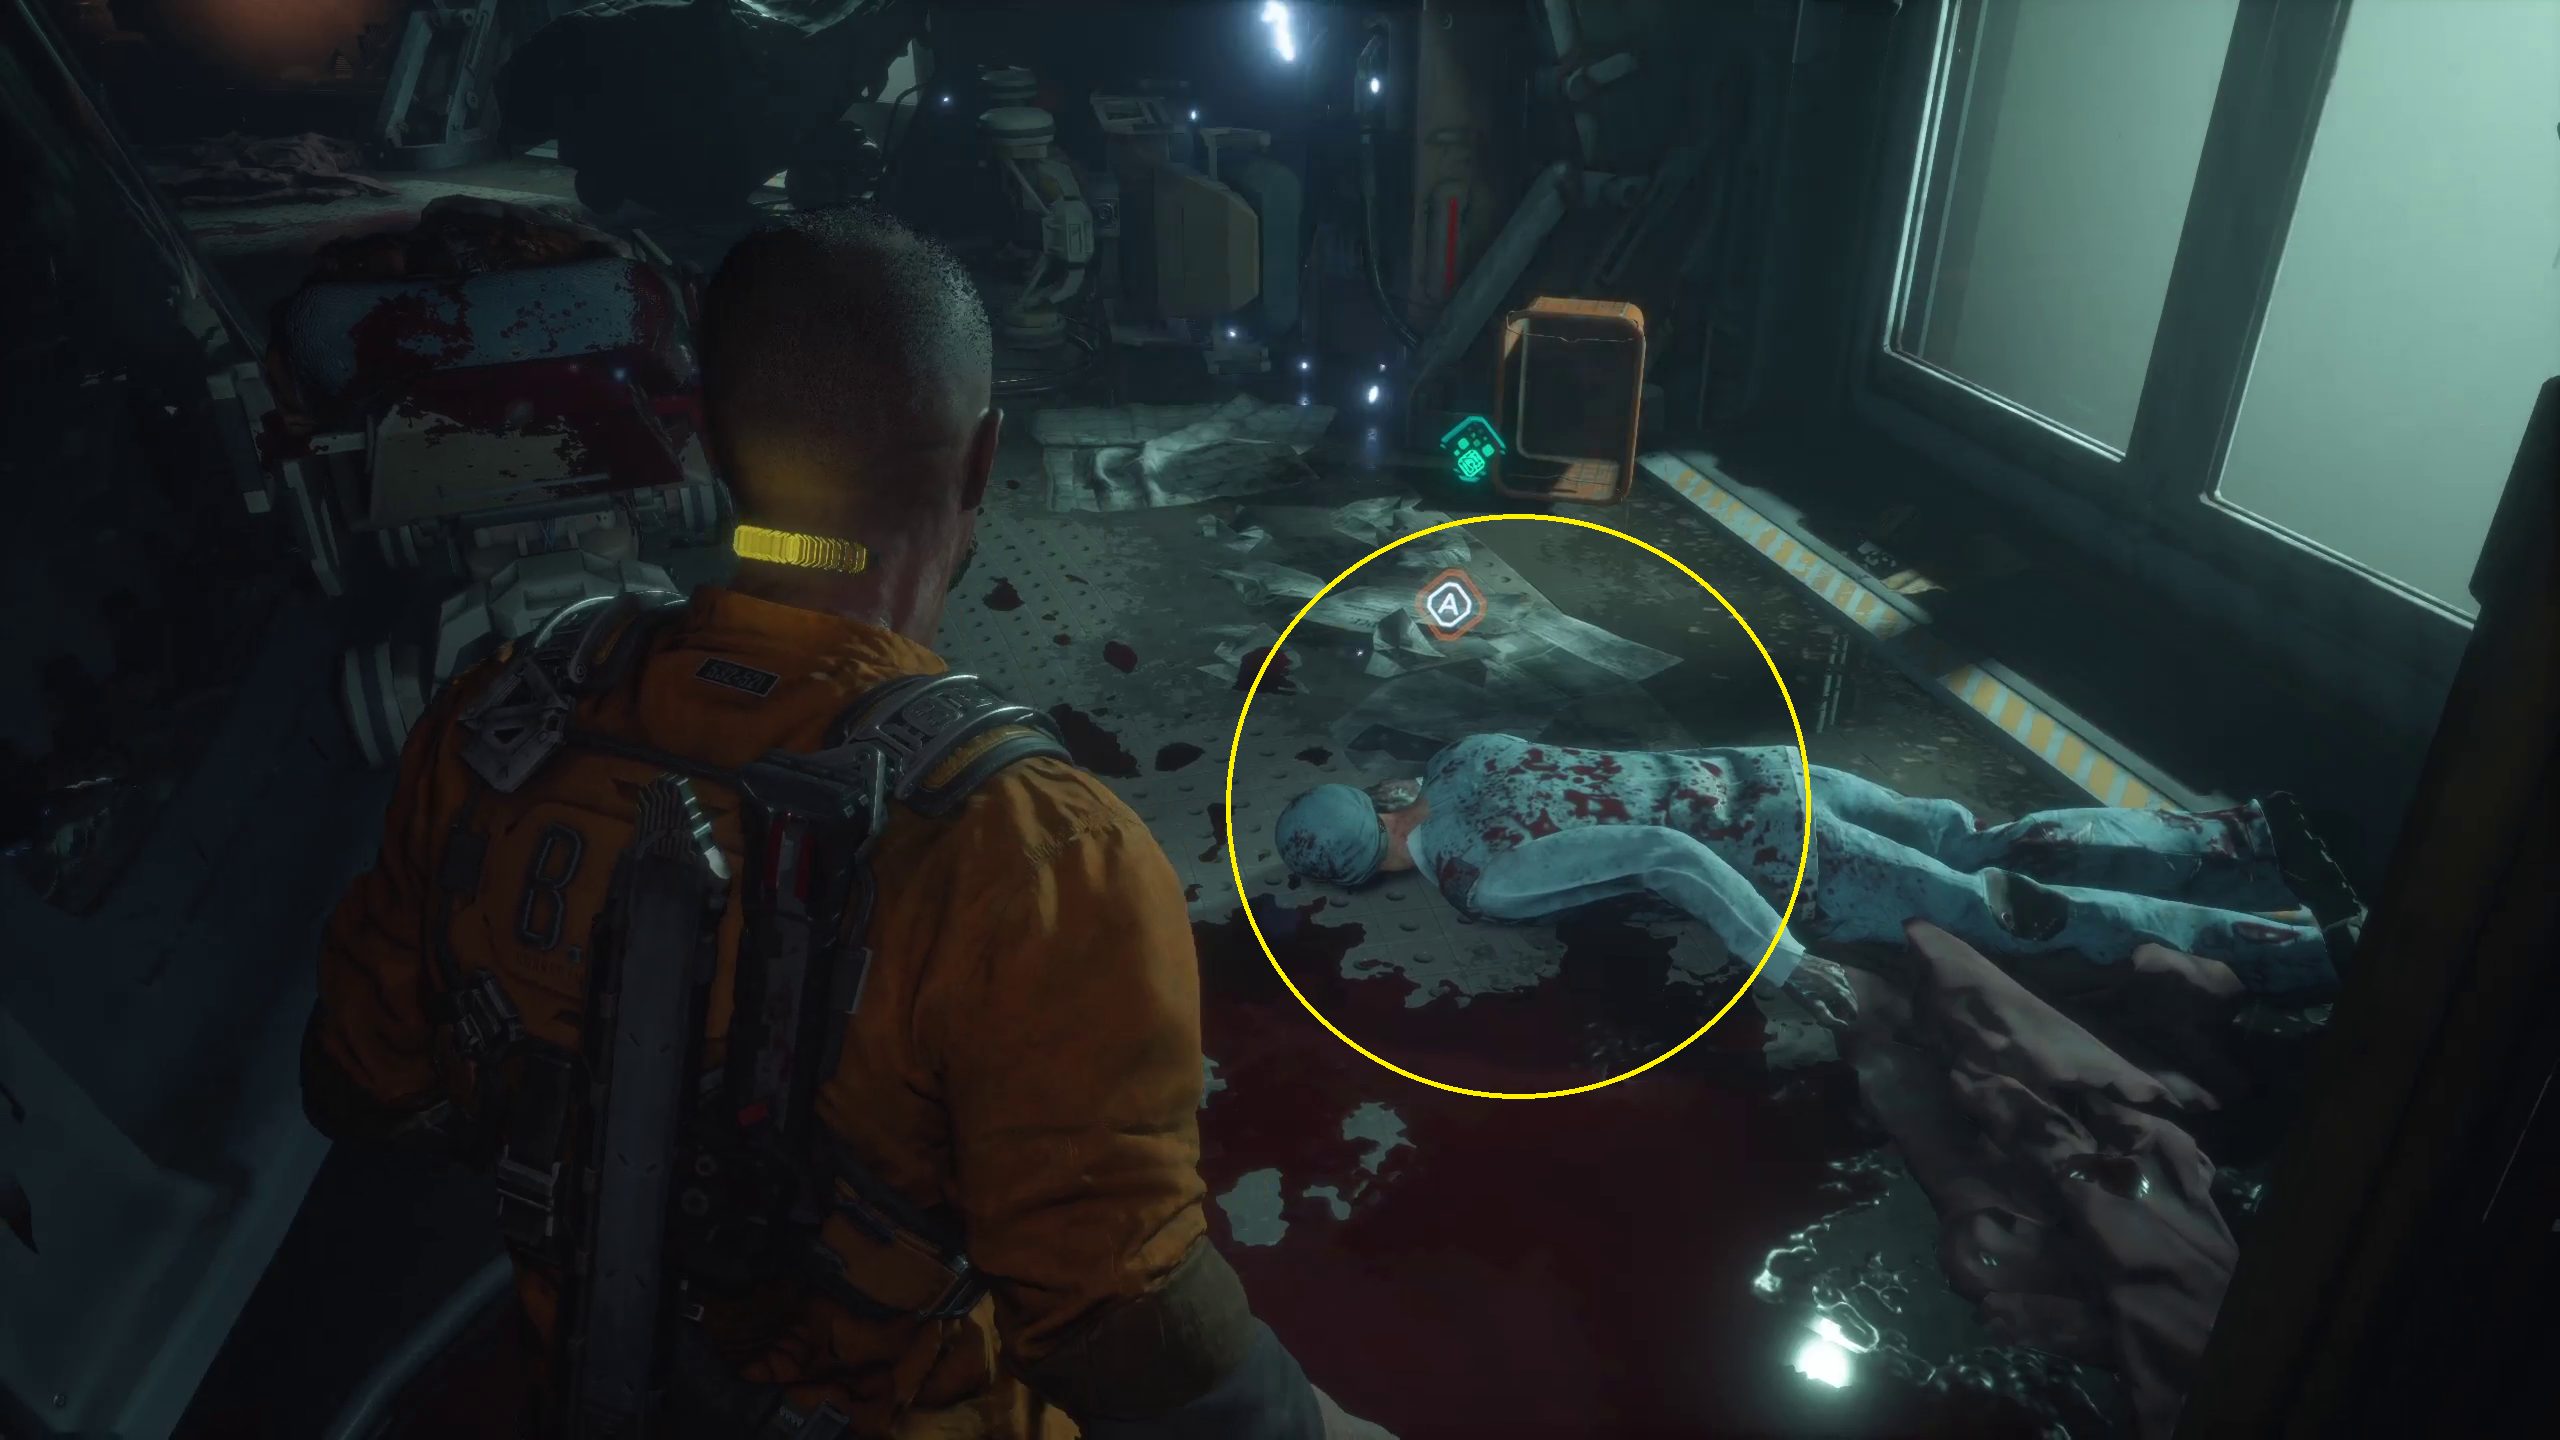
Head back to the Laundry B202 door, and continue down the hallway. Once you reach the more open area, watch out for a corpse on the floor: this is actually a living biophage, who will attack you when you pass by.
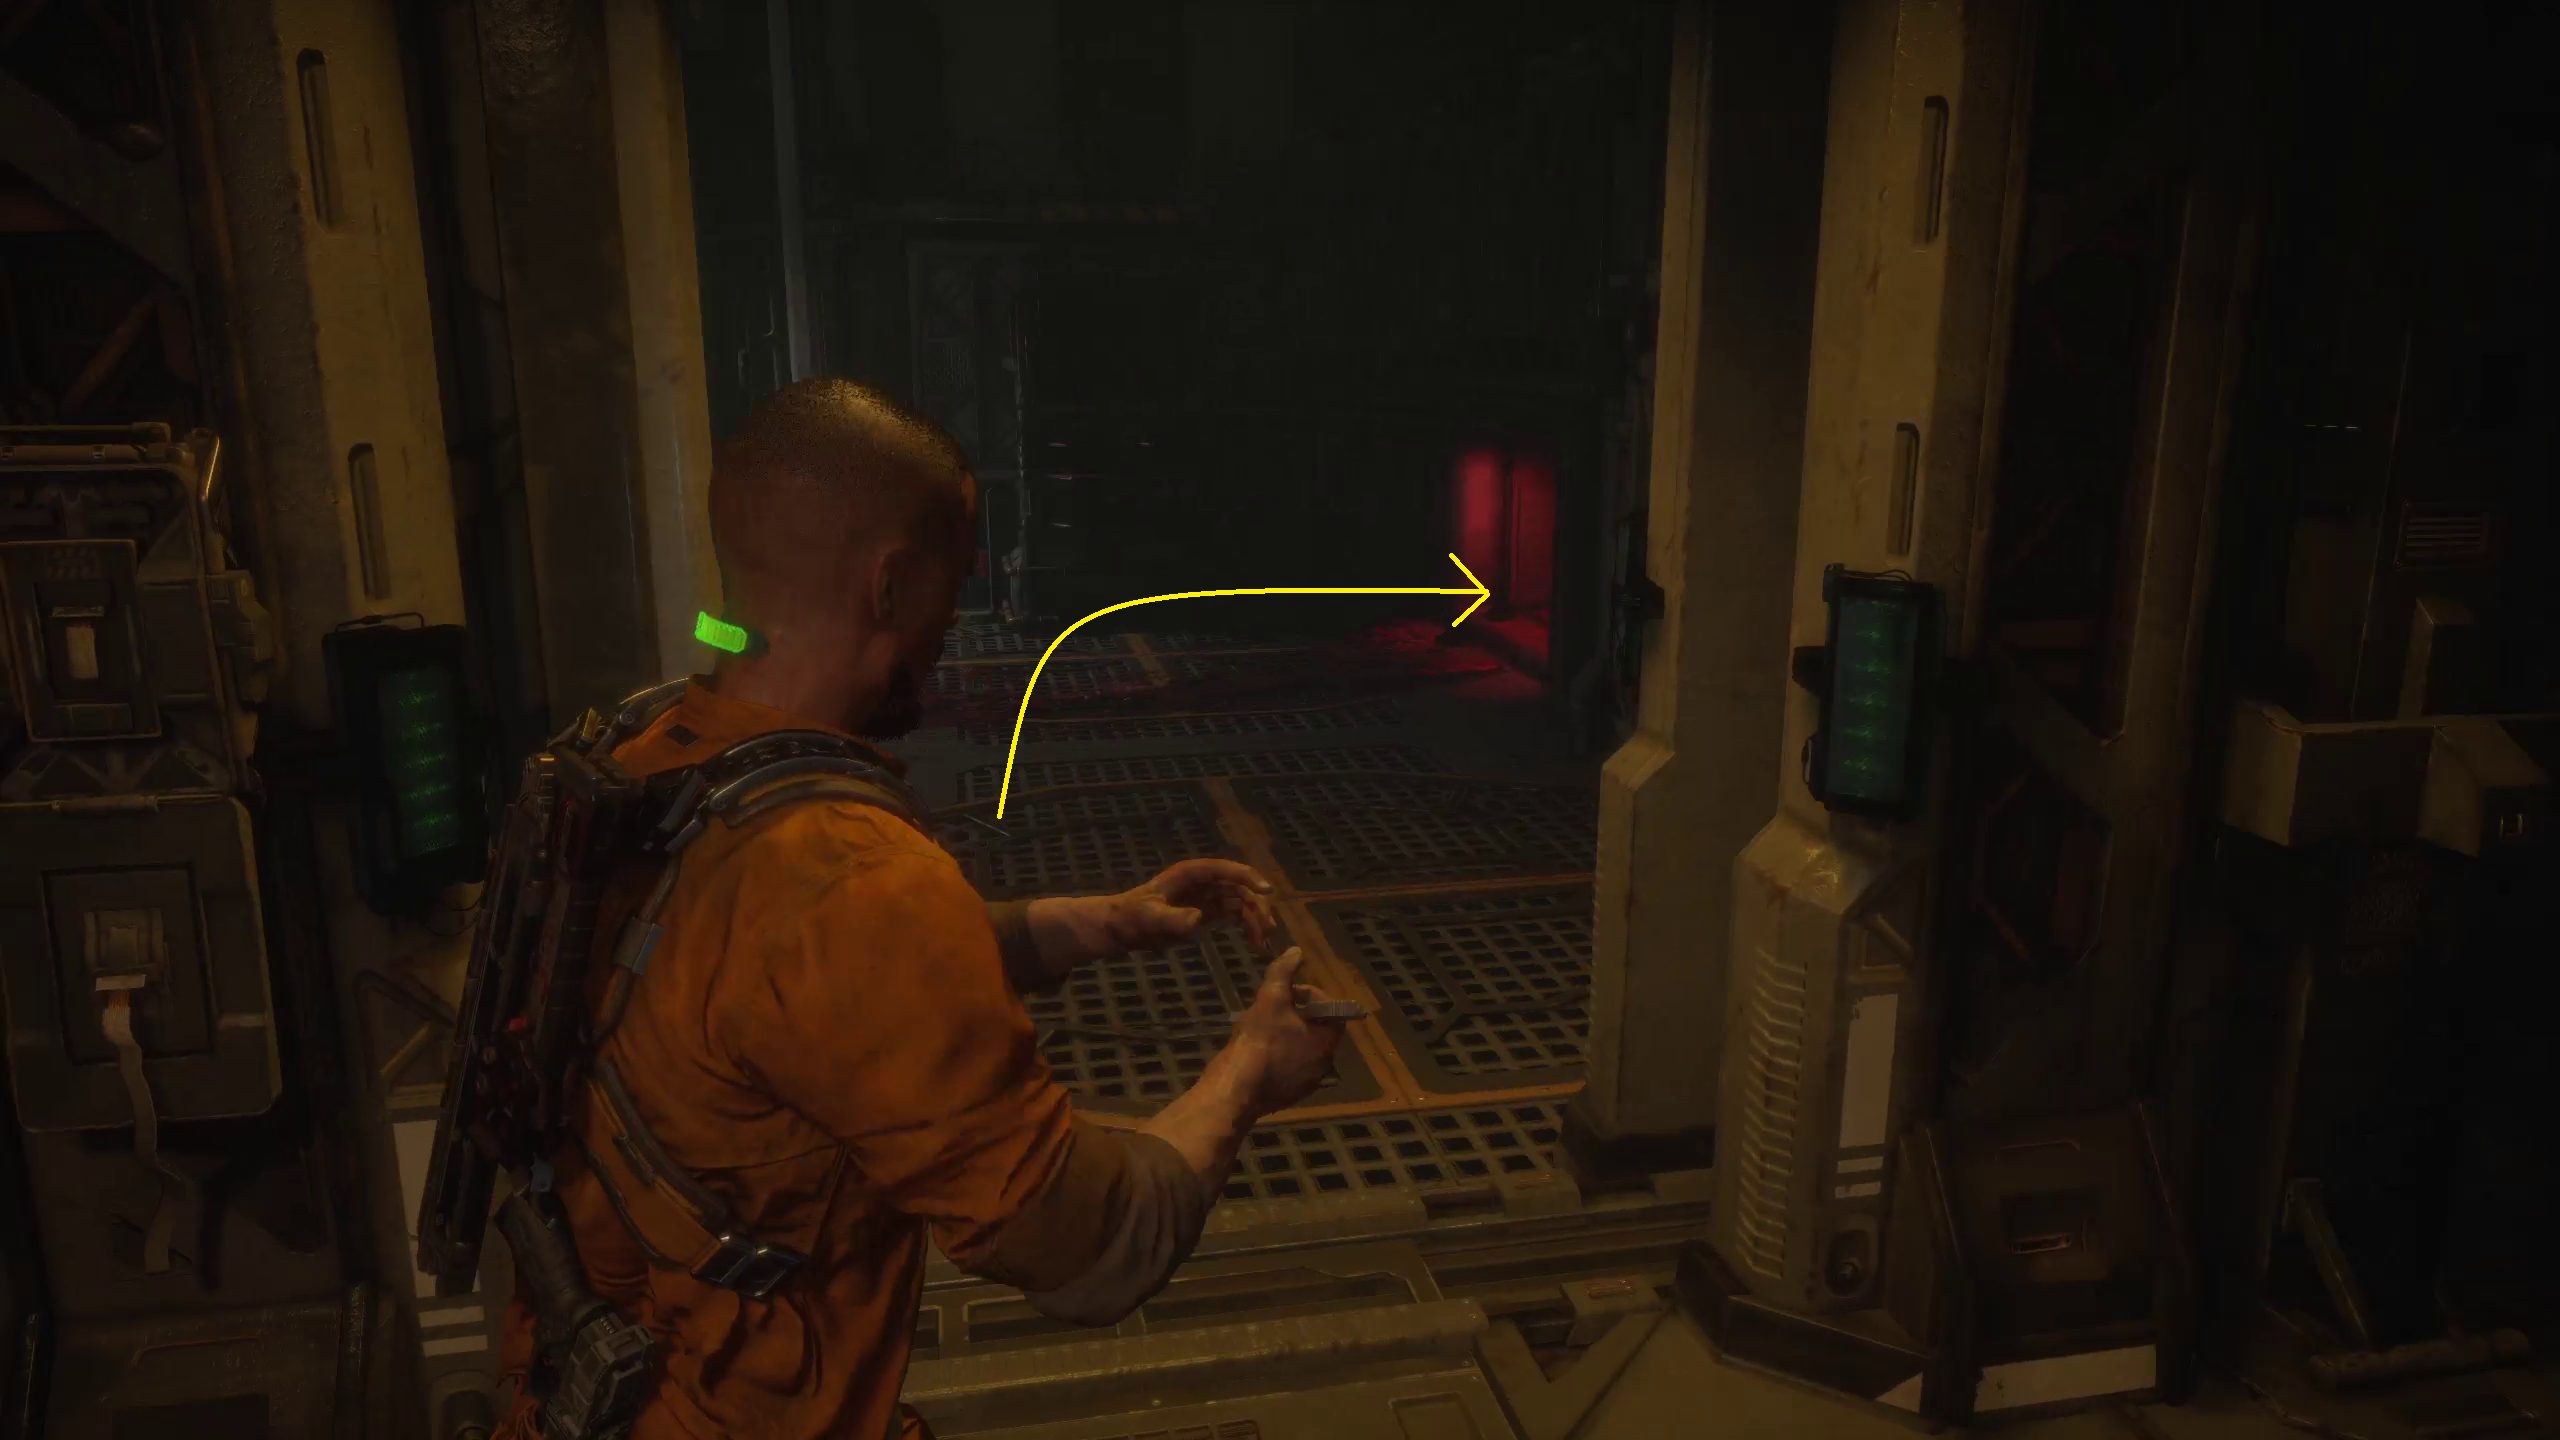
After taking out the would-be ambusher, continue forward until you reach a fork, with one door going left and the other right. Go through the door to your right at the end of the room. In this second laundry room, go into Office B111 by crouching under its broken door in order to get access to some breakable cases containing loot. Leave this room, then go to Office B112 next door to find more glass cases and the harvestable DATA-BIOS for Ofc. Pruitt Matos.
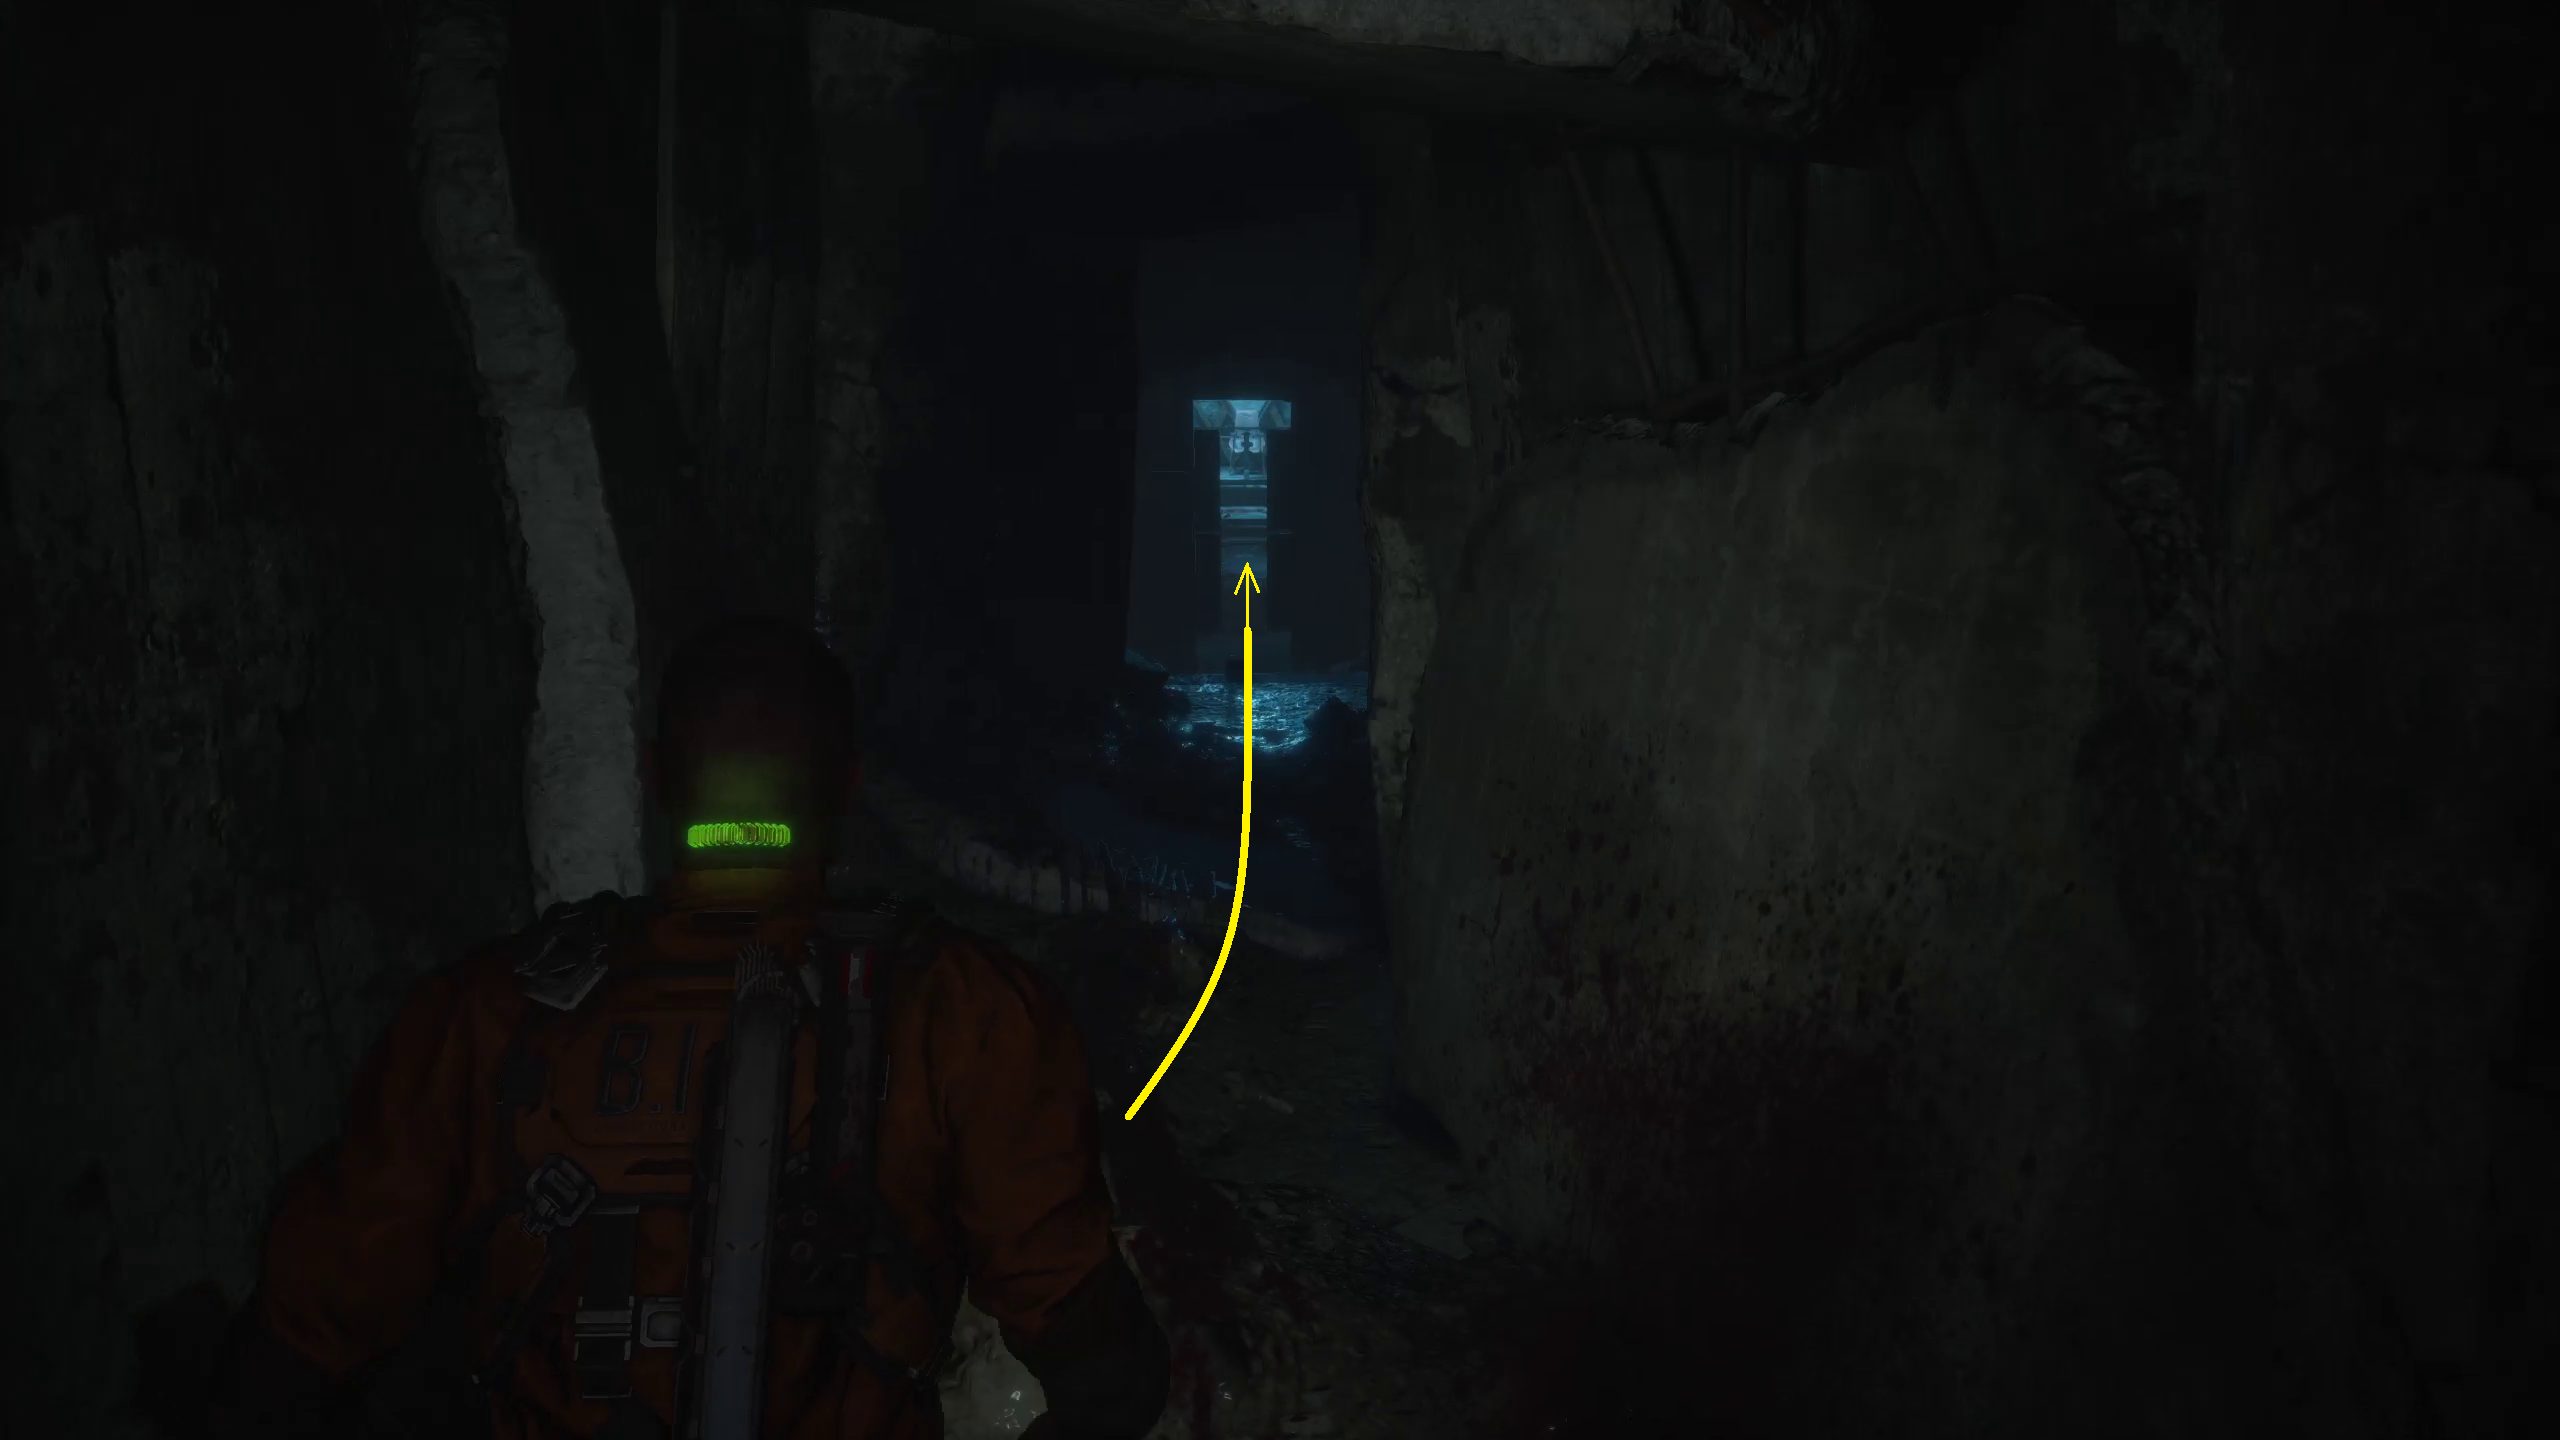
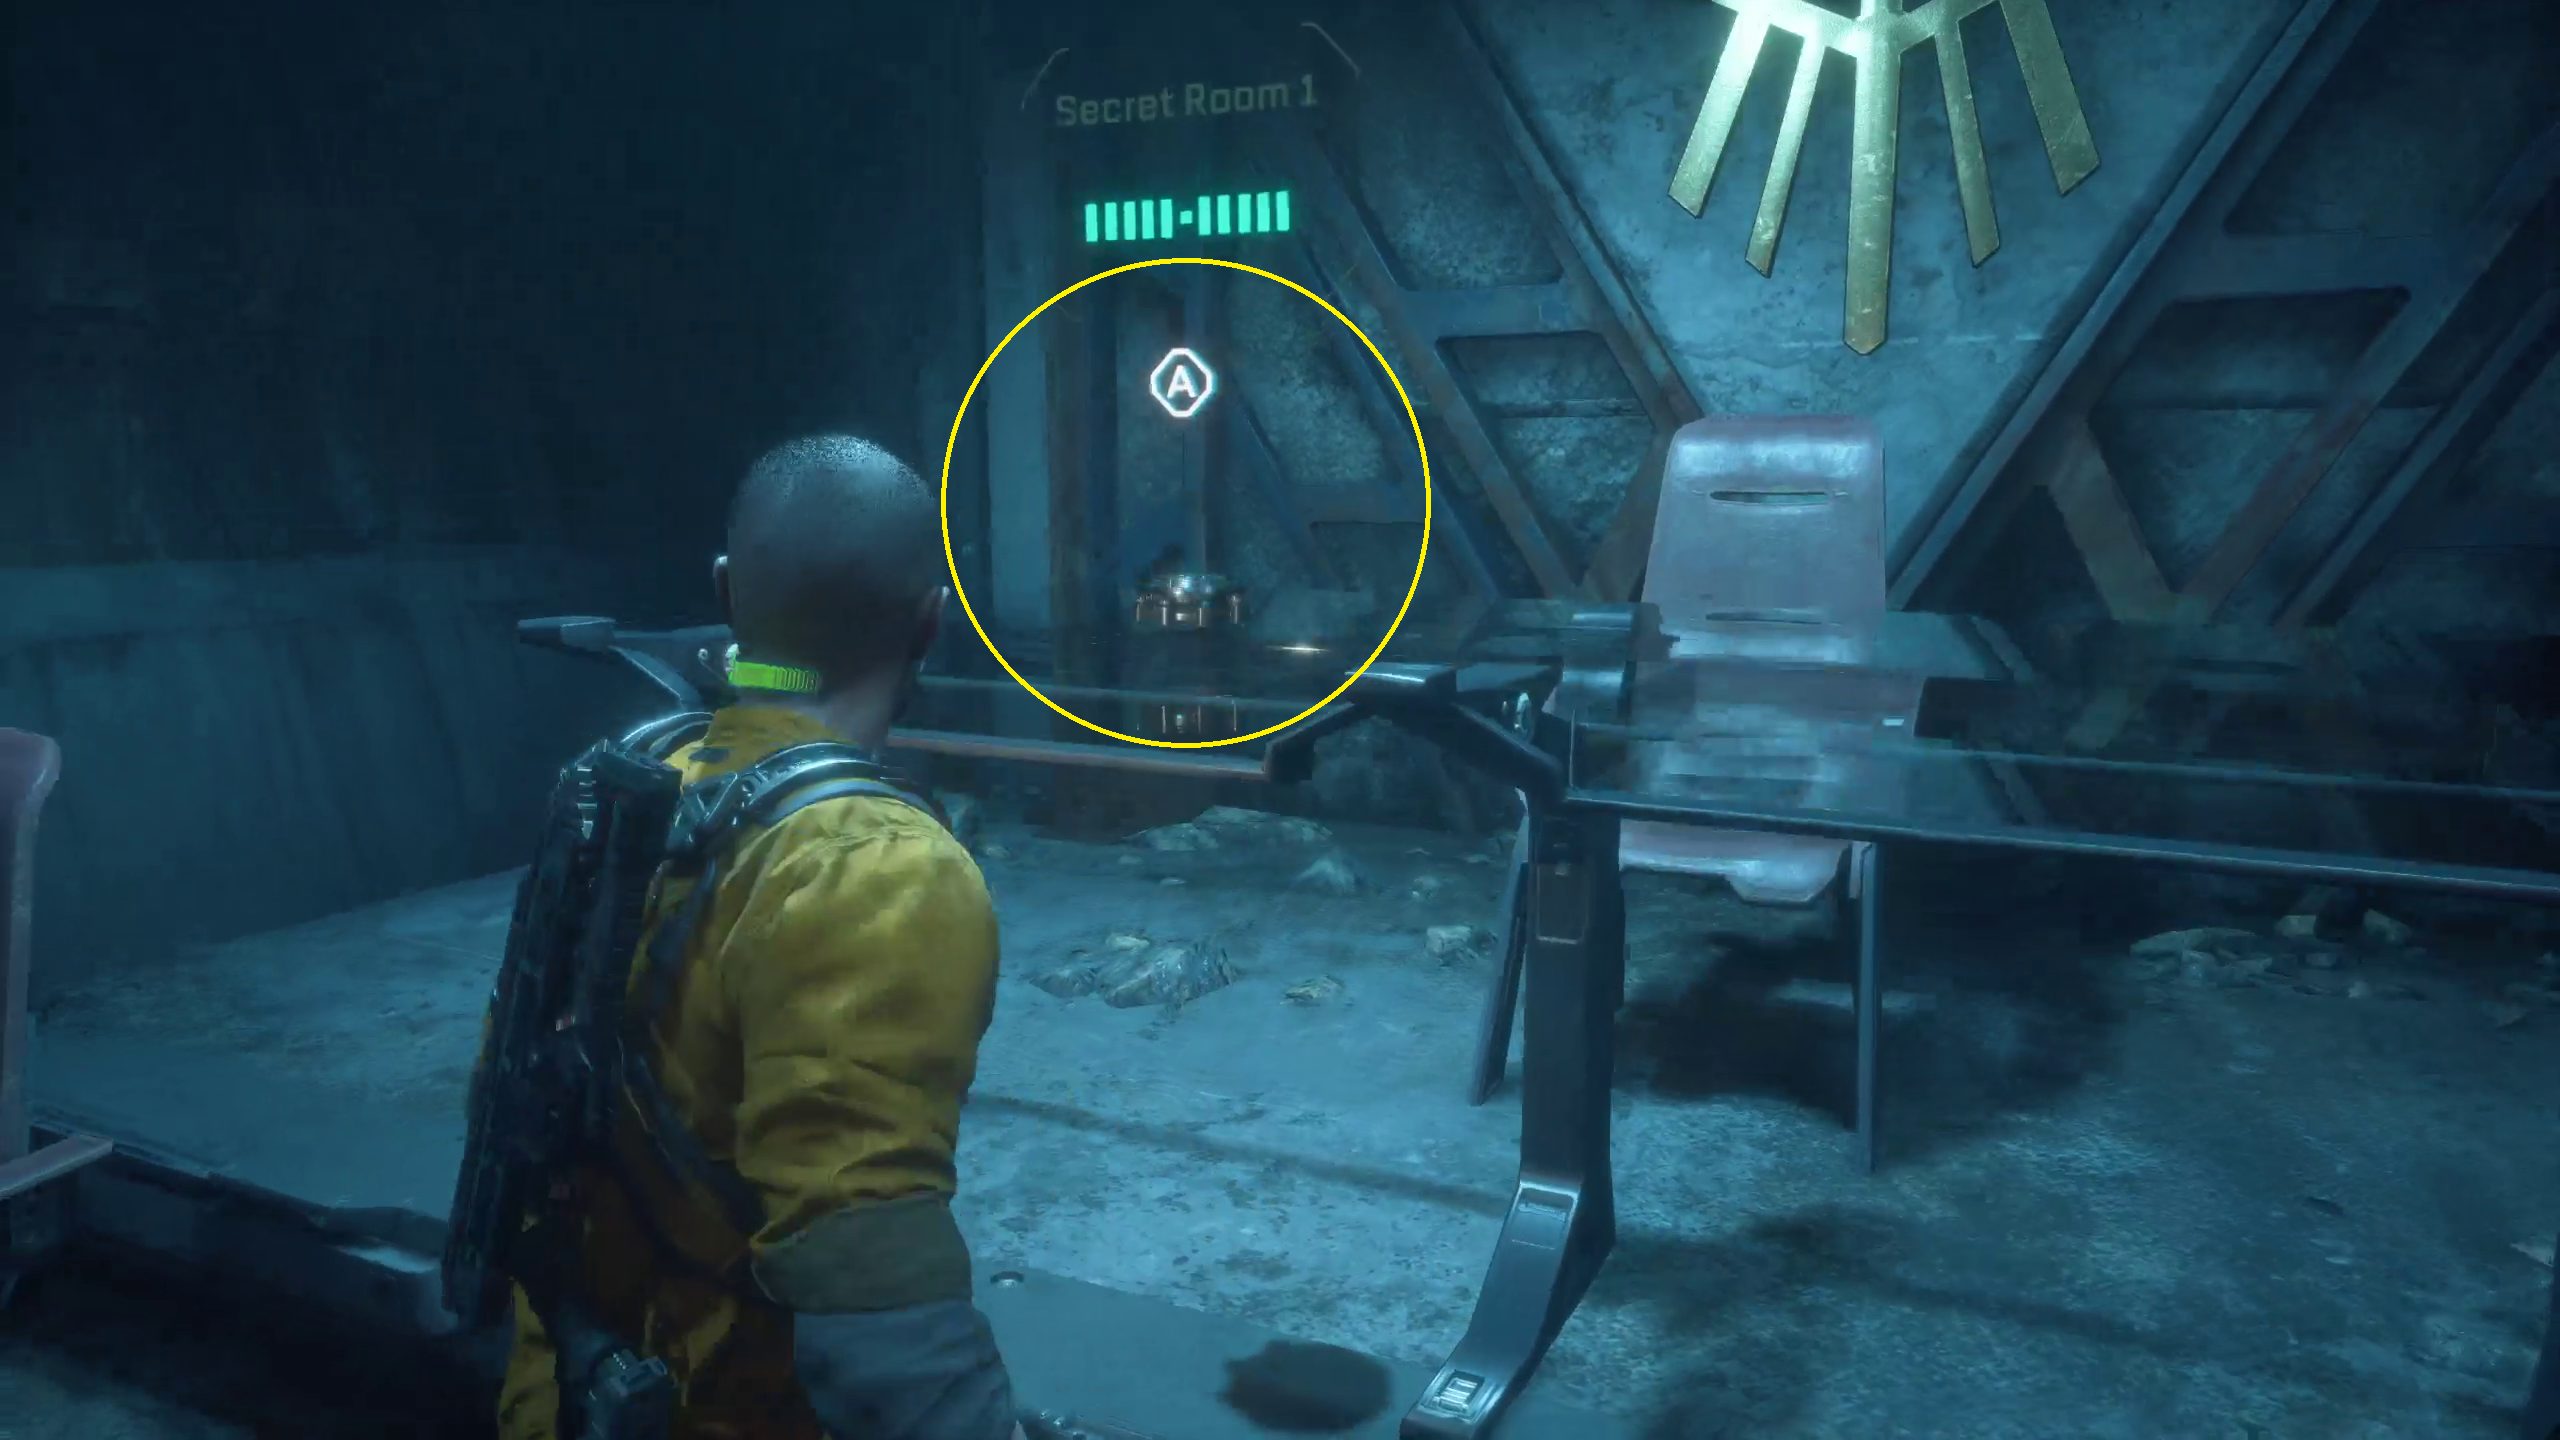
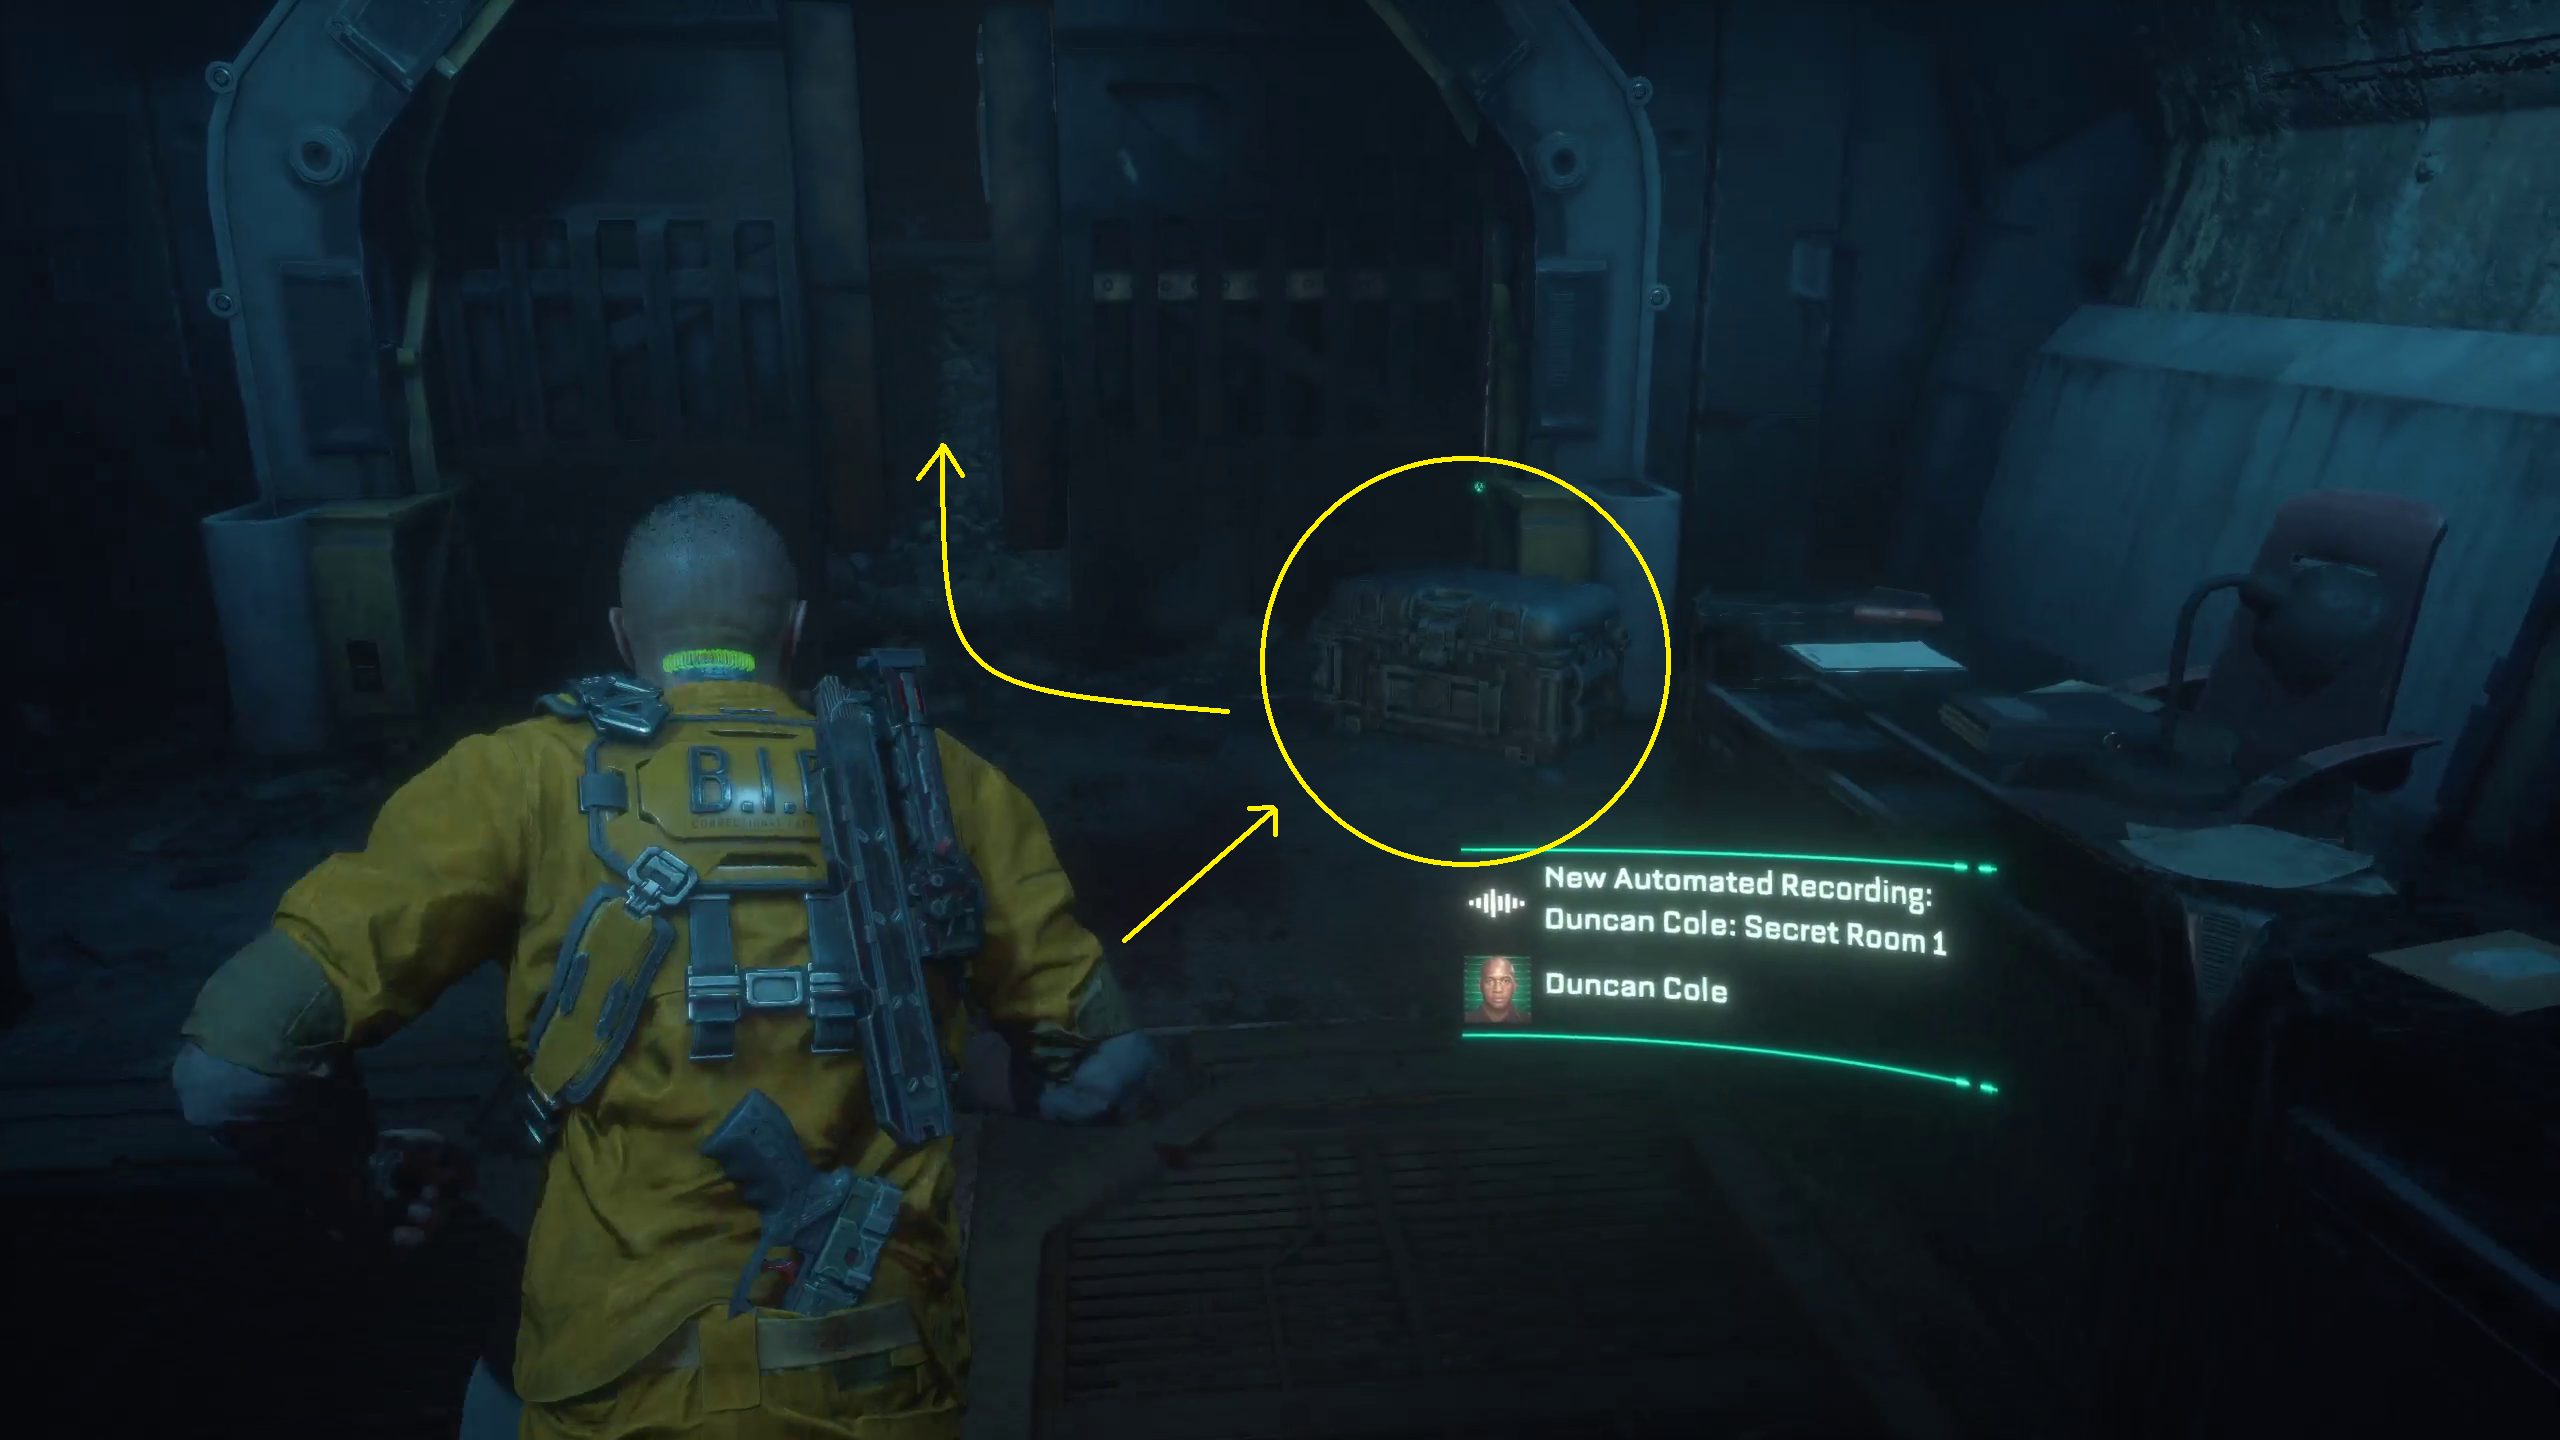
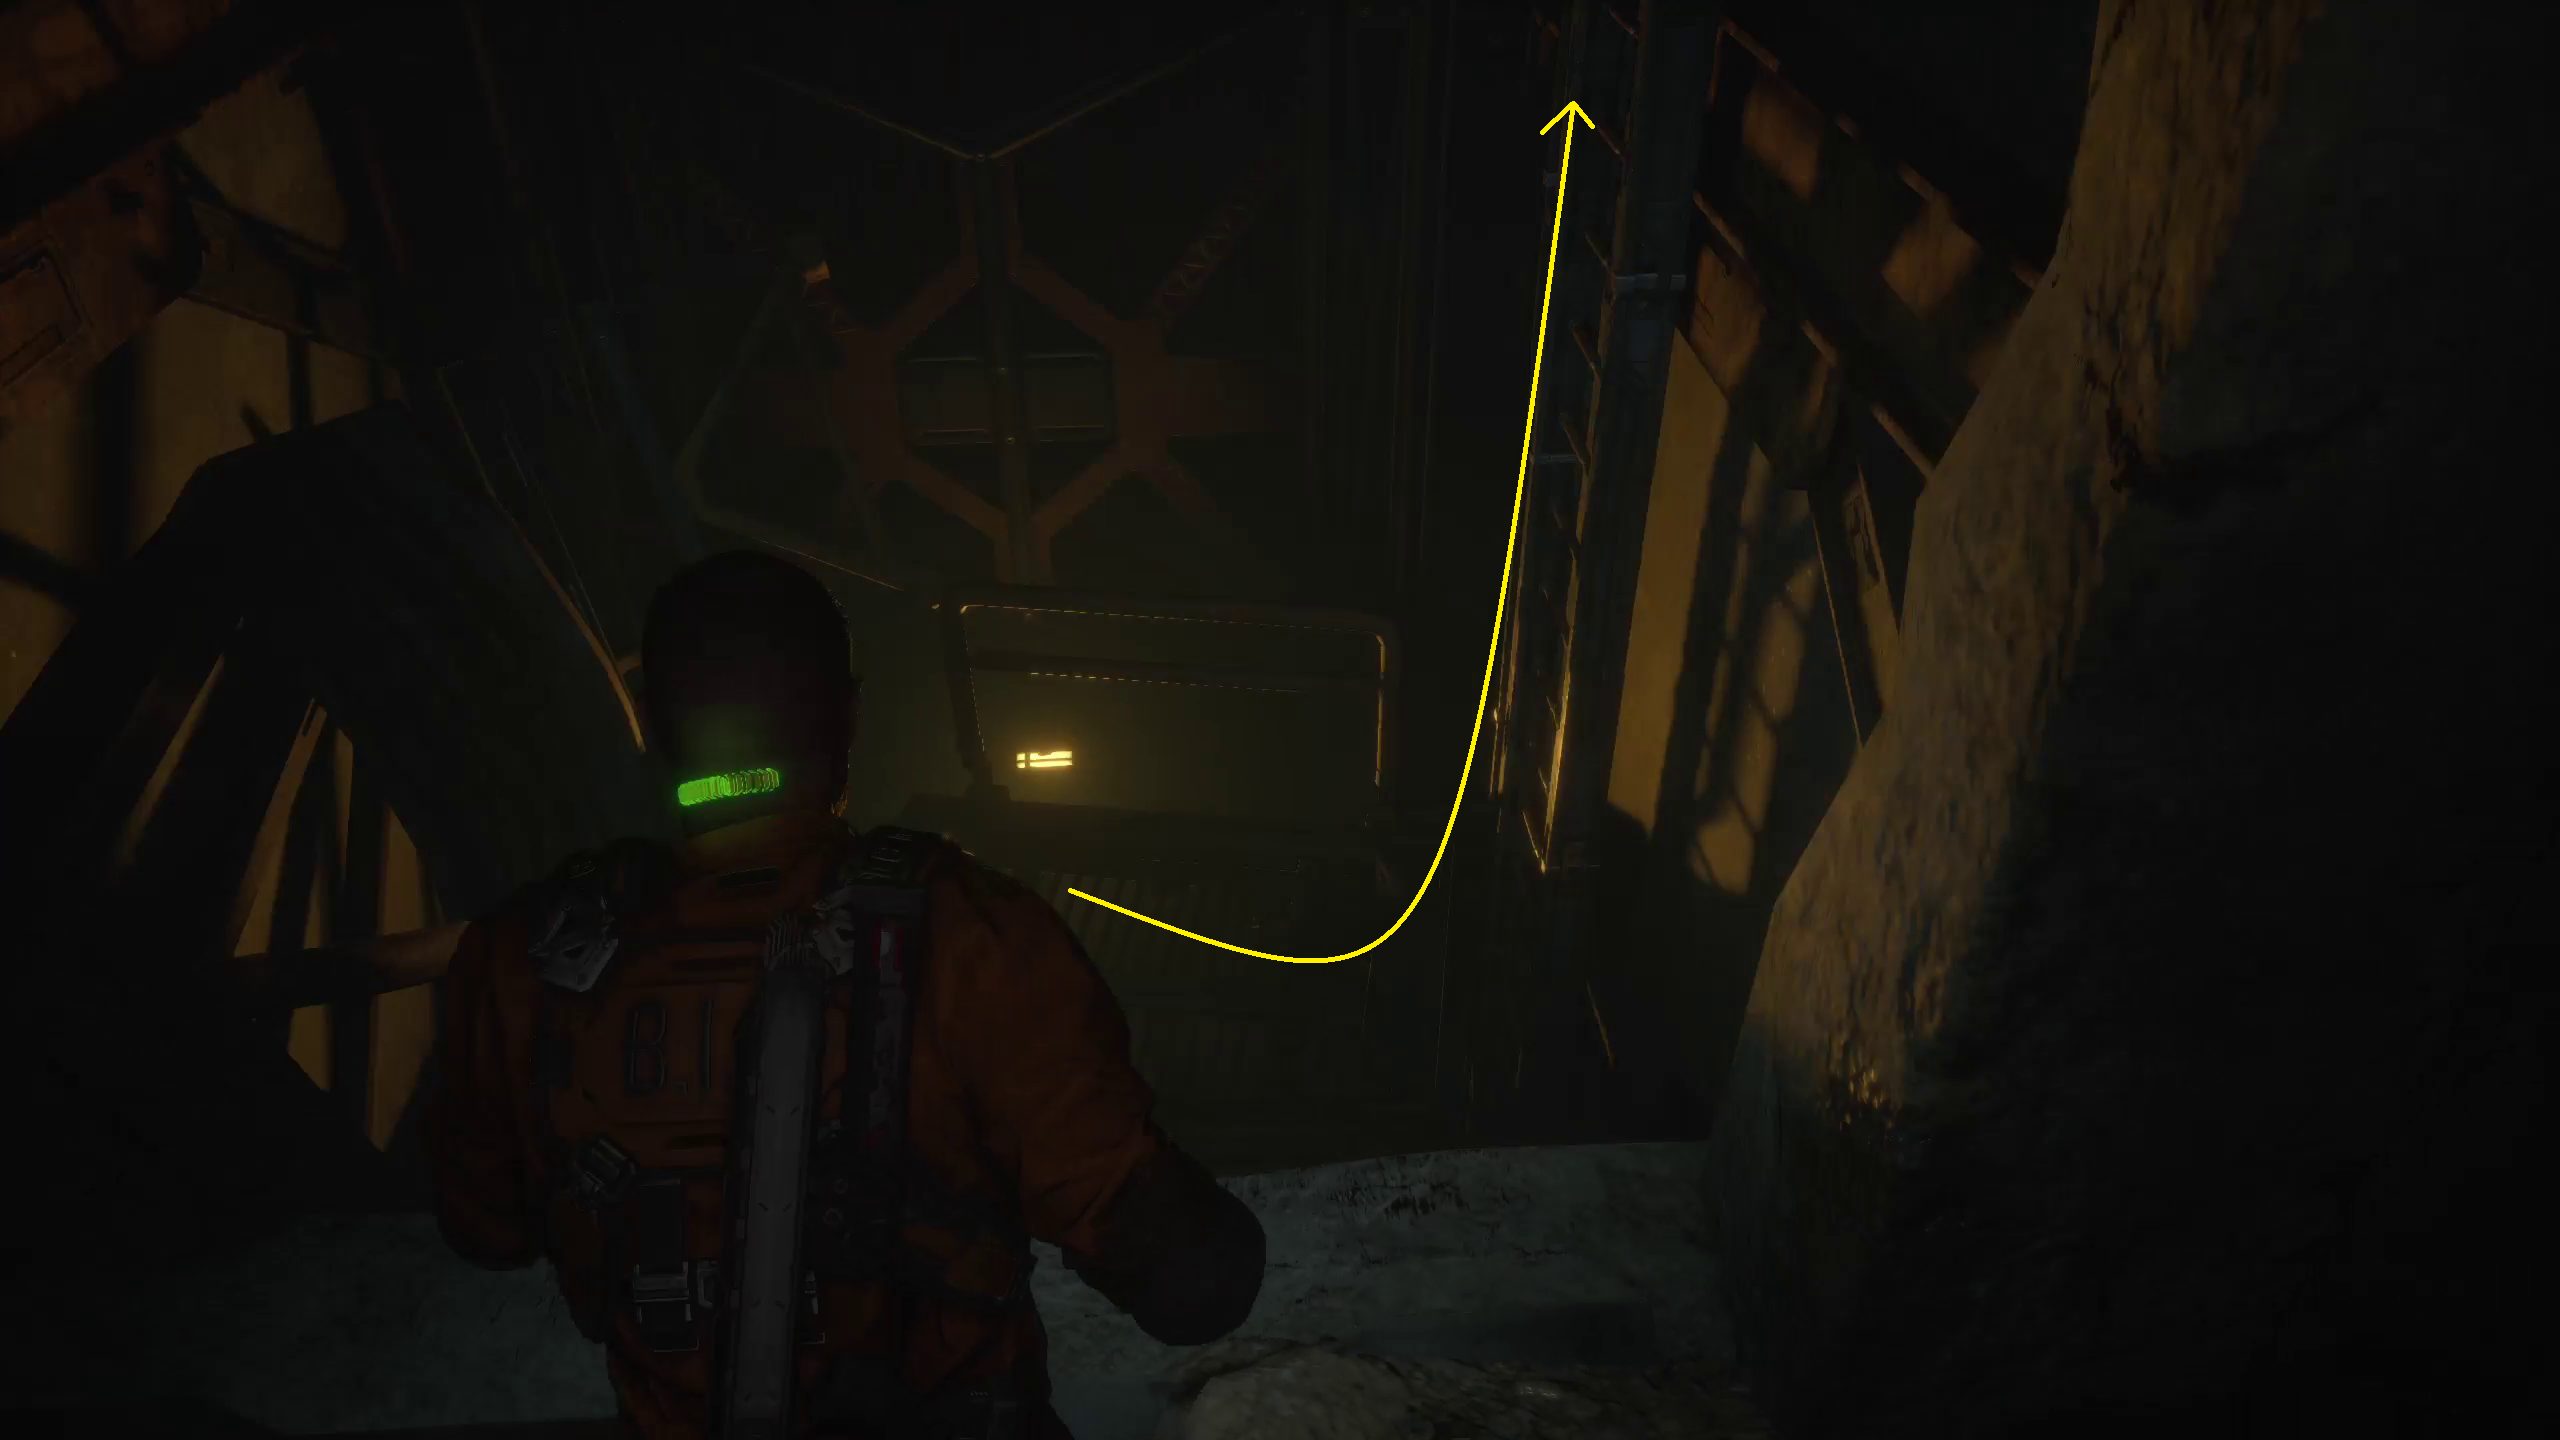
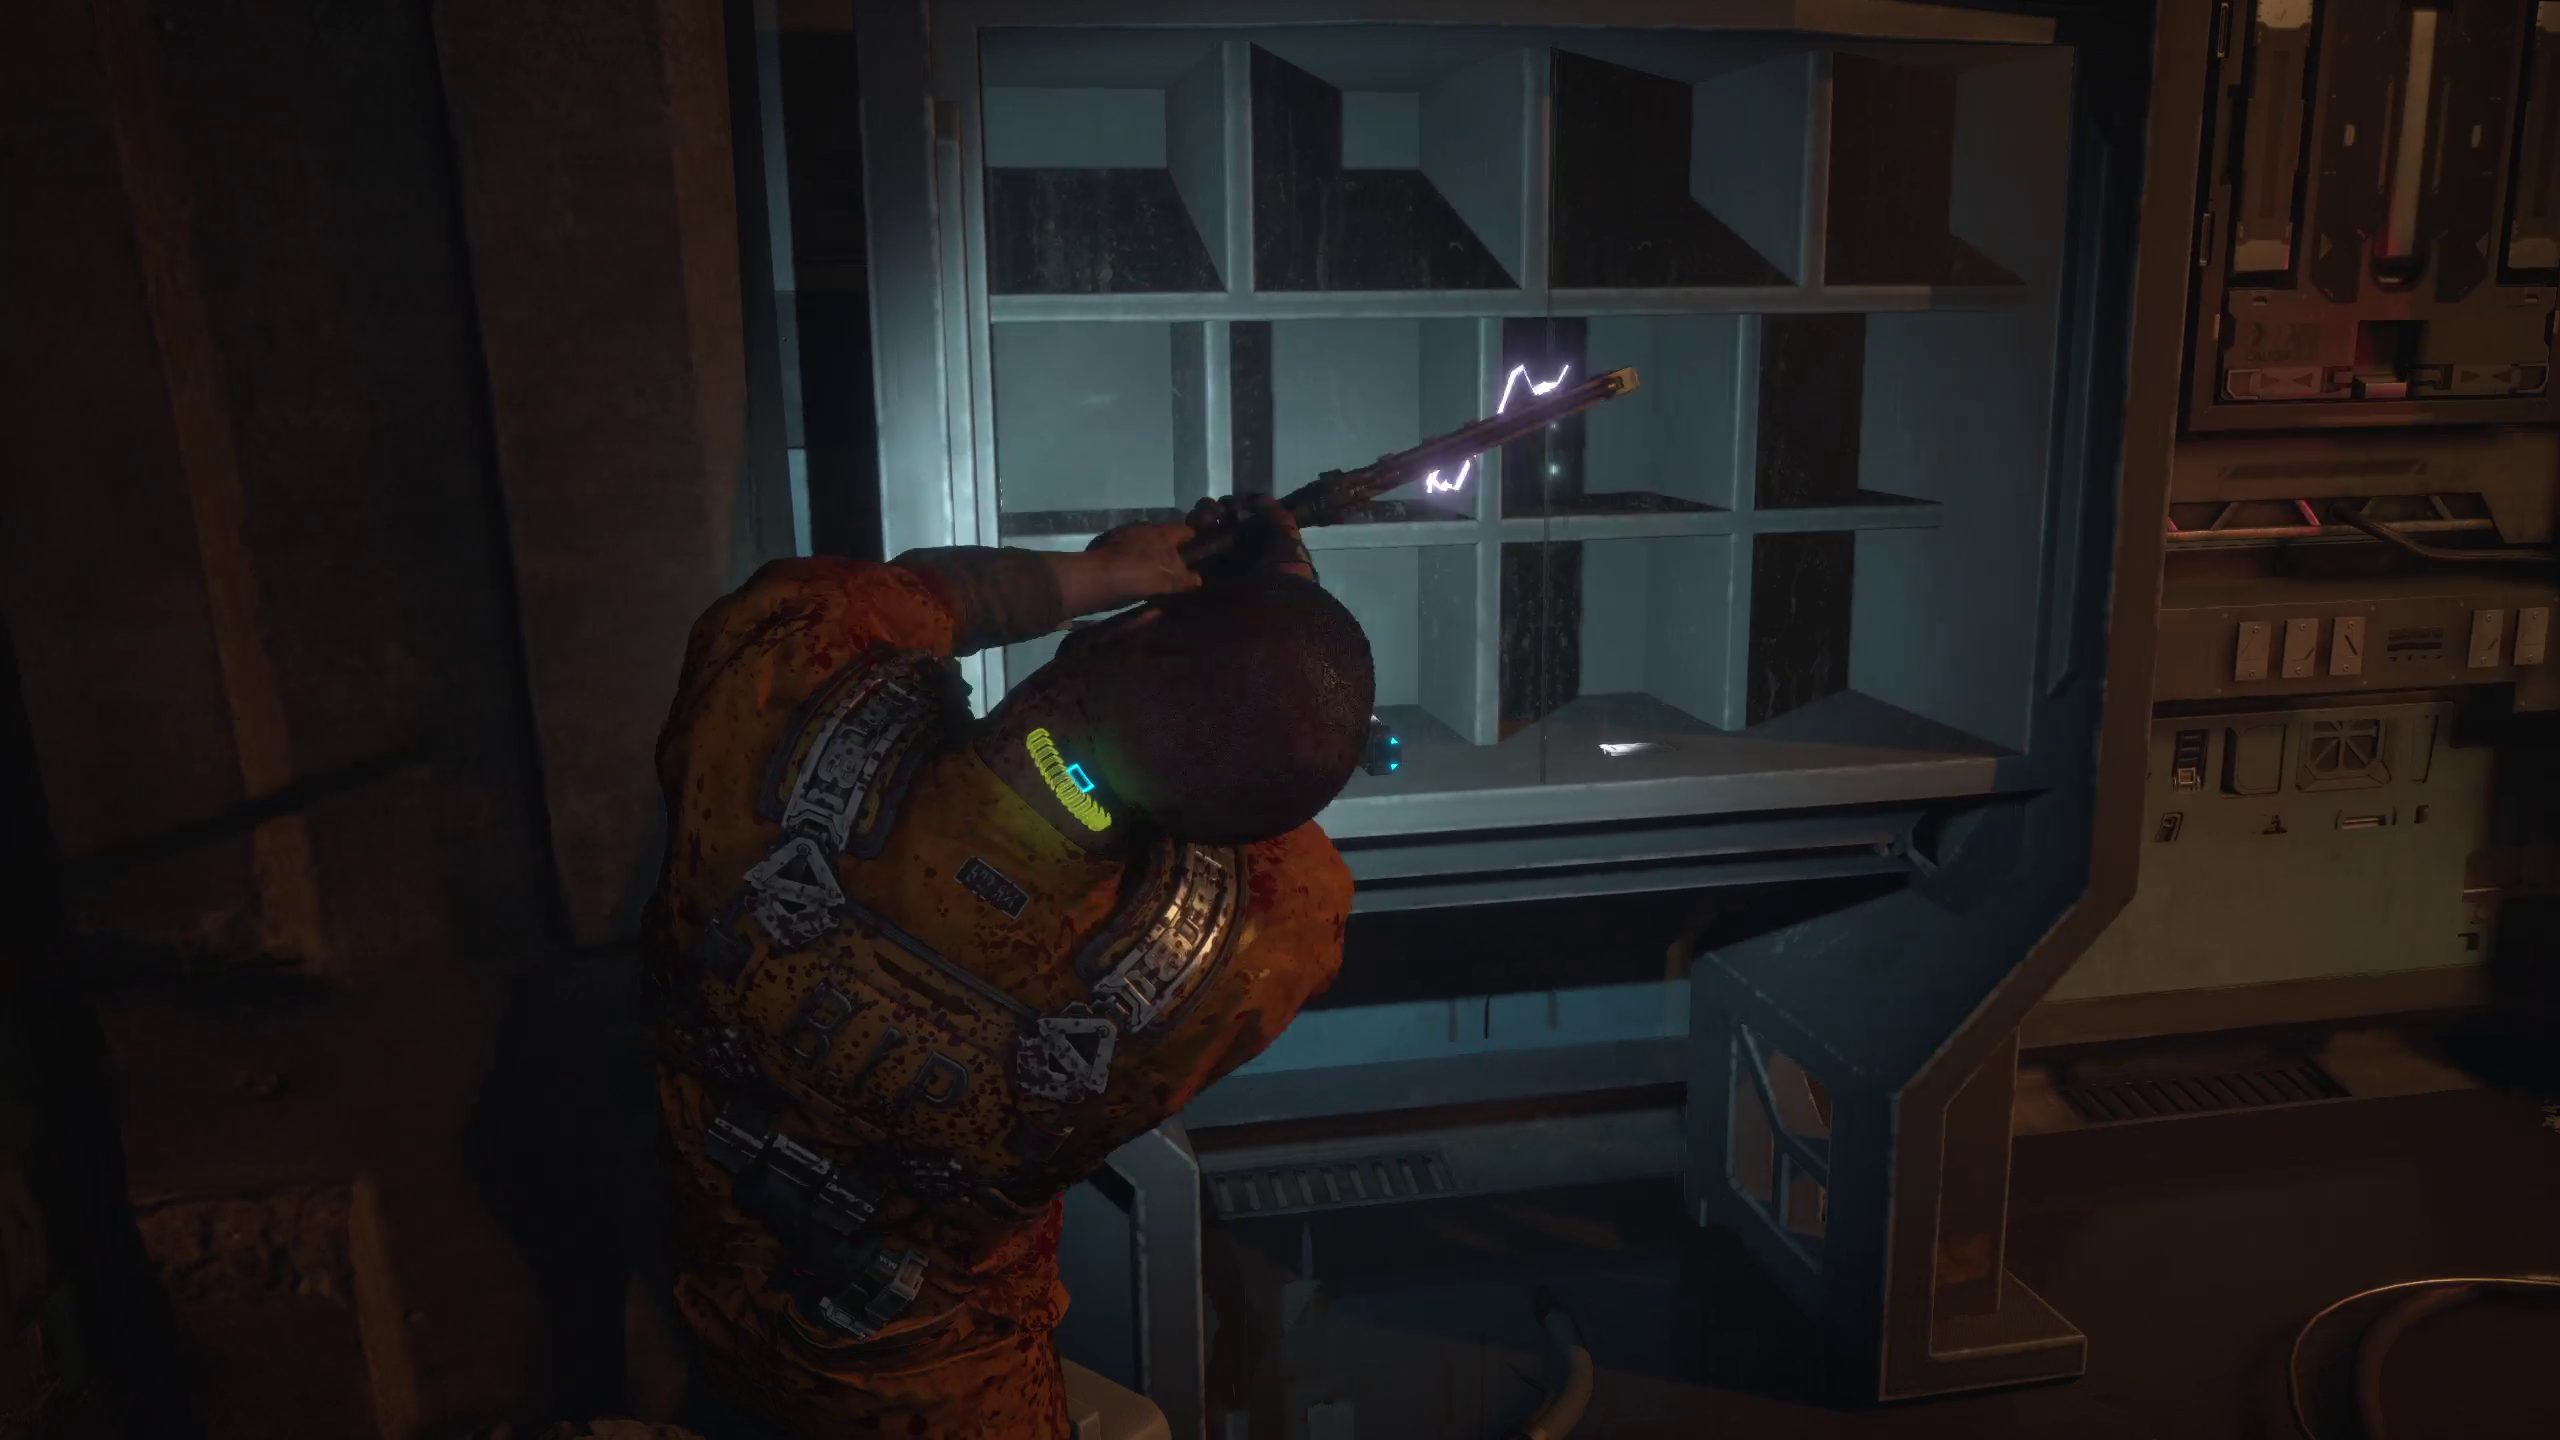
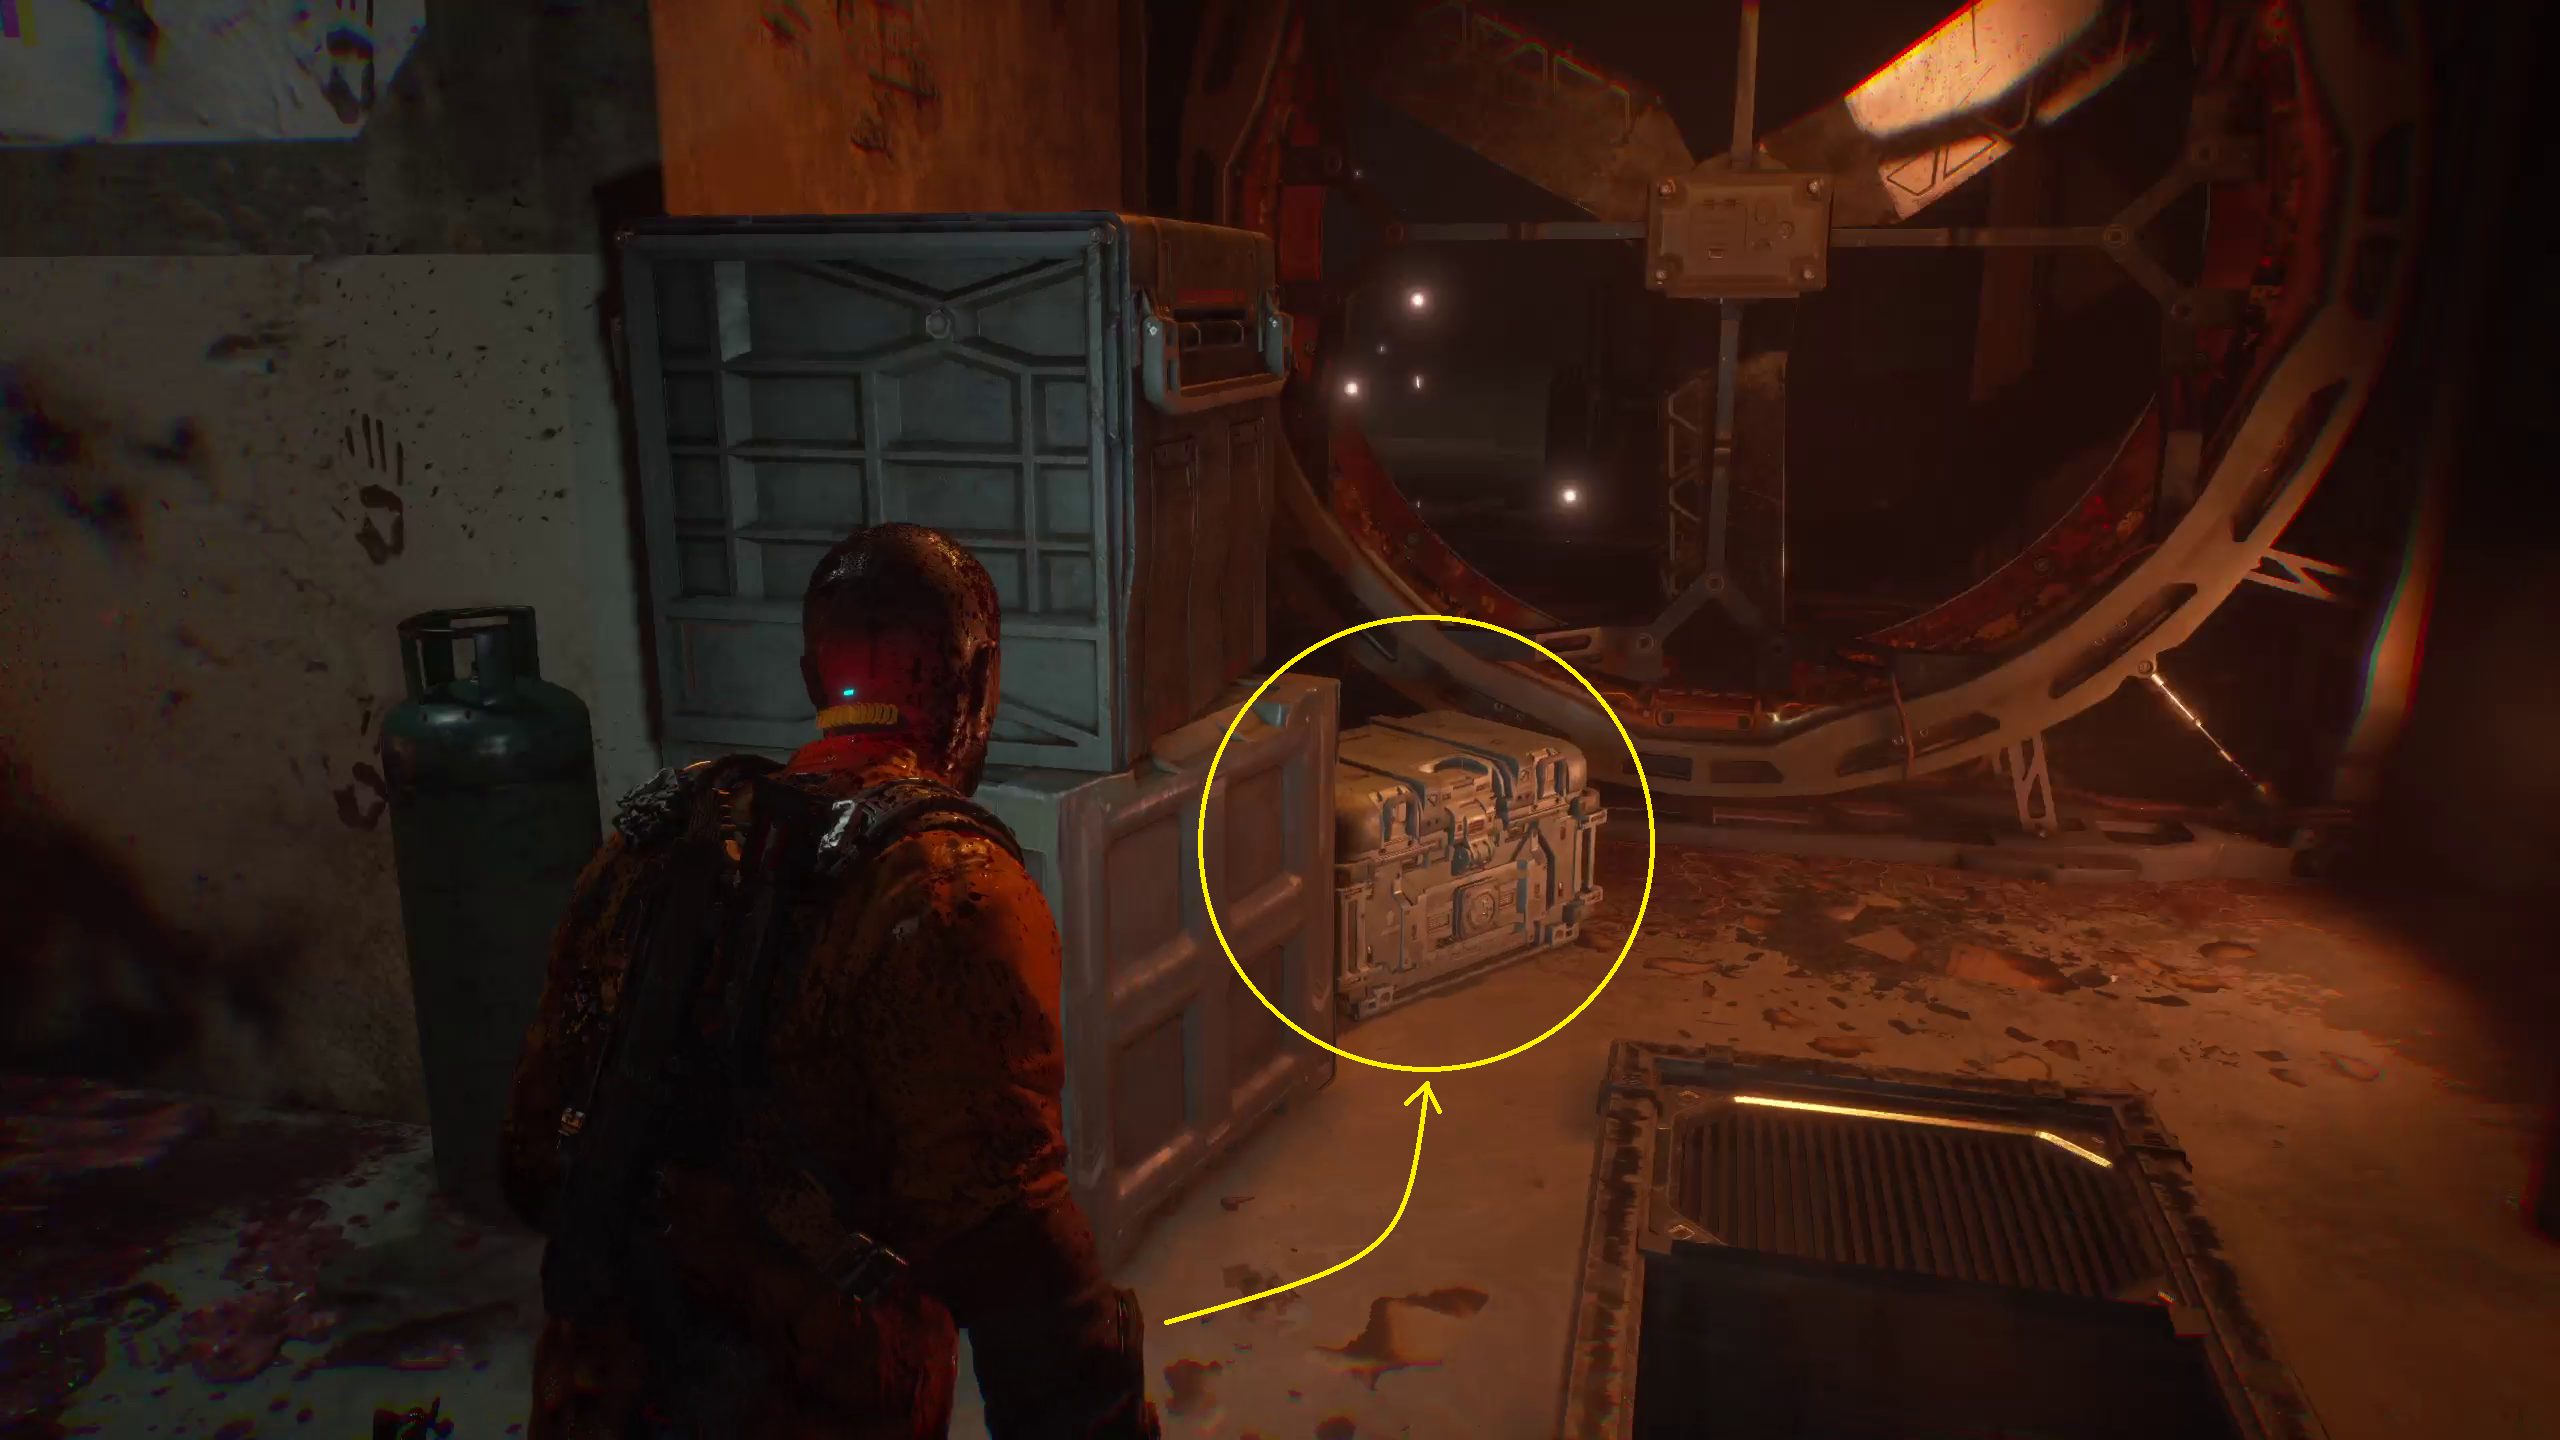
Head back the way you came to continue down the door that was to youre left. Continue forward, ignoring the door on your left for now, and cut the cord in order to get into Workshop B415. Go through the vent to your right, against the floor. Continue through the vent, then along the path it leads to, until you come across a squeezeable gap (ignore the ladder to your left for now). On the other side will be a mysterious room where you will find Duncan Cole’s audio log, “Secret Room 1”. Head back out of the room, making sure to grab the chest next to the squeezable gap on your way out.
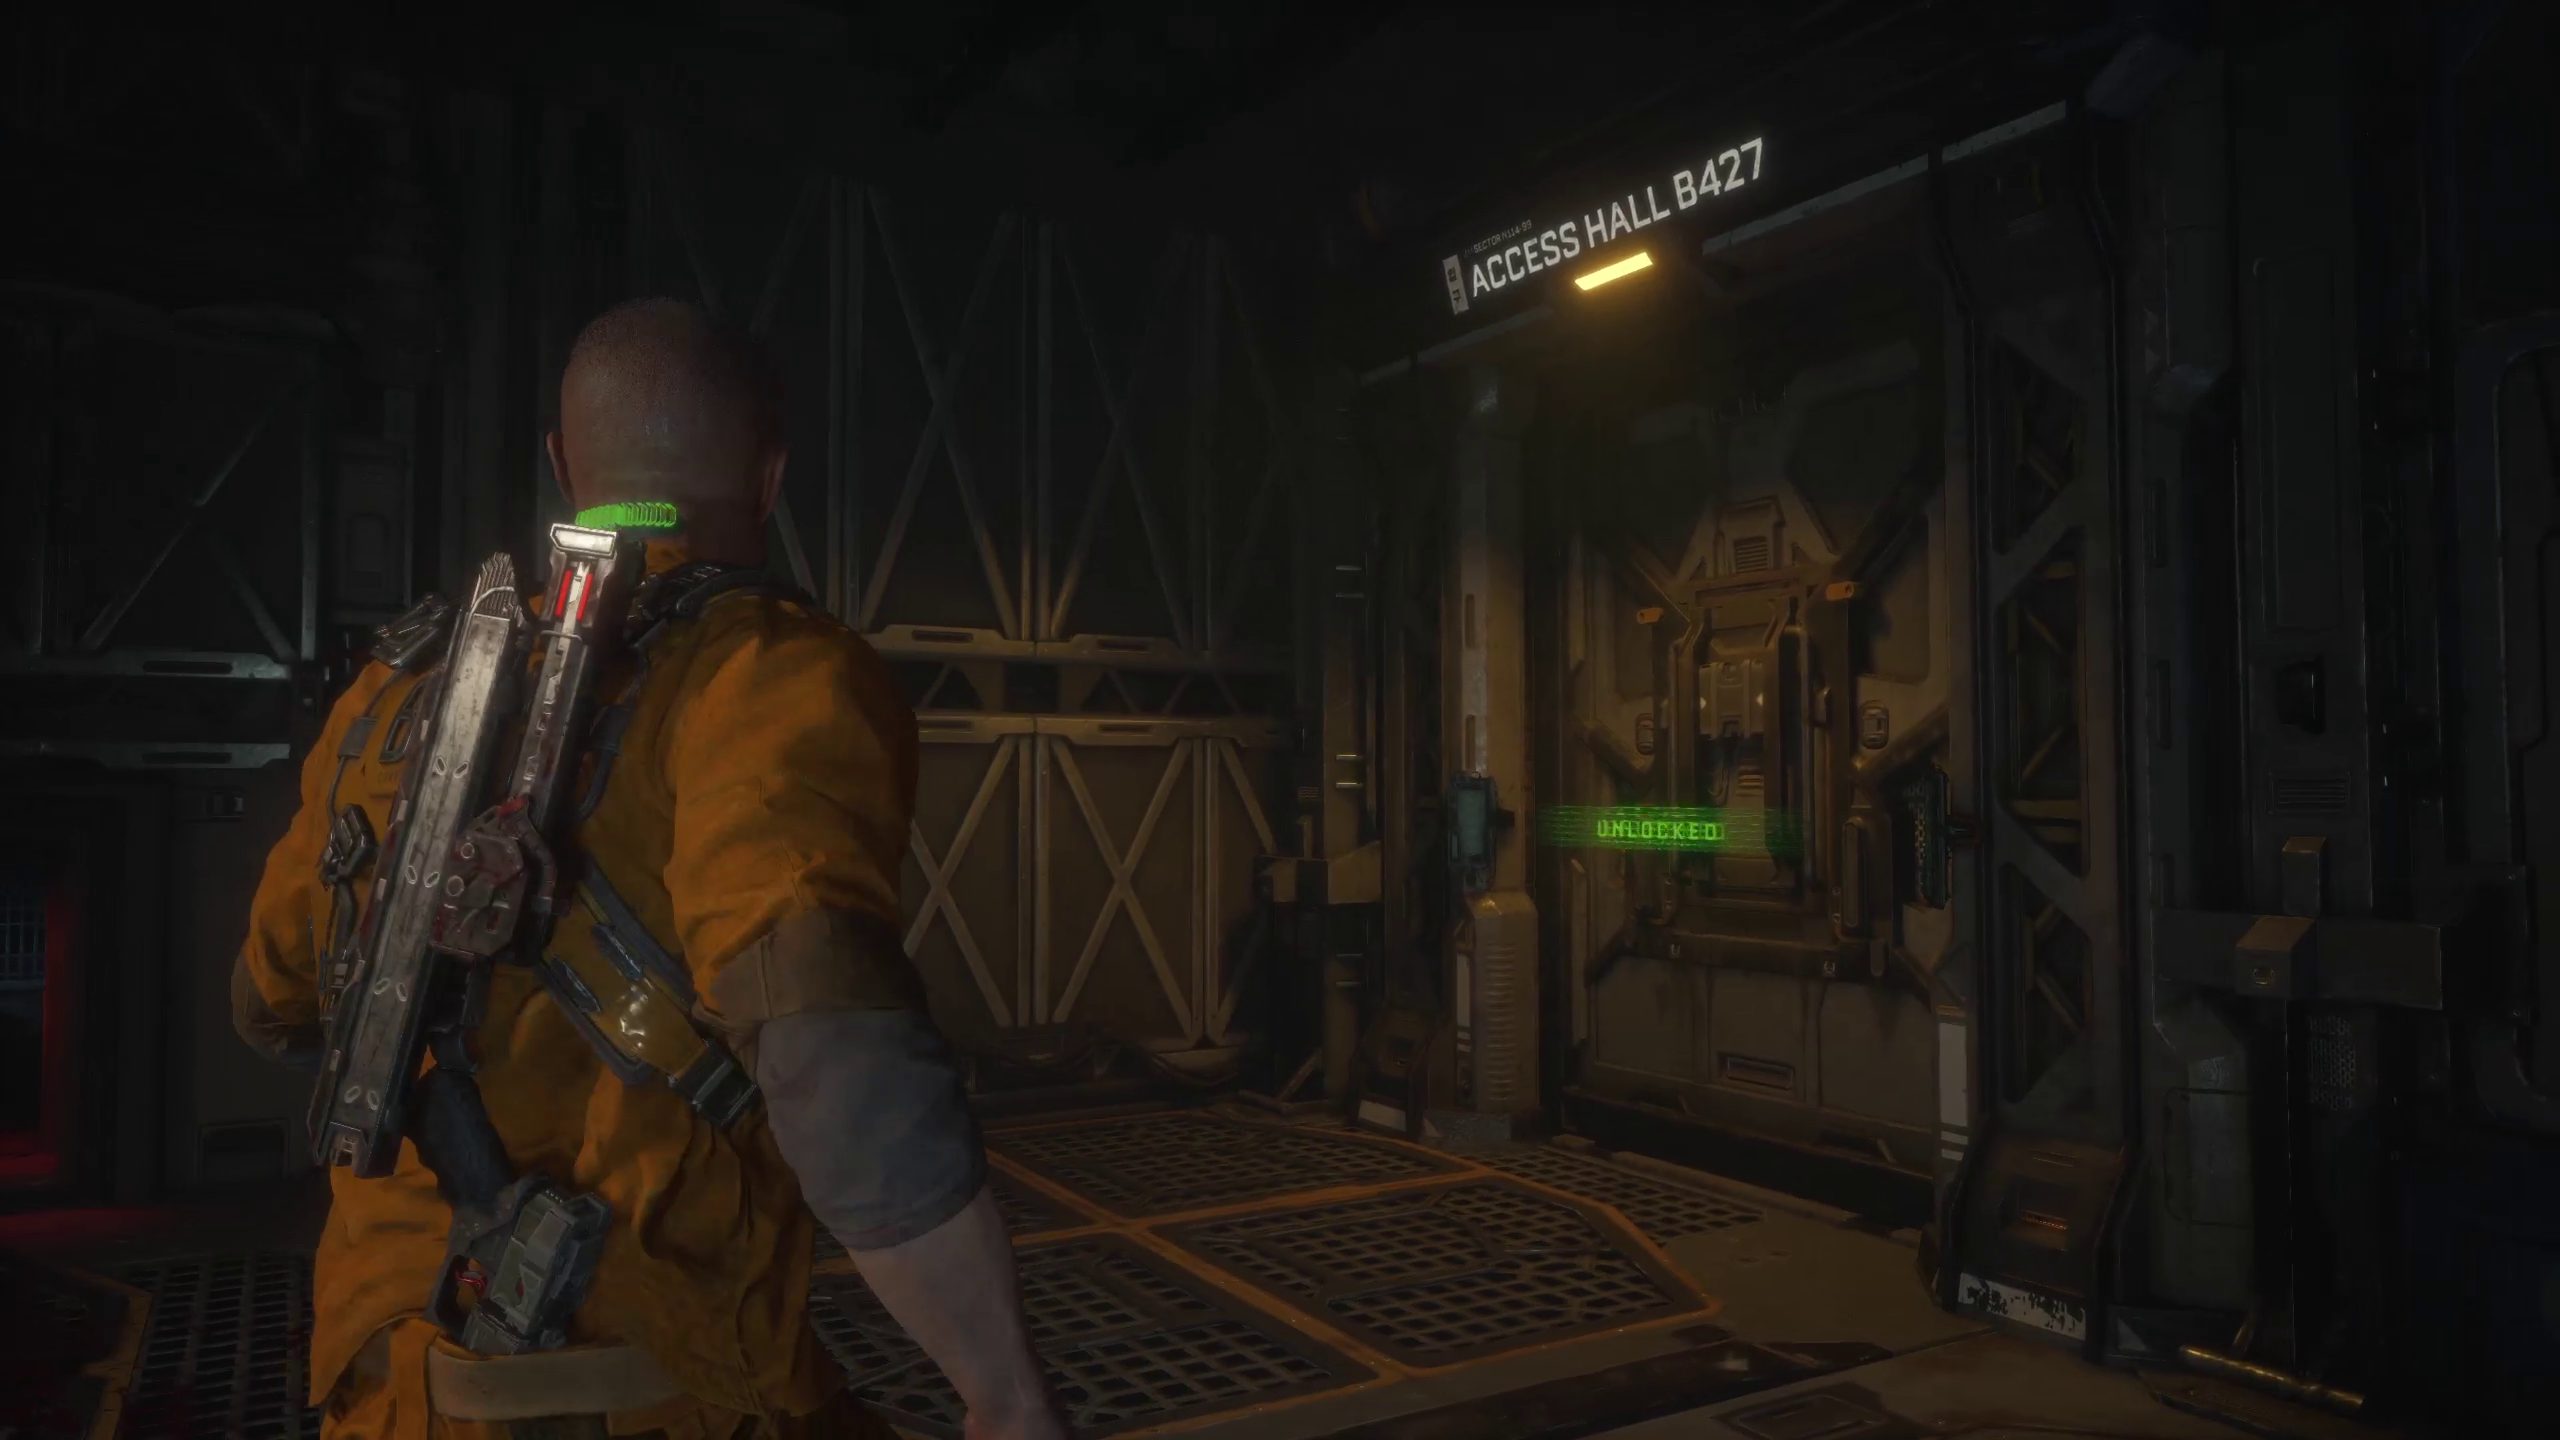
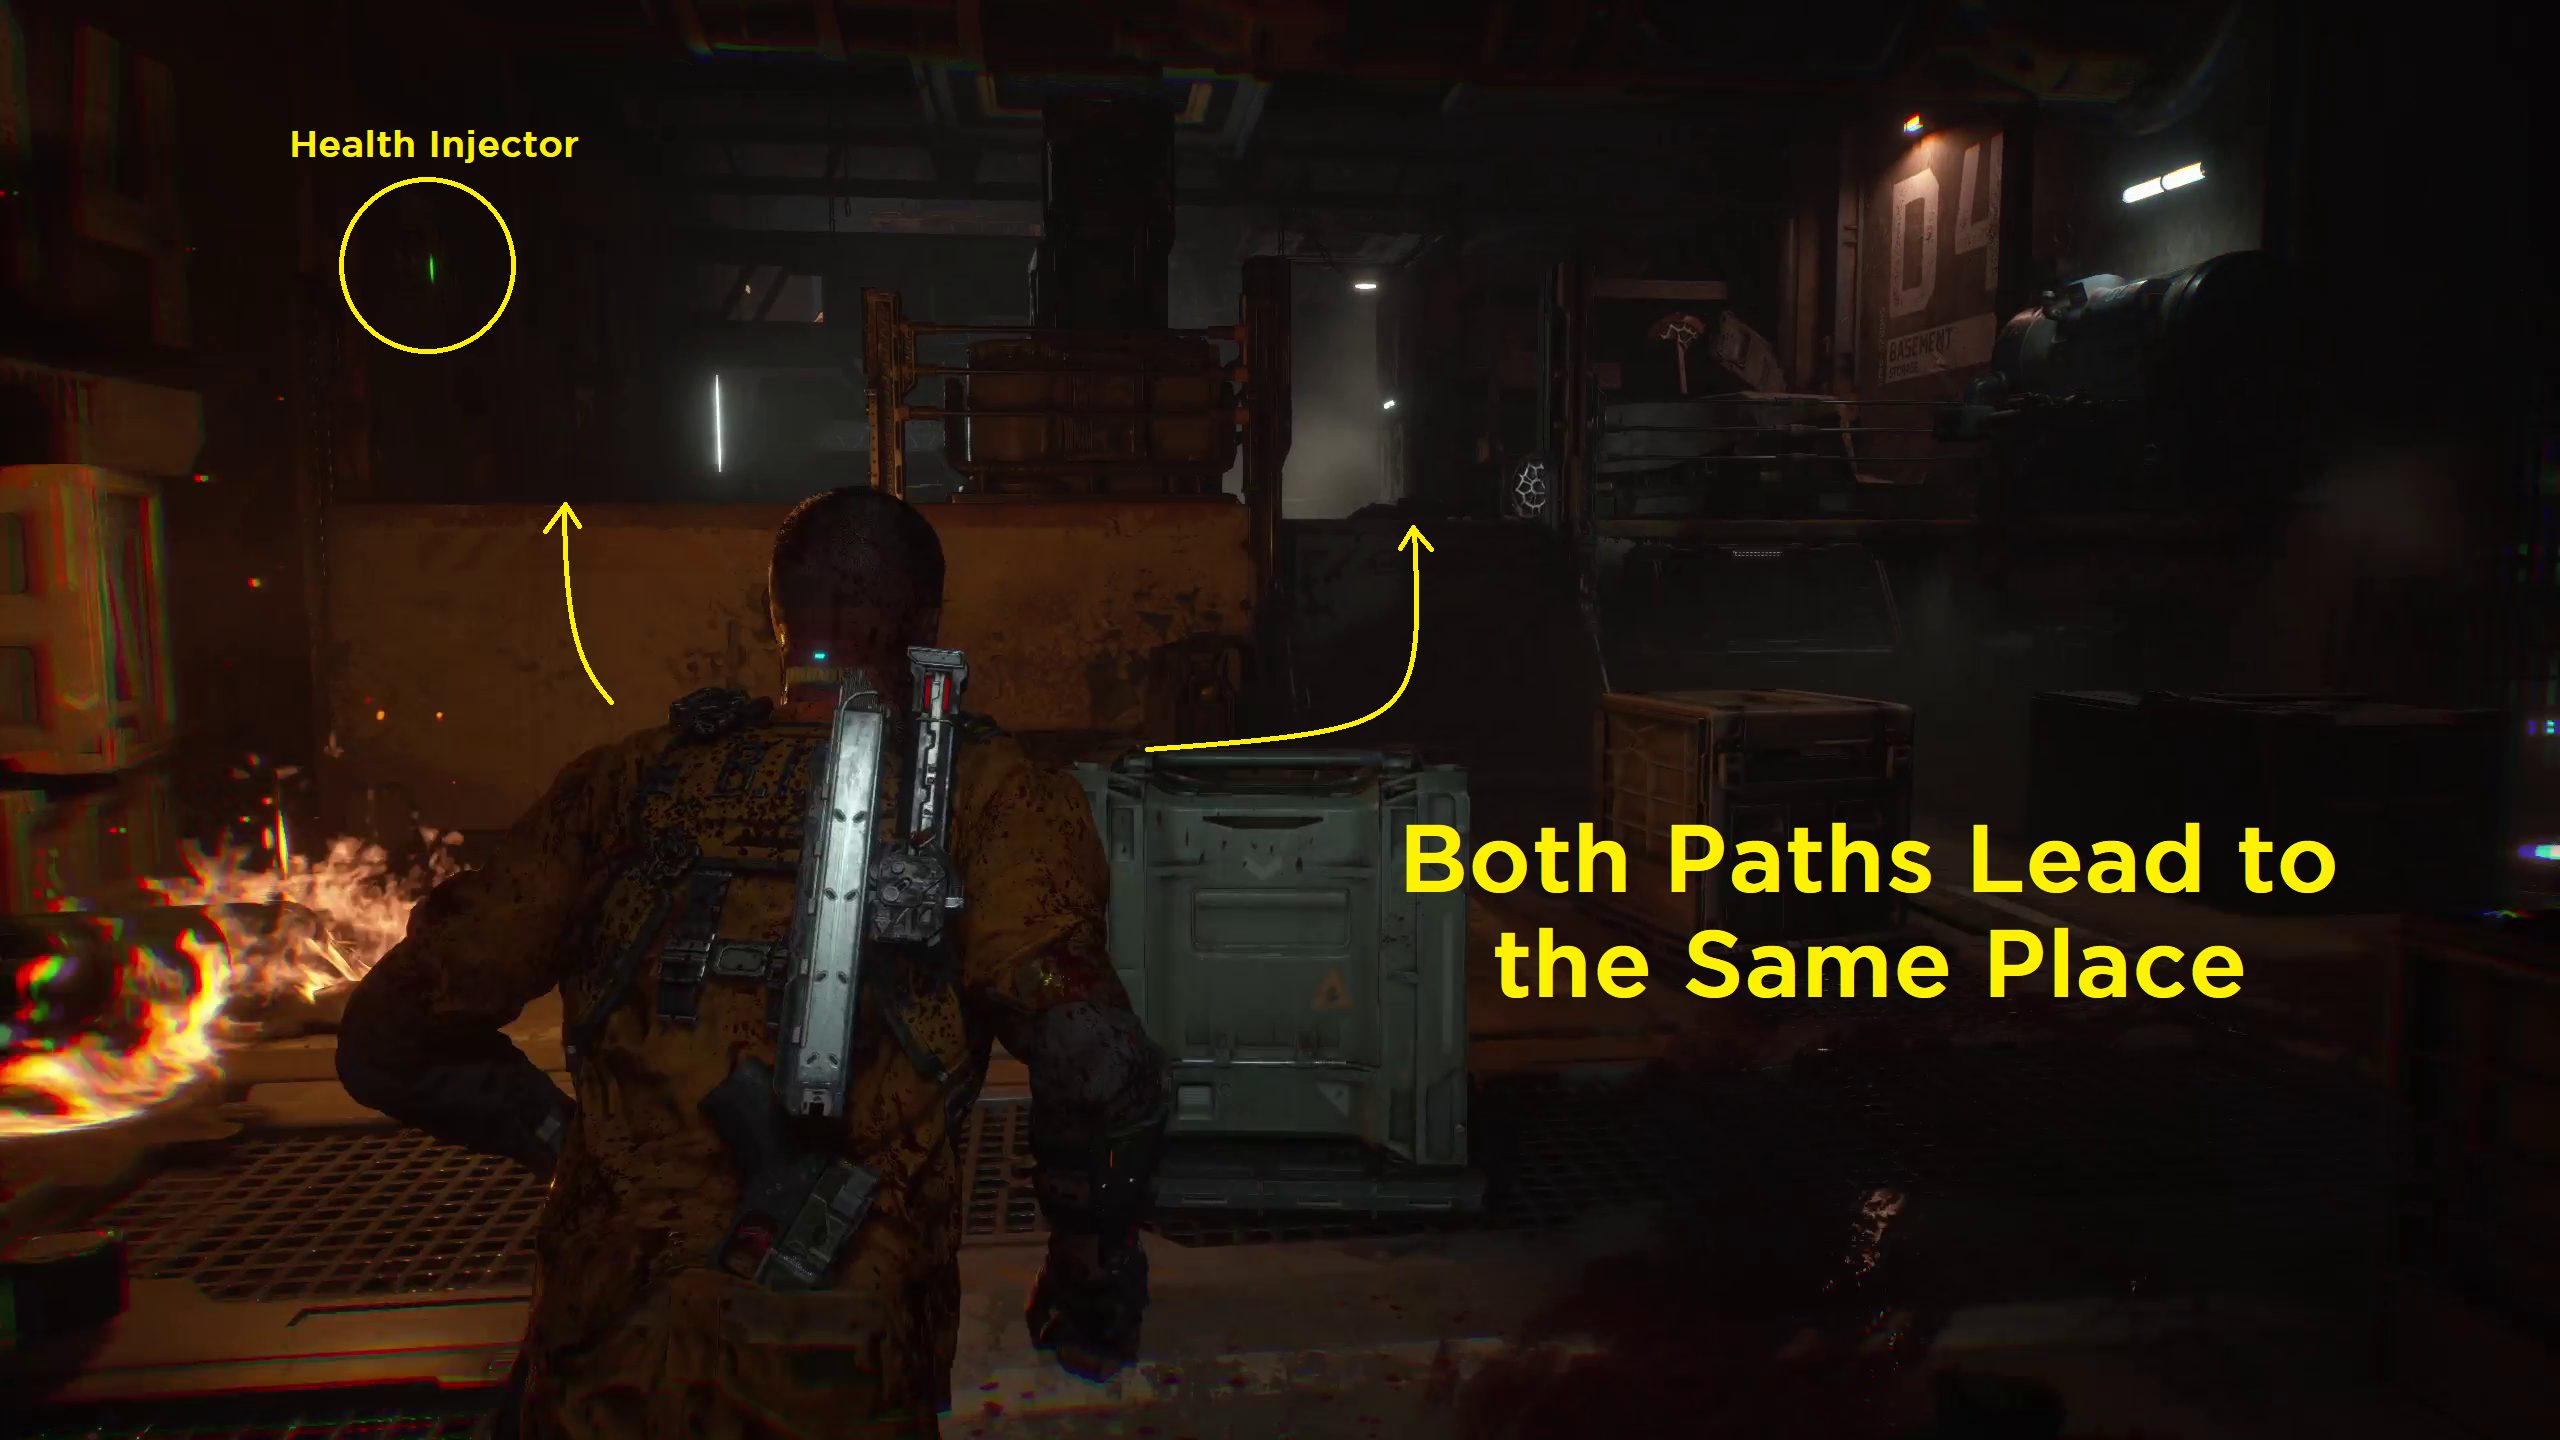
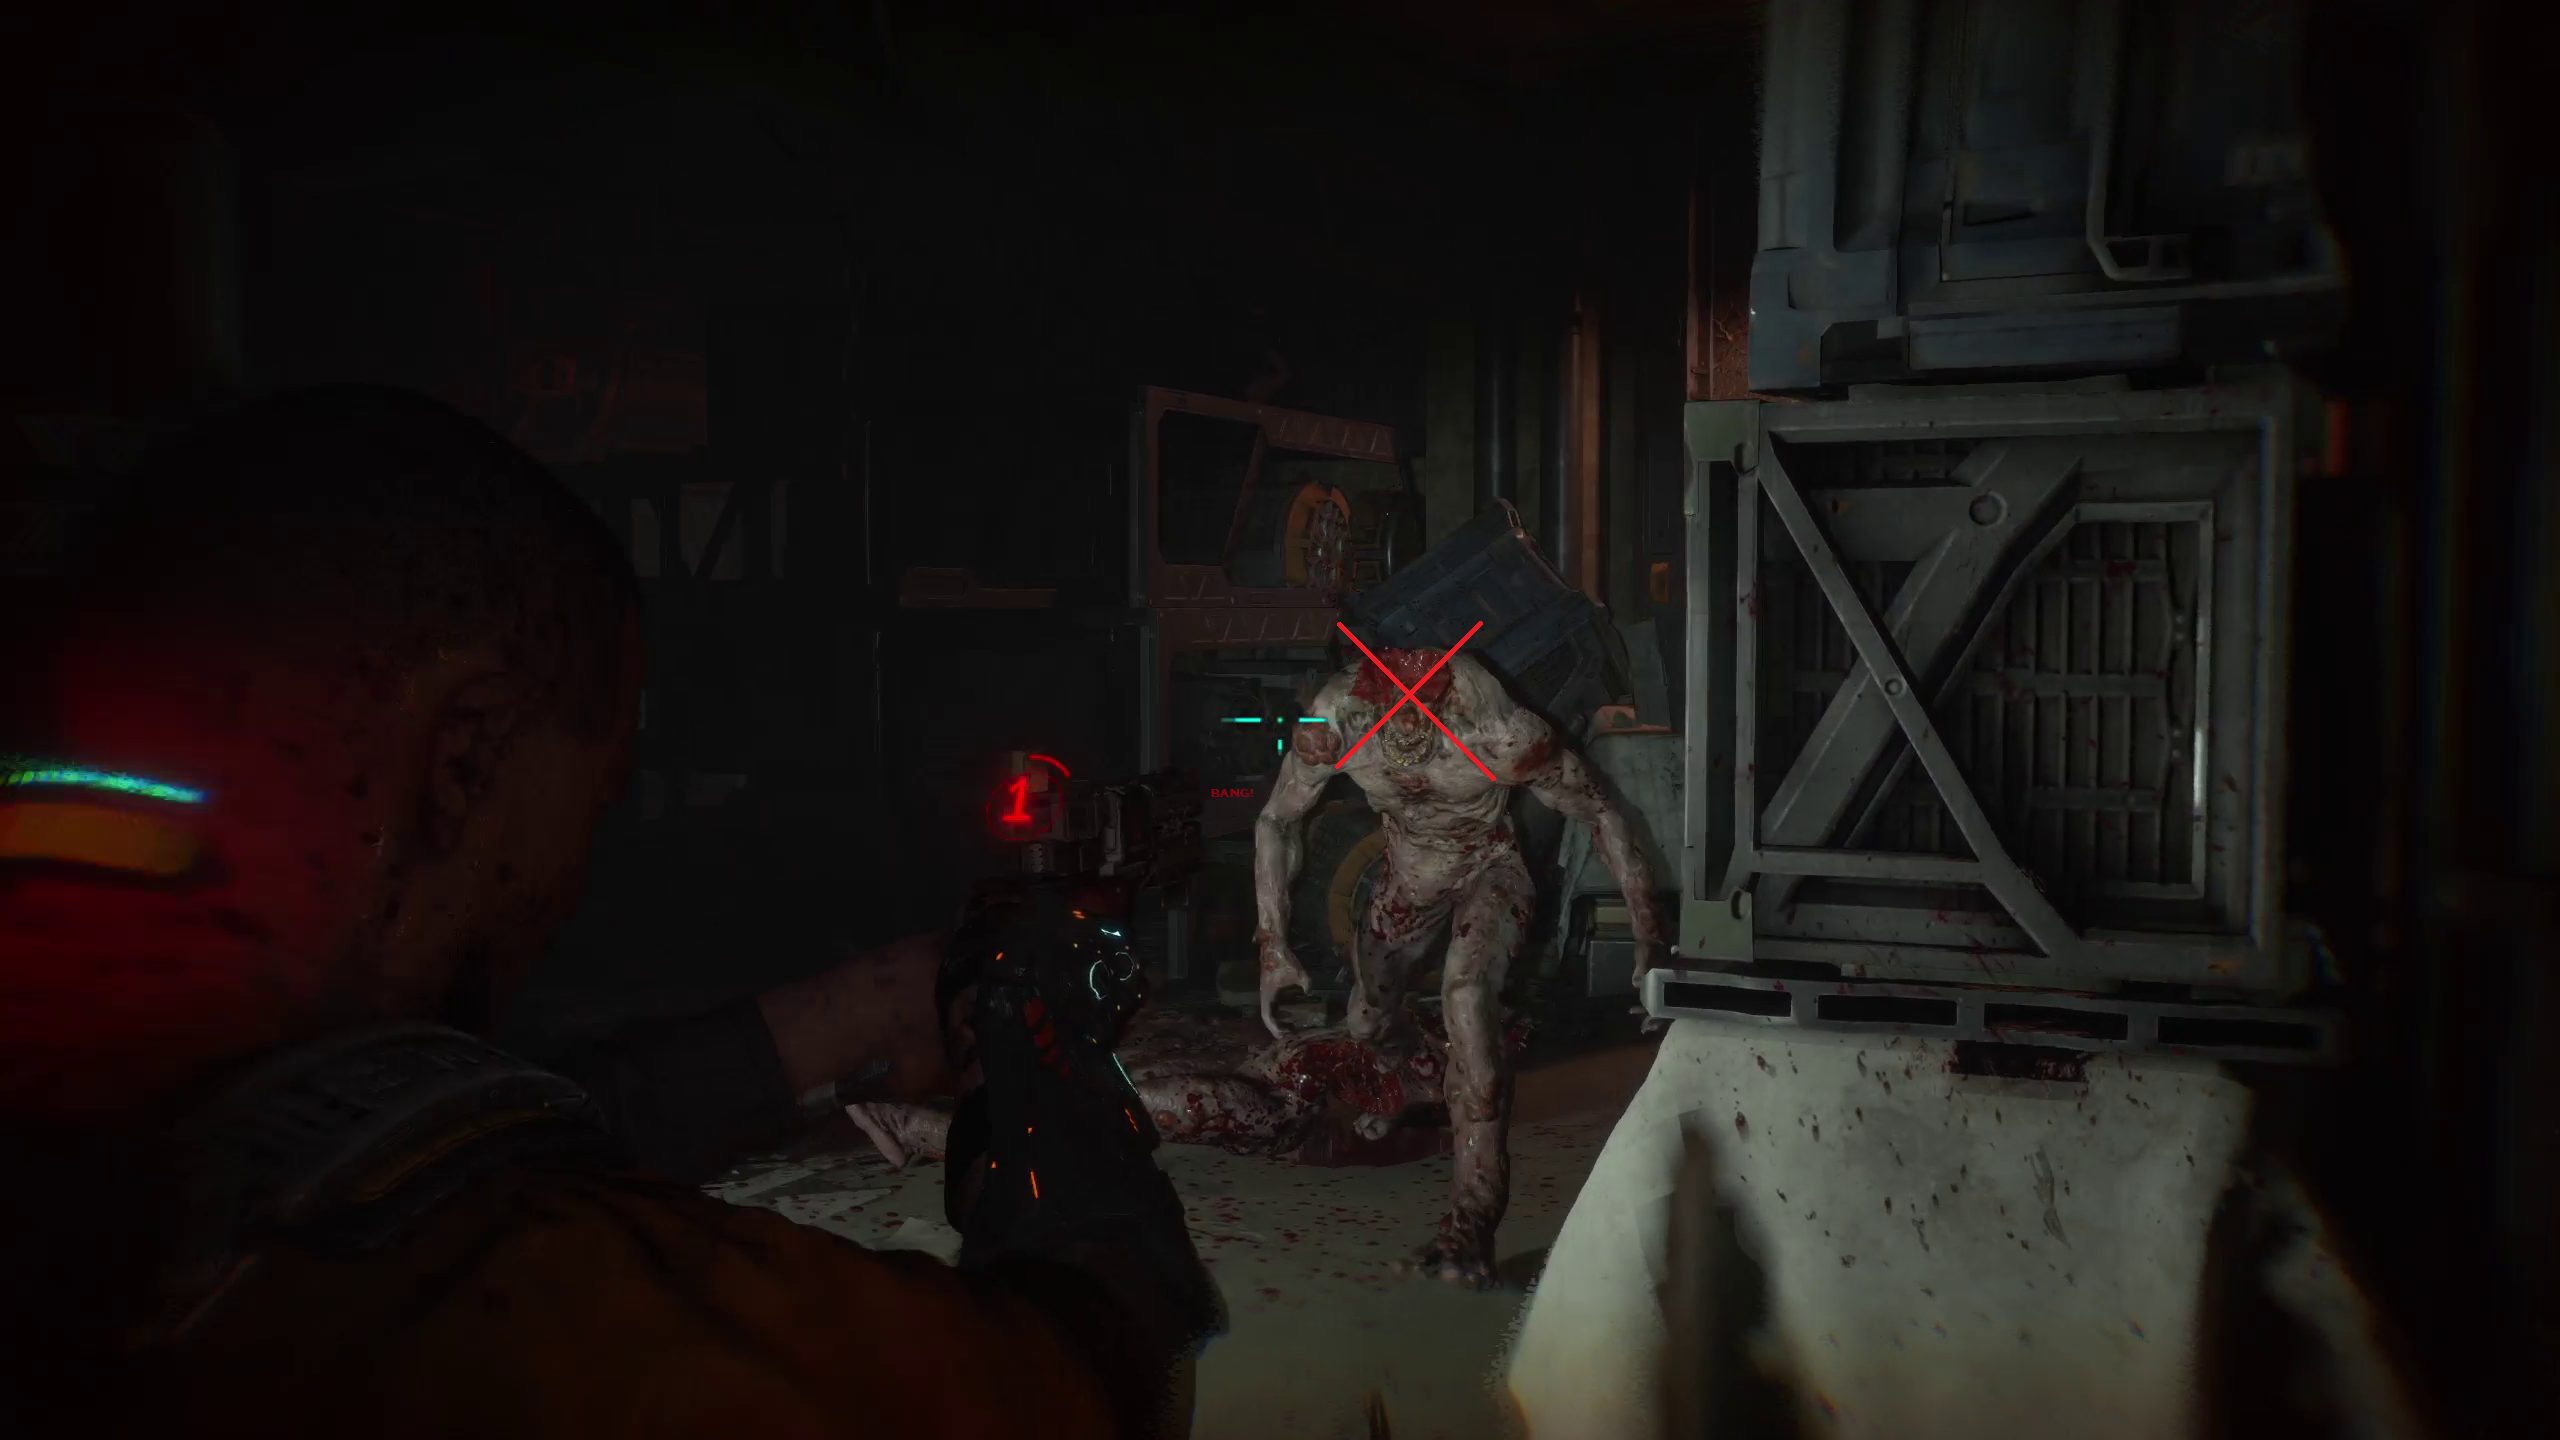
Head back to the ladder you passed earlier. You’ll find yourself in a familiar area, back in Workshop B415. You can continue through the door back to Access Hall B247, or go through the vent on your right. Either way, there will be 2 biophage in the hallway for you to take out.
Find the Back Exit
After you take them out, you can continue back down the hallway you came and go through the door to Maintenence B414 you passed through earlier. Continue along the path, taking out the biophage that breaks through some glass to ambush you. After you pry open a door, there will be a body with a harvestable DATA-BIOS for Dr. Ewan Hayes on the ground directly in front of you.
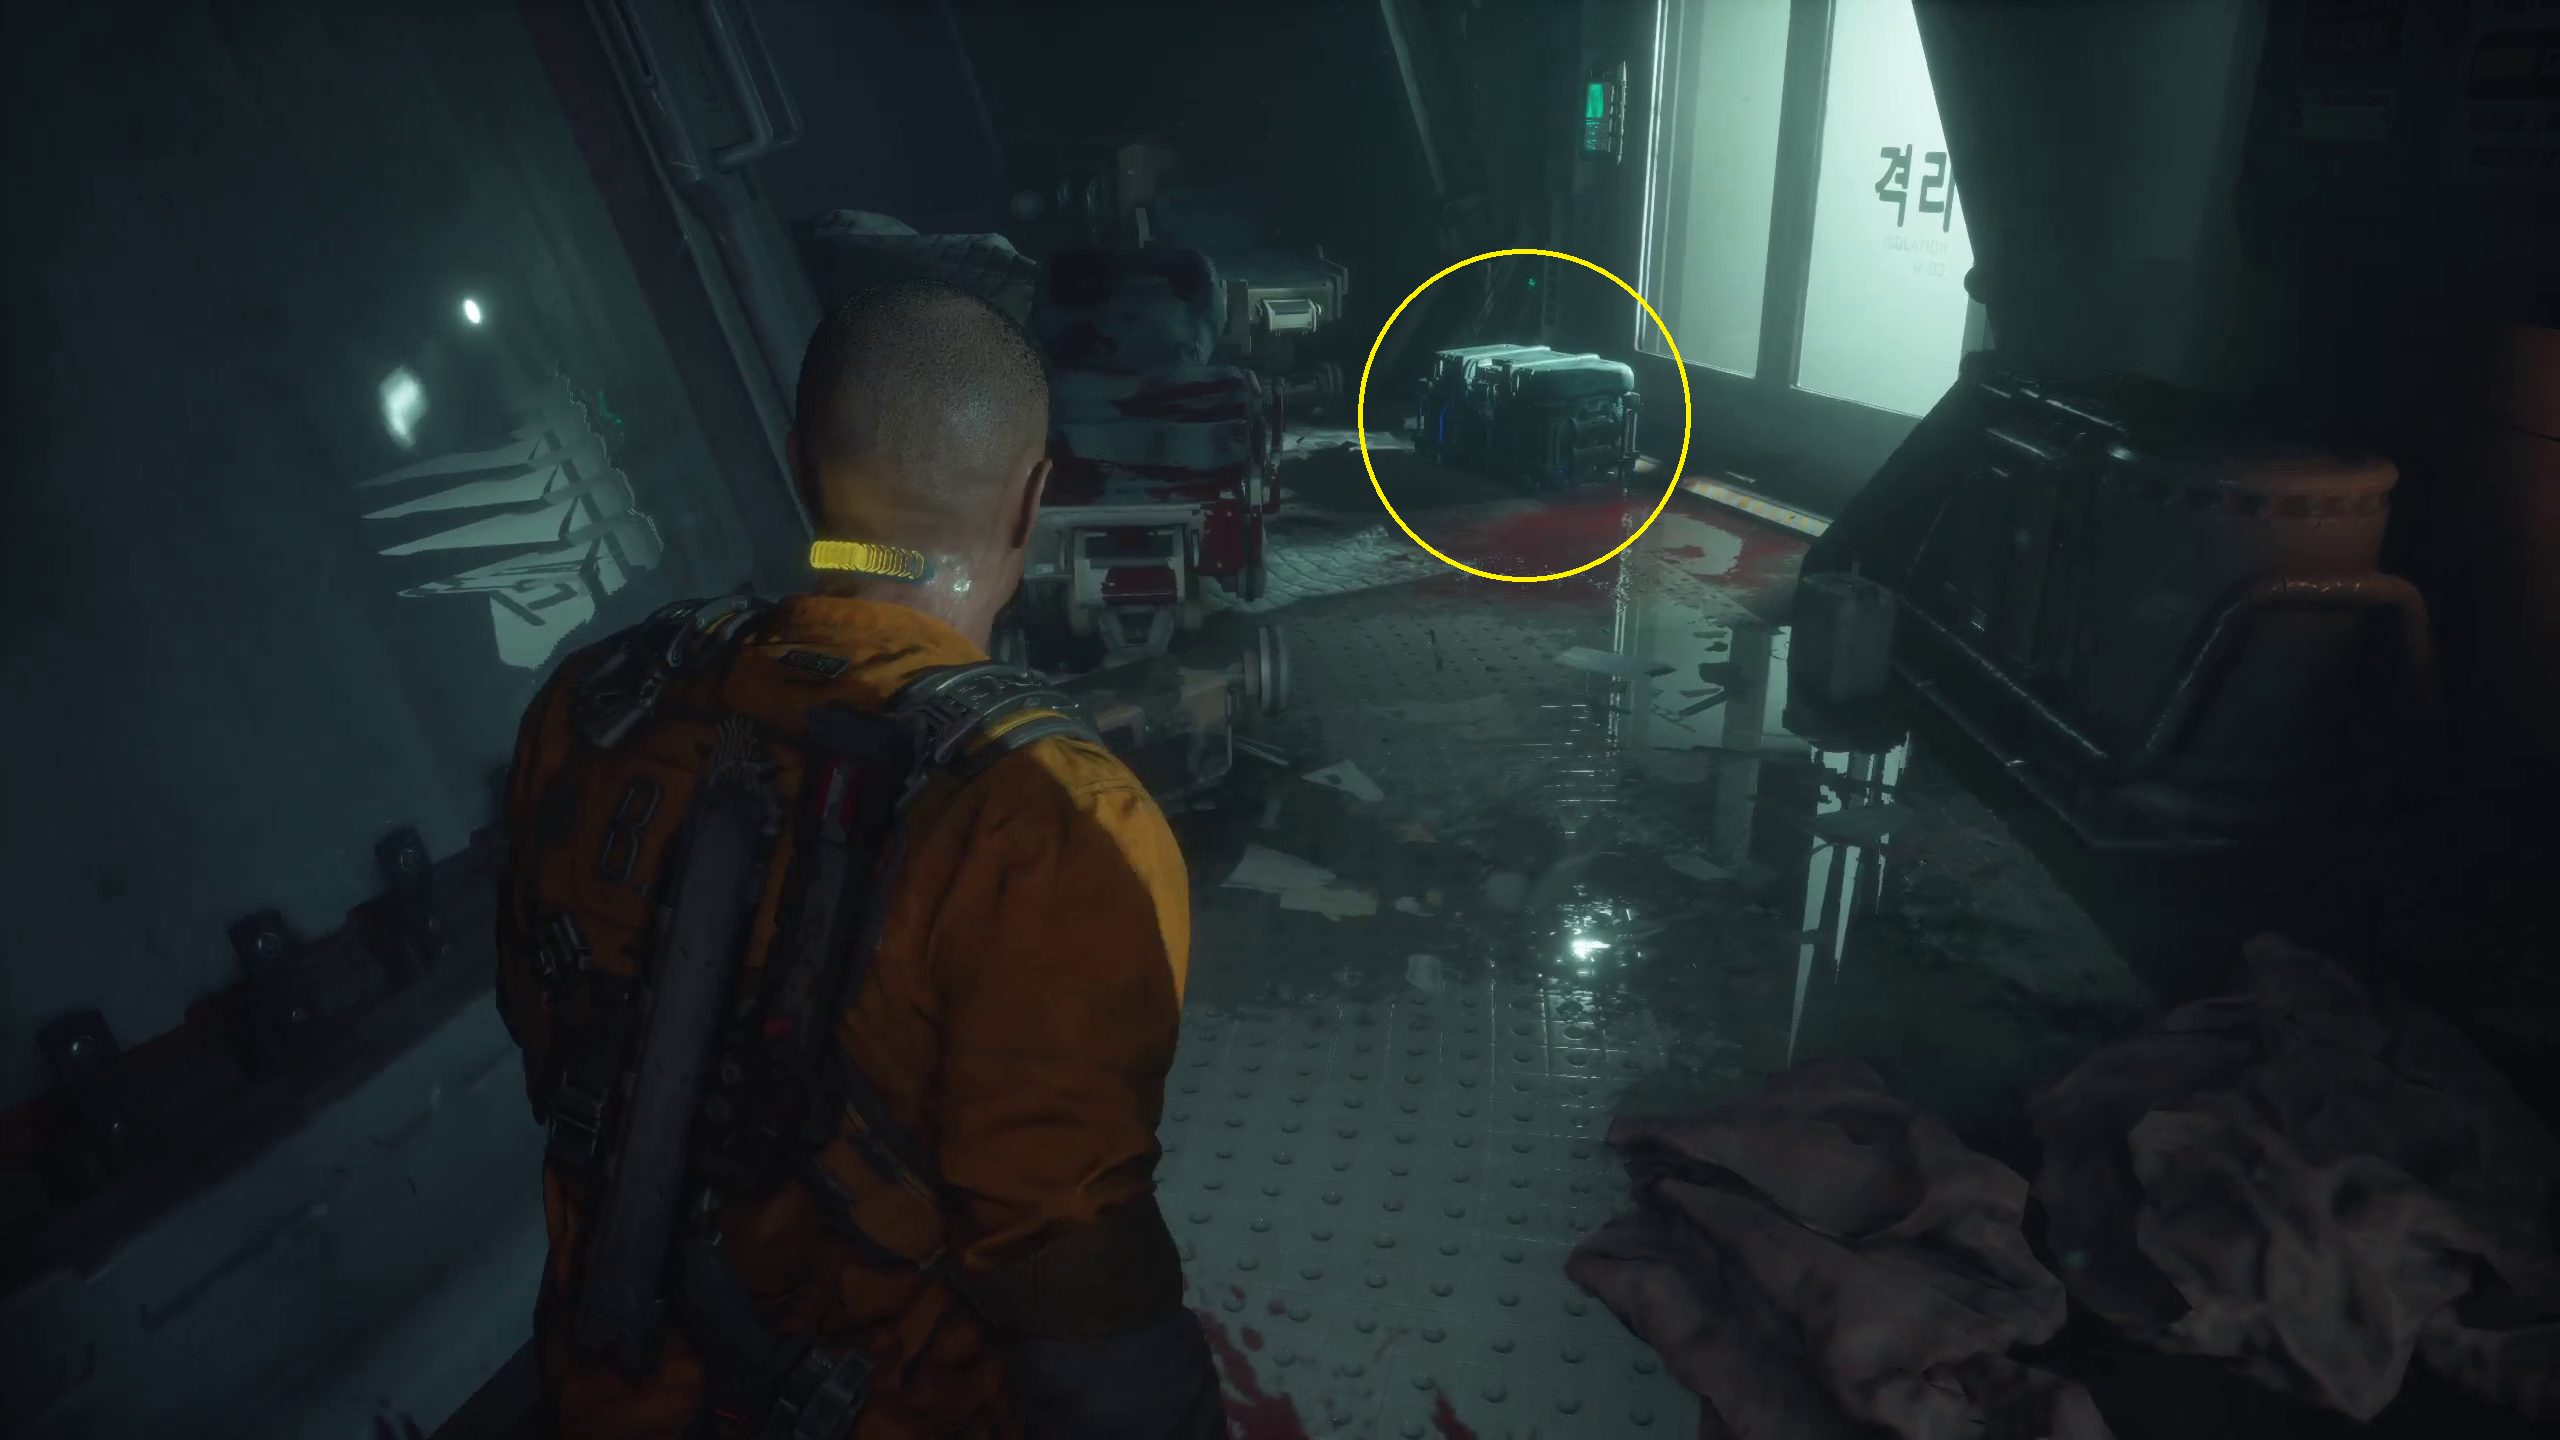
Next, there will be a chest in front of a foggy window that you can grab (just be ready for the jumpscare after you do).
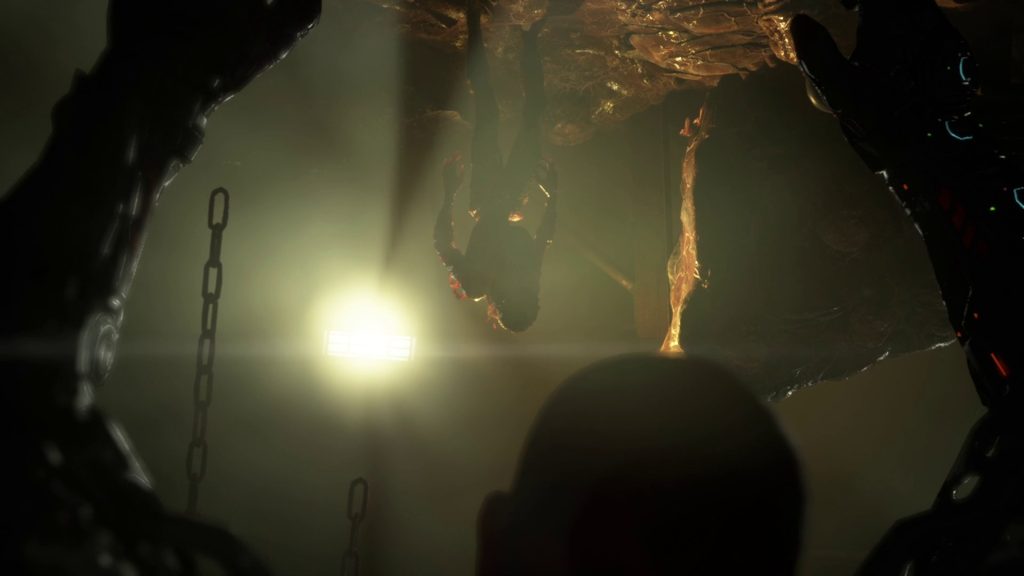
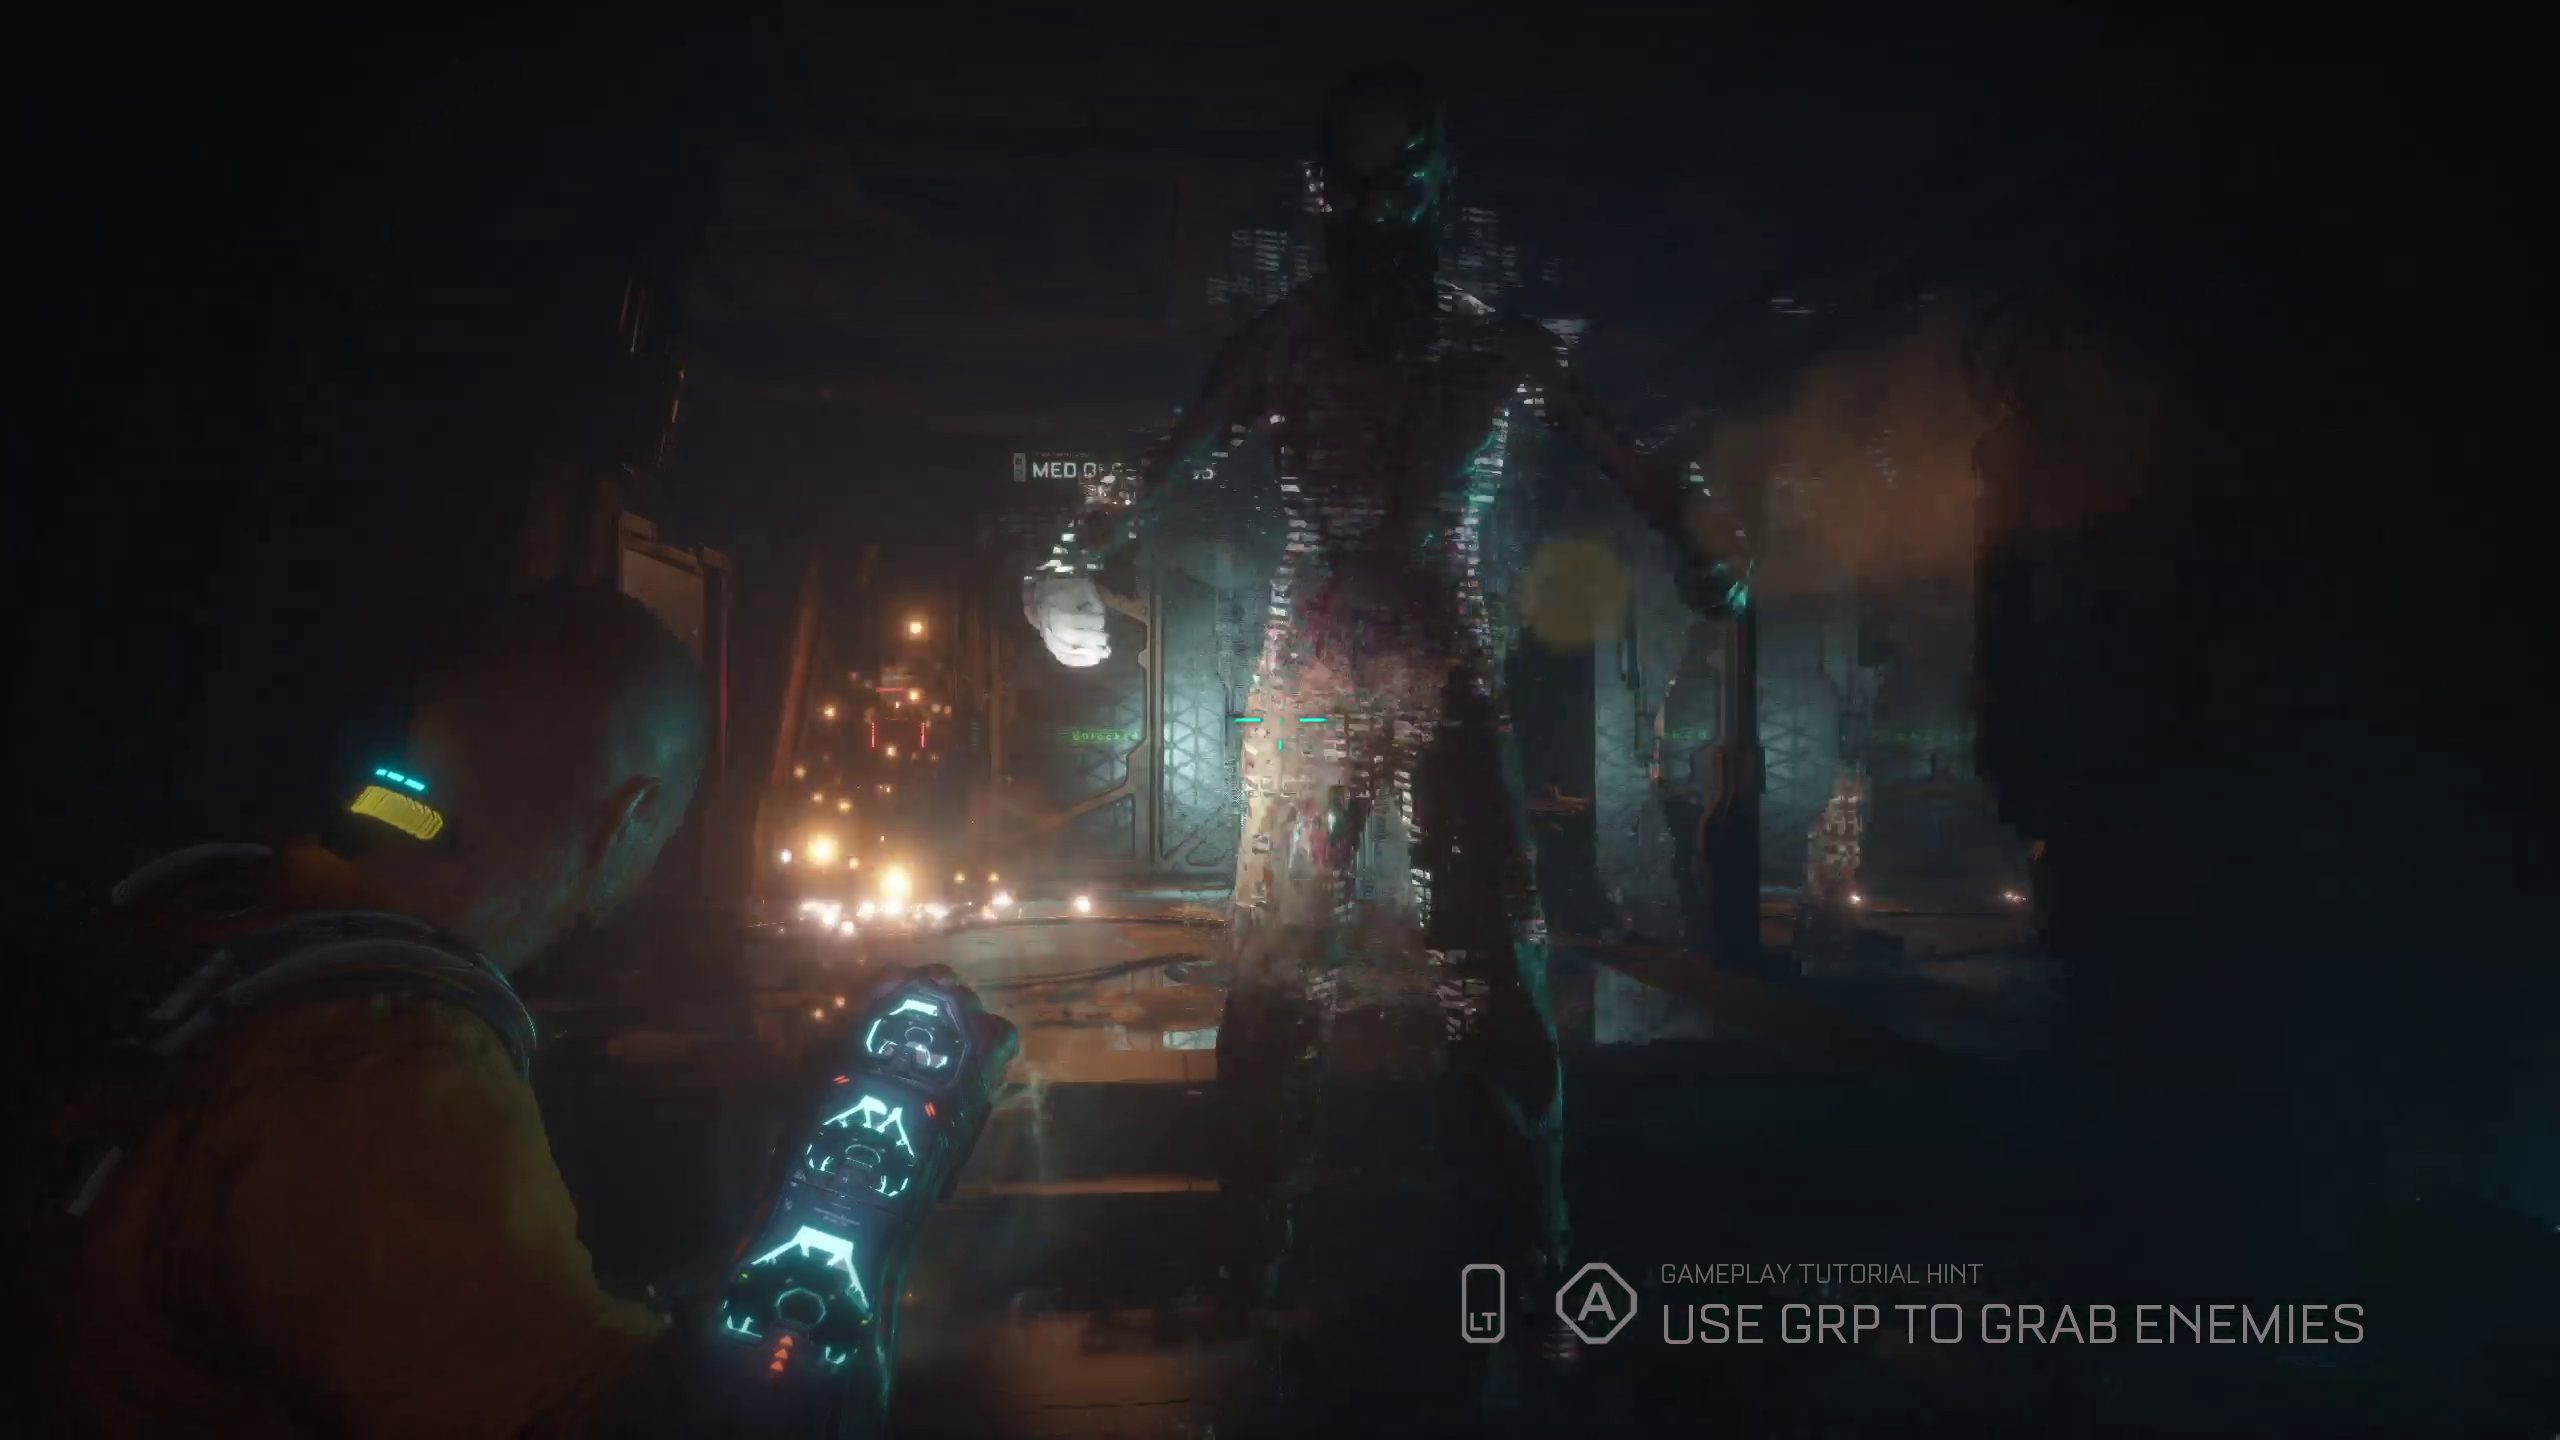
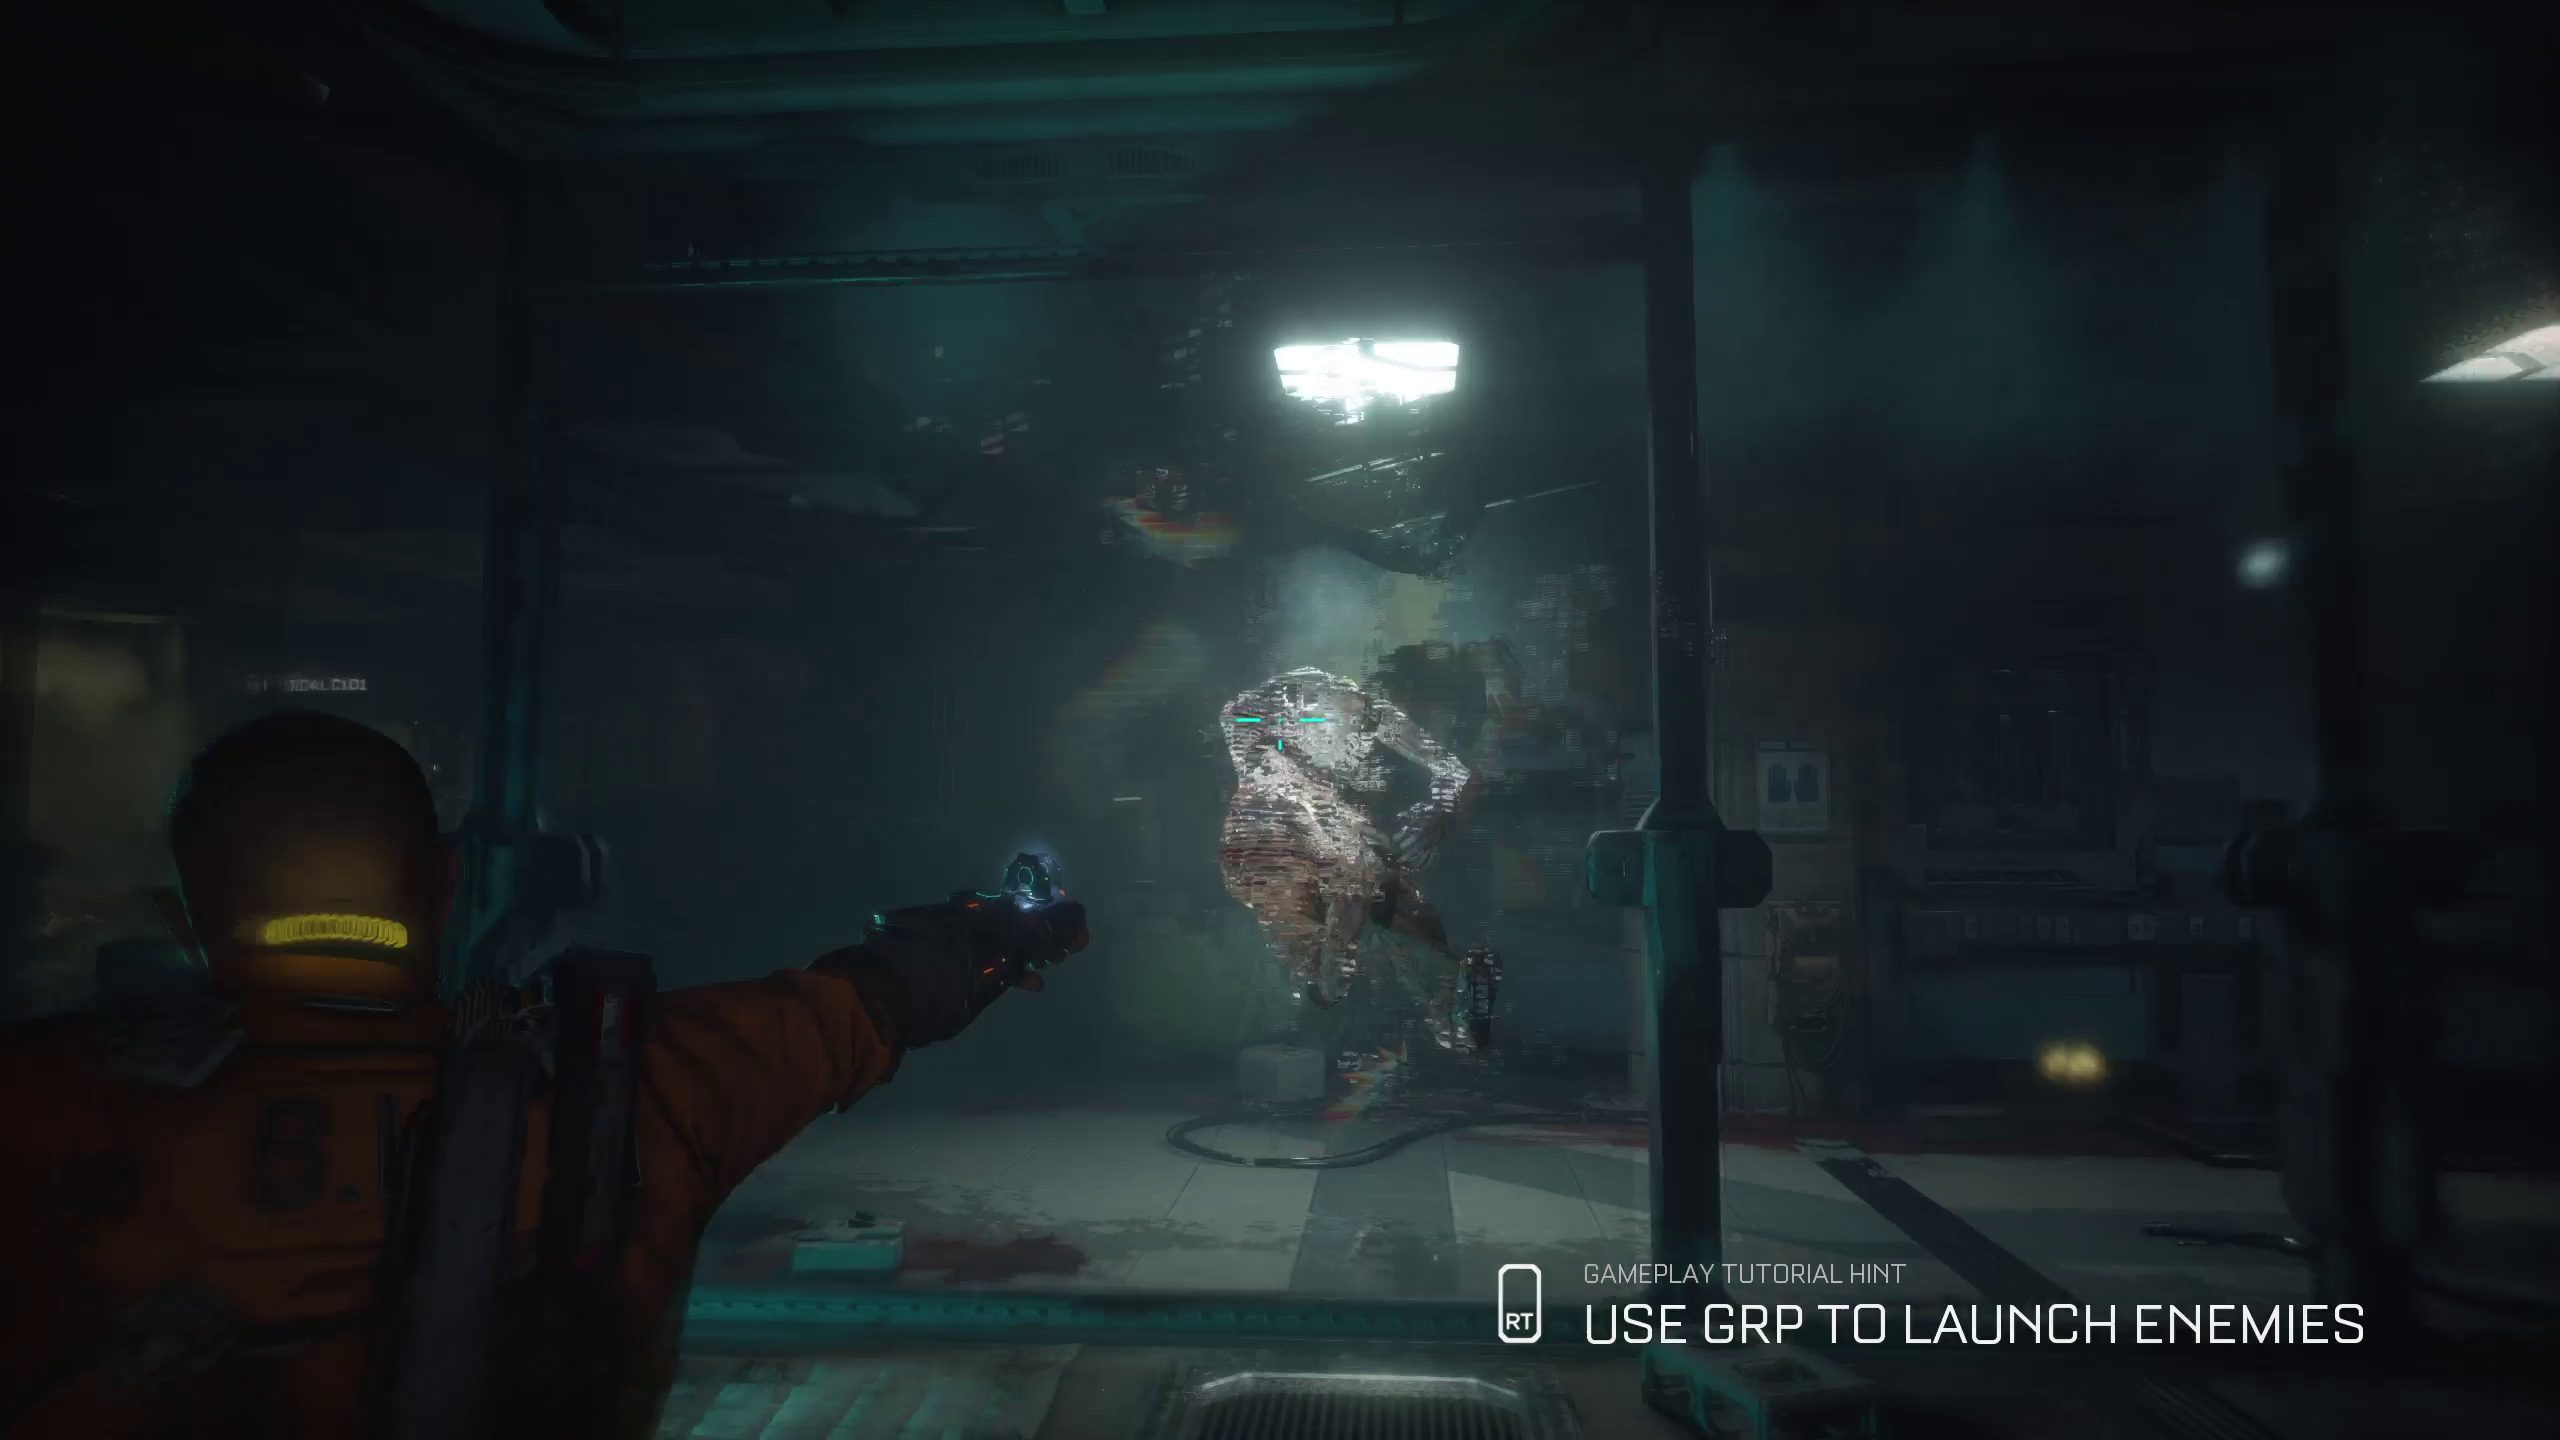
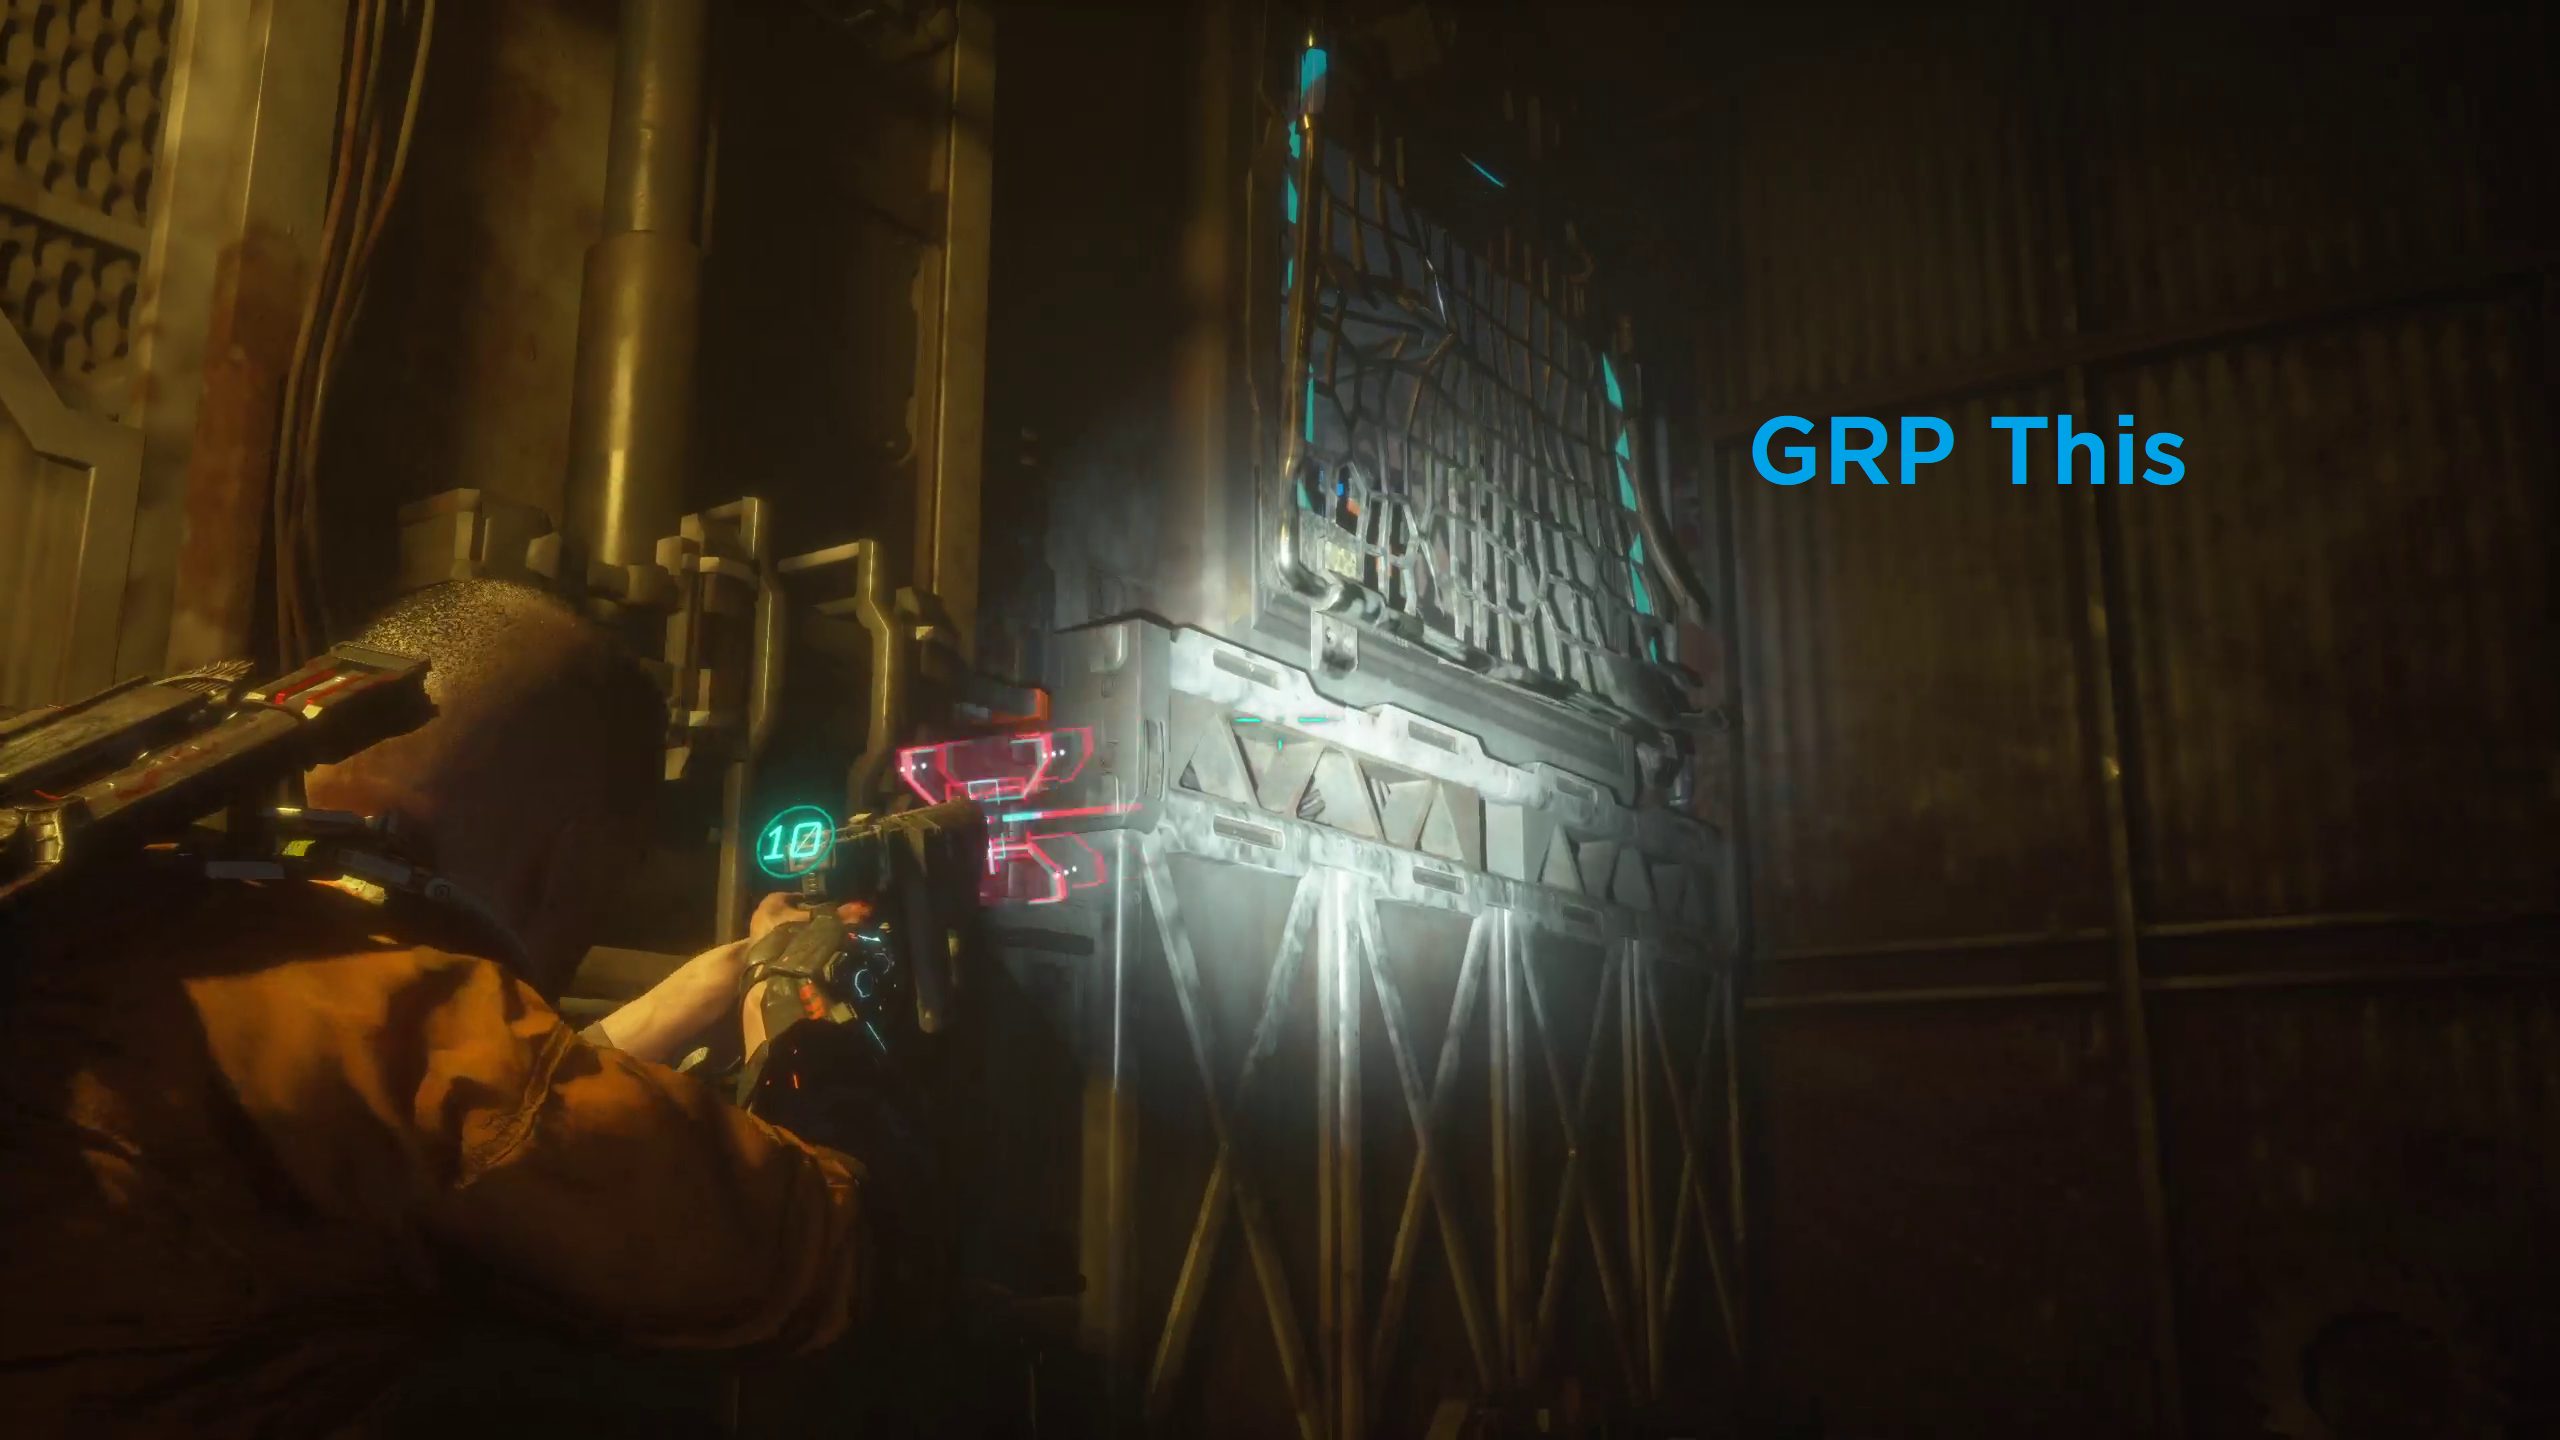
Continue through the path in the medical wing until you squeeze through a door. Here, you will obtain a GRP Device from a severed arm. This device allows you to telekinetically grab objects and enemies by aiming at them ( /) and pressing / / . From here, you can then toss the held object or foe by pressing / .
As soon as you regain control of Jacob, grab the fuse immediately to your left, which you’ll need very soon. After you pass by a holographic cutscene, you’ll get a chance to test out your new GRP toy on a few enemies who will attack you as you near the room’s exit. After you defeat them, make sure to break the glass case to the left of the door before moving on.
The room in front of you, Med Loungue 106, has a Reforge and some loot. Make sure to keep an eye out for lockers and medical packs. After you are done there, head back out and head to the room to your side, Med Observation C108. Continue through to Maintenence C110.
Look for an Elevator
On a body lying on the floor in front of you, you can grab Ofc. Dach Symmon’s DATA-BIOS
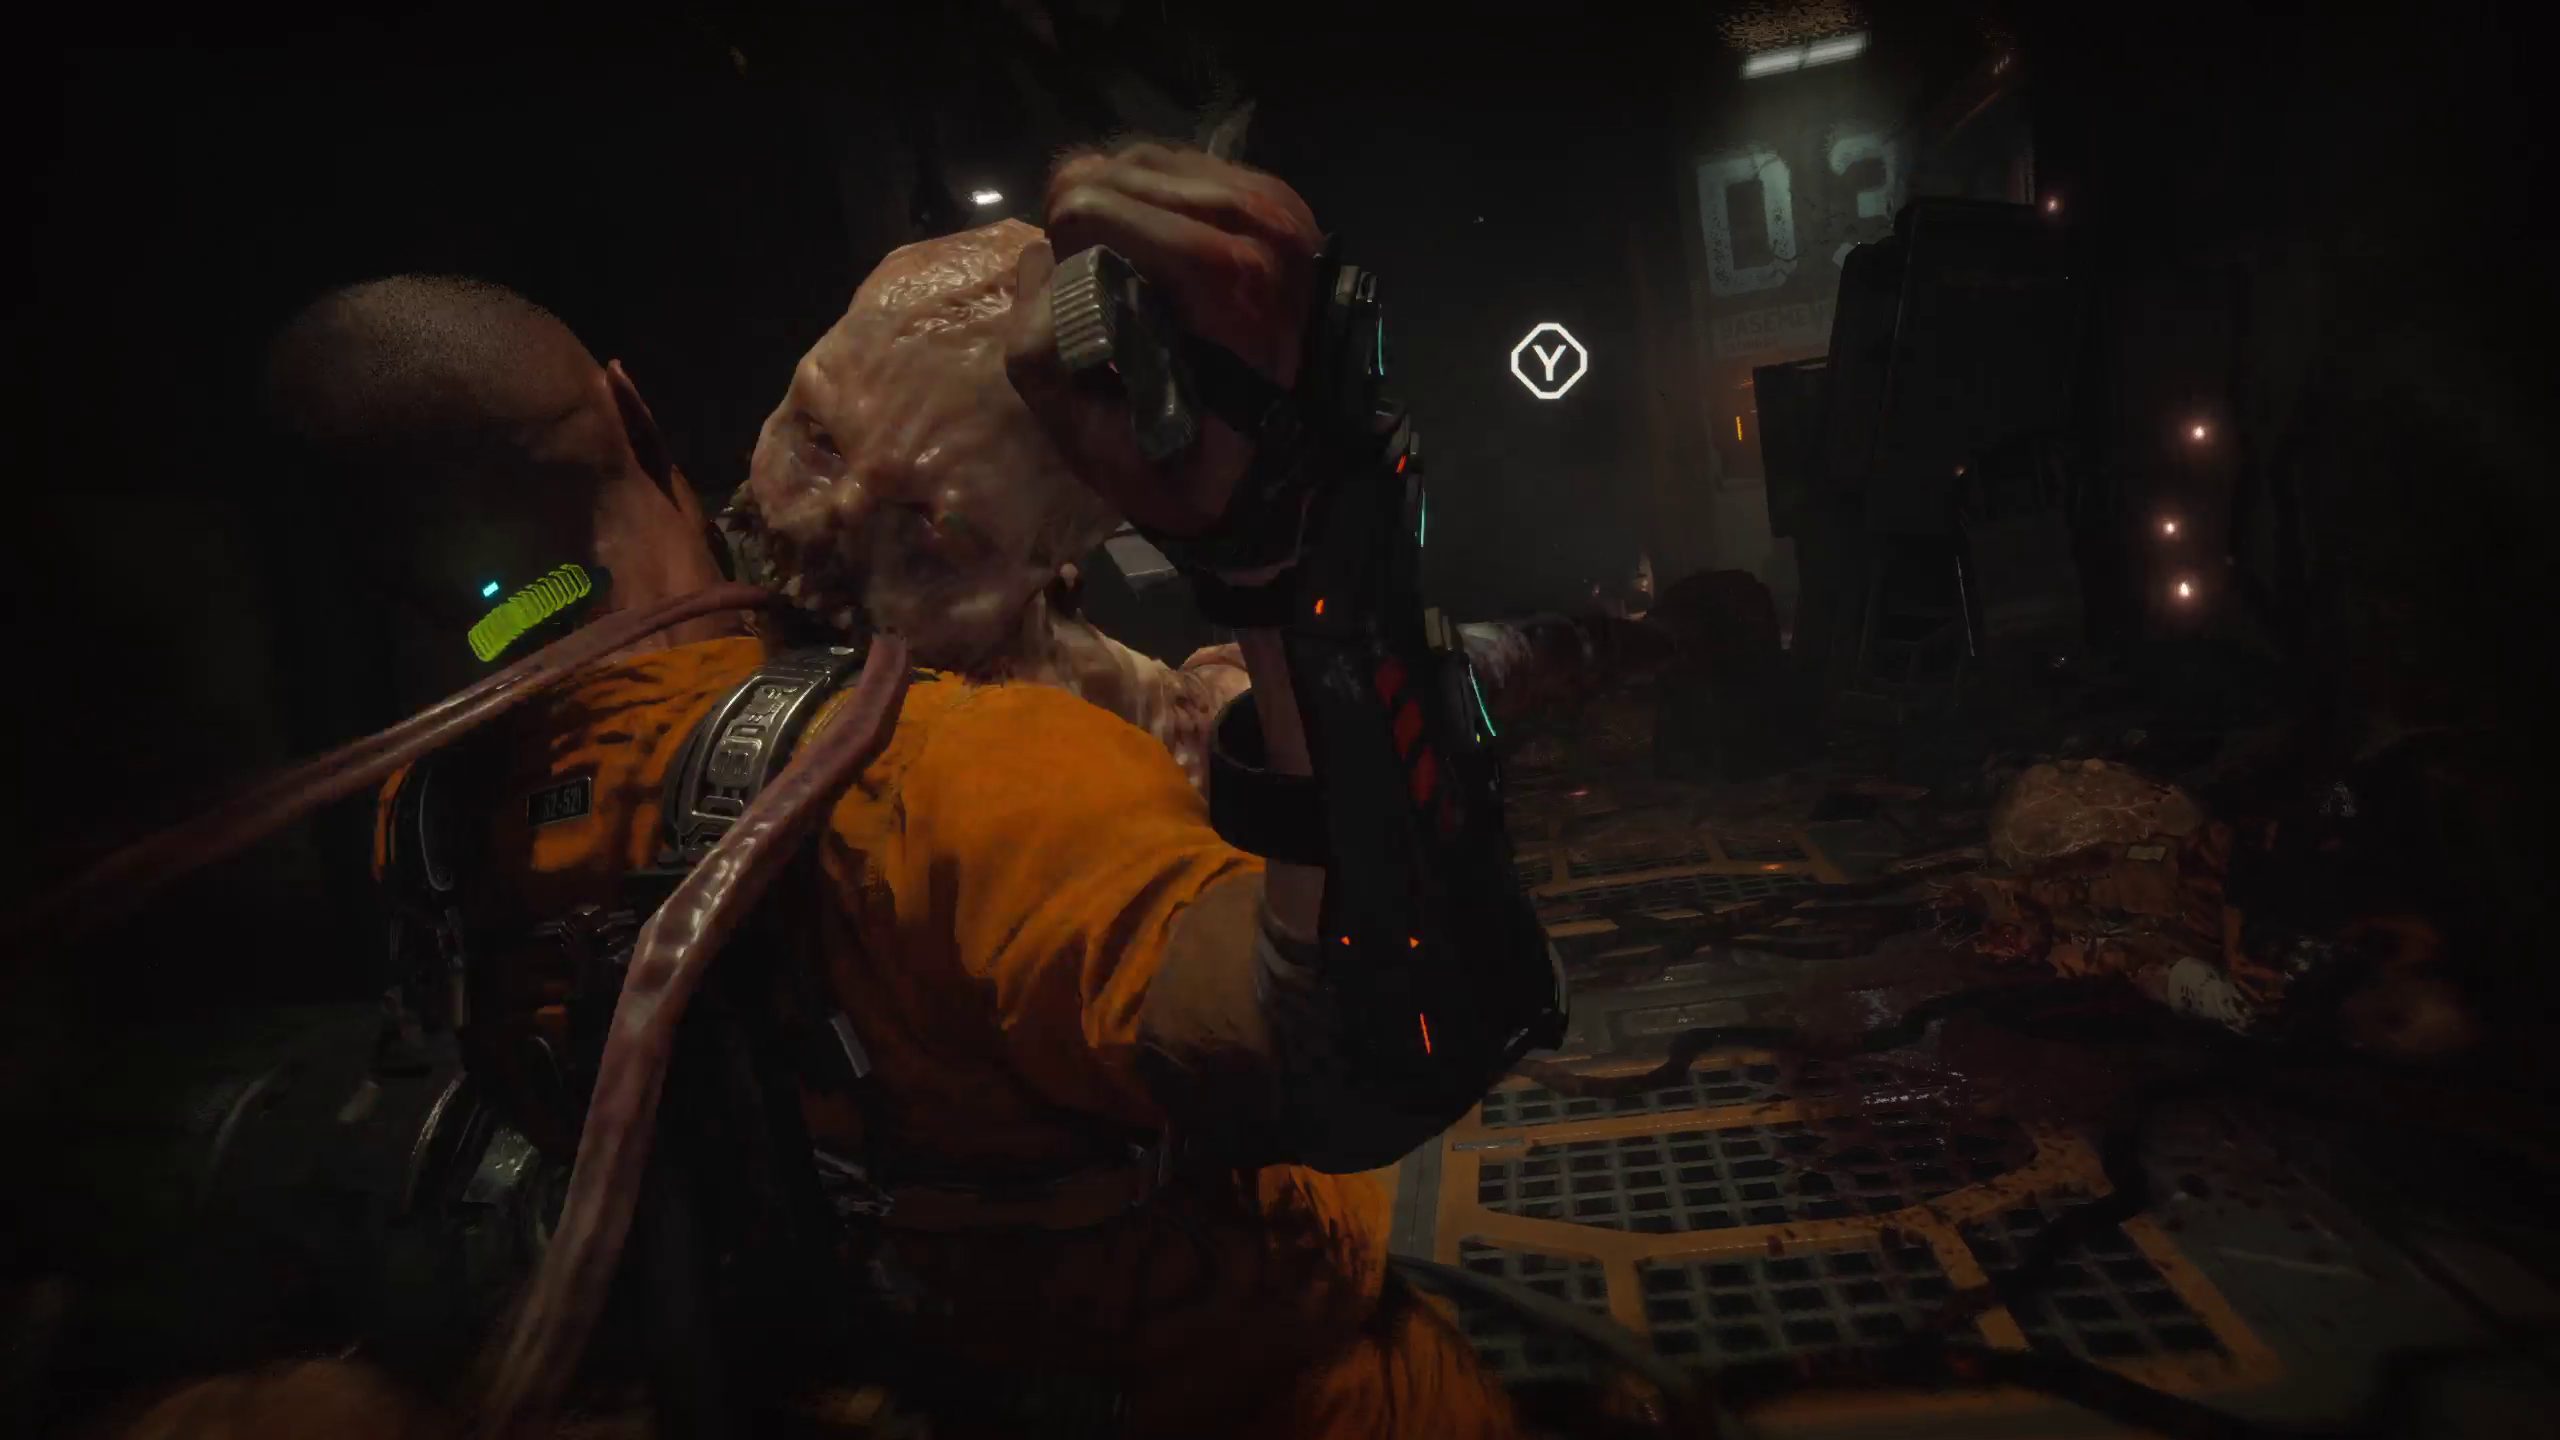
Continue until you squeeze through a gap to get on top of an elevator. A cutscene will play, and you’ll end up in the basement. As soon as you mantle onto the floor itself, you’ll be attacked by a biophage-snake, who will lunge out at you and grapple you! You’ll need to mash/ in order to escape.
Find a Way Out of the Basement
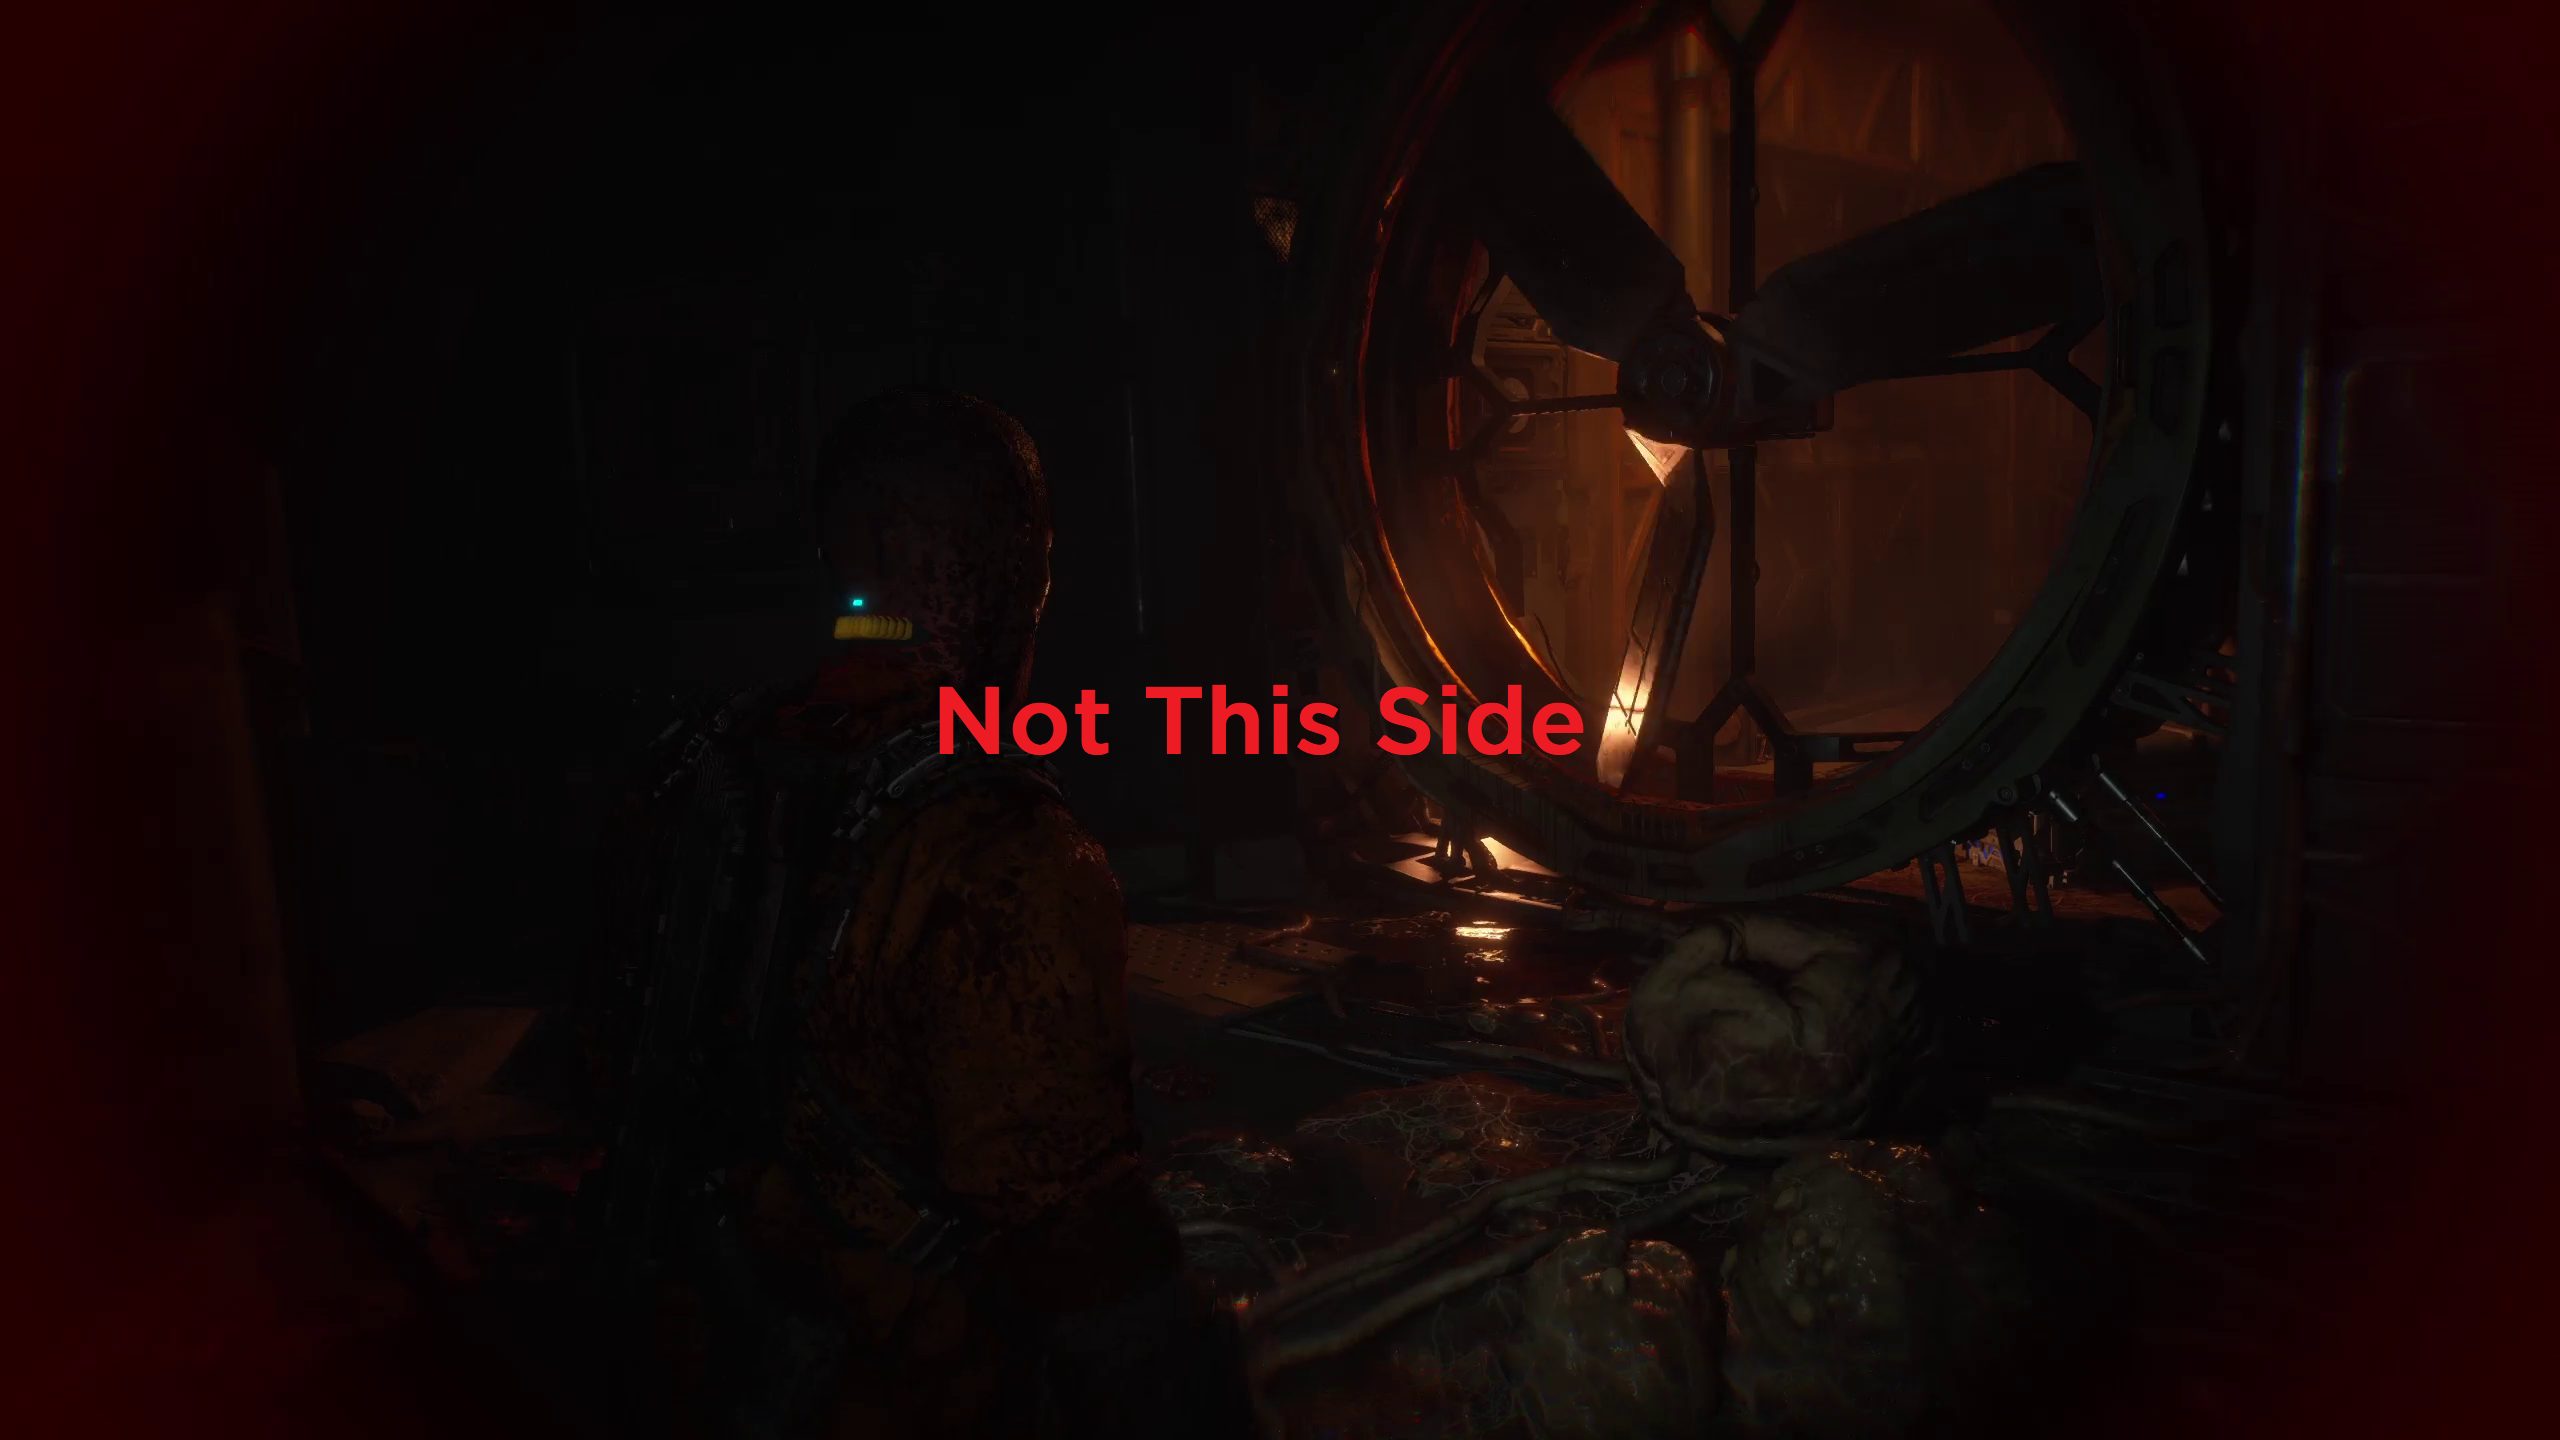
After dealing with snake-neck (make sure to stomp his cacoon!) and an ambushing biophage, go to your left and up a tall wall onto a raised platform (though do take note of the broken fusebox on your right, you will be coming back). Another snake-neck will attack you, and so you’ll have to do some more mashing. After taking it out, jump off the platform on the other side. You’ll be ambushed by a biophage, then yet another snake-neck when you approach a highly-illuminated fan.
You’ll want to get around to the other side of this fan, so go ahead and head around to the other side of the wall it’s attached to, passing by a spike-wall on the way there. Here, you can grab Ofc. Kerry Brown’s DATA-BIOS. Right around the corner, next to the fan, is a chest.
After you grab these, you can go up onto a raised platform (don’t get too turned around; this is not the same one as before. In the next area, you will fight a room filled with biophage, including 2 spitters (one which will ambush you from behind, watch out). Take your time, use GRP to toss them into environmental obstacles, and clear them out. The more patient you are, the better. Remember that you can stomp all these corpses for loot!
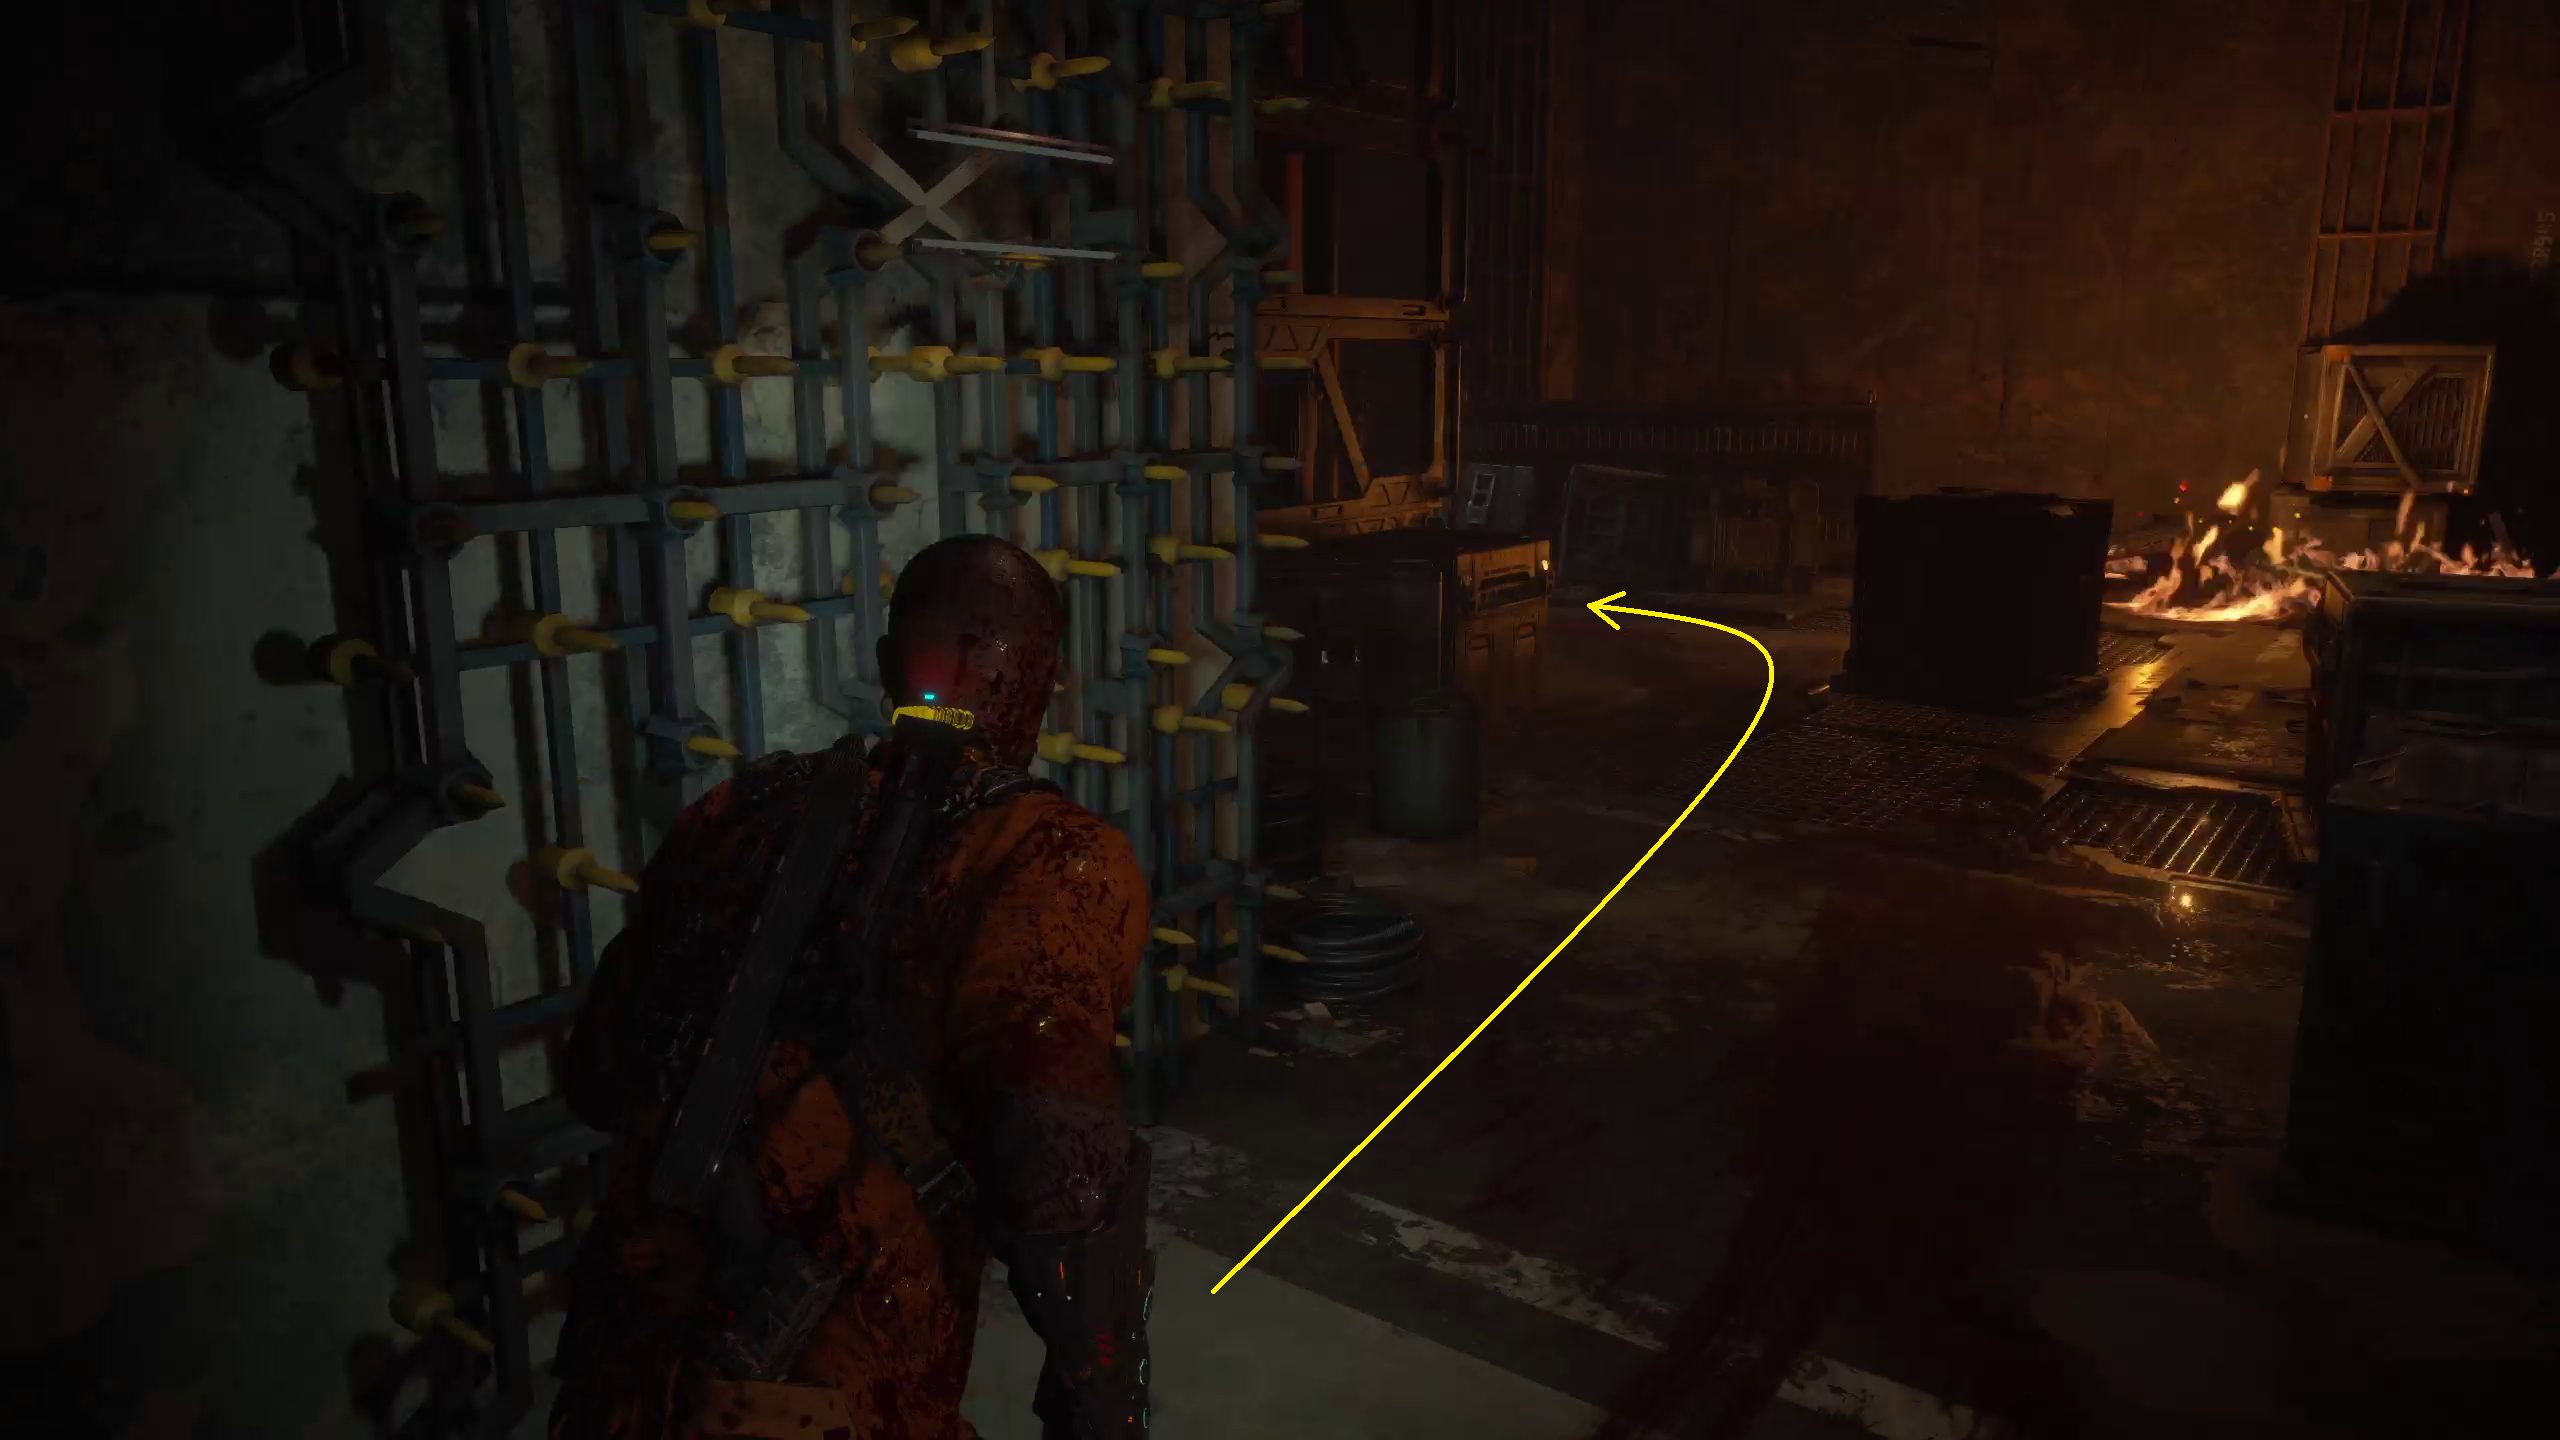
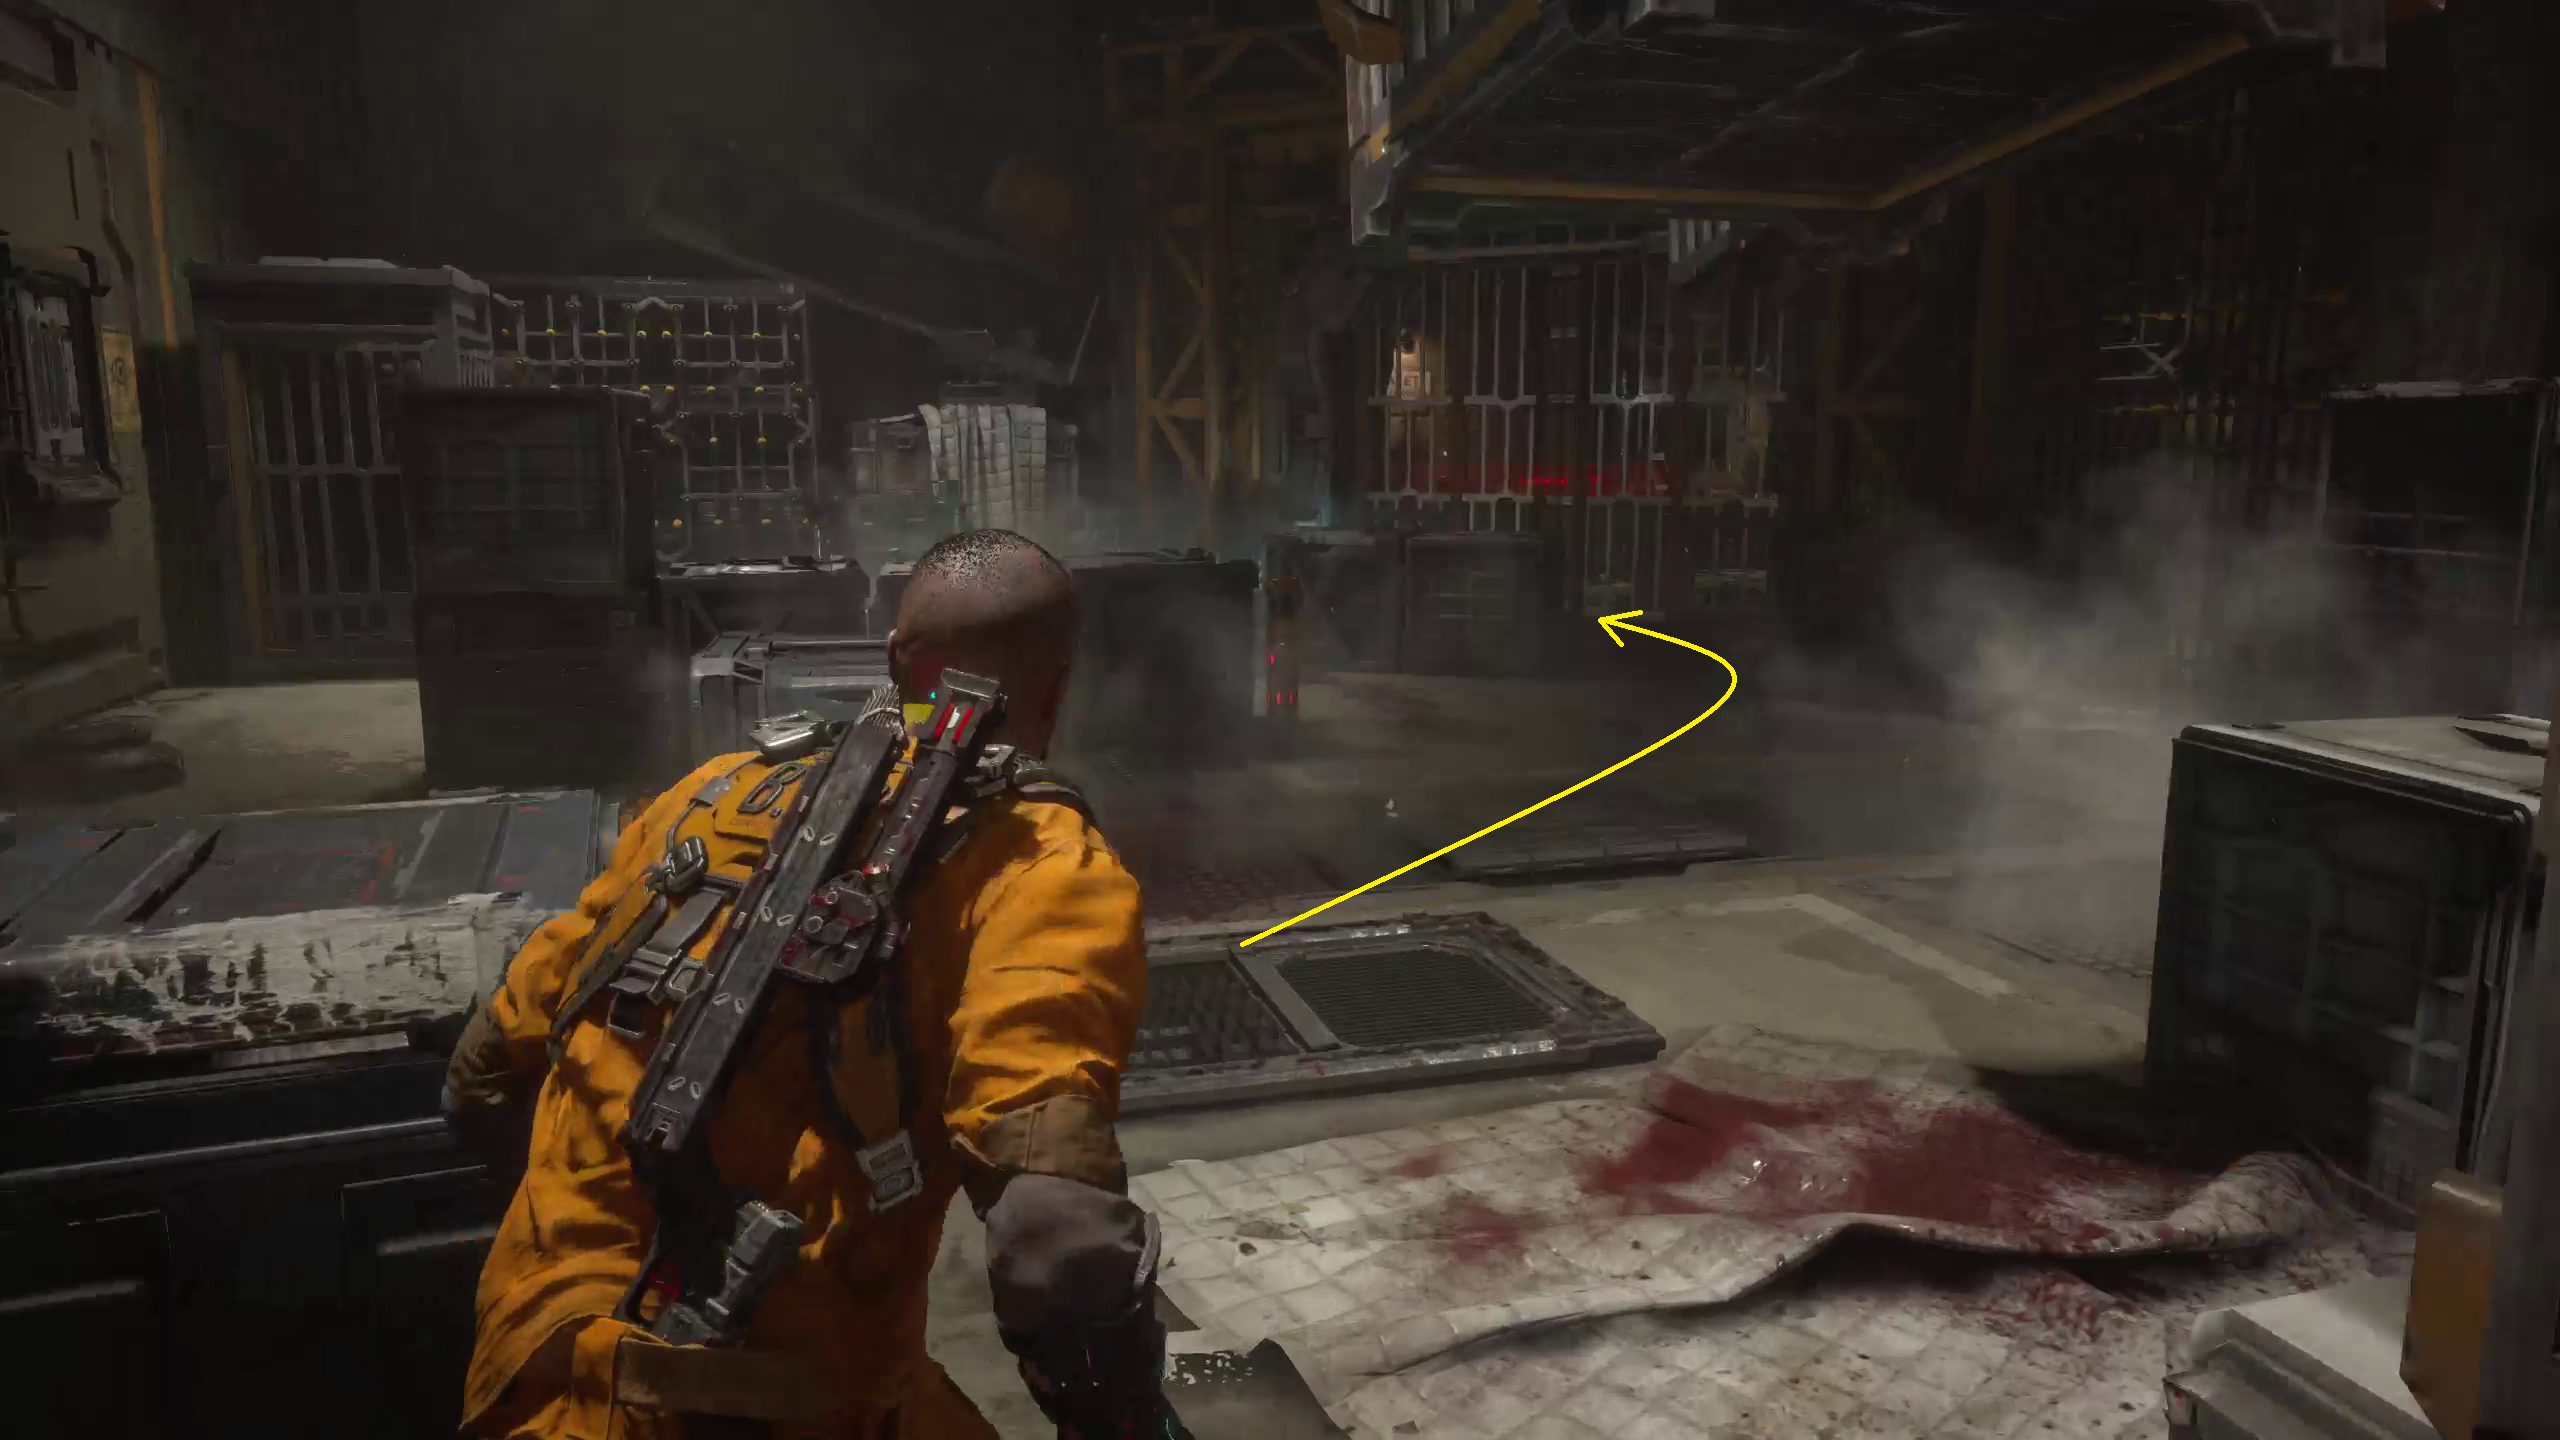
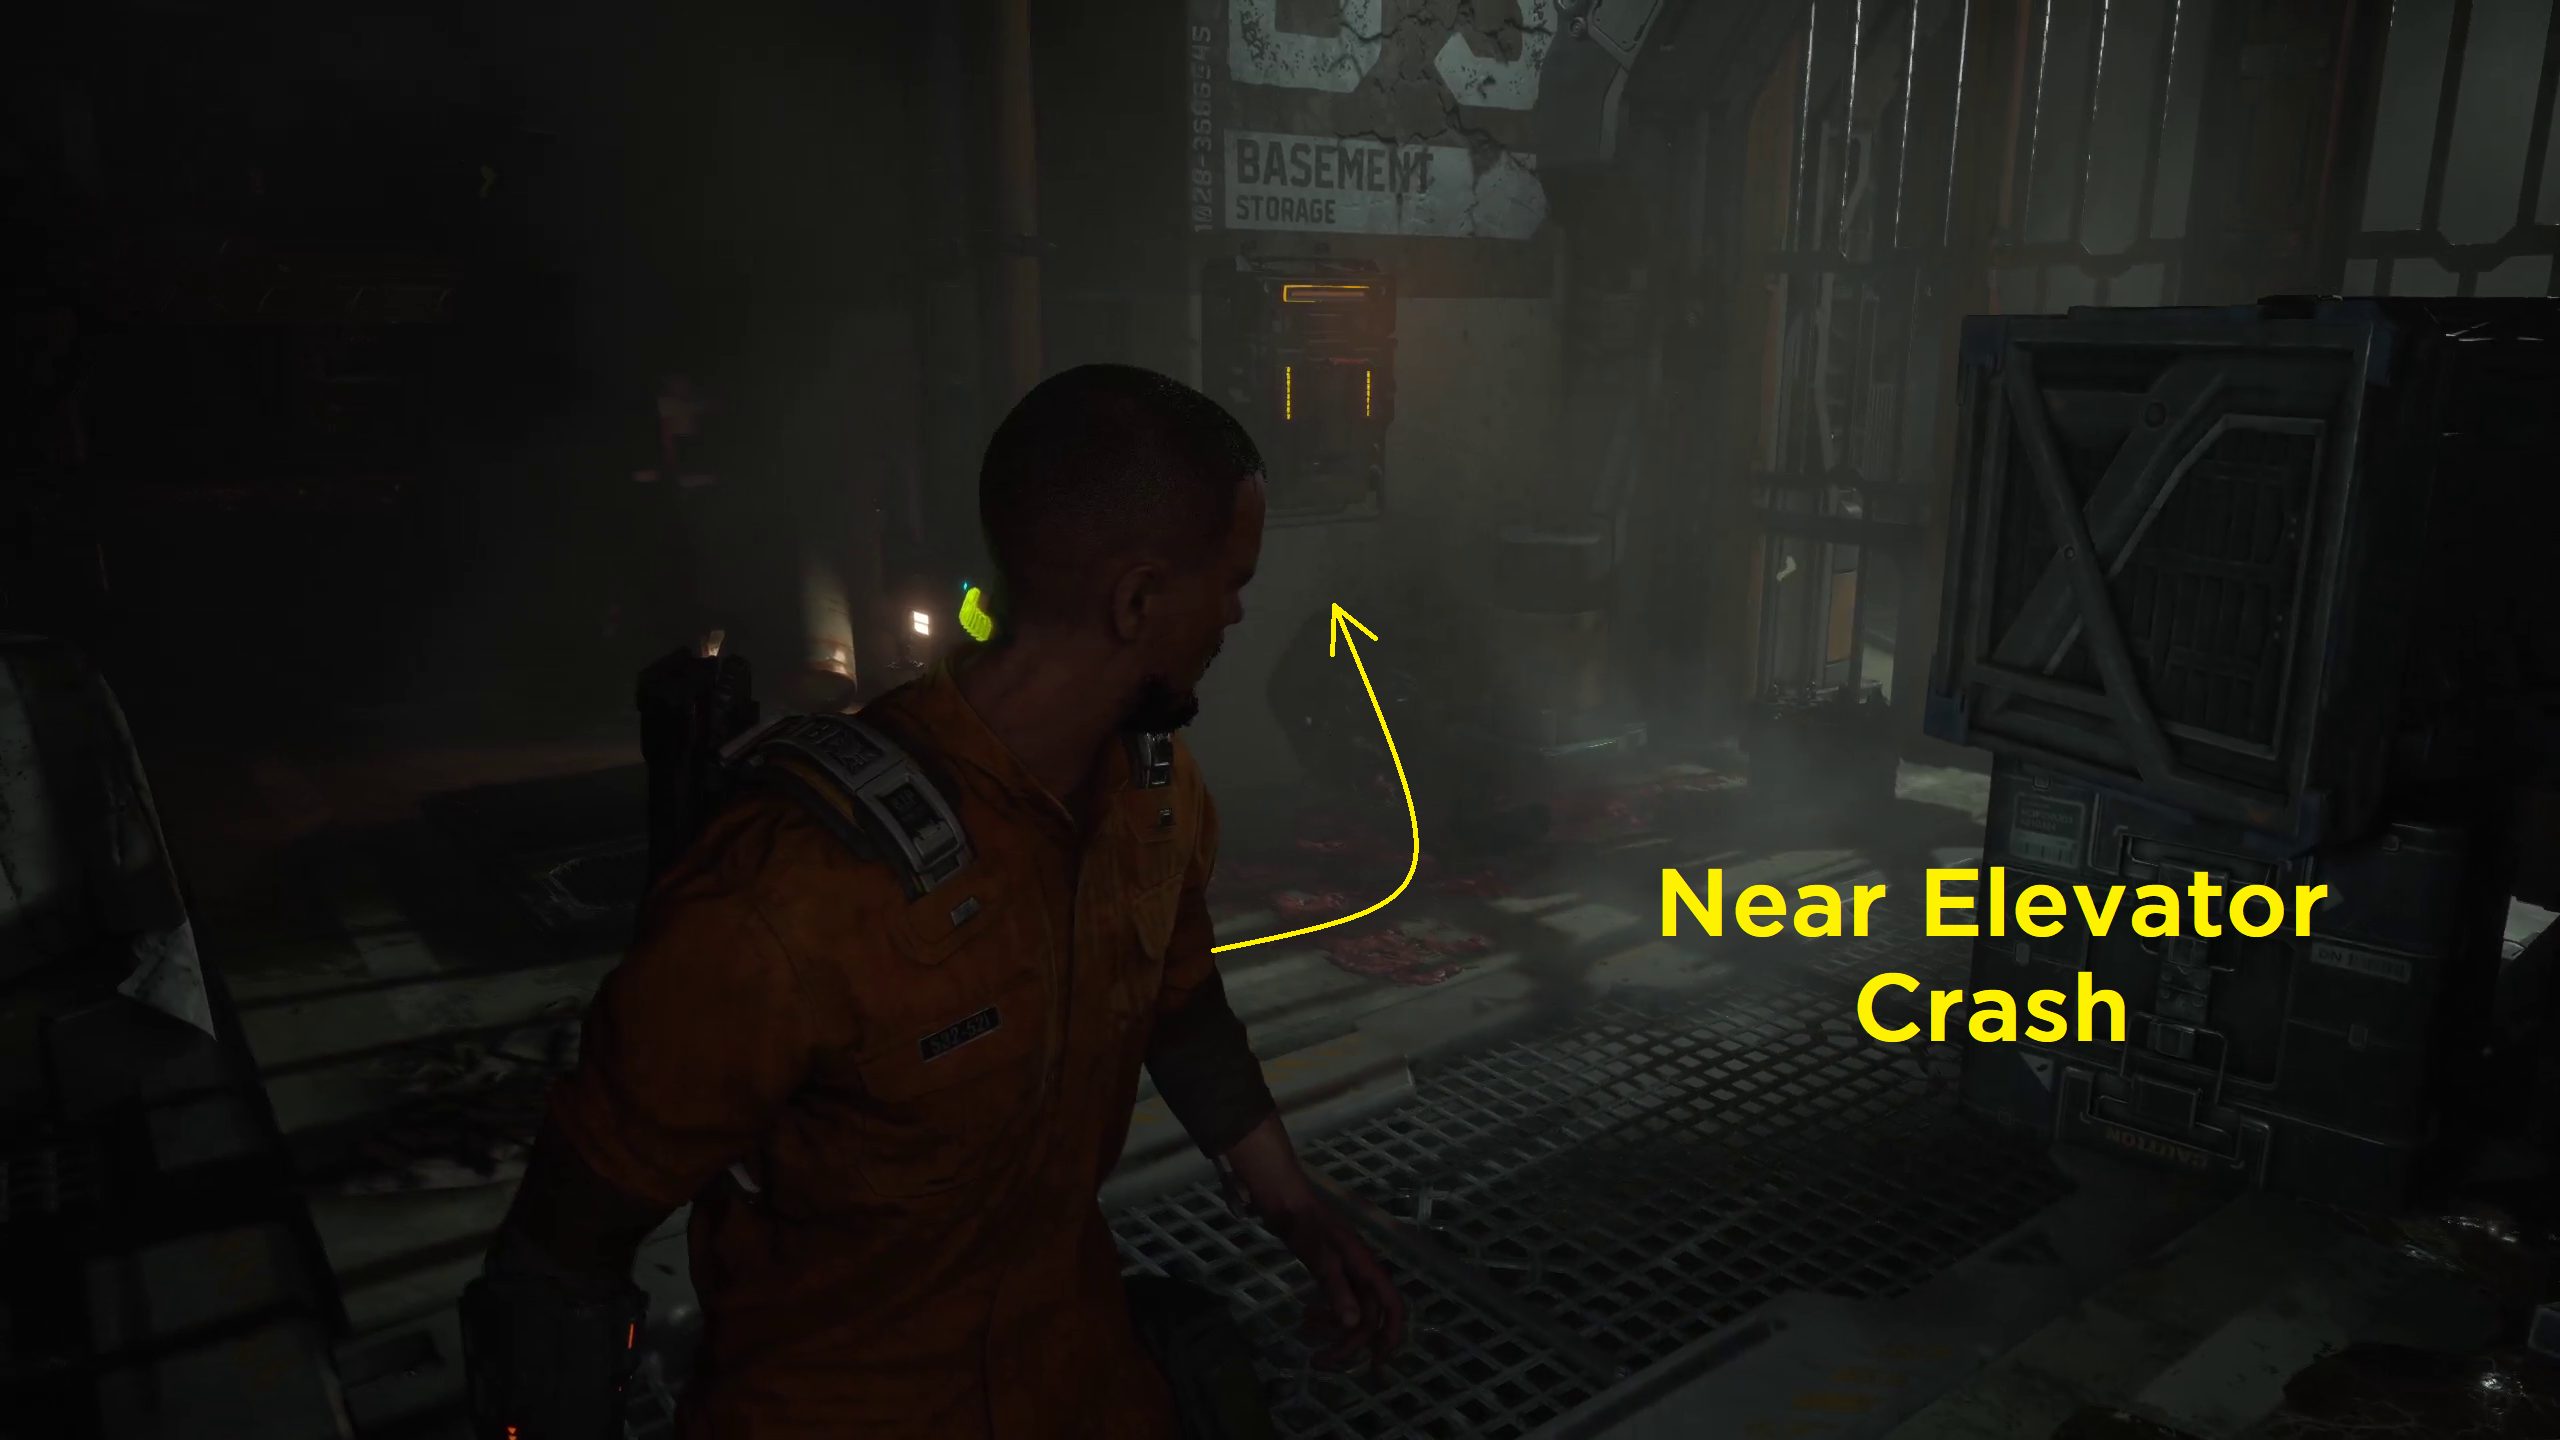
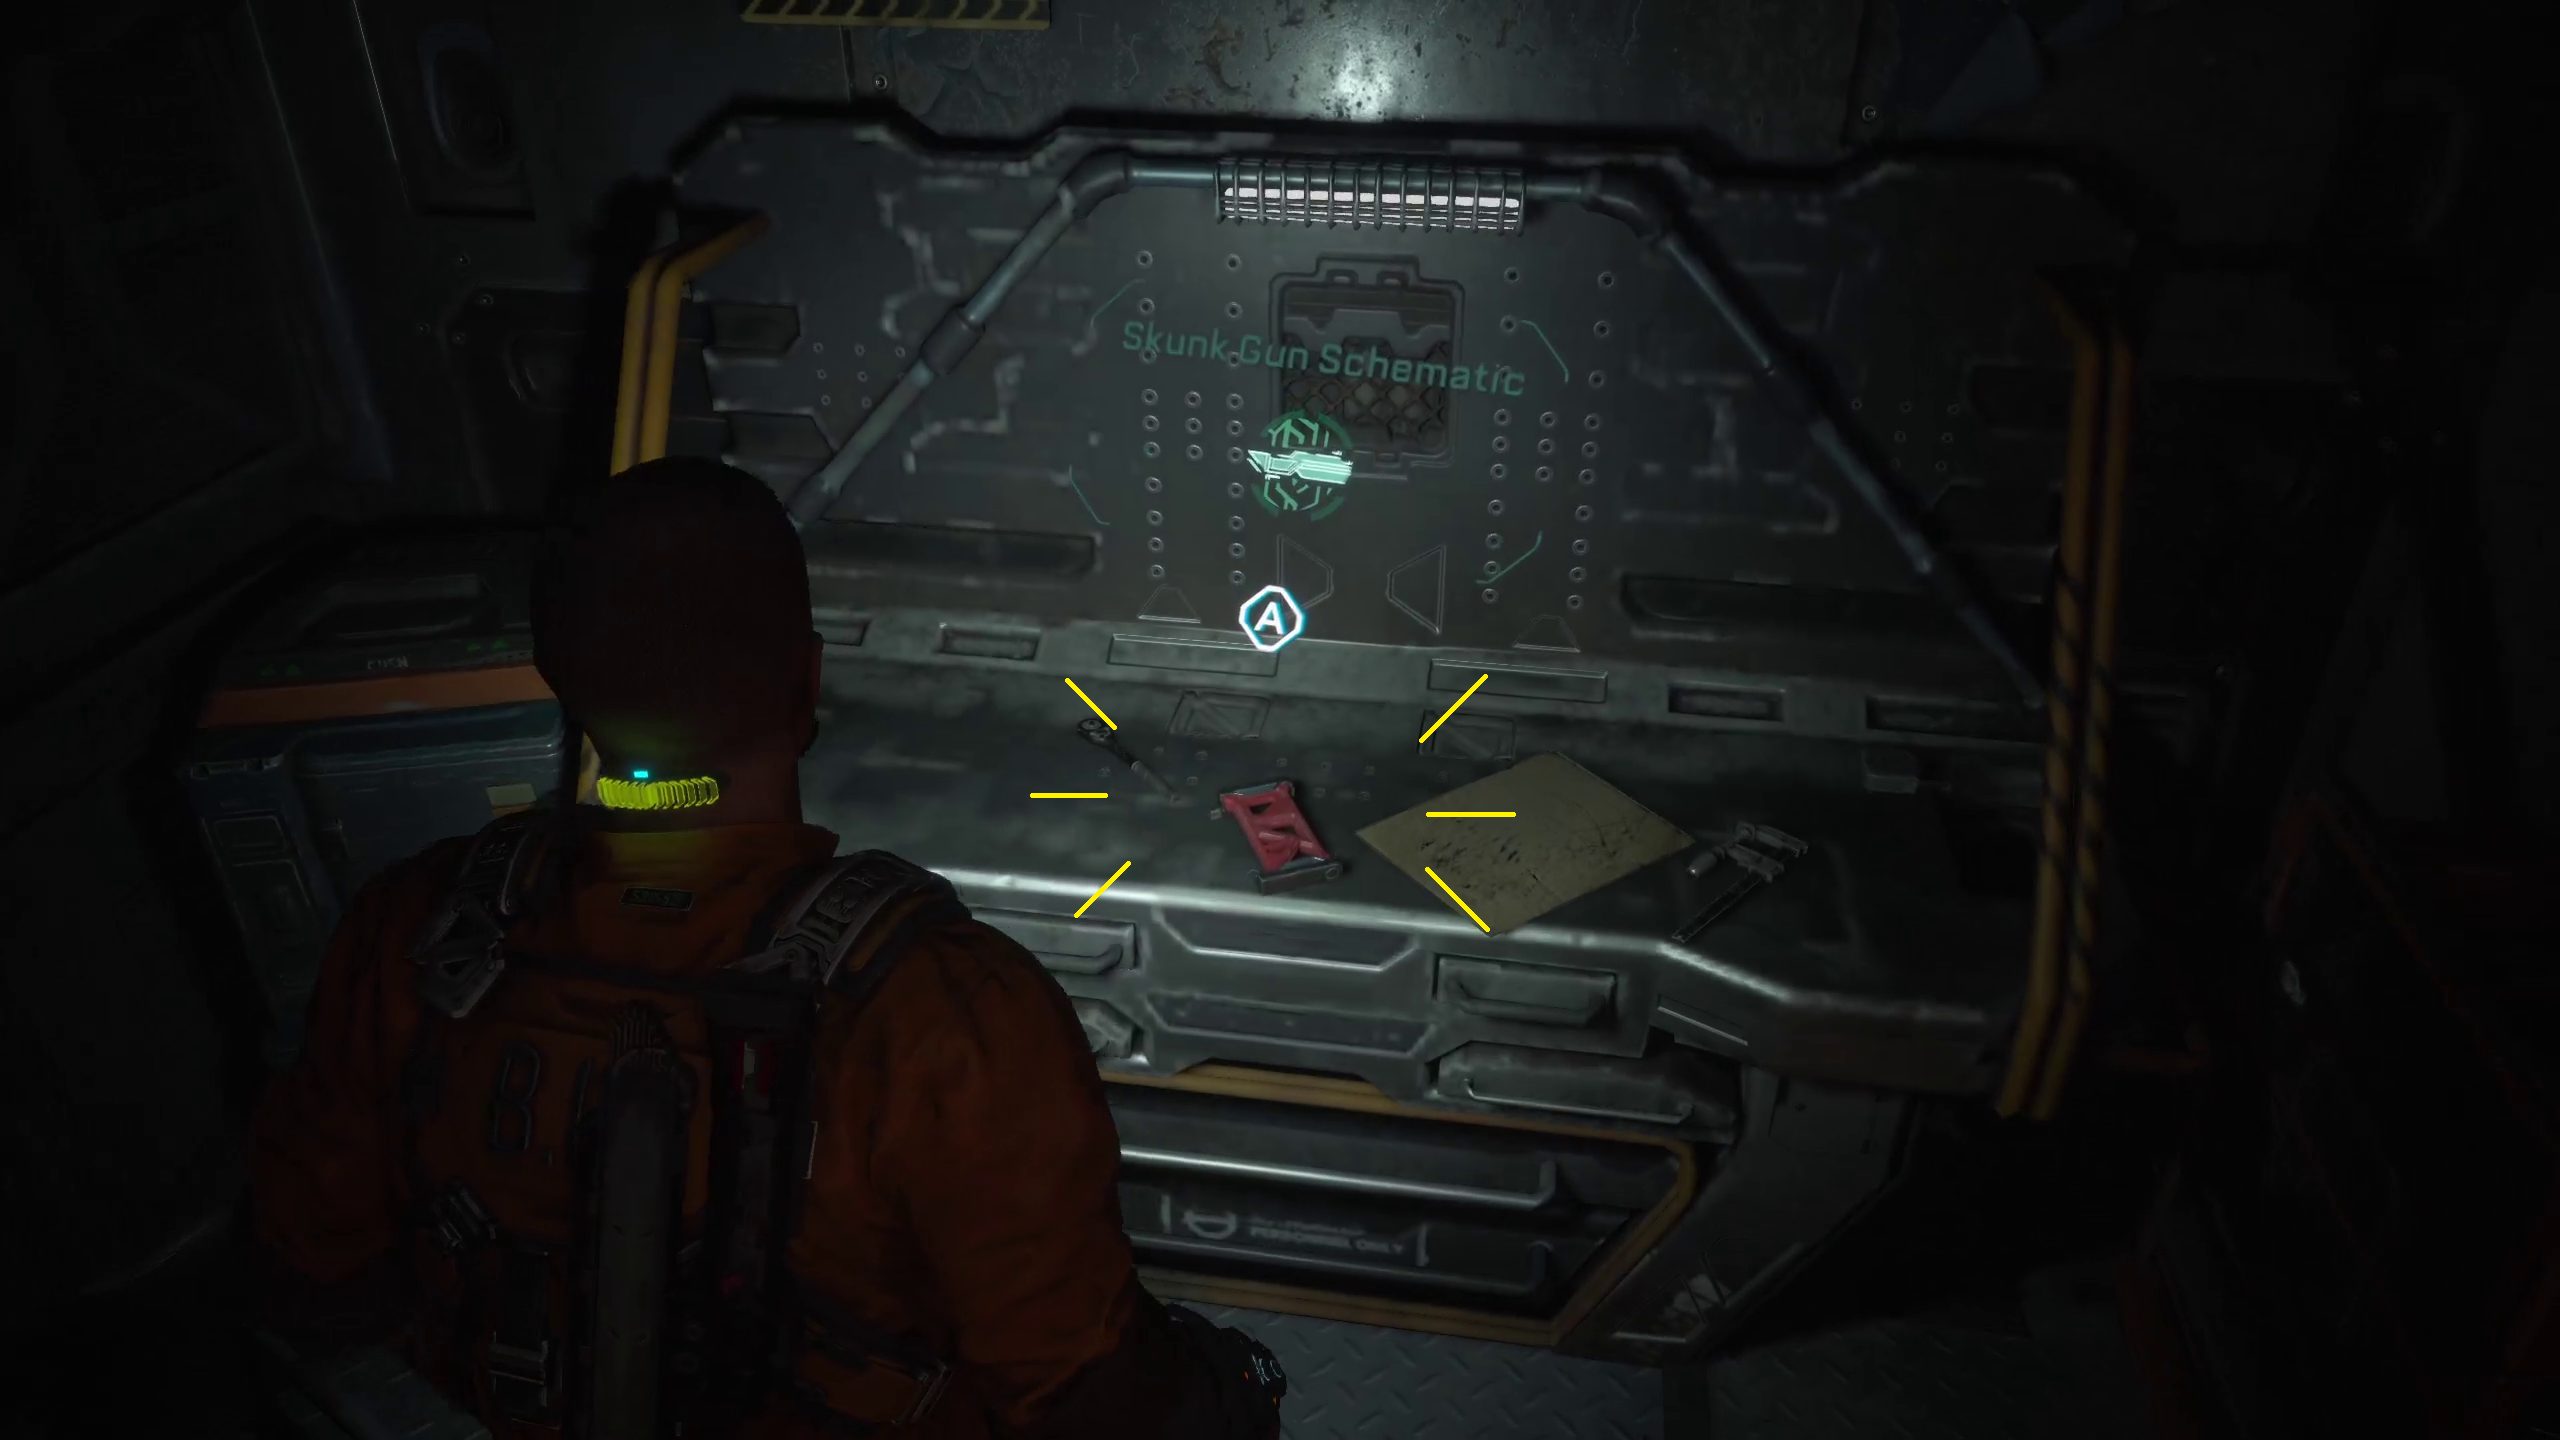
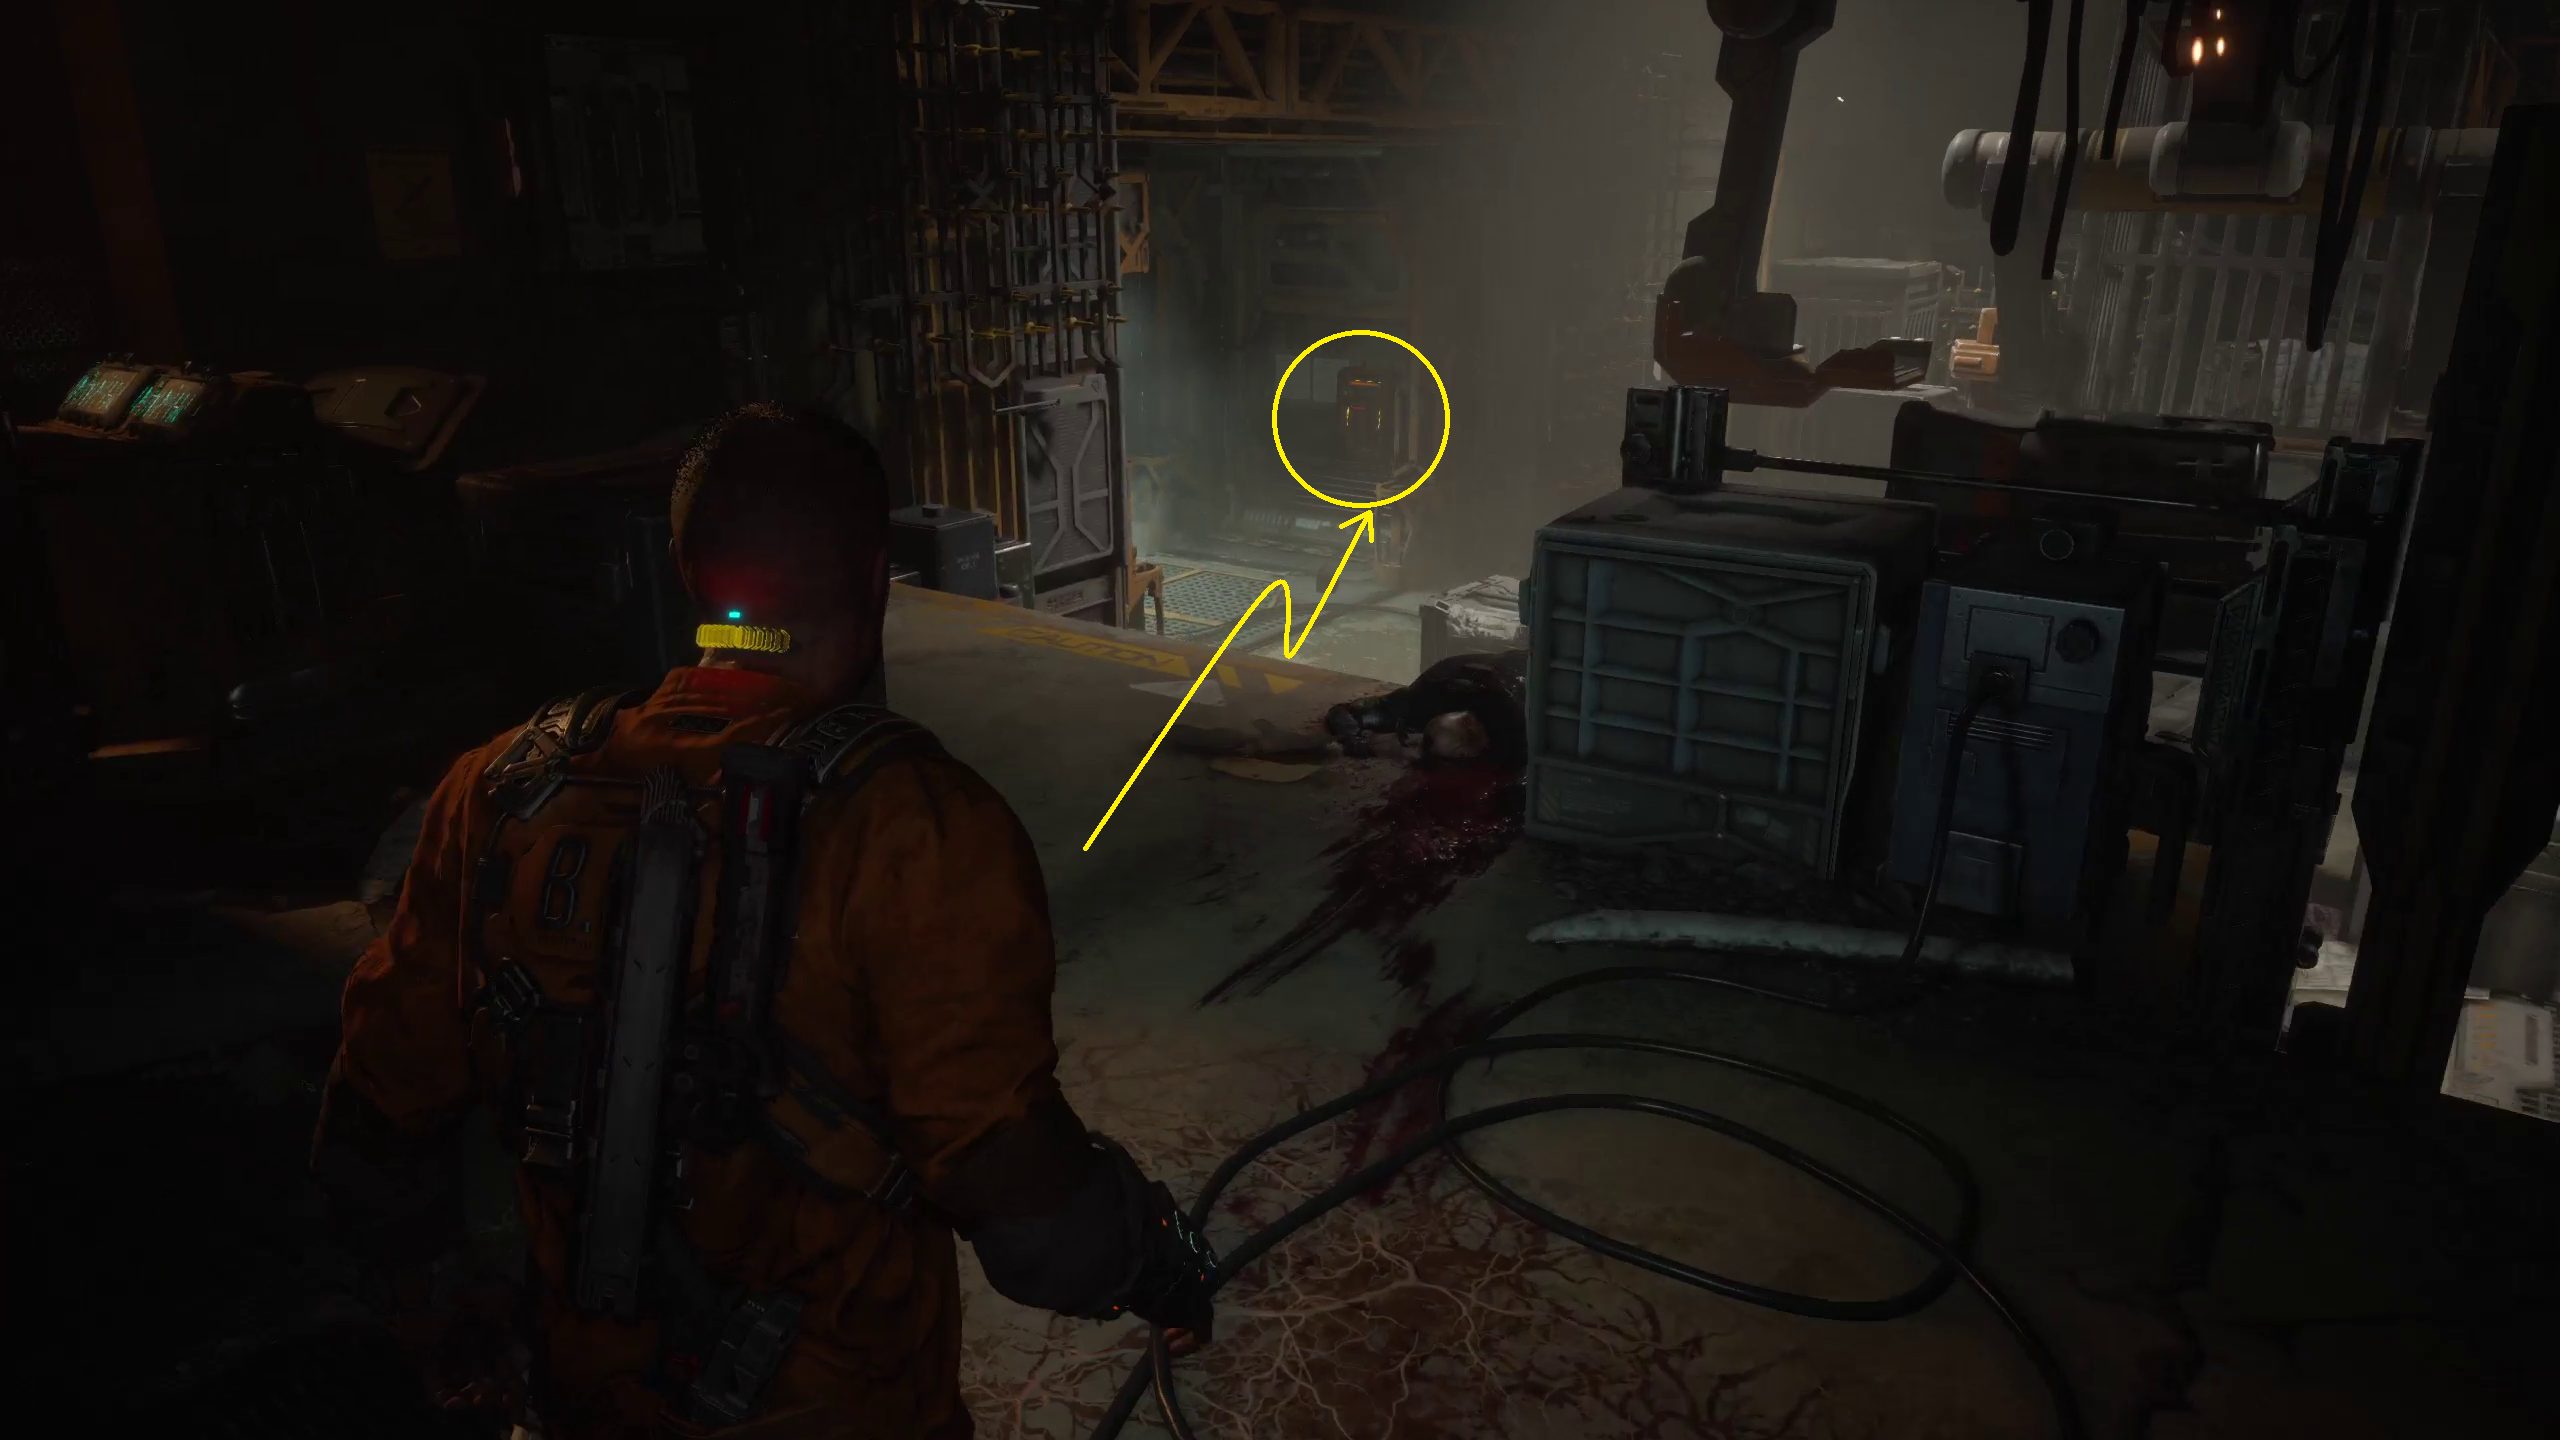
Jump down and go towards the locked gate on your right. There will be a corpse with a Gate Fuse here that you’ll need to progress. Pick it up, but don’t use it on the door right next to you yet. Instead, head back to the entrance to this room, where you first came in after crashing in the elevator. Go to that broken fusebox you passed by earlier to open it. Go through the vent that it opens up, and then drop down to find the schematics for the Skunkworks Shotgun “Skunk Gun”! You can use this schematic to purchase the gun next time you are at a Reforge.
After grabbing that, head back around to the area you picked up the gate switch in, and you can finally plug it into the fusebox in this room to continue.
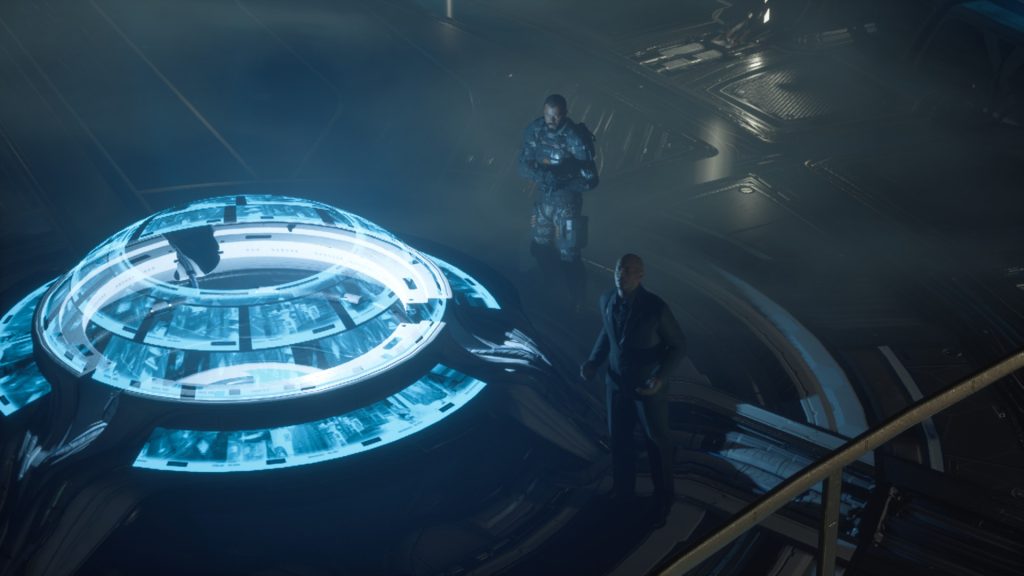
Use Gondola to Reach the SHU
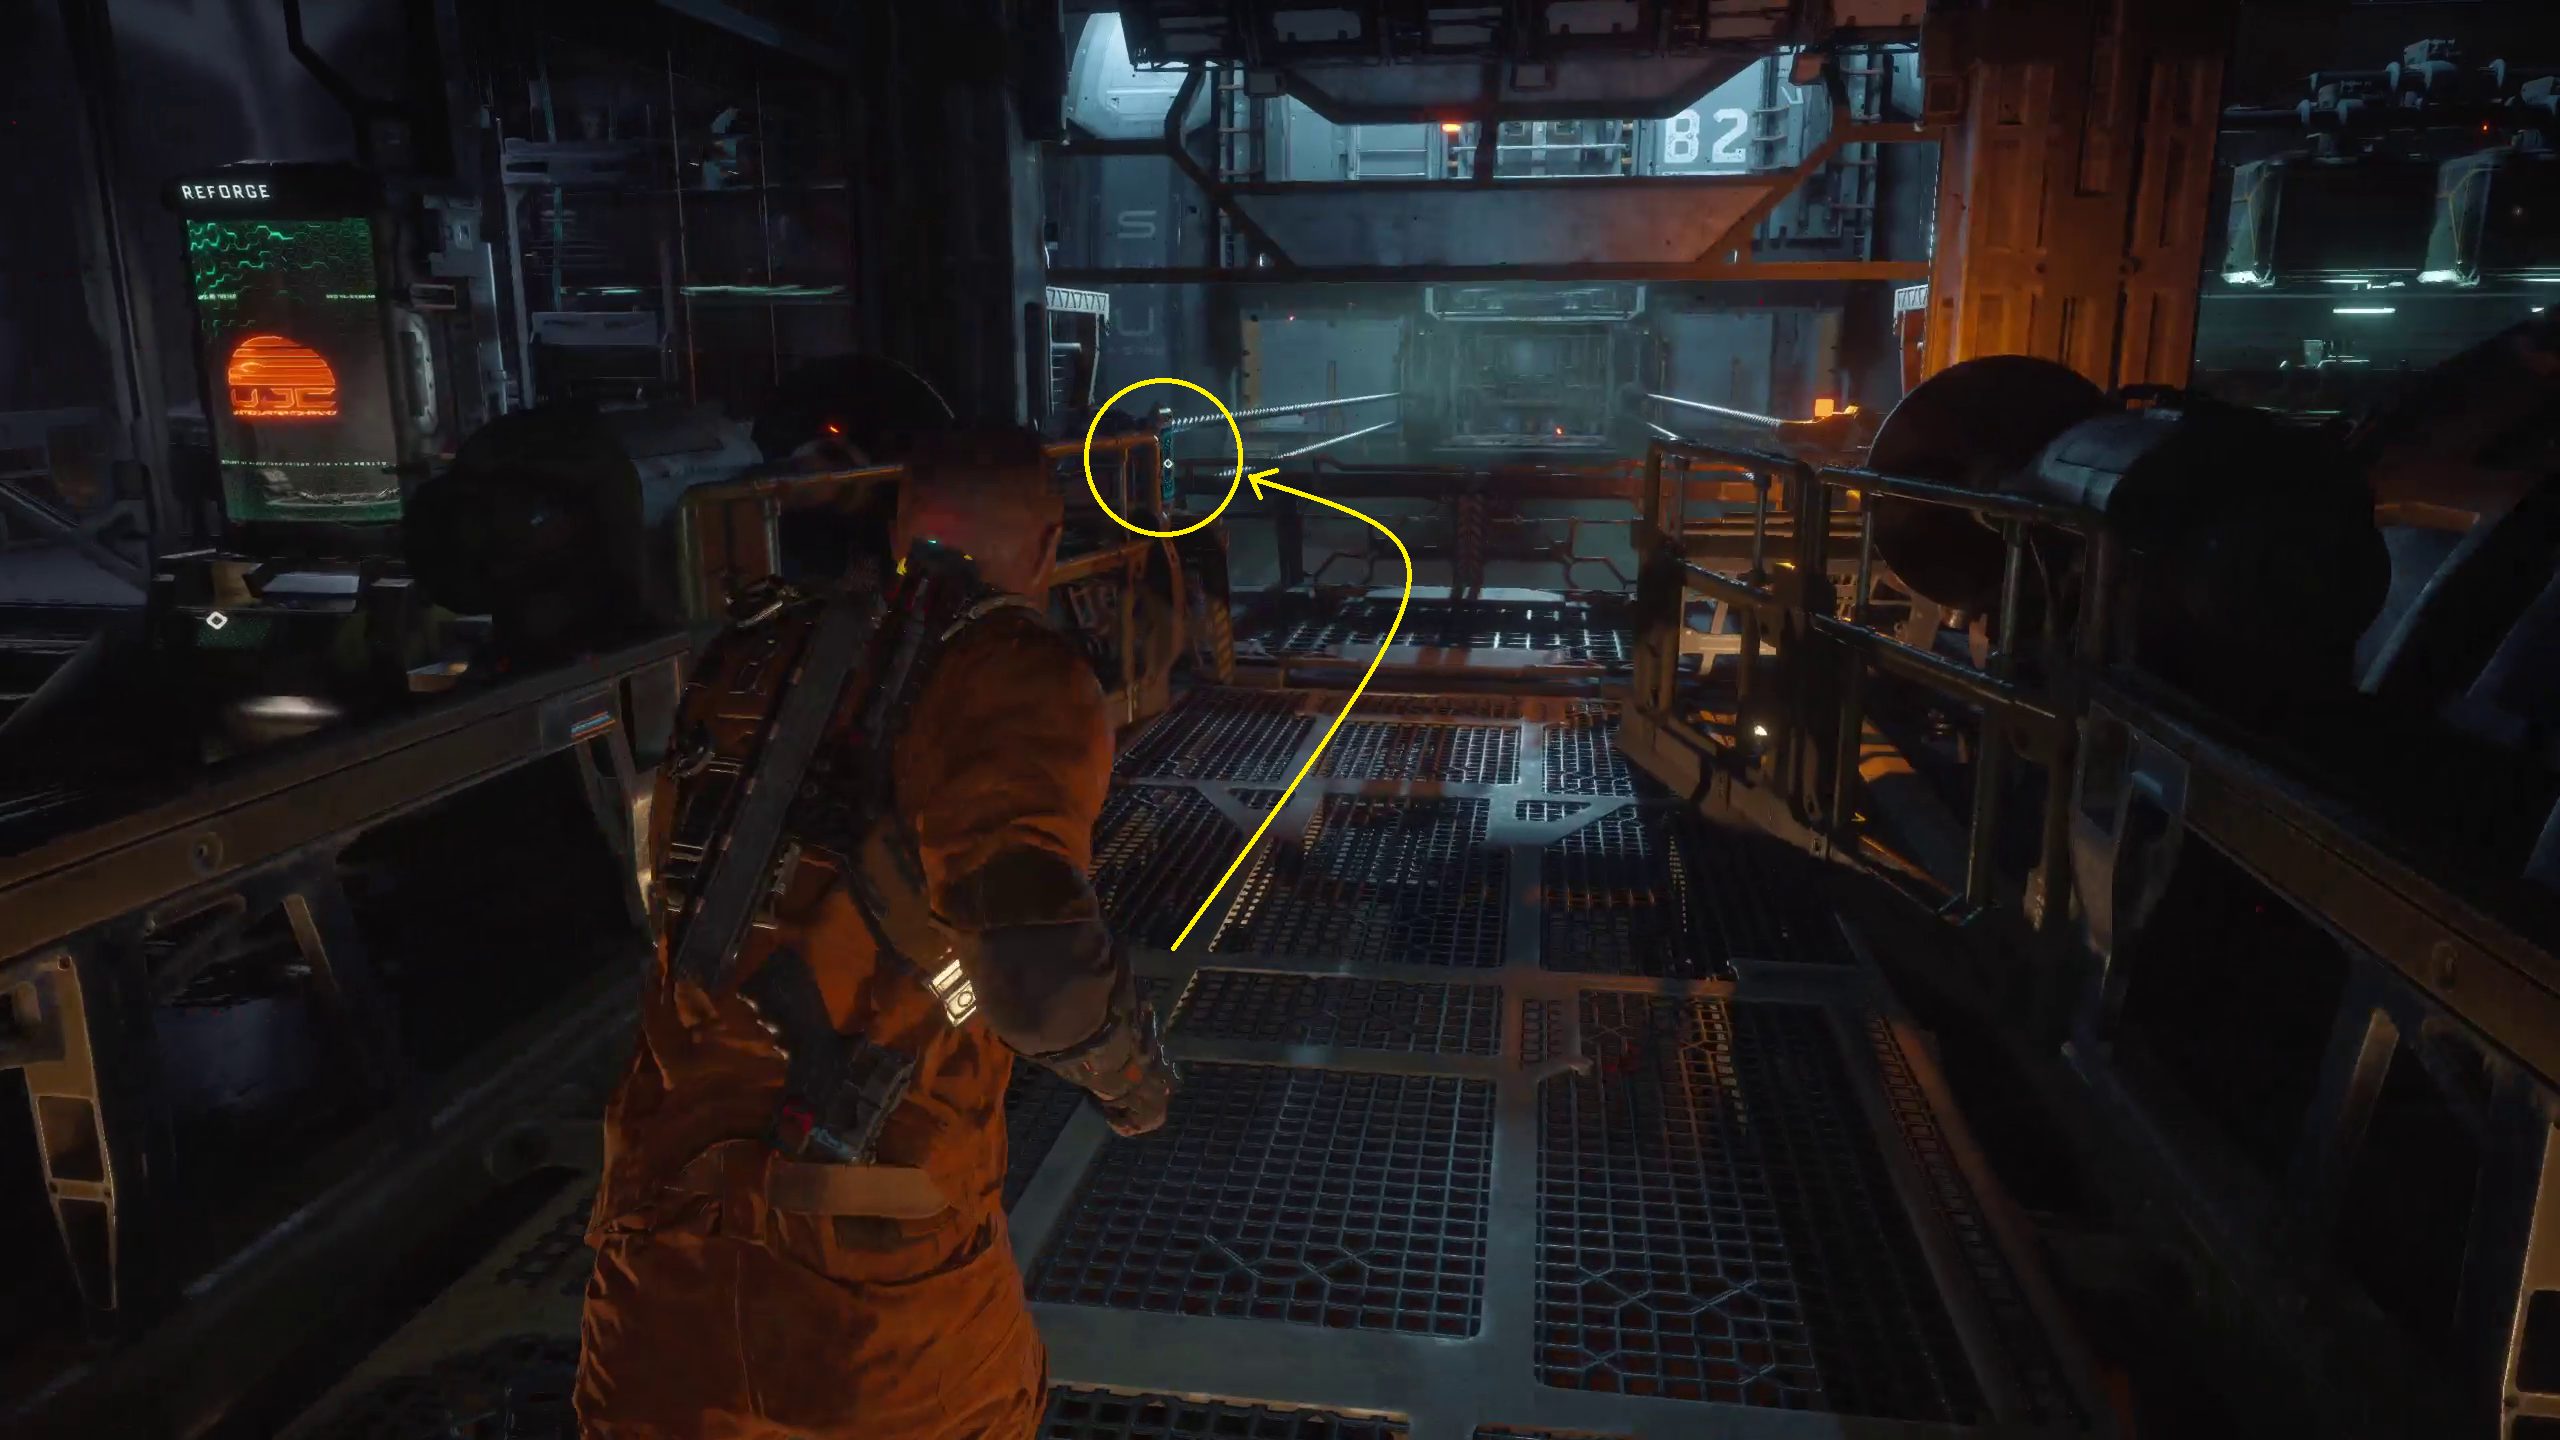
Continue along the path and up the lift, where you will reunite with Elias Porter, who will tell you that you need to use a gondola to get over to the SHU, where the prisoner you are looking for is. Go past him and down to sets of stairs to reach the gondola. But first, there is a Reforge to the left of it, where you can buy upgrades, ammo, or that Skunk Gun you picked up earlier!
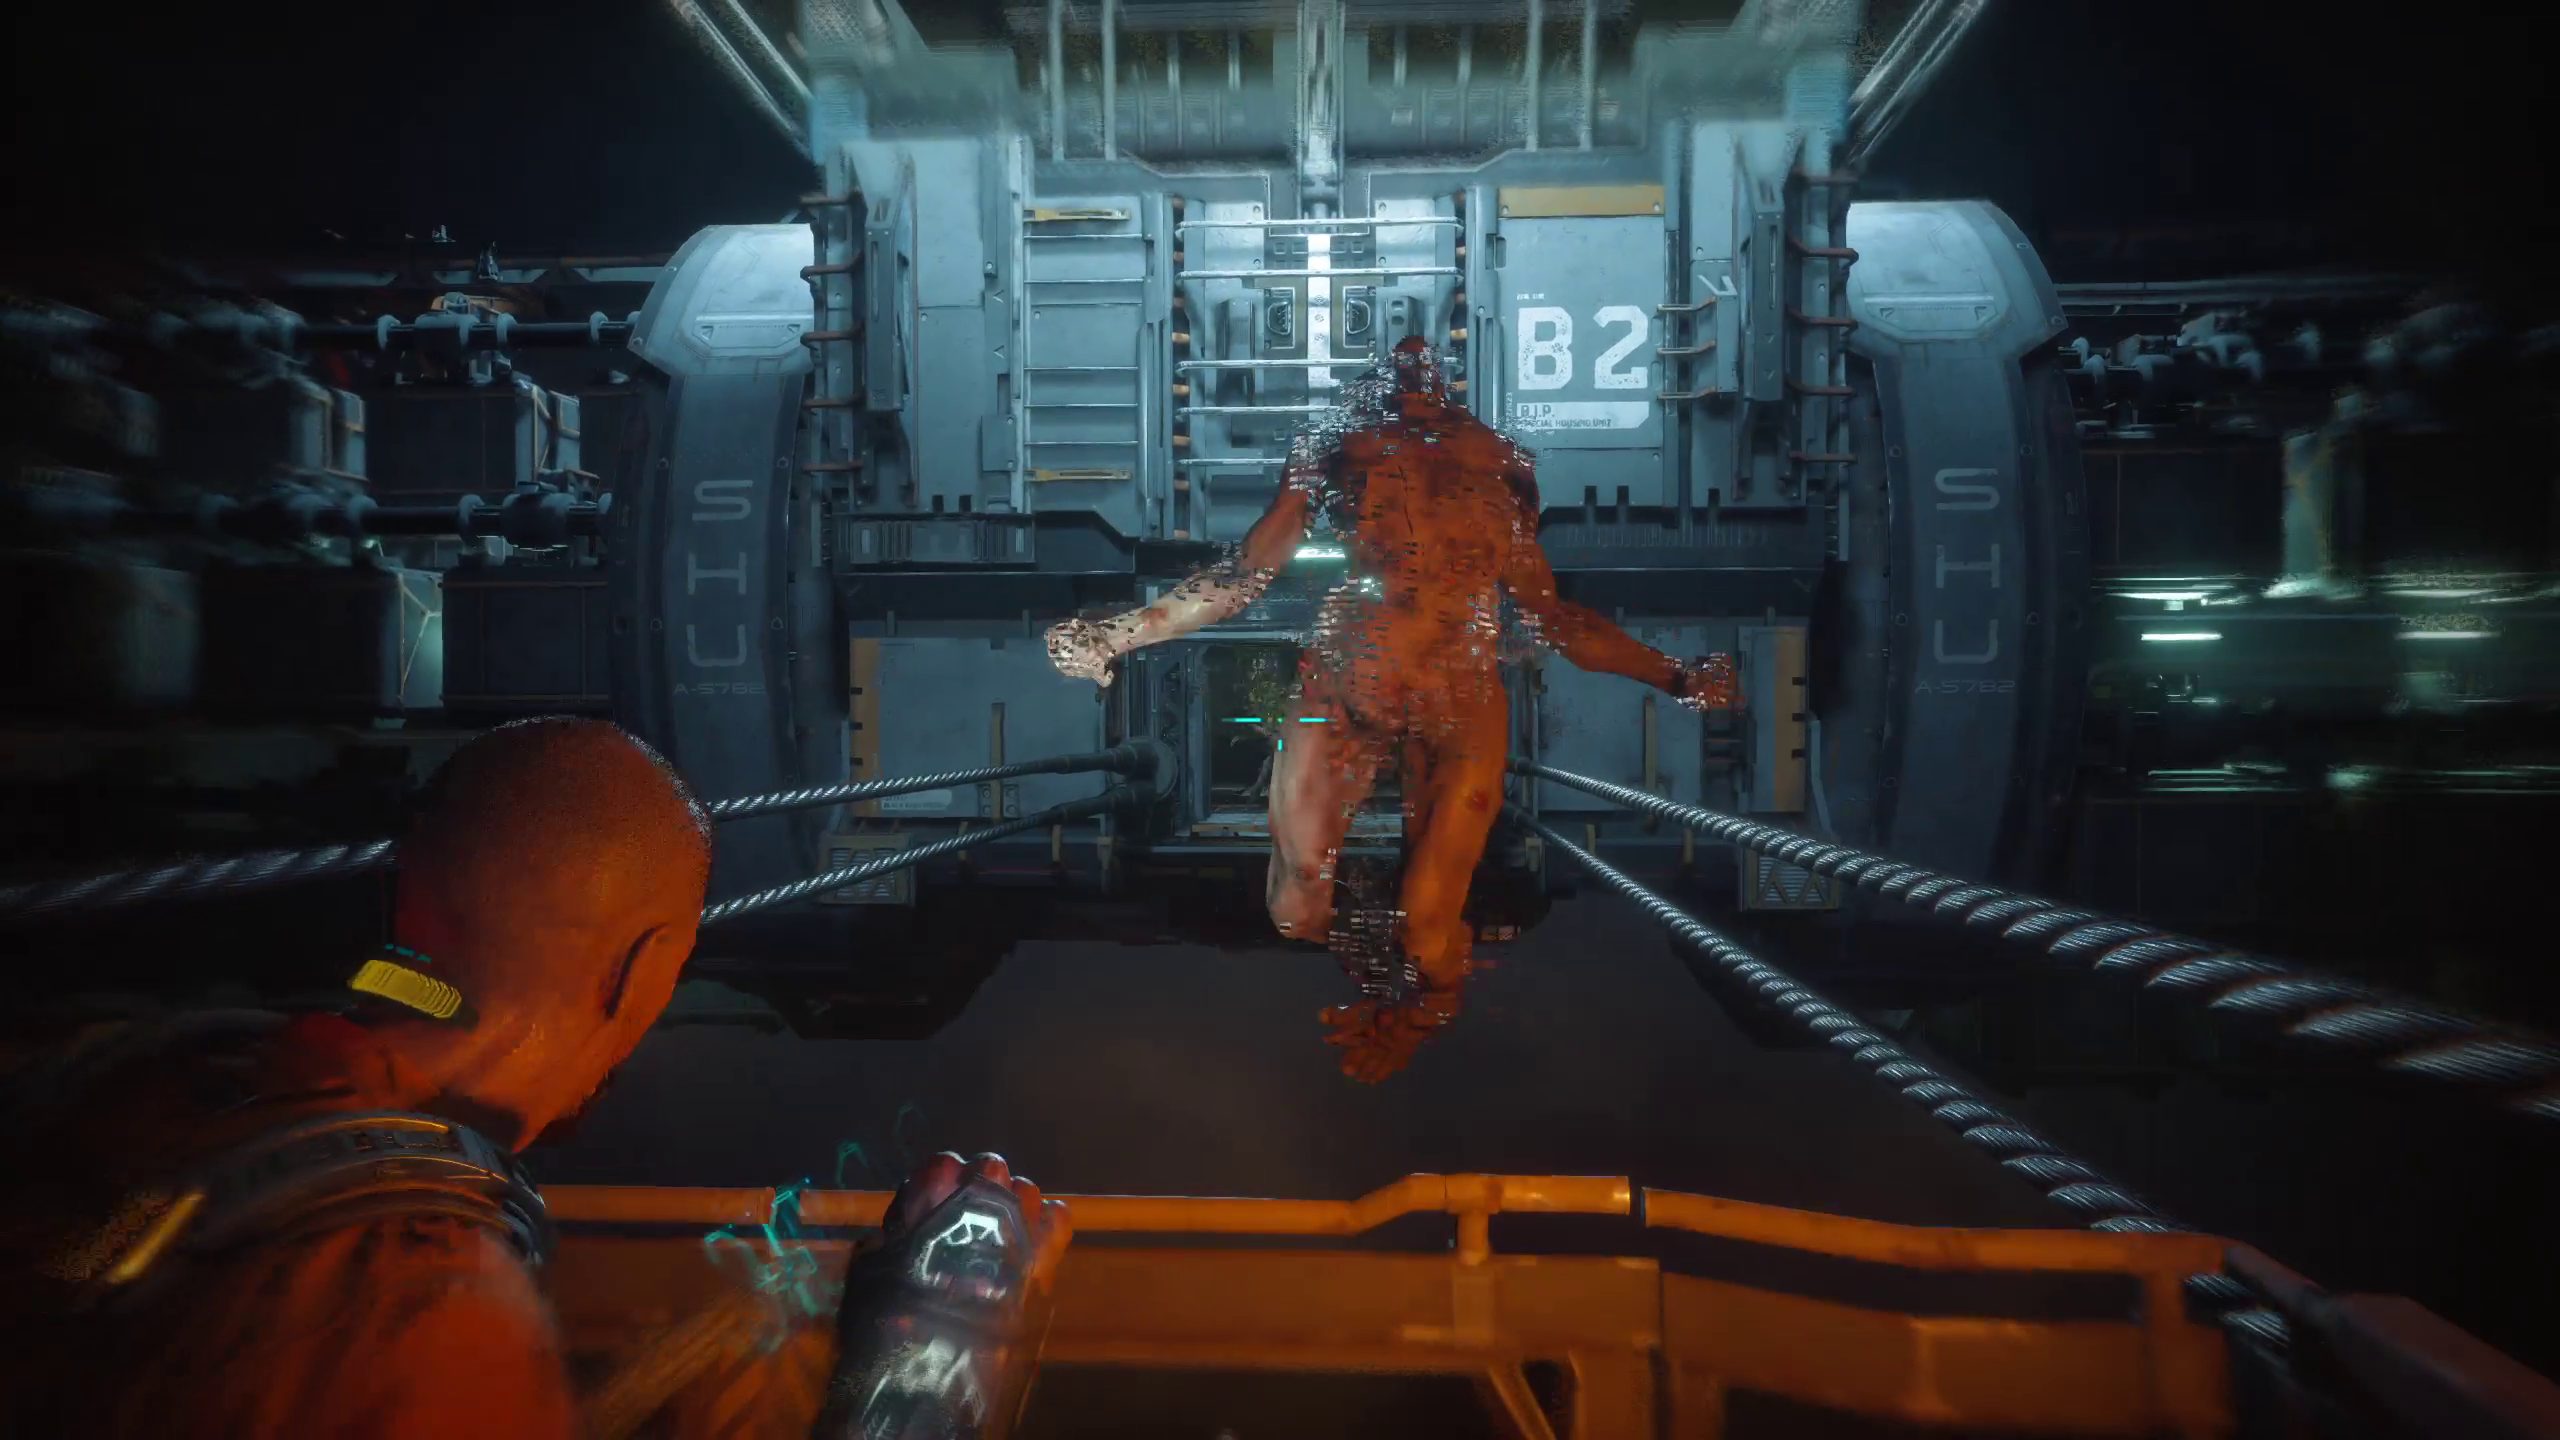
Once you are finished, head onto the gondola and press the button to get over to the SHU. As the Gondola approaches it, the door on the other side will open, and 2 spitters will be waiting alongside a regular biophage. Now is a good time to use GRP to eliminate them easily, or you can shoot them if you want to loot their bodies.
Restore Power
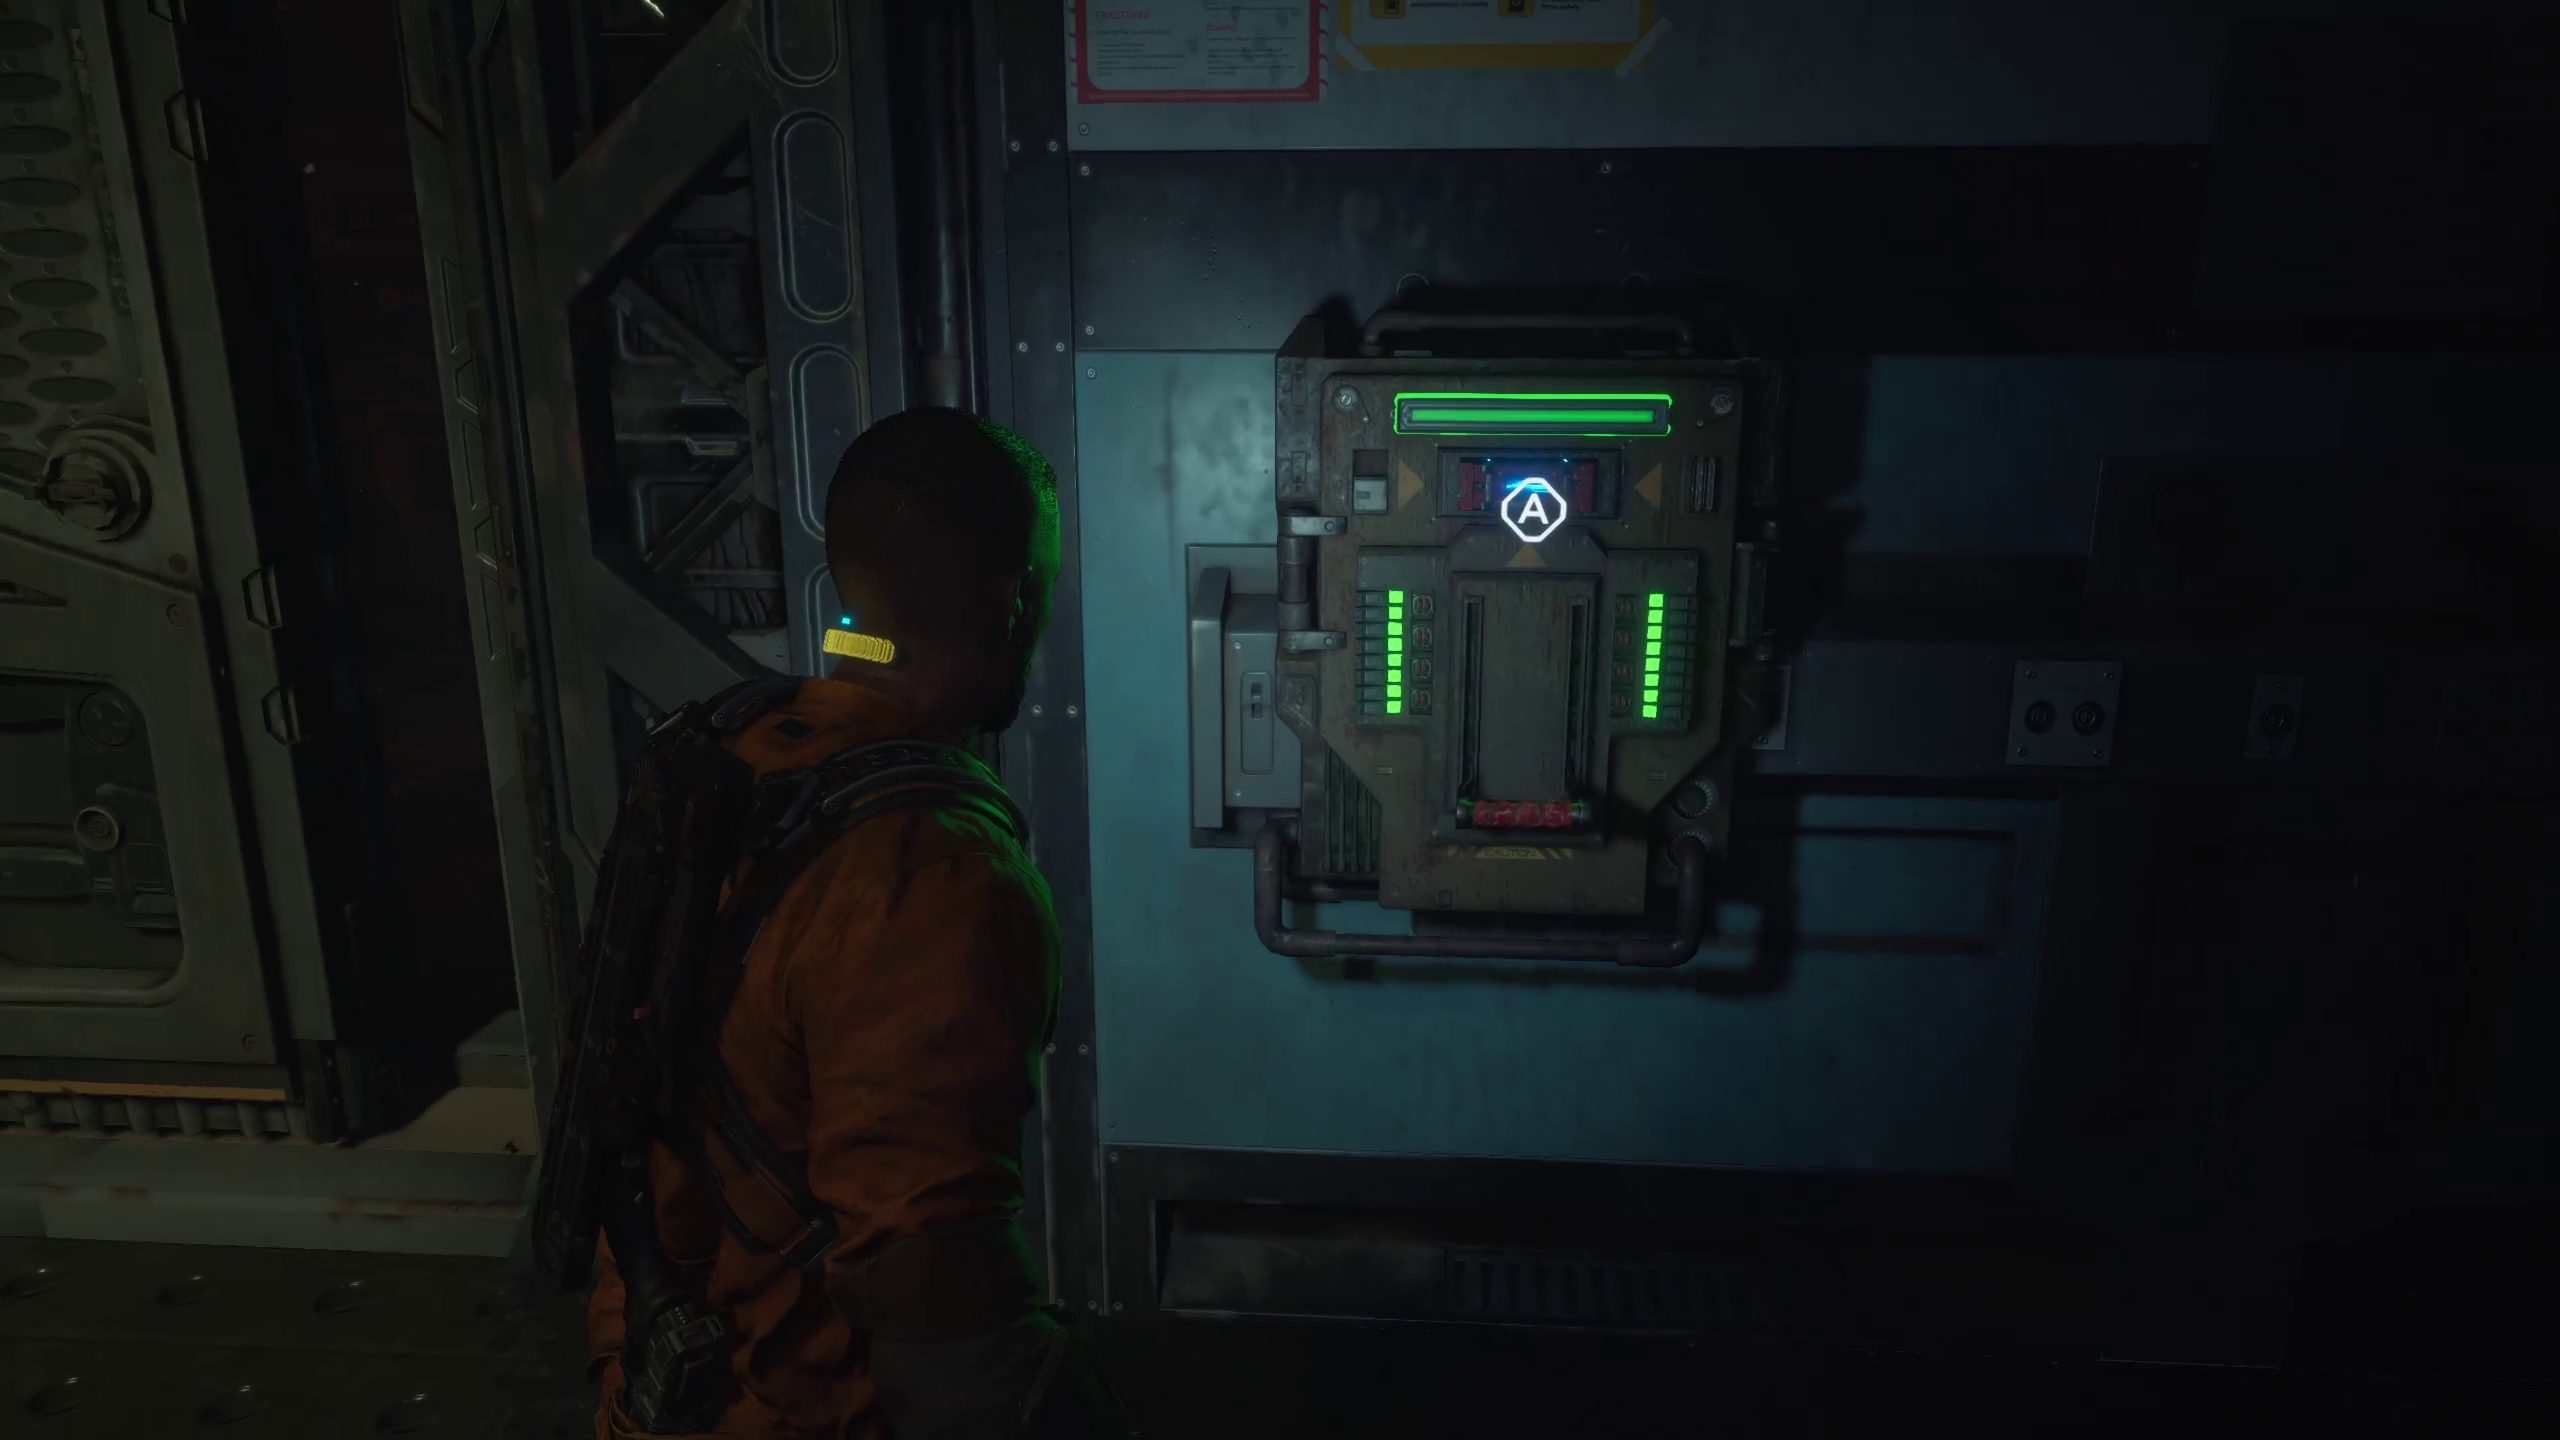
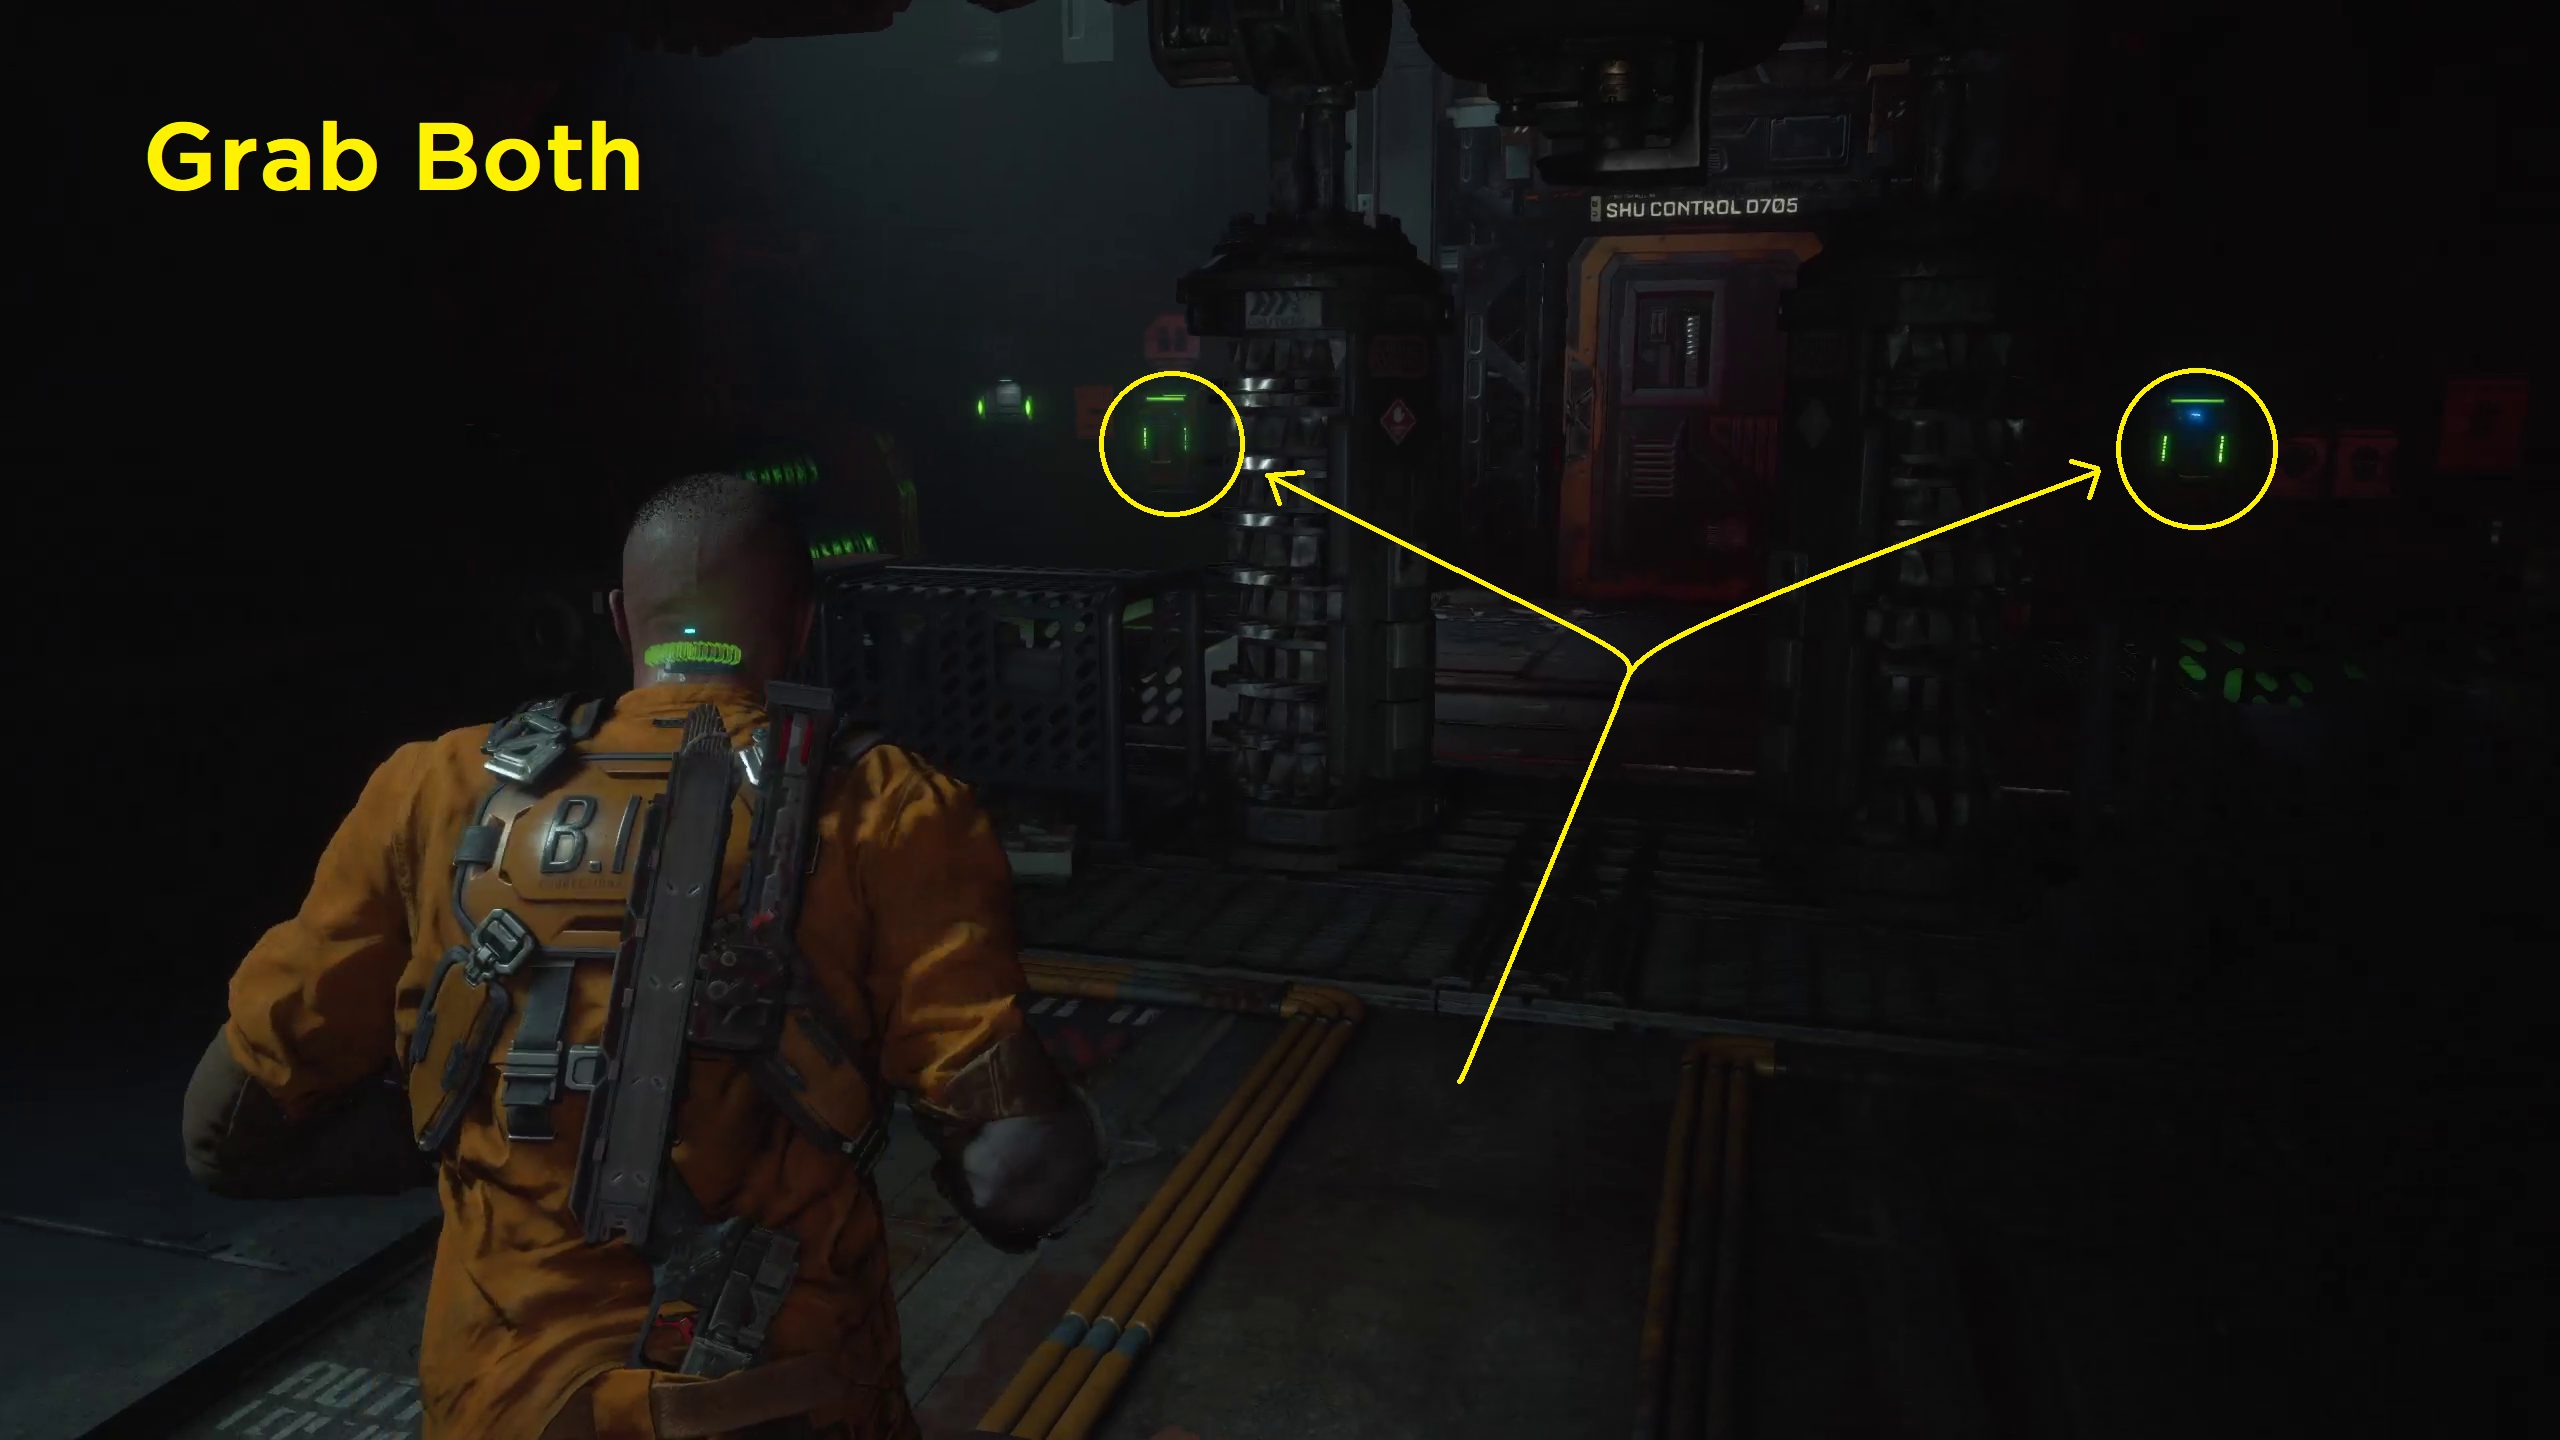
Once you are on the other side, grab the loot scattered about — especially the GRP Battery Packs, as they will be very useful soon. You can grab the two fuses from the green fuseboxes on surrounding the SHU Control D705 door. Take these fuses, then turn around and look for some stacked boxes near the entrance. Mantle up the set of boxes to your right, where you will find _ DATA-BIOS. Then, plug the two fuses into the fuseboxes here to power up the SHU. Now, prepare for a fight.
When you drop down, you will be ambushed by several waves of biophage coming from the vents. Thankfully, tons of spinning gears are around this room. By using GRP or hitting enemies into these spinning gears, you can instantly kill them as they get ground up. Be careful of the spinning gears in the center of the room, as they will kill you if you try to walk through them. Instead of trying to pass between them, vault over the machinery next to them.
You’ll know you’ve killed the last of these enemies when the lights come back on and the machinery stops. Make sure to stomp all the corpses you just massacred for loot, even the ones you shredded.
Activate SHU Controls
Continue through the door to SHU Control D705. Be careful, because a legless biophage will come crawling toward you as soon as you open this door. After dispatching him, go up the spiral staircase. Before you press the button by the window, loot the room and use the Reforge. Press the button, then go back down the stairs.
A previously-locked room will now be unlocked, leading to a short lift ride down to the cells. There will be a spitter and two regular biophage in this area that you will need to deal with. Then, you will be given the objective “Free the Inmate.” Go up to the panel on the right side of the room to do so.
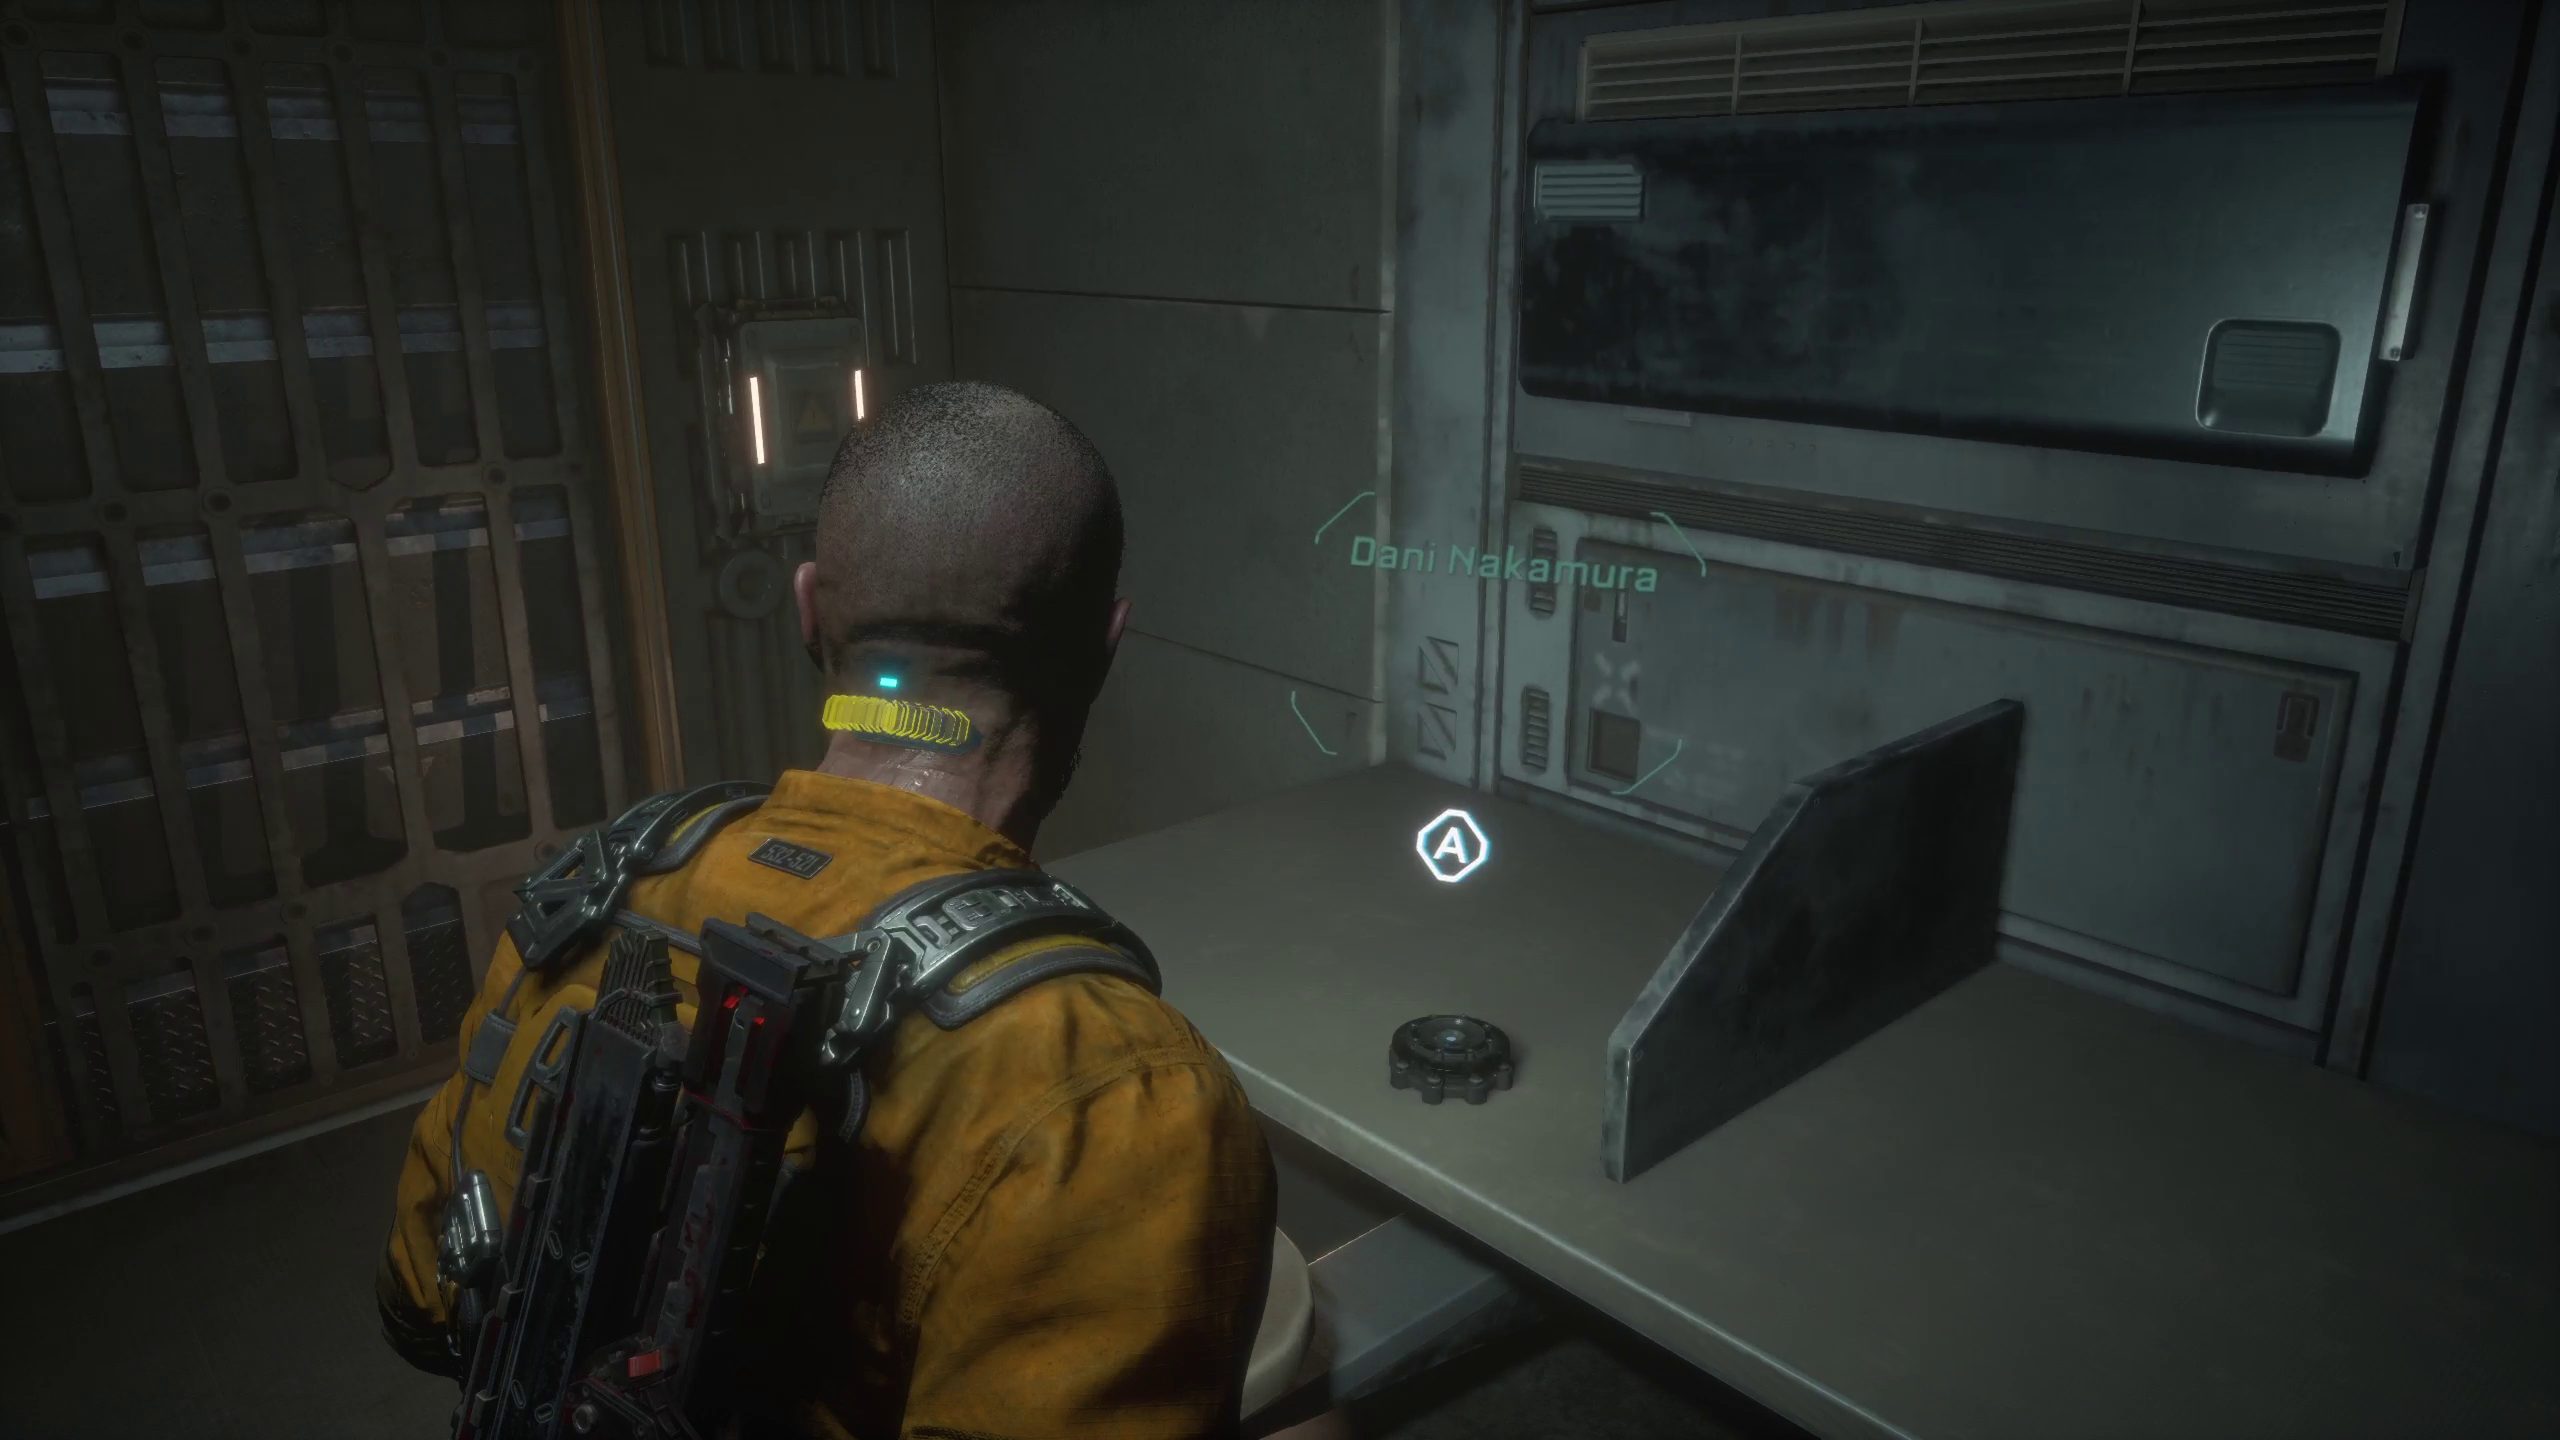
A cutscene will play, and you’ll find yourself locked in a cell. Dani Nakamura’s audio log will be here, so make sure to grab that while you wait to get out.
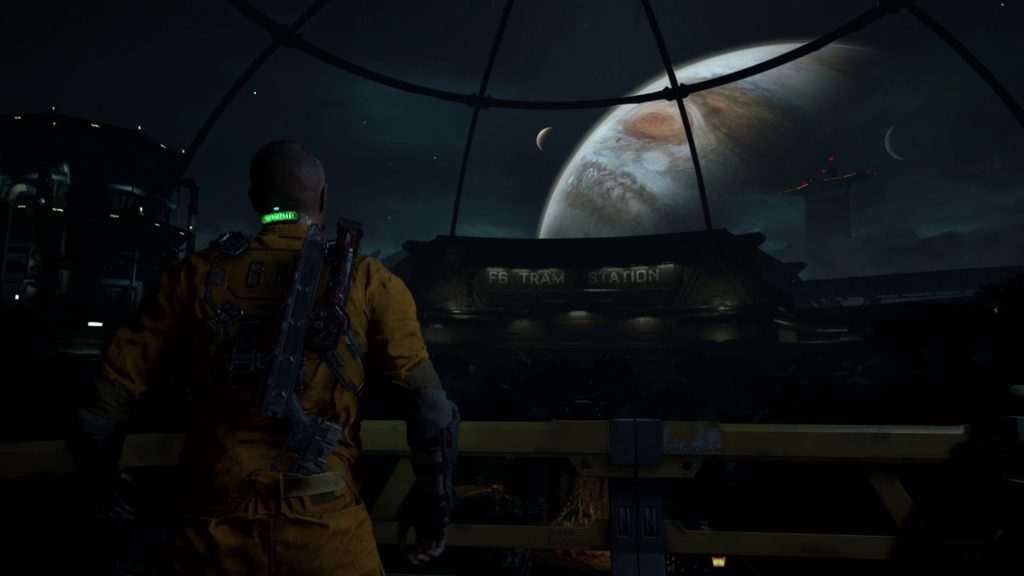
Reach the Tram Station
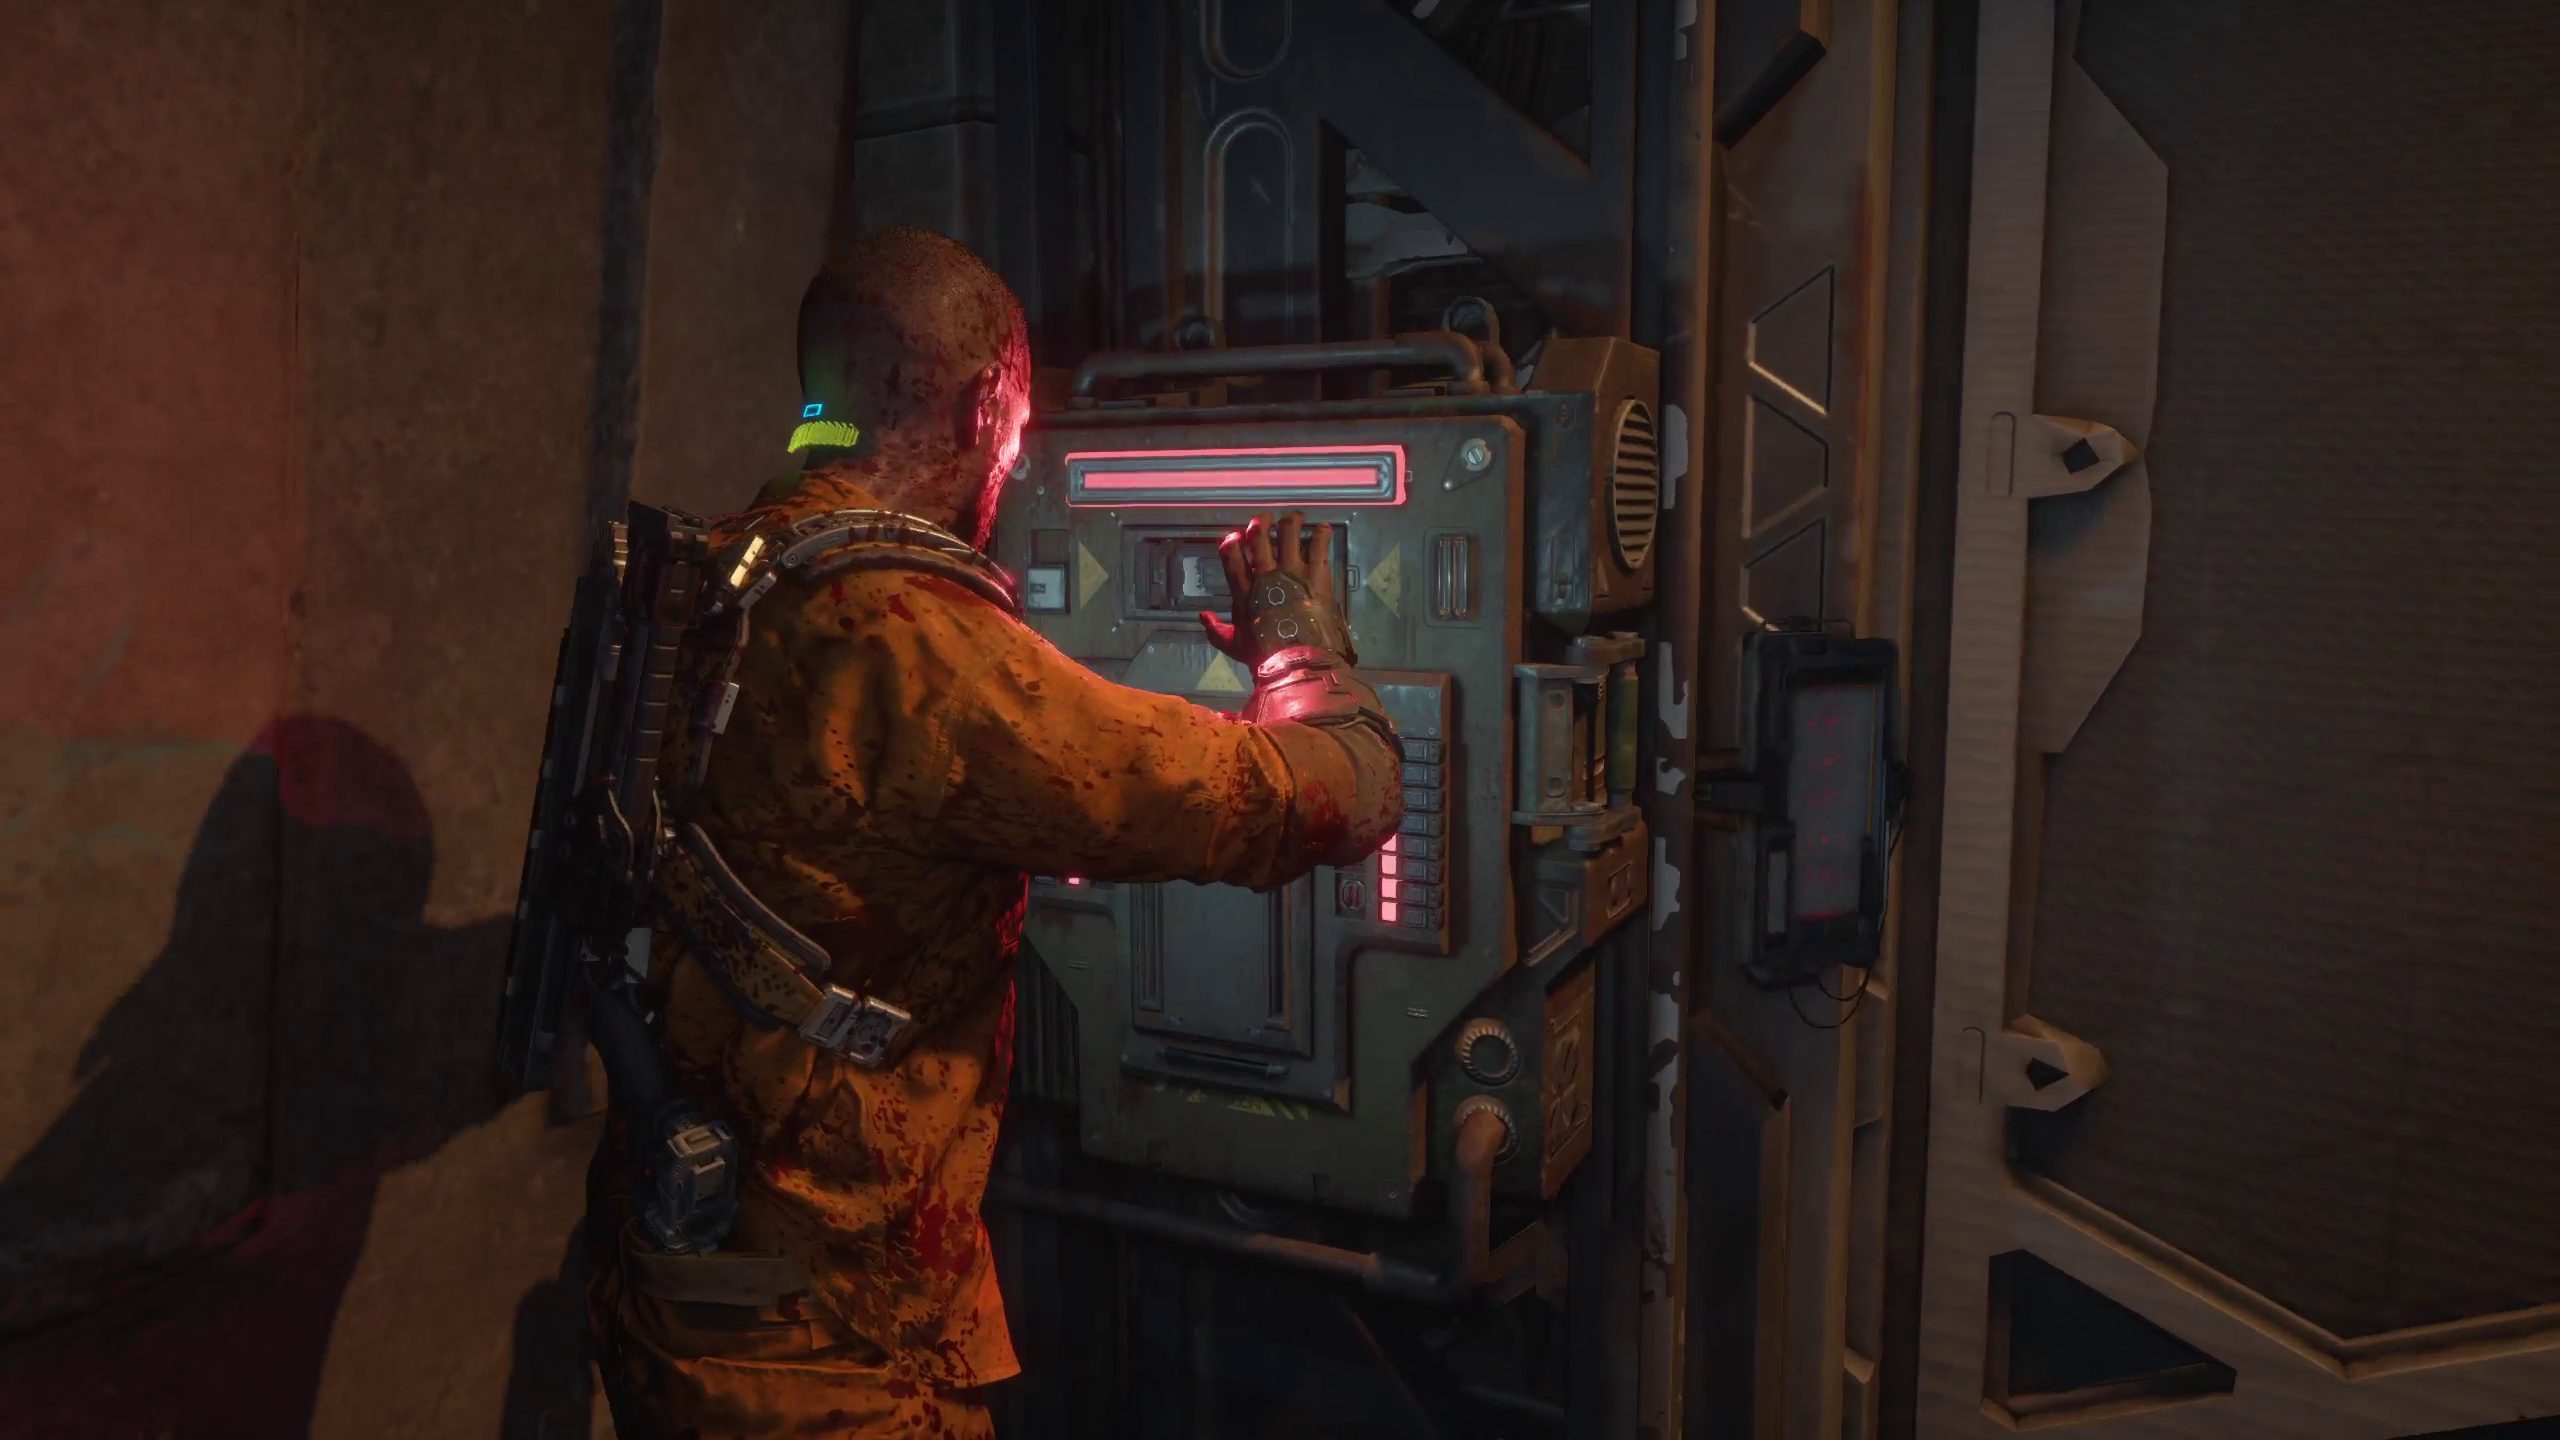
After a few moments, you will be able to cut a cord in the control panel here and open the door. Continue through the vent you end up in, then you’ll drop into a maintainence hallway. There will be several biophage here, including some snake-necks and chubby facehuggers, but the path is very linear as you traverse it and the enemies are not too difficult.
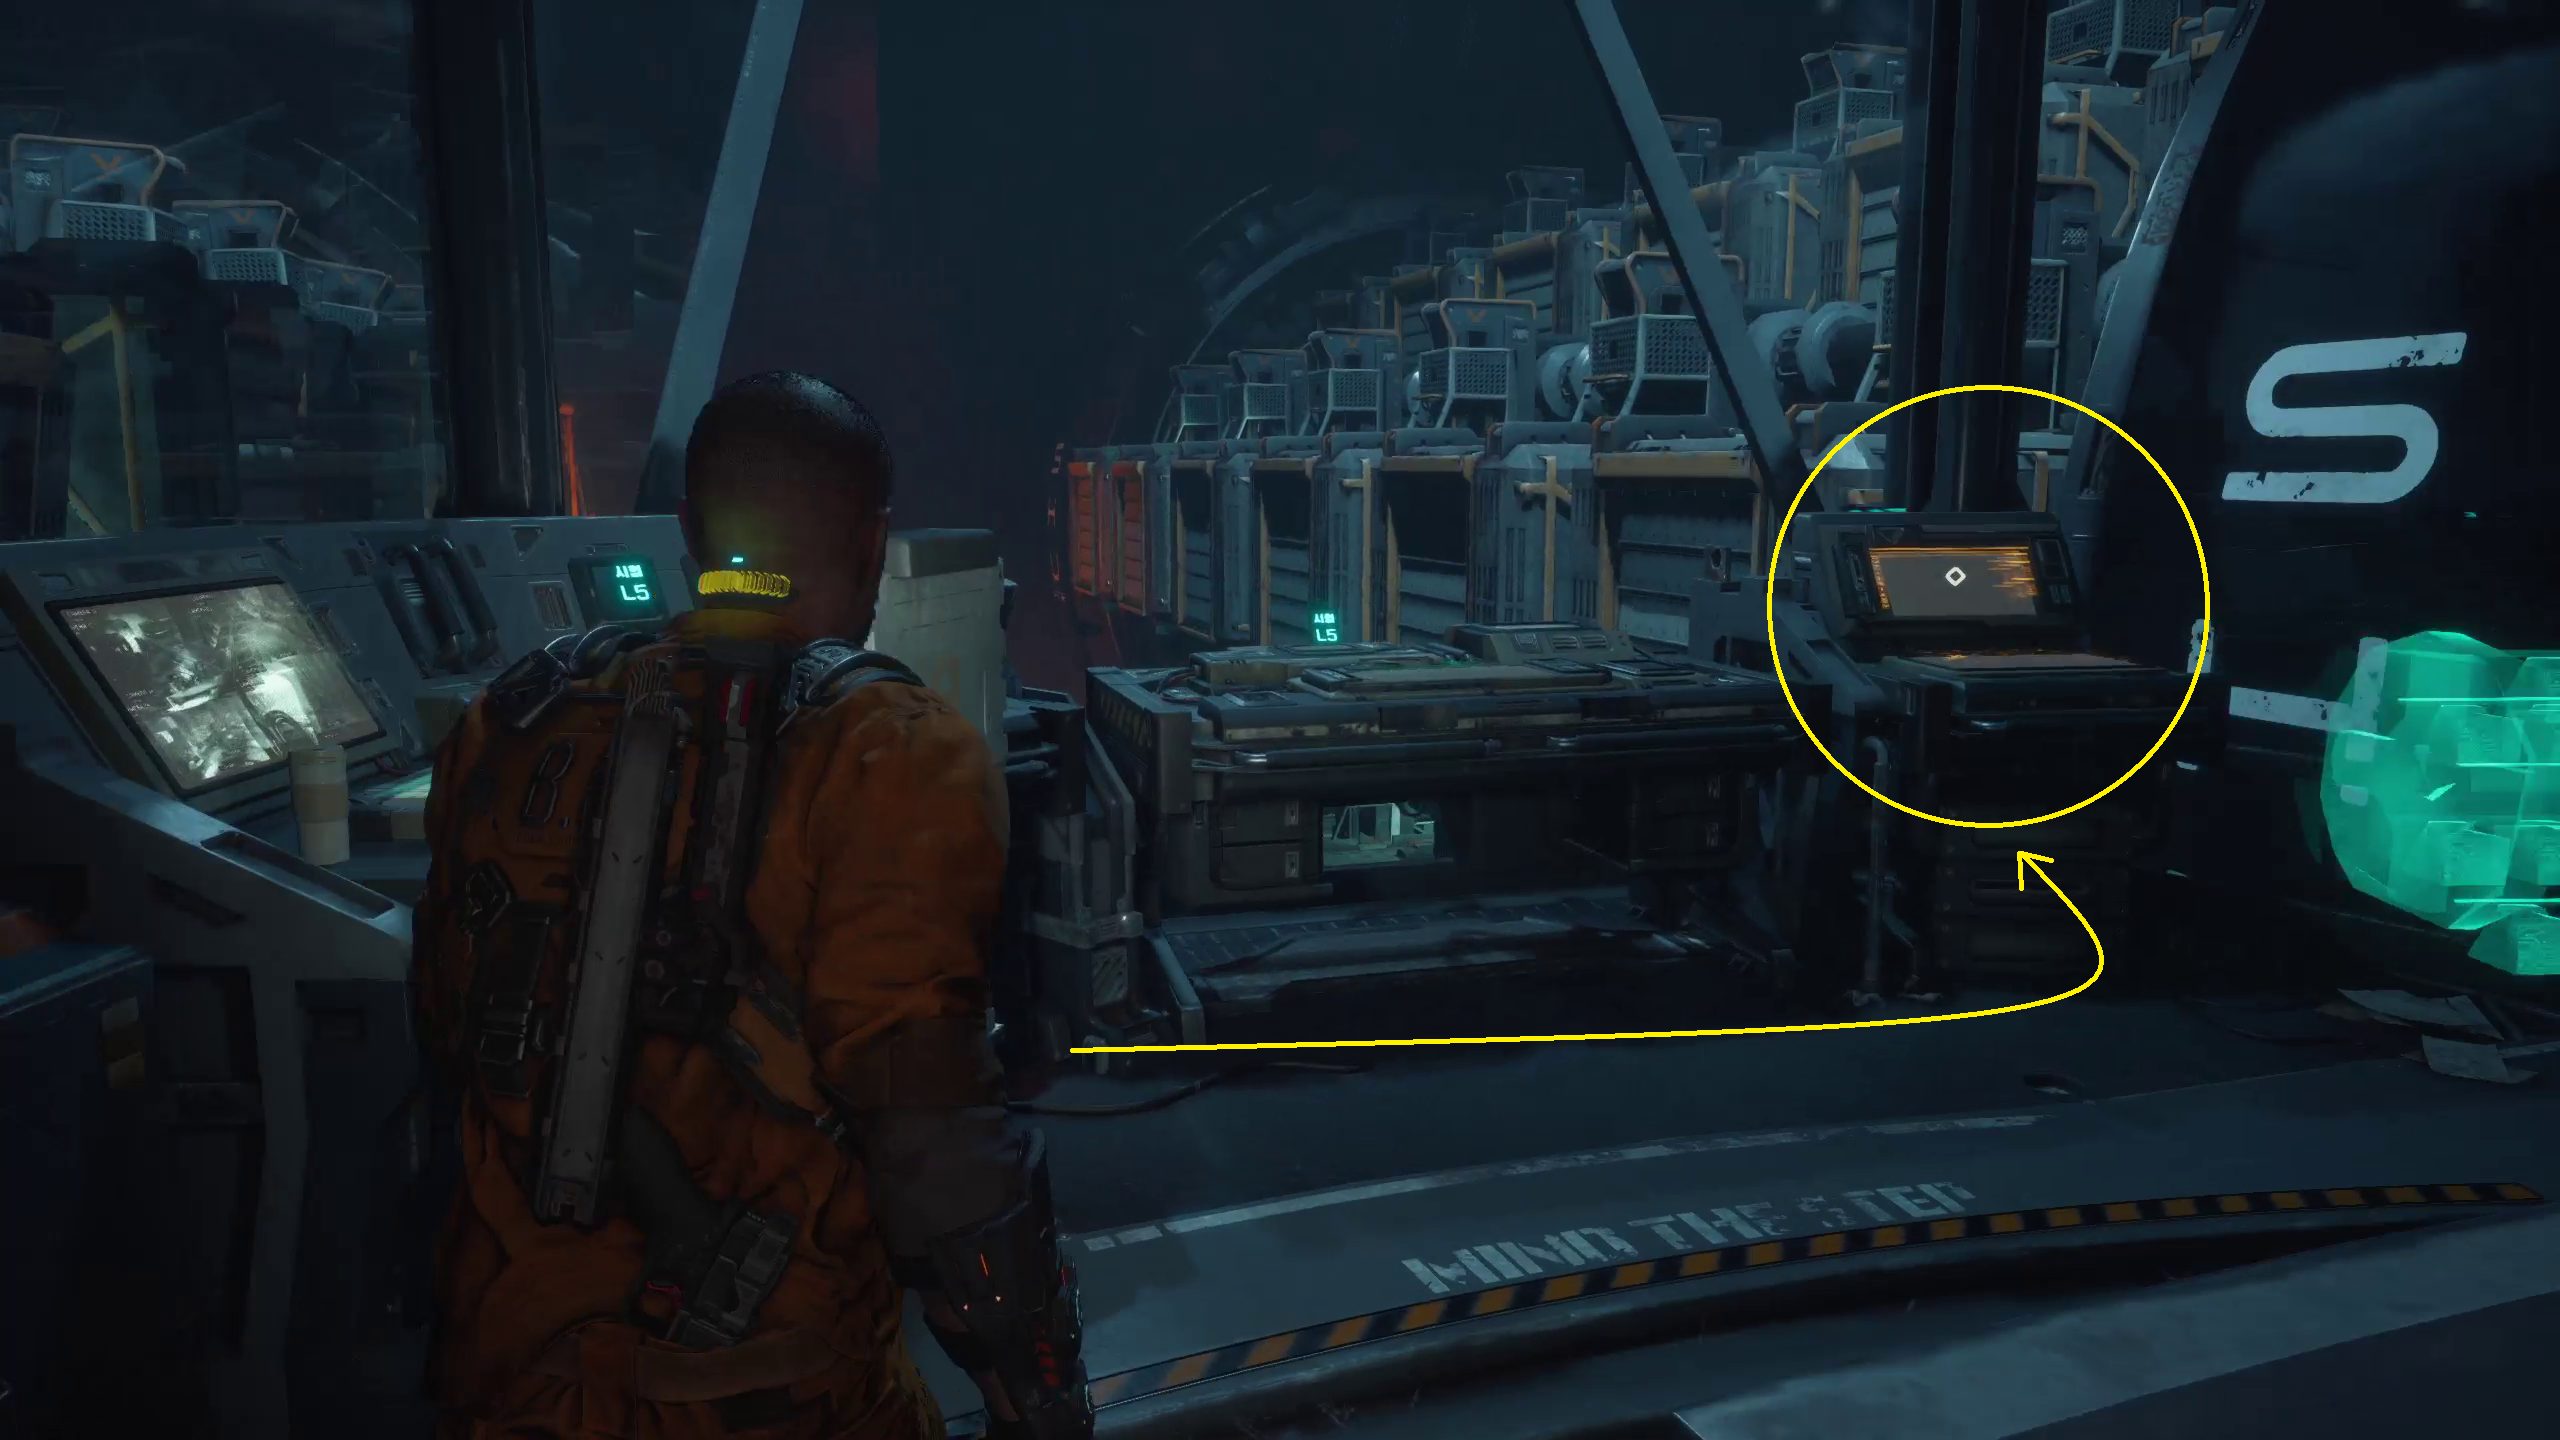
Before long, you will come into a room with a security robot. Now that you have a gun, these robots are no longer nearly as much as a threat, though they do cost a bit of ammo to deal with. To defeat one, simply shoot them in the head a few times. Thankfully, this room is filled with ammo, so you can more than make up for what is required to take the robot out. Stomping his corpse yields a valuable component, so make sure to do so.
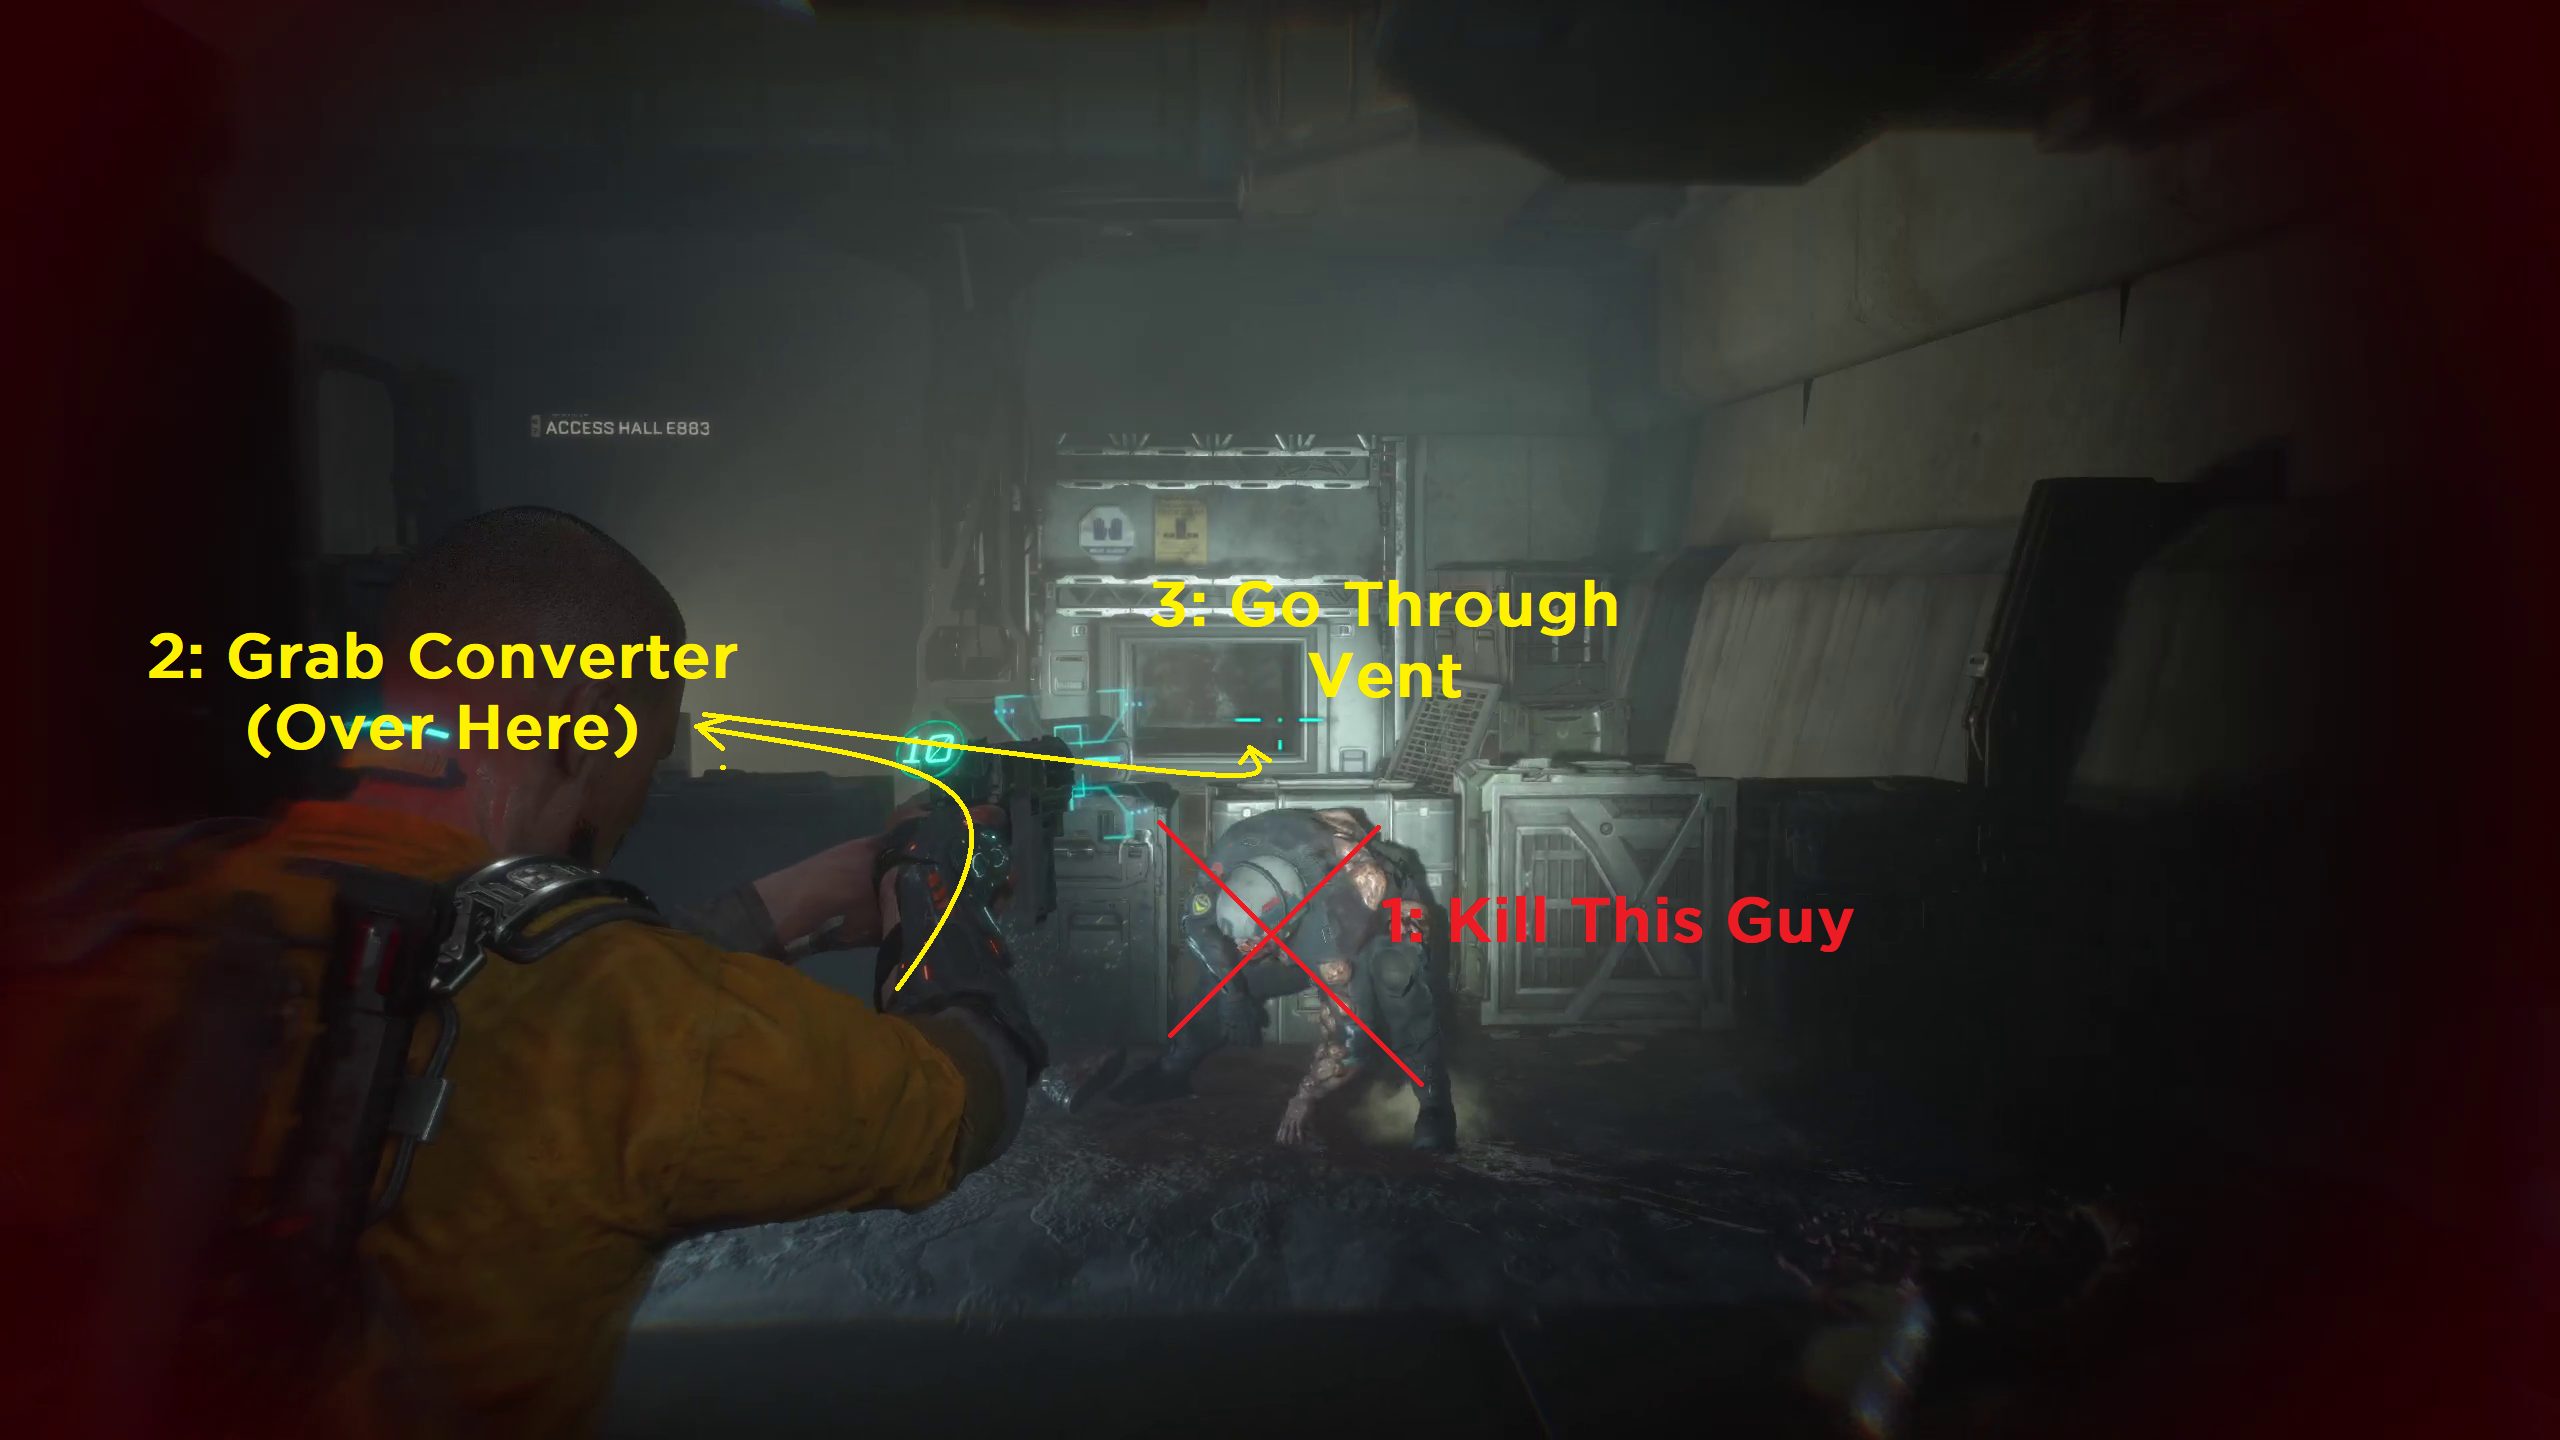
There is another biophage near the back of this room. After dispatching him, grab the energy converter near him and go through the vent nearby.
Exit the Station
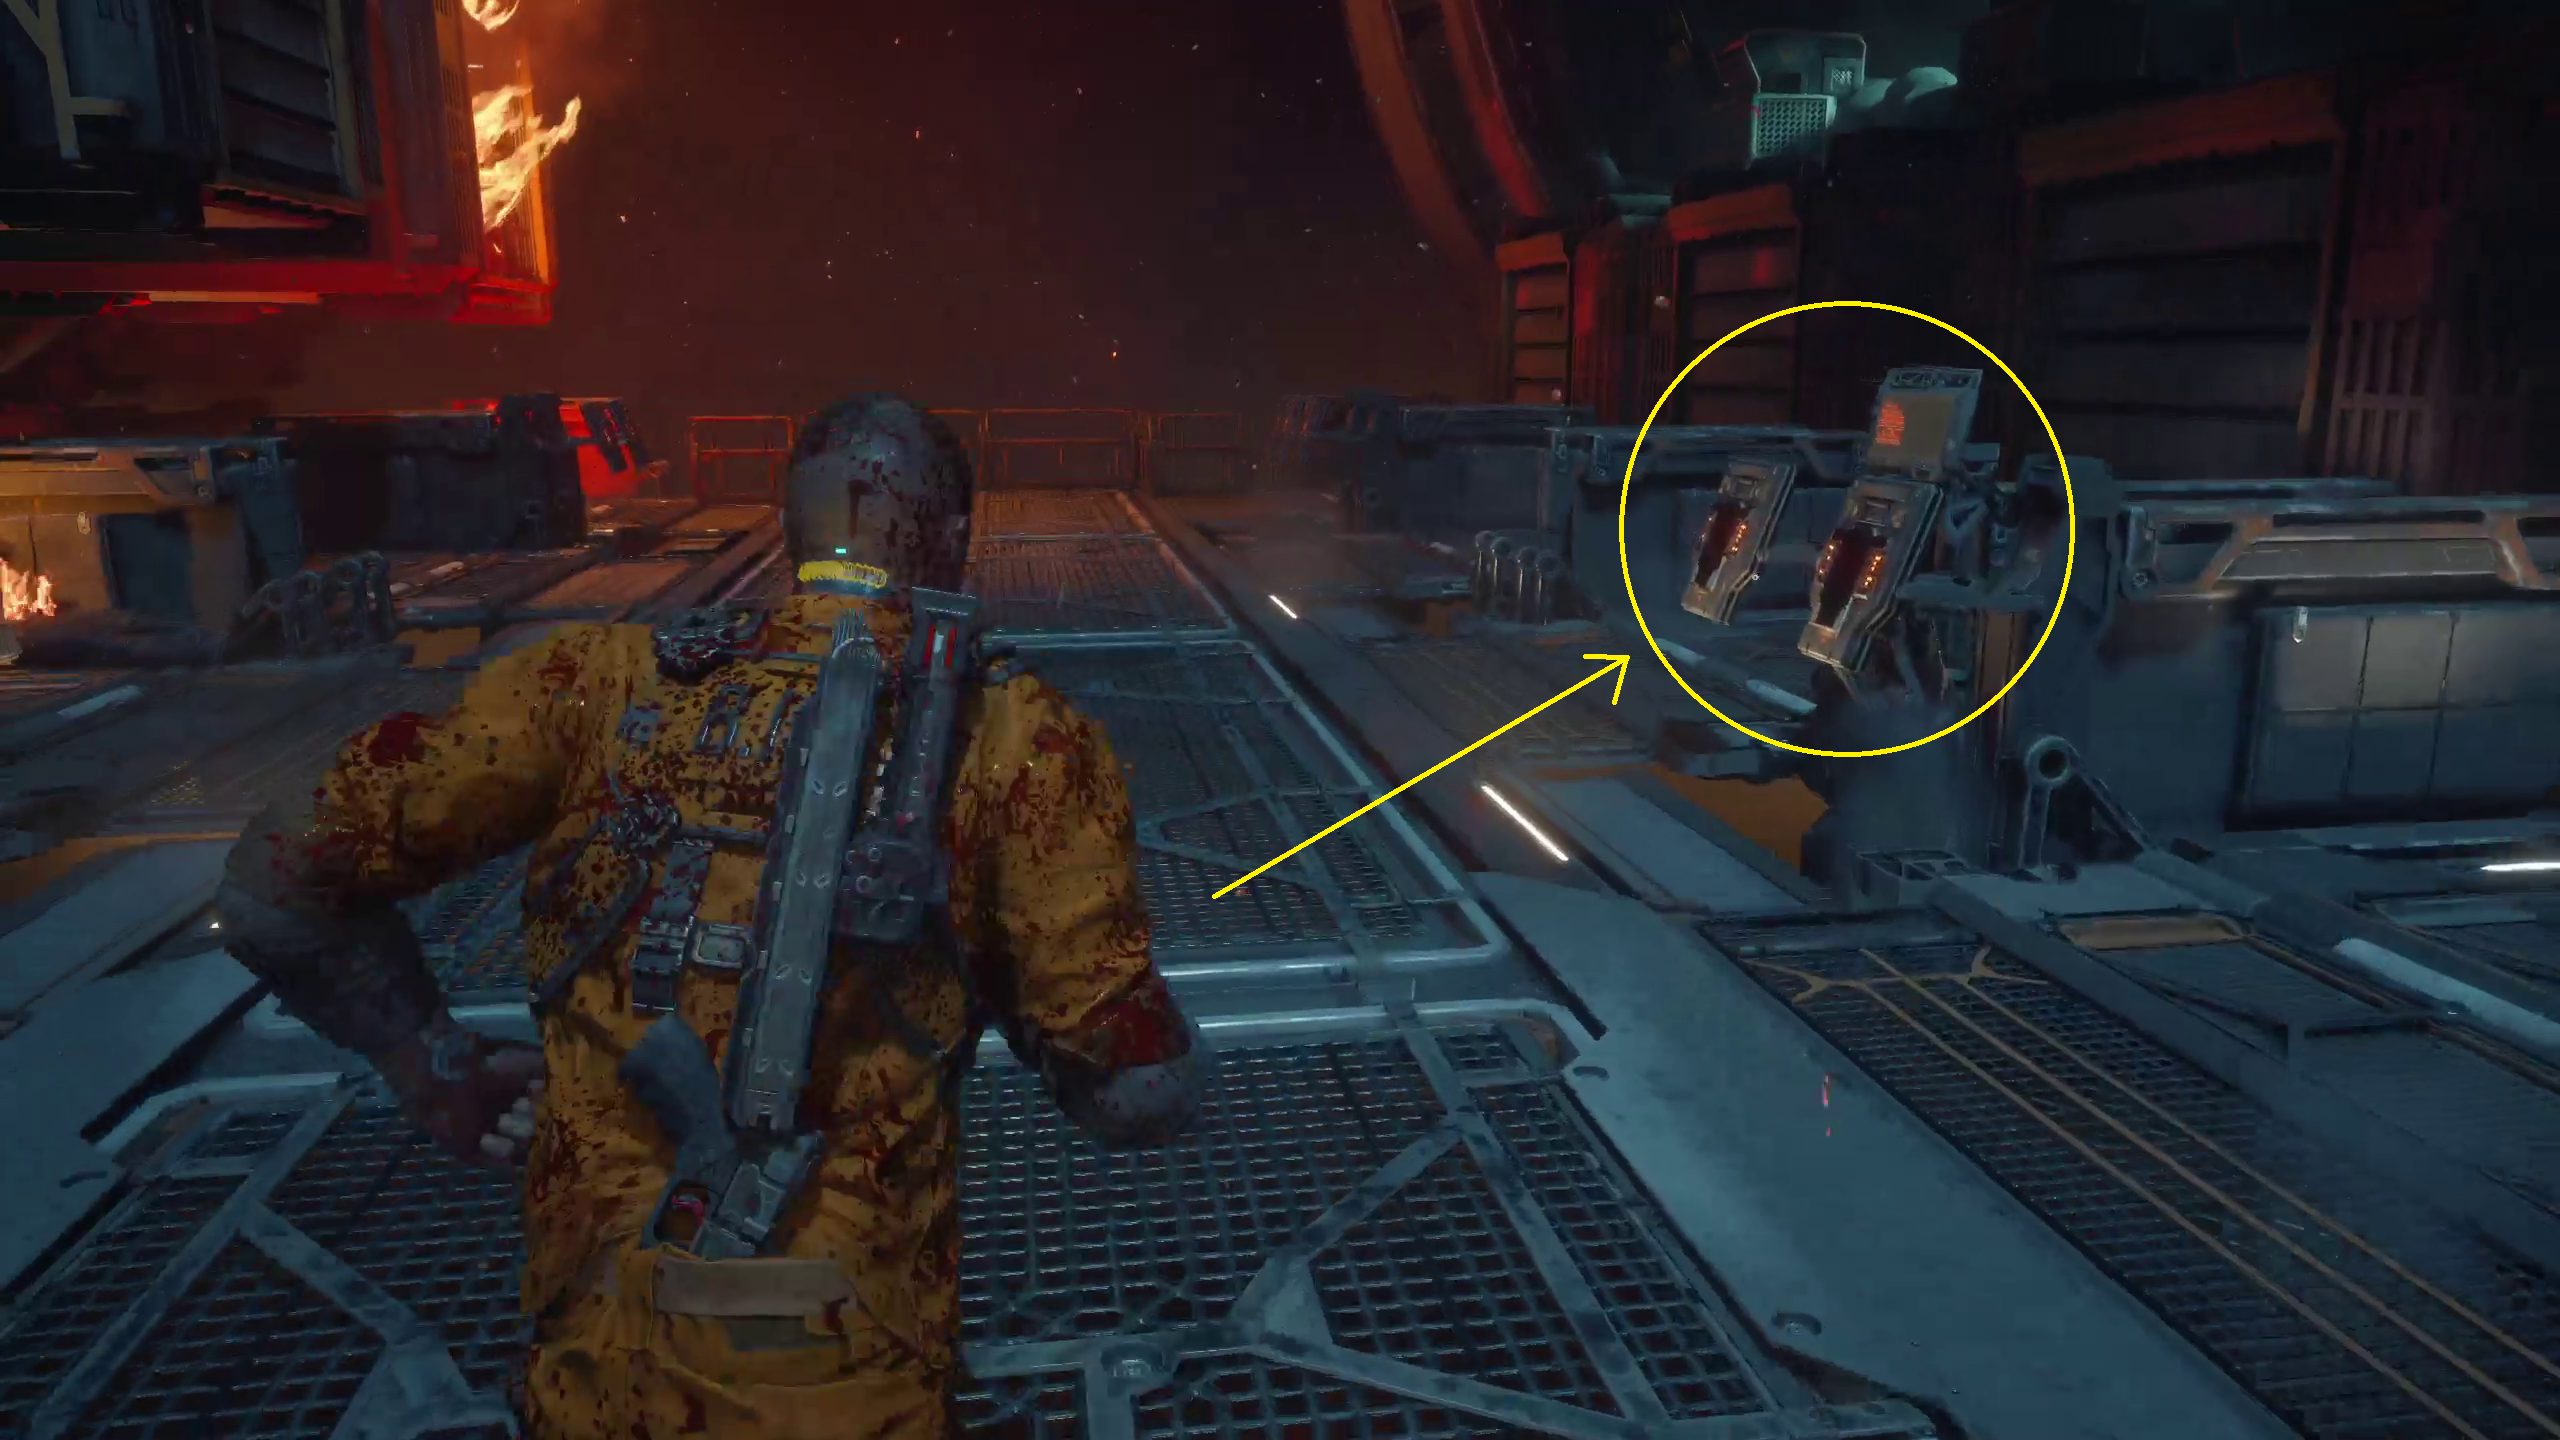
After making it through the vent, you can continue down the path until after you get through a long squeezable gap. There will be a vent with a cover just to your right, and you can use GRP to destroy the grate and access the two crates inside.
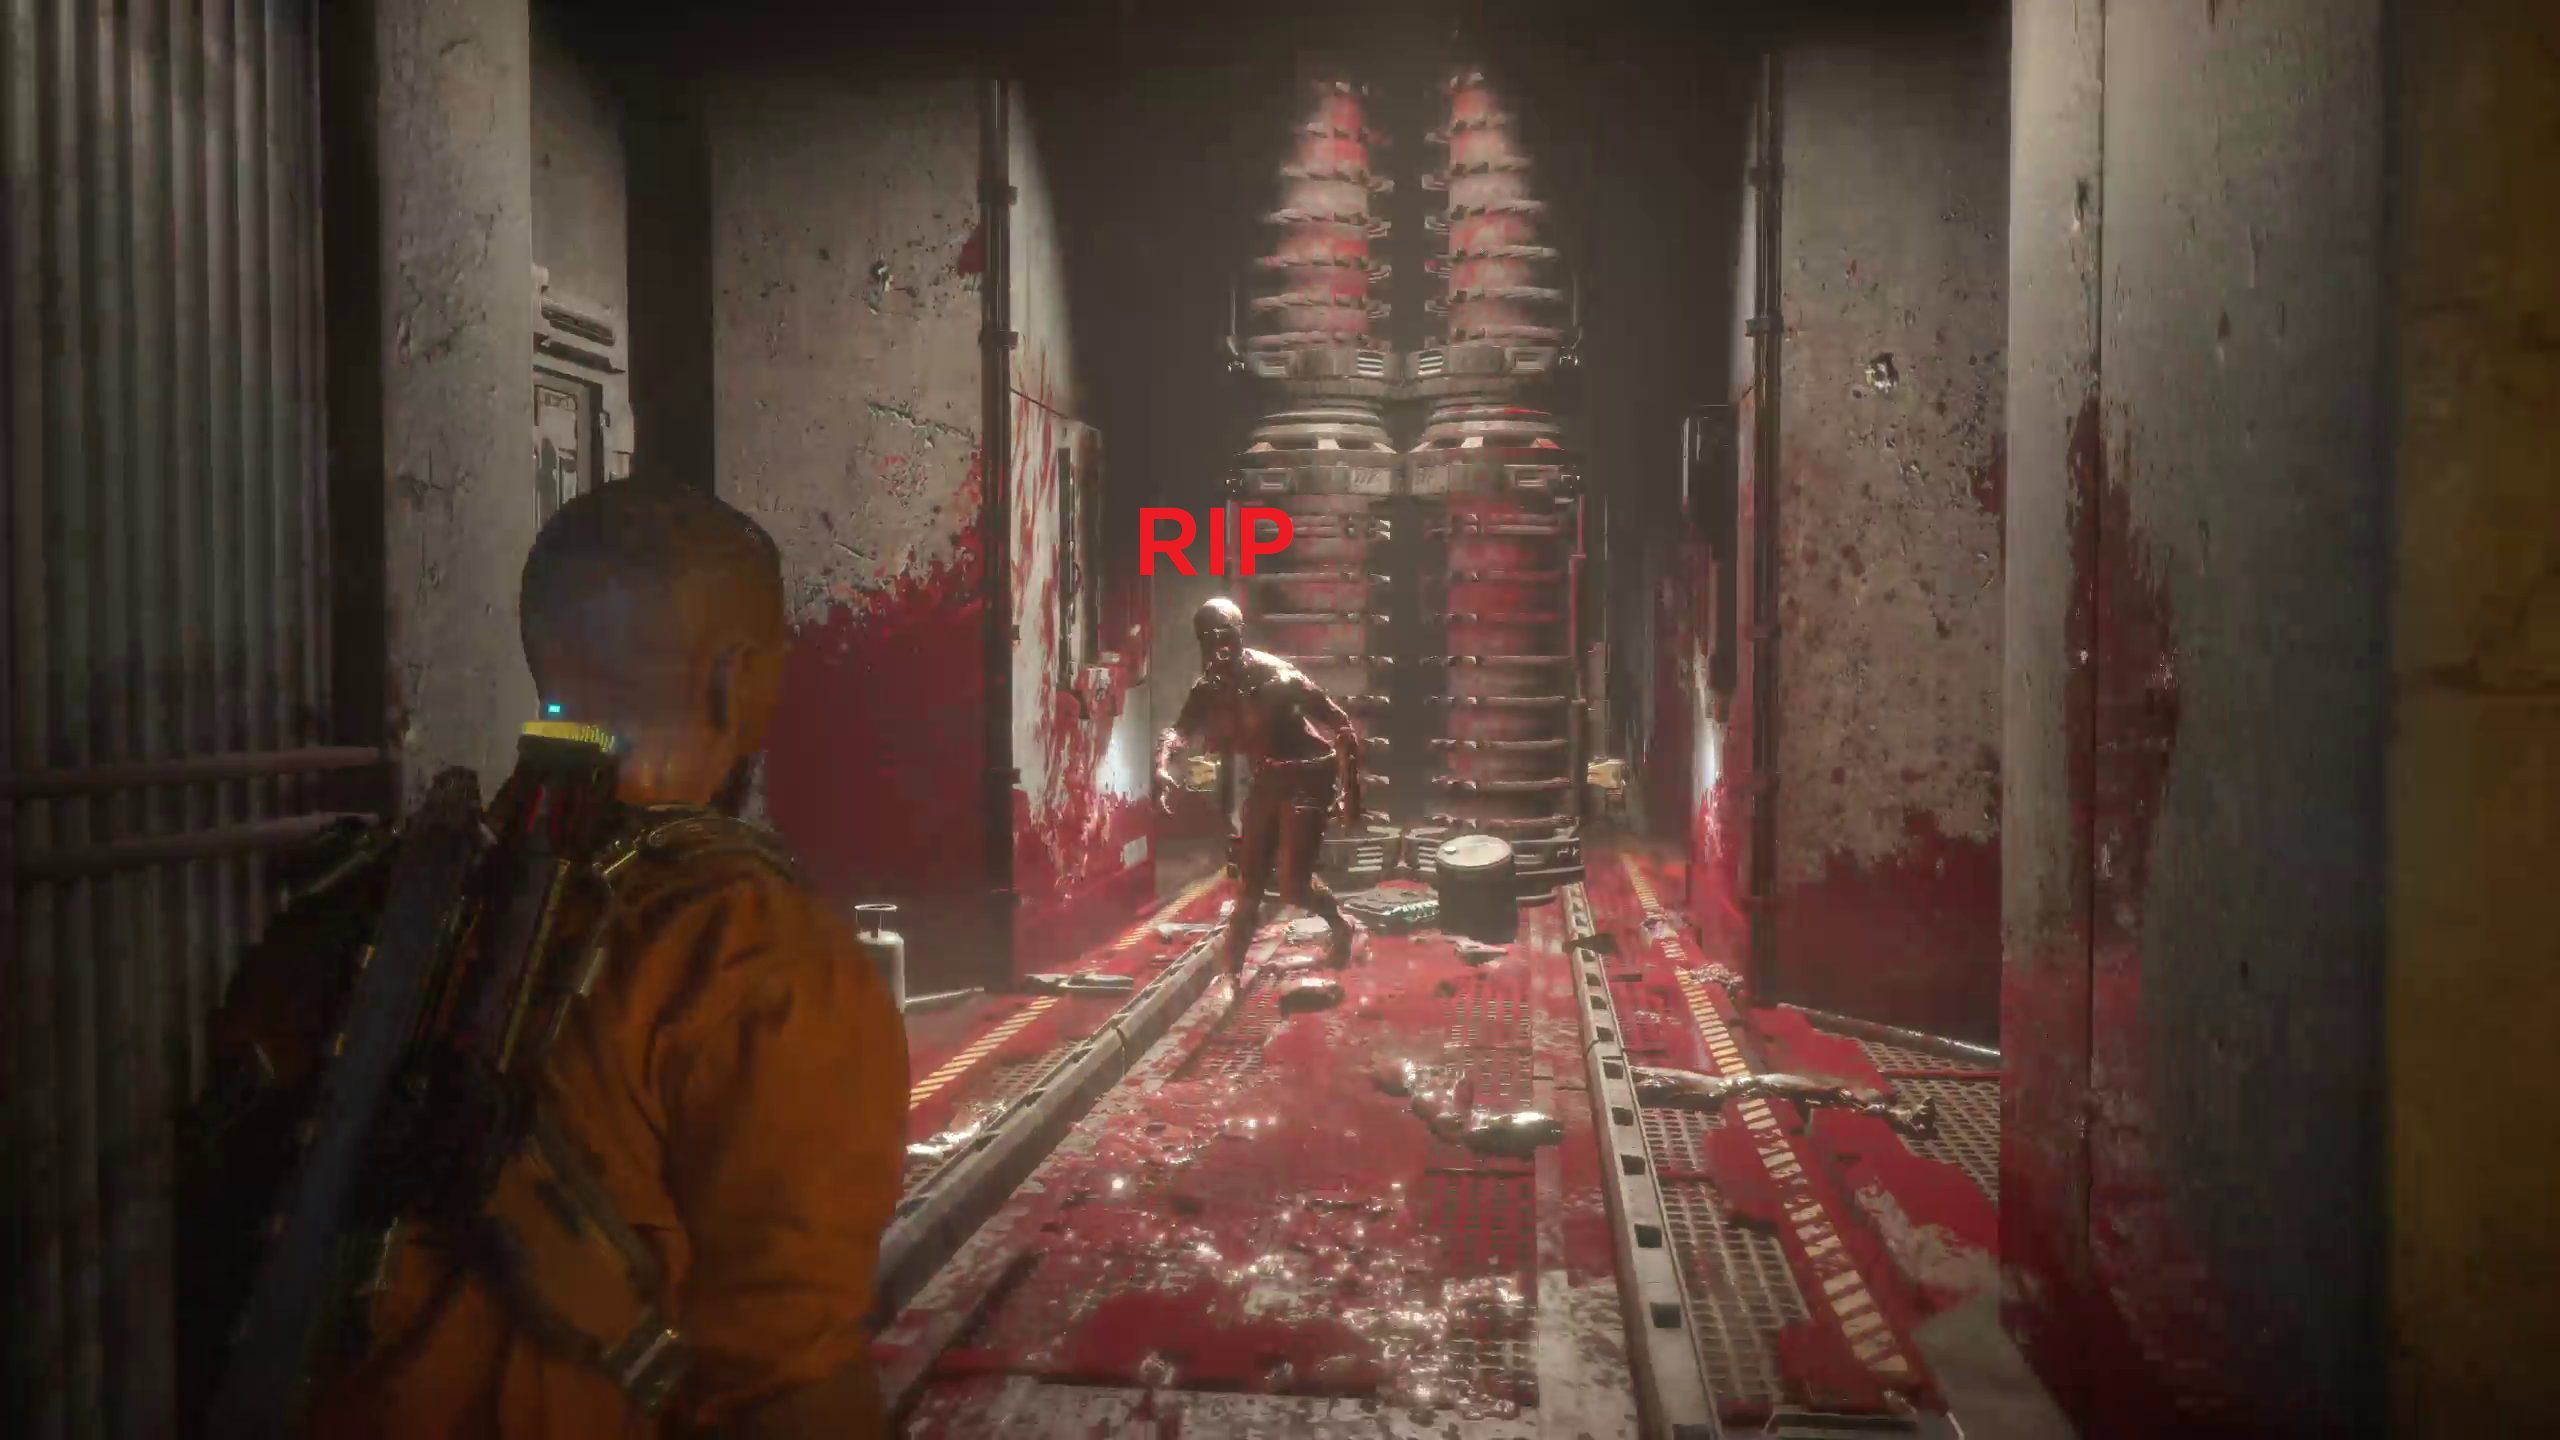
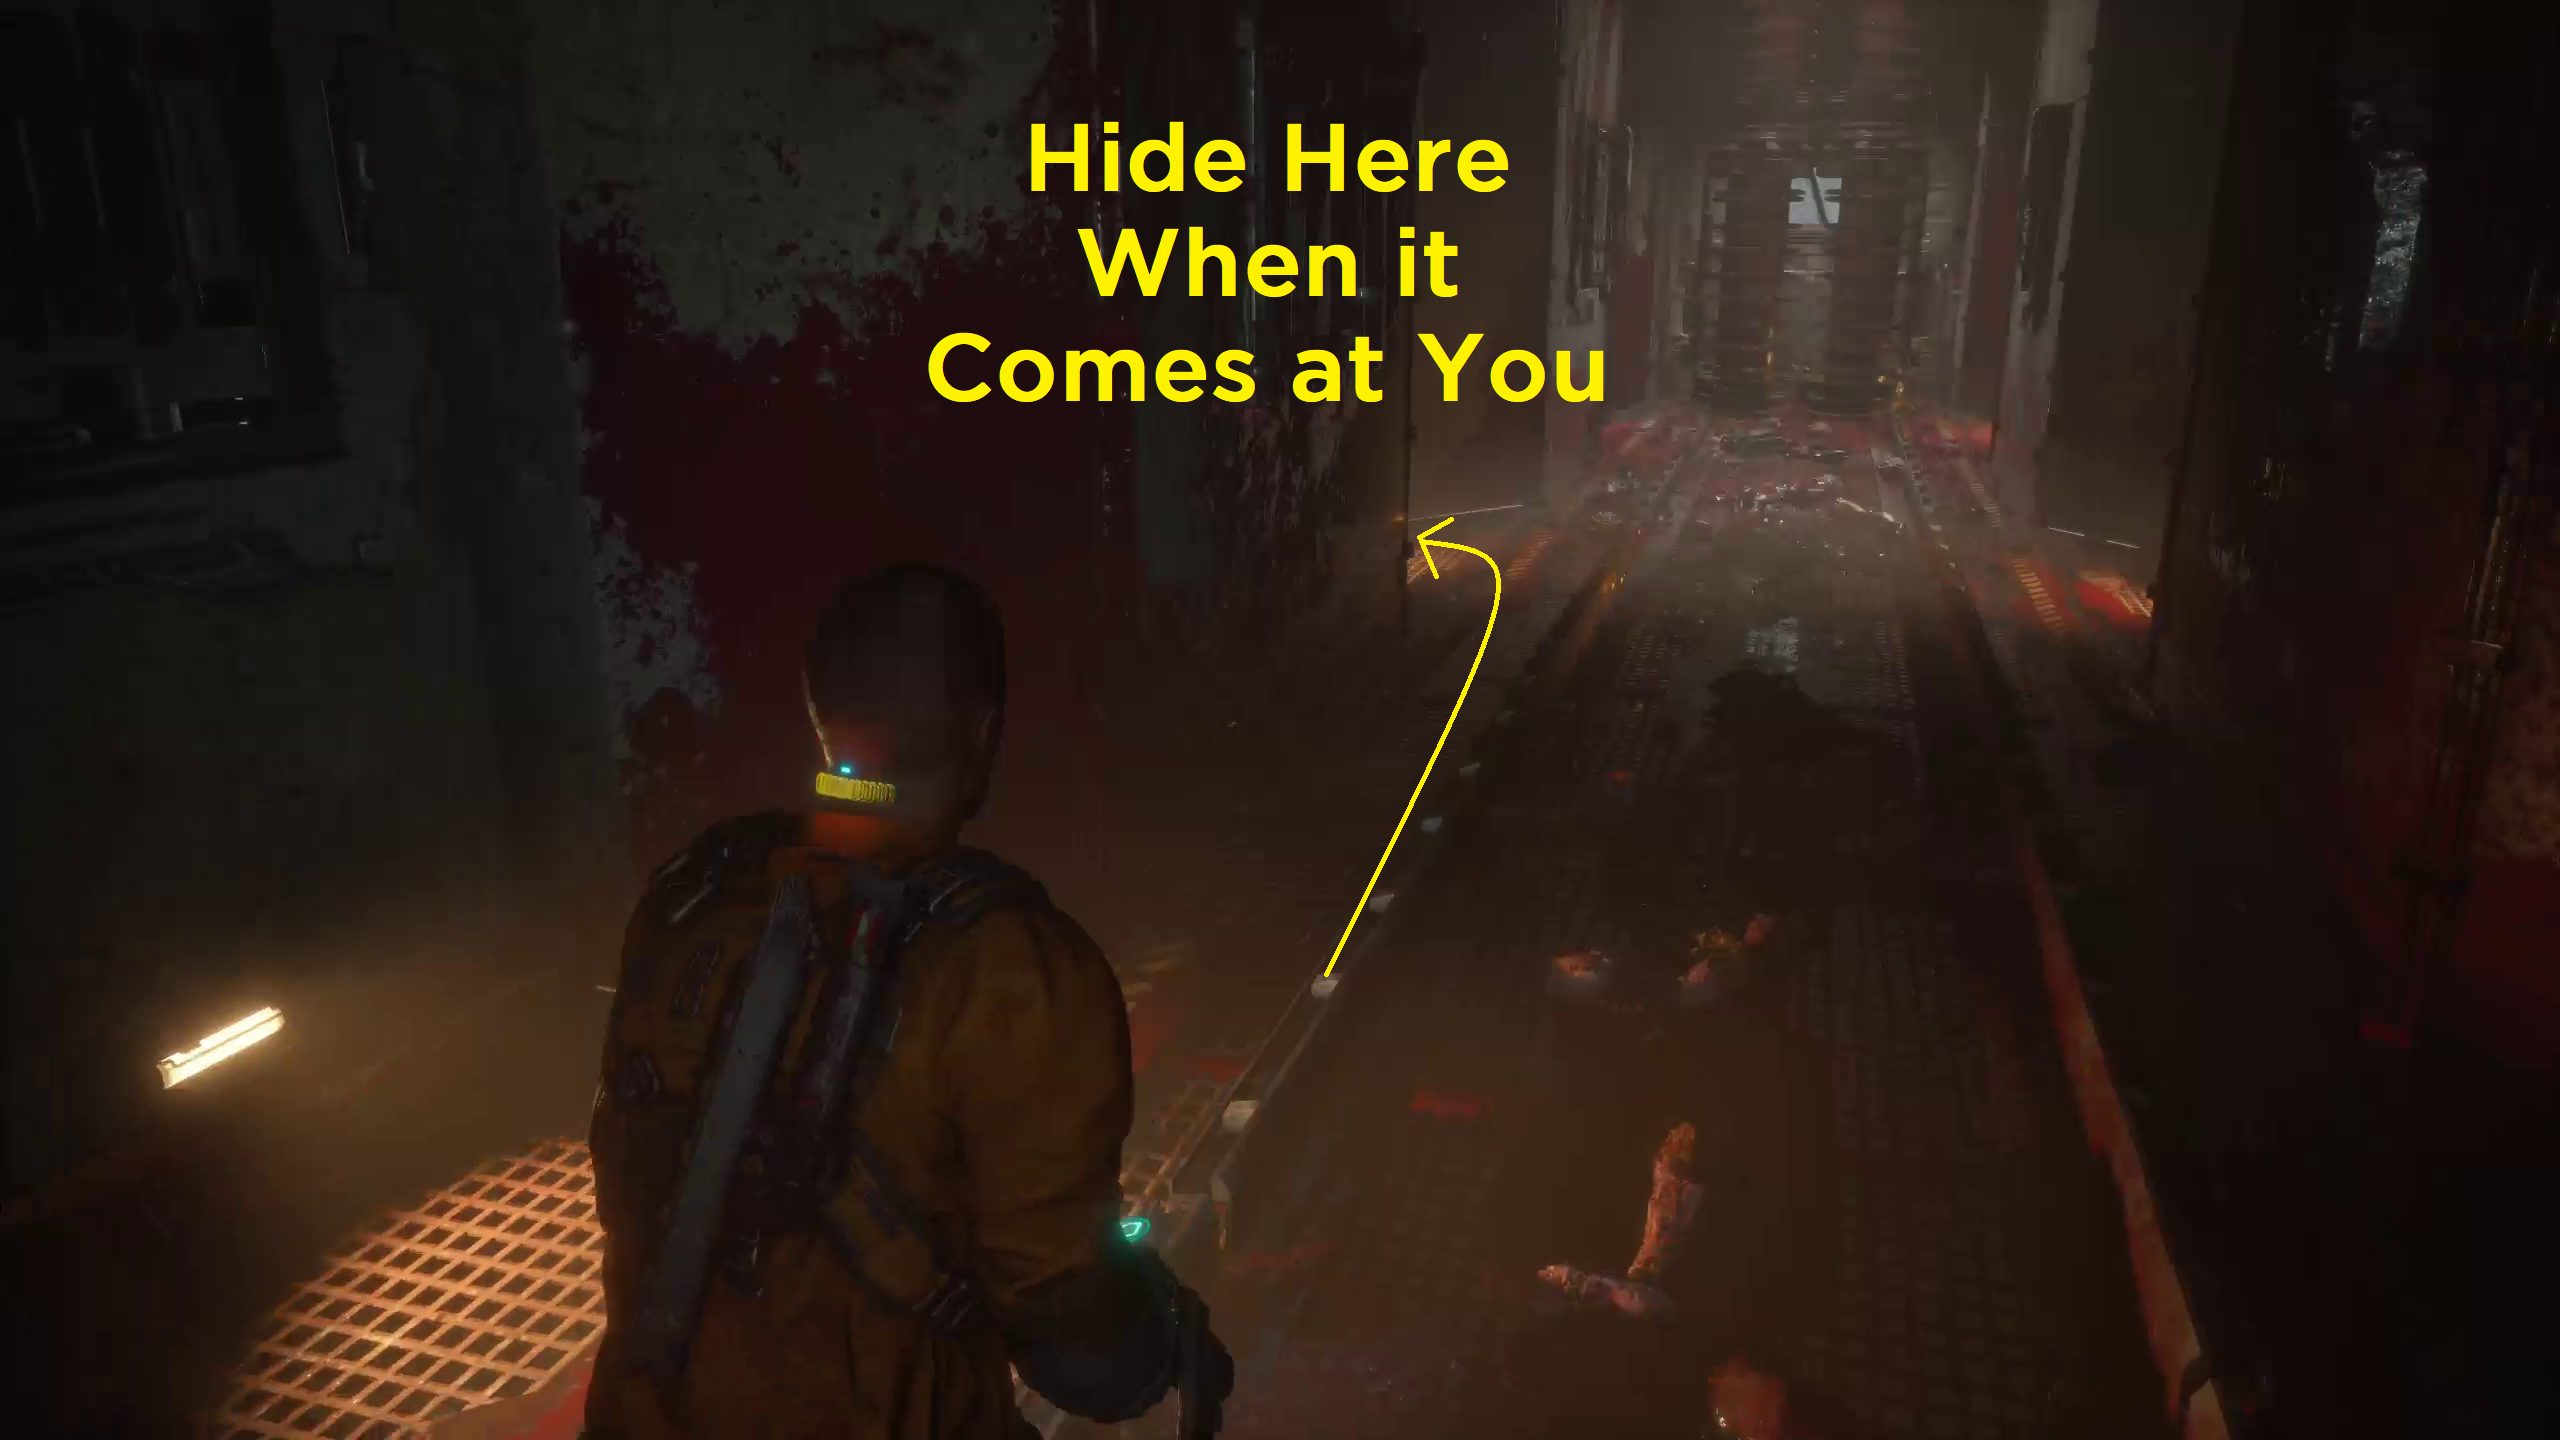
After that, you can turn around, where there will be a trap, intended to stop prisoners. Thankfully, it does a terrible job of that, but an excellent job against biophage. The trap will activate whenever you or a biophage is in front of it.
In order to survive this trap, always make sure to get into the alcoves on either side of it while when it activates. Time moving up until it isn’t coming at you anymore. While you are in this trap, some biophage will attack you, but so long as you make sure to stay in the alcoves yourself, they will probably be ground up by the trap for you.
Once you reach the other side, go through the vent and drop into the next room. A cutscene will play when you approach the window, and you’ll be told that your next task will require you to go underground, into the habitat. Once you open the hatch in this room and descend it, you’ll have competed Aftermath, and will begin Chapter 4: Habitat.
Graves is an avid writer, web designer, and gamer, with more ideas than he could hope to achieve in a lifetime. But, armed with a mug of coffee and an overactive imagination, he'll try. When he isn't working on a creative project, he is painting miniatures, reading cheesy sci-fi novels, or making music.


Pretty helpful guide 👌