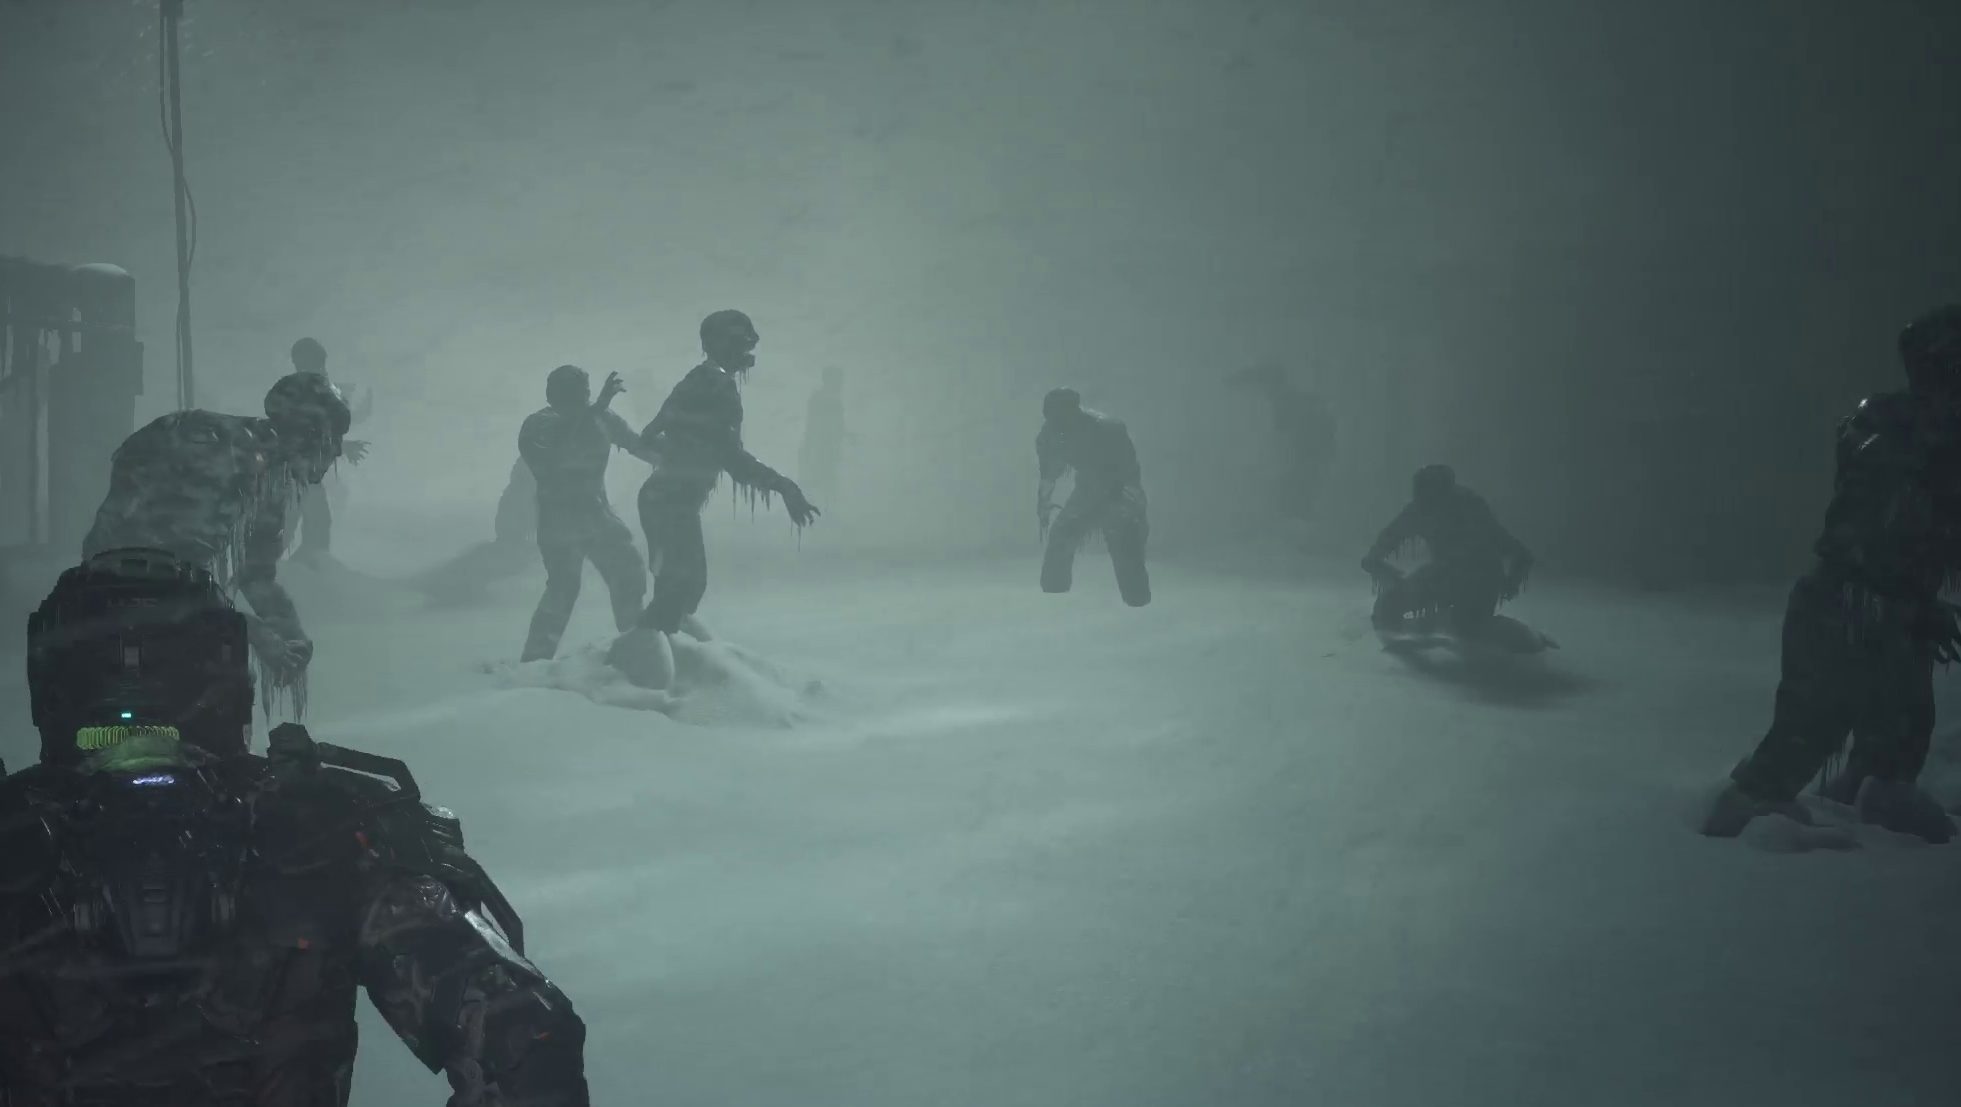
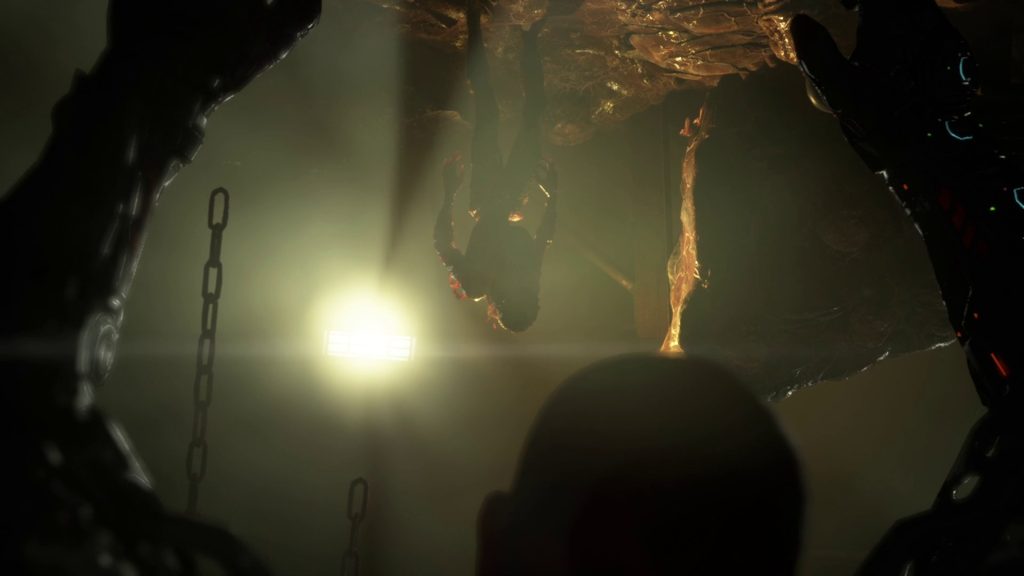
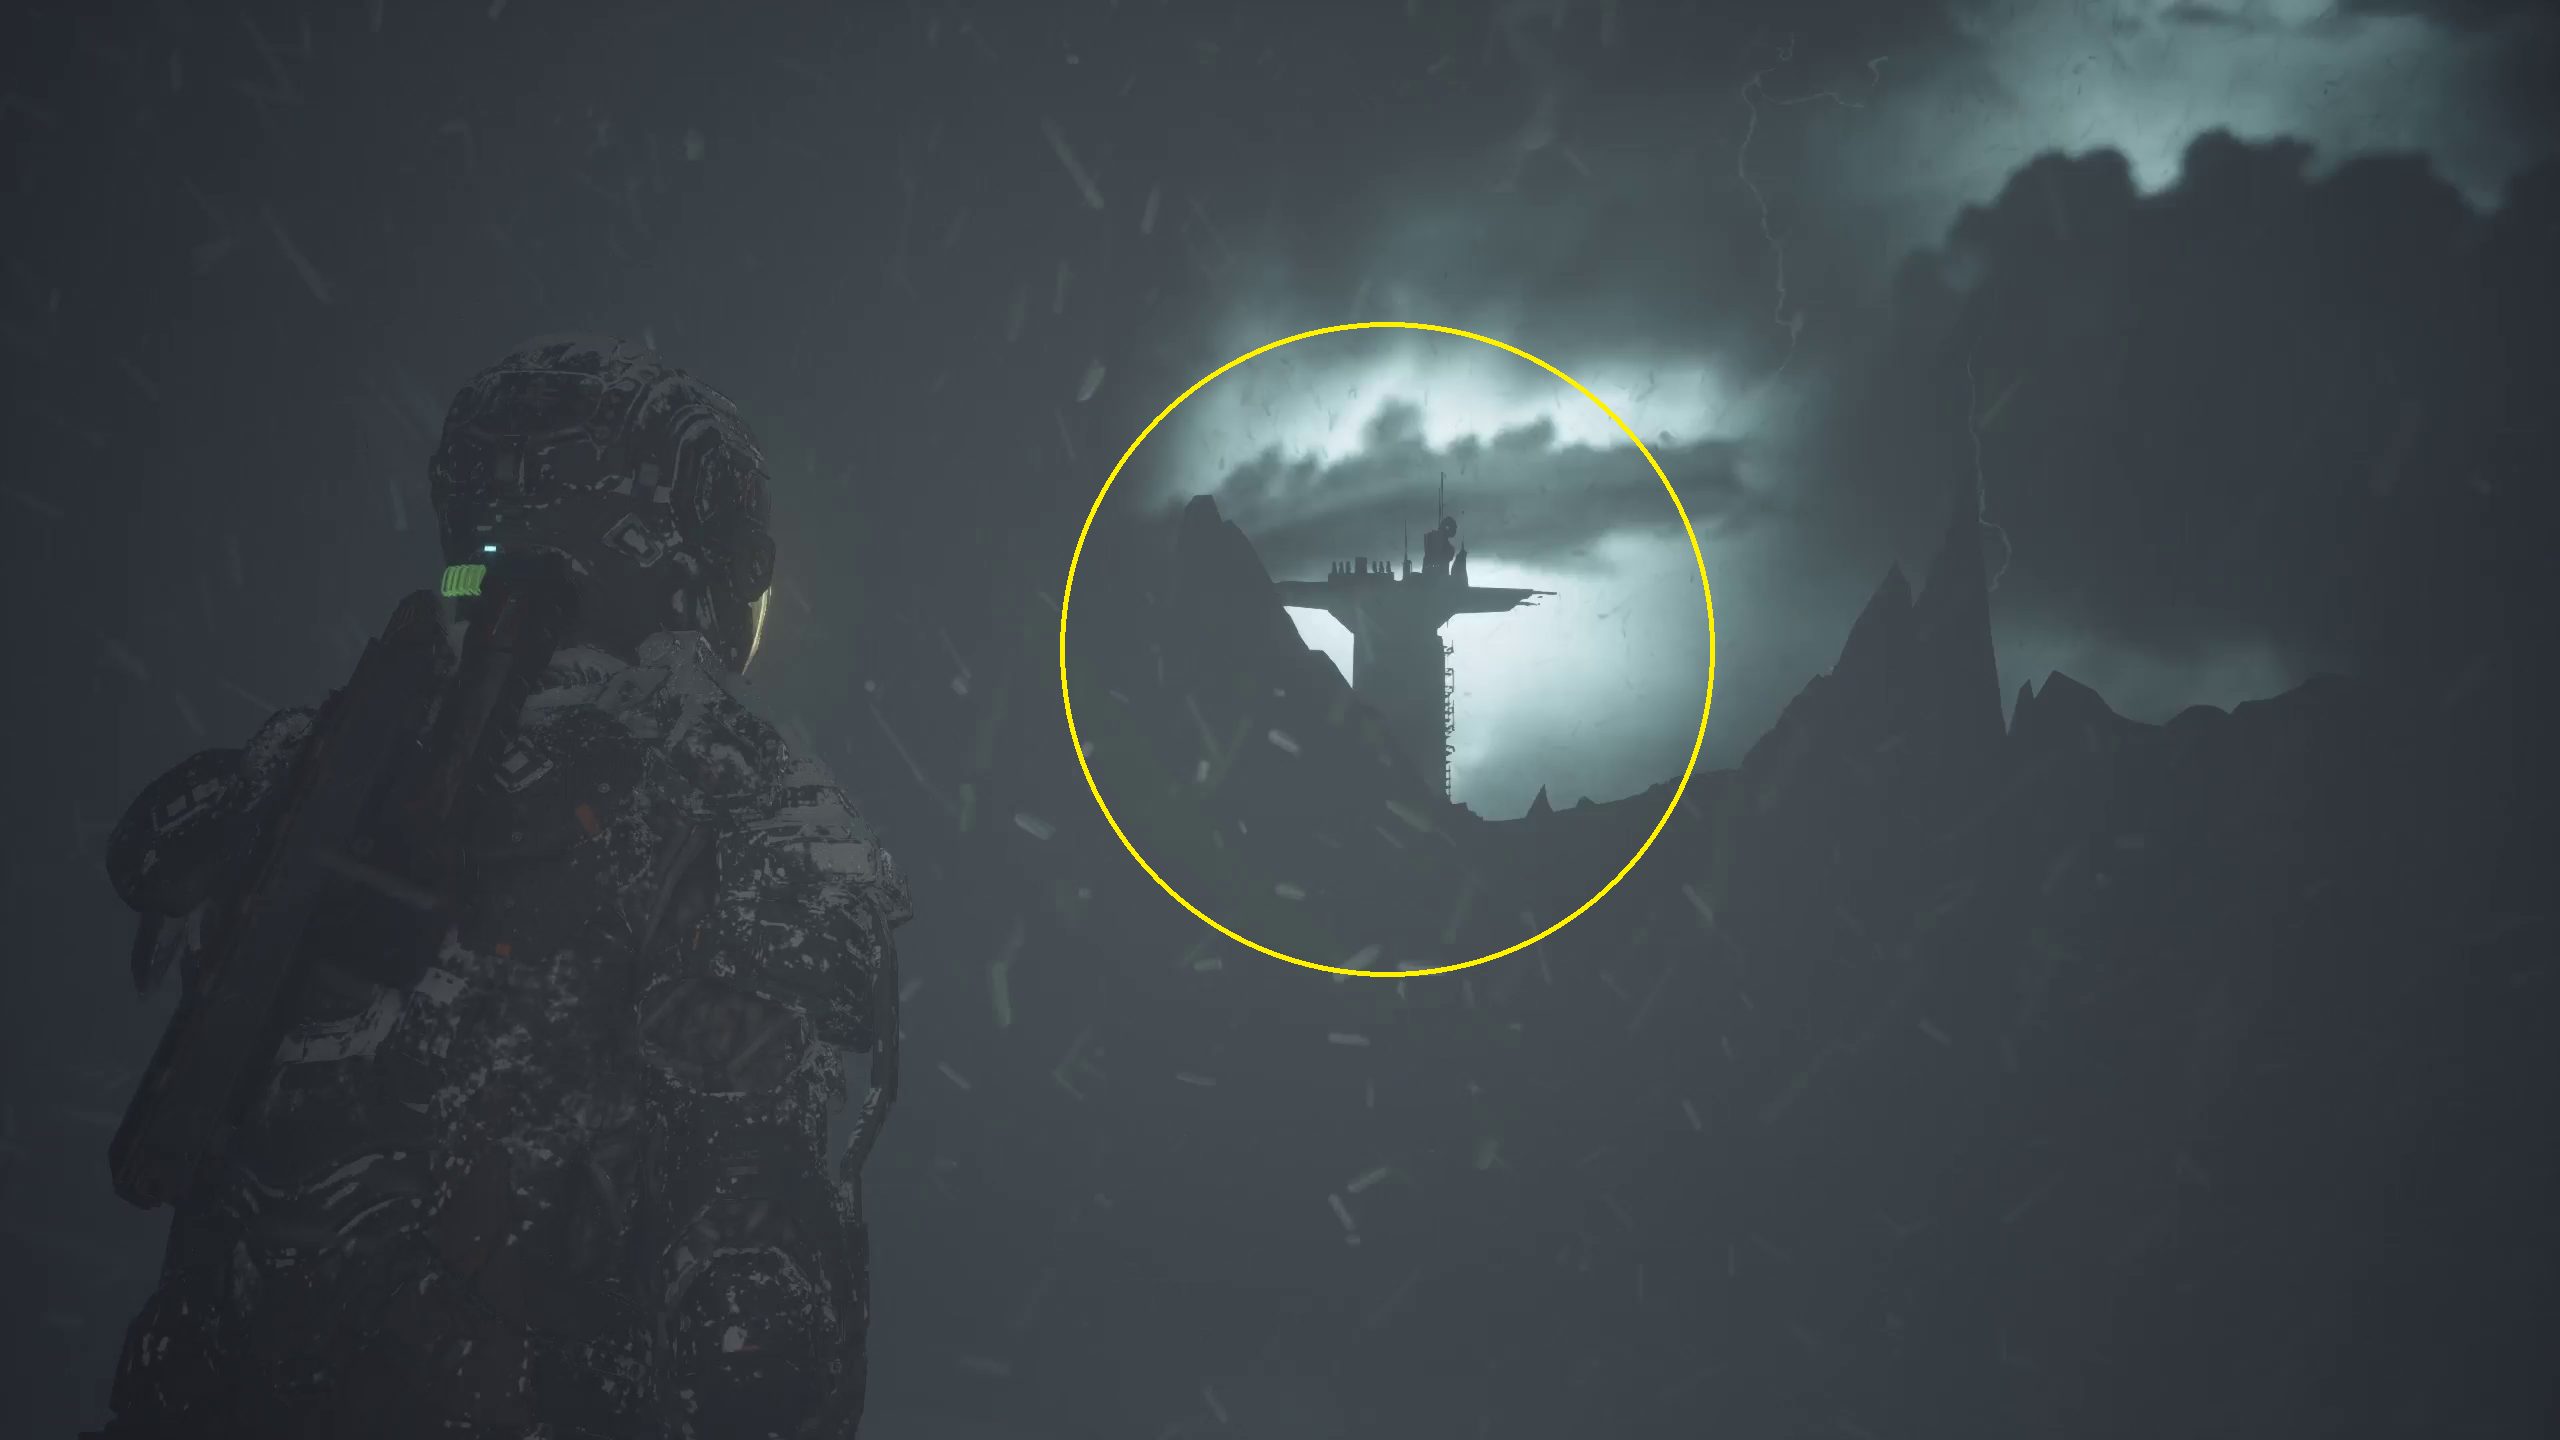
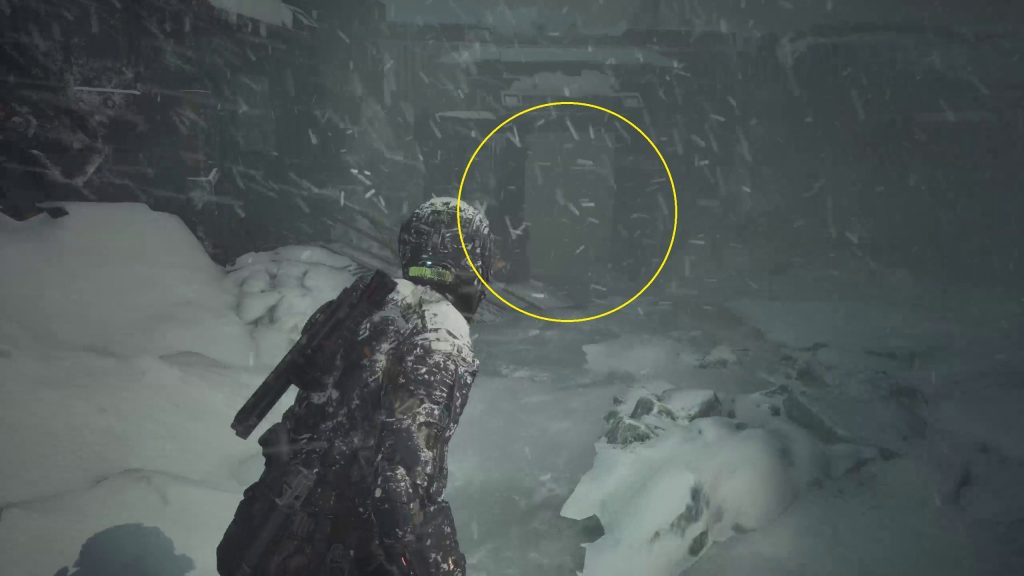
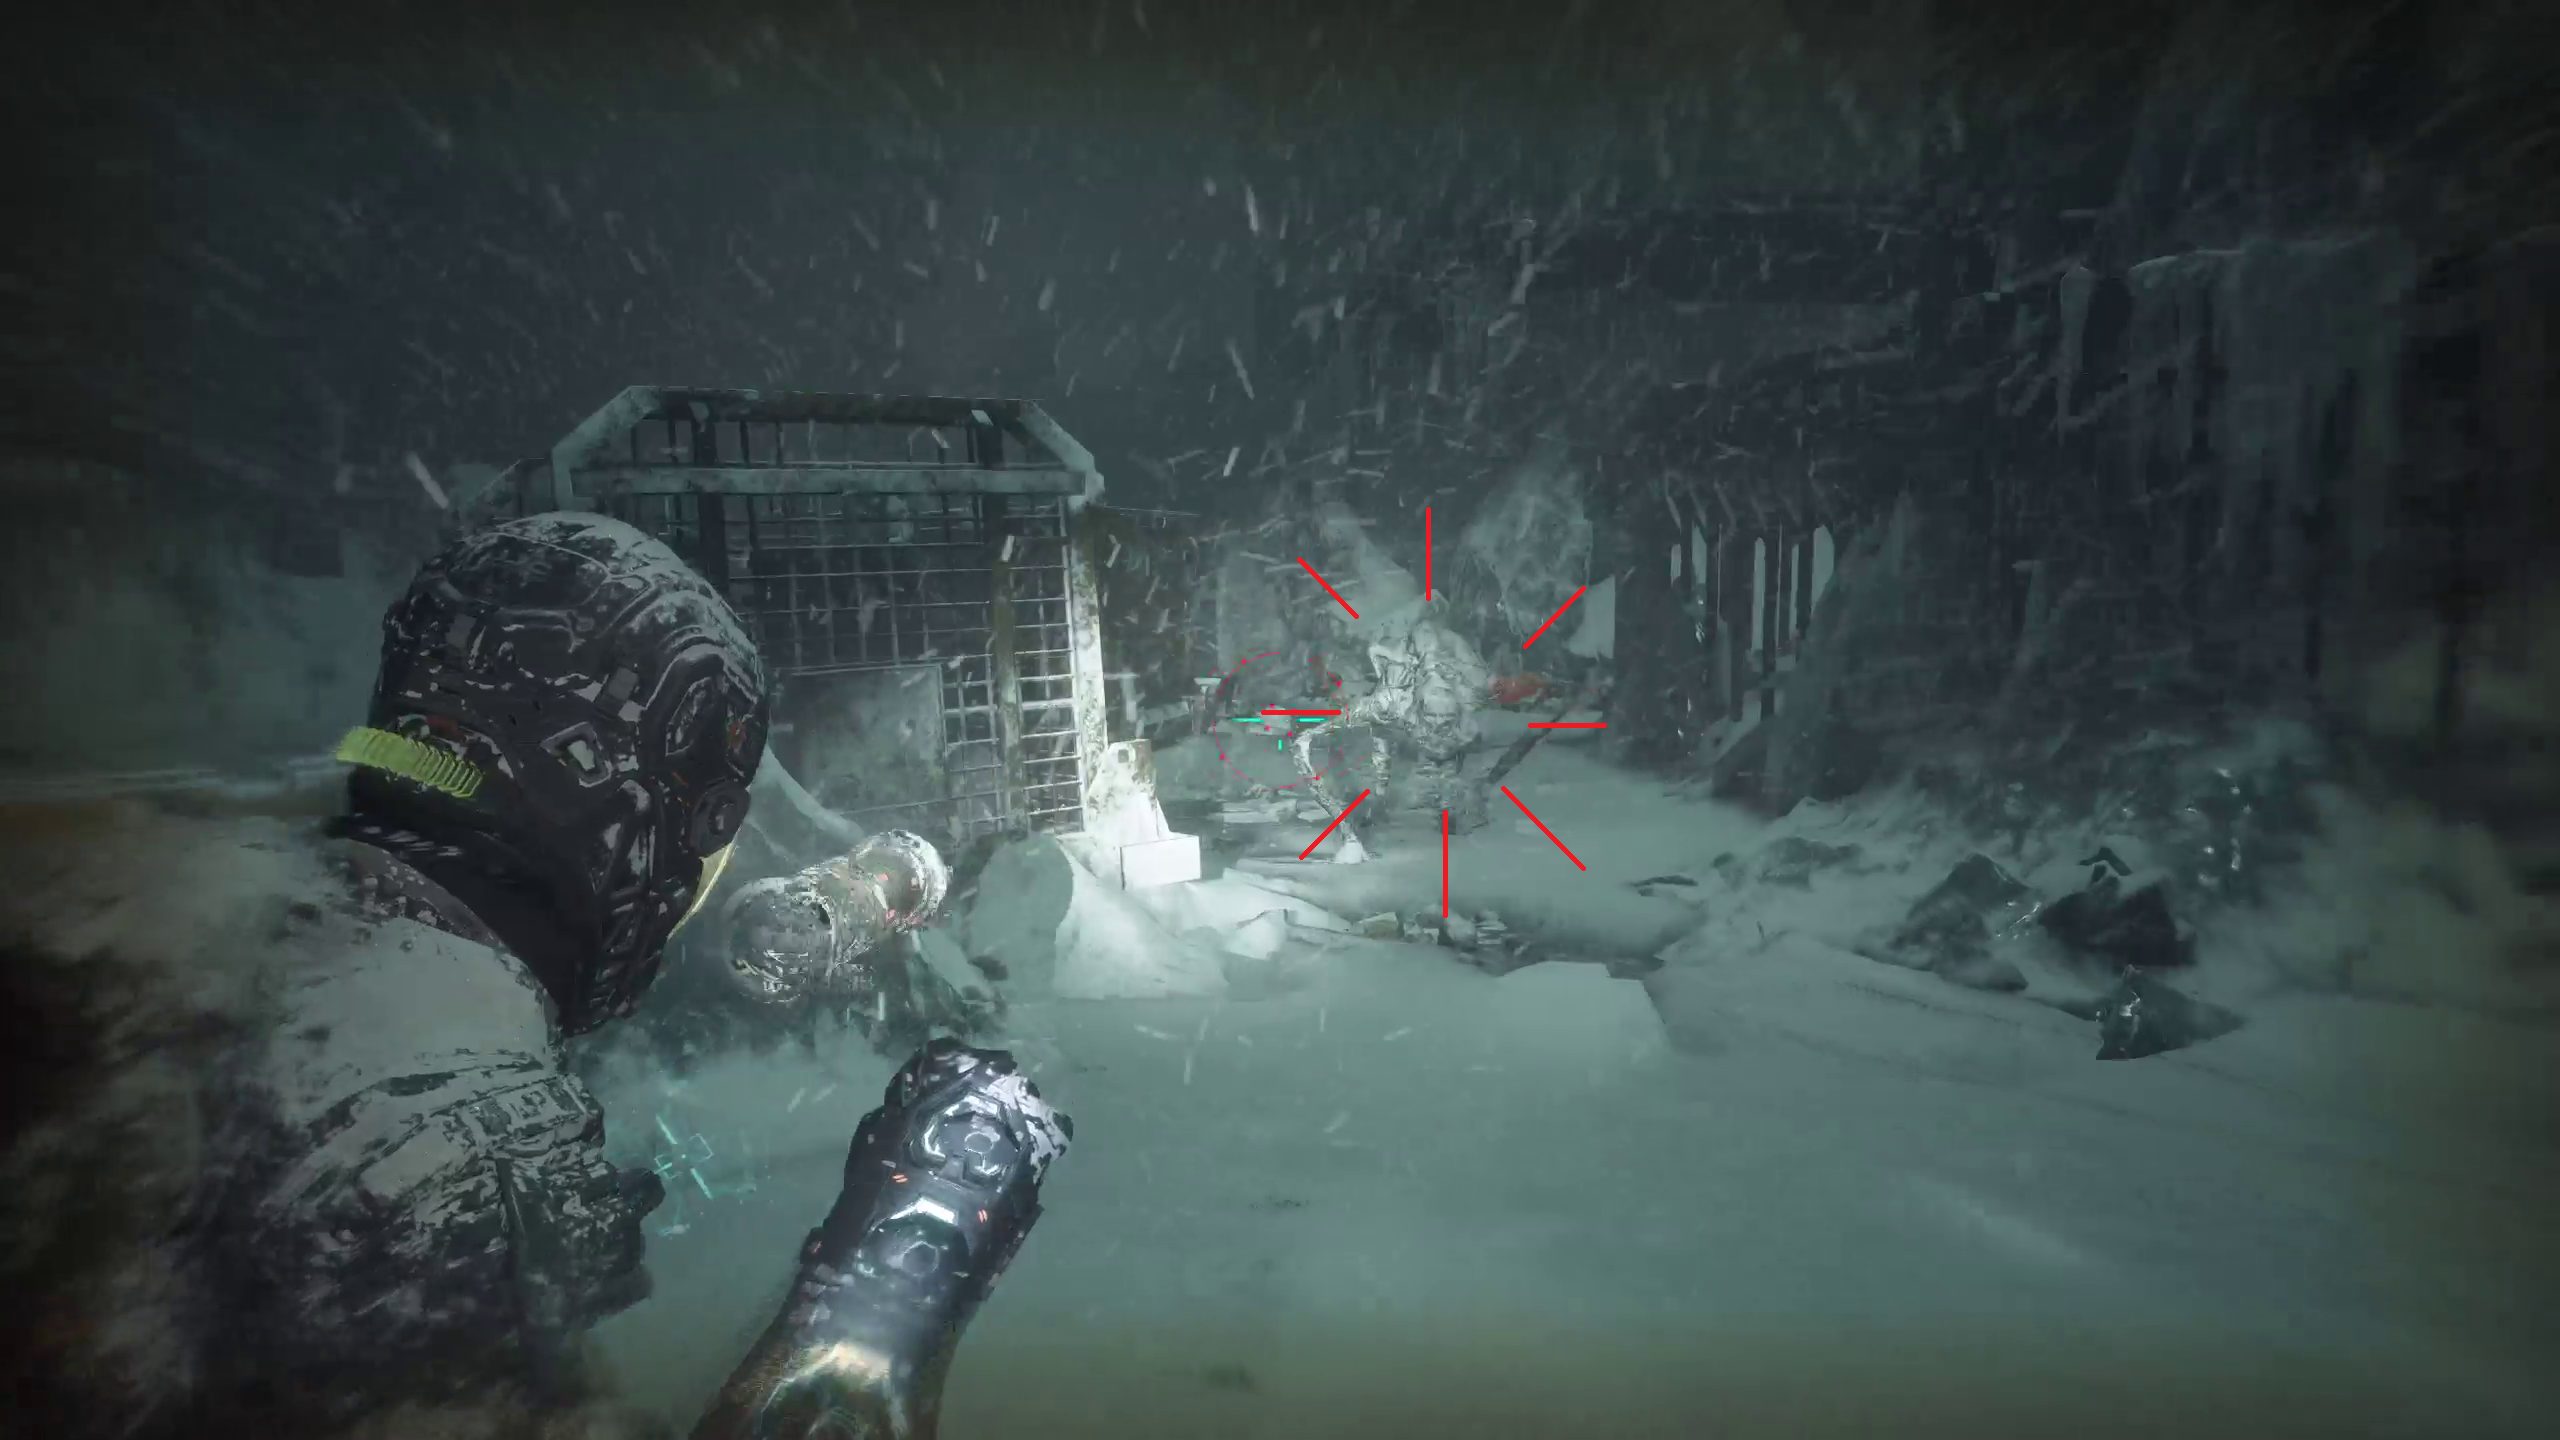
After the opening cutscene, you’ll find yourself out on the hostile surface of Callisto during a snowstorm. Once you take control of Jacob, follow the way forward through the snow. As you go, the storm will get denser. You want to keep moving toward the towering hangar tower, and if you get turned around you can look for it on the horizon, or snow tracks on the ground. There will be one biophage in the middle of a snowy field right before the storm breaks on the other side of the field.
After making it through the snowstorm, you will see Elias Porter’s beacon, which you should move towards, requiring you to squeeze through some gaps and shimmy over cliff faces. Once you reach him, a cutscene will play.
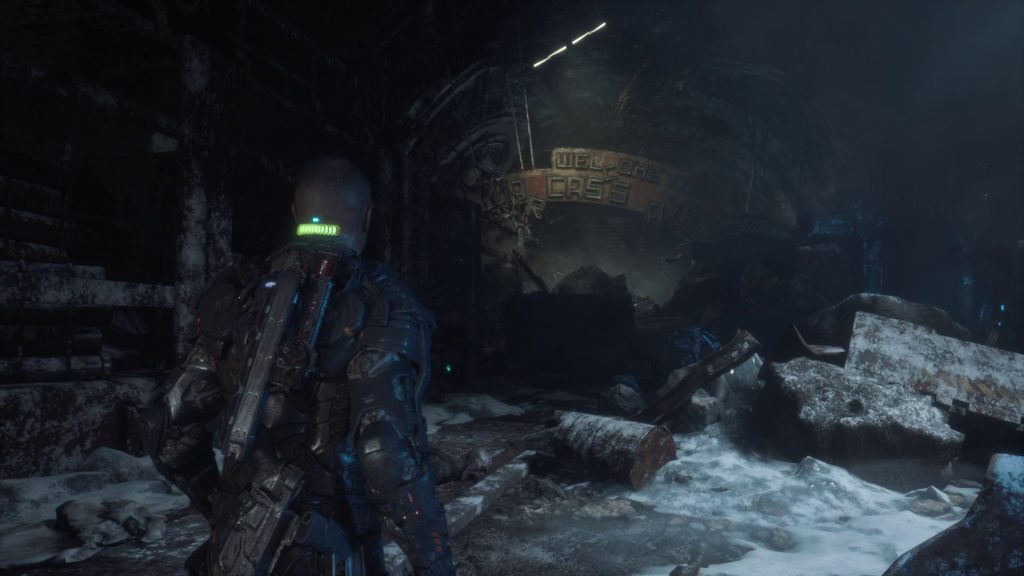
Find Shelter in the Outpost
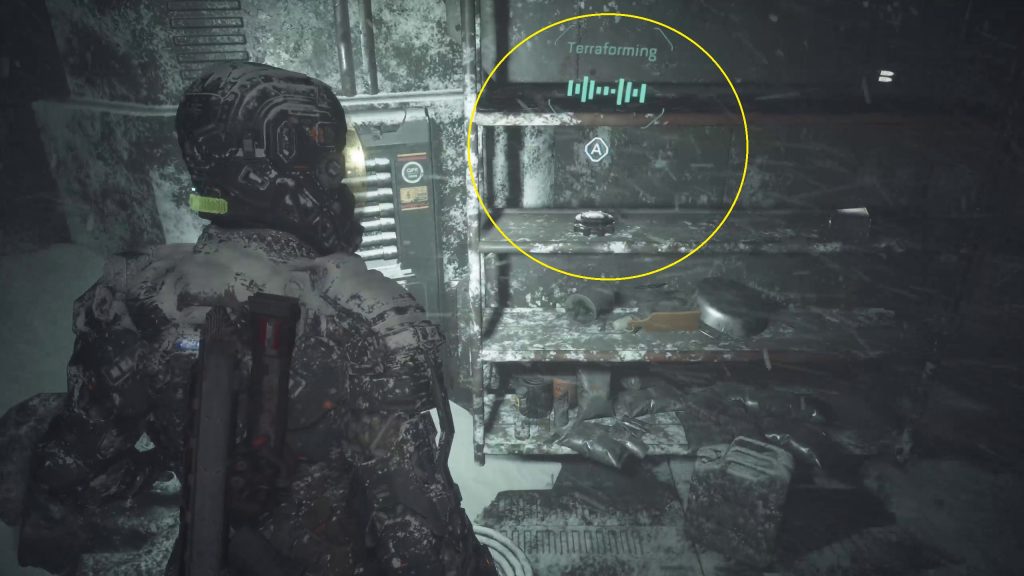
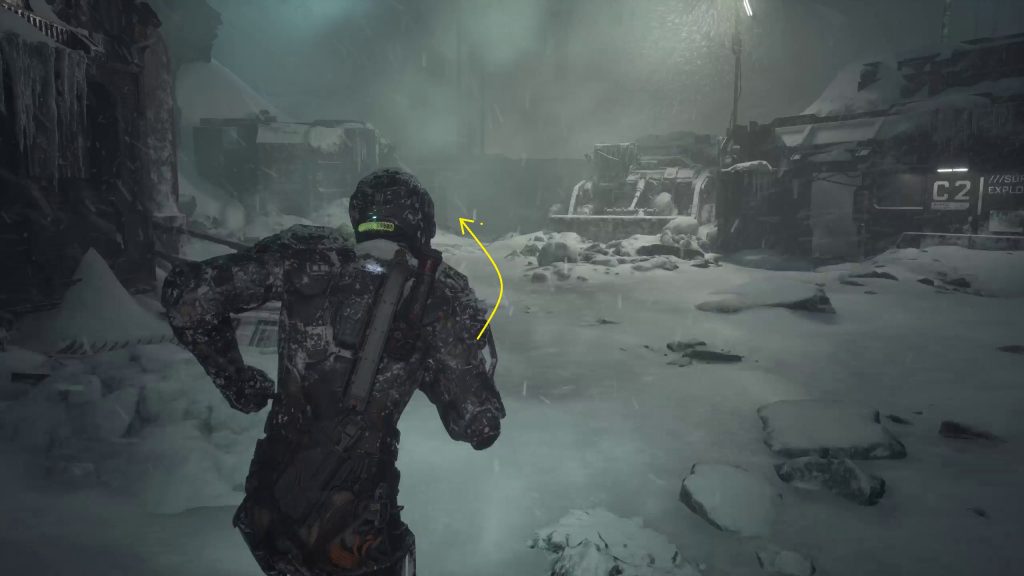
After the cutscene, you can continue through the gates in front of you, pulling the lever to open the second gate. Once inside the outpost, go straight forward, past the illuminated building closest to you, and go into the left door to find Miranda Kristofich’s audio log “Terraforming.”
After that, you can head into the highly-illuminated building closest to the gate. There is a gap to your right leading to a room with a Reforge in it. Once you are done there, you can delve further into the building, heading downstairs. There will be frozen biophage here, and one of them will come to life in the second downstairs room bathed in yellow light.
Watch out for frozen biophage; some will come to life
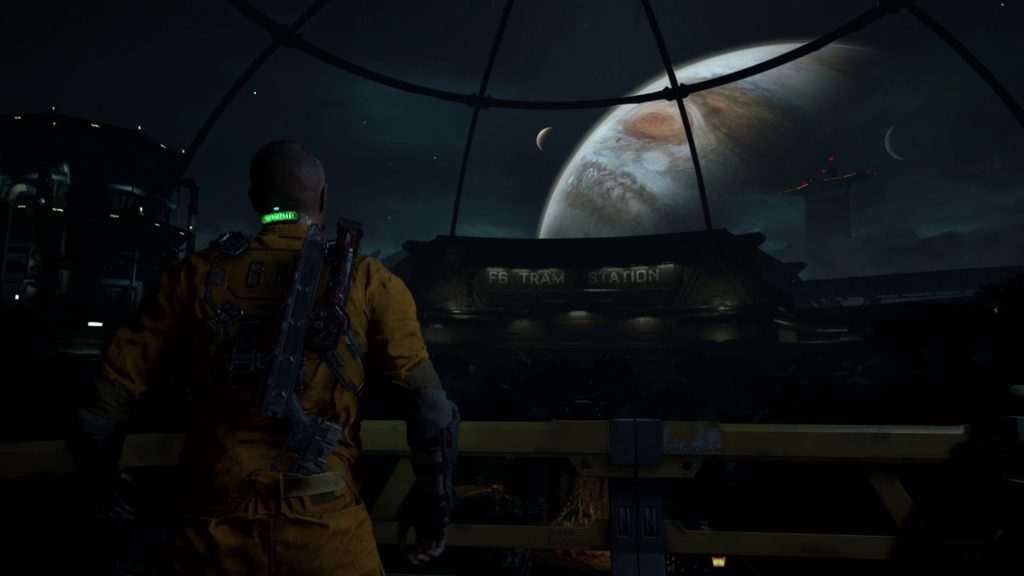
Keep Moving to the Hangar
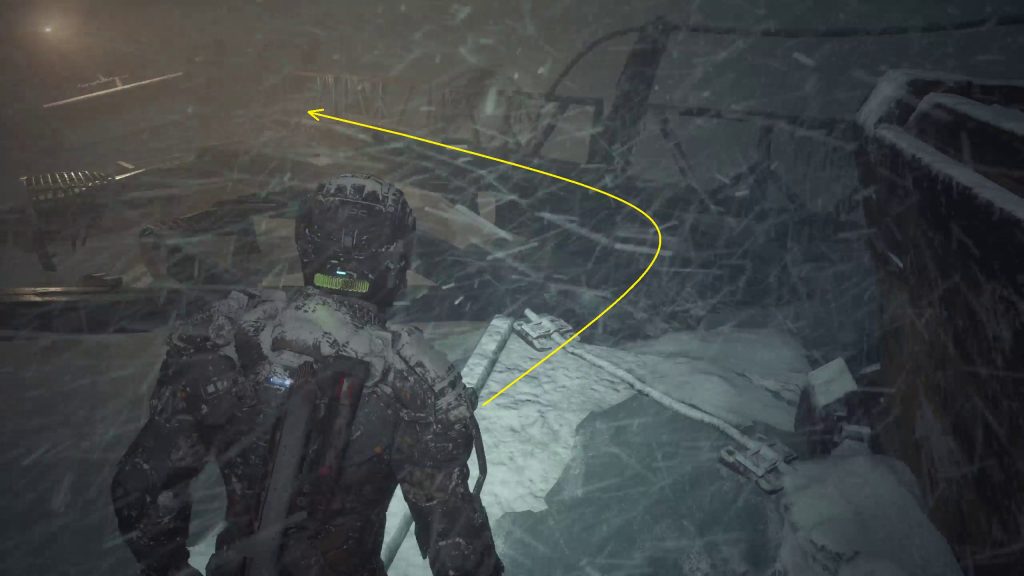
Once you end up back outside, you can continue up the hill. Be mindful that you will be ambushed by some biophage buried in the snow, who will pop out right in front of you.
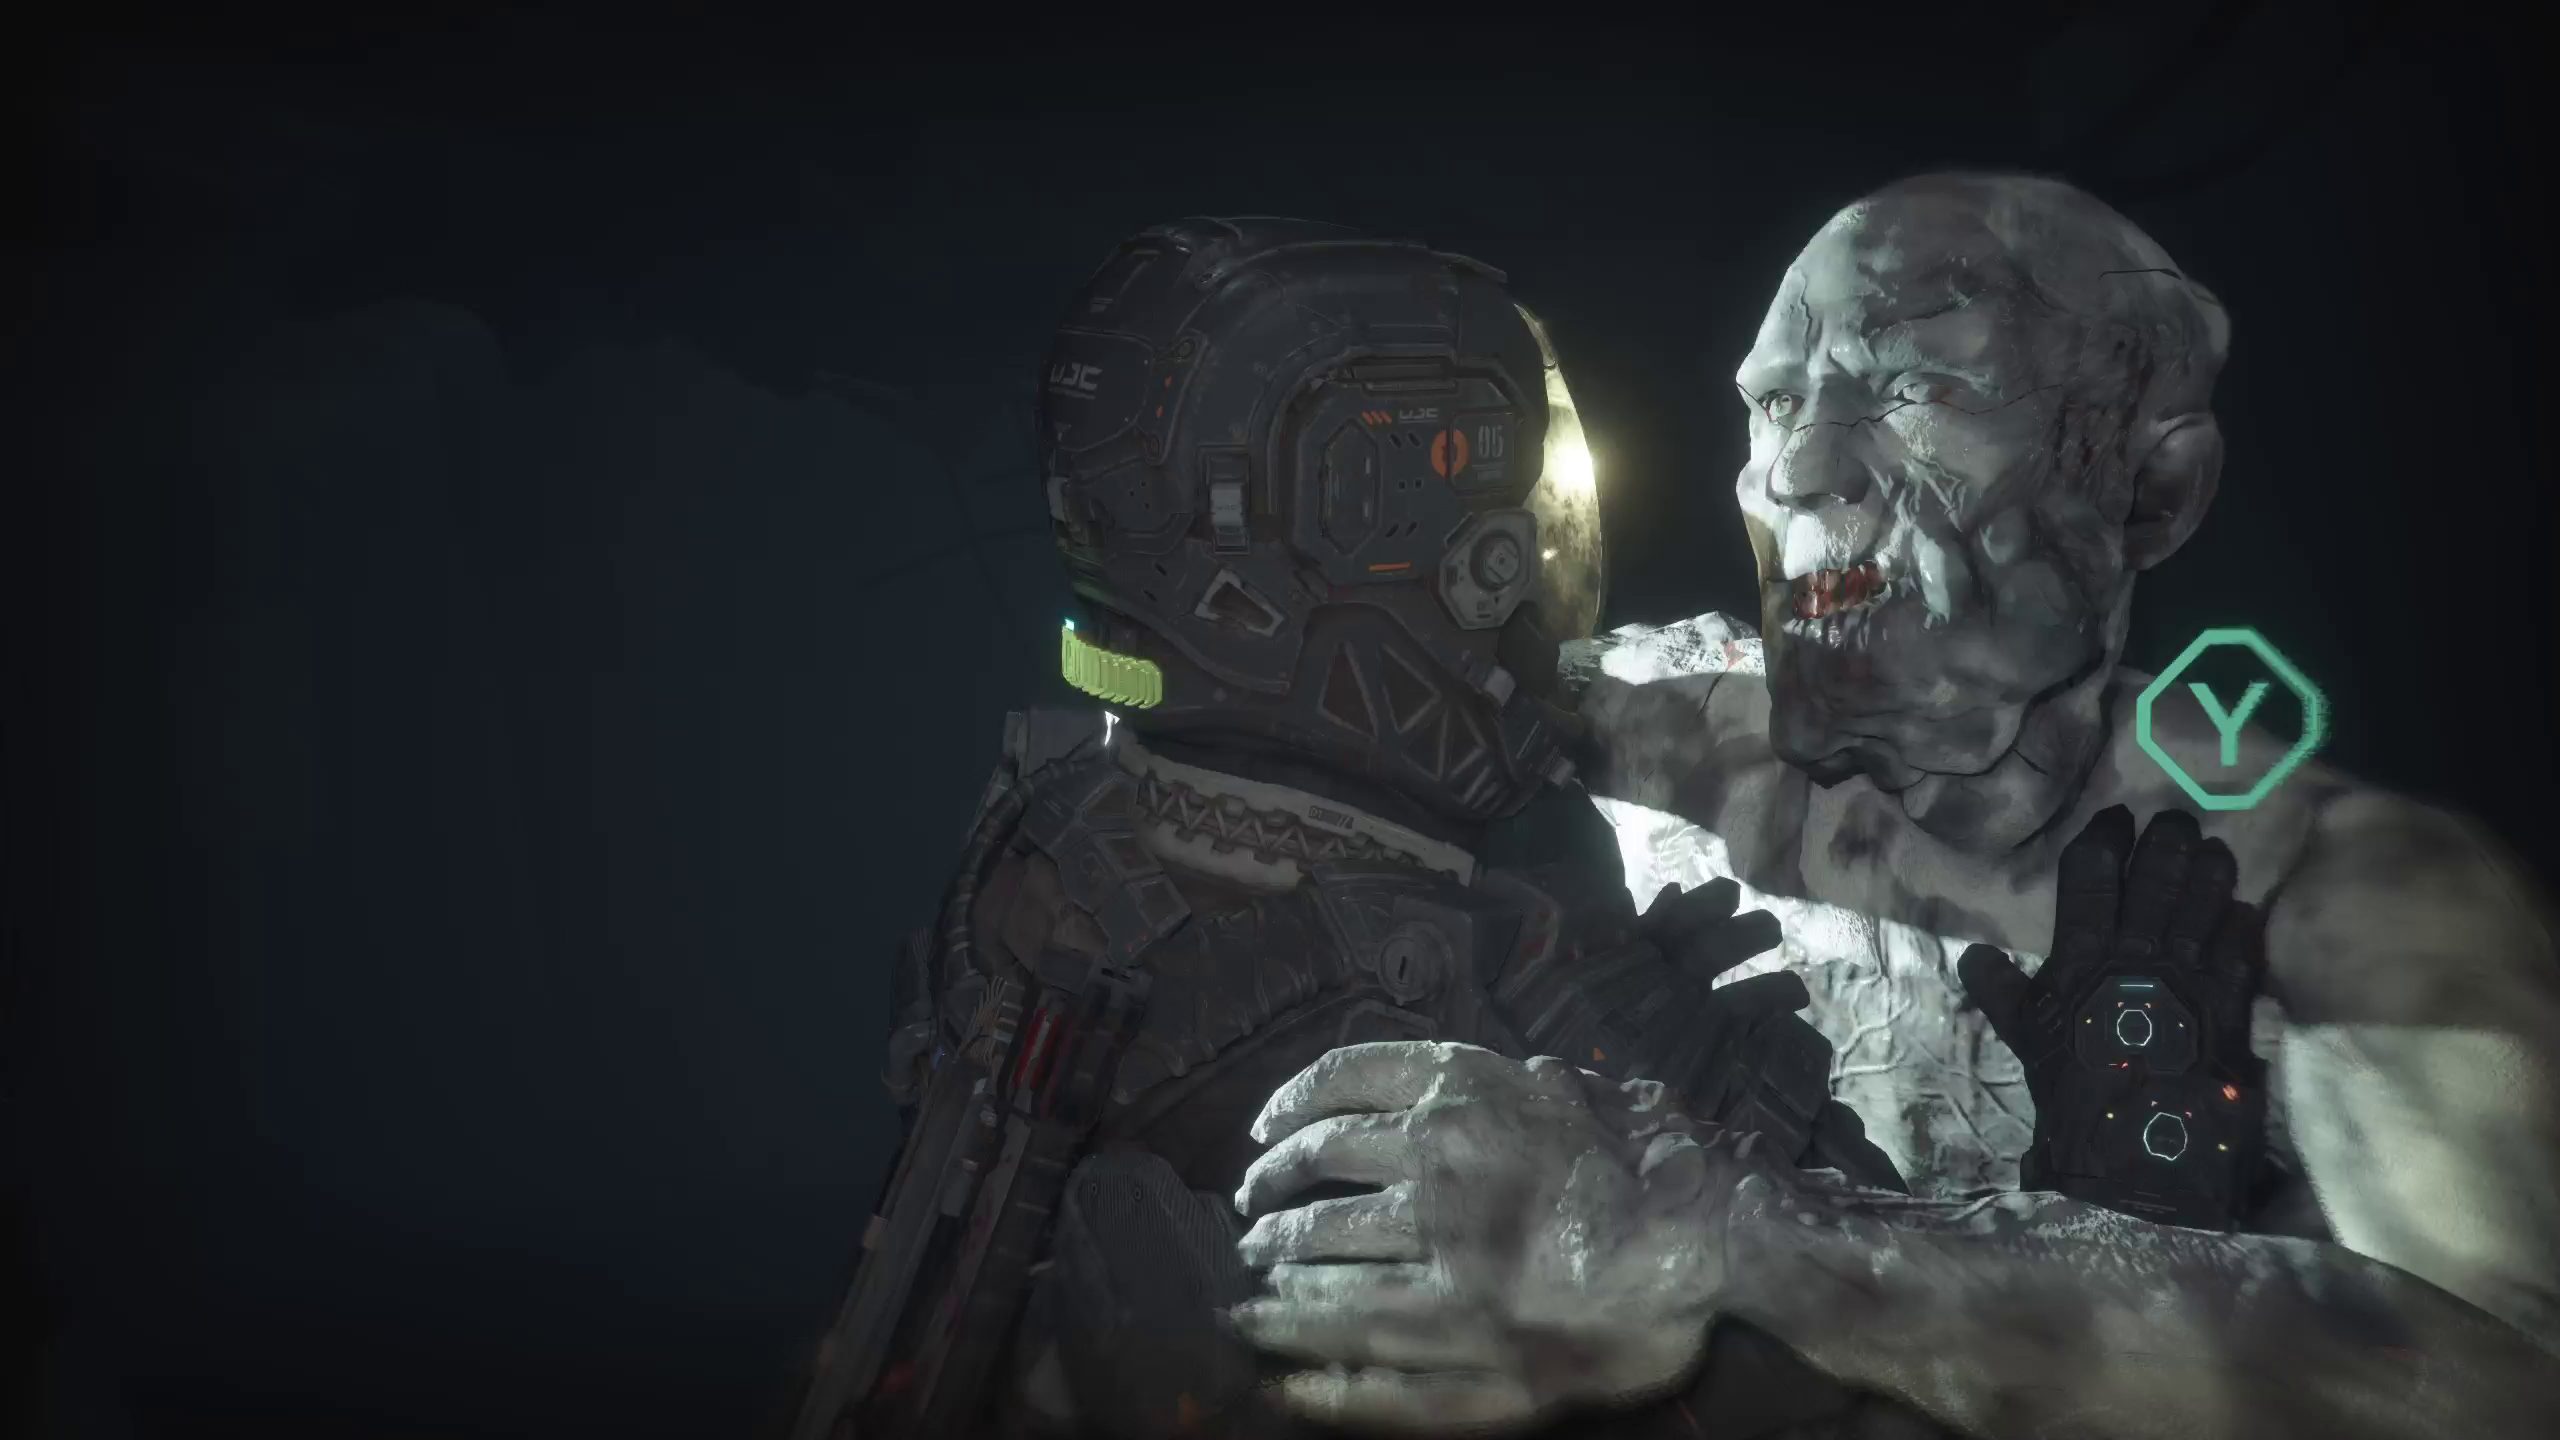
After ascending the hill, you’ll come across a damaged bridge, which you’ll have to cross. You will need to squeeze through gaps and shimmy across several parts of this bridge. Once you reach the other side, you’ll be ambushed by the spider-like biophage you encountered in the last level, and will have to mash/ .
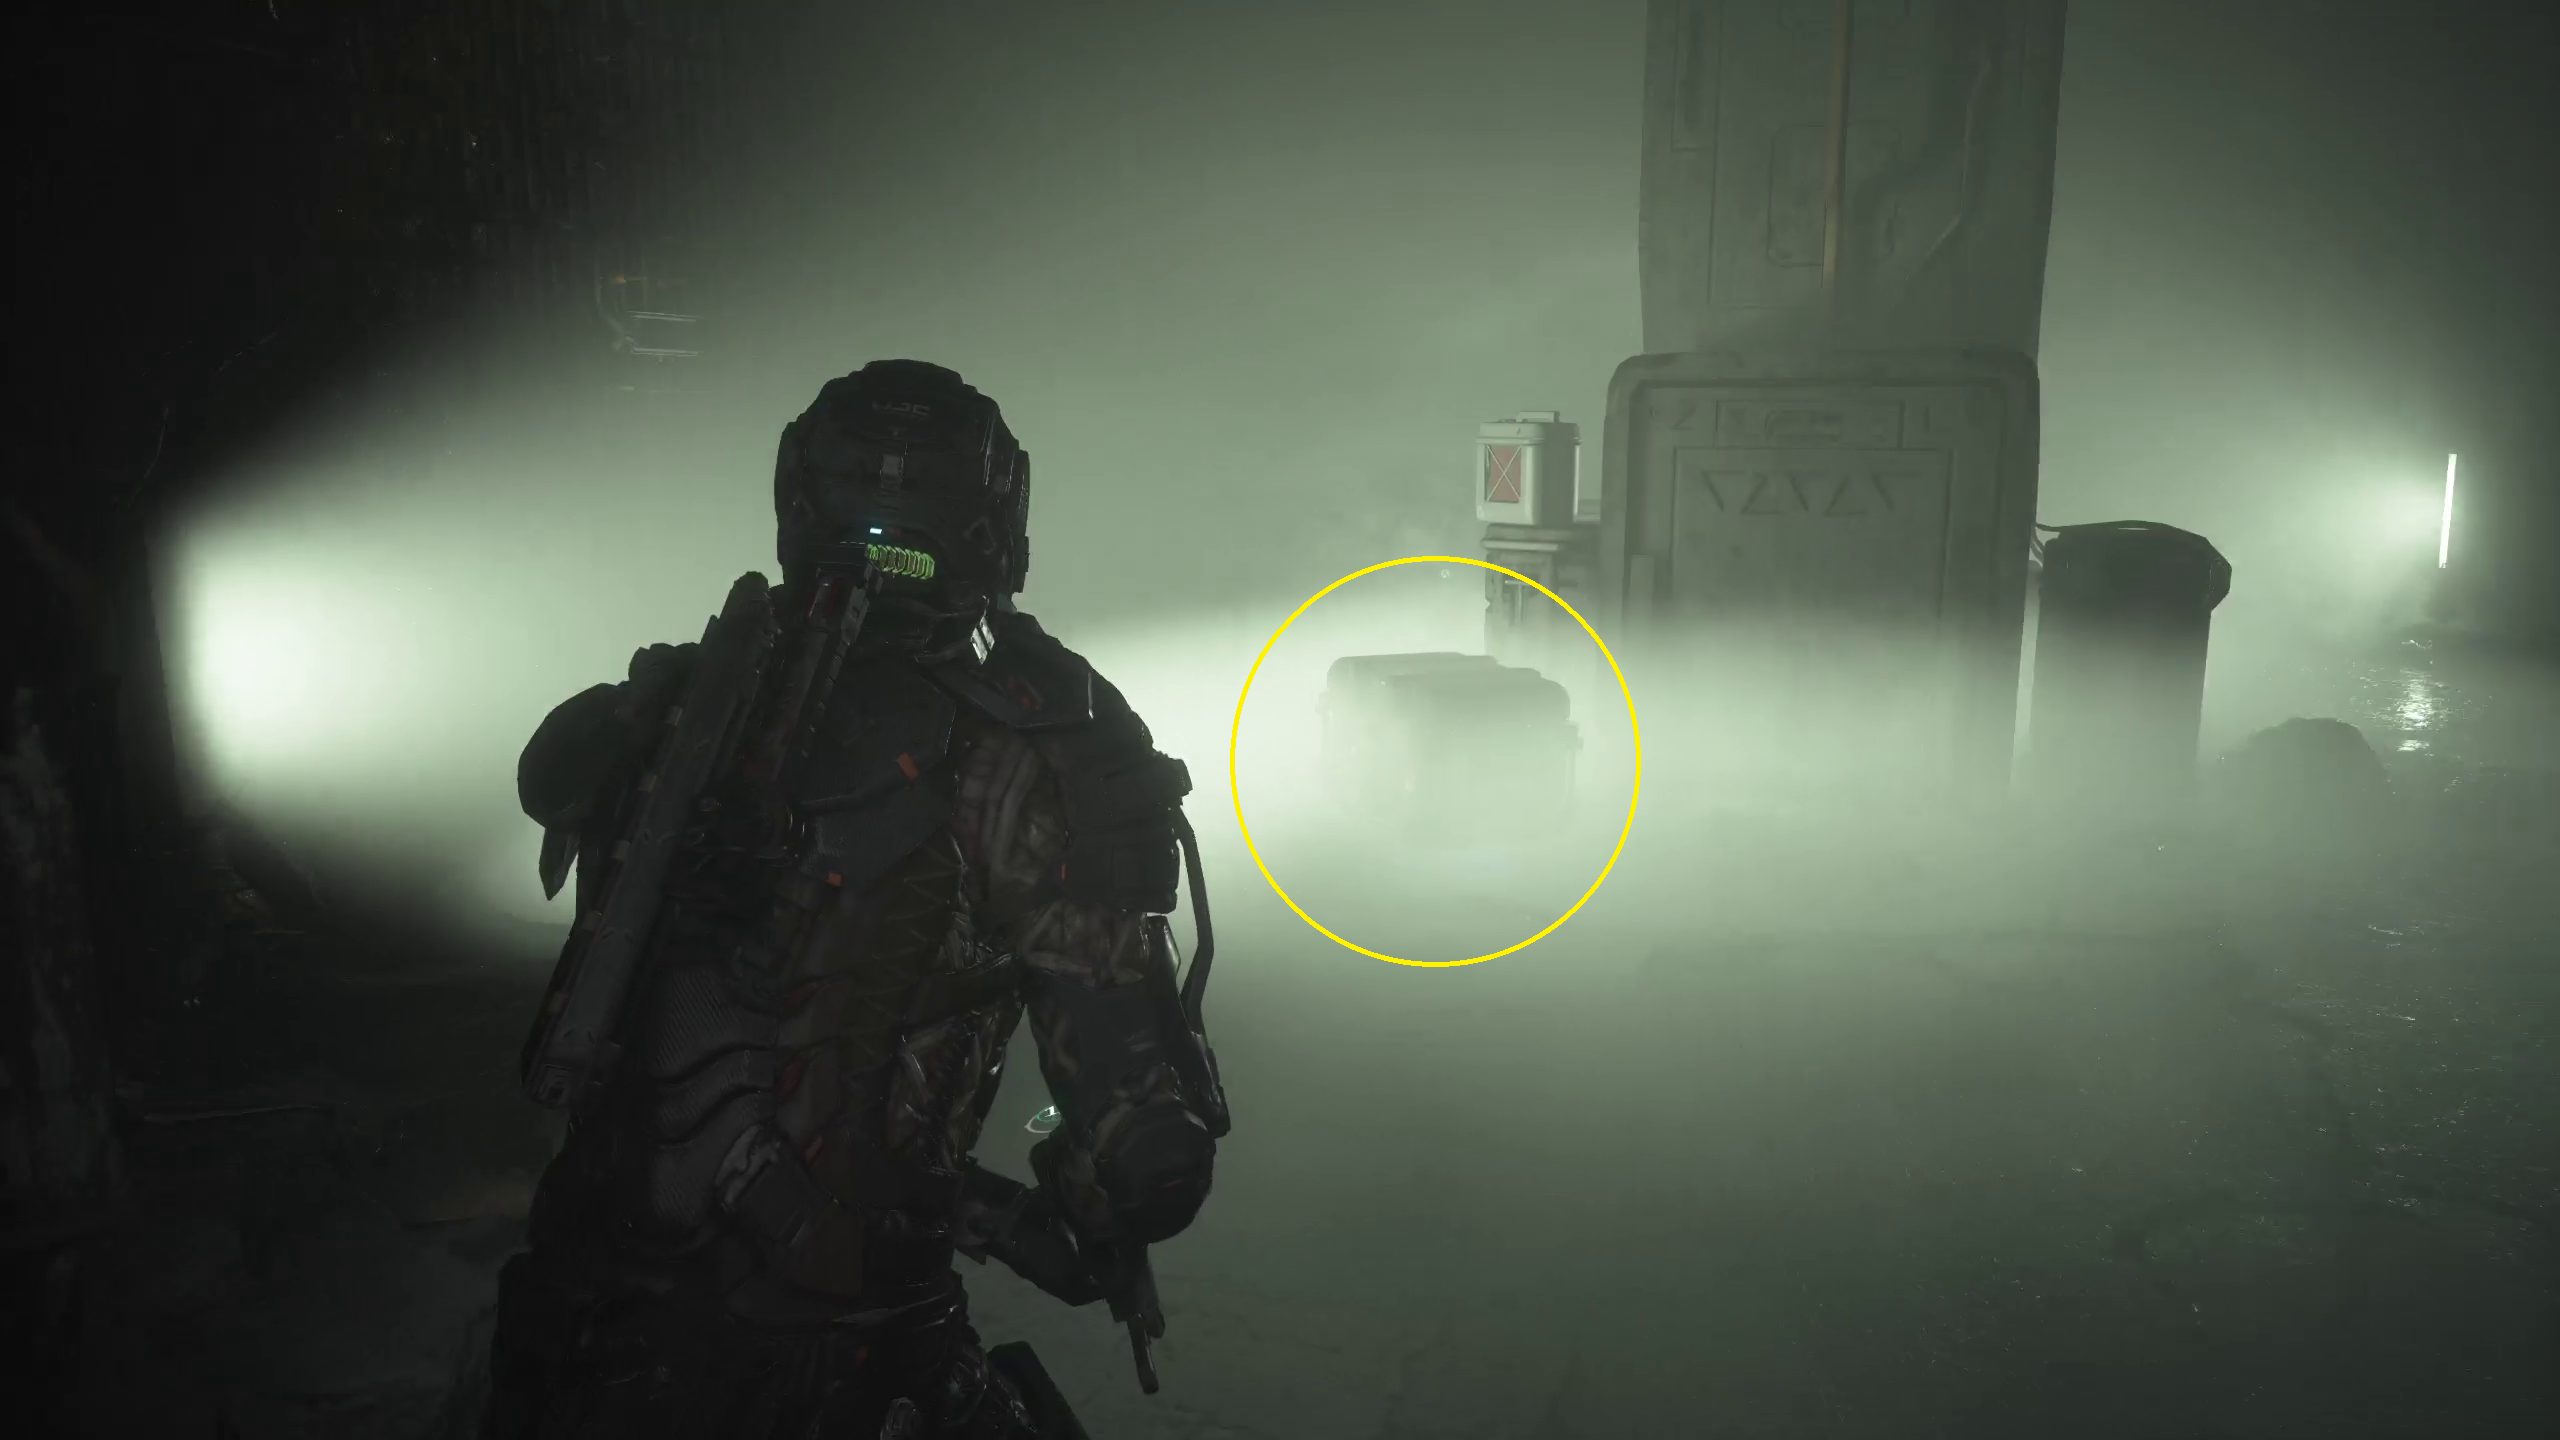
Once you take him out, you can open the gate in front of you with the lever next to it. This will open up a wide-open area. Take note of the explosive canisters on the ground, which will be very useful in the coming onslaught.
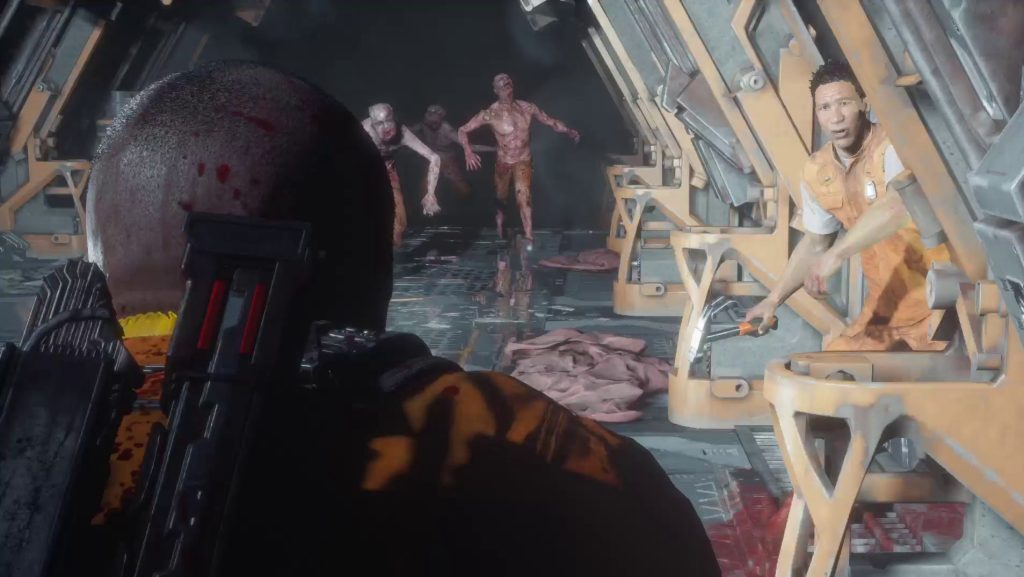
Try to Help the Trapped Worker
After you come into this area, someone will talk to you through a closed door, asking you to pry his door open and save him. After he is done speaking, you will be ambushed by several spider biophage, accompanied by some regular enemies. While the many explosives can make short work of them, do keep in mind that the spiders can turn invisible, and the regular biophage can now sprout tentacles that you will need to shoot to prevent them from evolving.
You’ll know you’ve completed the area when you hear screaming coming from the trapped worker. You may need to clear out some remaining enemies, and then go to the opposite side of the arena from where you heard the worker, to the right of where you came in. Go towards an illuminated door, which will burst open to reveal a biophage. In this same room, you will find Richard Cids’s body and DATA-BIOS.
Enter the Tunnels to the Garage
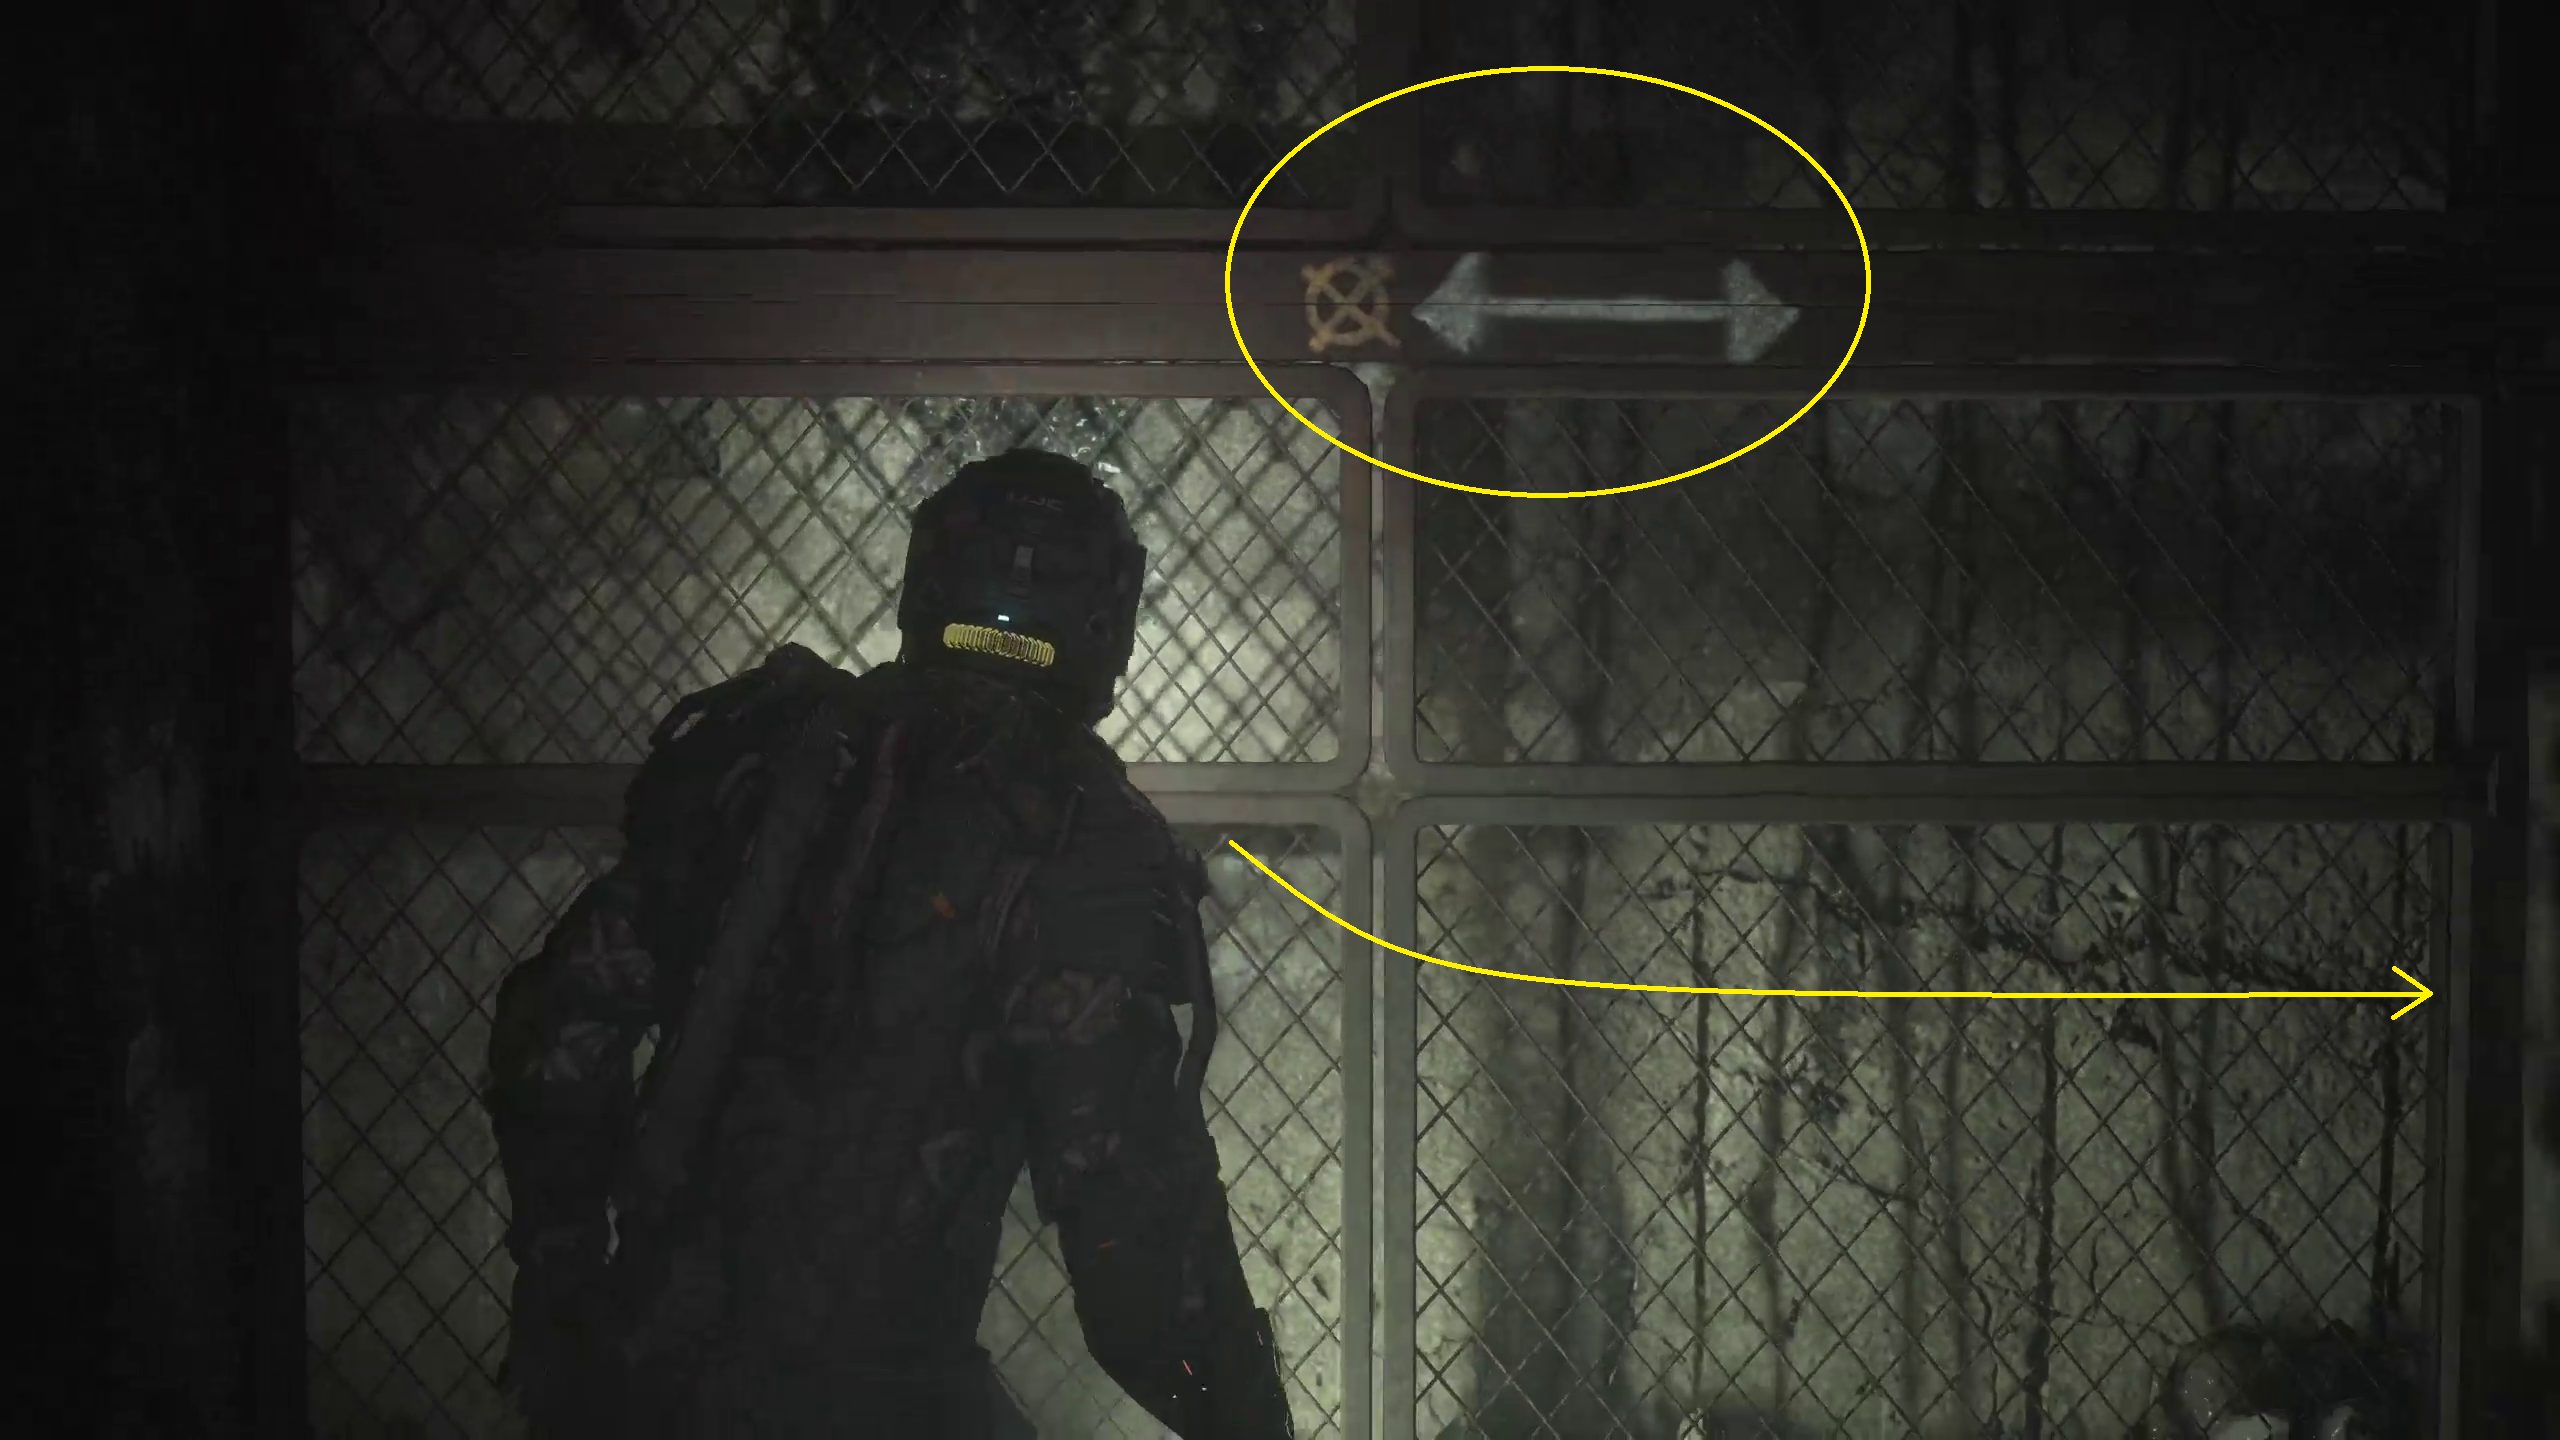
Once you are finished, you can go to the other side of the arena, where the worker was trapped. When you approach the door, it will slide open to reveal a biophage. Deal with him, then continue through the doors and down the stairs. While you are in these tunnels, you can use the drawn signs on the walls and floor to make sure you don’t lose your way.
Find a Way Through the Tunnels
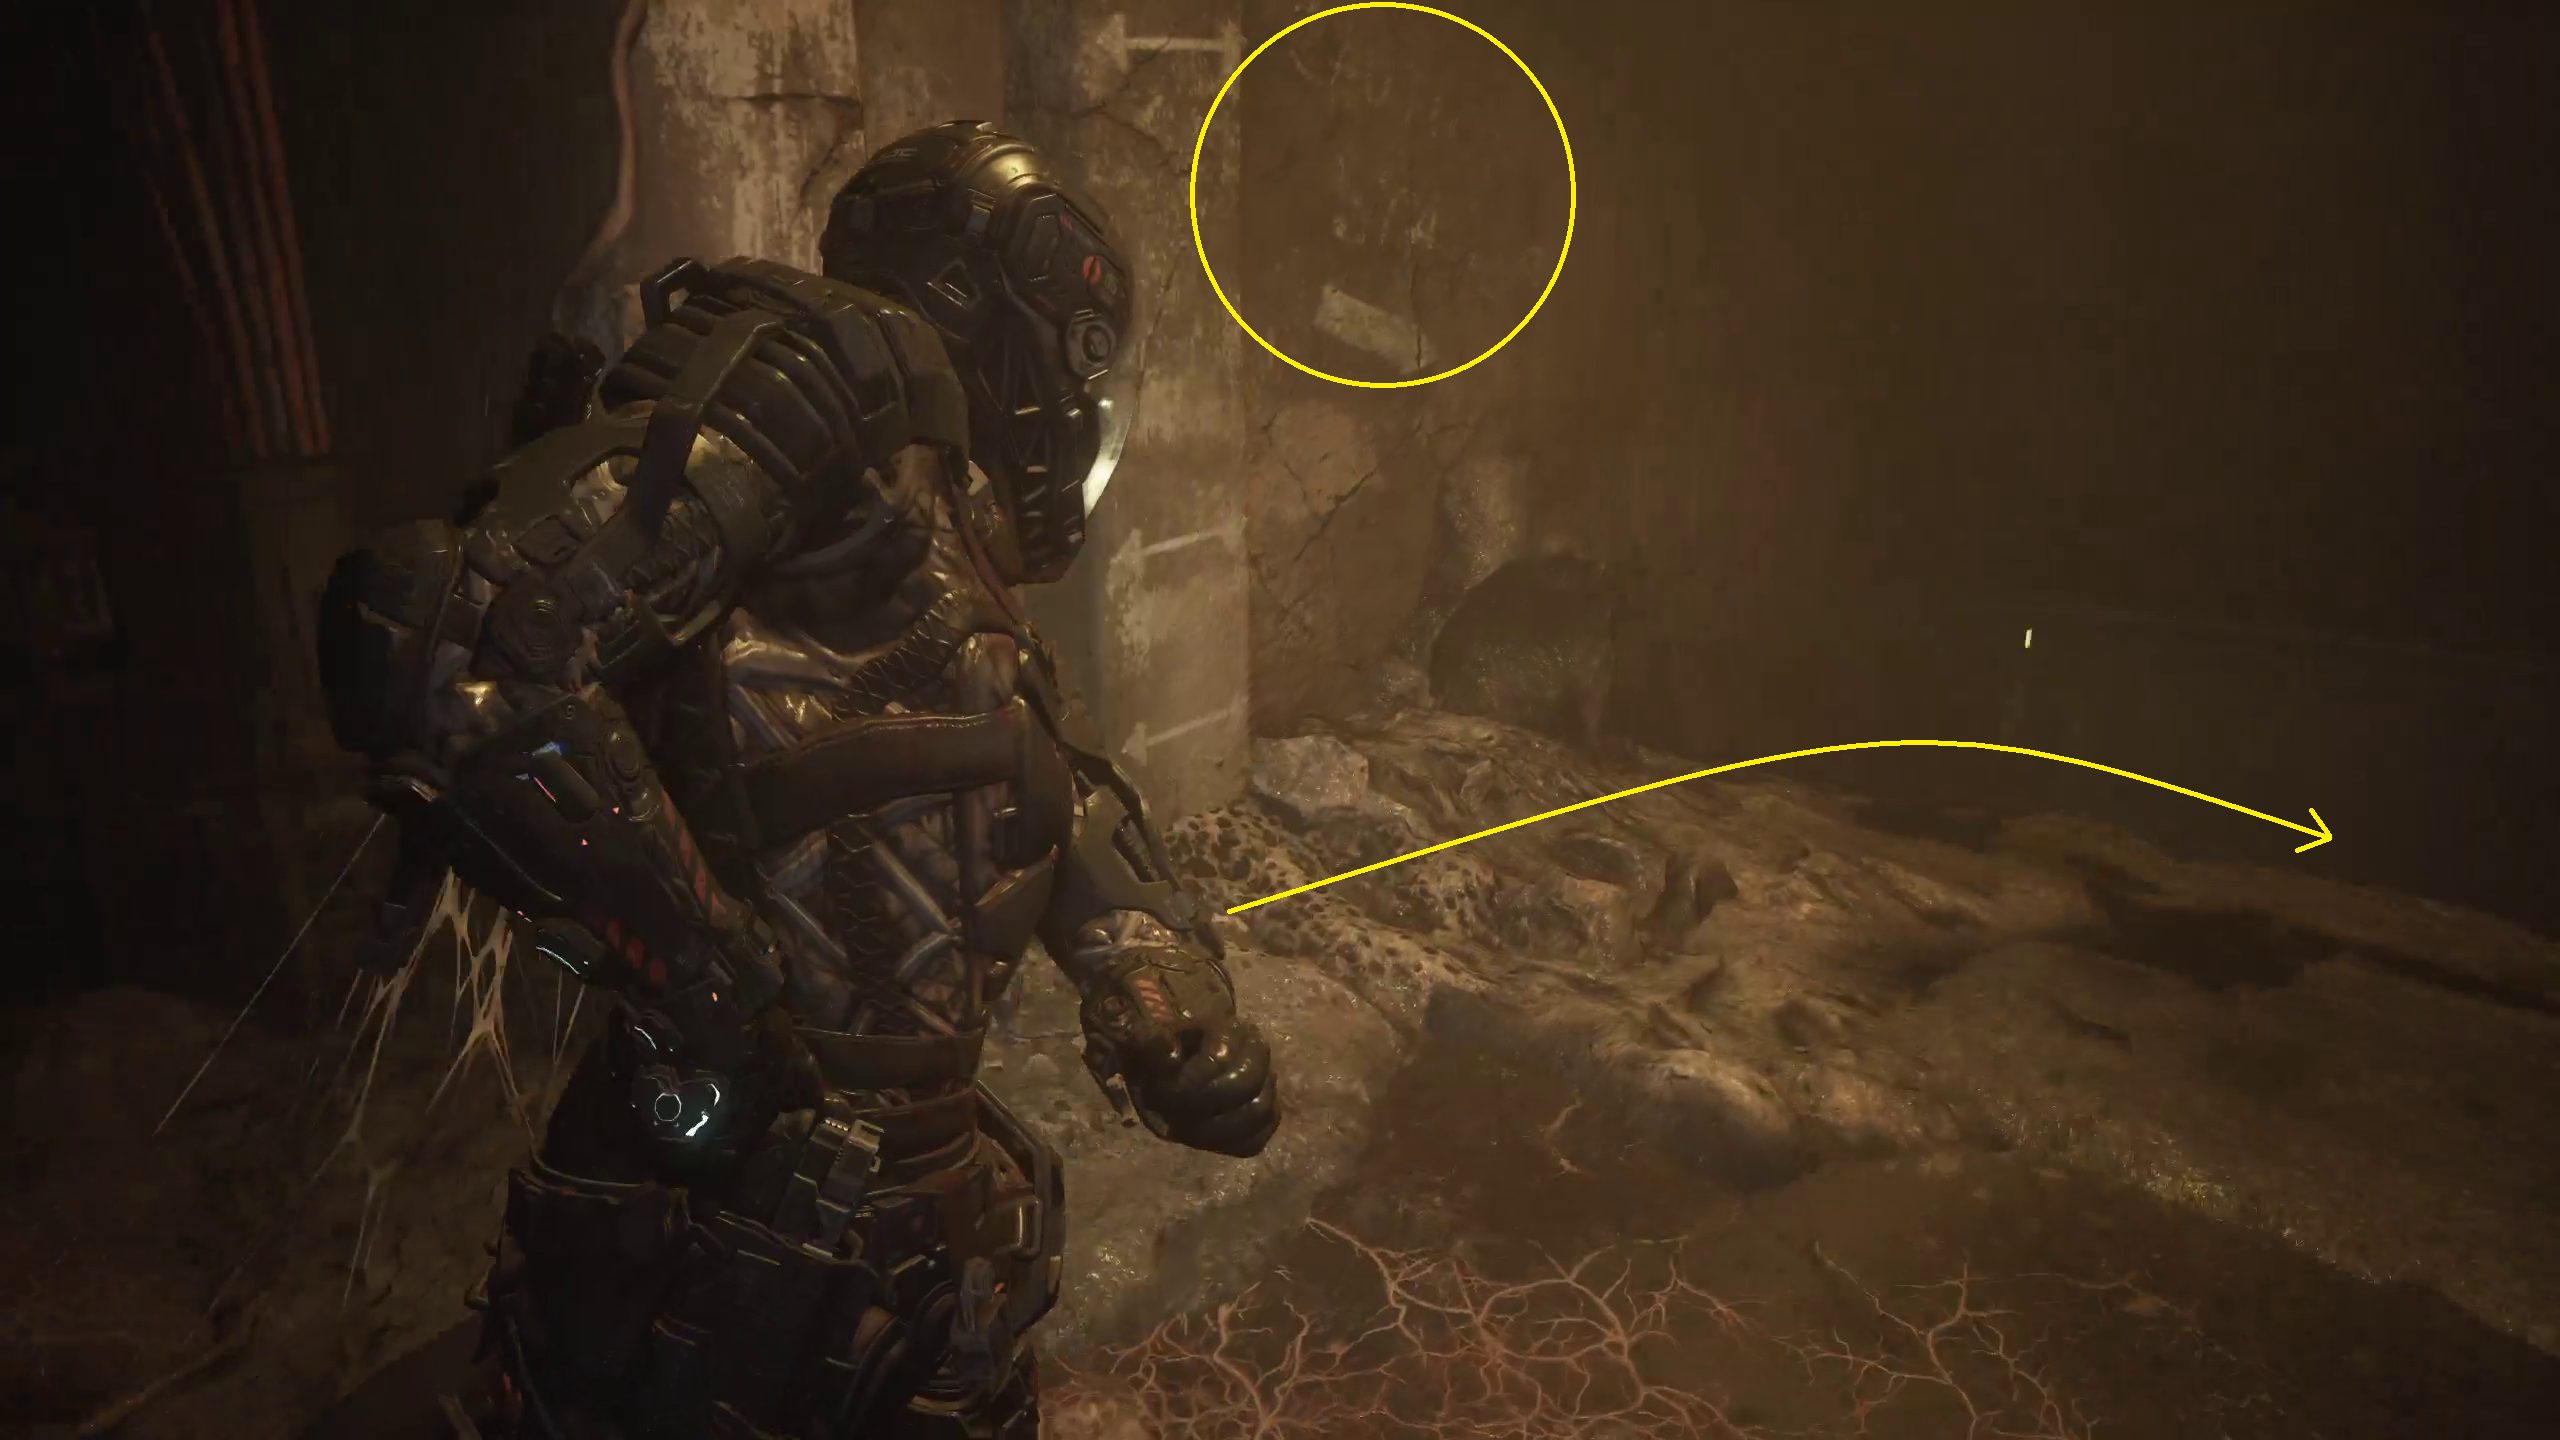
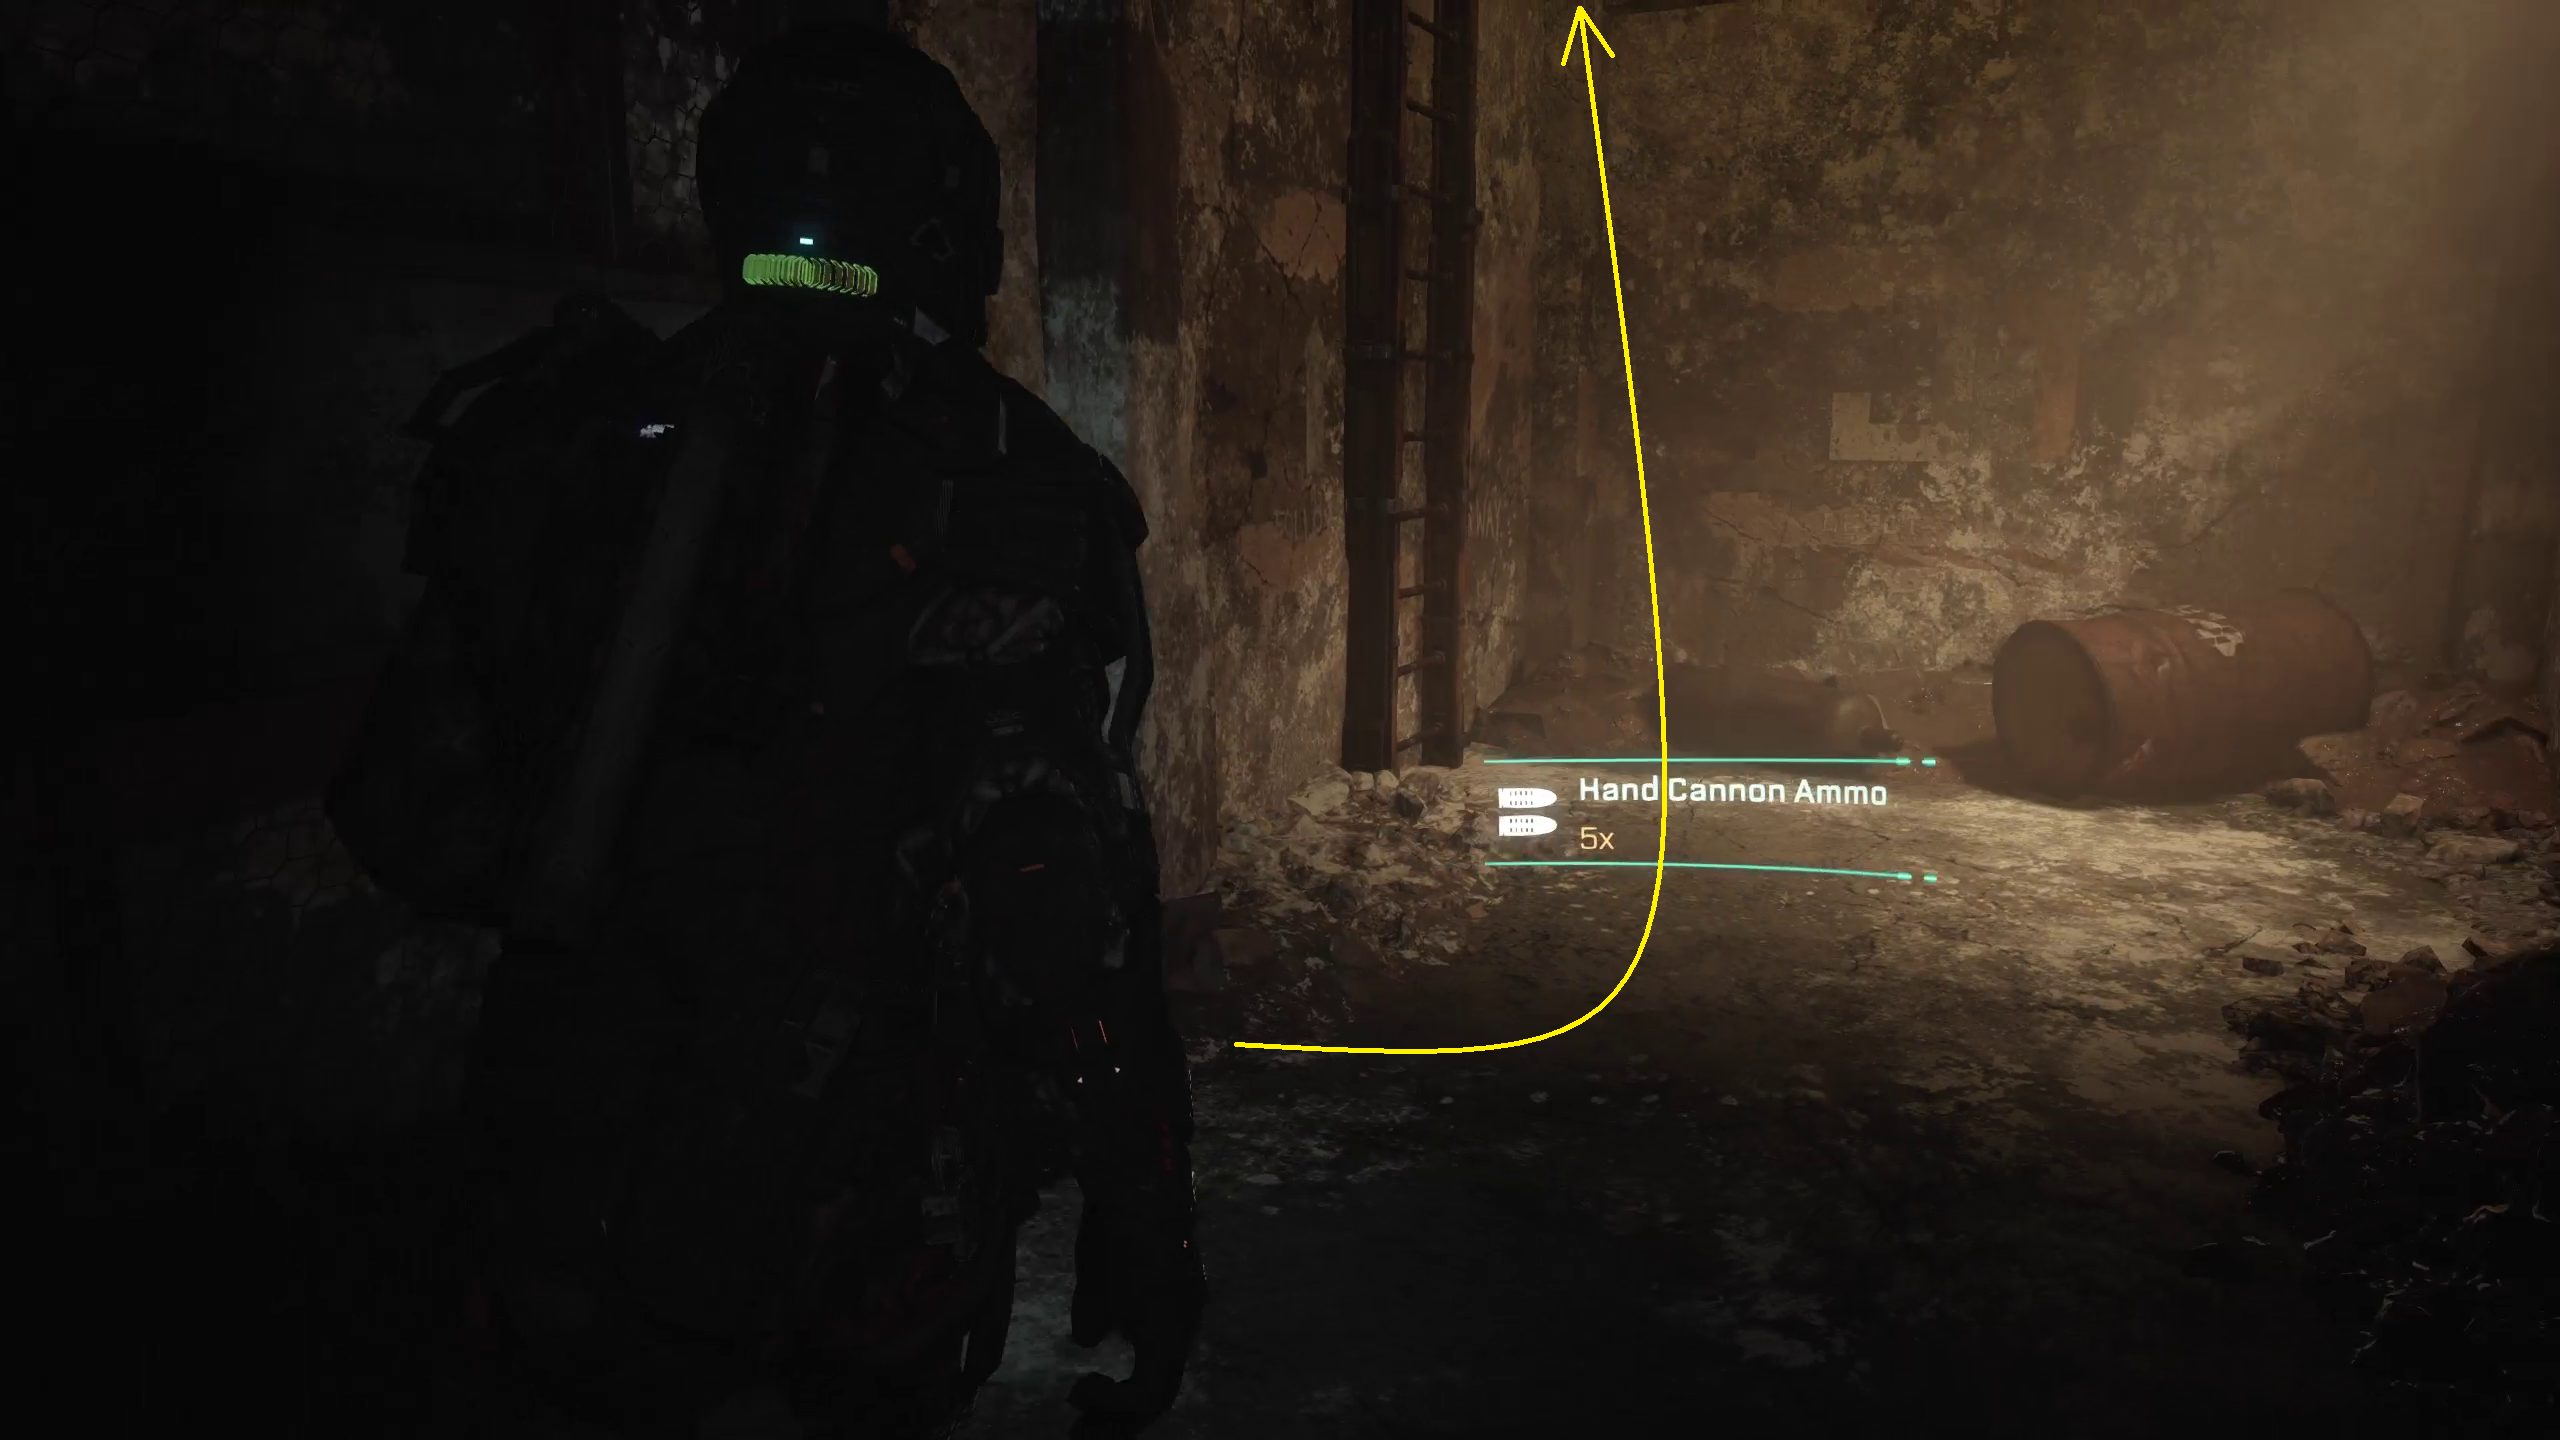
Continue forward until you reach some debris you need to crawl under. Go under it, and then go down the path to the left. Here, you will find an Audio Log from Dr. Caitlyn Mahler. Grab it, then head down the other path, to the right of the debris-crawl.
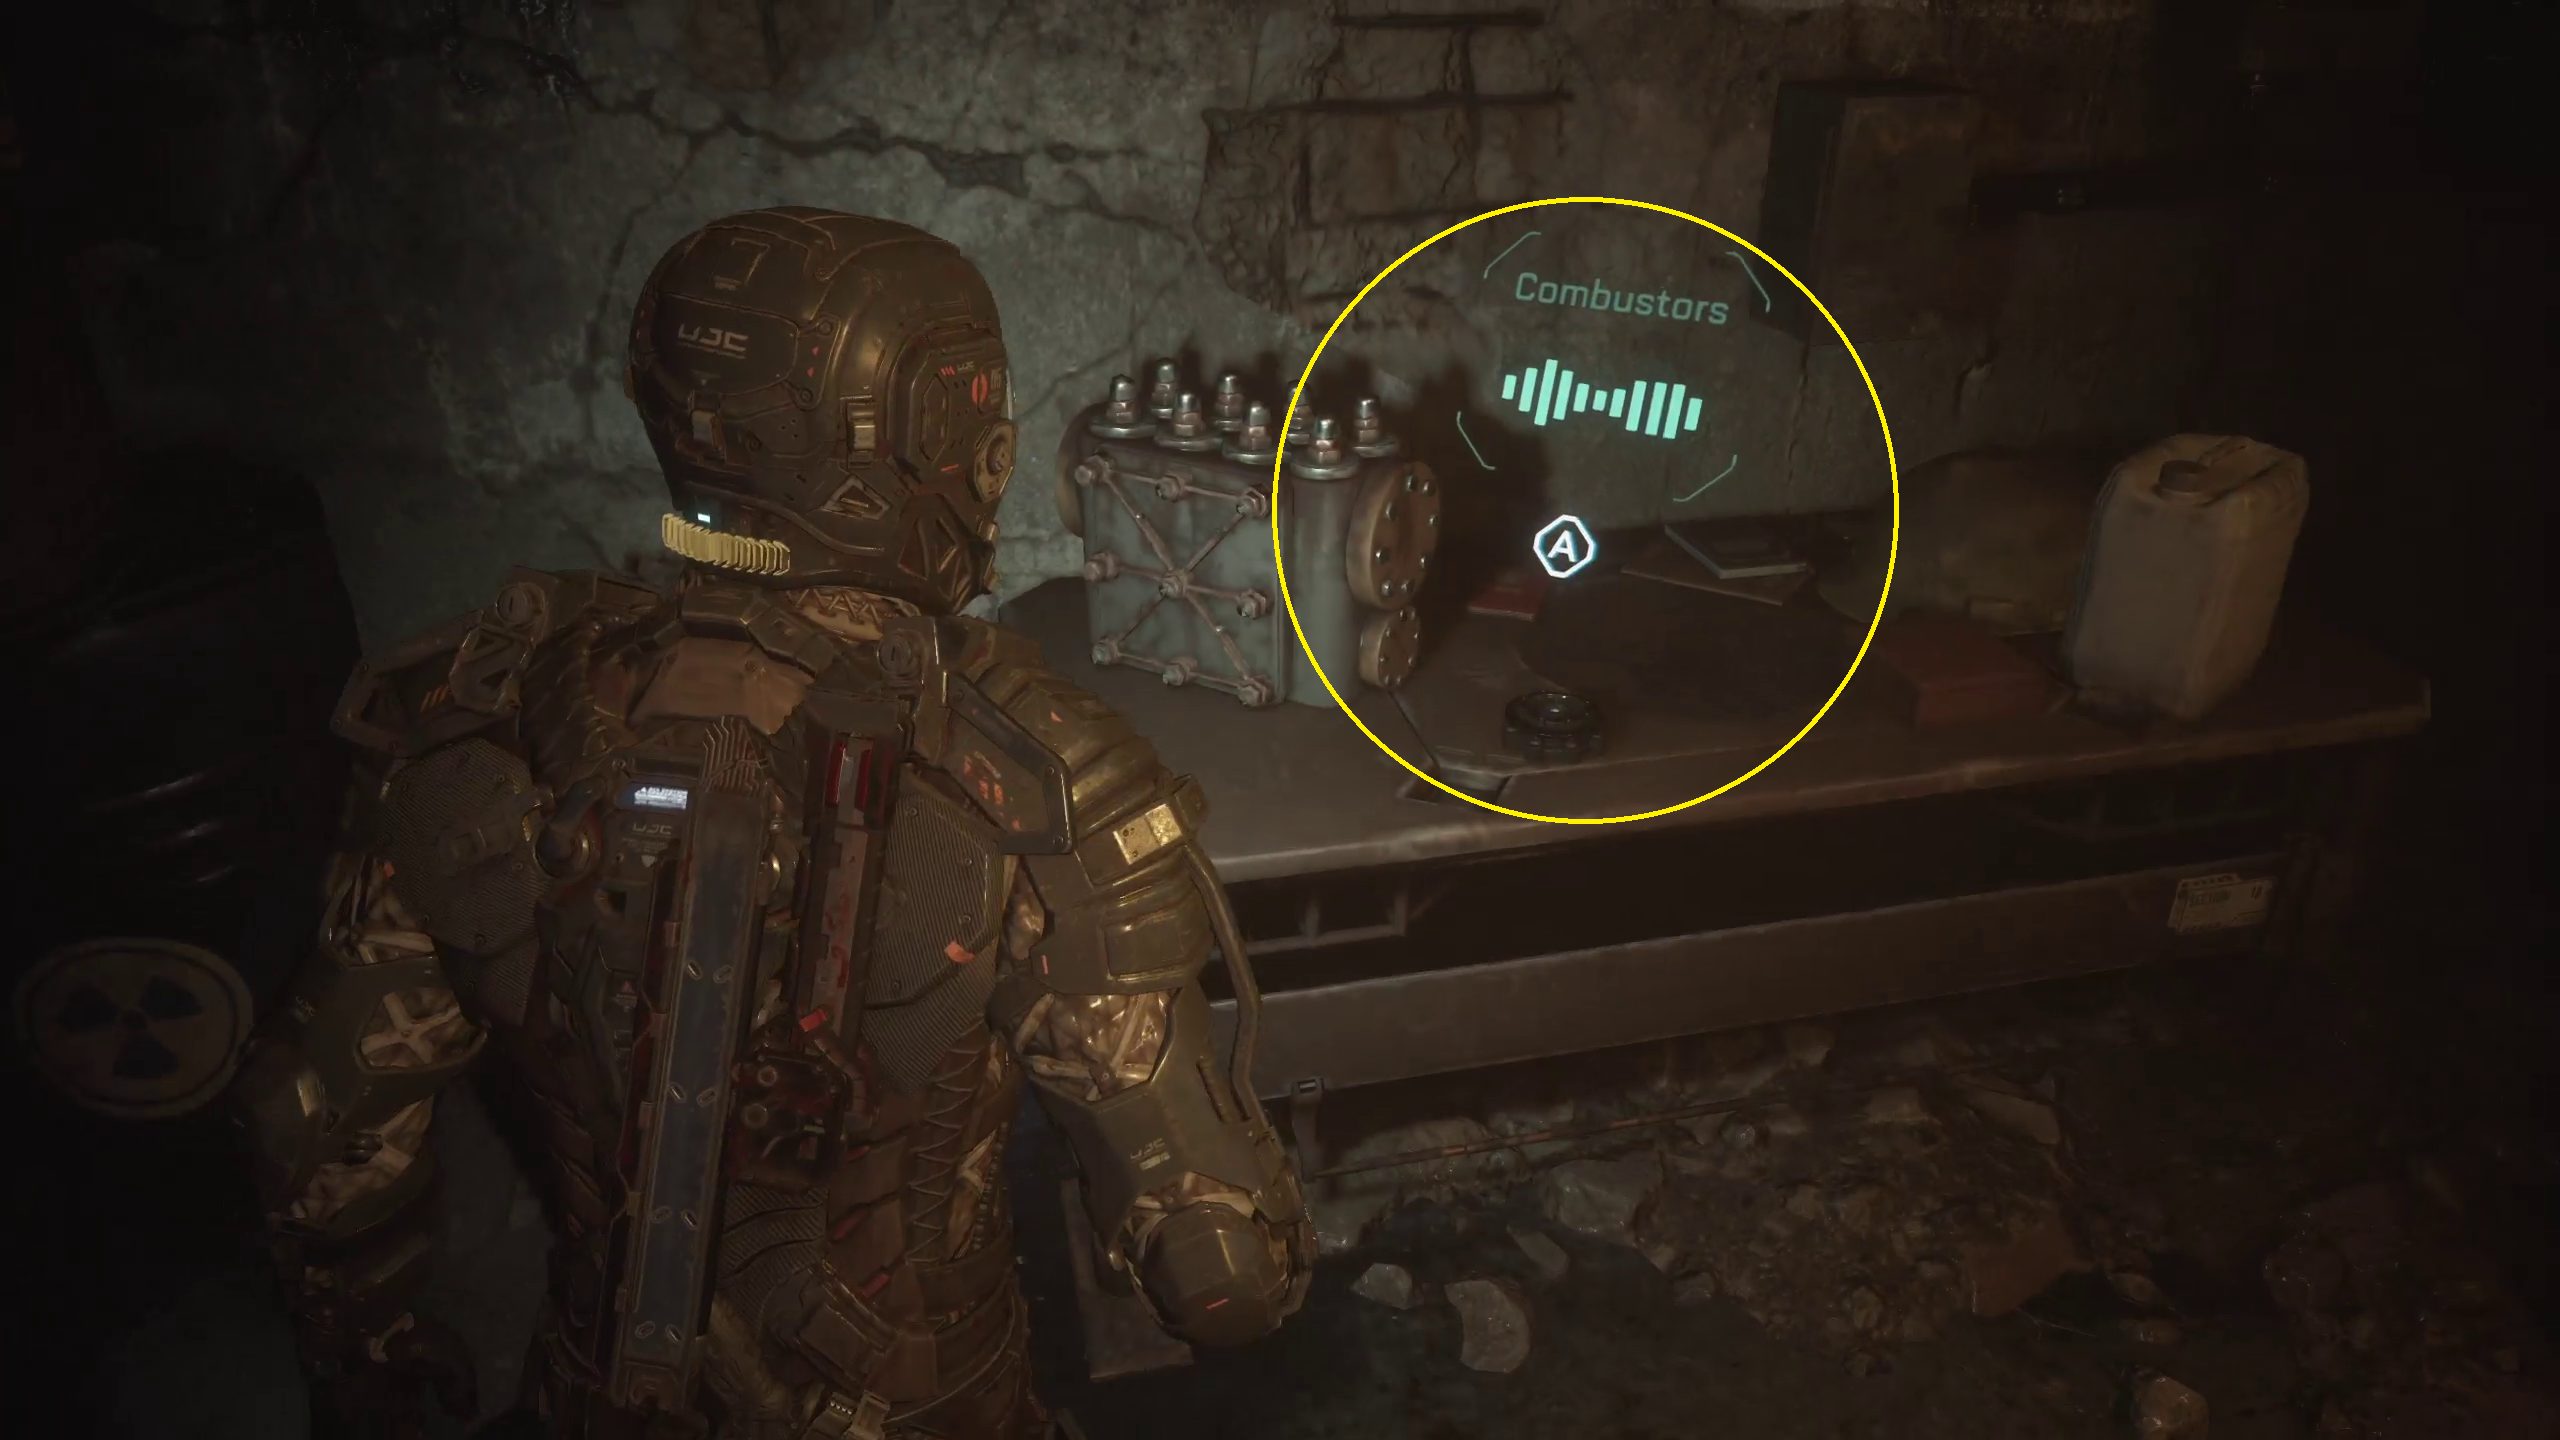
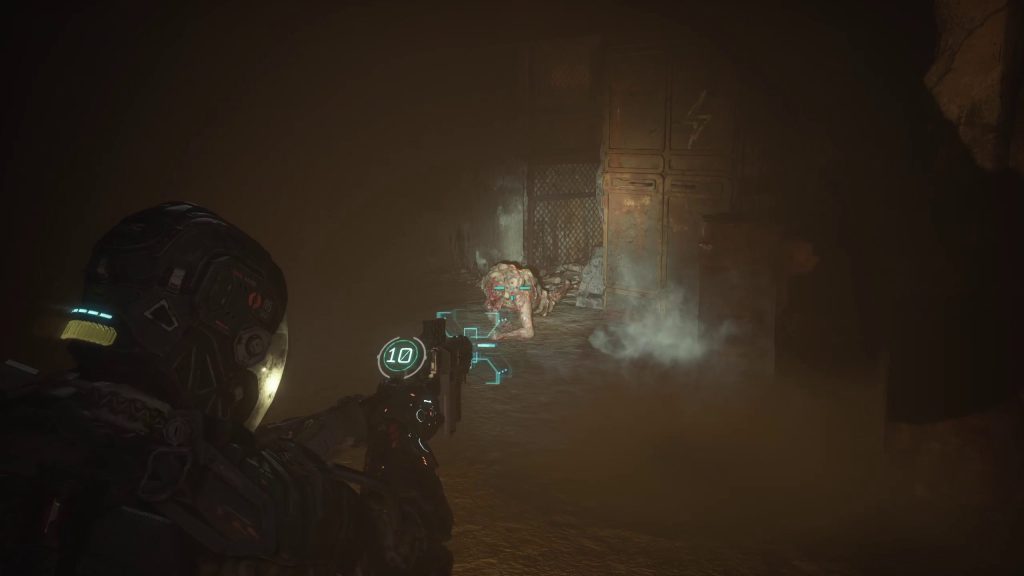
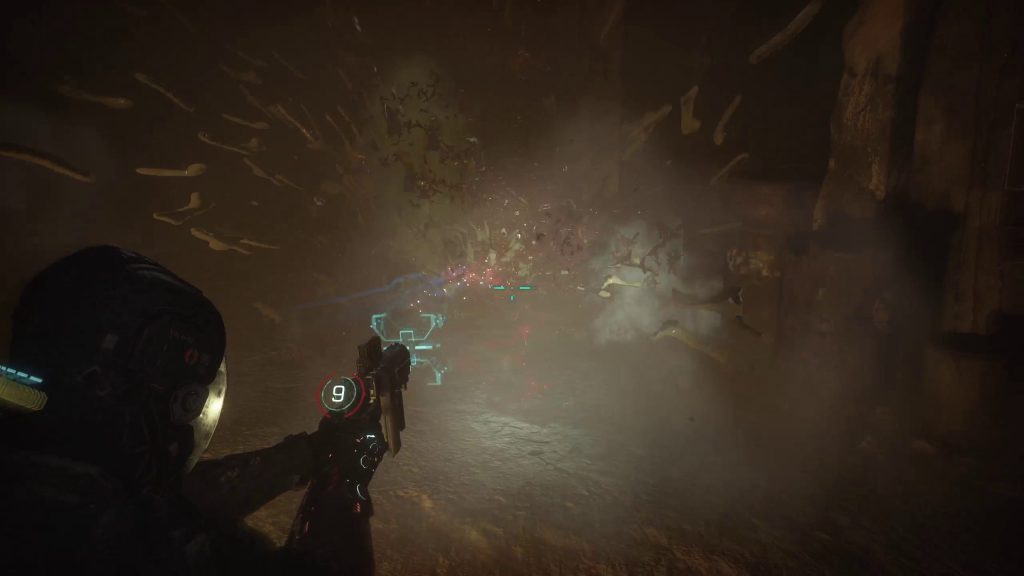
Continue down the corridors, making sure to peek into side rooms to see if they have loot until you encounter a new enemy type, the combustor. These combustors will explode after being shot or will explode next to you if they reach you. These are some of the easiest enemies to deal with (simply shot them once), but you can get some extra utility out of them in some places by using GRP on them and then tossing them at other enemies.
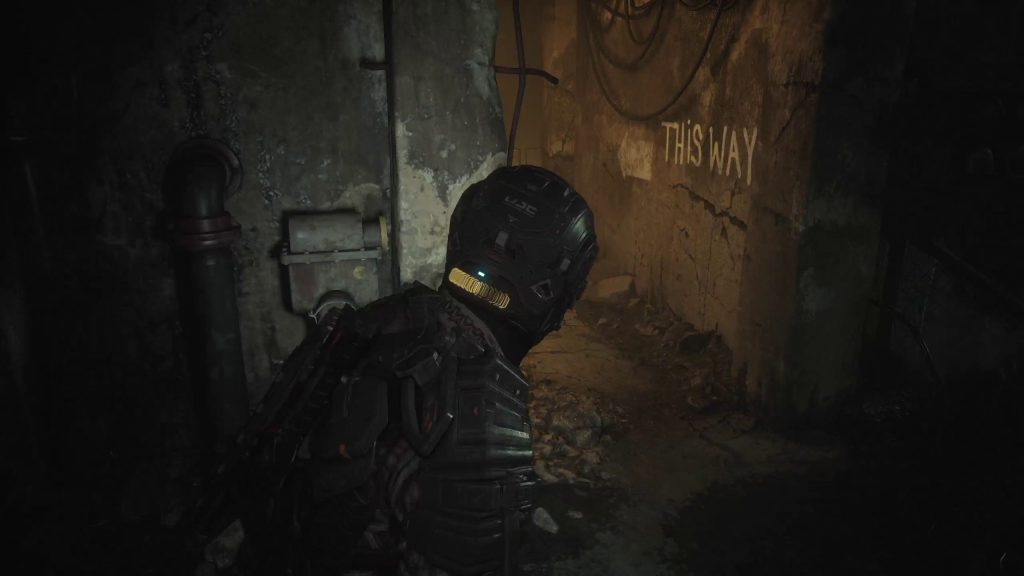
Take out the combustor here, then continue through the halls, following the arrows mentioned earlier. There are numerous dead ends, but they don’t lead very far, and you won’t encounter them if you follow the arrows.
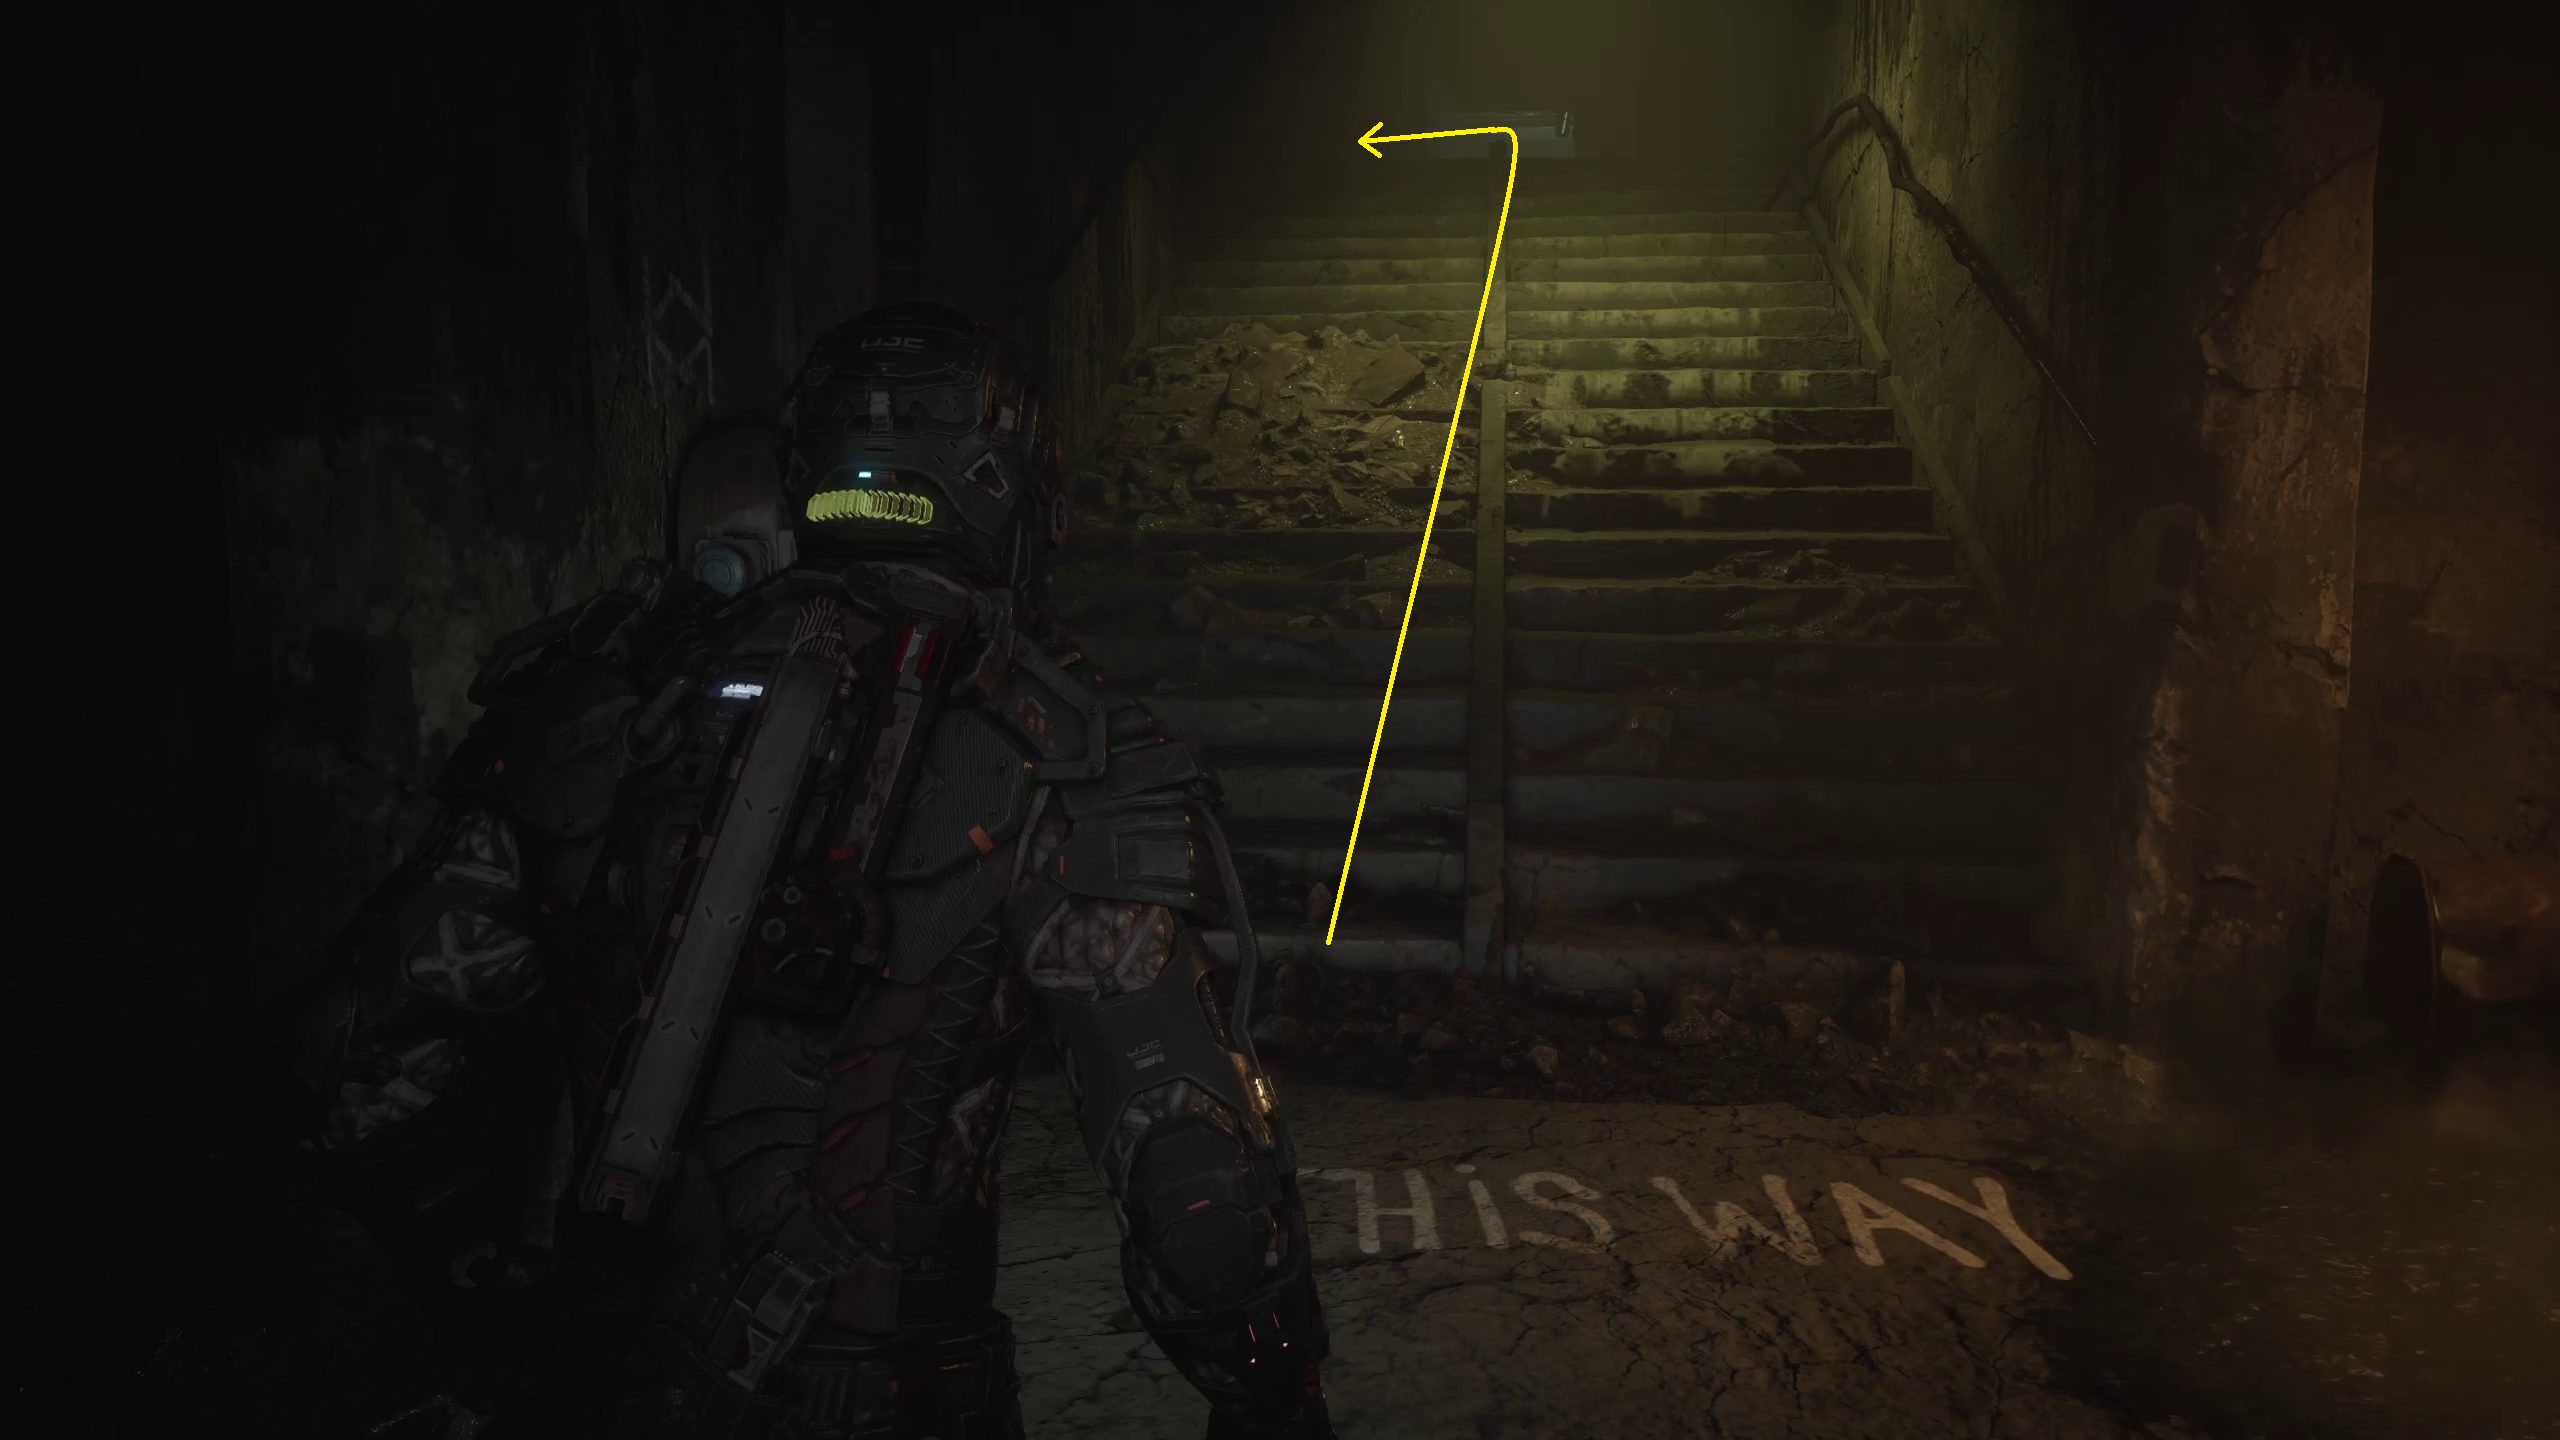
After heading up the stairs marked “THIS WAY” on the floor at the bottom, you’ll come up to a fork. Go to the left, where you’ll encounter several biophage. Deal with them, then loot the chest next to the central machine in this room.
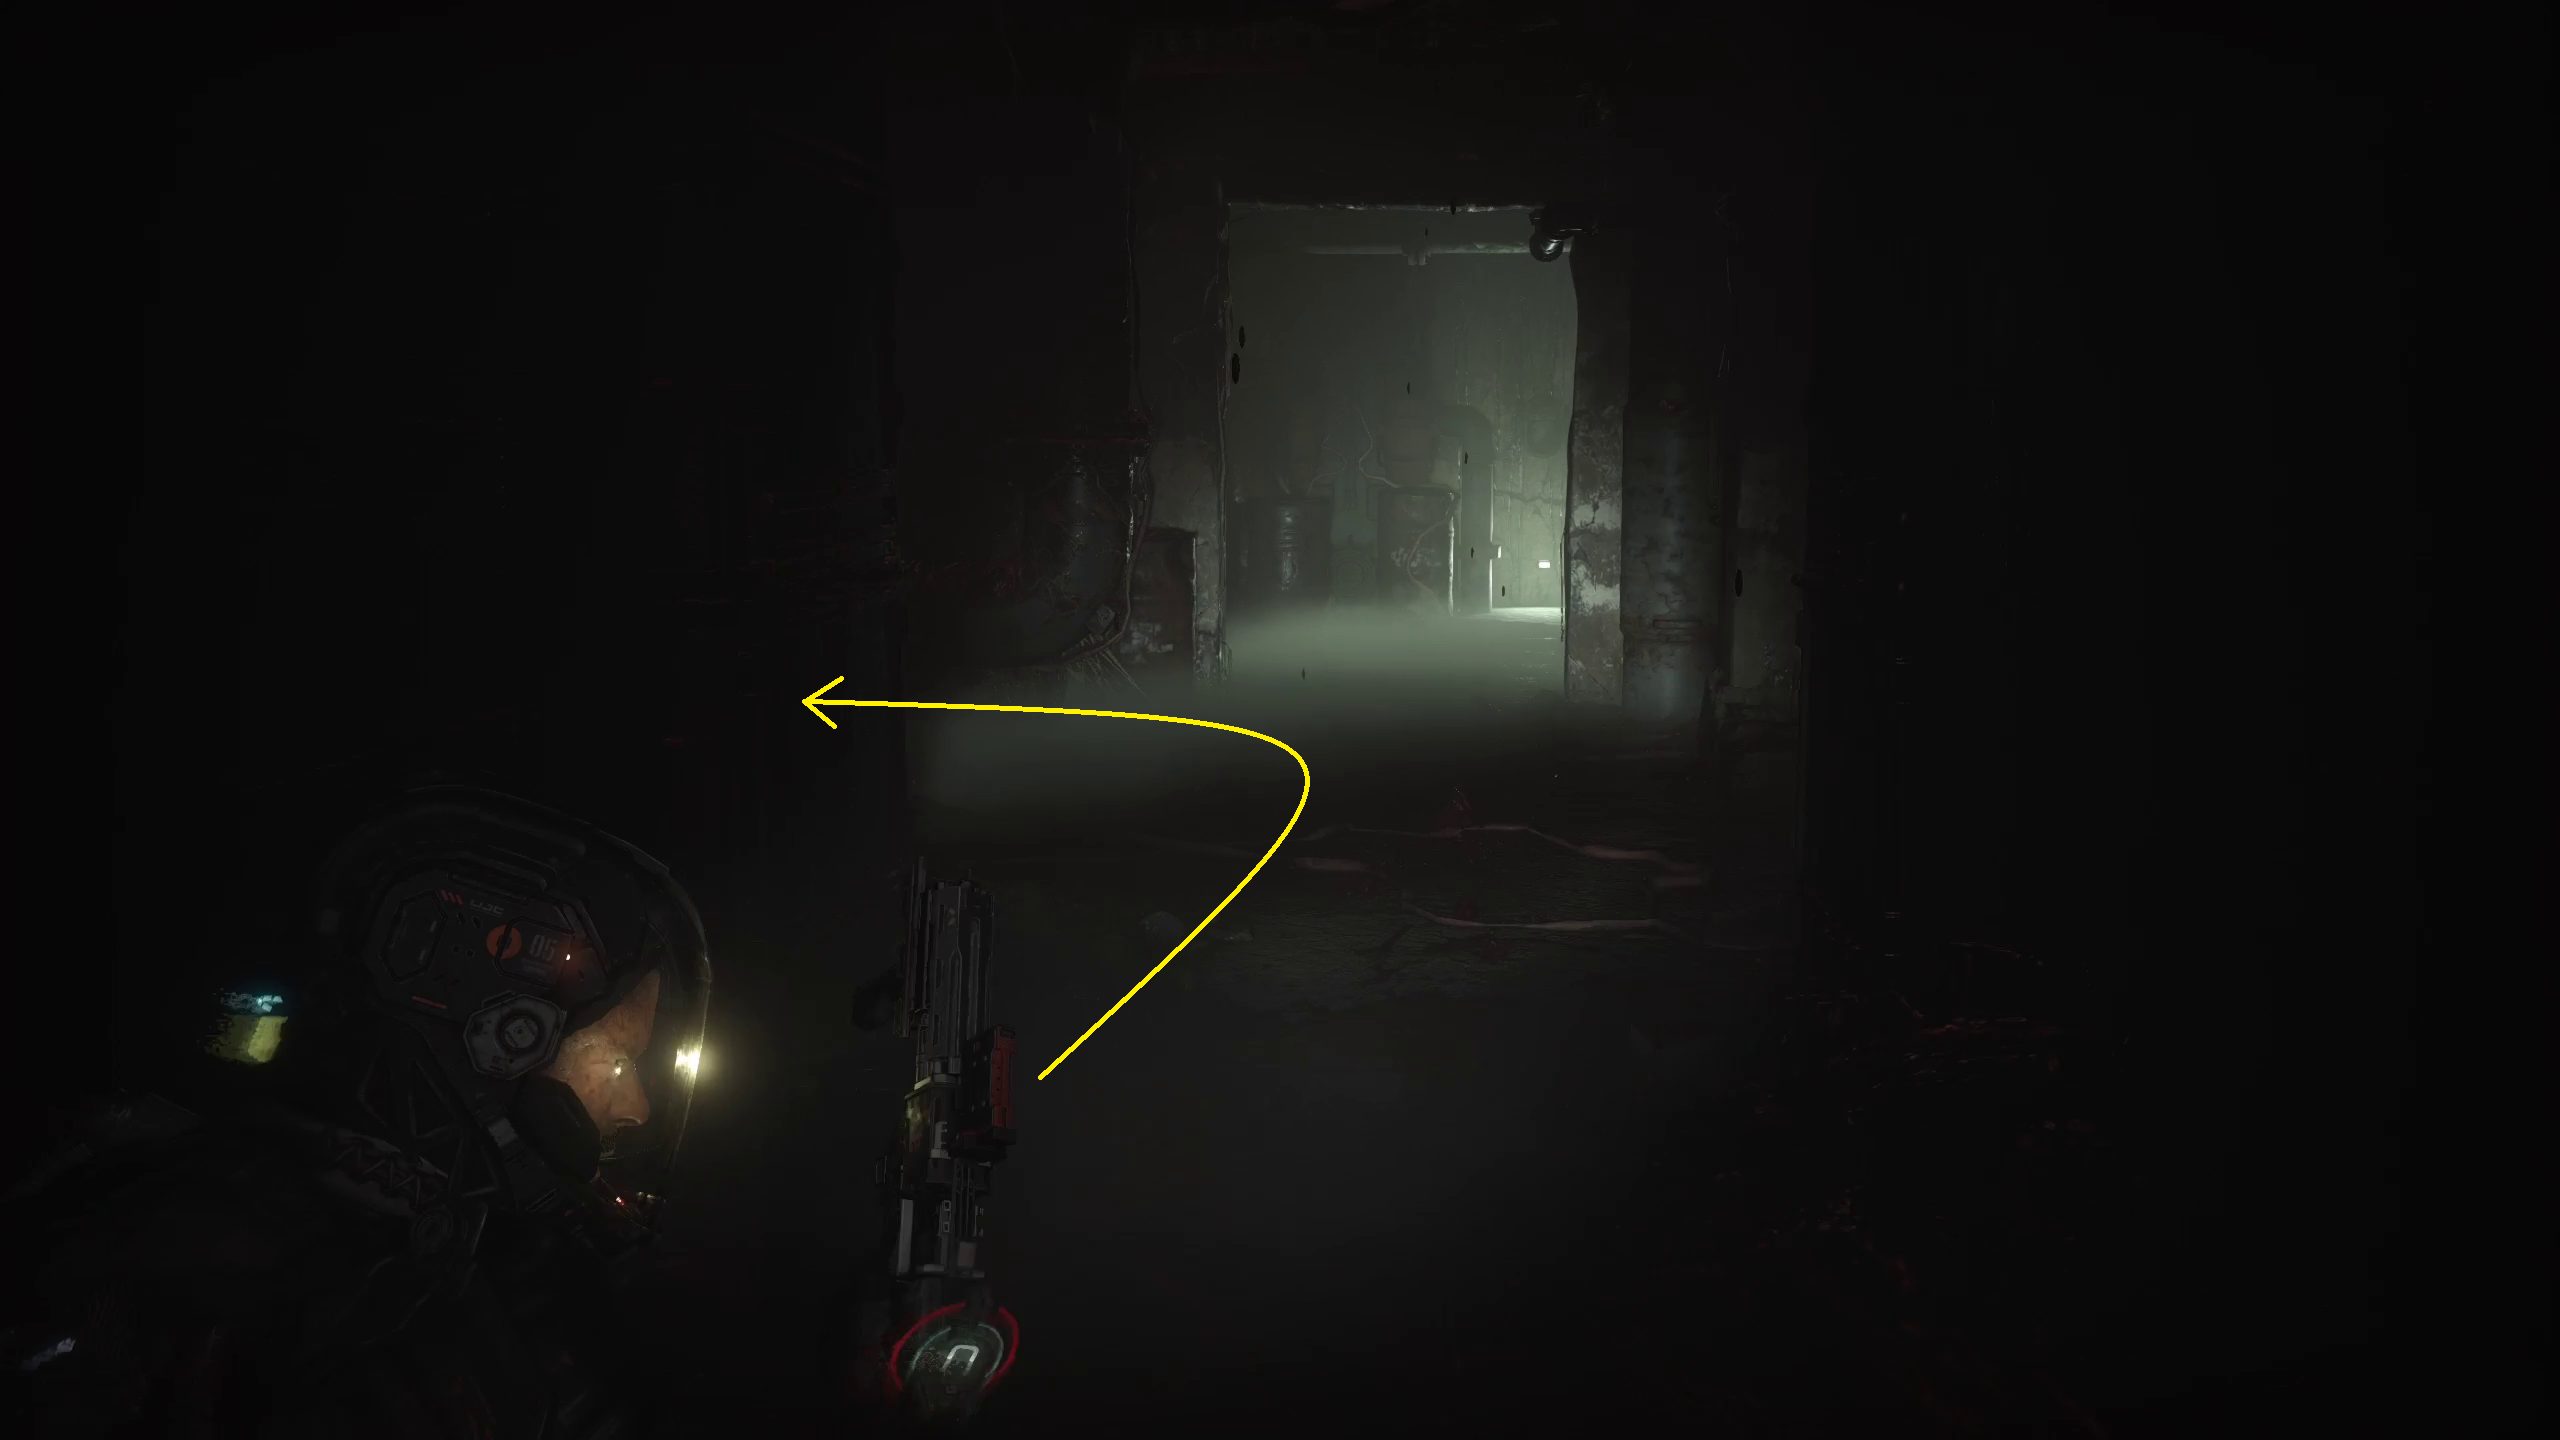
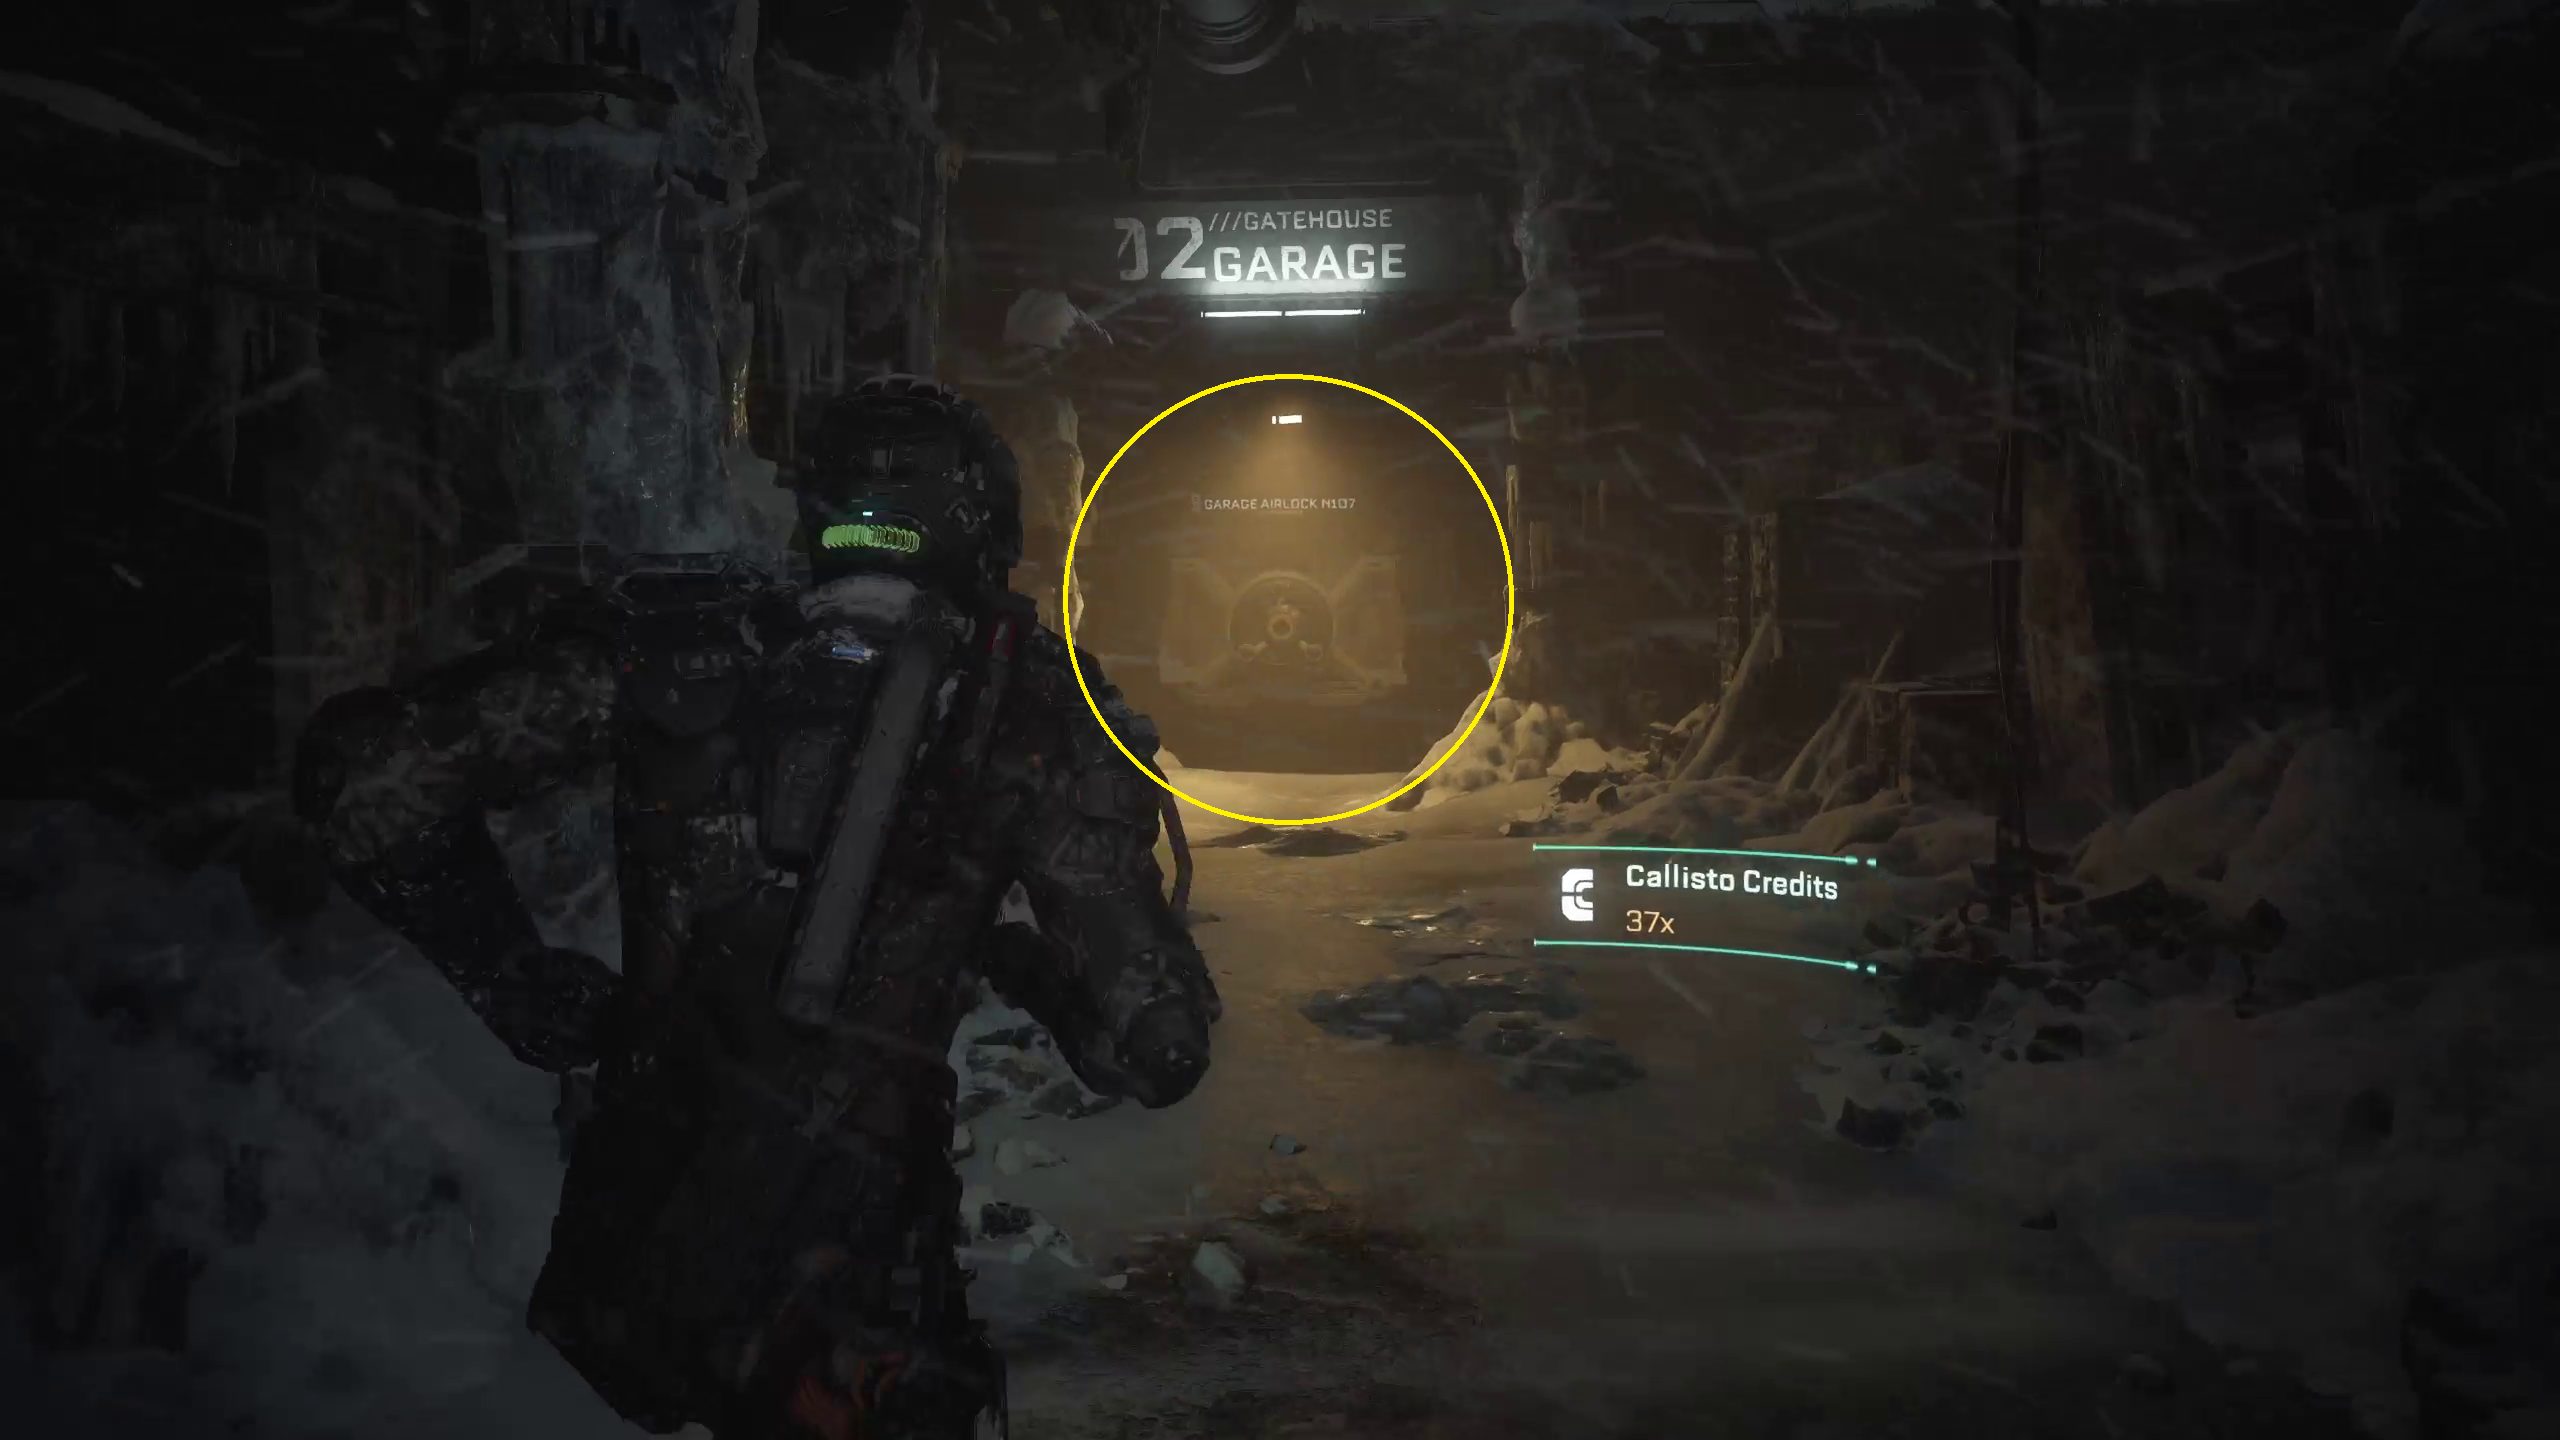
Then, you can continue through the tunnels, going down the other path in the fork at the top of the stairs. You’ll come upon a ladder, leading to a door leading back outside. Go through this area until you reach the airlock leading into the Garage.
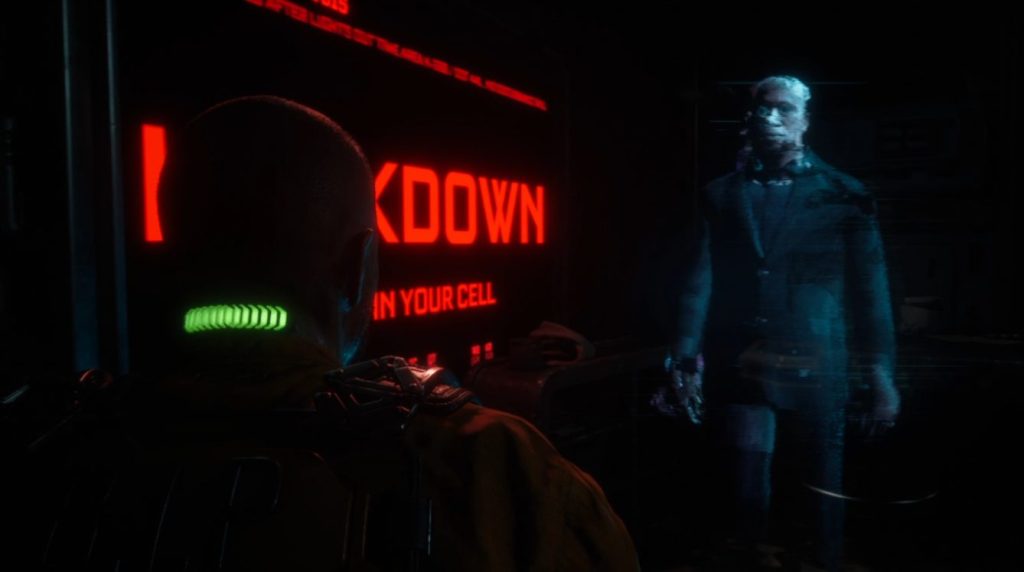
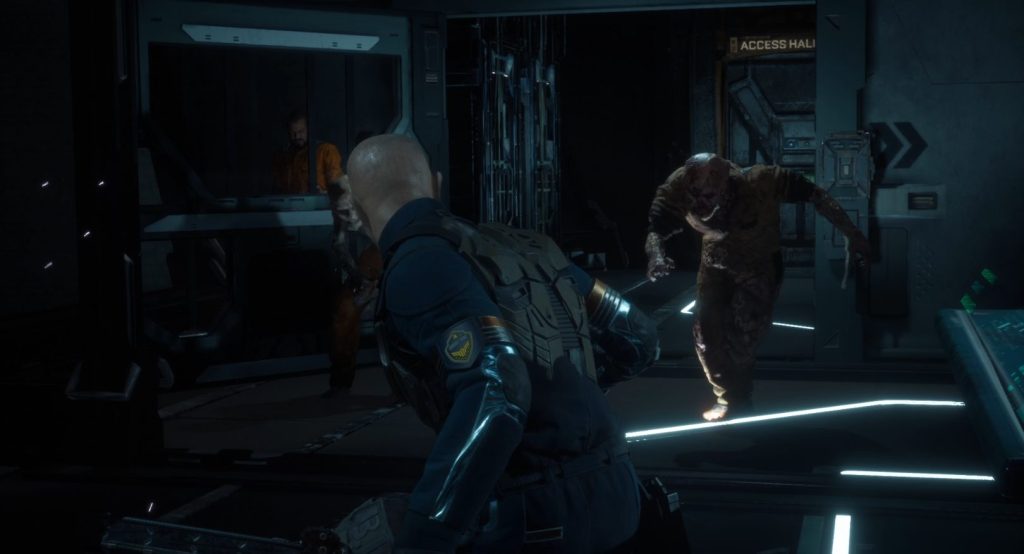
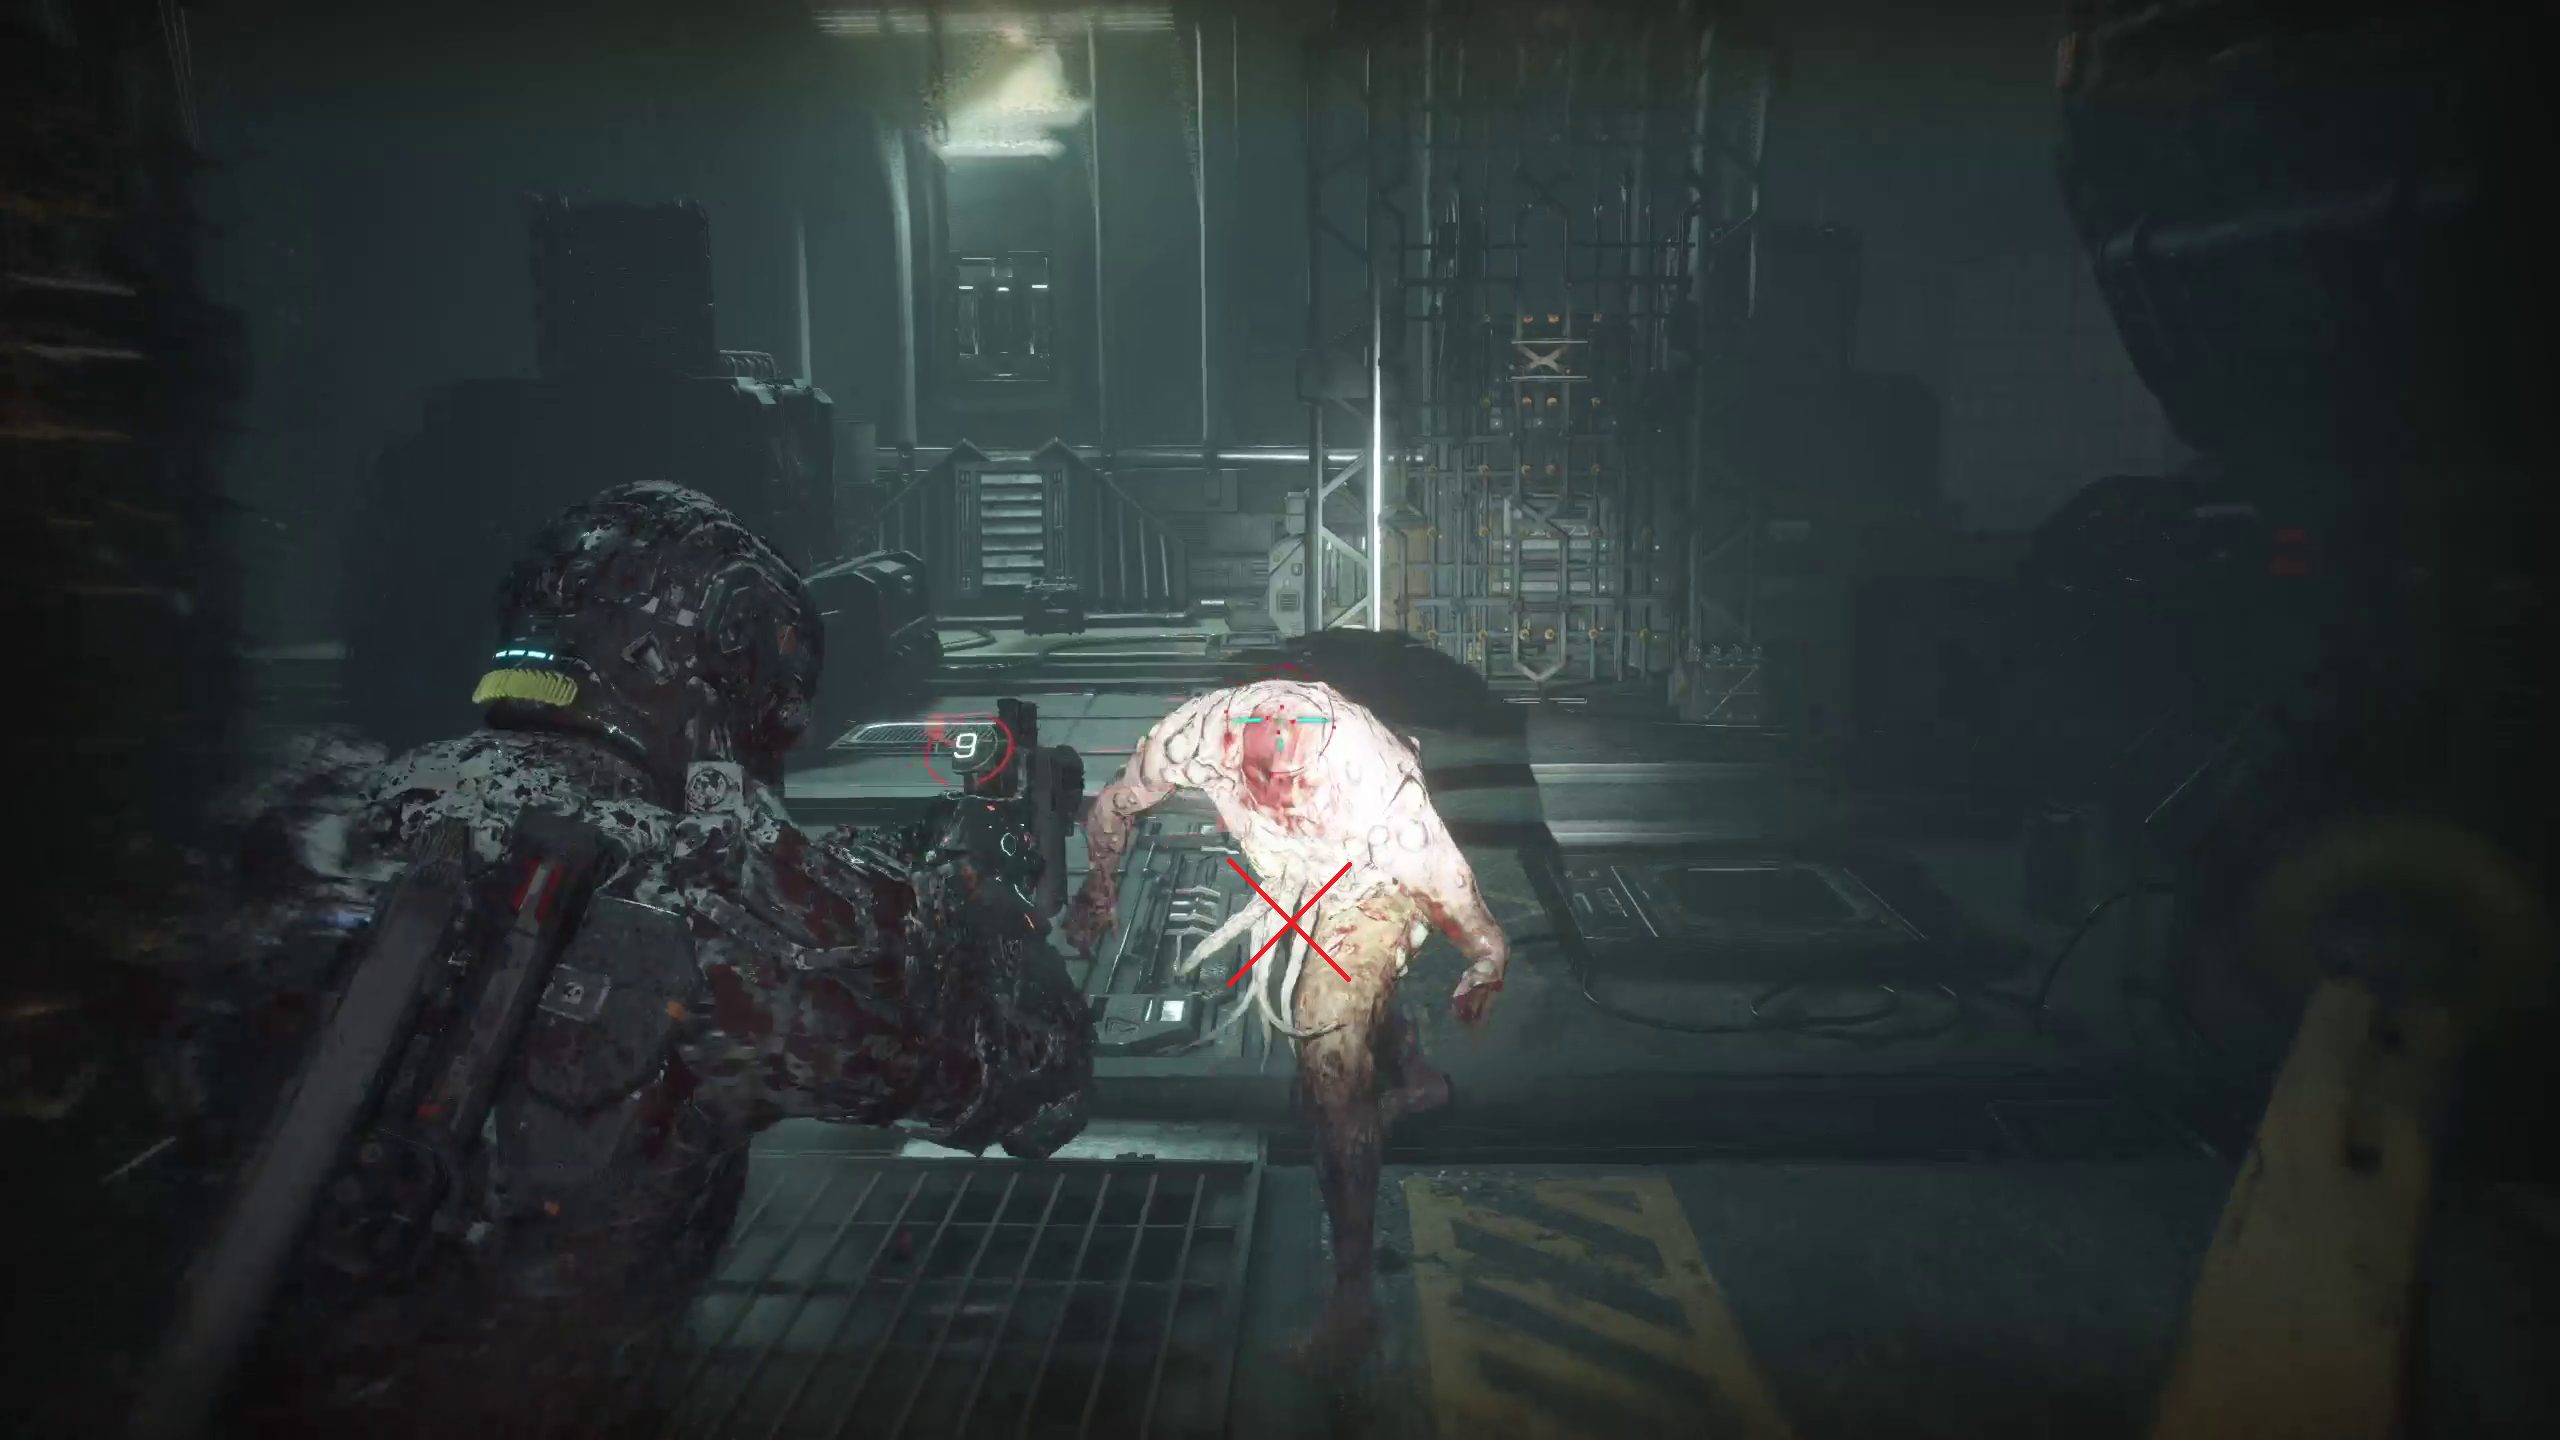
After getting through this airlock, you will immediately be attacked by a biophage. Dani will yell down at you from a locked room looking down on the room, telling you to take out the biophage while she deals with her own problems. You will then be attacked by a wave of spitters and regular biophage. Thankfully, there are spikes on the walls to help deal with these foes.
After taking out the wave, Dani will tell you to get to her. Go up the stairs and open the door. A cutscene will play, and at the end of it Dani will give you the Riot Shotgun, which is probably the most powerful gun in the game.
Reach Control Room
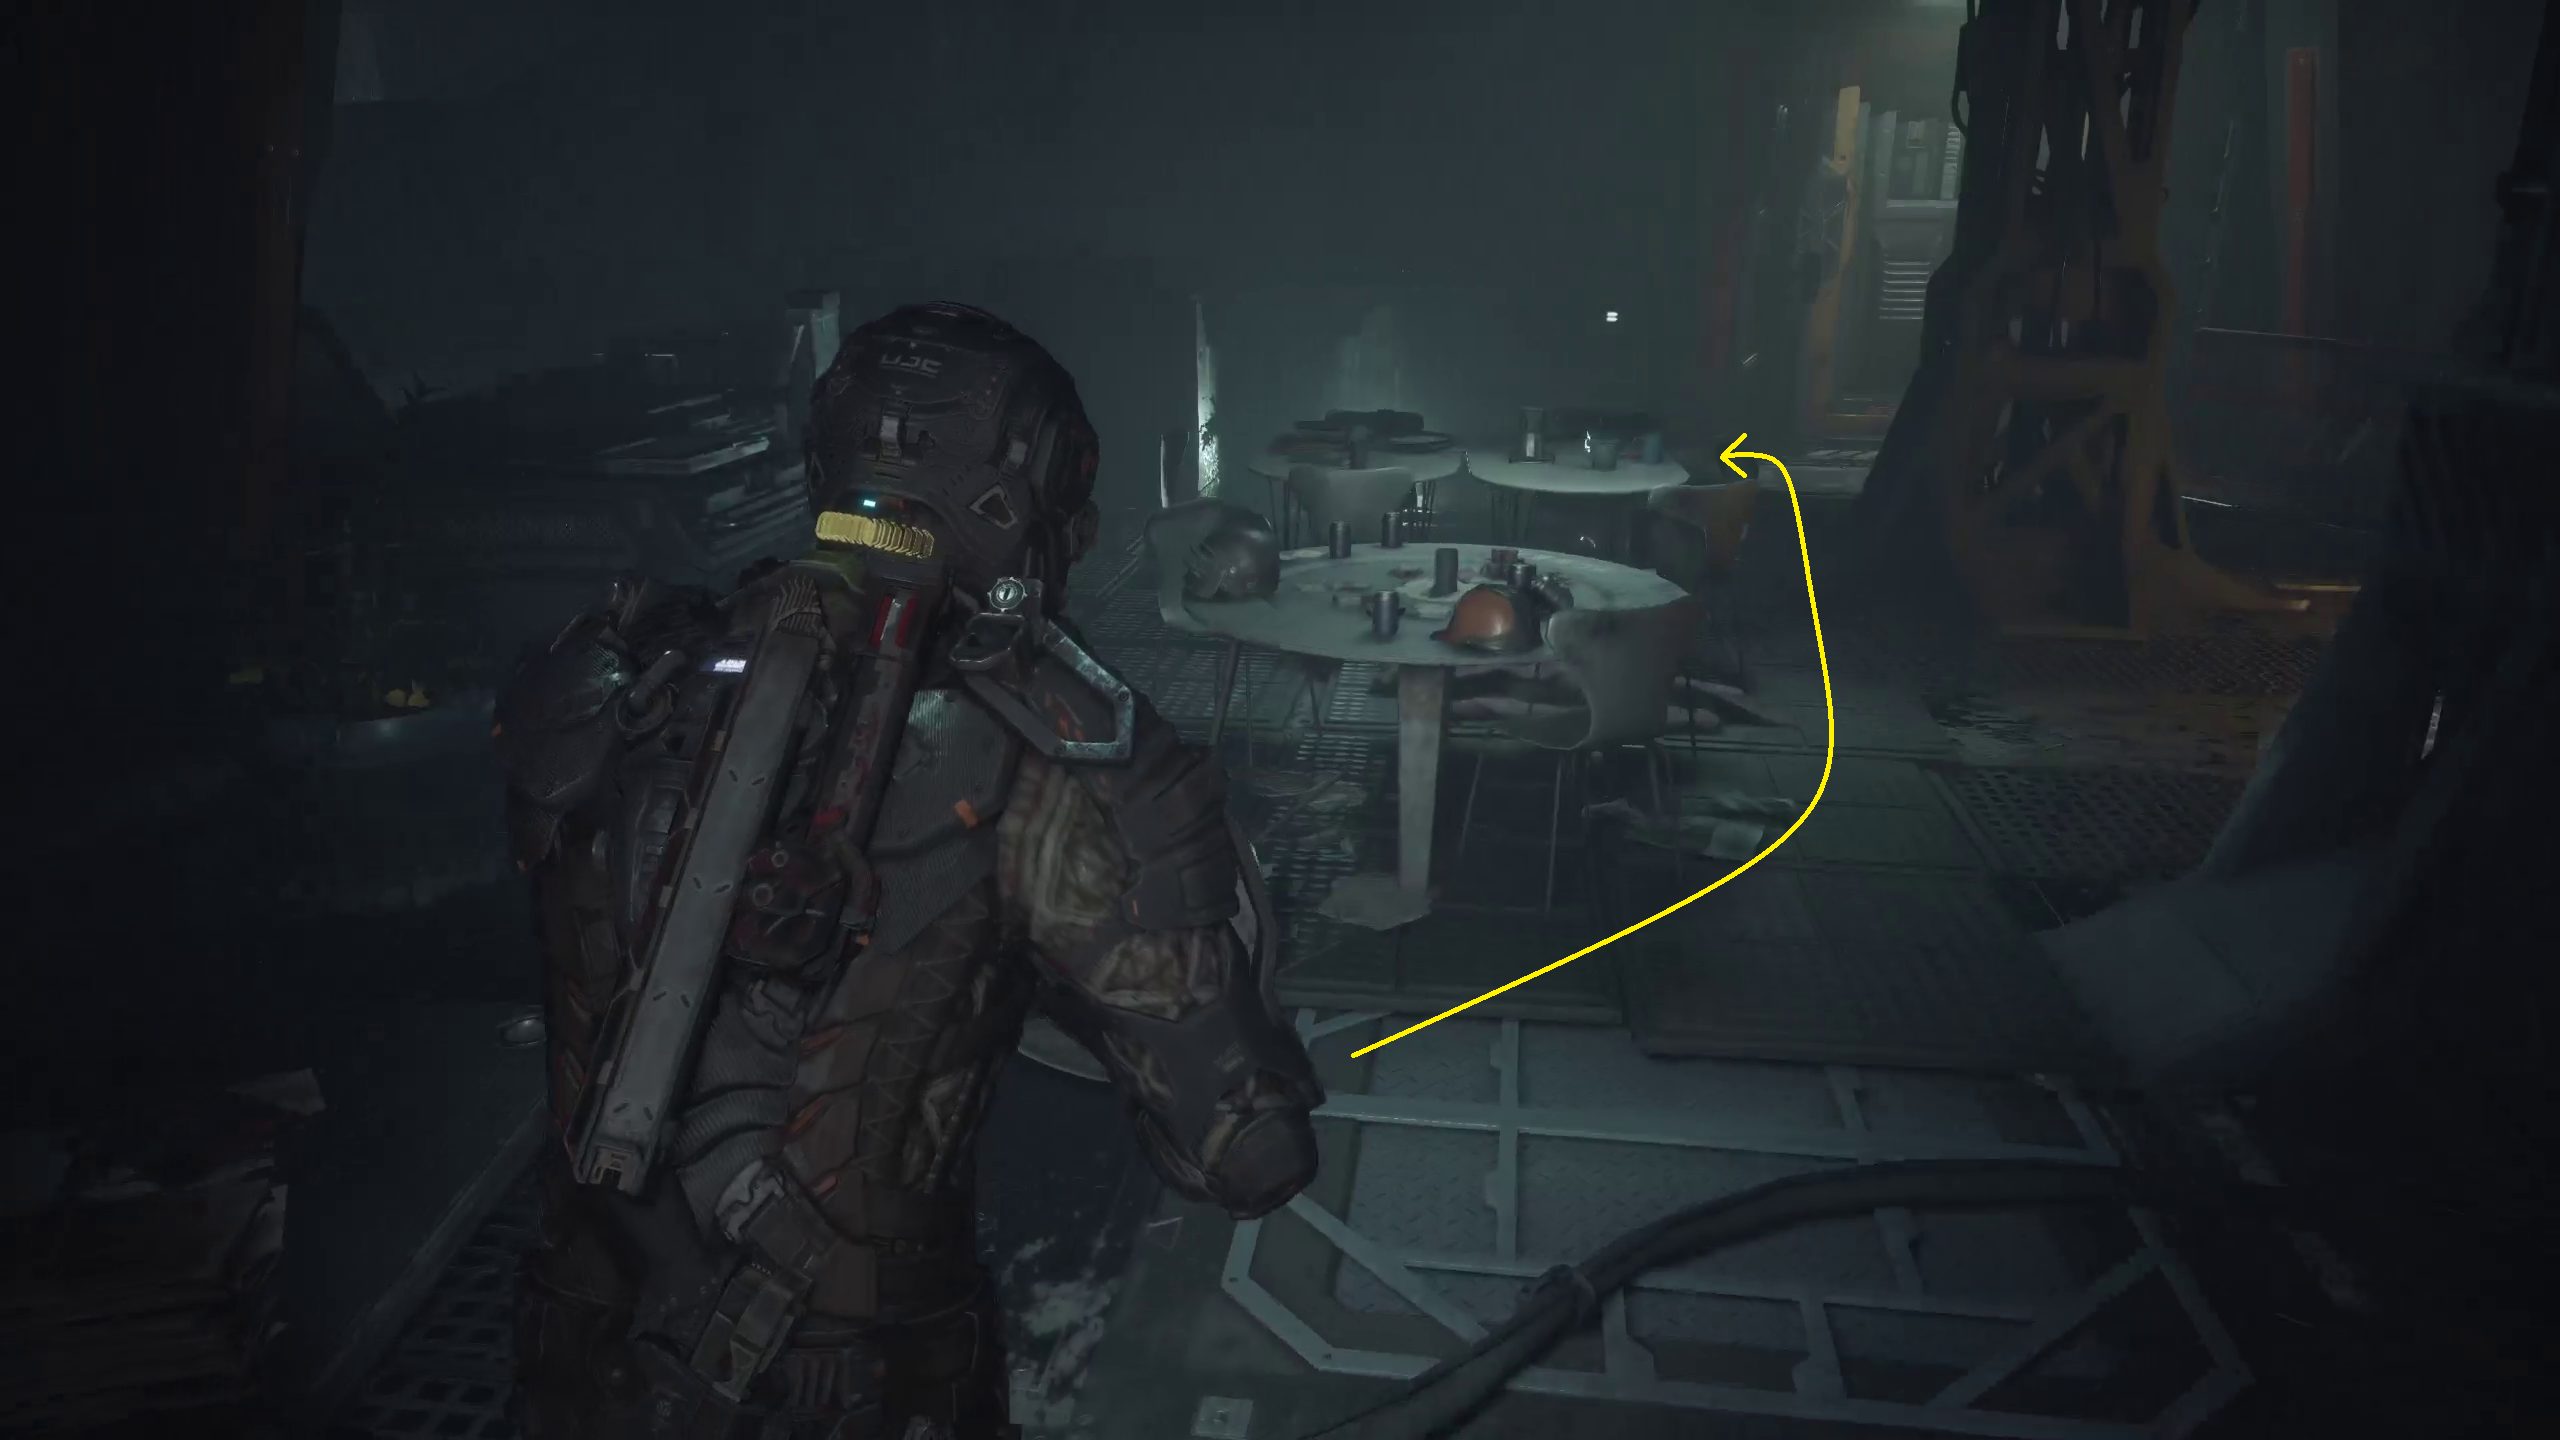
Continue along this path. You’ll get to the Control Room very soon. On the opposite side of the tables, there will be a body with a DATA-BIOS belonging to Lt. Devon Wayne. After grabbing his DATA-BIOS, head to the control console near the window and interact with it.
Go To Power Station Control Room
There is a Reforge in the next room, you might want to use it to upgrade your new shotgun. When you are done, follow the path through two airlocks until you get to a closed elevator. Call it, and then wait. When the door opens, you’ll need to take out a spitter that was taking it for a ride, then ride it up.
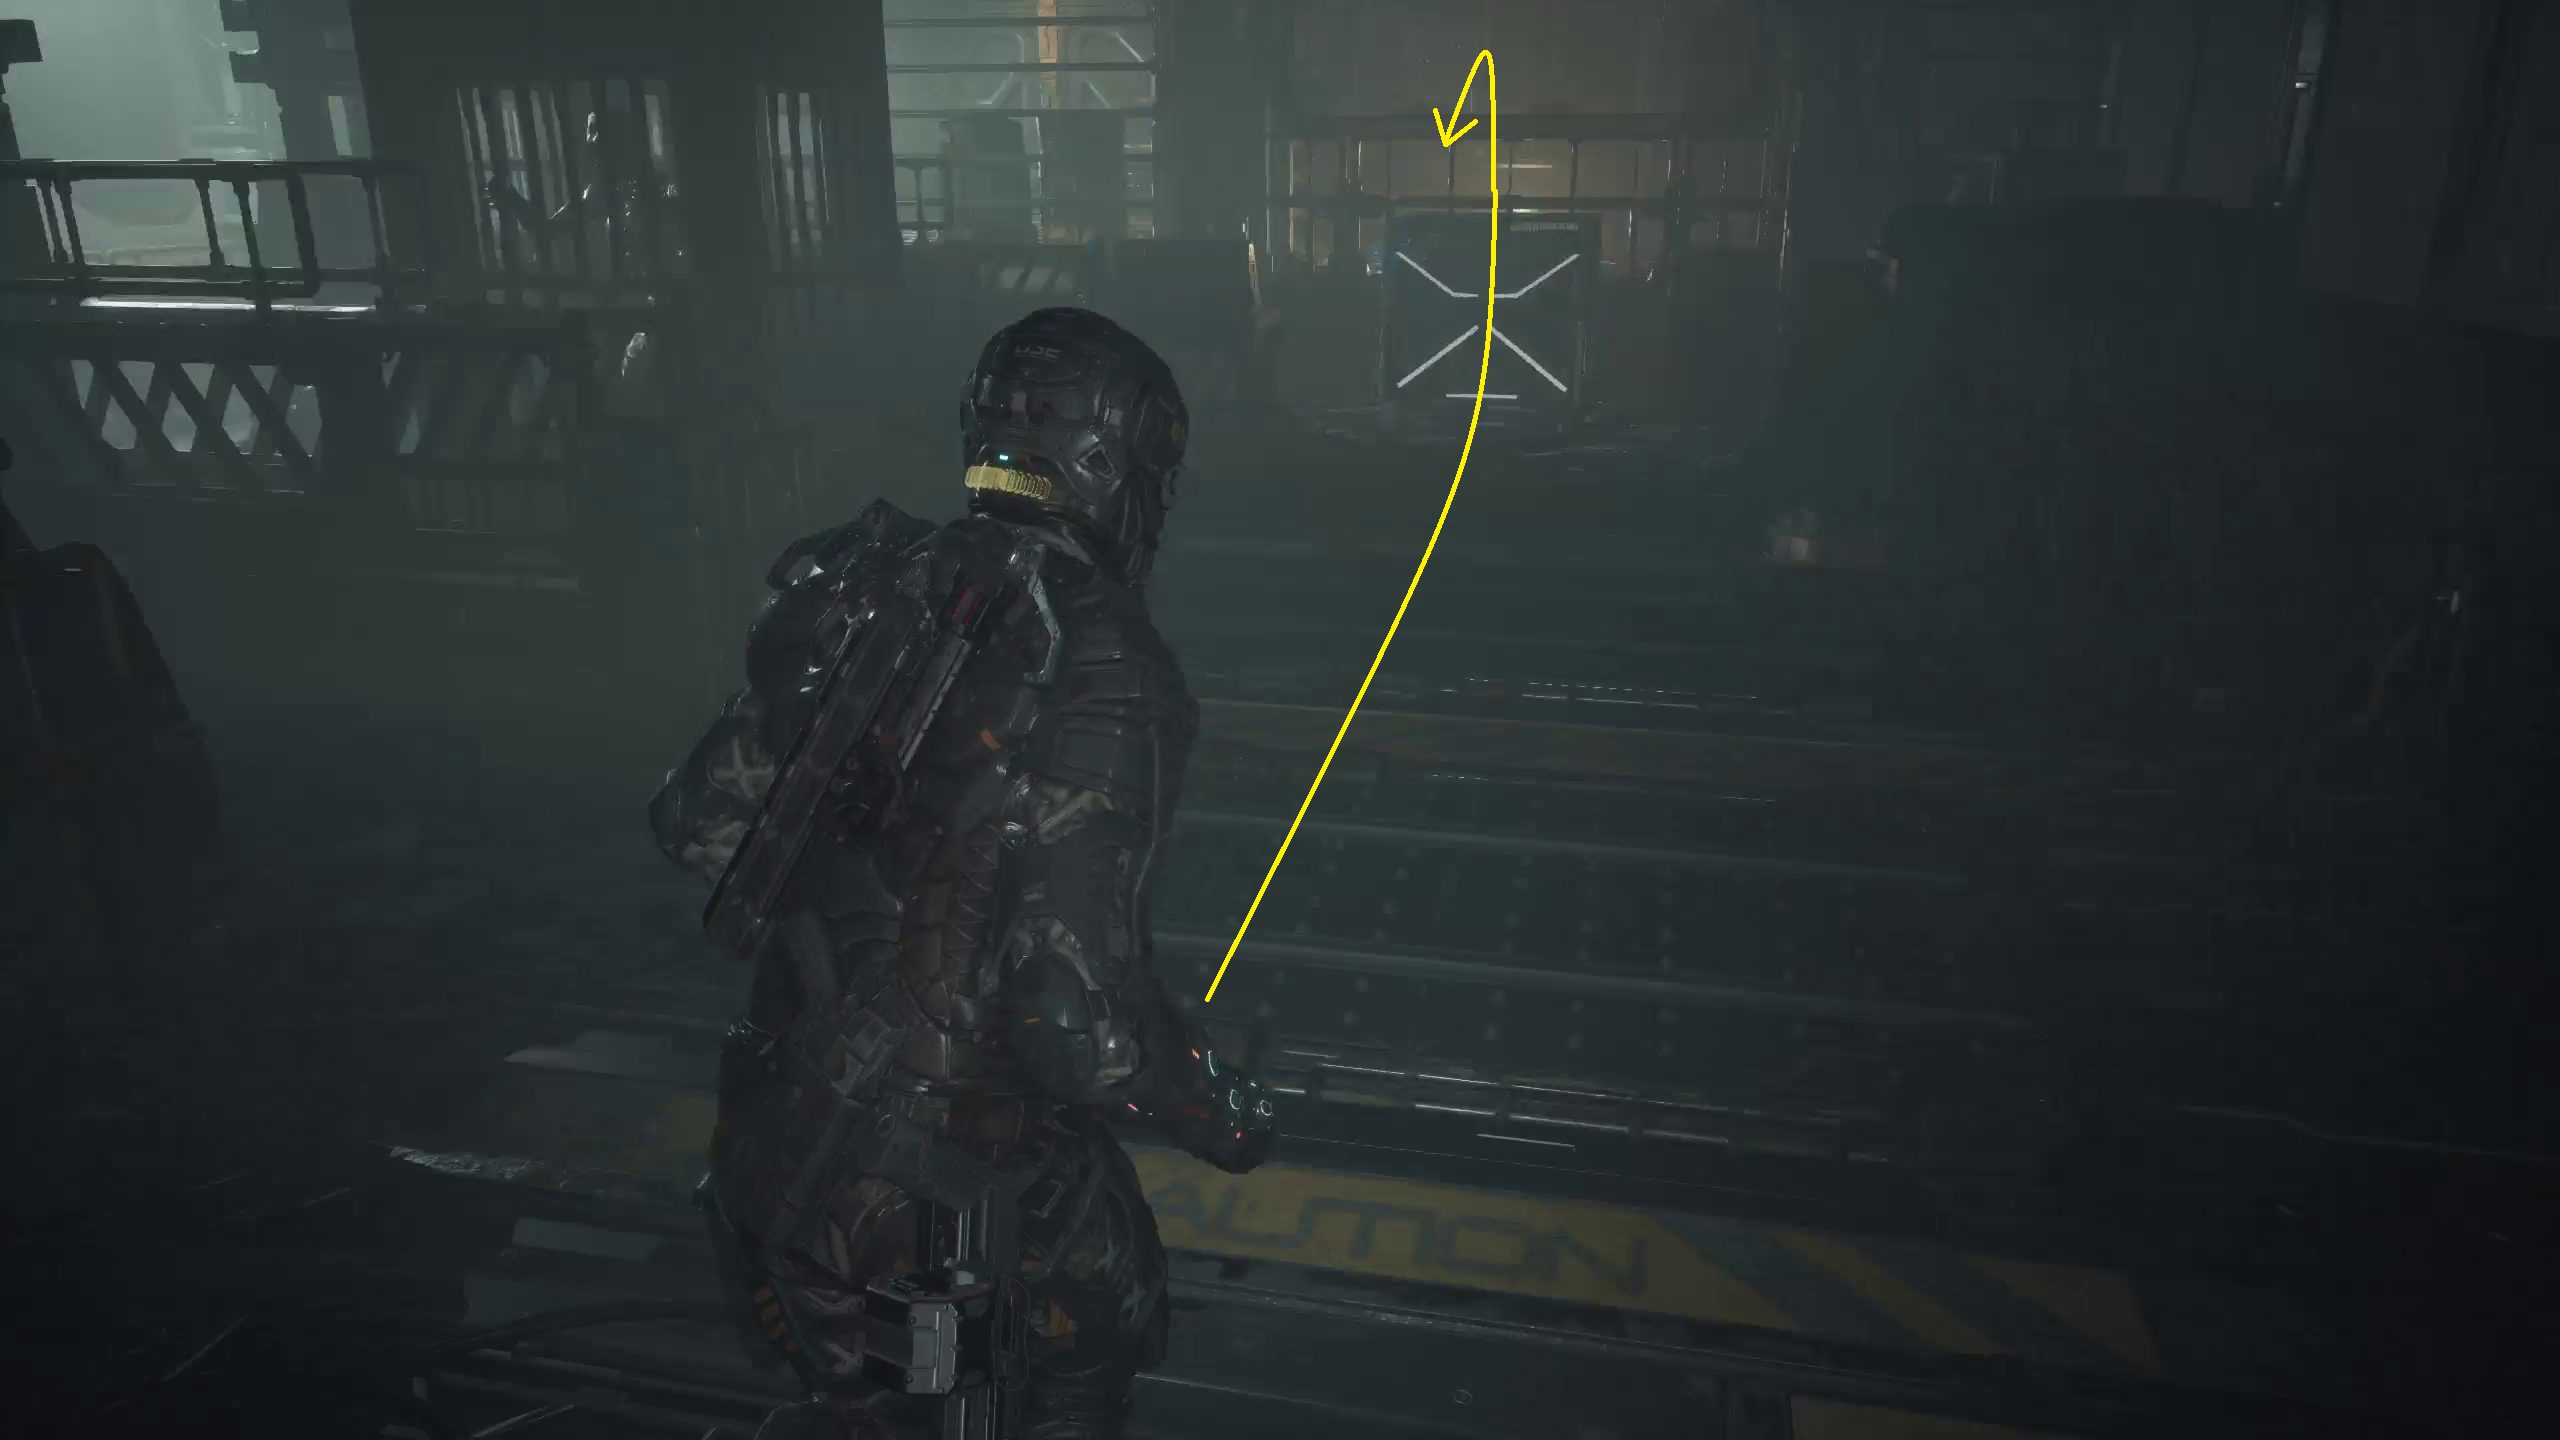
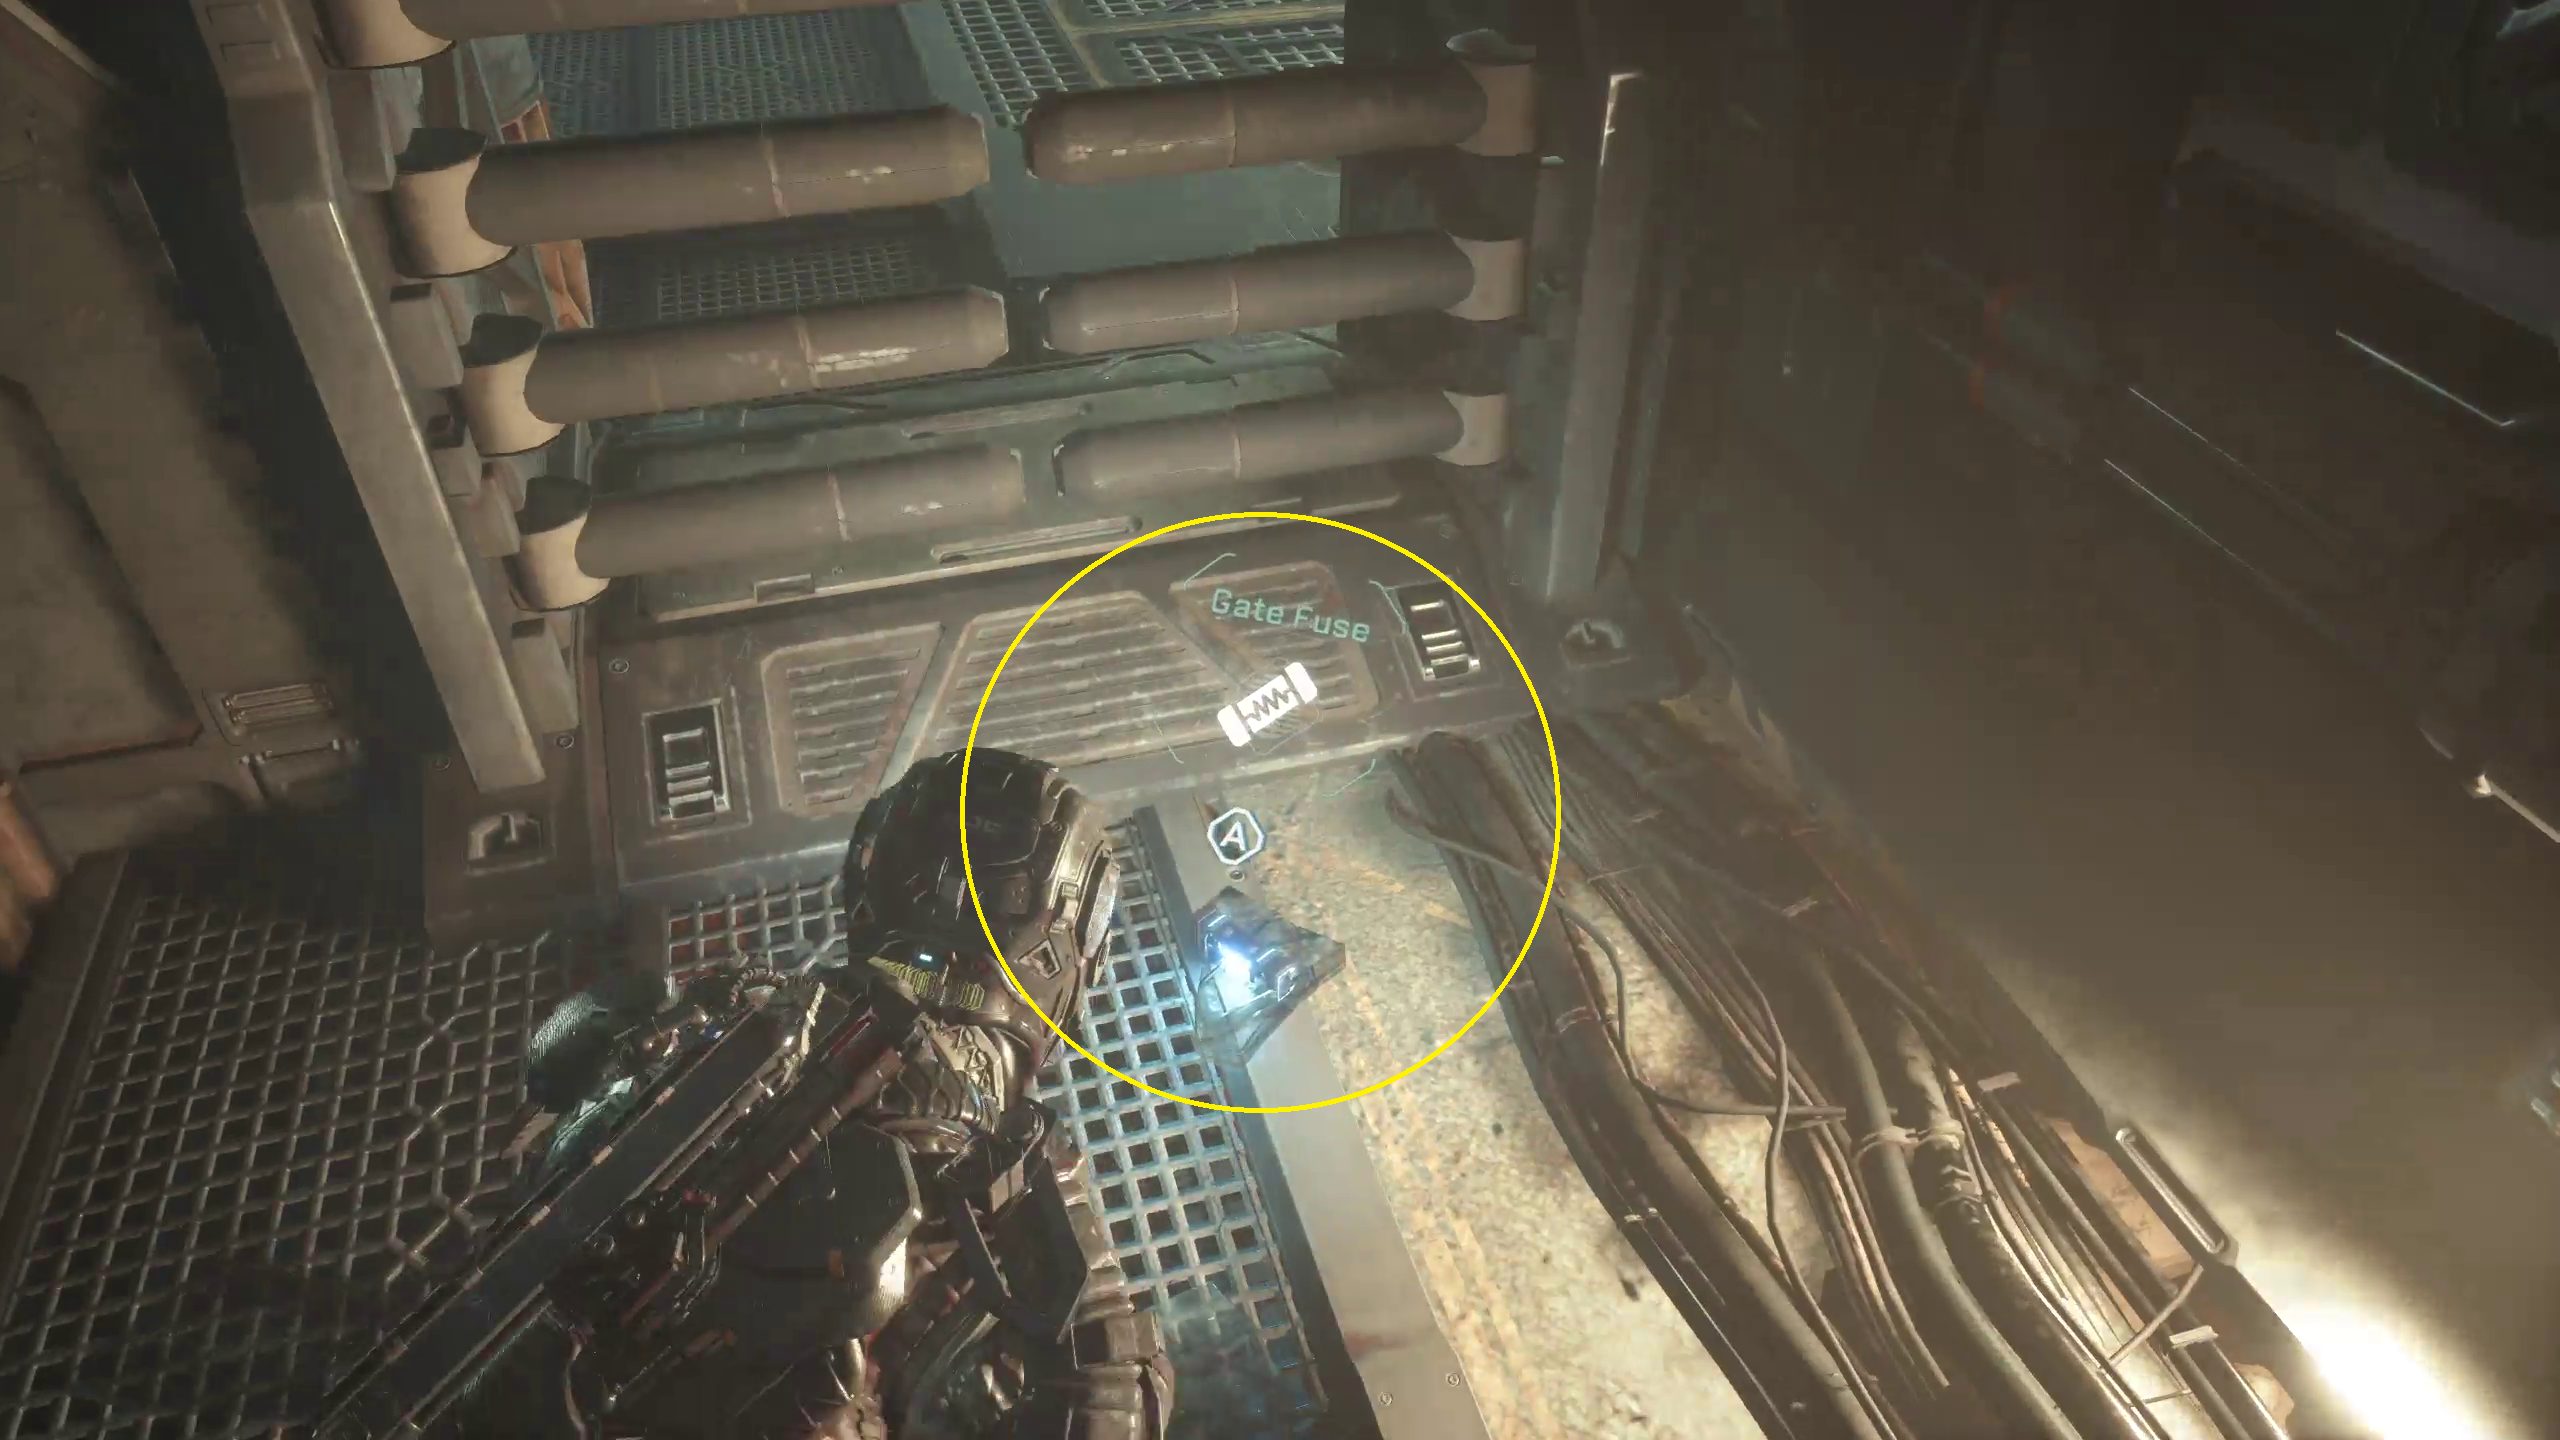
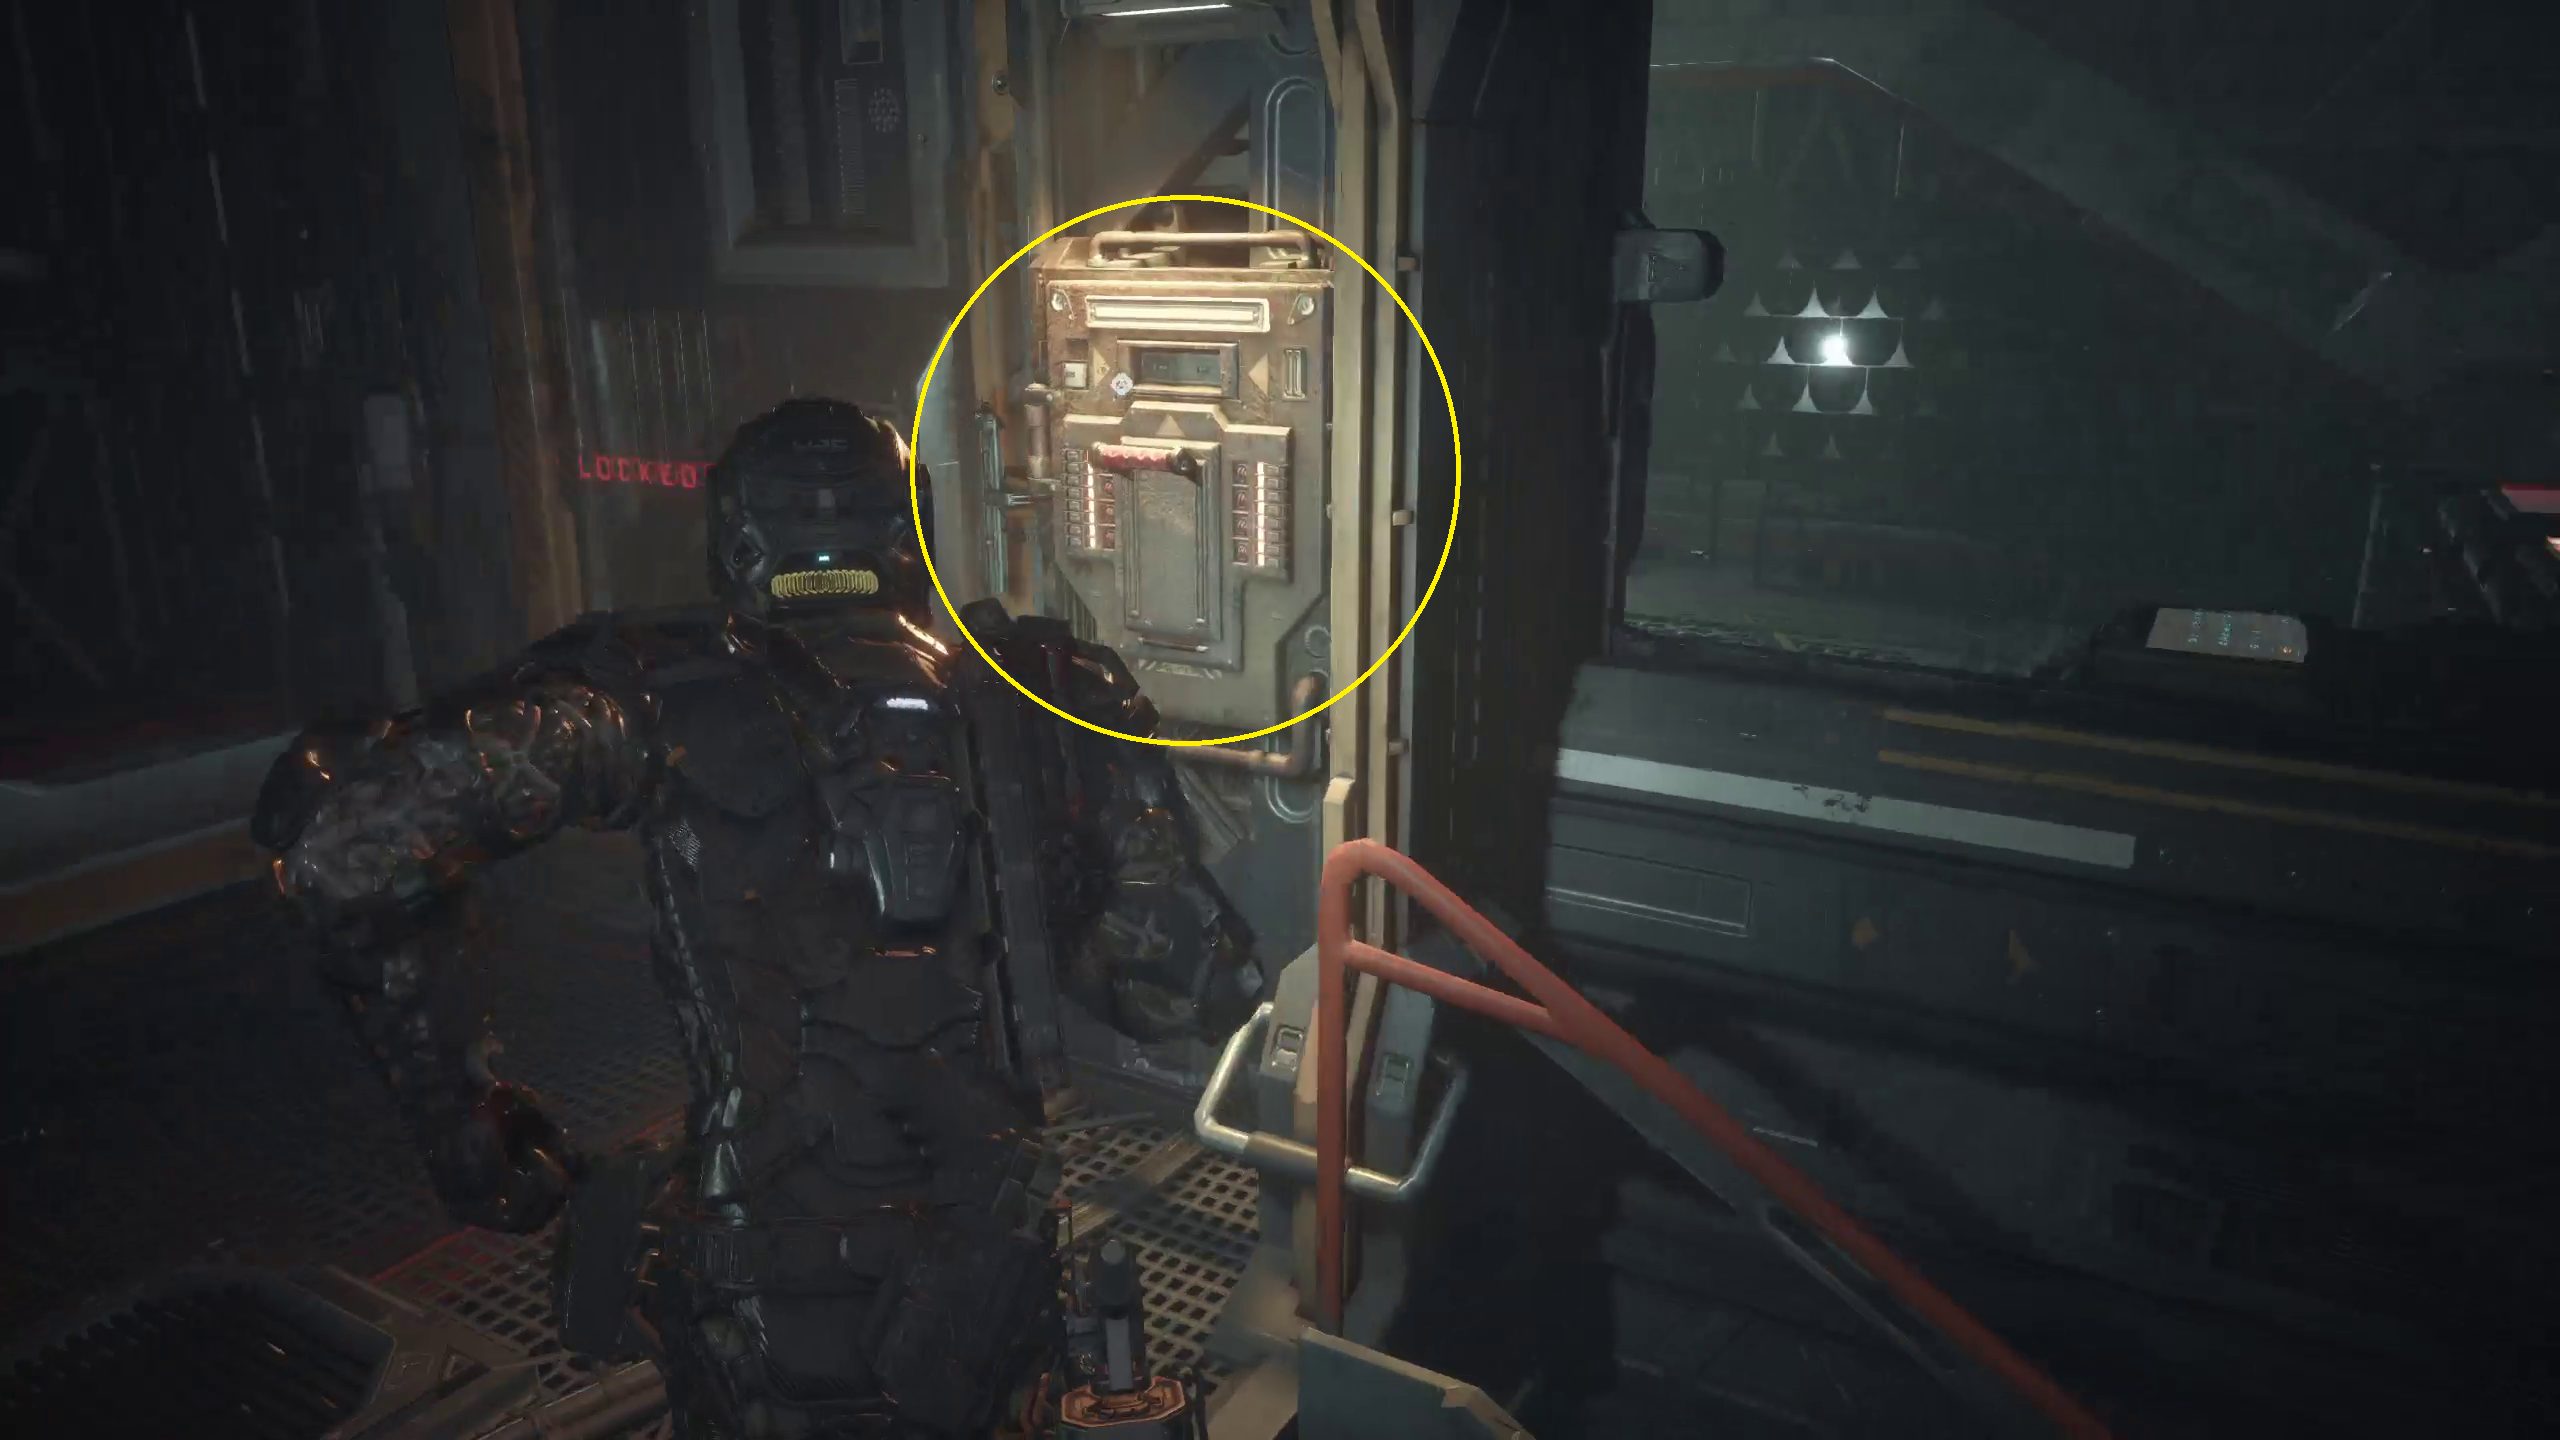
Soon after exiting the elevator, you’ll find yourself in a transfer terminal. Immediately, you will be able to see a Gate Fuse locked inside of a security checkpoint. You will be able to reach it after rounding the corner and climbing on a box to reach the checkpoint. Grab it, then backtrack to the broken fusebox switch, where you can use it to open the door to Security Control S411.
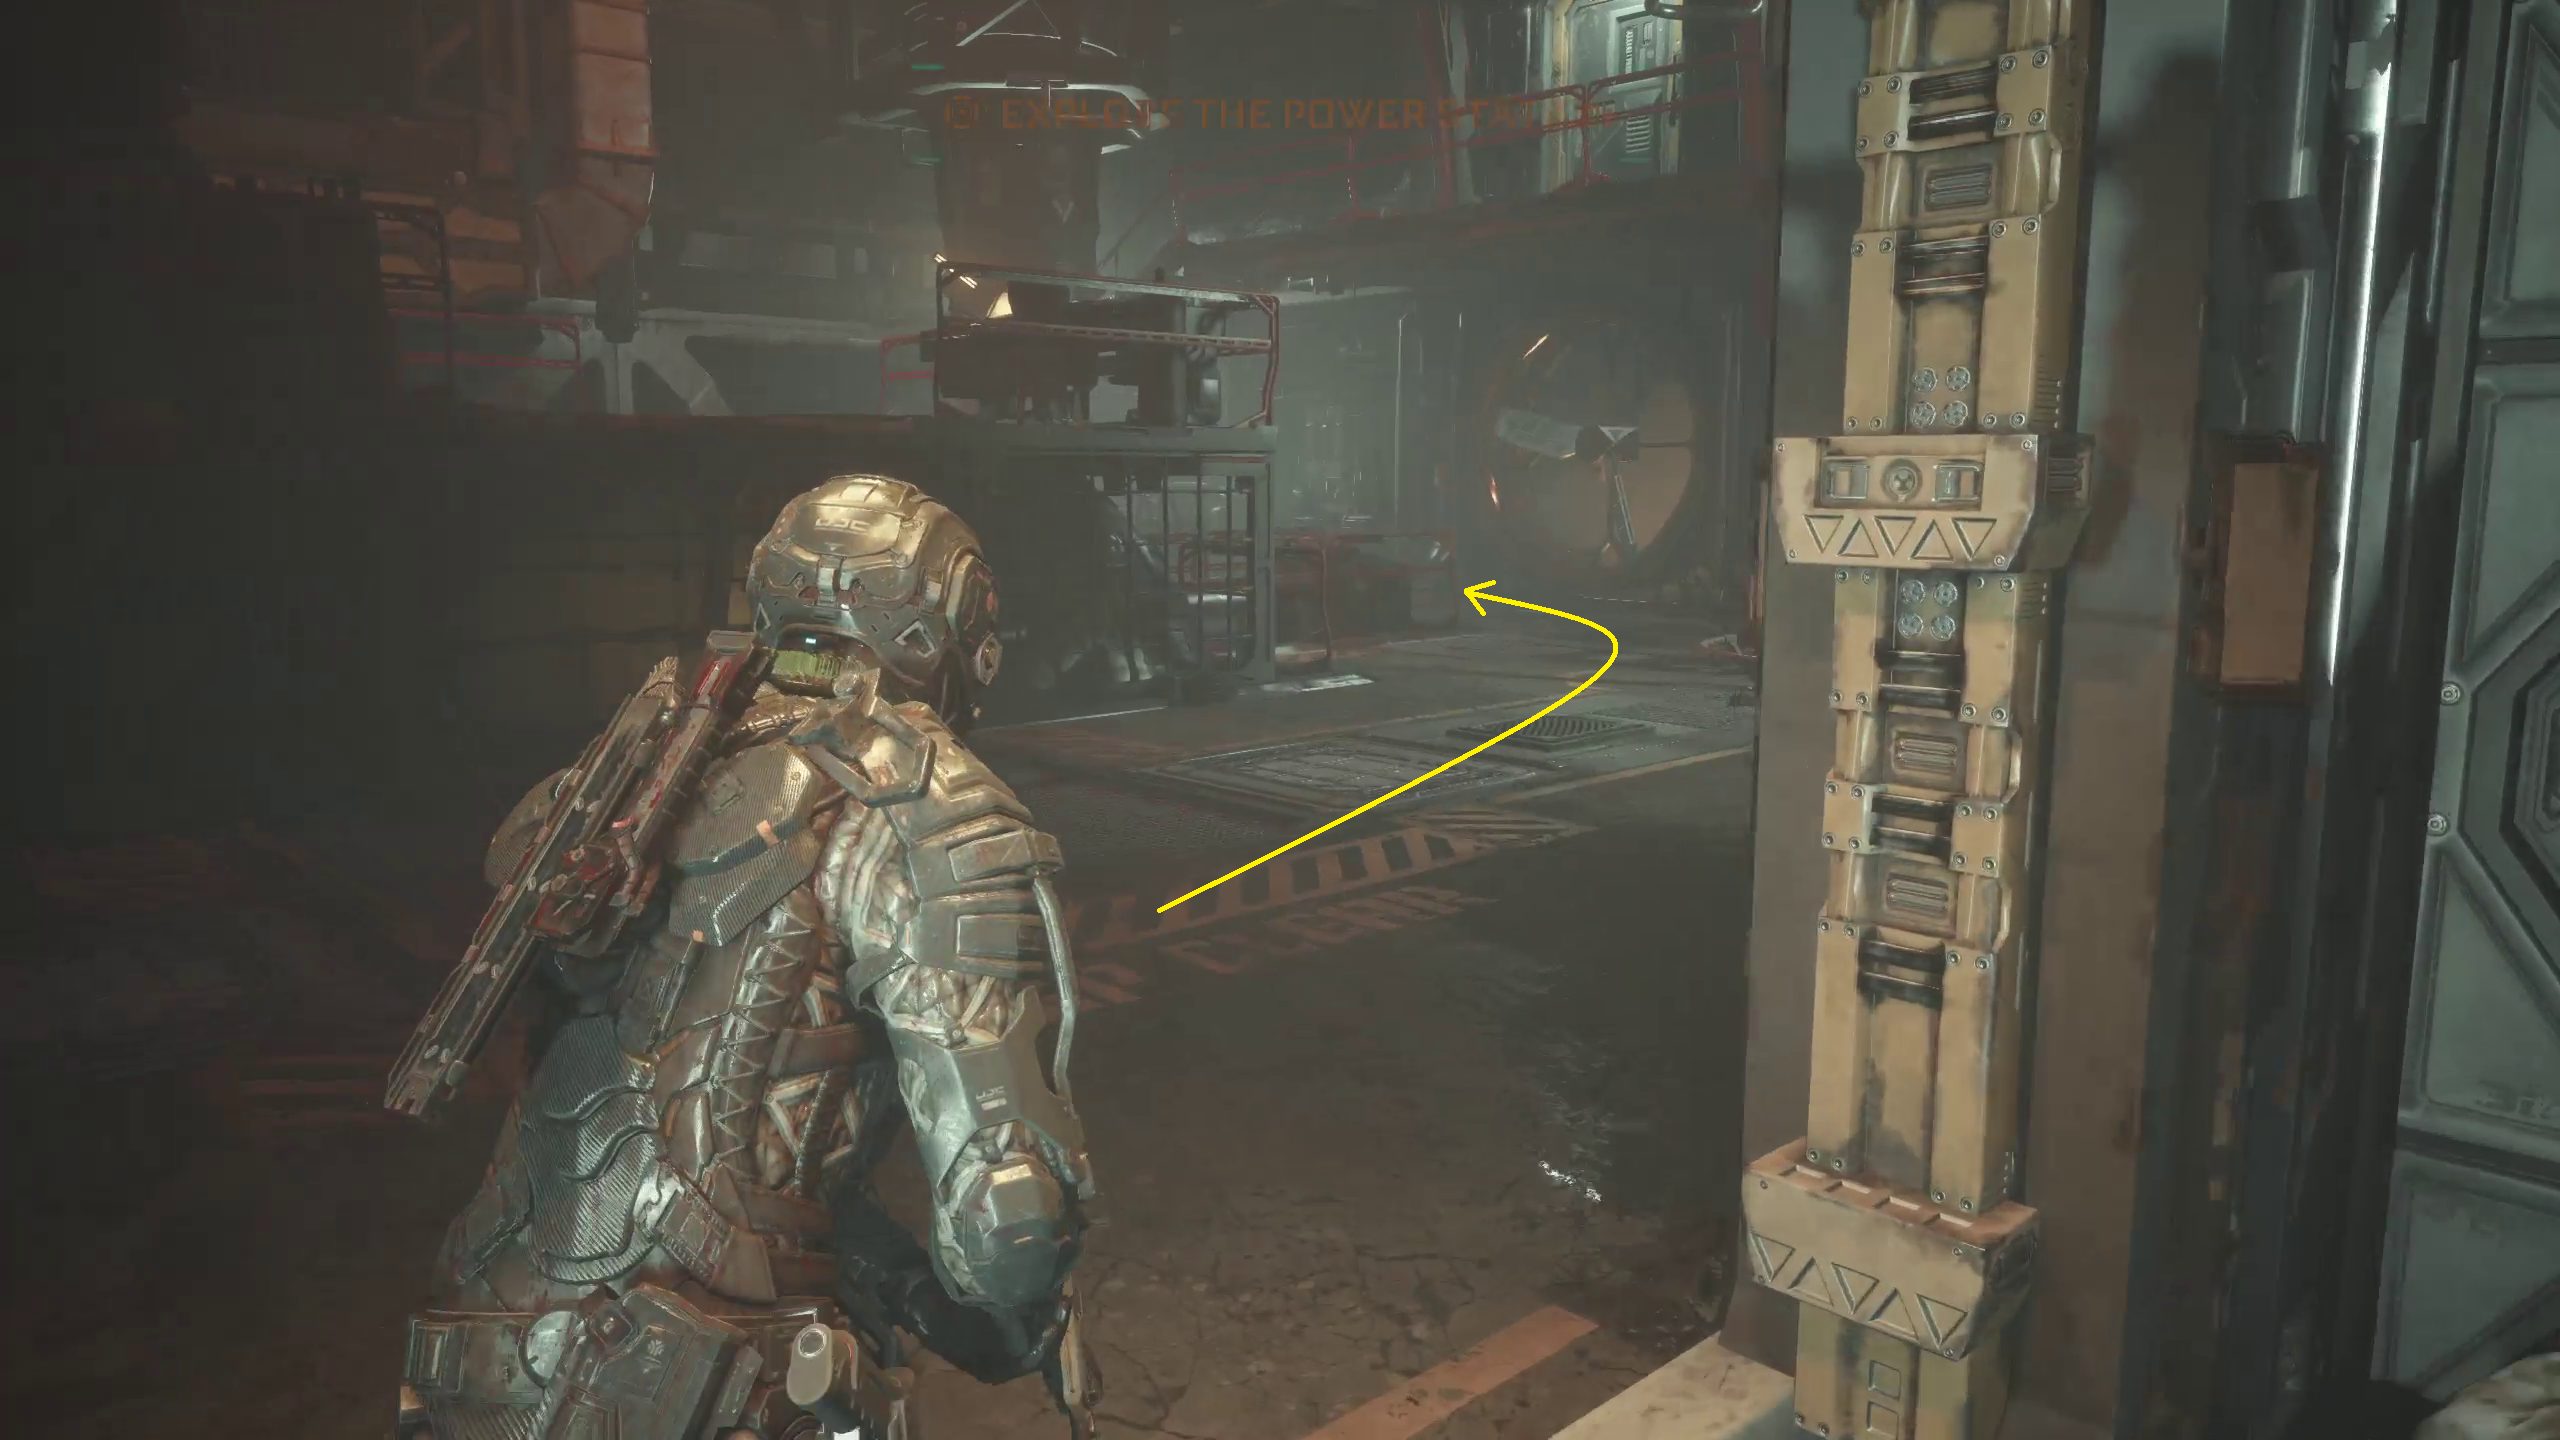
Explore the Power Station
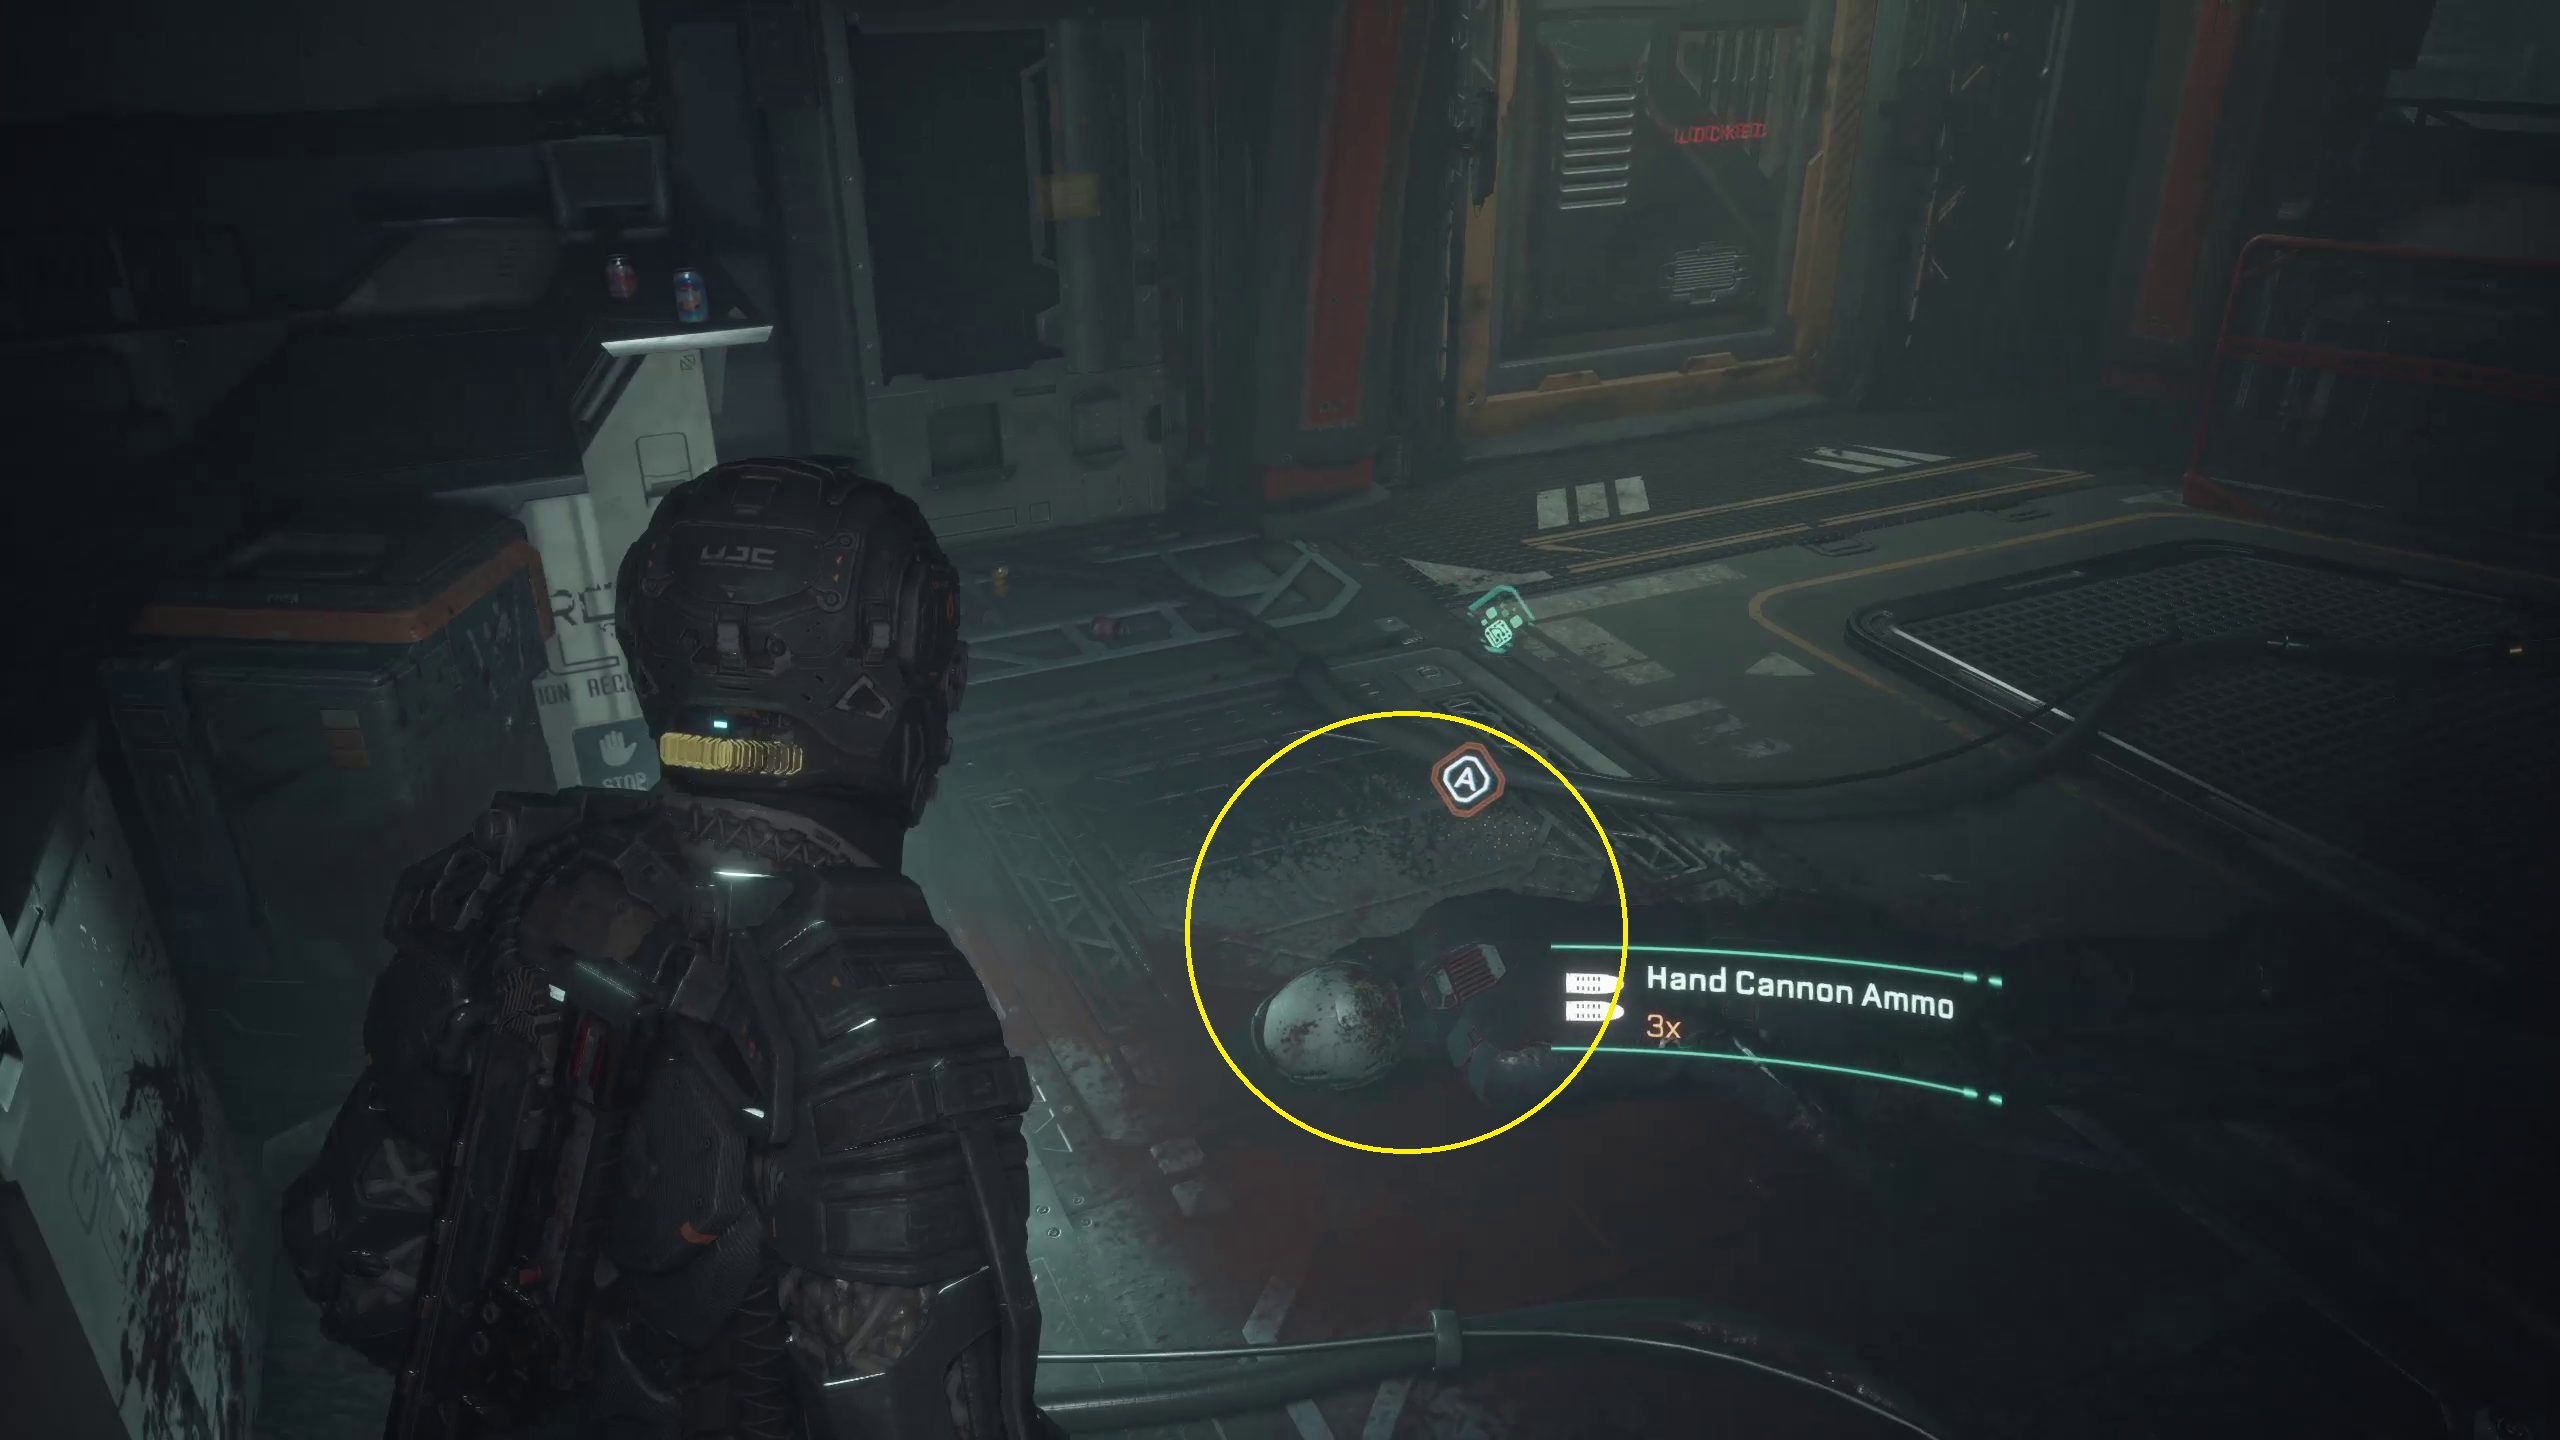
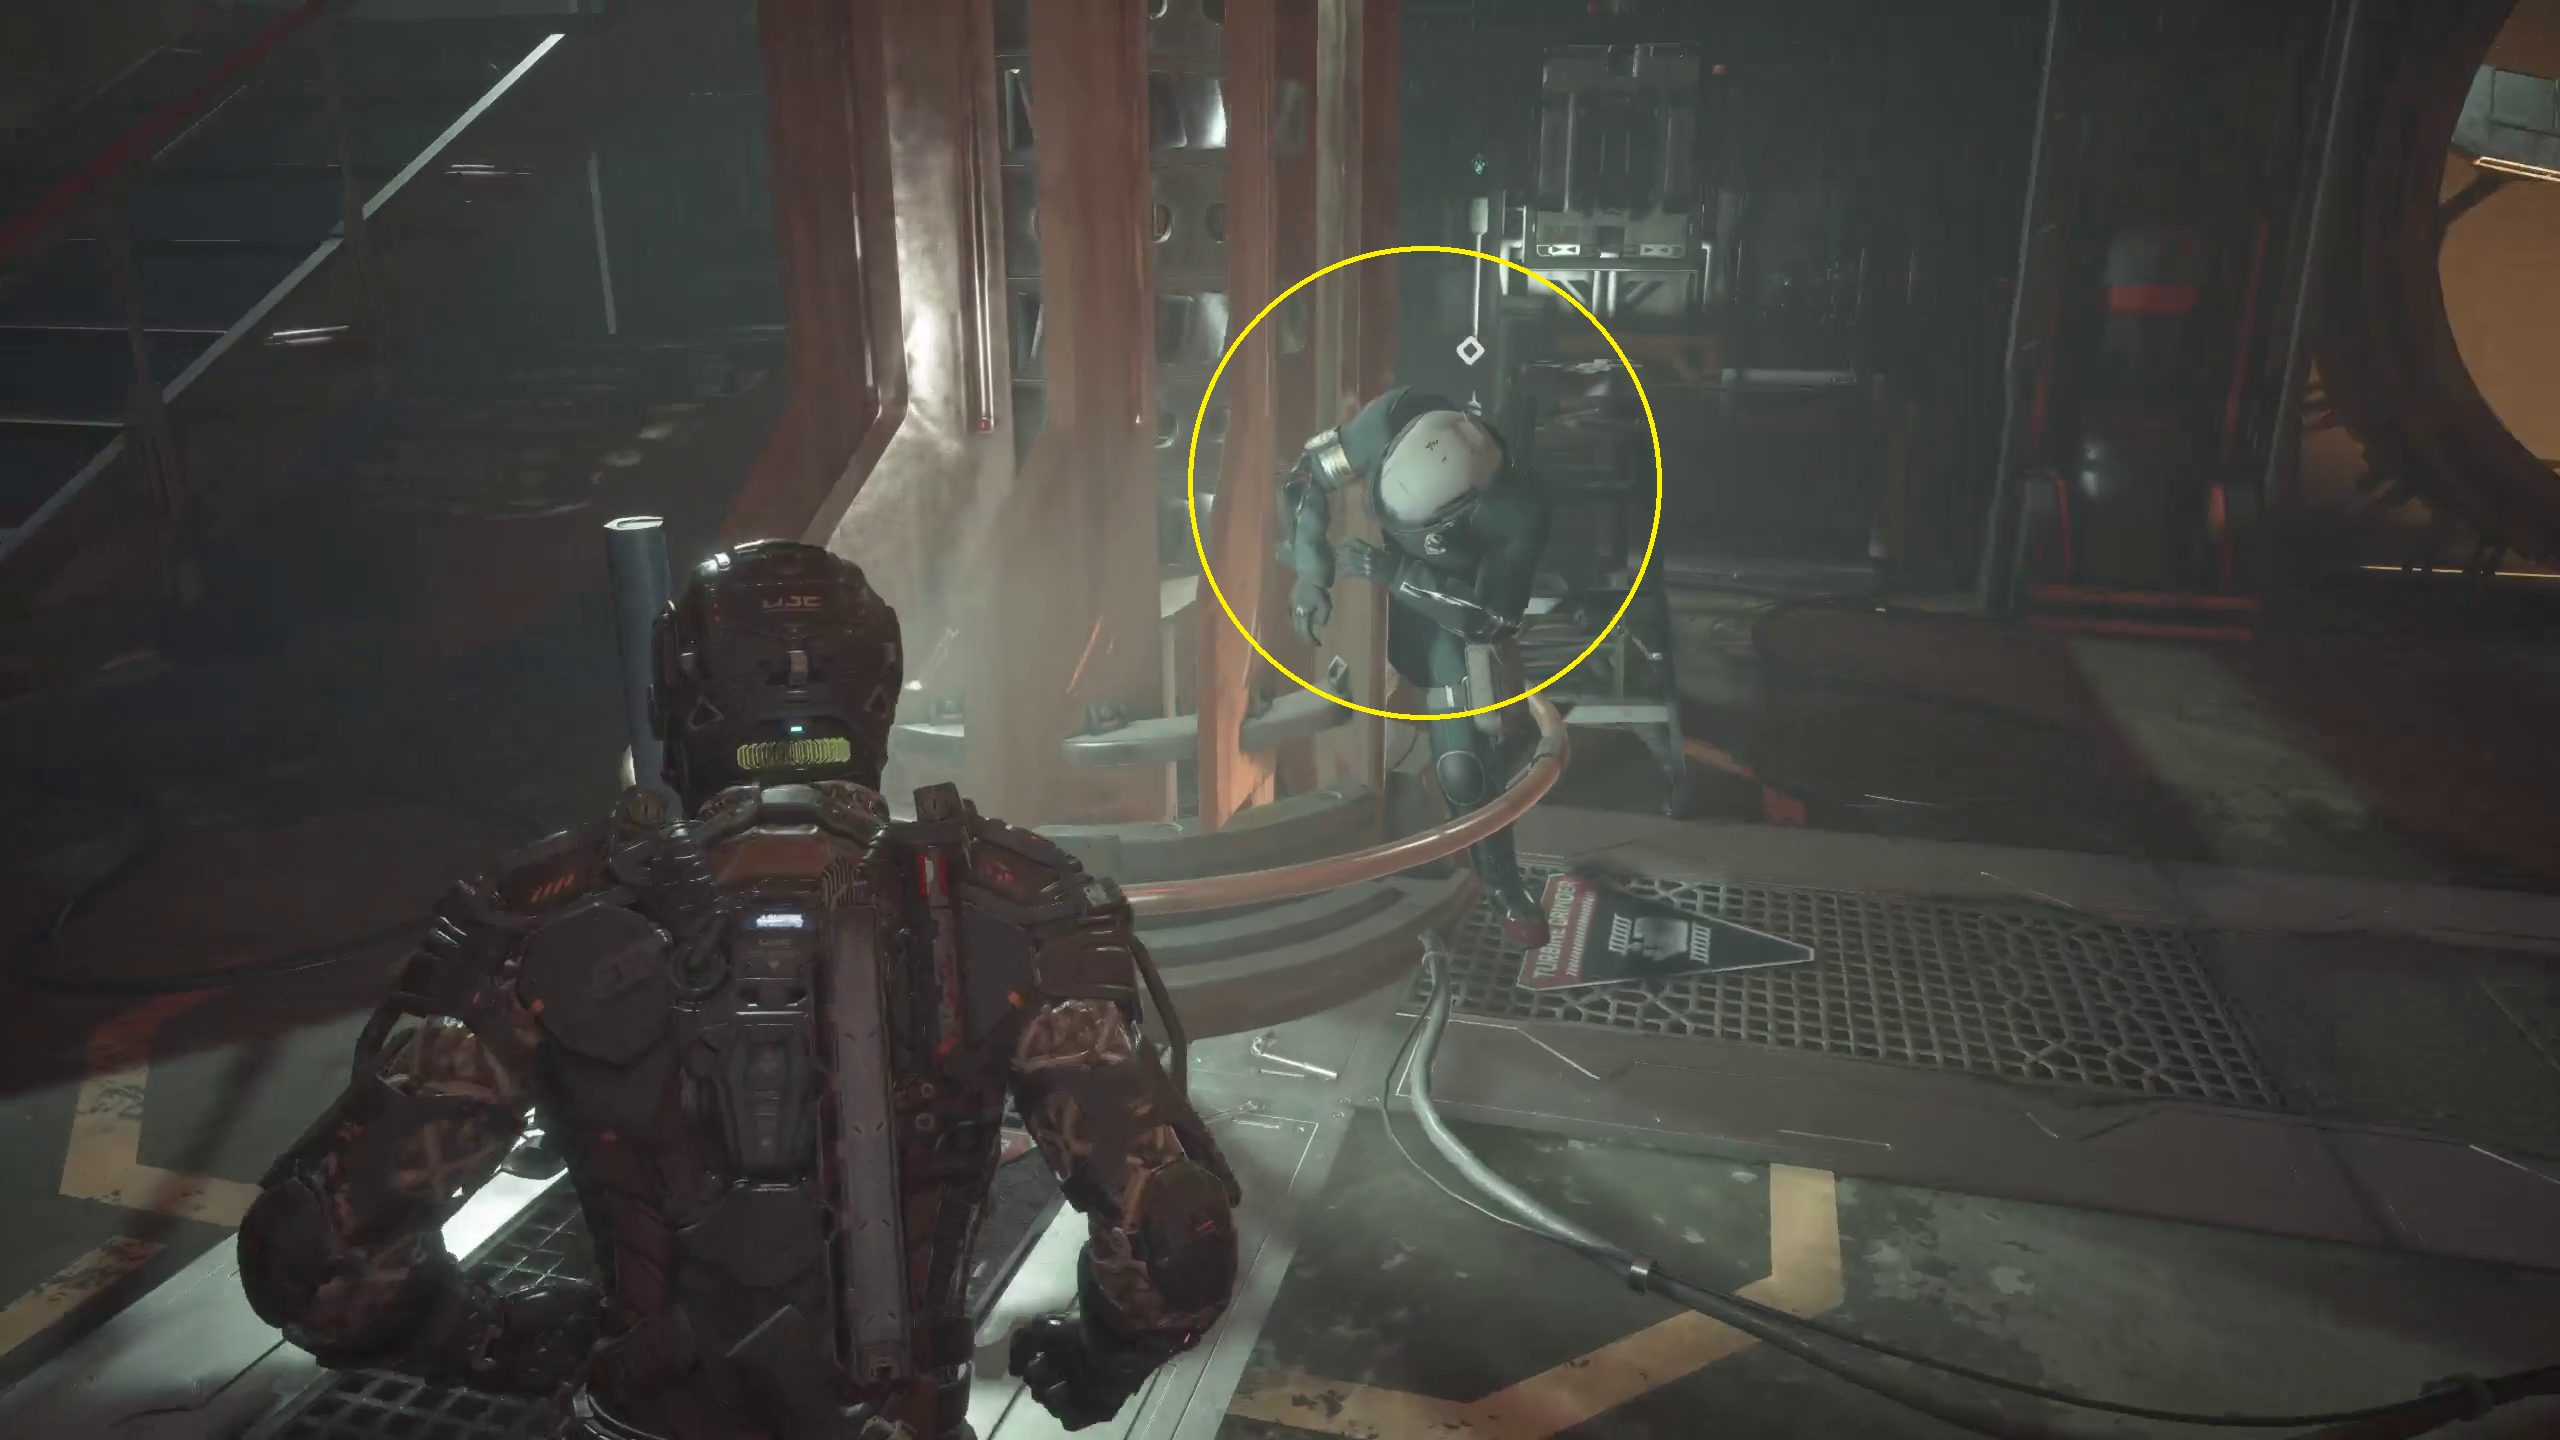
Press the button on the console in this room, and then you can continue through the previously closed security checkpoint. You’ll then come across the Power Station. There will be a body caught in one of the turbines; go up to it and take Ofc. Aaron Taycho’s DATA-BIOS, which will also activate the Power Station.
After the Power Station powers up, you will be attacked by a wave of spitters and regular biophage. Thankfully, this room is filled with spinning turbines that you can use your GRP to toss (or place) biophage into. Once you’ve dispatched this wave of enemies, you will be able to go up the stairs to enter the next control room.
In the Control Room, there is a Reforge that you can use. When you are finished, go to the control panel by the window and interact with it.
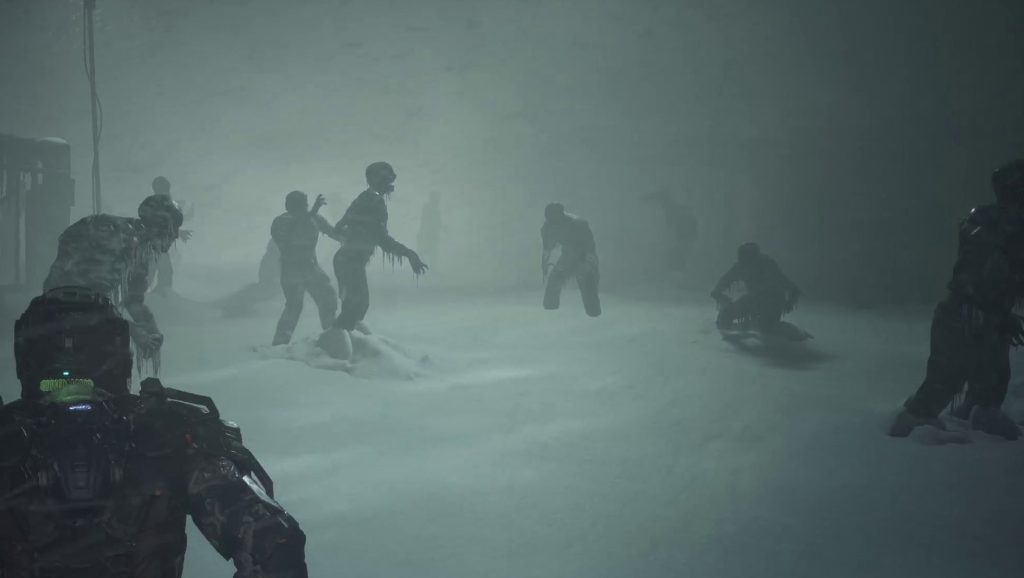
Find Dani in the Courtyard
After opening the main gate, leave the room and descend a long stairway, then continue forward until you reach an airlock. There will be a chest in here for you to open while you wait.
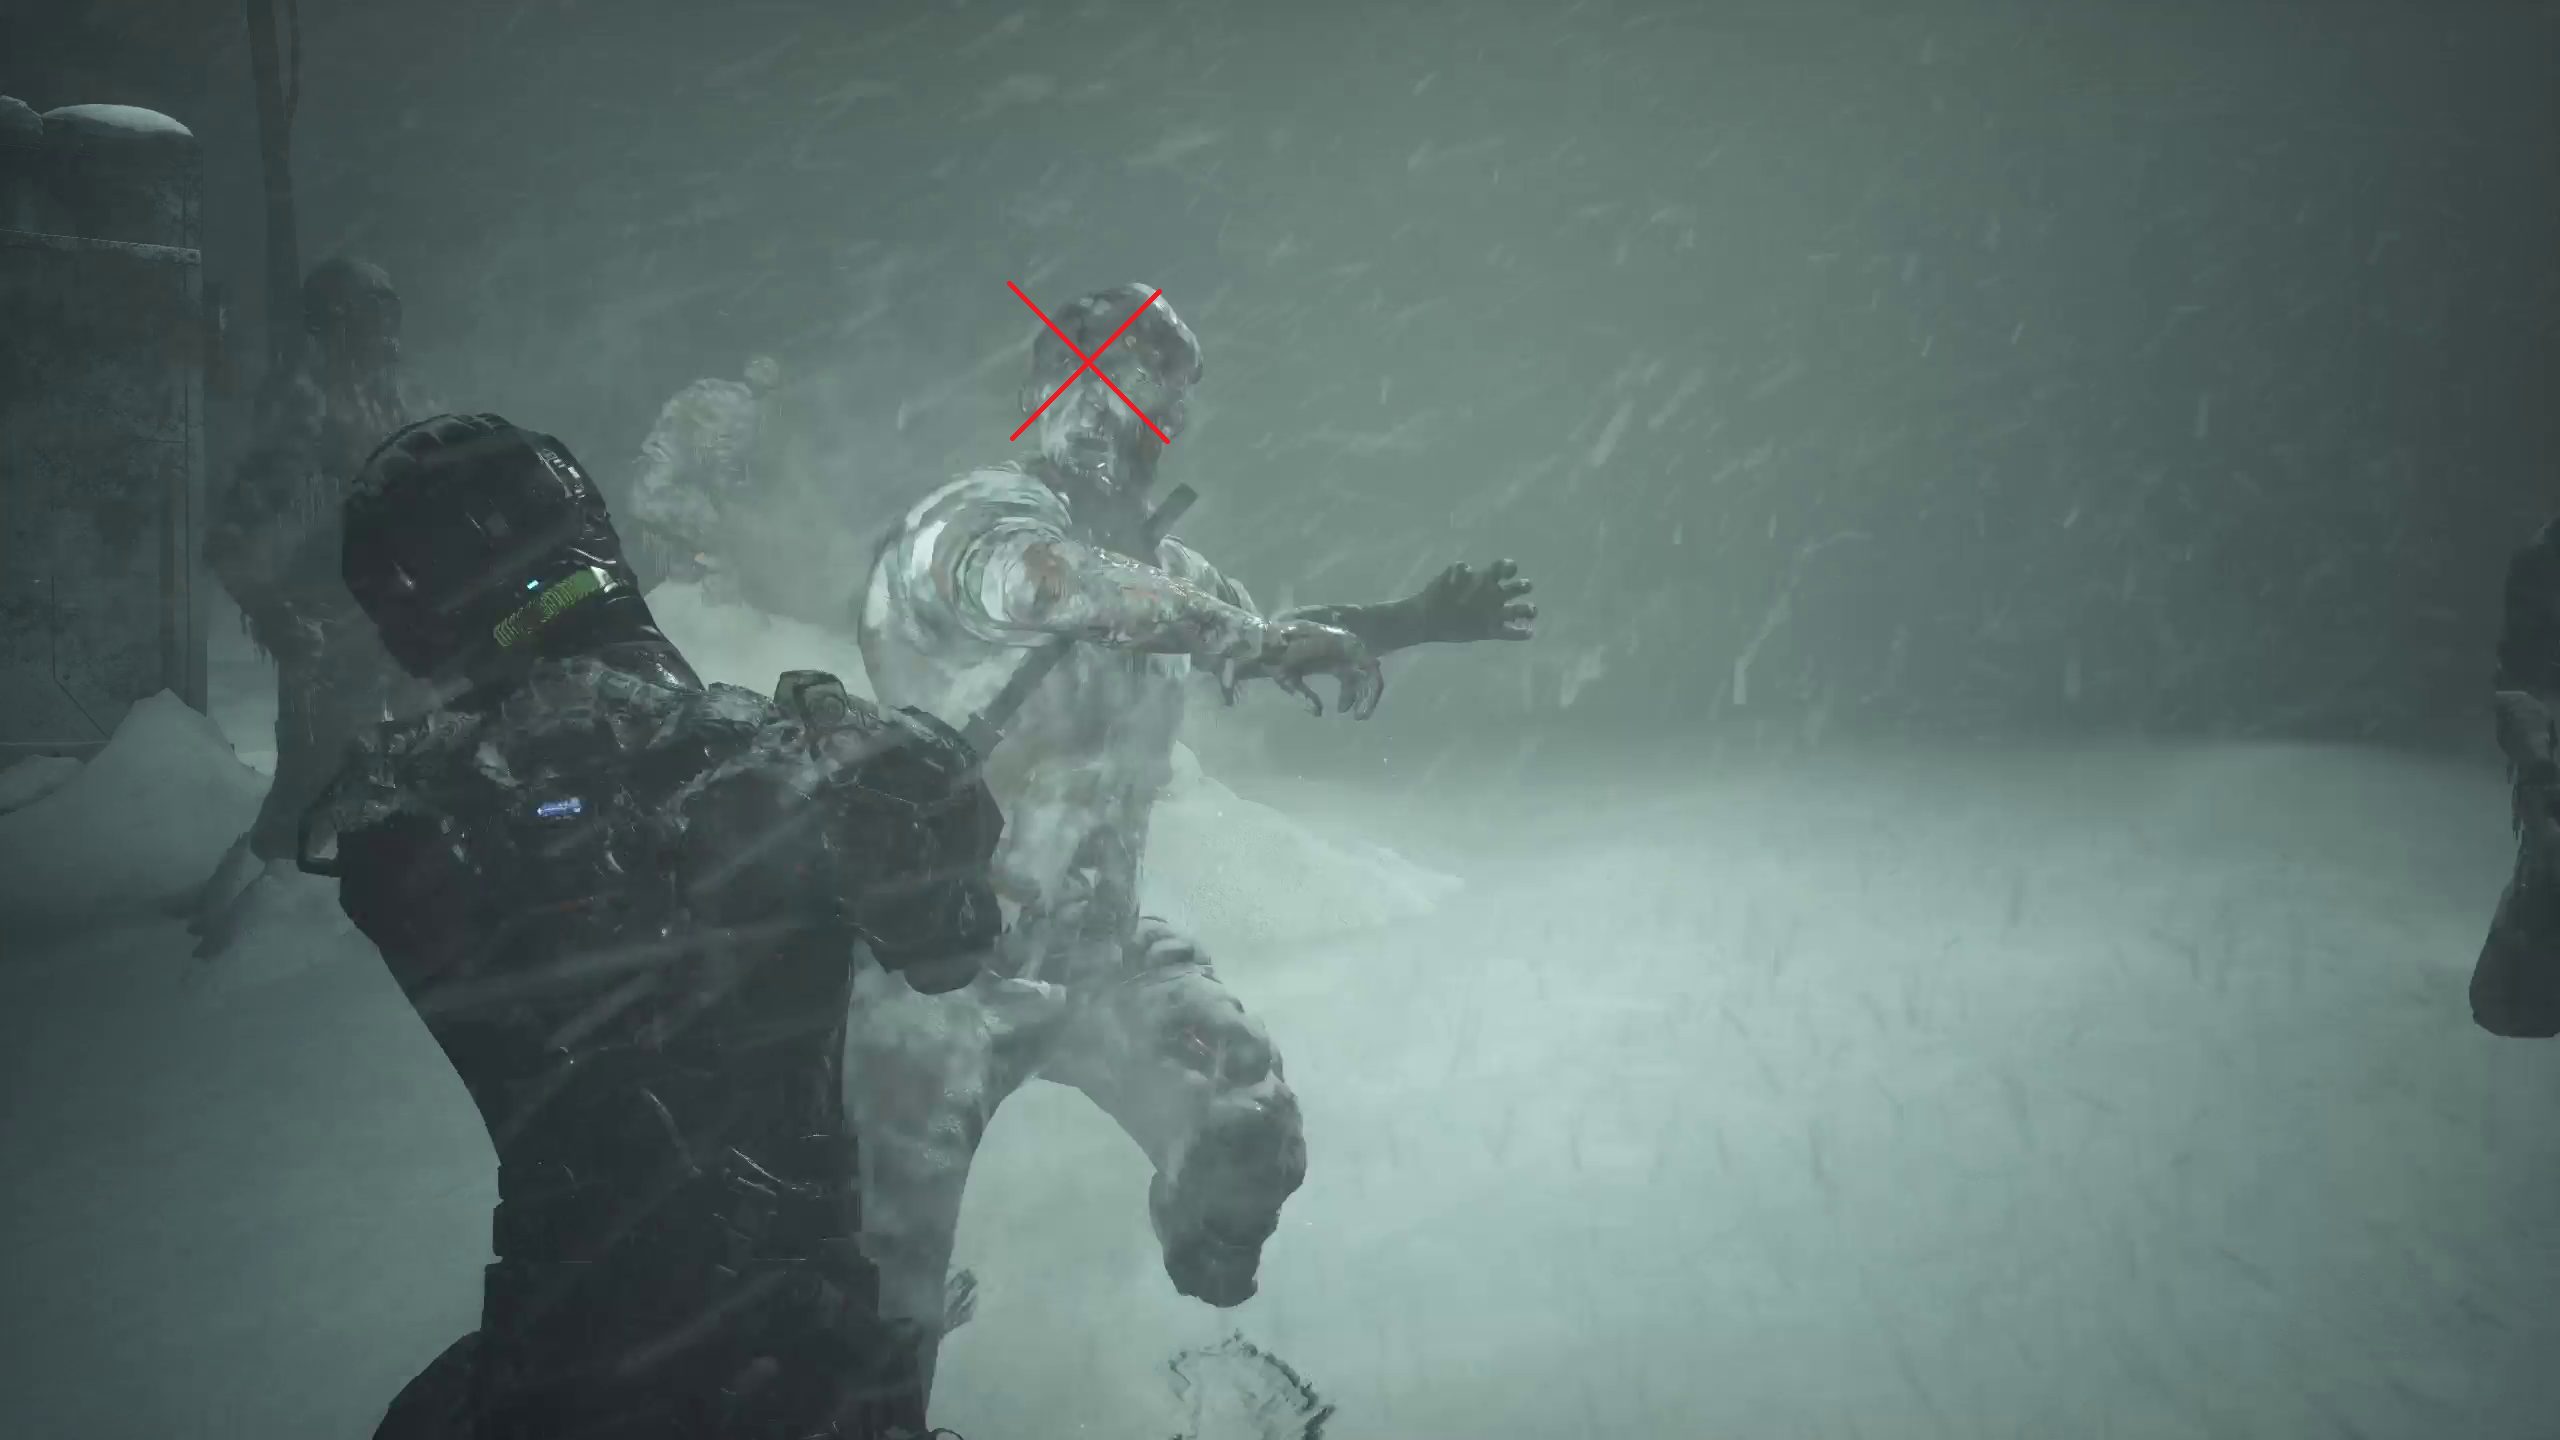
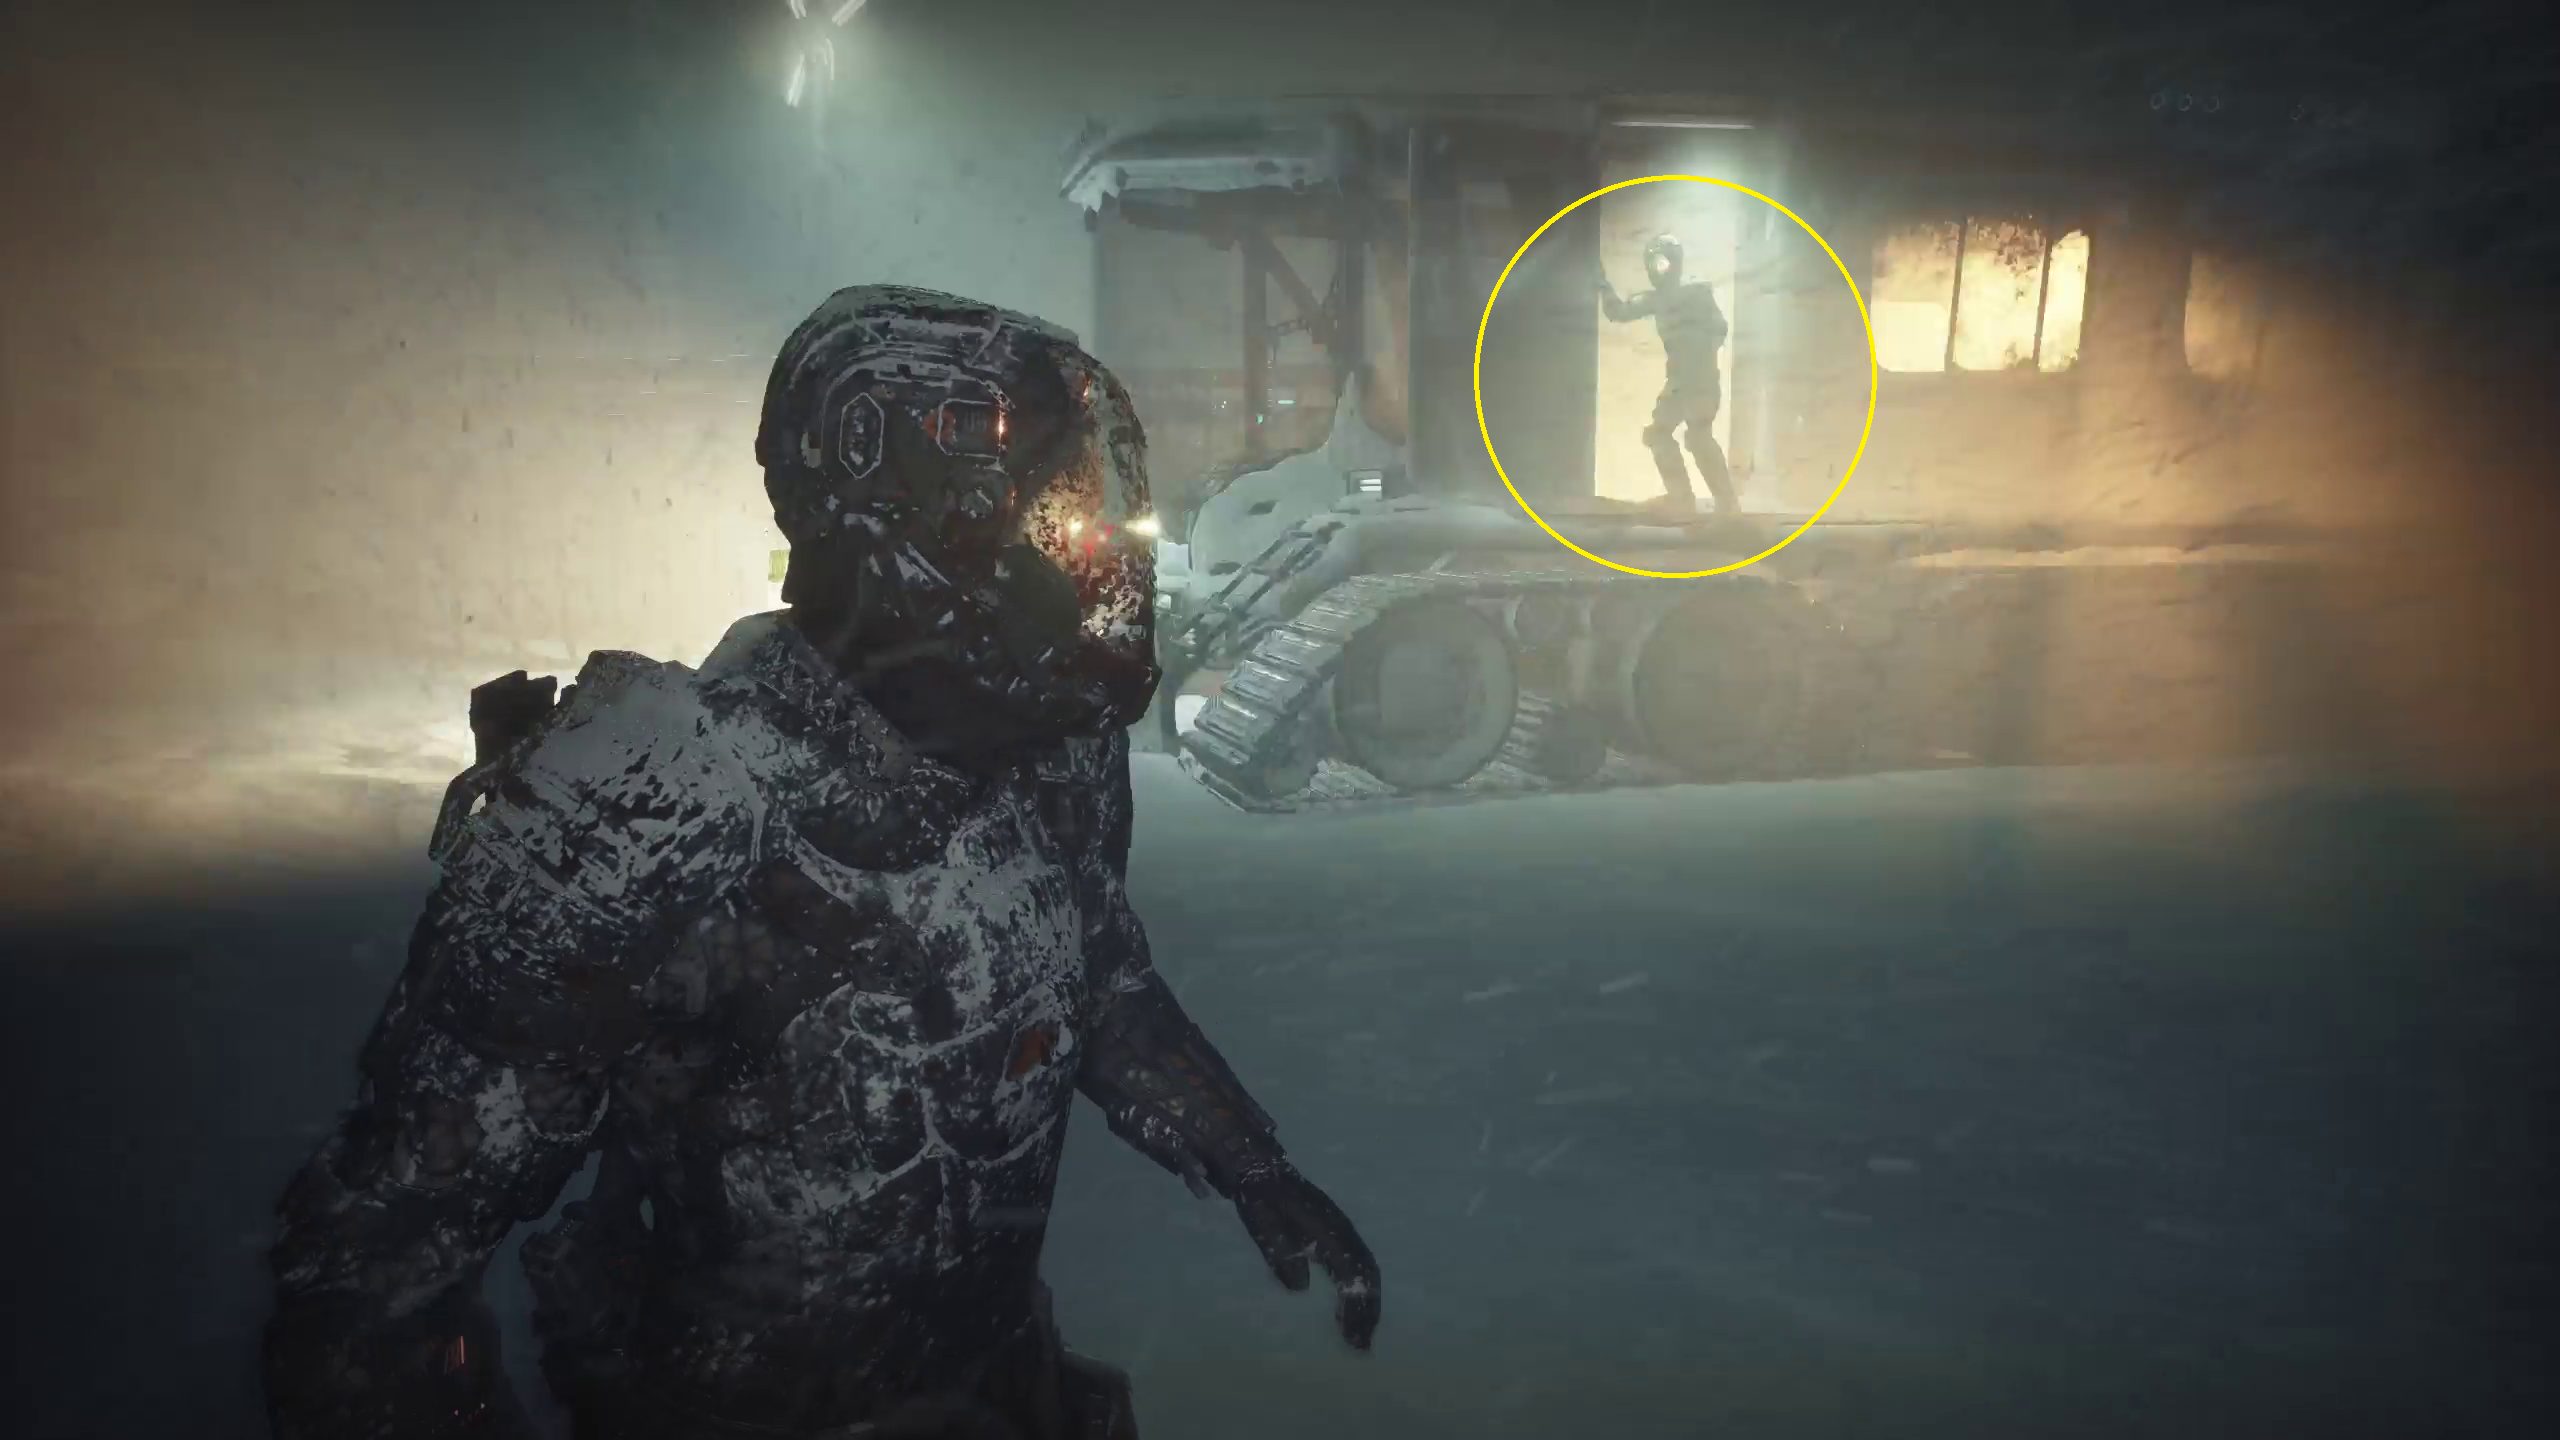
When you open the door, you’ll be greeted with a courtyard full of frozen biophage. You will need to get to the other side of this courtyard, but beware: some of these biophage will come to life and attack you. When you get to the other side of the courtyard, Dani will pull up in her snowcat, and you can approach her to get in it.
Follow Dani
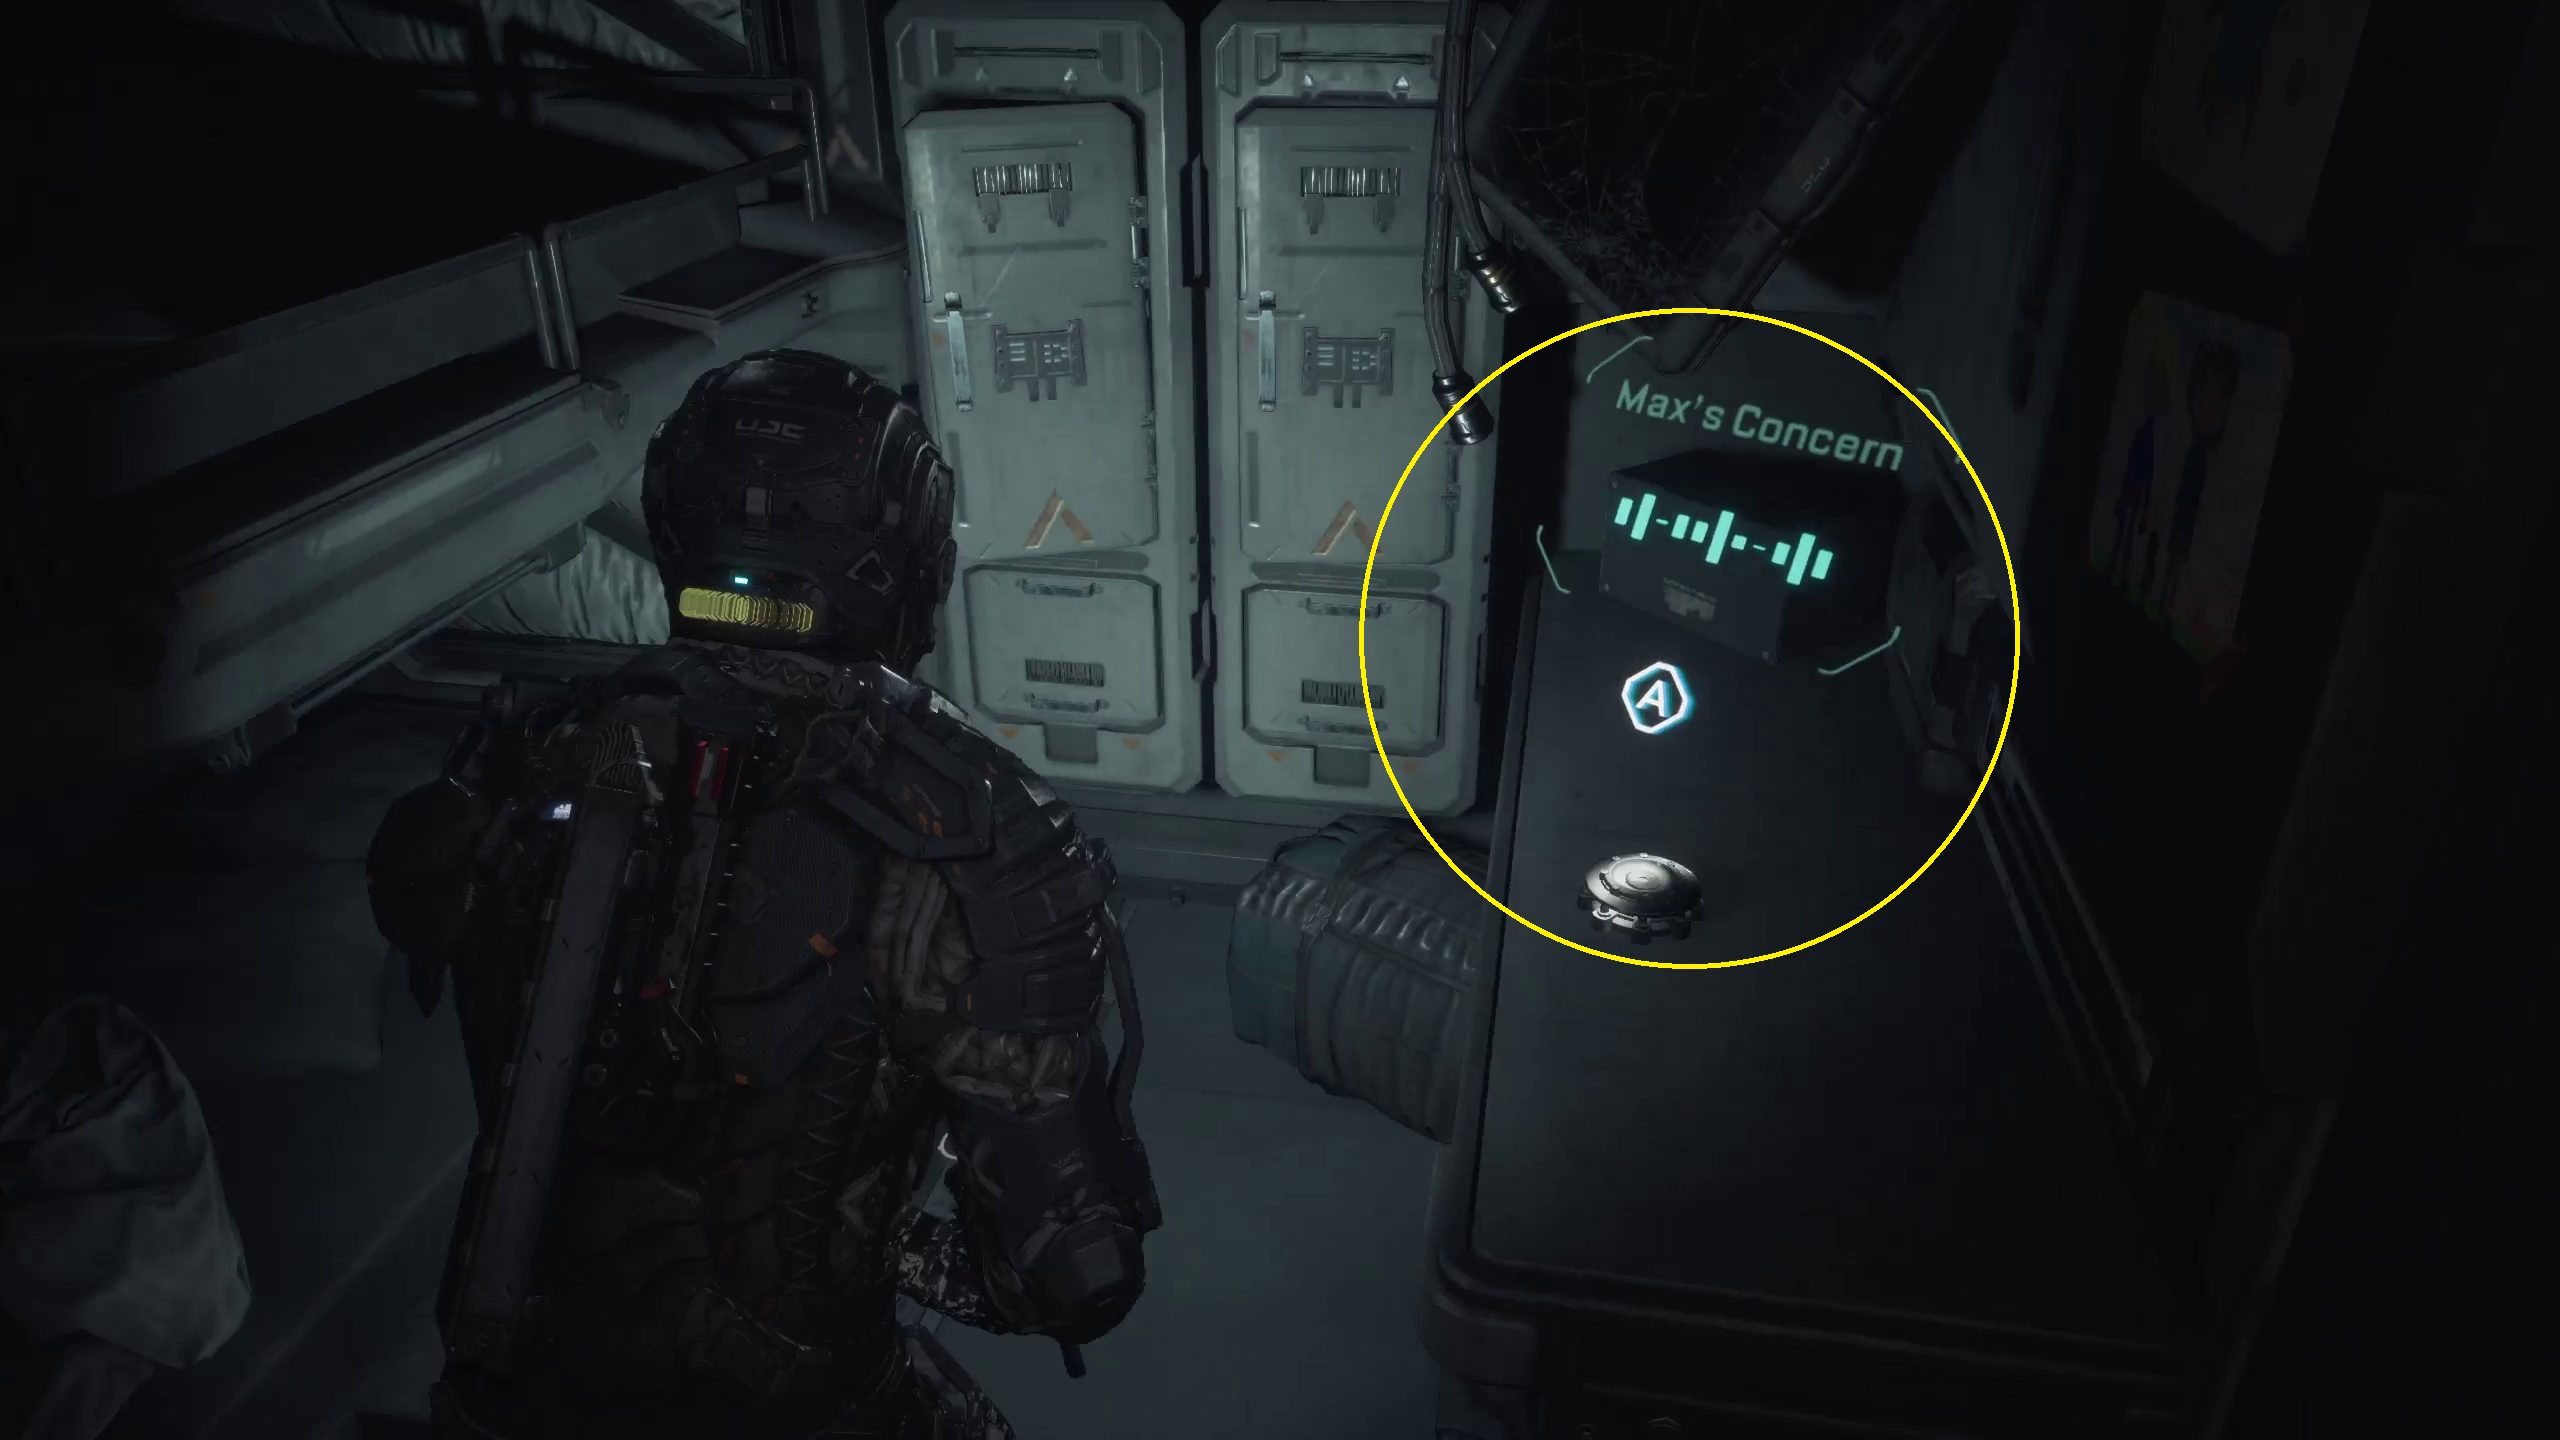
A cutscene will play, and then you will regain control of Jacob, in front of his crashed ship. Follow Dani into the Charon, and then head into the second door on your left, where you will find Max’s Audio Log, Max’s Concern.
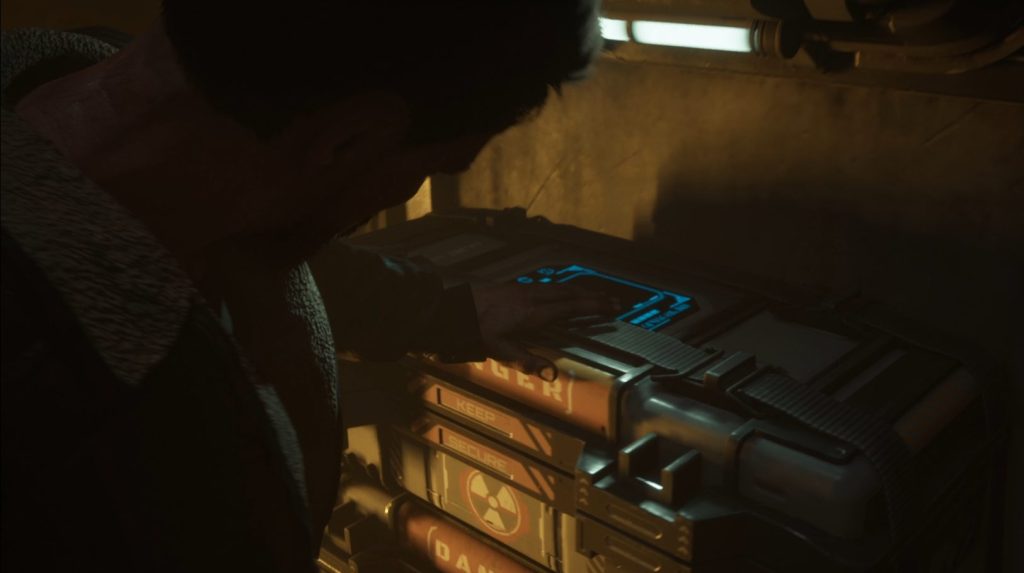
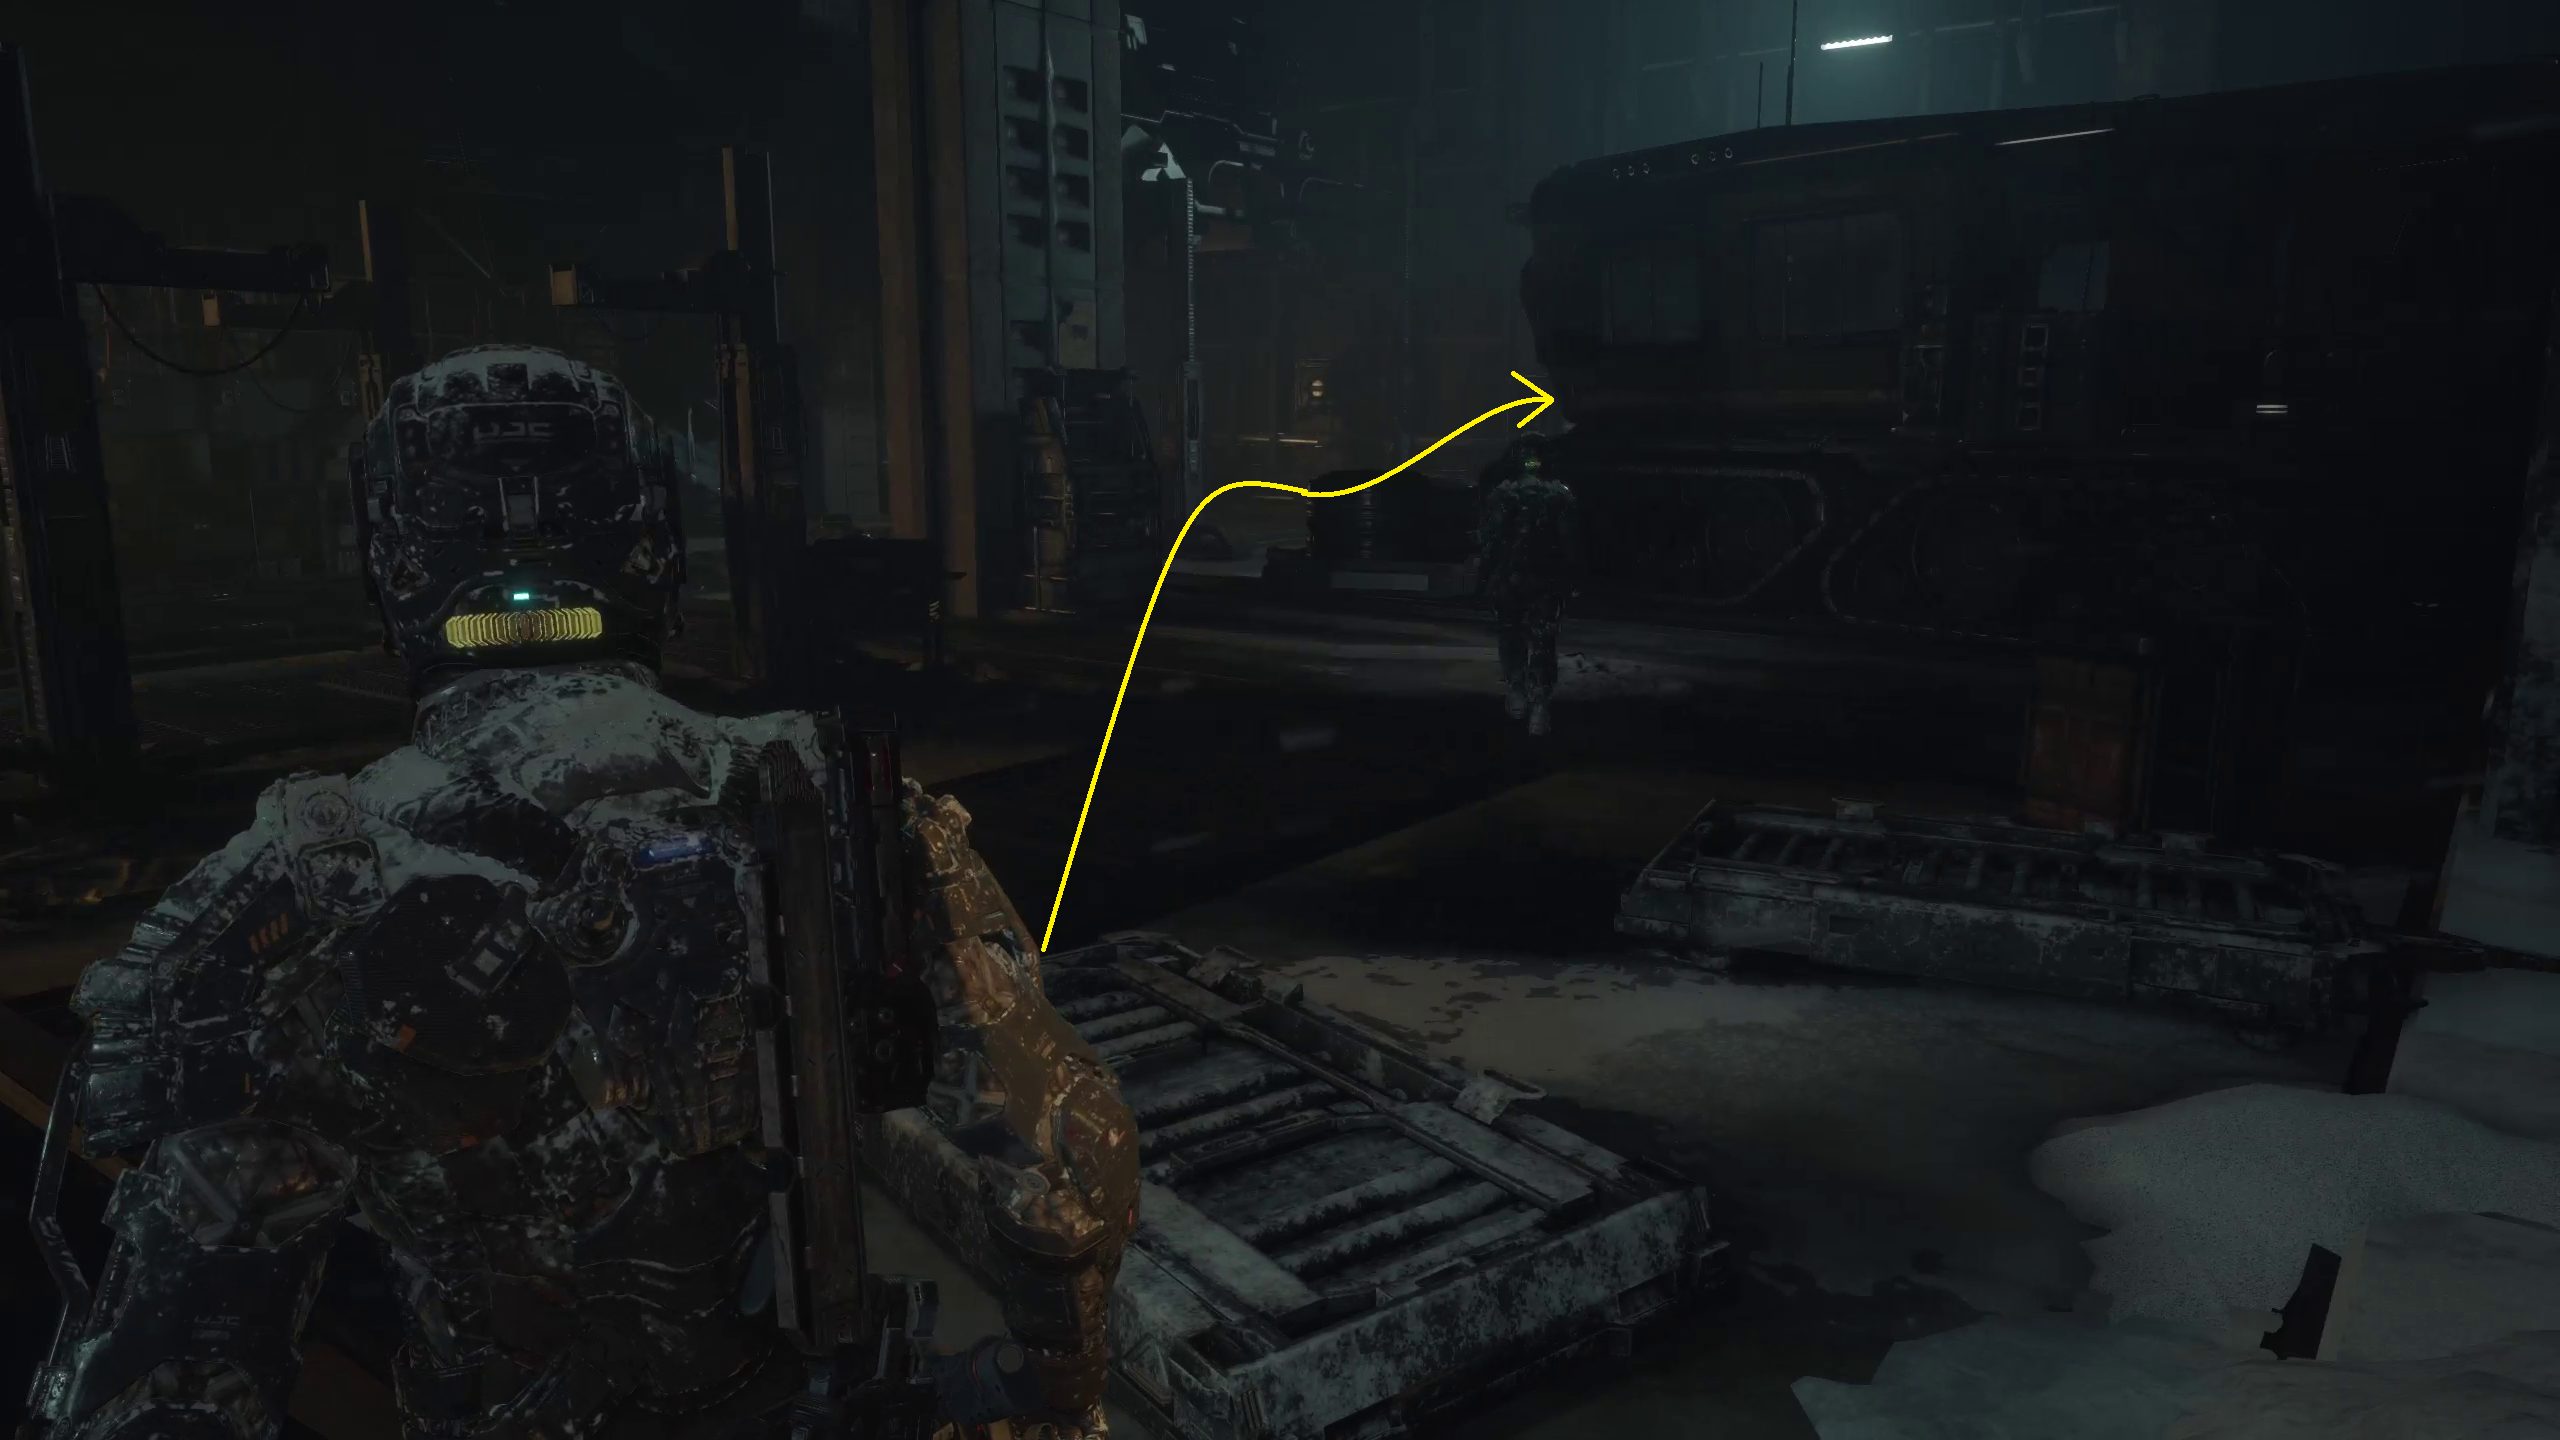
After that, drop down to the remains of the ship’s cargo hold, turn around, and find Dani fiddling with a crate in the yellow-bathed room. When you approach her, a cutscene will play, and then the game will cut forward to you and Dani outside the Hangar.
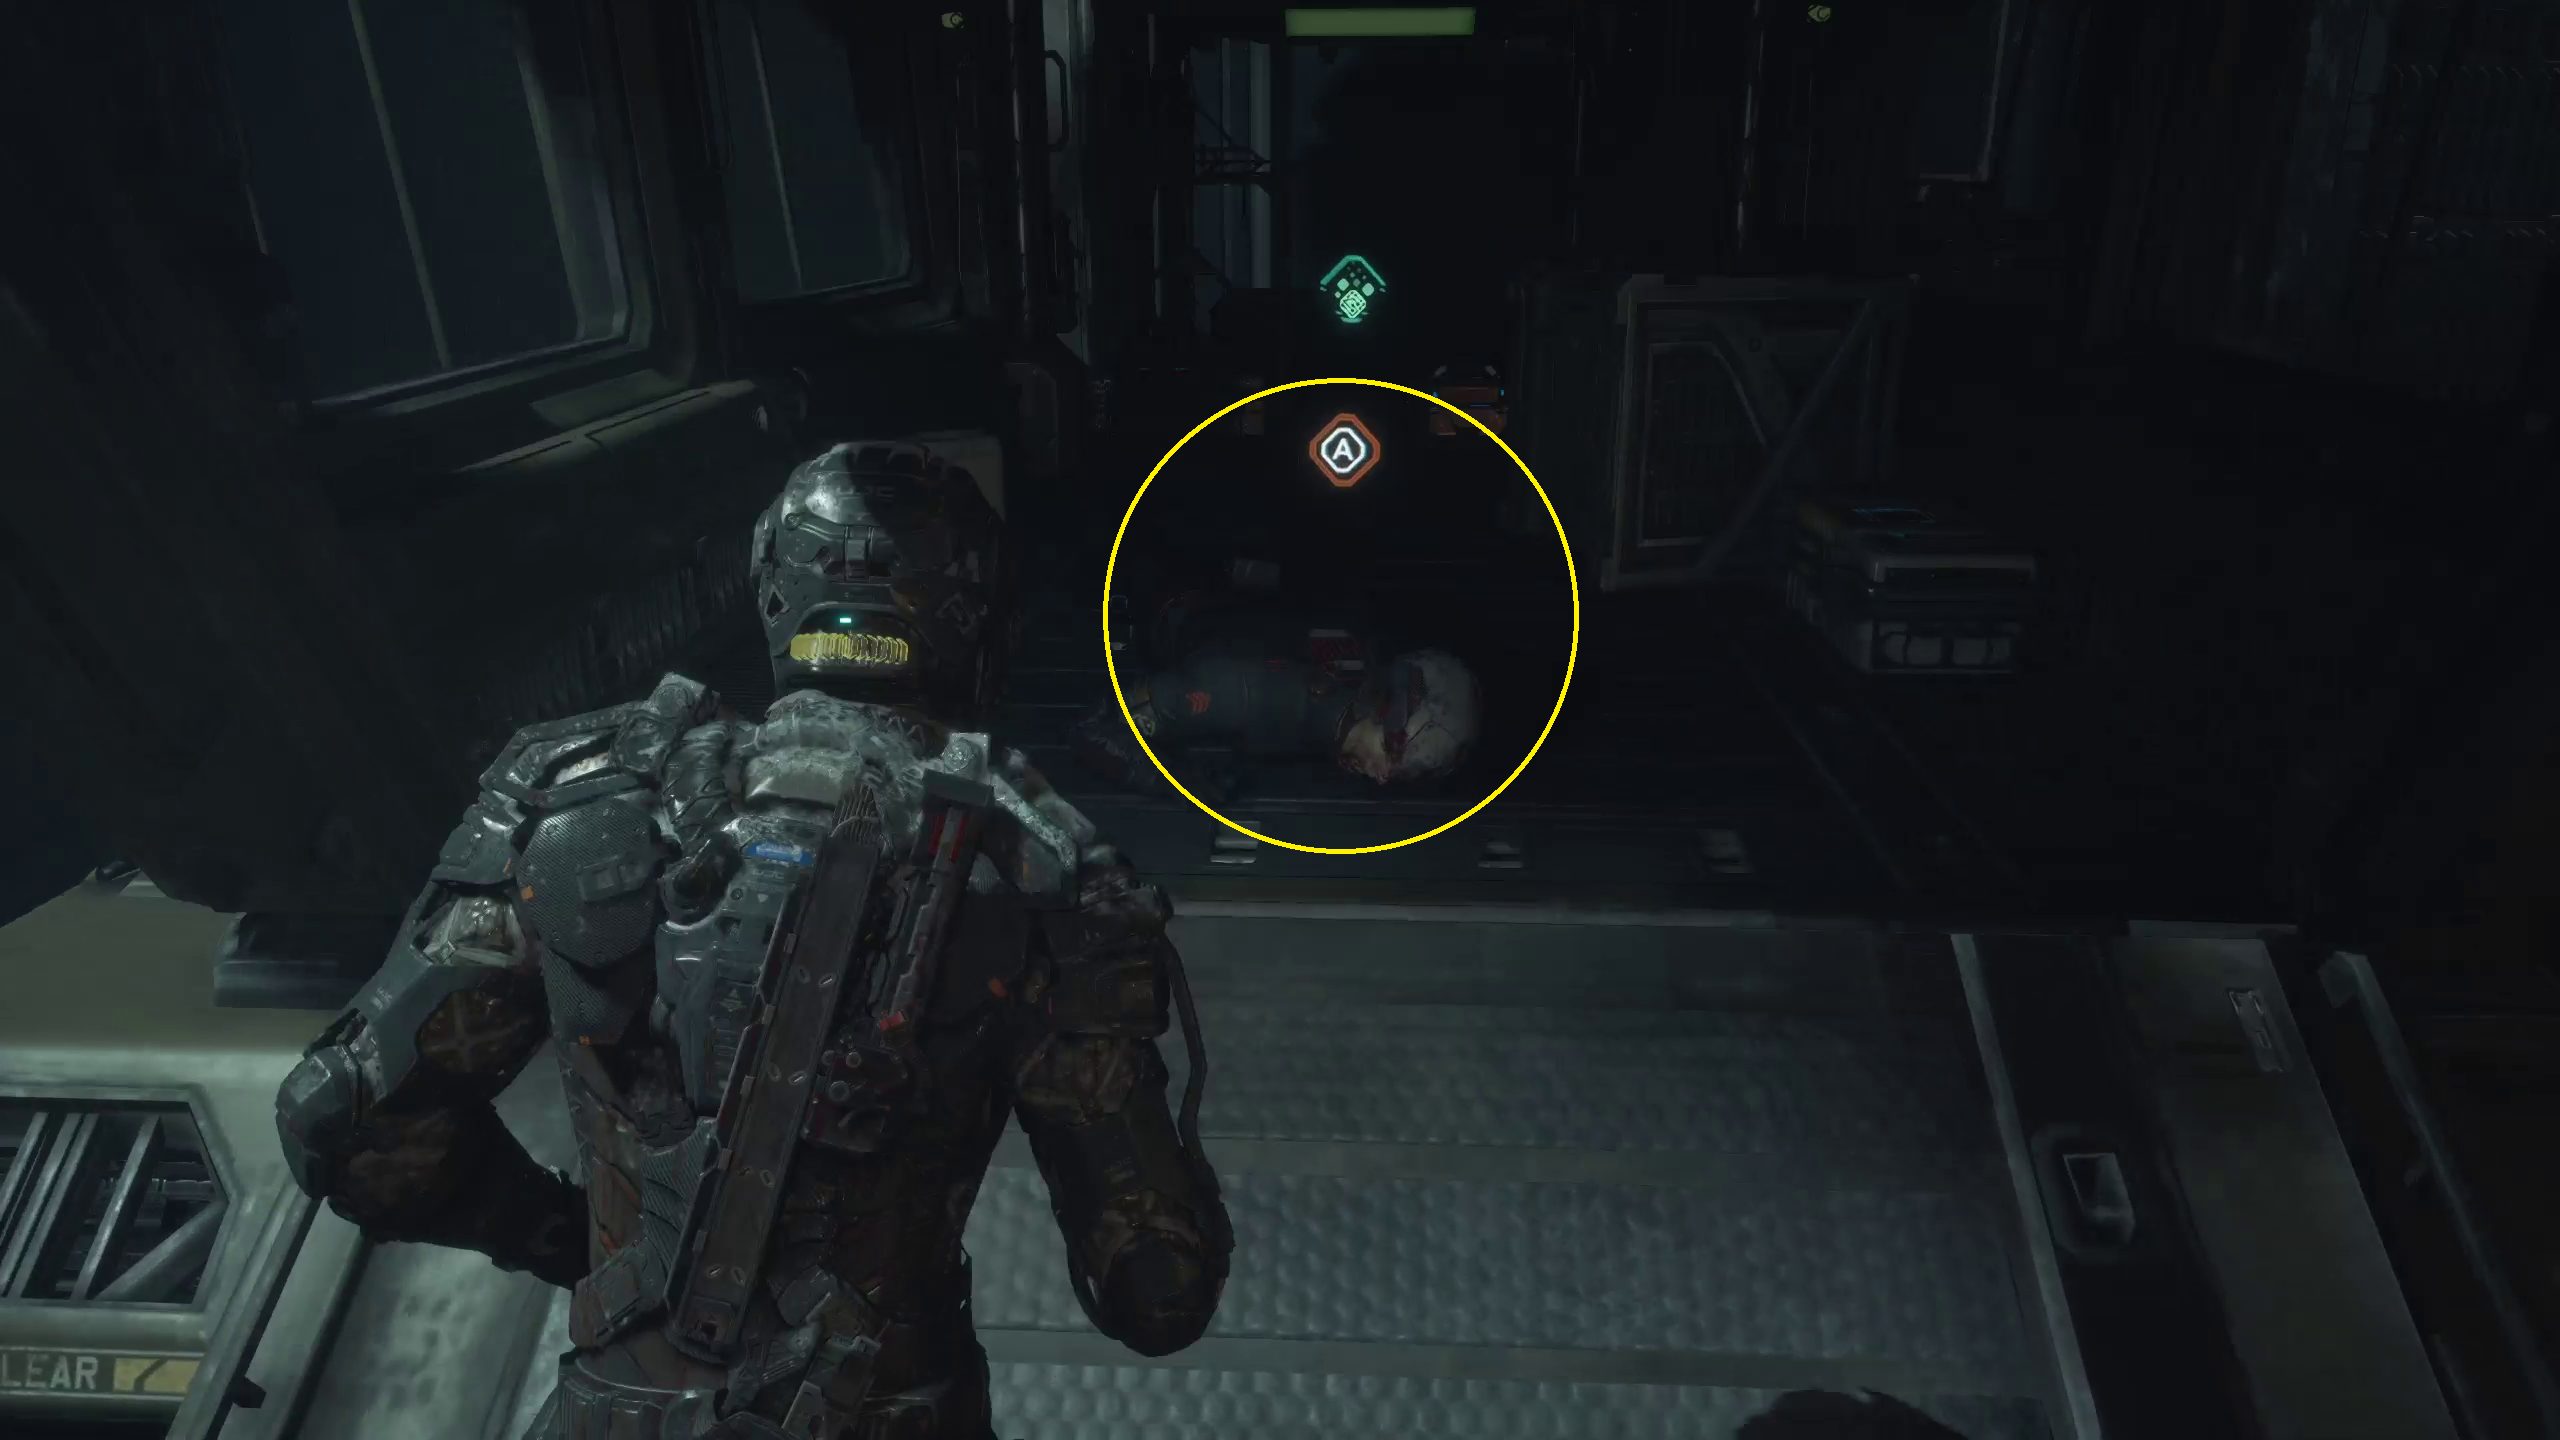
Squeeze into the room in front of you, and then go to the back of the snowcat to your right, where you will come across the body and DATA-BIOS of Sgt. Scott Dvitny.
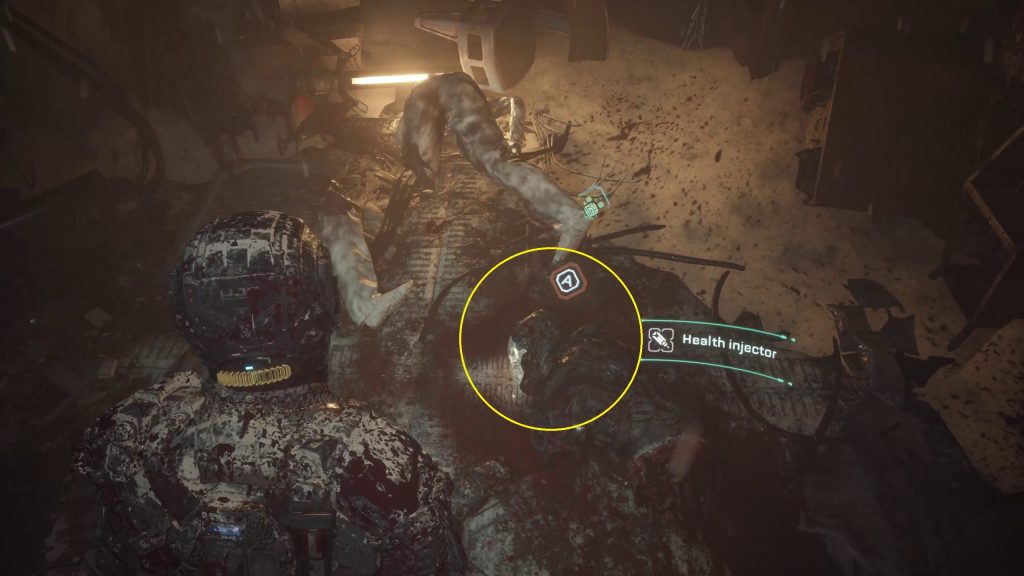
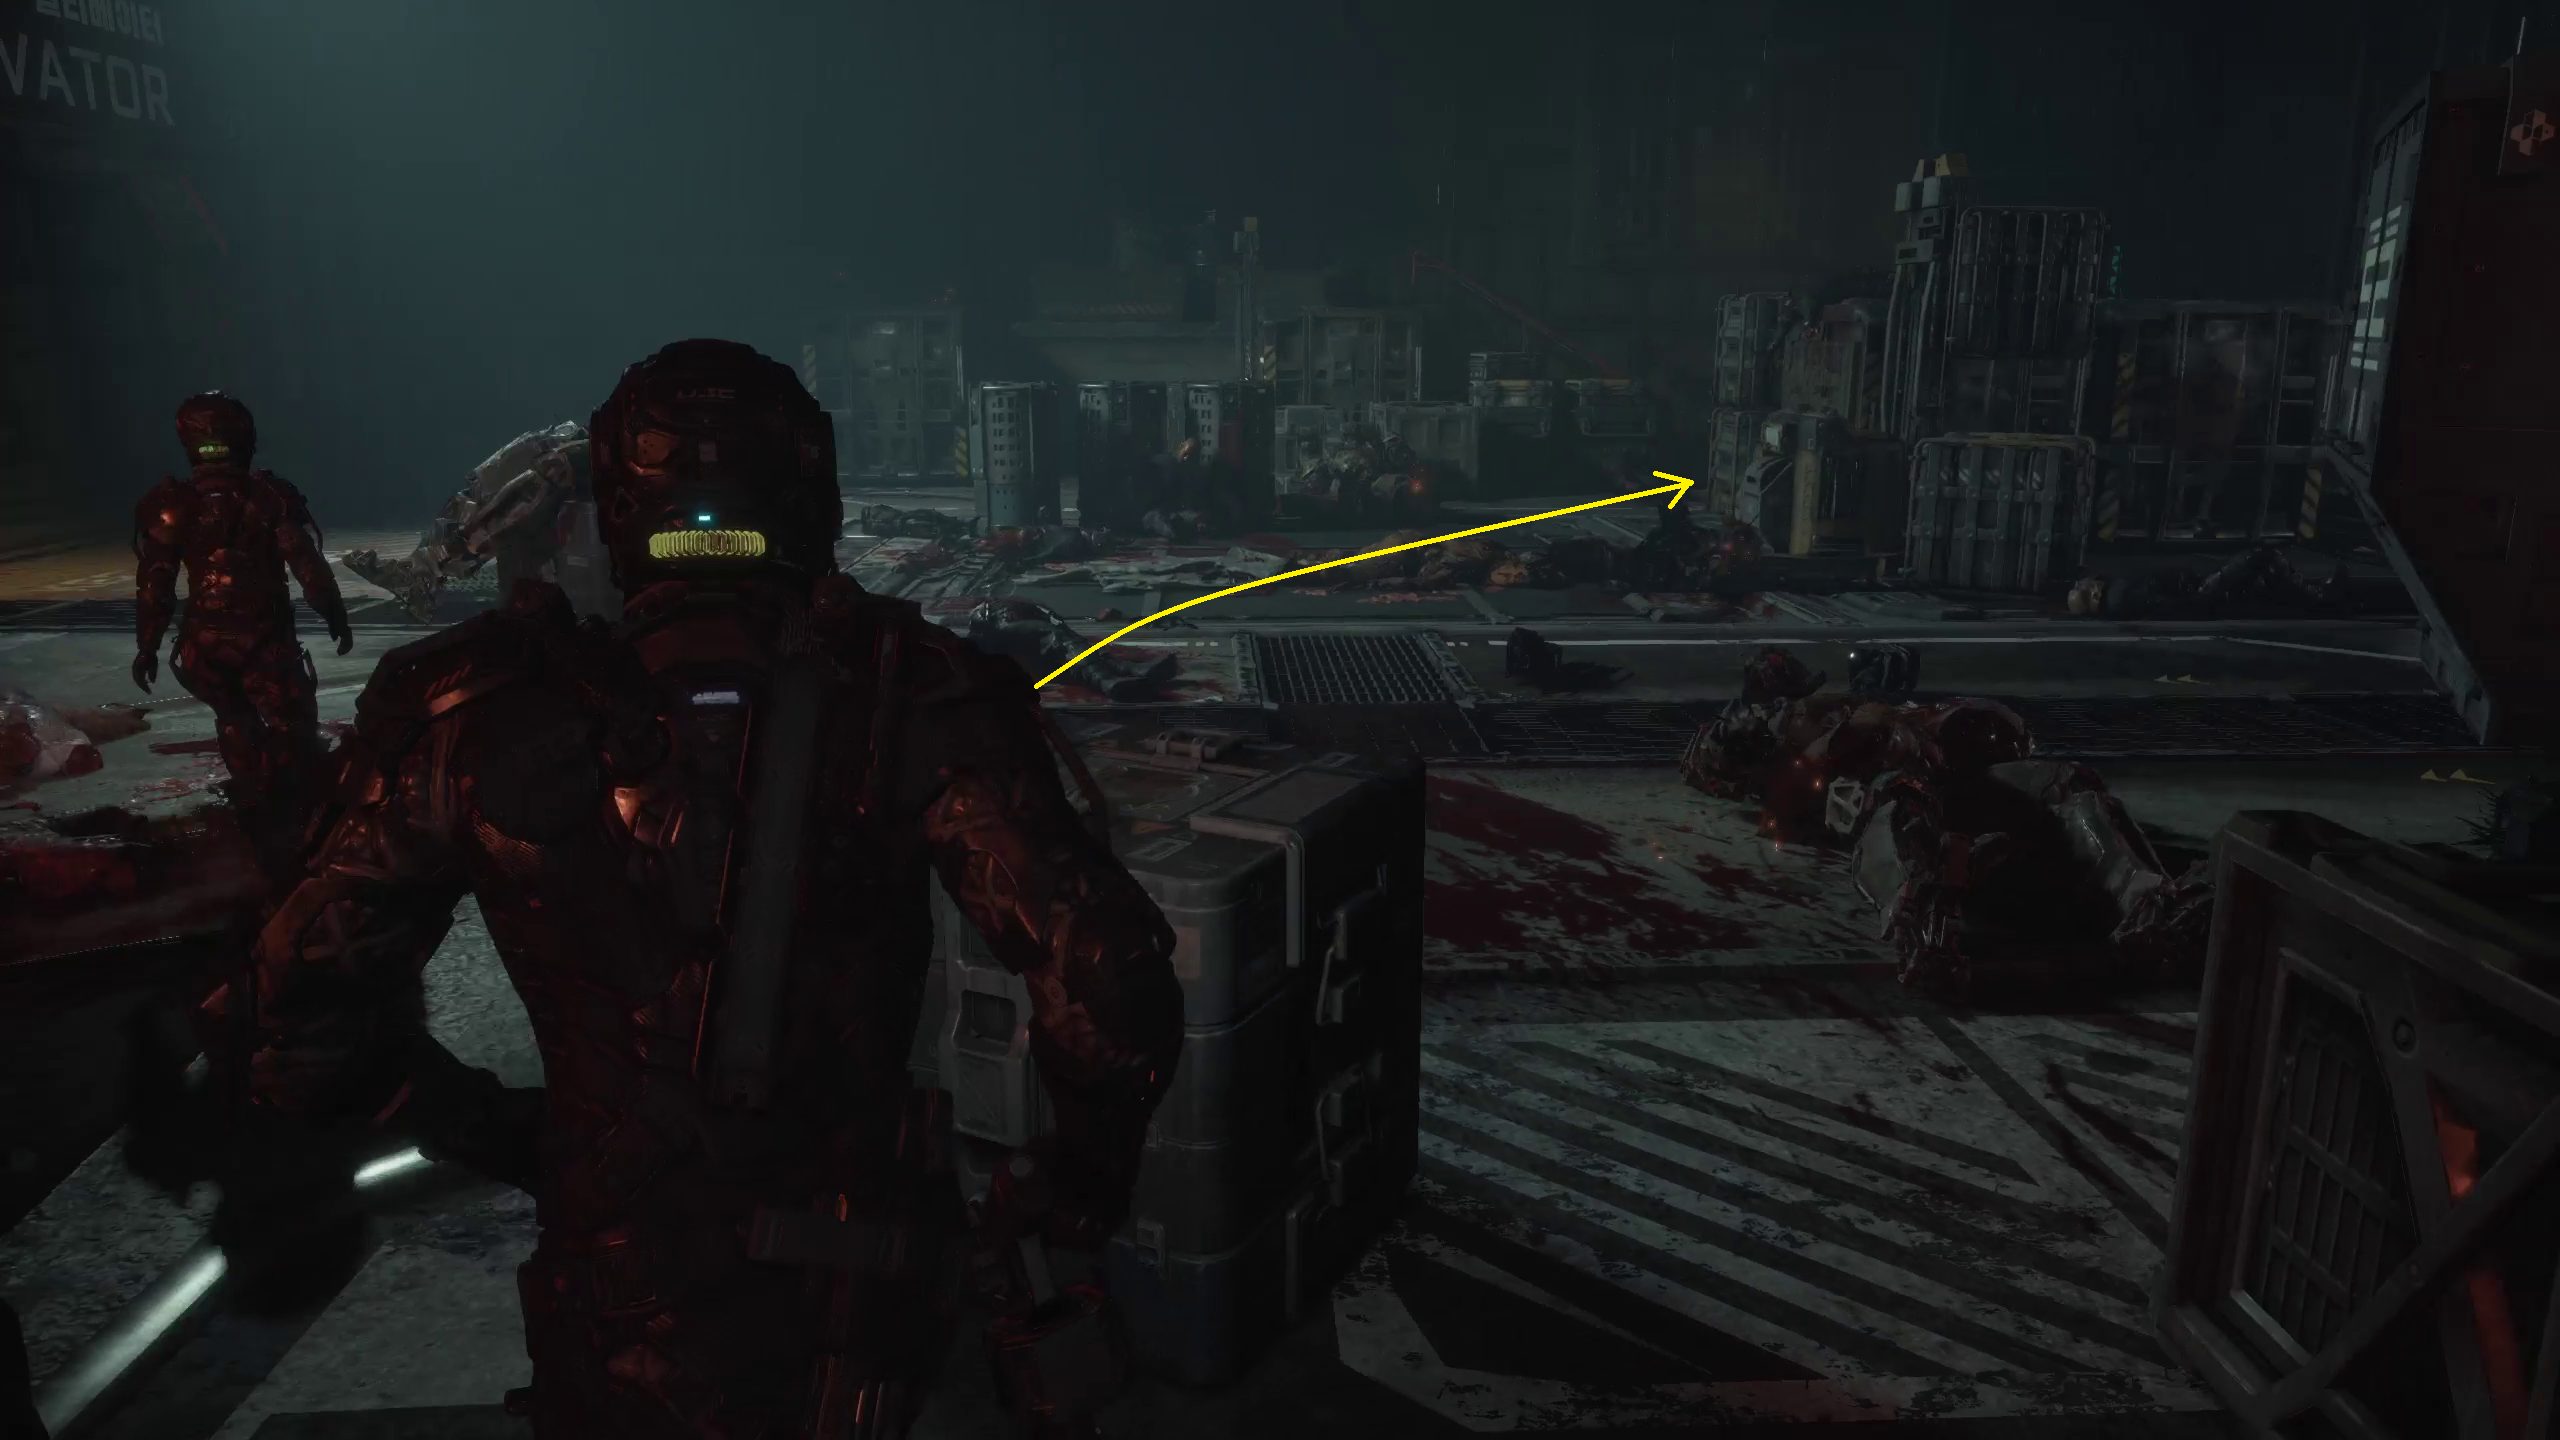
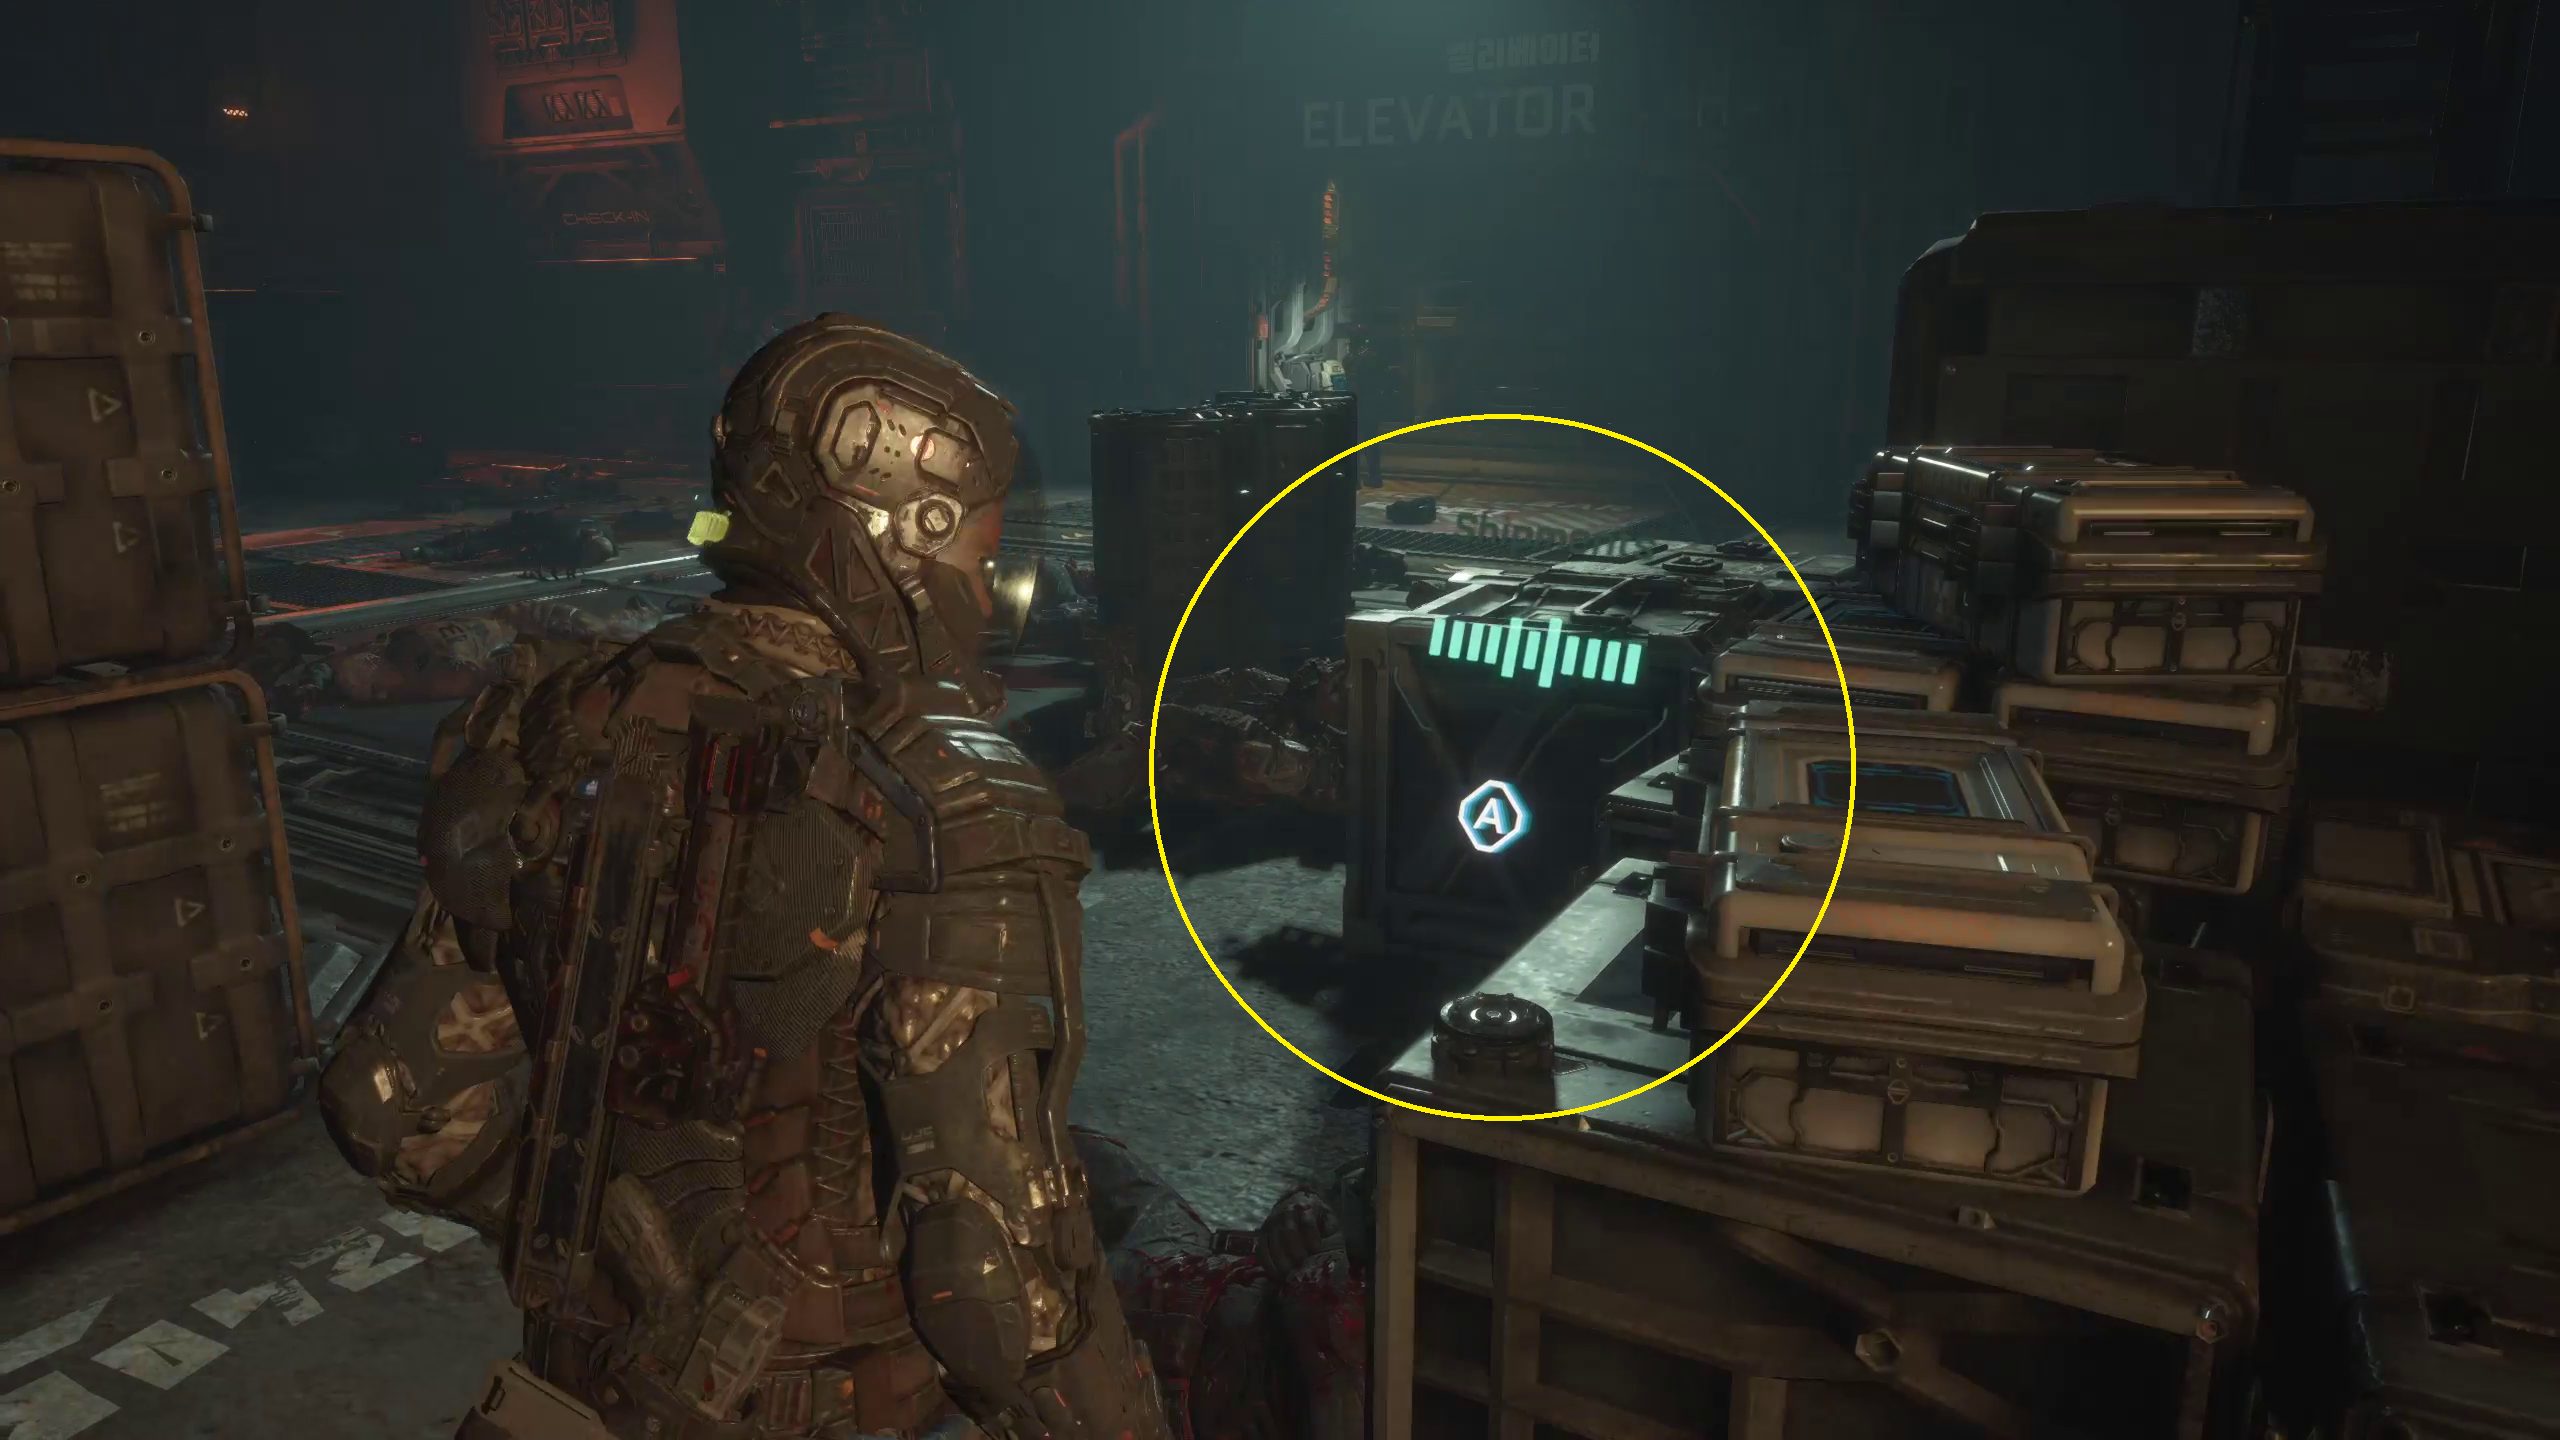
After grabbing that, continue to follow Dani up the stairs and through the airlock. Once through, make sure to grab the chest in the next room, and then continue. The next room will be full of destroyed robots and corpses. You will have to wait a while for the elevator, and while you do you can grab Dr. Caitlyn Mahler’s Audio Log in the far corner of the room, sitting on a crate, near some other loot.
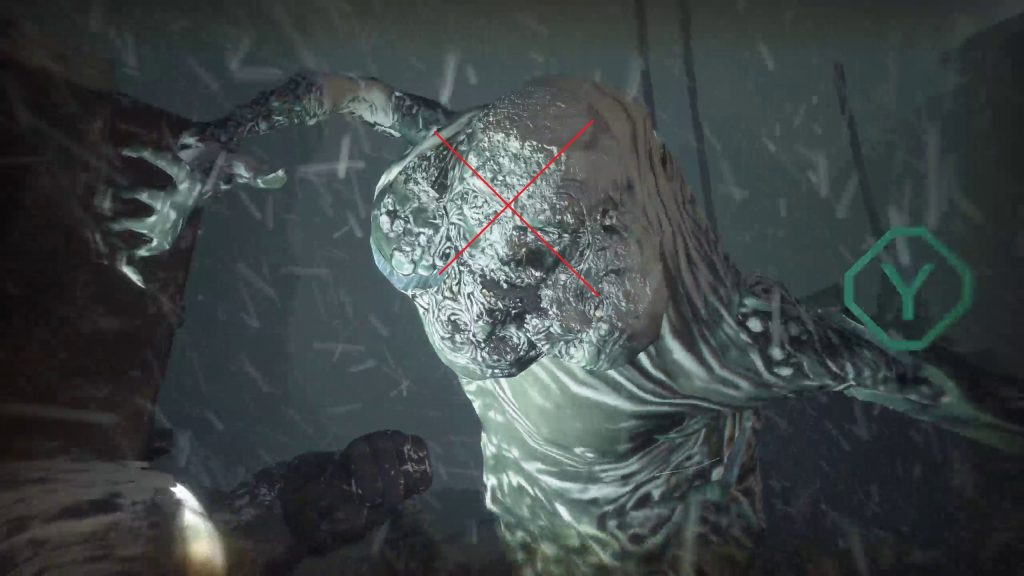
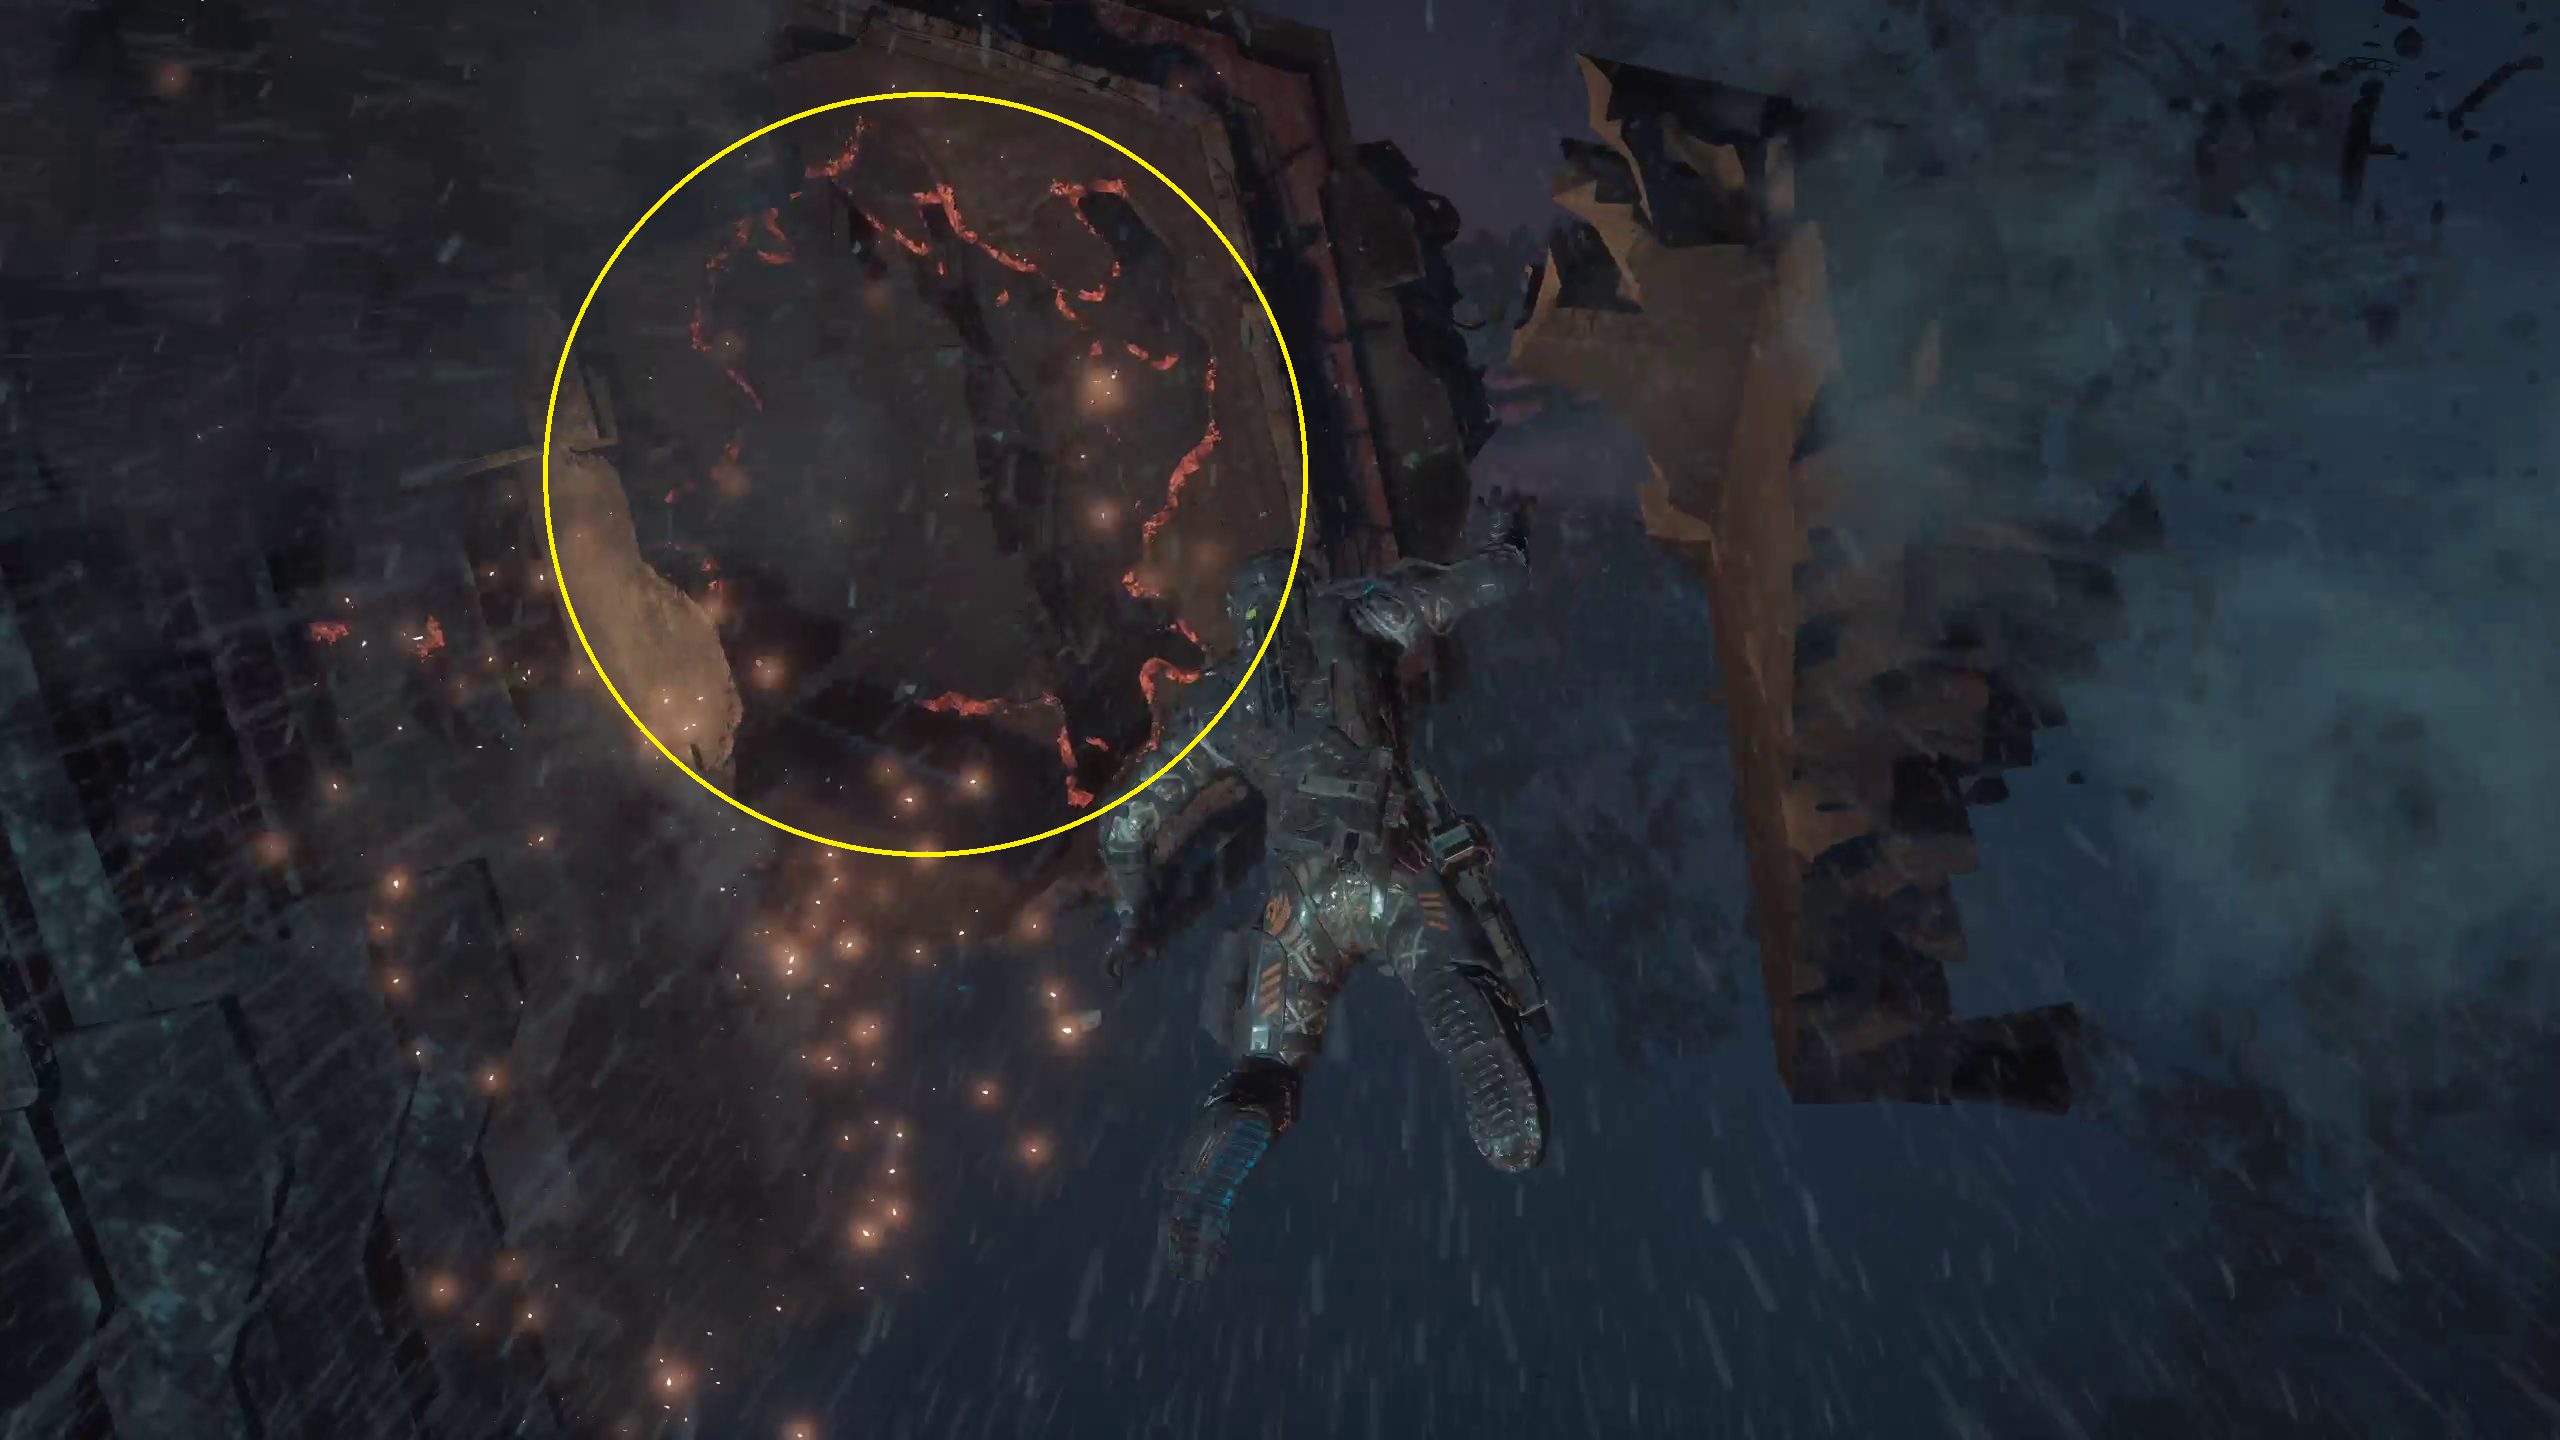
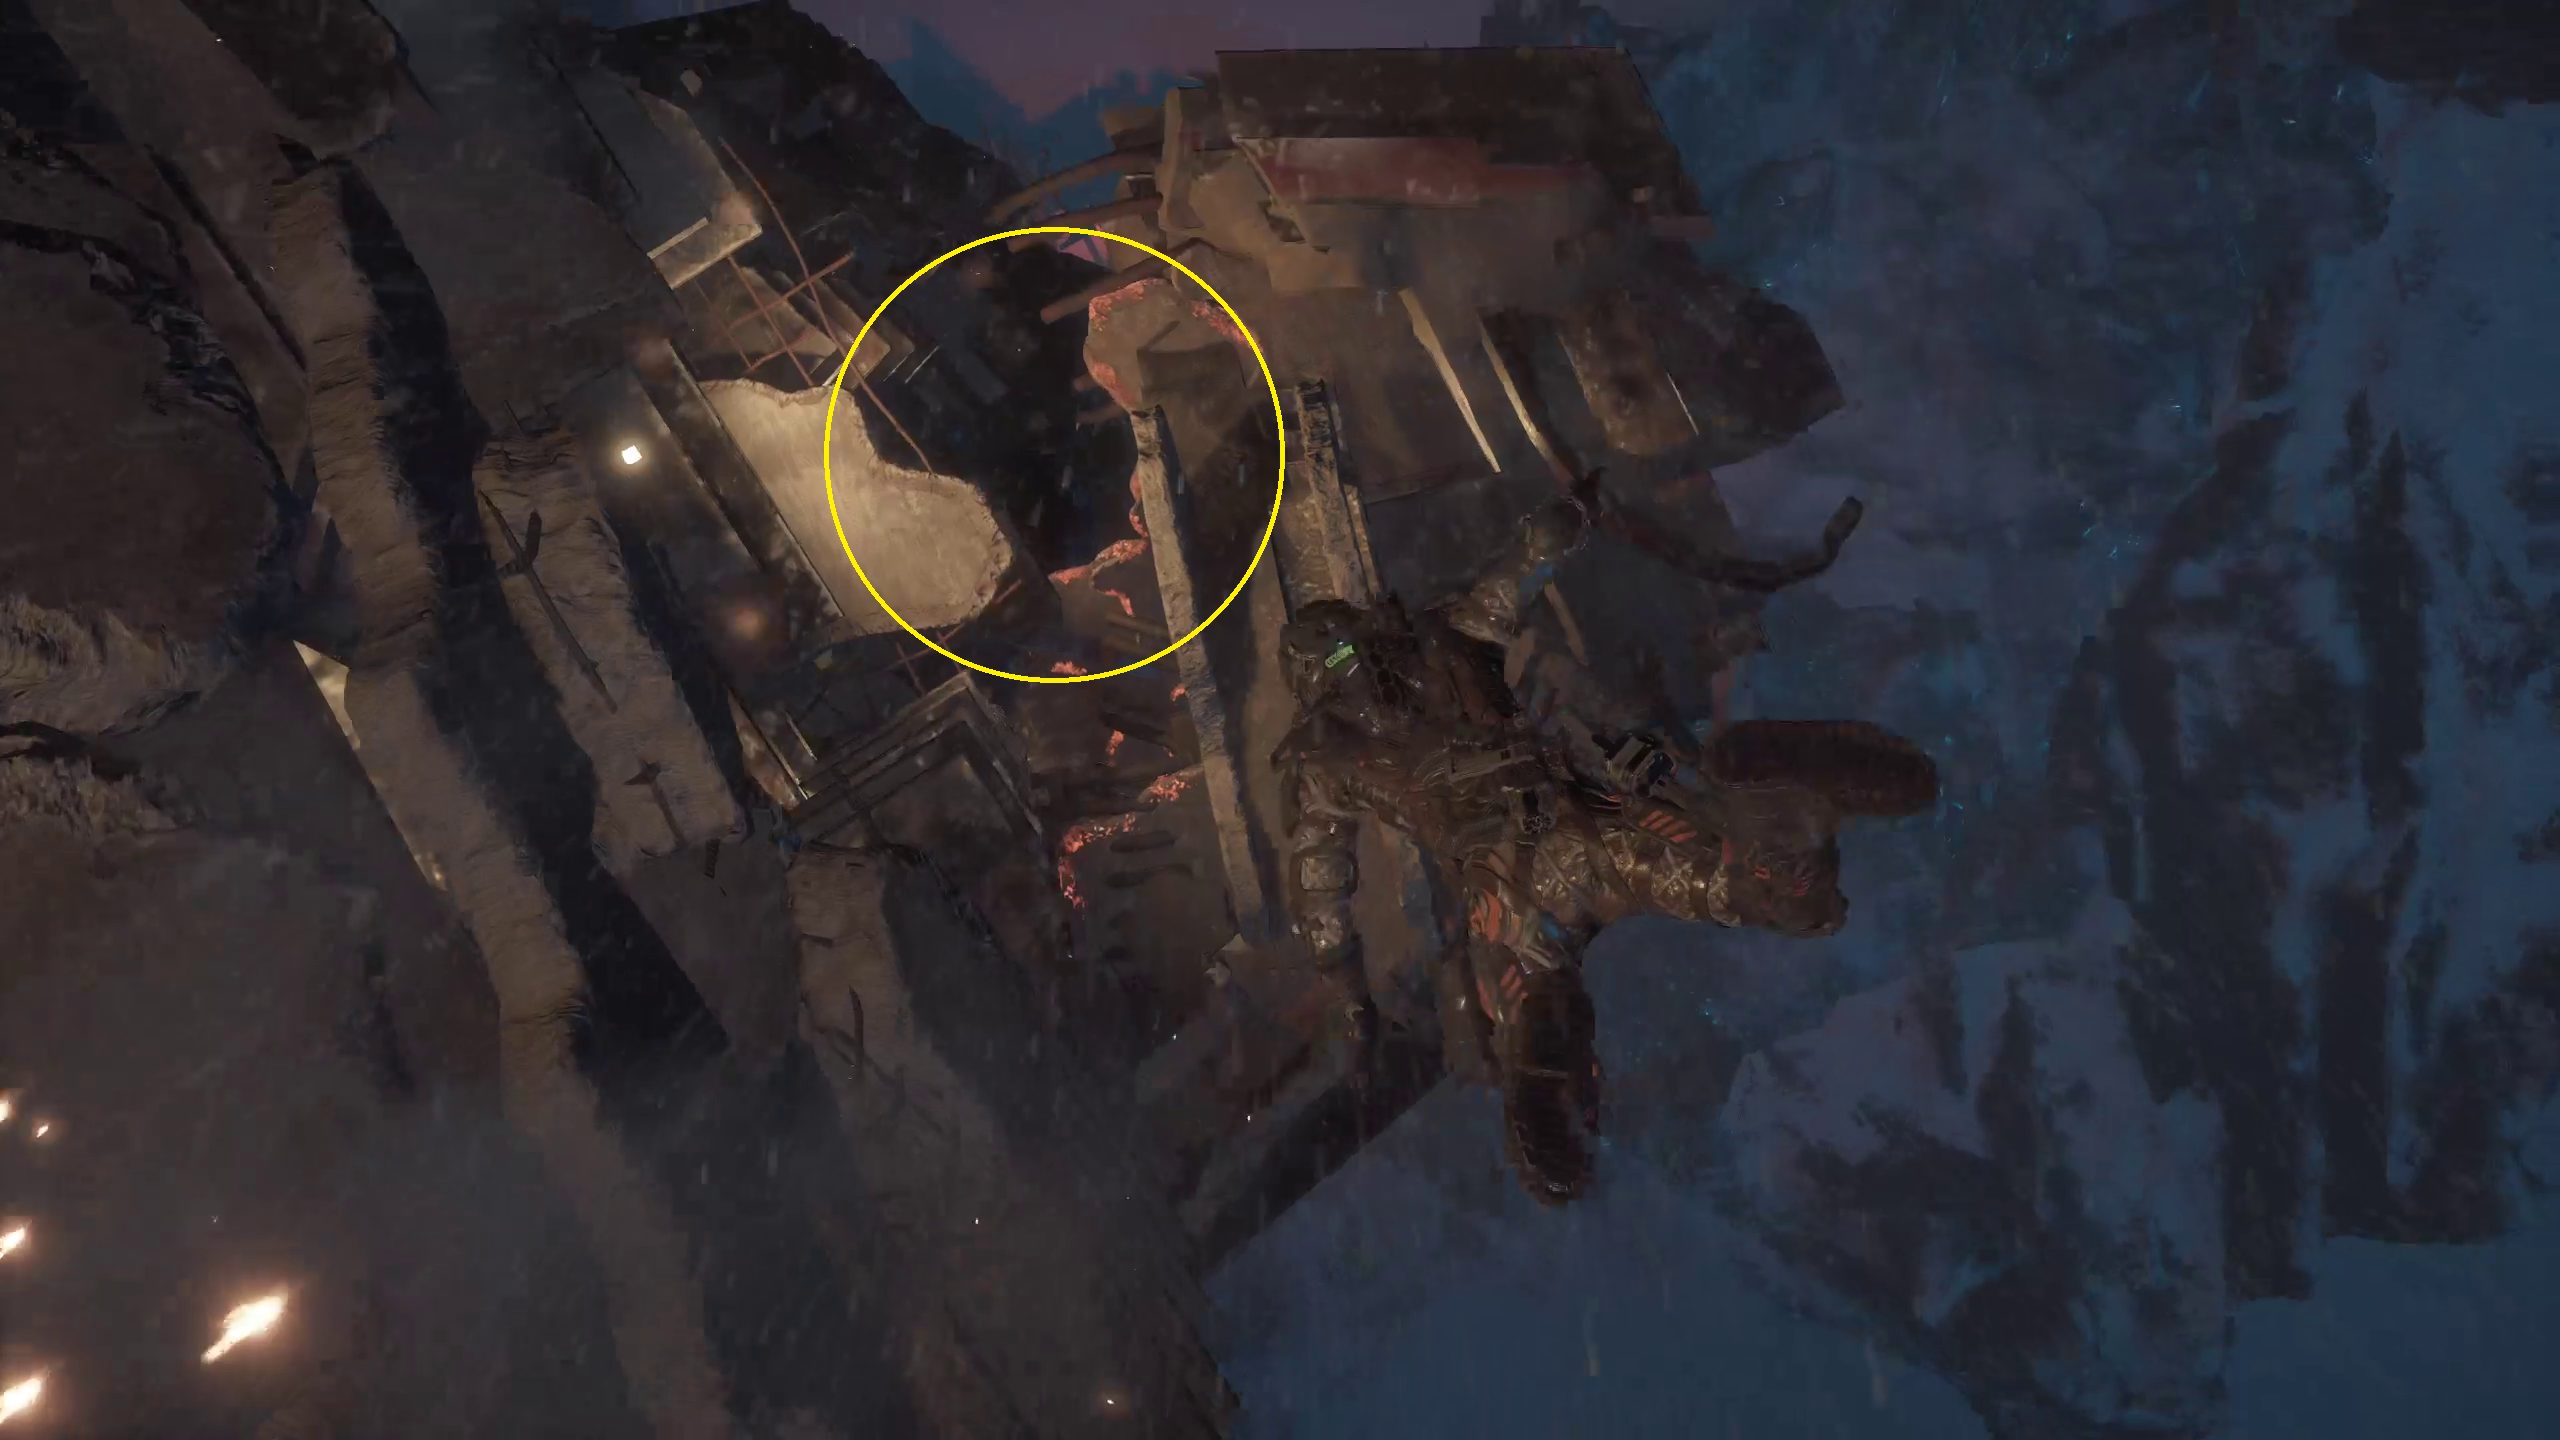
Once the elevator reached you and Dani, you can hop aboard. It will take you to the top, and a cutscene will play. After it, you’ll find yourself falling off the hangar while its debris cascaded toward you. In order to survive, you will need to avoid the debris by finding gaps in it, which will usually be outlined with red heat. After dodging 4 pieces of debris, there will be a series of light posts that you will need to grab with / / . You will have several attempts at this, and once you succeed, a cutscene will play.
After the cutscene, you’ll have completed Chapter 5: Lost. You’ll find yourself venturing far underground, toward an abandoned colony, in the next Chapter, Below.
Graves is an avid writer, web designer, and gamer, with more ideas than he could hope to achieve in a lifetime. But, armed with a mug of coffee and an overactive imagination, he'll try. When he isn't working on a creative project, he is painting miniatures, reading cheesy sci-fi novels, or making music.