This chapter opens in the middle of a cutscene — once you’ve had your UI painfully implanted in your neck, you’ll wake up in your cell.
Explore the Cell/Escape
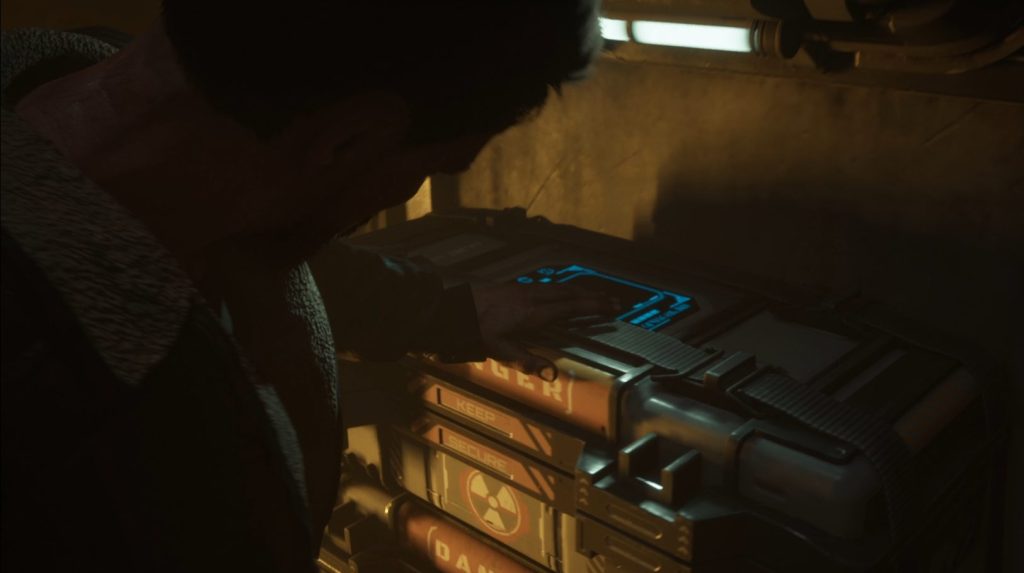
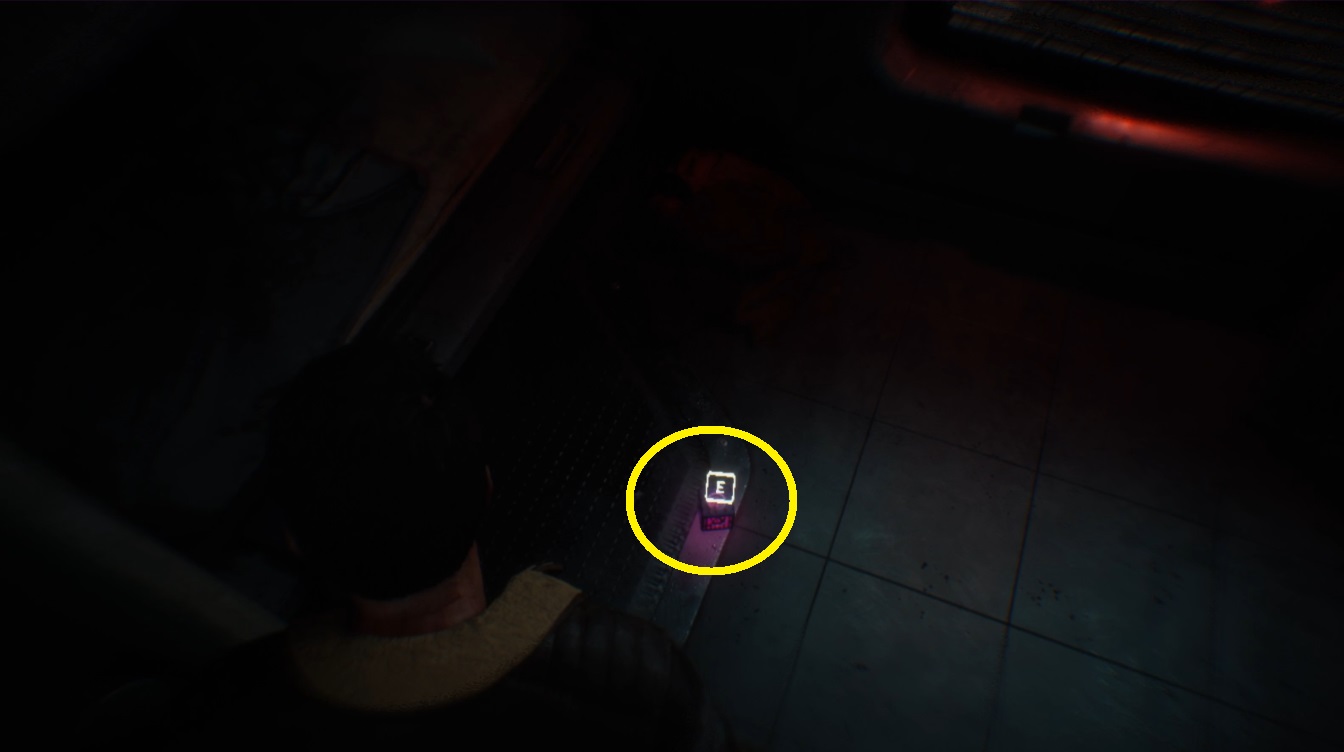
First, look on the floor in the middle of the cell and you’ll see a small pink box you can interact with. Try to pick it up with //and enjoy the jump scare (assuming you’ve fixed the stuttering and it doesn’t lag!).
Looks familiar…
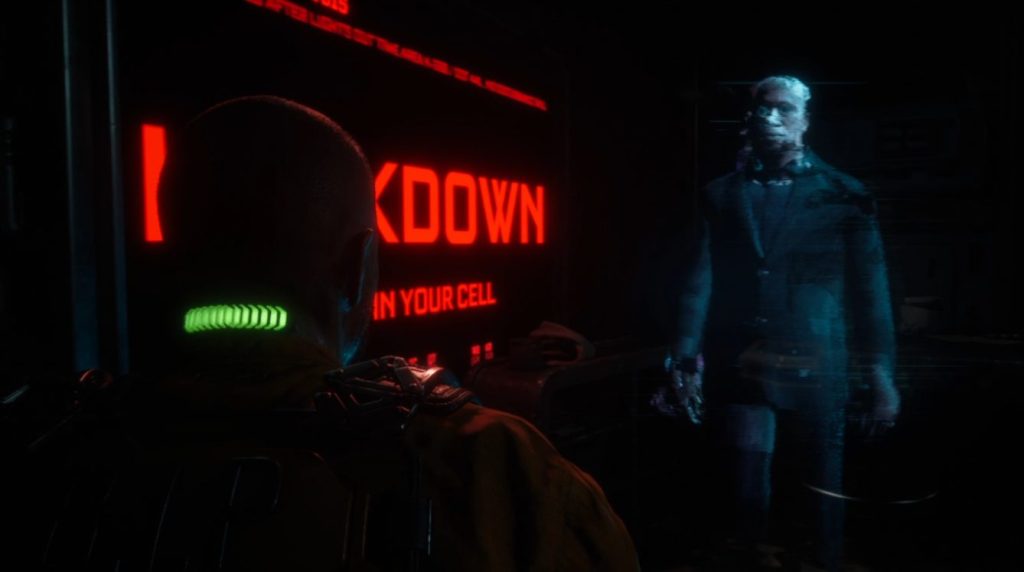
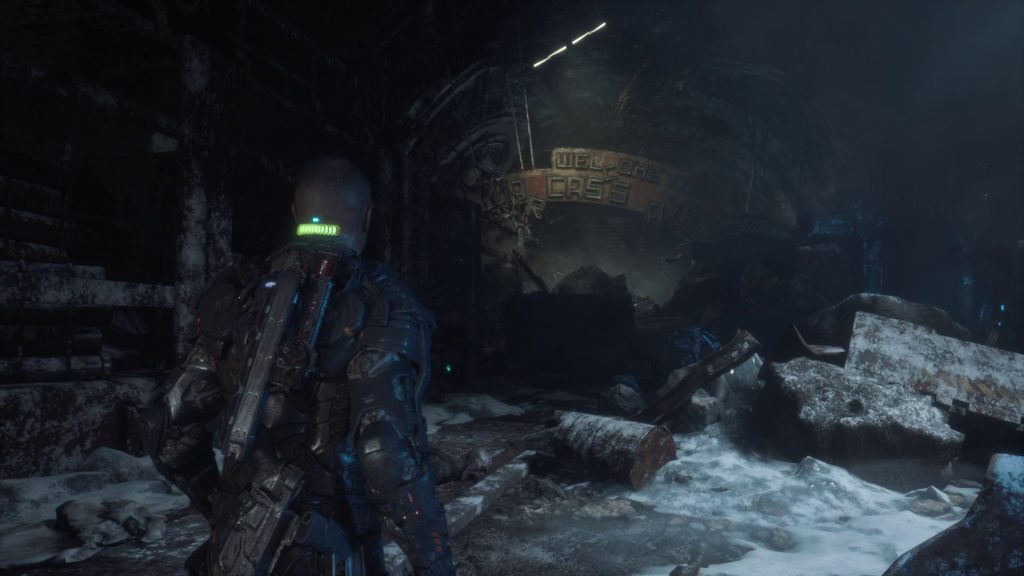
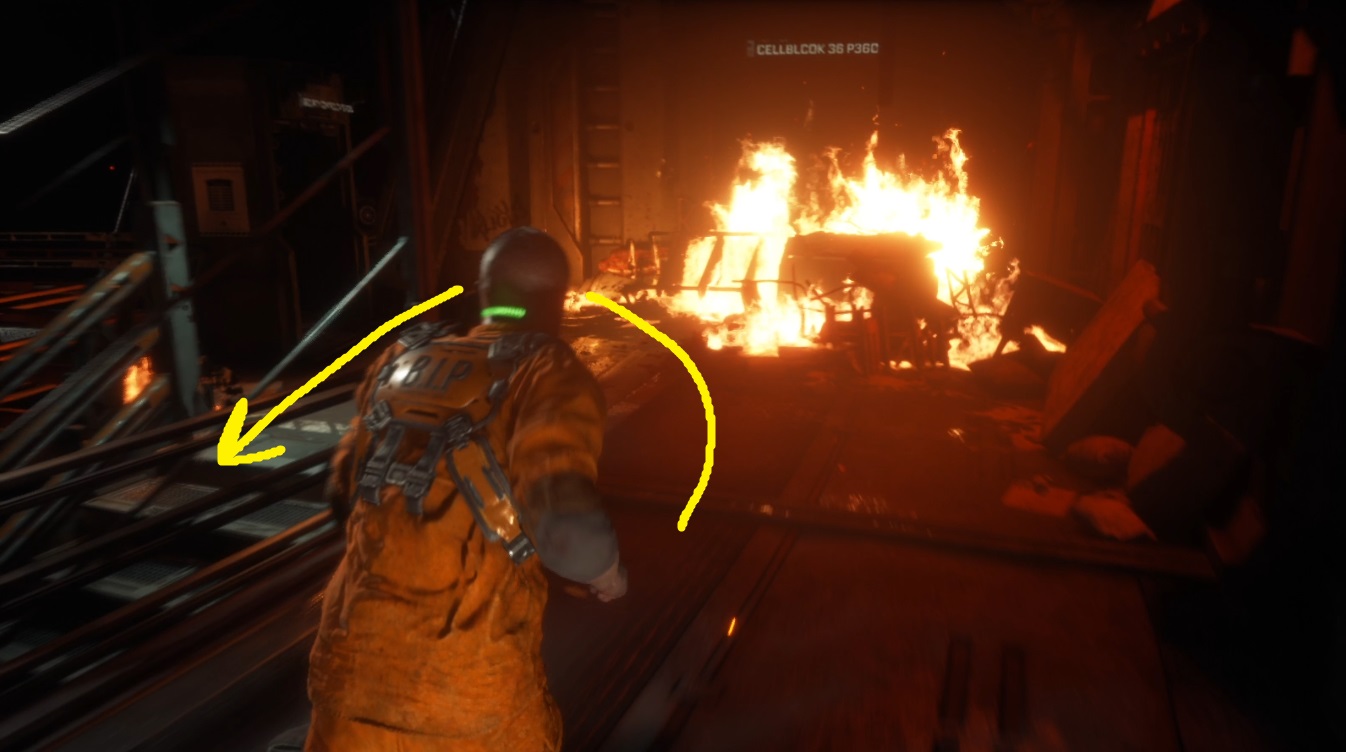
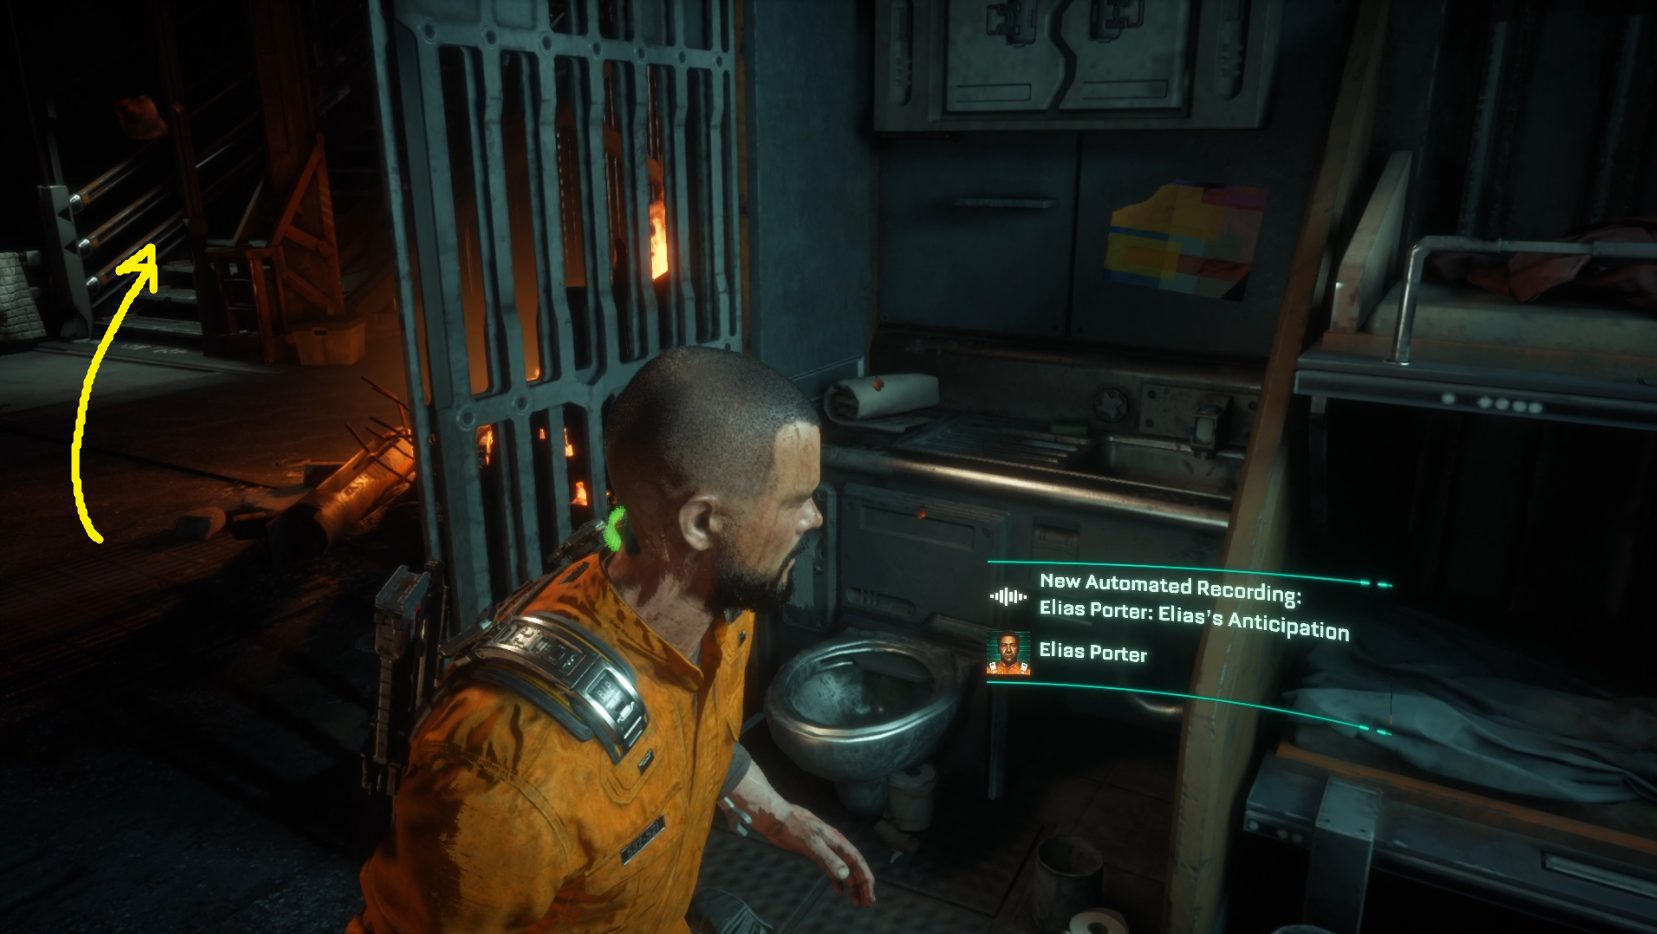
You’ll then wake up again, this time for real — we promise. Enjoy the holographic message from the warden, and once you’re outside of your cell, you’ll be in control again. Leave your cell, turn right and continue down the cell block, going through the doorway marked “Cellblock 35 P350” (1). Don’t forget you can run with / ! Keep going forward until you come to a pile of burning debris — here, take the stairs to your left down (2).
12
At the bottom of the stairs, you’ll need to go straight and slightly right towards the cell (1) — a friendly fellow is calling out for help, and as a protagonist in a video game, that’s kind of our thing. Press //to speak with him, and he’ll give you the Shiv, your first tool. This will also earn you the Desperate Times achievement.
Cross Bridge to the Control Room
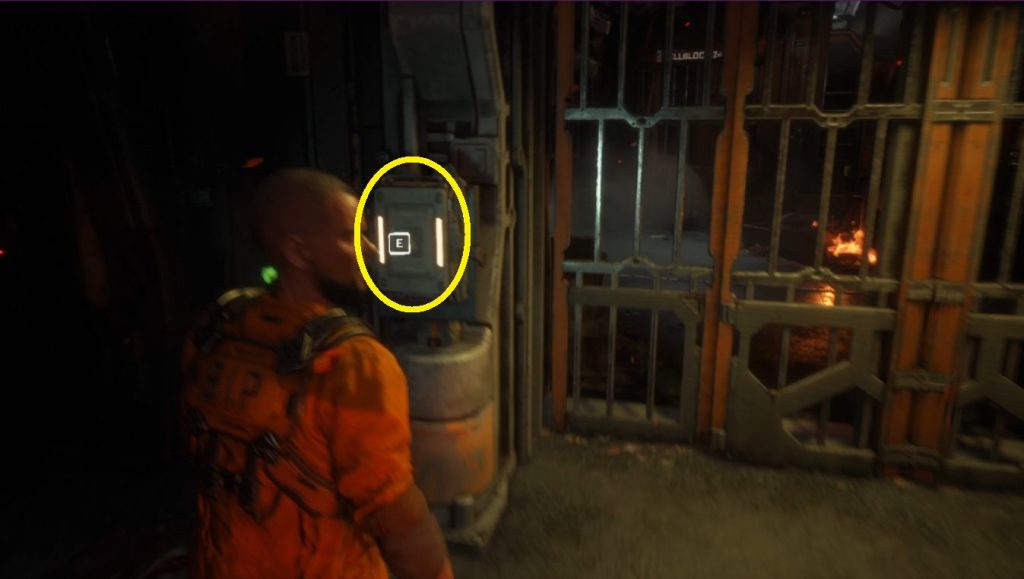
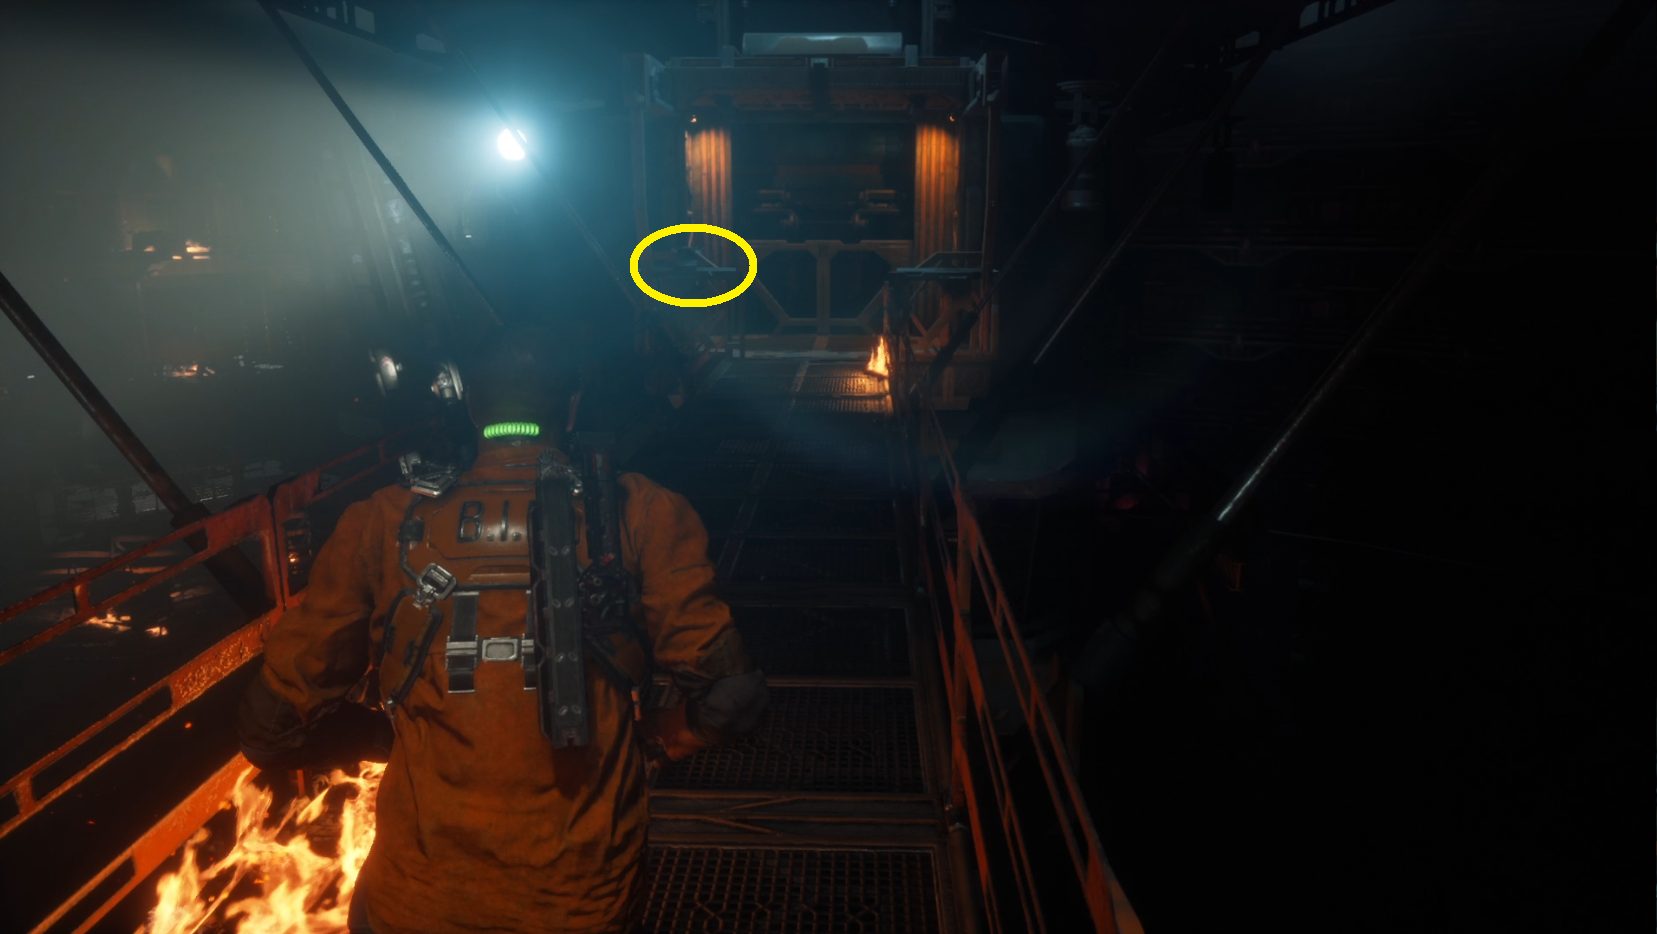
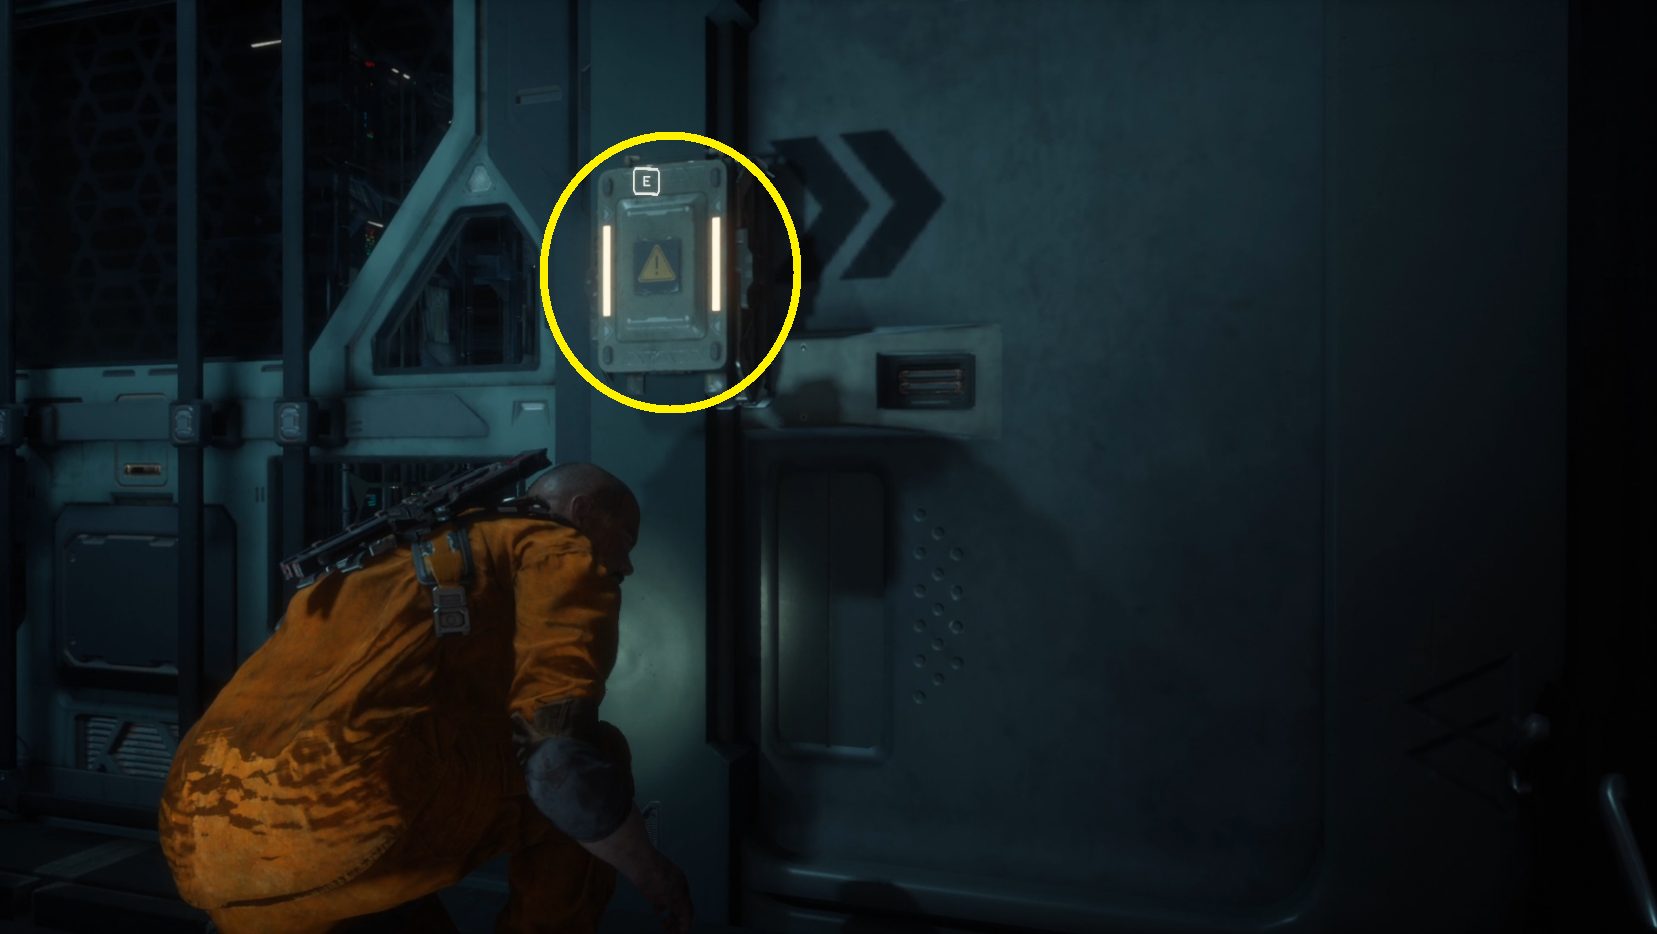
When the cutscene ends, vault over the boxes to the left (2) by holding forward ( / ) and pressing //. Continue forwards and walk up to the door console and use your newfound tool to override it (3).
123
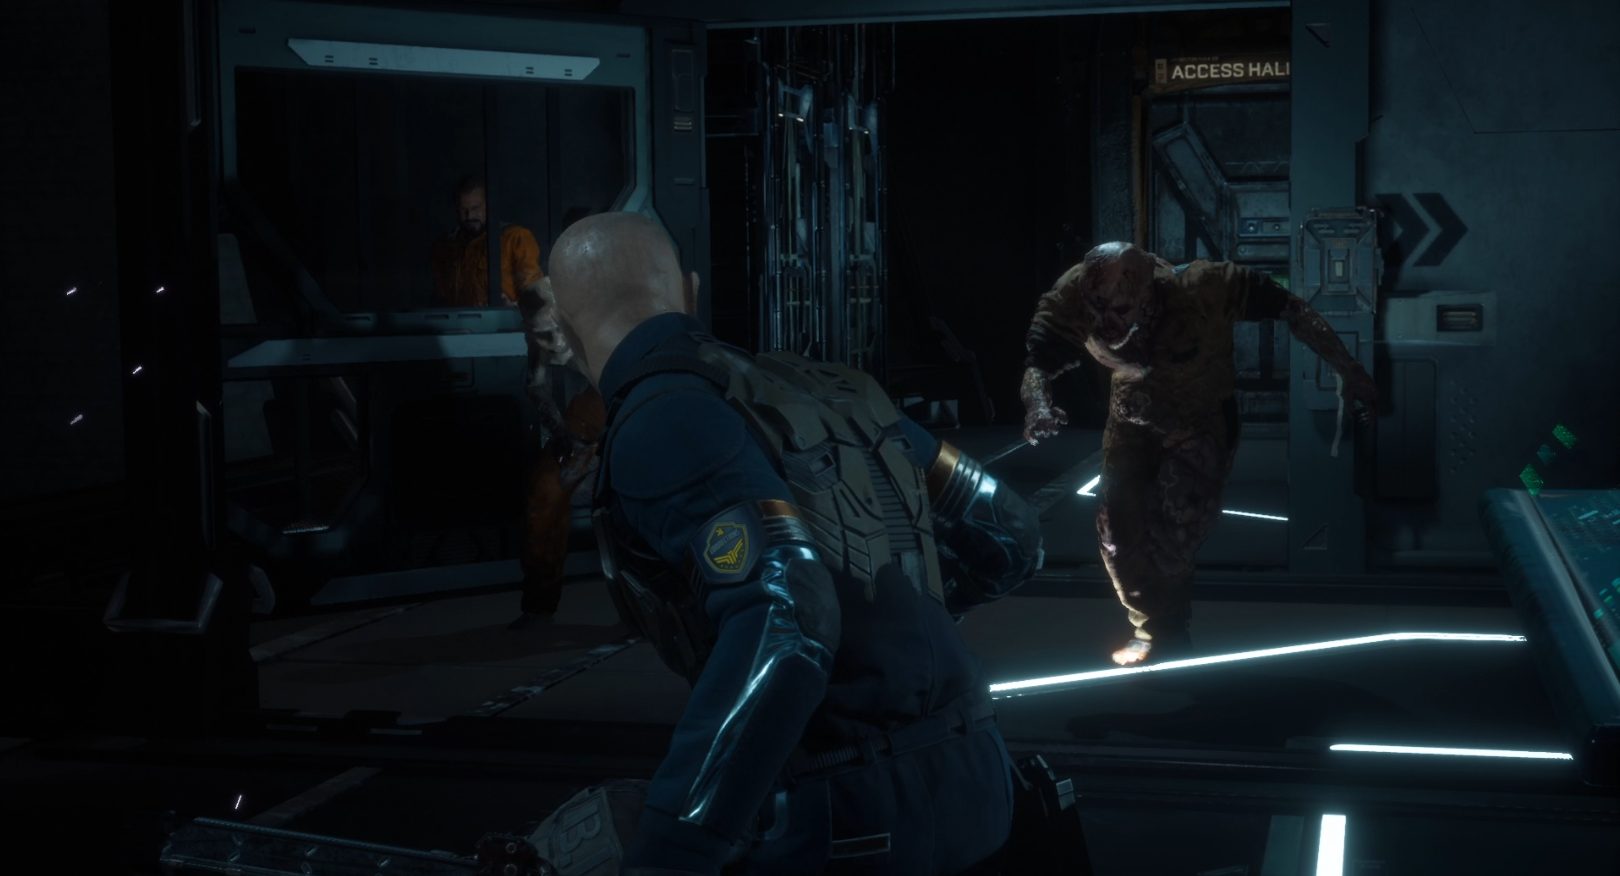
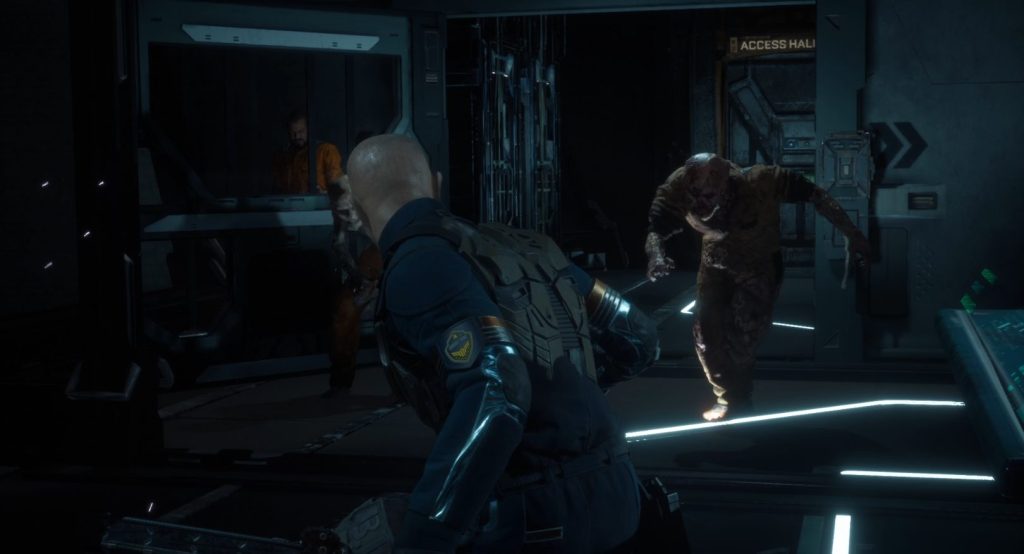
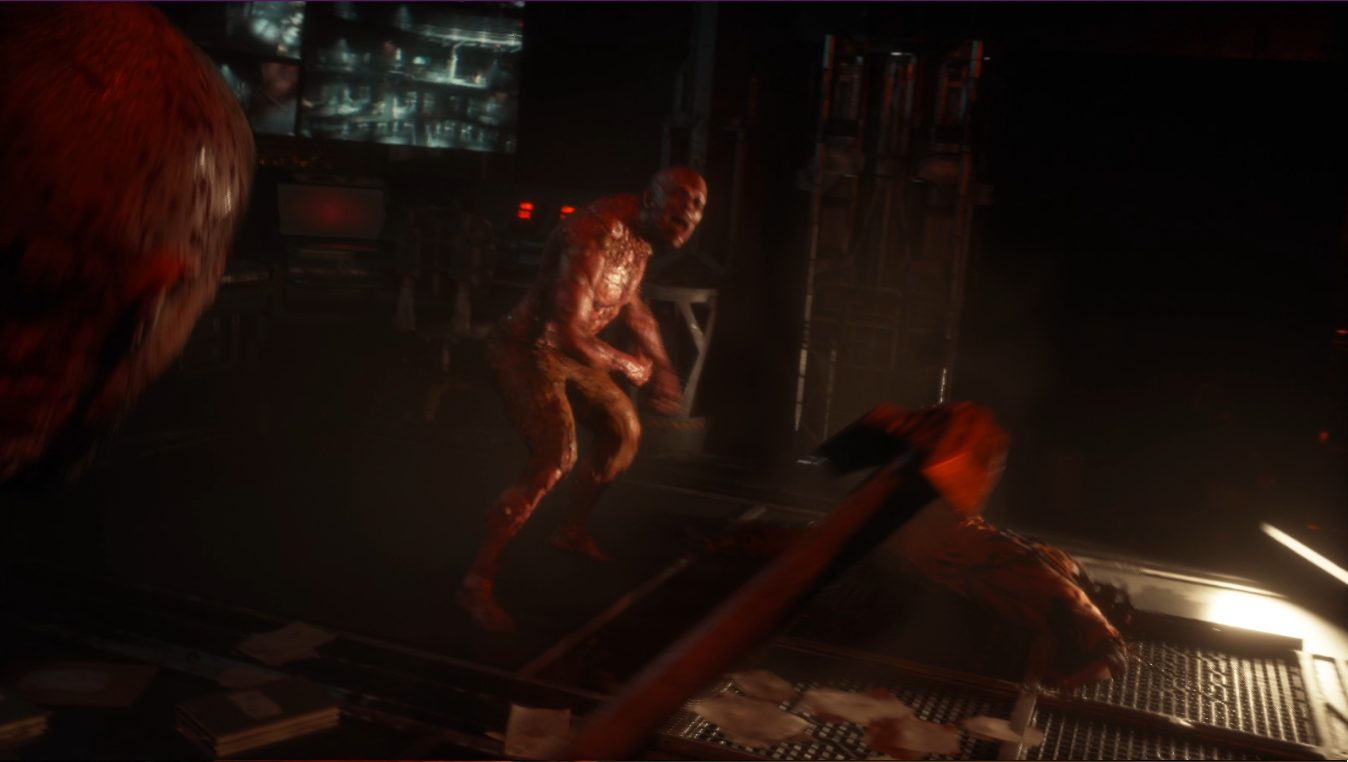
The door will open partway, but hold forwards and you’ll shimmy through. Then turn right and cross the bridge (1), and you’ll be forced to go left. Continue around the corner and once again cut the door controls, then walk over to the doors until you get prompted to mash the interact button. Press the indicated button quickly, and you’ll force the door open. A combat tutorial will start, and you’ll have to press the indicated buttons to dodge or melee attack (or finish off someone trying to surrender). After defeating the prisoners, you’ll get your first real taste of combat against one of the game’s basic enemies (2).
12
Start by holding left or right on the left stick (or your movement keys), which will let you dodge your foes first attack. Then hold the opposite direction, in case a second attack is coming. Once you’ve dodged the 1 or 2 attacks from the enemy, melee attack 3 times with / , then again hold left or right to dodge. Repeat this pattern until the monster goes down.
Open Elias’s Cell/Return to Elias
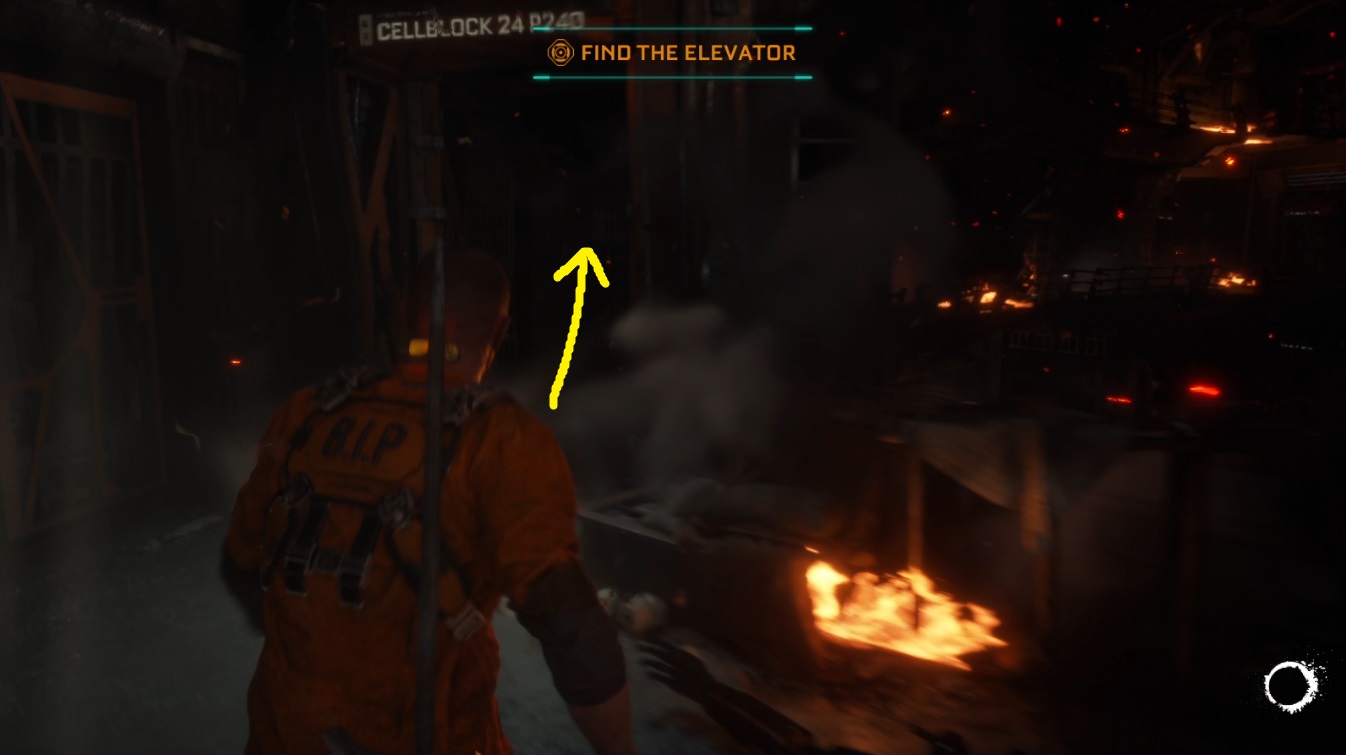
Next, open Elias’s cell by going over to the nearby control panel and interacting with it (1). Then turn around and go through the door you came in through, and continue around the corner and back across the bridge. A cutscene will start — when it ends, go straight through the doorway marked Cellblock 24 P240 and continue down the cell block.
Find the Elevator
You’ll soon come across another monster, and the game suggests you hold / to block. While this does let you get a strong counter-attack off, it can also cause you to take chip damage, so it’s better to just dodge like normal and take out this foe the same way you handled the first one. Once it’s dead, you can press //to stomp on its corpse, revealing credits or healing that you can pick up with //.
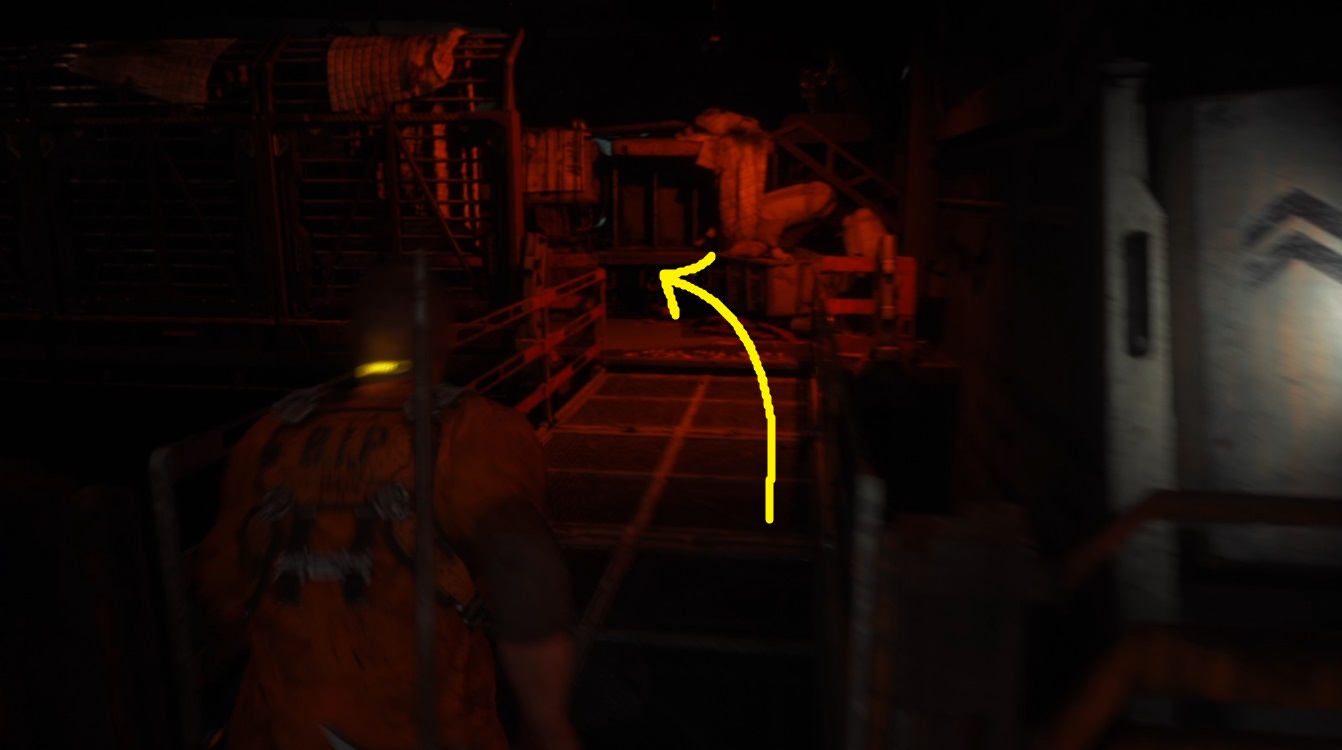
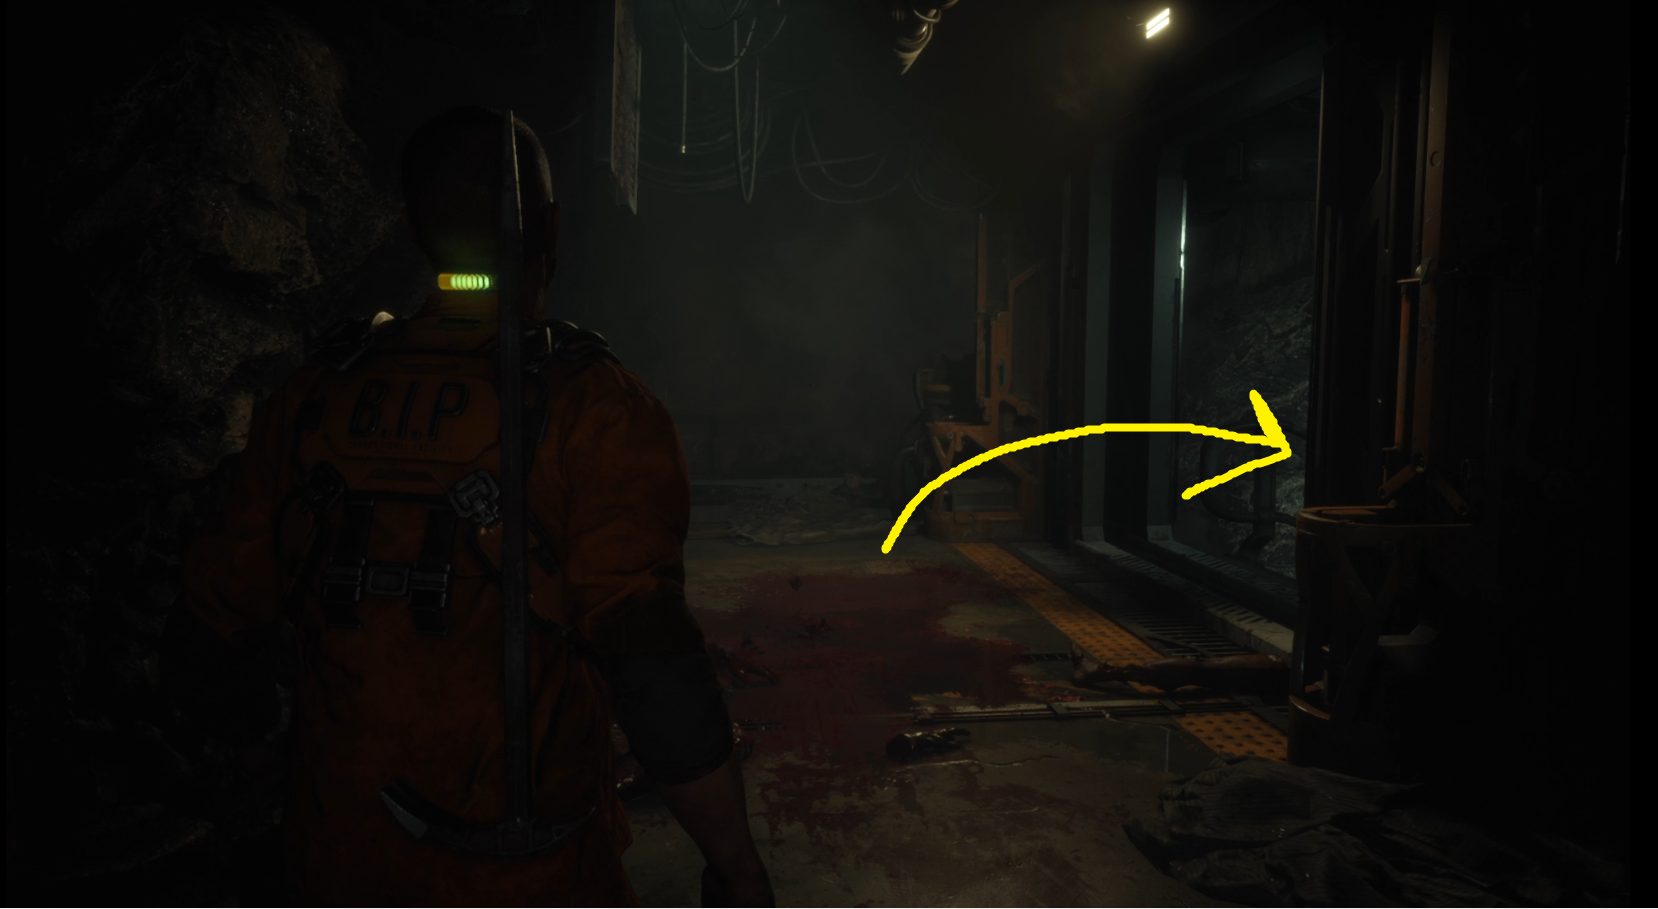
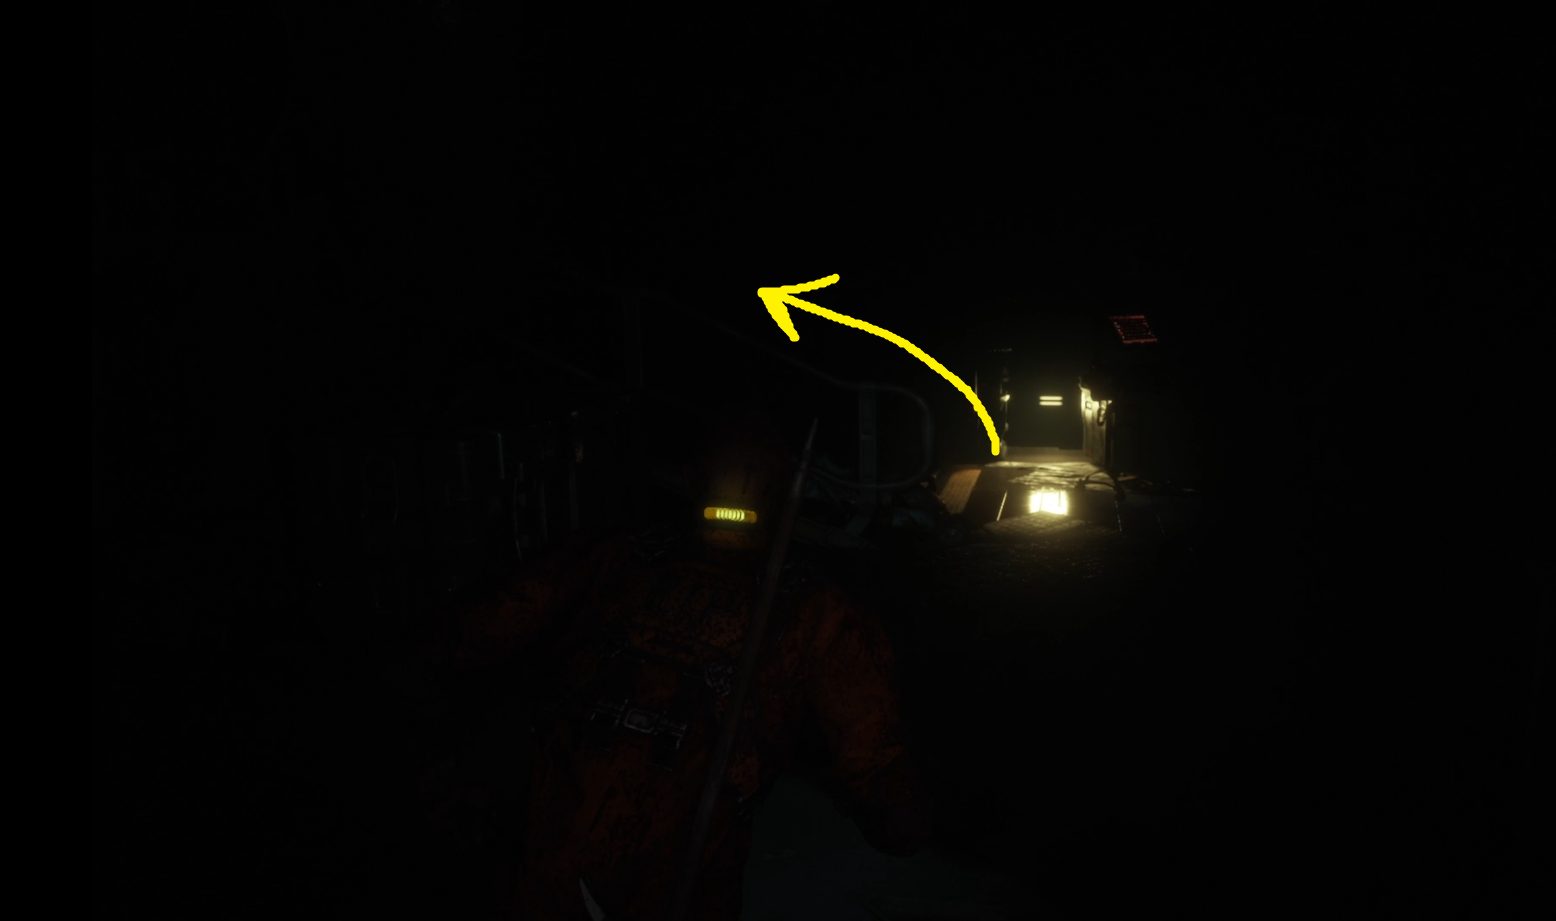
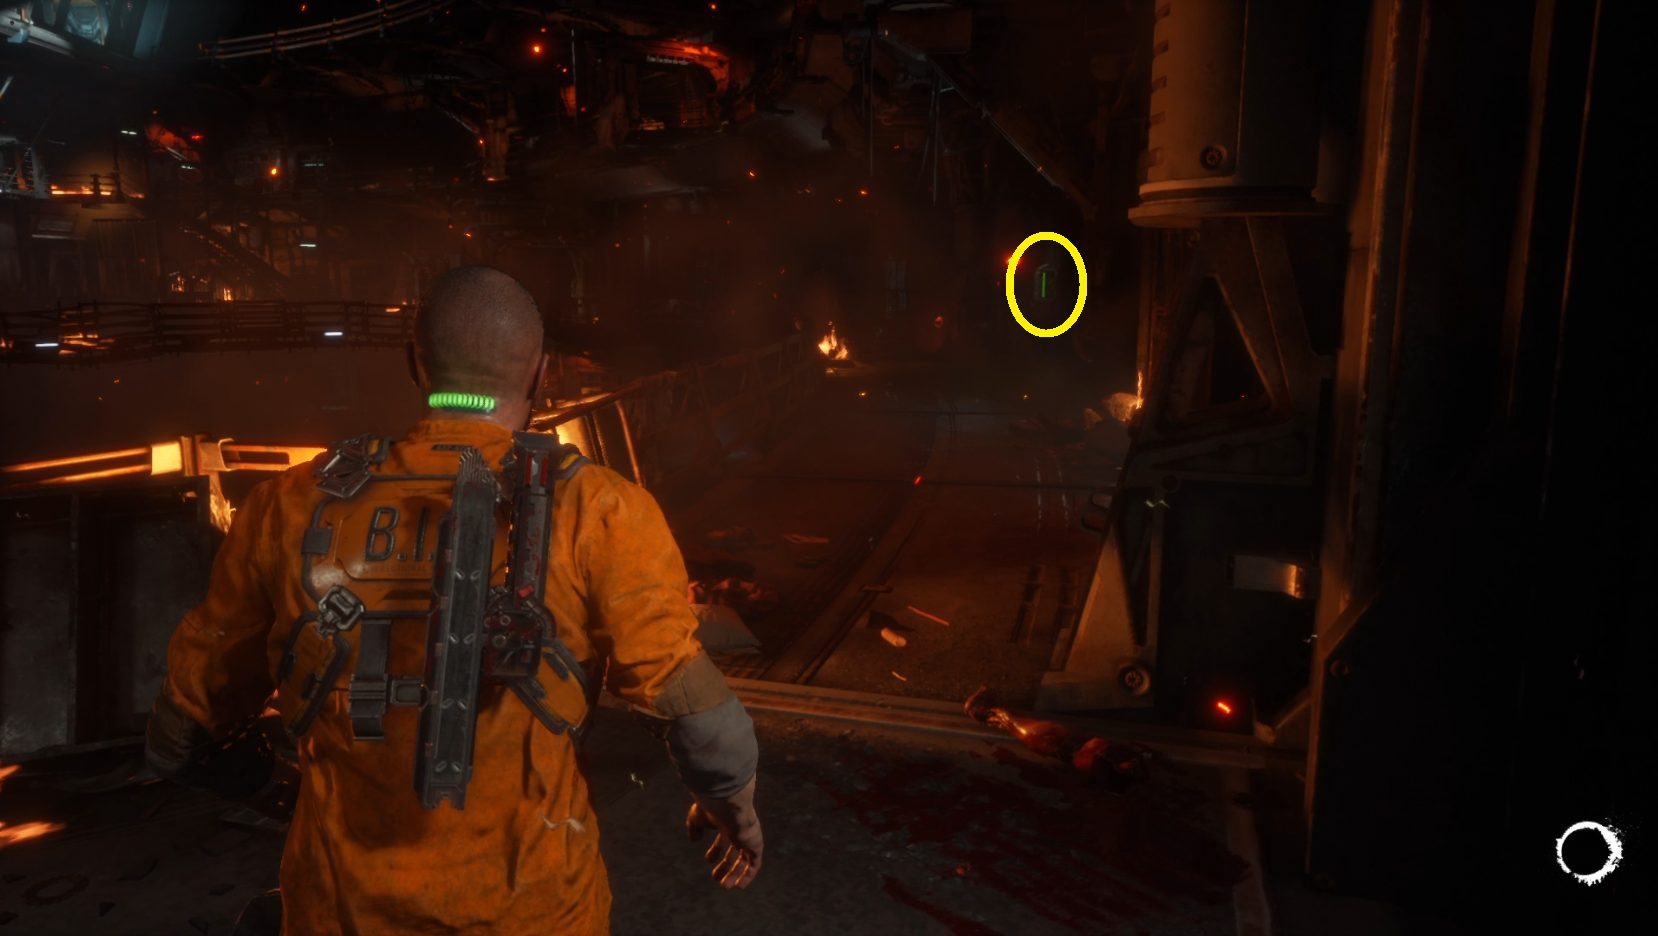
Then continue the same way you were headed before, turning right to go out on the catwalk that leads to the elevator (1). Interact with the panel and ride the elevator down, then get off the elevator and continue forwards towards the red light (2).
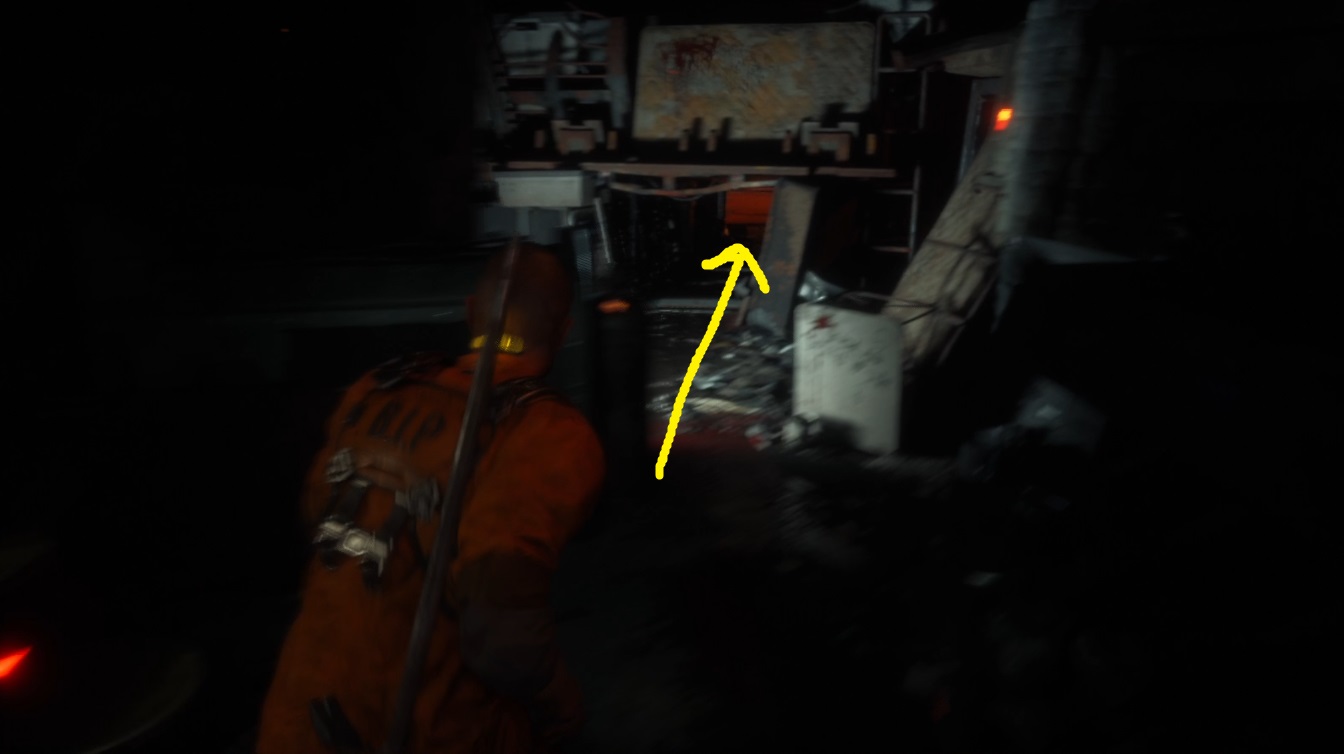
Turn left and continue forward, and you’ll wind your way through piles of debris. Soon, you’ll see a low gap in the piles of junk (1) — crouch ( //) and head through. Be ready, as once you stand back up, you’ll be attacked by a monster that crawls over the railing just ahead (2).
12
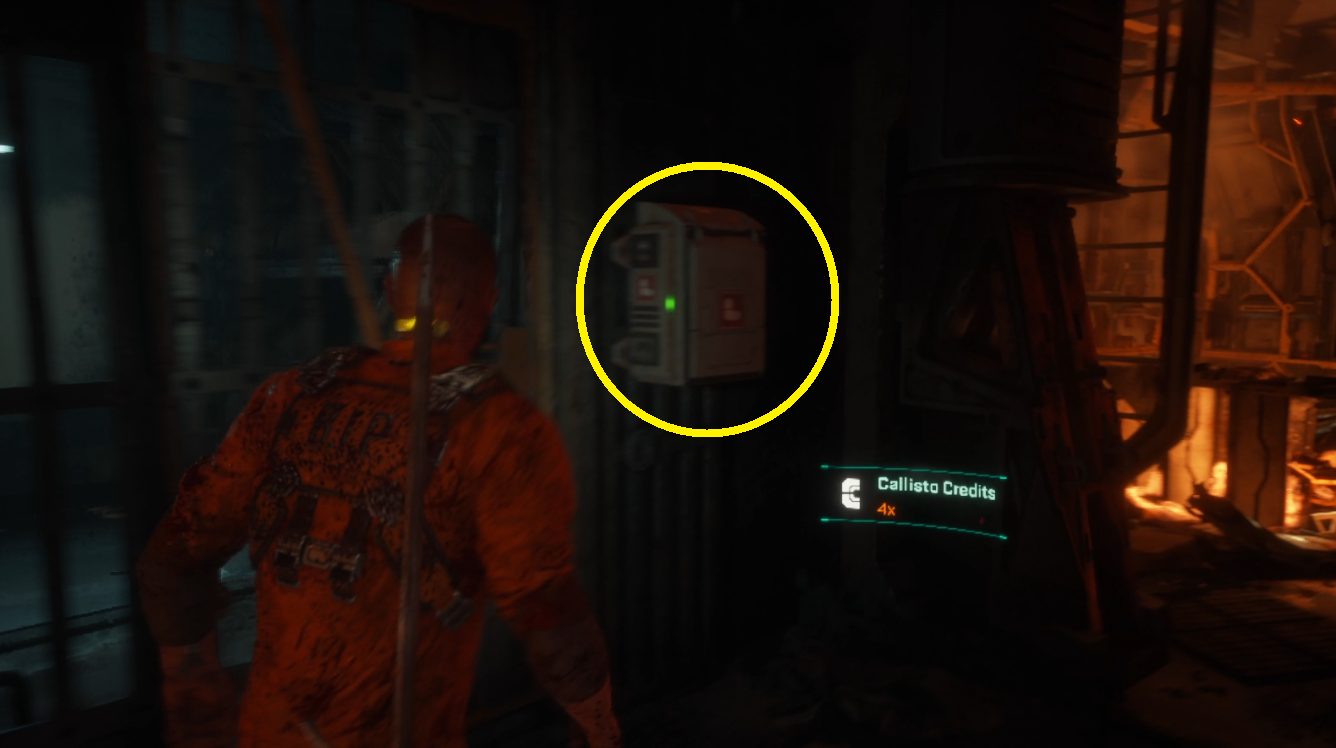
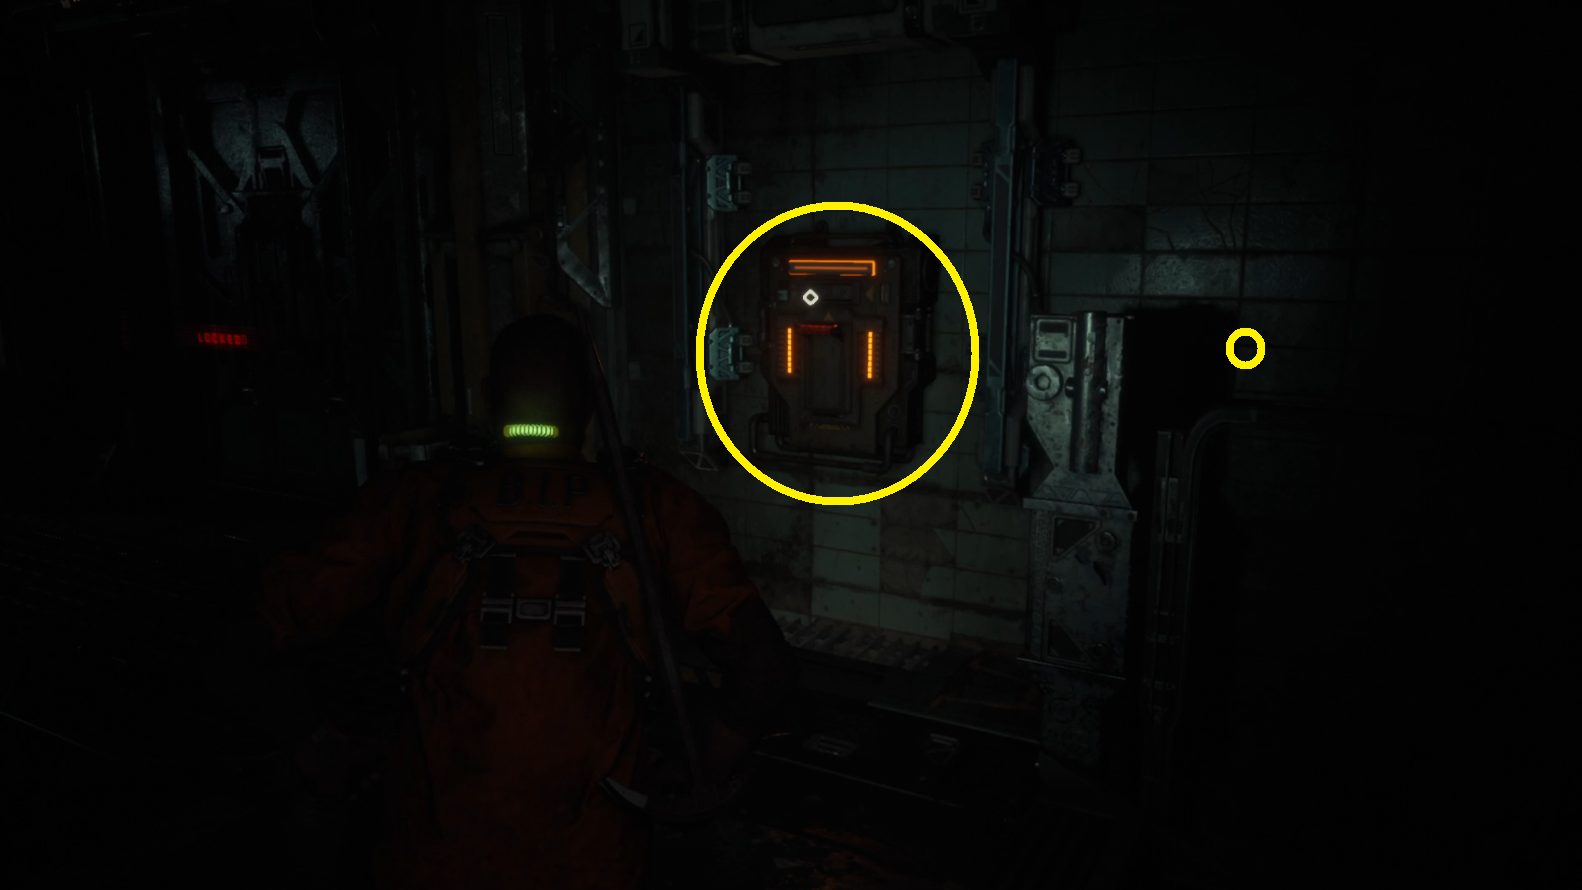
Take it out, and make sure you remember to stomp it for loot! Just ahead on the wall is your first Health Injector — interact with the box on the wall to claim the valuable healing item (1). You can use these by pressing [3] / , but note that you are very vulnerable while the long animation finishes. Keep going forwards, and take a left when possible to find the lift (2). Use the panel to open it up, then step on and hit the panel inside to start the lift.
12
Move Through Solitary
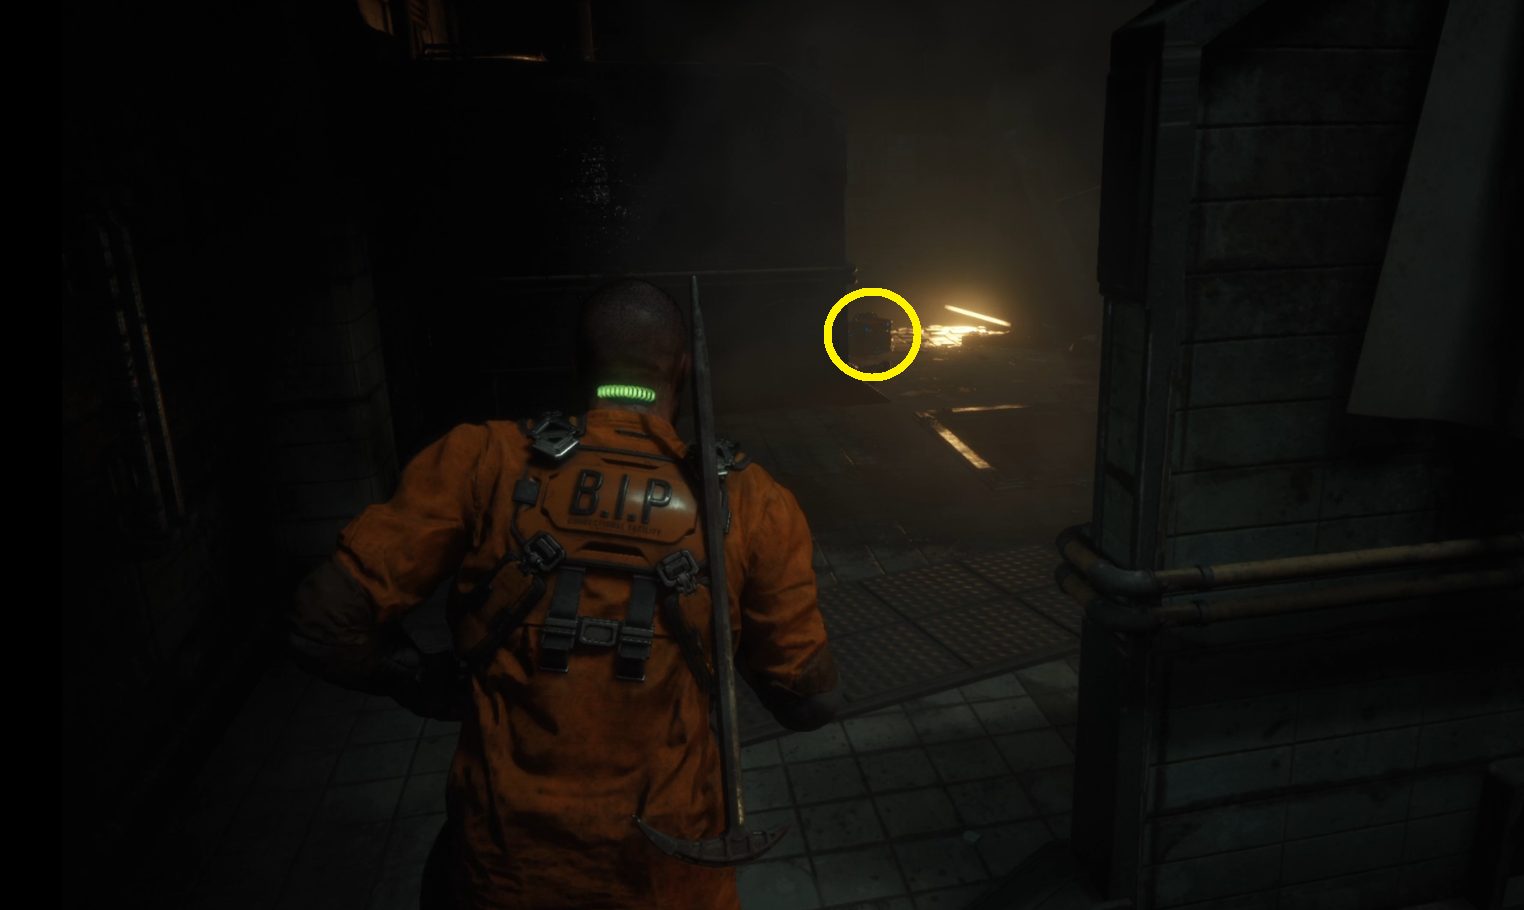
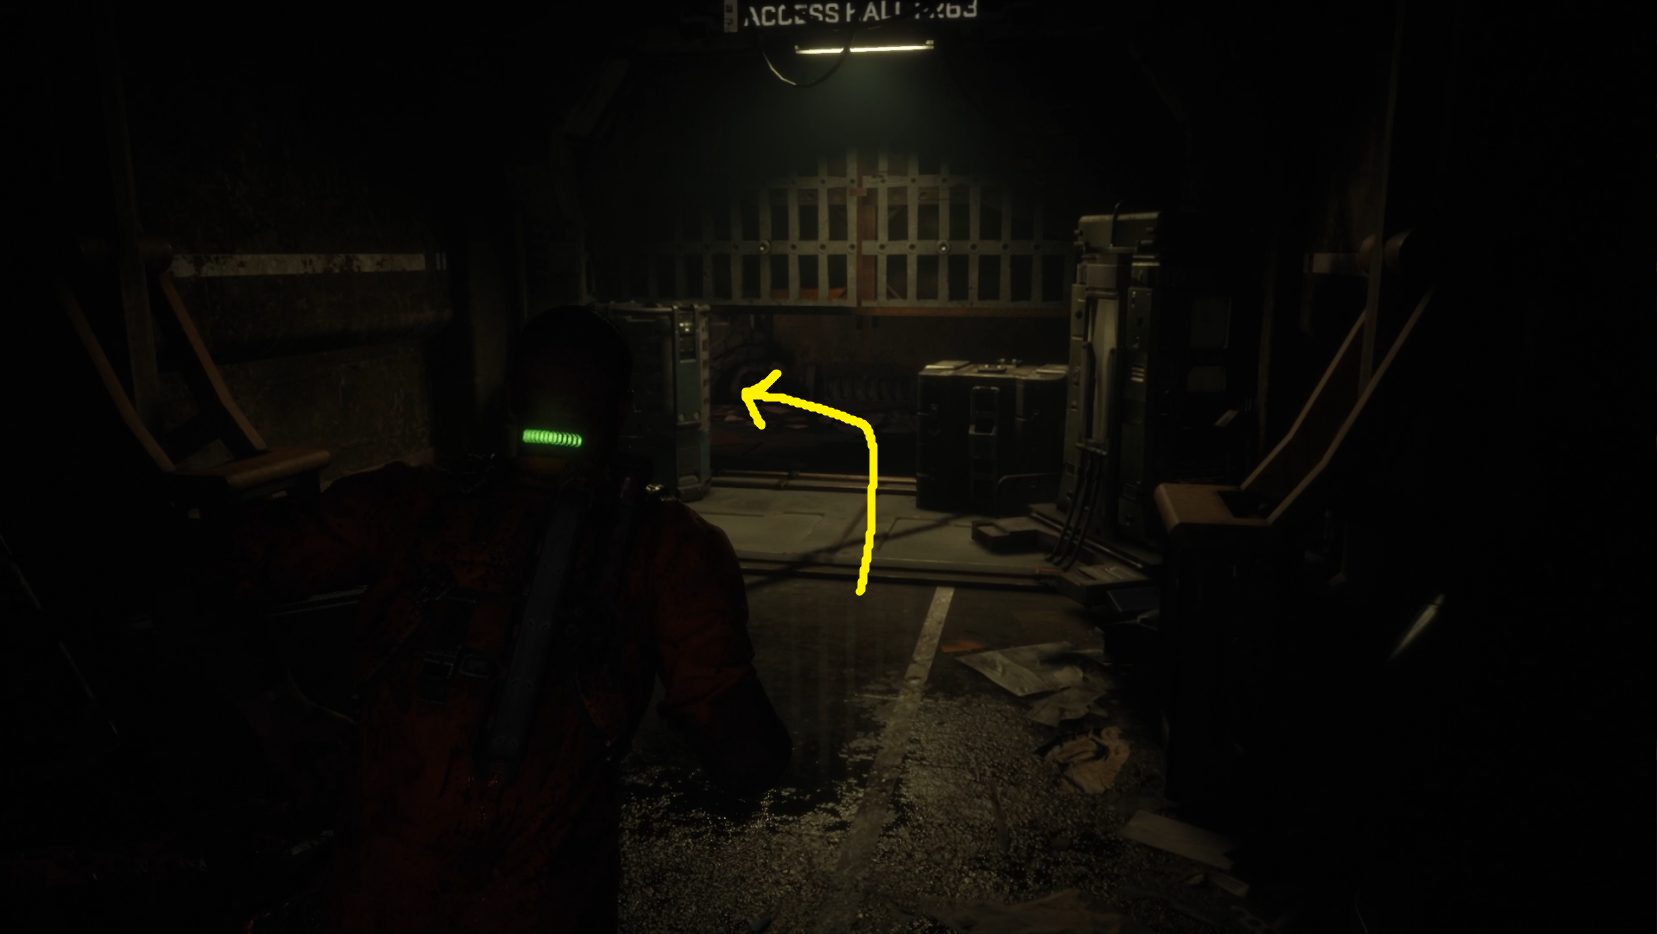
When the doors open, head into the hall and make your way forwards until you can turn right and go down the short set of stairs (1). Continue forwards into Access Hall S019, then go left into the next access hall — on the right on a box just through this doorway is your first Energy Convertor (2) — useless now, but it’ll come in handy soon enough. Grab it, then go left and interact with the closed door to force it open — you’ll have to mash the input here. In the next area, go into the first door on the left (3.1) to find some loot on the left right as you enter. Then leave the room, continue to the door at the other end of the hall (3.2), and force your way through (be ready for a jump scare here).
123
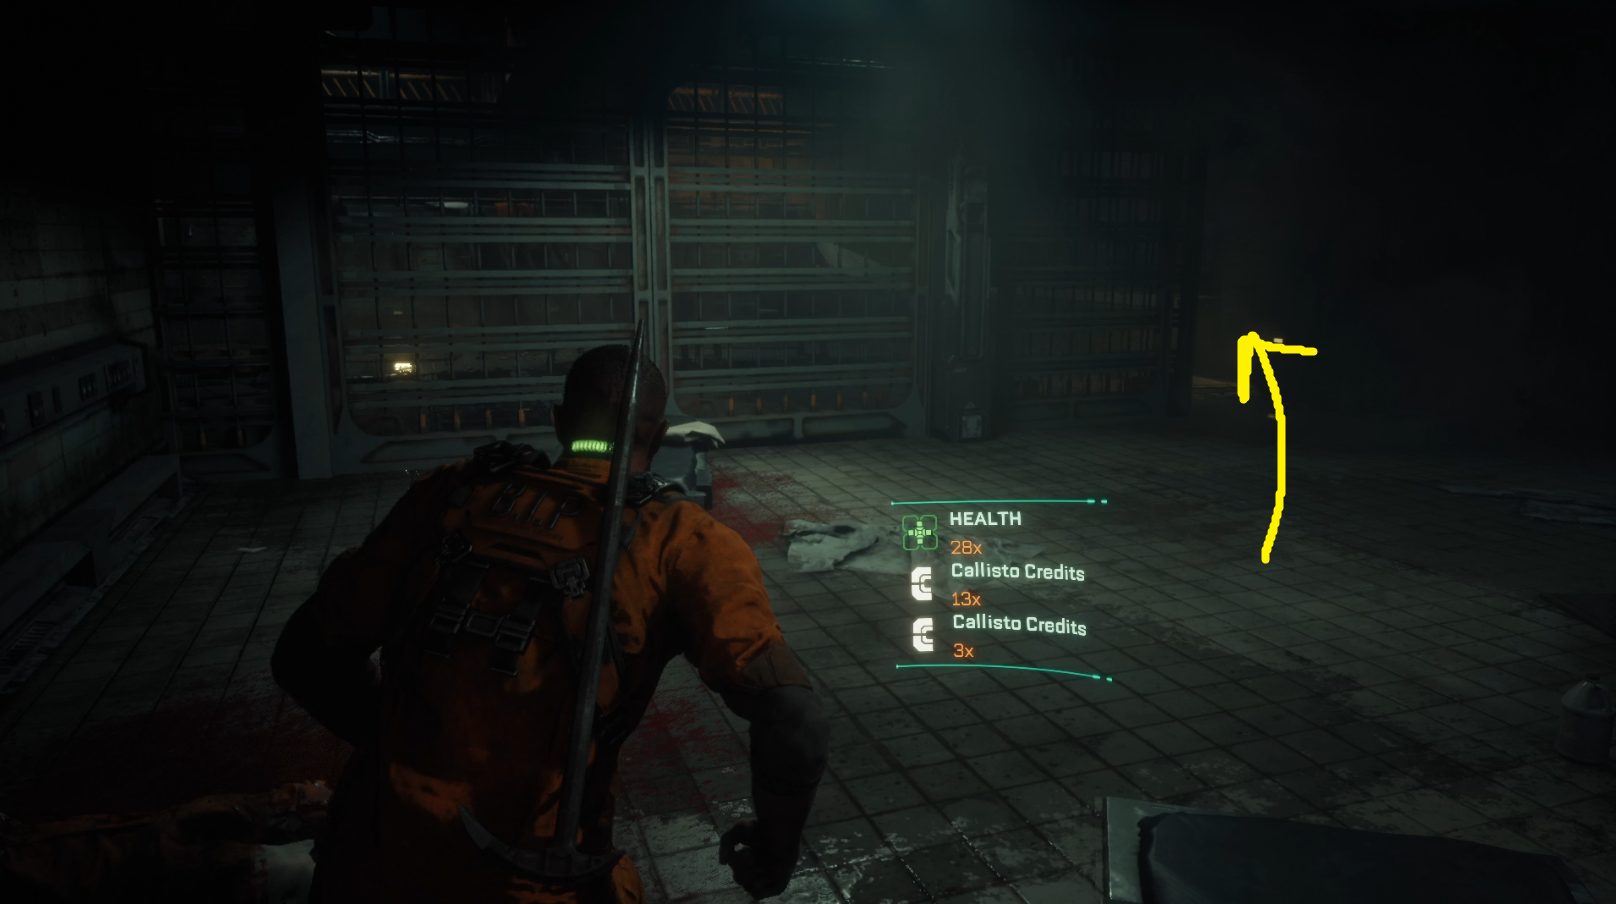
Continue into the next room. Just like the previous area, you can take a left into a cell to find more loot (1.1) and then continue forward through yet another door (1.2). Turn right to continue forward, and watch out for the corpse to the left of the stairs just ahead (2) — a slug monster can jump out of it and onto you, forcing you to mash the interact button to get it off of you (at least, it will if you stomp the corpse like I did). Continue up the stairs, and on the right you’ll find a chest you can loot (3).
123
Then continue left down the hallway, and use the panel by the locked elevator to open it. Step on and hit the panel, and once the elevator stops, get off and continue forward into the hall. Vault over the table and a brief cutscene will play.
Sneak Past the Security Units
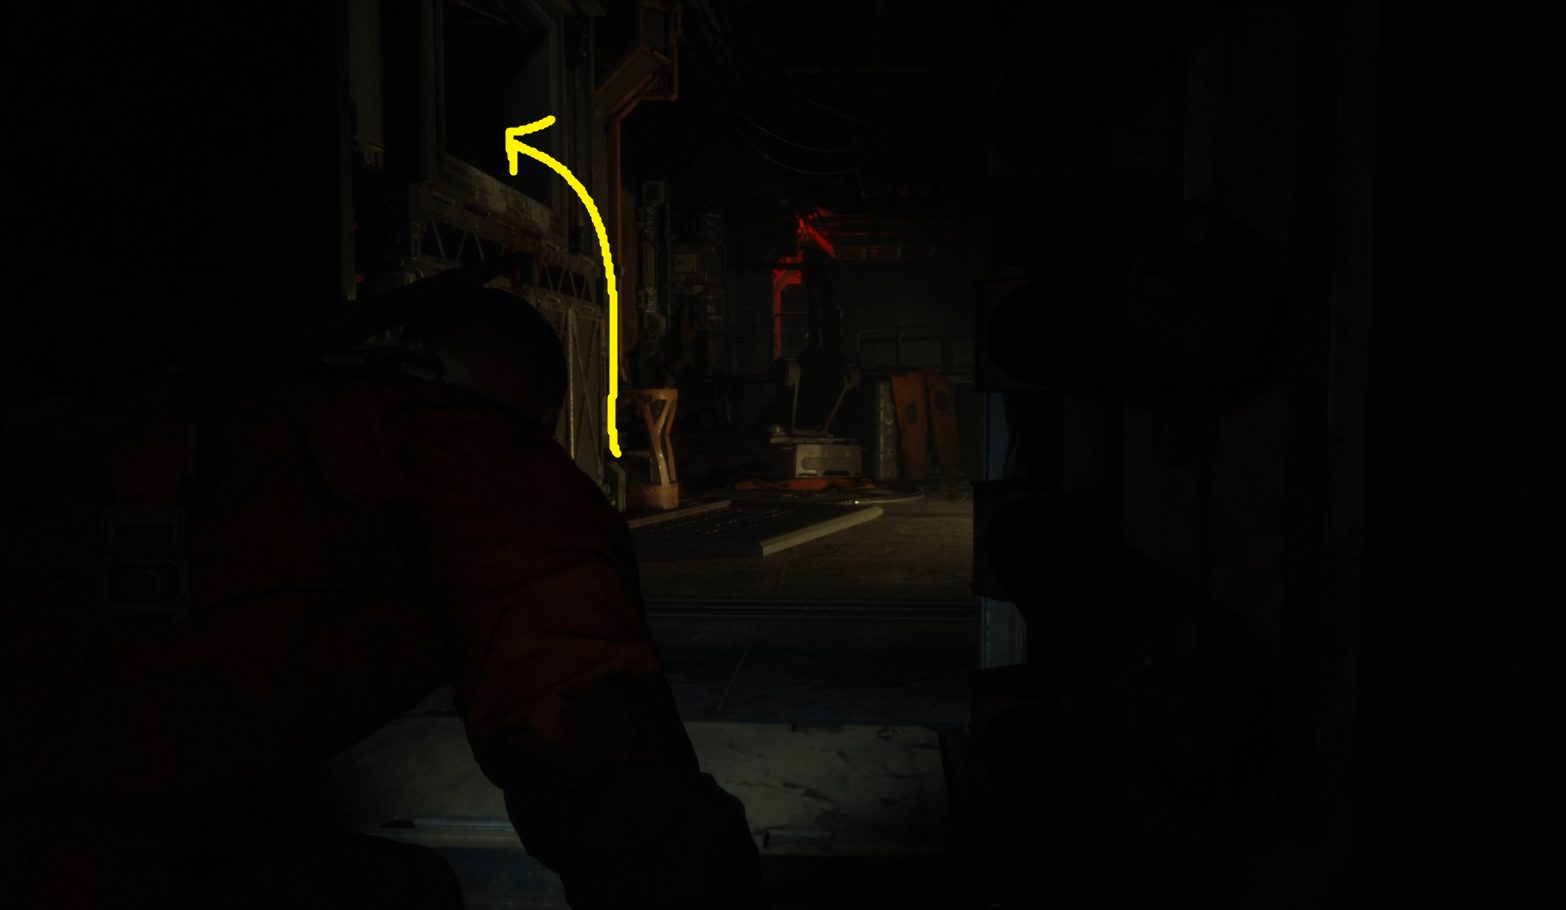
When it ends, go forwards through the half-open door, then vault up into the vent to the left (1). Wait in the vent for the robot to leave the room, then continue out of the vent, crouch, and leave the room — continue across the hall and turn right after passing through the doorway (2).
12
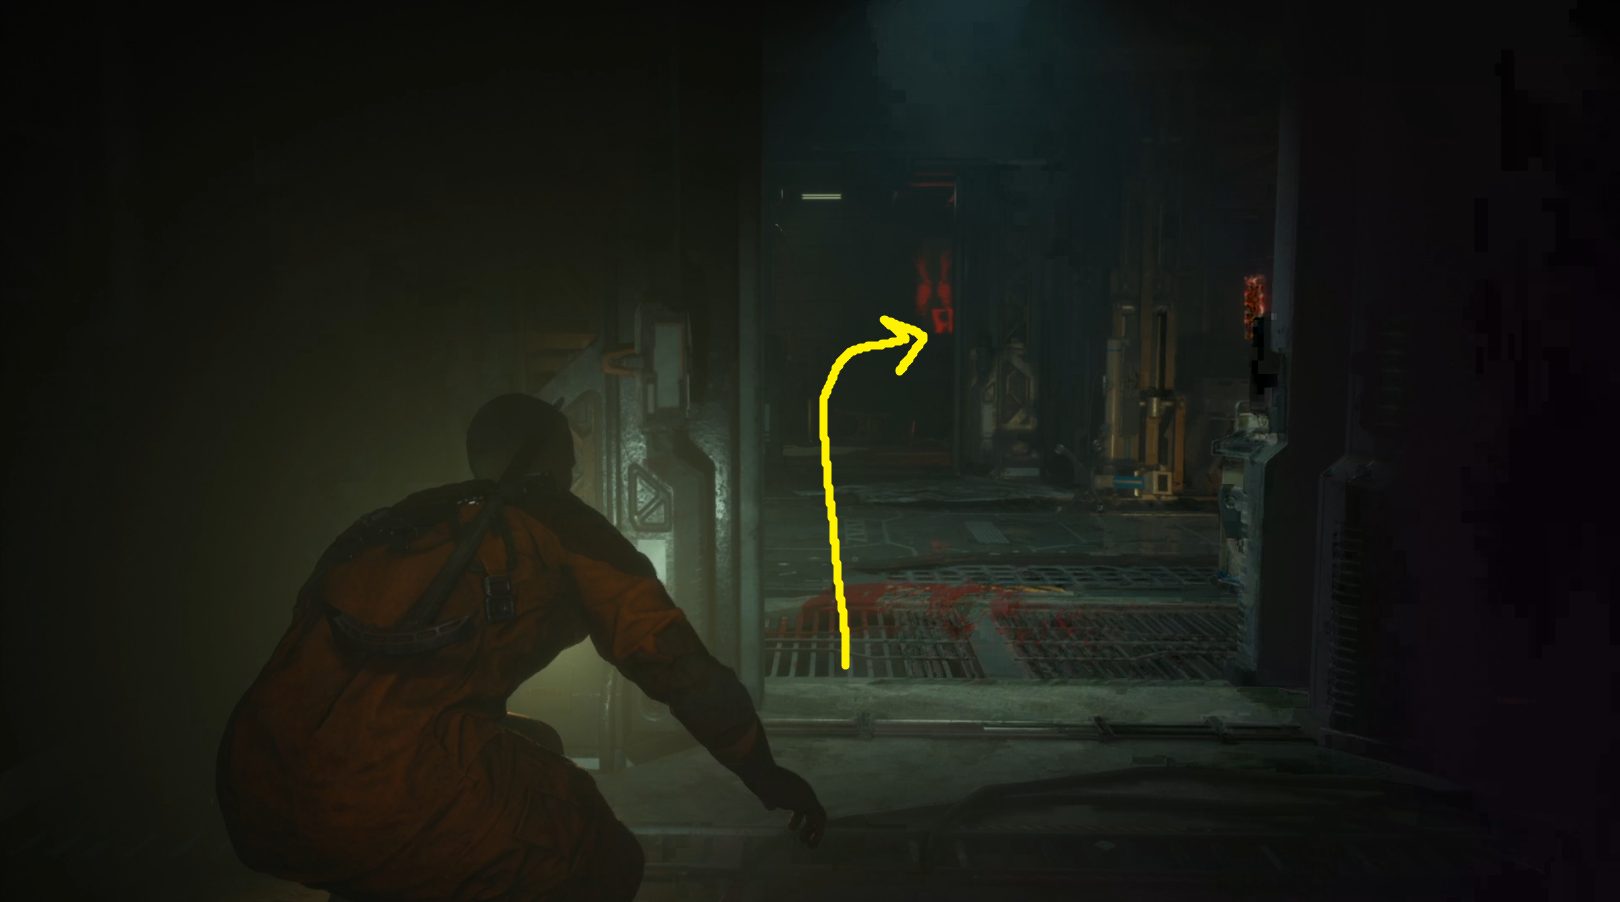
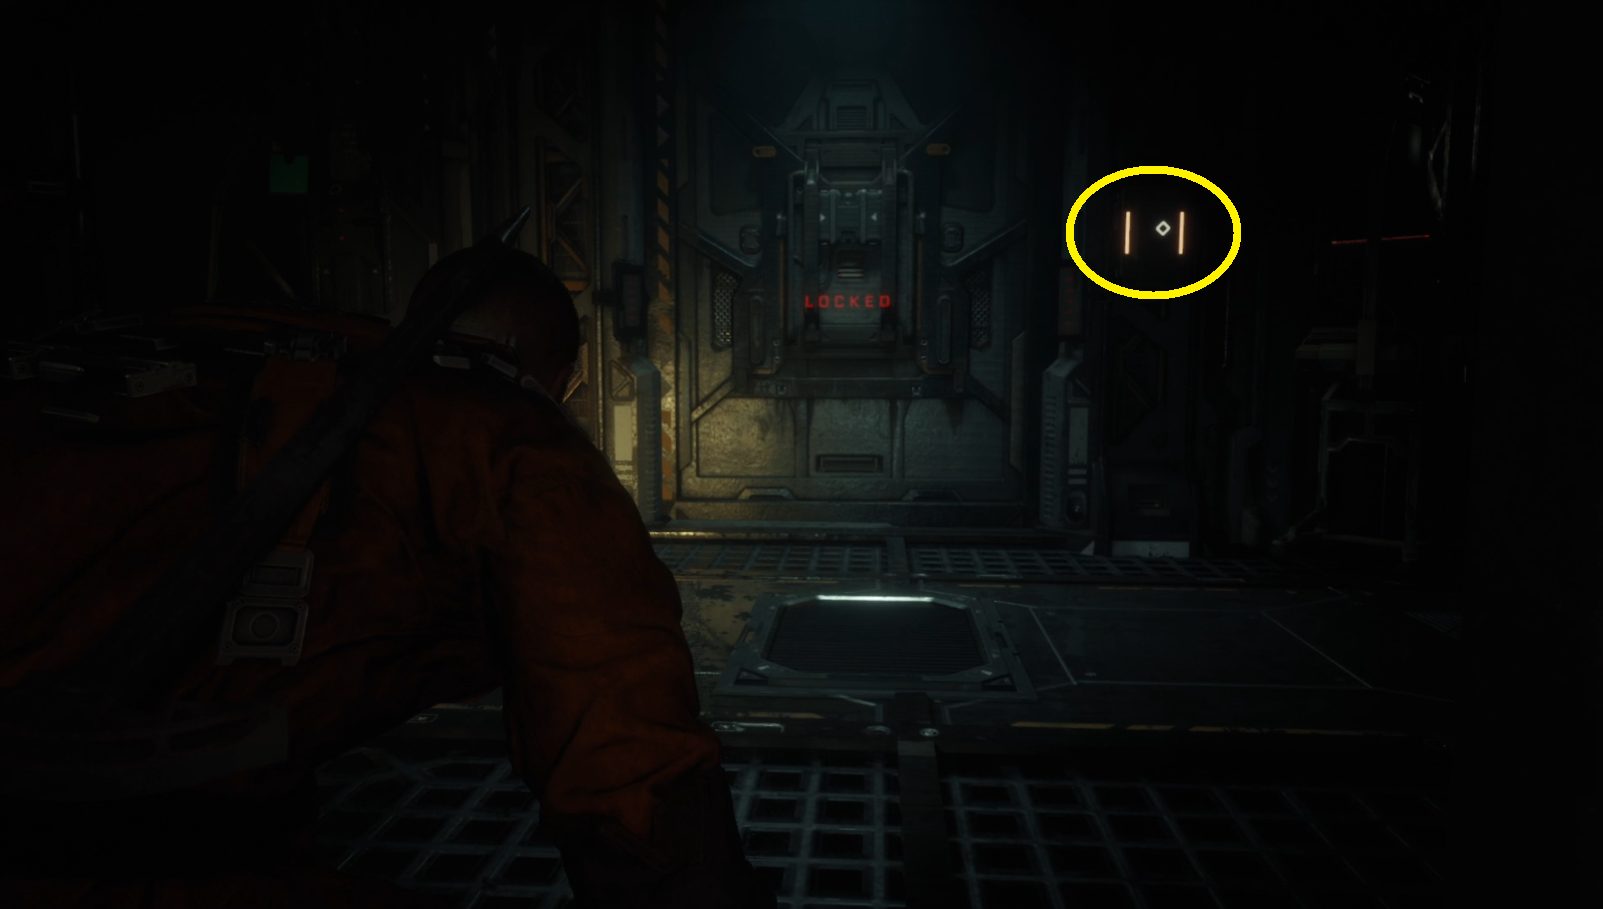
Move forward a bit, but stay hidden behind the cover as indicated below (1) until the robot turns away and moves further down the hall. Then you can continue through the unlocked door just ahead. On the other side you’ll see a locked door, but you can interact with the door panel to unlock it (2). Head on through, and continue crouching as you make your way forward towards yet another unlocked door. Don’t go through it yet, but wait at the nearby cover (3) — the robot will again look your way before continuing down the hall.
123
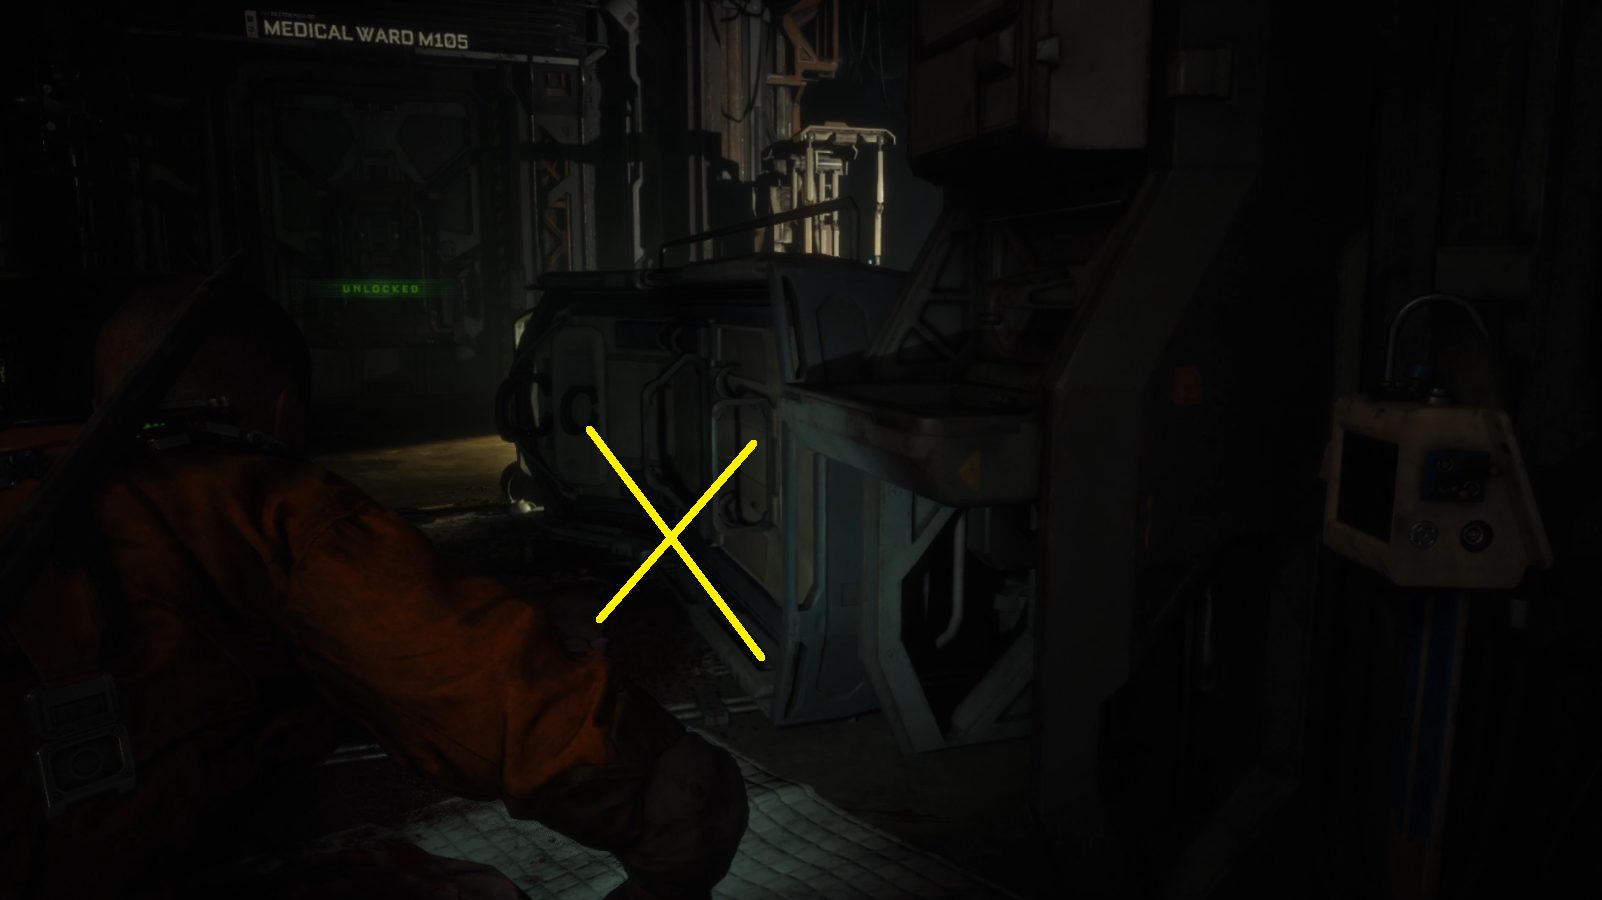
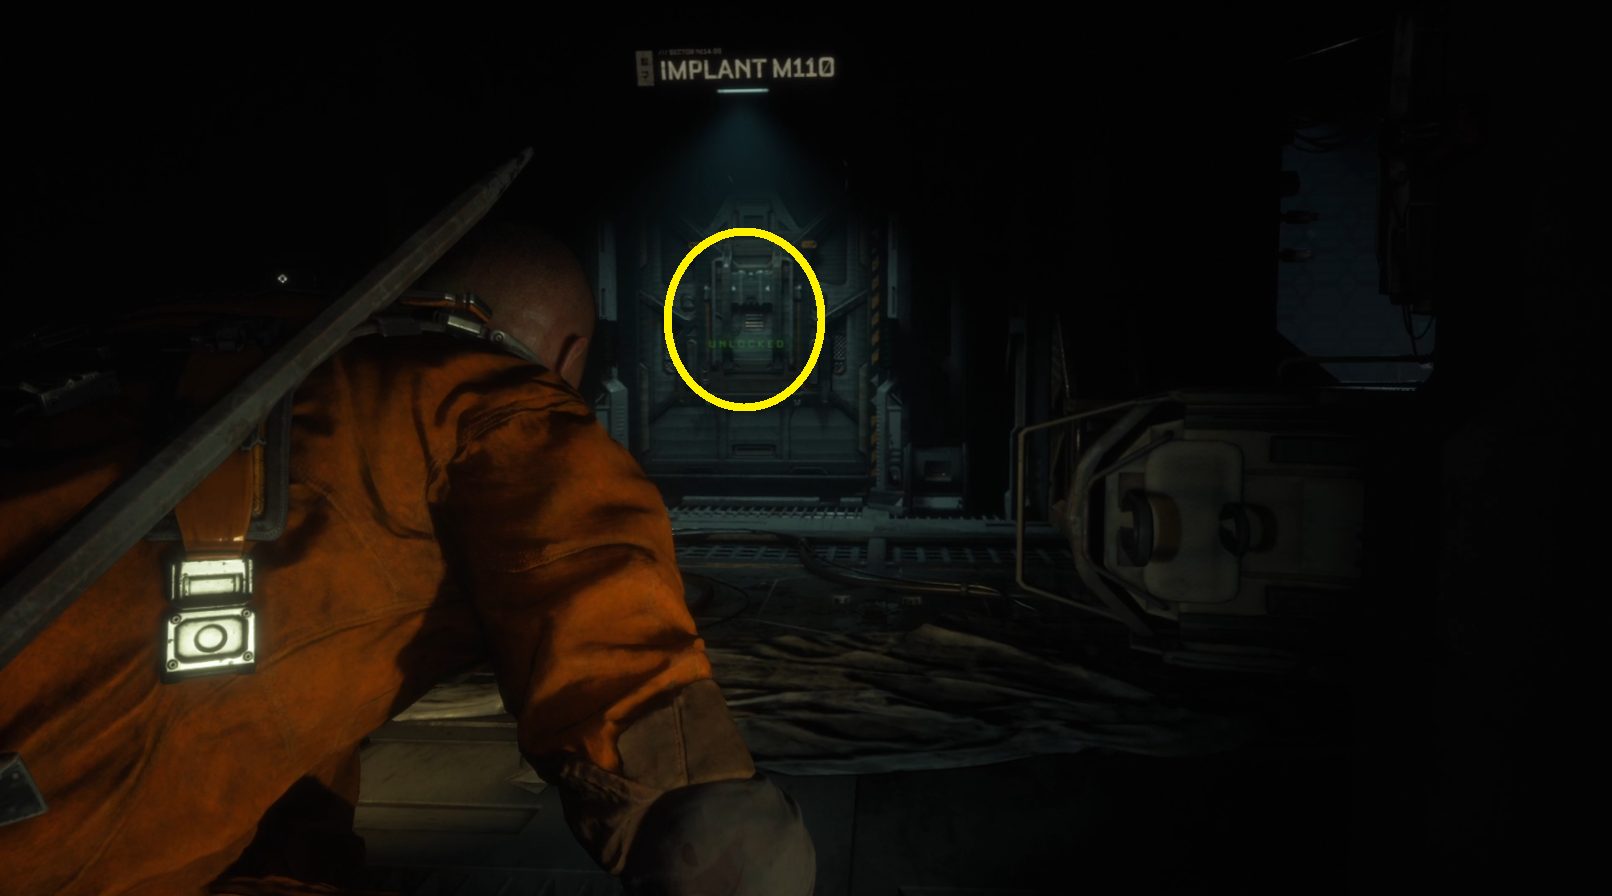
Once it does, you can go through the next unlocked door, and continue across the hall through the door marked Implant M110 (1). Turn right and go into the surgery room, and on the left on the floor is a crate. A slug will attack you when you open it (and you’ll have to mash the interact button to get it off), so if you’re low health, you should heal before opening the crate, or skip it for now. On the right side of the room is a fuse you need to grab (2.1) — then continue to the corner, where you’ll find Mahler’s Appointment (2.2) (Audio Log #3 for Dr. Mahler, despite being the first one you find).
12
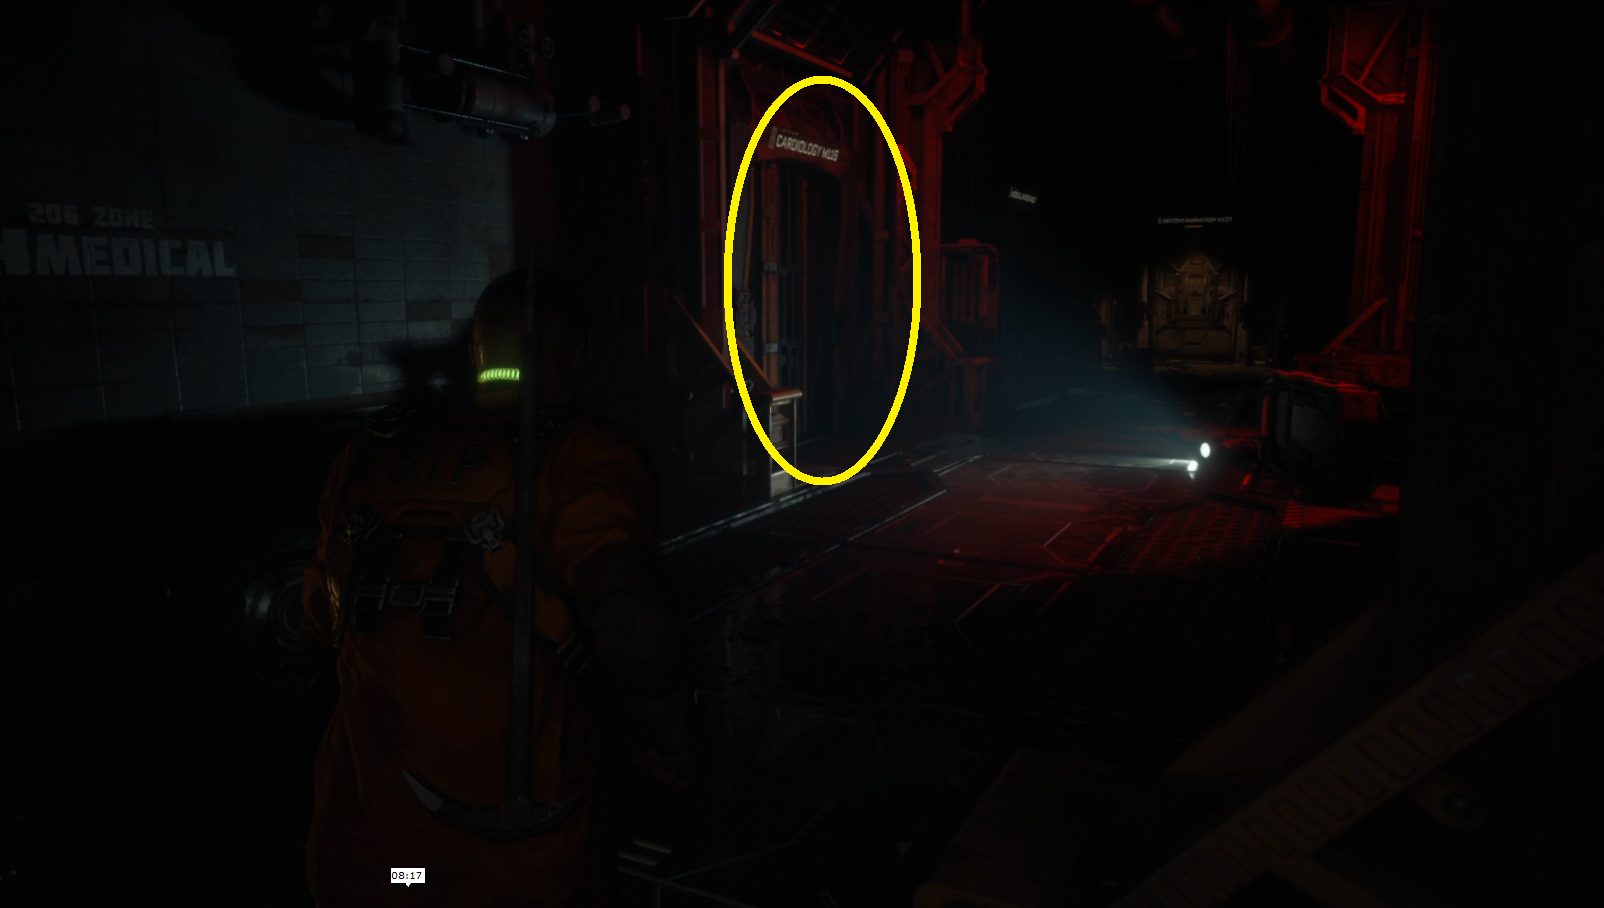
The way forward is in this room, but if you want to collect some extra resources, we’ve got to backtrack a bit. You can exit this room via the door next to where the audio log was, then turn right and head down the hall. On your left will be a door marked Cardiology M116 (1) — head inside and loot the lockers, then go through the door on the right. Go up the stairs to your left, then put the fuse you grabbed in the socket on the wall (2). This will unlock the door next to the fuse box, and inside you’ll find an Energy Convertor, and a Health Injector on the wall.
Leave the room and remove the fuse from the wall, then turn left and head into Lockerroom M121 just ahead. Loot the lockers against the walls, and then go through the doorway into the showers (1). There is a box you can stomp in the far right corner of the showers (2), it’ll drop some loot — to get to it, you’ll have to go left first, around the center block of showers. You’ll be attacked by a couple of enemies after you stomp the box, so be ready.
After stomping the box and collecting the loot, go back the way you came — an enemy will come around the corner and attack you, and a second one will soon follow. Dispatch both foes, then keep retracing your steps — a third enemy will pop out of a grate in the ground as you near the exit to the showers. Continue going back the way you came until you exit cardiology and are back in the hallway. Turn right and go down the hallway, then go left through the door marked Implant M110 once again.
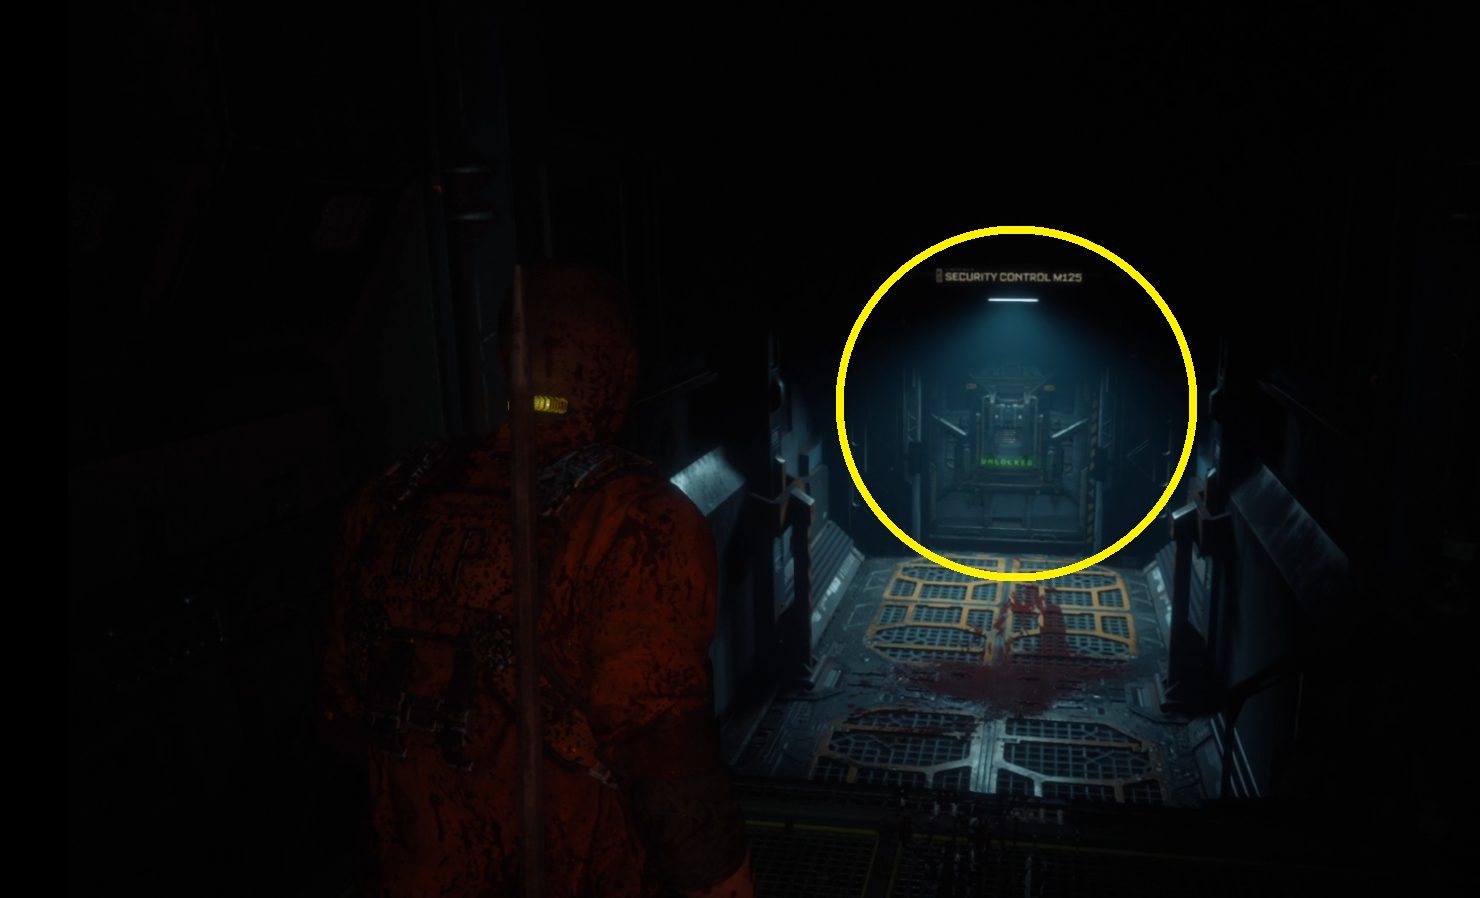
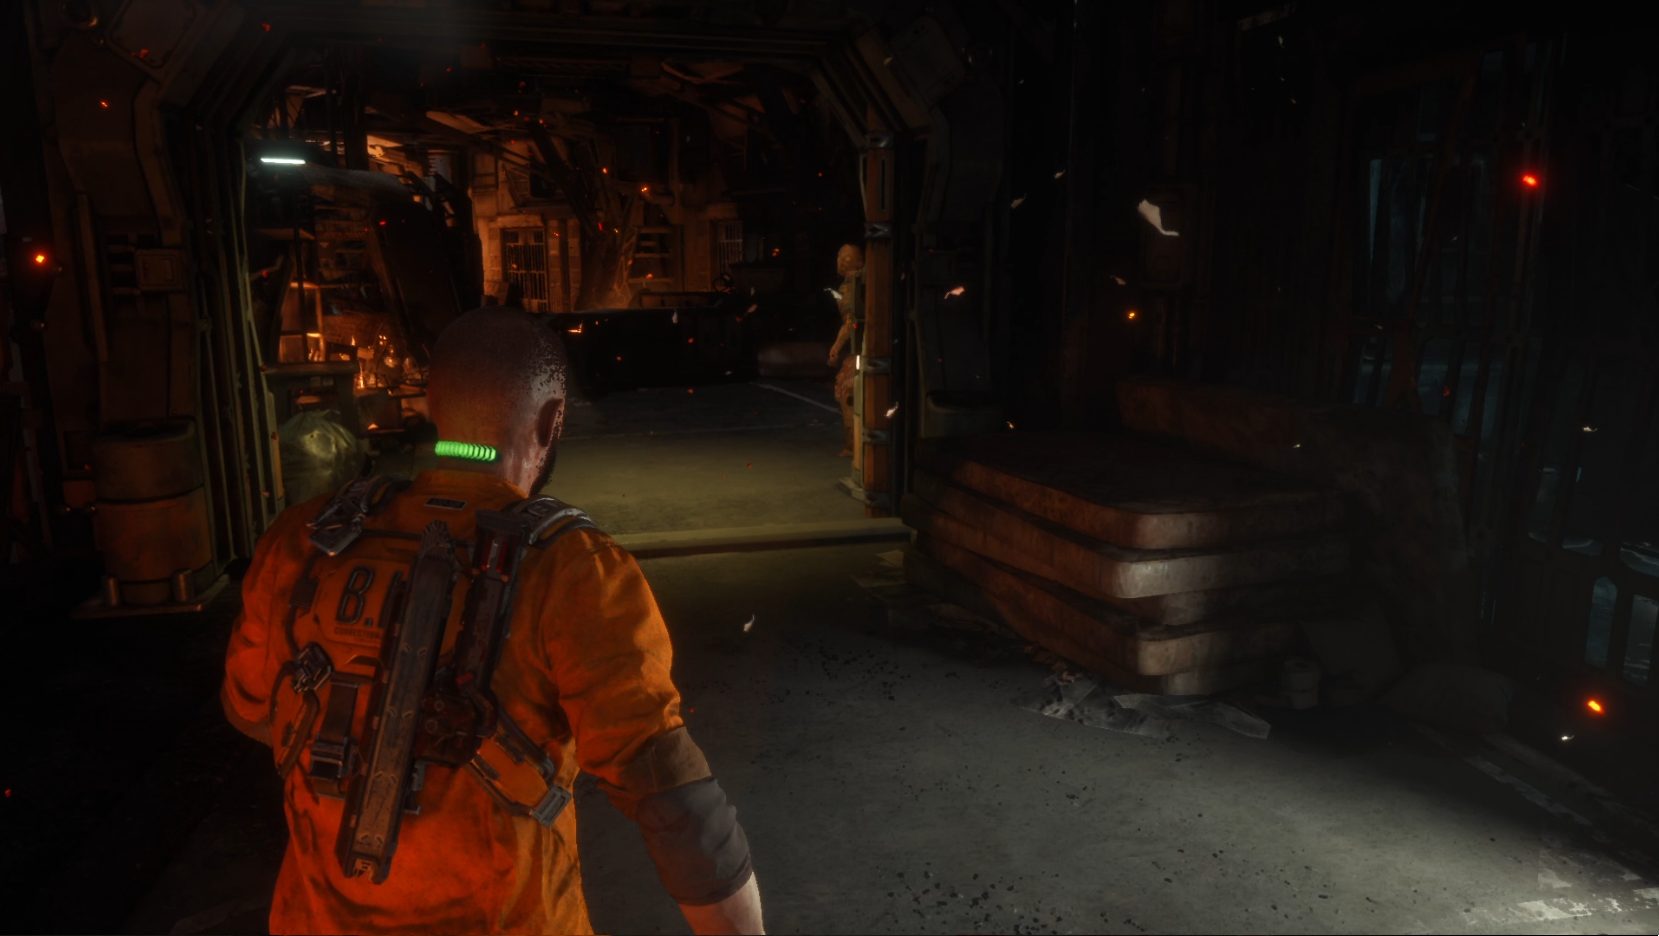
Continue into the surgery room, and head across it to the small set of stairs — it can be hard to see in the dark, but there’s a light in the corner to guide you (1). Go up the stairs and continue forward to the door marked Mezzanine M123, and insert the fuse to open the door. Go through, and then fight the enemy that comes out of the flames in the hallway beyond. Continue forward through the door, down the stairs, and through the door marked Security Control M125 (2).
12
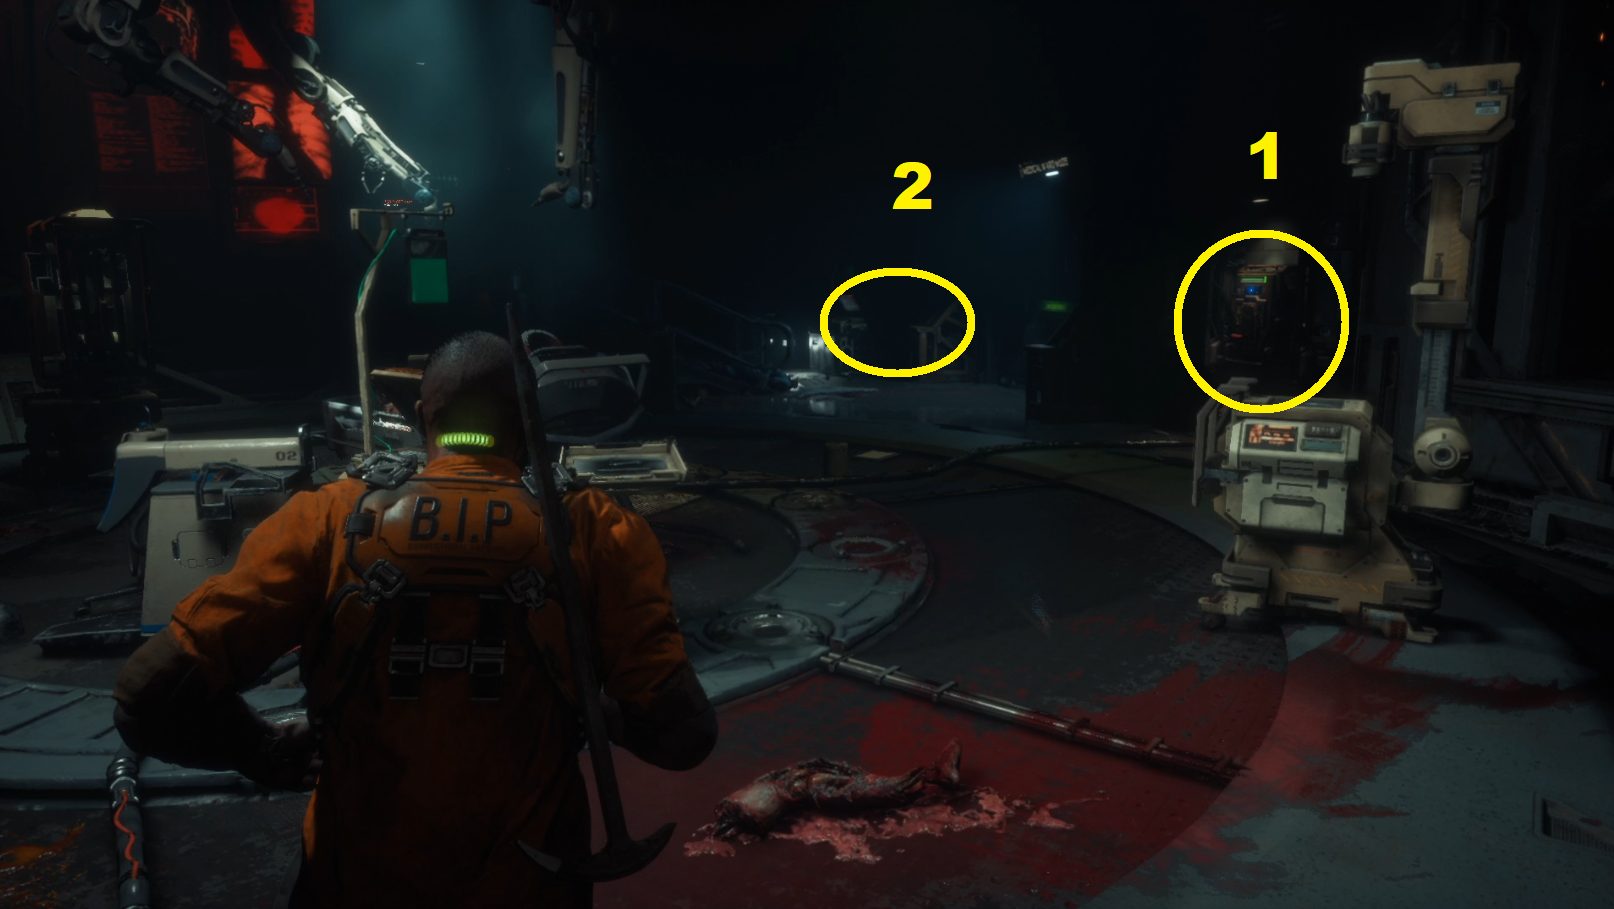
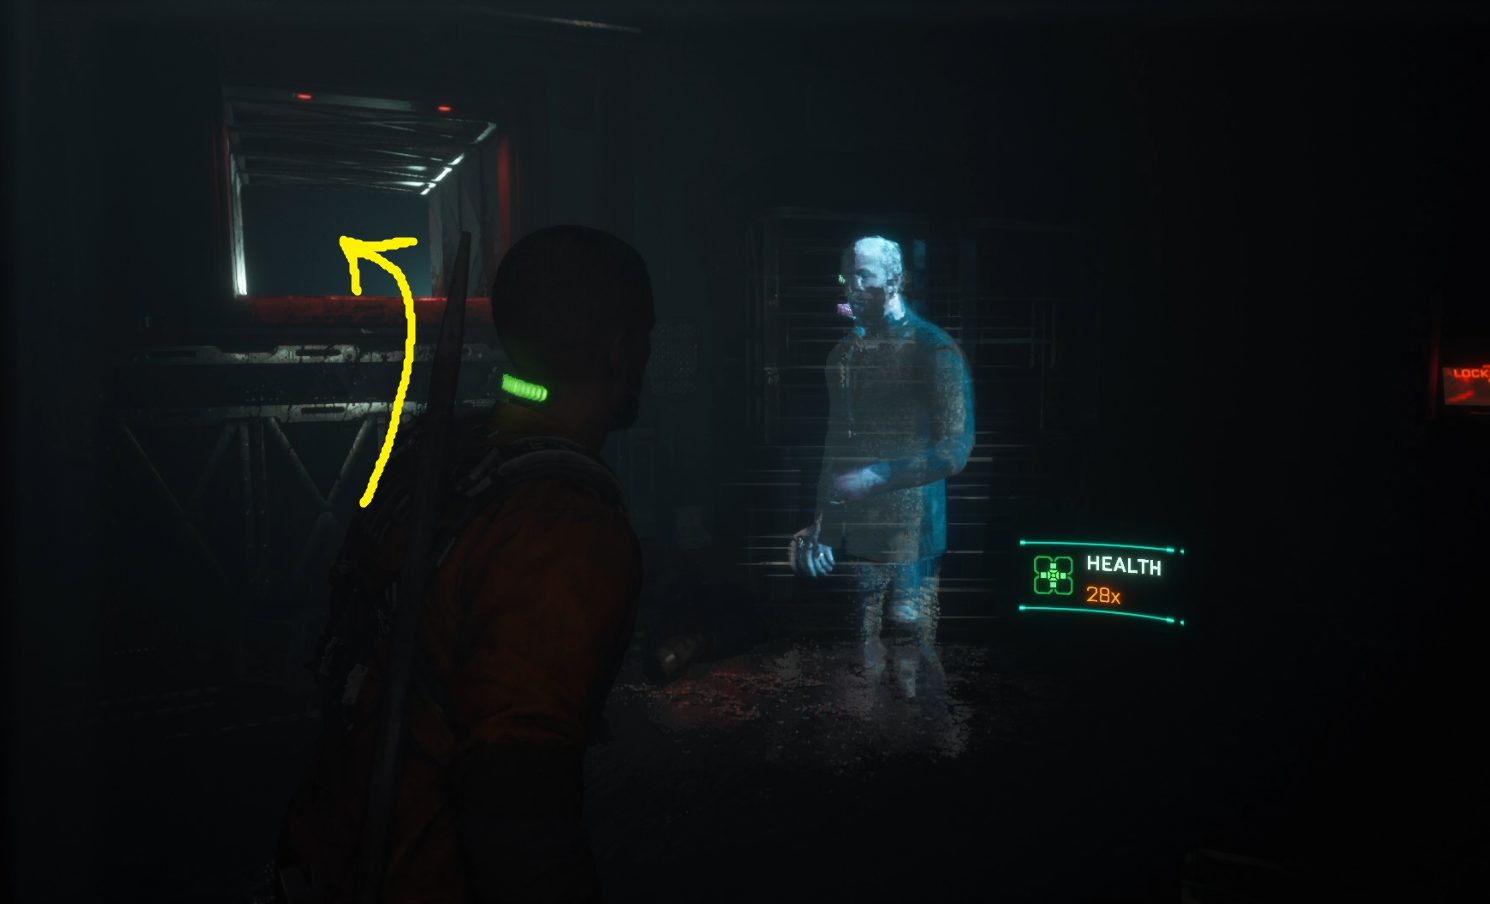
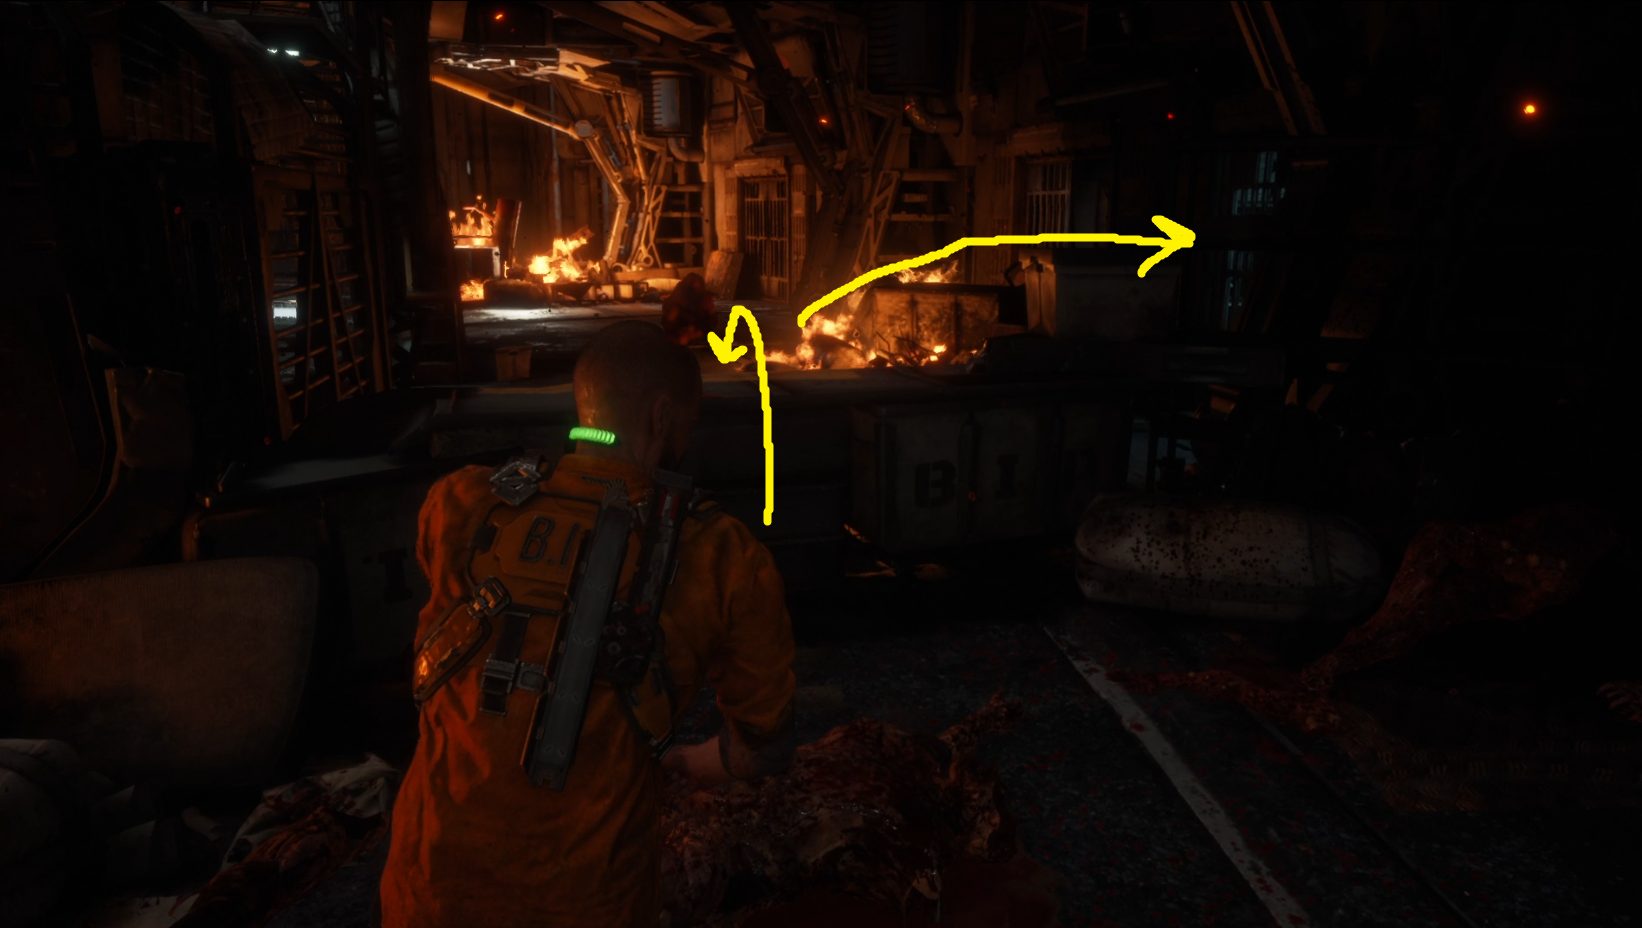
You’ll find some loot in the shelves on the right in the next room, and then a bit more if you search the desk beyond them, also on the right. Near the hologram of the warden is a vent you can climb into (1). Continue through it and once you exit it and stand, continue forward a few steps and vault up once more. Then turn left and vault a final time into another vent. Continue through it, and once you exit, two enemies will attack you. Try to stay near the vaultable waist-high cover — the enemies seem to like vaulting it, and this can make it easier to avoid taking damage (2).
12
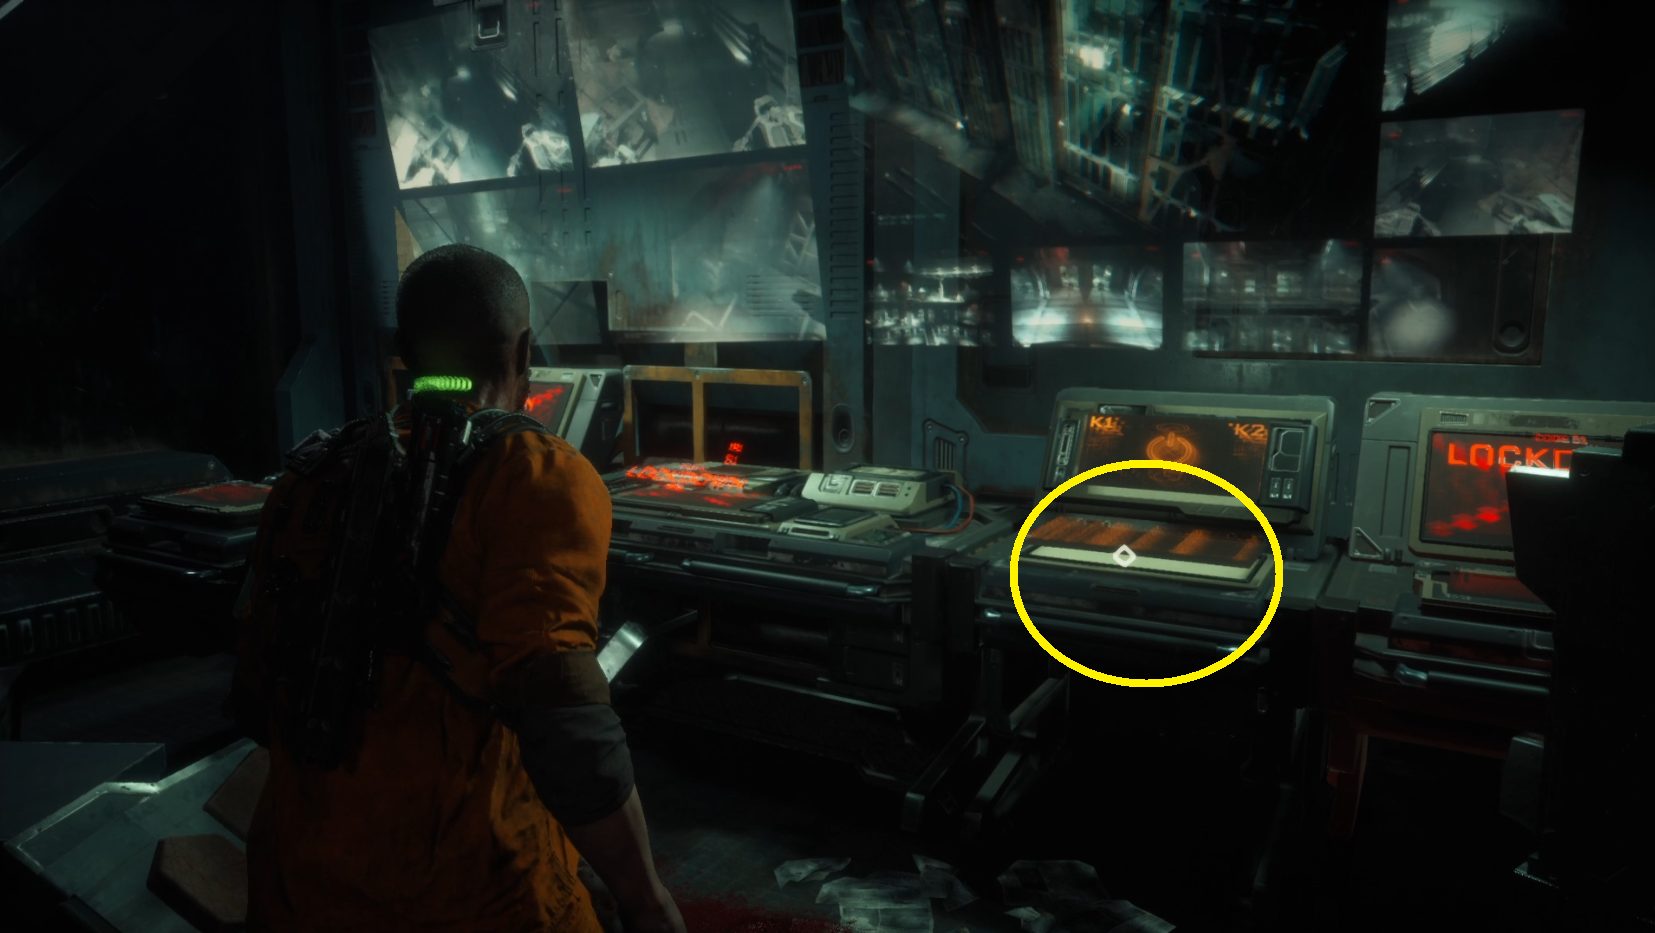
With both enemies dispatched, you can head towards the two large fans, then turn right and find yet another vent (1). Clamber in and it will take you to a security office, where a cutscene will play, and you’ll replace your crowbar with the Stun Baton. Walk over to the security console and interact with it (2).
Return to the Watchtower
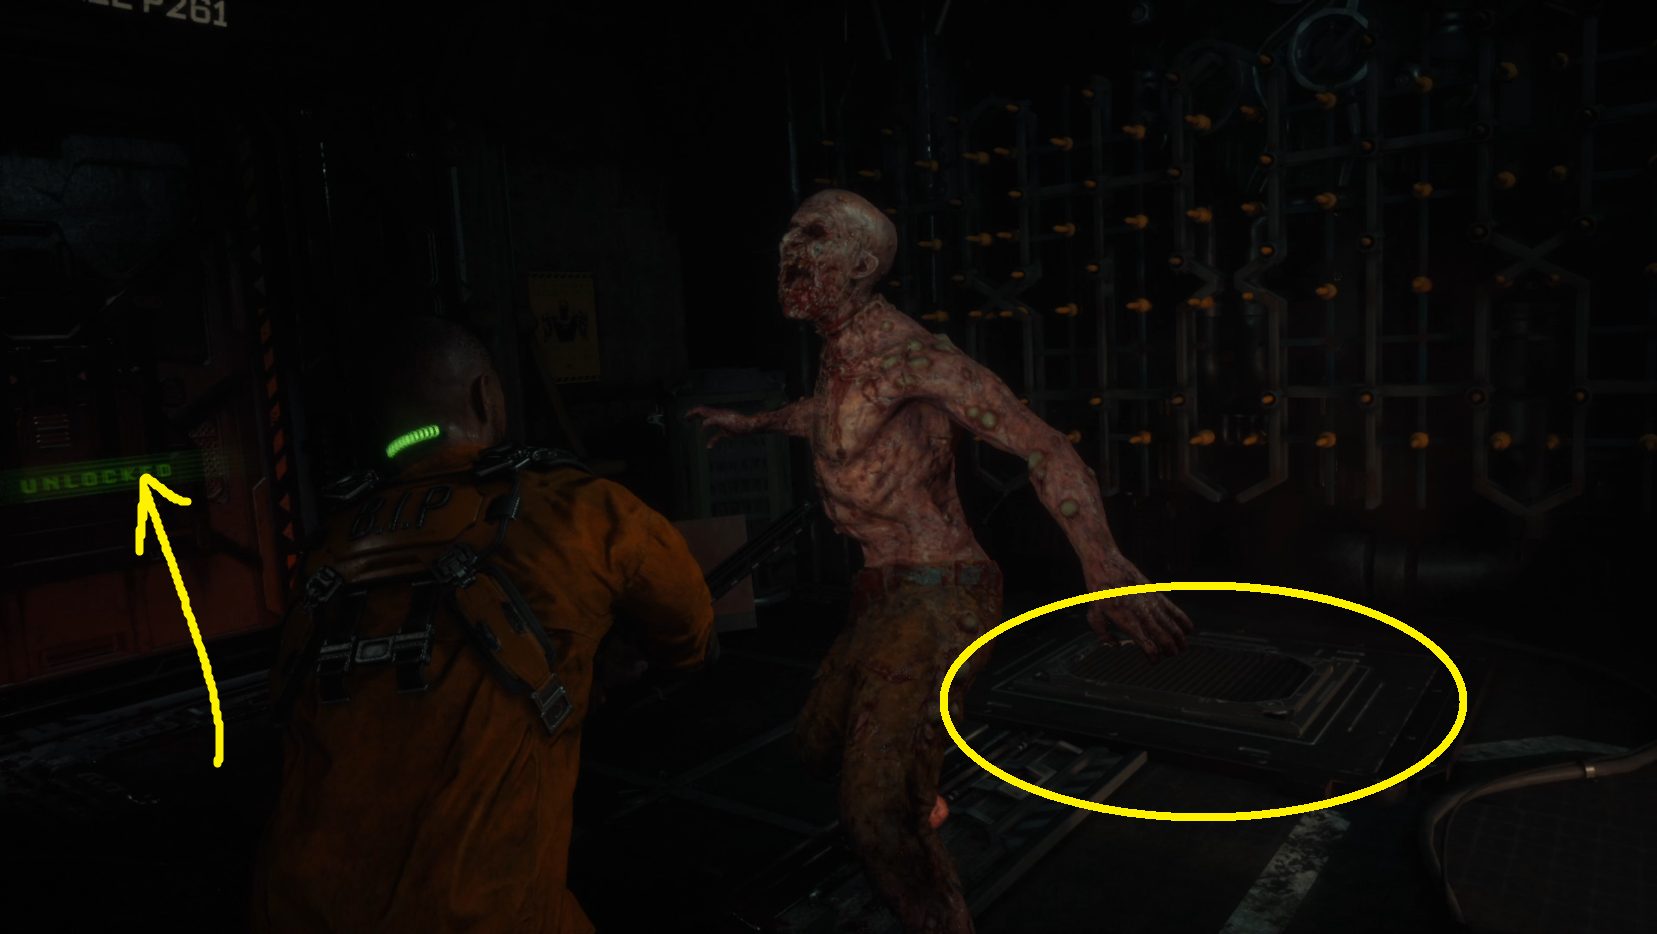
After activating the console, head to the other side of the room — the door you need to exit through is on the left, but an enemy will pop out of a nearby floor panel before you can go through (3).
123
In the next hall, you’ll go left and then right, then you’ll have to crouch to get under a gate (1). Go left, then continue down the stairs and through the door marked Access Hall P261. Go right and through the unlocked door, then turn right and make your way along the cell block. On the right ahead is a Health Injector box (2). Keep going forward, go through the open gate, and then prepare for a fight — through the archway ahead is a group of enemies (3). You’ll start by fighting two enemies, but a third, and then a fourth, will eventually attack you.
123
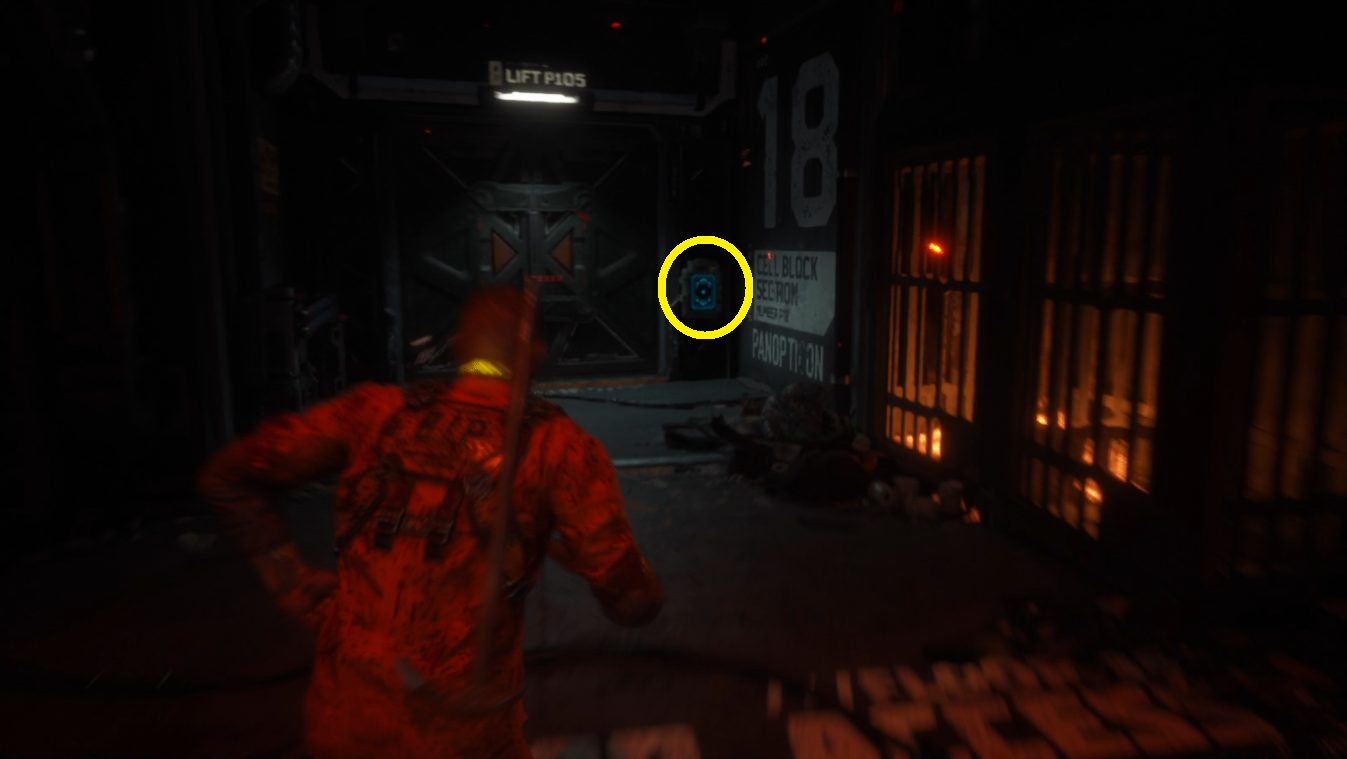
After they’re taken care of, vault over the crate and then go right to find Elias’s cell (1), where one of his audio logs can be found on his desk. Leave the cell and go up the nearby stairs (2), then turn left and cross the bridge to the elevator. Hit the panel (3) to ride the elevator up, then get off and continue forward into Panopticon Control P400.
13
Sneak Past Cpt. Ferris/Find Exit
Continue past Ferris’s office and attempt to destroy the panel of the door on the other side of the room, and a cutscene will play.
Once the cutscene ends, you’ll be able to pick up Cpt. Ferris’s Audio Log (1), then continue out the door the monsters came through and head through the door marked Access Hall P401 (2). Continue down the hall and through the next room, then pass through the next room to the Security Gate (3). Just beyond is an unlocked door — walk up to it and you’ll continue to the next chapter.
Unabashed FromSoftware fanboy still learning to take his time with games (and everything else, really). The time he doesn't spend on games is spent on music, books, or occasionally going outside.