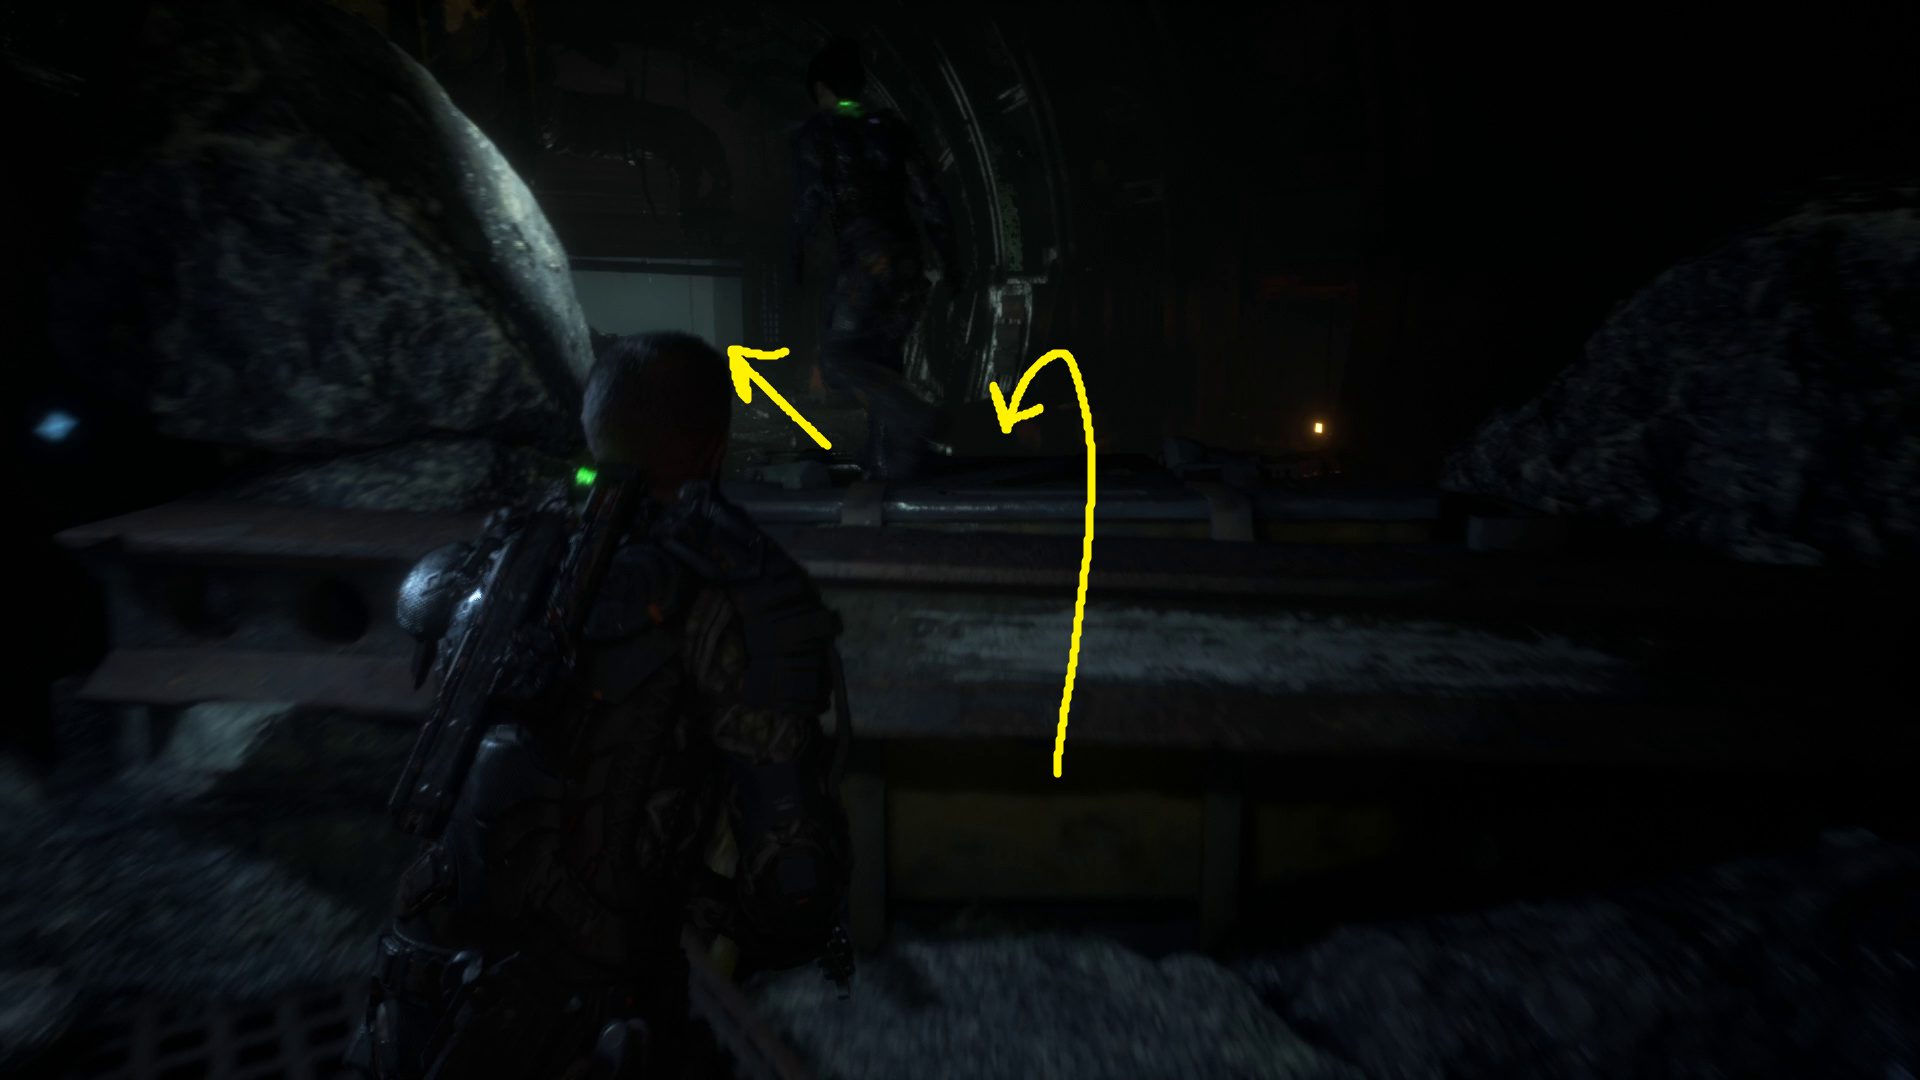
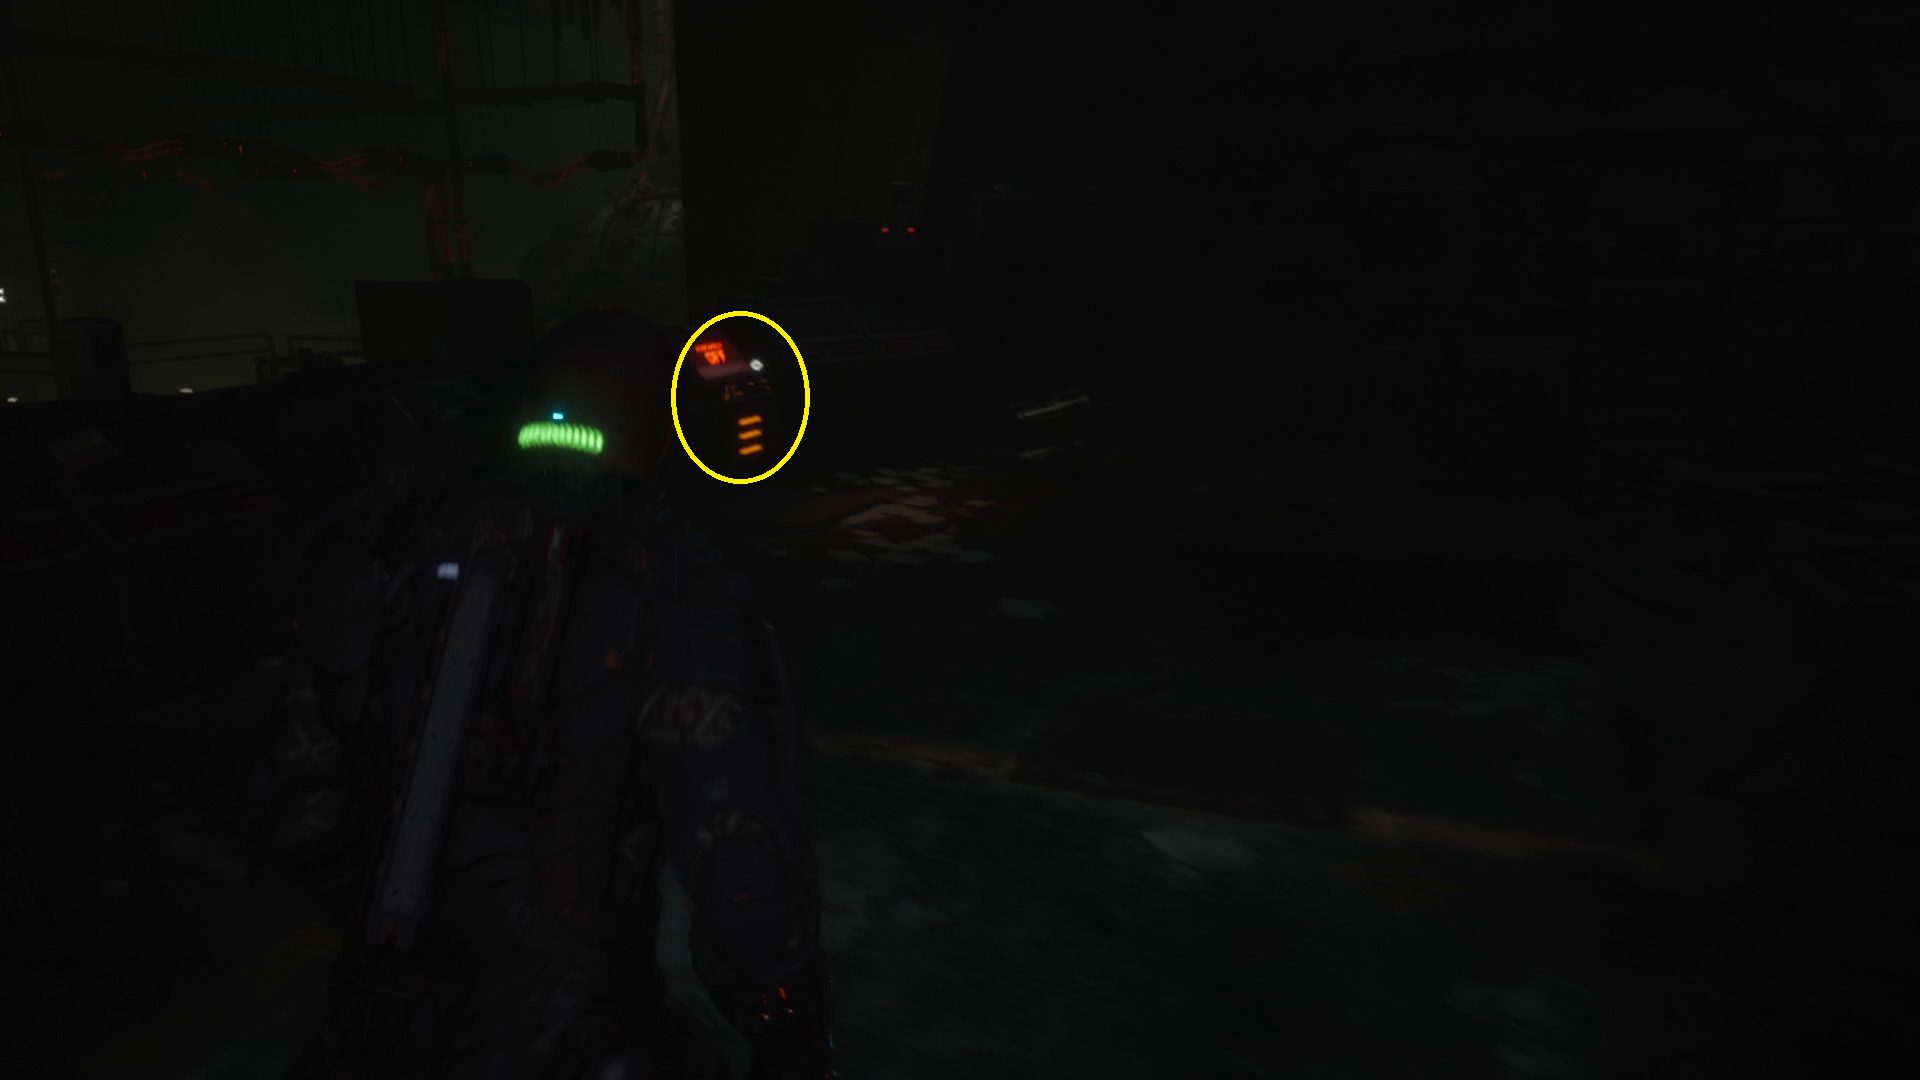
After falling from the top of the hanger, Dani will wake you up. Once the cutscene ends, you’ll need to follow her up the nearby stairs, and then over the steel girder (1). Continue forwards to where the elevator should be (there’s a slowly blinking red light above the entrance to the elevator shaft). Once you get close enough, another cutscene will play. Once it ends, continue following Dani around the corner and through the narrow gap. Just keep holding forward to drop down, then go left and squeeze through another gap. Walk forward a bit and the lights will go out, and the walkway will break.
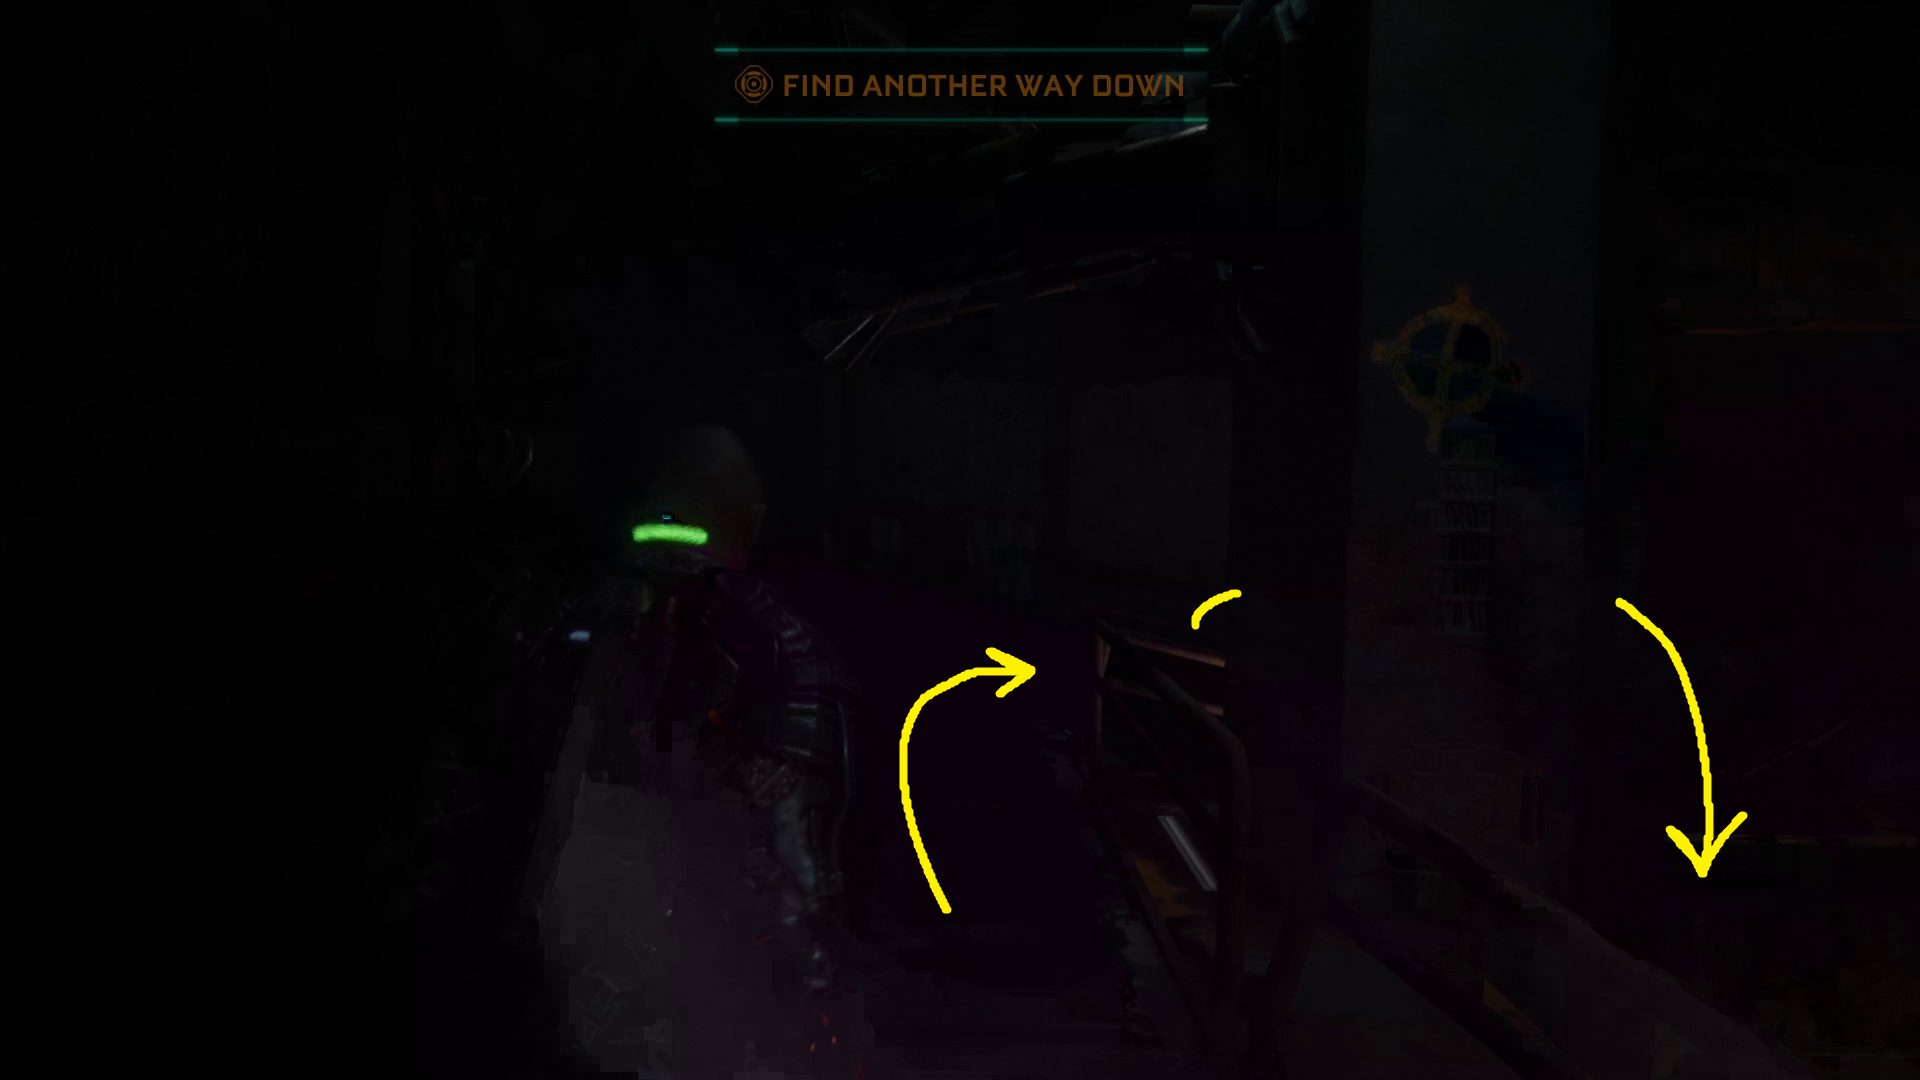
Find Another Way Down
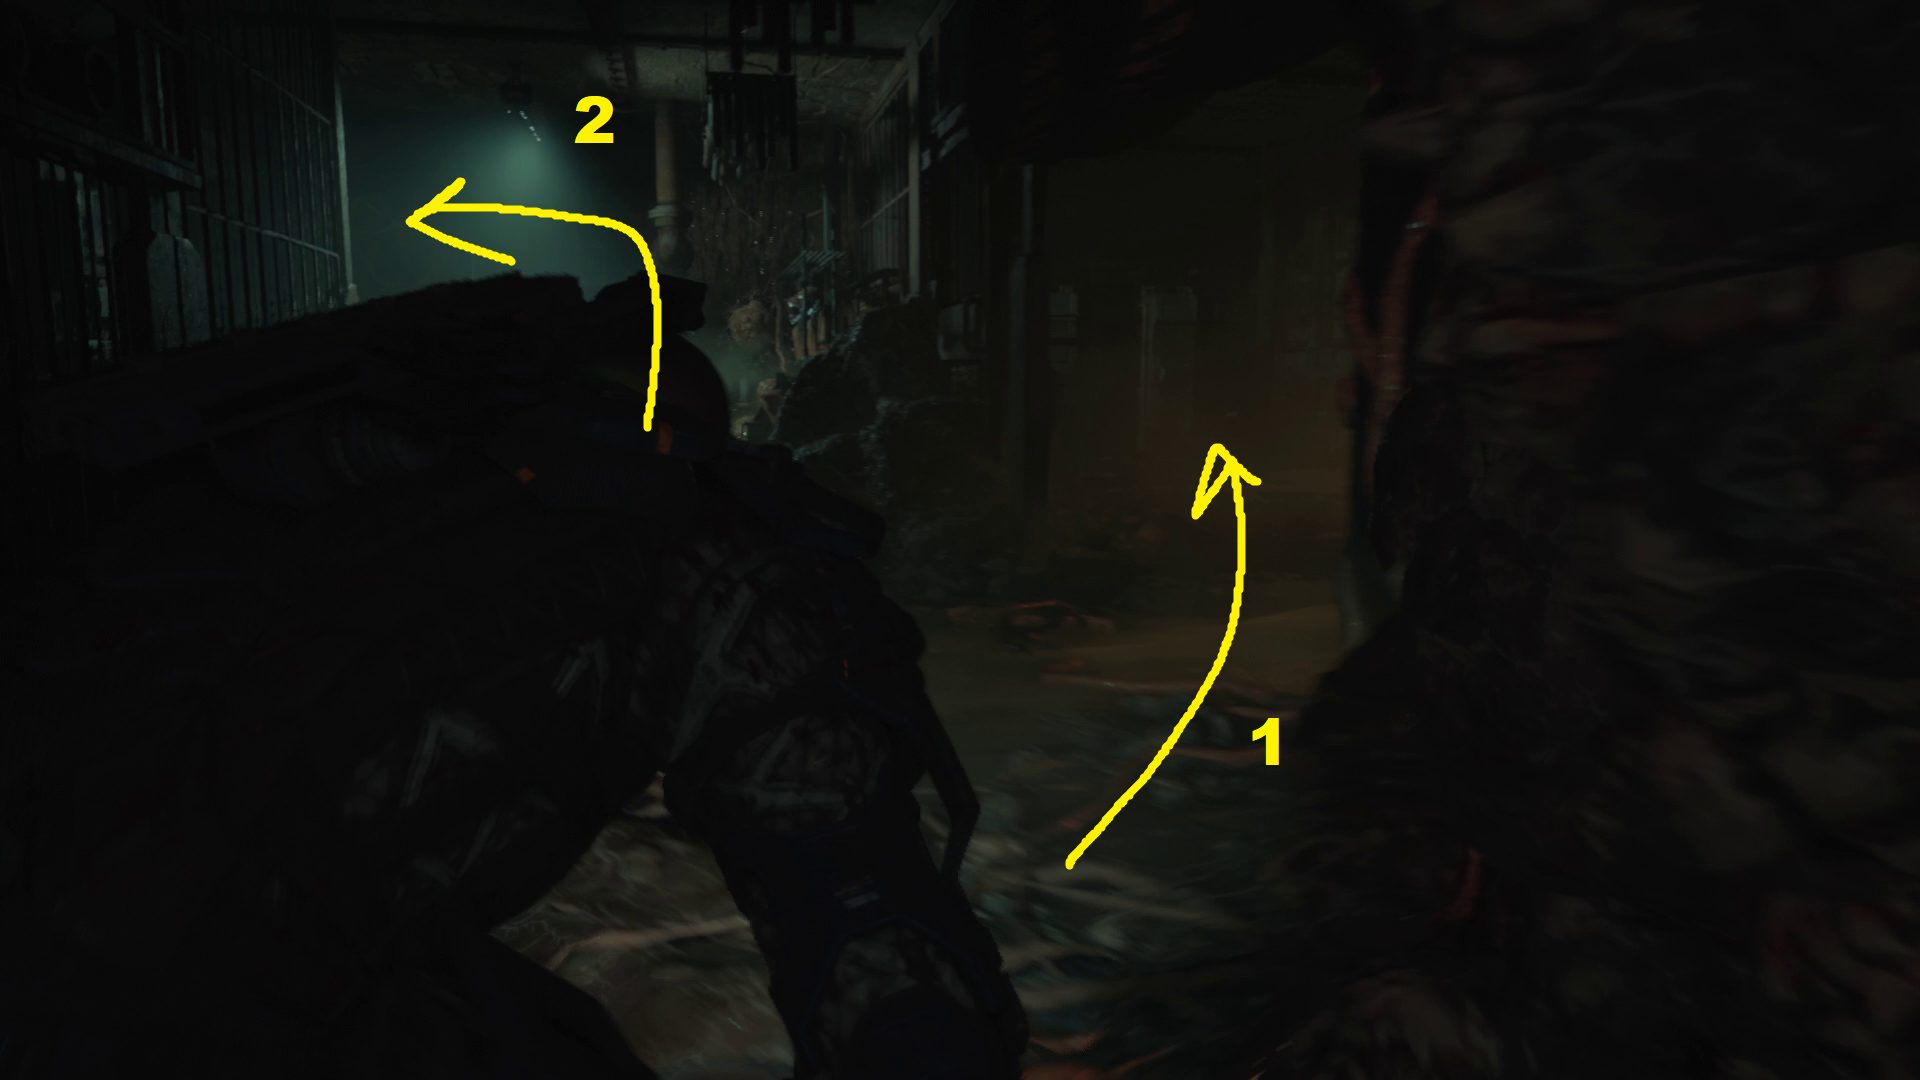
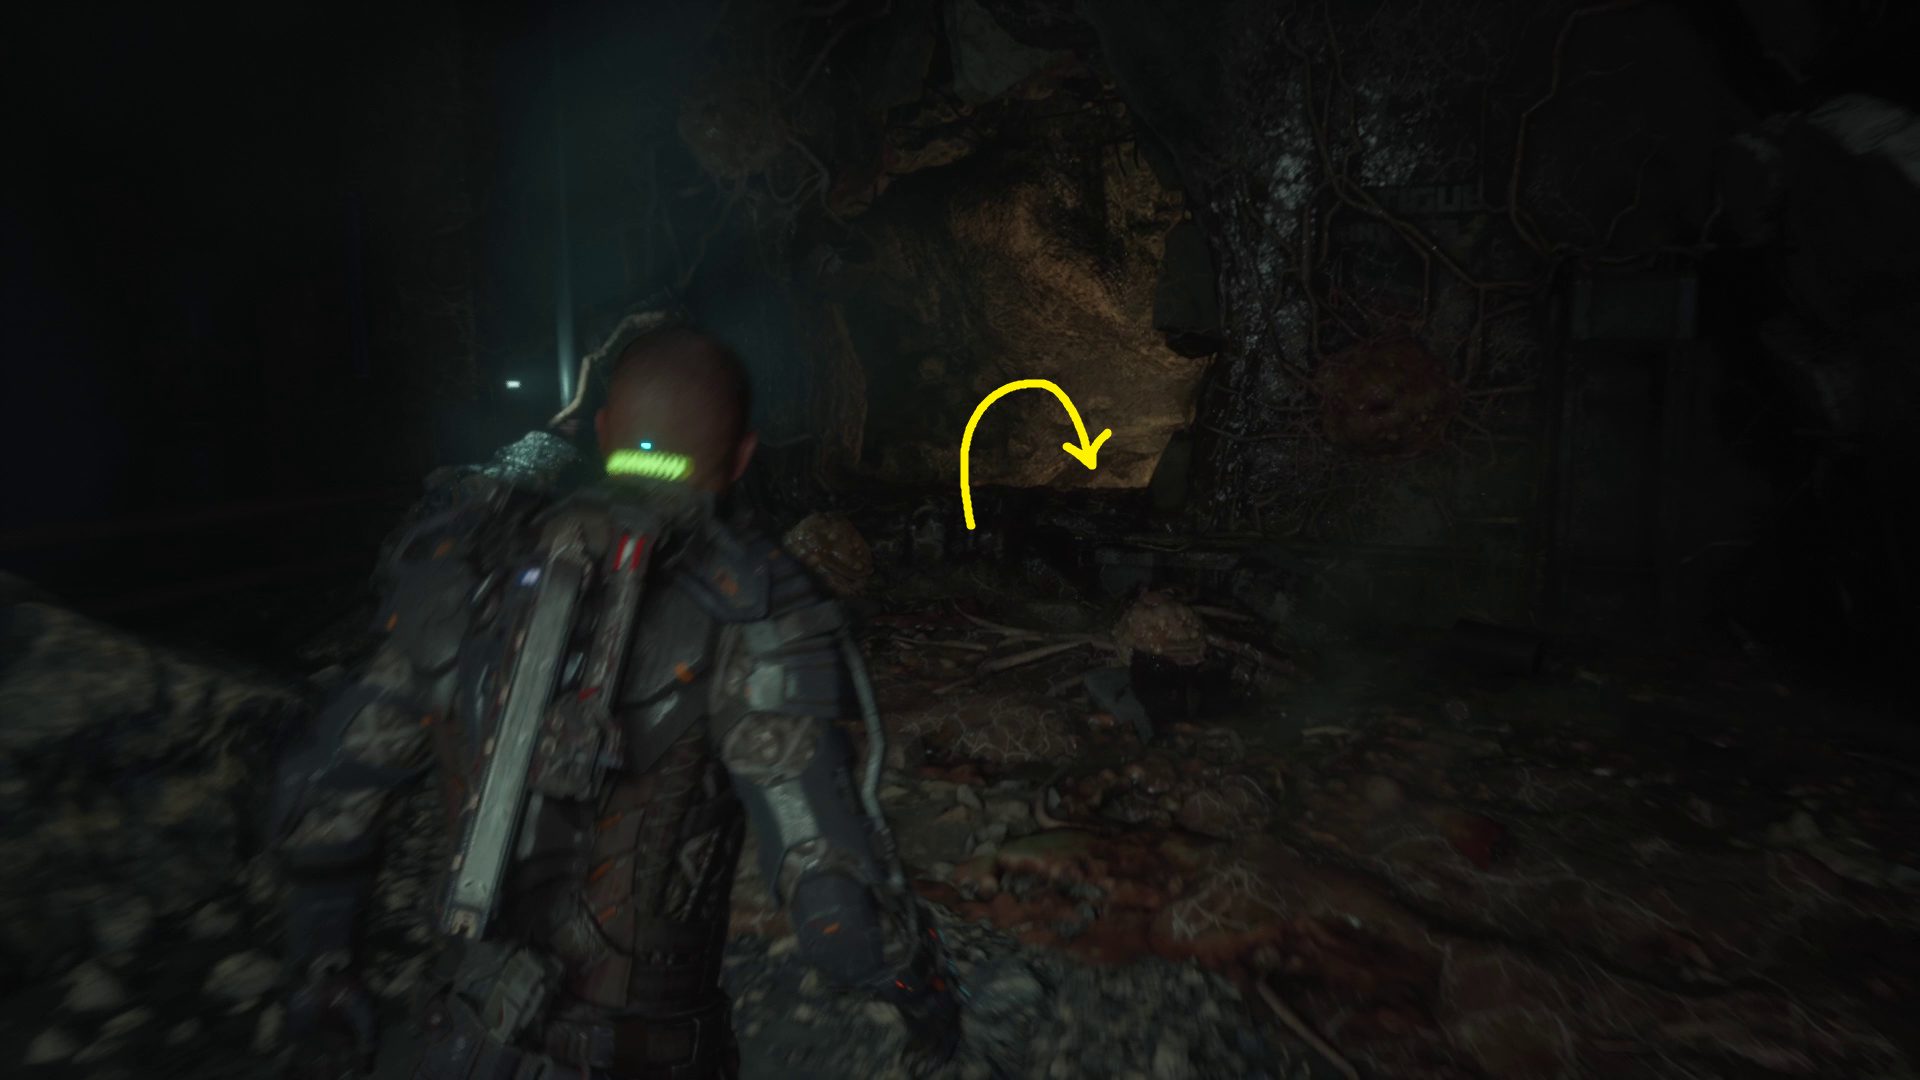
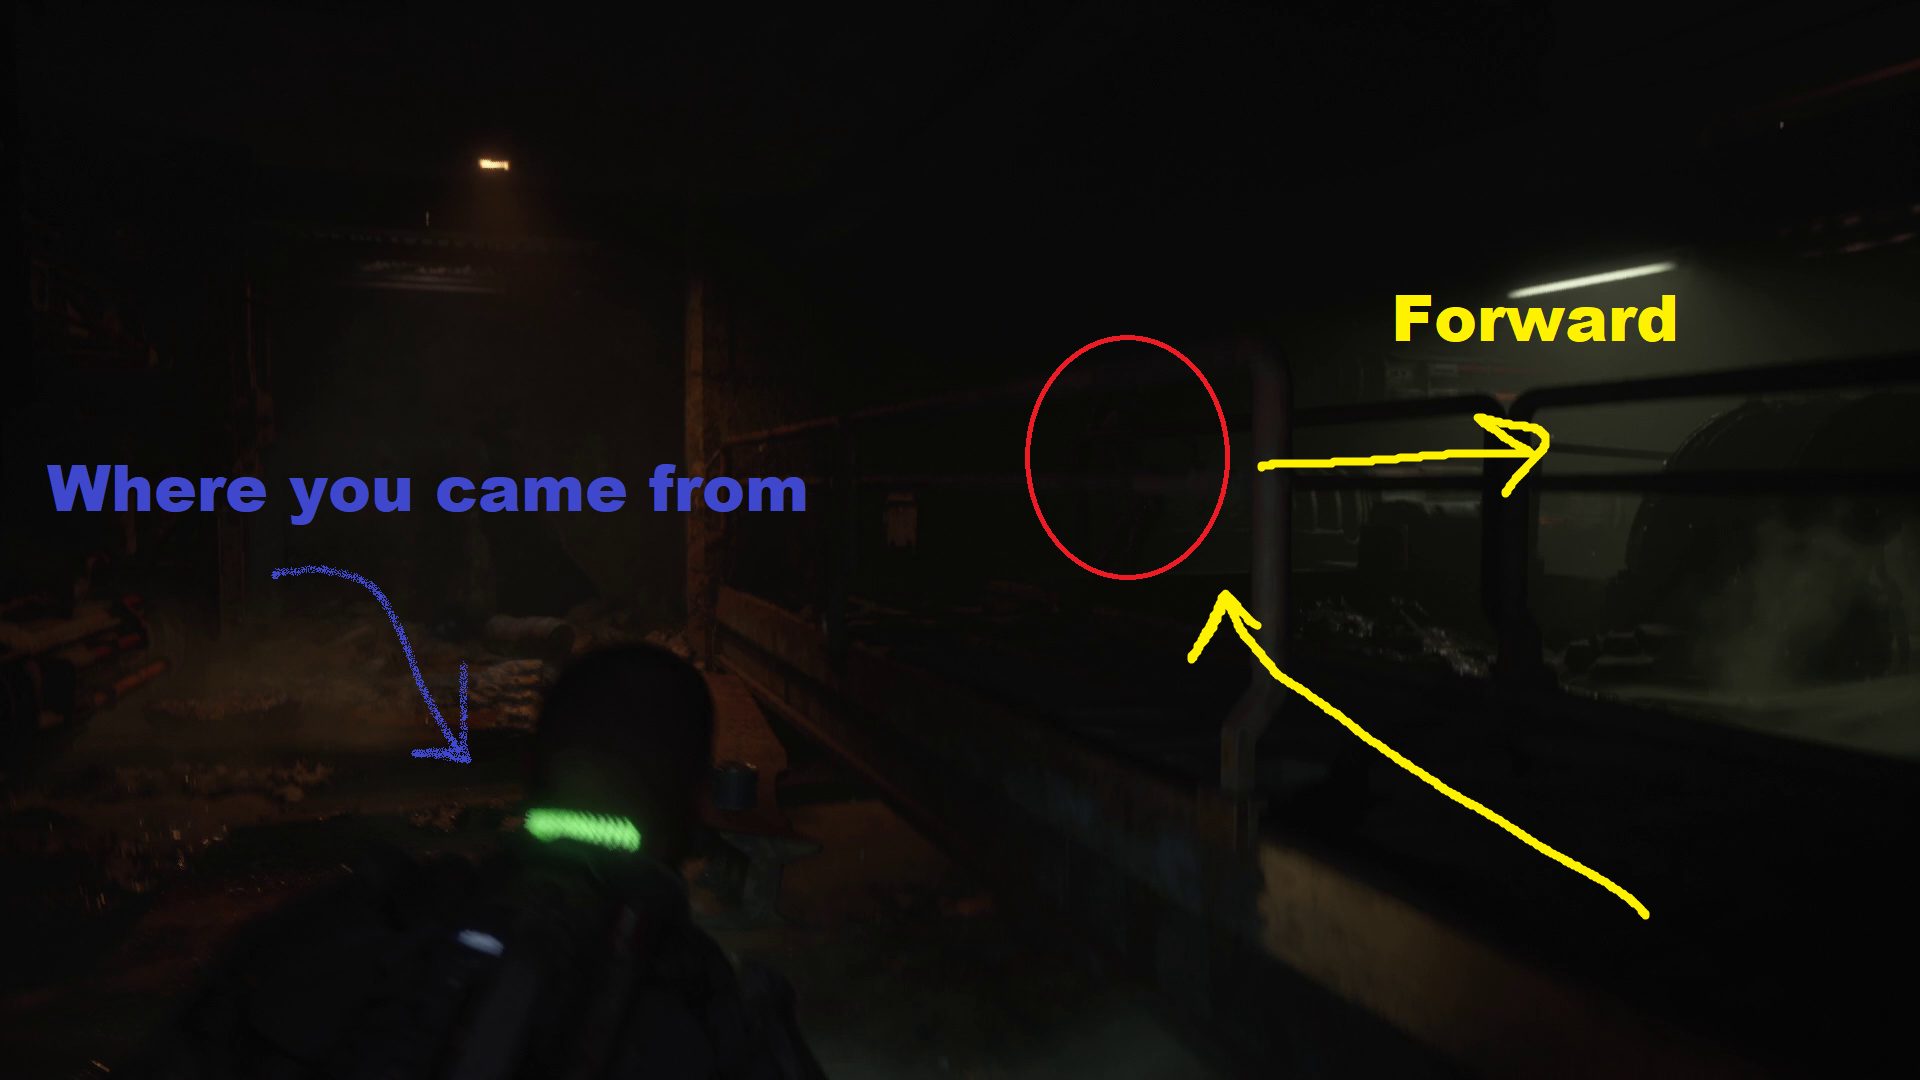
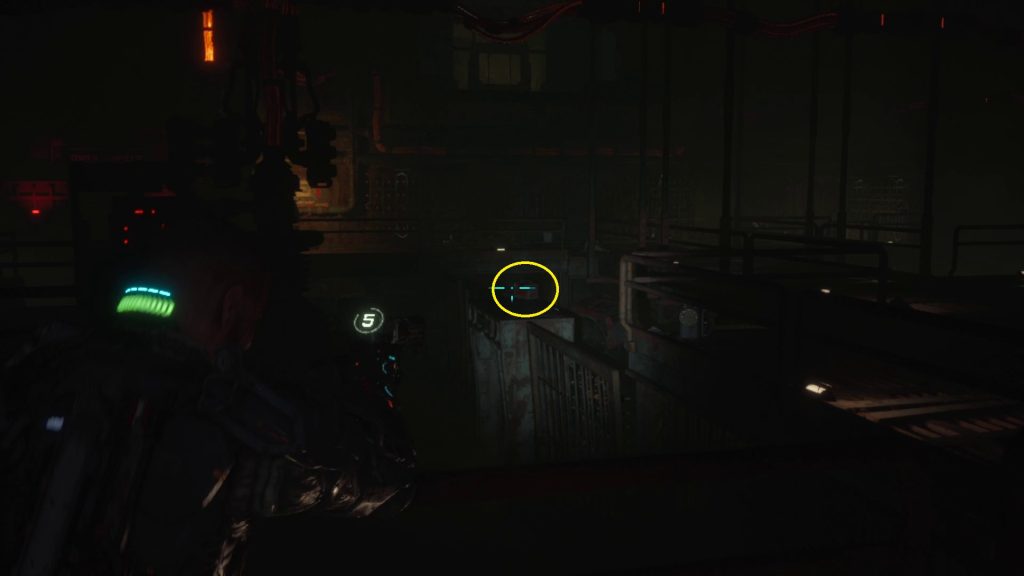
Walk forward, and Jacob will jump down a level. Turn around and go straight, then right and drop down yet again (2).
12
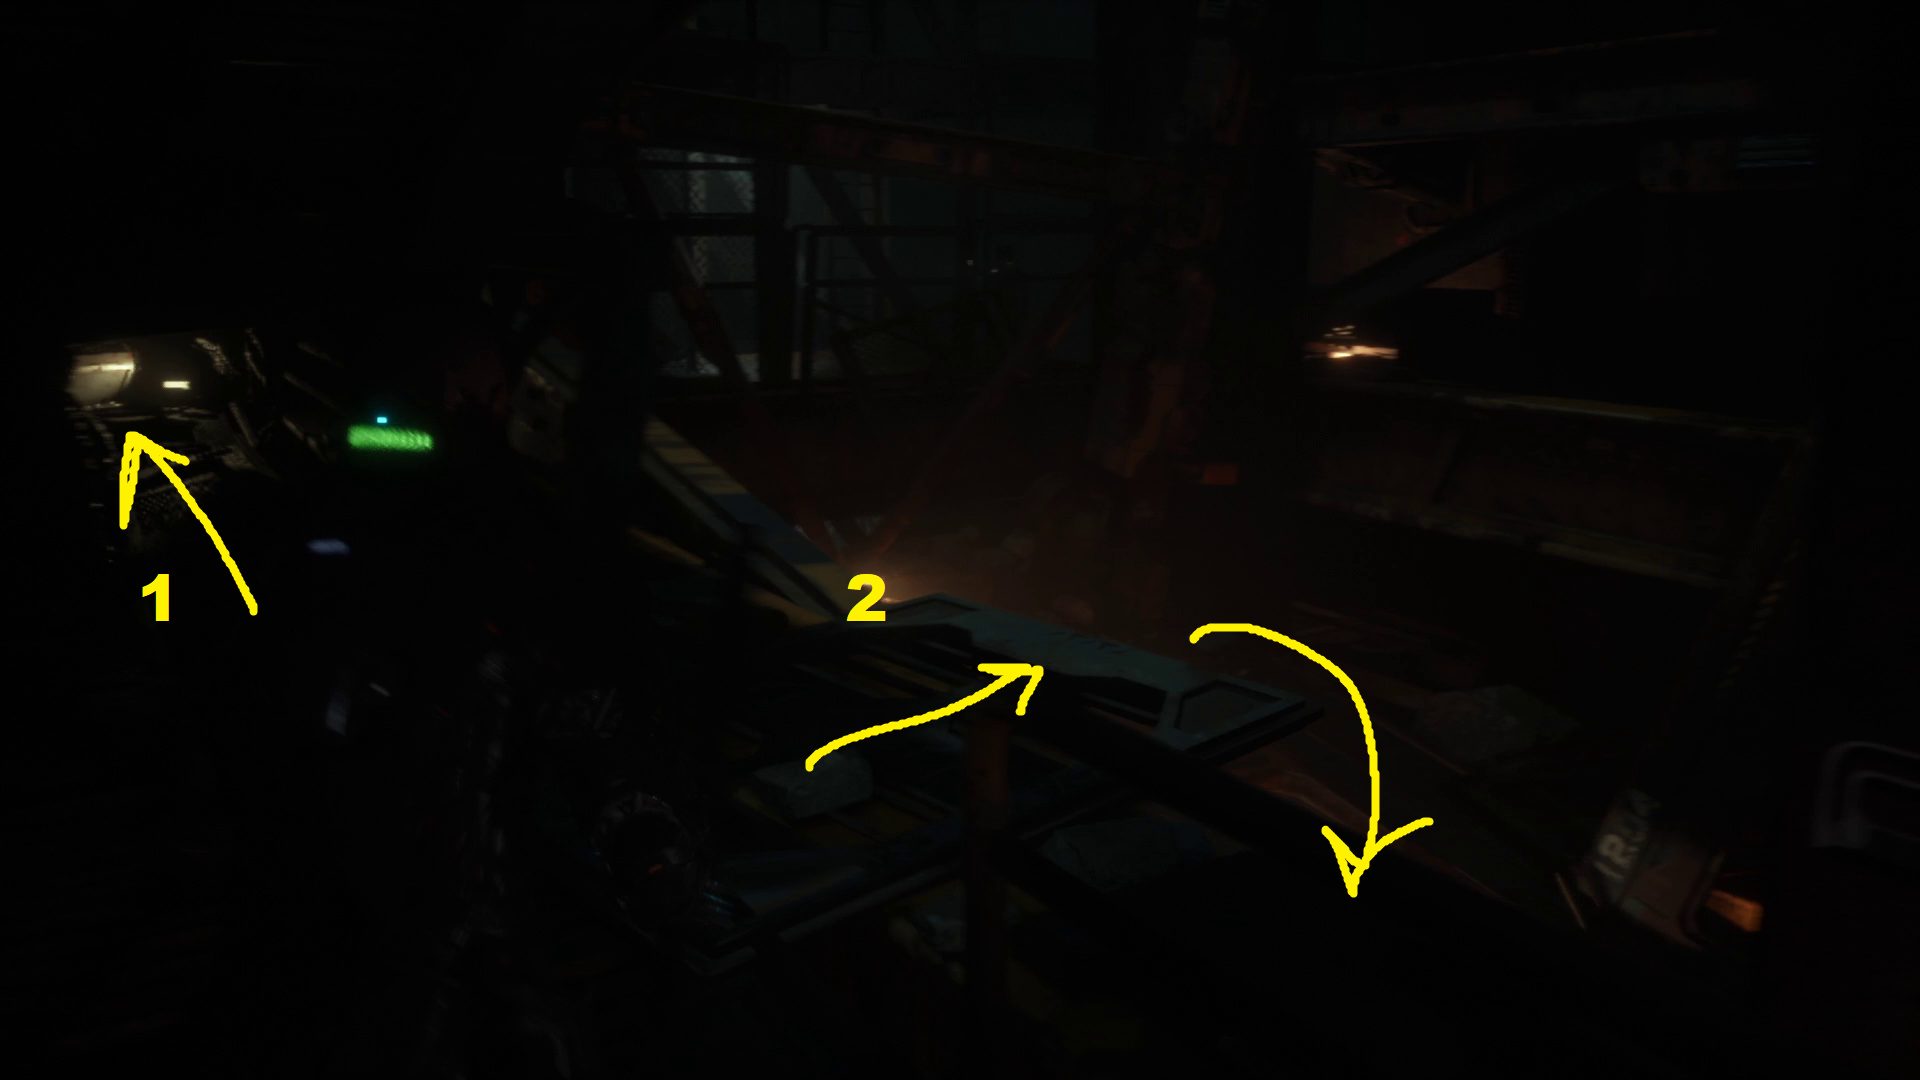
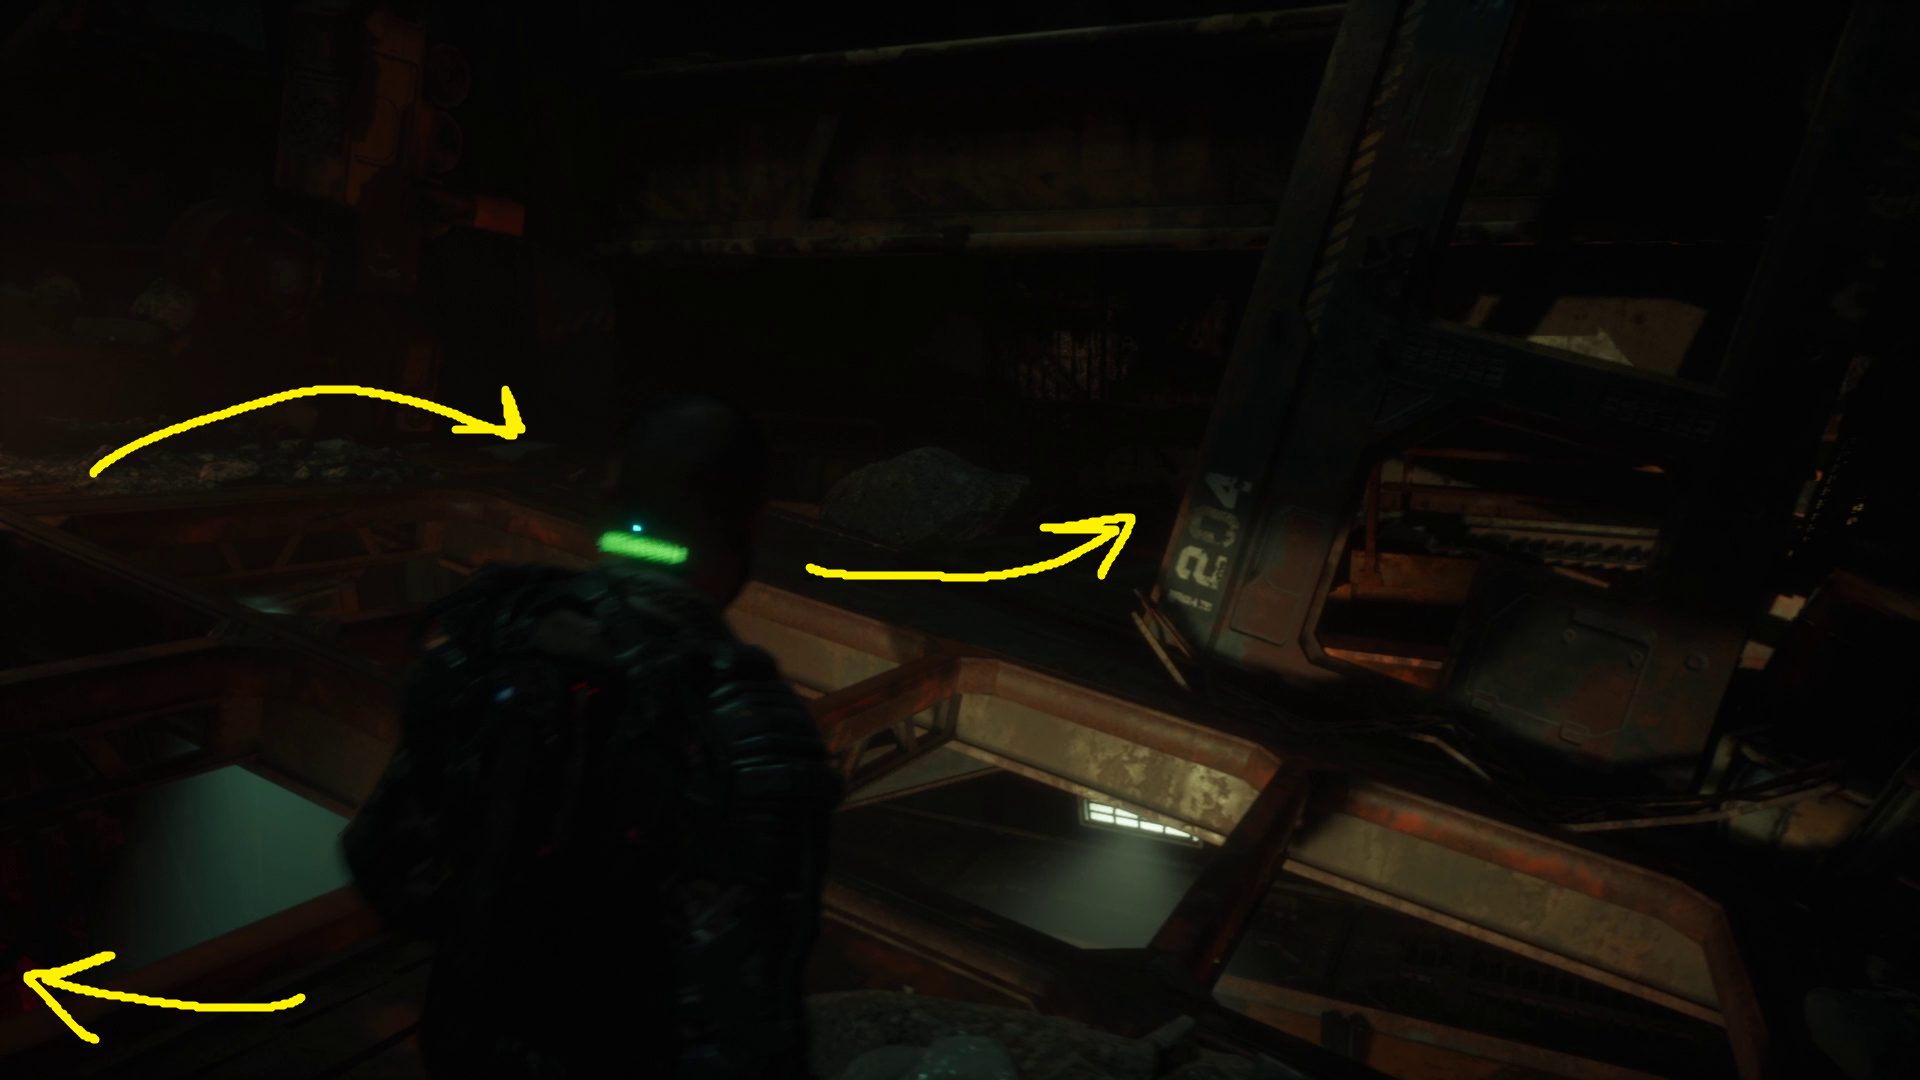
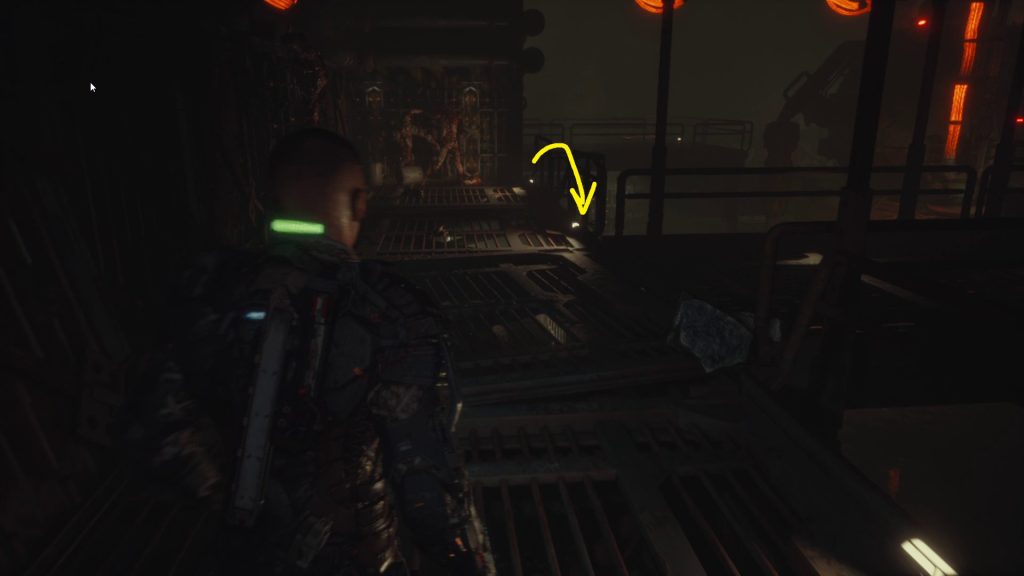
Continue forwards and round the next corner, then you can crouch through a hole ahead to find some loot (1.1). Then go back through the hole and drop down another level by walking off the fallen panel (1.2). Once the light scome back on, go around the holes in the floor to the walkway on the other side (2), and then continue forwards by turning right. Continue following the path, squeezing through the gap and climbing/crouching/vaulting where required — there’s only one way forward.
12
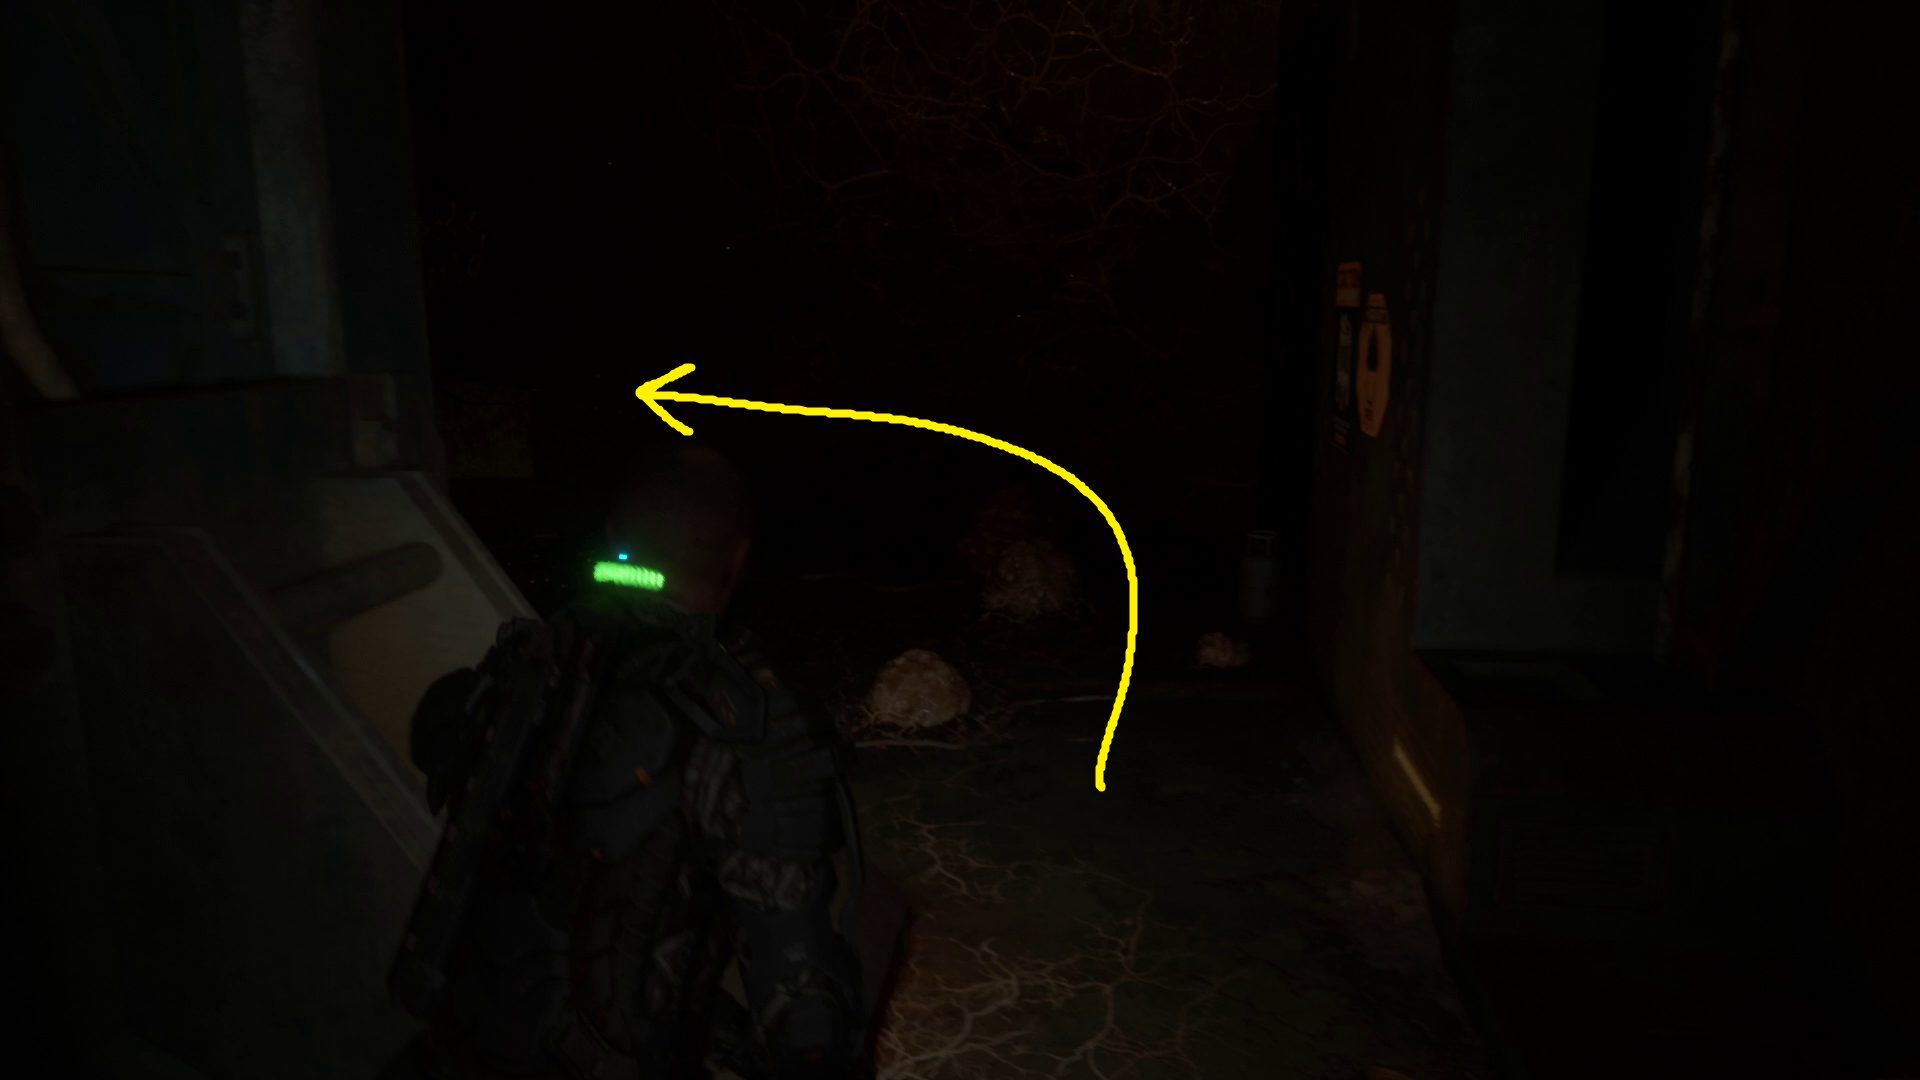
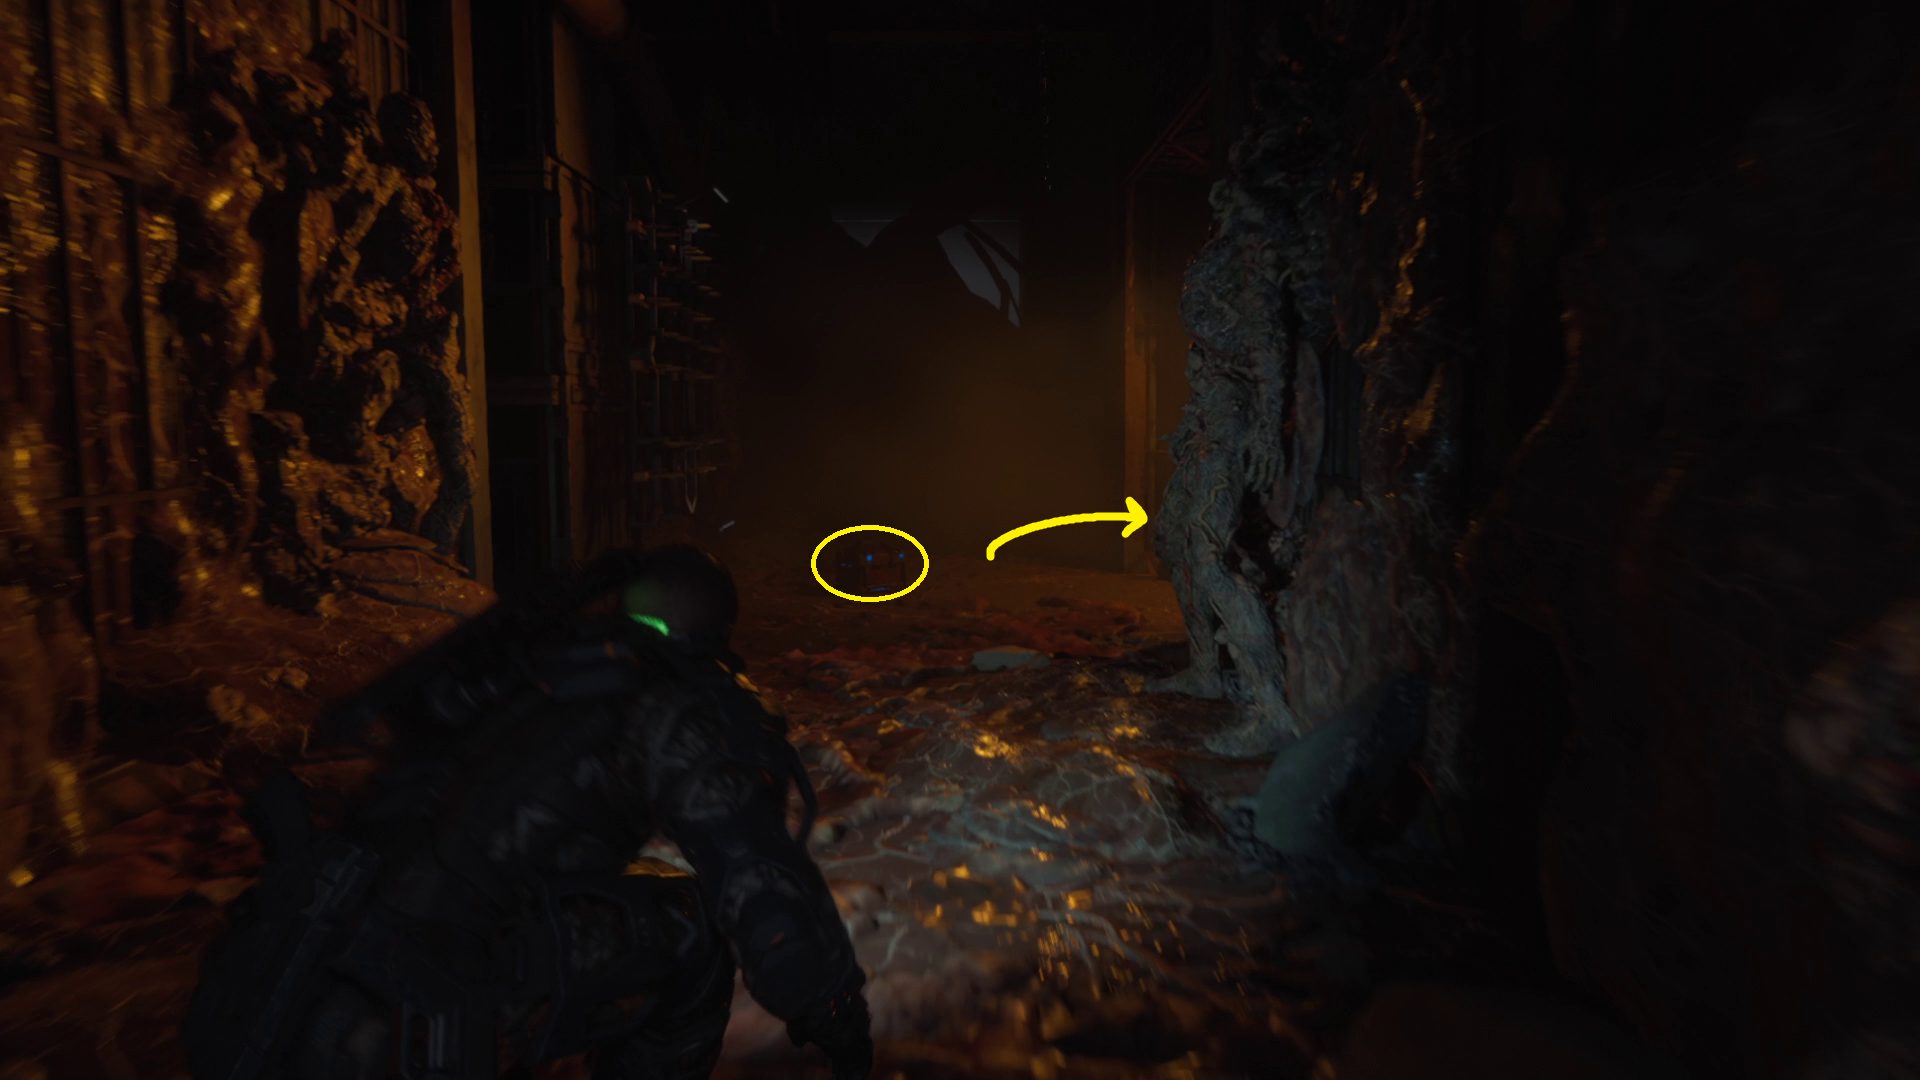
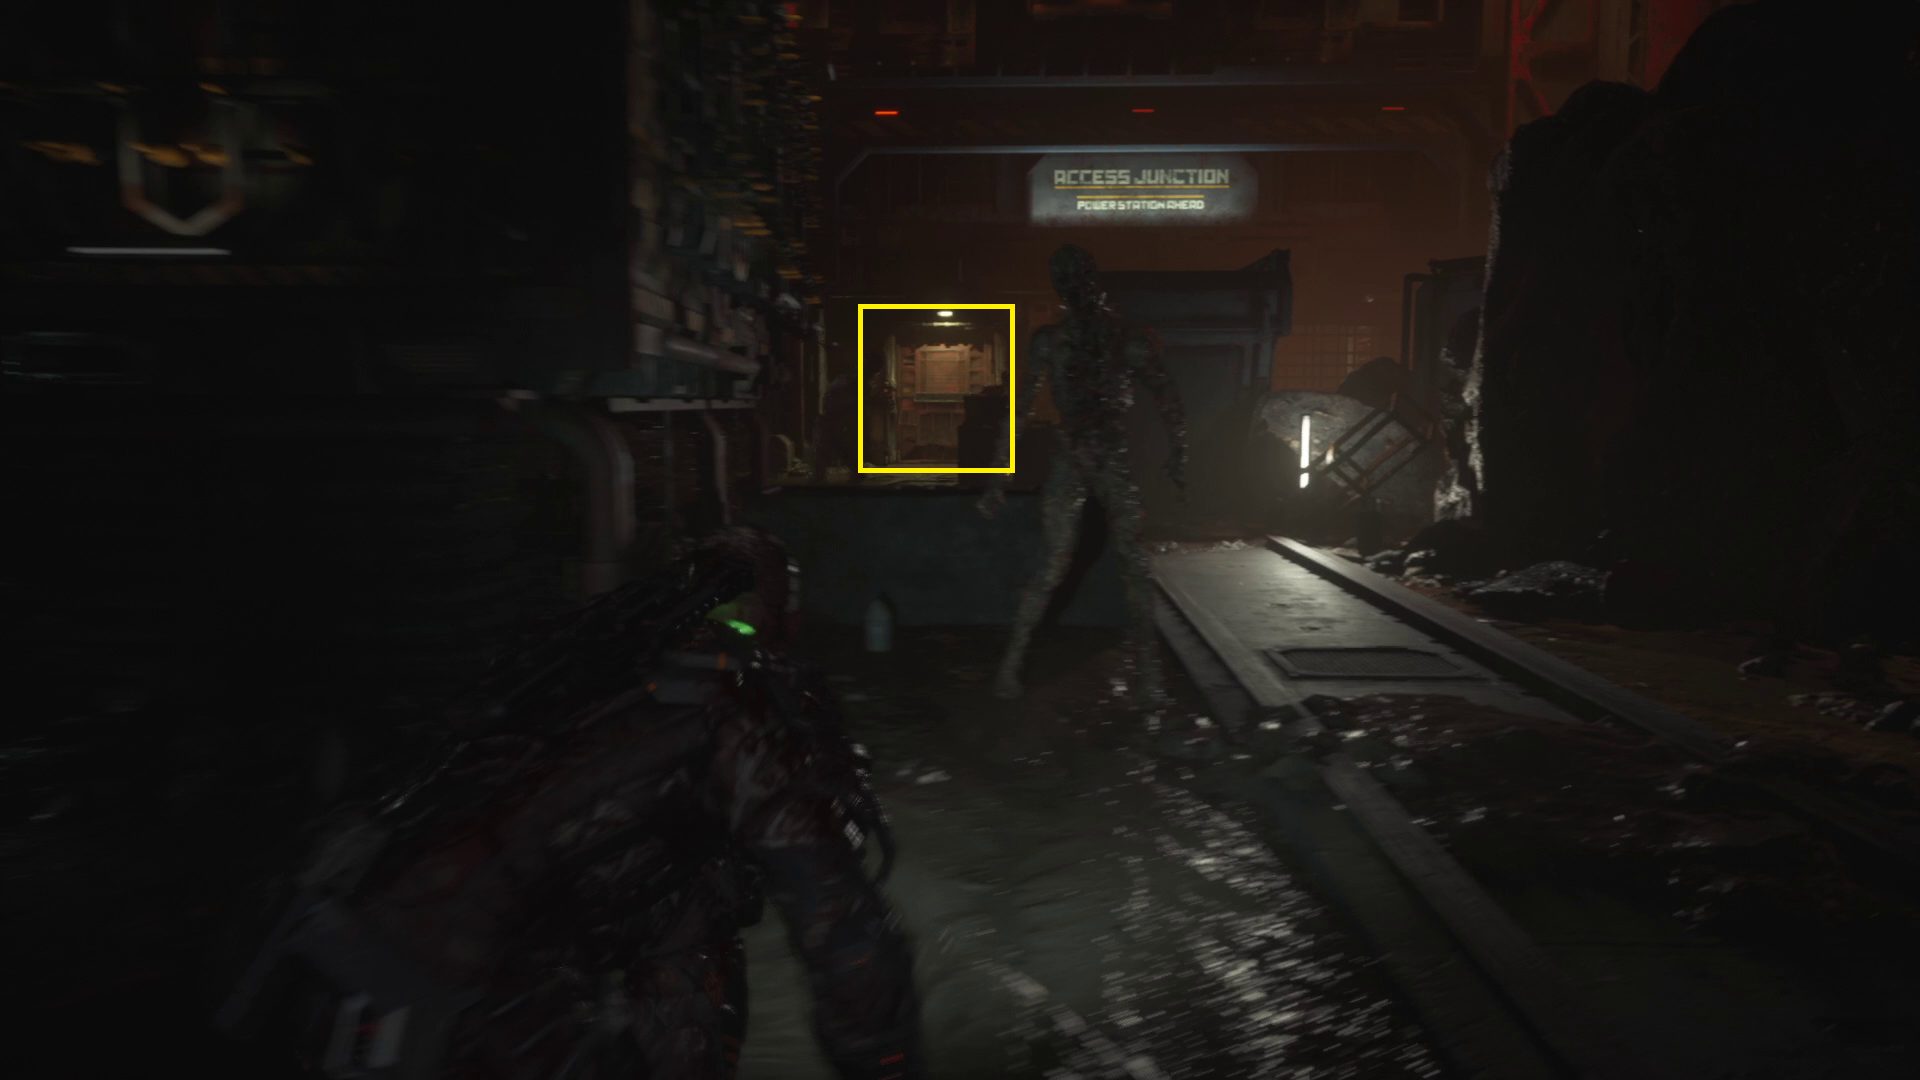
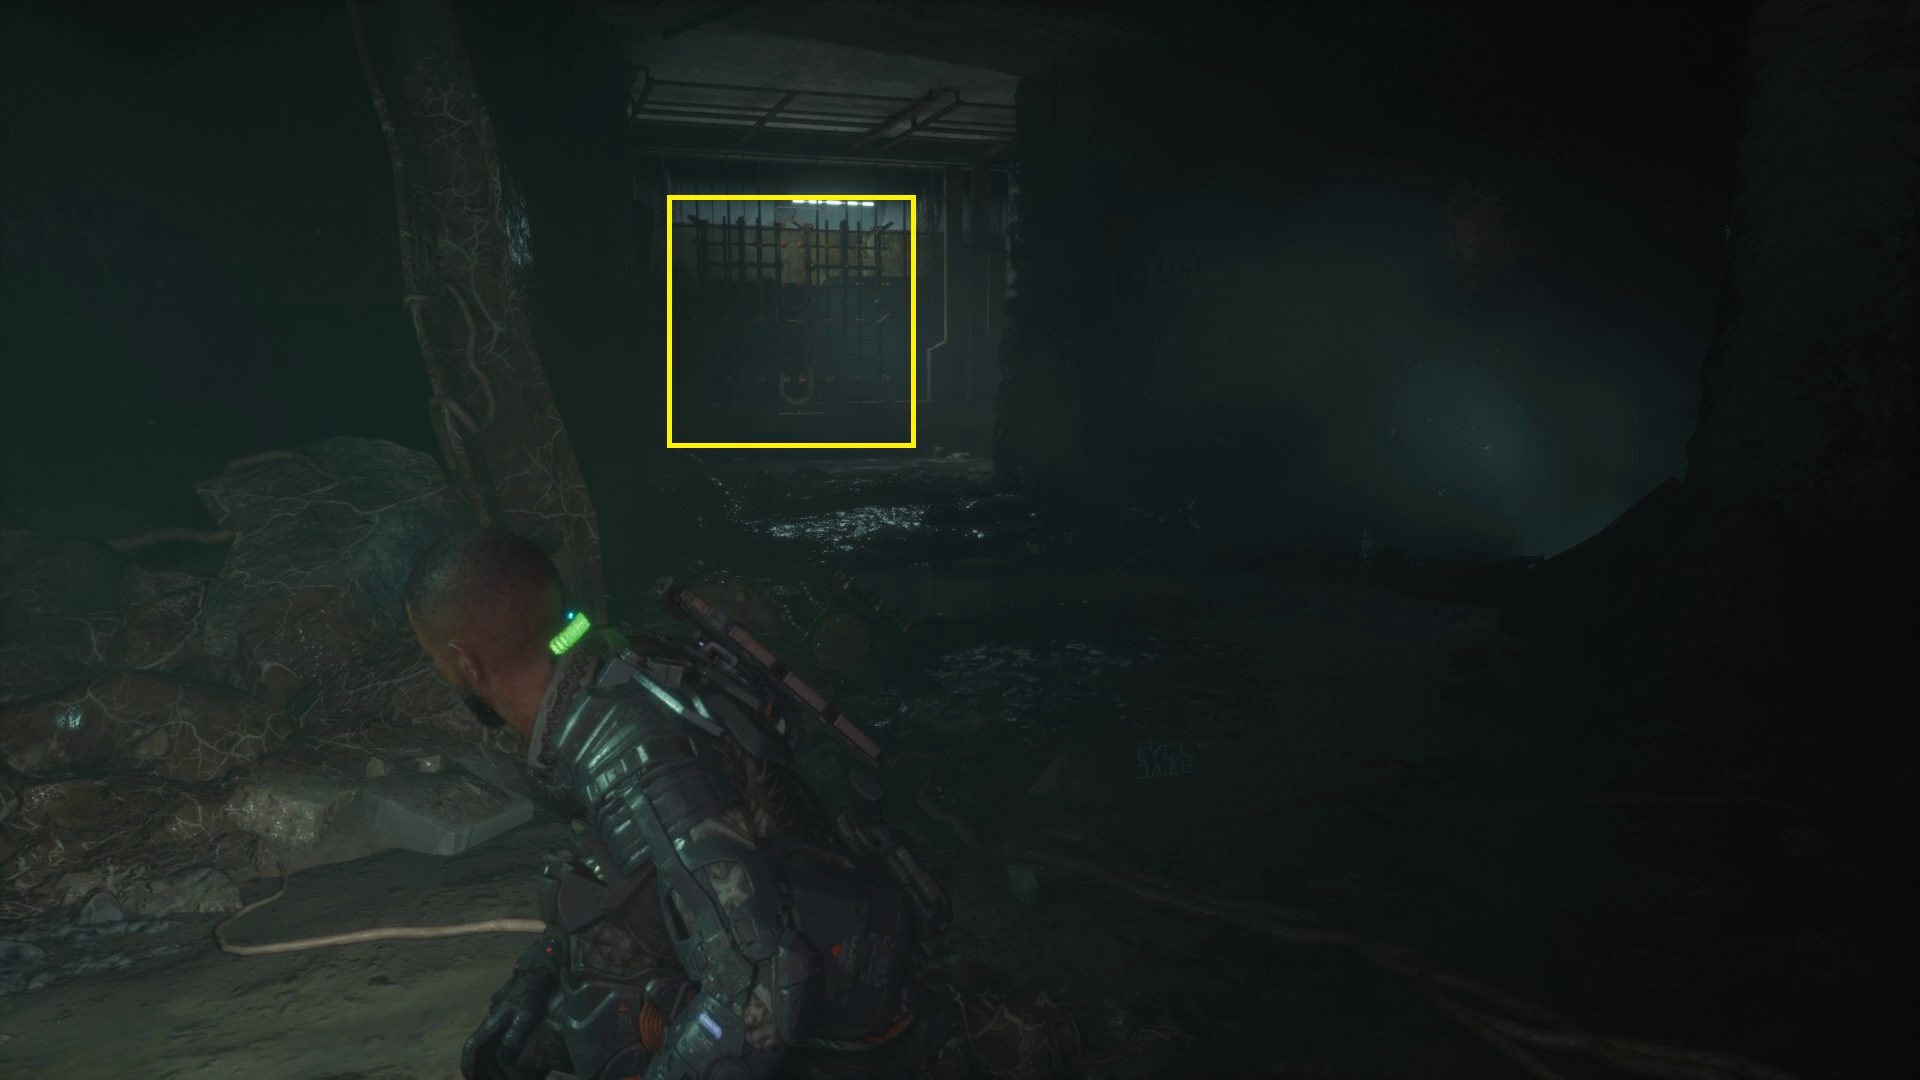
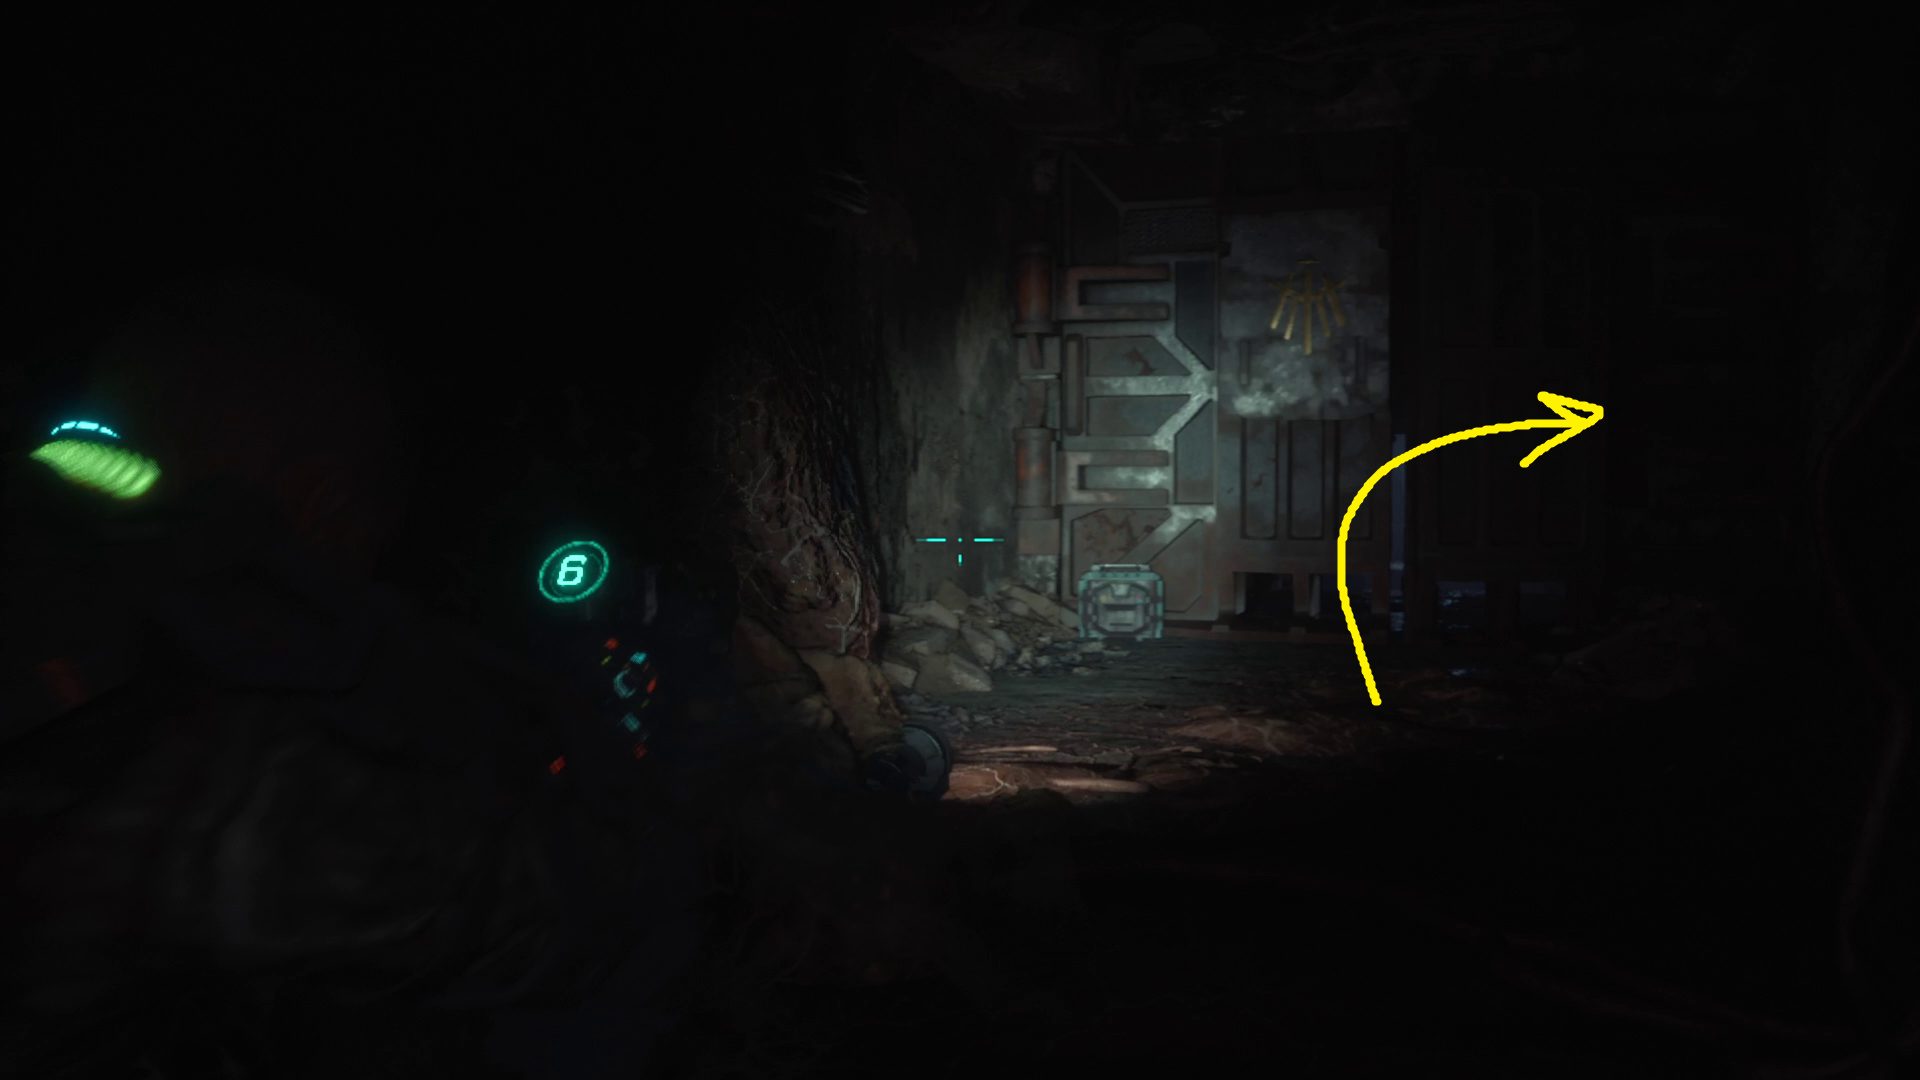
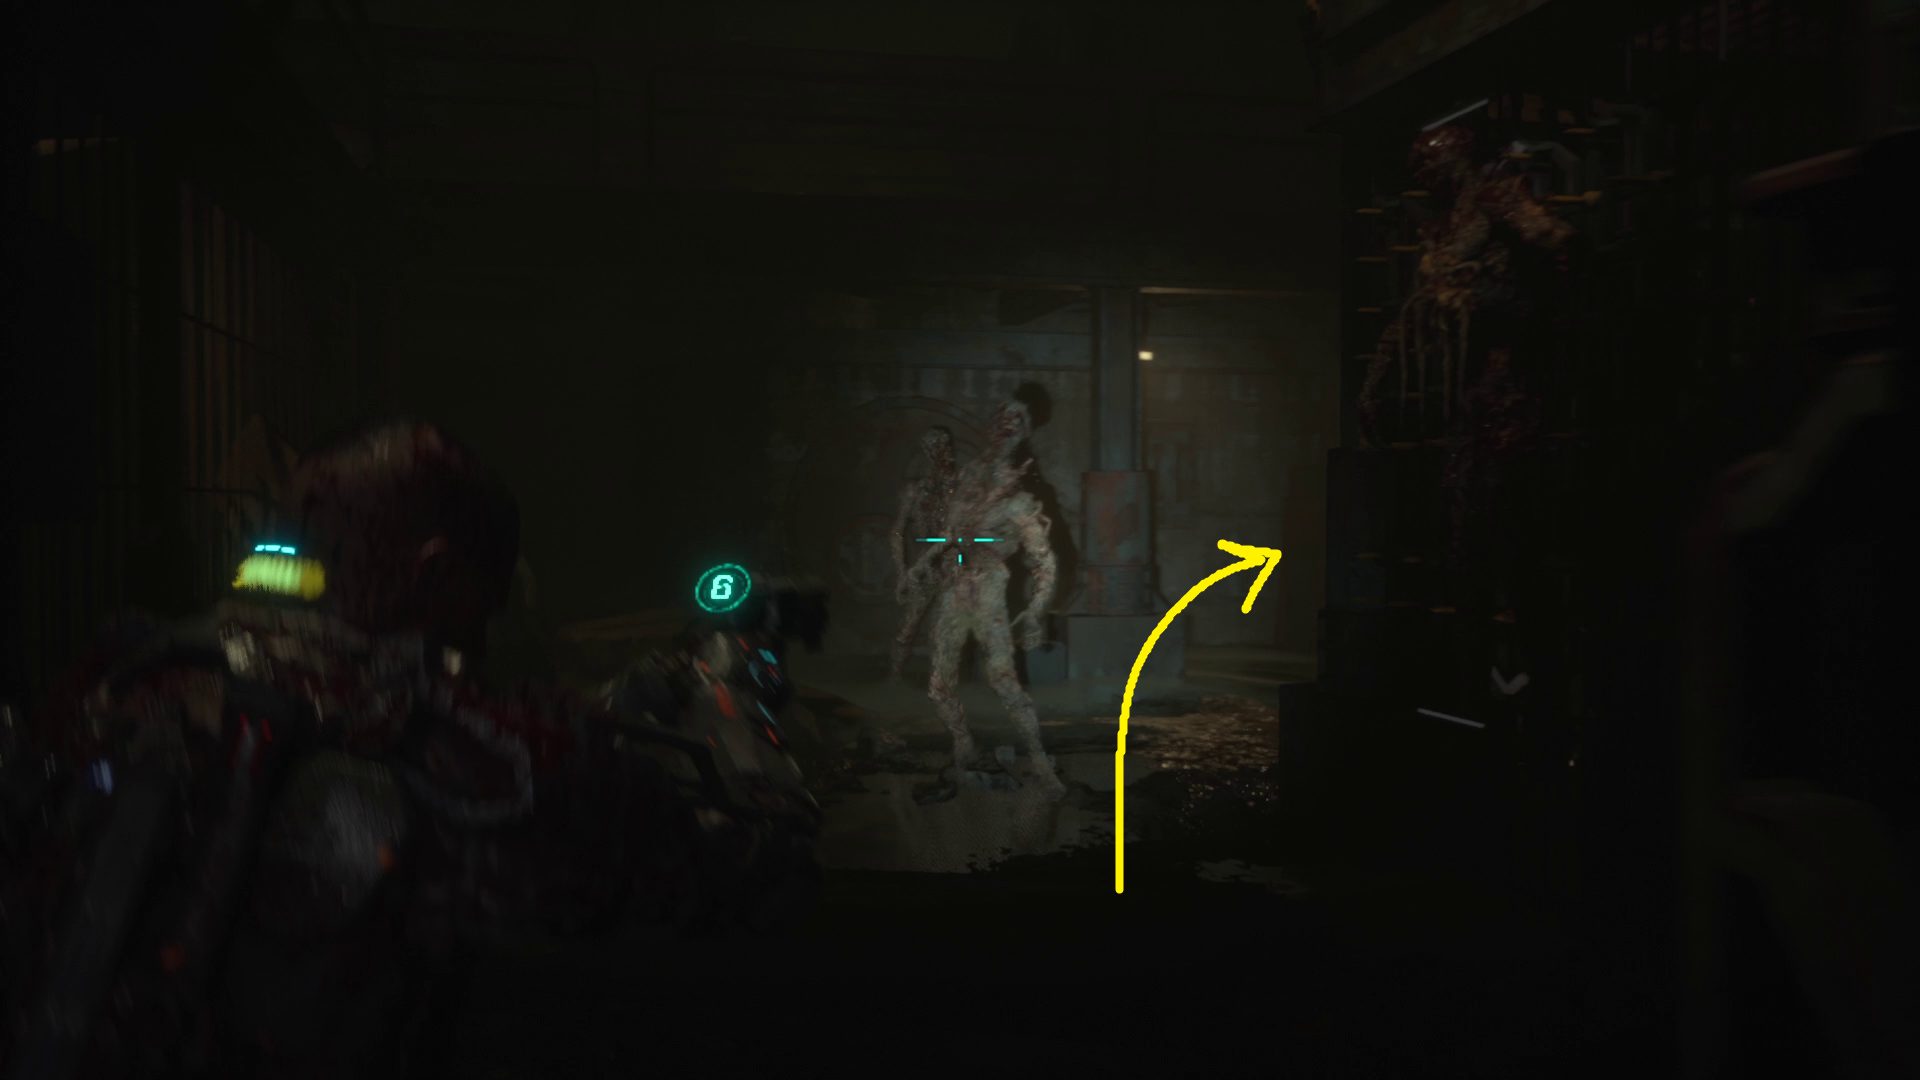
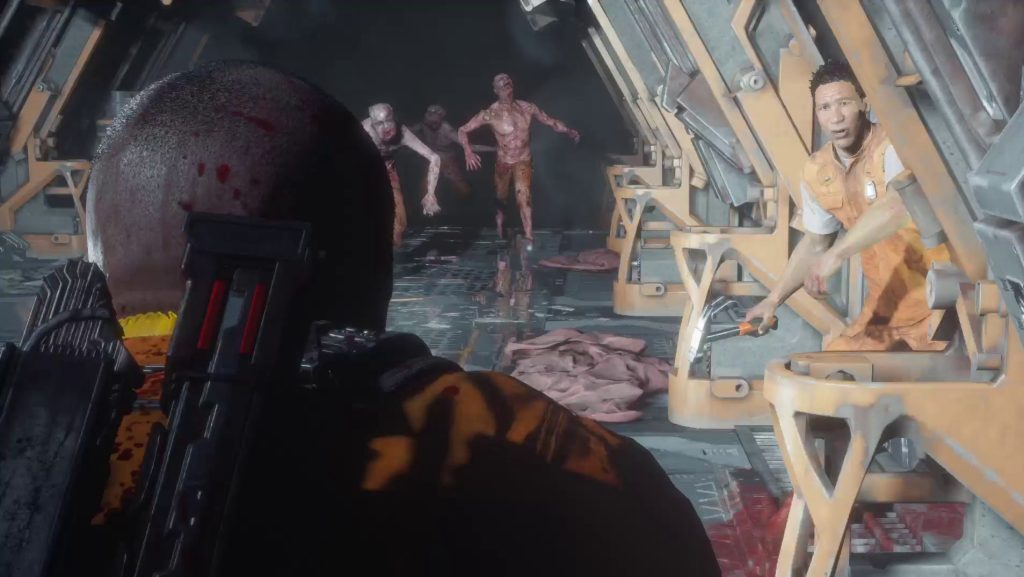
You’ll soon come to a ladder; climb down, then continue forwards and over the girder. Drop down and attempt to cross the girder to Dani, and a cutscene will start. Again, Dani proves herself to be not as cool as Elias — he was able to pull you up when the walkway was collapsing! After a cutscene that teaches you about the blind enemies in this area (let’s call these blind biophages blindophages), you’ll regain control directly in front of one of these blindophages. GRP-toss it into the spikes behind it, then turn left and leave the room (1).
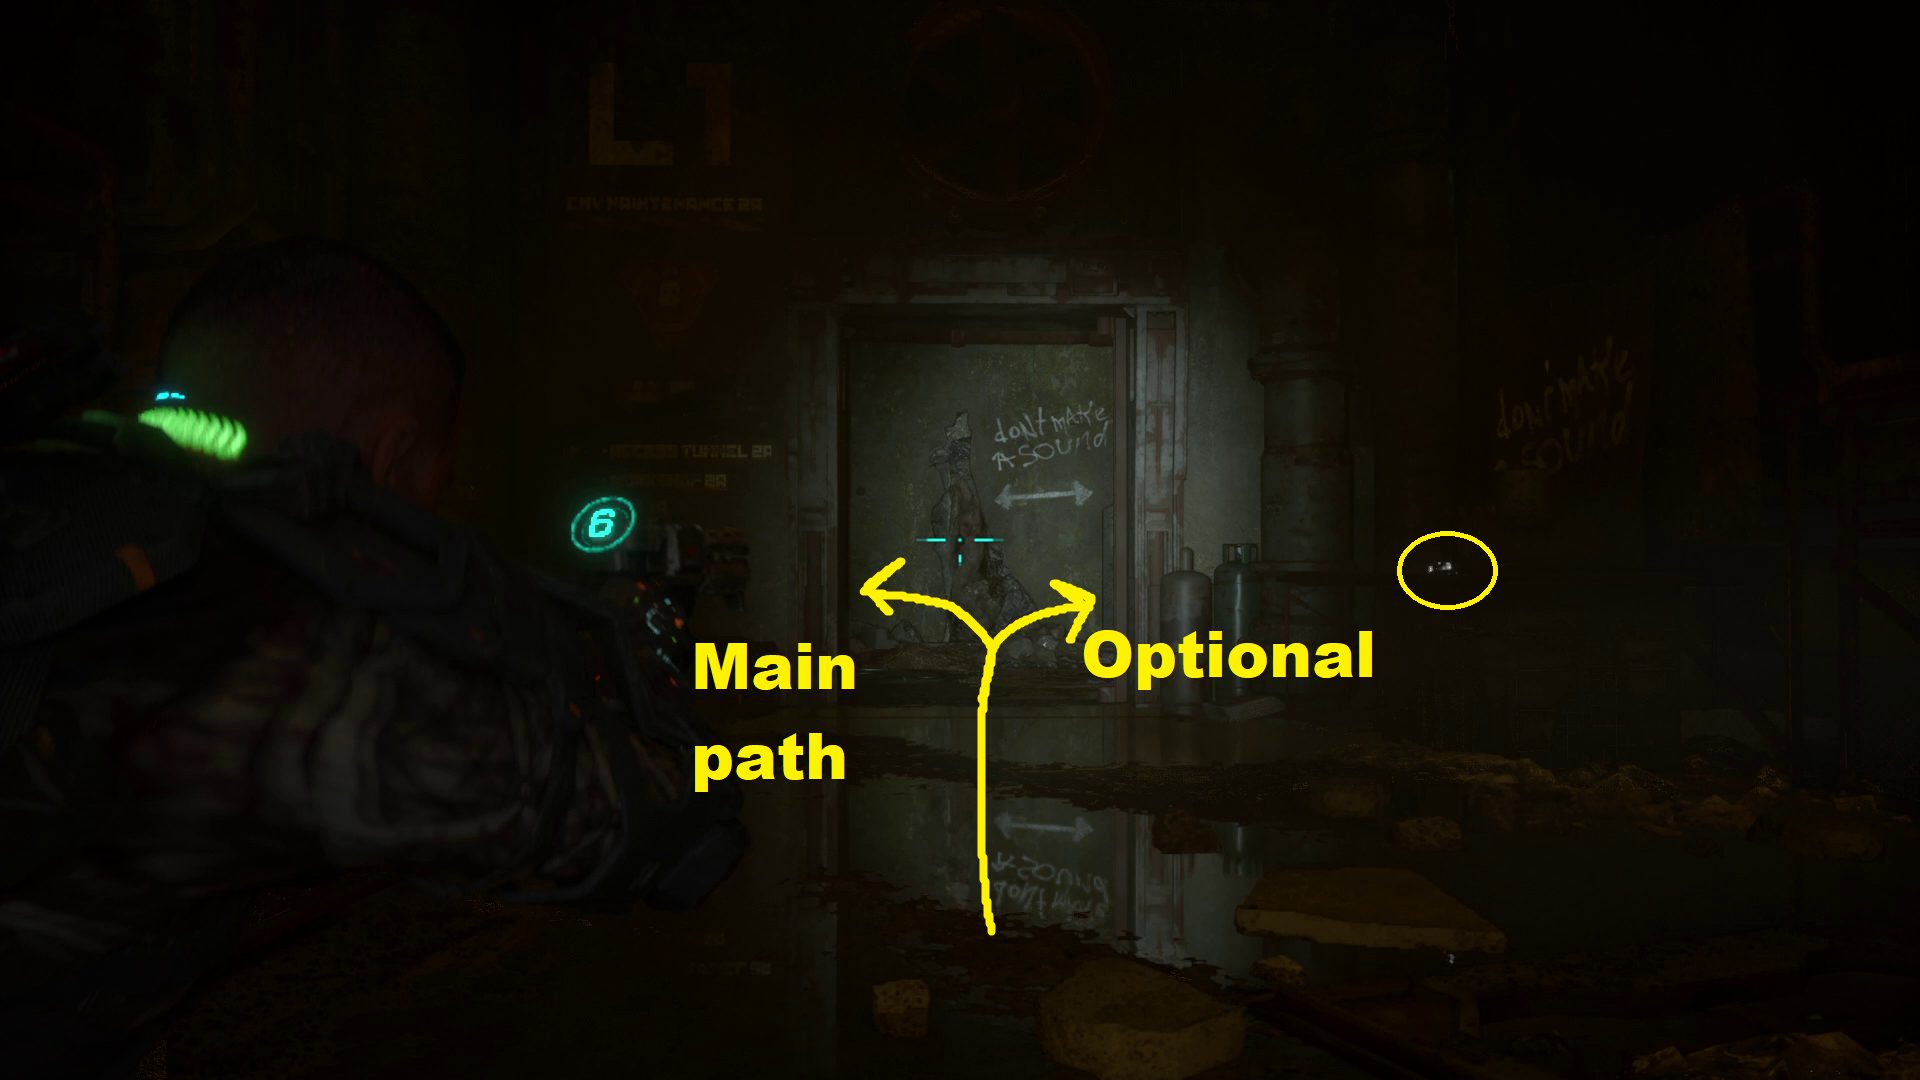
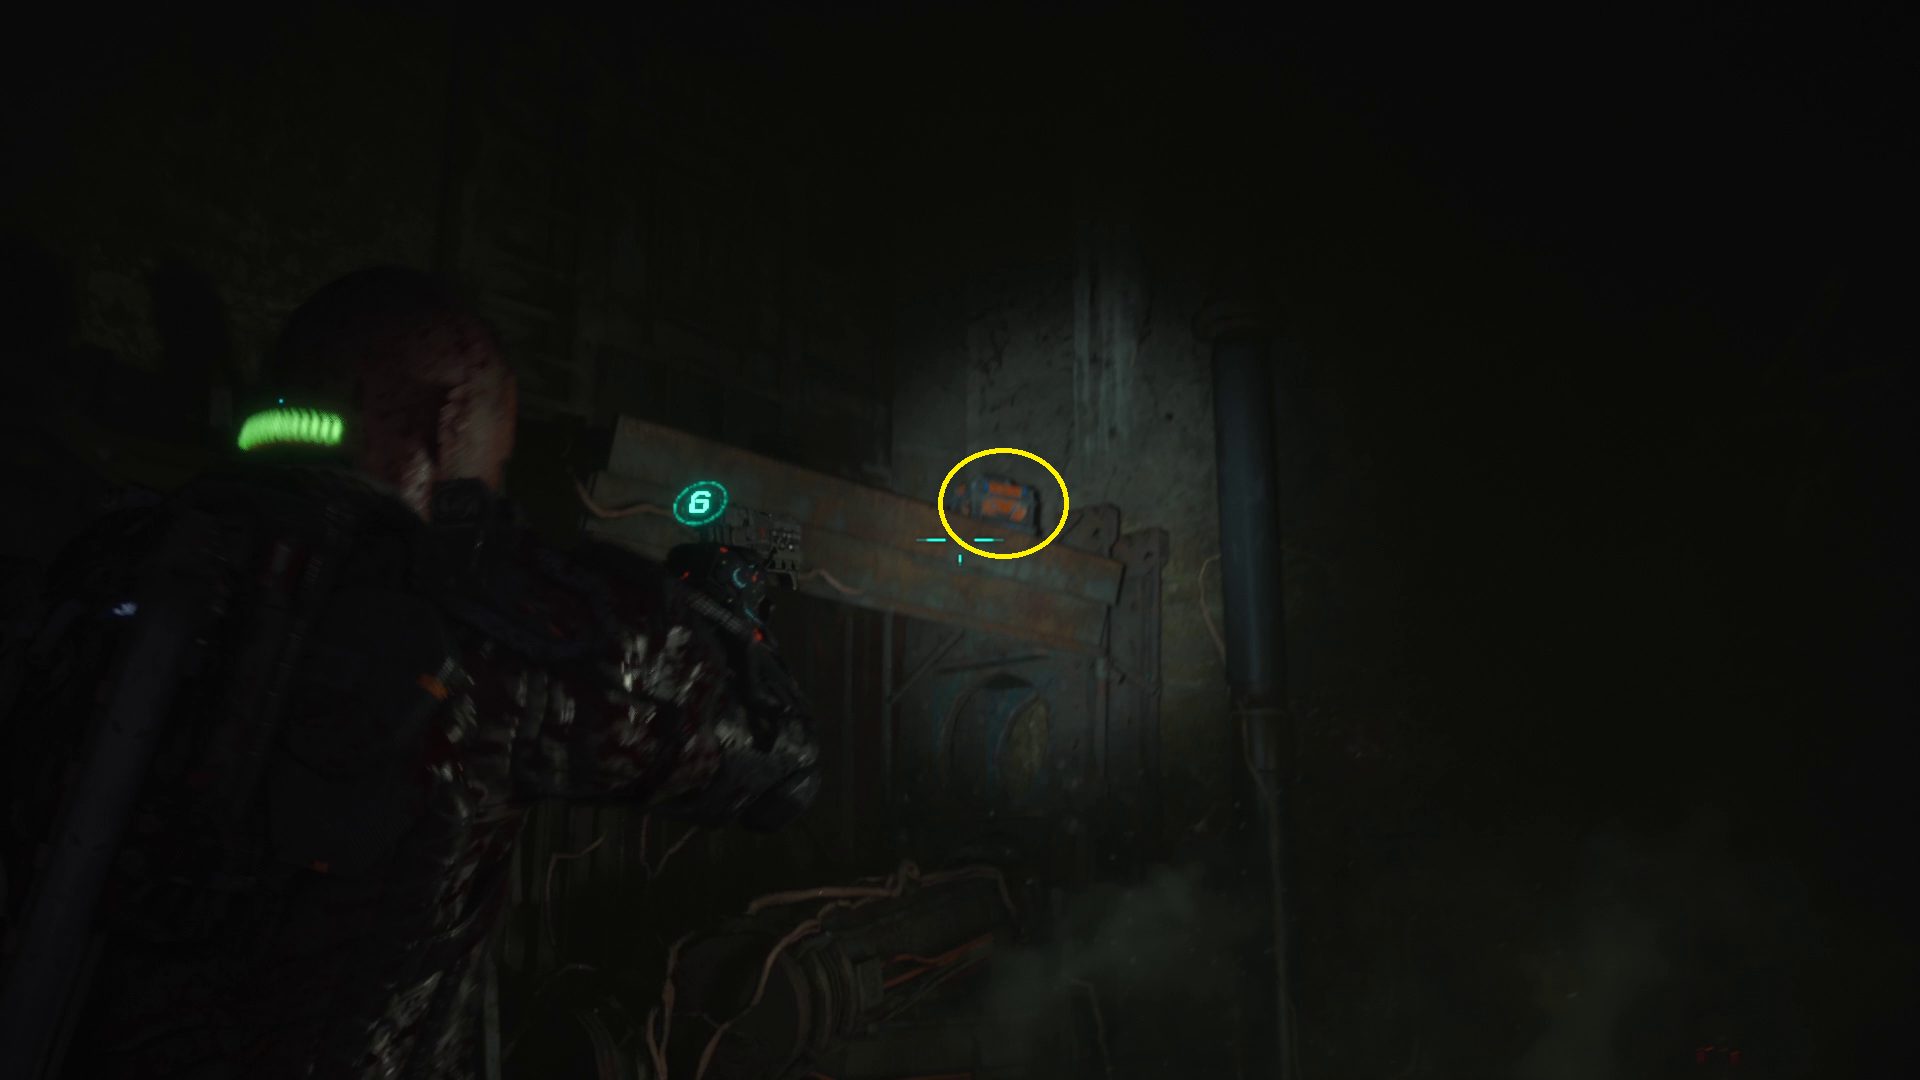
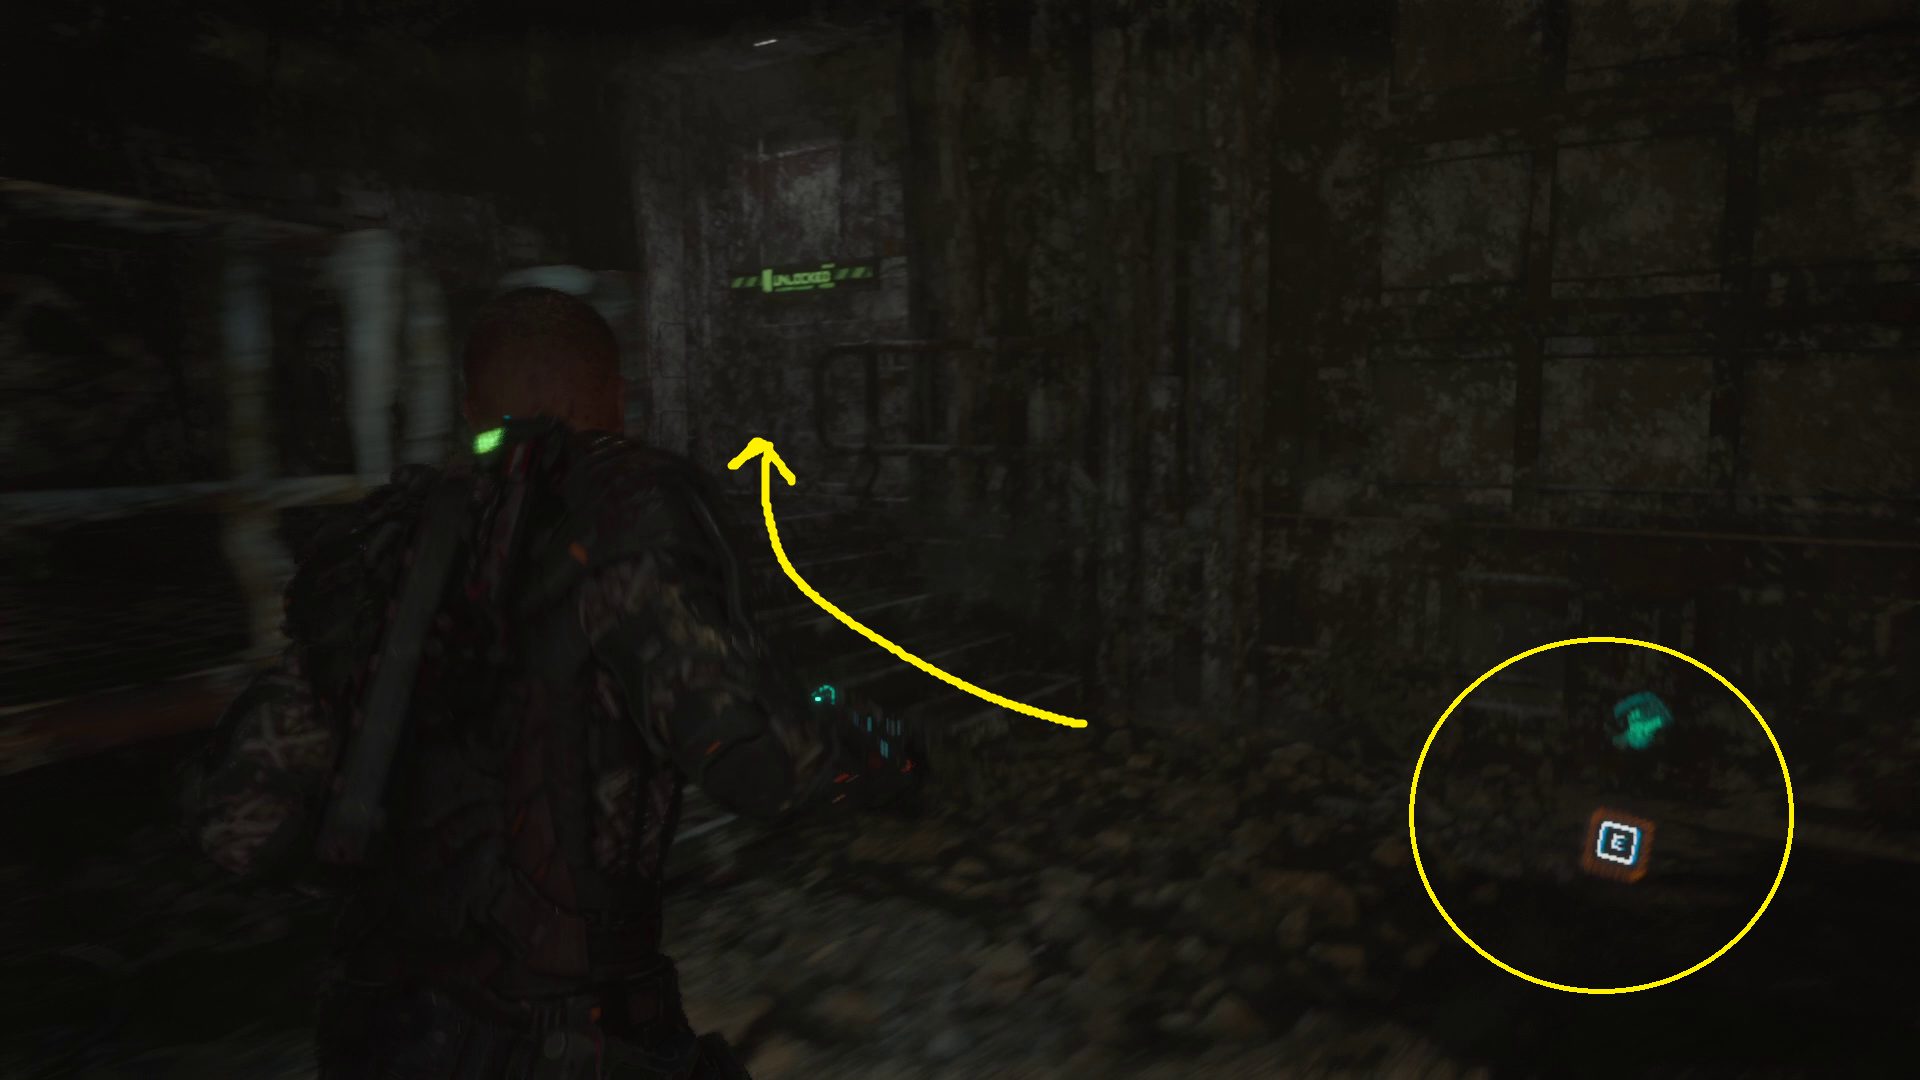
Go down the stairs and then start sneaking so you don’t draw the attention of the enemies in the next area. Drop down and grab the audio Log Dr. Sheehan Yune: Field Log 1 from the table (2), then go through the doorway. Turning right will take you to an optional area, while the main path is to the left.
12
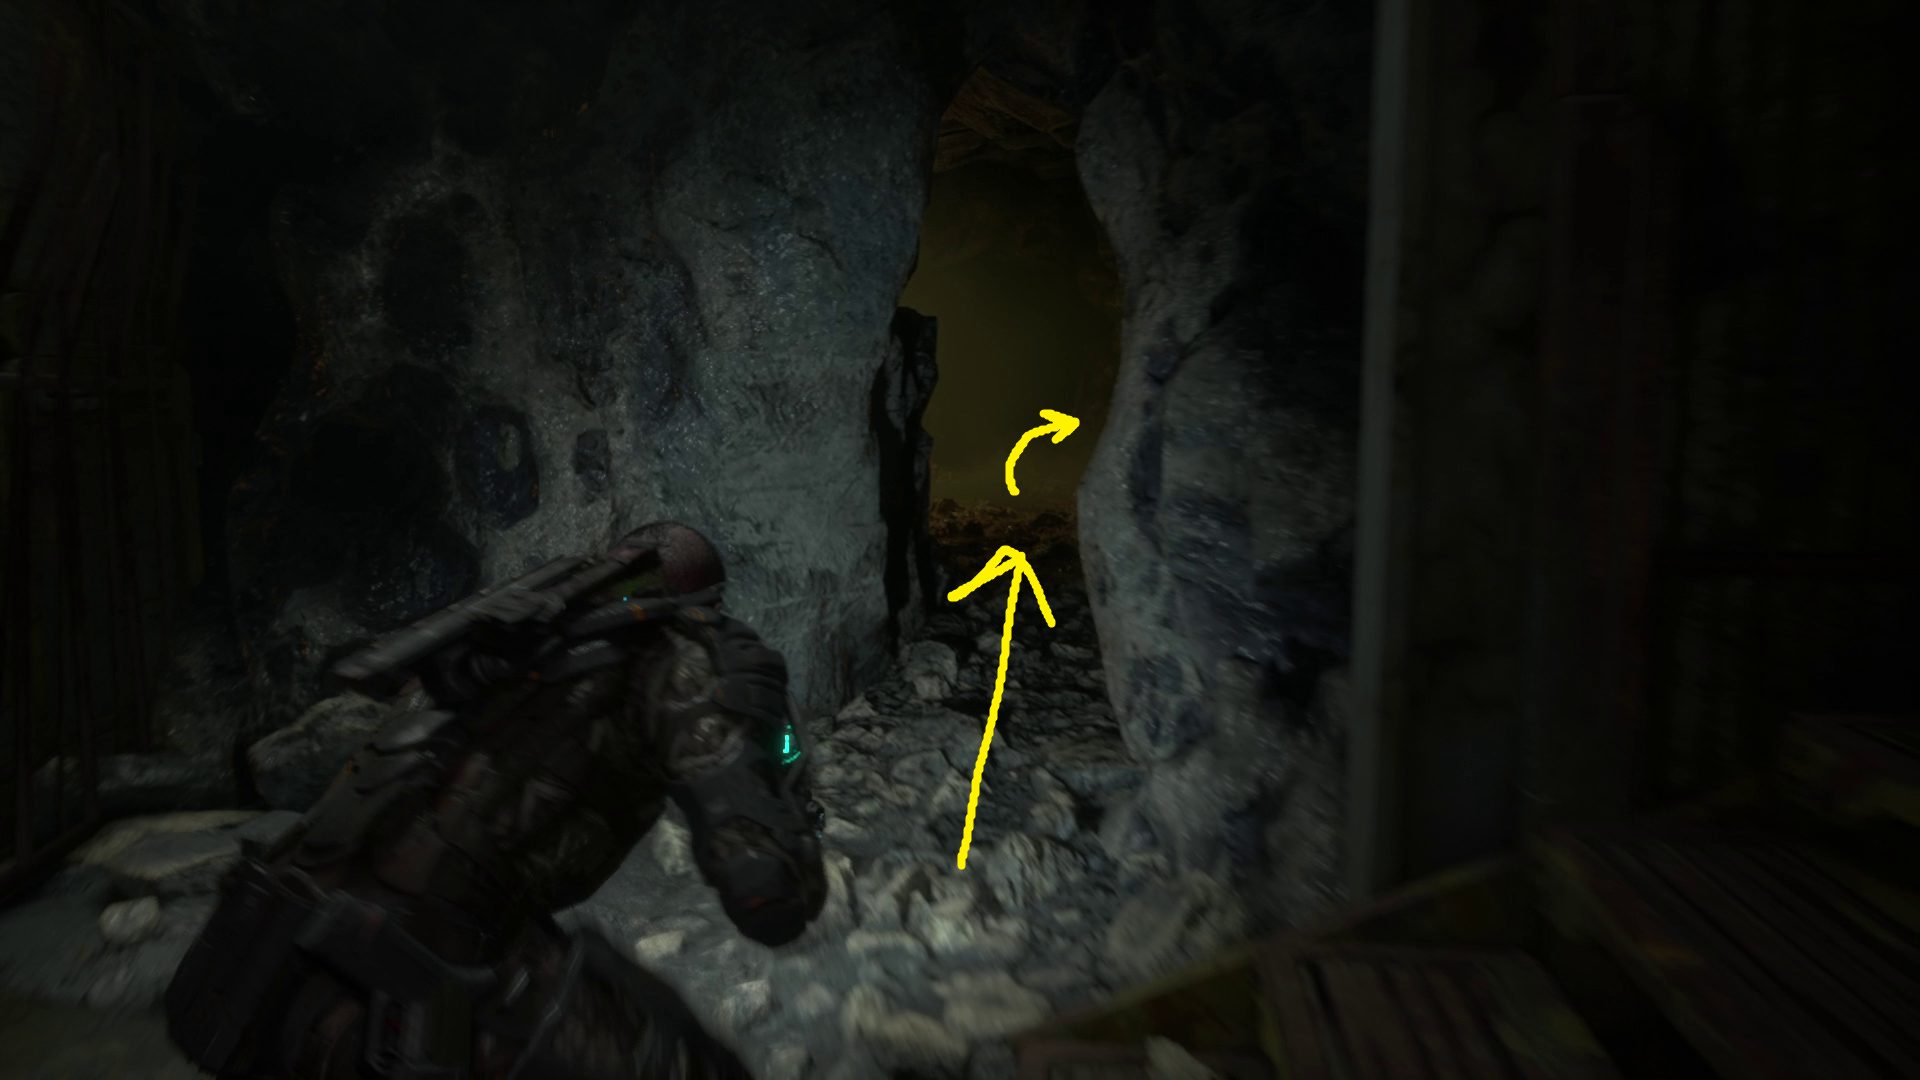
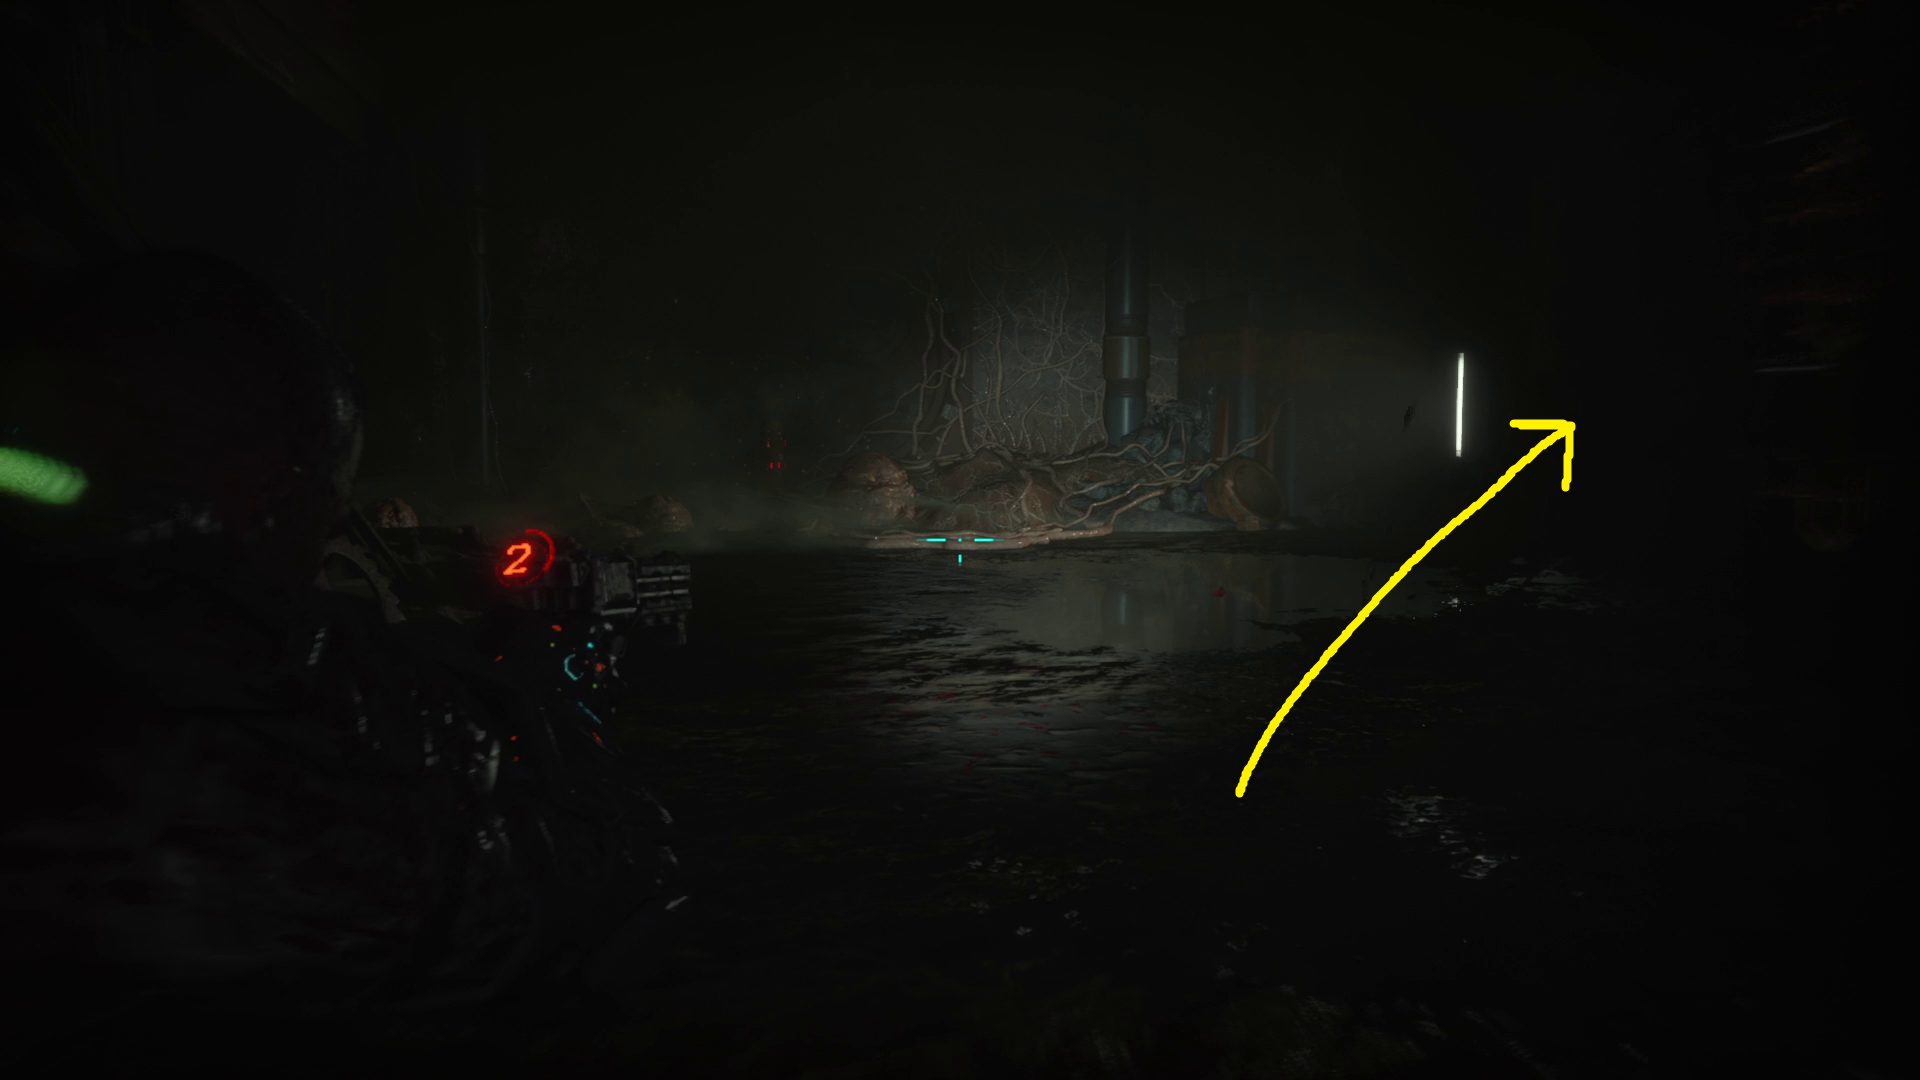
Optional Path: After a few turns, you’ll come to a gap in the rocks (1). Squeeze through — you may need to wait for the enemy that appears to totter out of your way before exiting — crouch again if you don’t want to fight the two blindophages that will appear here if you make noise. Turn right and continue sneaking forwards (2), making sure you don’t bump into the dudes chilling in the walls on both sides of you. You’ll squeeze through another gap, and then turn left to move through a hole you have to crouch through (you should be crouching anyway).
12
A blindophage will come out of its wall cubby in front of you; it’s easy to Shiv it once you get close, which is worth doing if your inventory isn’t full (like all foes, it will drop loot when you stomp its corpse). Throughout this level, you’ll encounter these blind enemies. If you’re crouching and don’t touch them, they won’t be able to find you. You can Shiv and Stomp to your heart’s content, and they won’t hear you. Firing your gun or walking/running however will draw them. Except where noted, you should usually Shiv these enemies for the credits/health/ammo — it’s easier than avoiding them anyway.
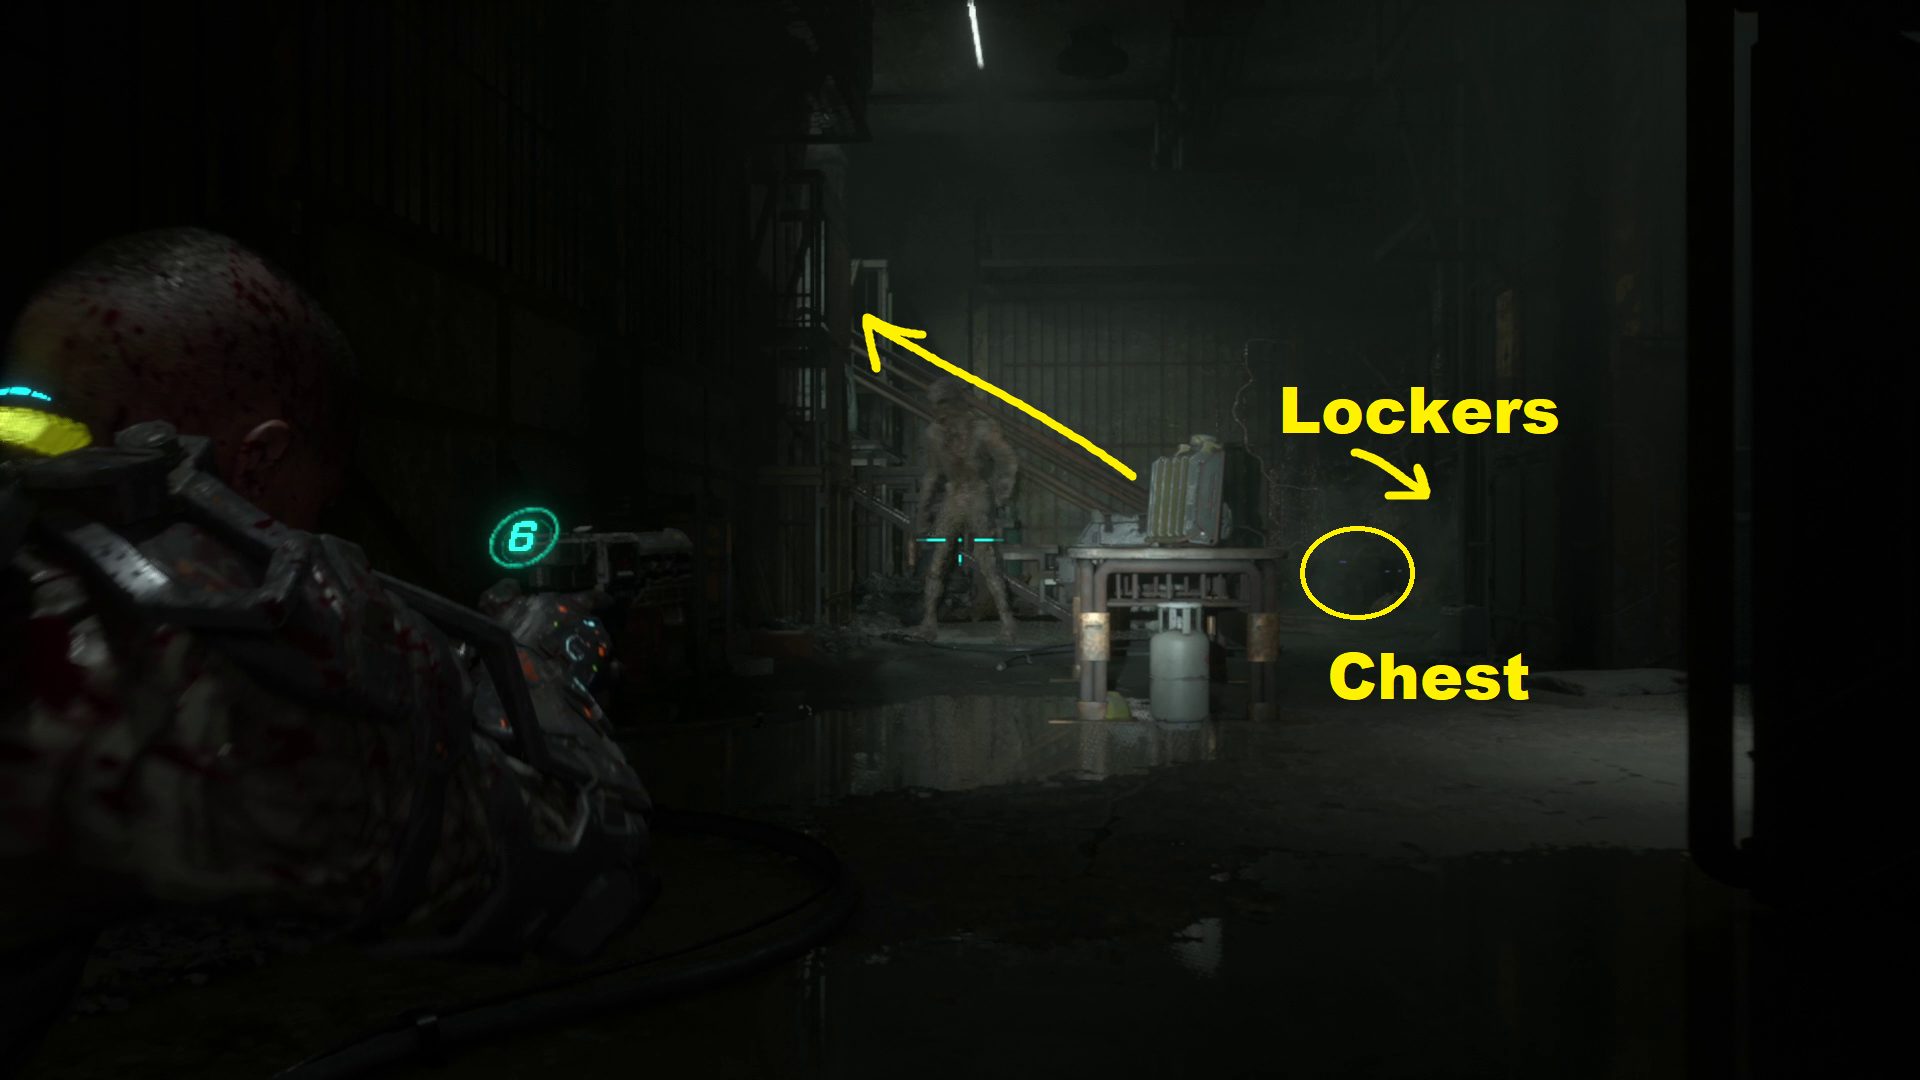
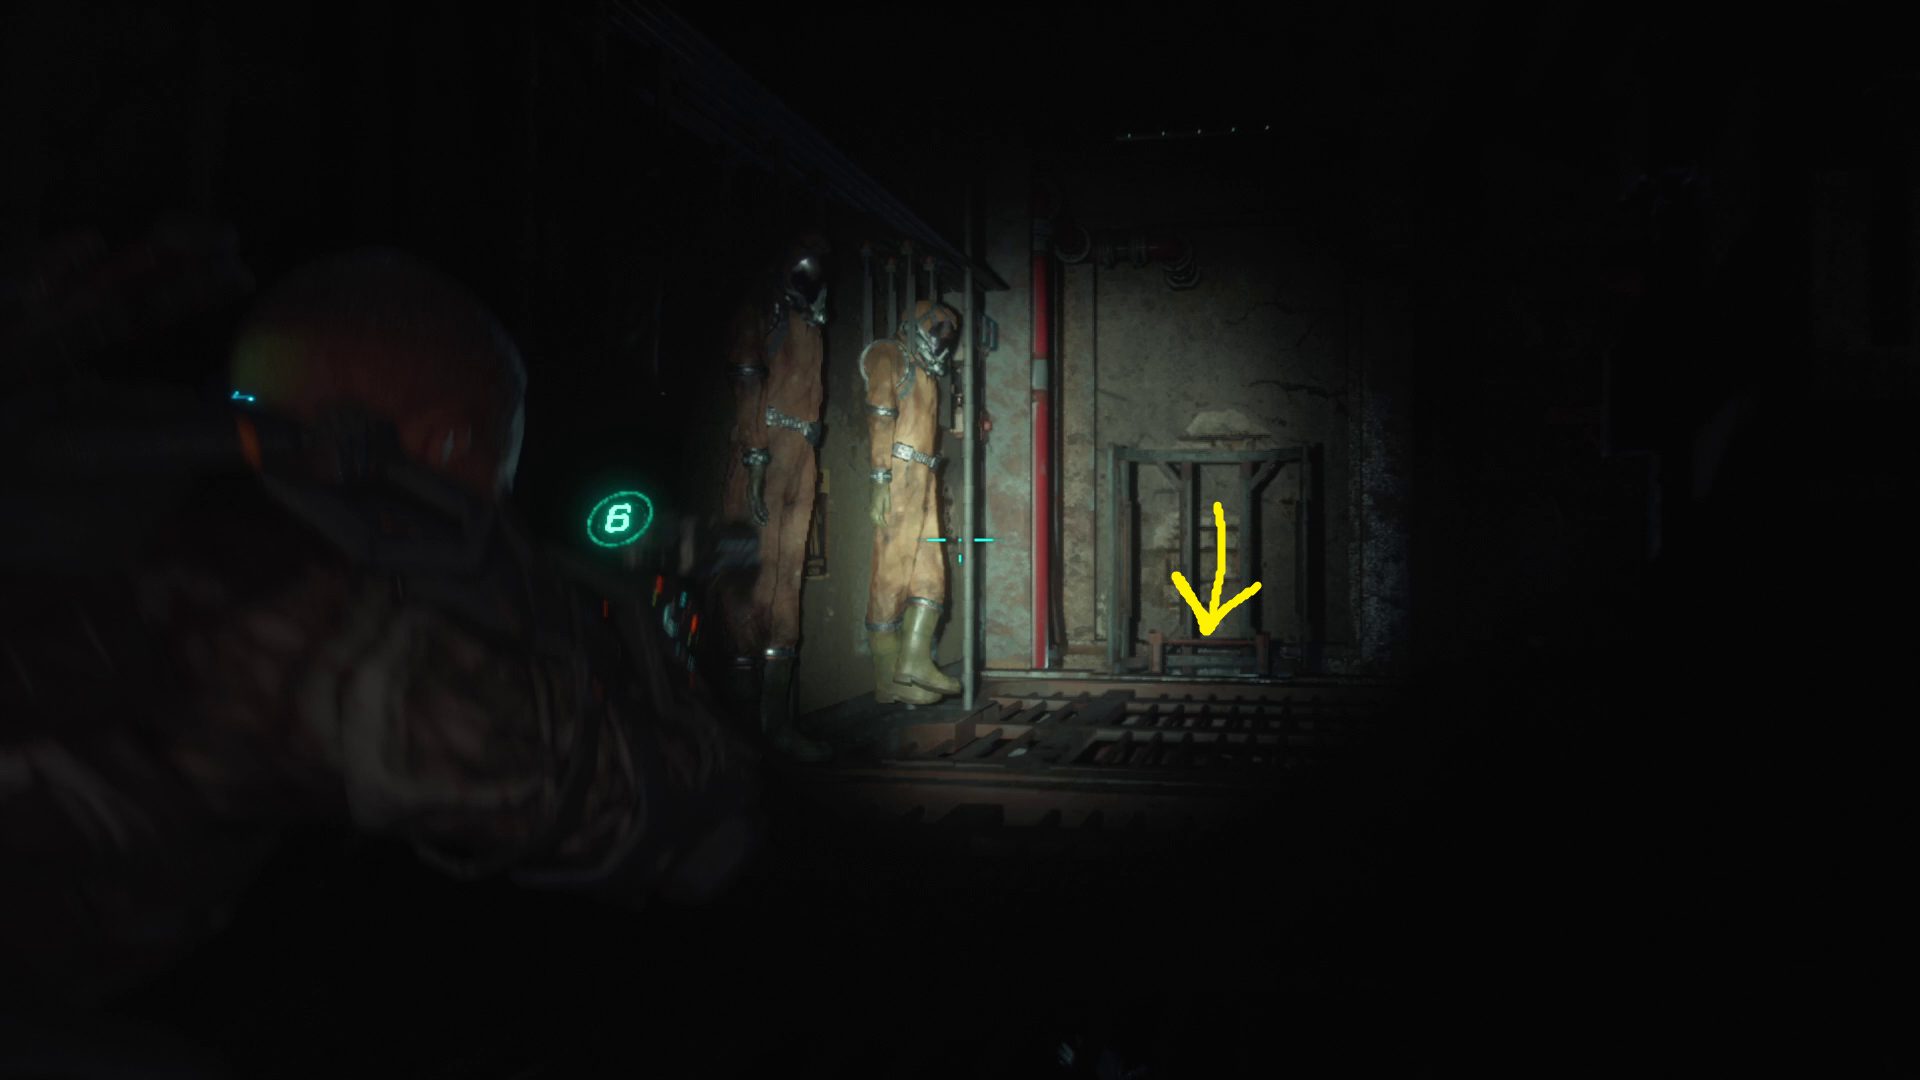
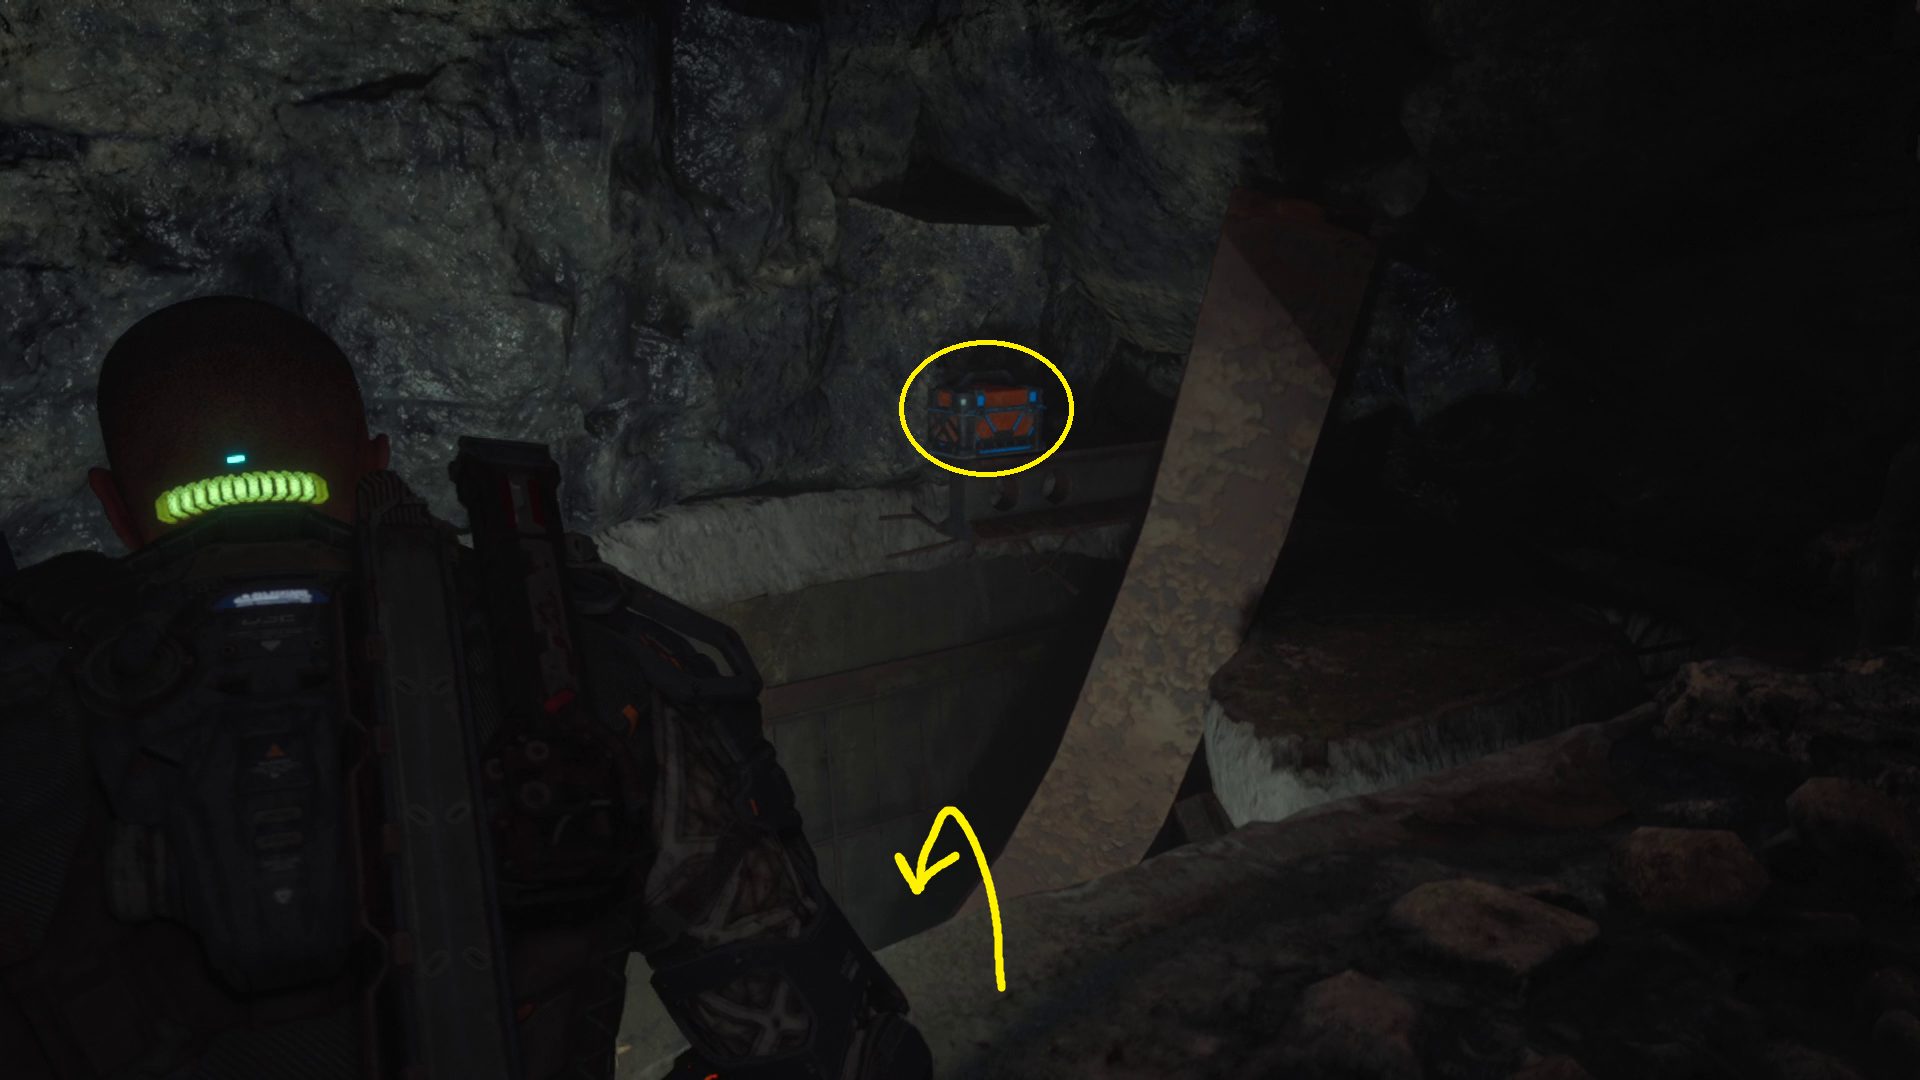
Continue forwards through the doorway and turn right, where another blindophage will appear — make your way up the stairs and through the door after looting the chest and the lockers across from them (1). You’ll be back near where you started, so just go forward, drop down, and then turn right to head through the same doorway as before, this time turning left afterwards. Make sure you’re once again crouching through this section, or the enemies on the wall will wake up. Don’t miss the stompable box, then turn right and go down the stairs (2).
12
Go straight from the stairs across the room and up another set of stairs, then turn right. Vault over the twisted metal on the left (1), then attack the enemies pictured below — it doesn’t seem possible to sneak past them without bumping ’em and waking them up. If you want, you can run back the way you came after waking them up, vaulting back over the metal and then fighting near the spikes on the wall — this makes for easier GRP or melee kills. Once the two enemies are dealt with, head through the narrow passage and then go to the right side of the next area to find some loot (2.1). Make sure you grab the Tactical Pistol Schematic from the table, and watch out for the slug in the right-most locker. Then continue forward on the main path (2.2).
12
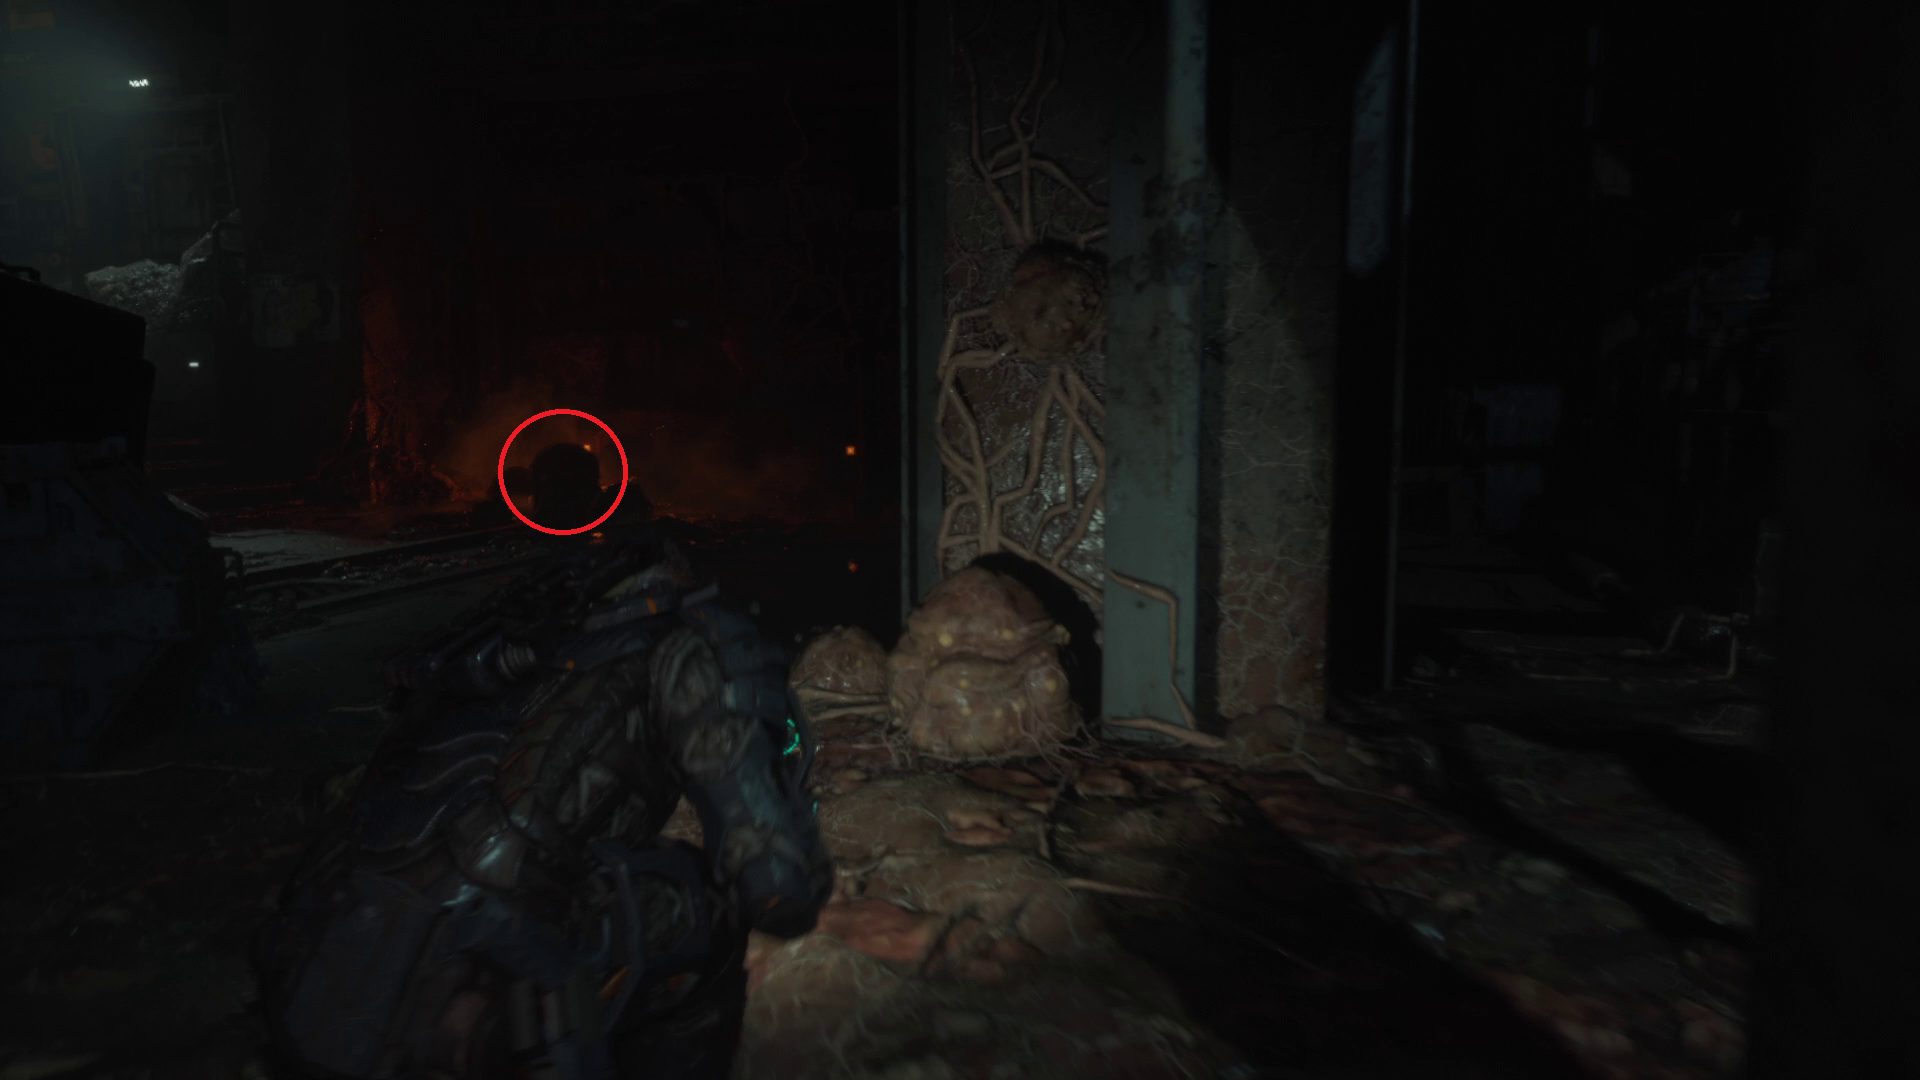
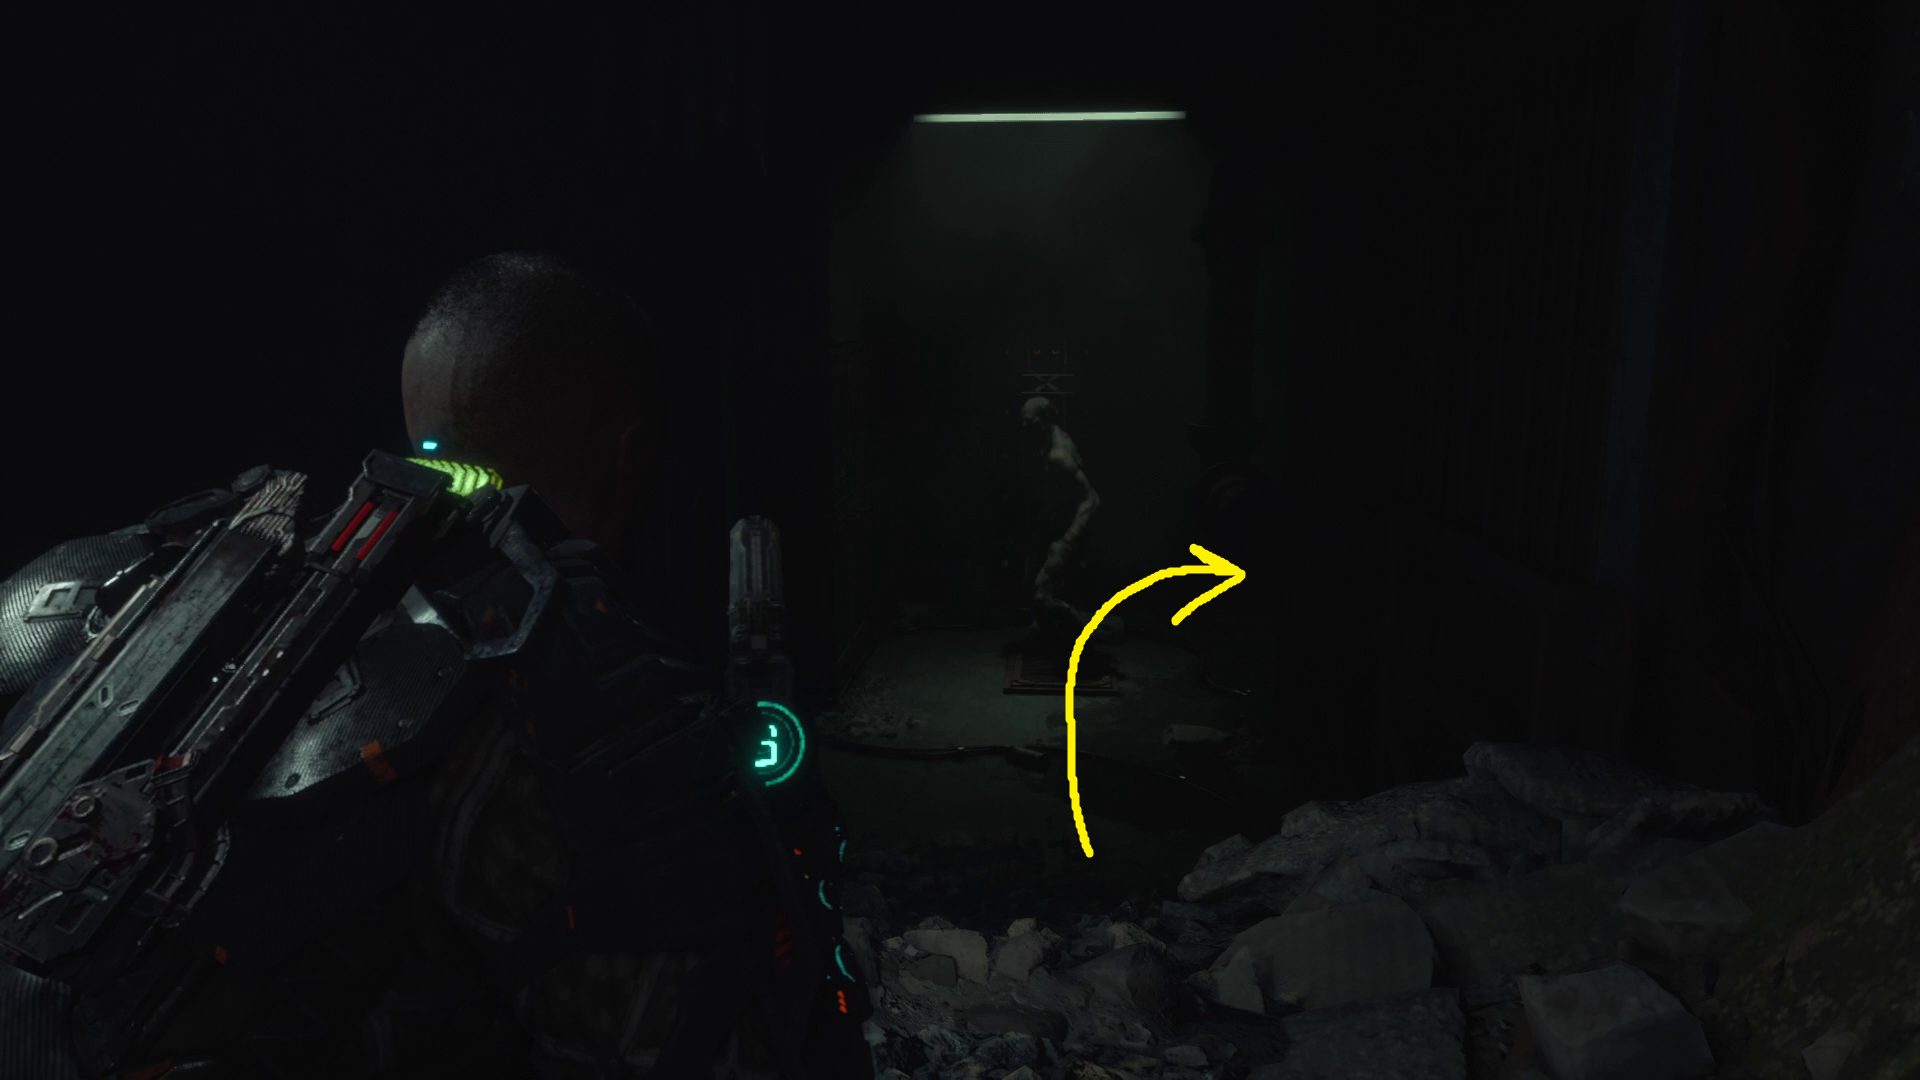
After going through the doorway, turn left and you’ll see a ladder near the far wall (1). Before going down it, look on the shelves to your right — on the top of them is a box you can GRP-pull down and break. Then loot the lockers on the opposite wall, to the right of the ladder; that done, you can go ahead and climb down the ladder. Don’t be scared when you turn around at the bottom and find yourself face-to-face with a blindophage — it won’t hurt ya. You have a choice to make now — one of the head-and-tentacle enemies will spring out of its cocoon just ahead (2), but shooting it will obviously attract the blindophage. You can either fight the blindophage first, or shoot the cocoon and then deal with the other foe.
12
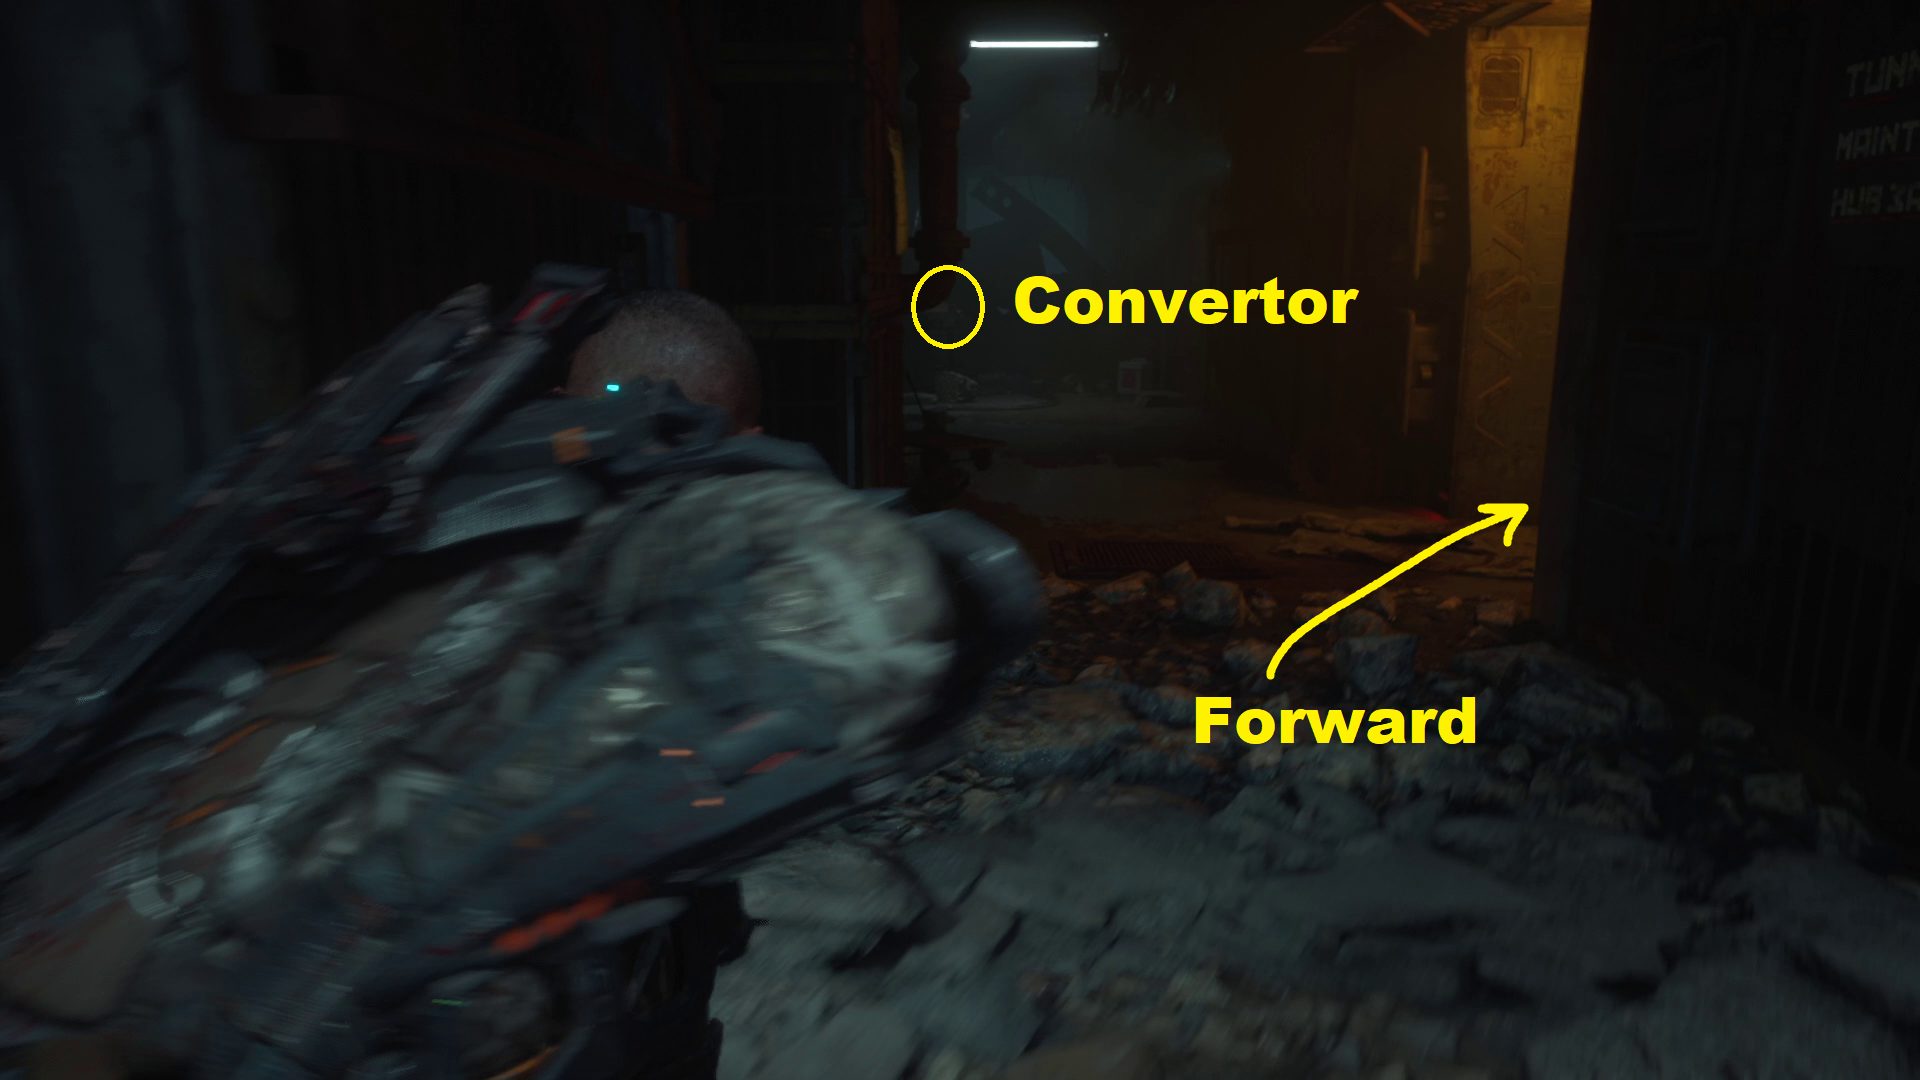
Walk up the stairs near the cocoon and use the Reforge station, also making sure you don’t miss the breakable box on the shelves to the right of the station. From the Reforge station, turn left and go through the hole in the rocks (1). Drop down — watching out for the enemy in the wall — and then go right, where another enemy will block your way. You’ll have to kill this one to proceed, crouching to continue forward until you’re forced to crawl. One jump scare later you’ll be standing again — climb up the nearby rocks, then do so a couple more times. You’ll turn left into a hallway — the way forward is to the right, but first go to the end of the hall to find an Energy Convertor (2).
12
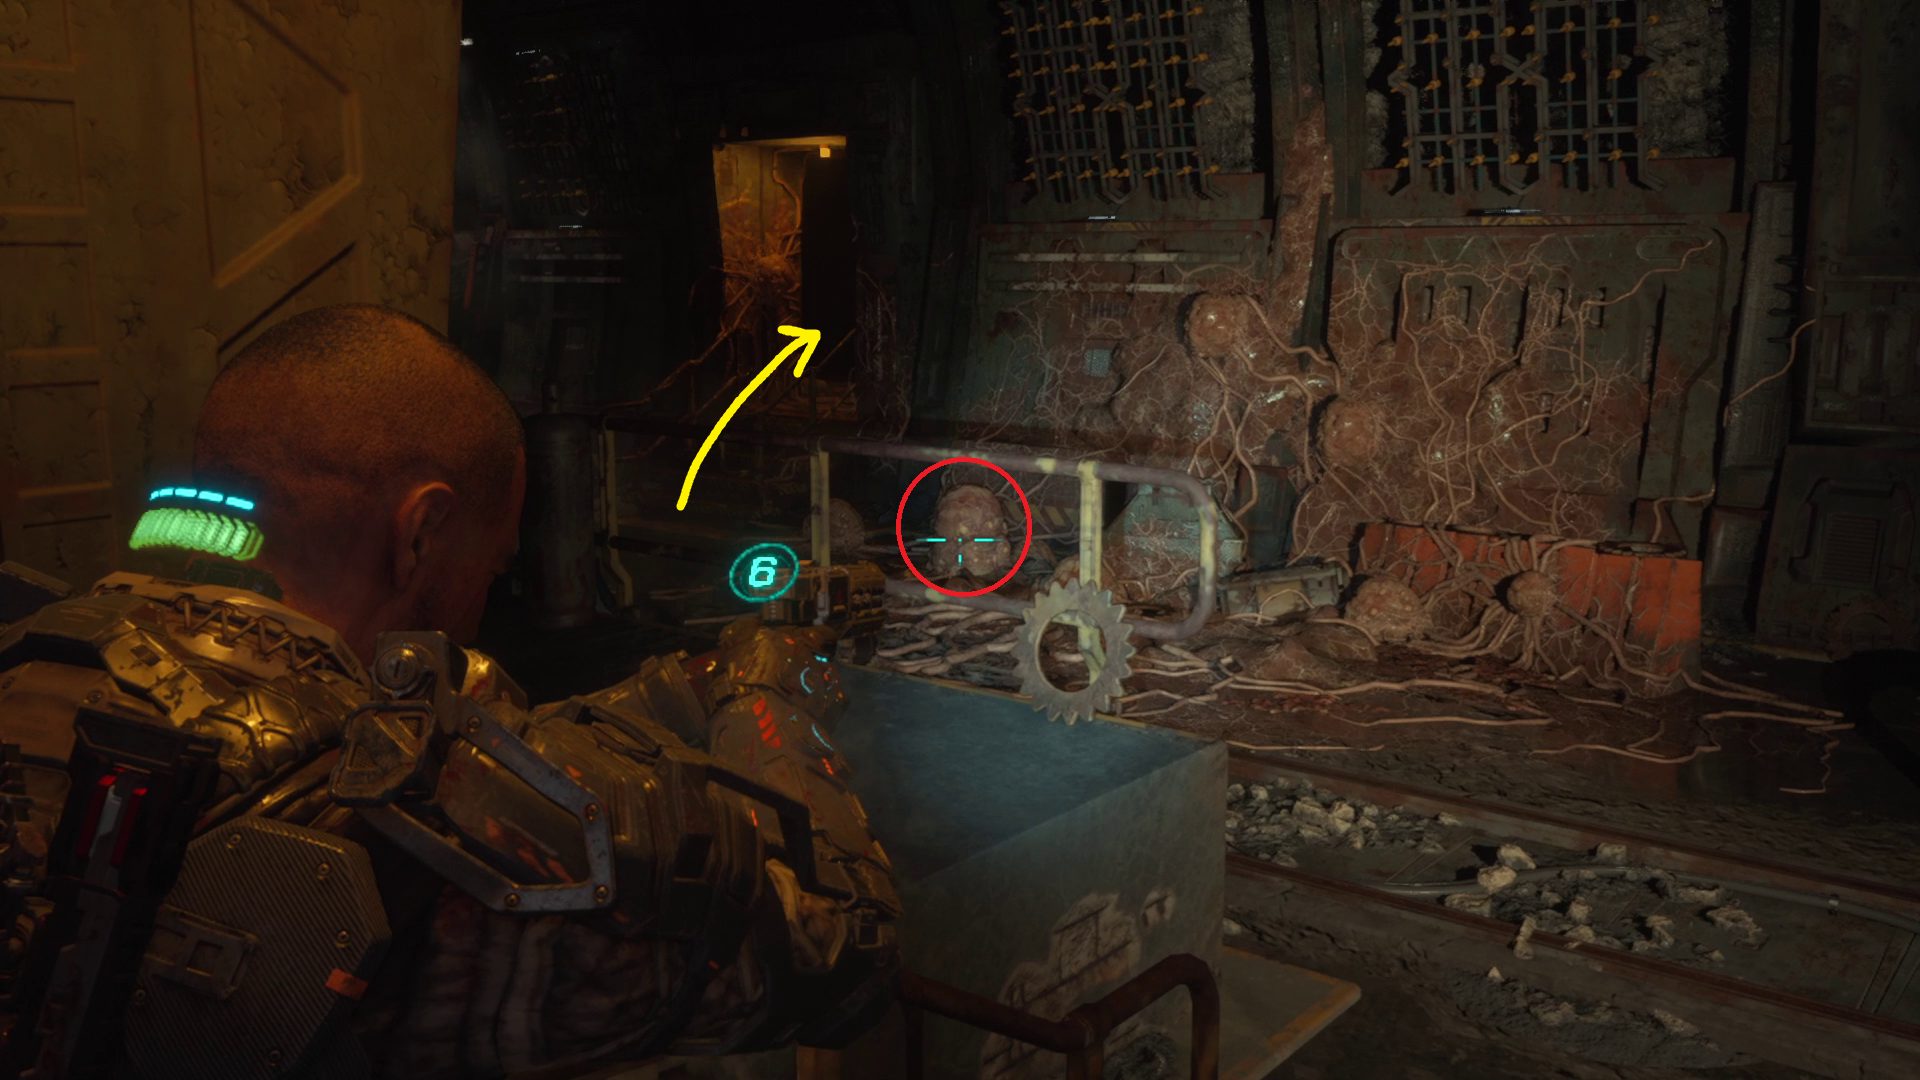
Don’t rush into the next room, as there’s another cocoon ready to attack you. Again you have to choose between taking a bit of damage from the cocoon, or waking up some (3) blindphages. If you do decide to fight, make sure you take advantage of the spikes high up on the wall behind the cocoon. Whatever you choose , you’ll need to head up the stairs and through the doorway to the left of the cocoon (1). Through the doorway, turn left to find a stompable box and an audio log, Der. Sheehan Yune: Field Log 2. Then go straight up the broken concrete, and climb up into the rocky area (2).
12
Continue forwards, vaulting over the rocks in your way. Crouch and aim left around the corner here to snipe the cocoon waiting for you, then grab the health injector behind you in the dead end before continuing forward. You’ll need to vault more rocks, then go left and crouch through the low section. Before dropping down into the large hole in the floor, GRiP the box over to you (1). Then fall down and turn right. Around the corner (2) past the enemy is a ladder (3), in an alcove on the left side of the hallway. — either continue to sneak, or dispatch the enemy, before climbing up.
123
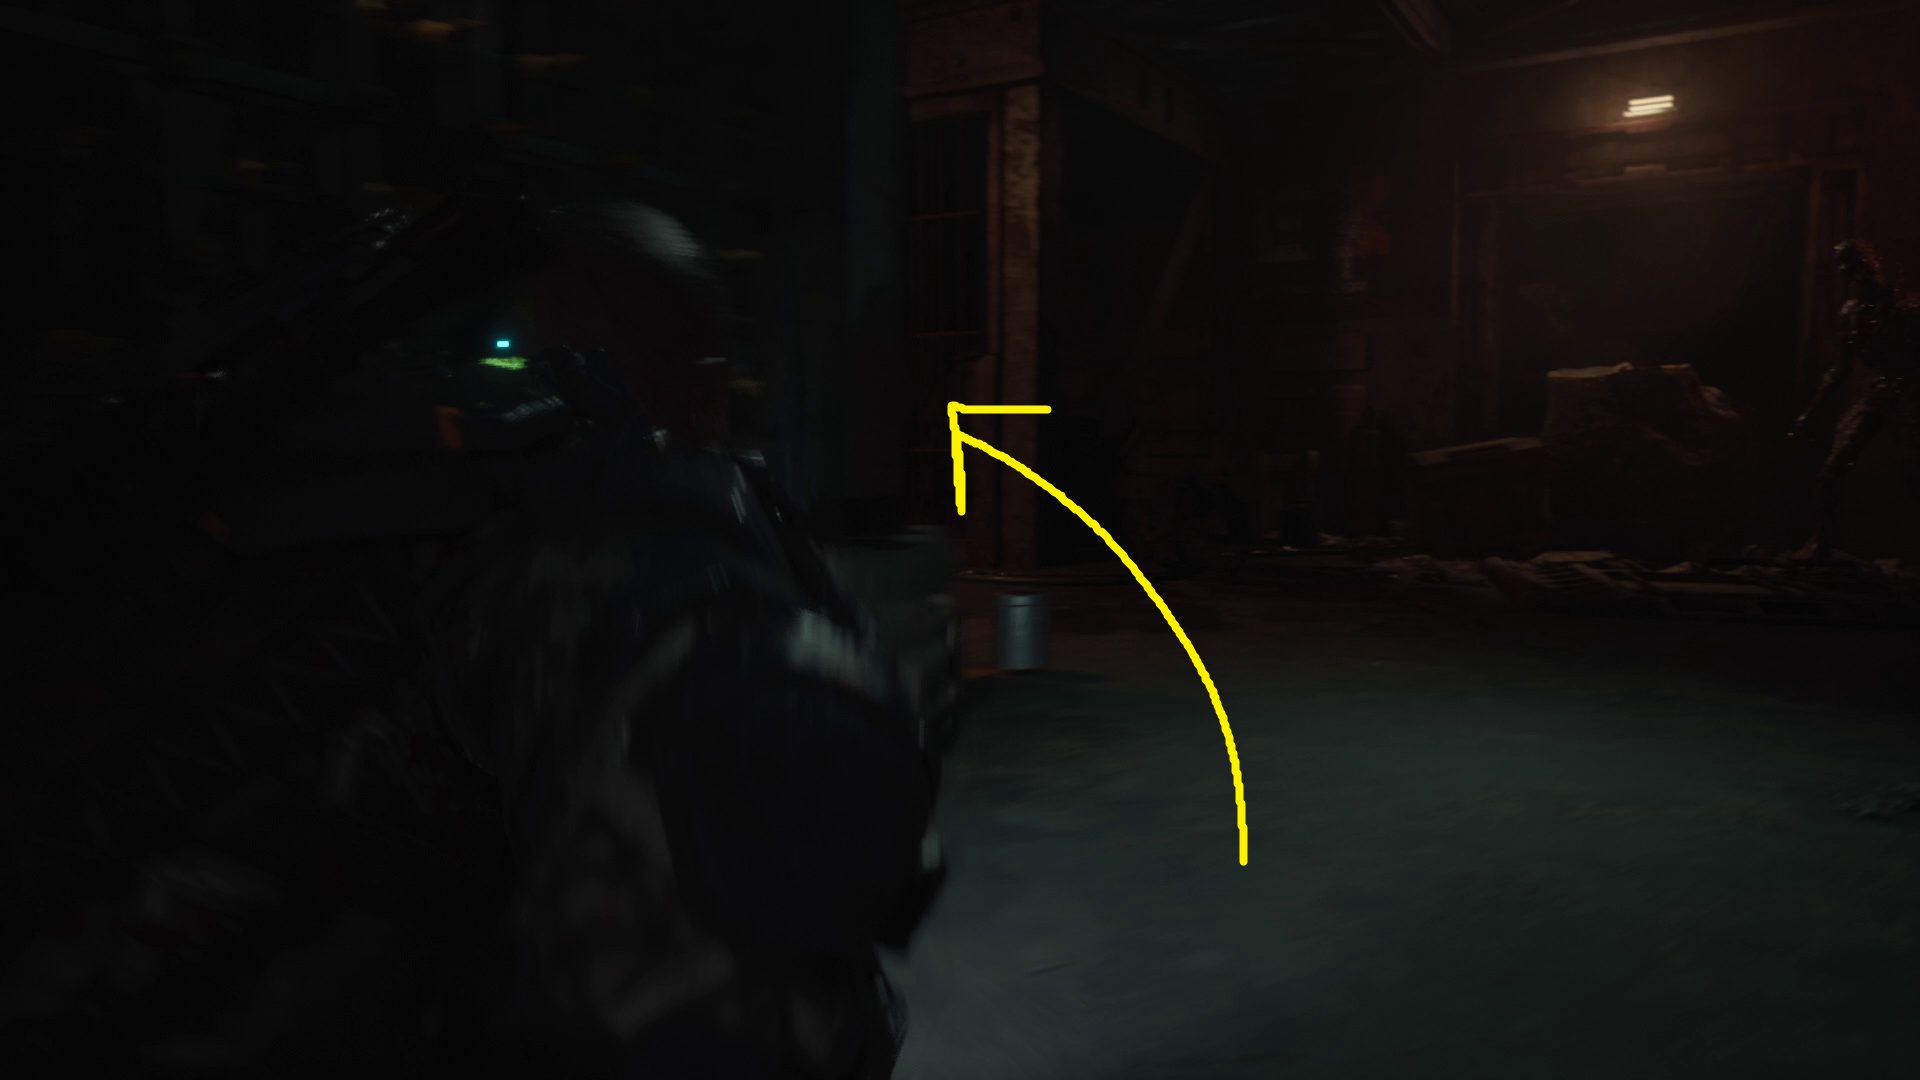
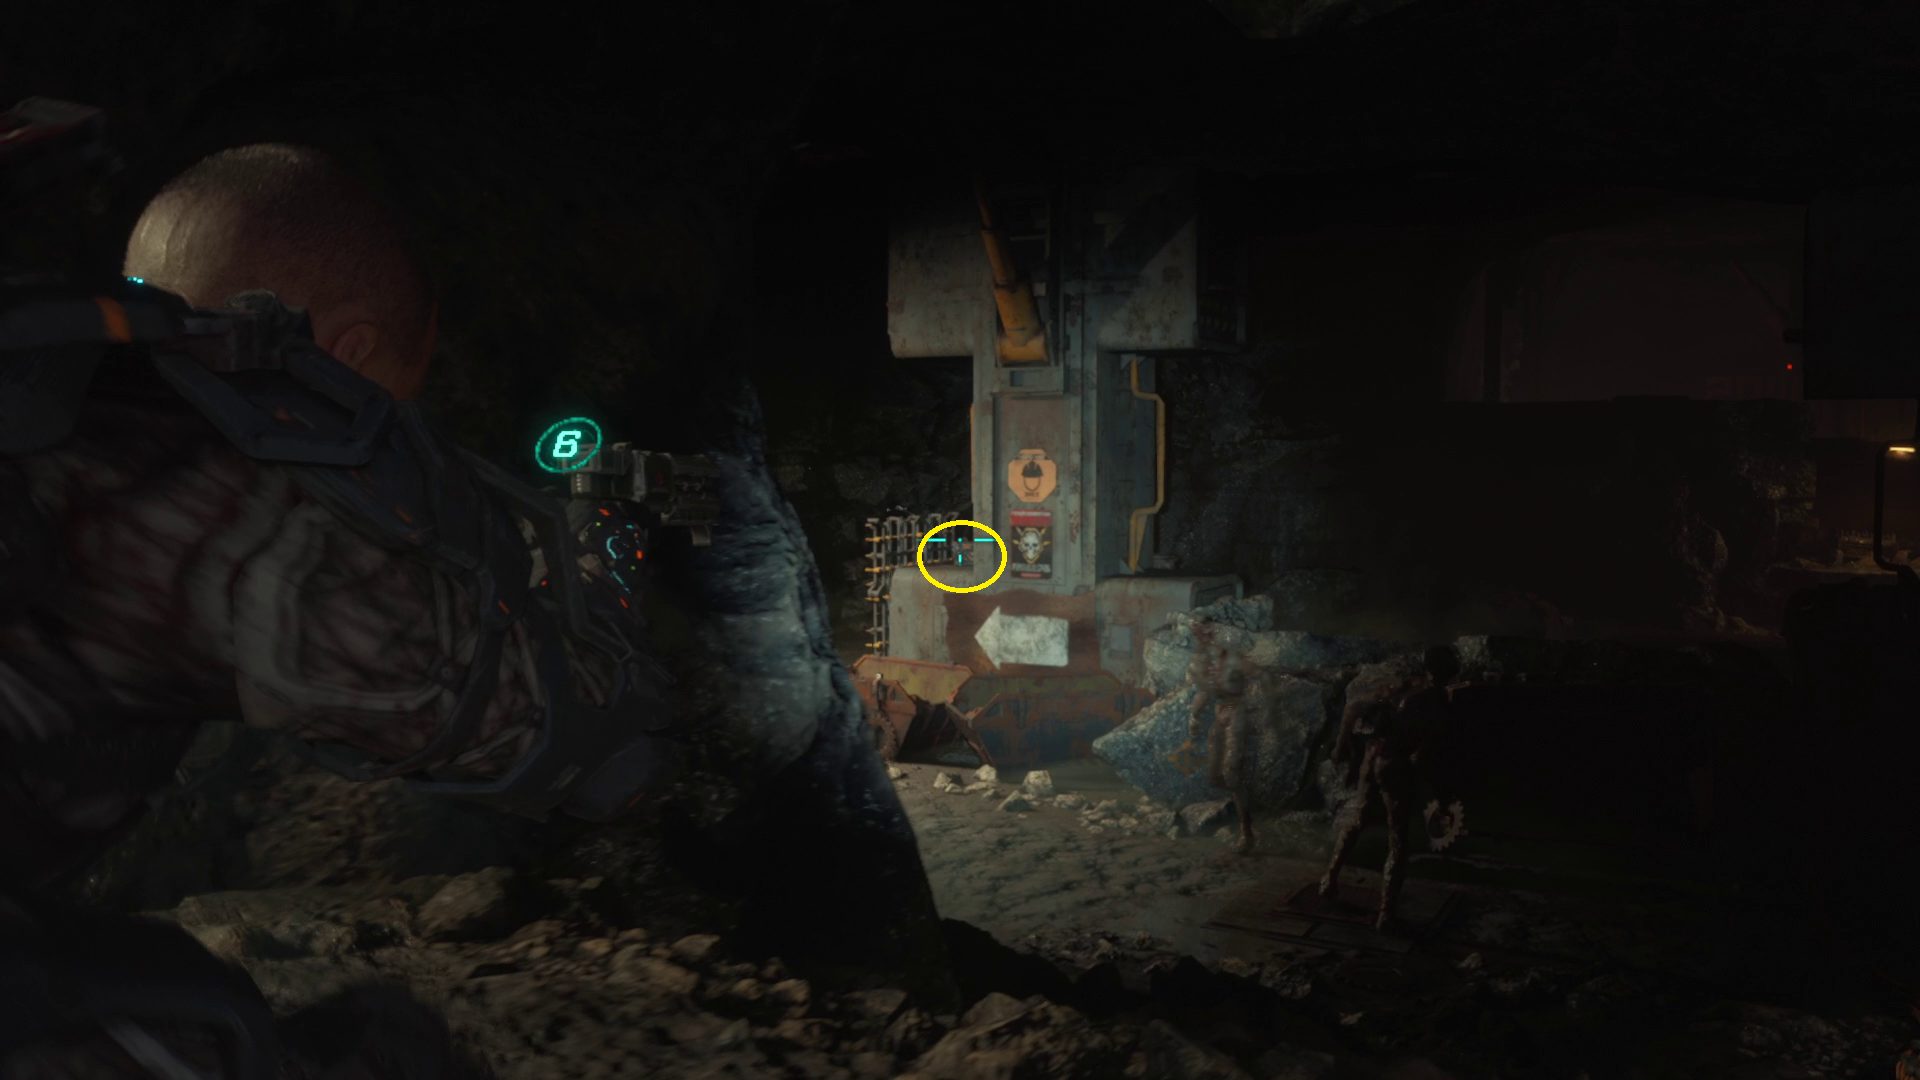
Climb up and you’ll find another enemy — beyond it, you’ll pass through a couple of doors, then enter a large room. This next area is full of enemies, and it can be hard to avoid them all, so it’s recommended that you sneak the hole time, and Shiv the enemies as long as they aren’t very close to another biophage. Go down the stairs and continue past the first bulldozer (1). Head towards the far wall, where you’ll find a locked door (2). You have to get close enough to this door that you get the objective notification “Find the Power Tunnels Keycard”.
12
Find the Power Tunnels Keycard
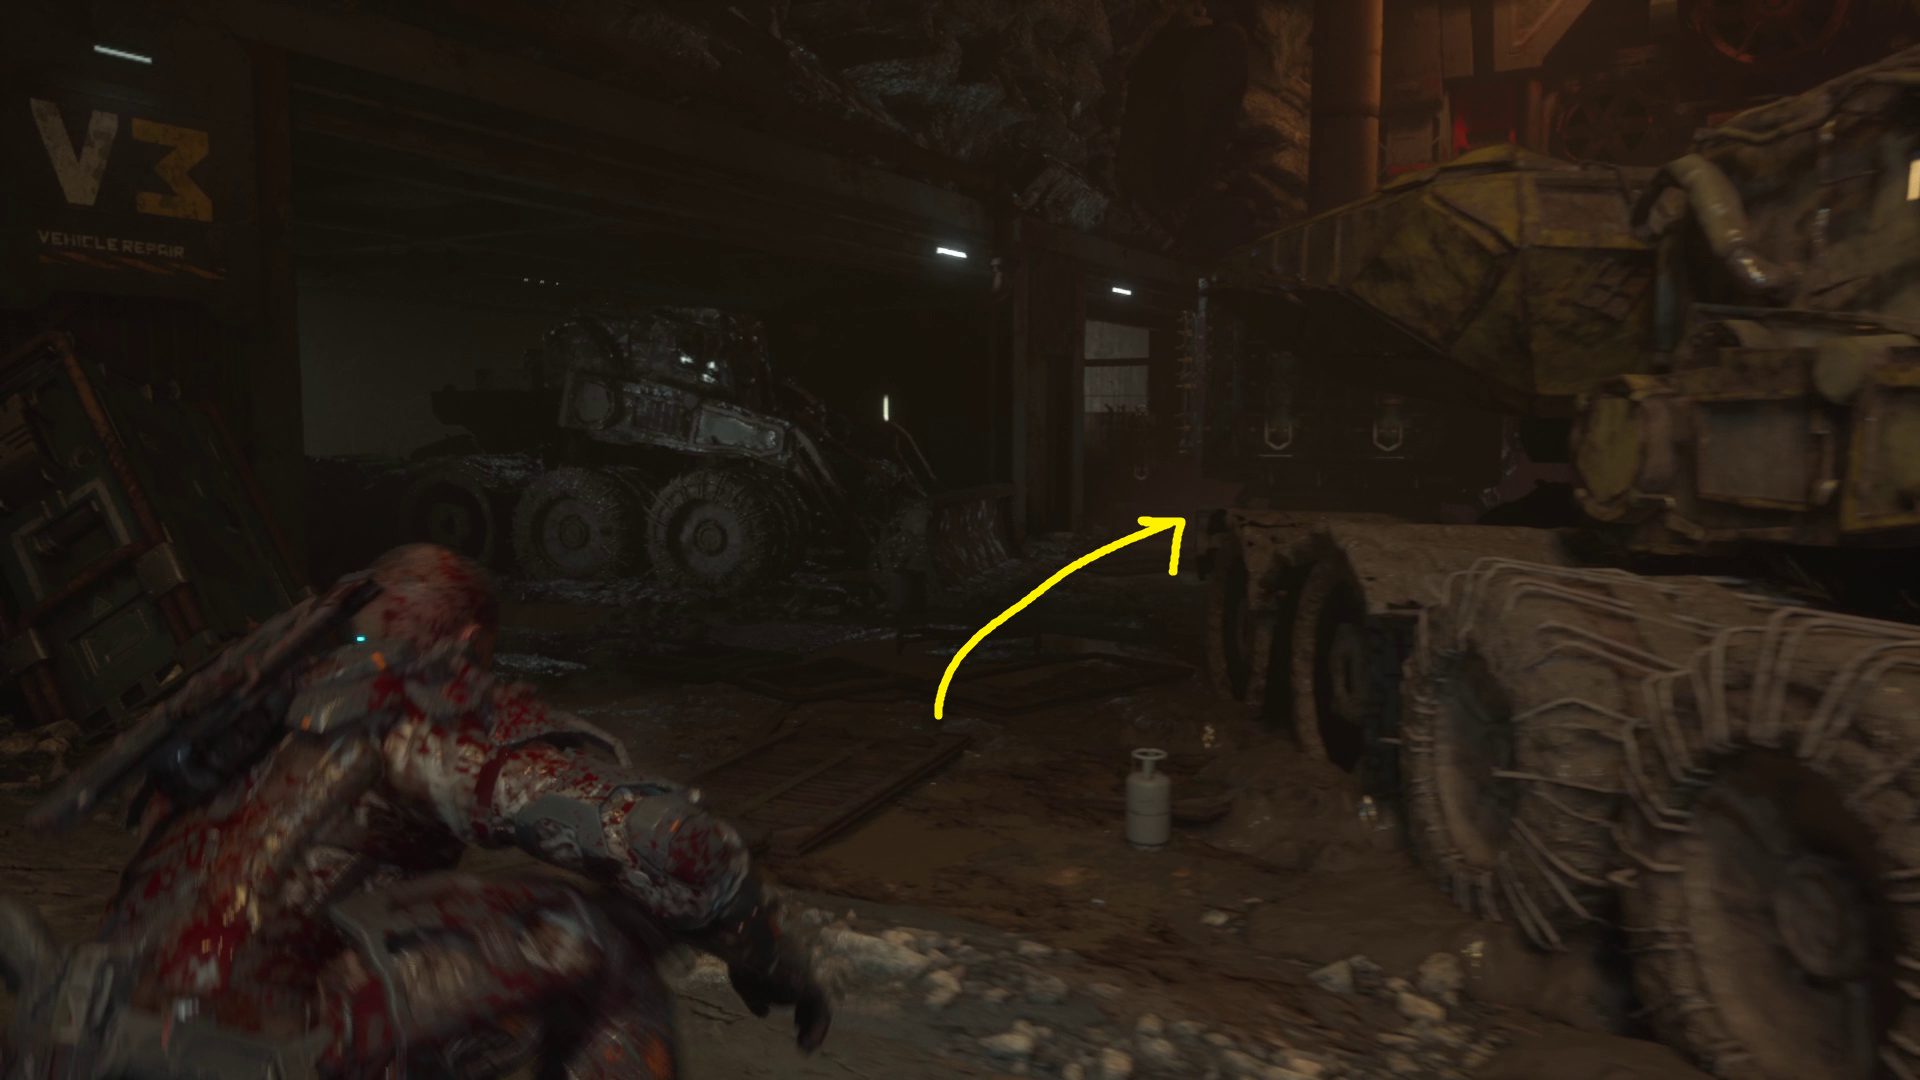
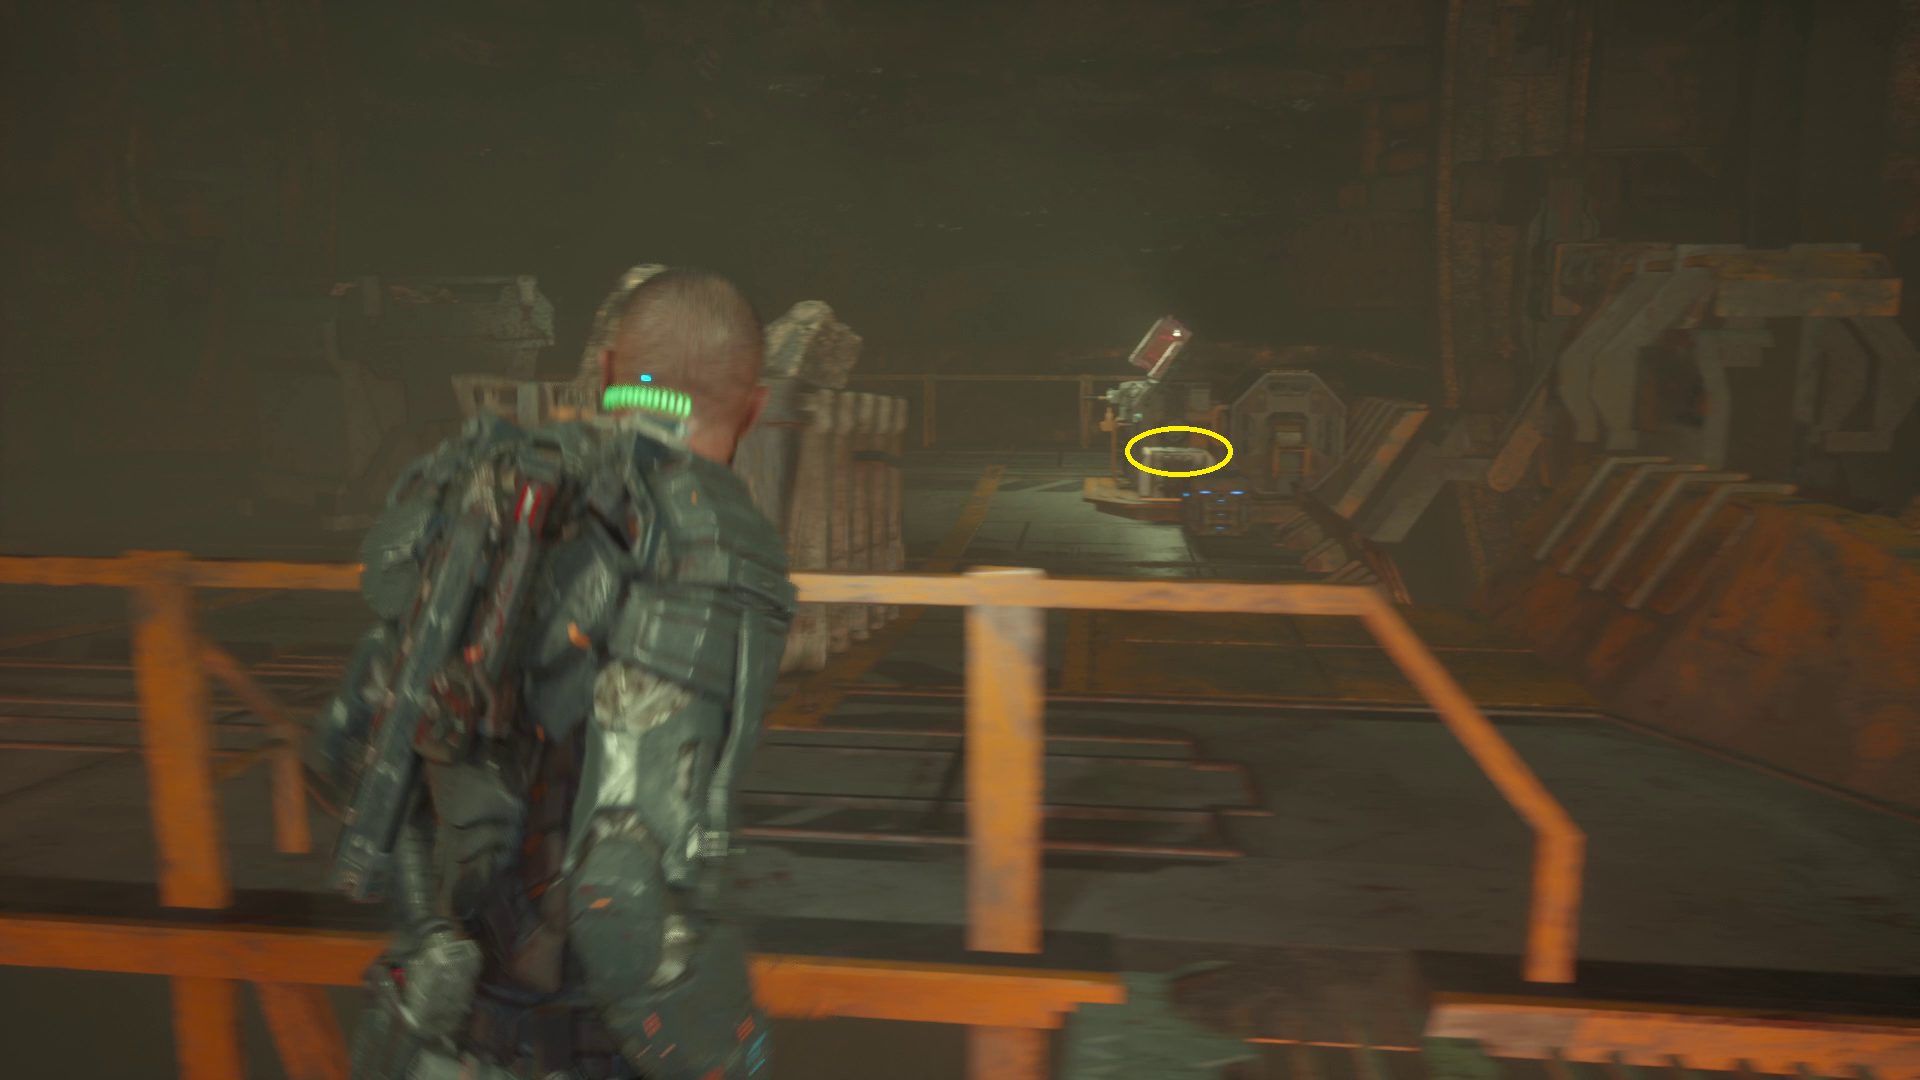
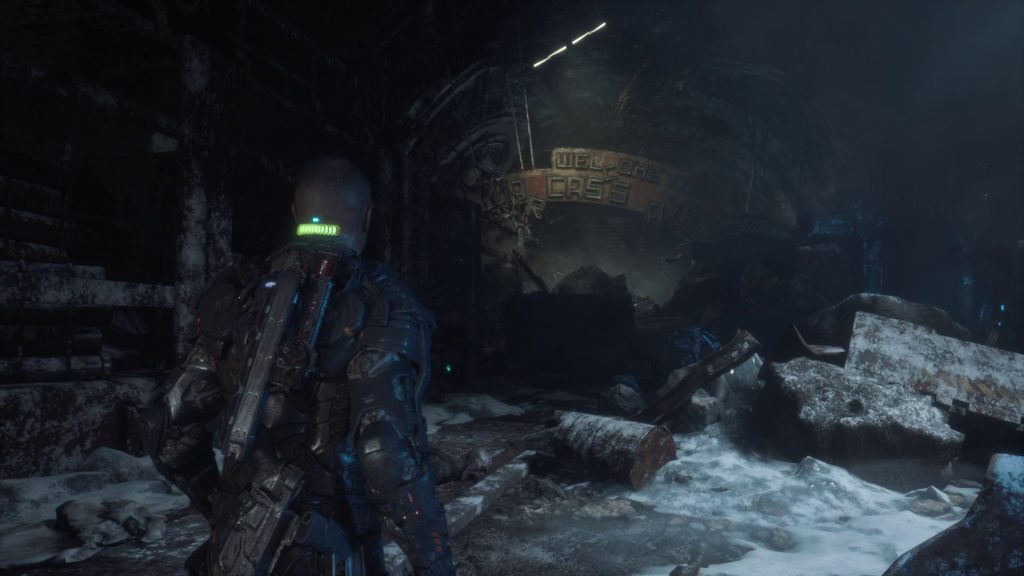
From the Power Tunnels door, turn right and head around the large overturned cart (1) — there’s a box you can grab on top of a nearby crate to the left. Continue through the gap in the rocks under the “[T]ransport [P]latform” sign. There’s a Reforge Station in this room, and to the right of the Reforger is an unlocked door. Go through and continue straight up the stairs. On the platform ahead is a keycard (2) sitting next to the control panel. Grab the keycard and then retrace your steps to the locked Power Tunnels door. Interact with the door to unlock it, then head through.
12
Locate the Power Reactor
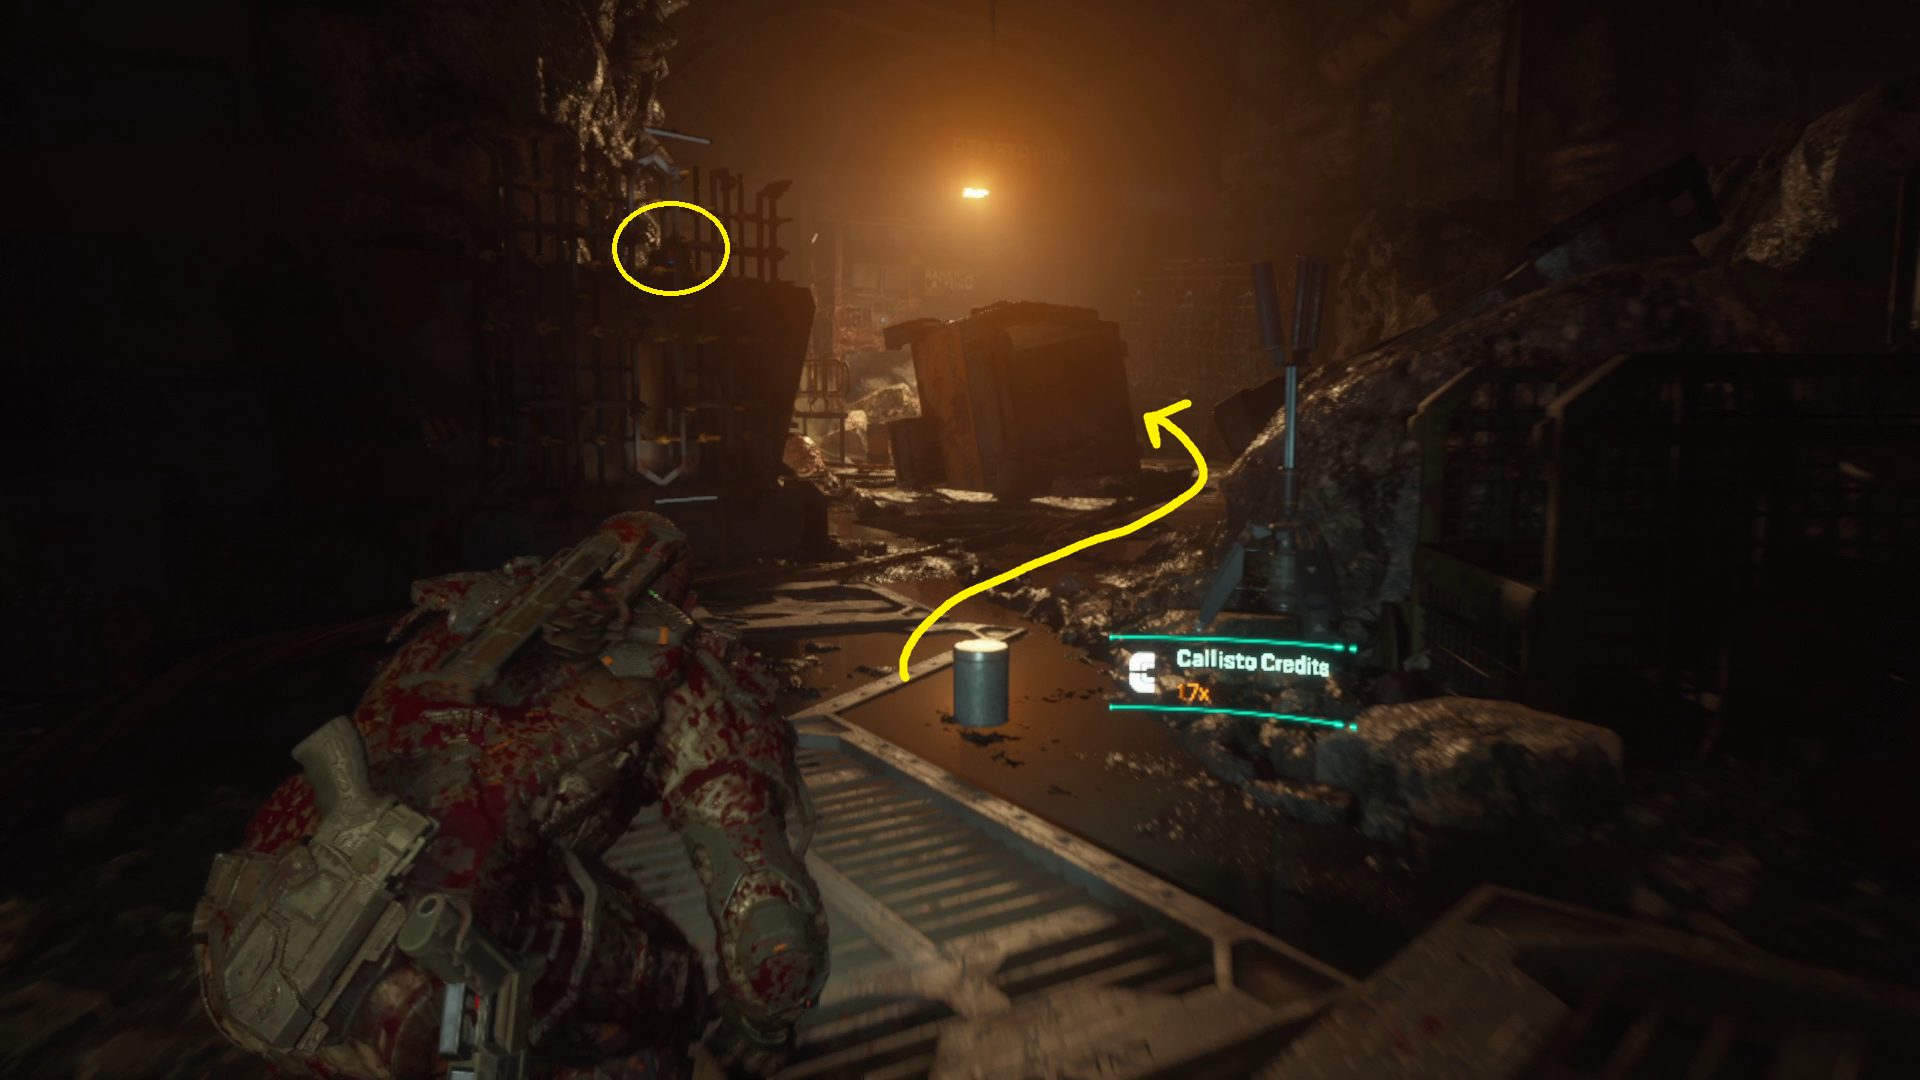
Head around the rocks and machinery, and you’ll come to a fork (1). The left fork is the main path, and there’s a collectible down the tunnel to the right. The optional path is short — at the end of the tunnel you’ll find a corpse you can harvest for audio log Dr. Sheehan Yune: Field Log 3, as well as a loot chest. Then you can return to the main path and continue downhill. Start sneaking once you get near the flickering light, as blindophages will shlorp out of the wall just ahead. Climb up onto the stack of pipes, and from there up onto the stone ledge (2).
12
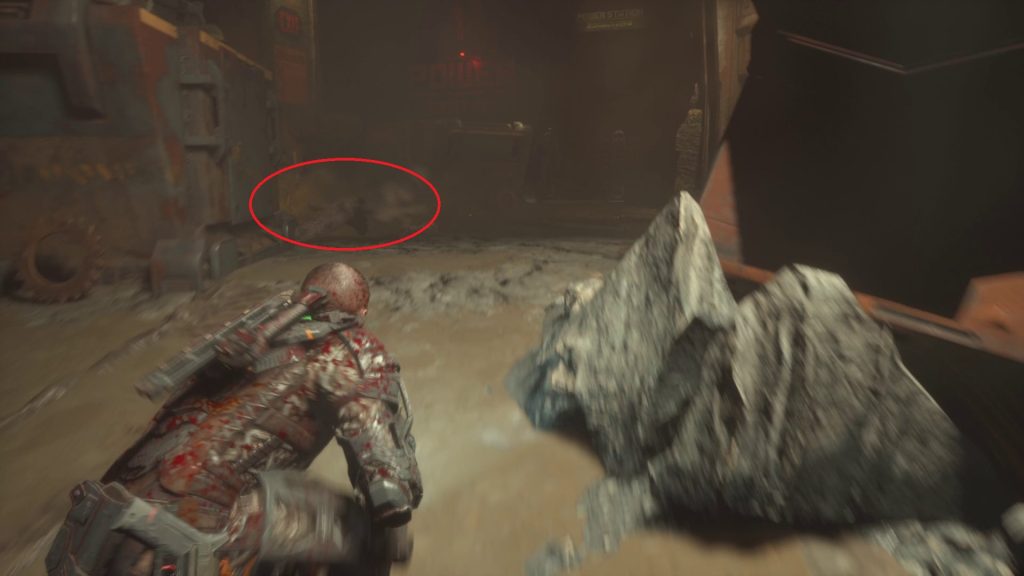
It’s awful crowded up ahead, but you can still choose to simply work your way slowly through all the enemies here. Before you drop down, grab the box (1) that’s across the path. Then make your way forward through the blindophages. At the slight uphill, you’ll need to avoid one that crawls out from around the corner (2) — just wait for it to go by. Just ahead you’ll round another corner, and then ahead will be the stairs out of this room (3) — before you take them, continue left and grab the loot from atop the barrel near the corpse of a guard.
123
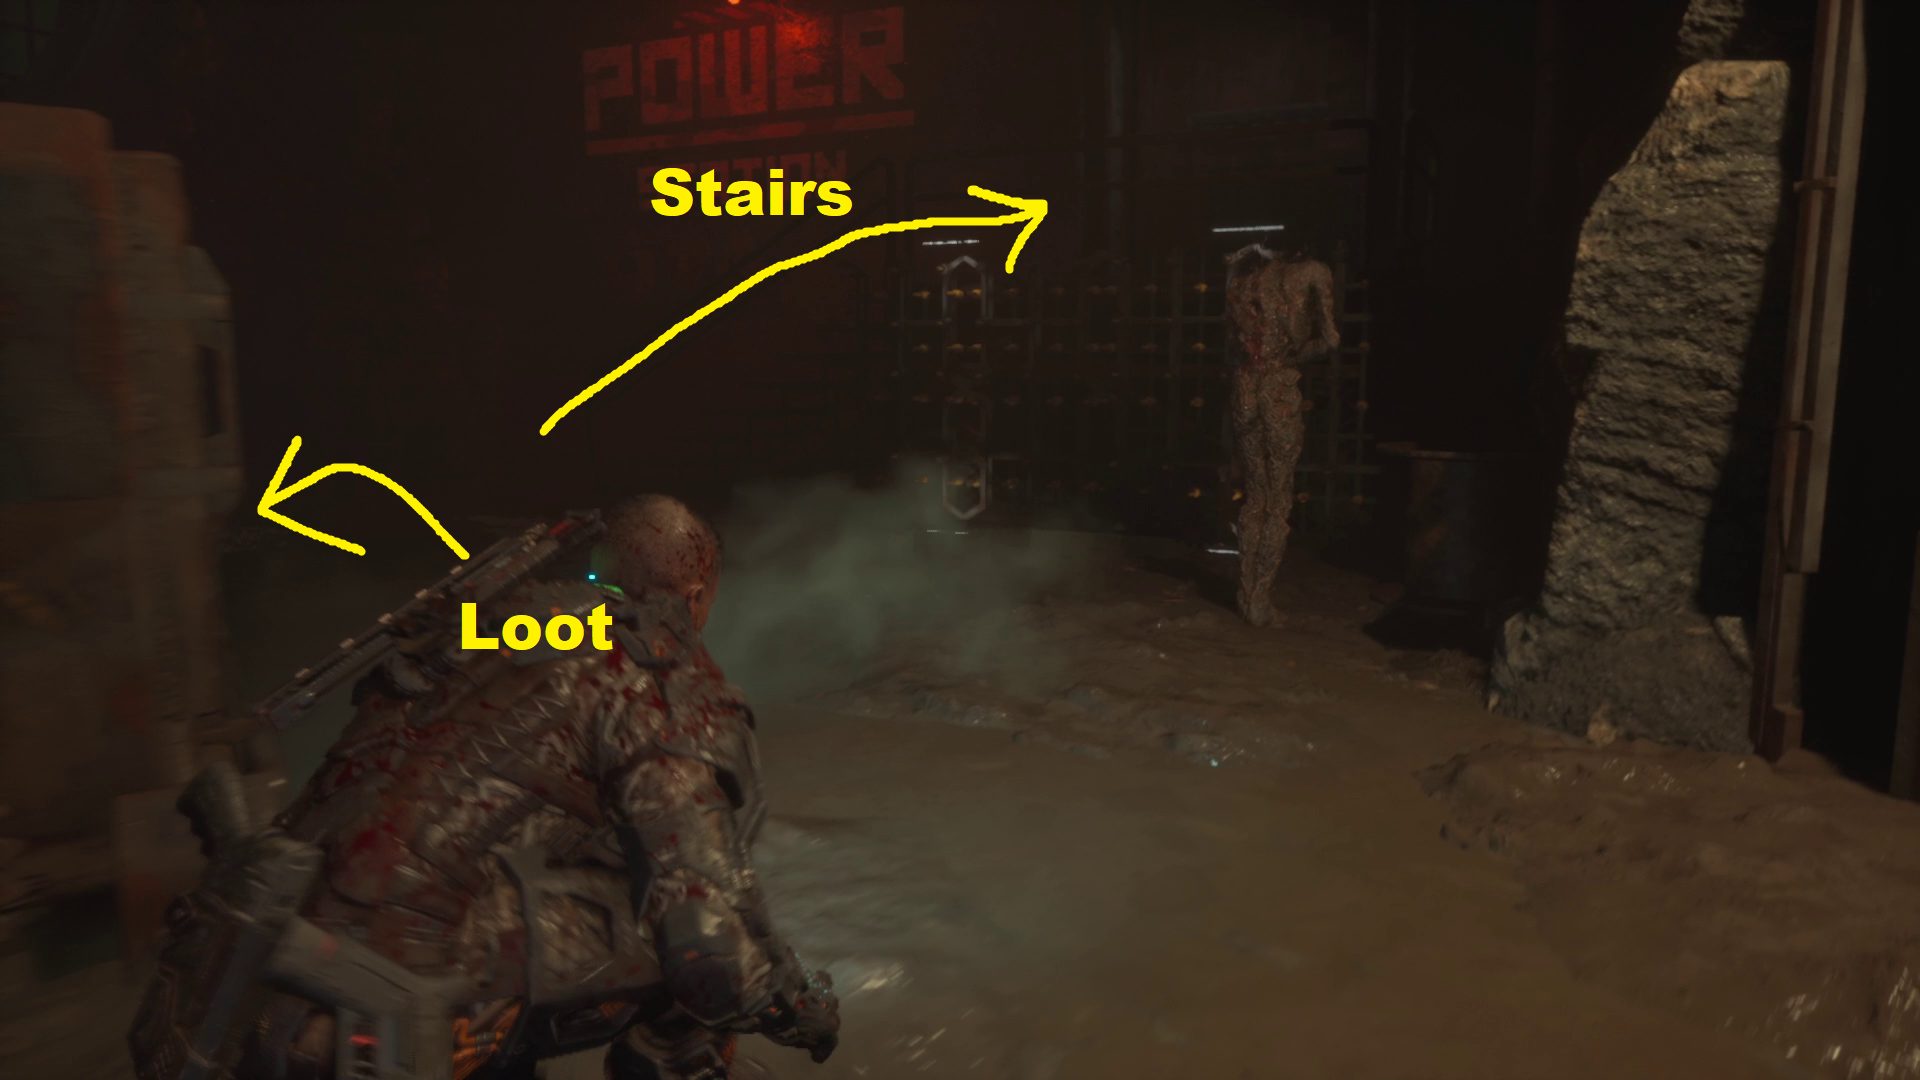
Then go up the stairs, making sure you don’t bump into the three enemies hanging out near the bottom step. Go through the door, and around the corner you’ll see more stairs. To the left of the stairs is a doorway — there’s a Reforge station in that room, but around the corner on the left is a cocoon that will attack you, so snipe it as you round the corner. Then loot the lockers, use the Reforger, then leave the room, turning left to head up the stairs. Continue across the room and down the next set of stairs.
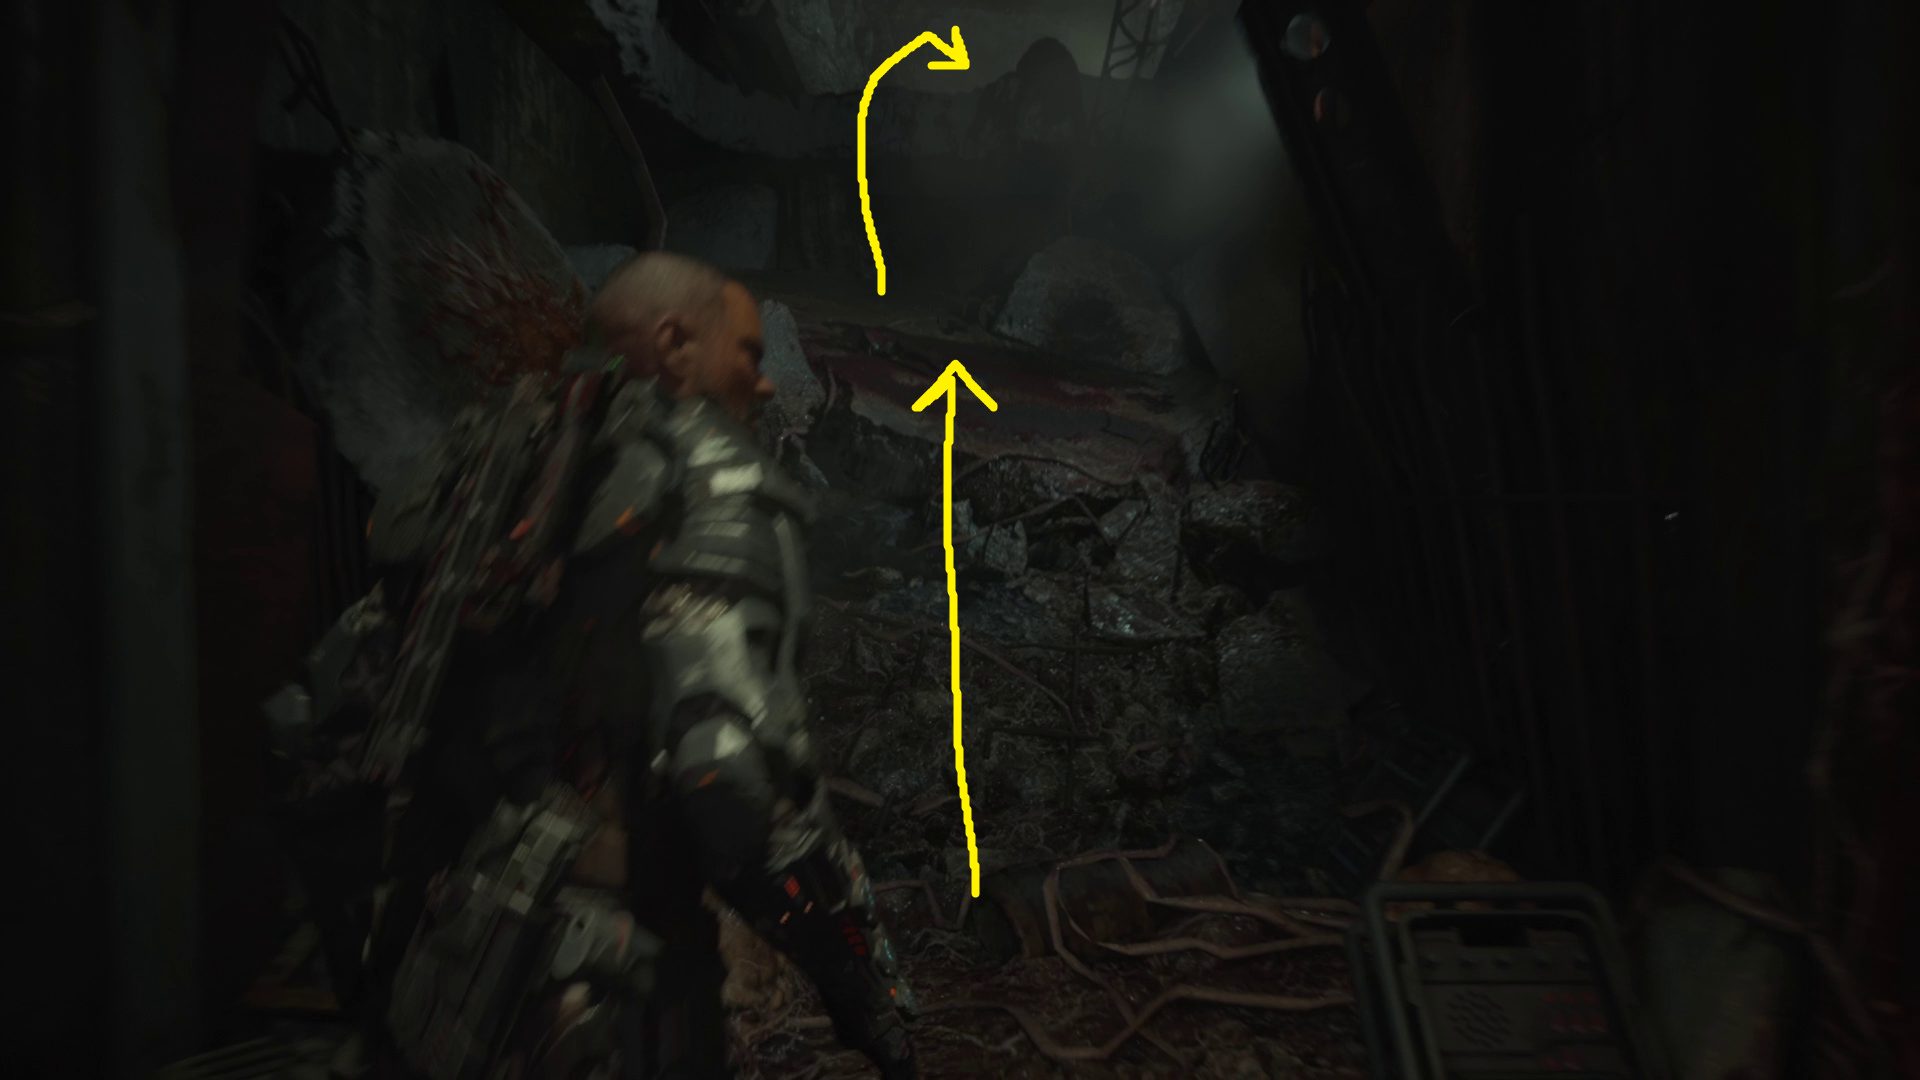
You’ll come to another destroyed floor. Grab the box across the room (1), then drop down into the hole. Turn around and slightly right after landing, as an enemy will jump down nearby. A second enemy will arrive shortly afterwards — both can be dispatched via the spikes near the room’s exit (2), which are to your left after you drop and turn around 180 degrees.
12
Head towards the spikes pictured above and turn right, then squeeze through the narrow gap. Continue forward into the next room, where you’ll find an enemy patrolling (1). You can’t sneak past this one, so kill it before proceeding across the room, where two legless biophages will skitter towards you. Toss ’em into the nearby spikes to your right, then look up and to the left to find a box (2) before continuing past the white worklight (3).
123
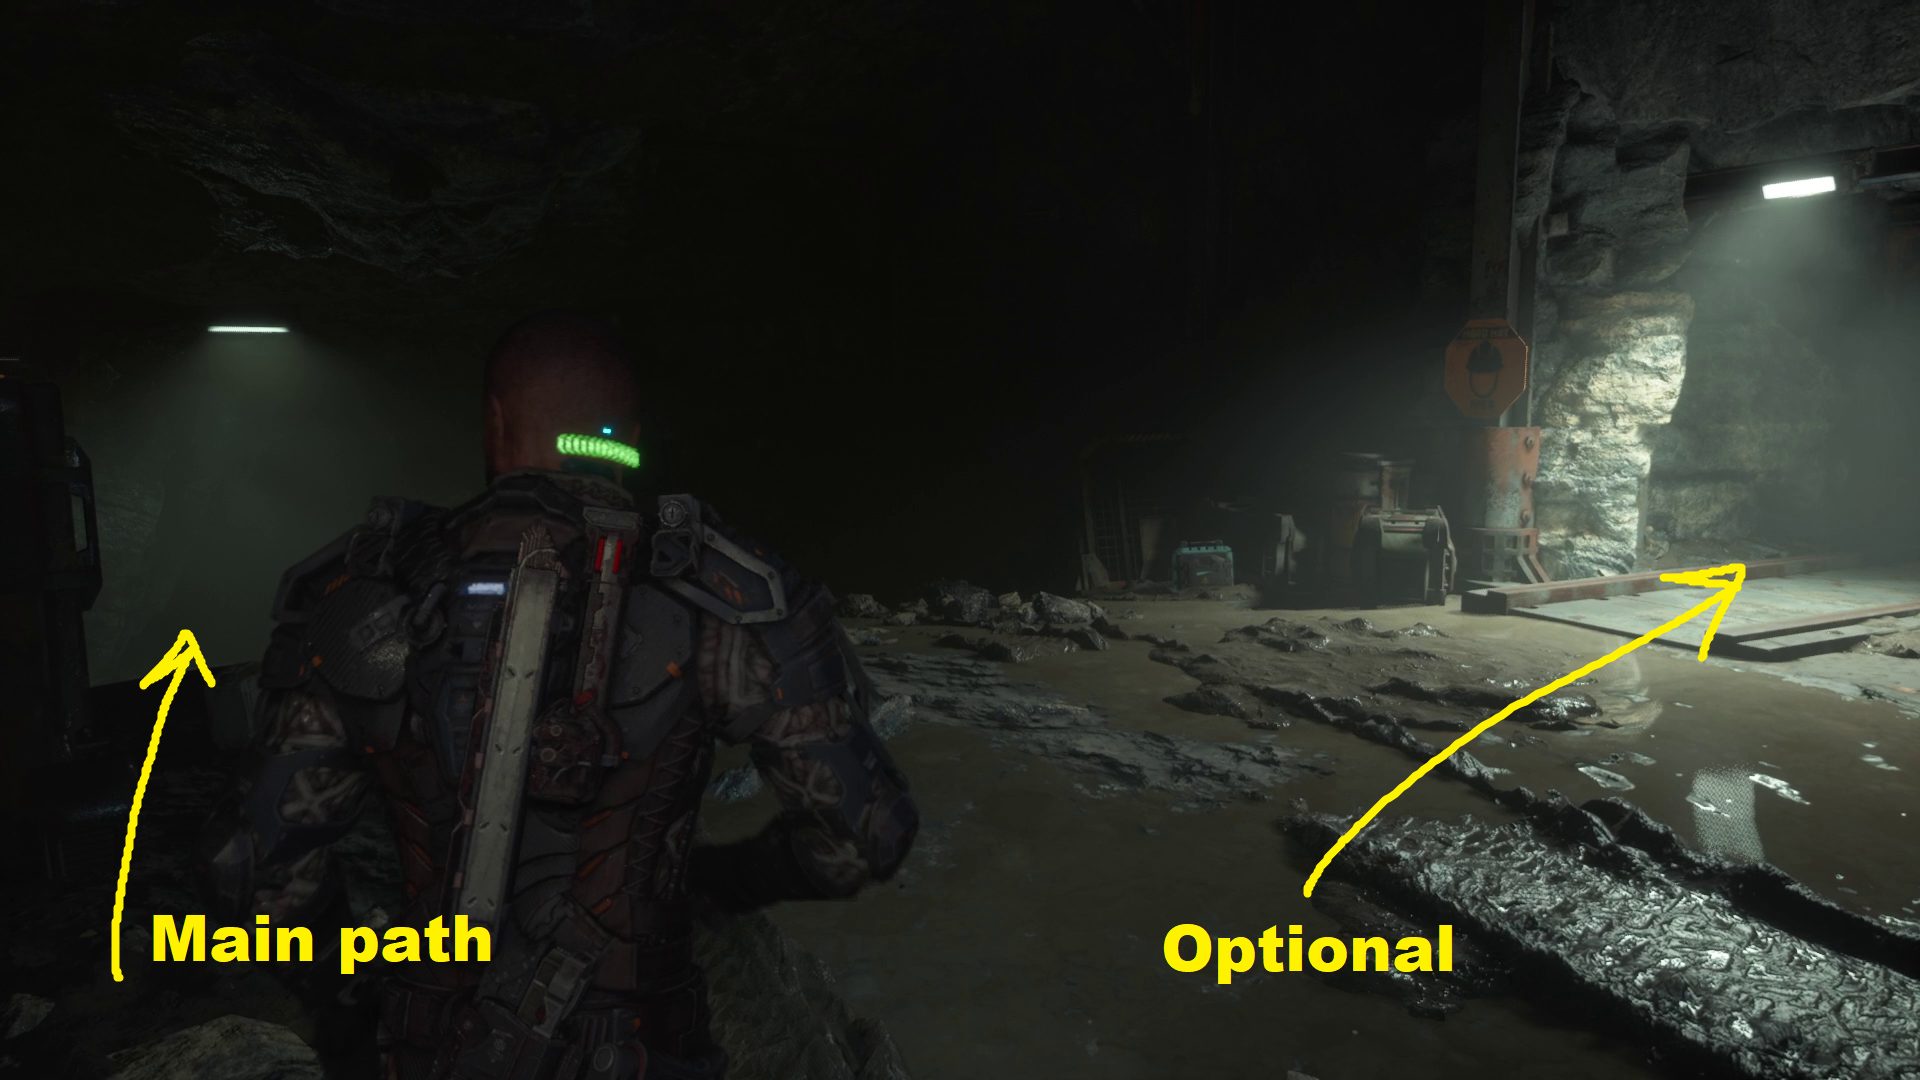
Squeeze through the gap, vault the pipe just ahead, then turn left to find a ladder. Climb up, then break the box on the right. There’s an optional path straight ahead (with a lot of loot and a collectible), through the narrow gap in the rocks (1). Or, you can just go into the room on the right to continue on the main path.
Optional Path: Squeeze through the gap in the rocks, then continue forwards and crouch to fit through the hole. Drop into the pit, Then find the hole in the floor and drop through it. Follow the worklights to another narrow passage and squeeze through. Continue moving forwards until you see a door with a gold symbol on it (2). Sneak to not wake the biophage here, go up to the door and turn right.
Follow the passage around the corner and into the secret room, where you’ll find a lot of loot and a cocoon you’ll want to shoot ASAP in the middle of the floor. Don’t miss the chest on the far side of the room, plus the audio log on the desk, Yannick Sage: Secret Room 2. Now exit the way you came in, and make sure you take the left-hand path ahead to leave this area (3). Go up the stairs and through the door, and you’ll find yourself in the next room of the main path.
123
Main Path: Make sure you use the Reforge station in this room, and grab the loot from the counter that faces the glass windows. Then, interact with the Power Breaker console (1) — it’ll work, but only kind of, and now you’ll have to reset the breakers.
1
Reset the Breakers
Turn left, and then go through the right-hand door, which is now unlocked. Head through and continue forwards — there’s only one path here, and it’ll take you right to the first breaker. While you’re still near the wall, you can easily spot a loot box you can GRP-pull towards you (1). The first breaker will be on your left once you cross the room (2). Pull it, then put your back to it and use the spikes on your left to kill the biophage that shows up. Ahead and to the right is a ladder you need to climb down (3).
123
You’ll be attacked by a trio of enemies at the bottom of the ladder, but there are plenty of spikes around to toss them into. The second breaker is easy to find, as it’s directly across from the ladder. Pull the breaker, then turn right and head through the passage straight ahead (1). A handful of blindophages will block your way — deal with them however you like. Turn left after going through the passage and continue around the corner (2), killing or avoiding another group of foes. Straight ahead, you’ll be able to vault up onto the ledge marked “Caution” (3), then follow the path forward to the third and final breaker.
23
Return to the Transport Platform
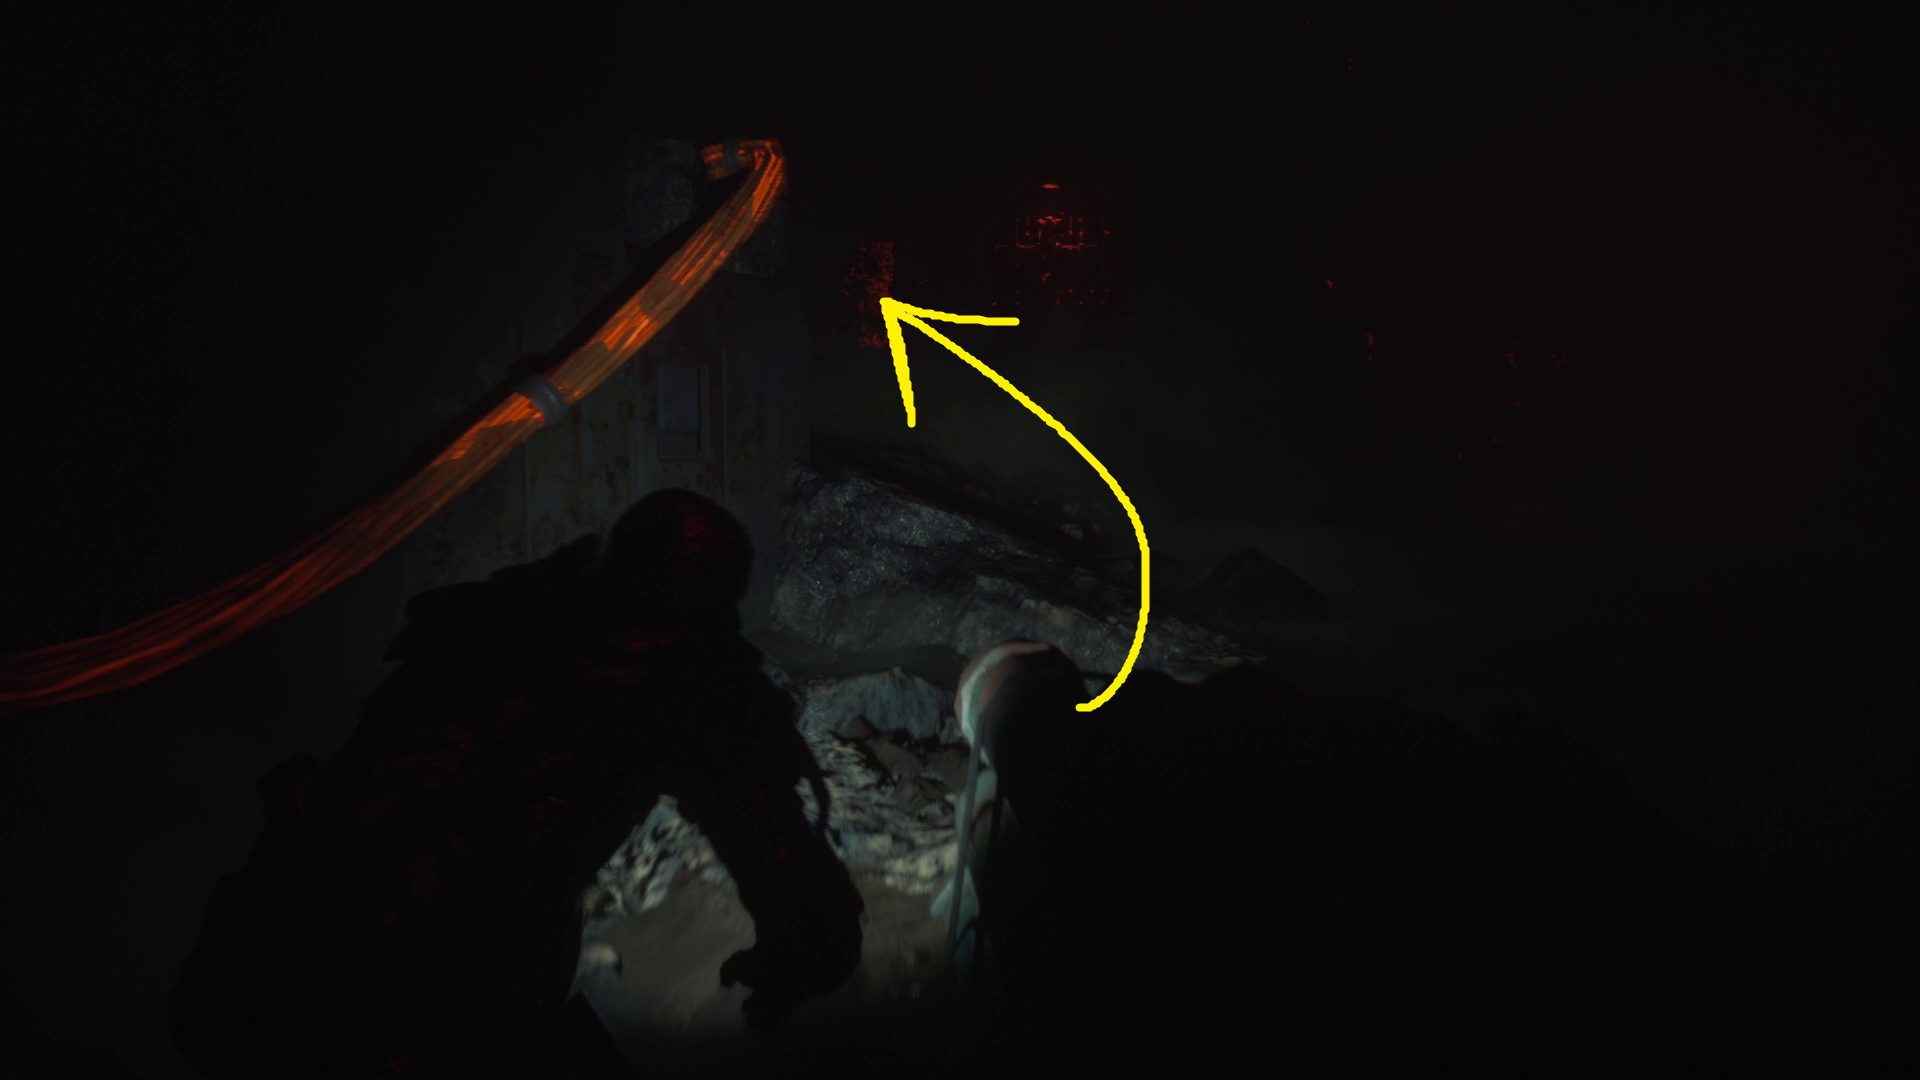
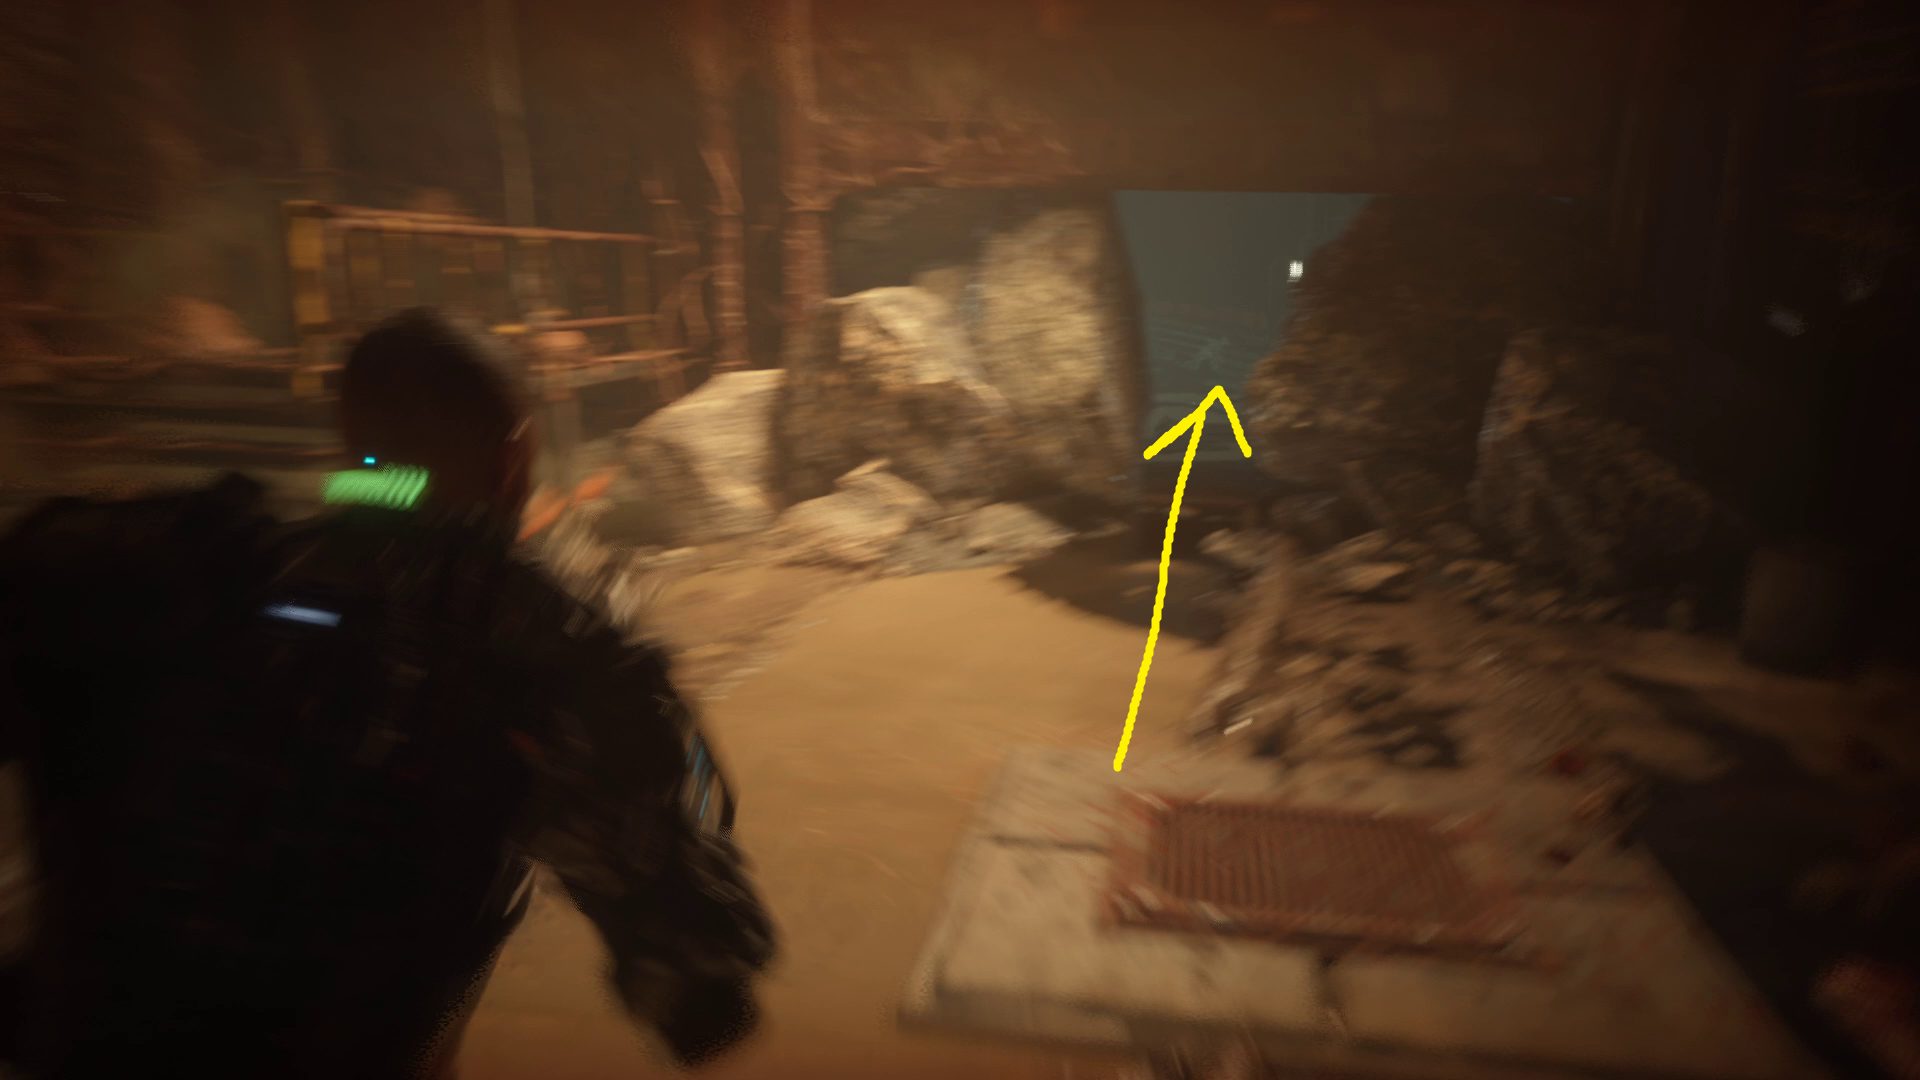
After pulling the third breaker, you can turn left to find a stompable box near the corner of the catwalk. Then drop off the catwalk (1) and follow the orange glowing cables out of the room. You’ll turn left in the next area, which is a spot we already passed through — start sneaking if you didn’t clear all the blindophages last time you were here. Head over the low rise (1) and continue letting the glowy orange rope guide you. It will take you all the way back through the door we unlocked earlier, and through the narrow gap that leads to the Transport Platform. At this point, a lot of enemies will show up, so ignore them, run to the gap (2), and a cutscene will play.
12
You’ll be back in the room with the Reforge station when it ends, so use it before continuing through the door to the right.
Ride the Platform to Arcas
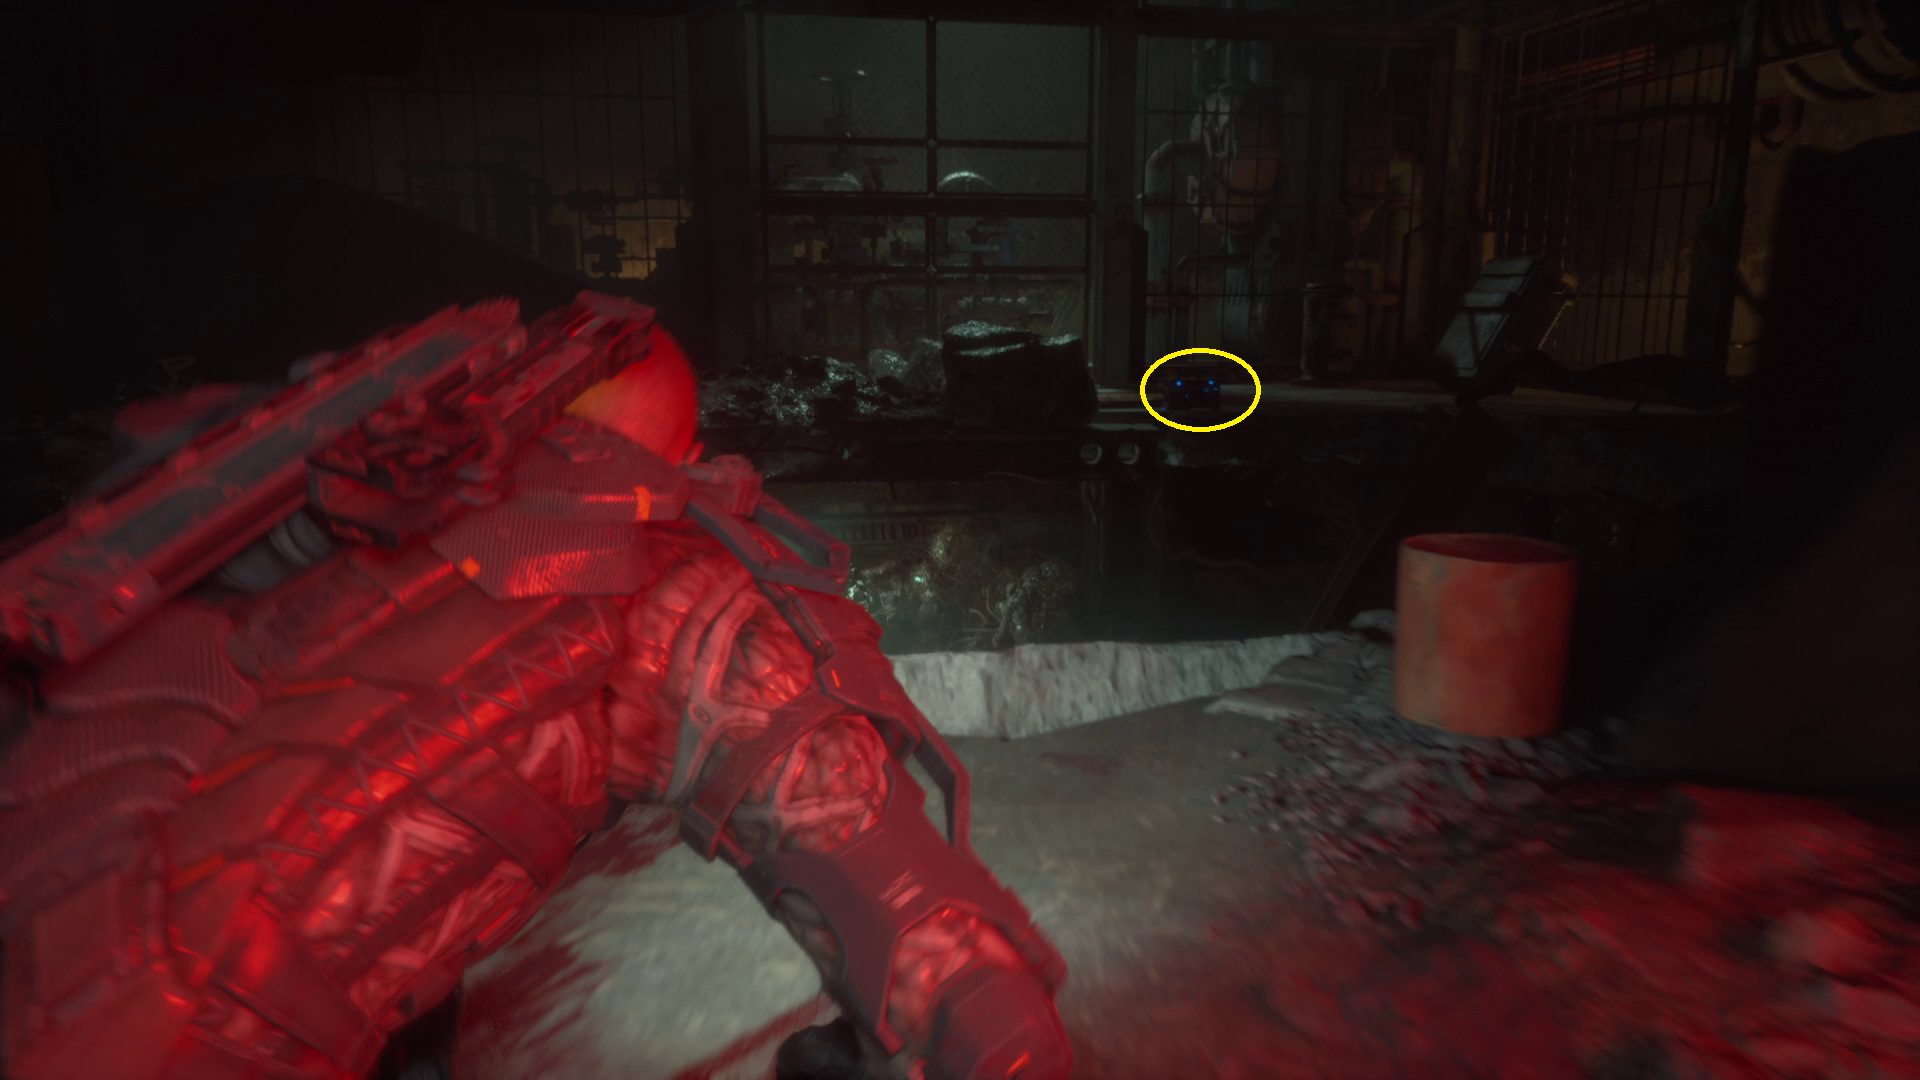
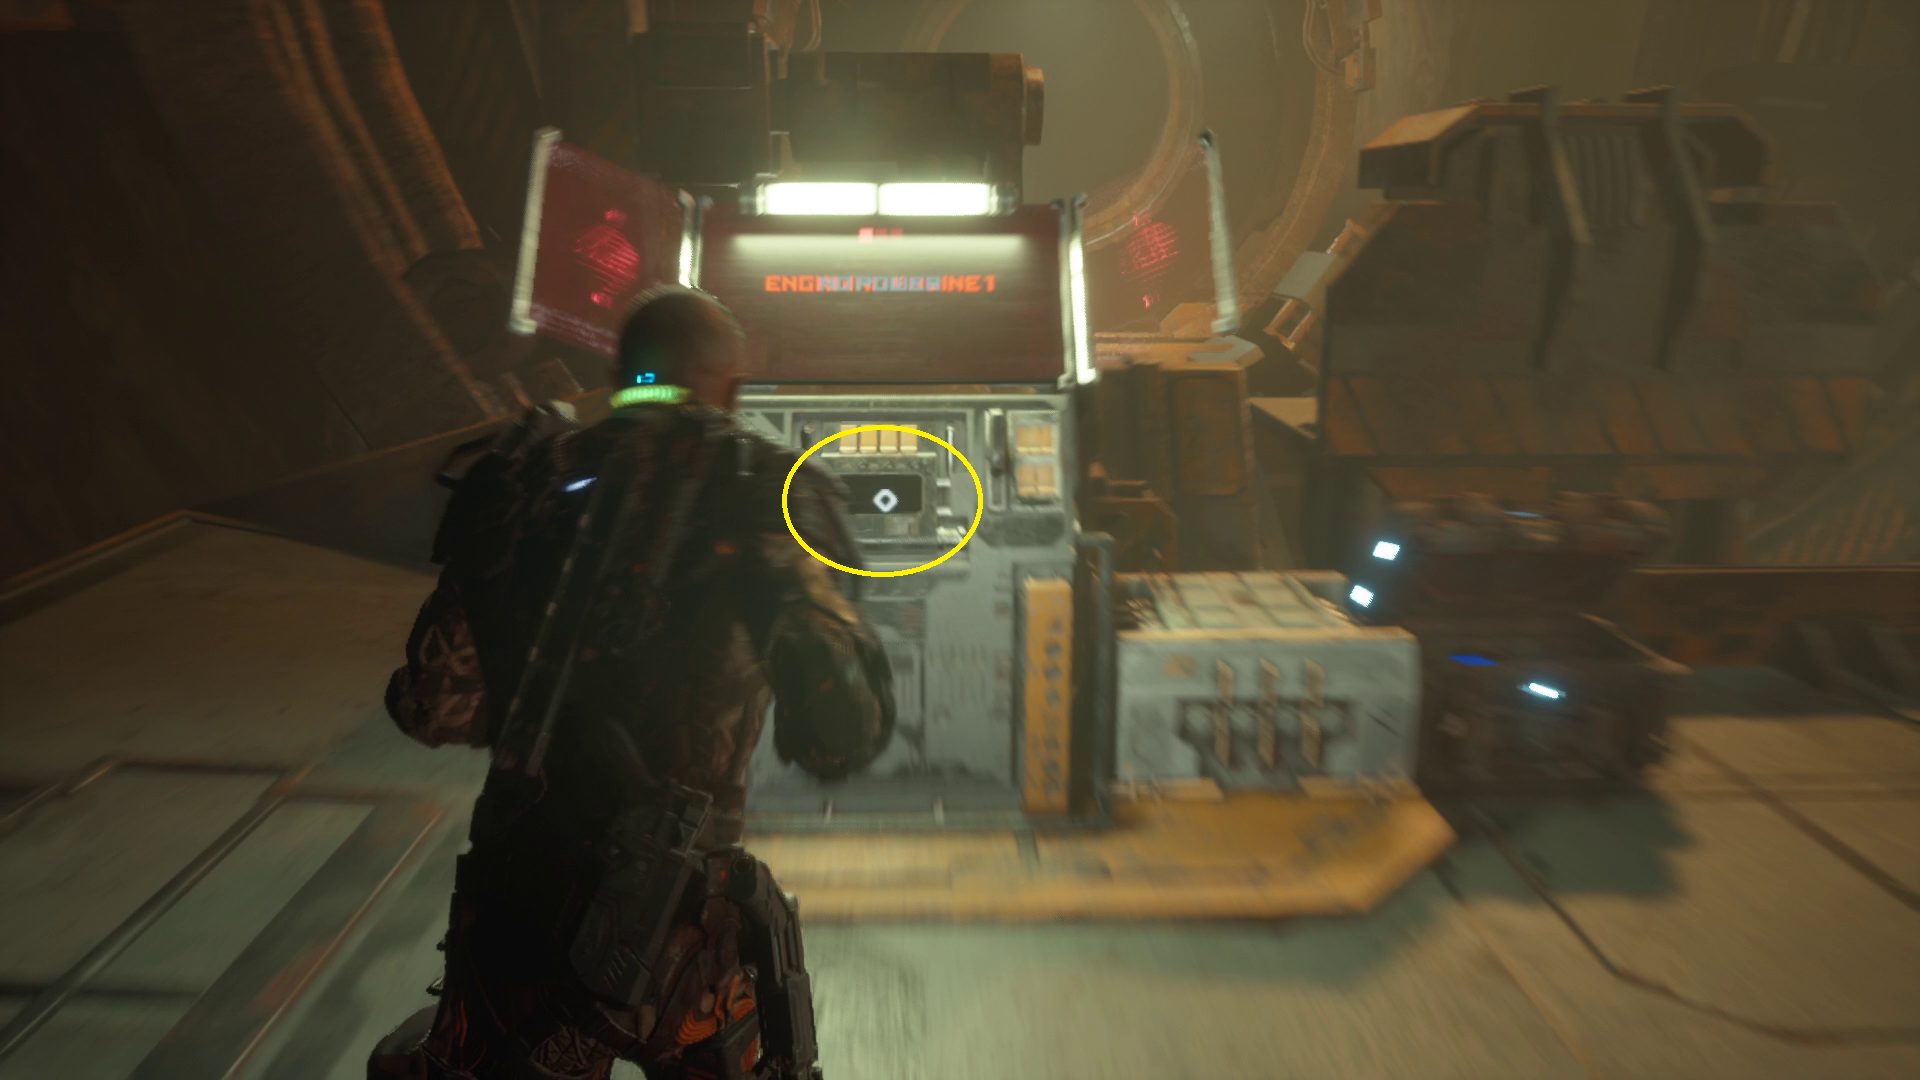
Head forwards onto the platform, and loot the 4 chests found on either side of the transport platform. You should have a full inventory after doing so, but if for some reason you don’t, it’s a good idea to go buy a bit more back at the Reforge station — you’ll need it shortly. Once you’re ready, interact with the console at the front of the platform (1) to begin your ride.
After starting the platform, you’ll be attacked by four waves of enemies, in order:
Left side (3)
Rear (2)
Front (4)
Right (4)
Weirdly, it doesn’t seem that you can GRP-toss them into the fan at the back of the platform — but you can easily throw them over the sides instead. After all four waves of regular enemies, make sure you restock at the loot crates if there’s anything left in them. After a few moments, you’ll be attacked by your first Two-Head.
Survive the Platform Ride
Because your dodges take you well out of melee range, you’re generally forced to use ranged attacks against the Two-Head. The pattern for fighting it is dodge, shoot, dodge, shoot — you can only get one or two shots off before you’ll need to dodge again. It only attacks one attack at a time, so no need to chain dodges. You can also kite it by running away, turning and shooting, and running away if you aren’t comfortable dodging.
Once it goes down the first time, melee attack it until you knock one of its heads off. Then repeat the dodge/shoot pattern until it goes down again, and you can finish it off with melee attacks. If you need to reload, just hold sprint and walk backwards after dodging — you should be able to stay out of range, and as long as you’re also holding left or right, you’ll dodge any attacks that come your way.
Make sure you stomp the corpse once it goes down, since Two-Heads drop valuable loot. Then make a final pass of all the loot crates while waiting for the ride to stop. When it does, get off the transport platform and head towards the open door — just before the stairs that lead to the door is a corpse with the audio log Arden Jeddha: Arcas Evacuation.
Walking through the door will begin the next chapter, Colony.
Unabashed FromSoftware fanboy still learning to take his time with games (and everything else, really). The time he doesn't spend on games is spent on music, books, or occasionally going outside.