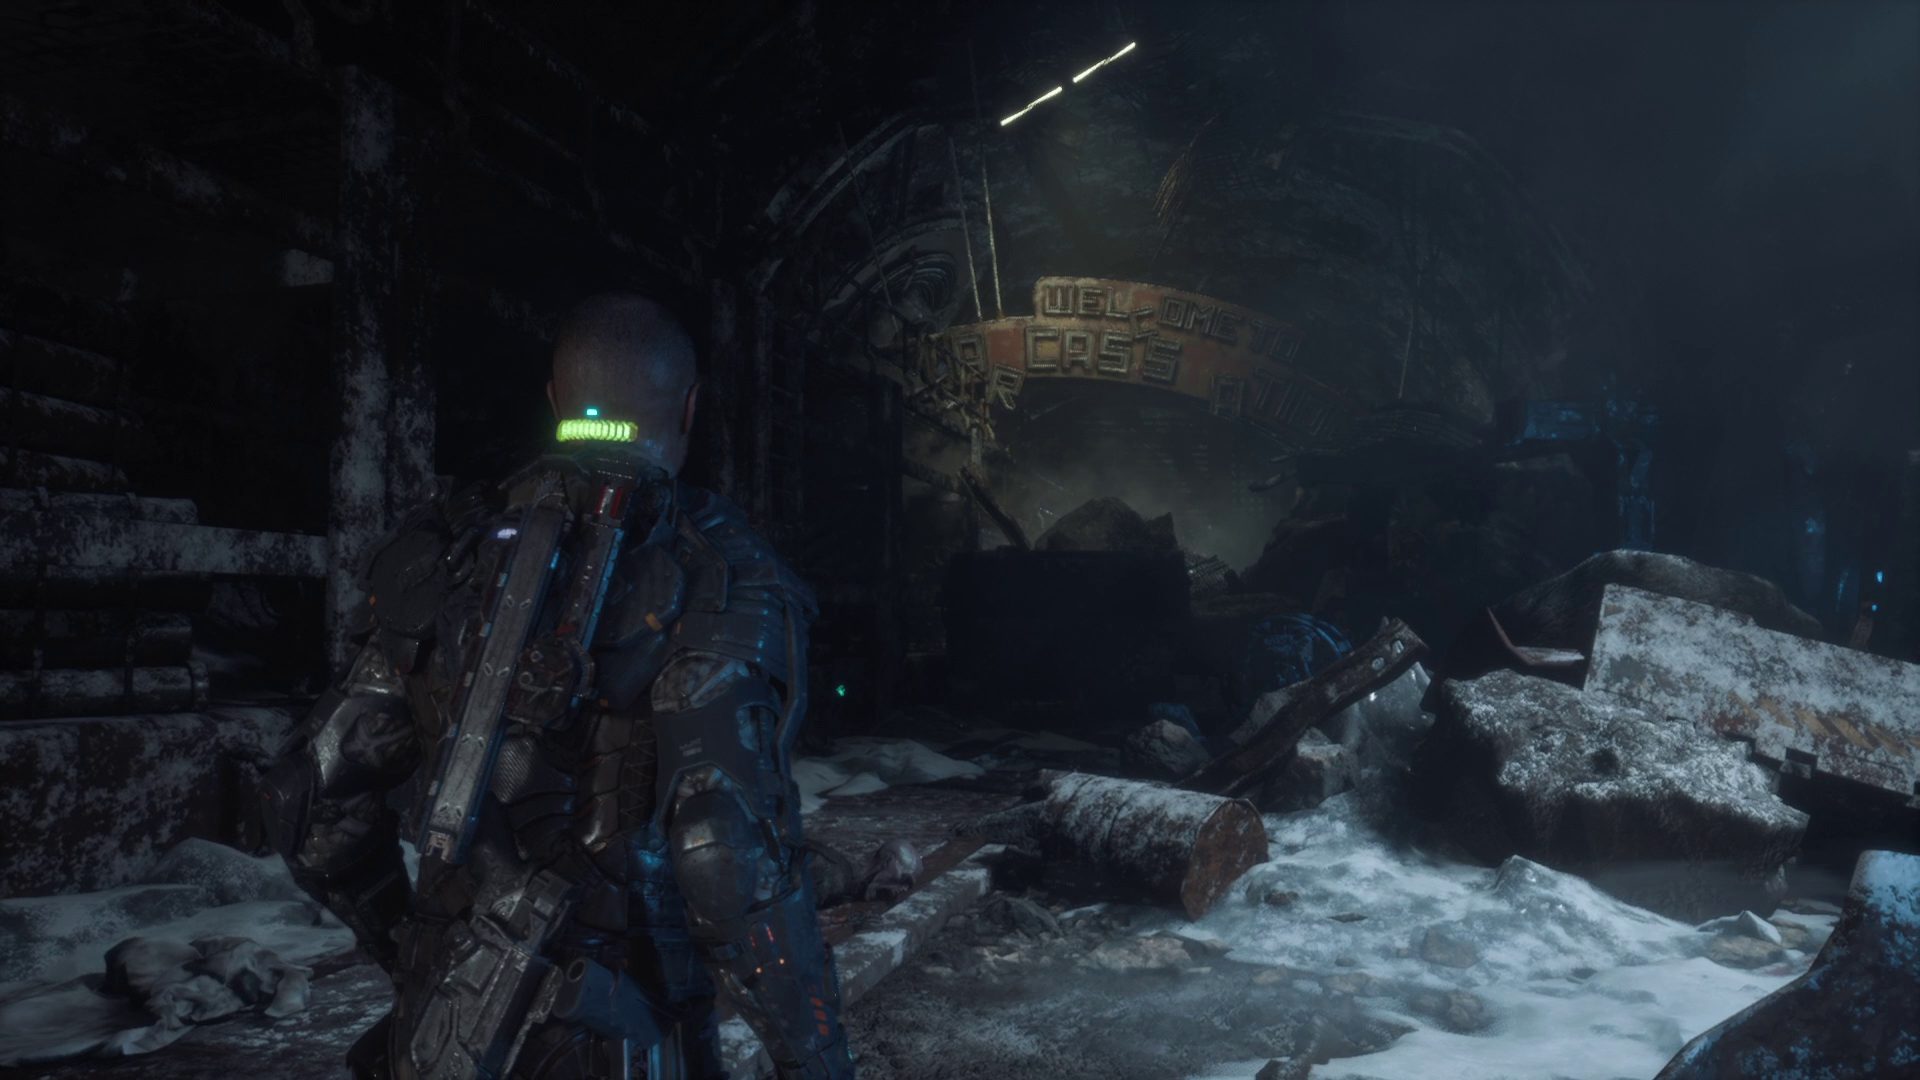
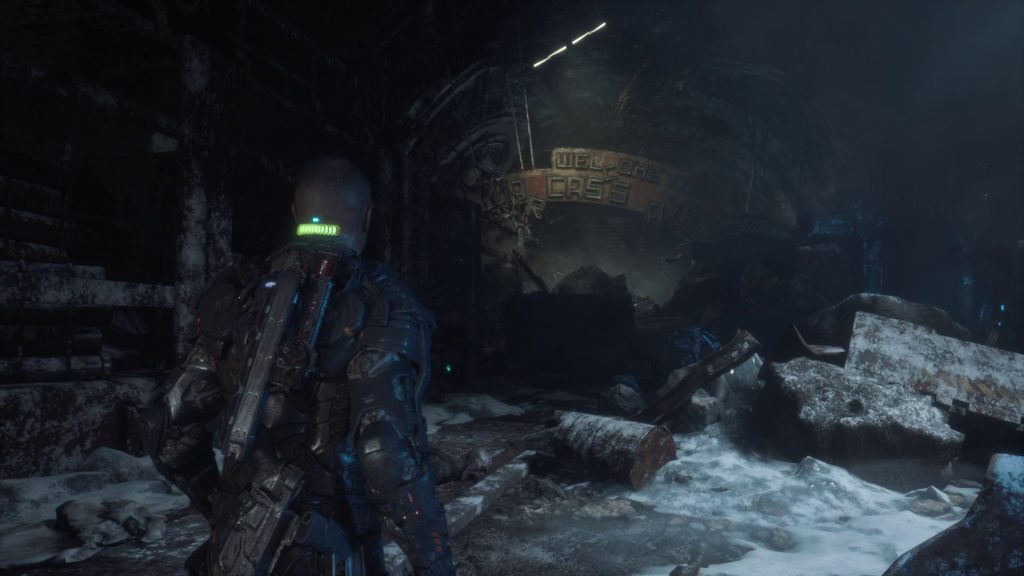
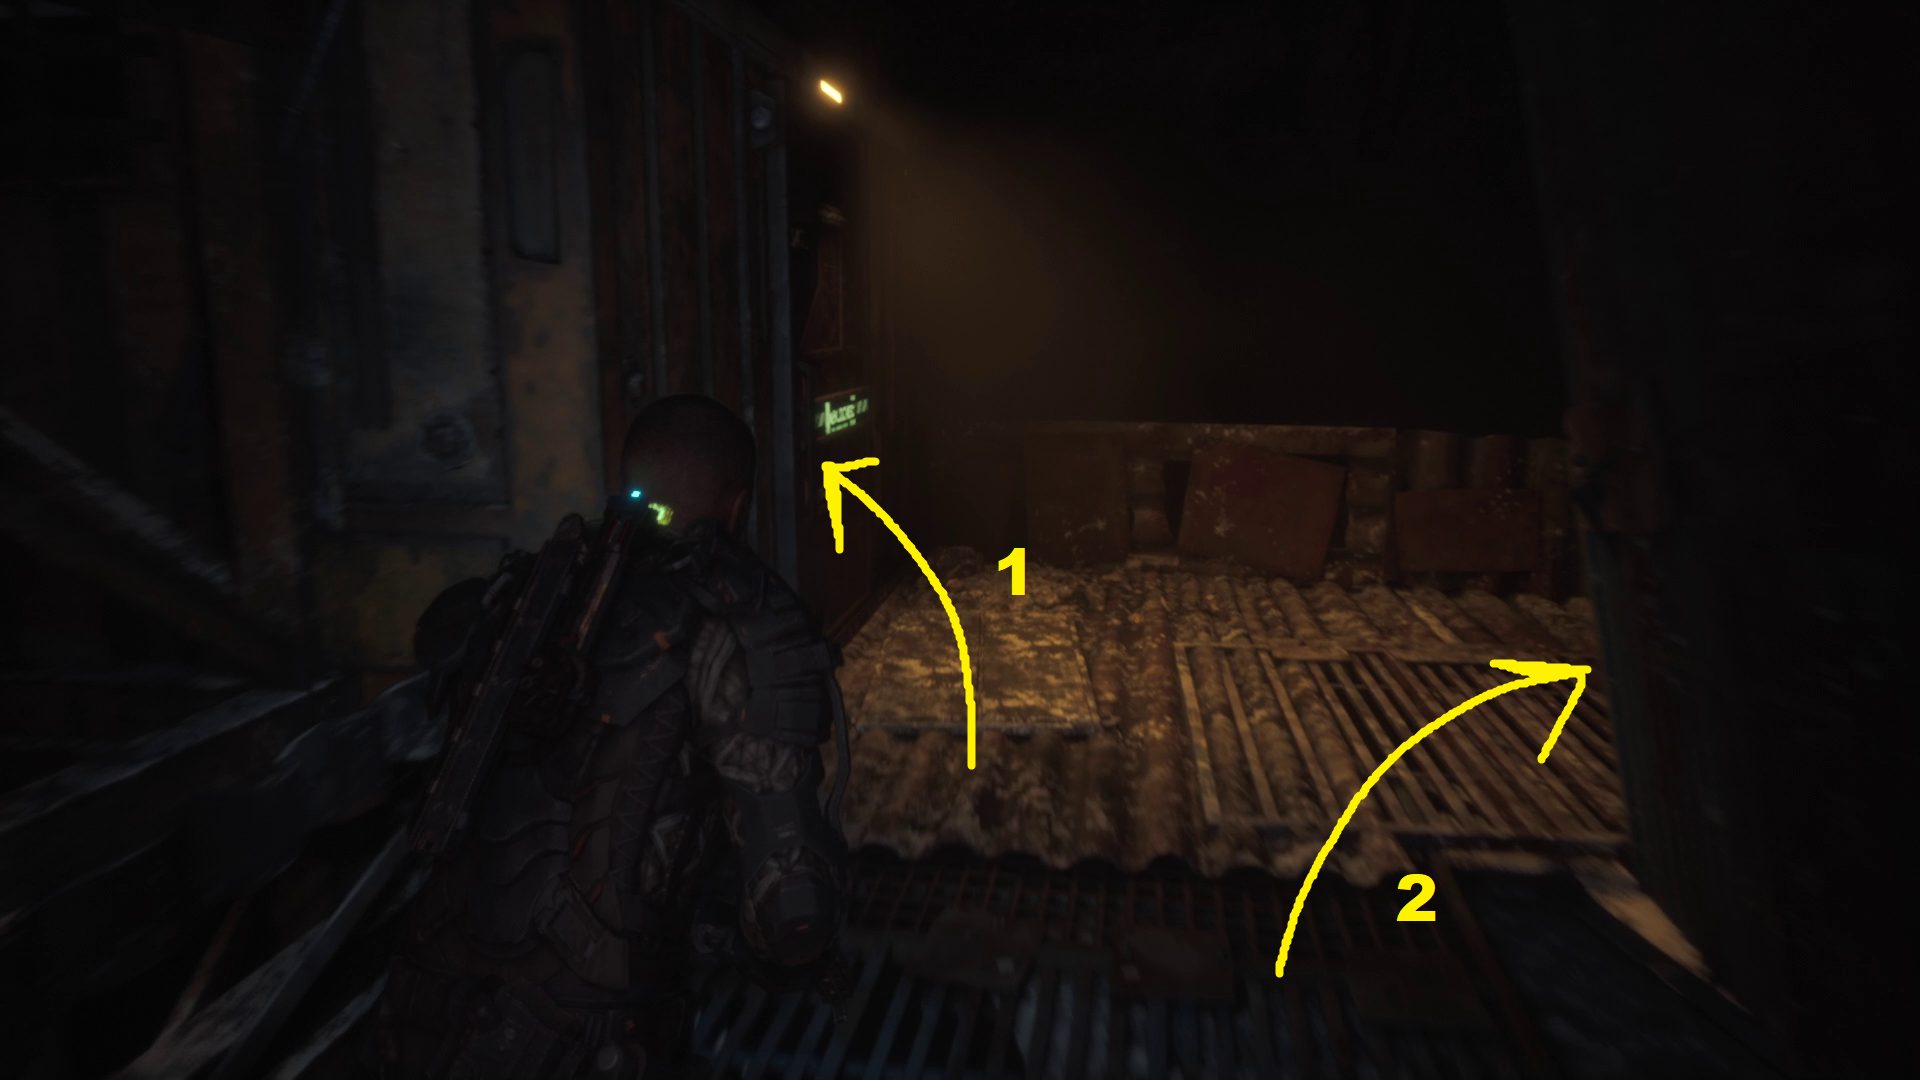
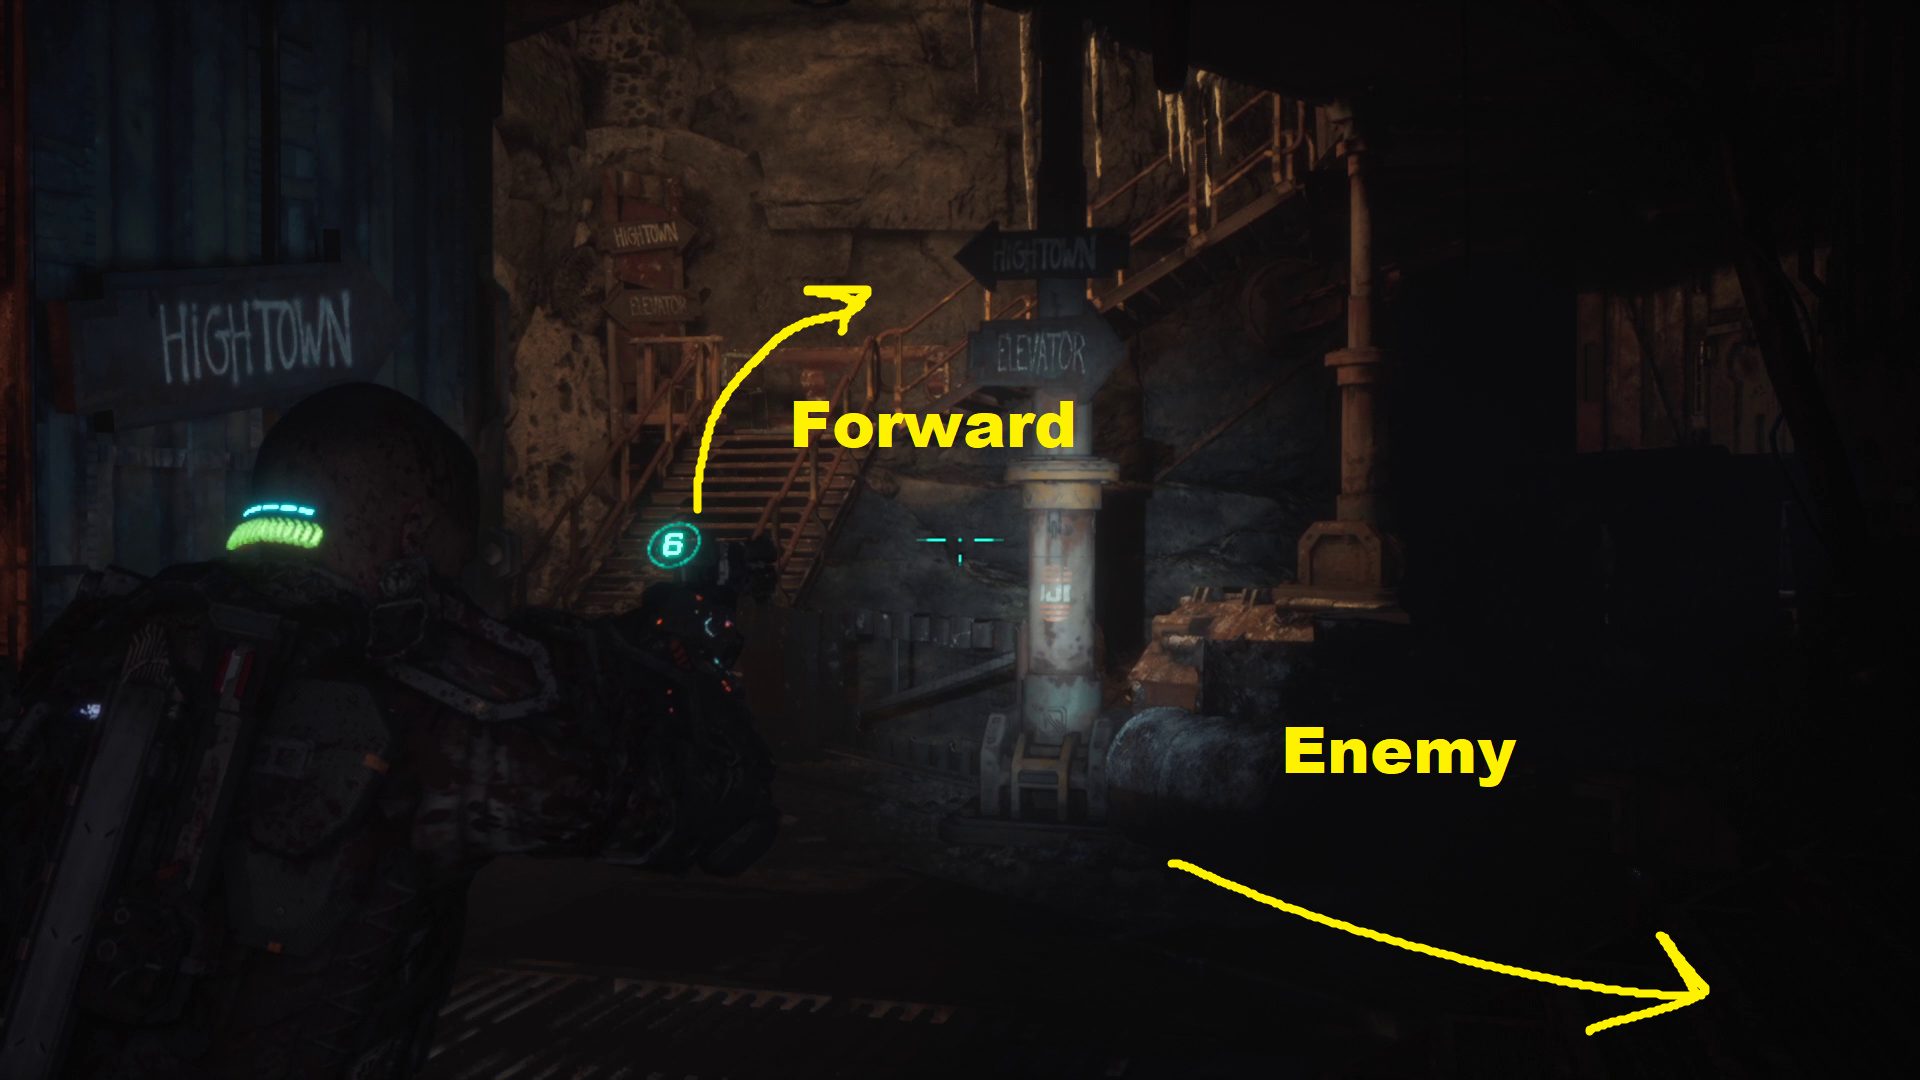
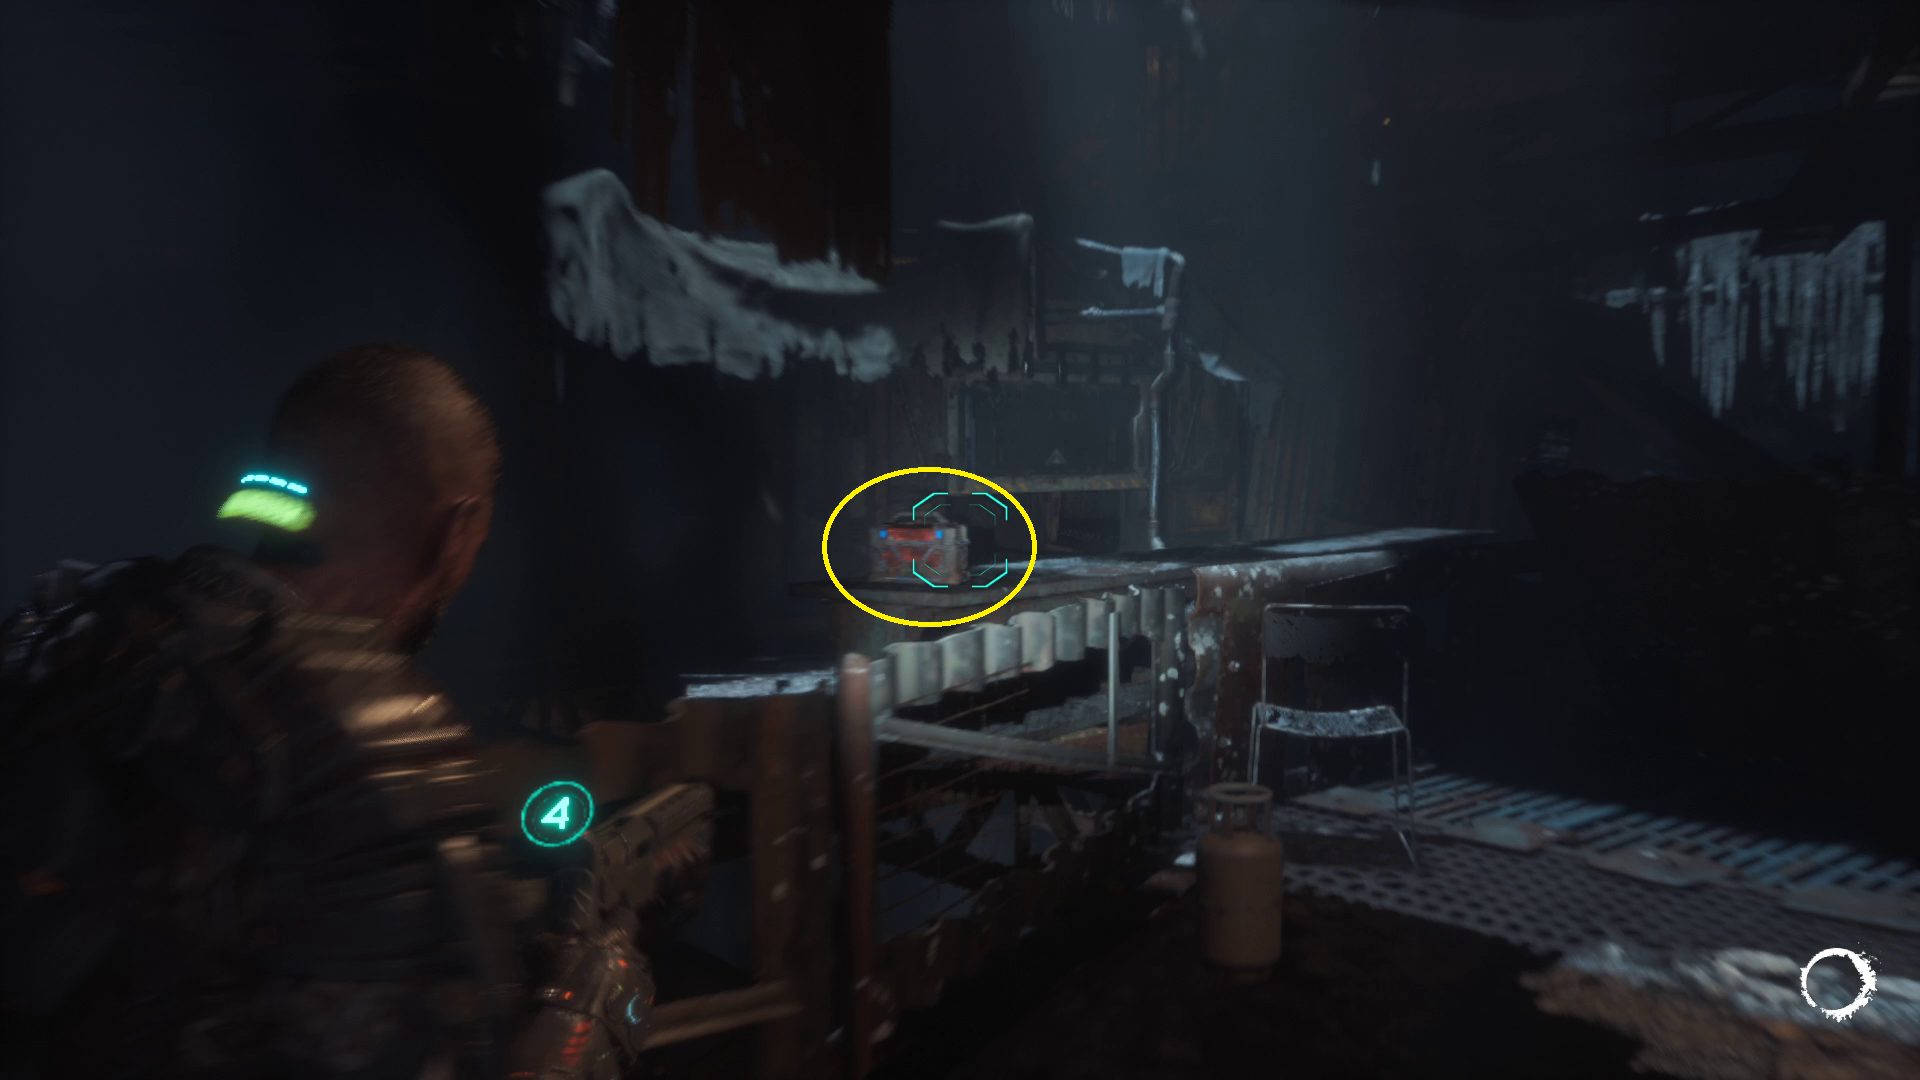
This chapter begins with a brief radio conversation with Dani, and then you’re off to find the old colony. Walk forwards down the stairs, then go left around the rubble. The main path is through the tunnel on your right, but first you should grab the audio log Alex Wang: Miner Log 1, and then go up the ladder to find a loot chest on the left (1). After climbing down from the ladder, head across the tunnel and climb up the stone ledge (2). Continue forward and squeeze through the gap, then climb up the icy ledge and make your way forward a bit more. Once you reach the colony’s first structures, go left into the doorway (3).
12
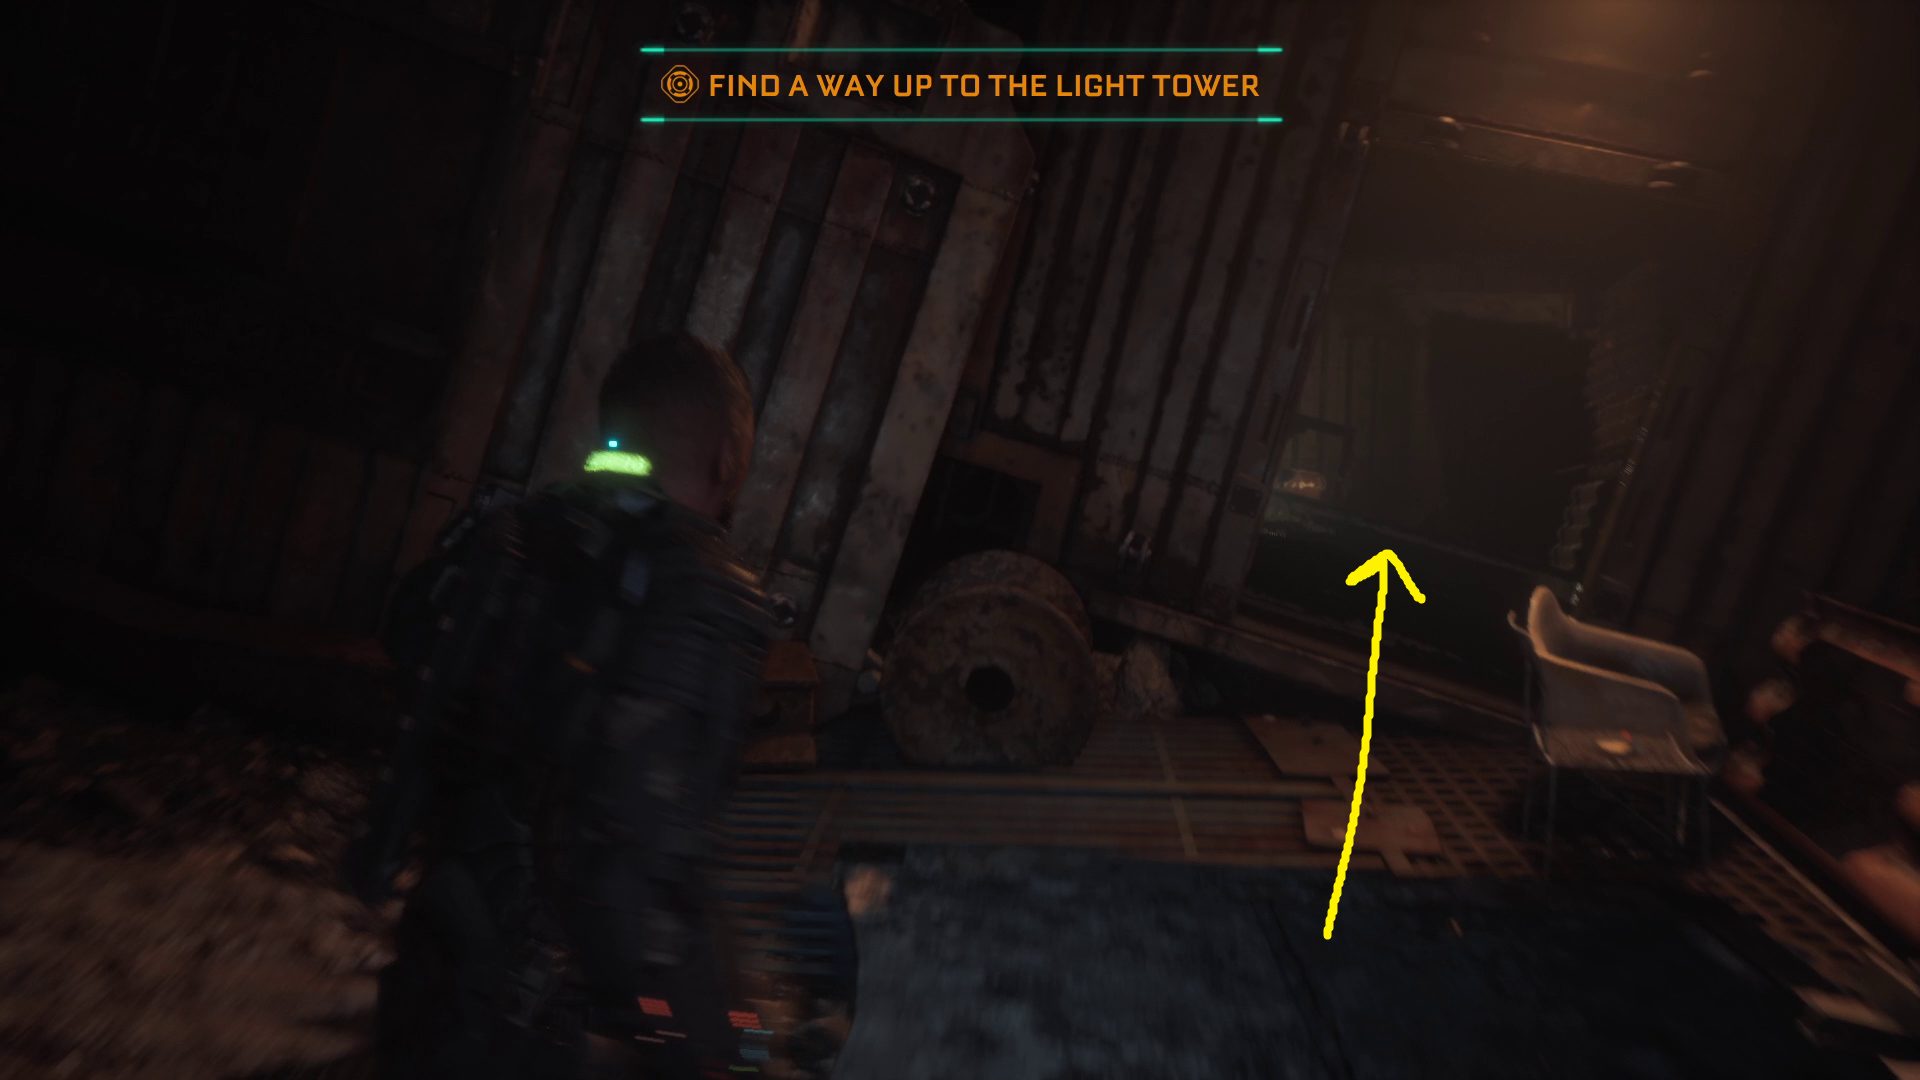
Find a Way Up to the Light Tower
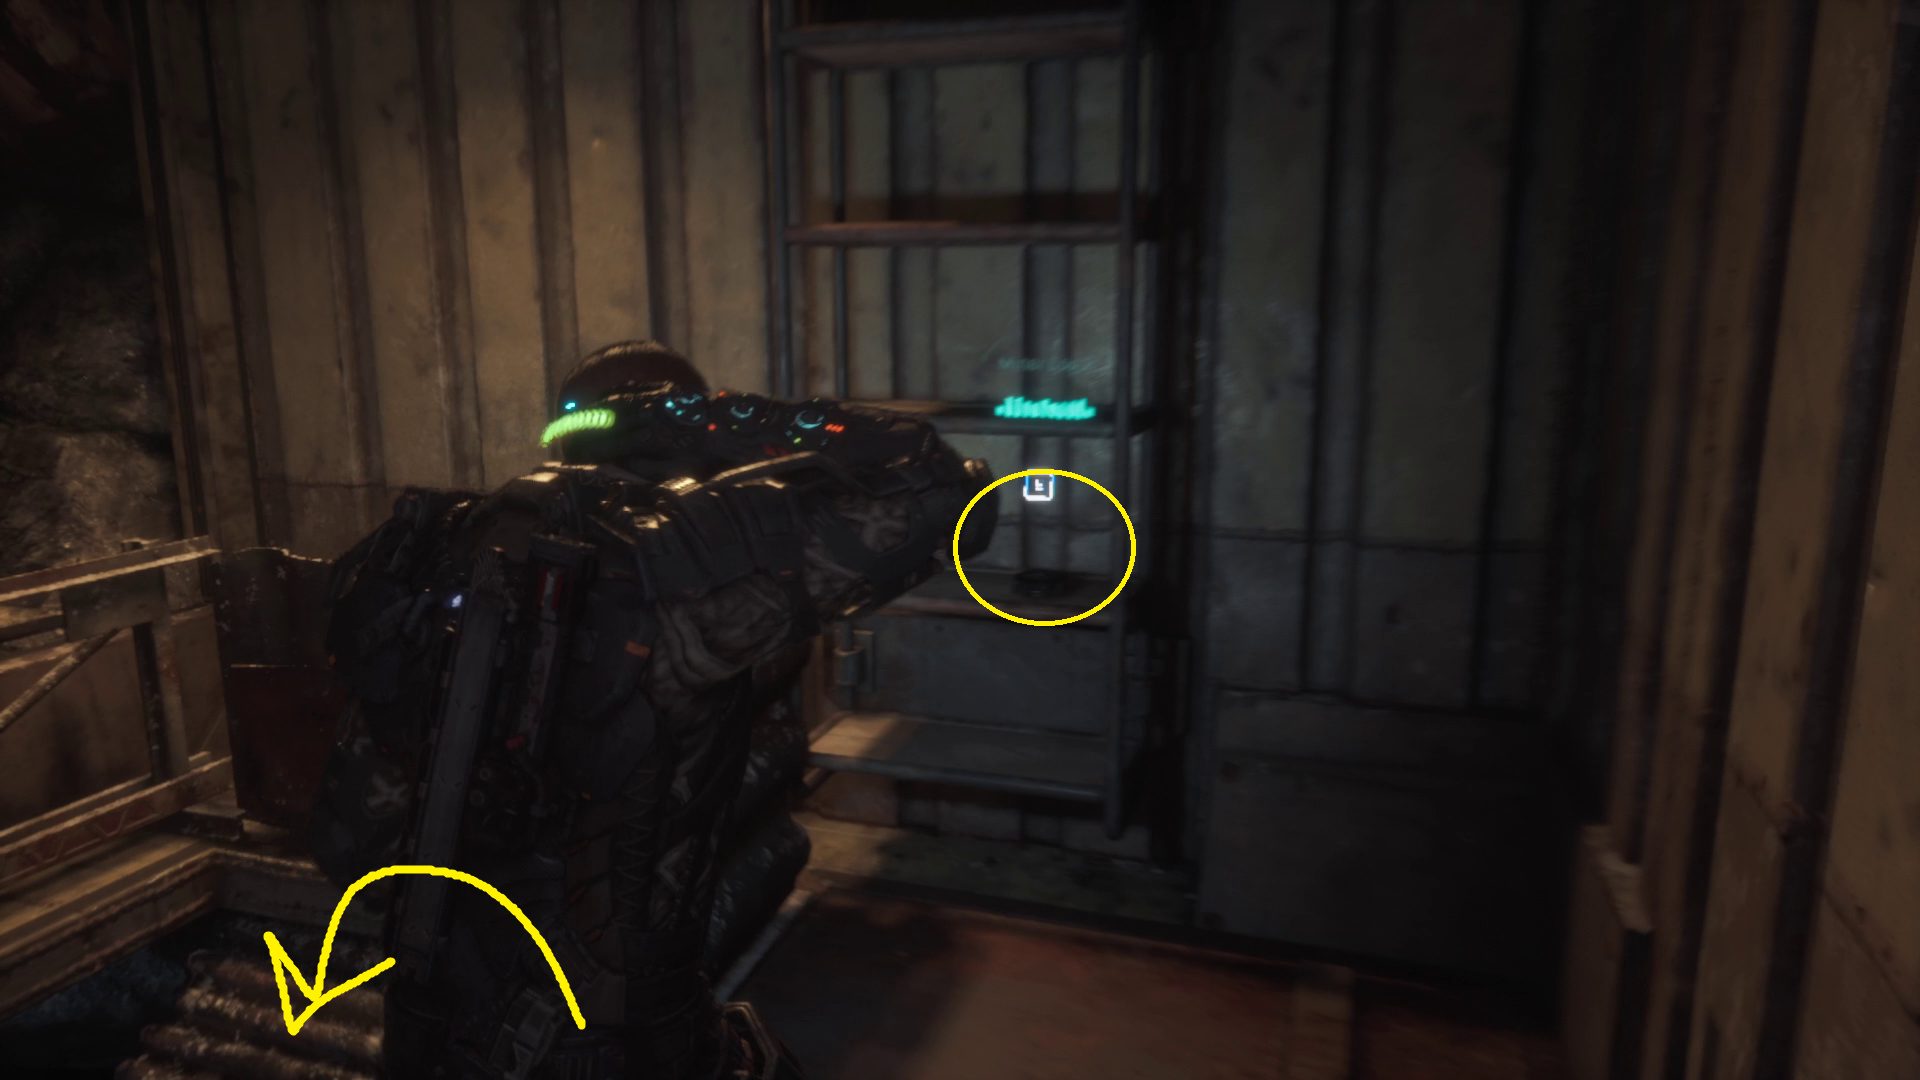
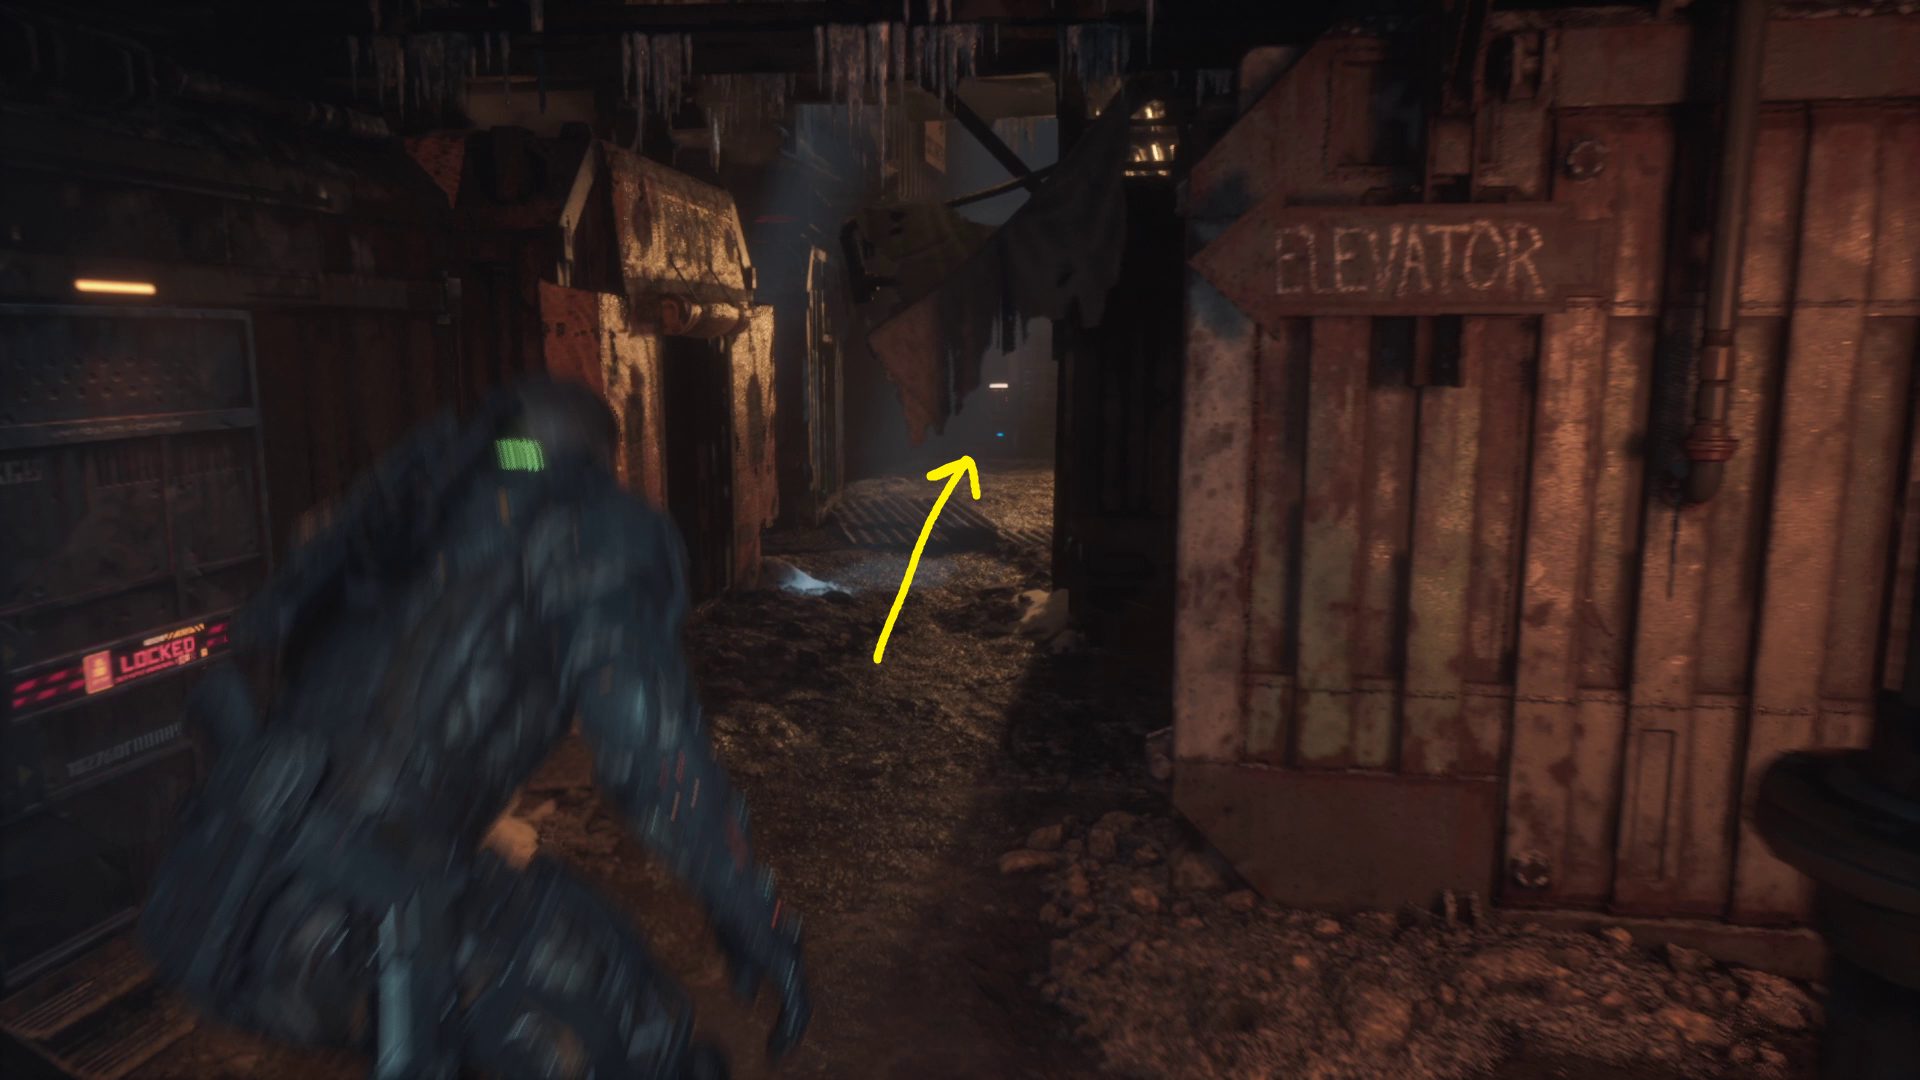
Continue through the room. You’ll have to circle around the hole in the floor — grab the audio log on the shelf (Derryn Barr: Miner Log 2) before using the ladder (1). At the bottom, head straight and climb through the window. Then turn left and go through the hole the falling debris makes. Grab the loot on the floor by the window, then climb through and start sneaking; there are a lot of blind biophages (blindophages) in this area.
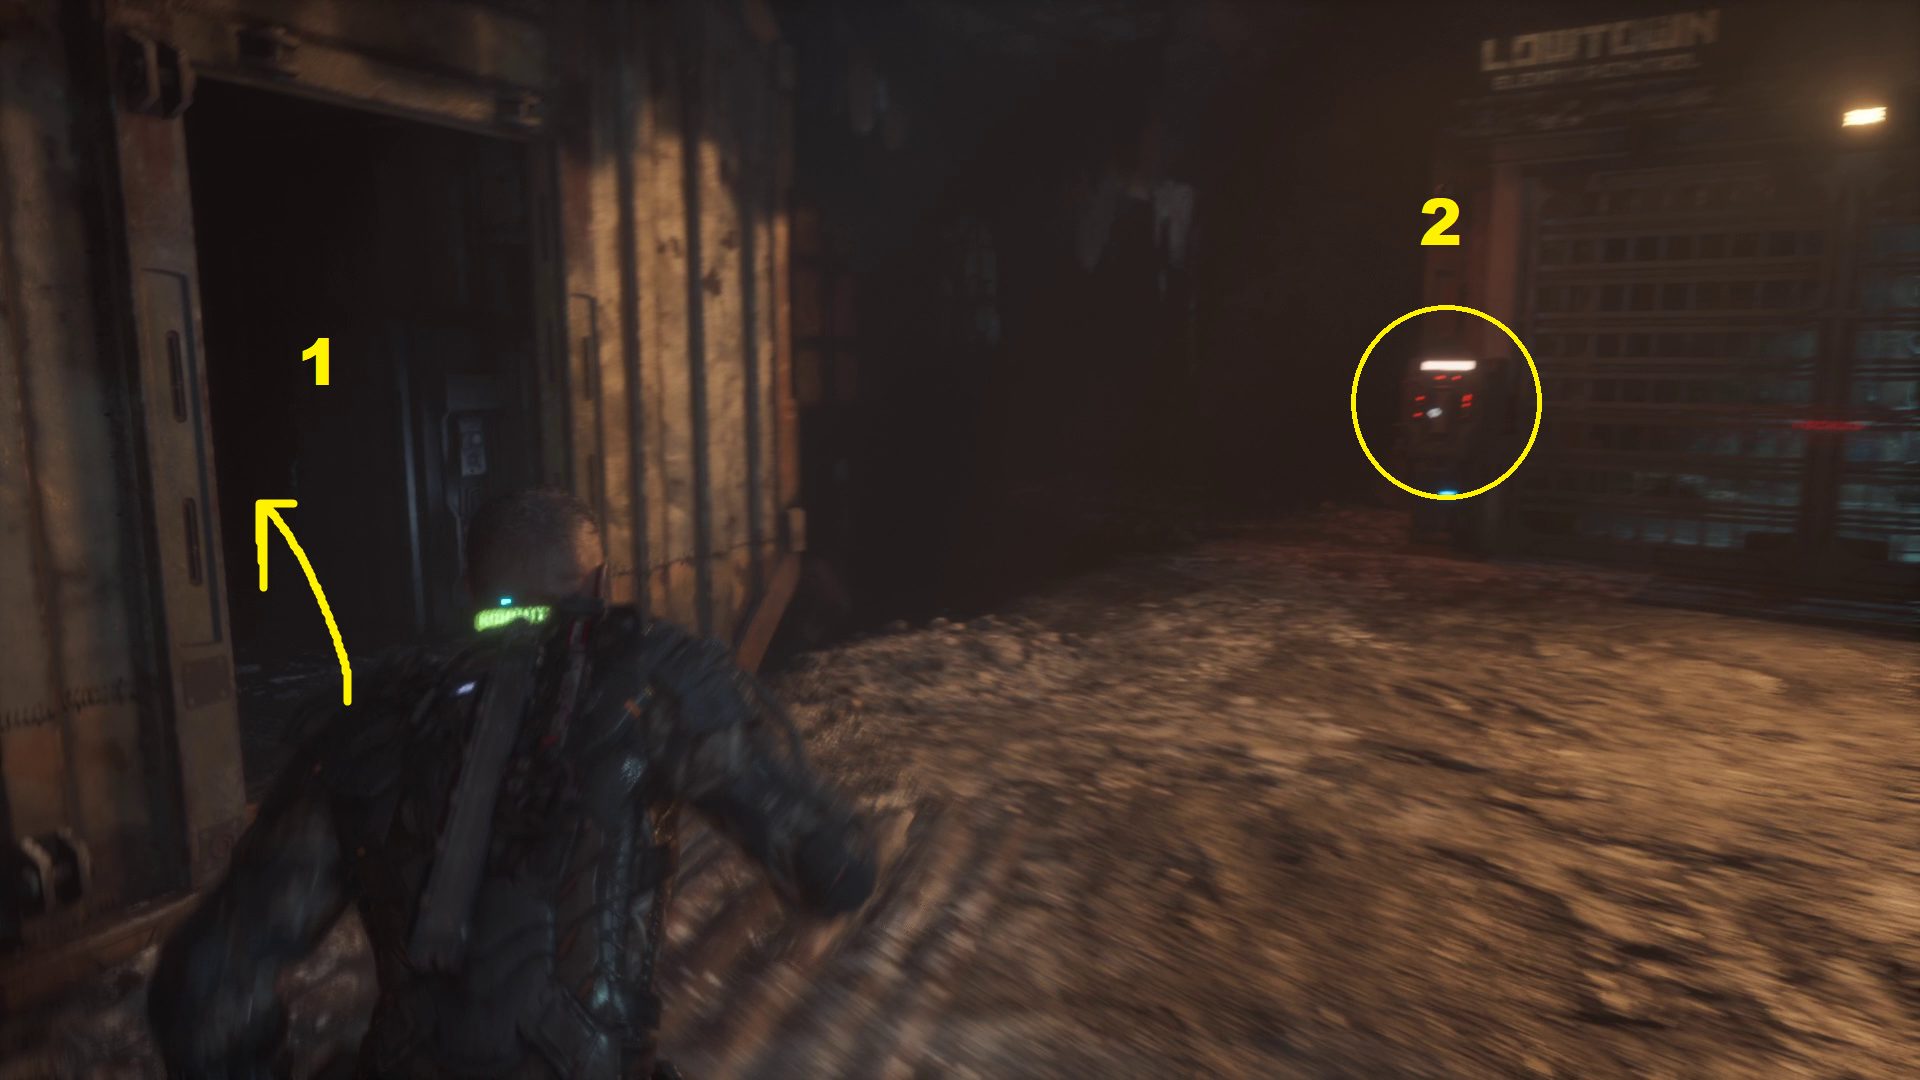
Head towards the elevator (2), but before you interact with the switch (3.2), go through the doorway to the left (3.1) to find a stompable box on the floor of the room in the back of the building. Open up the door to the elevator controls, then interact with the console. It won’t work, and you’ll then need to find the elevator keycard.
123
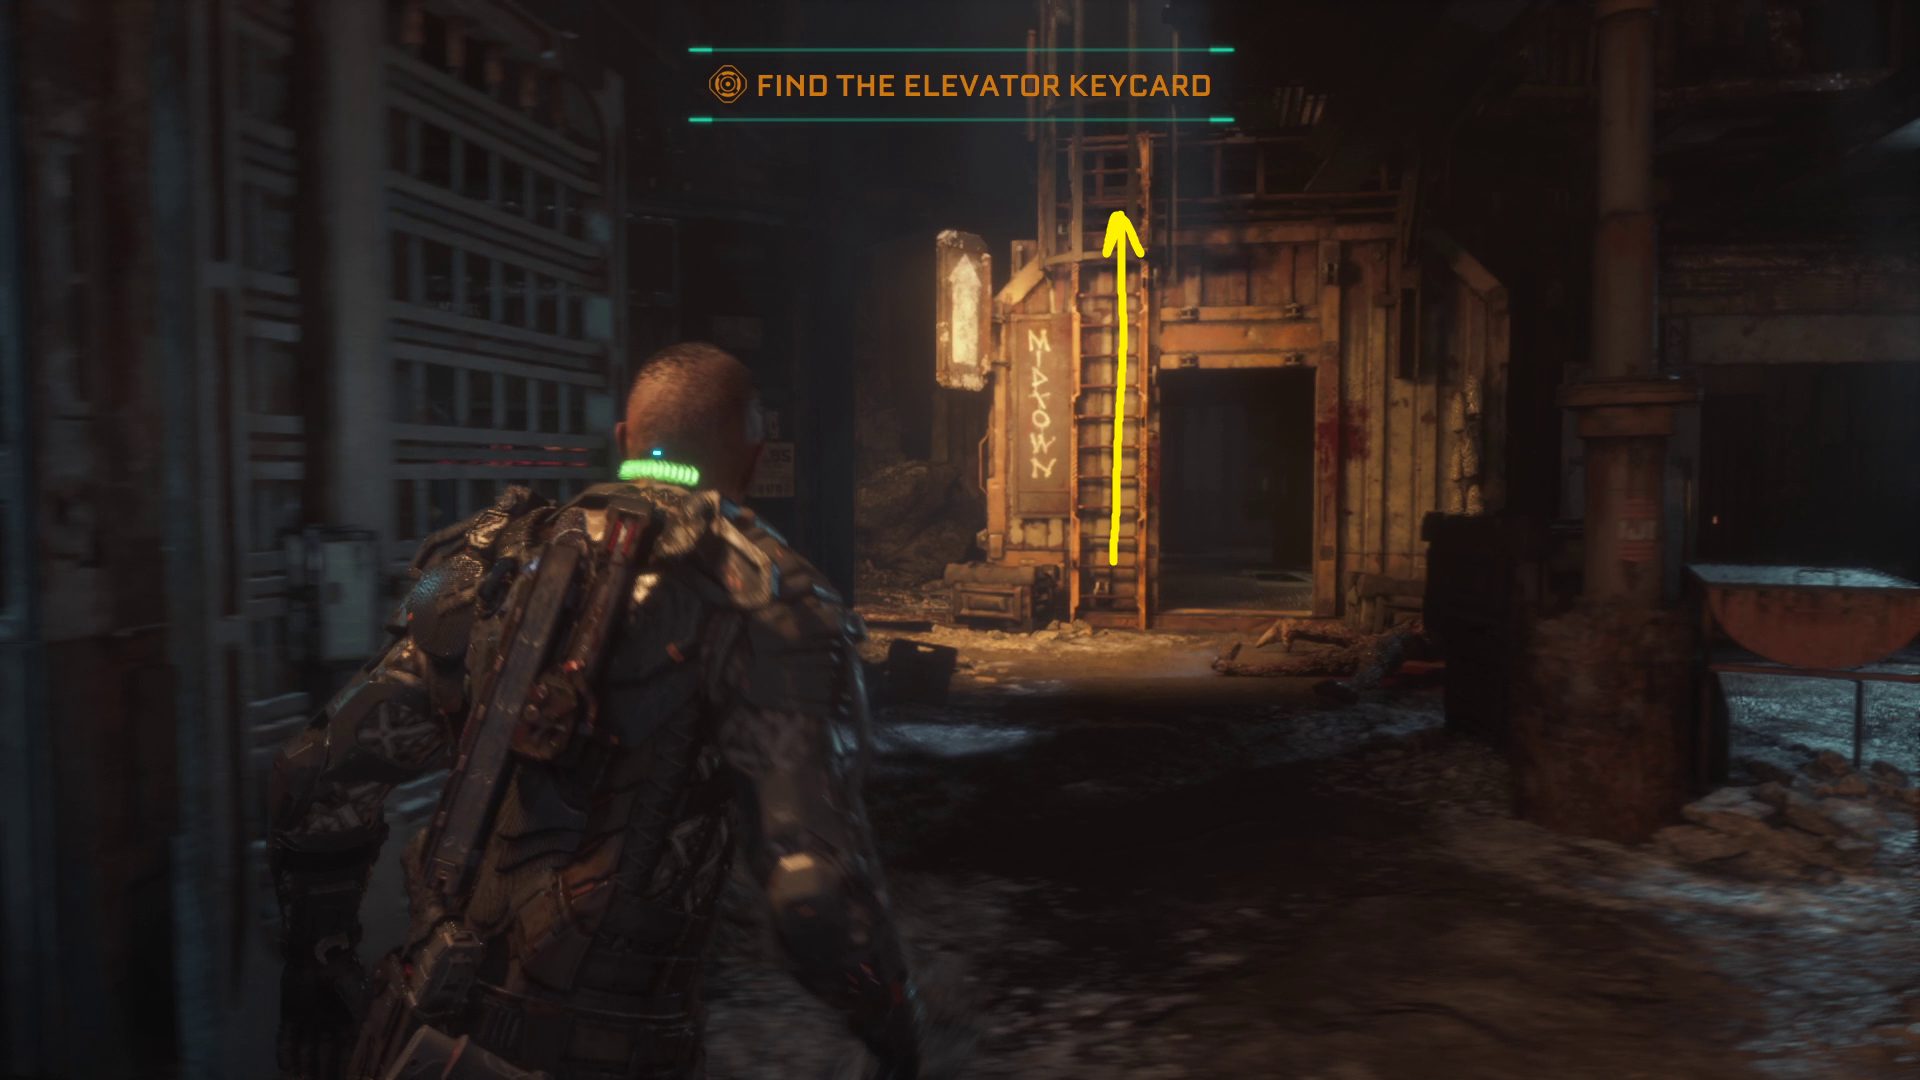
Find the Elevator Keycard
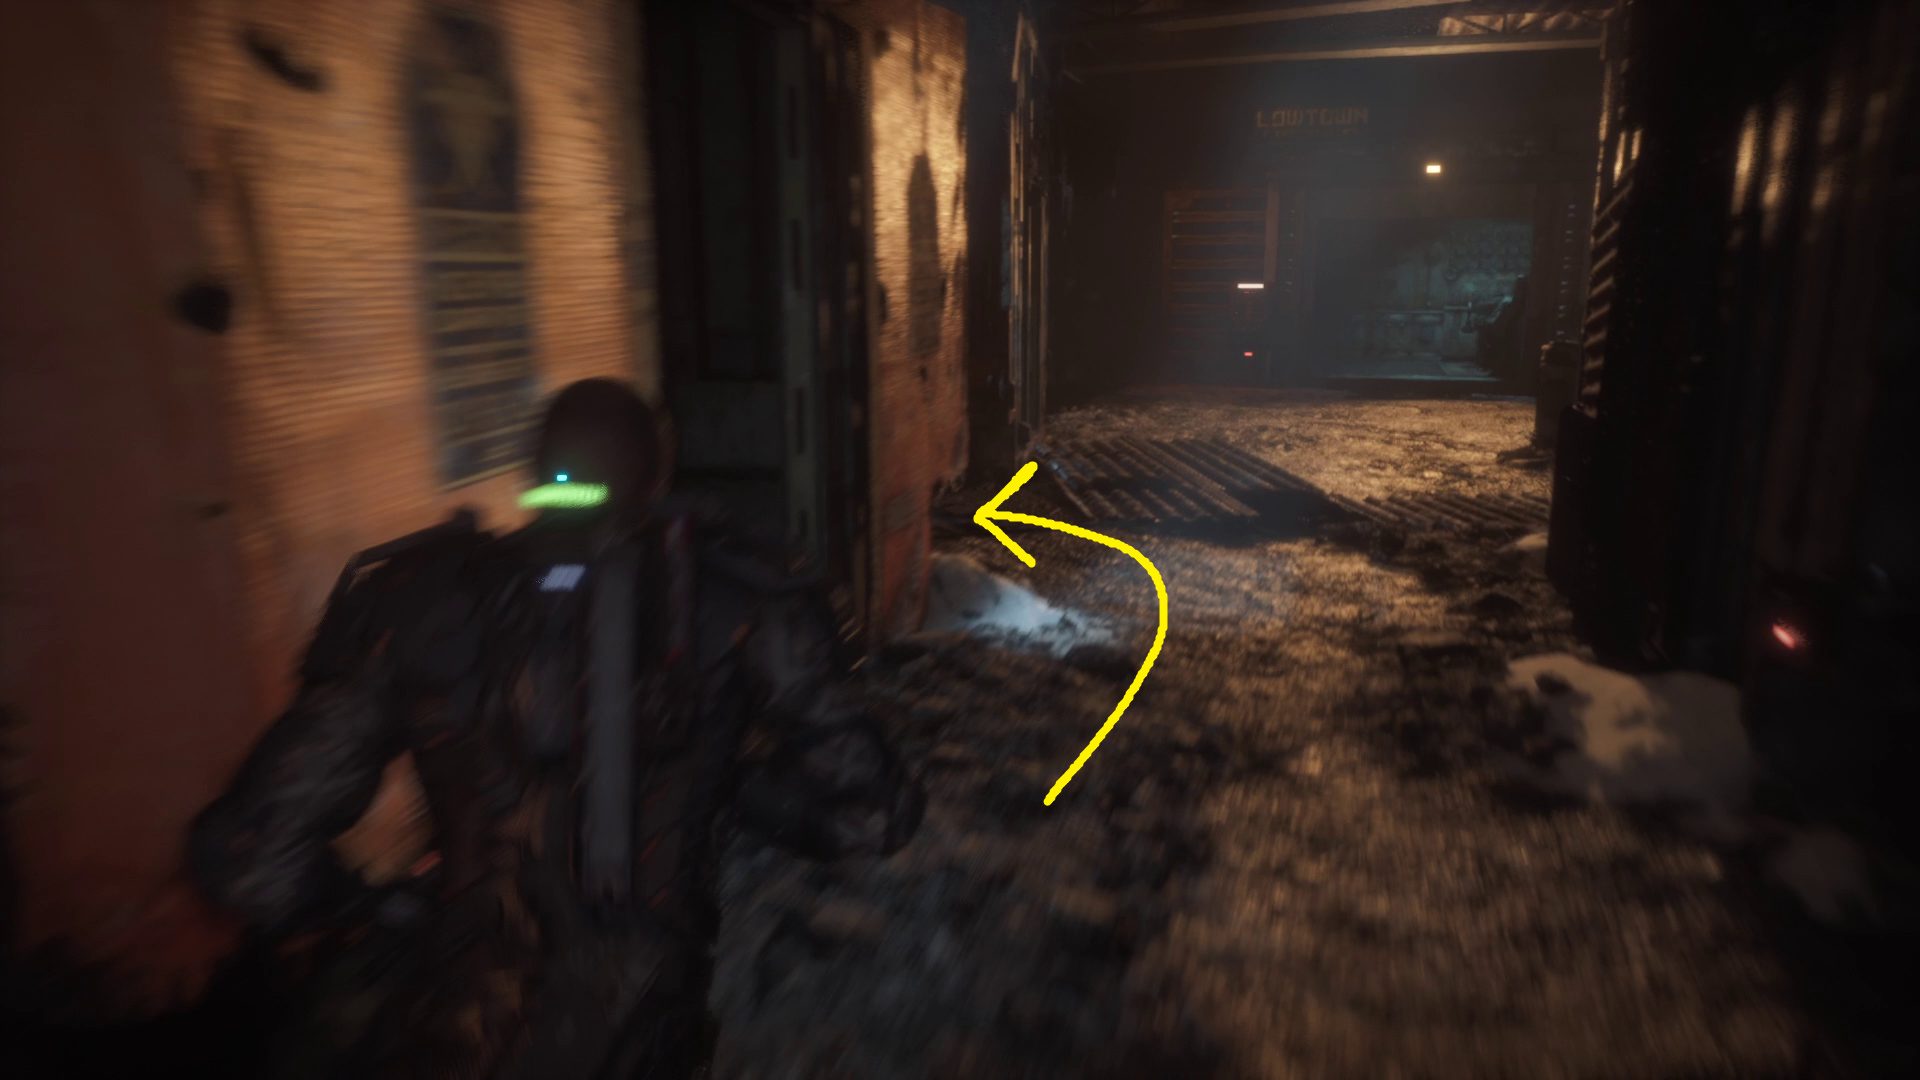
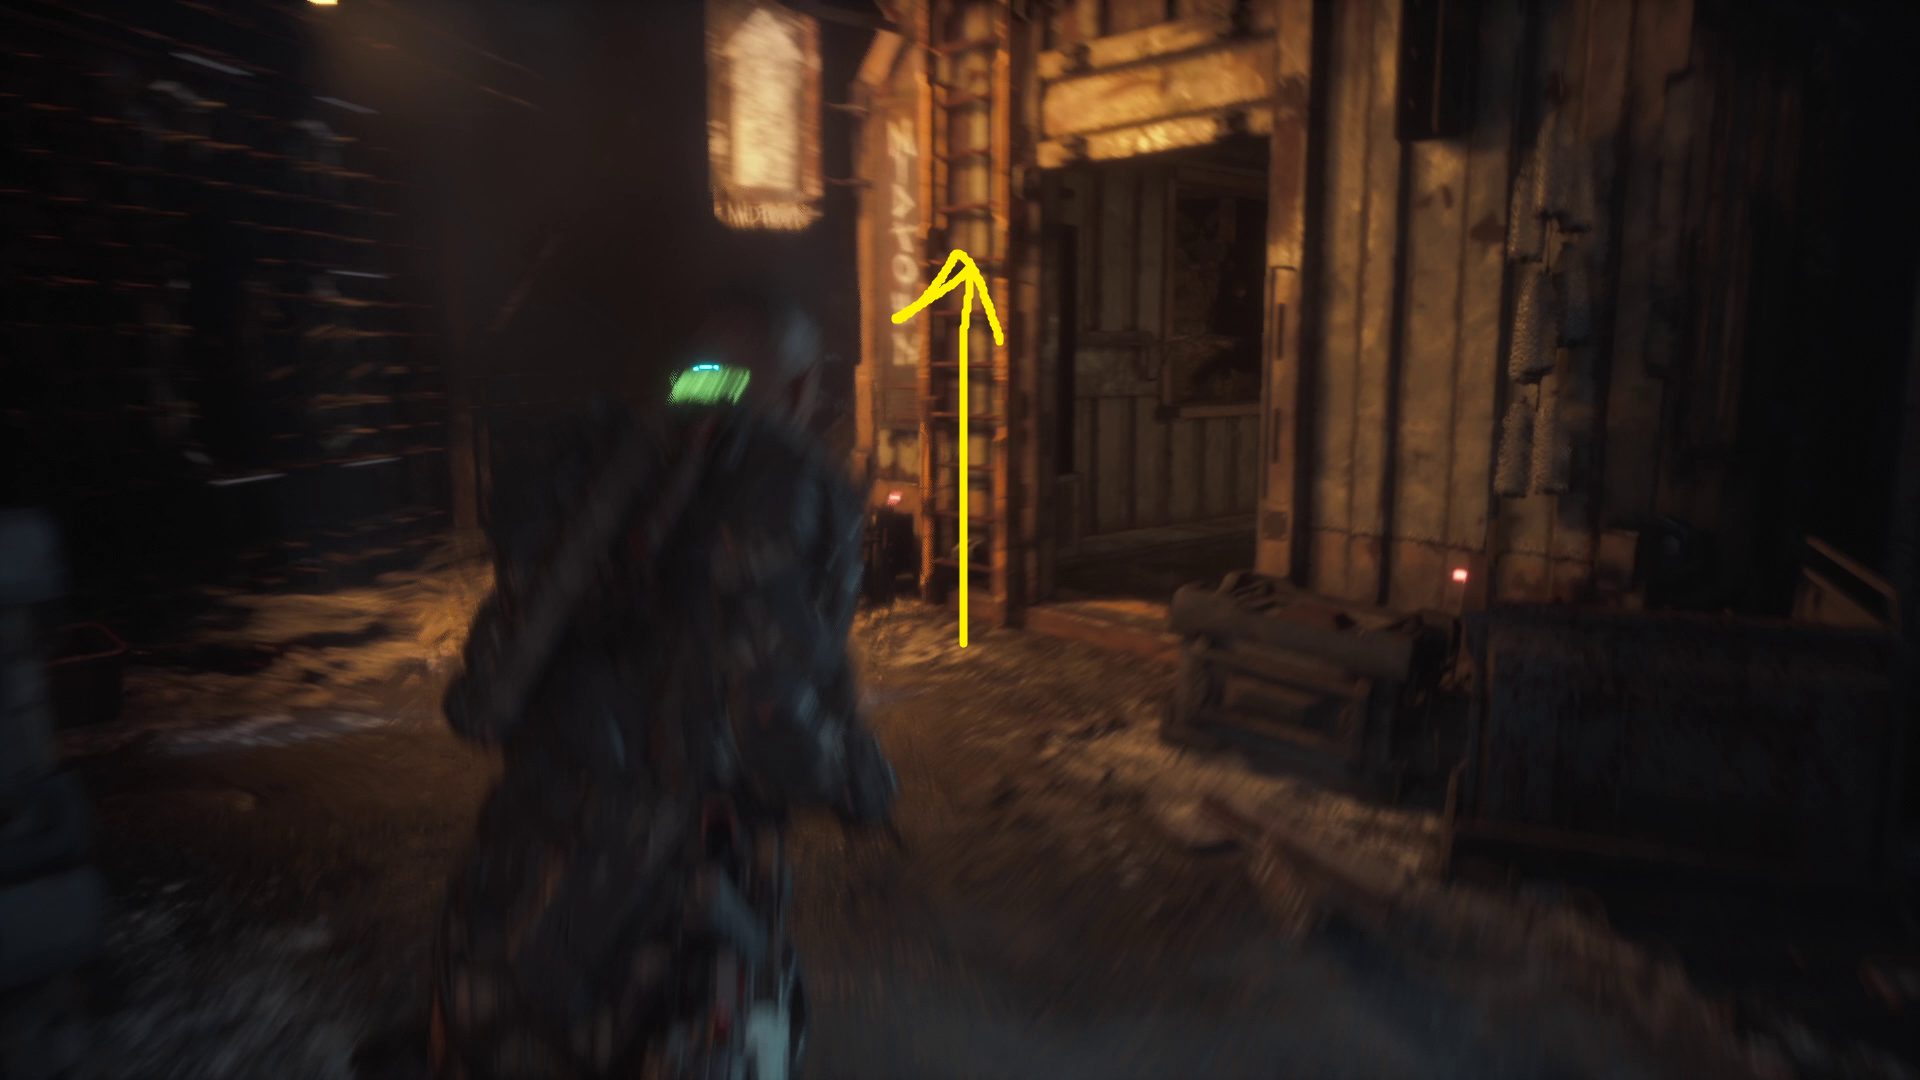
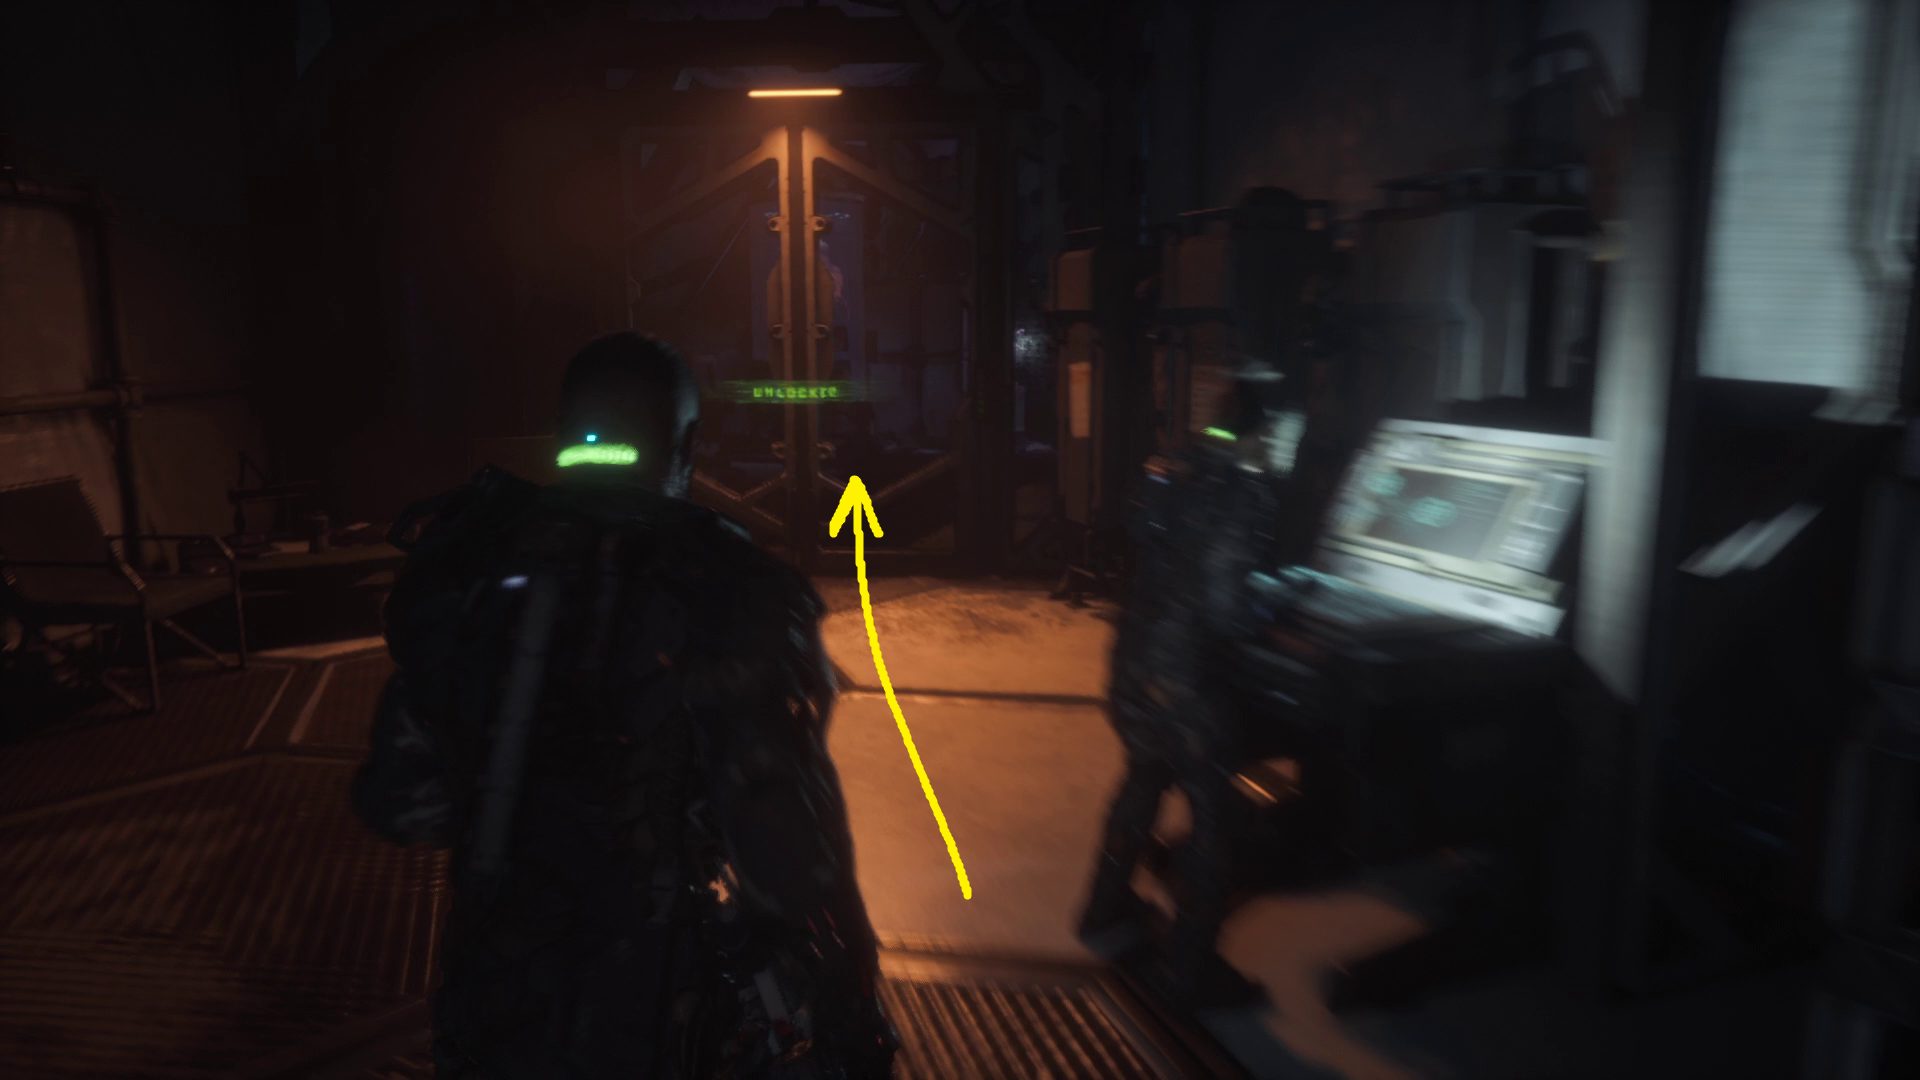
Leave the control room and turn left, then head up the ladder marked “Midtown” (1). The game tries to play a trick on you at the top, but we’ve seen this one before — clear the blindophage so you don’t have to potentially deal with it later. Then GRP-pull the box from the nearby beam, then head to the unlocked door ahead on the left (2). Inside you’ll have to fight an enemy, and in the back room you’ll be able to harvest audio log Derryn Barr: Miner Log 3 — make sure you also grab the loot from the nearby shelves.
12
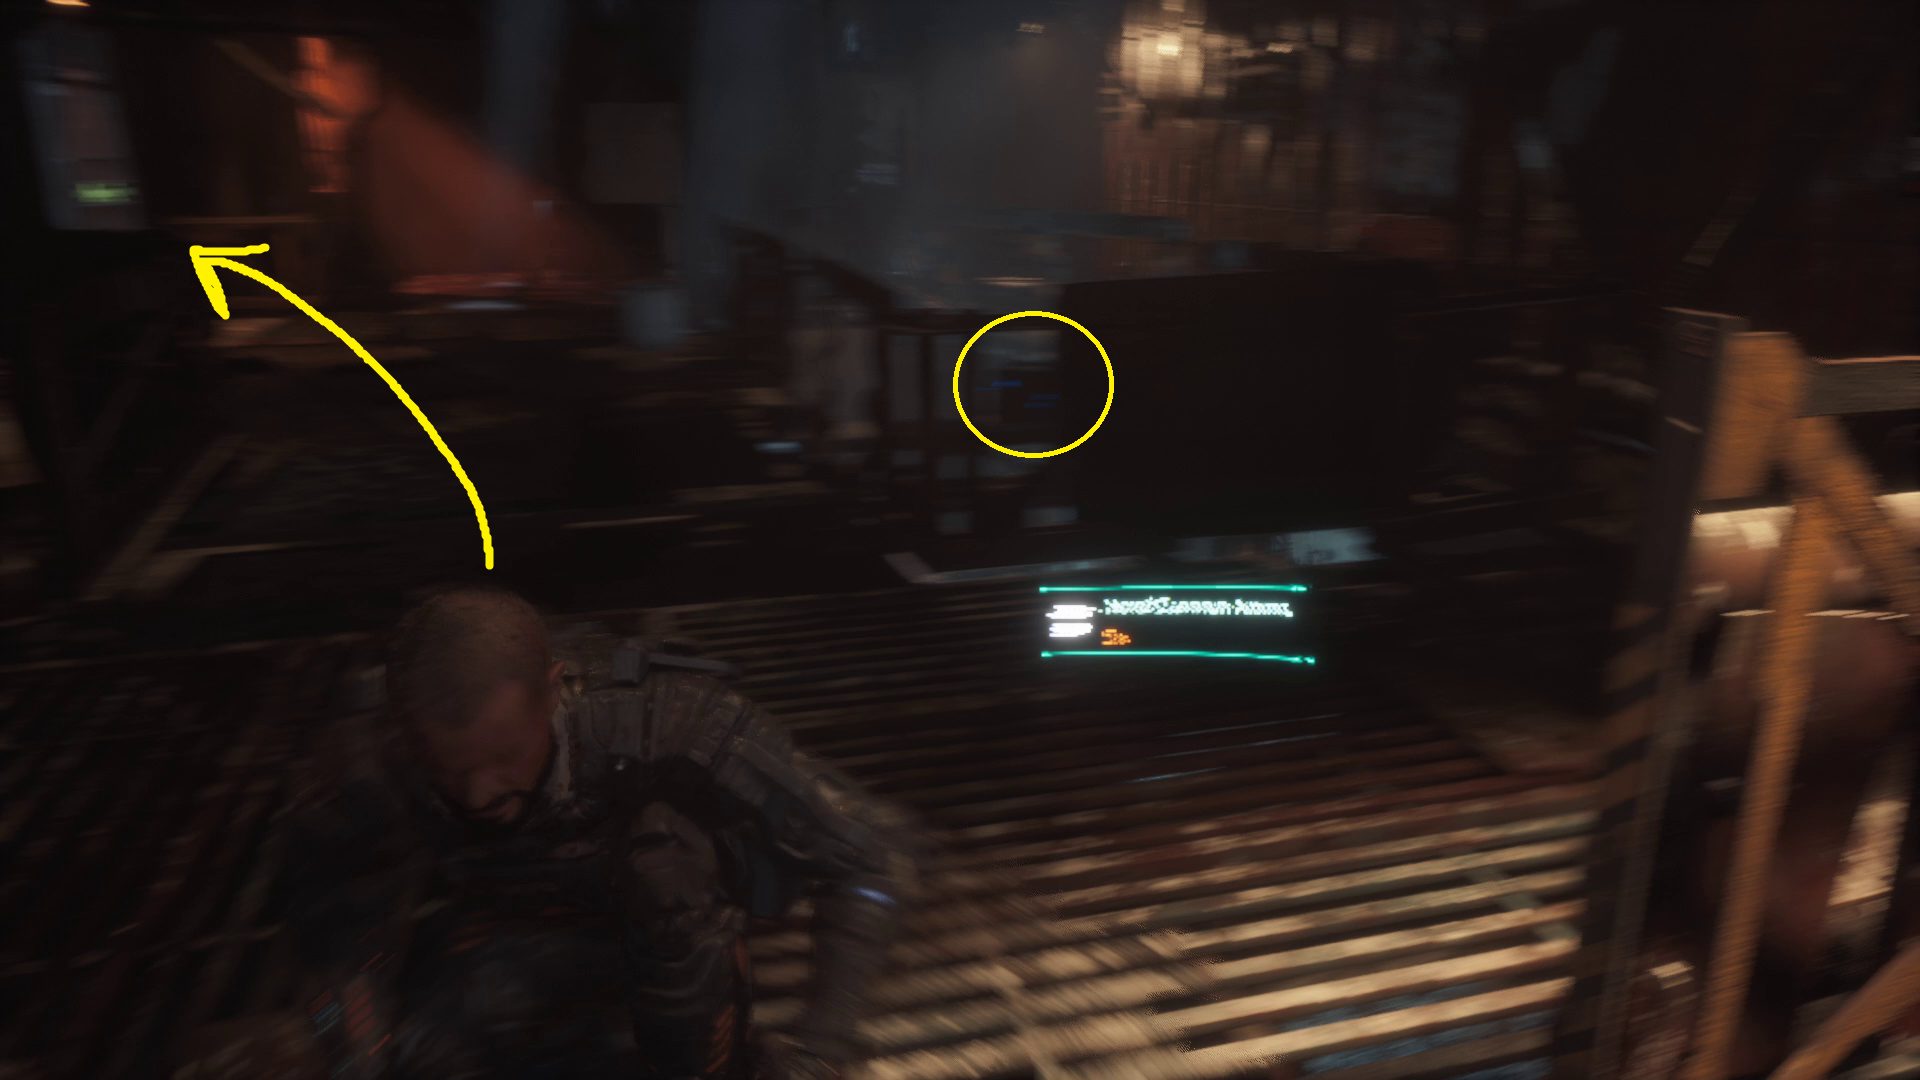
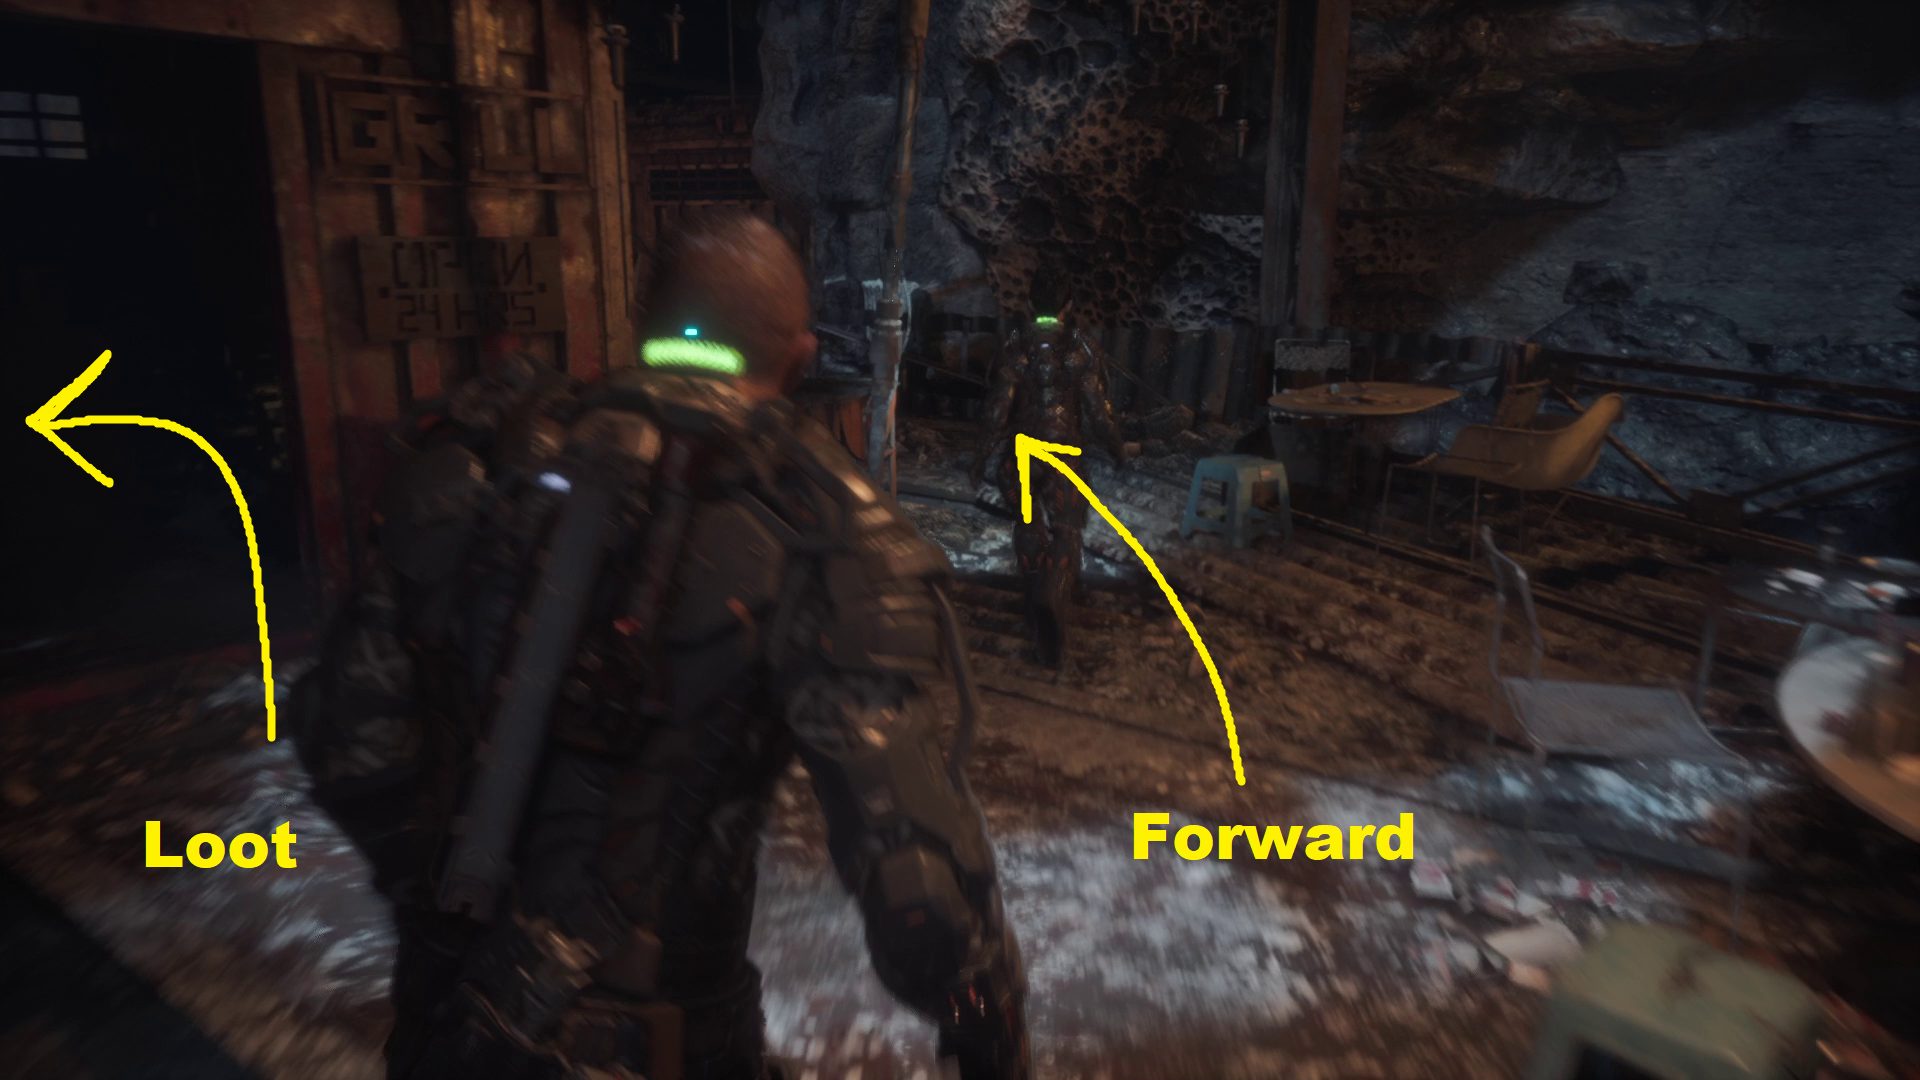
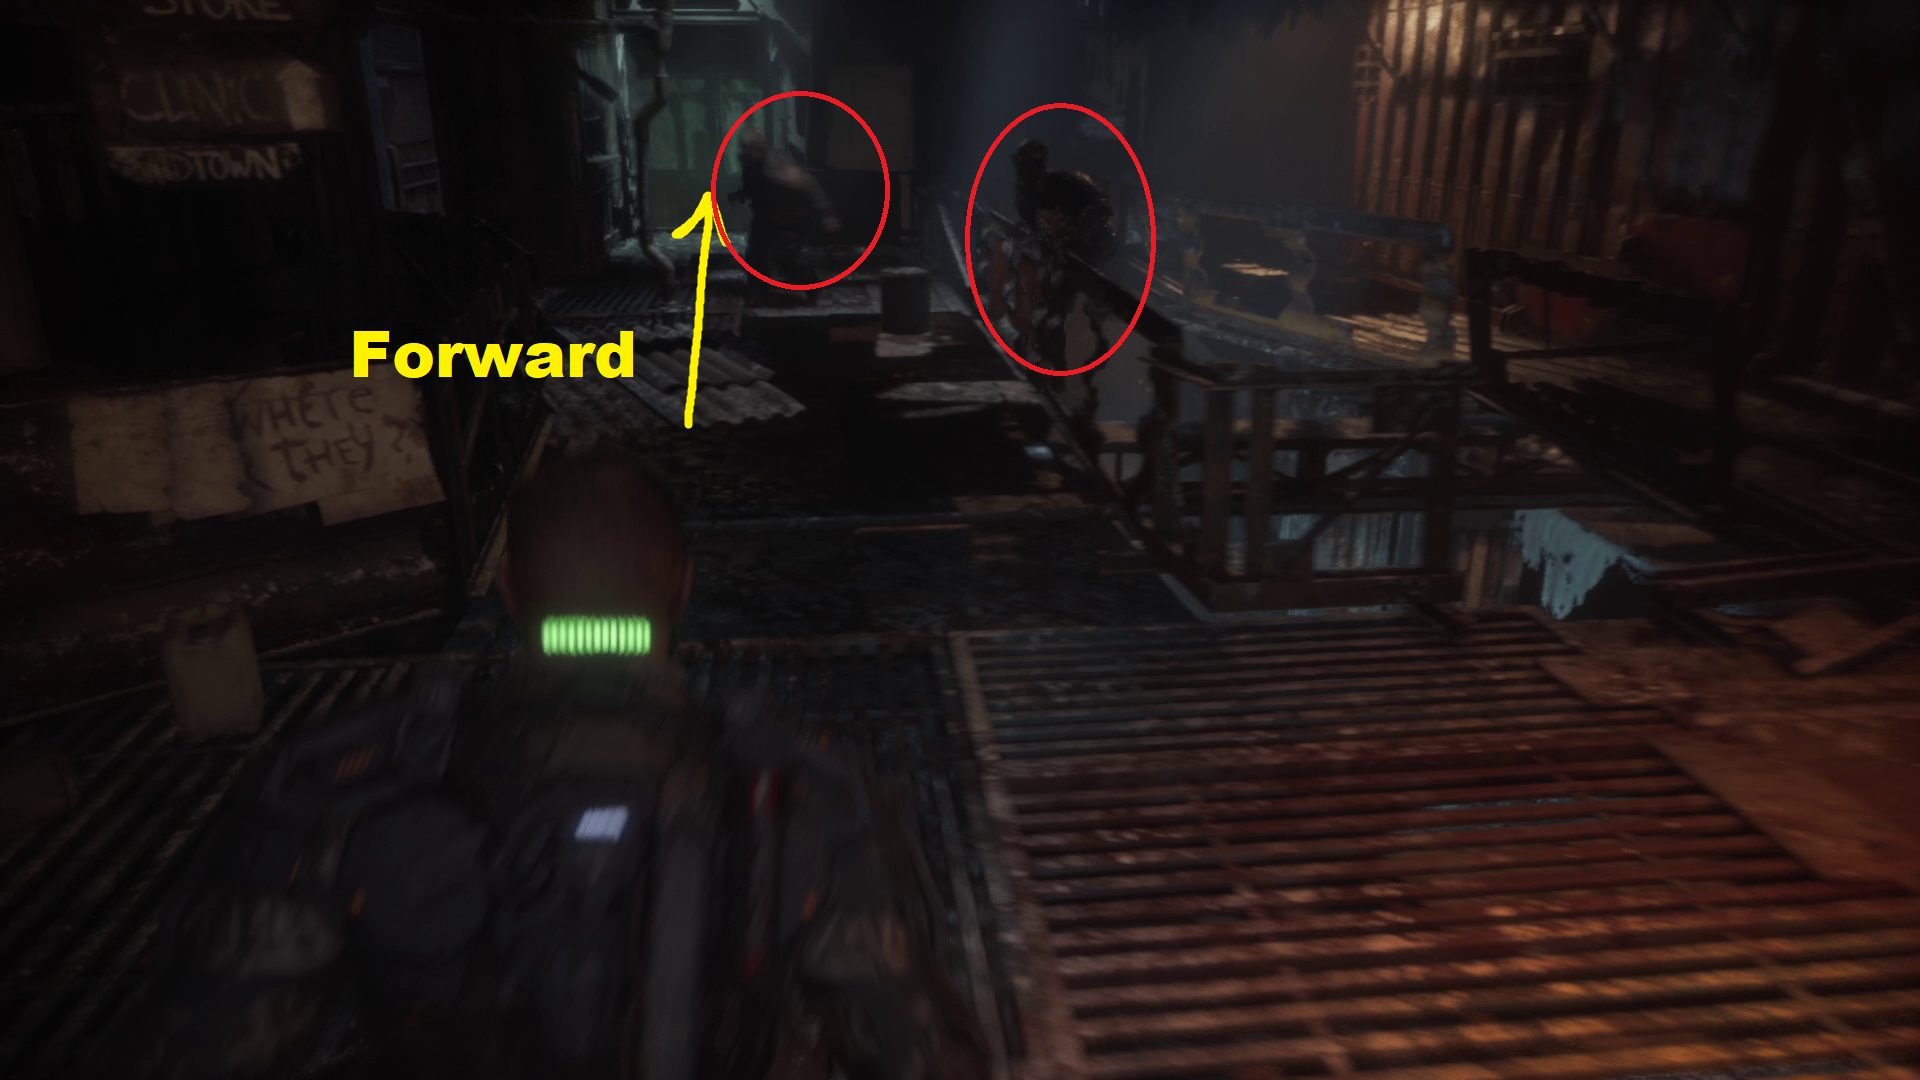
Leave the structure and go straight, turning right to continue towards the security office. If you don’t sneak, a blindophage will pop out of the floor in the next structure you pass through. You’ll then have three paths (1): first, go left around the corner (1.1) and into the bathroom, where you’ll find the Assault Rifle schematic and some more loot on the shelves below the mirrors — an enemy will pop out of the floor and attack you after you loot the stuff here.
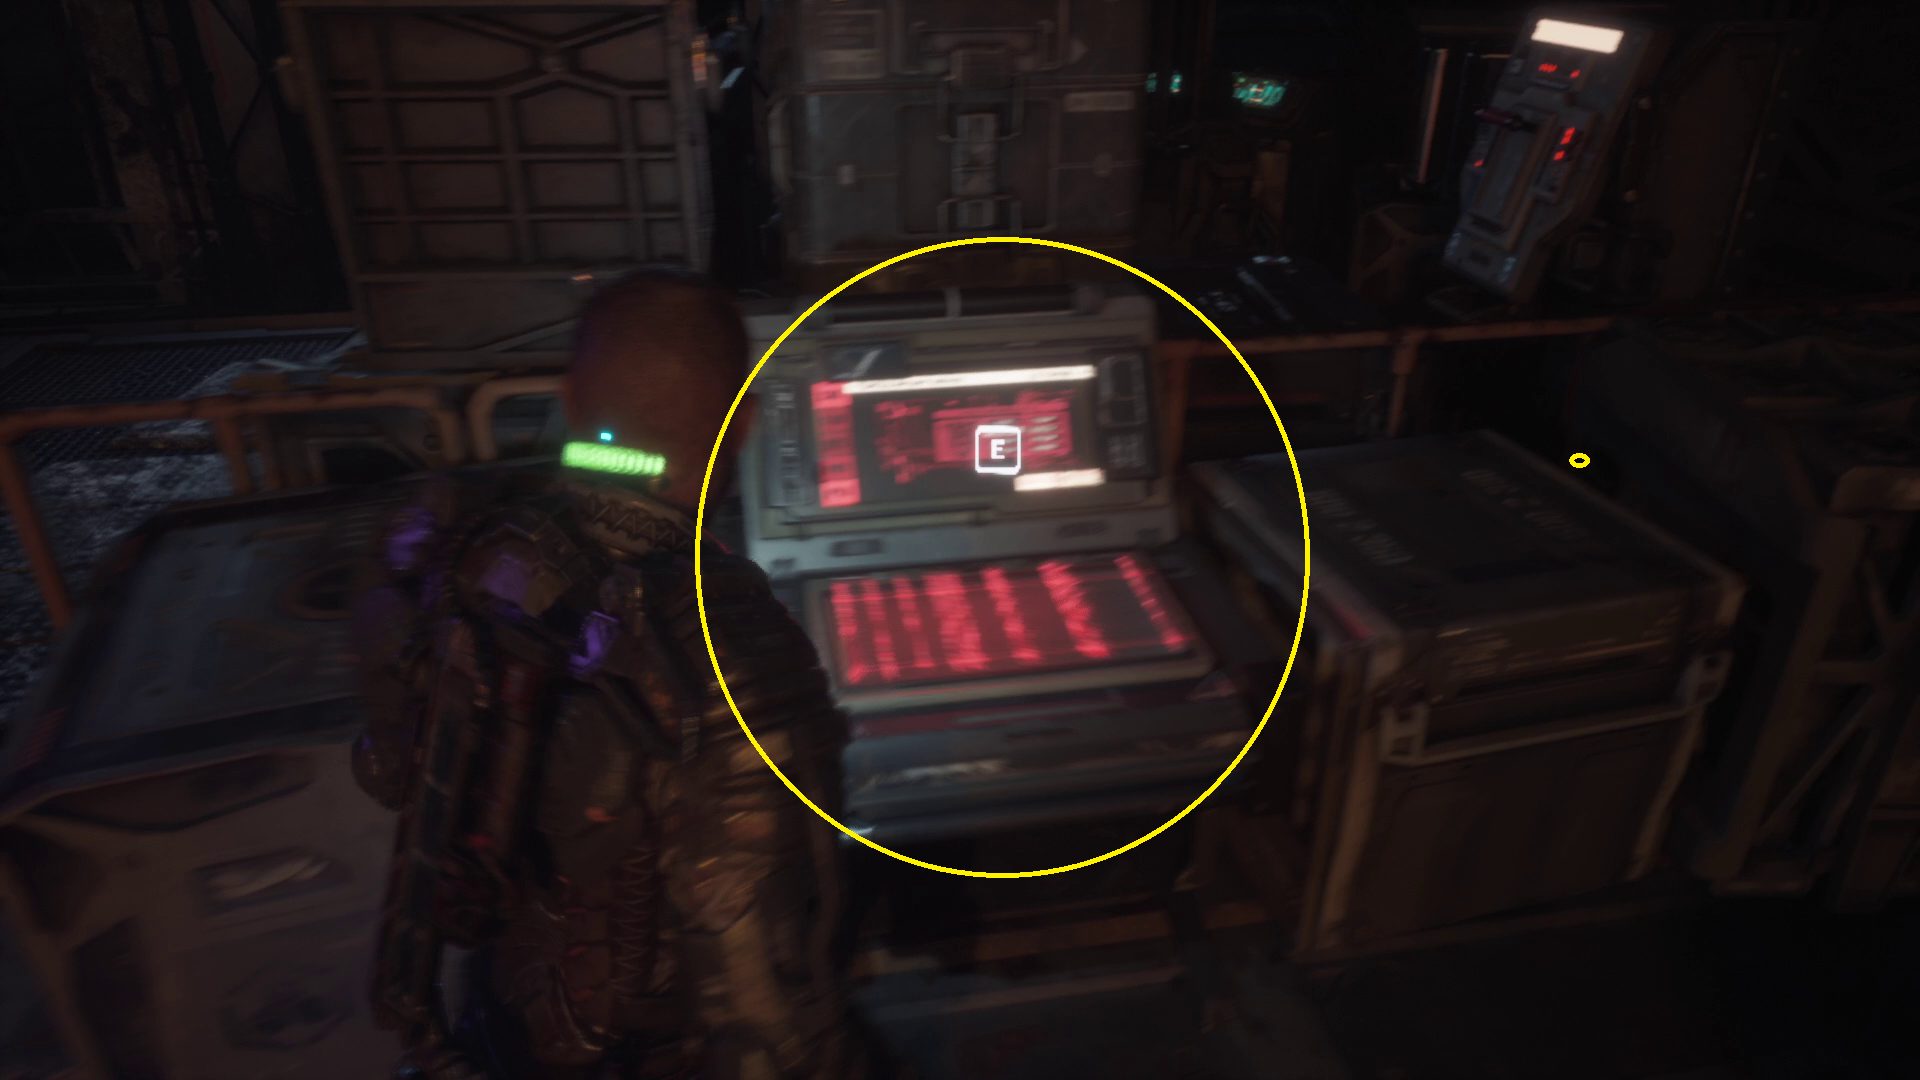
Leave the room and look to the left over the handrail to find a box you can GRP-grab, then go straight and turn left into the second room (1.2) and grab the loot on the surface(s). Leave this room and go straight into the security office (1.3), looting the locker in the first room before grabbing the key from the webbing in the back (2).
12
Return to the Elevator
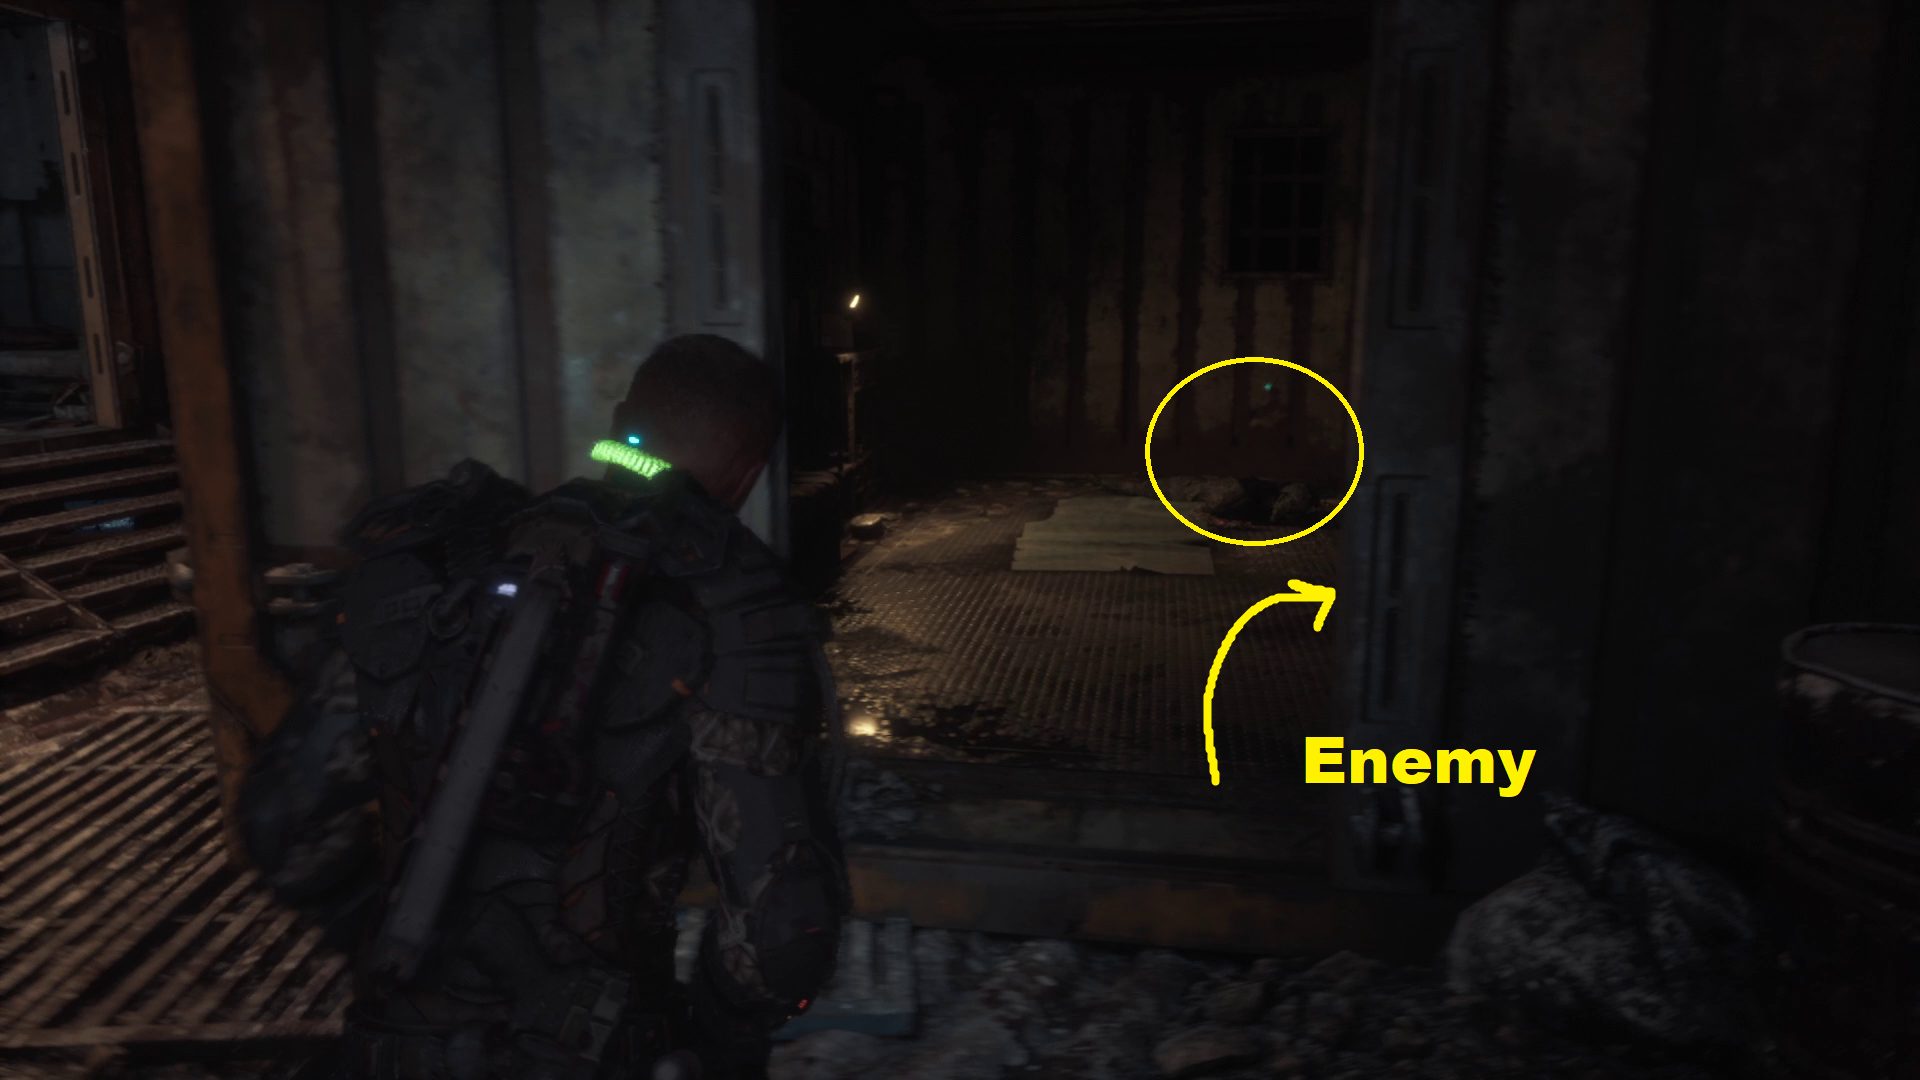
Keycard in hand, make your way back to the elevator. There will be a bunch more blindophages, and you should shiv them as you encounter them — when you get close to the ladder, a part of the structure will collapse, and all the enemies will aggro. Once you defeat them all, climb down the ladder and return to the elevator control room — watch out for the “corpse” on the floor, which will attack you when you get close. Interact with the panel, and the elevator nearby will open.
Ascend the Elevator to Hightown
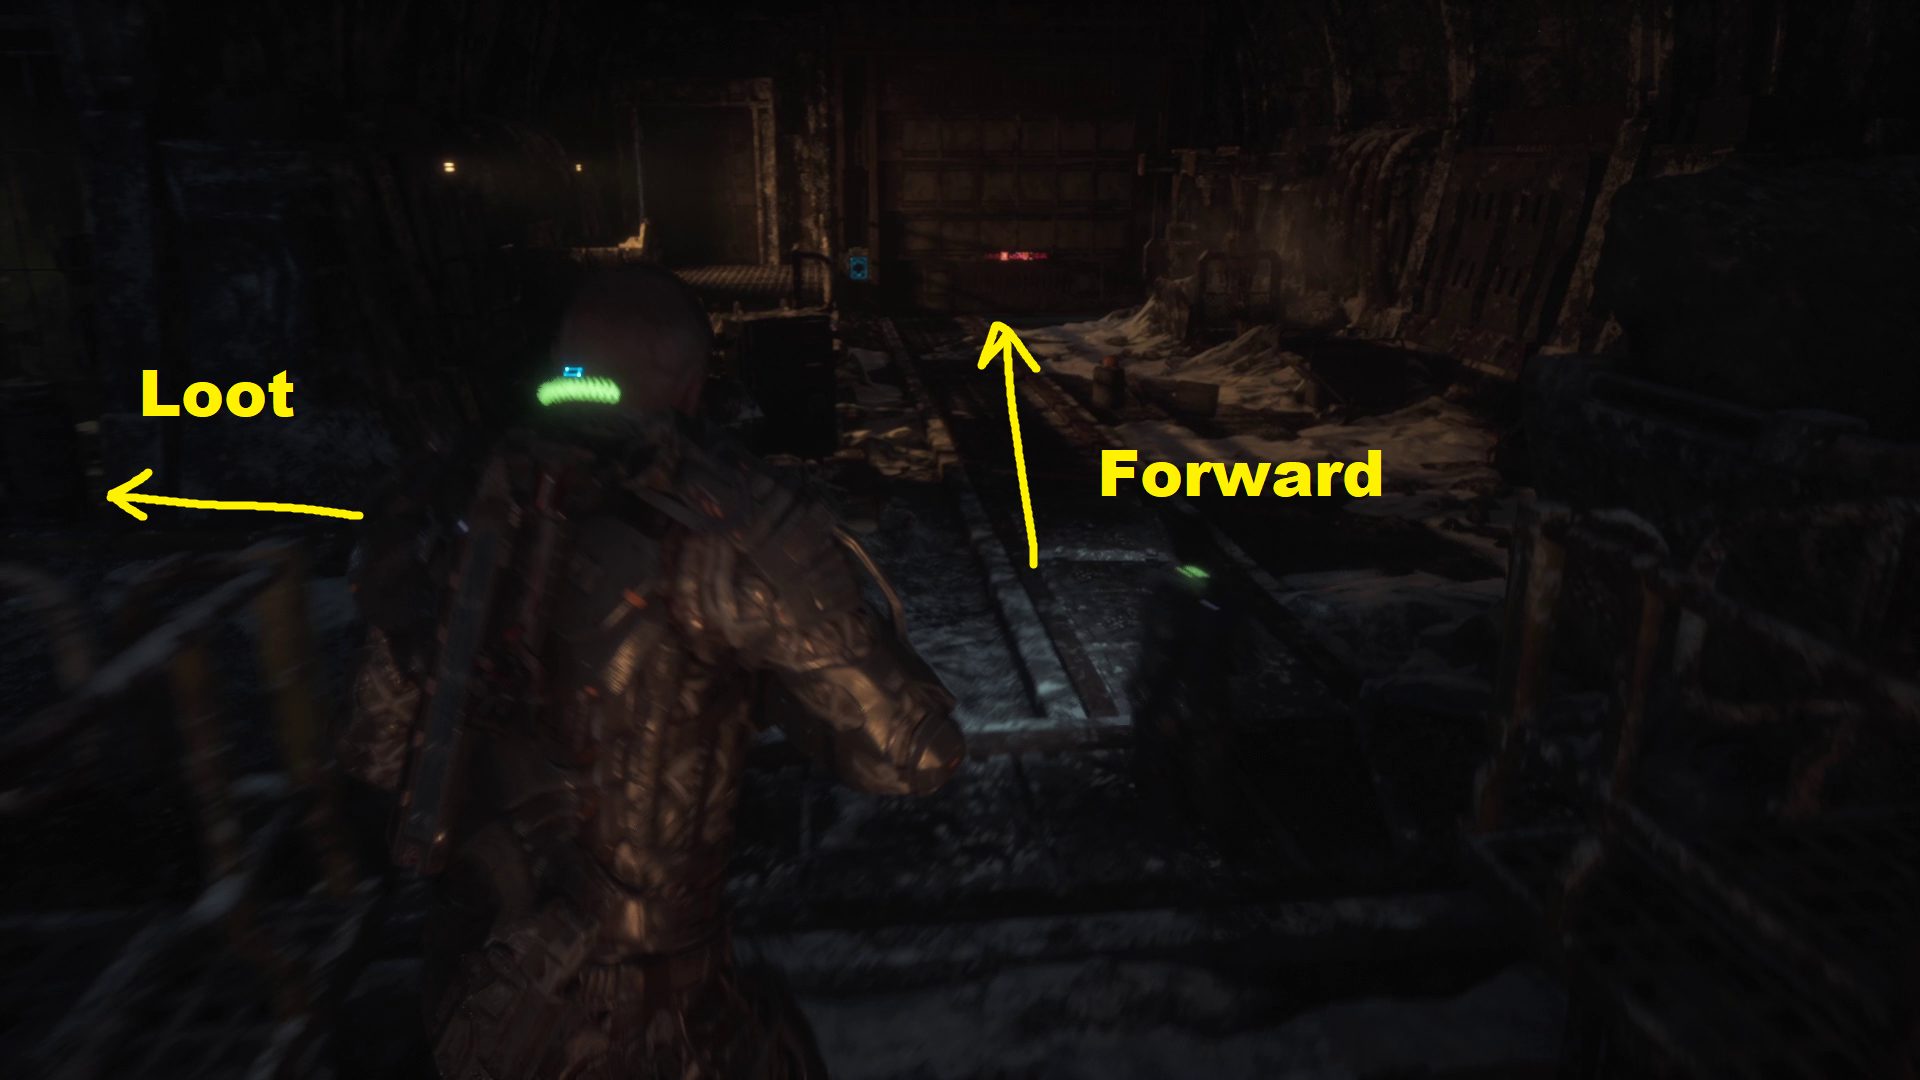
Leave the control room and go left — the elevator is just ahead on the left. Enter and hit the panel (1). When the doors open, there will be a corpse you can harvest for audio log on the floor by the stairs (2), Yannick Sage: The Mole. Then go up the stairs. On the left is an unlocked door (3.1), inside you’ll find an enemy in the process of mutating, and some loot in the back two rooms. The other direction is the main path (3.2) — after entering the next room, an enemy will come down the stairs and aggro.
123
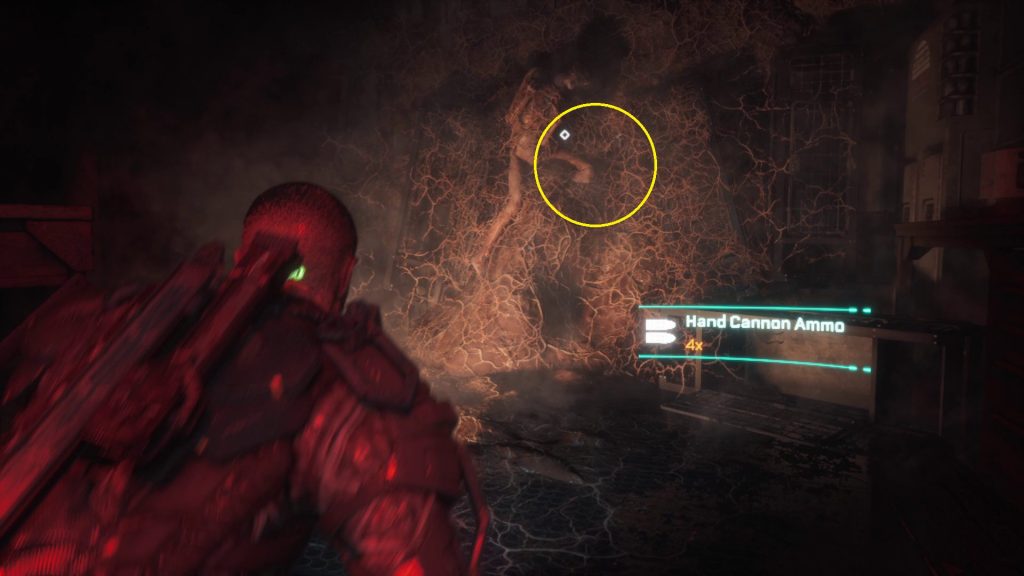
There’s an enemy that might ambush you in the room to the right, so deal with it before continuing up the stairs marked high town (1). At the top of the stairs, turn right and go into the building to find an enemy, plus the audio recording Buidhe Reddwork: HighTown (2). Leave the room and then follow the sign to the bathroom (3), and enter the first doorway on your left. In the room with the glow-in-the-dark stars, you’ll find a gate fuse on the table. Turn around quickly, as an enemy will attack after you grab the fuse.
123
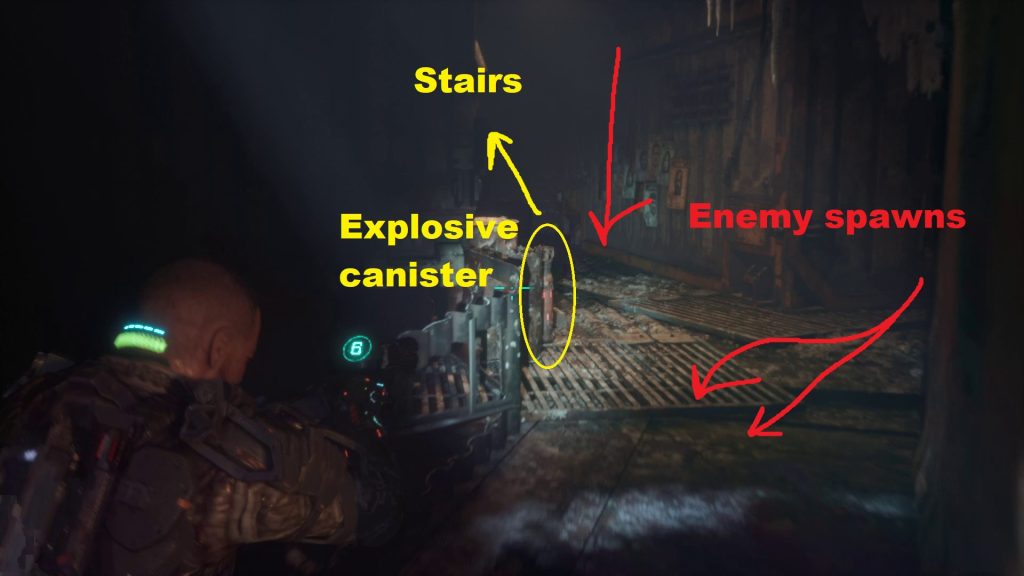
Leave the room and go left, then enter the next doorway on the left to find a loot chest in the back room. Then retrace your steps — when you near the Quarantine canvas on the wall, be prepared for an ambush. There’s an explosive canister you can GRP-throw into the enemies that attack you: one regular biophage and two no-legged (1). Defeat the three enemies, then continue up the stairs and go around the corner. An enemy will crawl onto the walkway in front of you — use your GRP to throw it off the walkway to the right, then turn around and do the same with the enemy coming from behind you, up the stairs (2).
12
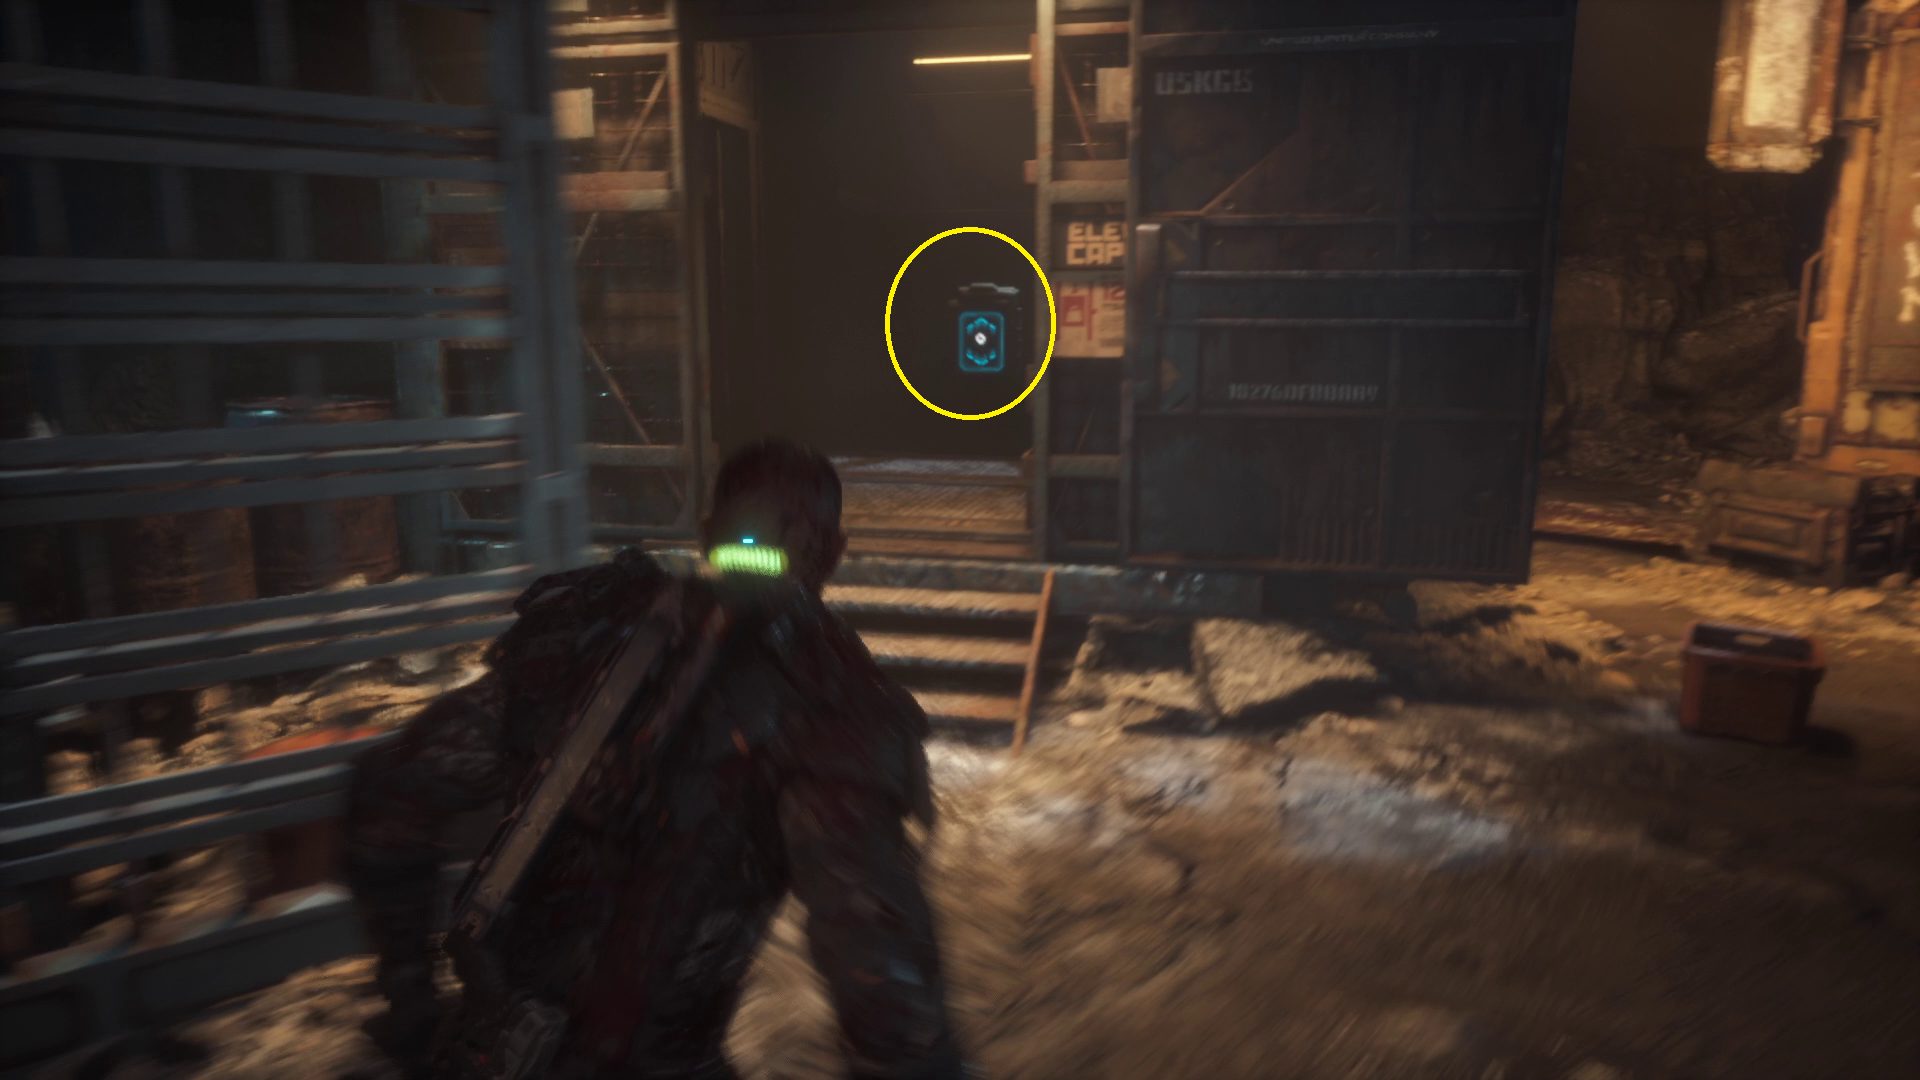
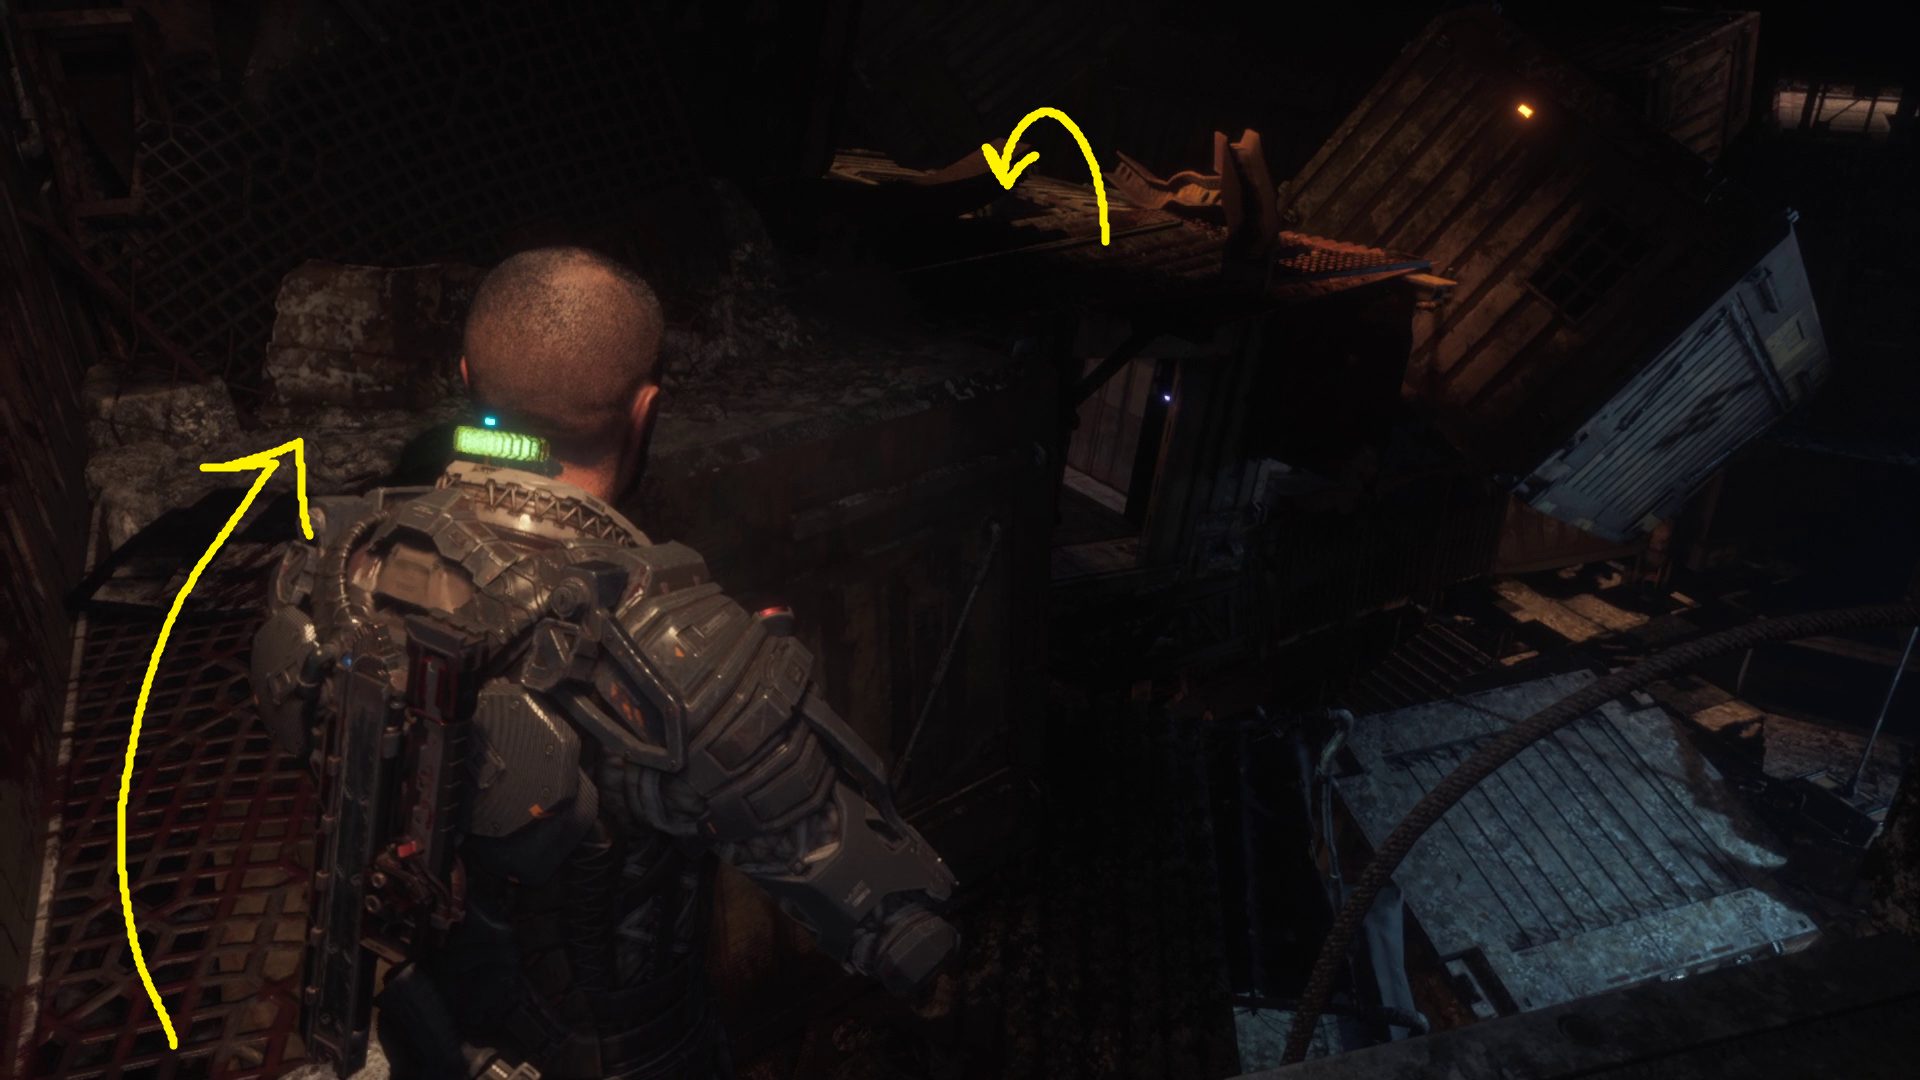
A third enemy will jump on you after you dispatch the second, and then you can continue forward on the catwalk. Put the fuse in the box next to the locked door and it will open. Go through, make use of the Reforge station, and also make sure you grab all the loot from the table outside, and get the health injector from the wall by the ladder. There is also an audio log you can harvest from the corpse on the floor here, Ji-Kwan Park: Miner Log 4. Once done here, climb the ladder in the room with the Reforger. At the top, walk forward onto the narrow broken section of catwalk, then continue forwards and drop down into the hole (1) to find Dani.
1
Kill the Two-Head
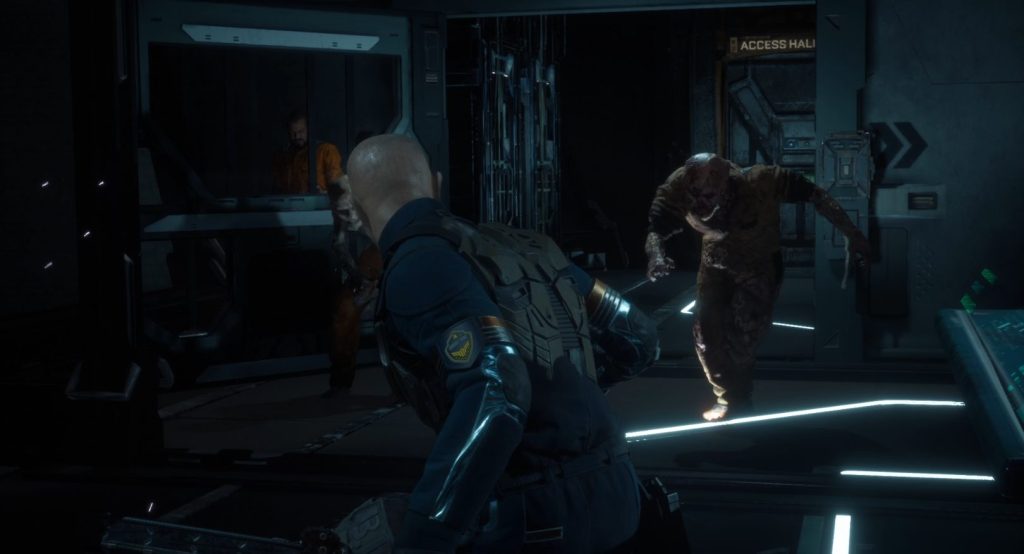
A cutscene will start, and — as is tradition — you guys will fall pretty far, and you’ll pass out. When the cutscene ends, you’ll be facing another Two-Head. Once again, the pattern is dodge, shoot, dodge, shoot, run away and reload.
This fight is complicated somewhat by the fact that two times during the fight, a regular biophage will show up and attack you. To mitigate this, you can run into the area that’s directly behind you when the fight starts — here, there are spikes on the walls, and you can use the GRP to quickly toss the other foes that show up into the spikes. There are also stompable boxes around the level, so if you run out of ammo, try to run away and GRP or stomp the boxes to get more.
Follow Dani
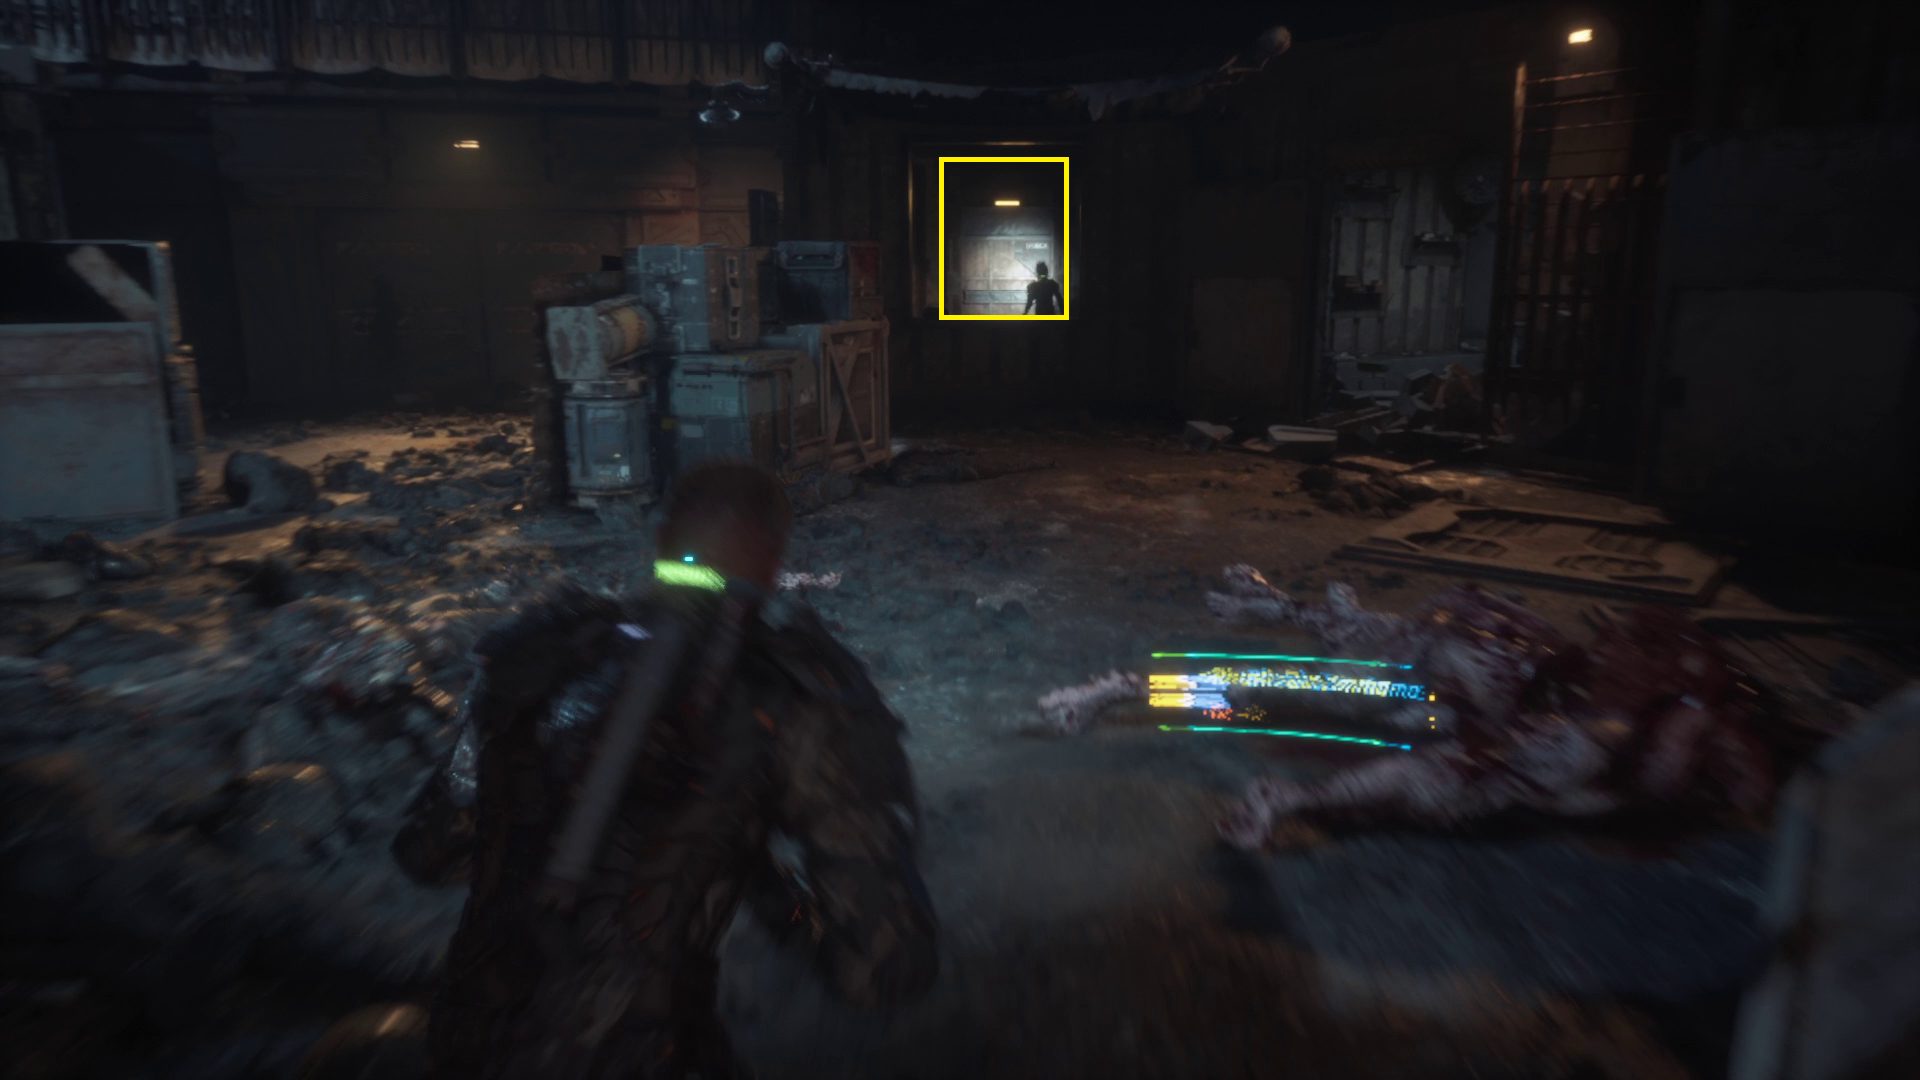
Run through the whole area to collect all the loot after the Two-Head goes down, then return to where Dani is waiting, just past where the Two-Head spawned (1). Go through the door she’s waiting at, then follow her forward — on the left over the side of the walkway is a box you can GRP-grab (2). She’ll go through a building, and then on your left will be a grill (3). Head inside and go to the exit in the back — outside you’ll find some loot. Then return to Dani and continue following her past the grill.
123
Reunite With Dani
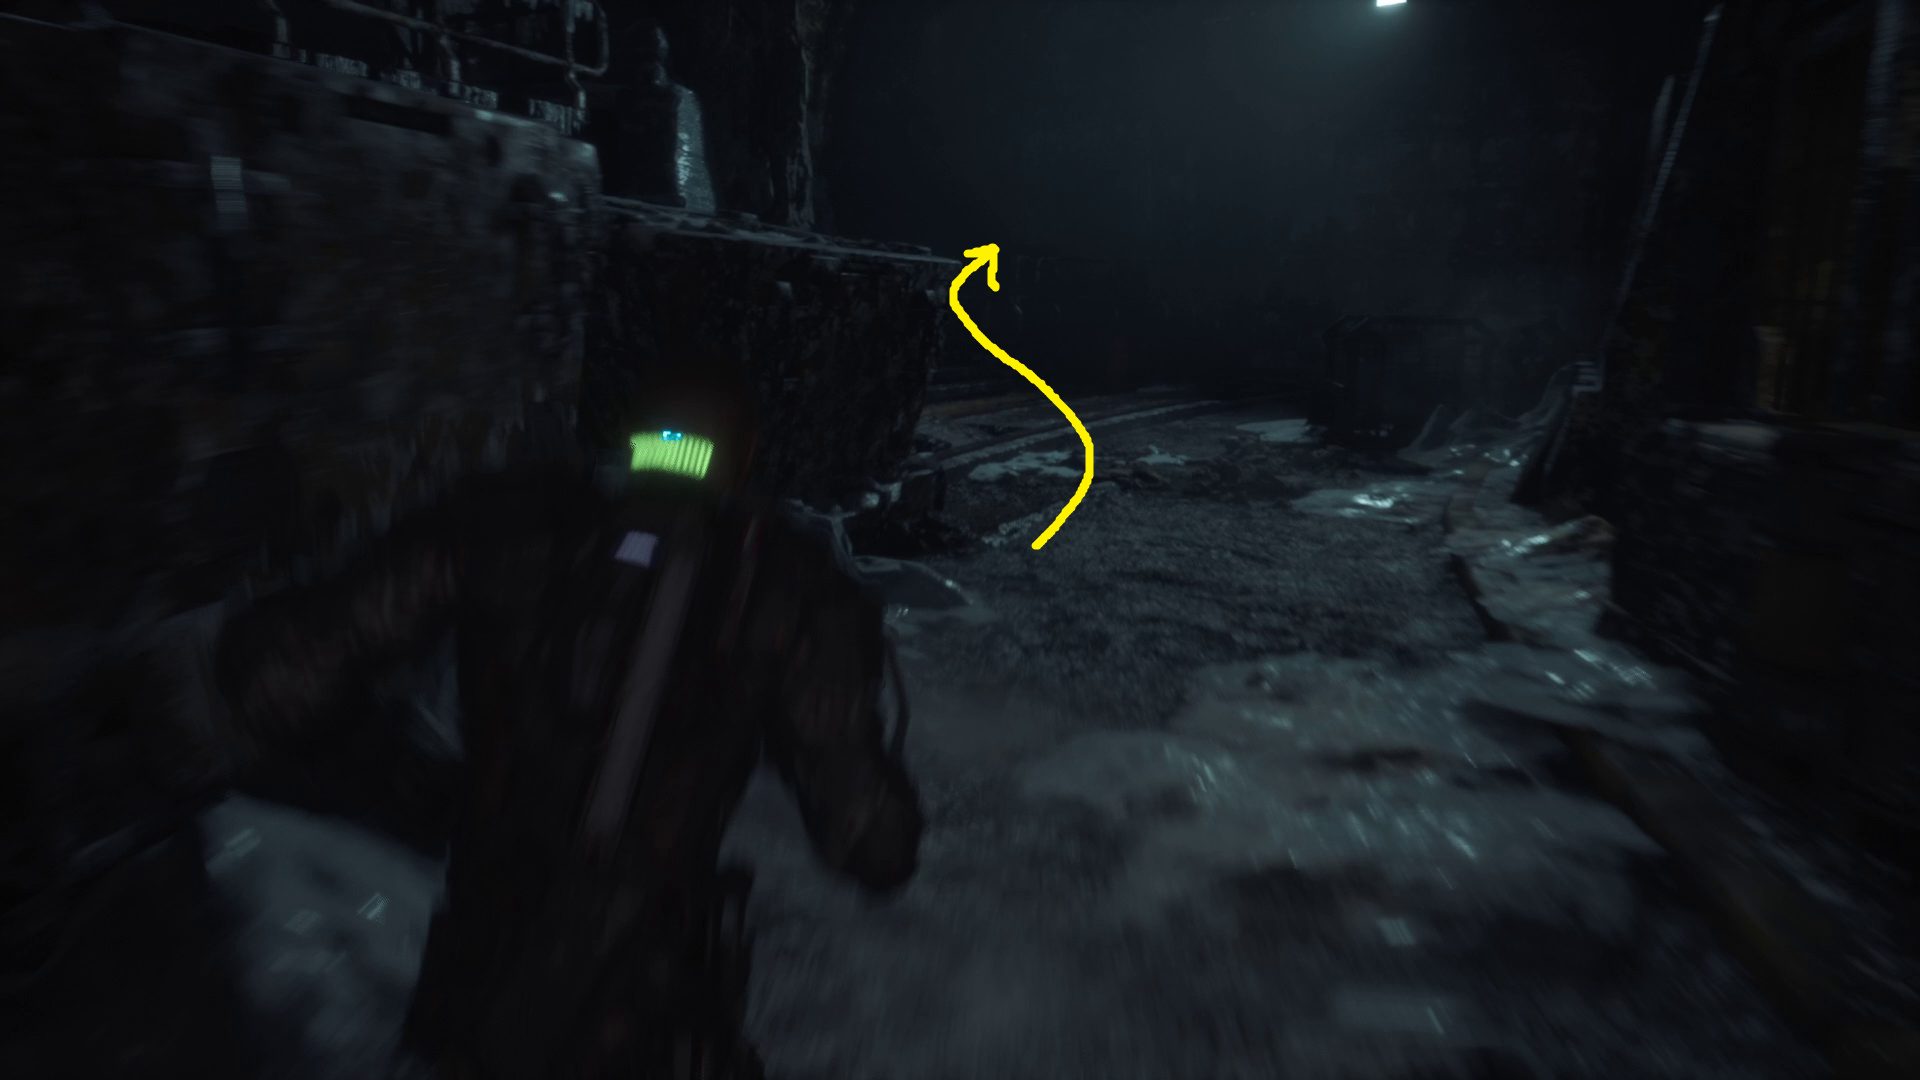
After following her a bit further, you’ll — you guessed it — fall into a new area. Go forwards into the room with the Reforge station, grab the loot from the shelves across from the station. Sell/craft anything you need, then go through the door on the other end of the room. You’ll find yourself back in the room with the elevator control panel — you’ll get swarmed by foes in a second here, so your best bet is to sprint towards the control room and take a left into the alley to set up near the spikes on the wall (2).
12
Five enemies (three standing, two crawling) will attack you, and then you can climb the same ladder from earlier in the level (1). Turn right at the top, as two enemies will attack you. Toss them over the railing with your GRP, then continue straight and down the stairs to the room with the unlocked door (2).
12
Follow Dani (2)
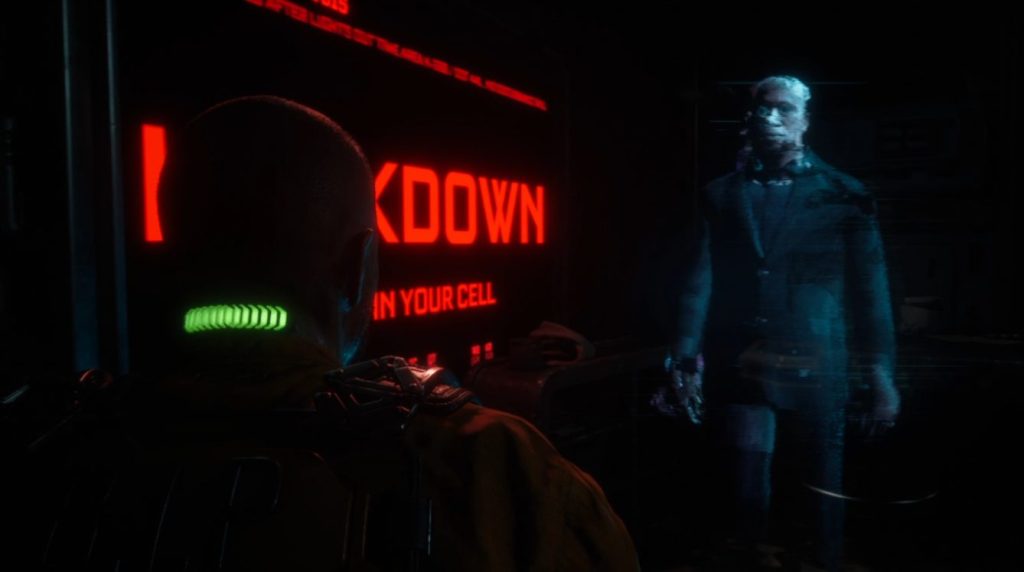
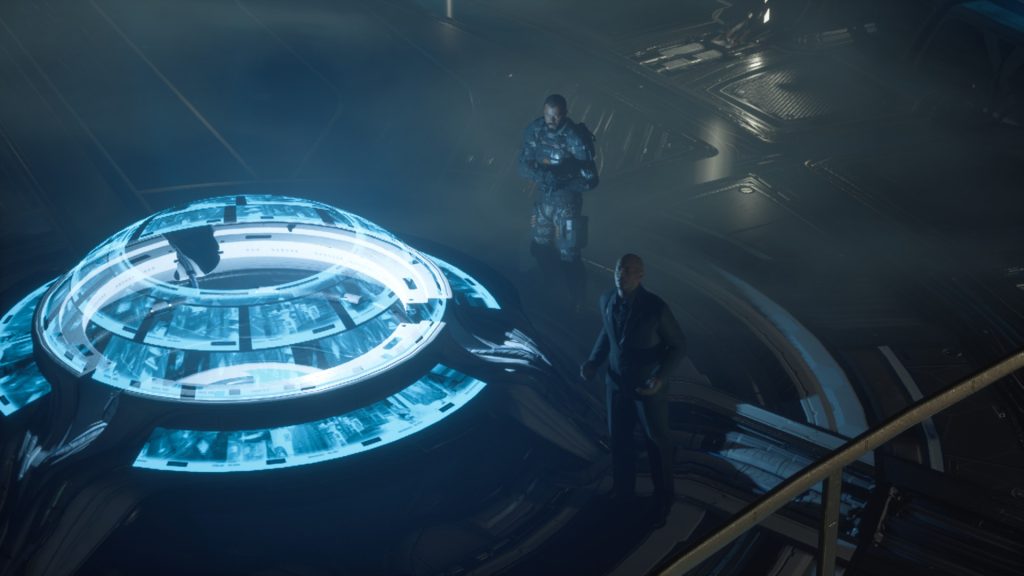
You’ll find Dani here, plus another Reforge station if you need it. Follow her outside and down the stairs. You’ll see a panel ahead that leads to the way out of here, but first you’ll want to go left (1) and grab the loot found up the stairs on the left (2). Then go over to the door panel, Dani will open it, and you can open the large door. Continue forwards and enter the large domed tent, where Dani will interact with a console while you explore the lab. Go through the door to the left of the console (3) and make your way through the lab — listening to the holograms will give you some important backstory on what’s happening on Callisto.
123
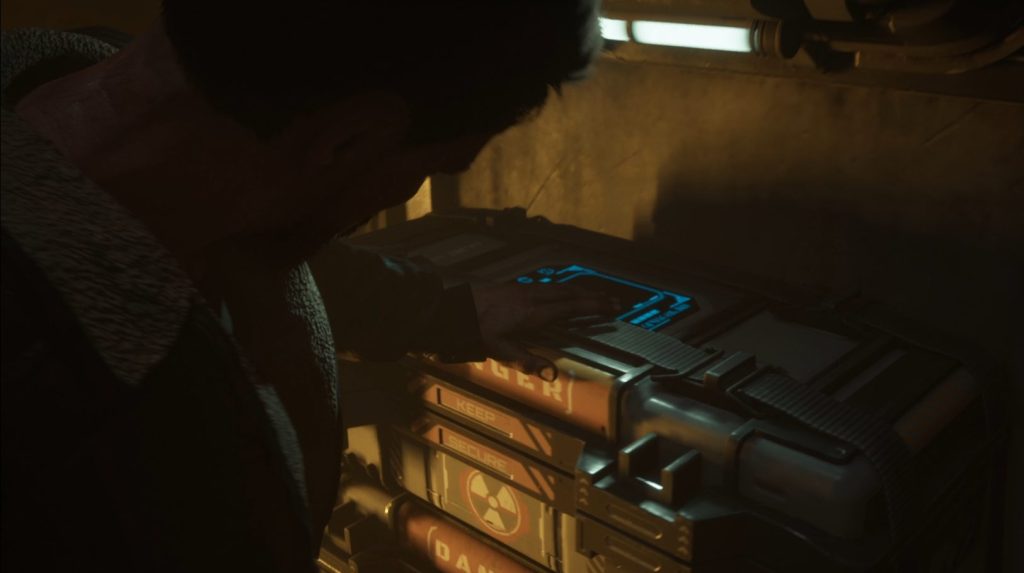
Leave the lab via the door at the other end of it, then go down the stairs, turn right and go up the stairs and through another door. A cutscene will start, you’ll find out exactly where the biophage came from, plus the bad news that Dani was right about your little “shipping” trips. Then Ferris will show up, and a boss fight wills tart.
Survive the Fight with Ferris/Exit the Colony on the Funicular
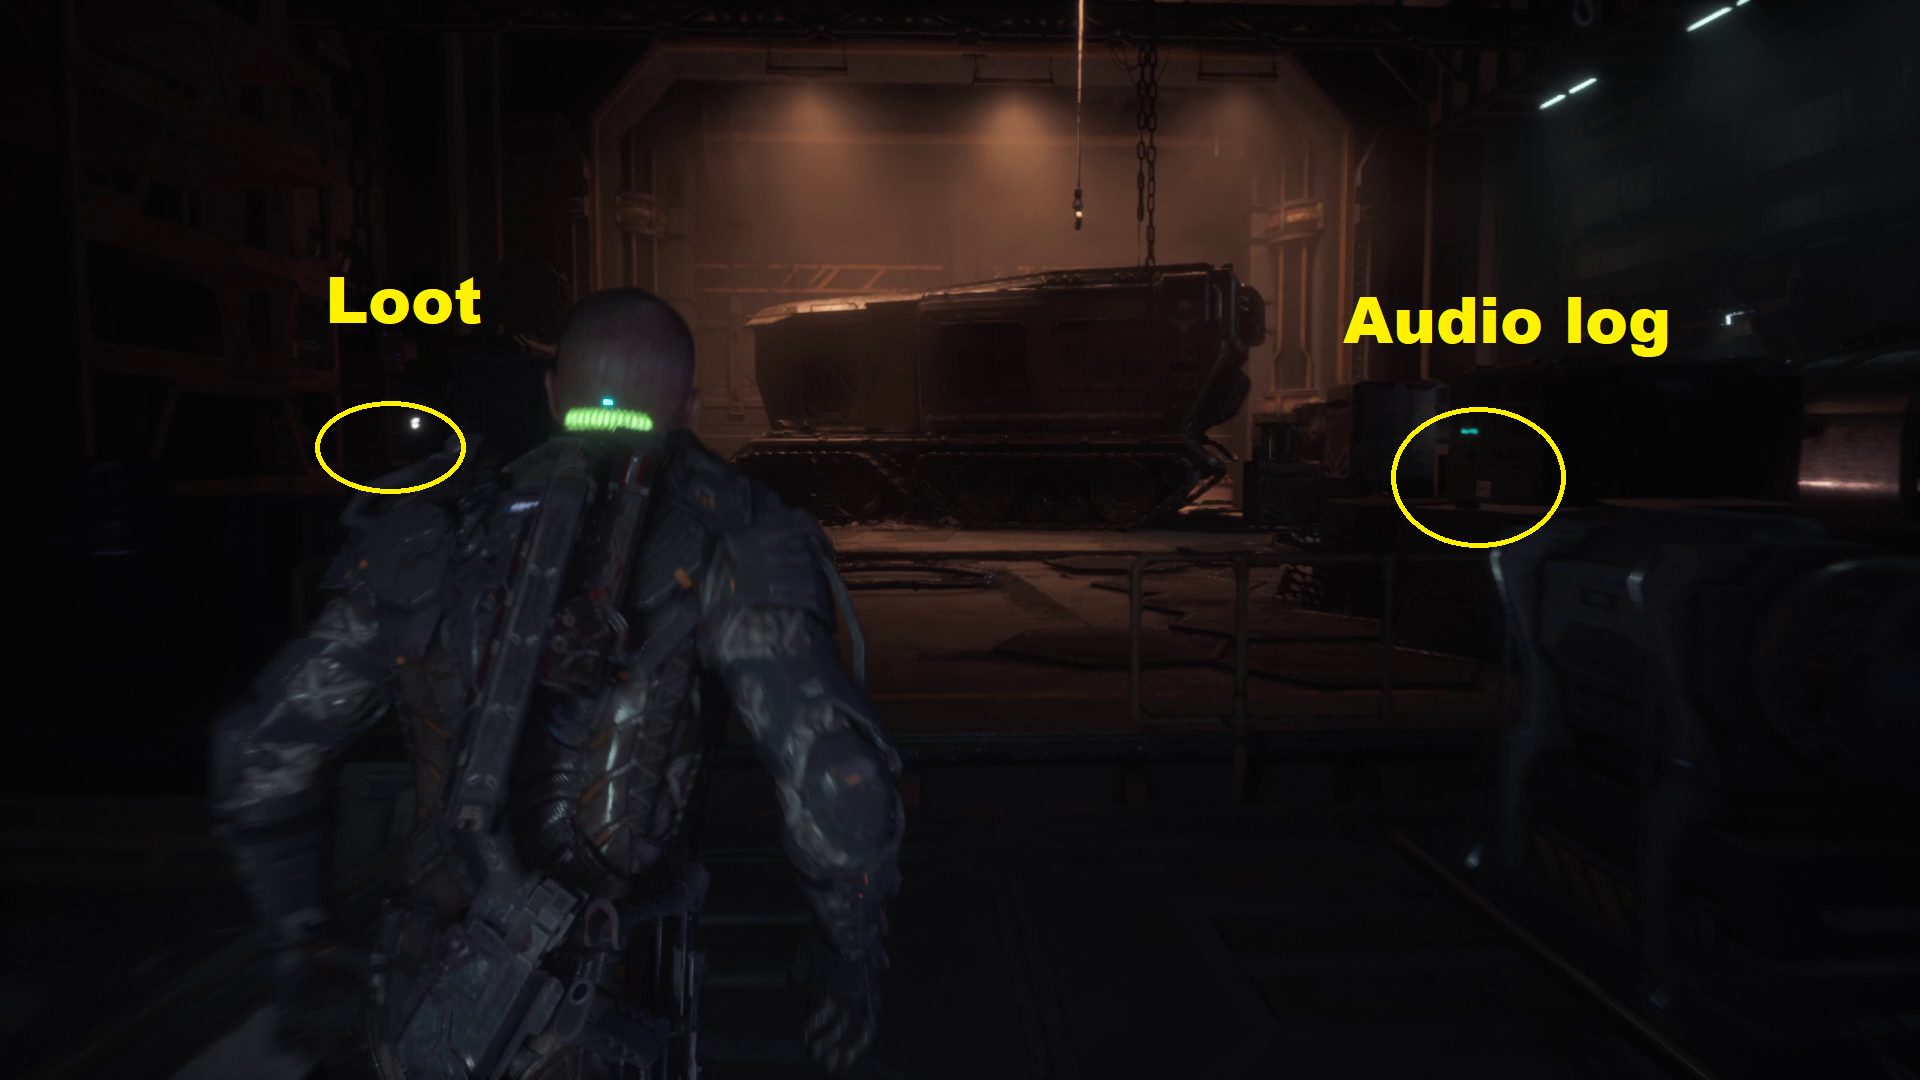
This boss fight is similar to fighting Two-Head, but you can use melee attacks against Ferris. Dodge his 3-4 hit combos, then do a full melee combo of your own (you can save your ammo if you aren’t struggling to dodge). Repeat this until a cutscene starts in which you and Dani escape Ferris. When it ends, walk forwards onto the platform and turn left to find the control console (1) — interact with it to start the Funicular, and another cutscene. When it ends, you’ll be in a hanger. Ahead on the left is some loot, and on the right is an audio log, Duncan Cole: Disagreement (2).
12
Then go forward and look right, where you’ll find a Reforge station. Use it if possible, making sure you grab the loot off the nearby crates. Then go through the door to the left of the Reforge station, turn right at the T-intersection, and enter the next room. Dani will mess with the console — in the meantime, grab the loot off the crate in the far left corner. When she finishes, the locked door to the right of the console will unlock. Head through and a cutscene will start, ending Chapter 7.
Unabashed FromSoftware fanboy still learning to take his time with games (and everything else, really). The time he doesn't spend on games is spent on music, books, or occasionally going outside.