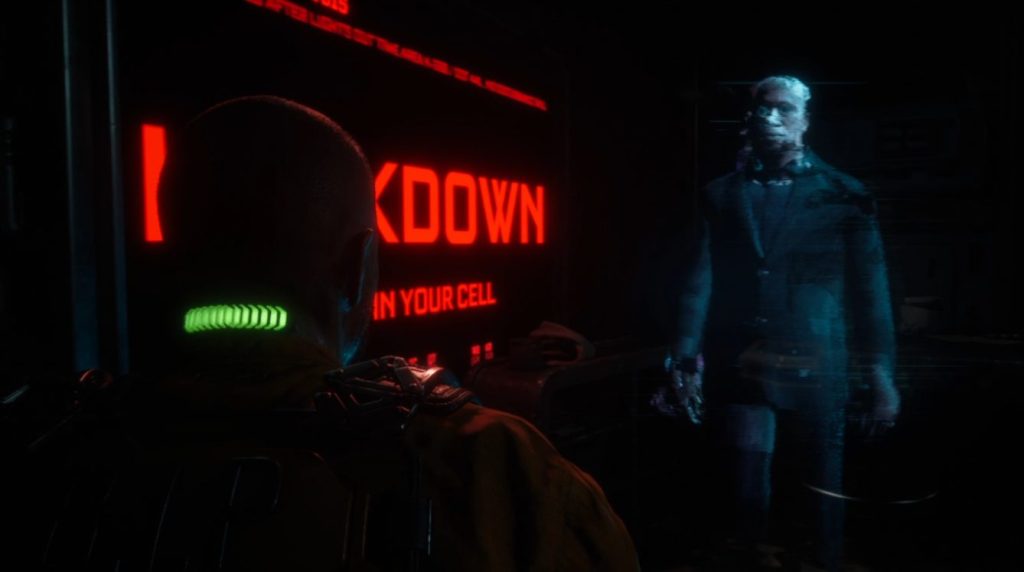
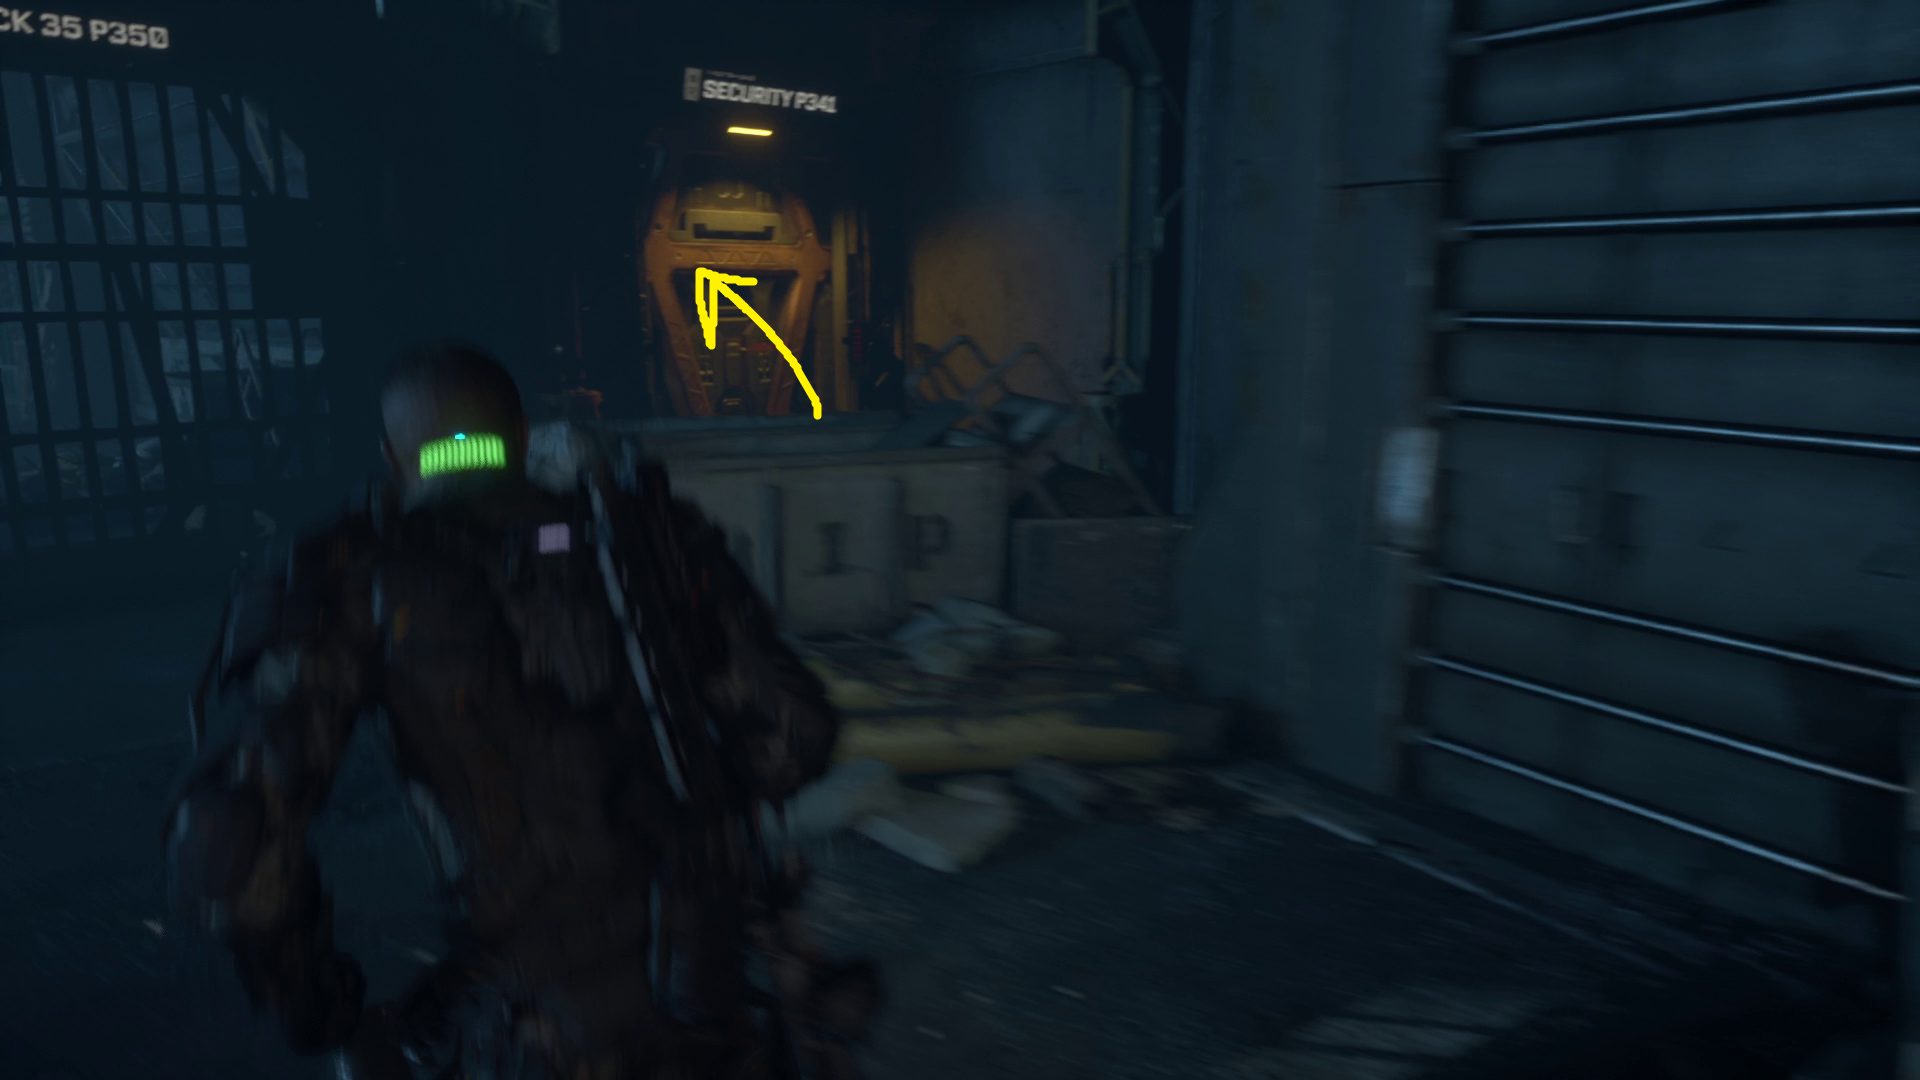
After your cell opens, leave it and go right — as you approach the door marked Security P341, Dr. Mahler will unlock it for you (1). Go through, continue down the stairs, and open the chest (which contains a slug) before continuing through the unlocked door ahead (2).
12
Kill the Two-Head
There’s a Reforge station in the next room; after using it, remove the fuse from the sparking box by the locked door, then turn around and head into the next room. On both sides of it are some glass shelves you can break to access the loot inside, then continue through the door marked Server Room B315. In the far left corner of the server room, guarding the fuse you need, is a Two-Head.
As usual, you’ll need to make sure you dodge its attacks, then shoot with a ranged weapon once or twice, then dodge again. Since the server room has nice long corridors, you can actually sprint away, turn and shoot, then run again if you want — it’s just easy to accidentally get smacked that way.
Exit the Server Control Room/Search for the Lab
Once the Two-Head goes down, make sure you stomp it for loot, then grab the fuse from the far corner (1) (relative to the door), go back into the previous area, and put the fuse in the box by the locked door. Before continuing, you should sell whatever the Two-Head dropped at the Reforge station.
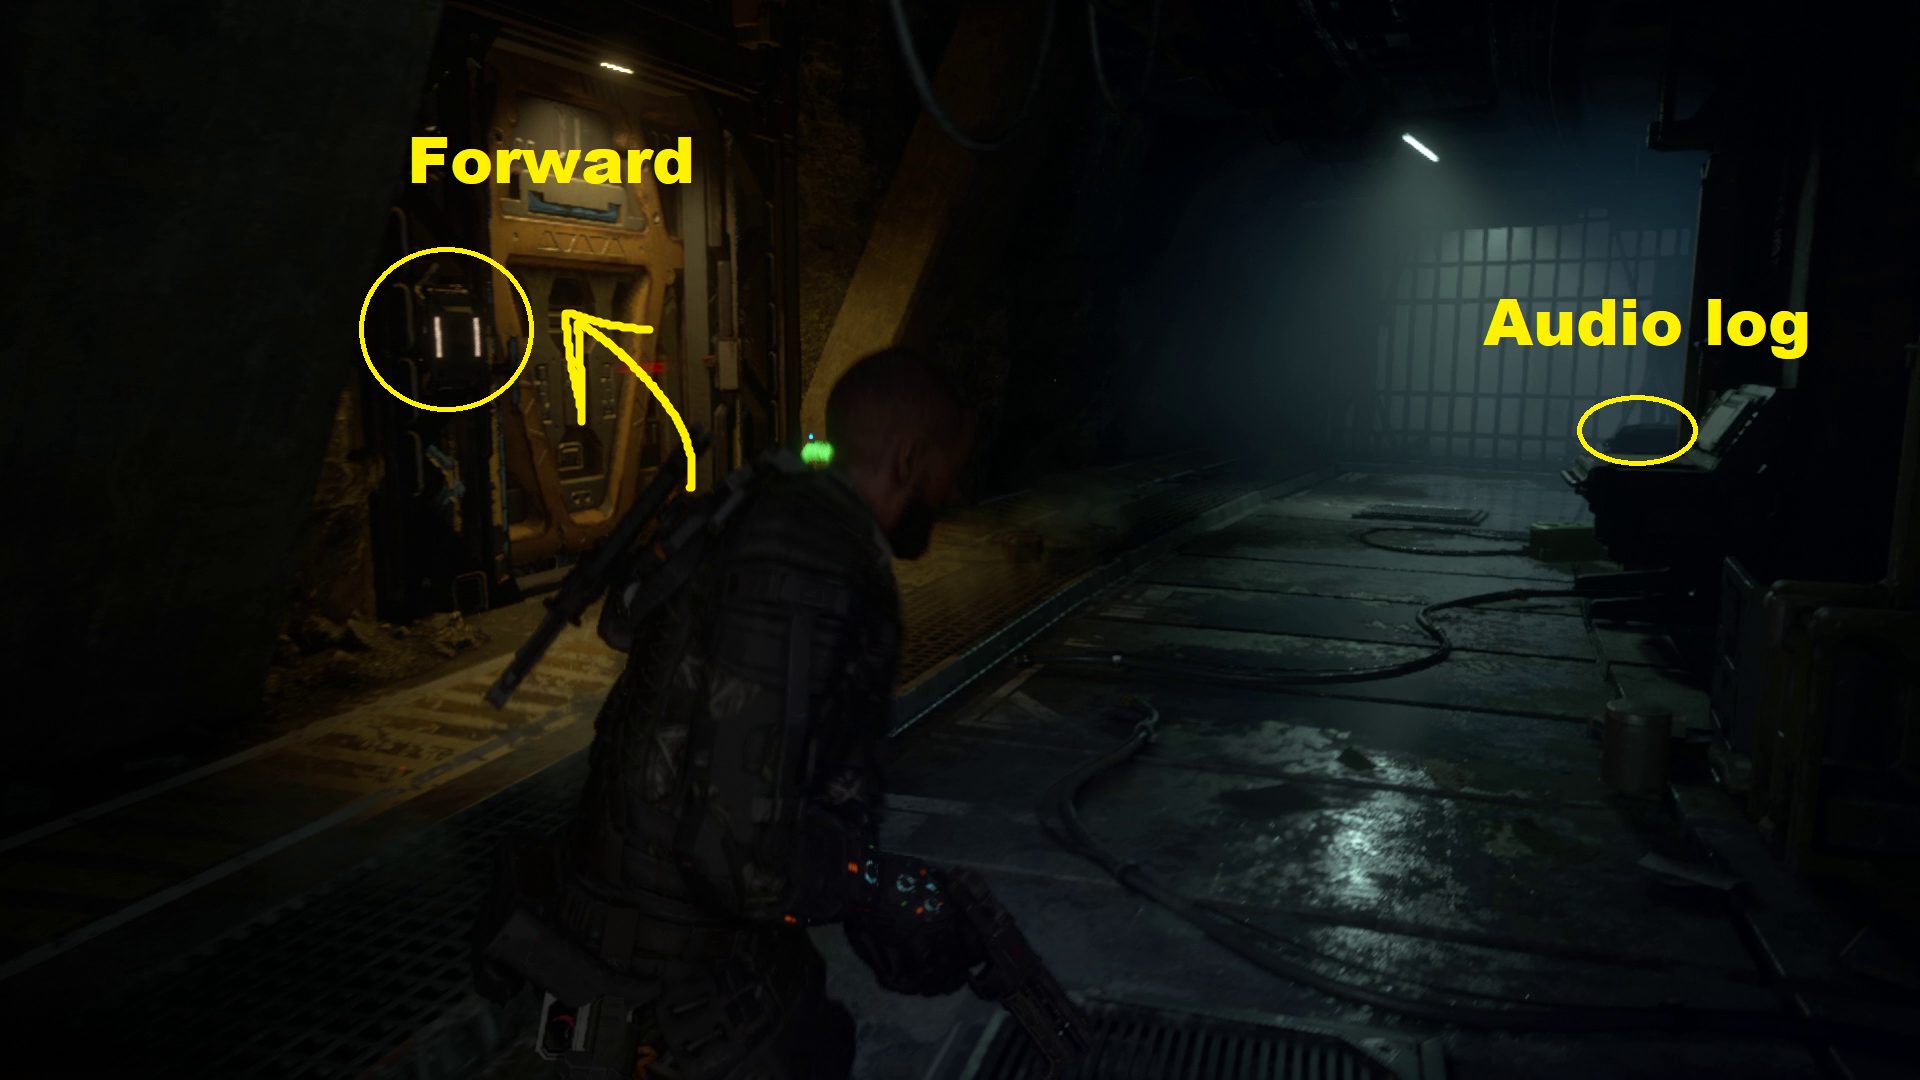
On the left in the next room is a box you can break. Go up the stairs, grab the loot from the desk to the right, then continue left down the hallway. There’s a door you can shiv the controls of to continue on the left, but first you’ll want to continue to the end of the hall, where on a table to the right you’ll find the audio log Dr. Tala Ismene: Observation (2). A biophage will pop out of the floor behind you when you grab it, and soon after another will crash through the glass ahead and to the left. Kill ’em both, then slice the controls of the aforementioned door and head through.
12
Get Through the Asylum
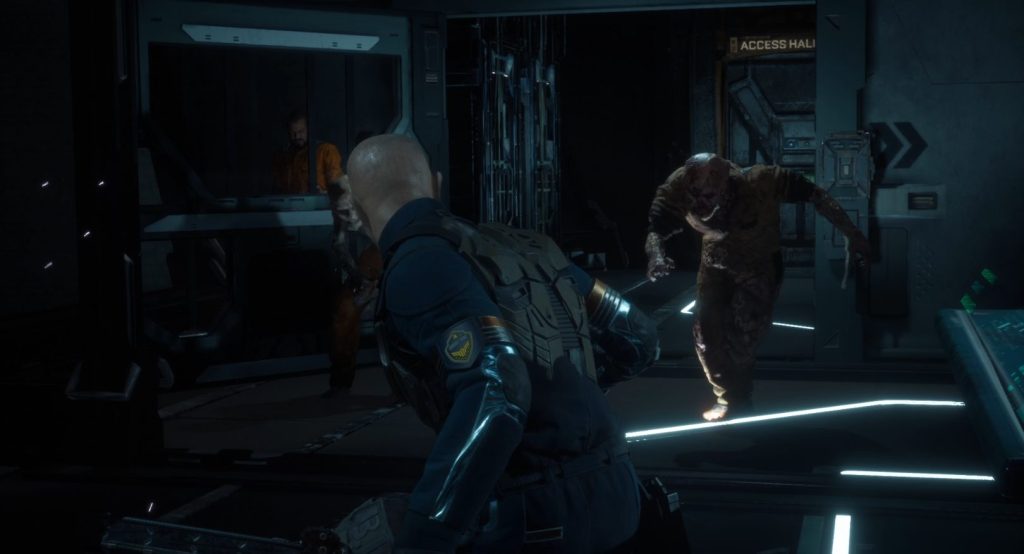
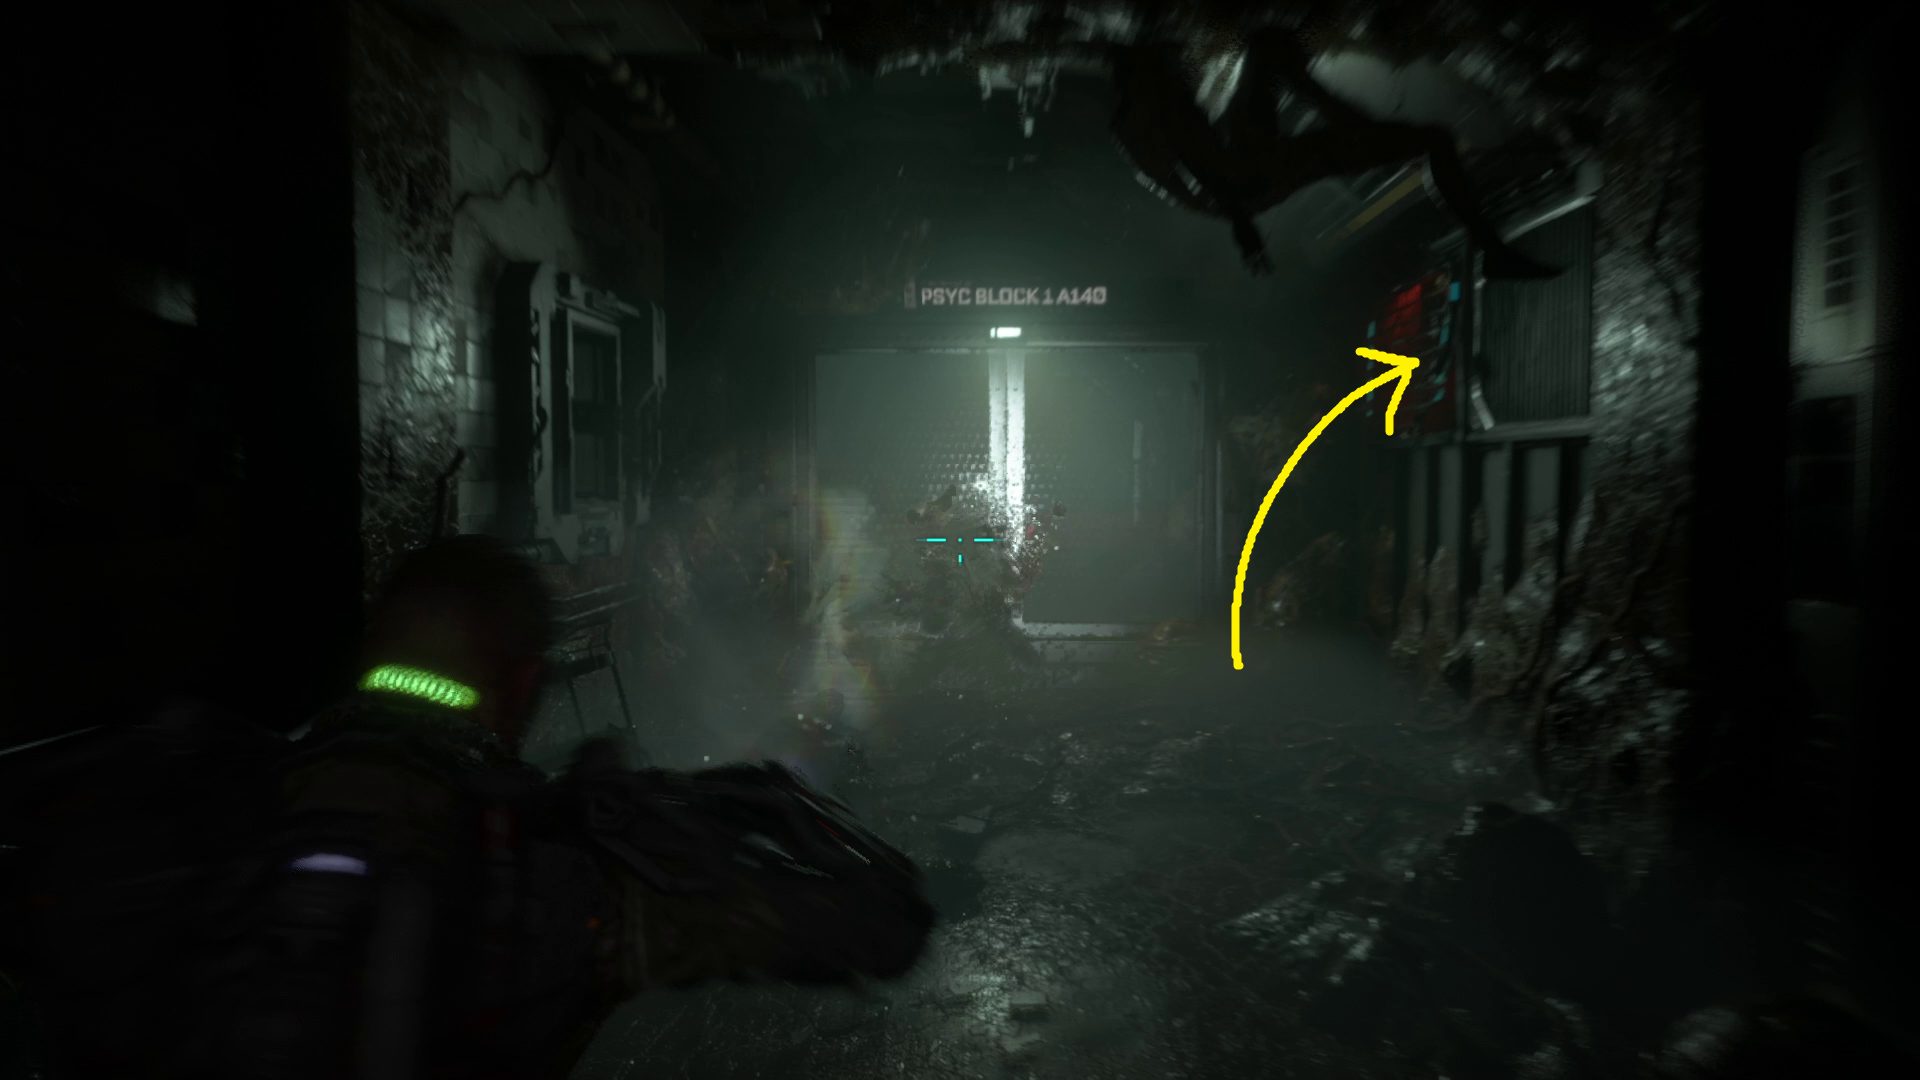
Turn right in the next room and loot the lockers, skipping the middle one that has a slug (and no loot). Head through the doorway marked Psyc Block 1 A320 — hey… this is the main menu area! The corpse of the prisoner will attack you when you get close (1), and another biophage will stand up from the floor just past the prisoner, so be ready. Kill these first two enemies, then move further down the hall — another biophage will jump out from the right, and two exploding crawly-bois will approach from the end of the hall (GRP-tossing these is particularly effective).
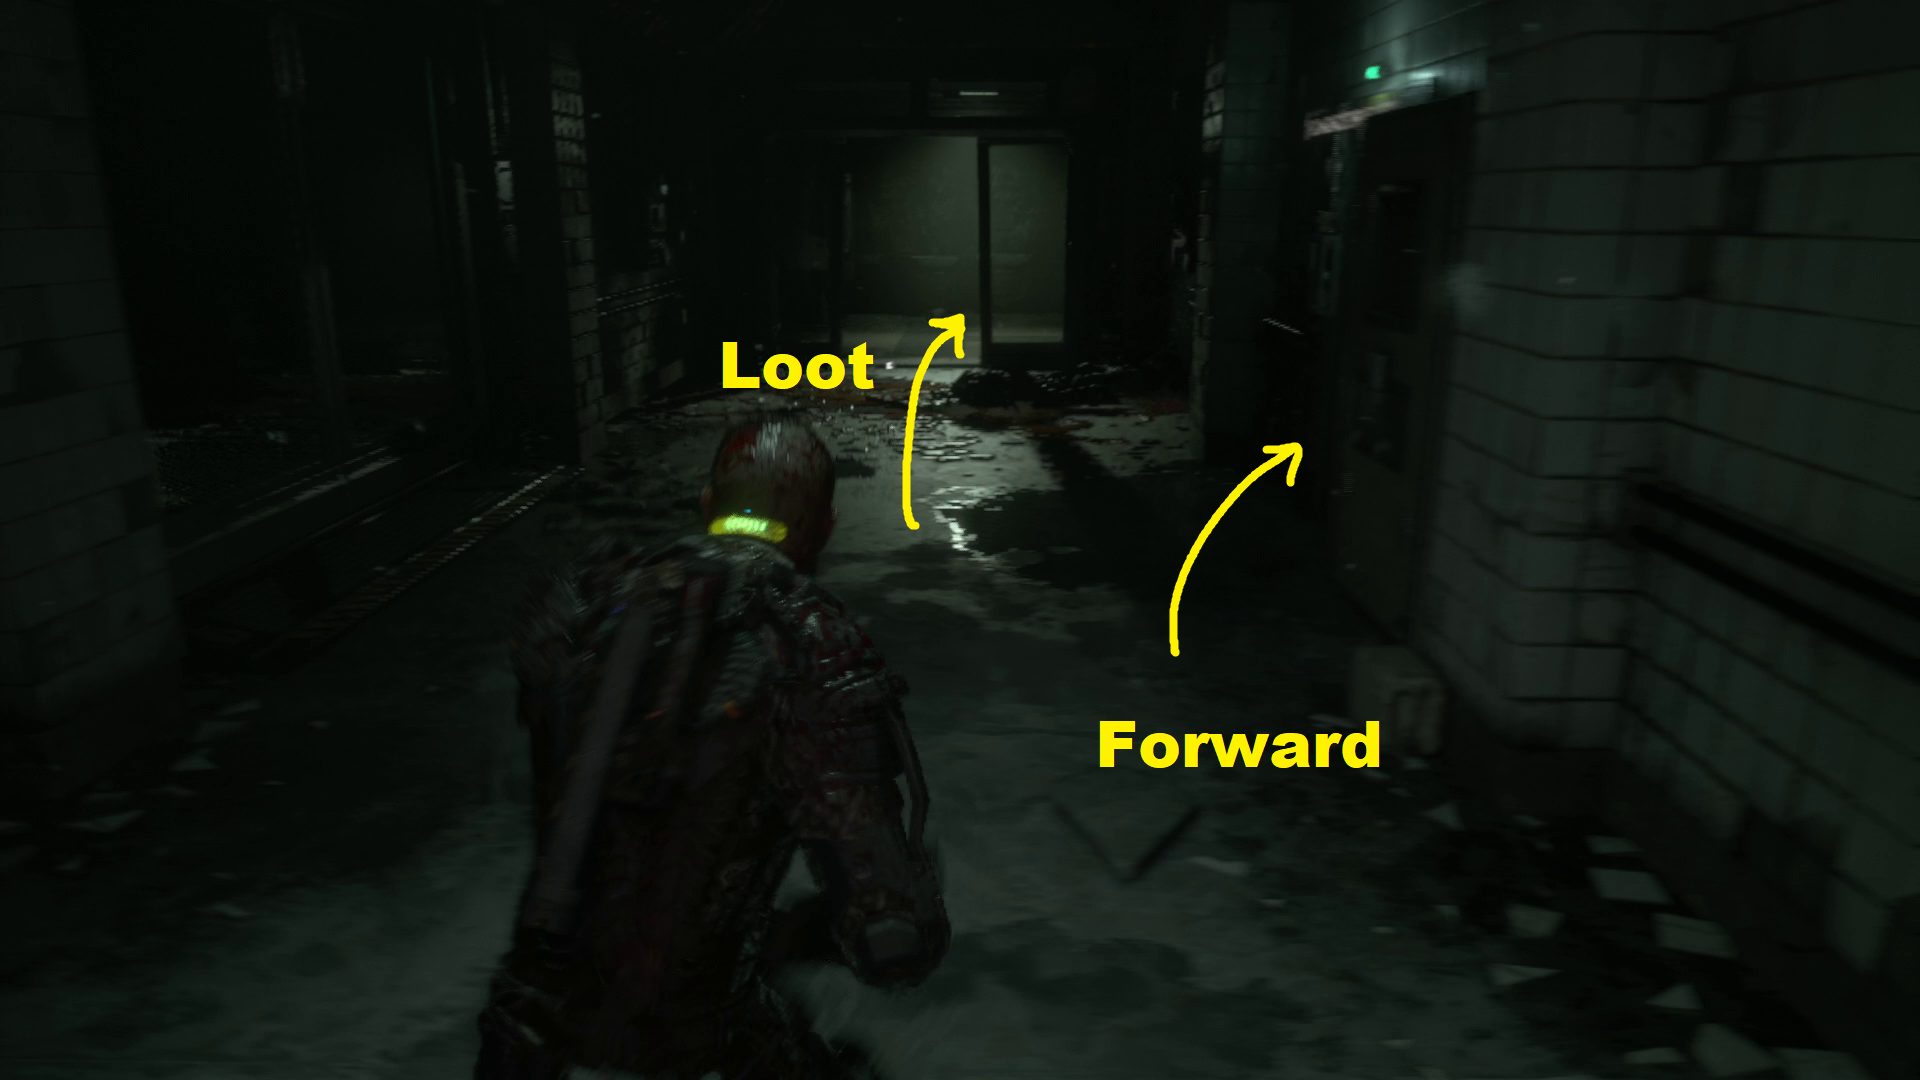
Go a little further and yet another enemy will pop out from the left, and yet a bit further down the hall a final enemy will appear from the panel on the wall straight ahead, and a final enemy from around the corner to the left. At the end of the hall, turn left and go down the stairs. Continue down the hallway, and about halfway down, a couple biophages will pop out and attack. Deal with them and then grab the health injector from the right-hand wall and the loot in the far corner before heading through the doorway marked Morgue A222 (2).
12
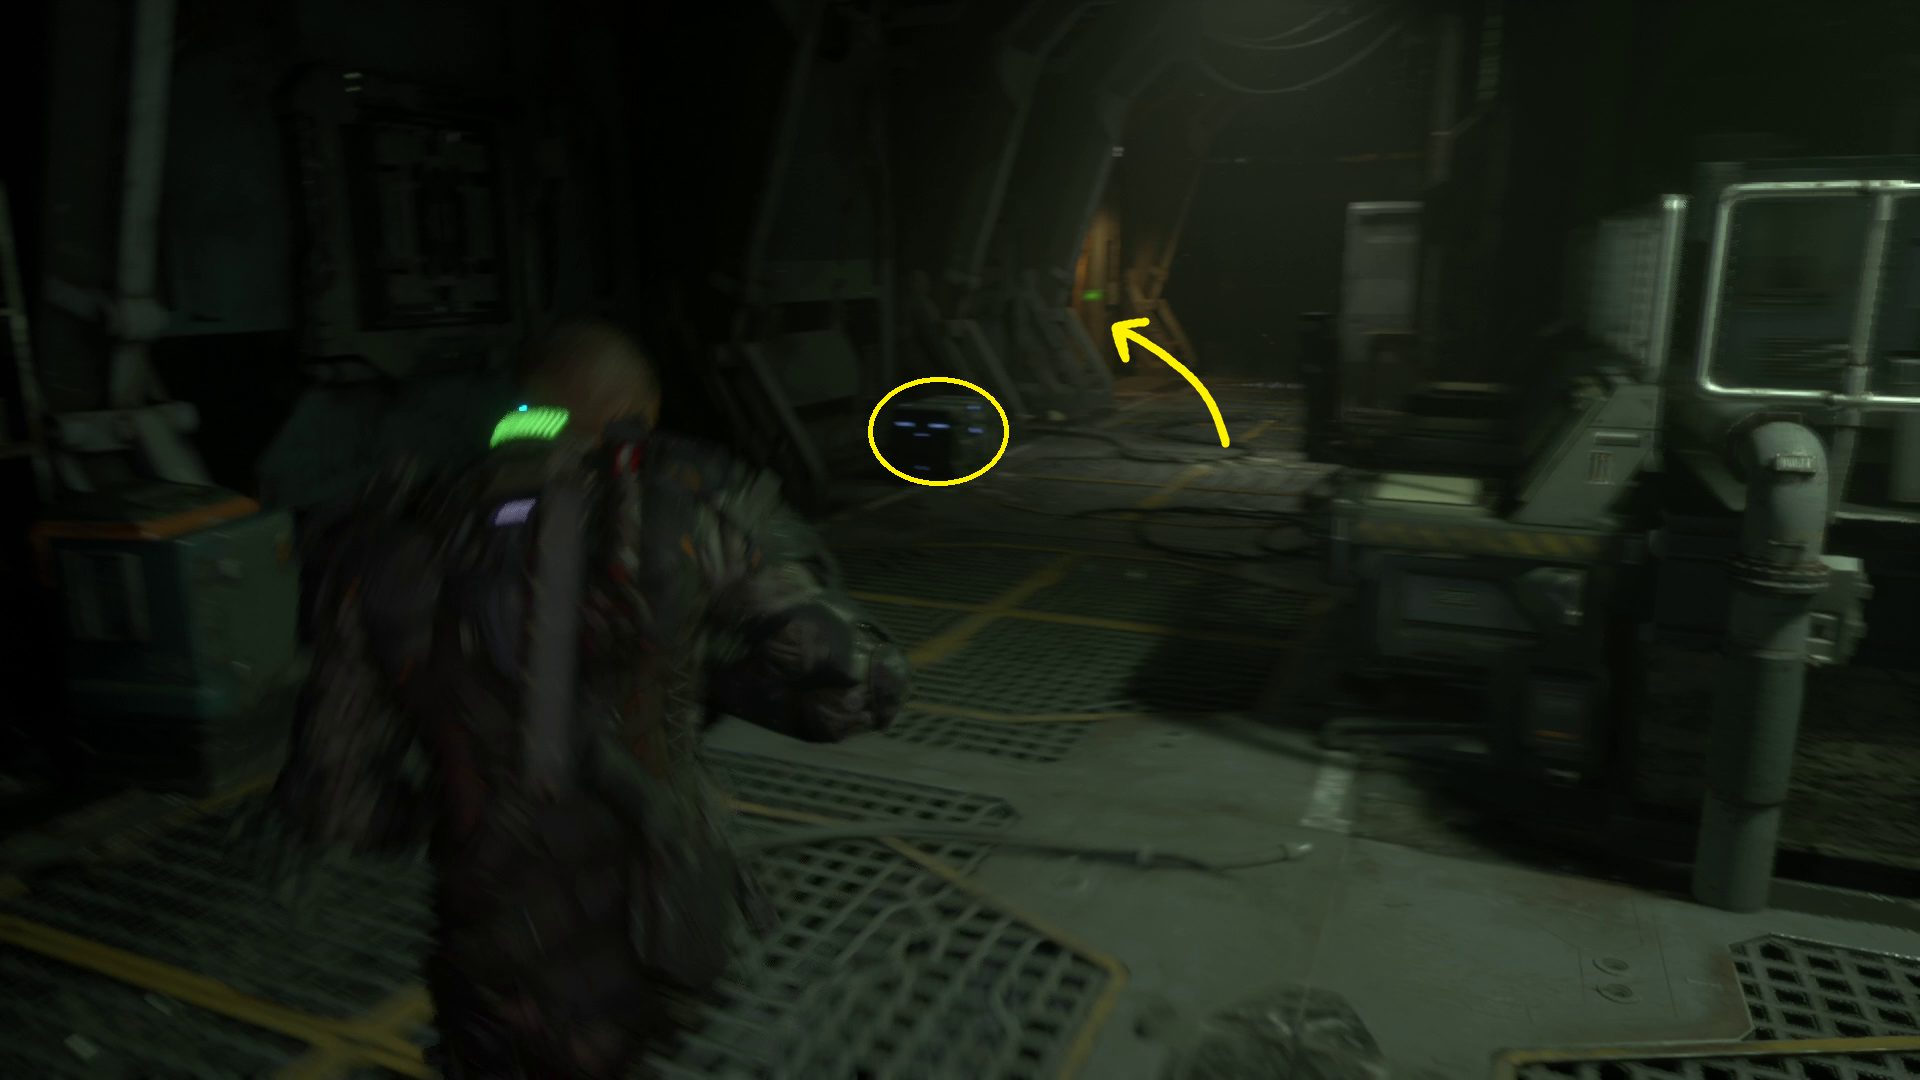
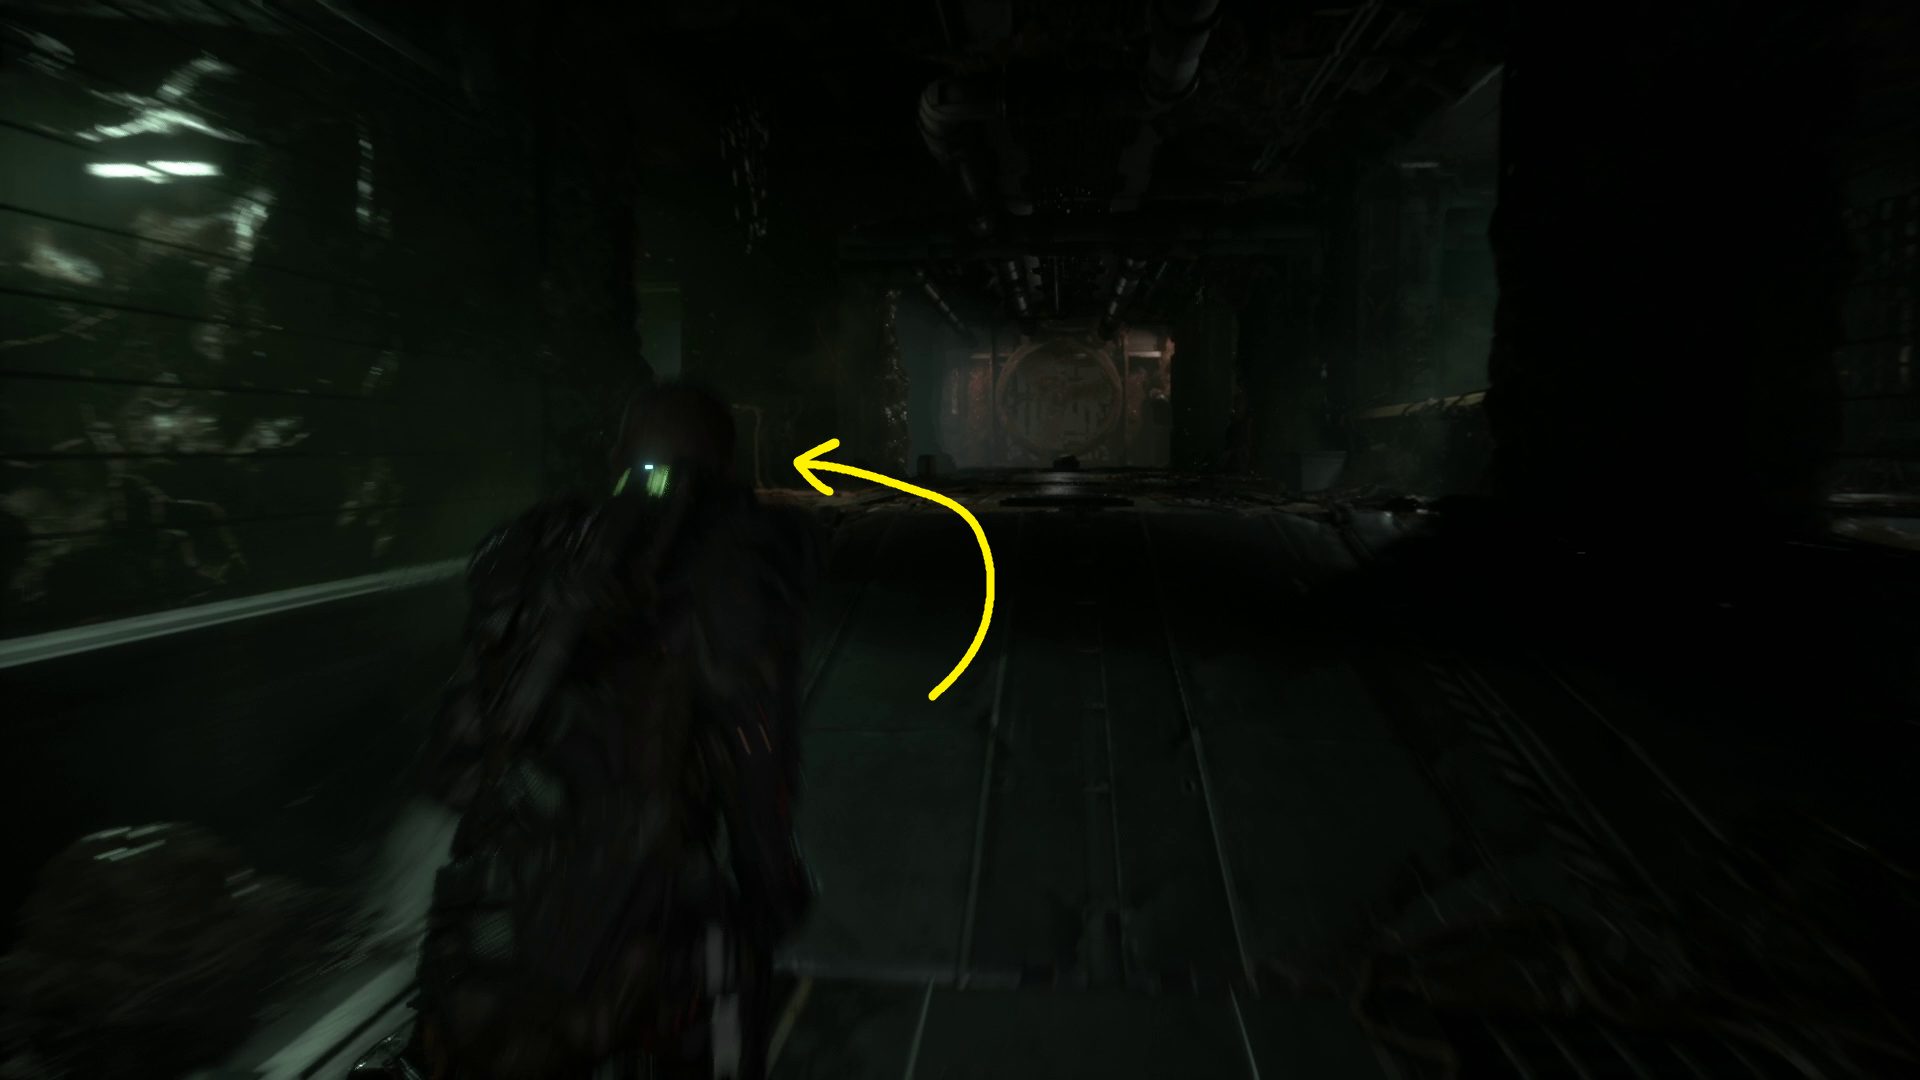
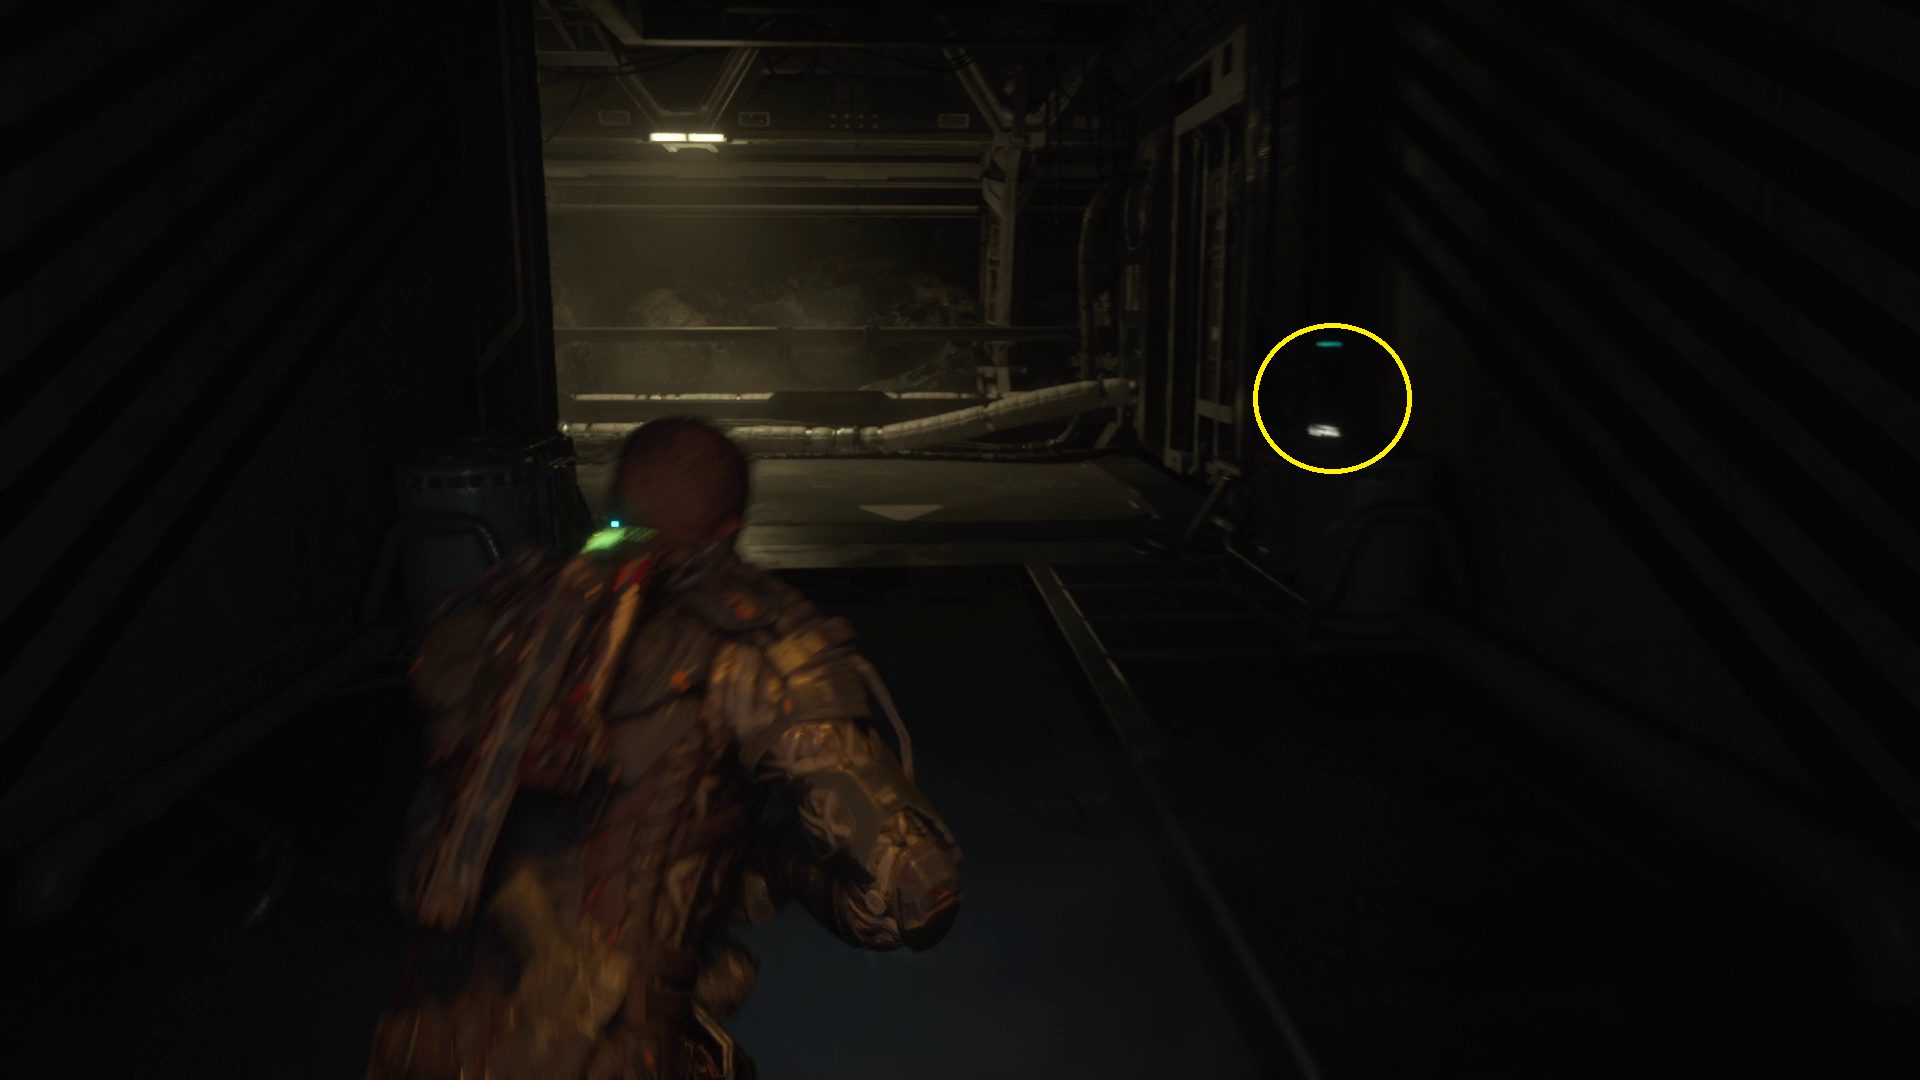
An enemy will drop from the ceiling in here, but you can GRP-fling ’em into the spikes on the far wall. When leaving, watch out for the corpse that will get up from the bed to the left of the door. In the next hallway, you’ll find two enemies — there’s an exploding canister to the right of them that’ll take both out easily. Through the doorway at the end of the hall you can find a stompable box, and then you’ll need to go into the doorway with the green light above it (1). A biophage will climb up the ladder as you enter, so deal with it and then climb down yourself.
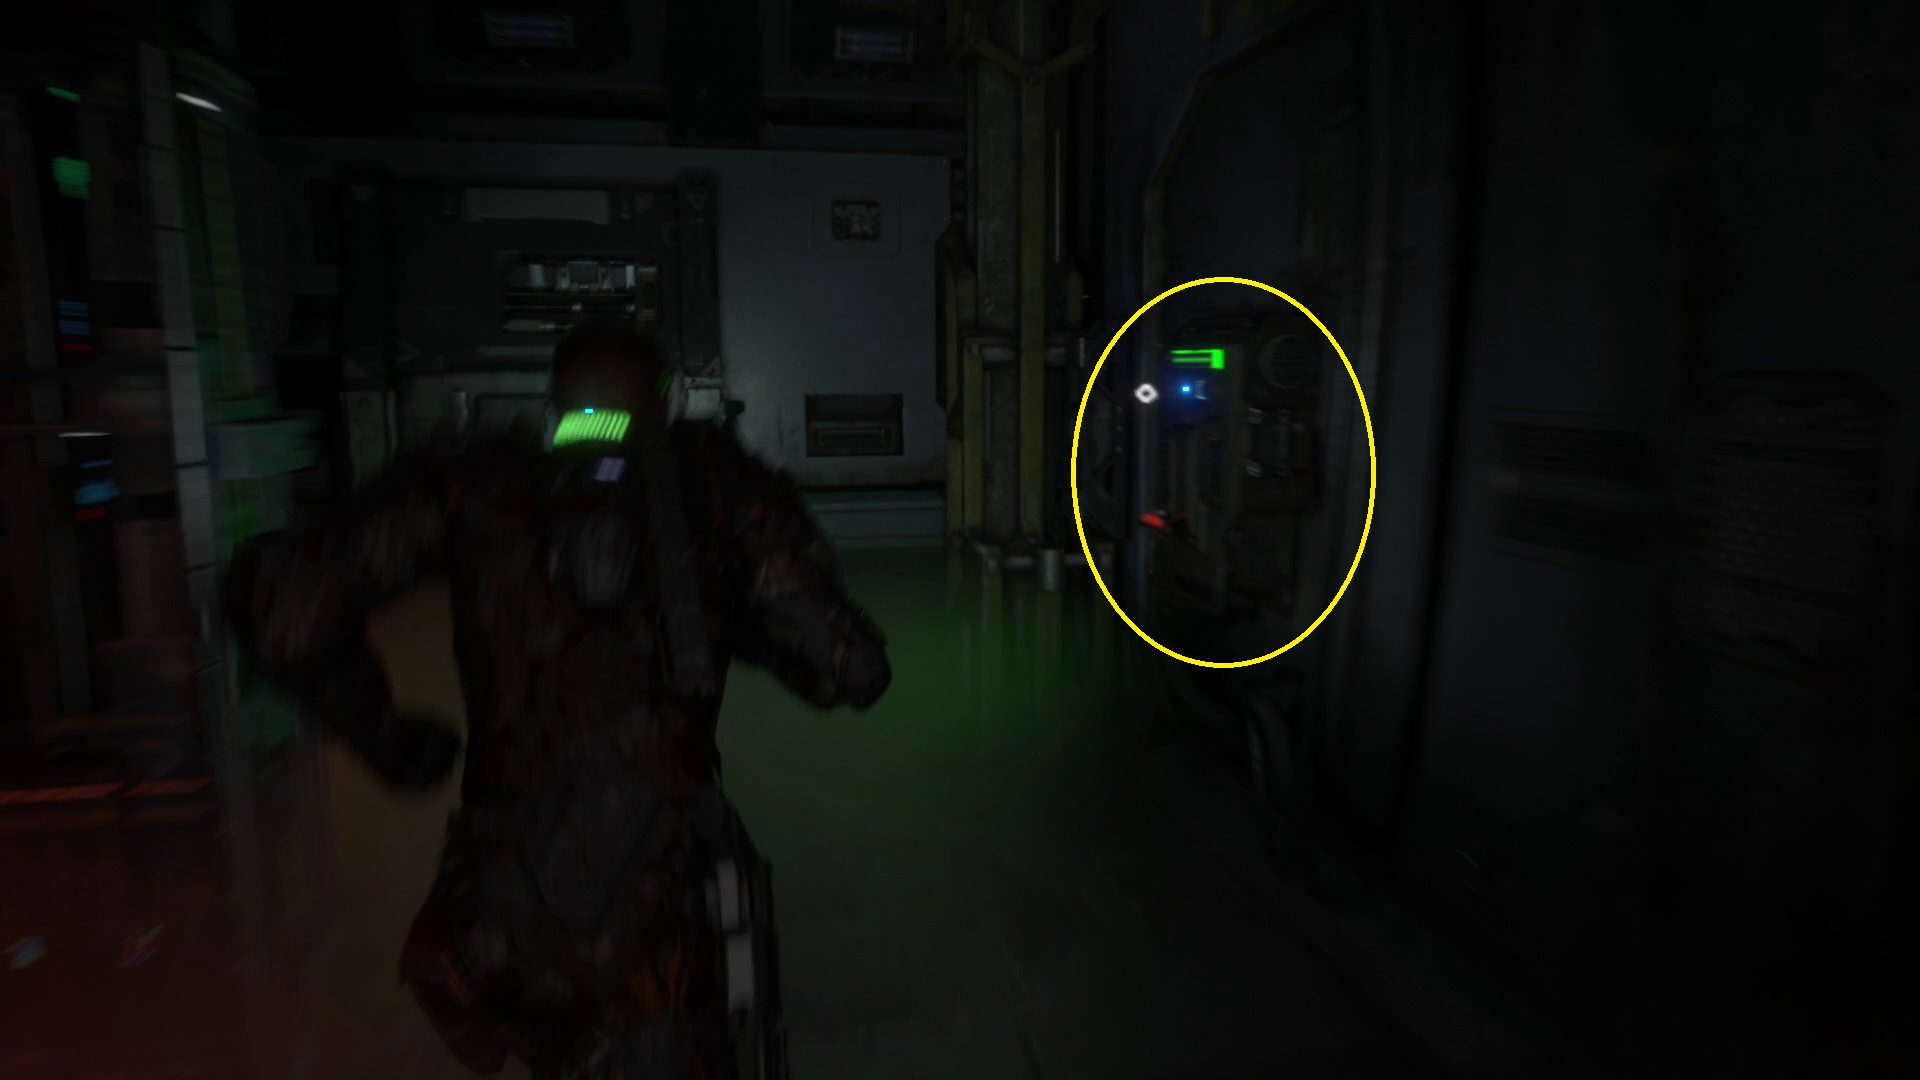
At the bottom, head through the doorway and a slug will jump on you. QTE it off and then go left towards the locked door — two enemies will appear in front of you. Dispatch them and GRP-pull the vent cover off and climb in and through (2). After exiting the vent, go left and approach the locked door to find an invisible Stalker — beat it up and then turn around.
12
At the end of the hall, turn right and you’ll find a fuse on the floor. Grab it and an enemy will approach from down the hallway. Opposite the room with the fuse are some stairs — head up them to find audio log Dr. Tala Ismene: Taken. Return to the vent, crawl in, and scoot your way back the way you came. Once out of the vent, go left to the end of the hallway and stick your new-found fuse into the box on the left of the locked door.
Go up the stairs and on the right you’ll find a Reforge station, plus a health injector on the wall and a couple of lockers nearby. Then go up the ramp to the unlocked door and head through.
Kill the Two-Head
On the right in the next room is a loot chest, so open it and then go left down the stairs and continue into the operating room. There’s a breakable box on a ledge next to the walkway you just came from you can GRP-pull, and then you can leave this room. Head down the large main hallway and yet another Two-Head will appear.
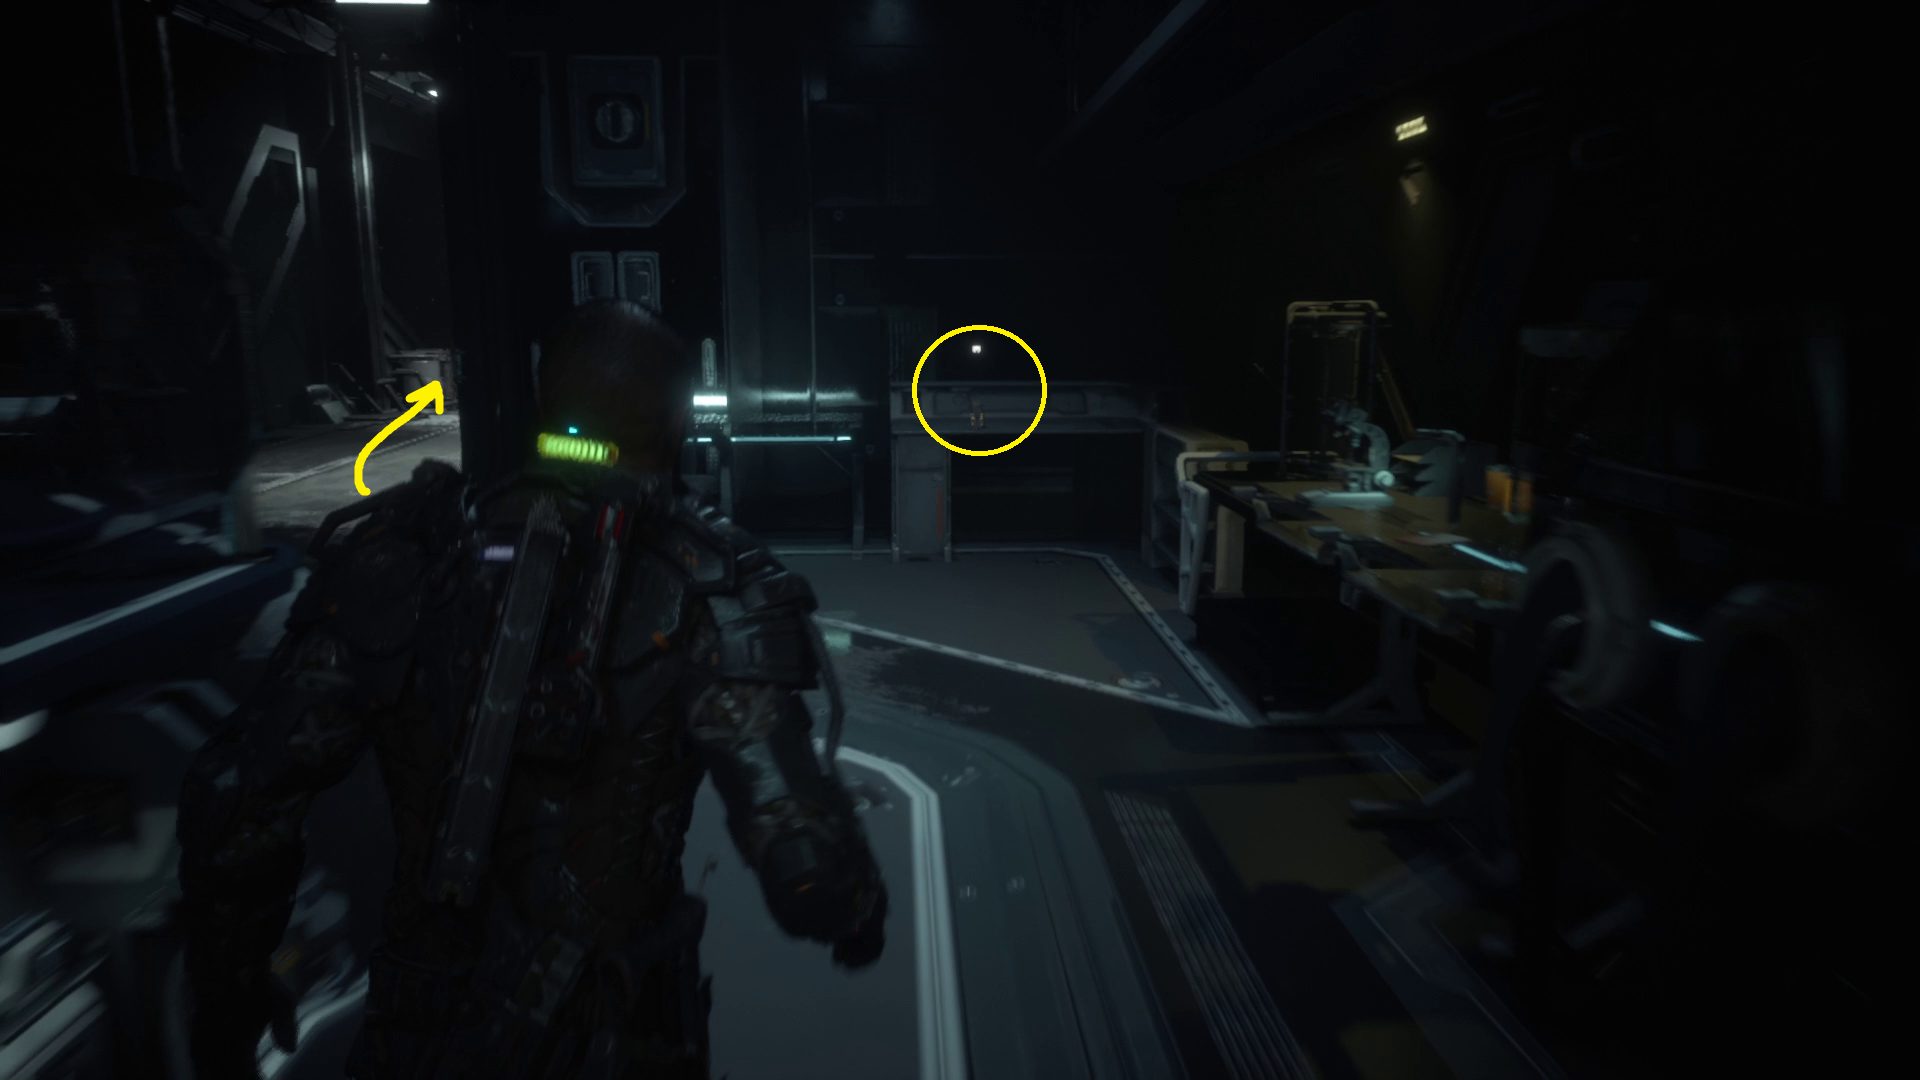
You probably know the drill by now: dodge, shoot, dodge, shoot, melee when he goes down, repeat. You should lead him back into the surgery room, as otherwise you might be surprised by the additional biophage that spawns partway through the fight. Once the Two-Head goes down, go back into the large hallway, head to the intersection, and go left (1) and through the door. In the next room, open the chest (it’s got a slug in it) and then proceed through the open security gate.
1
Talk to Dr. Mahler
In the room full of dead bodies, grab the loot from the crates on the right, then continue straight through the unlocked door. Don’t miss the audio log Edward Bates: Experimentation on the right in the next area (1), then keep going down the long hallway and through the next door. You’ll enter a lab full of experiments — feel free to look around, but there’s nothing to do here but keep moving across the room to the next door — going through will begin a cutscene.
1
Head for the Warden’s Tower
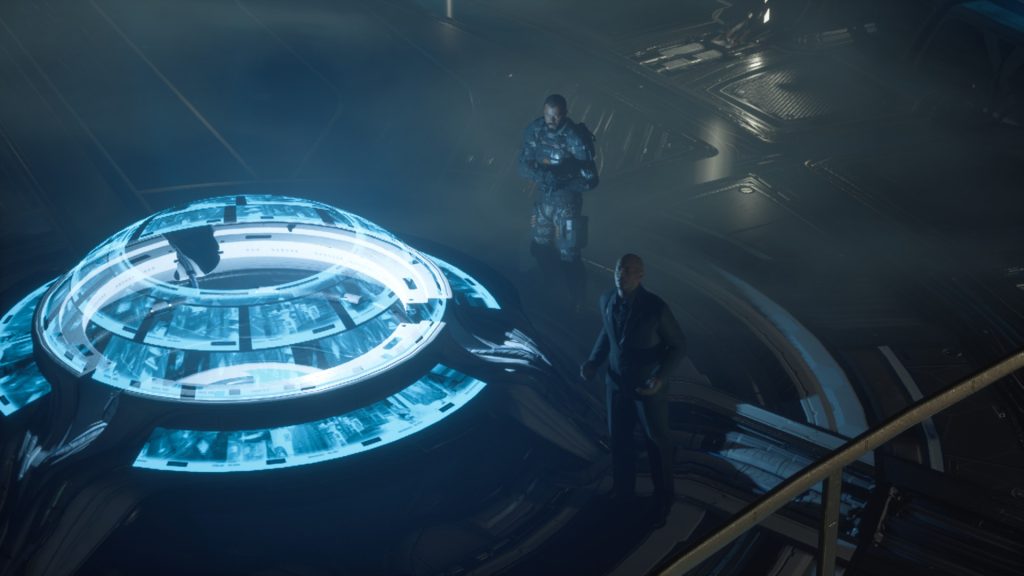
When it ends, go right around Subject Zero, grab the loot from the desk in the far right corner (1), then continue into the next hallway and go right around the corner. Head to the end of the hall, enter the elevator, and use the panel to activate it. Exit it when it stops, continue into the next room, and grab the audio log on the left side of the glass display cases before heading through to the next area (2).
12
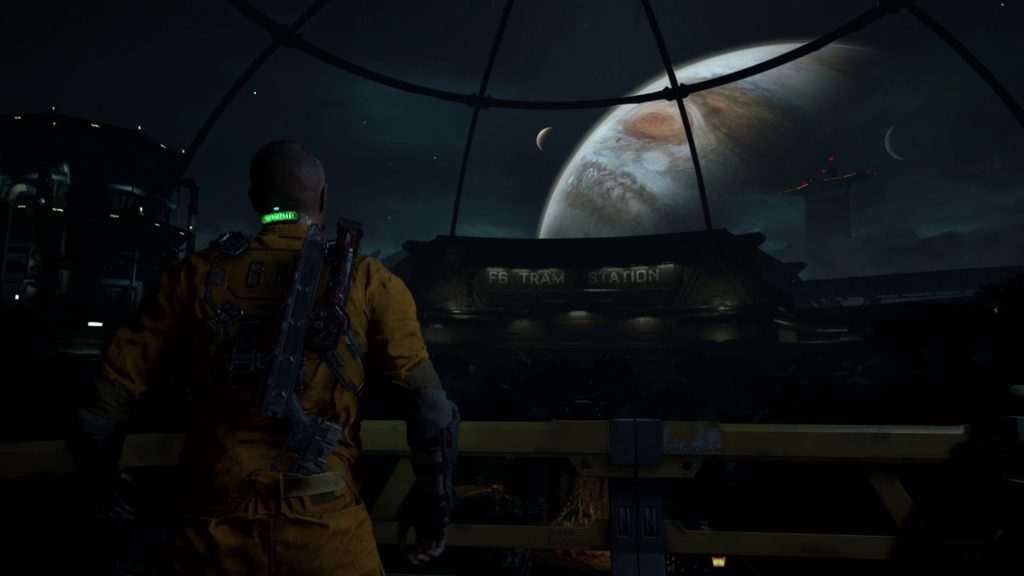
Keep moving forwards, and you’ll hit a brick wall. Turn around to find yourself on Europa, and continue forwards until a cutscene begins. You’ll get some insight on Jacob’s role in everything that’s happened, and when the cutscene ends, you can keep moving forwards, through the door and up the long ramp. You’ll come to a Reforge station — wait to use it, since the hallway ahead is full of breakable boxes. Make your way down the hall, breaking all the boxes — they’ll come in handy later even if you can’t pick the stuff up.
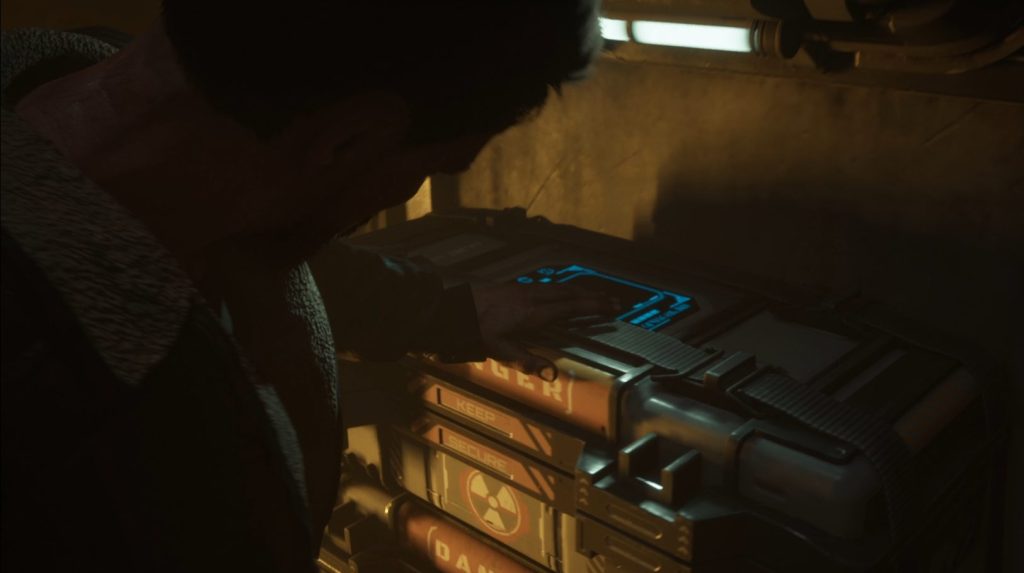
Then, make sure you sell all your junk and spend all your money at the Reforge station, since this is your last chance before the game ends (you may want to try and upgrade one weapon completely if you’re seeking all the achievements). When you’re ready, open the door with your shiv (1) and a cutscene will begin.
Determine Who Is the True Survivor
When the cutscene ends, you’ll face off against Cpt. Ferris. This first part of the fight is just like the other fight with him — dodge his attacks (3-4 in a row) then do a full melee combo. Don’t use your ammo on him here, as you’ll need it for the next phase of the fight. Once you’ve hit him enough times, another cutscene will start, and Ferris will transform into something decidedly more intimidating.
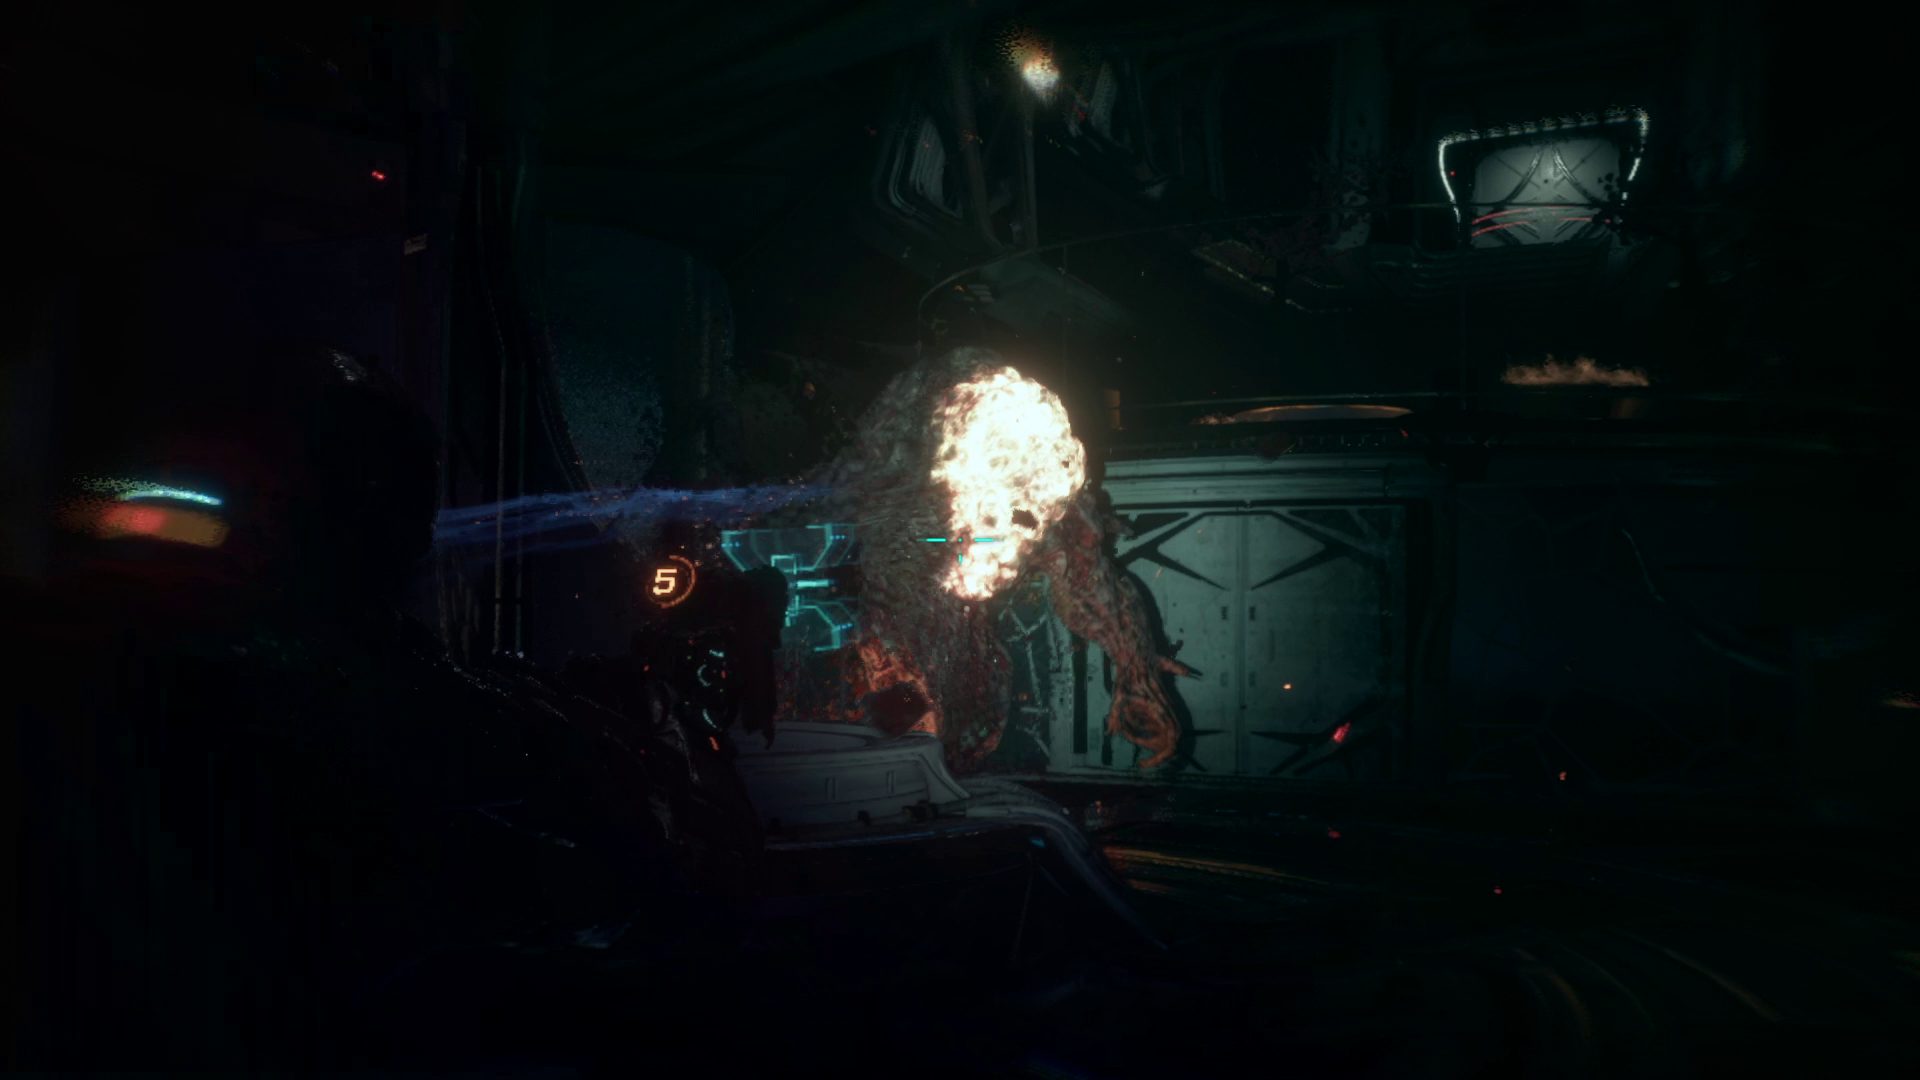
Target Ferris’s face with your ranged weapons to allow you to damage him — he has a shield (1), and you have to break it in order to hurt him. At this point in the fight, you’ll also be able to (and probably need to) run into the hallway and collect the health and ammo from the boxes you broke open before entering the boss room. Throughout the fight, crawling biophages will spawn — use your GRP to throw these at Ferris, doing good damage to him. Also keep an eye out for explosive containers (2) to GRP-throw at him.
Ferris will melee attack you when he’s close, so make sure you’re holding left or right. He also has a ranged attack you can dodge by moving sideways, so you should basically always be moving horizontally relative to Ferris. After dodging a melee or ranged attack, unload at his face (or his face shield if it’s up), and he’ll soon go down.
12
Reach the Escape Pods
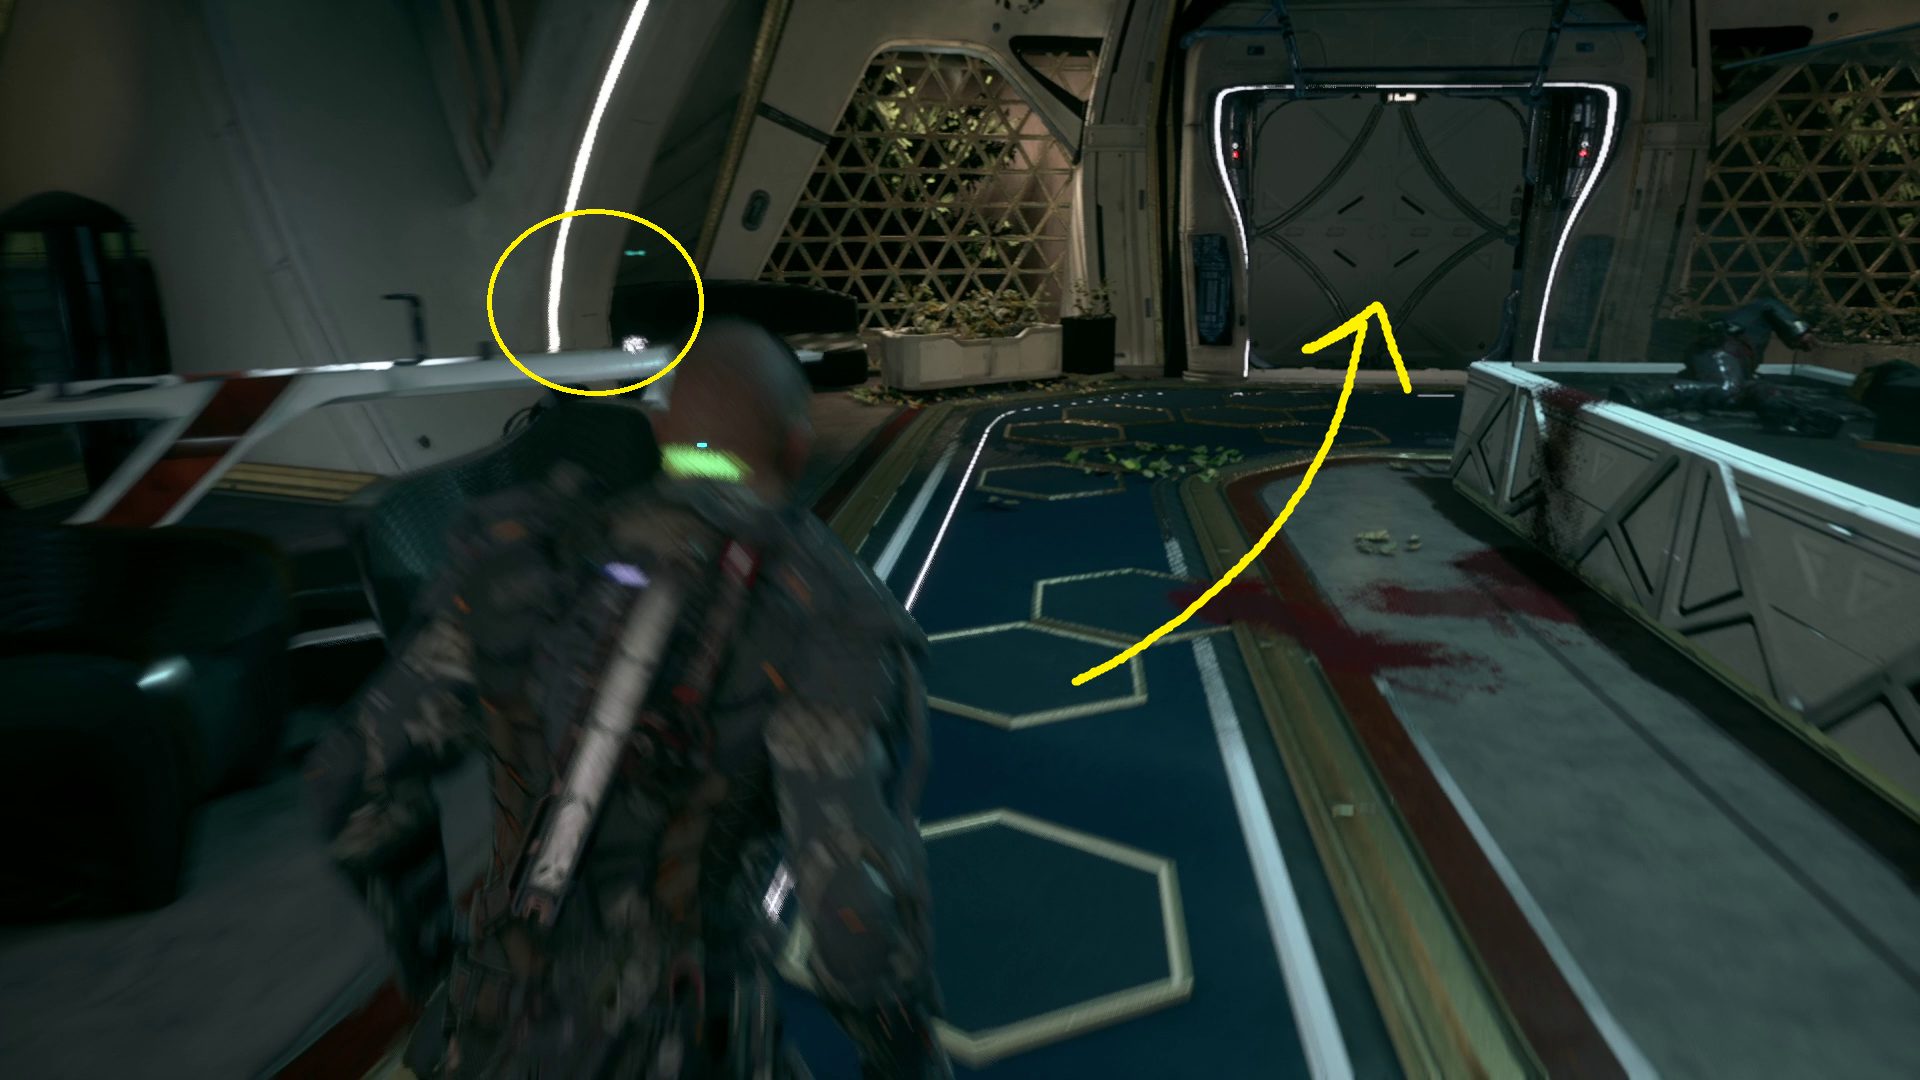
After doing enough damage to Ferris, a cutscene will play. When it ends, a doorway will open in front of you (1), and Dani will run through.
1
Follow her to the escape pods, where another cutscene will begin. Congratulations on completing the Callisto Protocol!
We truly hope this walkthrough was helpful — please leave any comments, questions, or suggestions you may have in the comments below.
Unabashed FromSoftware fanboy still learning to take his time with games (and everything else, really). The time he doesn't spend on games is spent on music, books, or occasionally going outside.