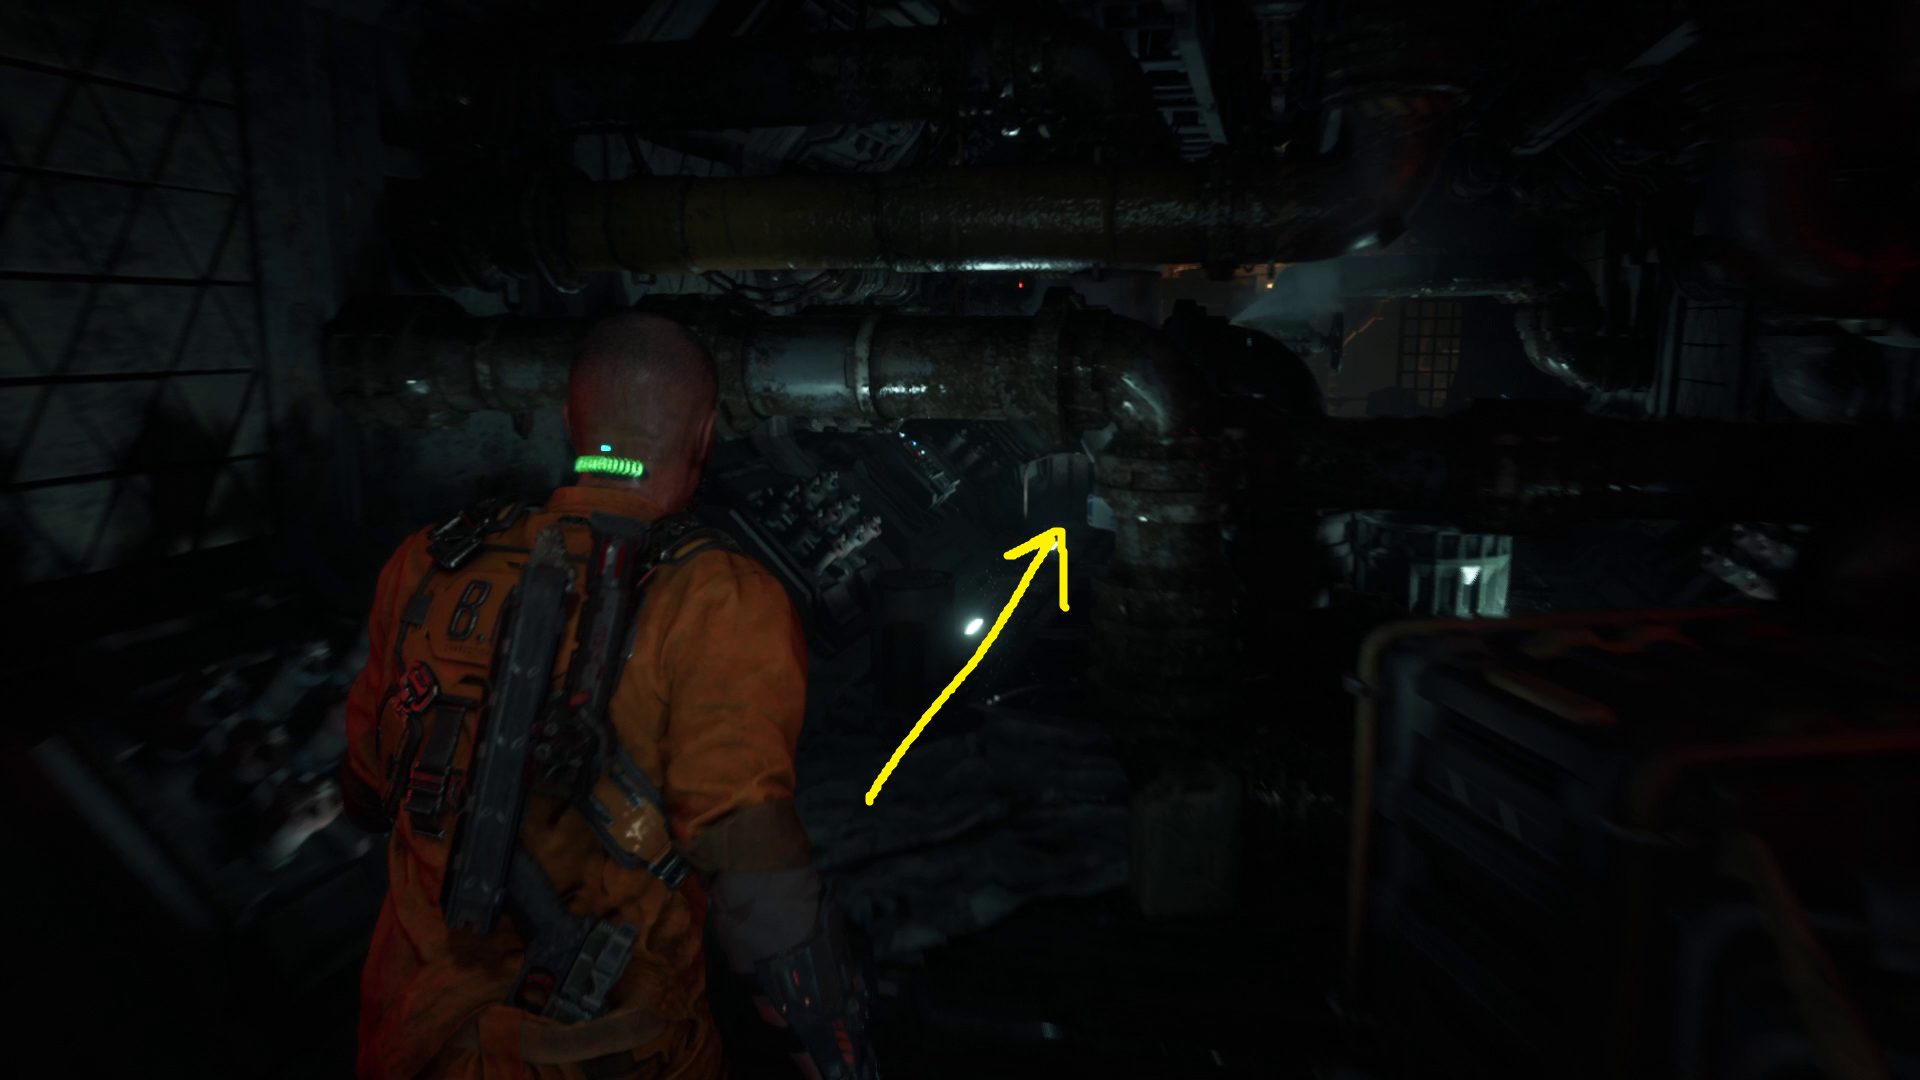
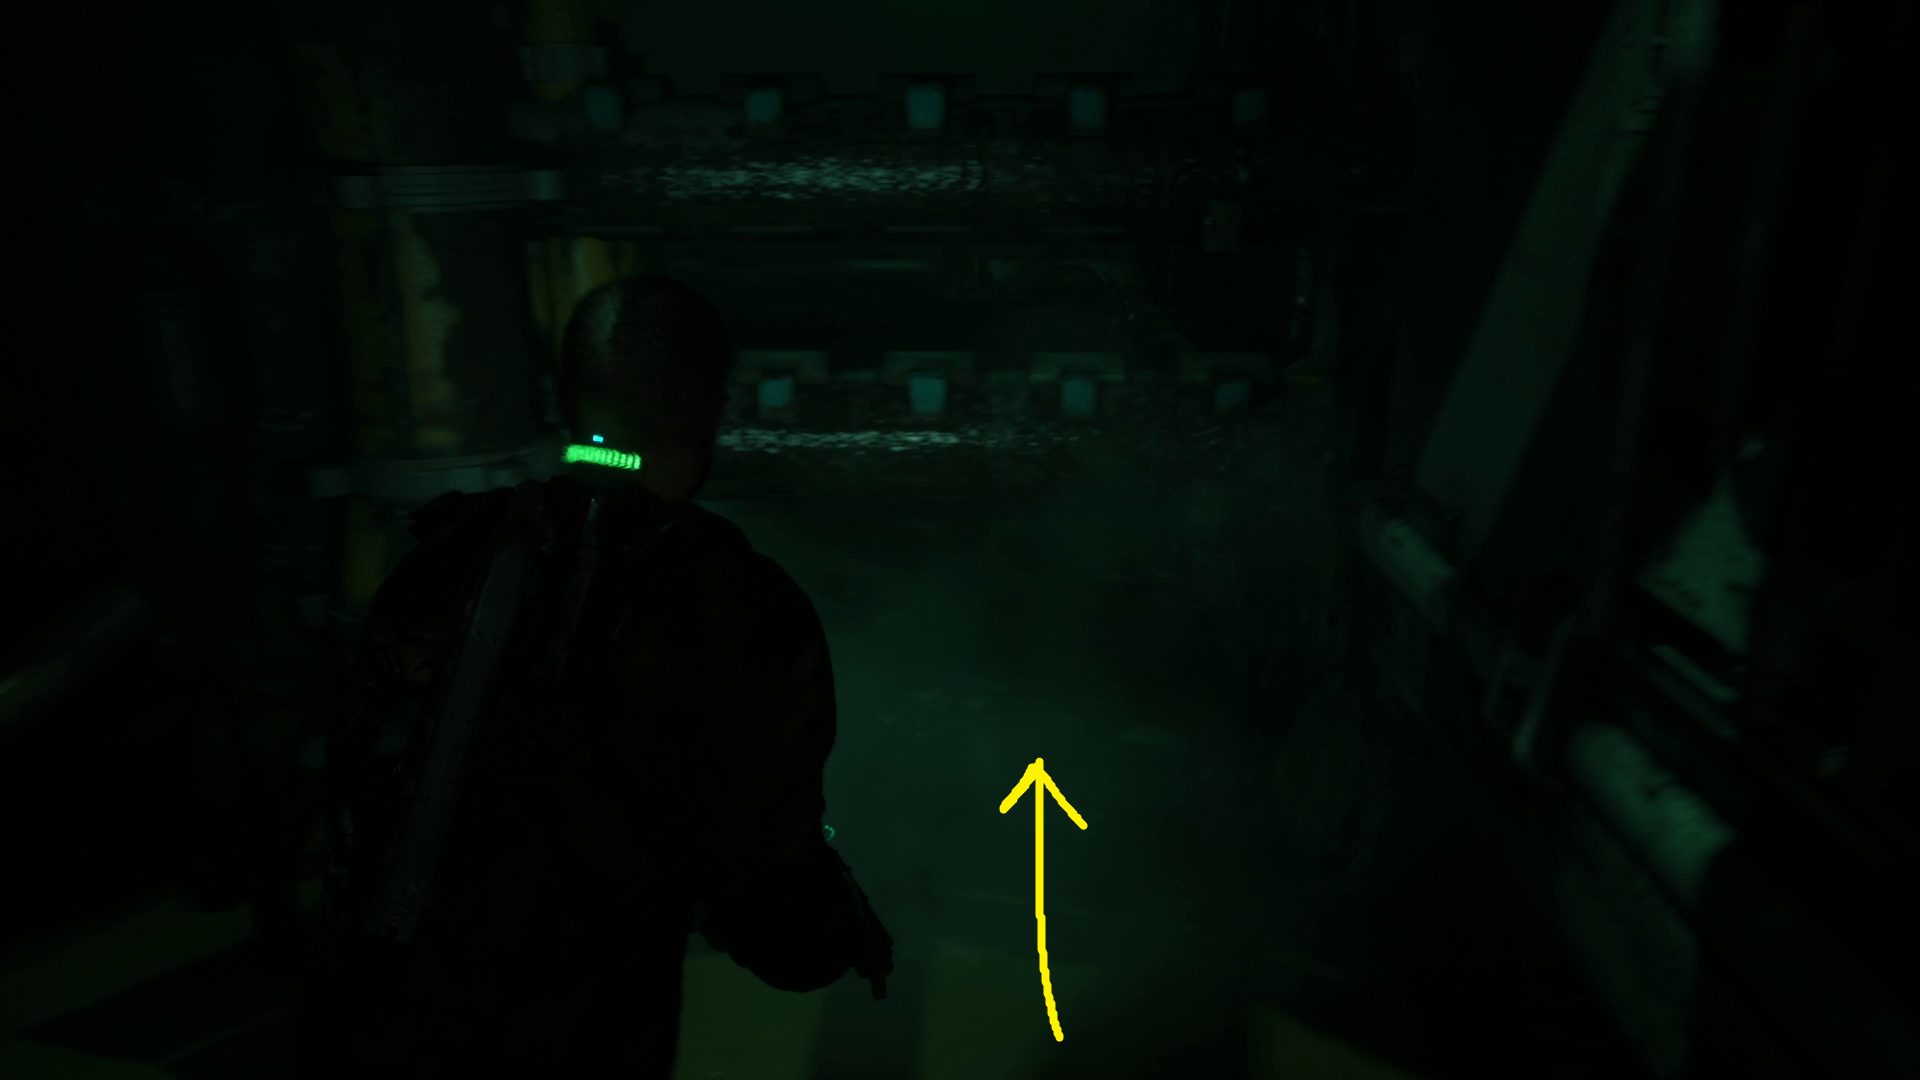
After climbing down through the hatch at the end of Chapter 3, you’ll find yourself in a cramped hallway full of pipes and crates. You’ll need to crouch to slip through a gap in the pipes on the left (1), then continue forward until you find a small catwalk with a ladder on the left (2).
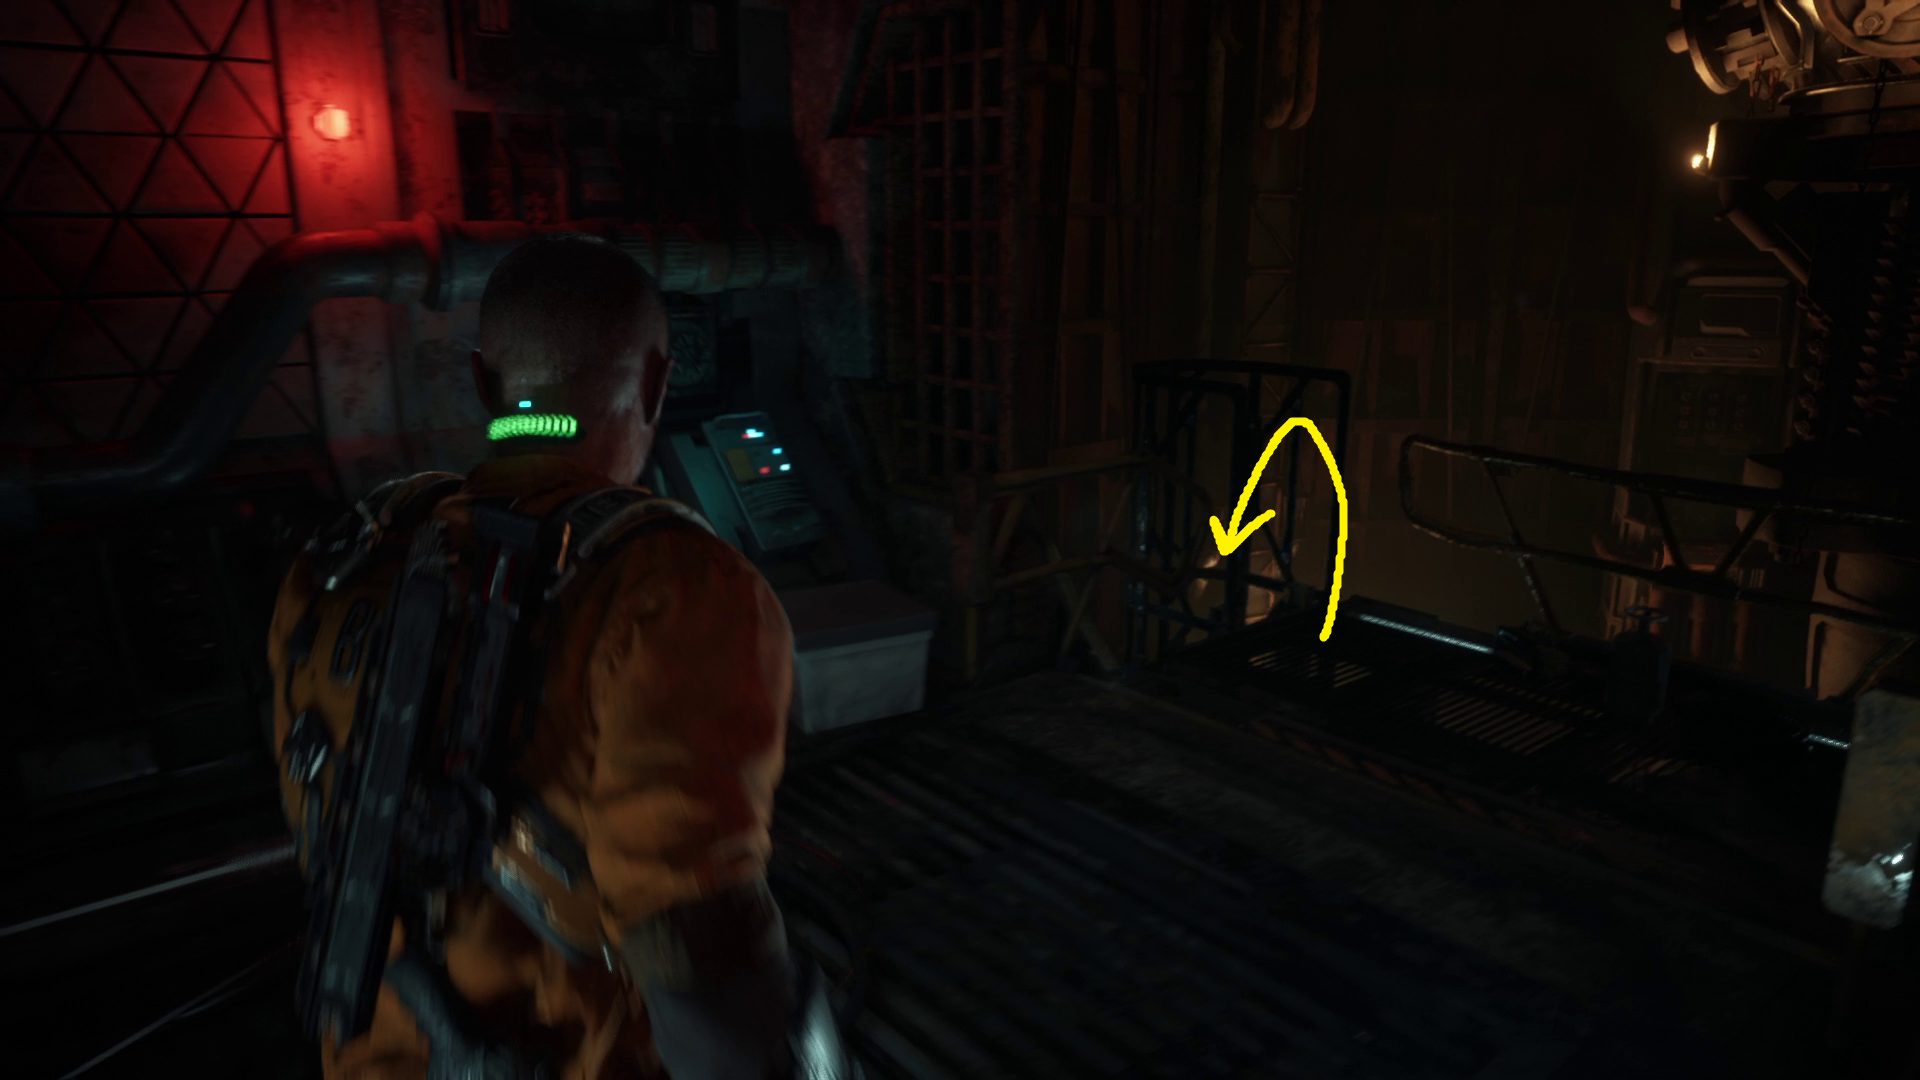
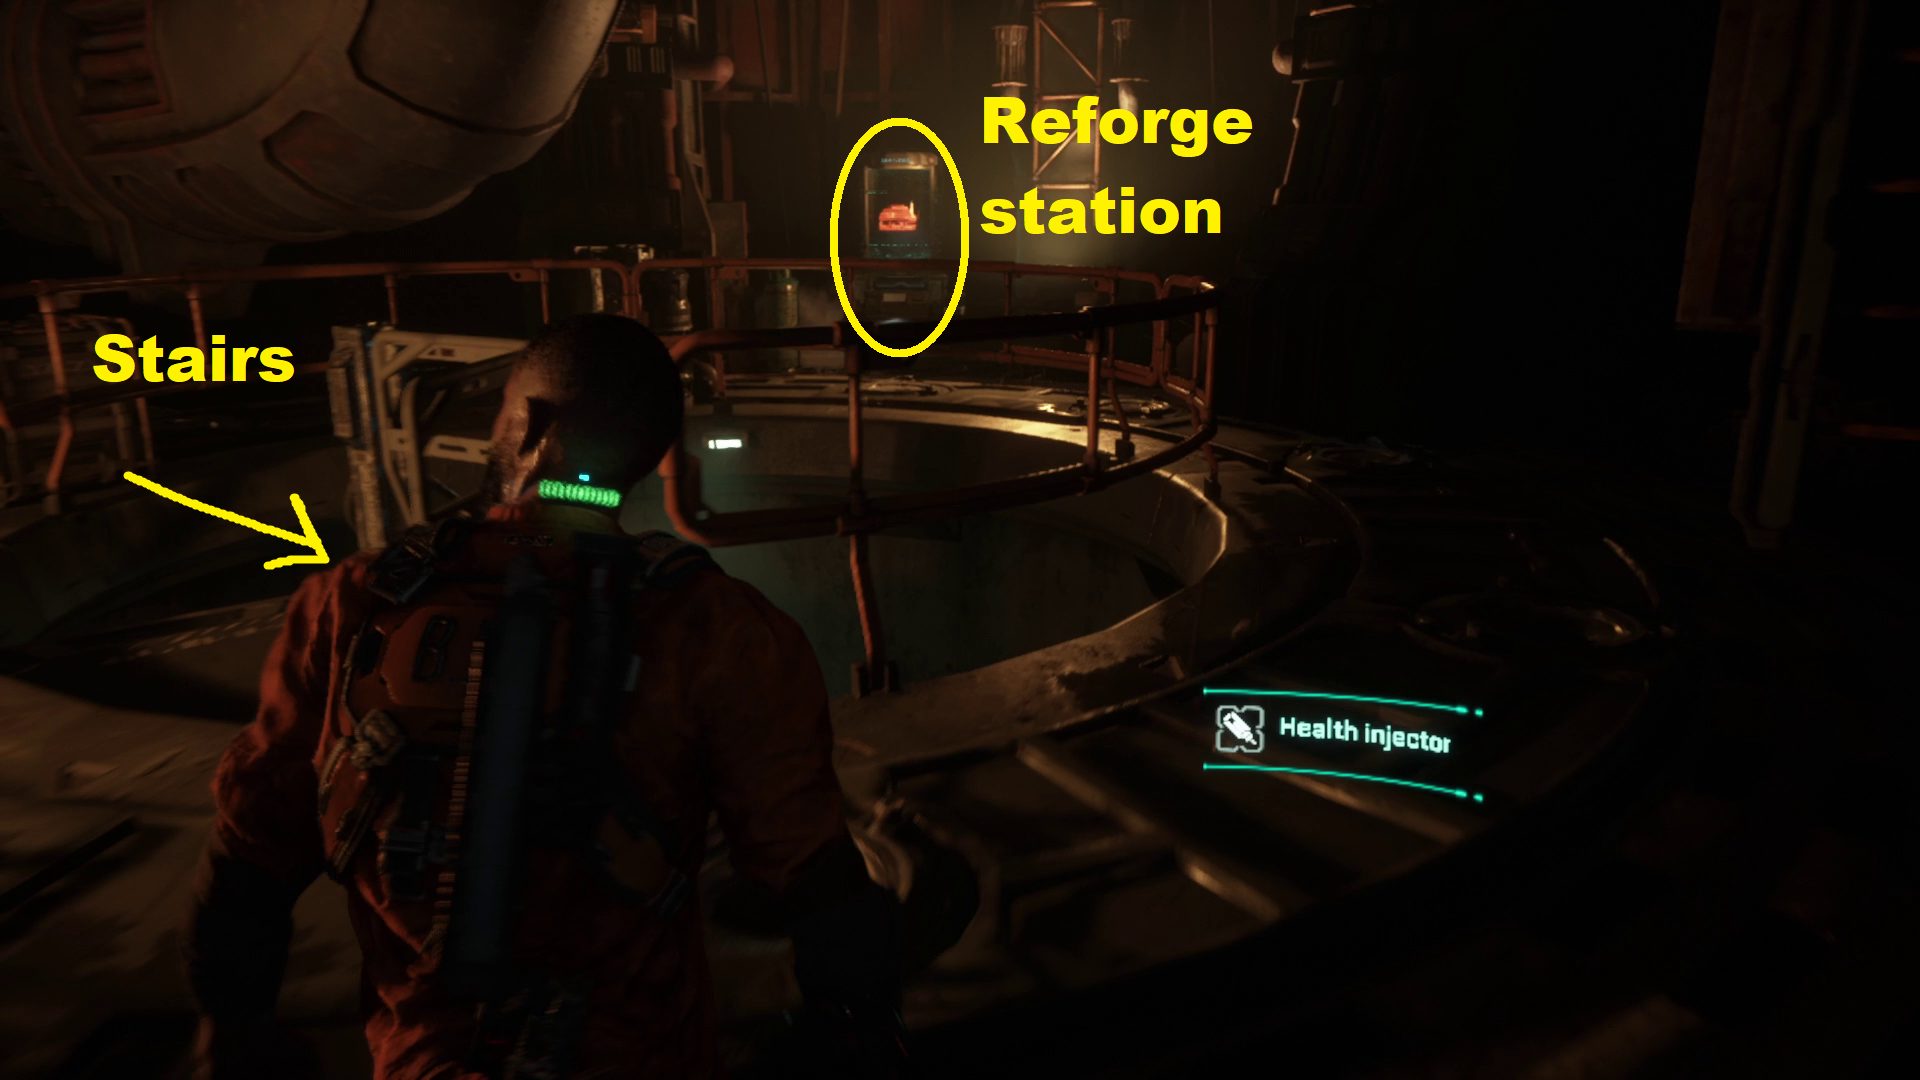
Go down the ladder. Once you get off, just ahead on the wall to your left will be a Health Injector on the wall — no worries if your inventory is full, since there’s a Reforge station on the other side of the room. Head over to it, do whatever selling/shopping/upgrading you need, and then go down the nearby stairs.
At the bottom of the stairs is a ladder leading into a dark hole. Interact with the ladder and climb down, then continue forwards and down the stairs.
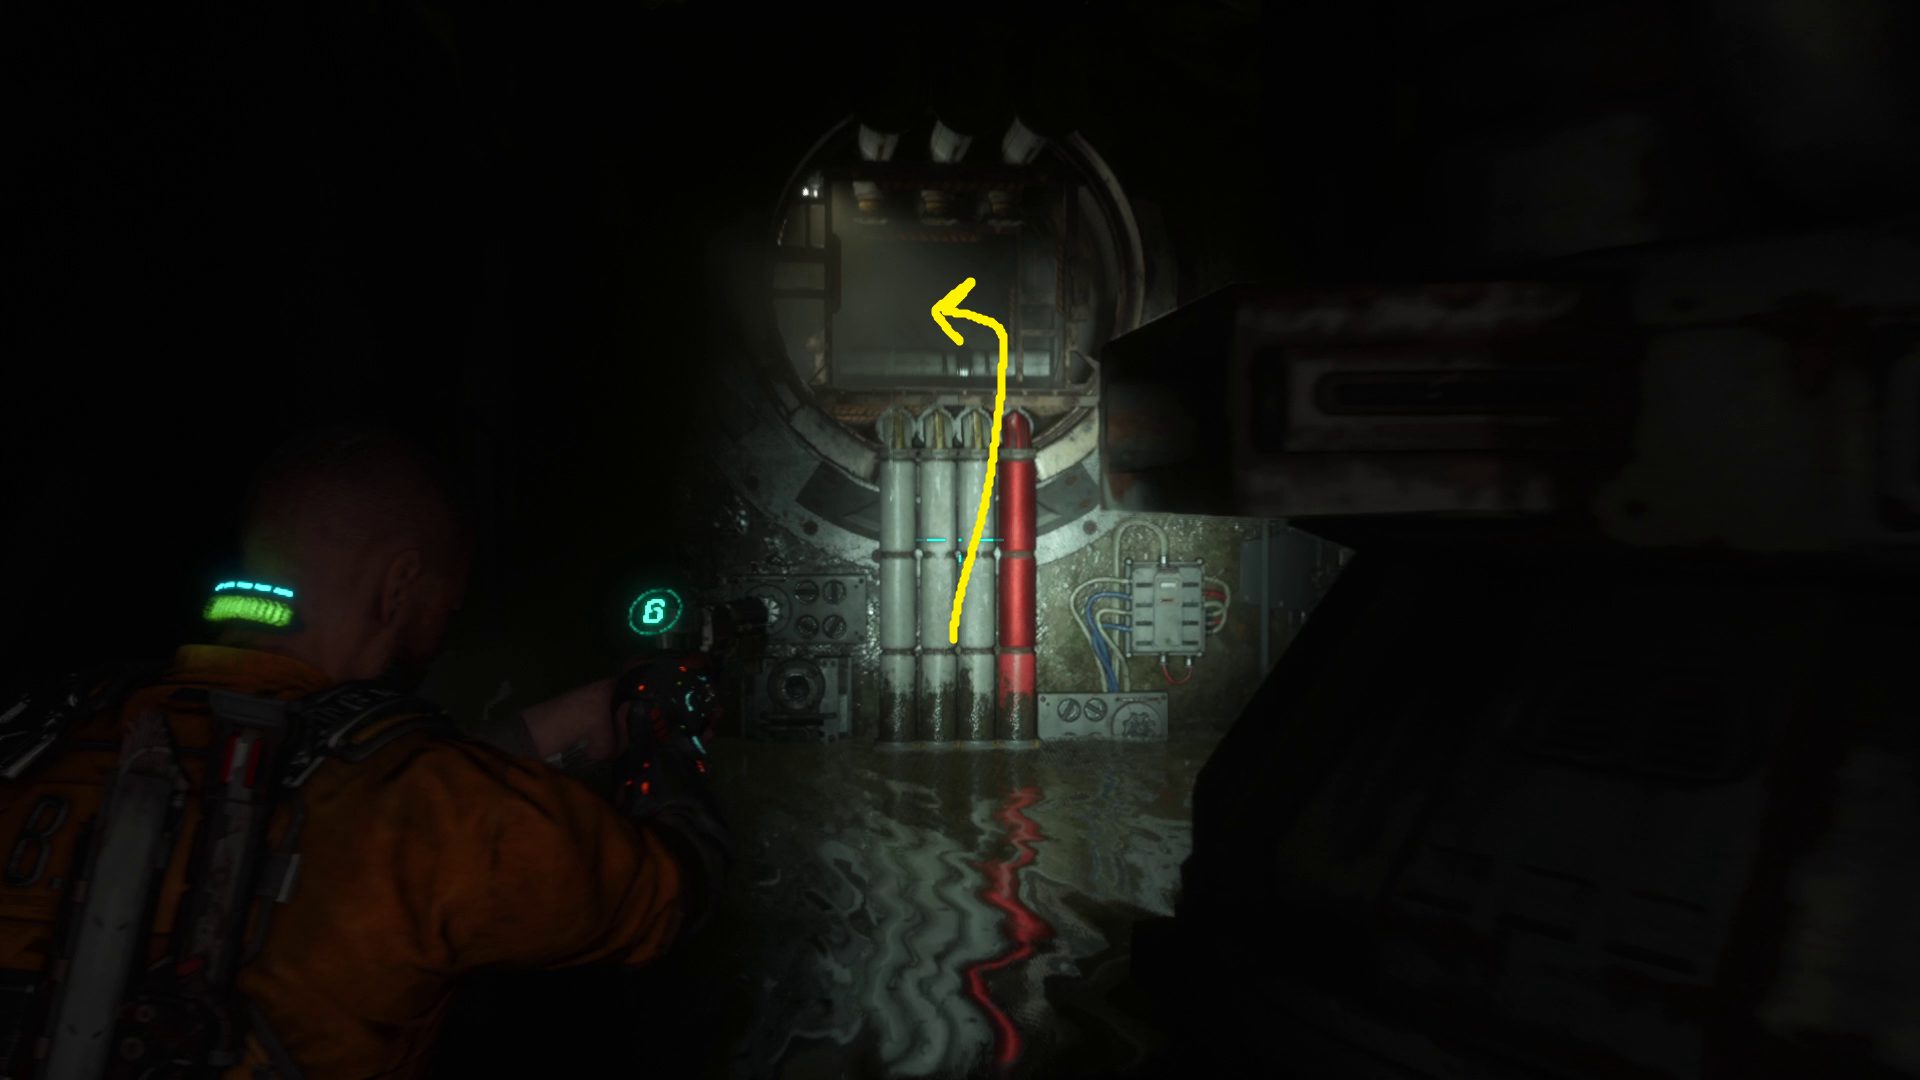
Follow the Red Pipe
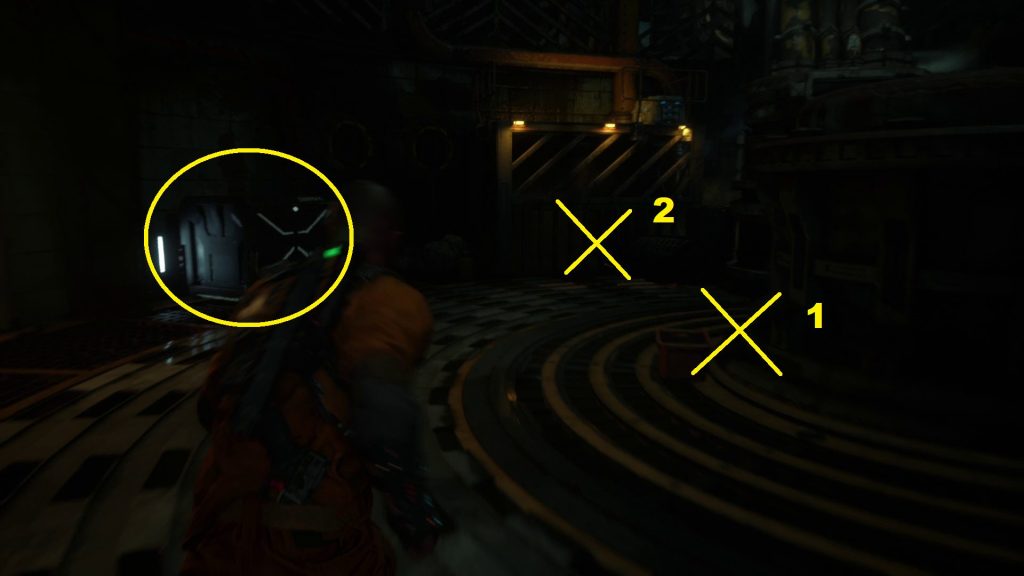
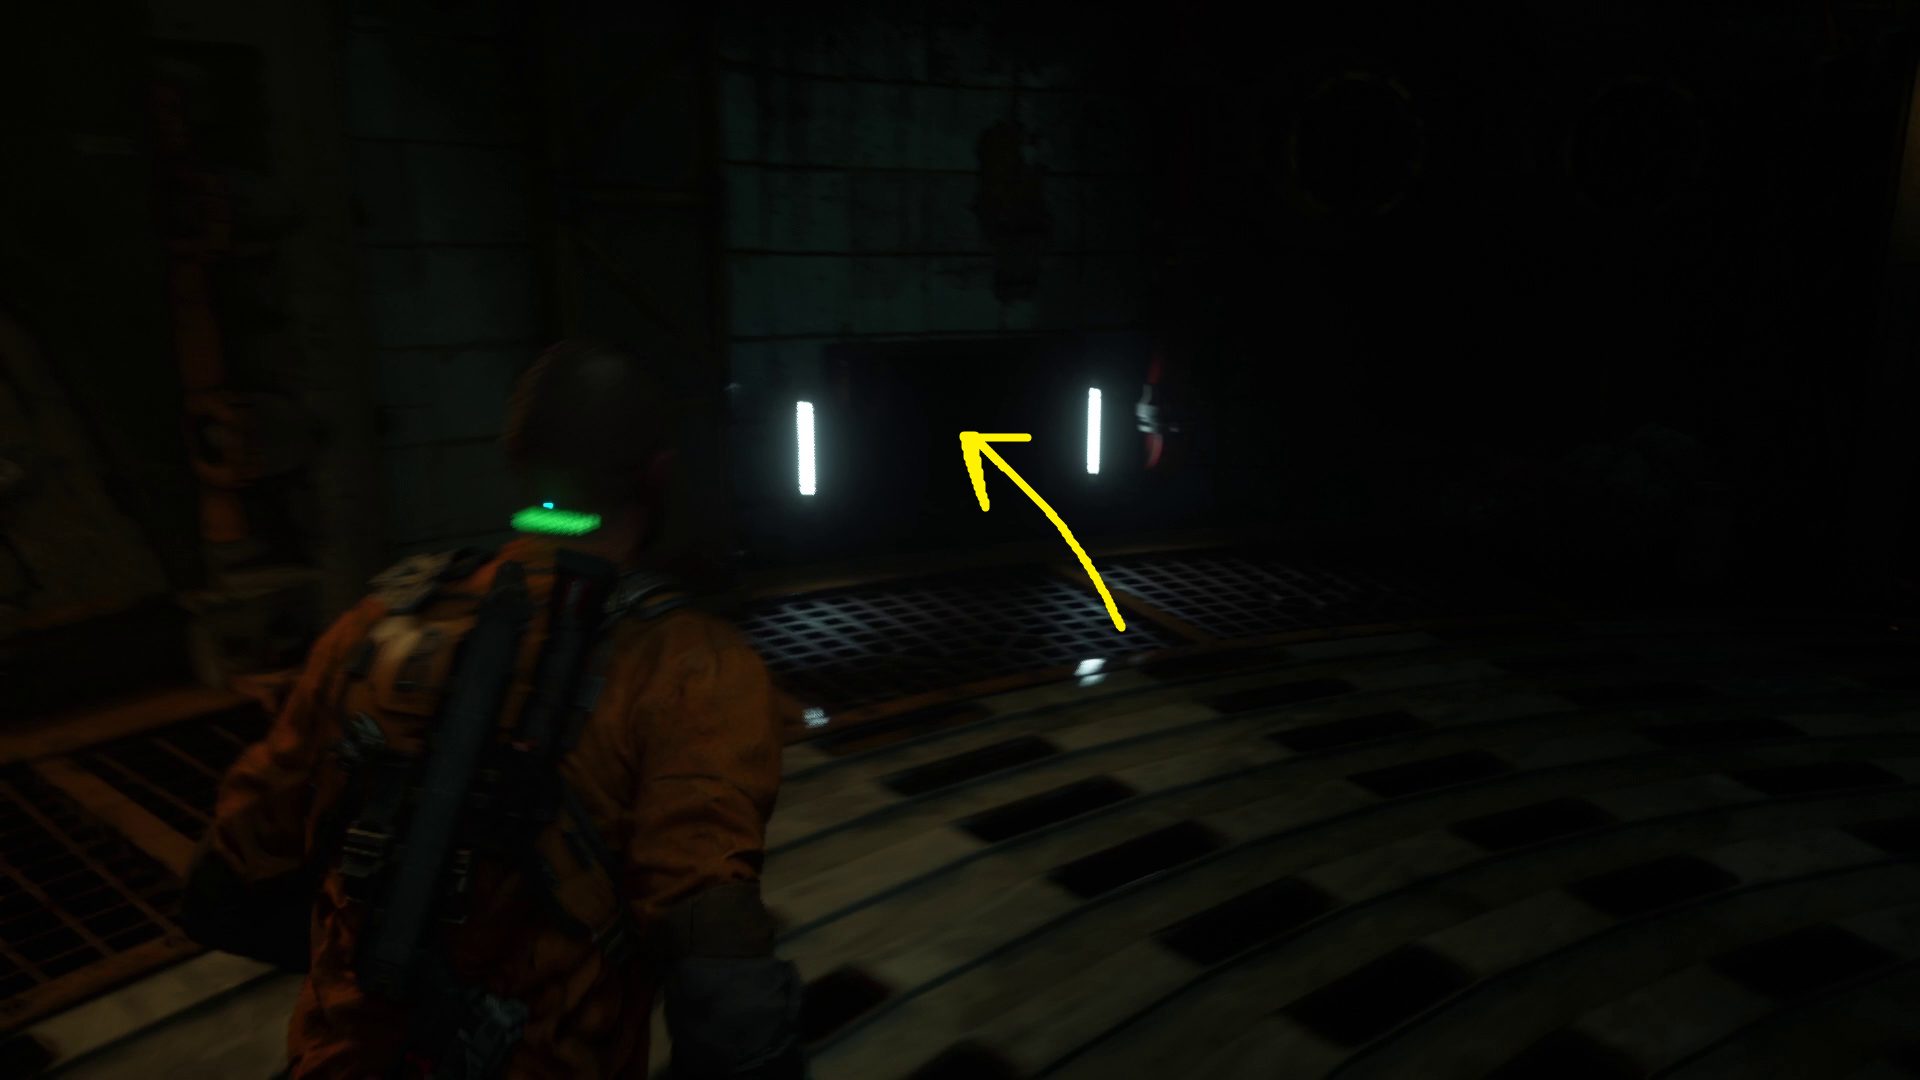
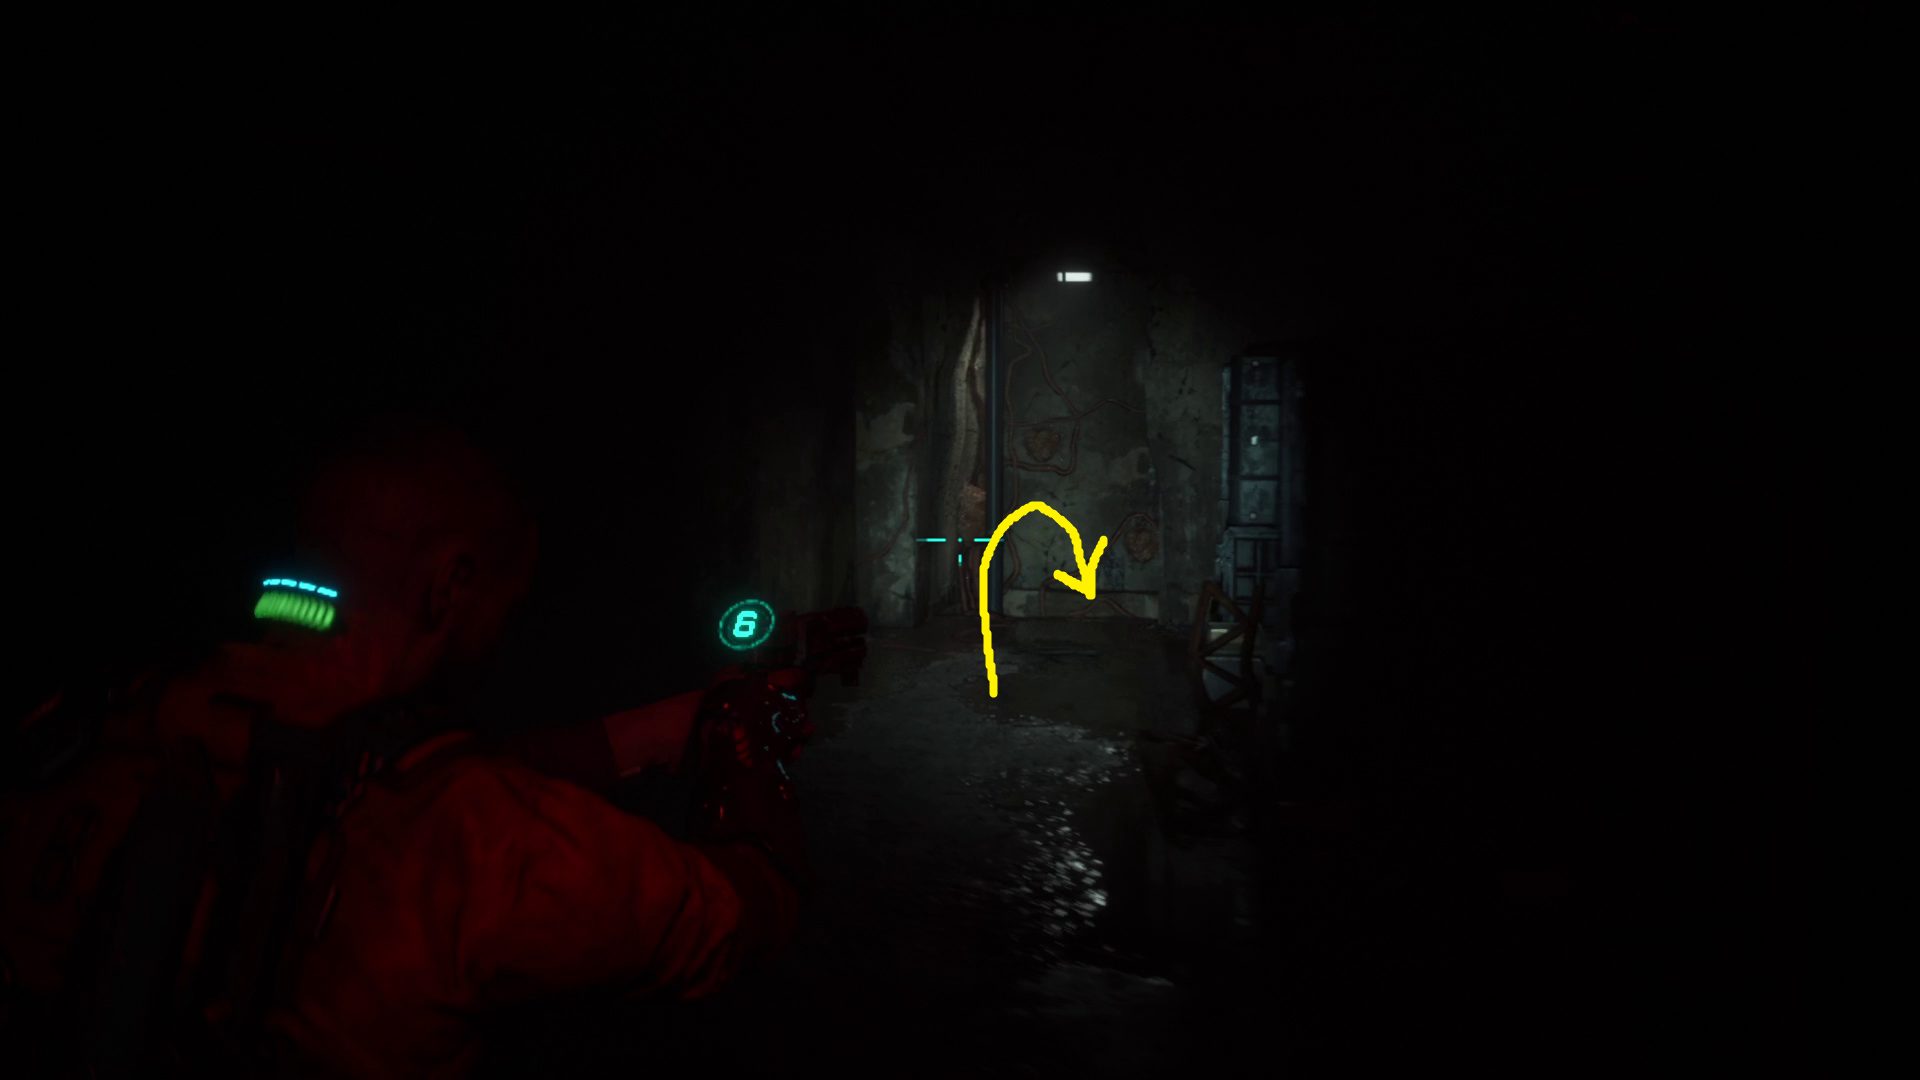
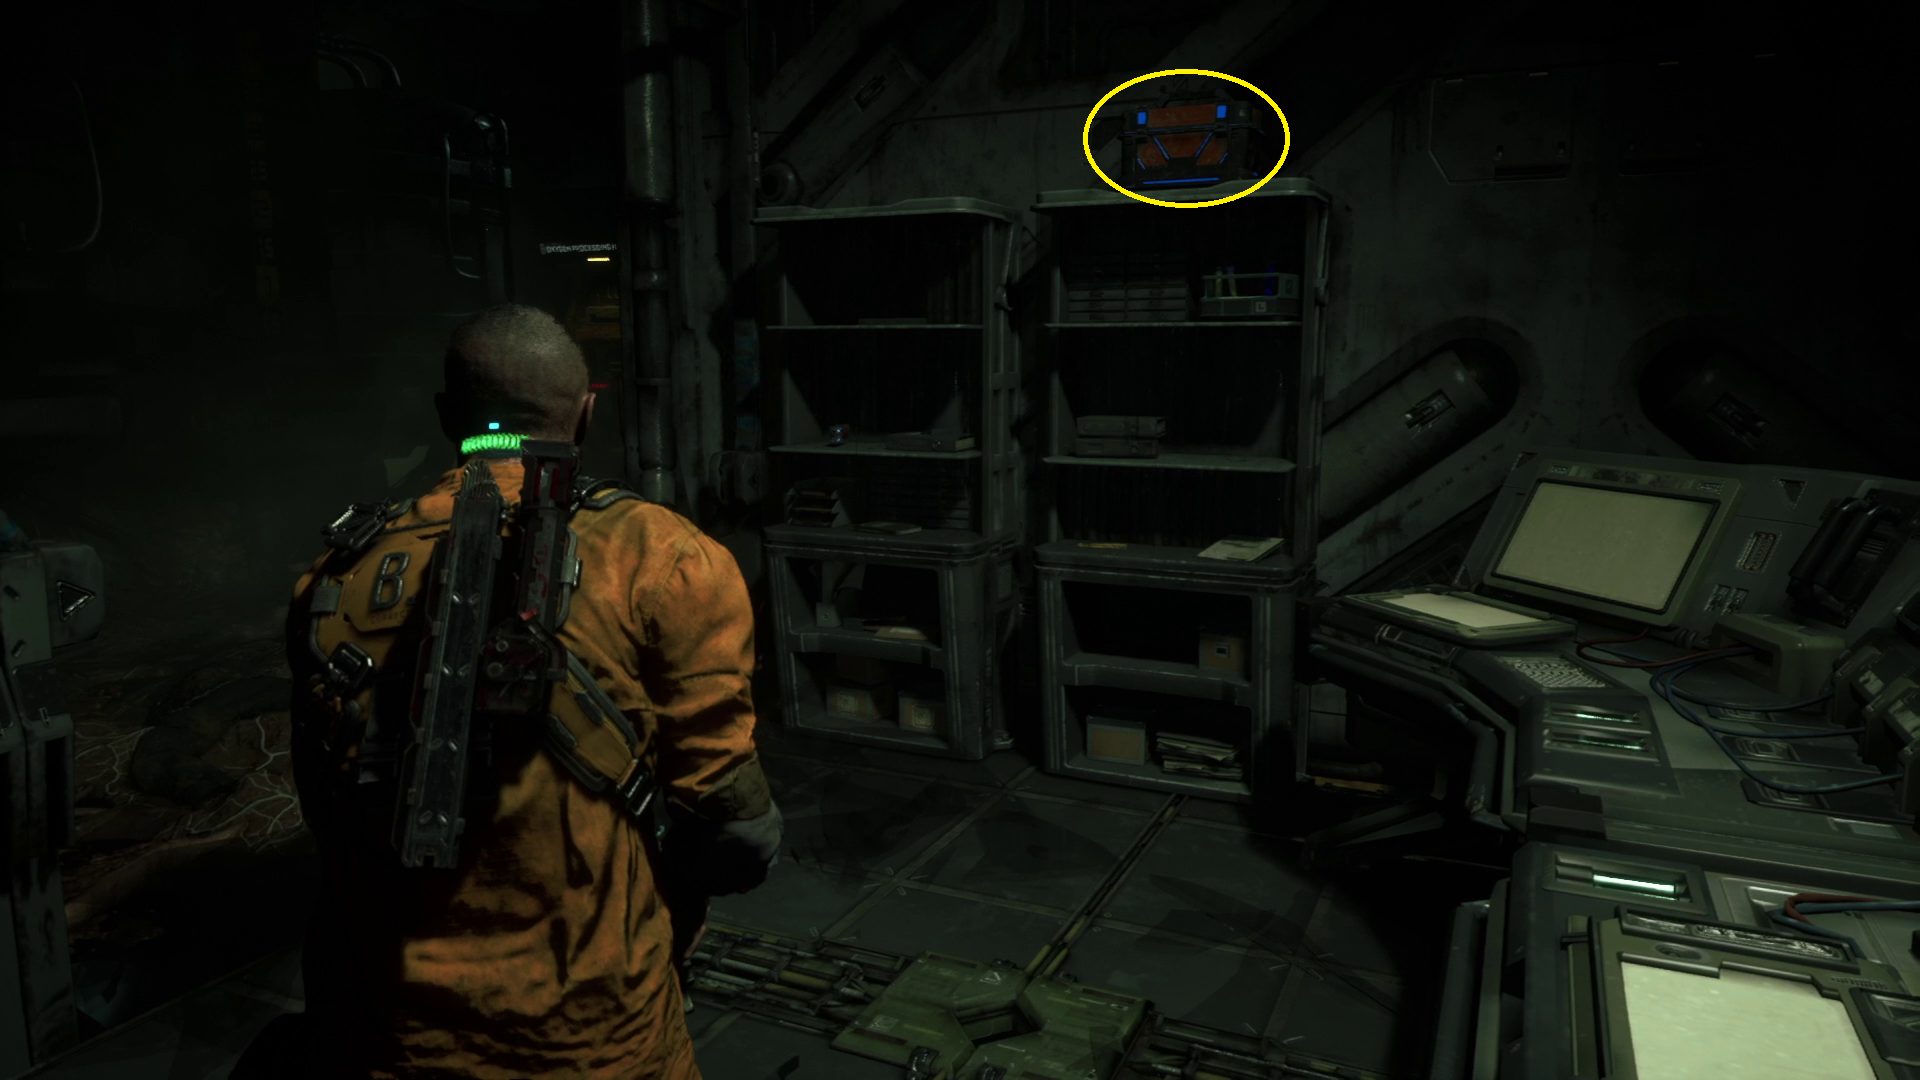
On the other side of this circular room is a large crate you can interact with to move it (1). First, move it to position #1 as indicated below, and you’ll be able to climb onto the box, then onto the platform to find some loot. Then move the box to position #2, which will allow you to climb up to a loot chest. That done, you can crouch and head through the vent, which is found just to the right of the door marked Water Processing (2).
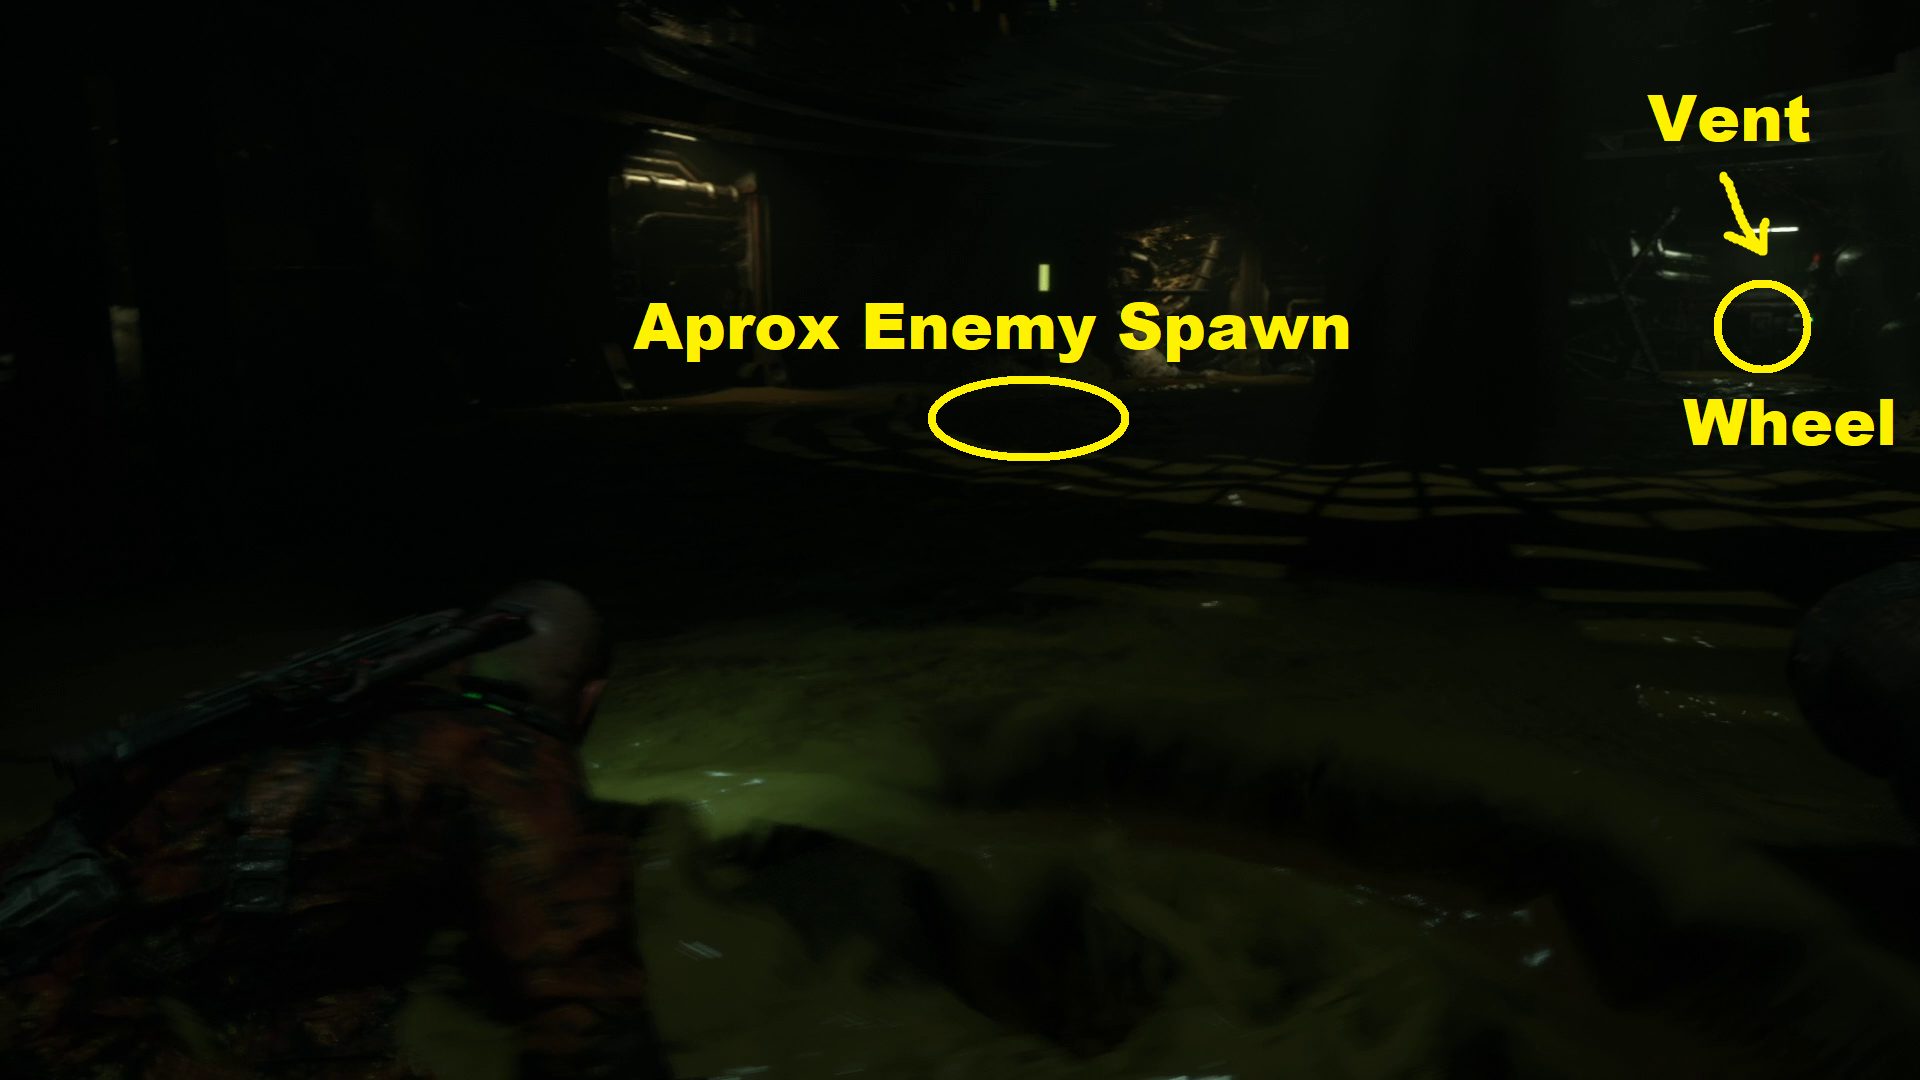
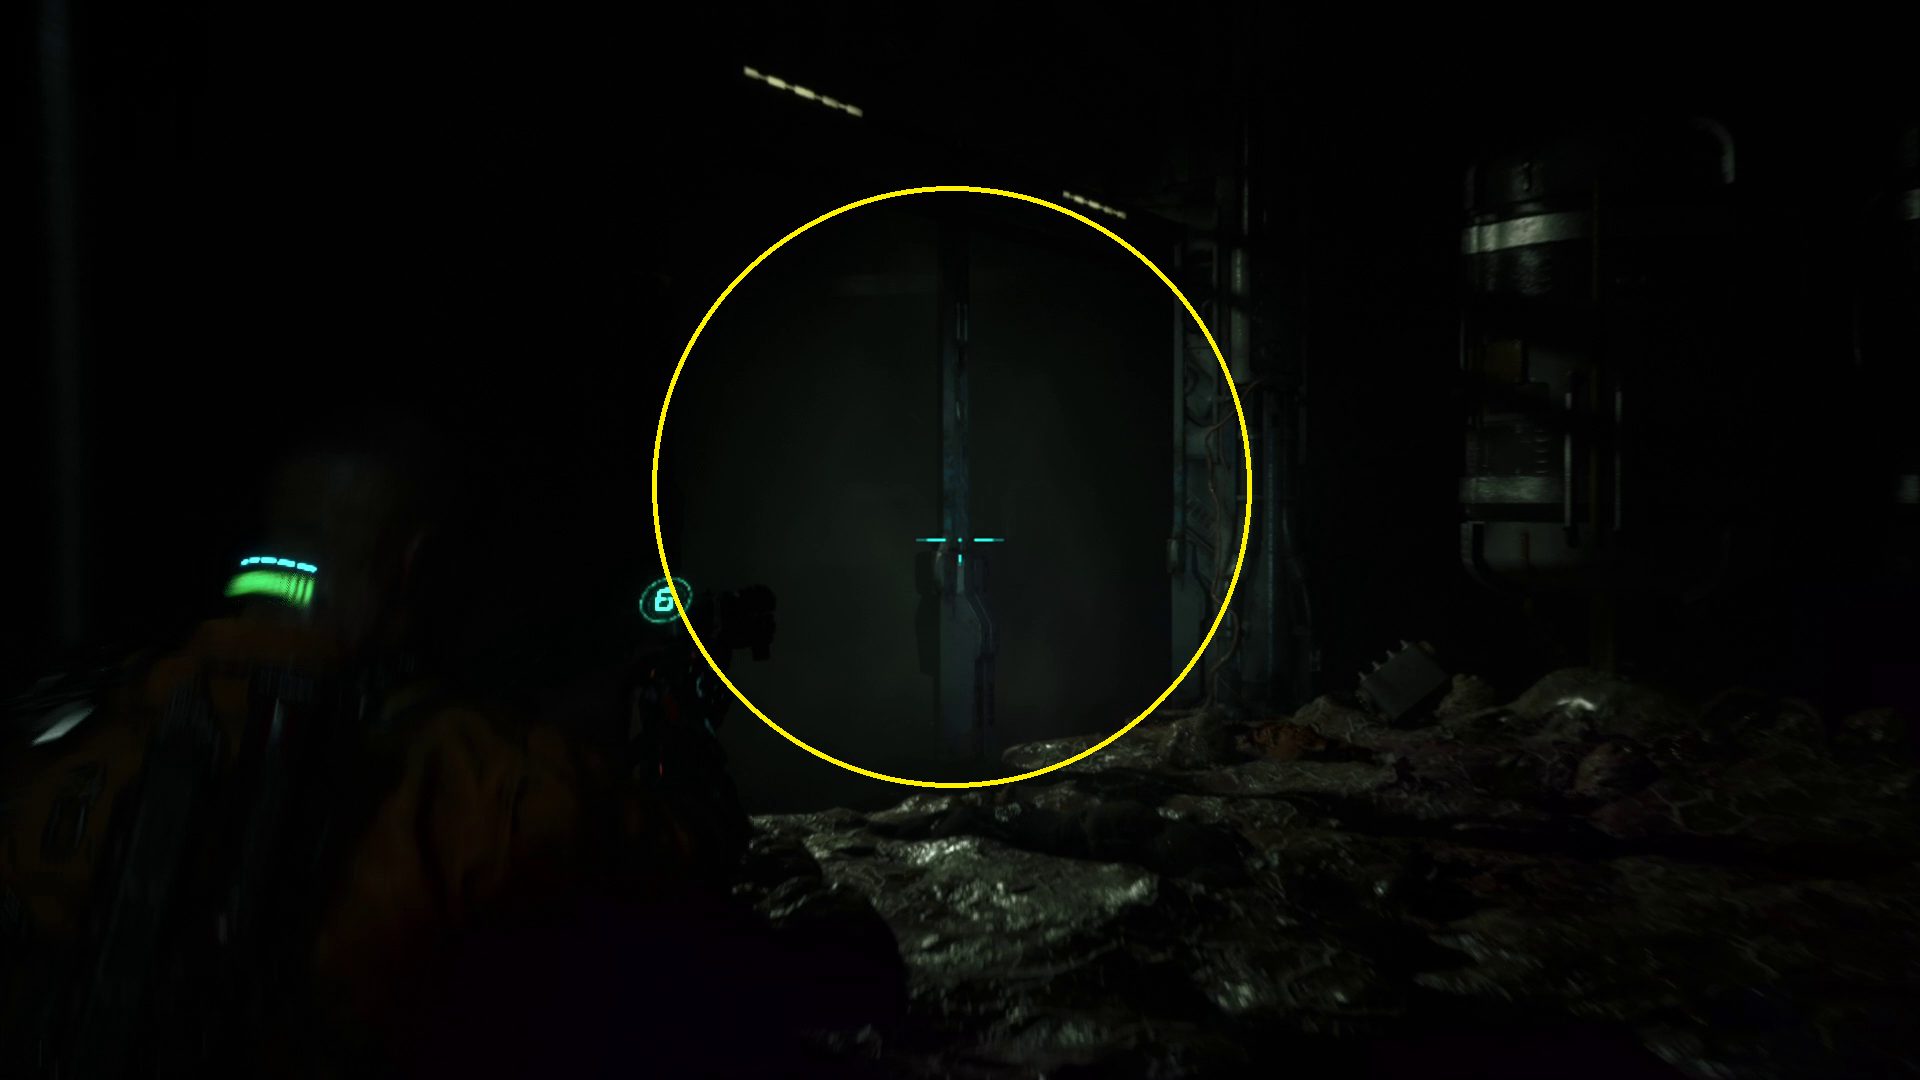
You’ll fall out of the vent into some decidedly nasty-looking muck. Head forward, but know that an enemy will pop out of the water just to the left of the column in the center of the chamber (1). Deal with the monster, then continue across the room into the alcove with the wheel — turn it, and the vent on the same wall as the wheel will open, and you can climb in. Once you climb out of the vent, turn right and you’ll soon hit a wall; turn left and crouch to continue forwards (2).
12
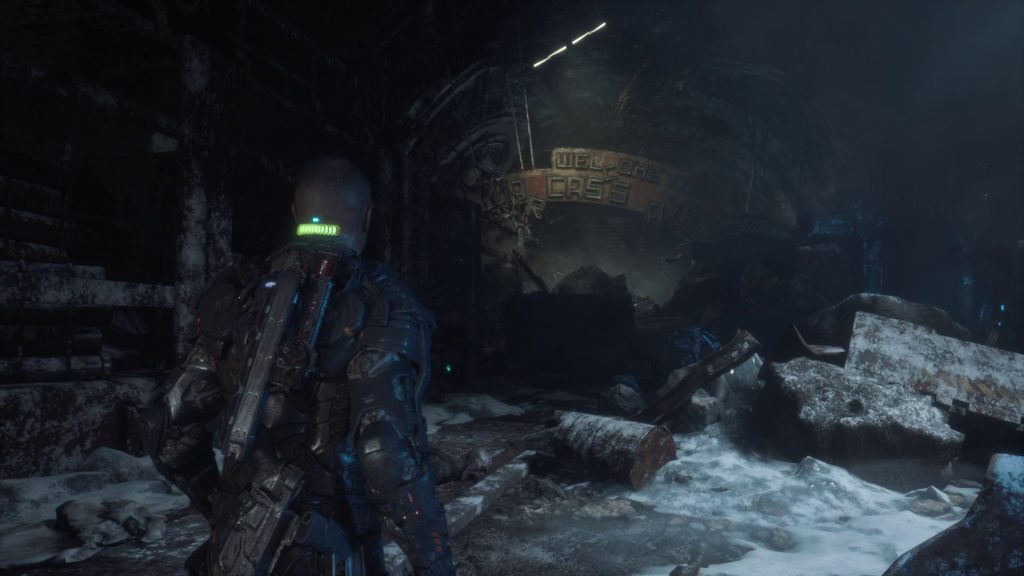
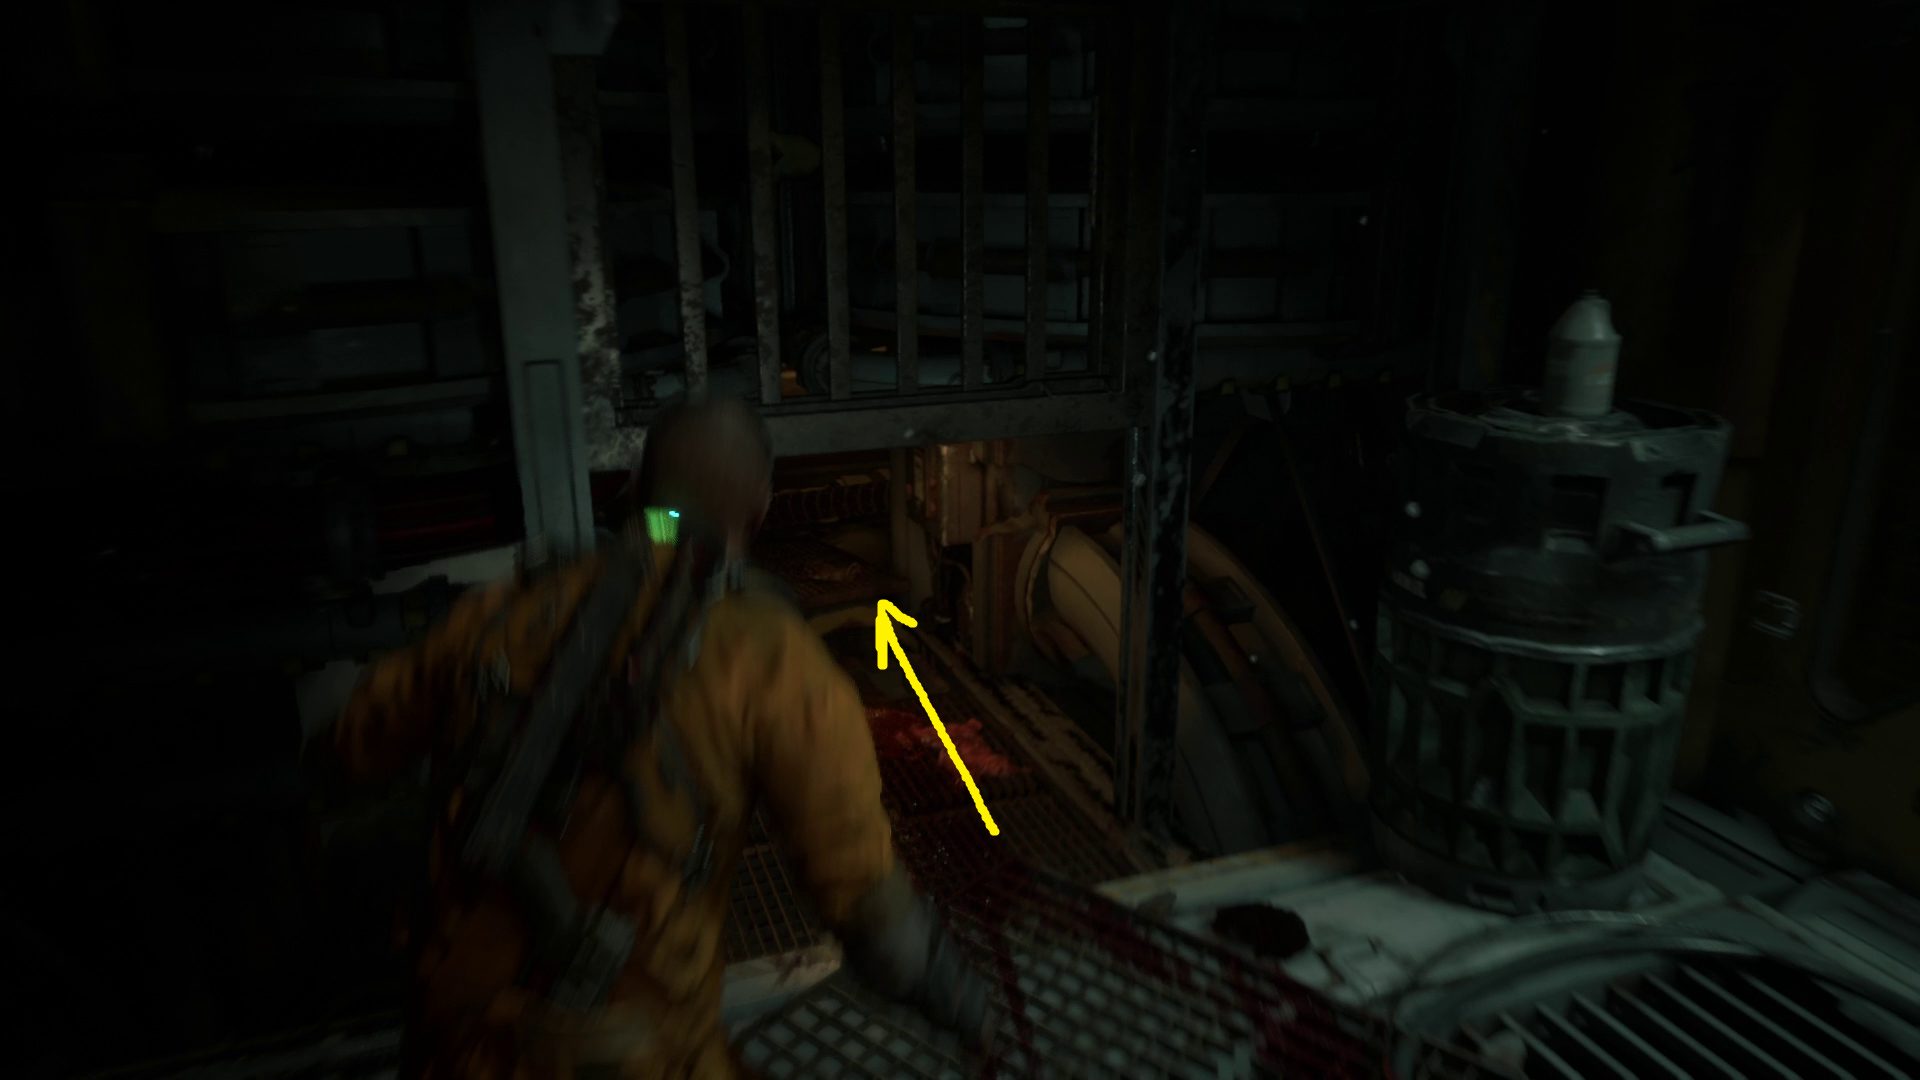
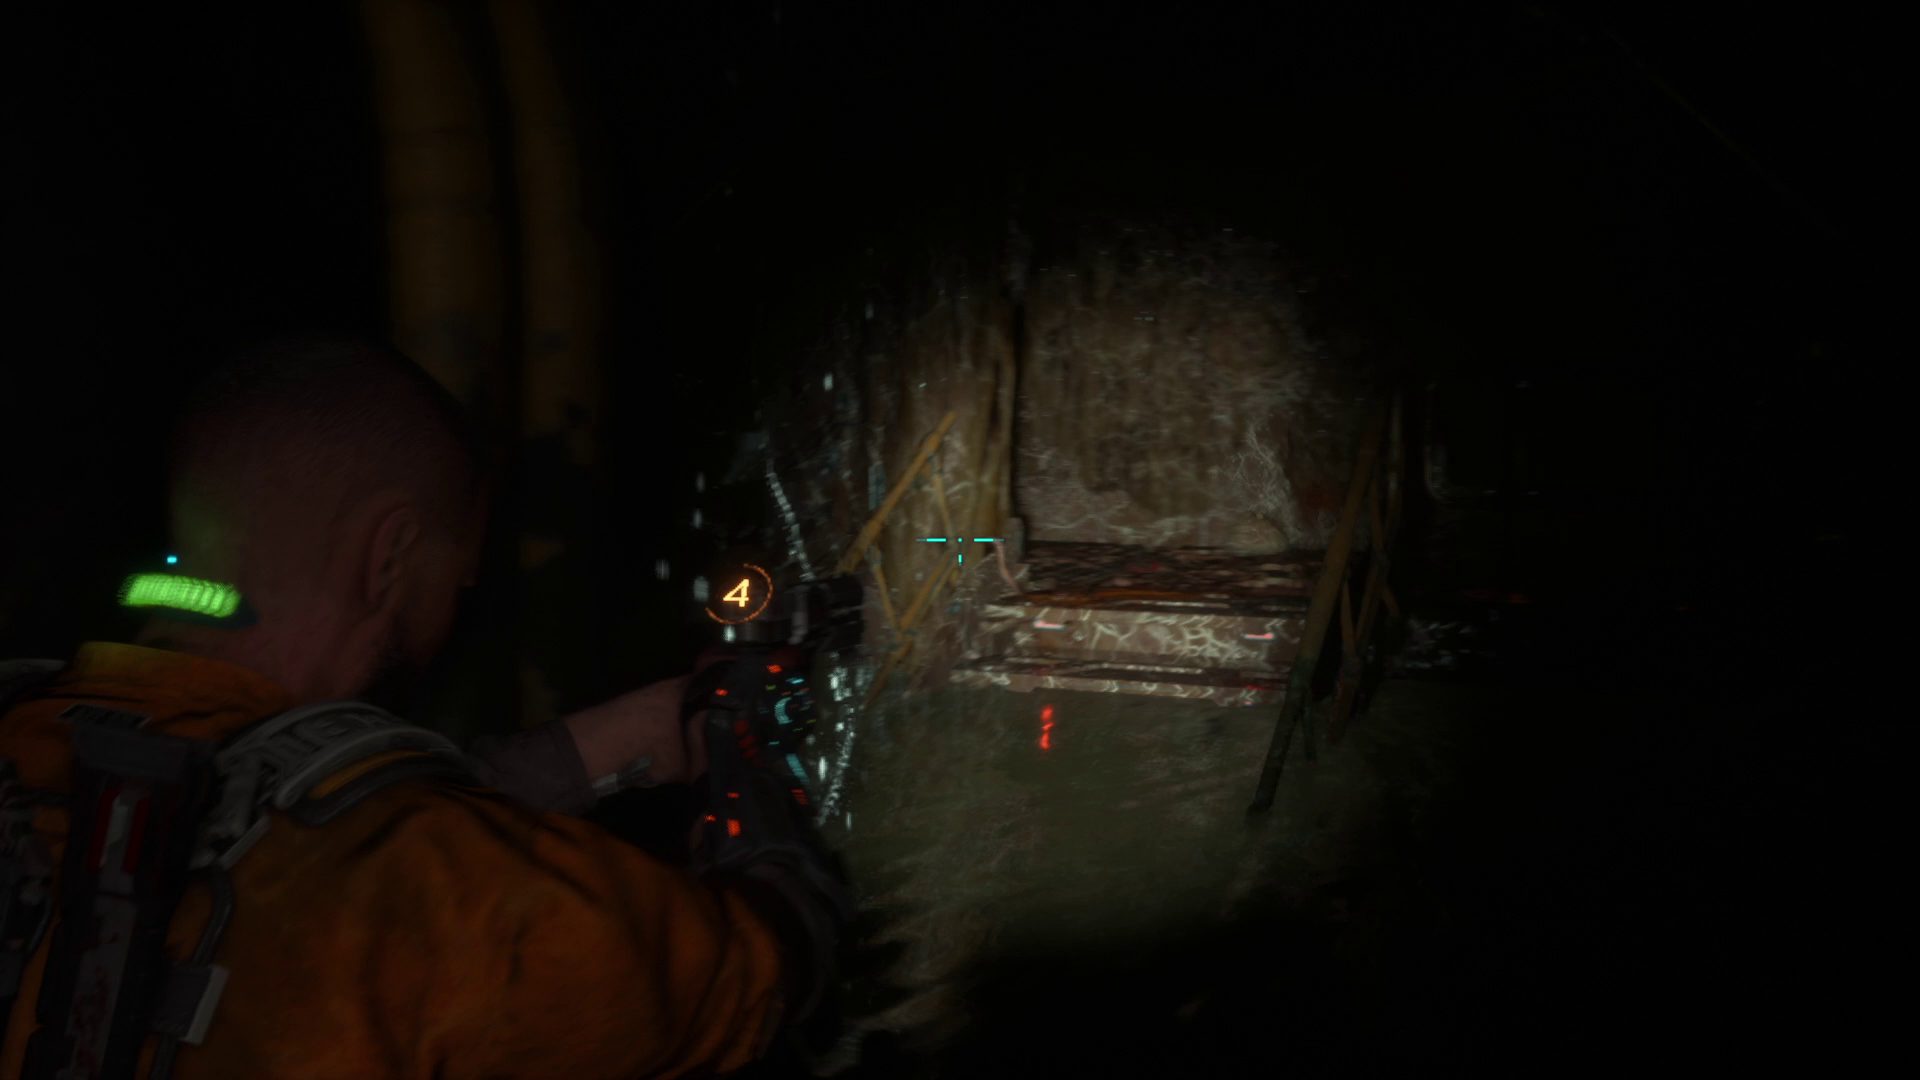
Near the end of this crawl, you’ll get a sneak preview of a new enemy type, but don’t worry — you won’t have to fight it just yet. Once you’re standing again, keep going straight and climb up where the short ladder is (1), and crawl through the vent. Once standing again, first go right, where you’ll find an enemy you can easily throw into the spikes behind it. Climb up the ladder, and you’ll be able to use your melee weapon to break some glass and grab some loot. Then go back the way you came and take the other path, where you’ll find a vent you can crawl into just left of the door marked Purification B H207 (2).
12
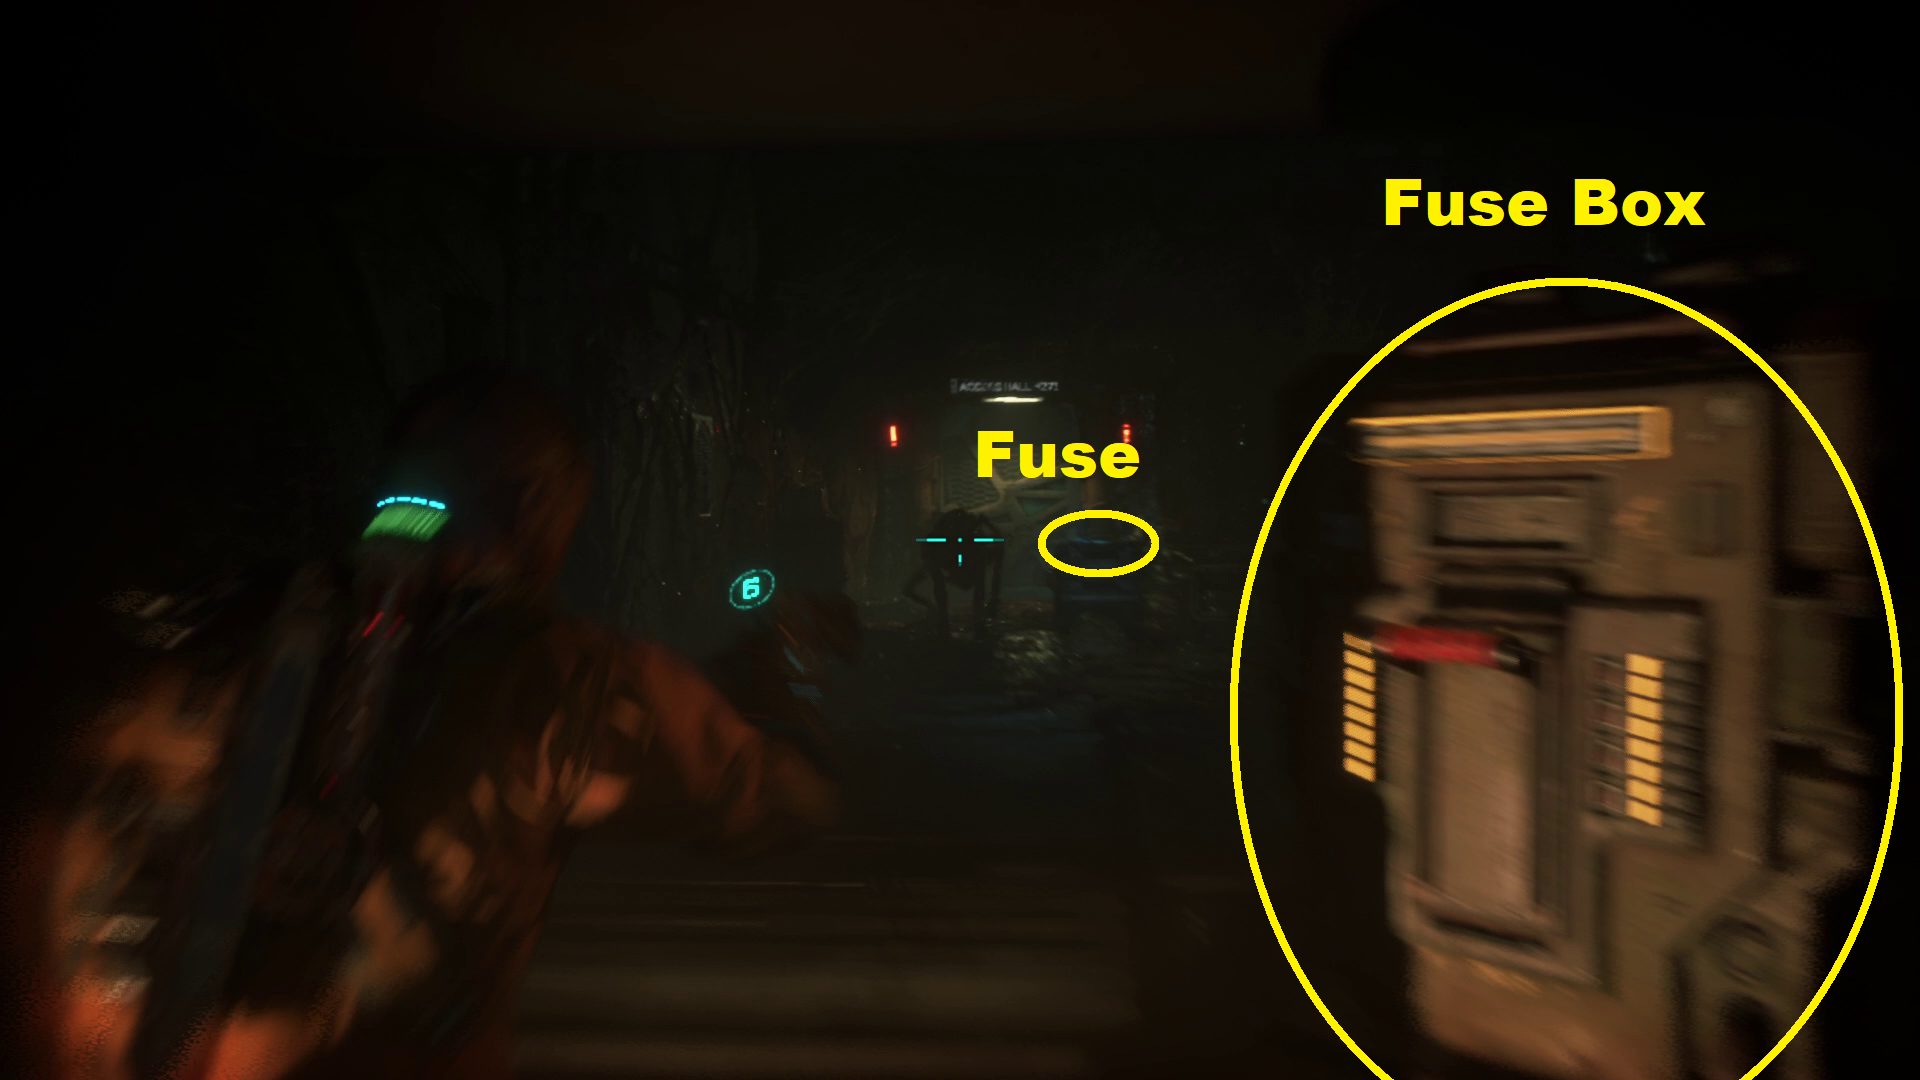
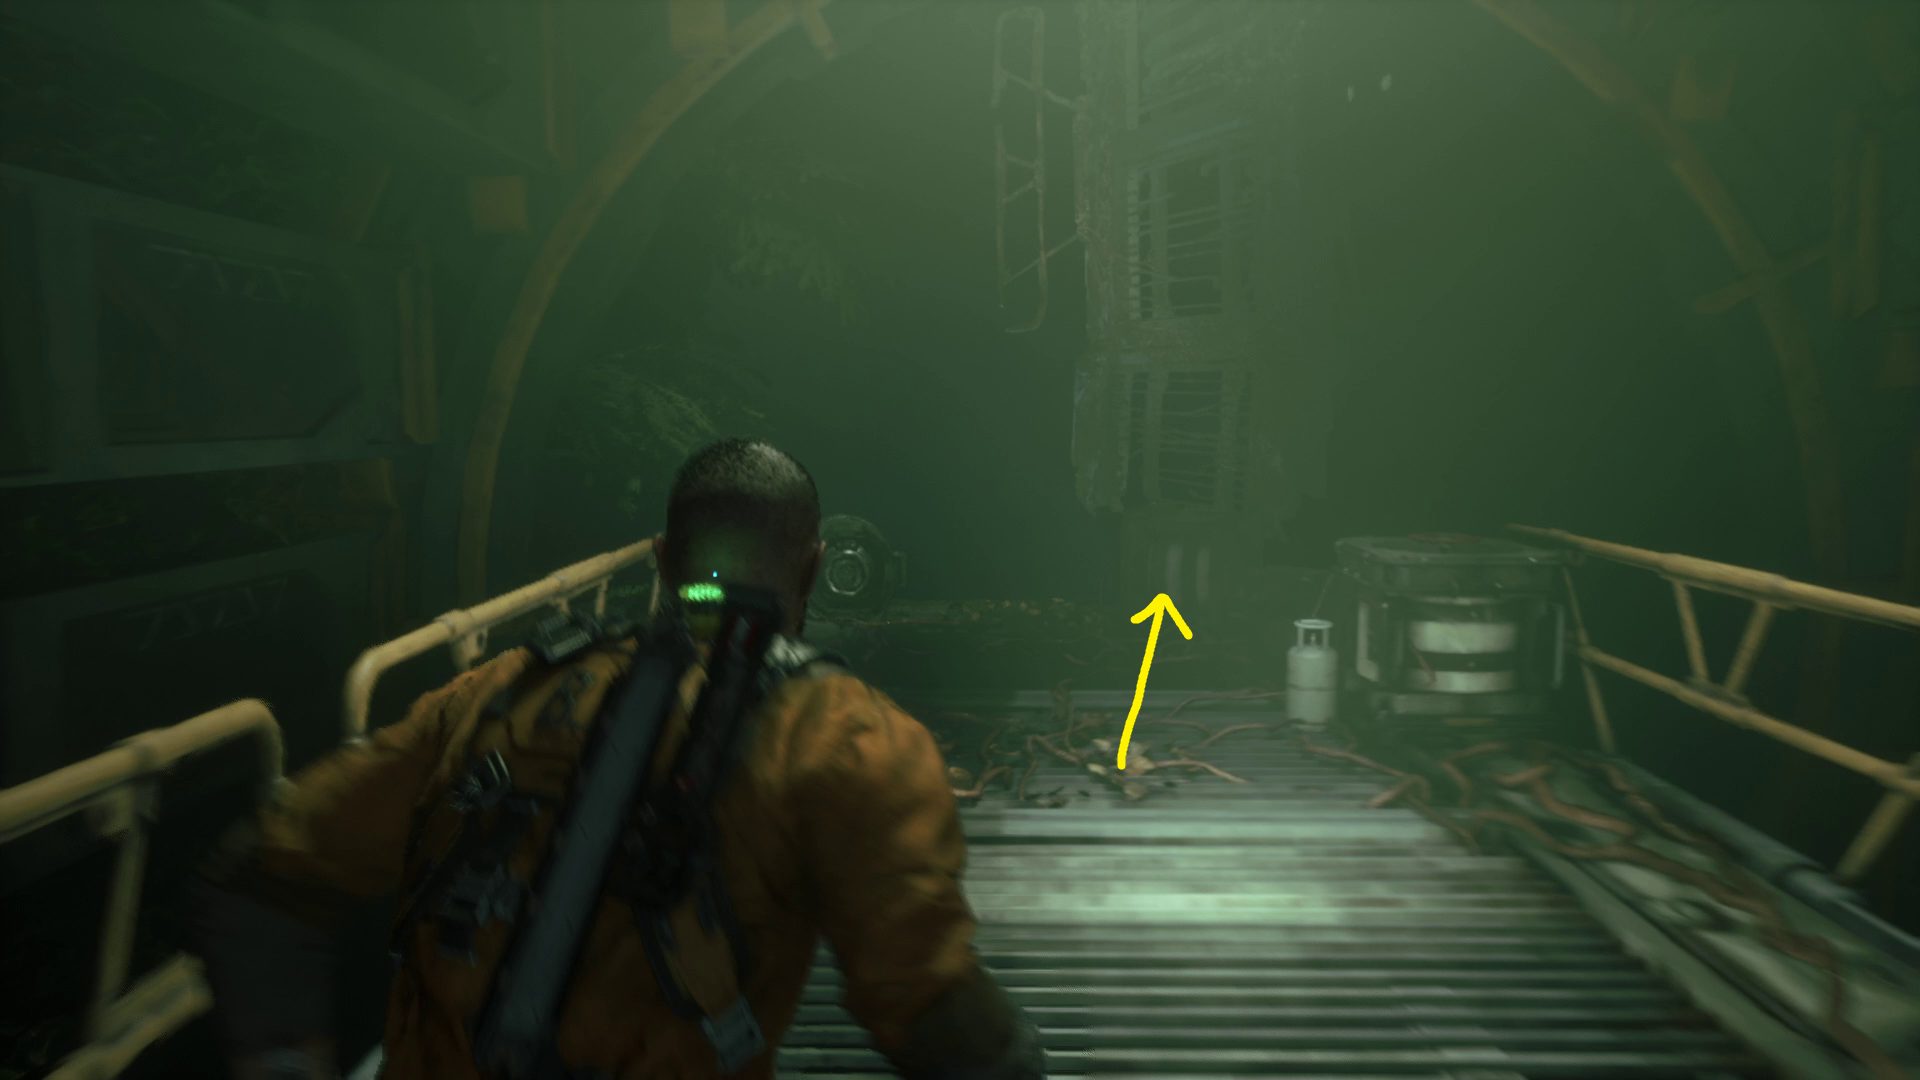
You’ll crawl for quite a while, then continue forwards into a large, dark room. Ahead and to the right, you’ll see the blue glow of a fuse. Grab it, then stick it in the nearby fuse box (1). Then head to the opposite corner of the room, but do so by sticking to the left. Here you’ll find another empty fuse box, and you’ll be ambushed by an enemy — it’ll run away once you fend it off in the QTE. In the direction it retreats, you’ll find the second fuse (2), but watch out for the Spitter enemy that comes out of the grate the previous foe hit in. By the door near the second fuse, you’ll also find the body of Ofc. Bruno Vorenus, whose corpse you can harvest the “Crosswired” audio log from.
12
With both fuses in place, the door to Access Hall H271 (near Bruno’s body) will open, and you can head through. Enter the hallway and turn right — you’ll need to crouch to continue following the red pipe. Drop down, then continue forward to the ladder and climb down. You’ll have to crouch again to move forward. Once you can stand, move forward until you can turn left — up the nearby stairs that lead out of the water, you can find some loot on the ground (1). Then continue through the water to the next set of stairs that lead out. Interact with the wheel and the vent will open, allowing you to climb up and crawl inside (2).
12
Exit the vent and you’ll be in a room with a Reforge station. Make a good choice re: upgrades, and then interact with the nearby wheel (1) — slugs will crawl over you and onto the floor, and you’ll need to deal with them. Then exit via the door opposite the wheel. Go down the stairs and re-enter the water, and turn left — ahead on the wall is a now-open vent you can crawl through (2).
12
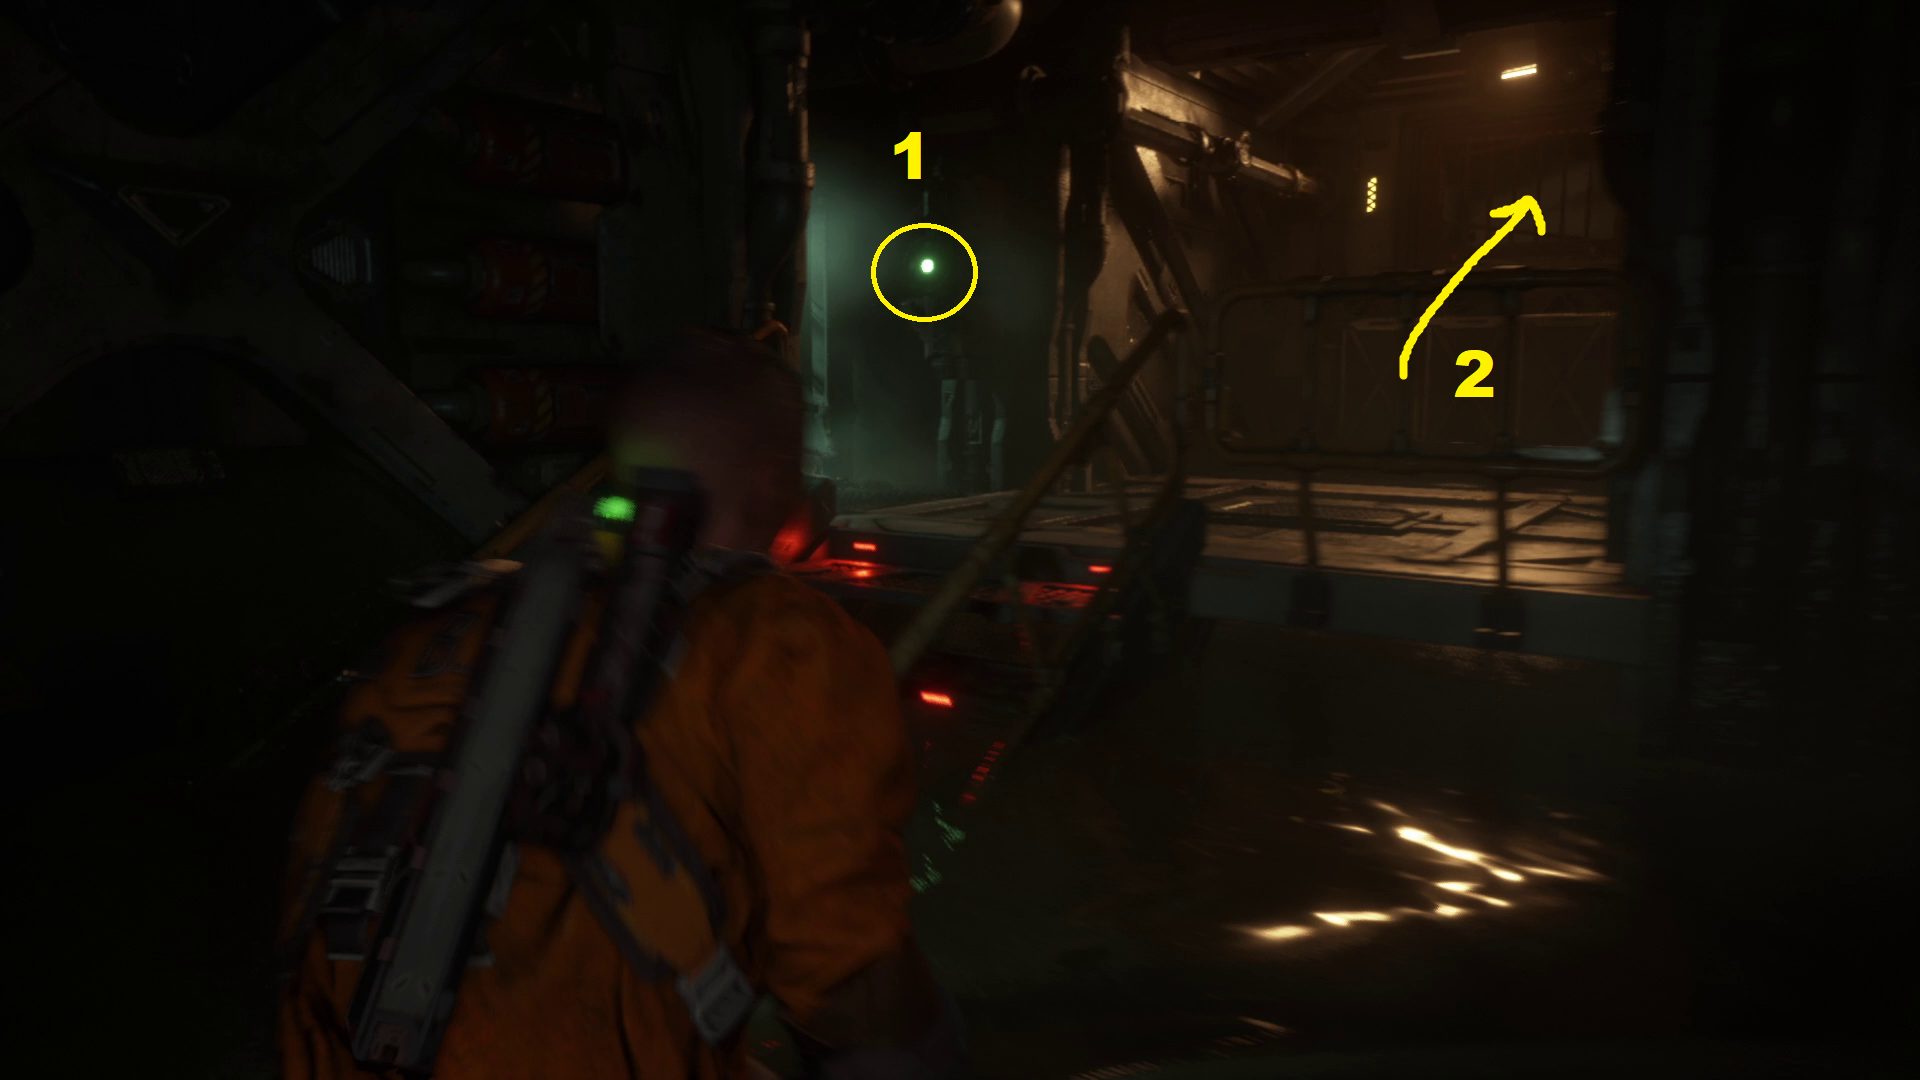
Exiting the vent, you’ll need to go right and shimmy through the gap. On the wall when you stop shimmying will be a Health Injector, and then you can crouch and continue to the left. You’ll round the corner and come to a ladder — climb it to enter a large open chamber. Head forwards, watching out for the enemy that will drop down at the corner (1). Turn right and move forwards, and as you near the next right turn another two enemies will approach from ahead. Dispatch them and then turn right (2) to find some loot on nearby surfaces — hug the right side of this section to find a ladder you can climb.
Grab the fuse up here, then climb back down the ladder and go back towards the main path — an enemy will pop out of the ground ahead of you, and another will appear a bit further away. You can use your GRP to toss them into the water on your left, though it isn’t a particularly easy angle. Instead of going all the way to the main path, you can go right around the corner here (1) and continue to the dead end to find a chest. Note that doing so means being ambushed by 3 foes on your way back to the main path, but fortunately it’s very easy to toss these enemies into the nearby water (2) with your GRP.
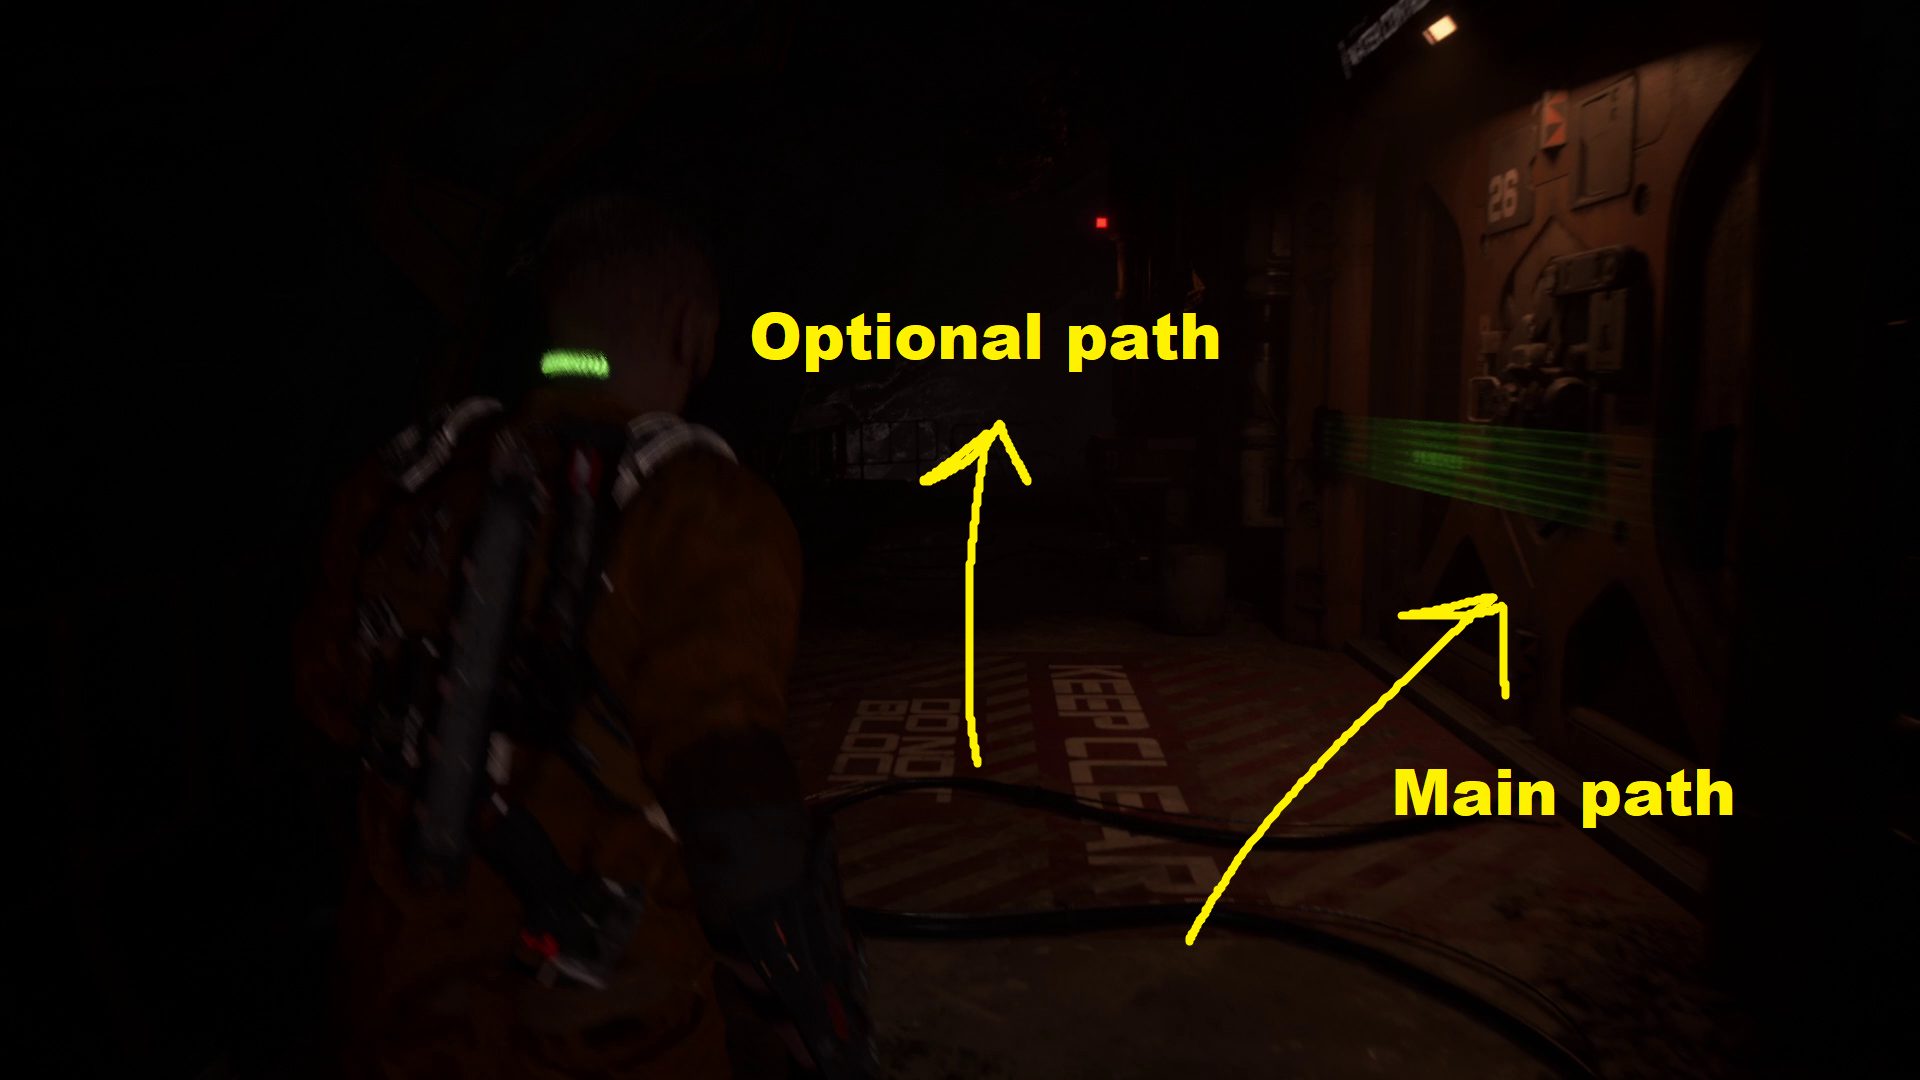
Head back to the main path and turn right (1) — you’ll see an enemy climbing out of the water on your right, but again, it’s easily tossed right back in. Turn around and deal with the Spitter approaching from behind, then continue towards the door marked Access Hall H206. Place the fuse in the box, then head through the door. Continue forwards until you come to an unlocked door on your right — this is the way forwards, but if you want some optional loot (including a collectible), skip the main path for now and keep going forwards (2).
12
Optional Path: You’ll round the corner and come to a locked door — use your shiv on the control panel to open it and continue through. You’ll take a couple of lefts, and then on the left-hand wall you’ll find a Health Injector. Across from the injector is an unlocked door. Go through it, and then pull the fuse from the box on the right just as you enter. Continue to the other side of the room, where you’ll find a fuse box next to a locked door. Insert the fuse, then head through the now-unlocked door. Loot the lockers on the right, then go through the vinyl curtains and loot the next set of lockers on the left.
You’ll enter a lab — on the left are some glass-fronted shelves you can melee attack to expose the loot within. In the far right corner of the lab is a corpse with the audio log Dr. Jae Moon-Bell: Cocoons. There is often lots of loot on all the surfaces in here, so do a full circuit of the room, then continue to the other side, making sure you again smash the glass cabinets to collect the loot on the right before crouching and entering the cocoon-covered exam room. On the left here is a chest — open it up, then go back the way you came. Grab the fuse from the box and put it back in its original home so you can continue back towards the main path.
Stand back from the door after it opens, and prepare for the two enemies that are coming. You can toss them over the railing on the right (1) — this spot appears to be “out-of-bounds”, and enemies thrown there will die. Continue retracing your steps until you can turn left into the door with the red/white “Keep Clear” message on the floor in front of it.
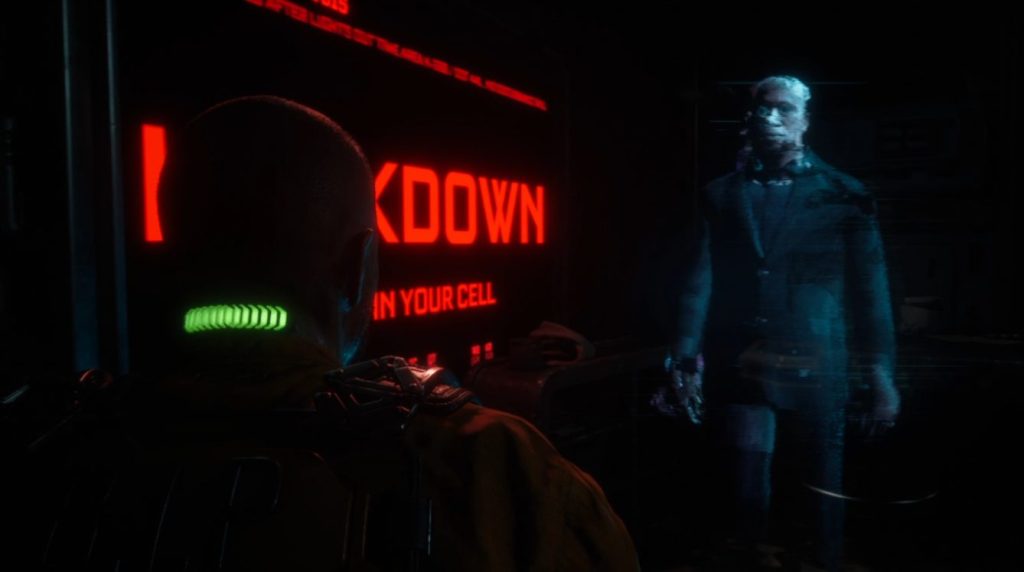
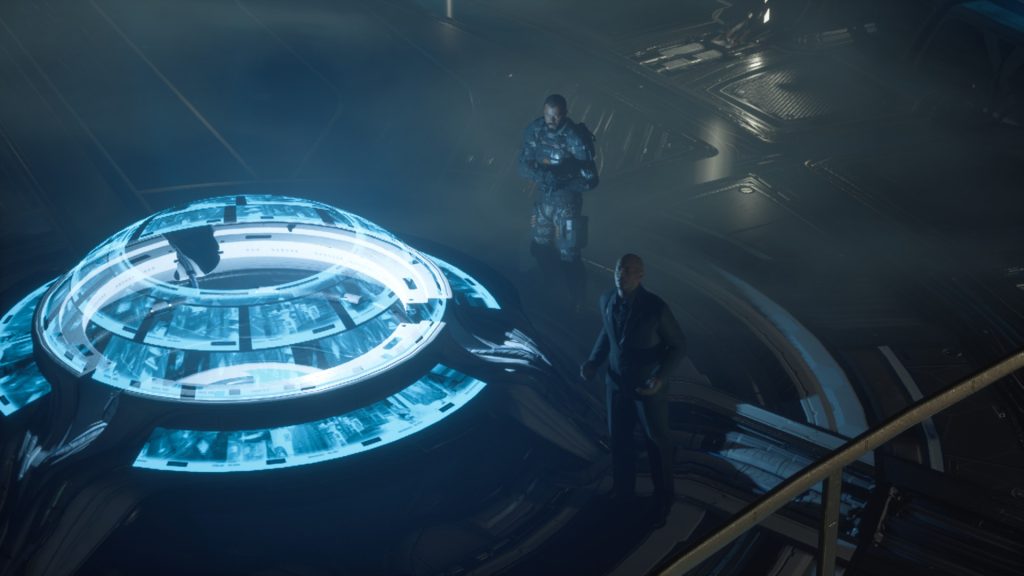
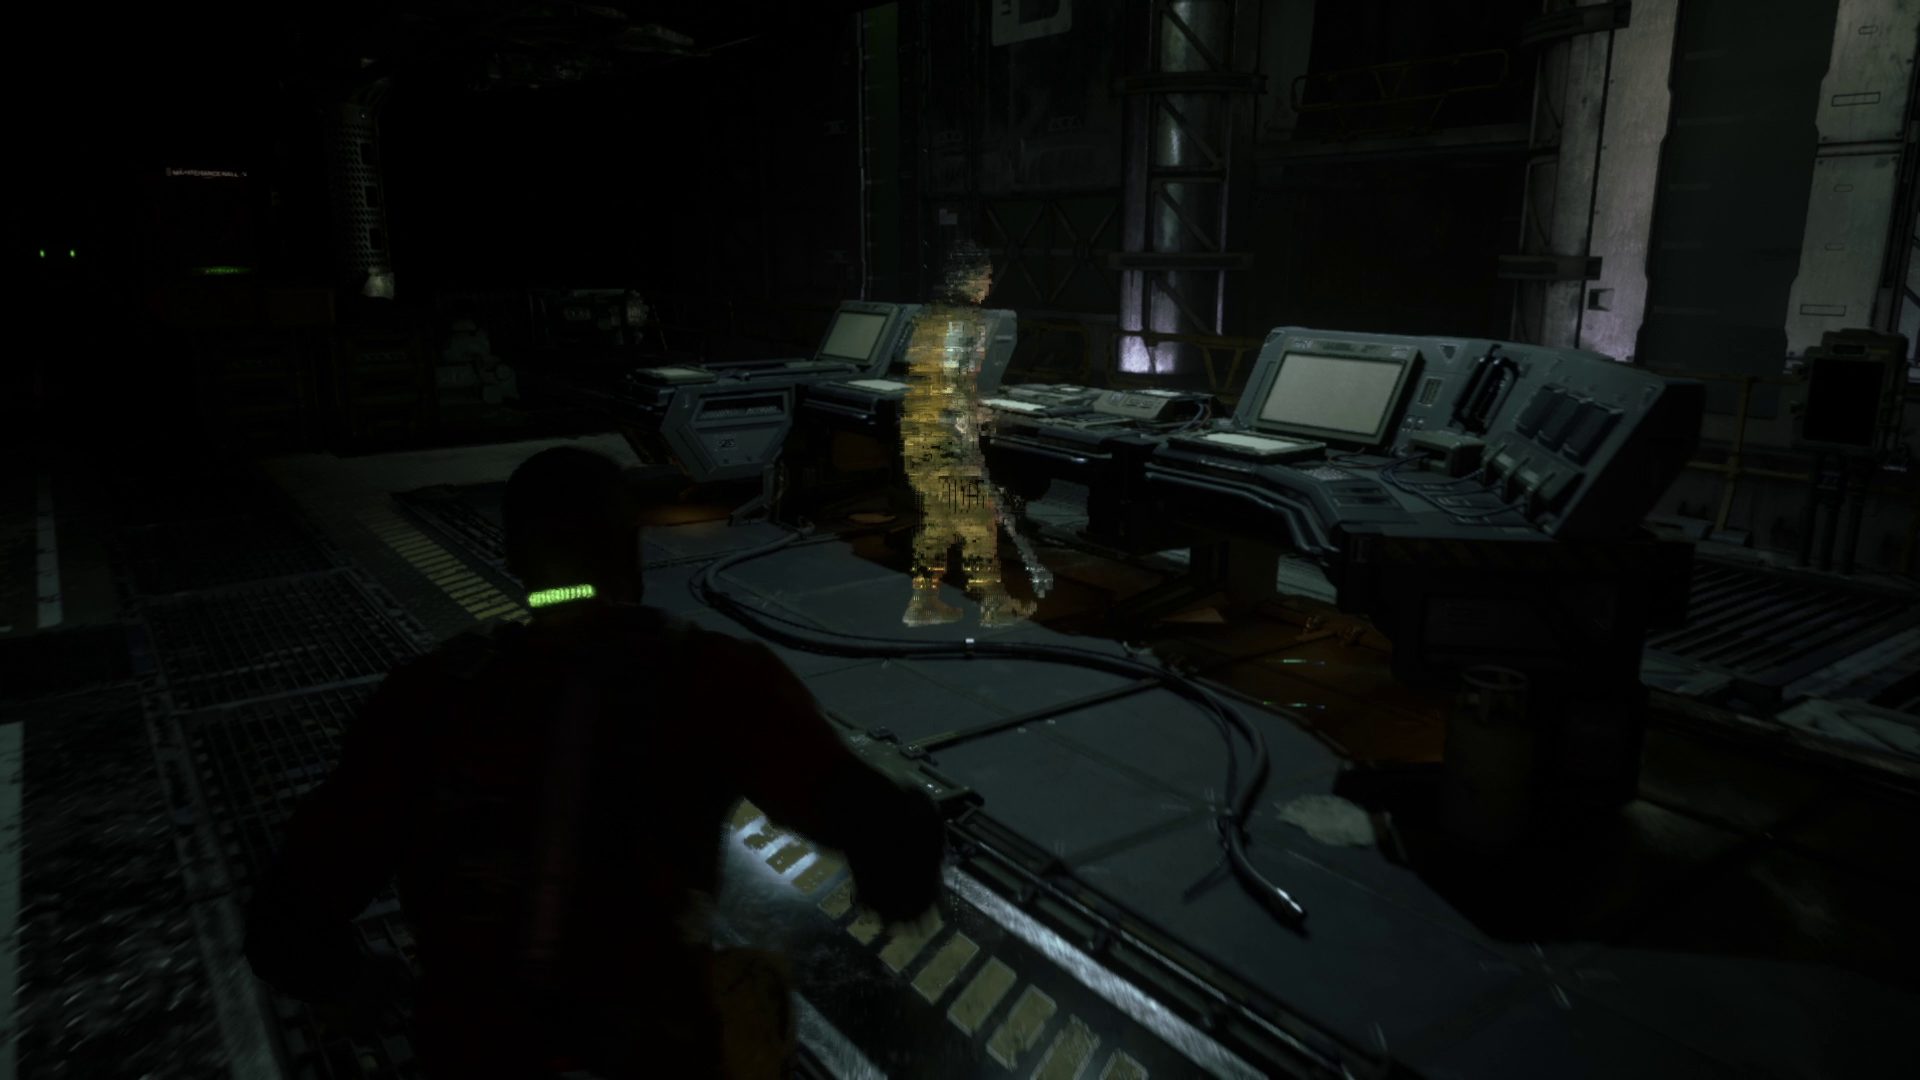
Main path: In the next room, there is loot on the surfaces to the left you can grab — get close enough to the main console and a hologram of Elias will play (2).
12
Get Code From Guard
From the console, turn left, and you’ll see two doors (1) go through the one on the left. (There’s also a Health Injector on the wall between the doors if you need it). Taking the door to the left, you’ll enter a hallway with a door marked Lounge F231 straight ahead. Go through it to find a room full of useful loot, including a Health Injector on the wall, a Reforge station, and stuff in the cabinets on the right as you enter (2).
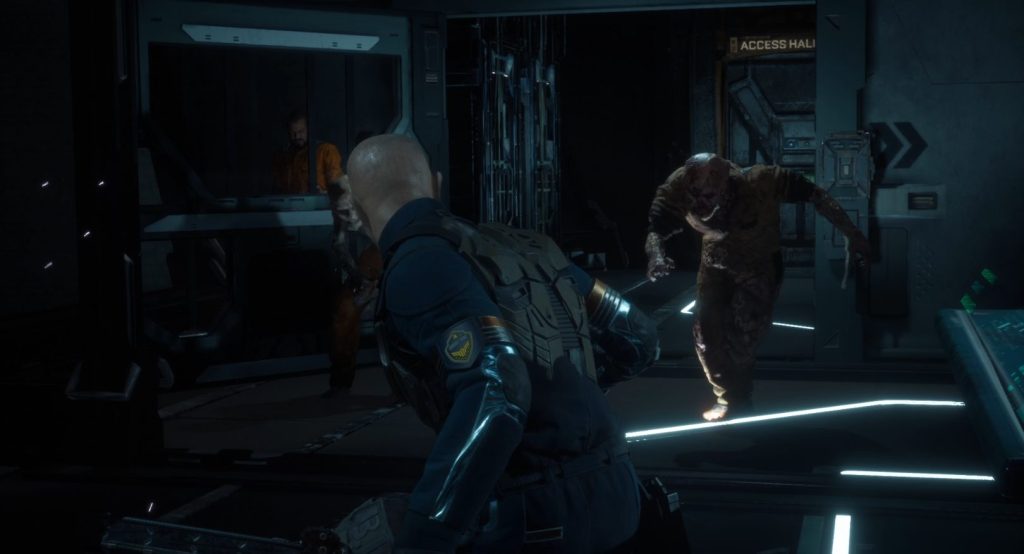
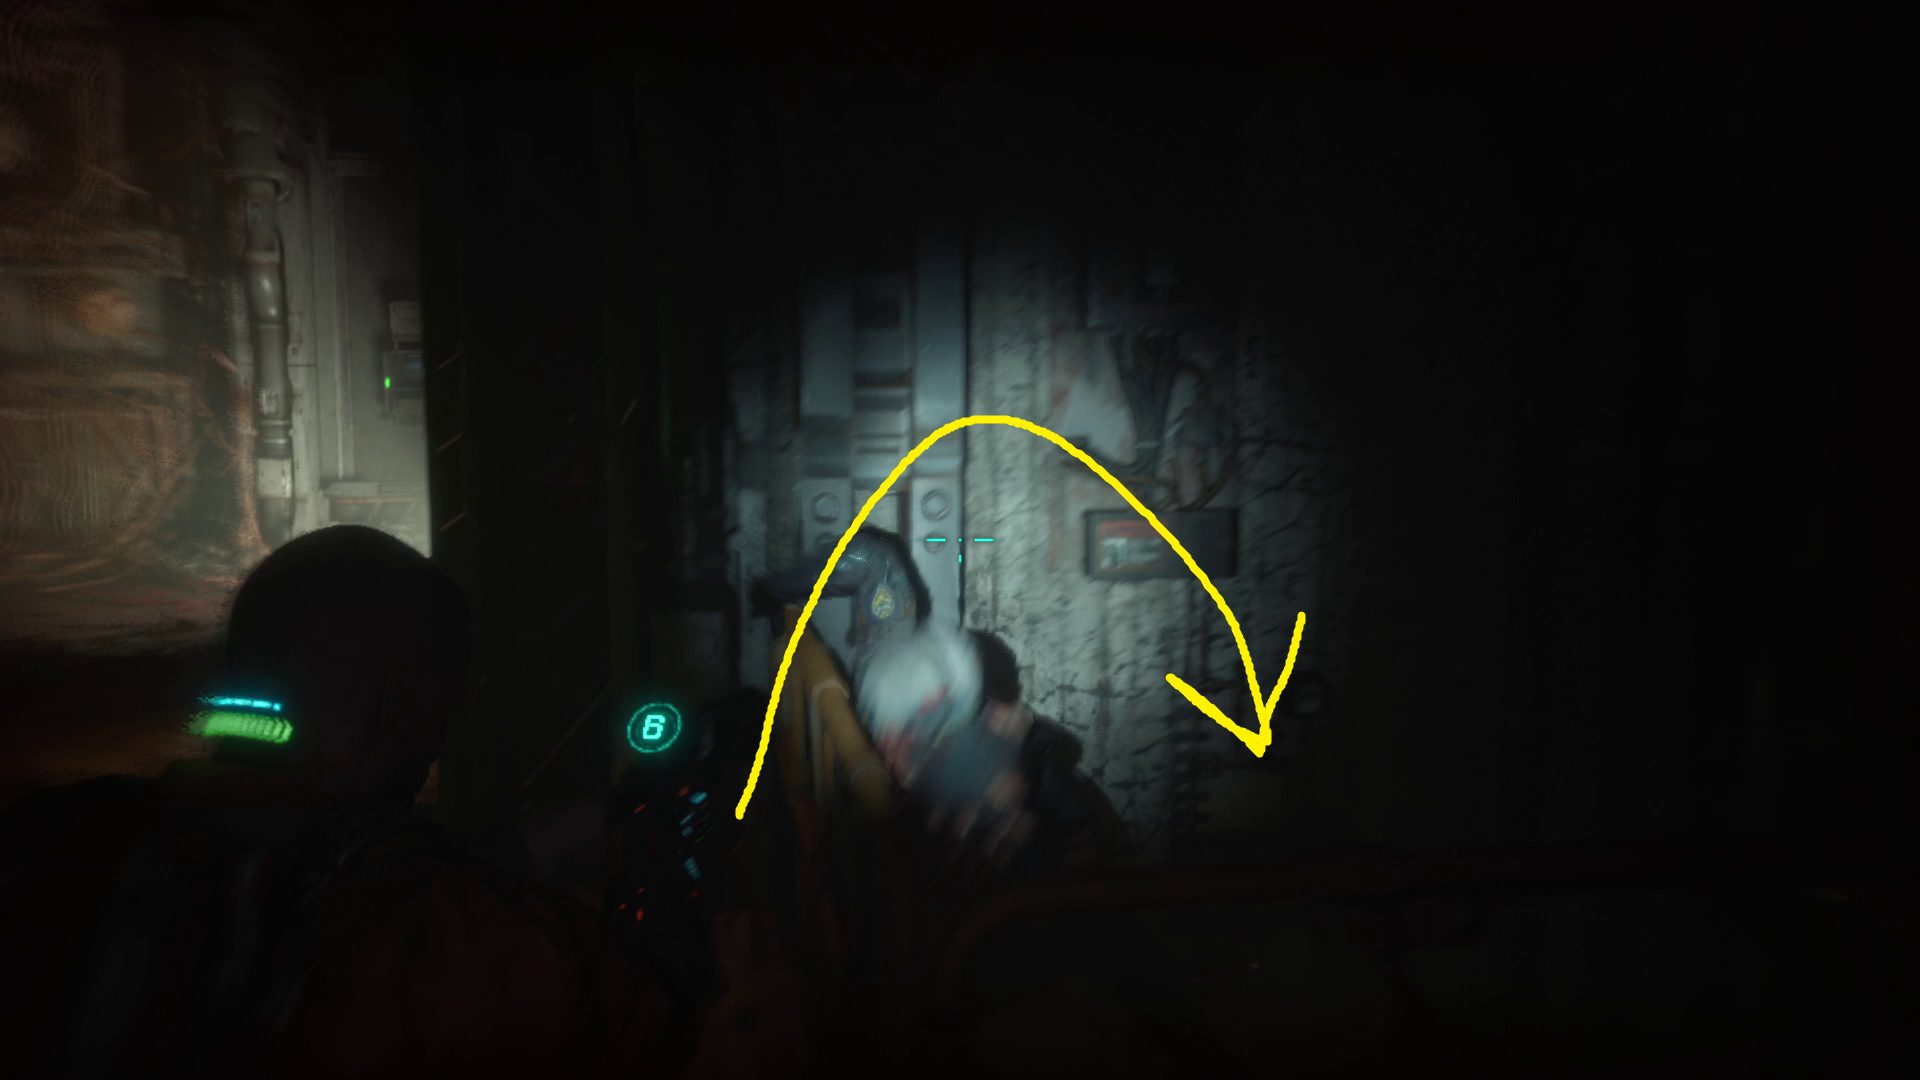
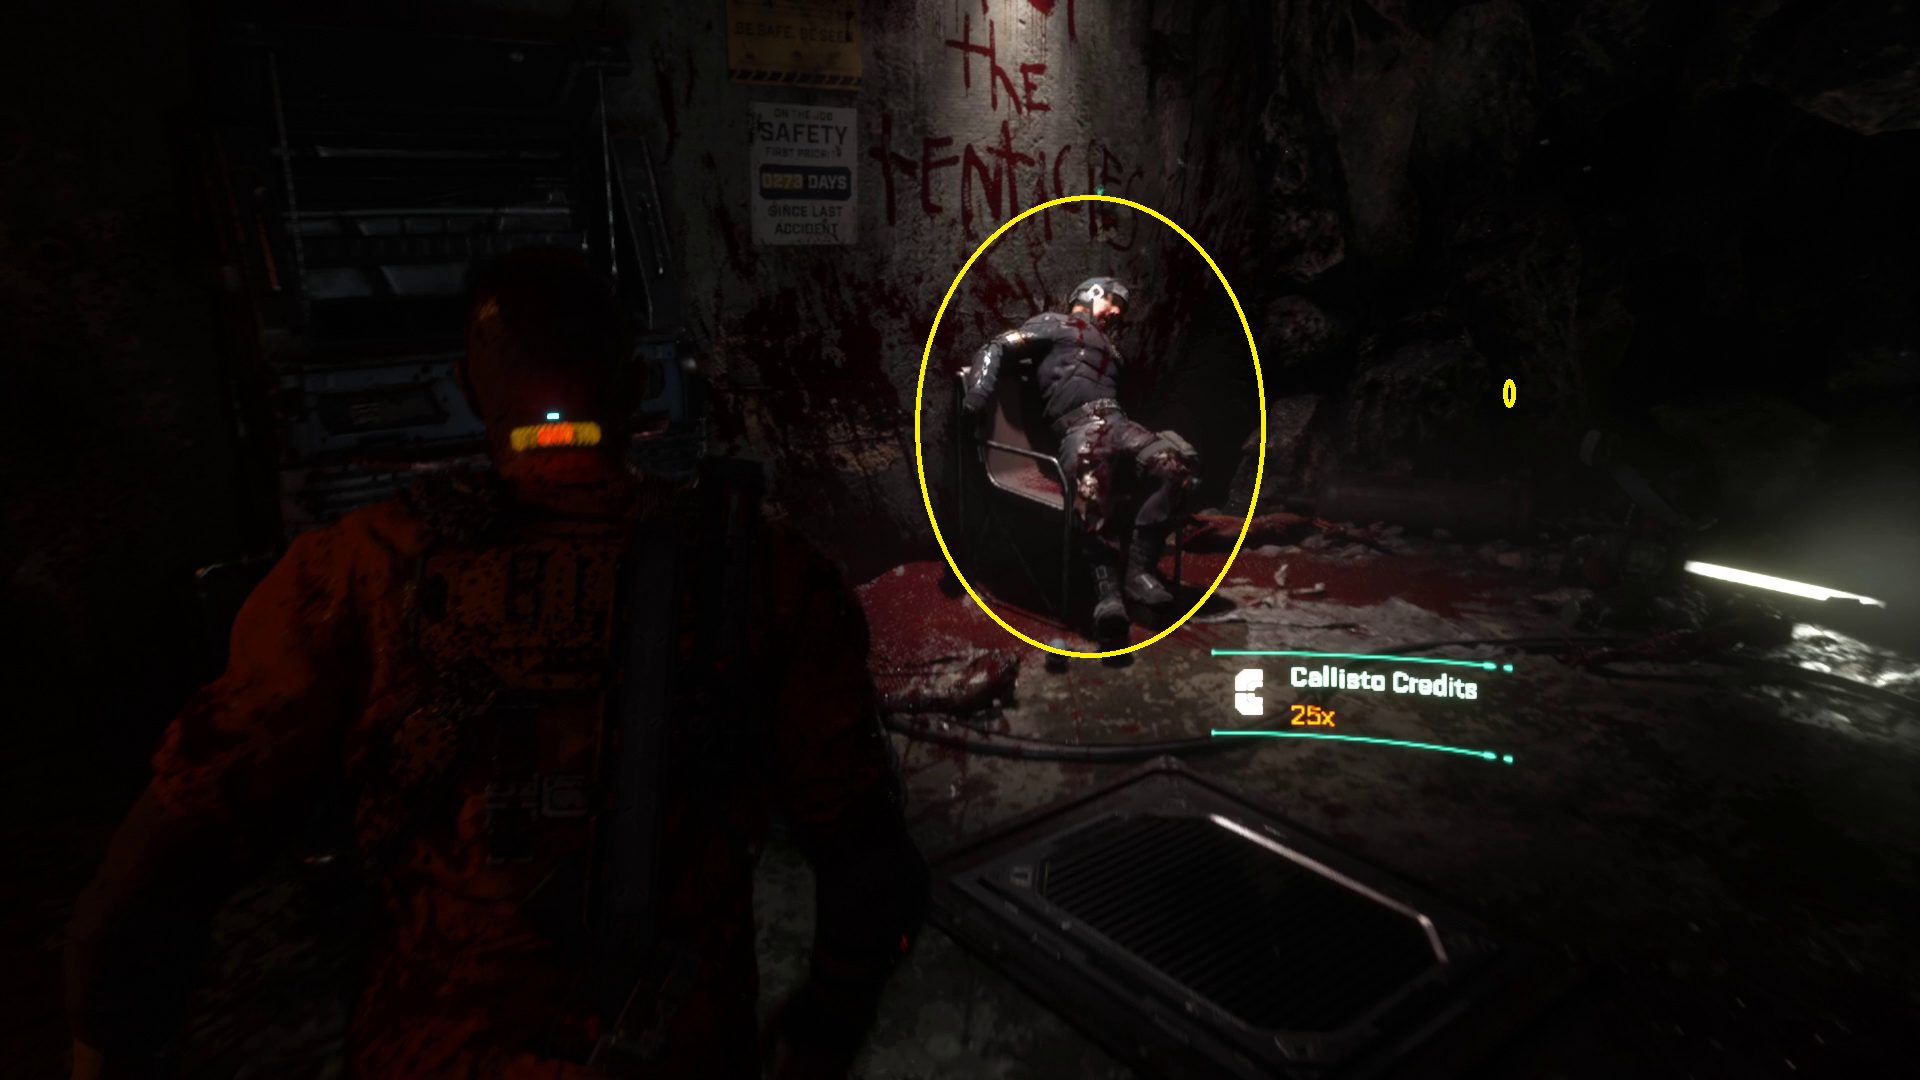
From the Reforge station, turn left and loot the nearby lockers, then continue into the small gap and shimmy past the dead body. Get read for a jump scare before you go through the unlocked door — you’ll be attacked after you enter by a new, mutated type of enemy. You’ll need to shoot the tentacles in the center of enemy’s chests when they sprout (1); failing to do so will cause them to transform into healthy, stronger foes that can attack with 3-hit combos. After defeating the mutated enemy, interact with the guard in the chair (2) to get the code you need. This’ll also net you the audio recording Ofc. James Reese: Suicide Guard.
1
Drain Tank Six
Search the locker near the door marked Maintenance Hall F263, then head through. Turn left and you’ll see the door to the lounge again — go towards it and turn right, and just ahead on the right is a door marked Office F244. Go inside and search every wall for loot, then leave the office and turn right. Continue to the door marked Water Control H262 and go through. Crouch before going further inside, as two enemies are just ahead with their backs to you. Move towards them ASAP, but stick to the left and vault the cover there to avoid detection (1). Sneak up and shiv both of them, then use the control console to drain tank six (2). If you are low health, you should heal before interacting with the console.
12
After a brief cutscene, you’ll be stalked by an enemy that seems appropriate to call a Stalker. It does a good job hiding and then attacking again, but as long as you’re constantly strafing left or right, you should dodge its attack even if you’re surprised by it. After you kill the first one, you’ll be attacked by two more — as long as you don’t take too long, you’ll be able to fight them one at a time. Once the water draining is complete, you’ll be able to interact with a panel near the tank to extend a ramp. Cross it, climb the ladder that drops down, and at the top just walk forward until you get close enough to the hatch — at this point, a cutscene will start.
The console to extend the ramp
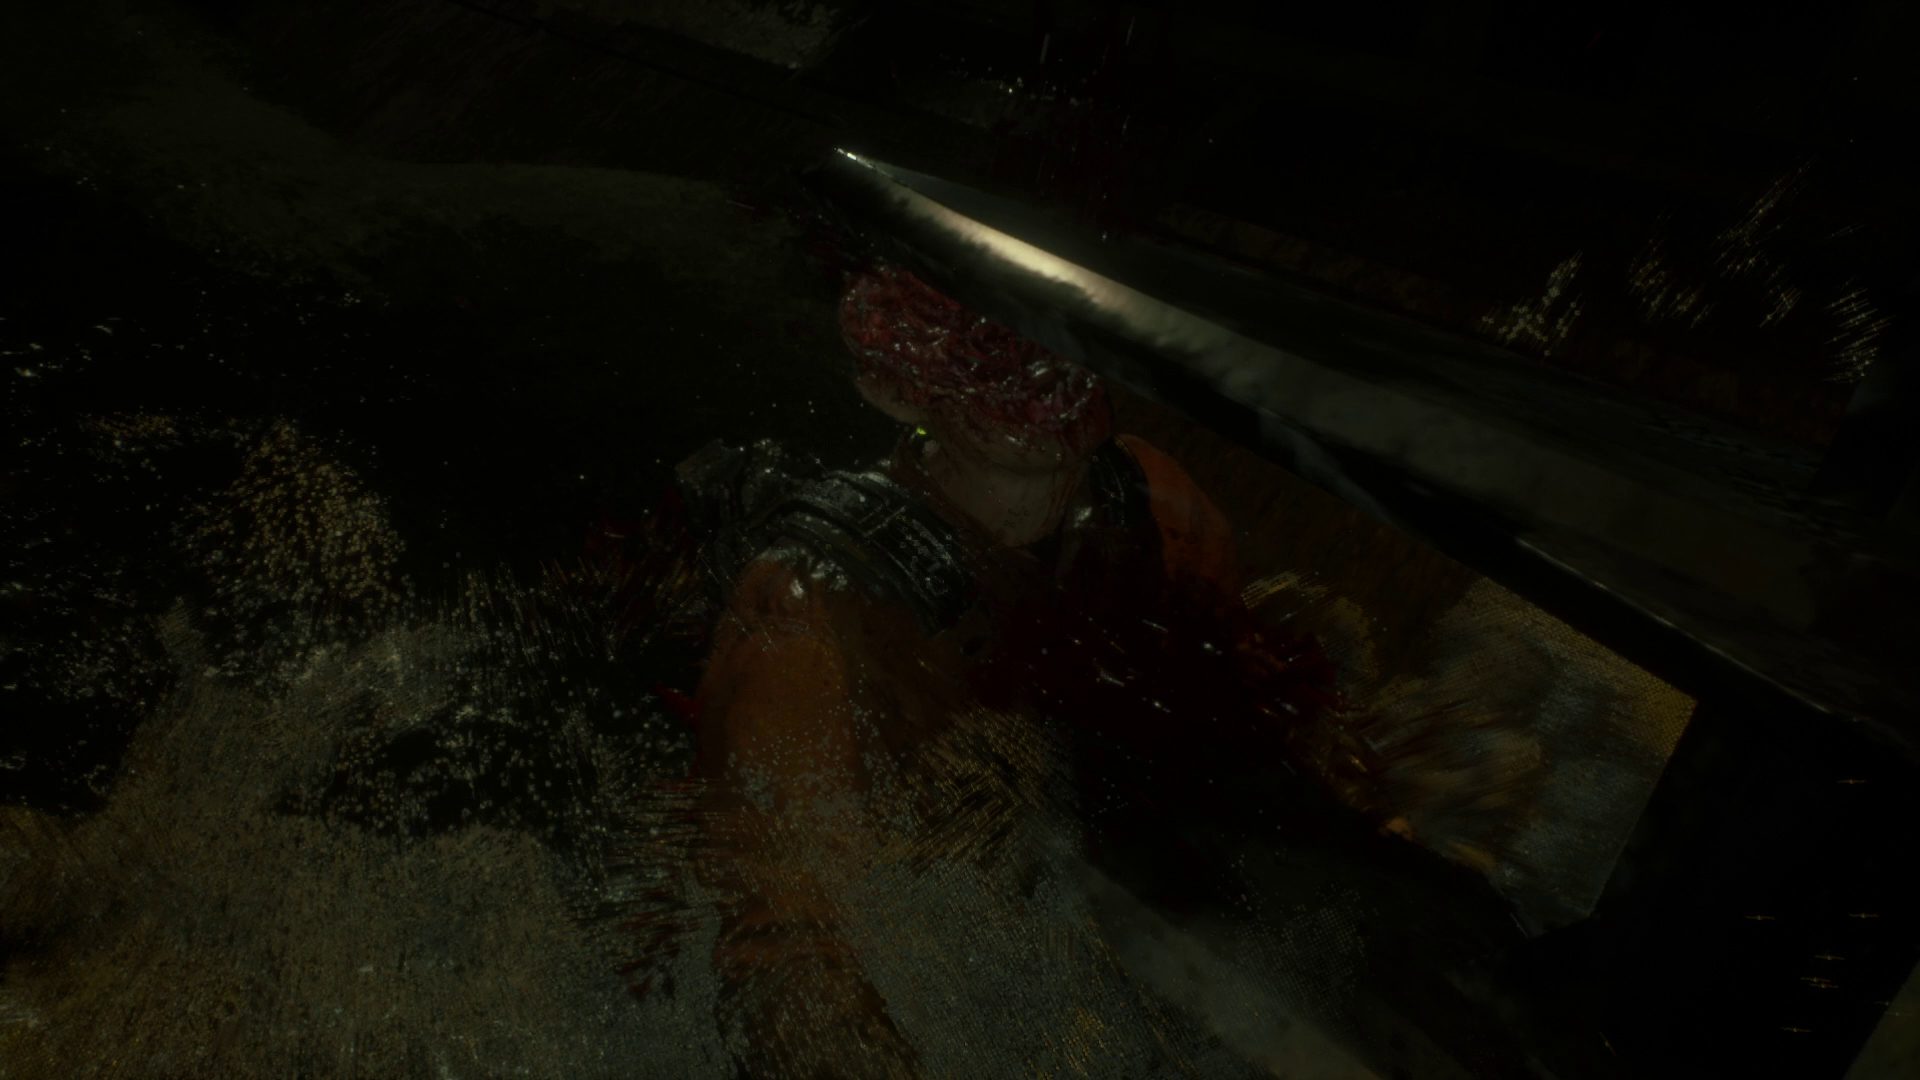
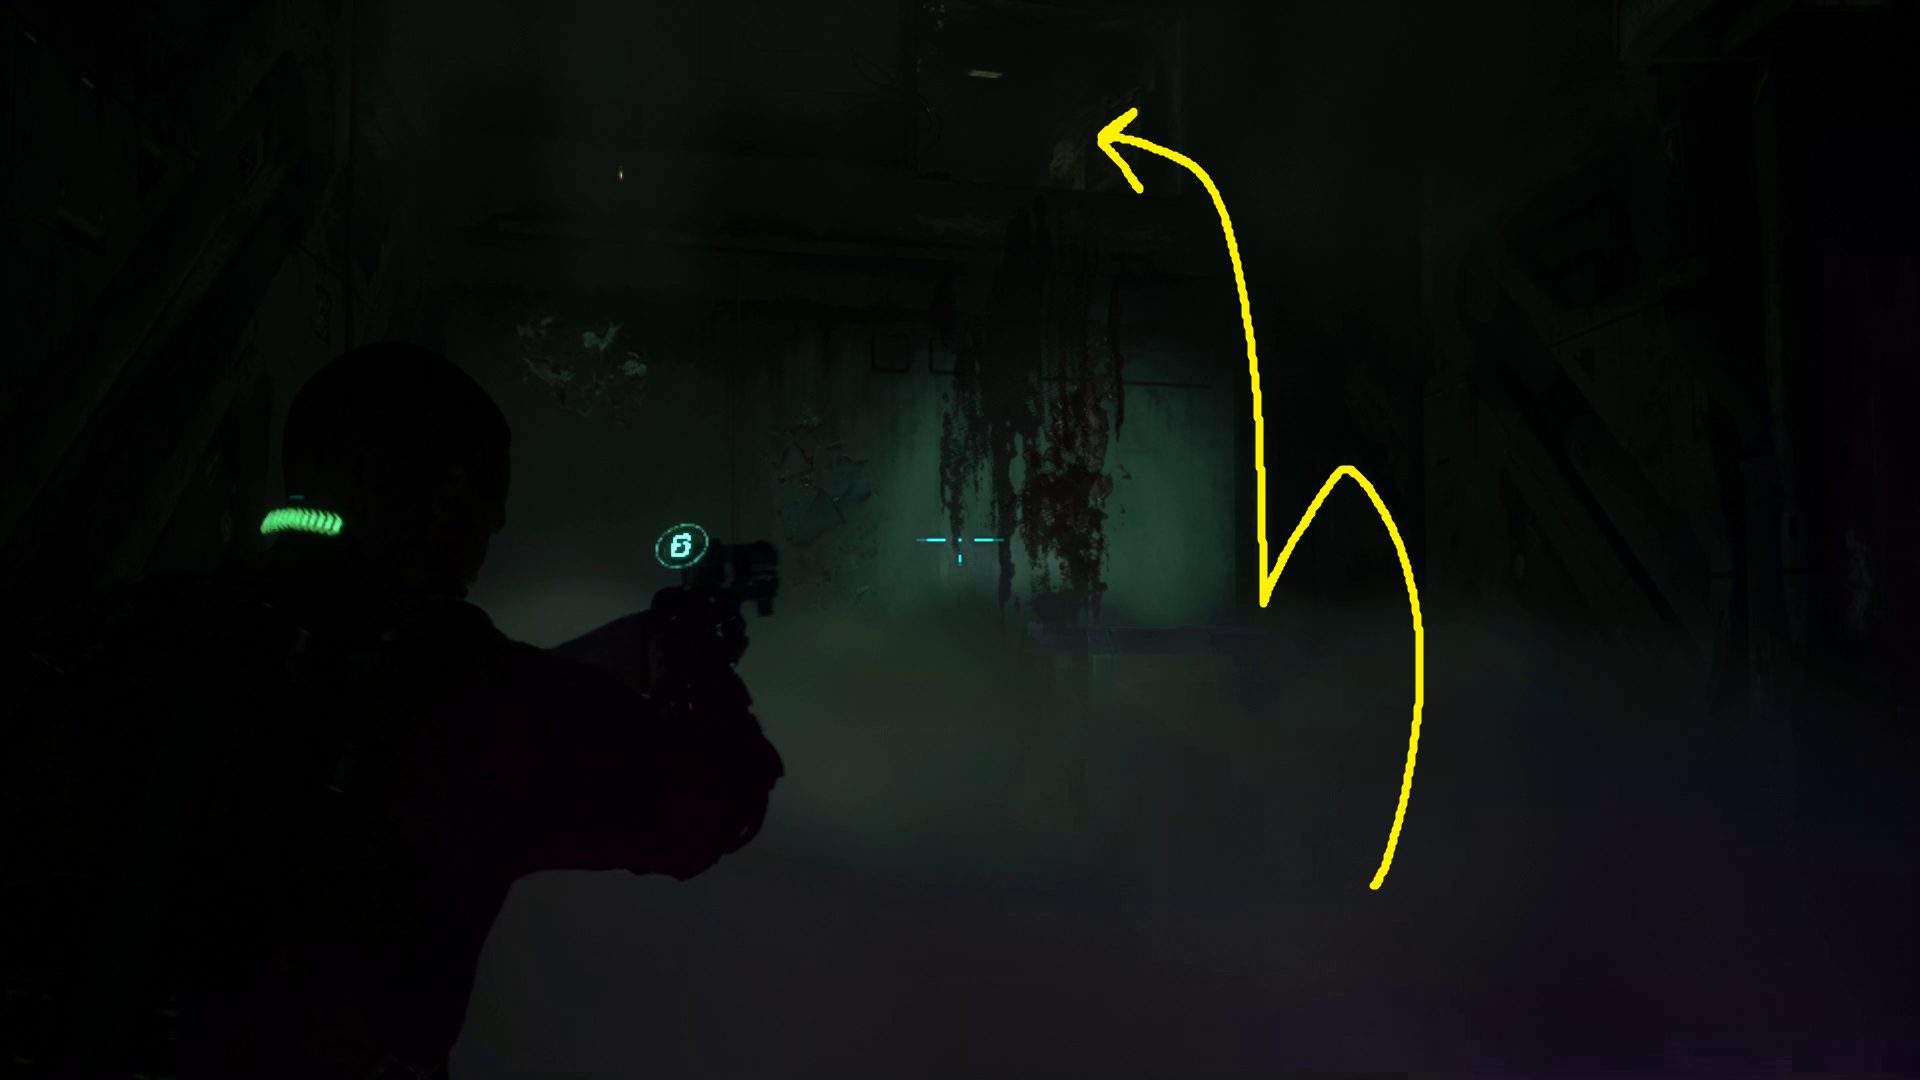
After the hatch shuts, you’ll be in control again. Climb down the ladder and you’ll be facing the way forward. Turn around and head to the end of the tunnel to find some loot on the ground, then go back the way you came, past the ladder and forward. Once you get far enough, a cutscene will start, and you’ll be swept down the tunnel. This section requires that you use the left and right movement inputs to avoid obstacles (1). It auto saves often, so if you want to see some unique death animations, you may want to let Jacob smack a few.
After successfully avoiding the fan blades, you’ll be attacked by a monster, so be ready for the QTE. Then you’ll go through a lit ring that looks strikingly like the game’s logo, and then the monster will again attack you, prompting another QTE. Then you’ll find yourself hanging from a chain — hold the forward input to climb up. Once you’re standing, turn around and climb up the ledge on the other side of the room to find some loot (2) — note that spawns vary — then cross the room again and climb up on the other side, where it says F5 on the wall beyond. Grab the health from the wall if you need it, loot the locker, then continue through the door marked Access Hall F813.
12
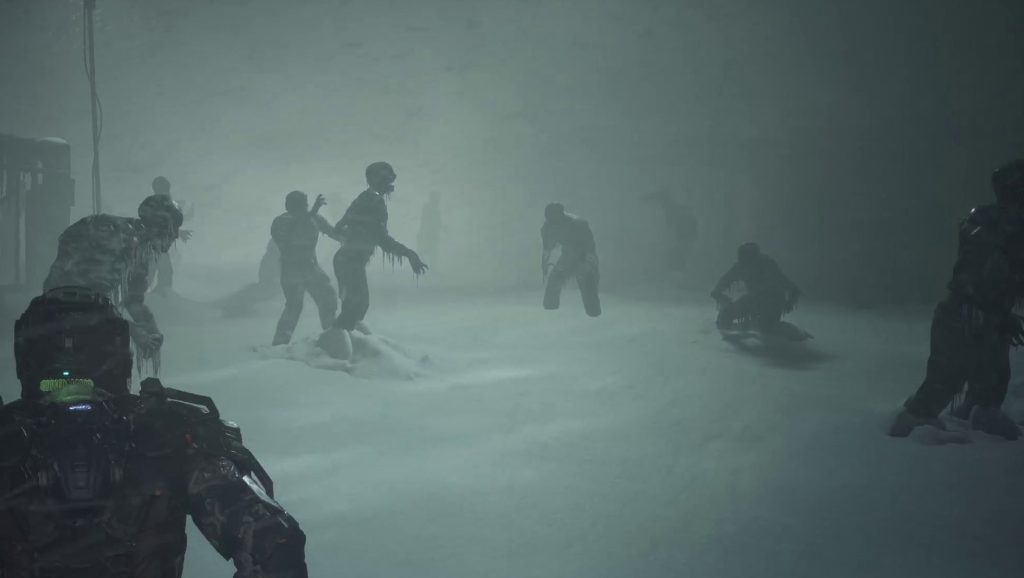
Press the melee attack button to draw your baton after going through the door, and be ready for the monster to pop out of the wall on your left once you get about 1/3 down the hall. The foes here will spawn tentacles on their chest after being damaged, so try your best to shoot the tentacles before they transform. If you get too far down the hall, more enemies will come, so stay as close to the door you came through as possible. You can dodge and move backwards while holding sprint — do so. After killing one of the first two monsters, a third will come from the doorway down the hall; a fourth foe pops out of the floor near the end of the hallway. (Note all four swill spawn tentacles.)
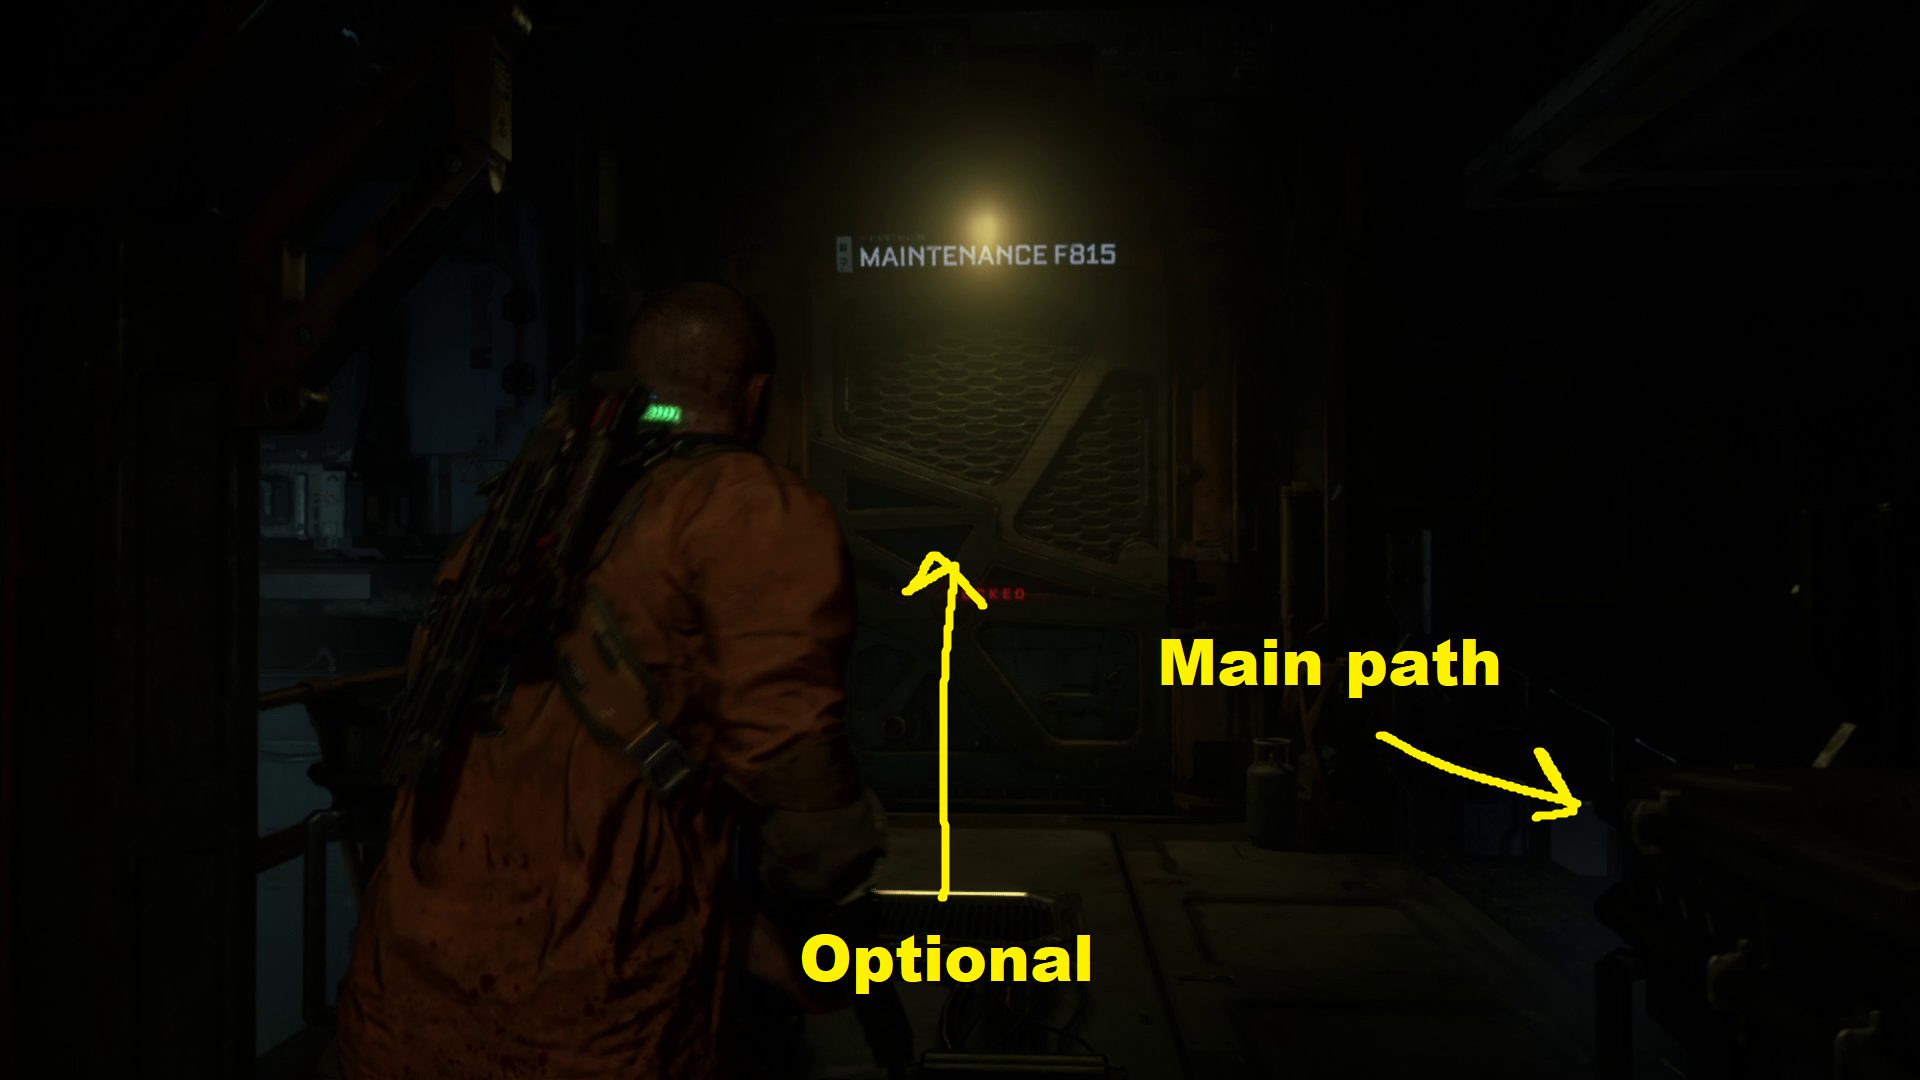
Once all four enemies have been handled, head through the fog-filled doorway, then continue through the unlocked door. Straight ahead you’ll see a door marked Maintenance F815 — this is an optional path (offering loot, no collectibles), while going right down the ramp is the main path forward (1).
Optional path: You’ll need to use your shiv on the door panel to get through the Maintenance F815 door. Straight ahead through the door is a glass case you can melee attack to expose some loot. Then go left further into the room, round the corner, and continue through the Storage F816 door. Loot the lockers on the left, then drag the box in the corner away from the wall to expose a vent (2).
12
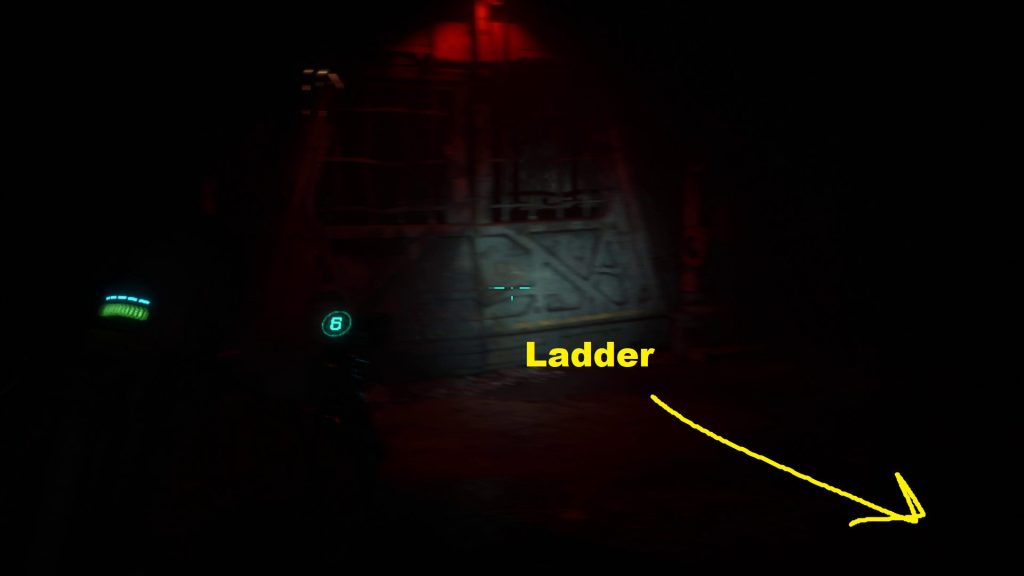
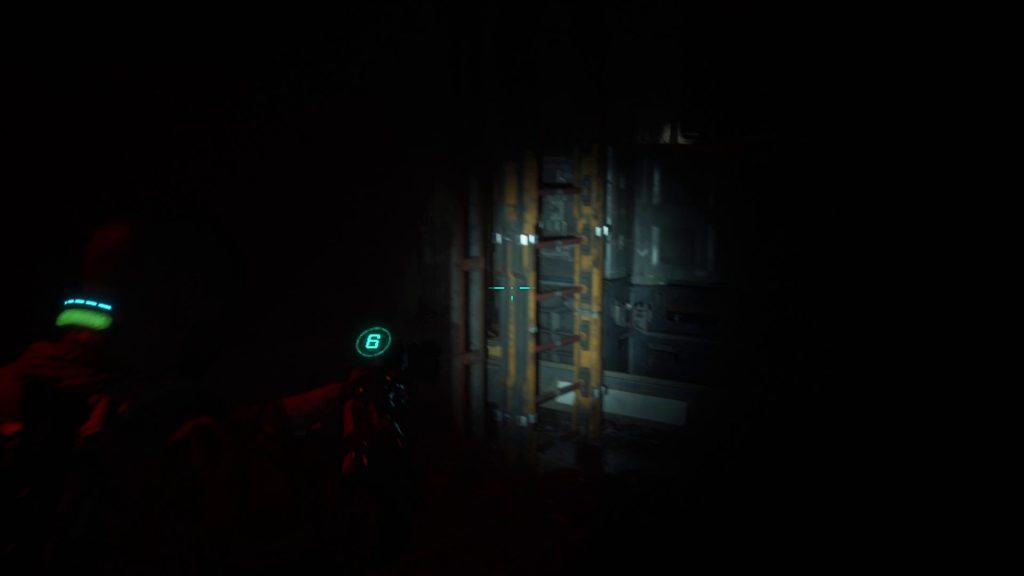
Crouch to crawl inside (you knew that!) and exit into a spooky room with a single red light flickering. Loot the lockers on the left, then just ahead you should see a closed gate (1). From here, turn right until you see a ladder (2) — climb up to find some loot, then climb down. Around the corner from the ladder is a hole you can drop down through (3).
123
After landing, turn left and squeeze through the gap, then hug the left wall to find some stairs that lead to a couple of lockers — in the left locker is a slug, so be ready (or skip it). Turn around and go back down the stairs, and keep hugging the left wall until you come to a small gap. Crouch and continue through it. Upon standing, keep going forwards and you’ll come to a ladder. Climb up, and at the top, you’ll be attacked by a tentacle plant — QTE your way out of its grasp, then make sure you loot the crate in this room before leaving via the unlocked door. In the next room is a door marked Maintenance F815 — this will take you back to the main path, just continue through the next room, turn left, and go down the ramp.
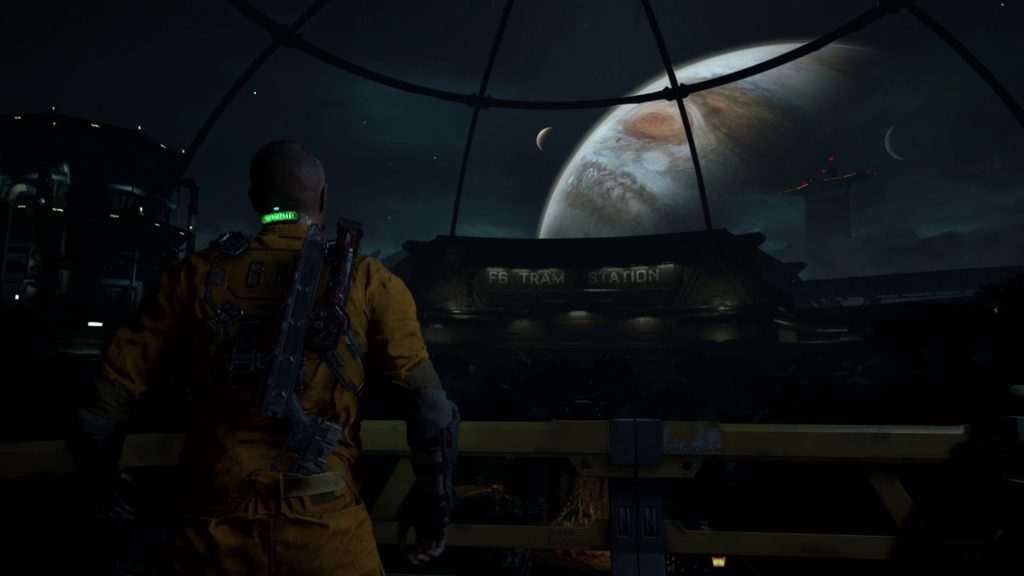
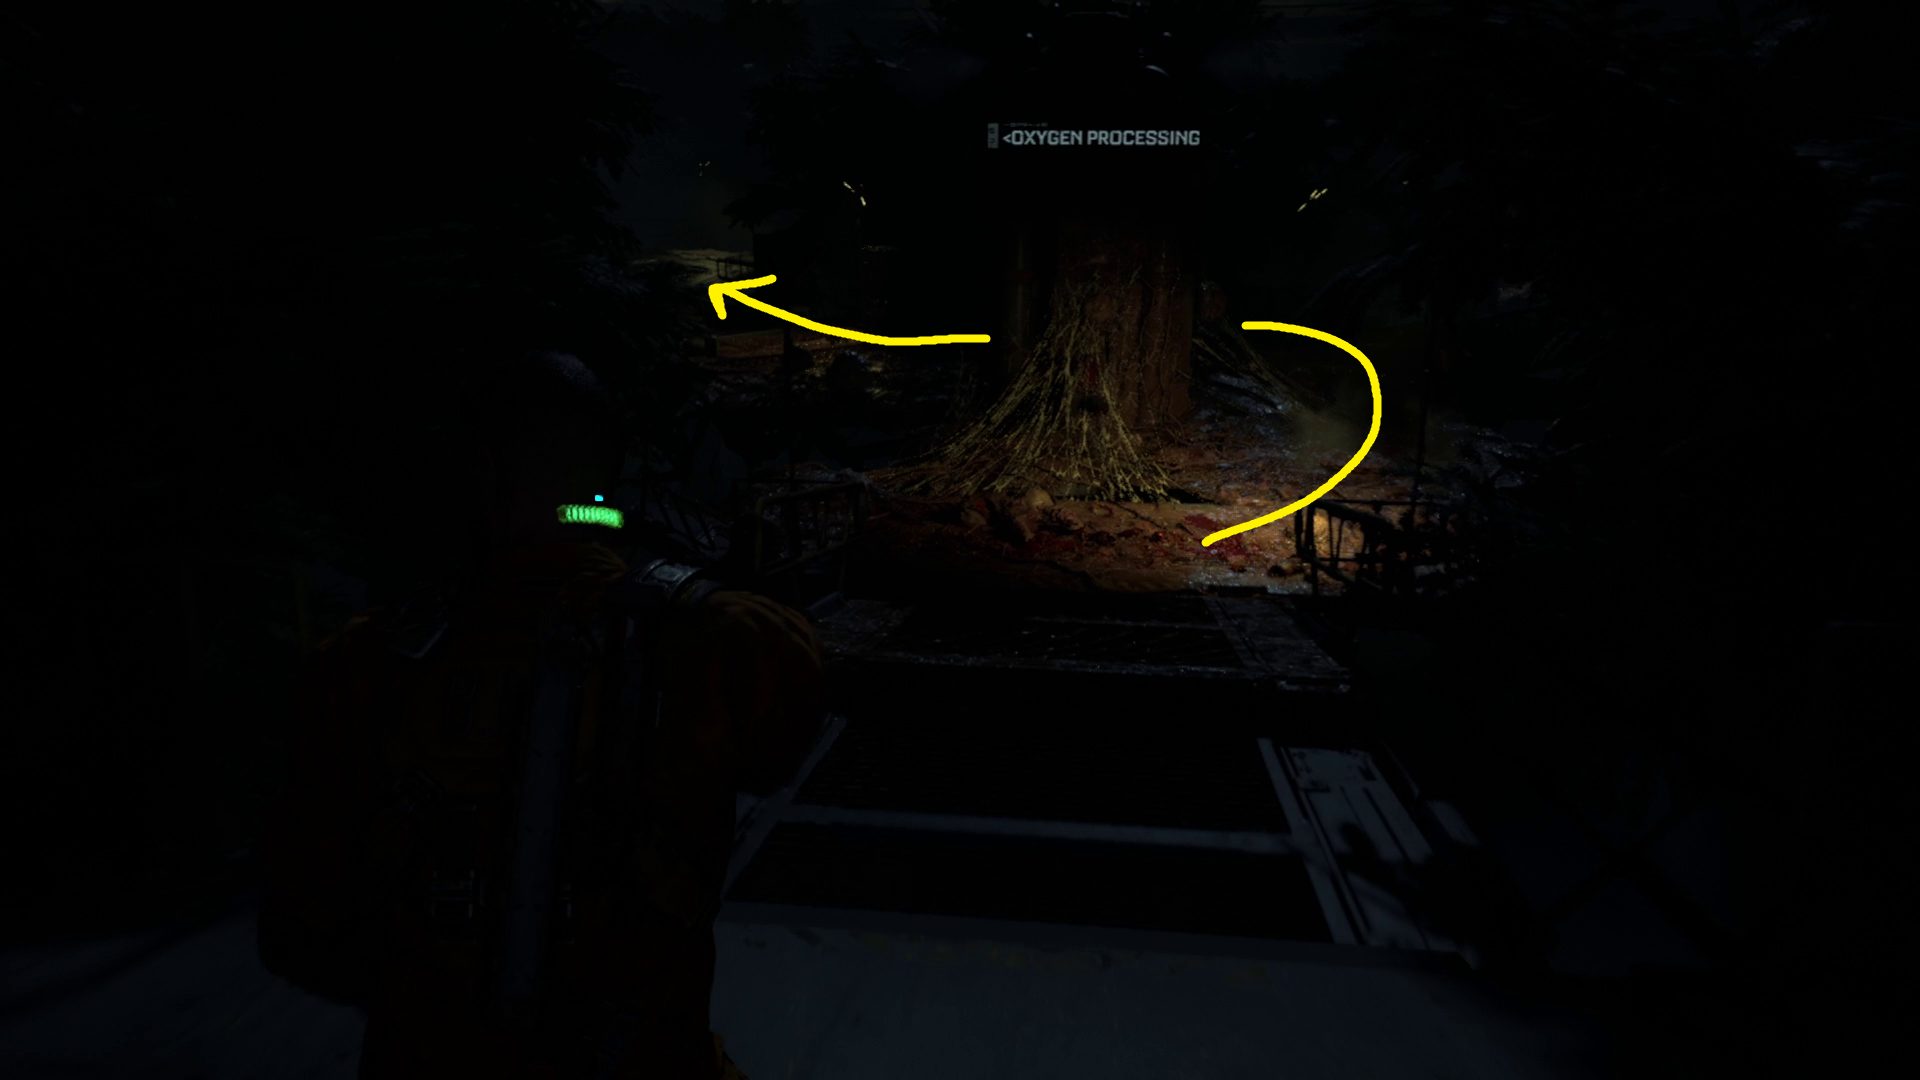
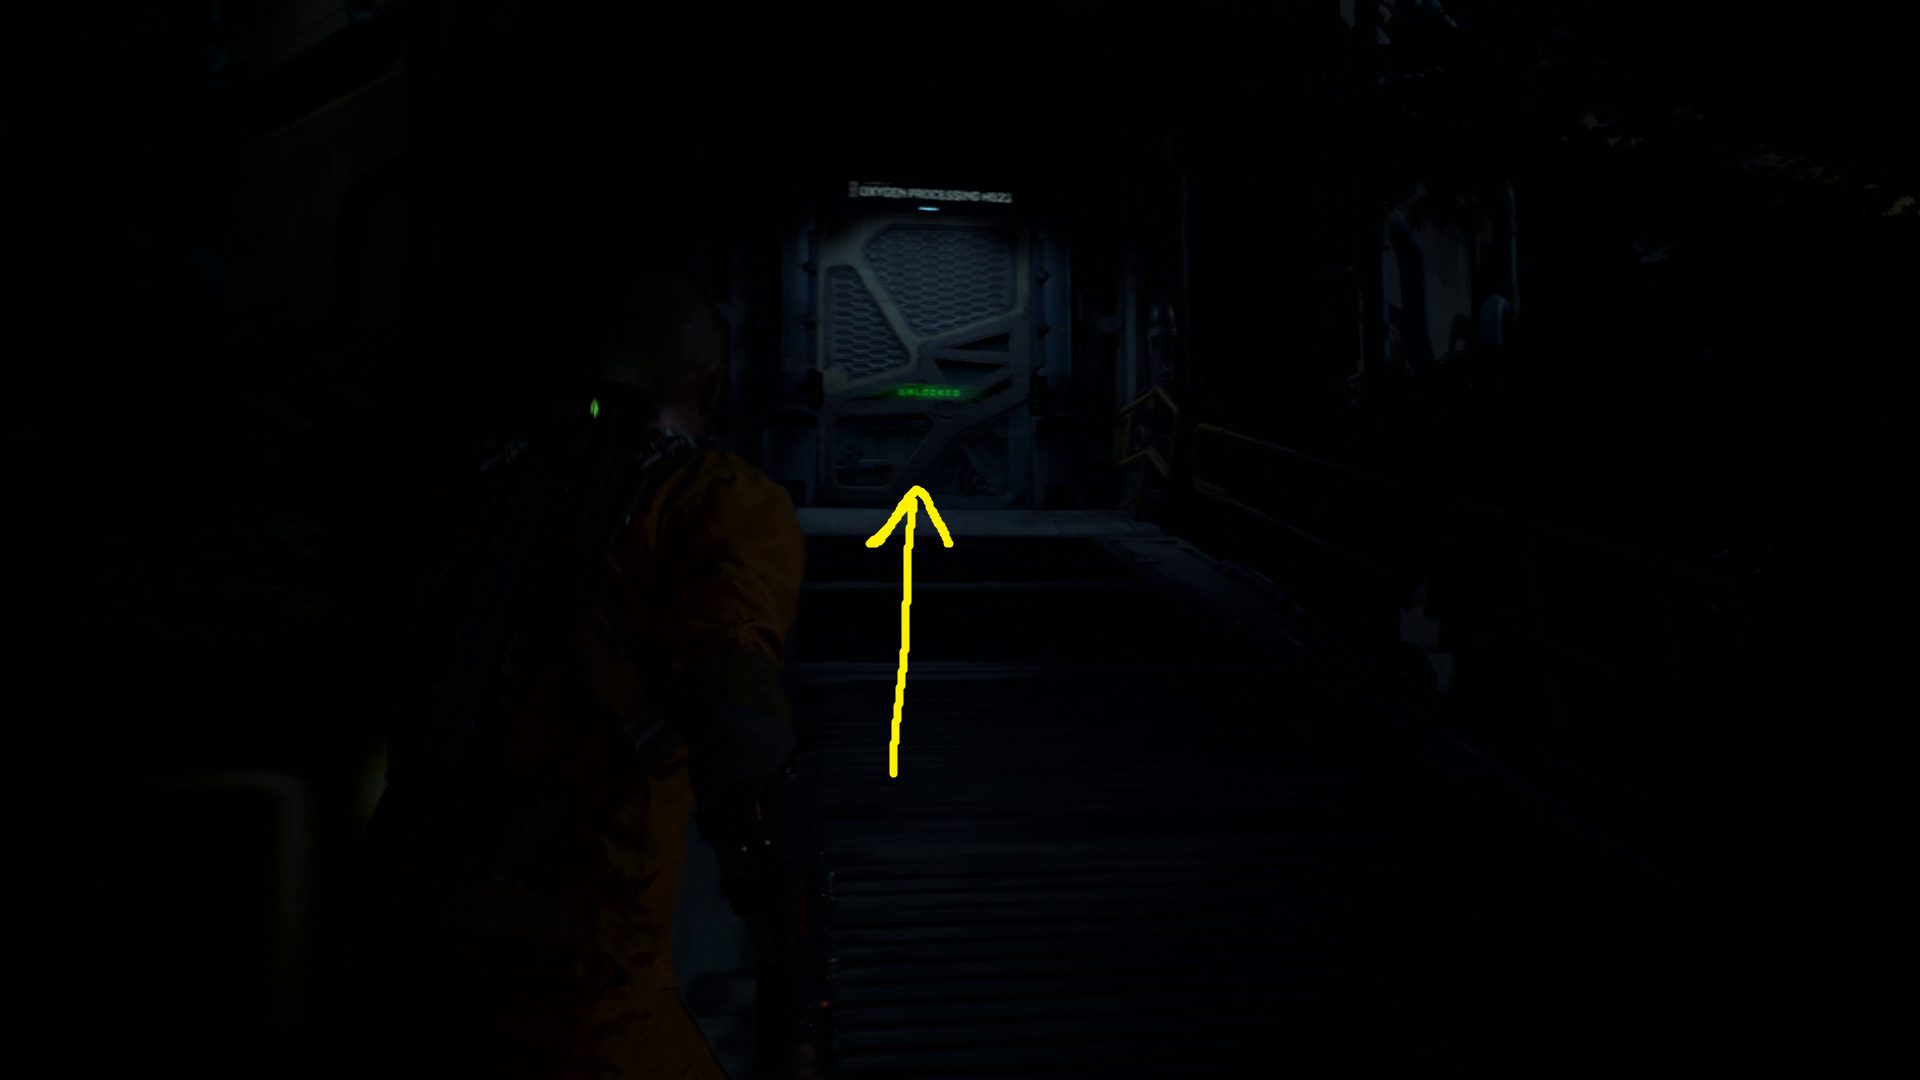
Main Path: Down the ramp is a large door. Interact with the lever to open it, and you’ll be greeted with a beautiful view of Jupiter. Hit the elevator panel to ride it down, then you’ll have to hit the panel again once the elevator stops in order to extend a ramp. Continue forward towards Oxygen Processing (1), making sure you don’t go too fast and run into the patrolling robot. Stick to the left and you’ll soon come to the door to Oxygen Processing (2).
Get Code From Guard (2)
Upon entering, you’ll be jump scared by another holographic recording (or at least, I was). There’s a Reforge station, so make use of it. You can grab some loot and a collectible by going through the door marked Botanical H624, or you can just go straight through the door marked Oxygen Processing H625.
Optional Path: Go down the stairs, noting the spikes on the wall to your right in this room — they’ll come in handy a bit later. Keep going forward past the aeroponics, and you’ll soon come to an open doorway marked Utility Hall H626. Go through and up the stairs, then turn left to find a chest. Turn around and go the other direction, squeezing through the narrow gap — on the right on the crates you’ll find the audio log Ofc. James Reese: Security, plus some loot.
Retrace your steps, and when you get back into the aeroponics room, there will be a couple of enemies waiting for you. Utilize the spikes on the left and GRP-toss the first foe into ’em (1), then continue forwards and do the same with the enemy that pops out of the floor just in front of the stairs (2). With both foes dispatched, you can continue through the door, back into the main room of the structure.
12
Main Path: Head through the door marked Oxygen Processing H625 and continue down the stairs. Run towards the mist, and once you enter it, immediately run back to the stairs. As the enemies approach from the mist, toss them into the spikes to the left (1). Dispatch all three enemies, and then you can continue forwards, making sure you grab the loot from the box just before the mist. Go left into the doorway marked Oxygen Processing H627 — you’ll be attacked once you go up the stairs, so be ready to GRP the monster into the spikes to the left. There’s an injector on the wall straight across from the stairs you can grab, and then you’ll need to crouch to fit through the gap to the left (2).
12
Once you stand up, go forwards a bit and a Stalker will attack you. It’s very dark in this area, but as long as you’re holding left/right you should be able to dodge the hard-to-spot attacks. Continue forwards and you’ll optionally be able to go right, through the doorway marked Distillation H628 — the way forwards is up the box at the end of the hall, and then into the vent.
Optional Path: Head through the Distillation H628 door, and remove the busted fuse from the sparking box on the left. Then hug the left wall, and use your melee weapon to break the glass doors (1). Take the fuse from the box on the wall here, then break the glass on the cabinets opposite the fuse box and grab the loot there. There’s also a box you can grab using your GRP on top of the cabinets (2) — putting it down will break it, and you can grab the loot inside. Then go put the fuse in the box by the door, go through, loot the lockers on the left, then go right around the corner and climb onto the crate.
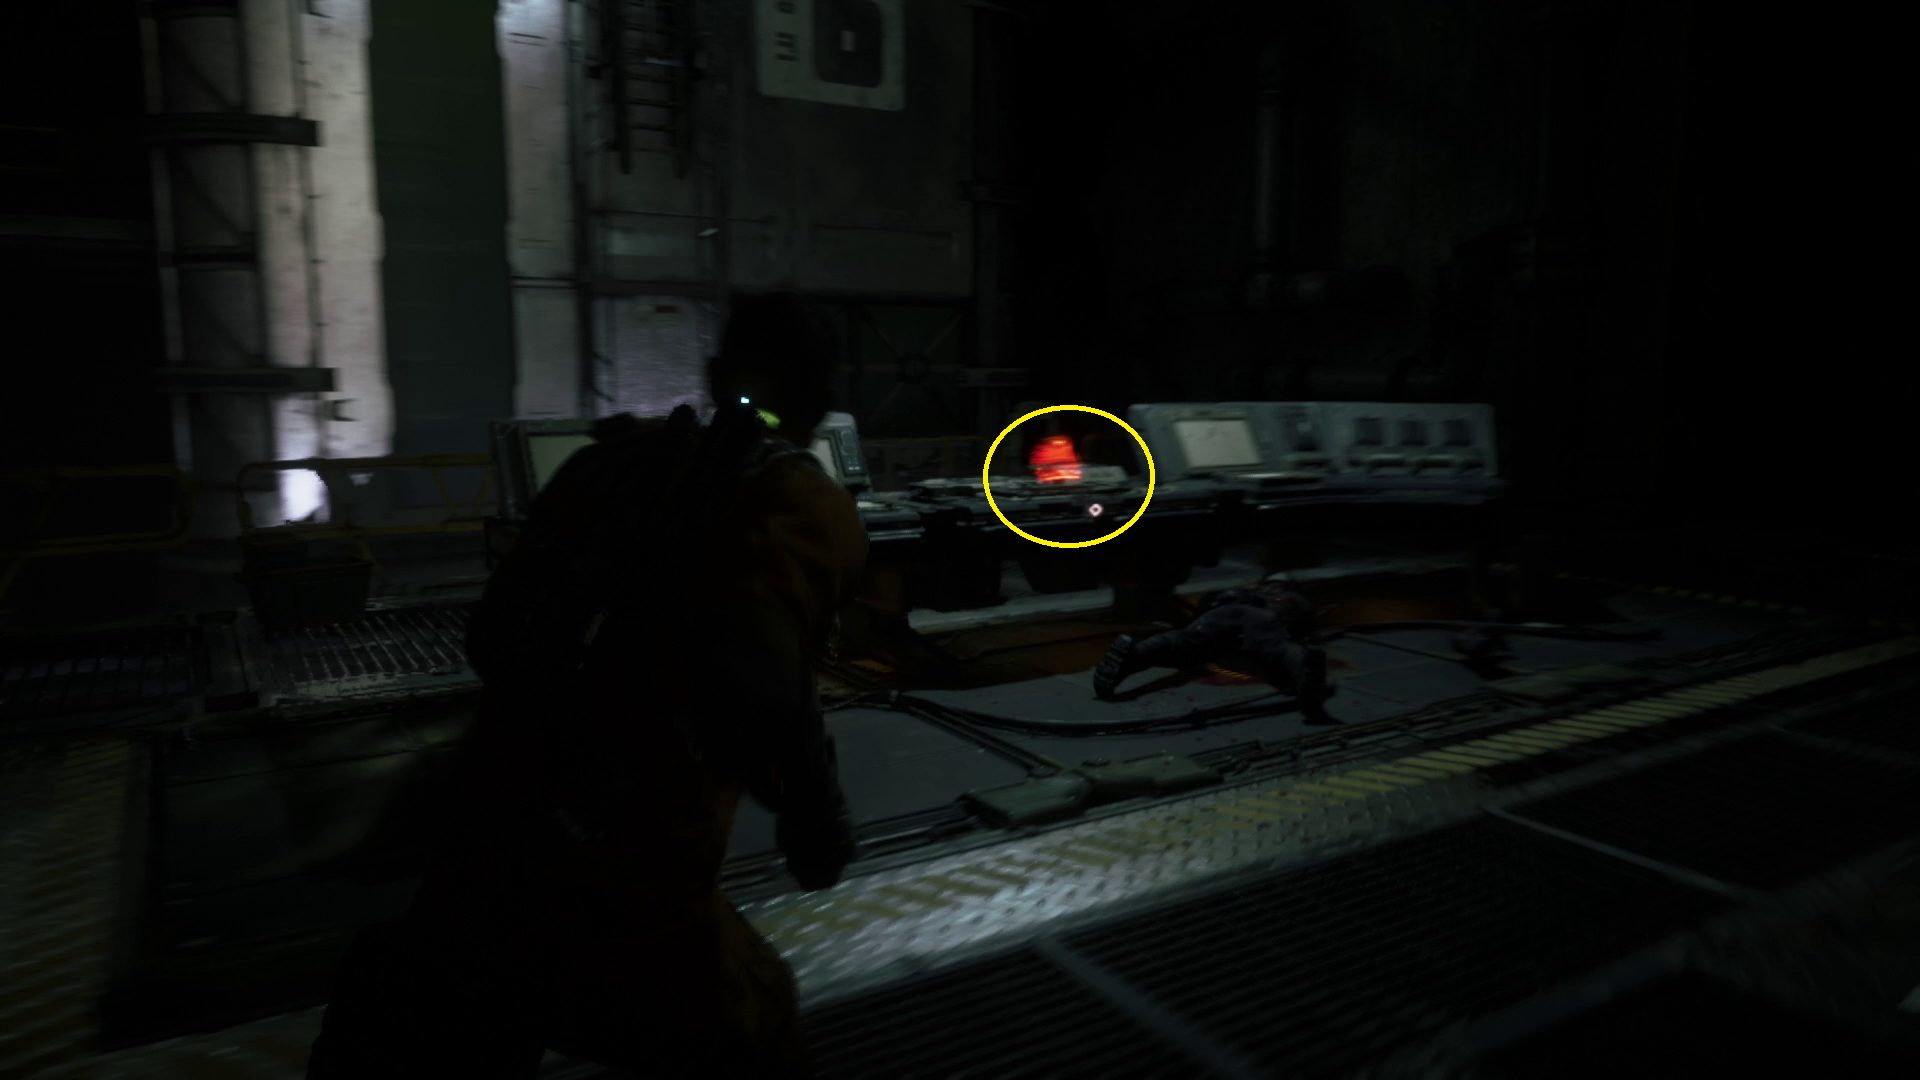
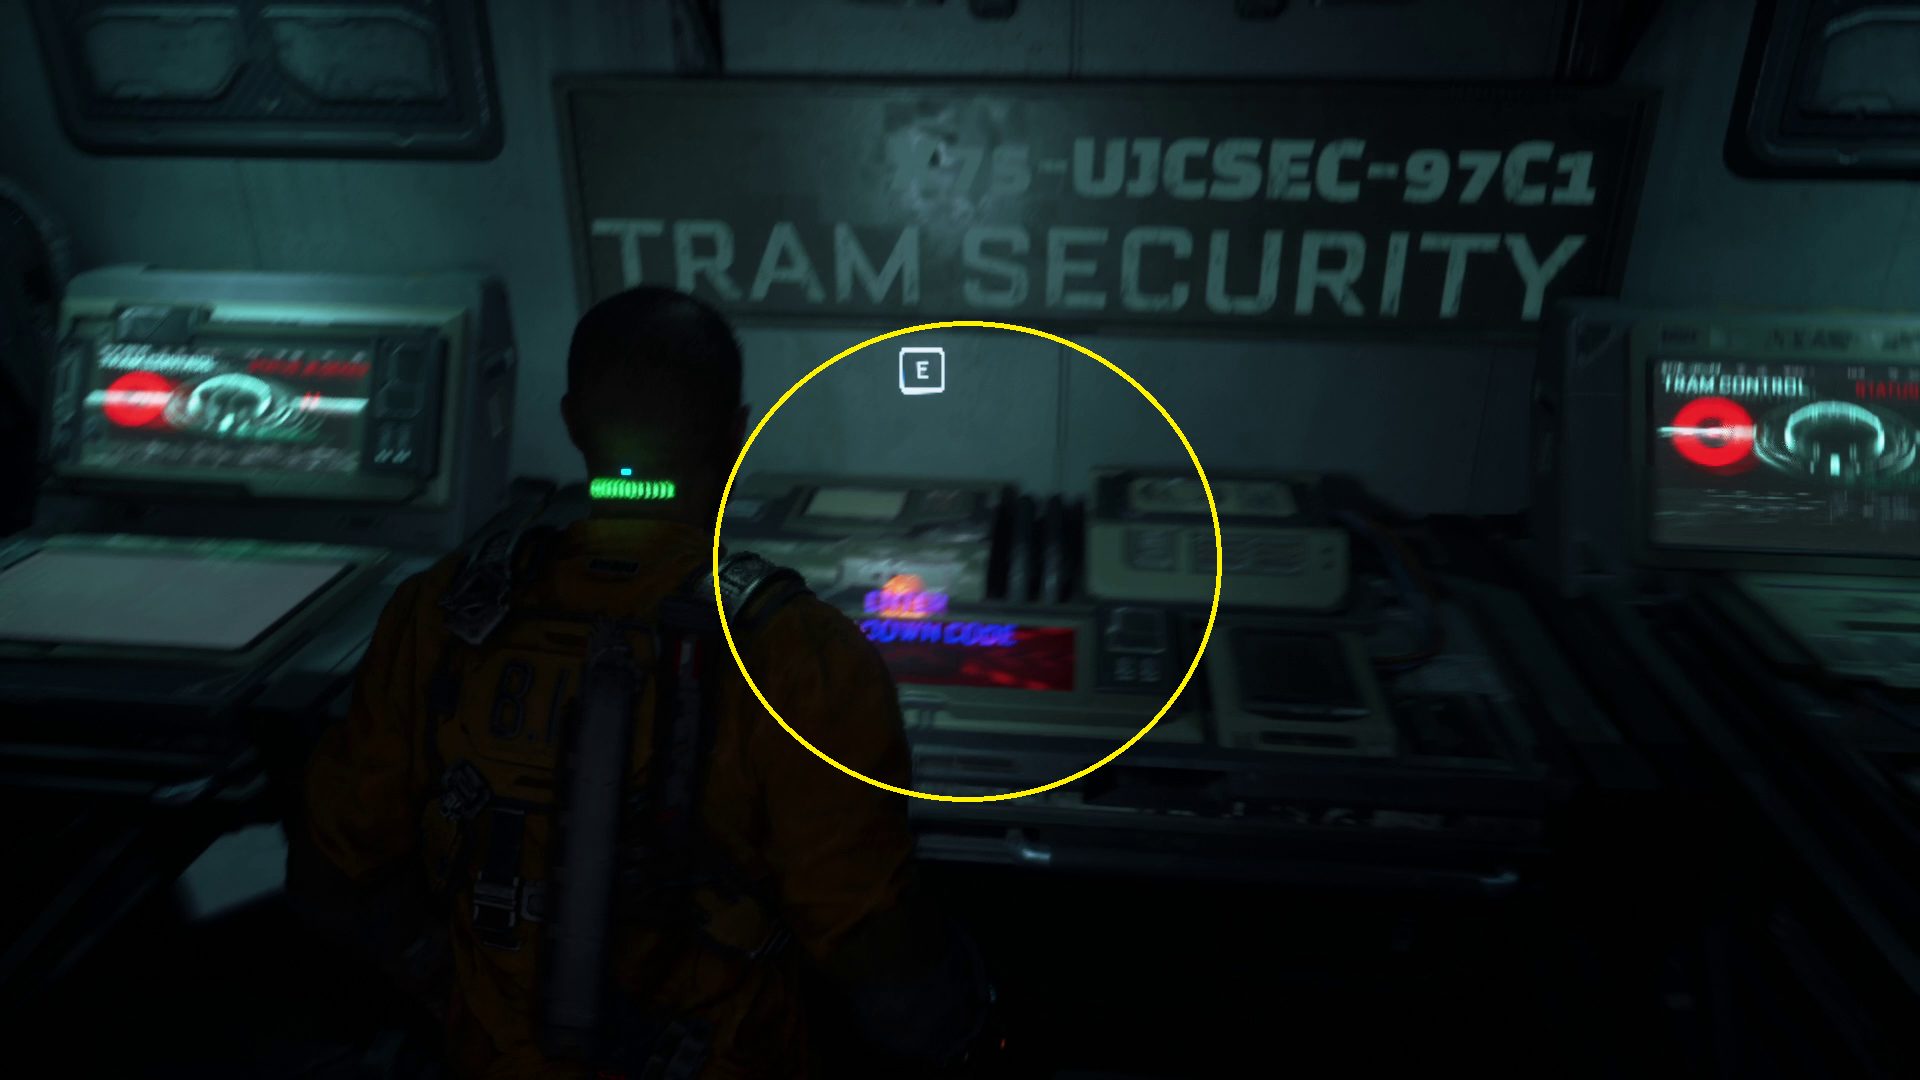
Main path: Climb up onto the crate, then into the vent (1). You’ll drop out of the vent near the corpse of a guard — interact with it to get the code you need, plus the Data BIOS for Sgt. Bill Pekelo. Leave the small room and interact with the Tram Security console to input the code (2). With that done, you can exit via the doorway marked Habitat Dome H600.
12
Reach the Utility Hatch
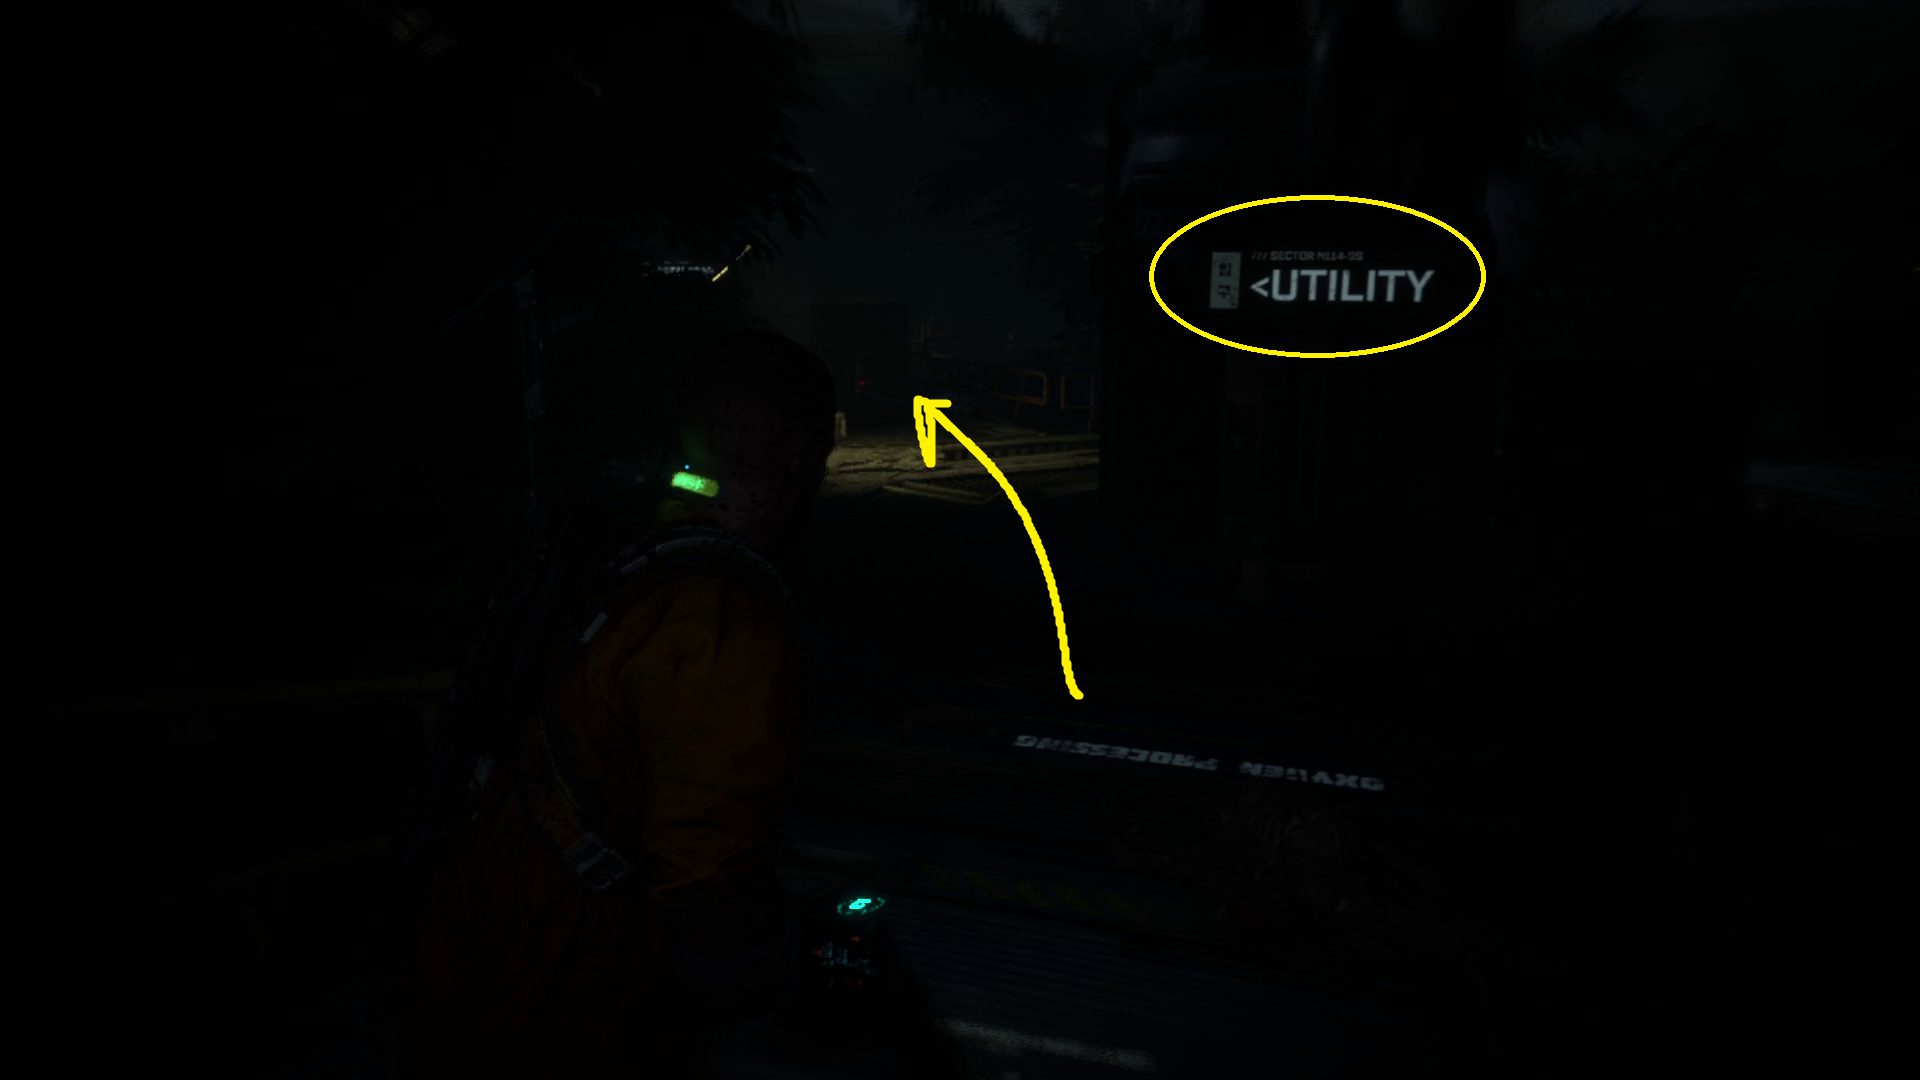
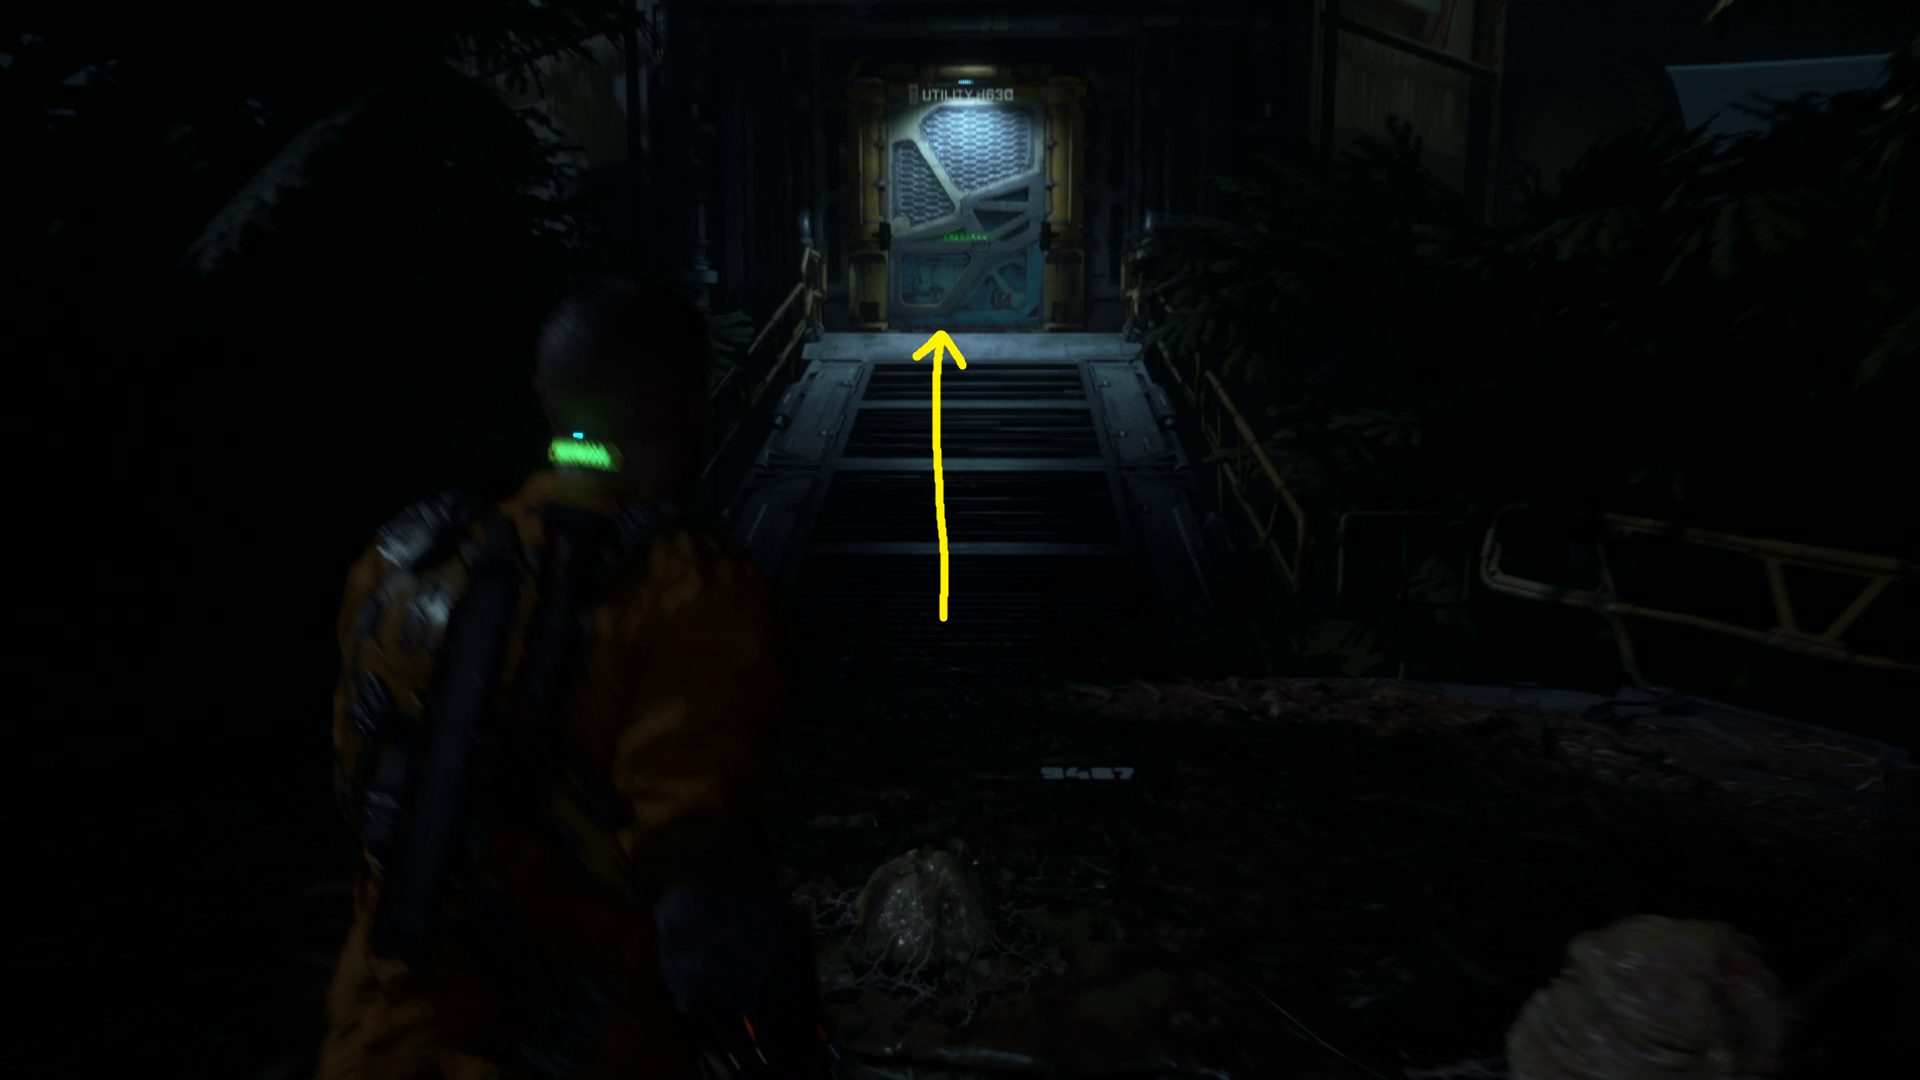
You’ll be attacked by a series of Stalkers upon exiting. They seem to spawn every so often as you get further away from the exit — in total, you’ll have to fight 5. As you do so, follow the signs that read “Utility” (1), with the goal of reaching the door marked Utility H630 (2) — simply hug the left “wall” after leaving the Oxygen Processing area and you’ll reach it.
1
Go through the door, and ahead and to the right is the end of the level (via the hatch). First, however, you can grab another collectible by going left through the door marked Hall H631.
Optional Path: Shiv the door panel and head through the Hall H631 door. Three enemies will spawn at the far end of the room once you get far enough in. Since one is a Spitter, you’ll want to get far enough in that they spawn, then go back to the entrance and hide behind cover to make it easier to fight them one at a time. You’ll find the audio log Ofc. Kyle Serra: Evacuation on the far end of the room. Then retrace your steps and hug the left wall to find the ladder that will take you forward.
Main Path: On the far side of the room from the entrance, you’ll find a hole with a ladder — interact with the ladder and climb down.
Look For the Fallen Walkway
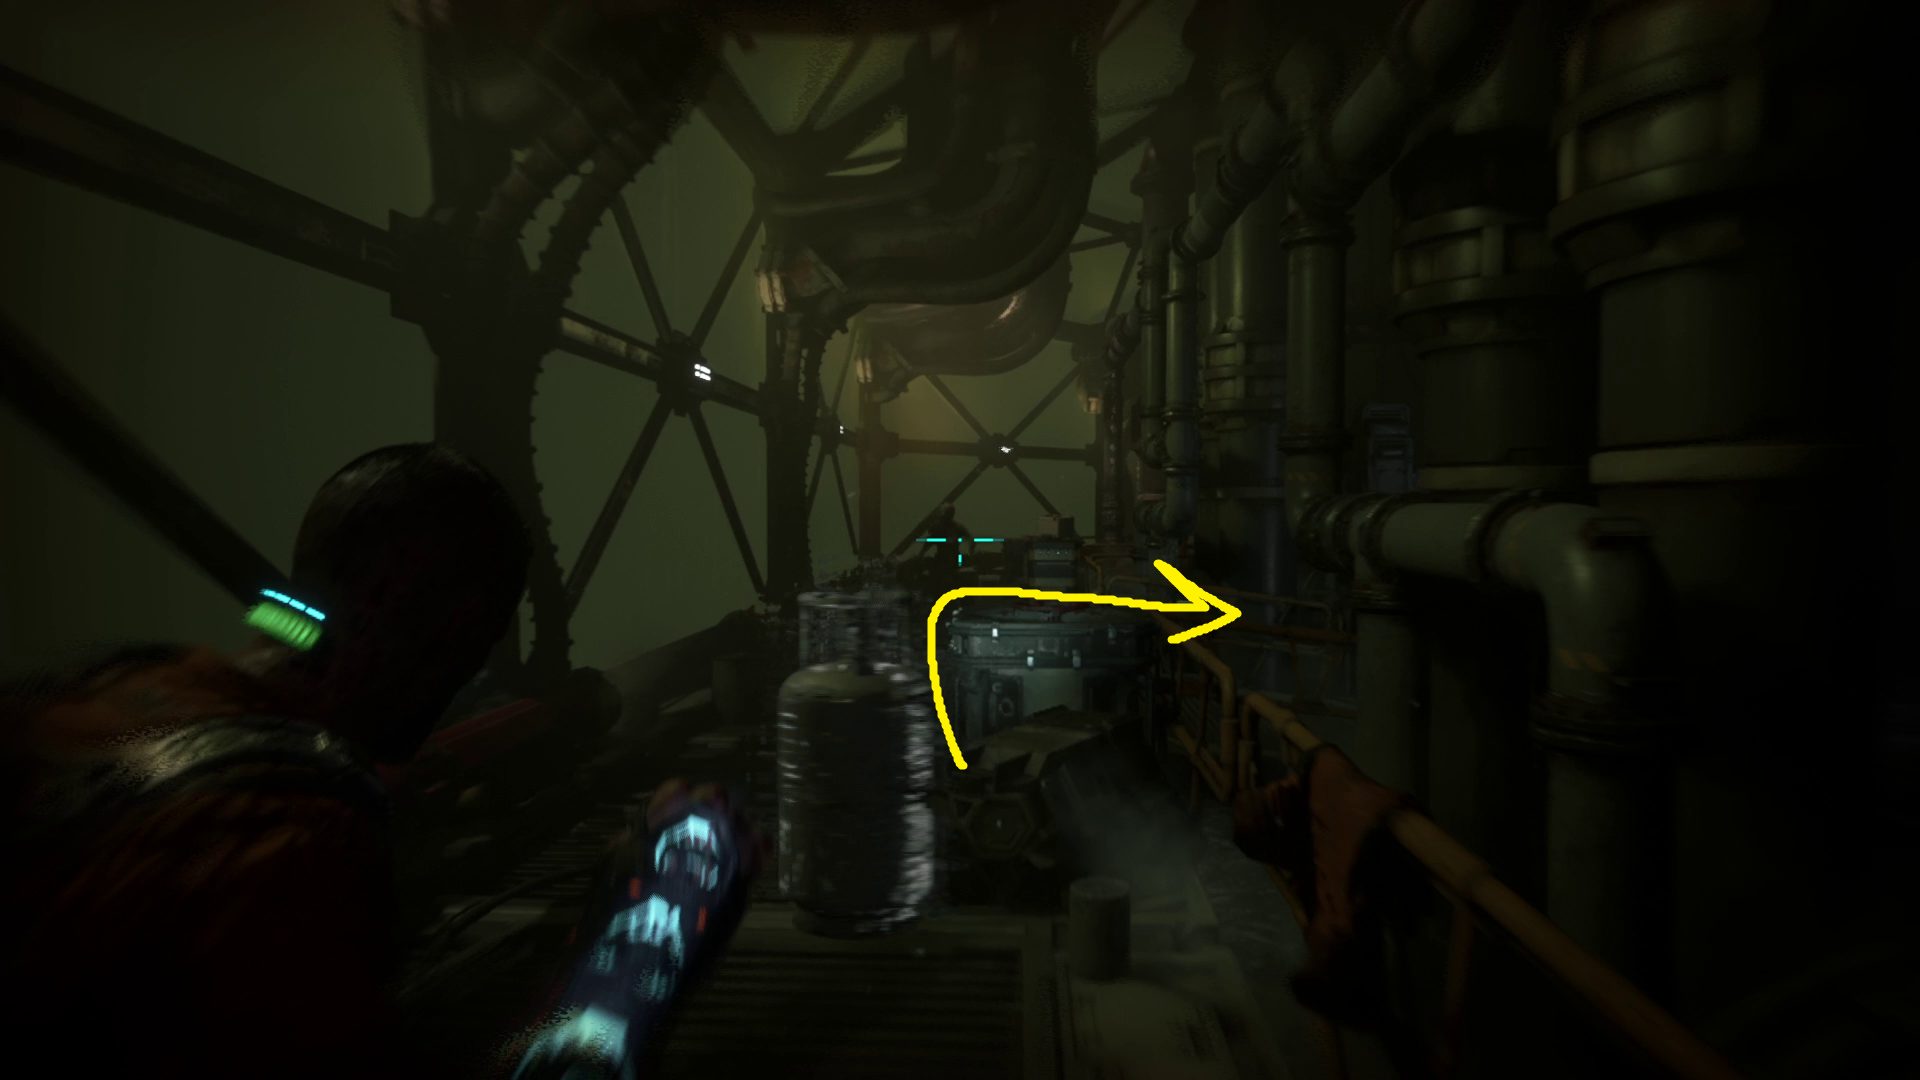
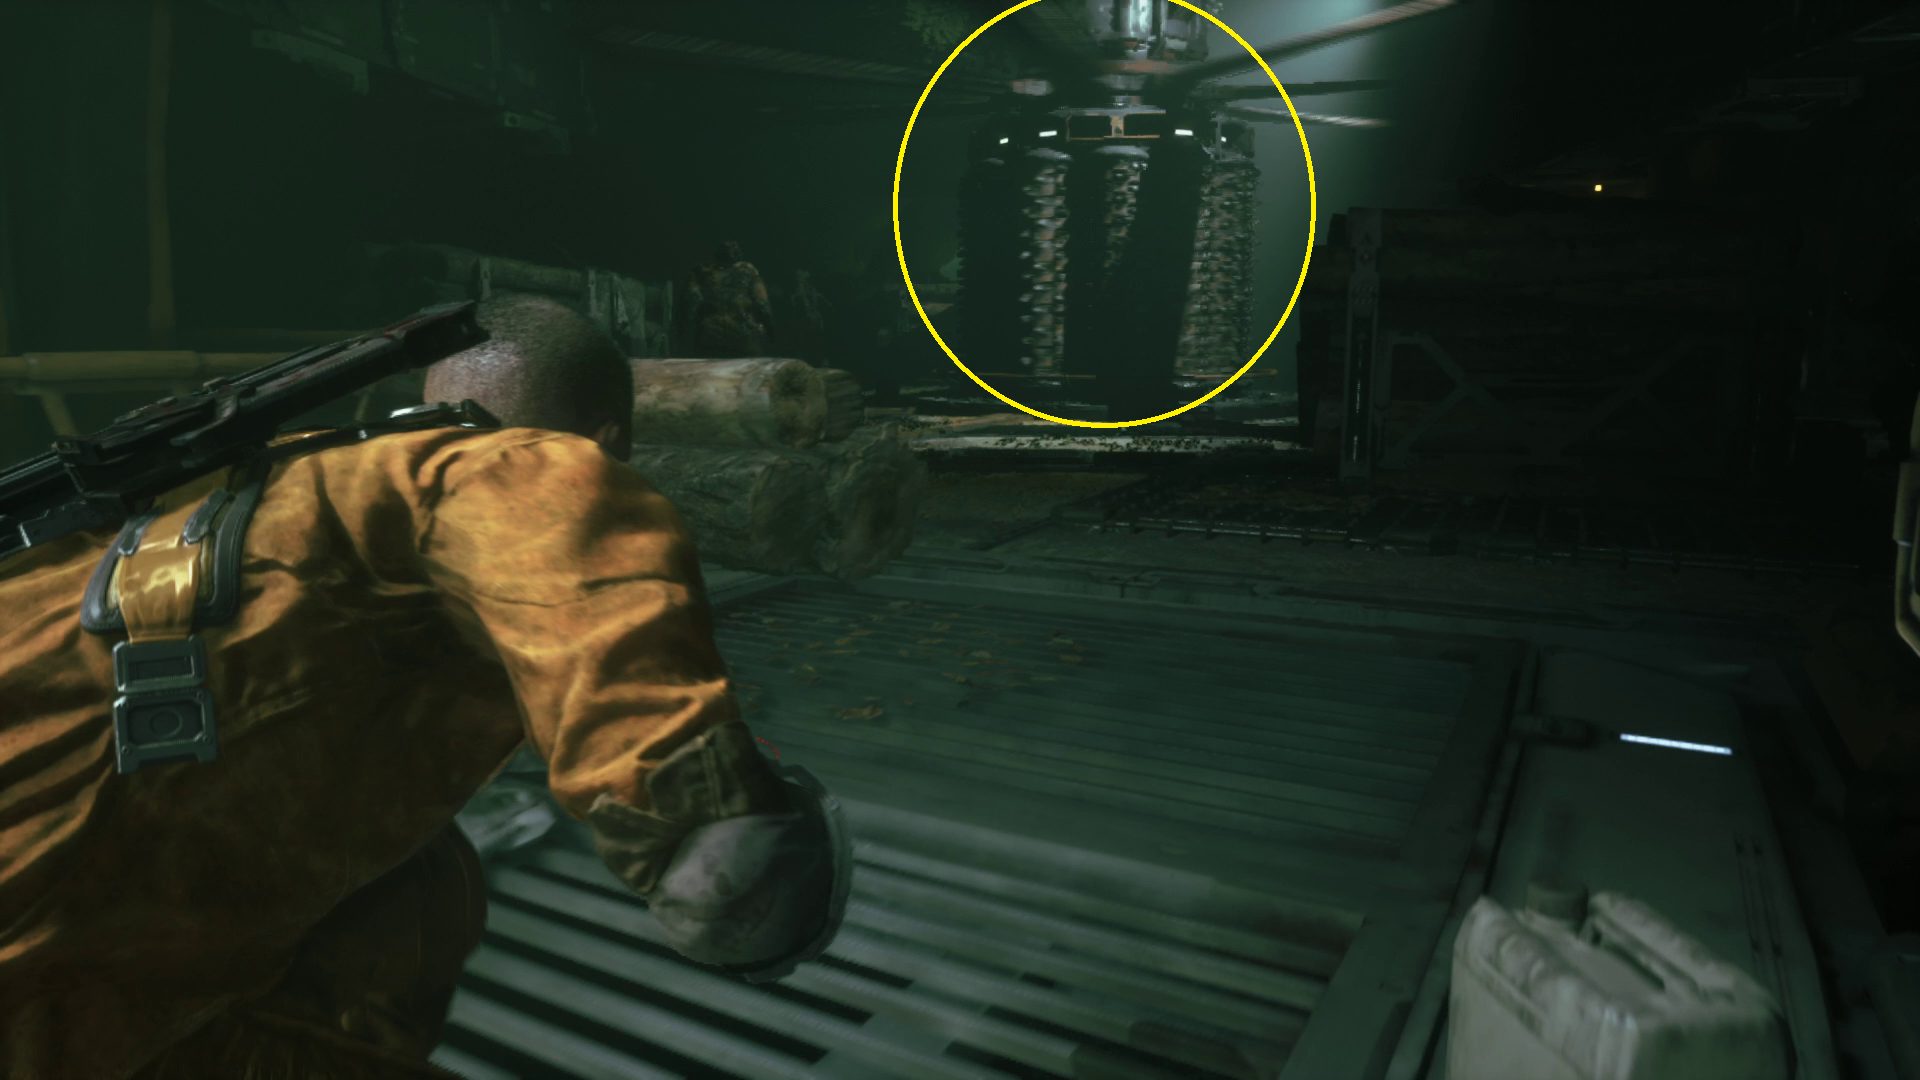
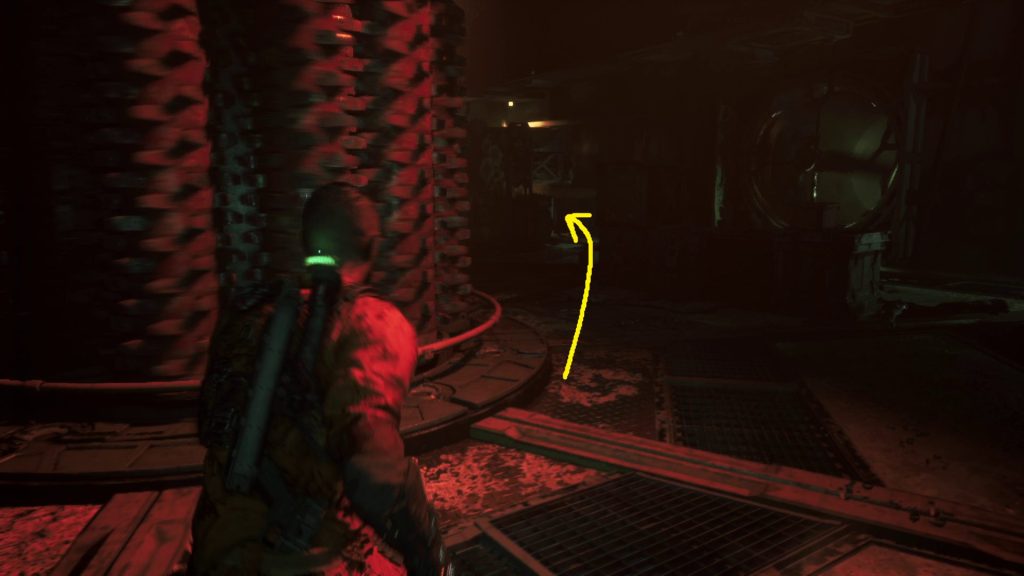
At the bottom of the ladder, turn around and go past the ladder towards the large tunnel, turning right onto the walkway (1). On the right just ahead is a box you can stomp for some loot. Then crouch and sneak forwards — you’ll want to get as close as possible to the spinning grinders and blades (2) before being detected by the enemies in this area. Use your GRP to throw the foes into the grinders — there are five in total. Then crouch through the opening in the far right corner, past the grinder (3).
12
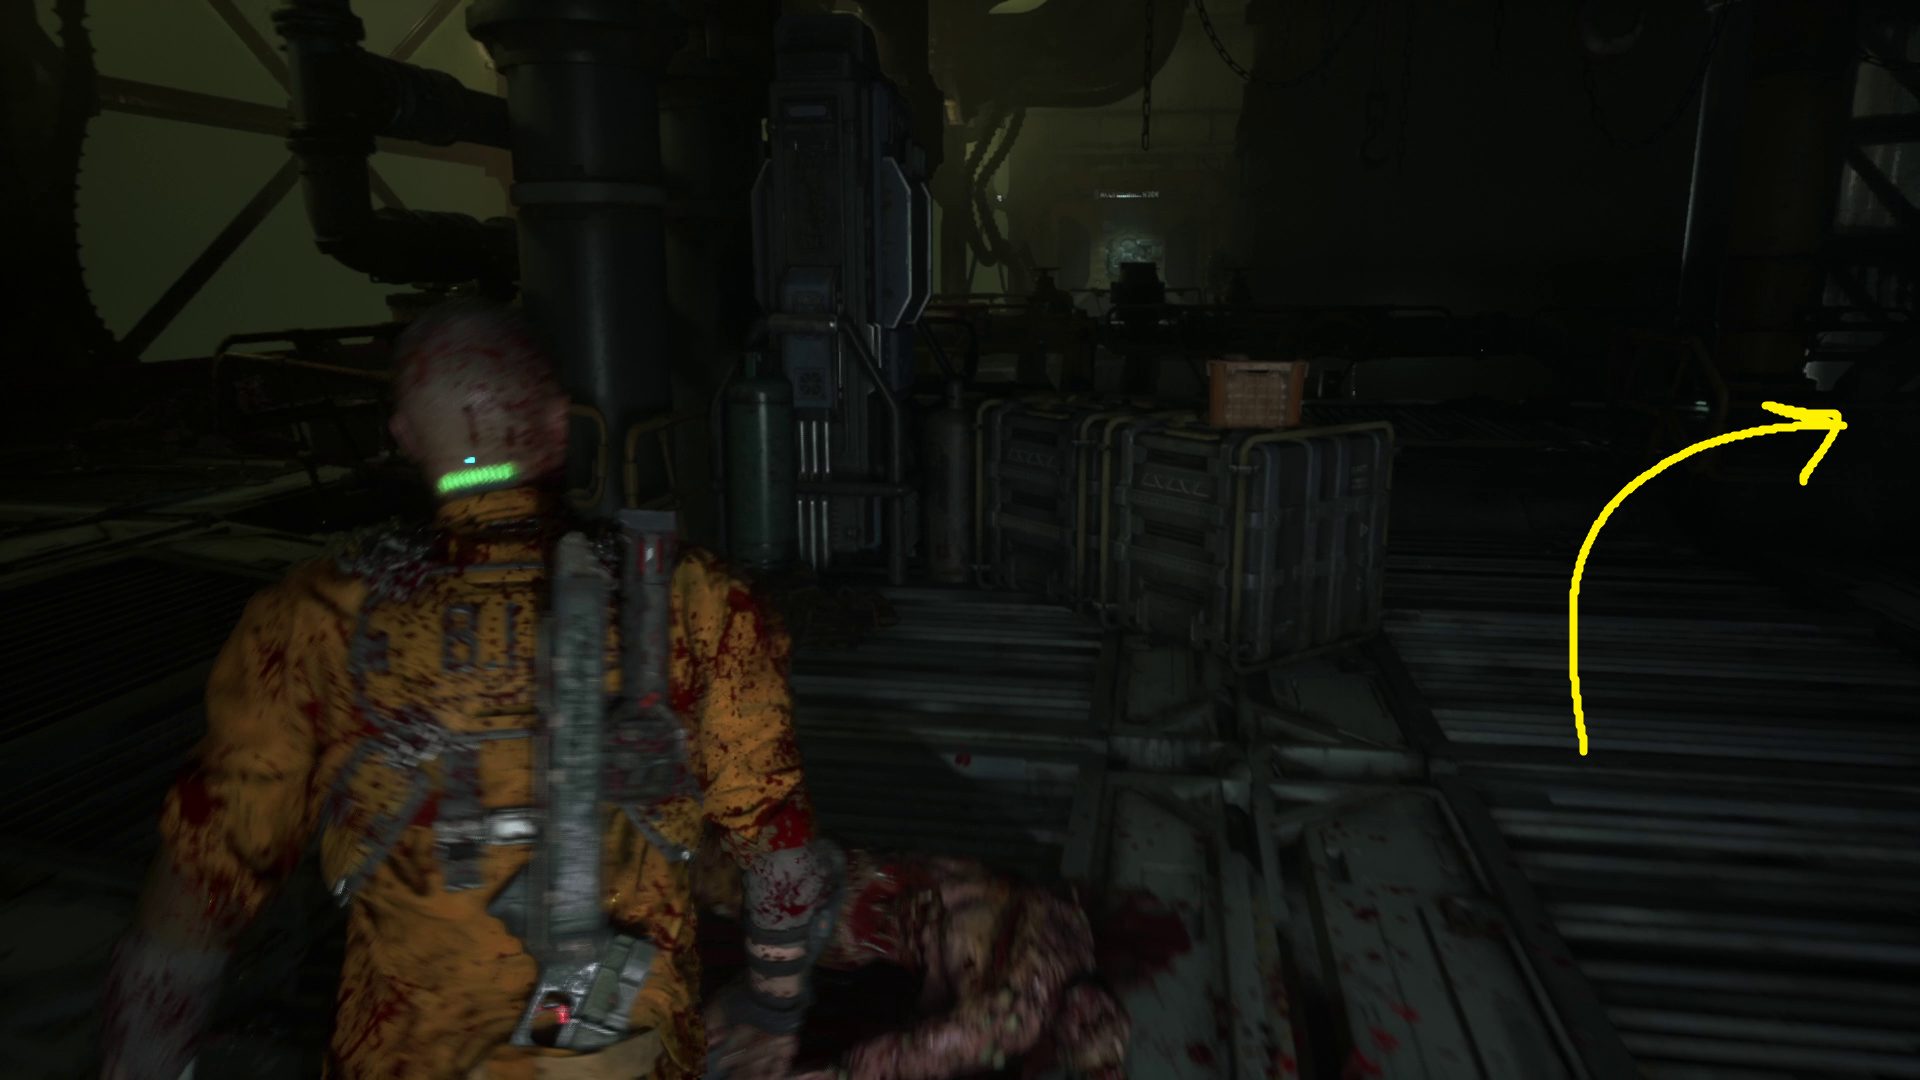
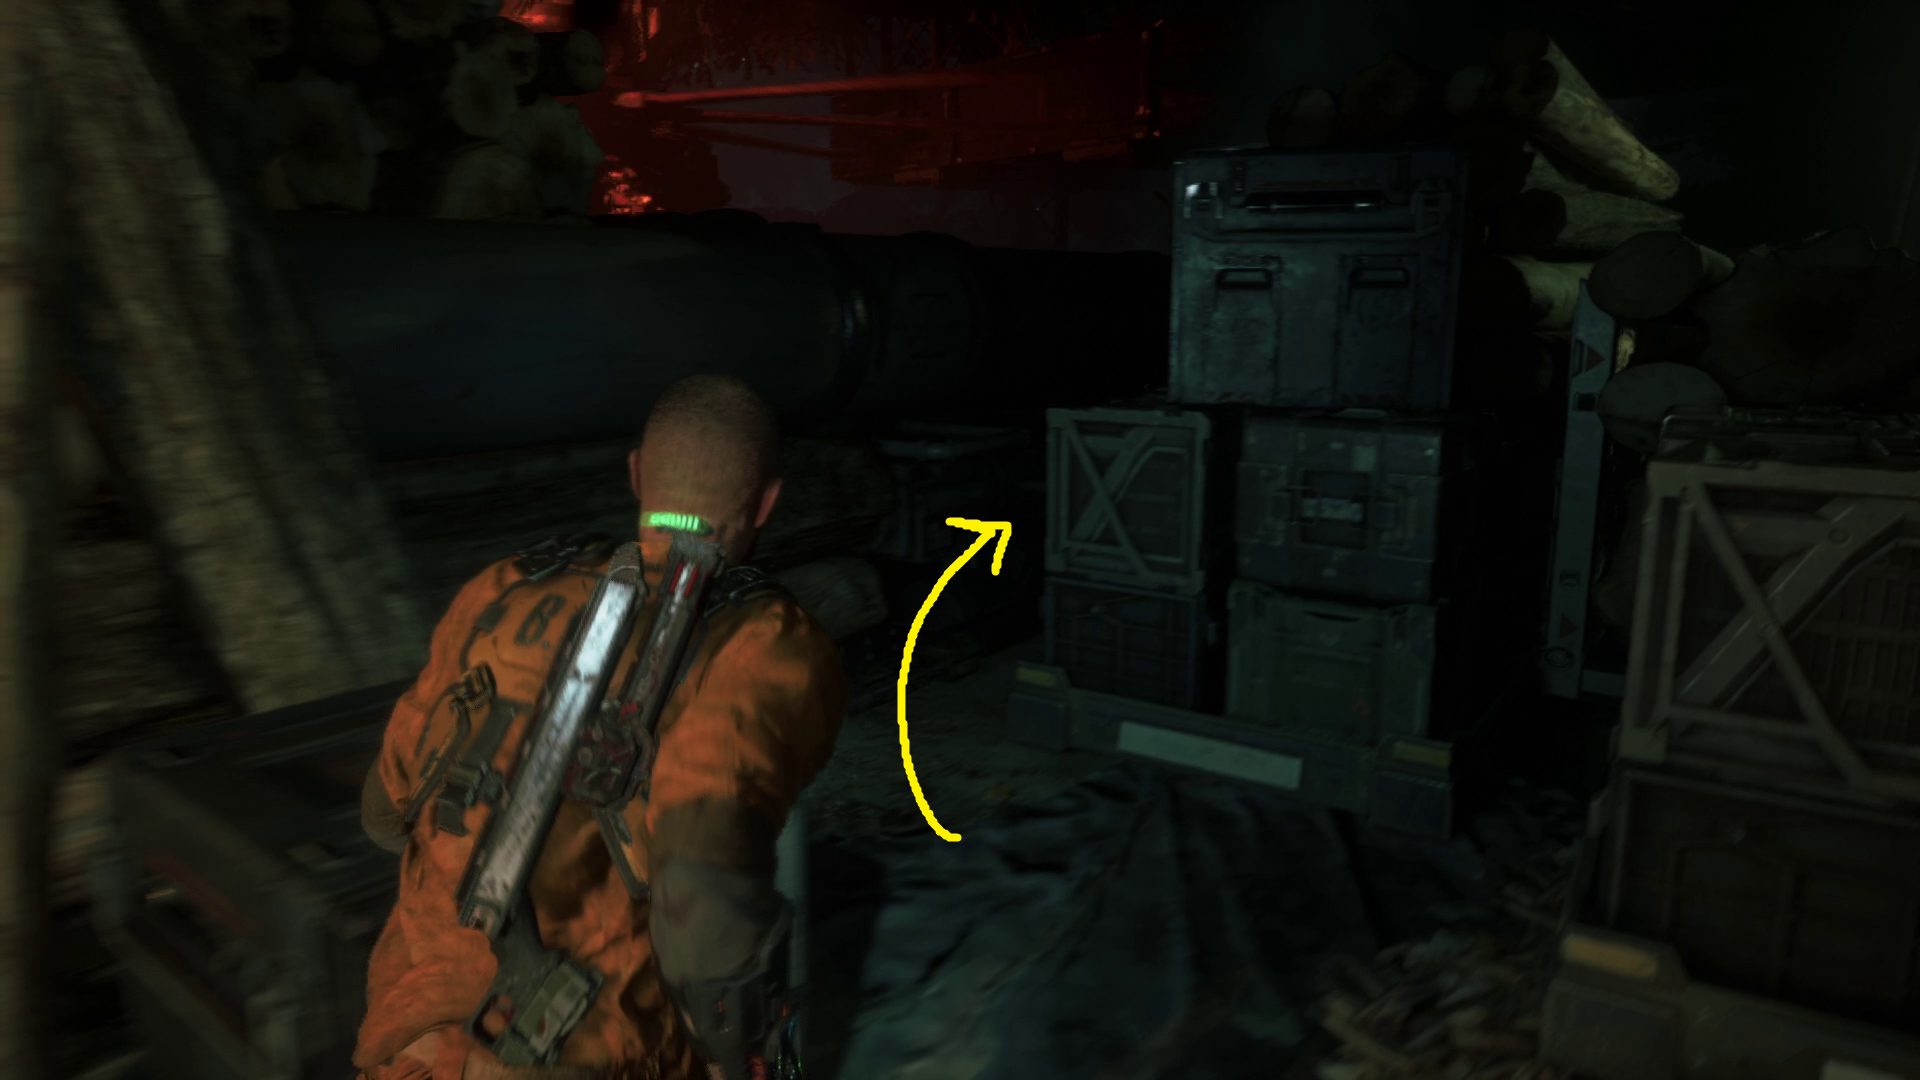
When you stand up, turn left and squeeze through the gap (1), then continue forwards to the fallen walkway (2). Elias will call to you, and then you’ll need to hold forwards to leap to the walkway. Keep holding forwards until the cutscene starts, ending this chapter.
Unabashed FromSoftware fanboy still learning to take his time with games (and everything else, really). The time he doesn't spend on games is spent on music, books, or occasionally going outside.