After riding the bucket-line down from the tower, you’ll find yourself back in Momo’s apartment. Walk forwards, over to the TV, and B-12 will notice a note. It will inform you that Momo’s down at the bar, and that the window is locked — but the note includes the code. From the TV, turn right and you’ll see a keypad near the window. Walk over and use B-12 on it, and after a failed attempt, he’ll get the window open for you.
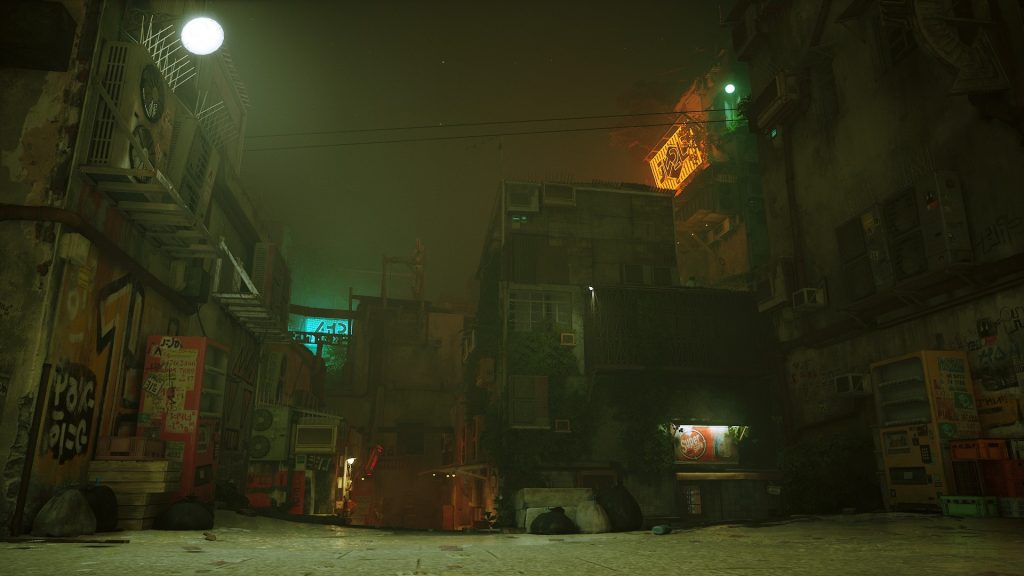
Jump up to the windowsill, and then down onto Momo’s porch. Slip through the bars of the guardrail and jump into the bucket, which will take you to the center of the now-familiar slum rooftops. Walk straight ahead after exiting the bucket, and look over the edge — you can see just the entrance to the bar in the alley below.
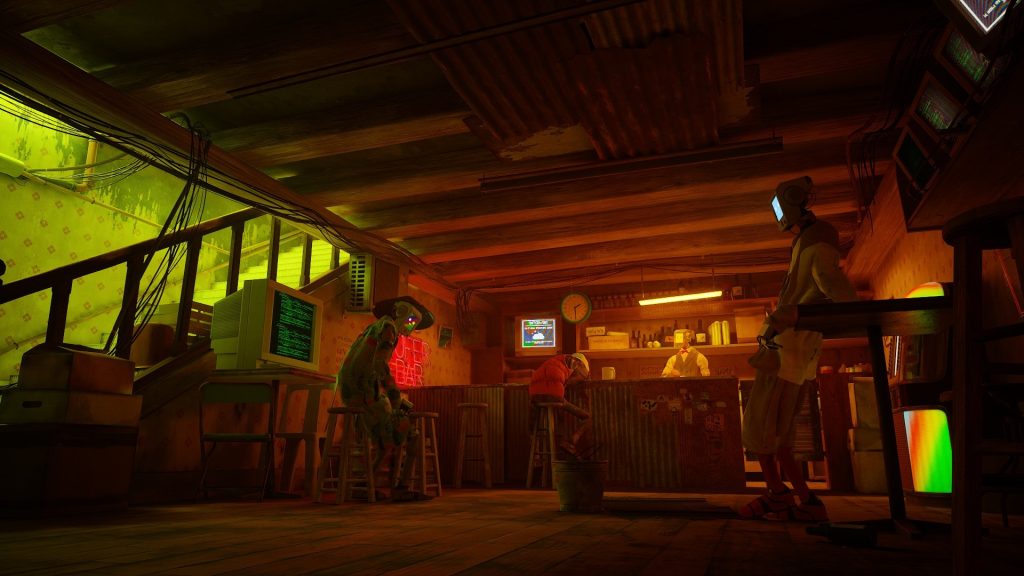
Cat parkour your way down to the street and find Momo in front of the bar — he’ll speak to you and tell you he’s found a signal. Finish the conversation and follow him into the bar. Hop up onto the stool next to him, and enjoy the cutscene/conversation — you’ll get a fairly sizeable lore dump. Once the cutscene ends, follow Momo out of the bar and around the block to Seamus’ place. After Seamus won’t open the door, Momo will pull a wooden board aside and open up a path for your little cat bod to slip through.
Head into Seamus’ apartment and approach Seamus. He’ll shout at you — show him his dad’s notebook and he’ll relax, and you can start searching for the secret lab.
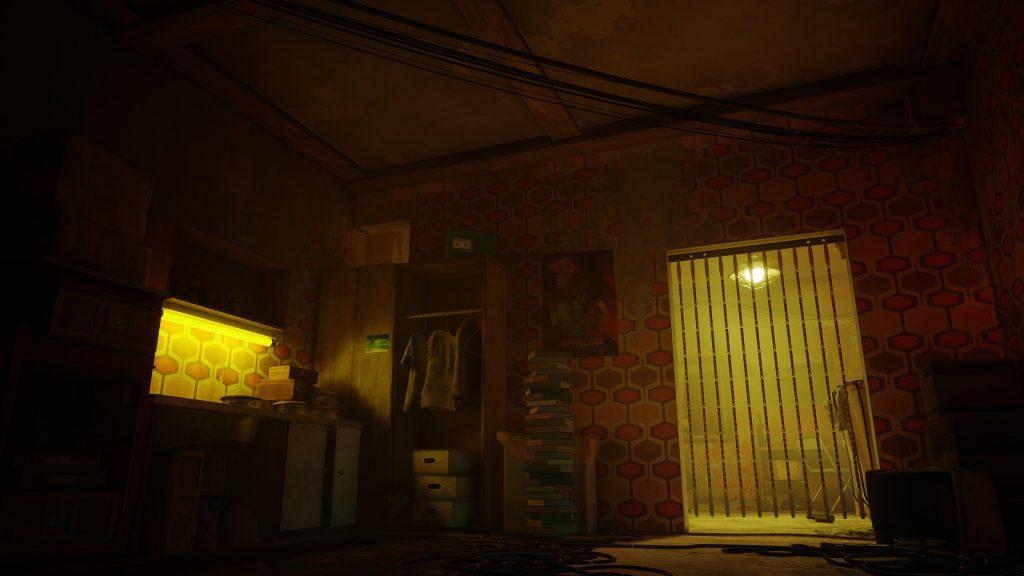
Assuming you haven’t disabled the HUD, it should be clear what you can interact with in the room. Mess with stuff until you find two important objects and/or clues. Once you’ve found them, look around the room! What you need is within sight.
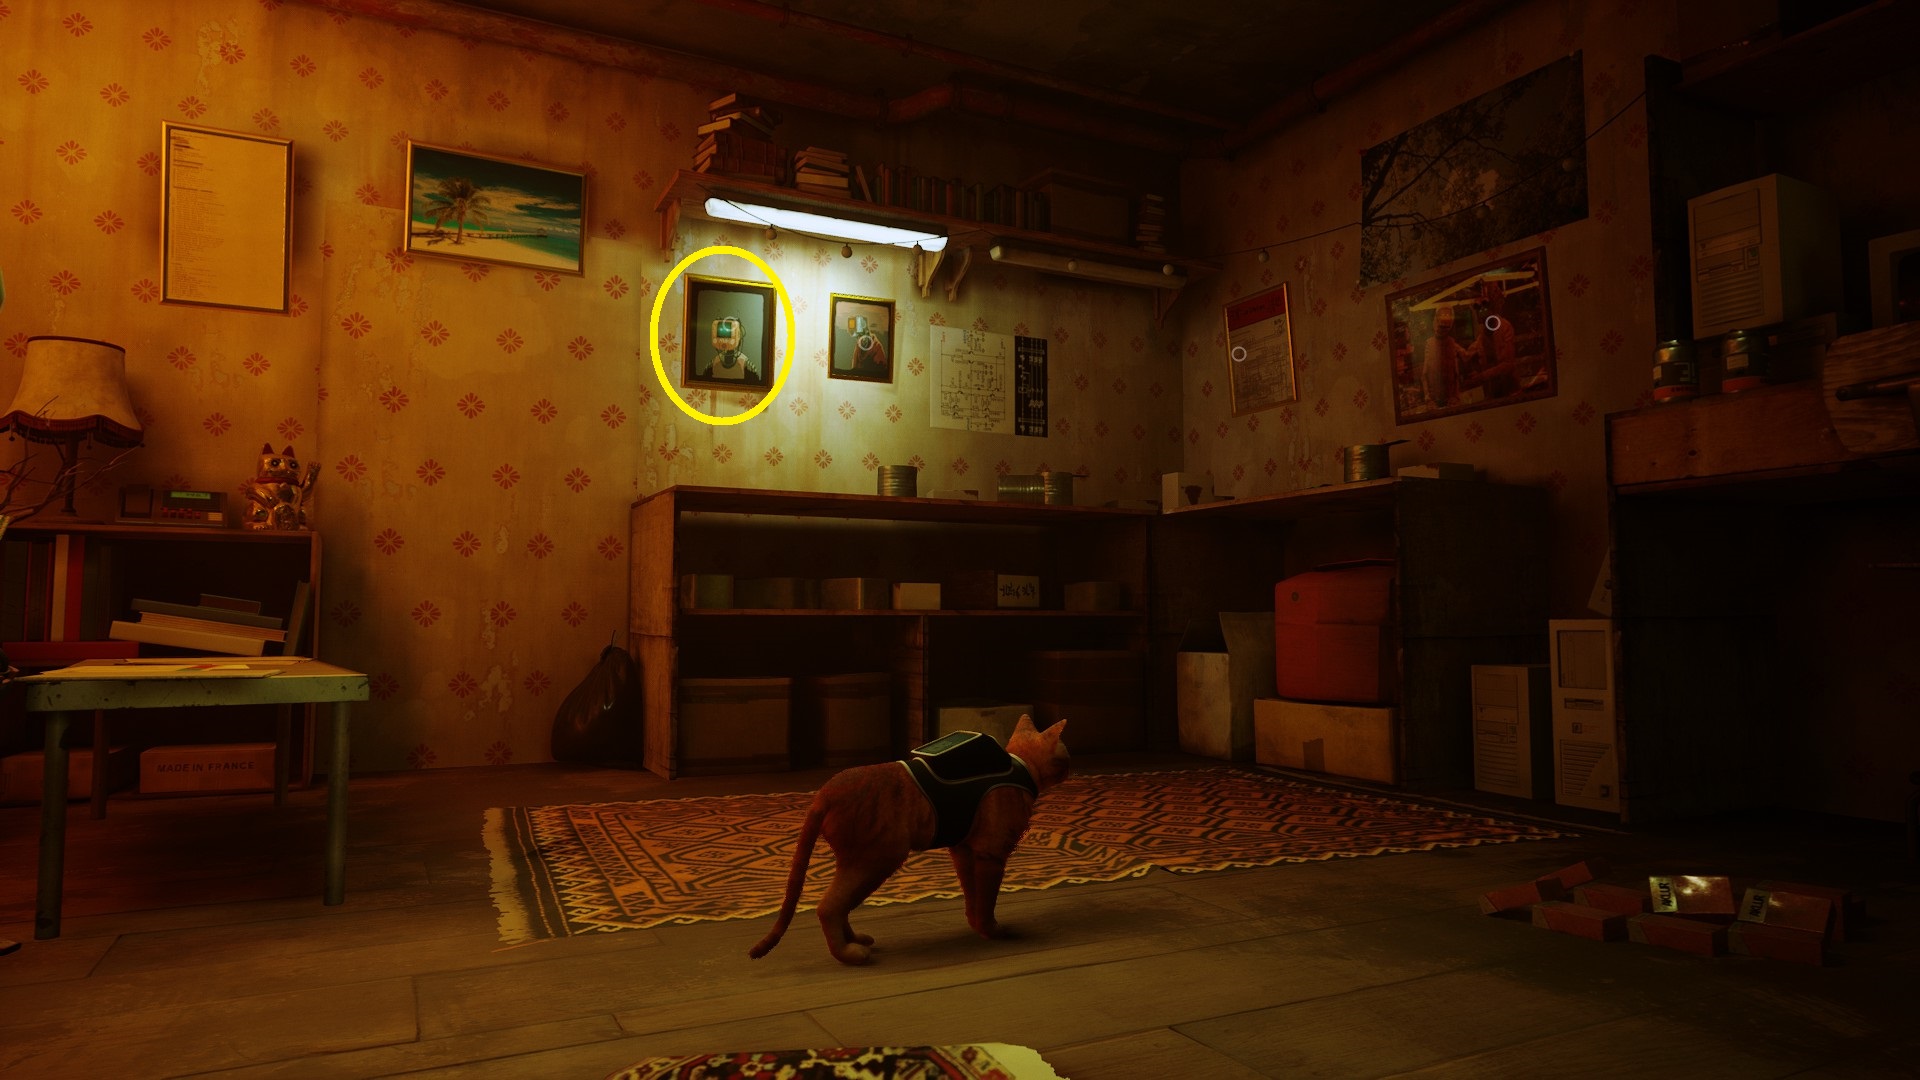
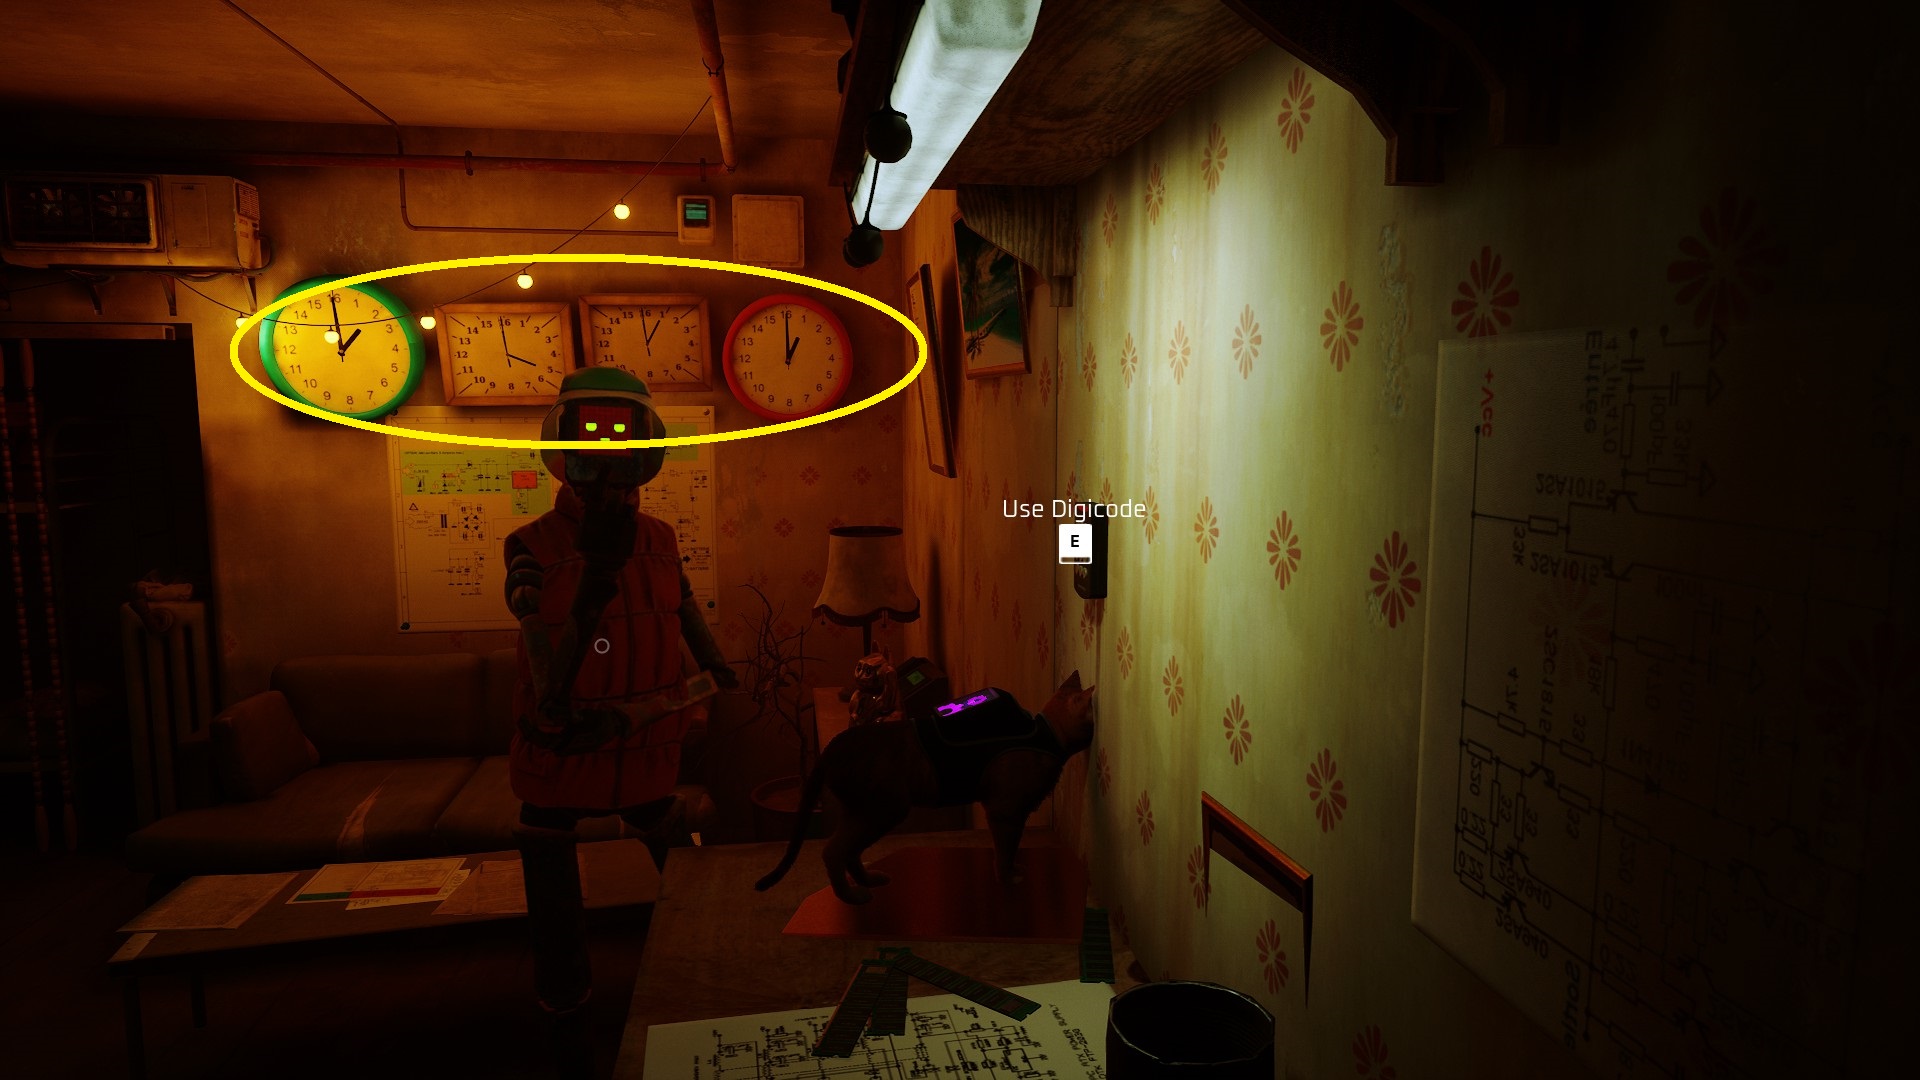
First, you’ll need to uncover the keypad by scratching at the leftmost picture on the wall (1). If you want to see the clue for the keypad, scratch down the large picture on the far right. The code to the keypad is 2511 — it’s displayed on the clocks (2).
12
Once you unlock the secret lab, you’ll head in with Seamus. Next, you need to find something useful in the room.
As always, doing things that cats would stereotypically do is an effective strategy.
On the left wall on the top shelf is a box — hop up there and knock it down to find the Broken Tracker, then bring it to Seamus.
Once you’ve found the hidden object and shown it to Seamus, follow him as he goes to unlock the door to his apartment. Head back outside — now you’ve got to find someone who can repair the object. You can show it to folks around town and do some exploring, or you can peek at the solution below. Note that this is one of those “If You Give A Mouse A Cookie” puzzles — you’ll ask someone for something, and they’ll say “First I need X”, and then in order to get X you have to get Y for someone else first… you get the idea.
Show some people the Tracker, and then go speak to the person they point you to. They’ll send you to someone else, who will need your help before they can help you — helping this person will require an item you have to purchase. To purchase the item, you need another item you can only get by causing a couple of robots to make a mess.
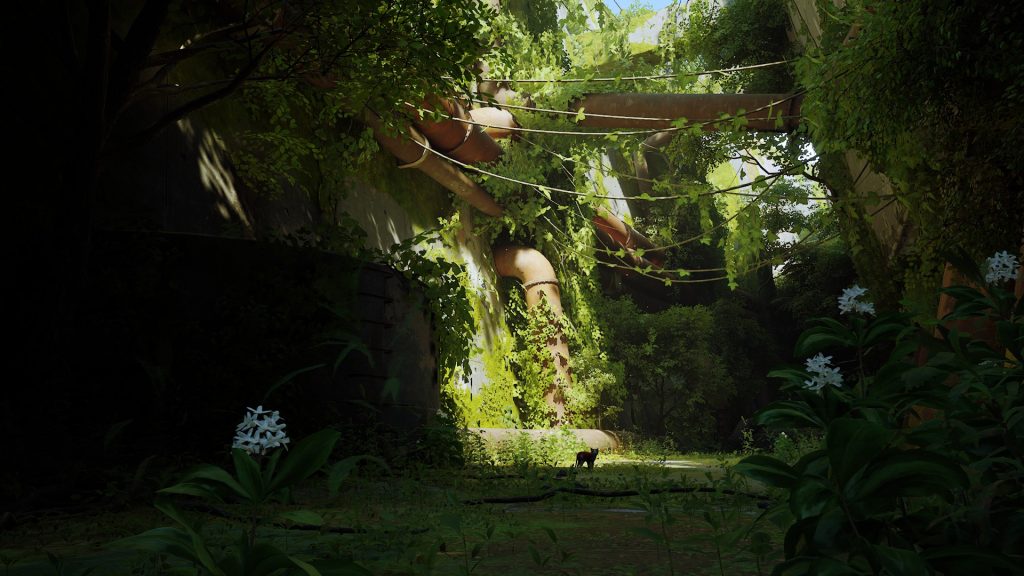
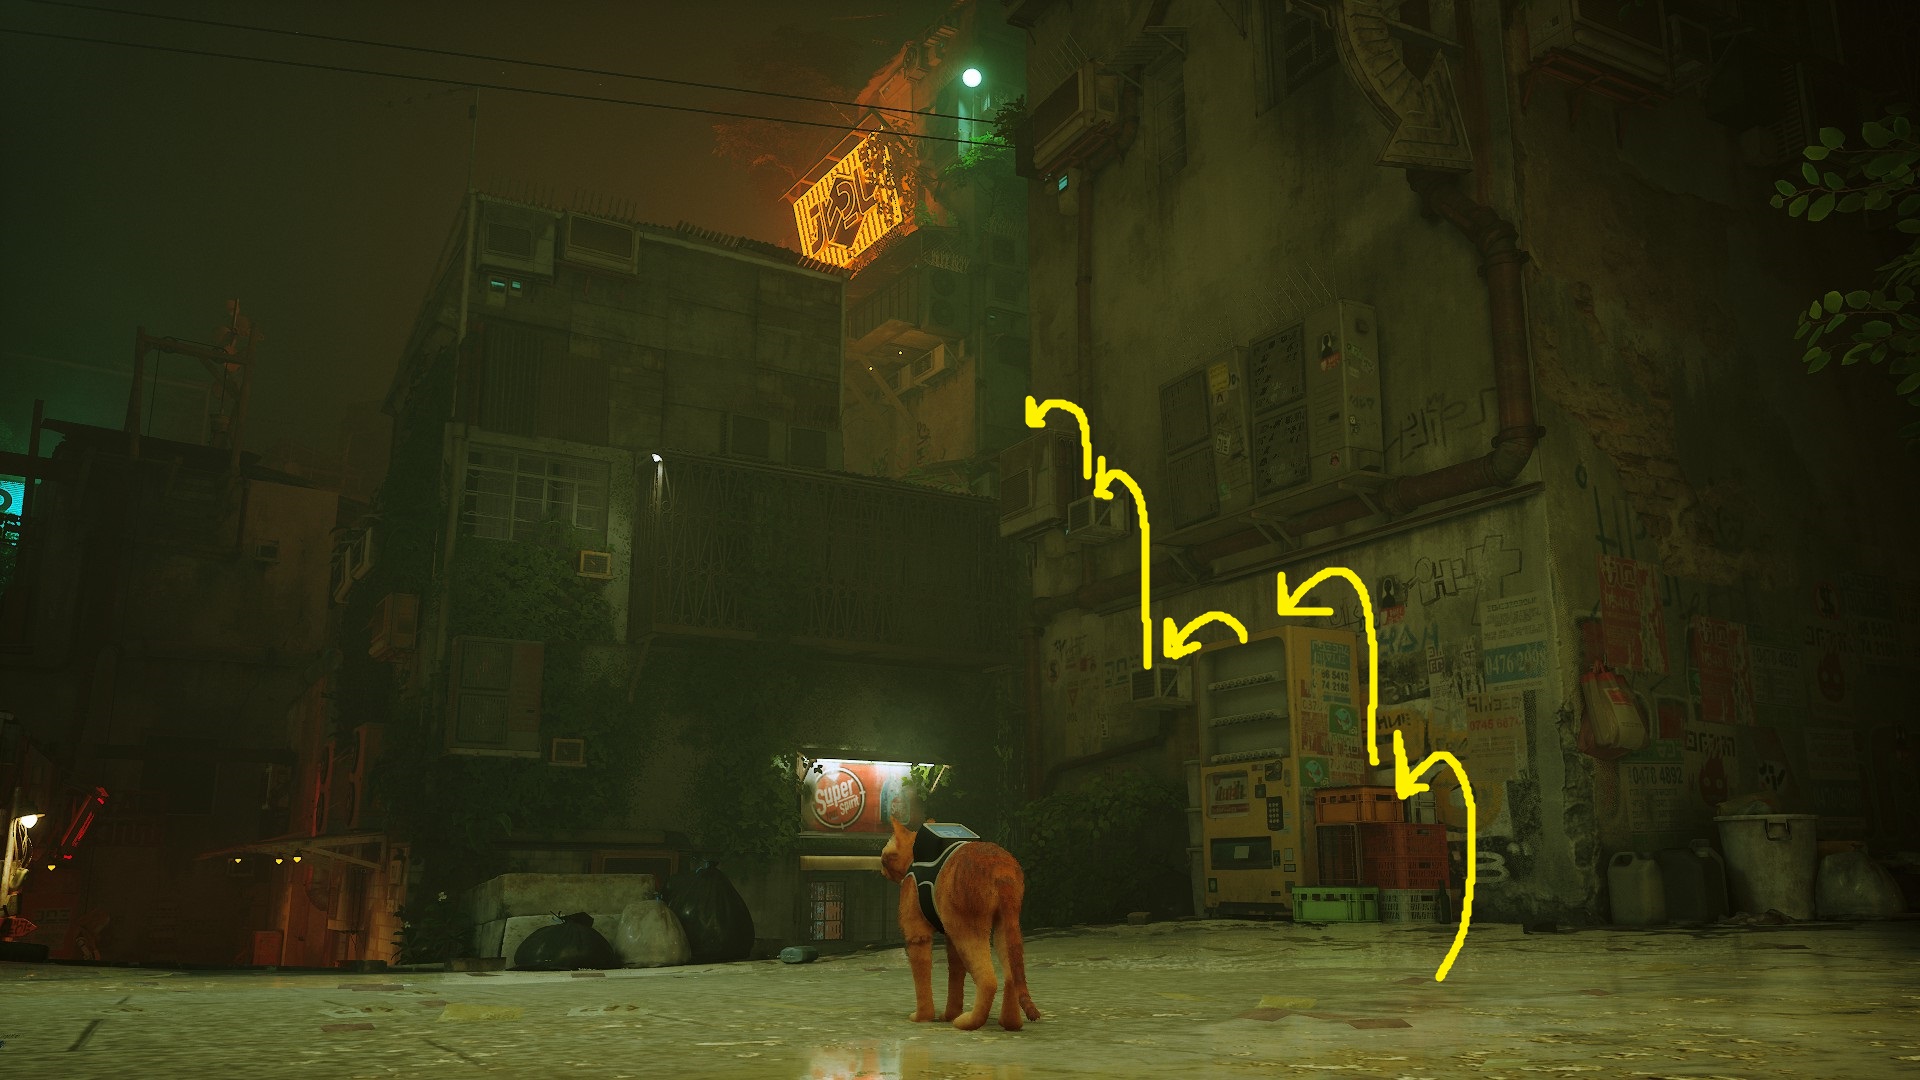
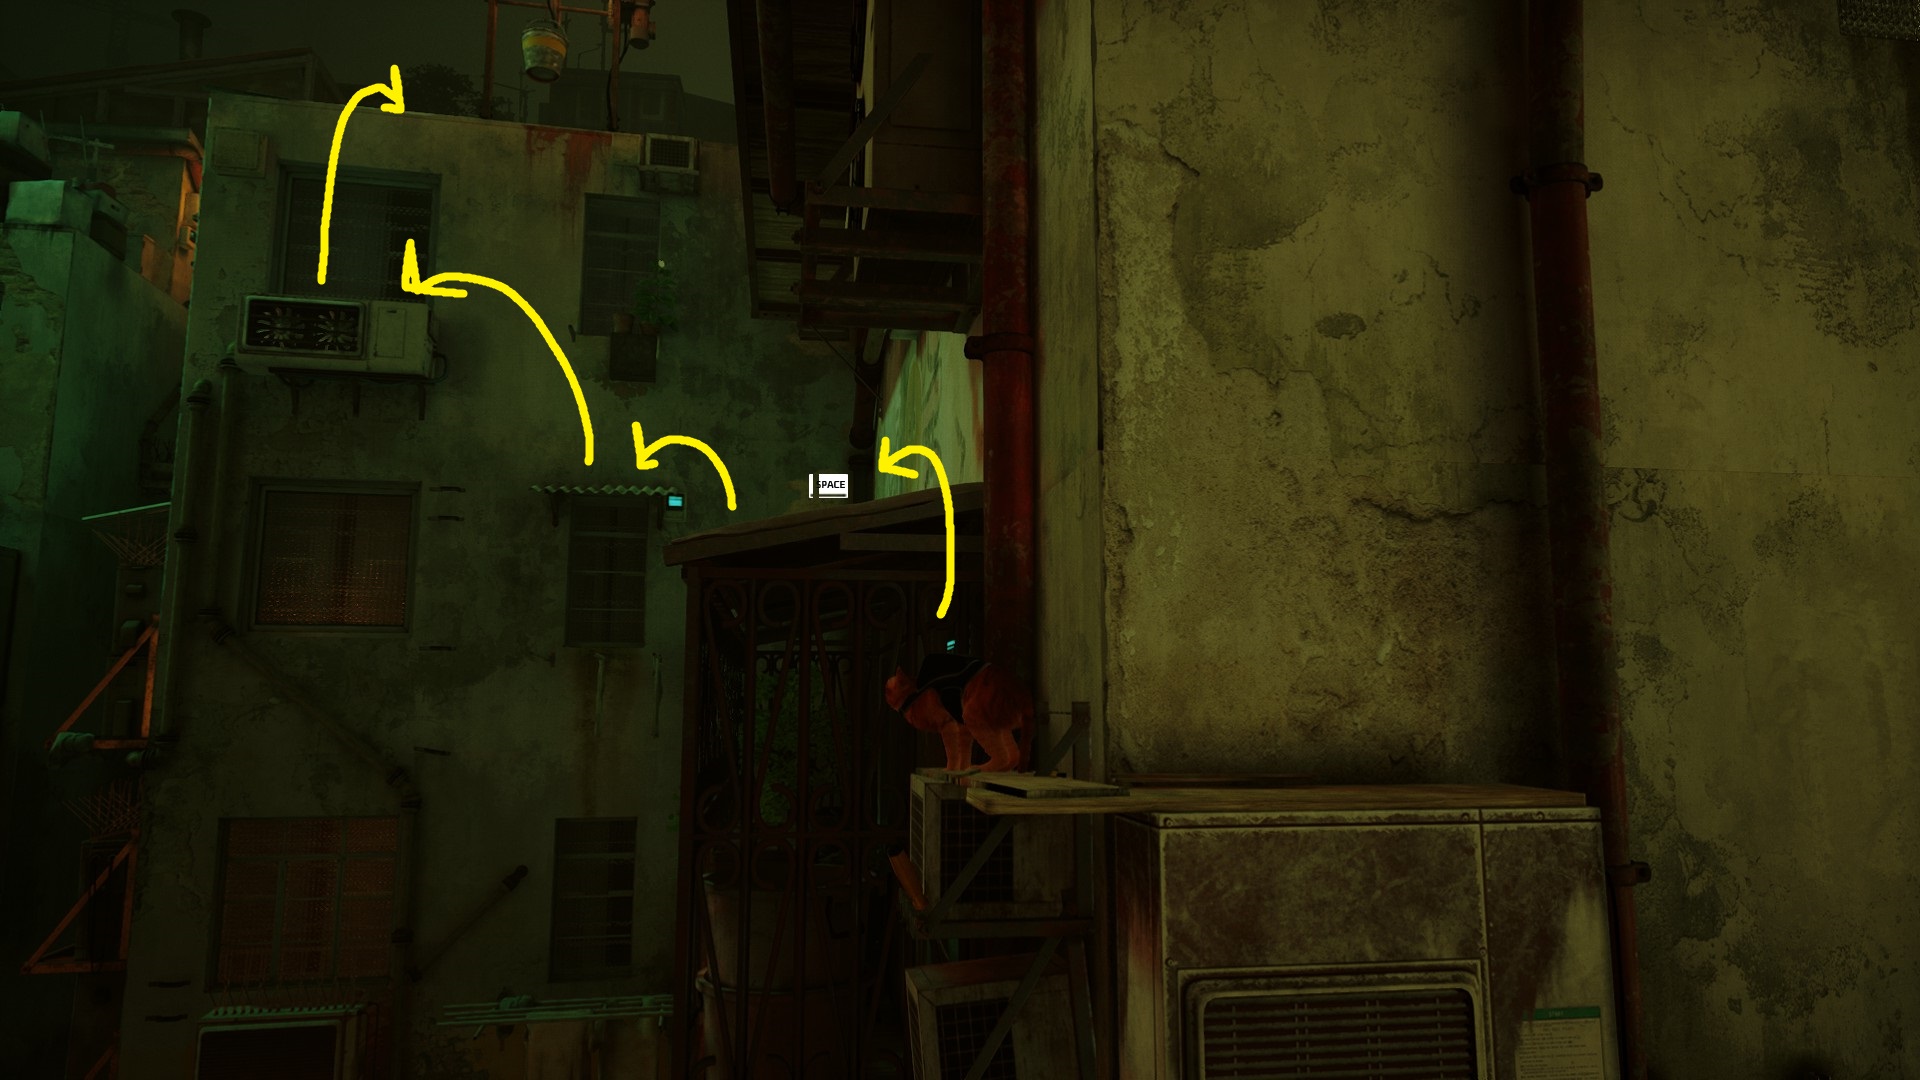
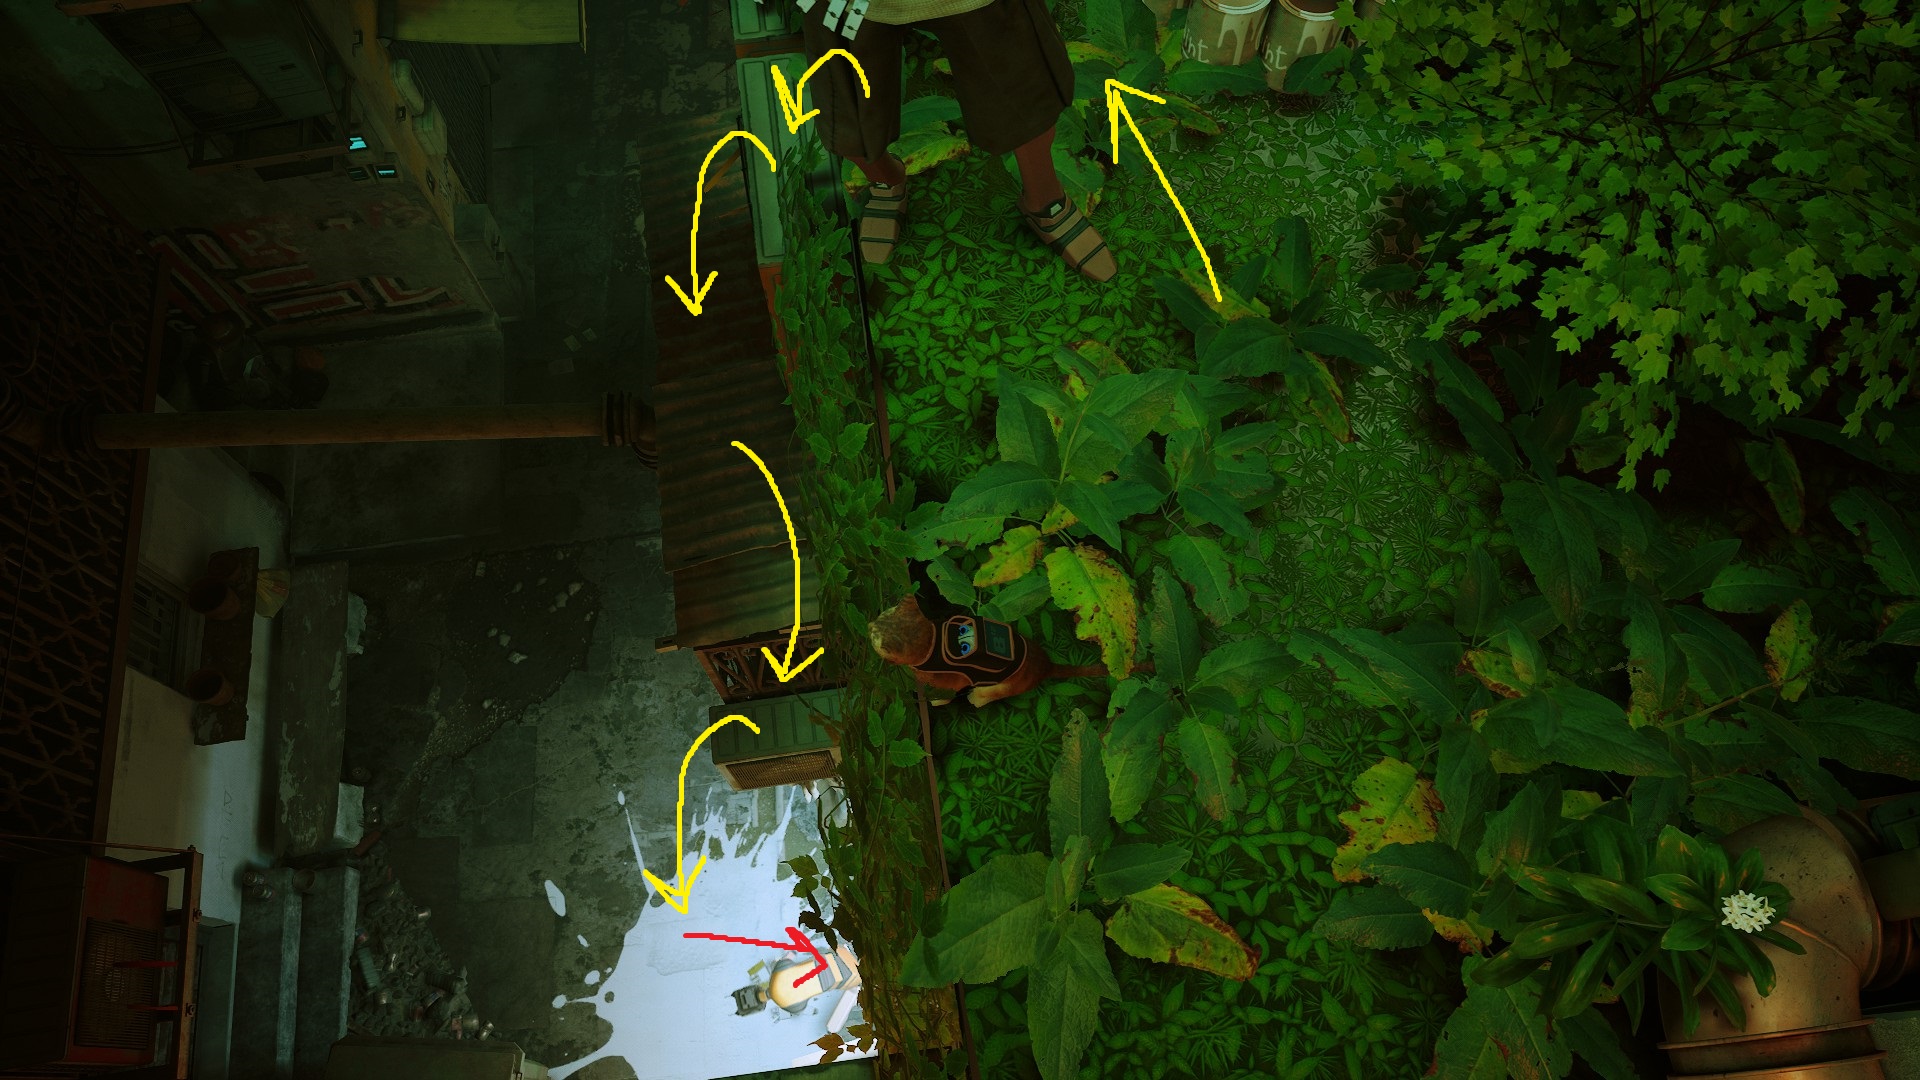
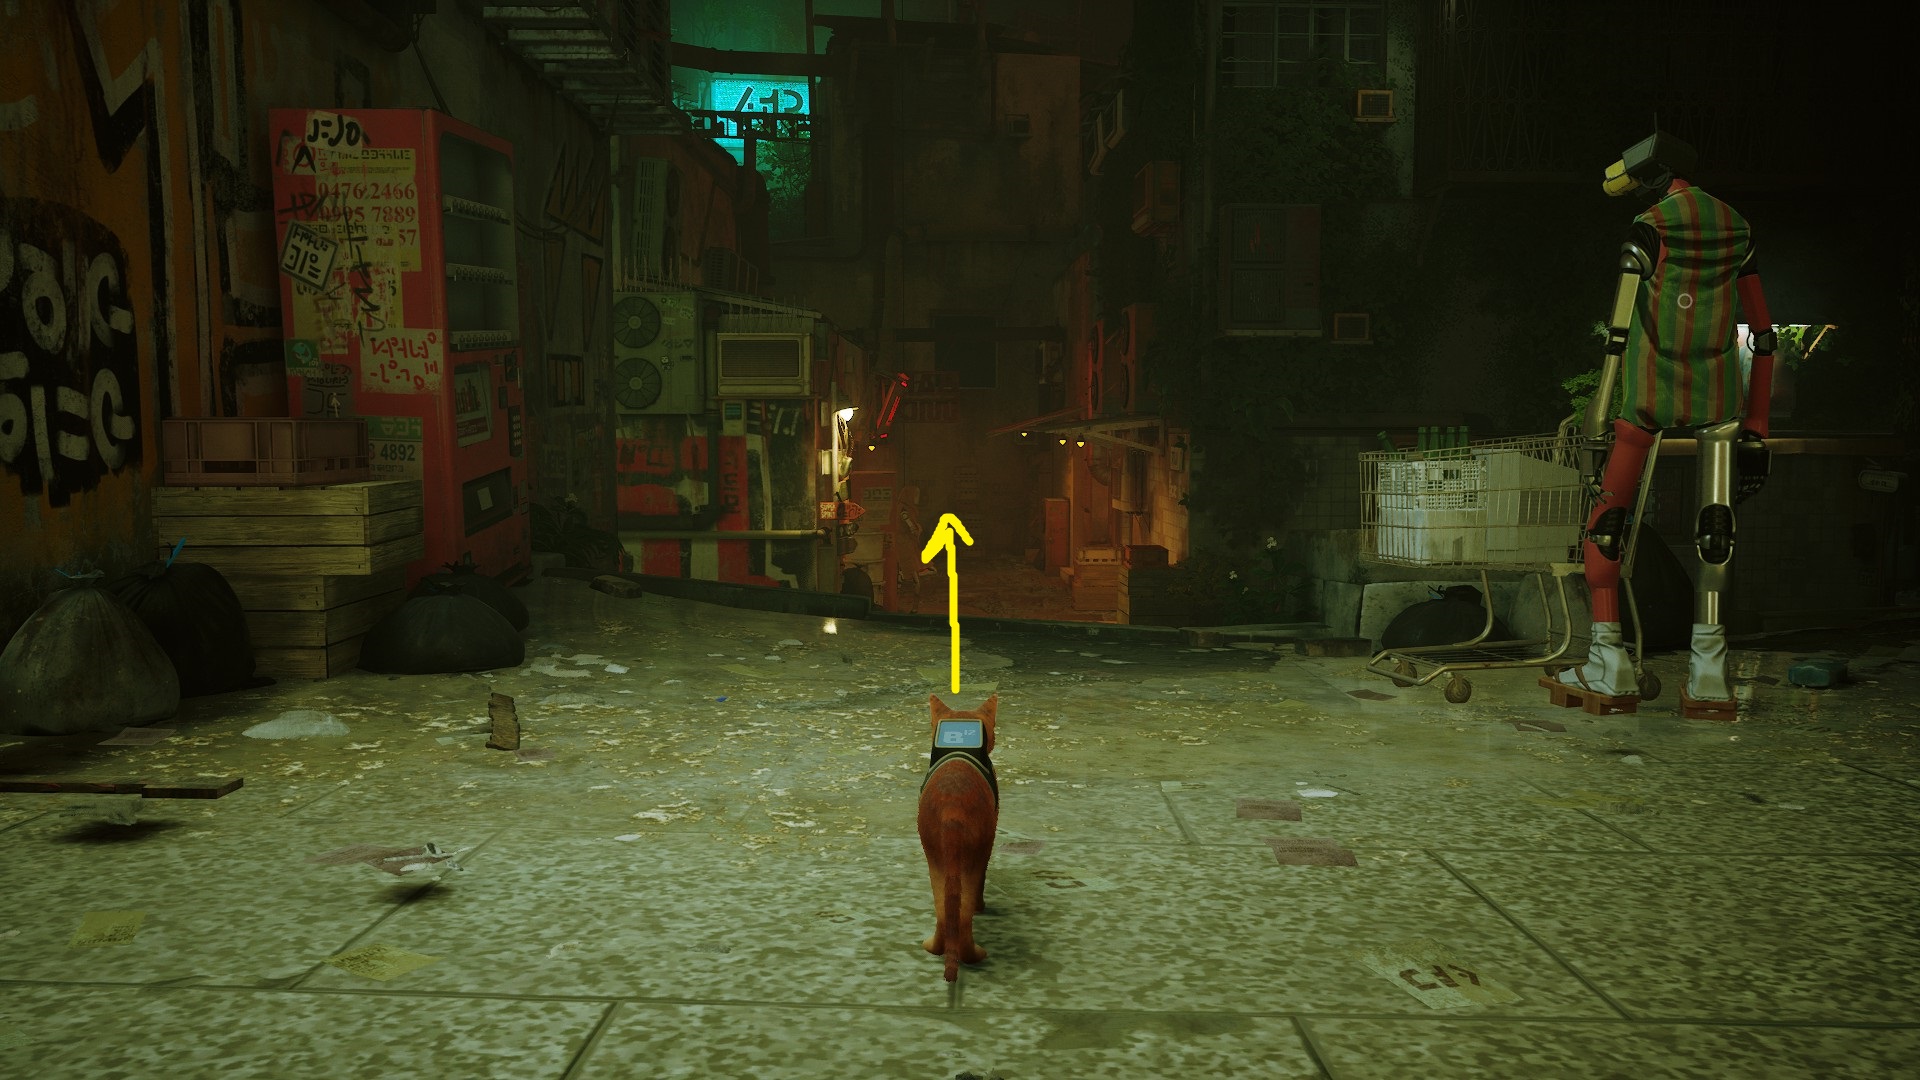
Our ultimate goal is to get the Broken Tracker fixed, but we’ve got a number of errands to run before we can get that done. First, head to where you first met the Guardian at the far end of town (go left from Seamus’ apartment and keep going until you hit a wall near some stairs). Go up the stairs and turn around, and you’ll see a path you can take to get back to the rooftops:
12
Nearby you should see a robot throwing paint to another robot — it’s an easy series of jumps to get from where you are to the robot that’s doing the paint-tossing. Go walk up to the paint-throwing robot and press the interact key (not the conversation key). Then, spam the meow button until he drops the paint.
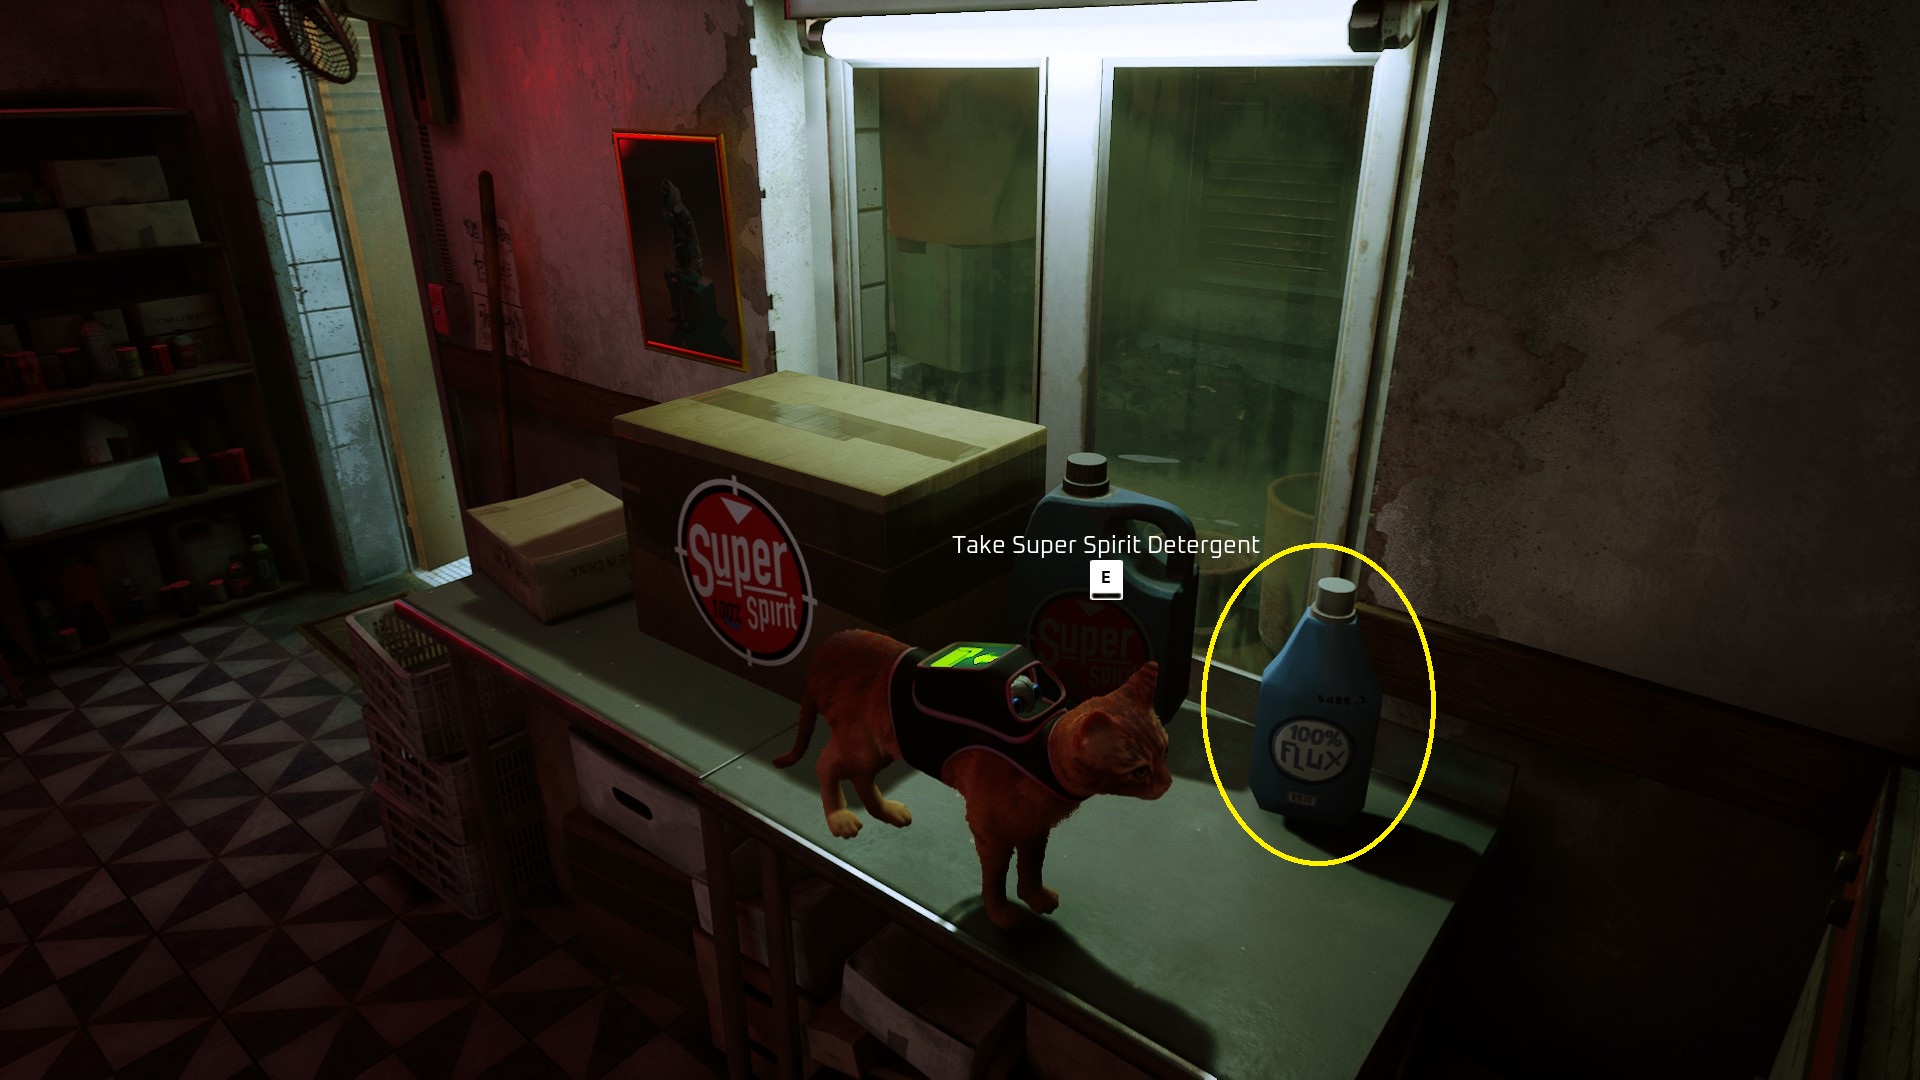
Walk past the previously-paint-throwing robot and you’ll find a path that lets you jump back down to the street. Once there, head into the now-open building that the robot came out of to clean the paint. The item you need (Super Spirit Detergent) is on the table to the left as you enter the laundry.
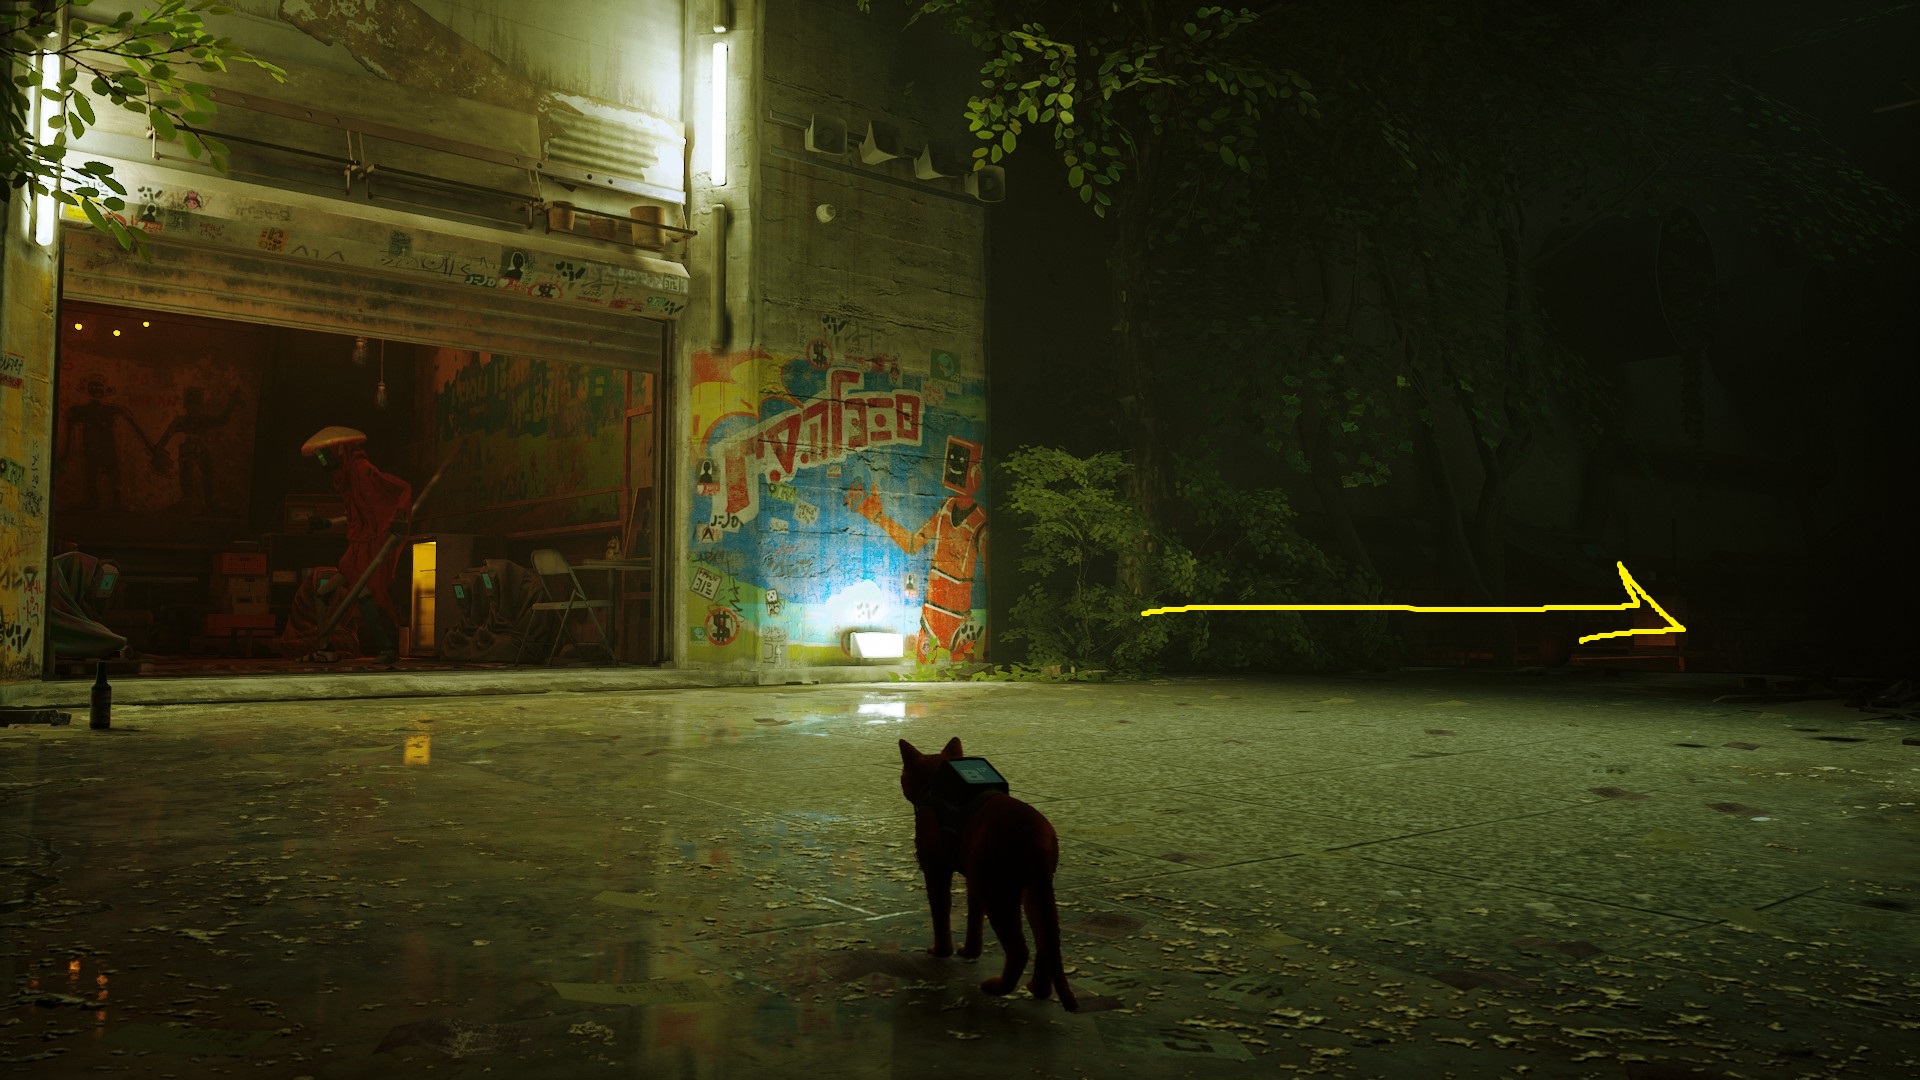
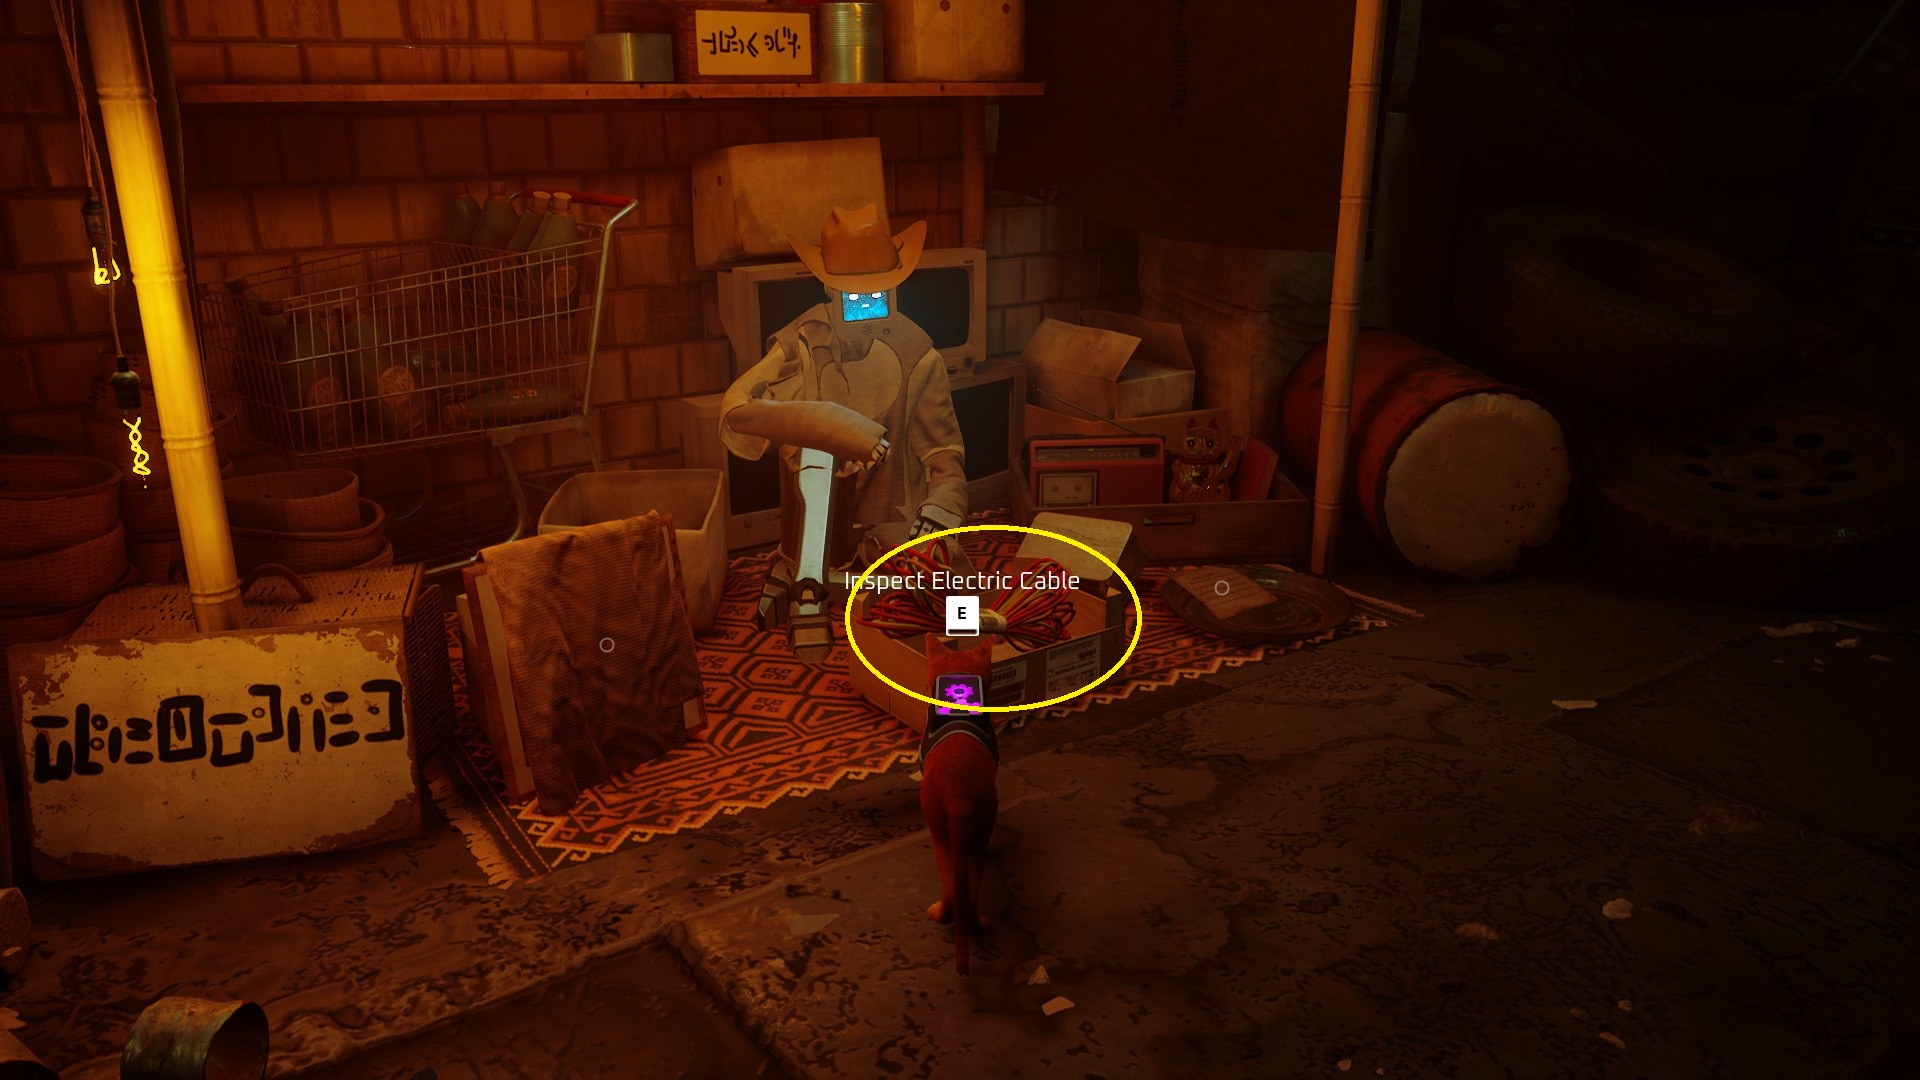
Detergent in handpaw your drone’s magic inventory, exit the laundry and take a right, making your way back to where the Guardian is once again. Take a right at the Guardian and go down the stairs — ahead on the left is the “The Market Place”, where Azooz peddles his wares. Walk up to the cables and inspect them, and you’ll be able to trade Azooz the Super Spirit Detergent for the Electric Cable.
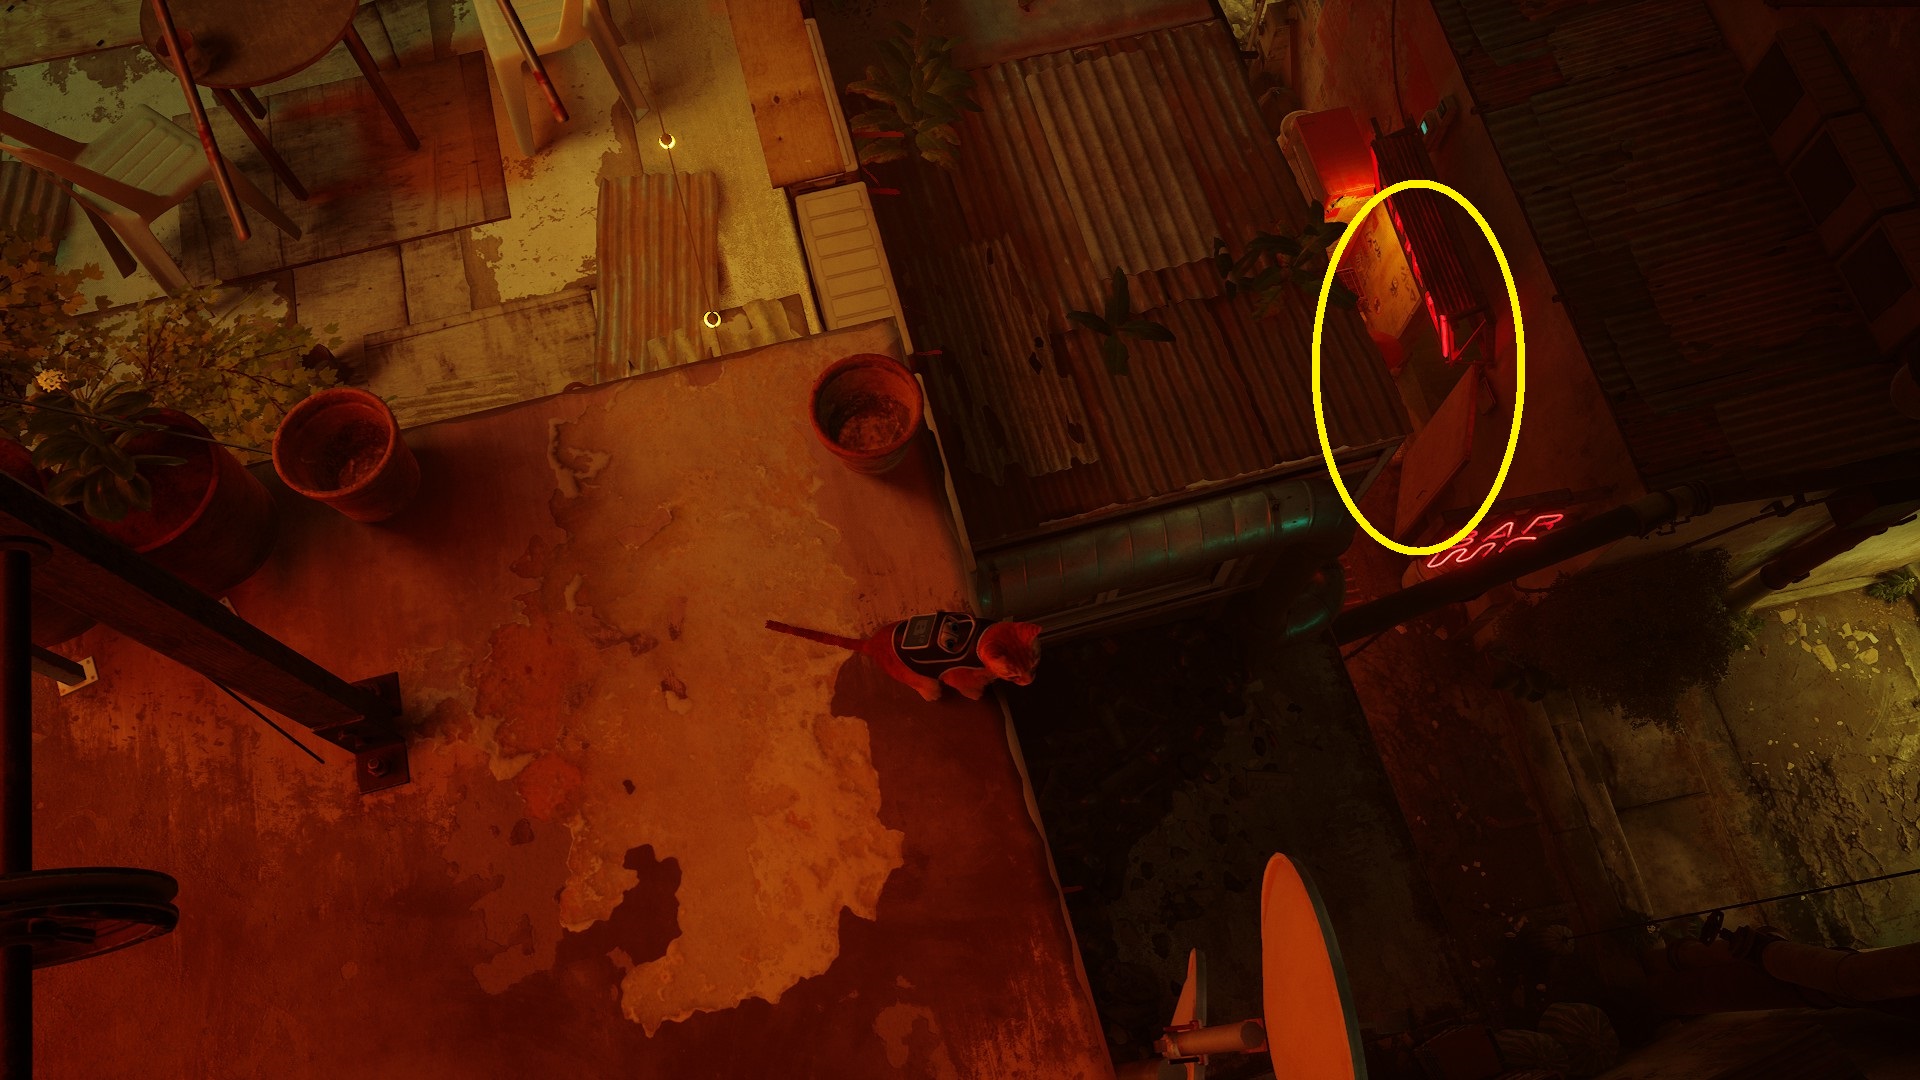
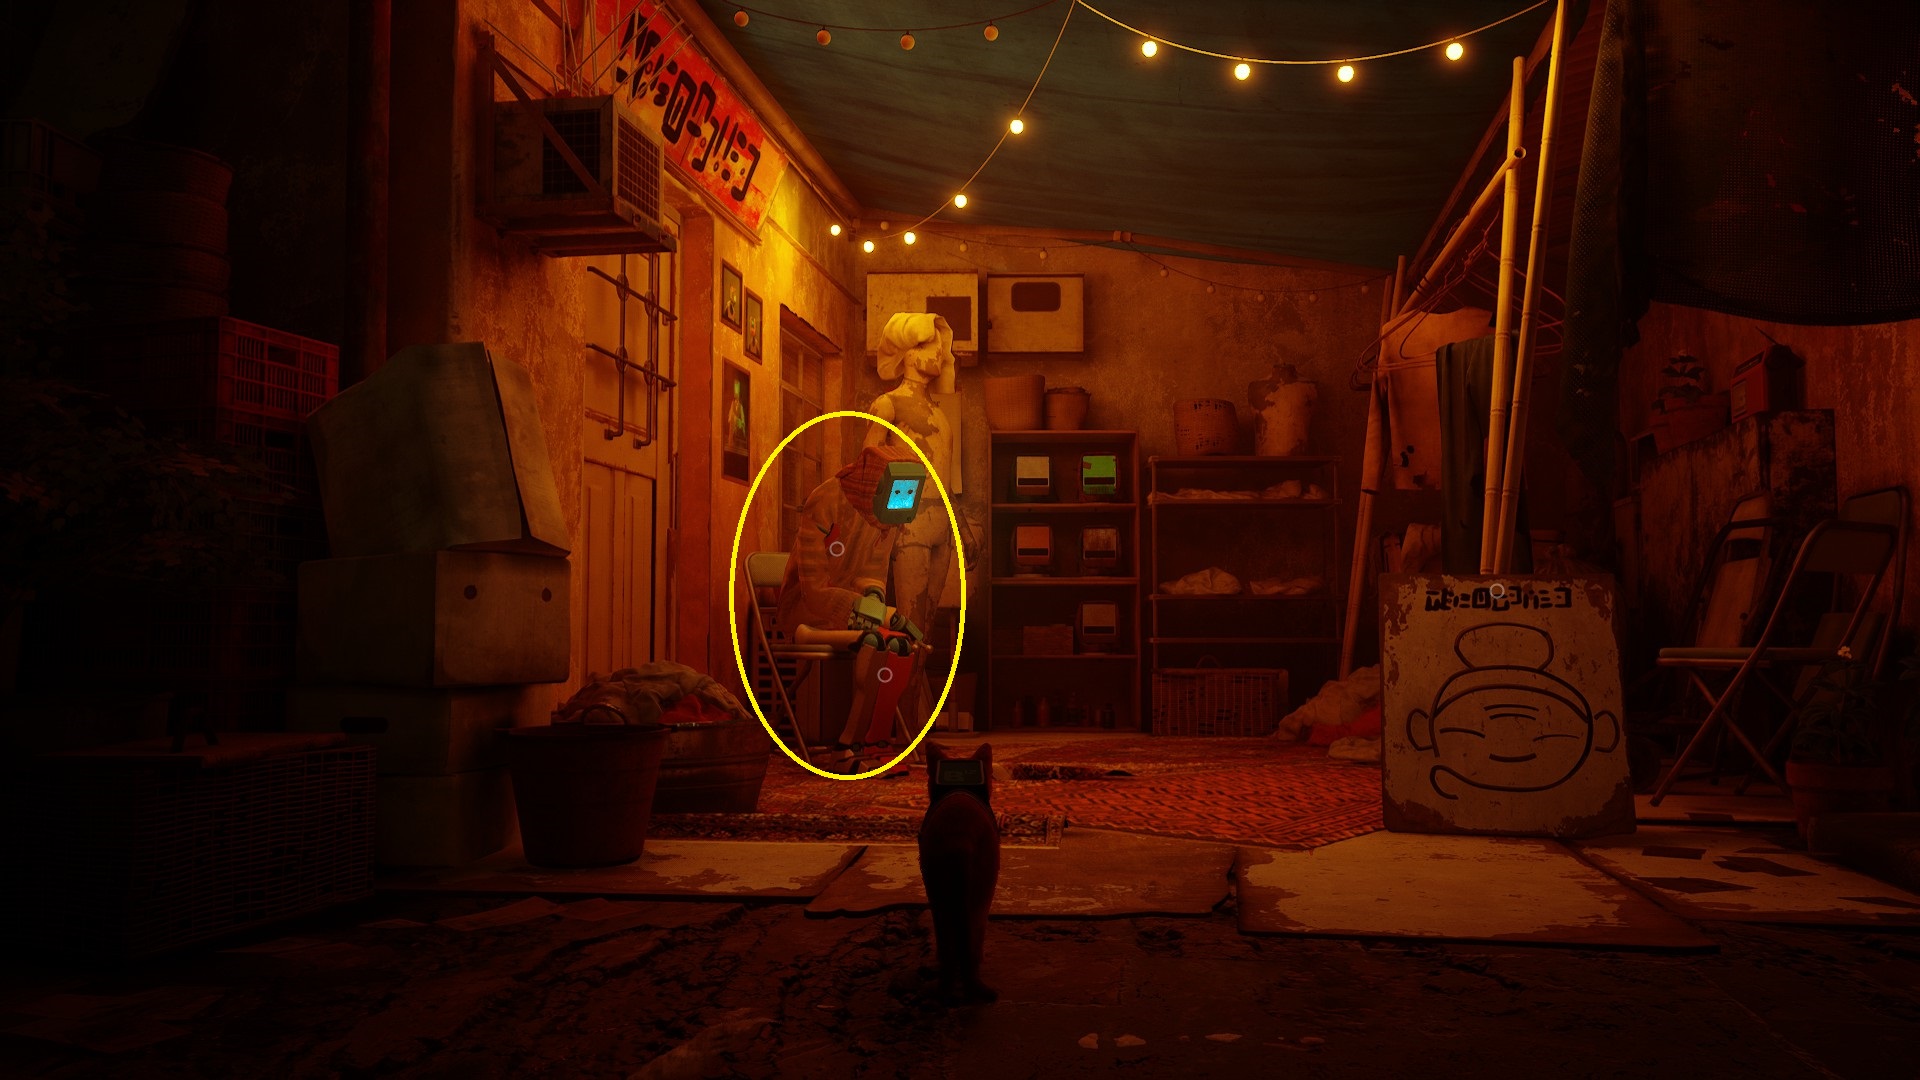
Electric Cable acquired, you can head back up the stairs the way you came, and take a left to go down the left-hand set of stairs that lead towards the rest of the slums — continue straight (1) until you’re forced to turn left. You’ll see some signs — turn right (2) and ahead at the end of the street you’ll find Grandma (3). Show her the Electric Cable and she’ll knit you a Poncho.
123
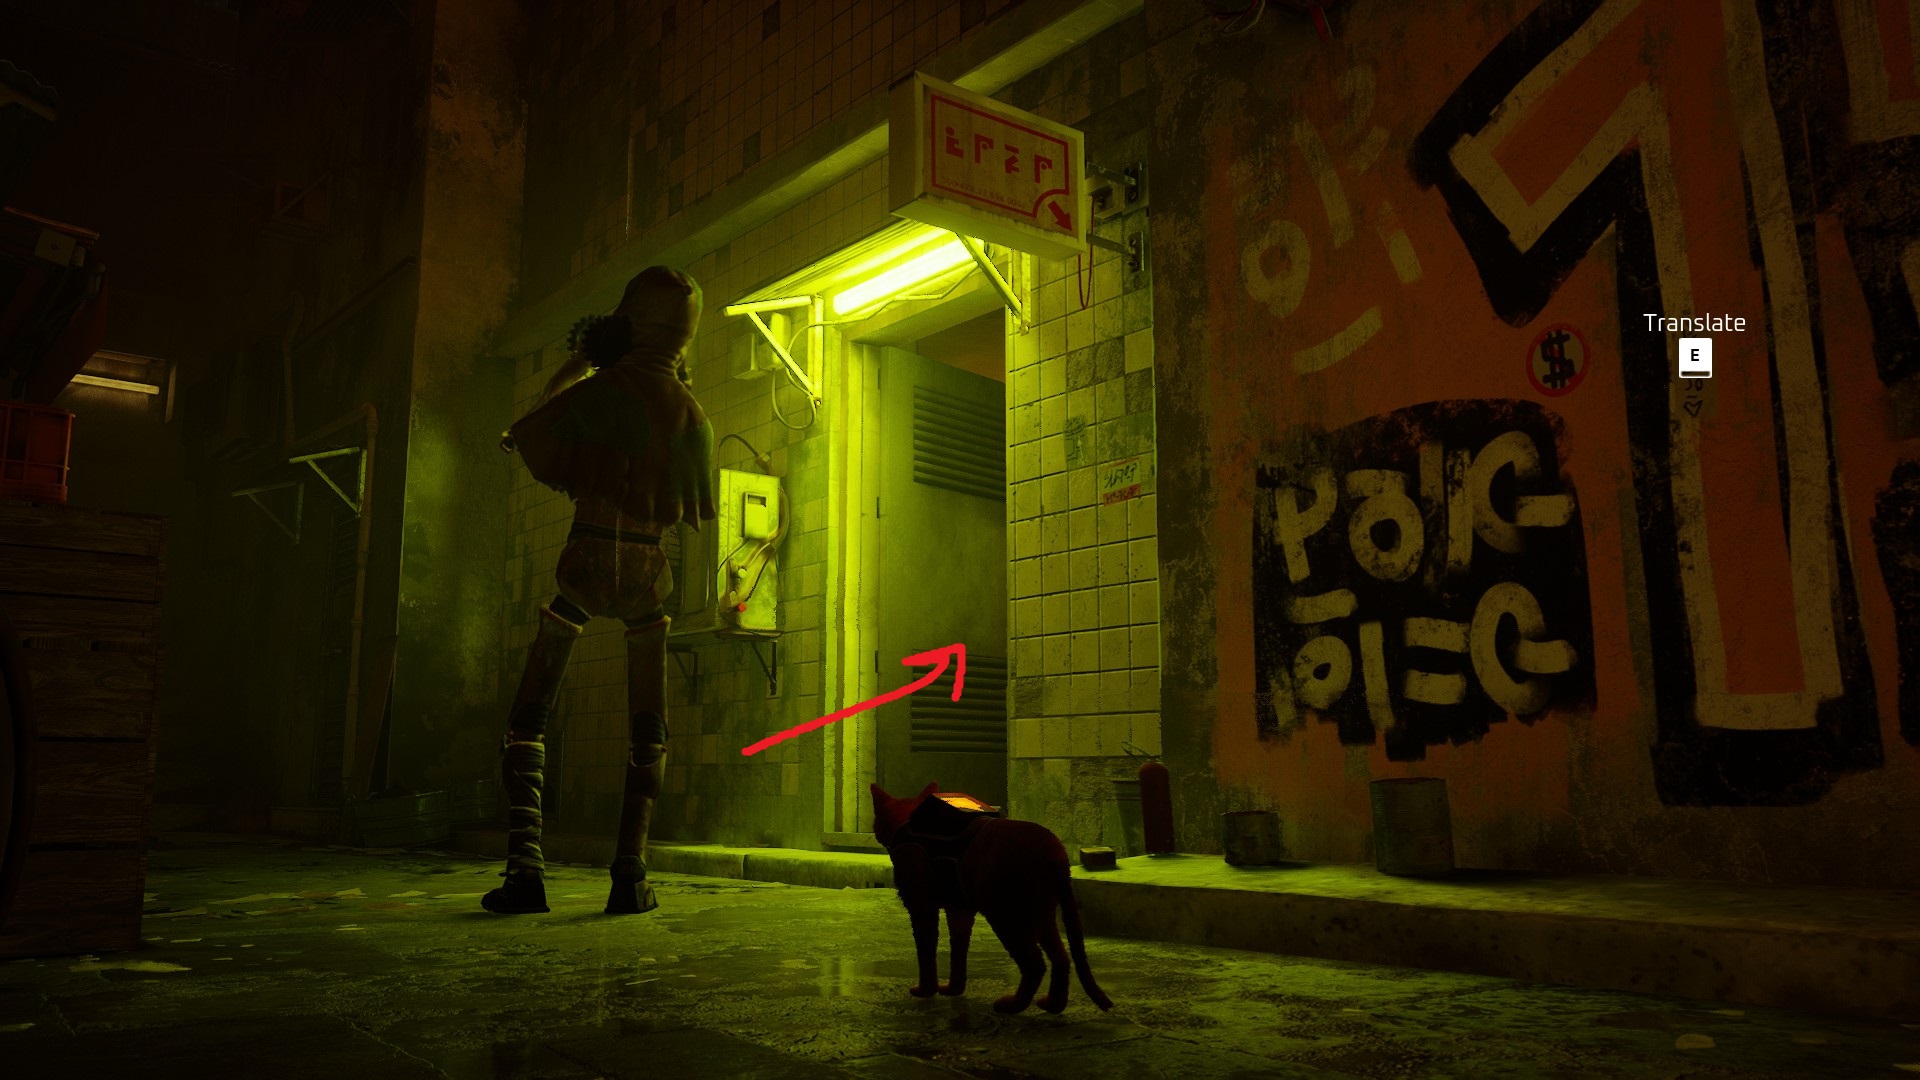
From Grandma, turn around and go back down the street — on the left is Elliot Programming. Scratch on the door and you’ll be let in, and you can follow the red neon sign to head upstairs and find Elliot himself. Speak with him and then show him the Poncho (he’s shivering and wouldn’t have helped you with the Broken Tracker until he was warm again). After giving him the Poncho, show him the Broken Tracker, and he’ll fix it, returning to you a Fixed Tracker. Before you leave, you can also find a Memory by looking at the plant in Elliot’s room.
Once you’re ready to go, you can scratch at the green shade in the corner by the plant to open a shortcut out of Elliot’s apartment.
After exiting the place you got the Tracker fixed via the window-shade shortcut, you’ll find yourself back in front of the bar. Go straight past it (towards the stairs) and turn left at the stairs, then turn left again to head back to Seamus’s apartment.
Seamus’ apartment
Inside, speak with Seamus and show him the Fixed Tracker. A cutscene will play, and then you’ll need to follow Seamus as he follows the Tracker’s signal. You’ll make your way to a sealed door, Seamus will open it, and you’ll hop on through like the brave little kitty you are. Follow Seamus to the next door to start another conversation, and he’ll give you the Outsider Badge.
End the conversation when possible, and he’ll open the way forward for you. Continue forward, and you’ll soon come to an area where you can turn left or right. By going left, you’ll find a Memory up against the wall. You can then go the other direction to enter the Dead End!
Unabashed FromSoftware fanboy still learning to take his time with games (and everything else, really). The time he doesn't spend on games is spent on music, books, or occasionally going outside.