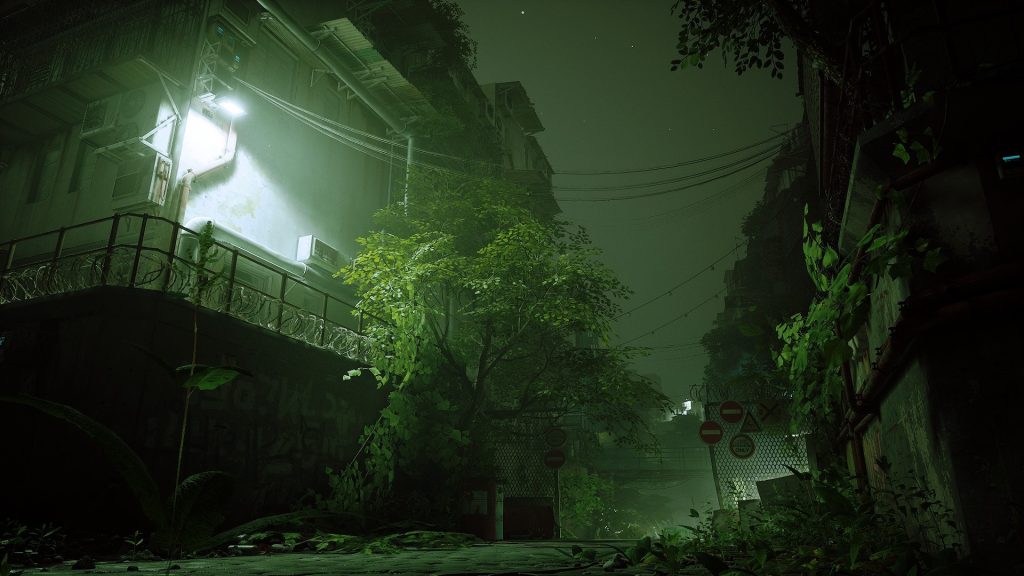
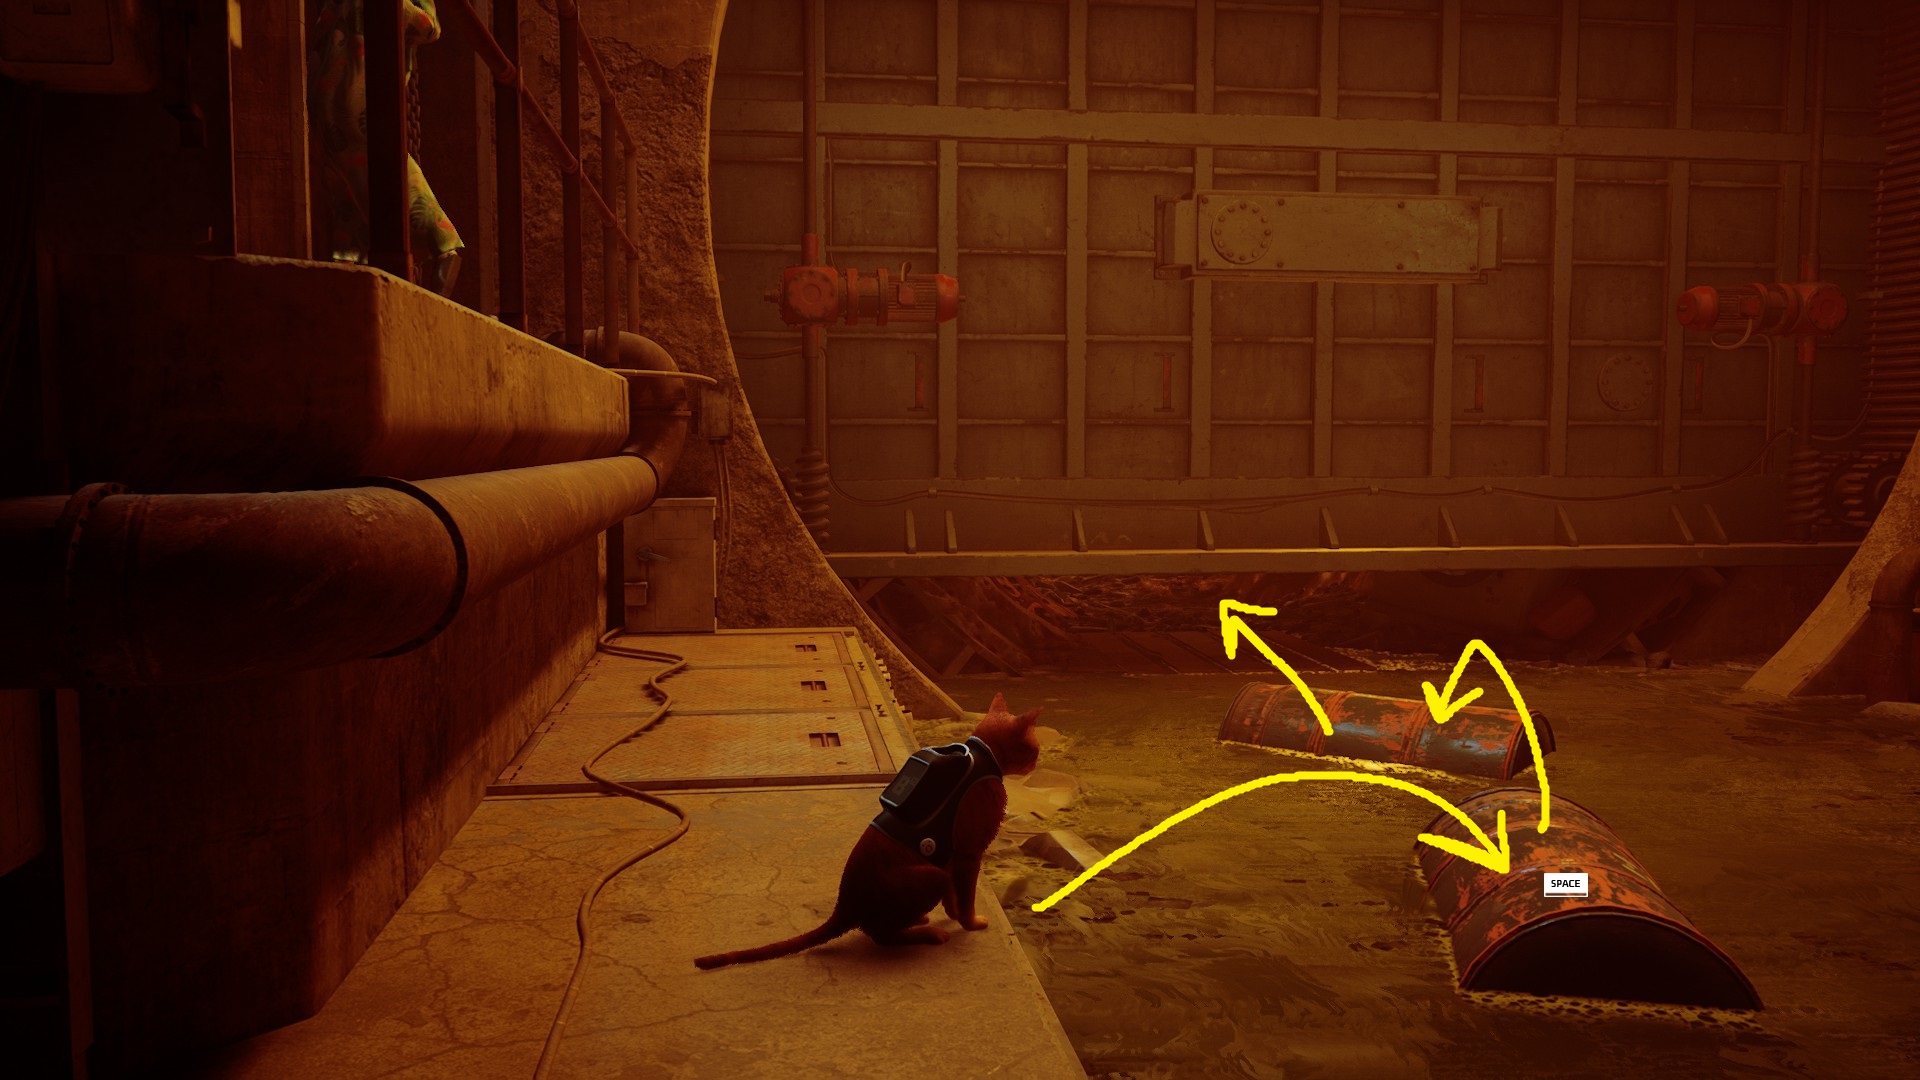
After hopping on Momo’s raft, you’ll get to relax for a bit as you drift through the sewer. Eventually, you’ll get to a closed gate — now it’s your time to shine! Jump to the concrete ledge on the right side of the canal, and then jump through the gate to the similar ledge that’s on the other side.
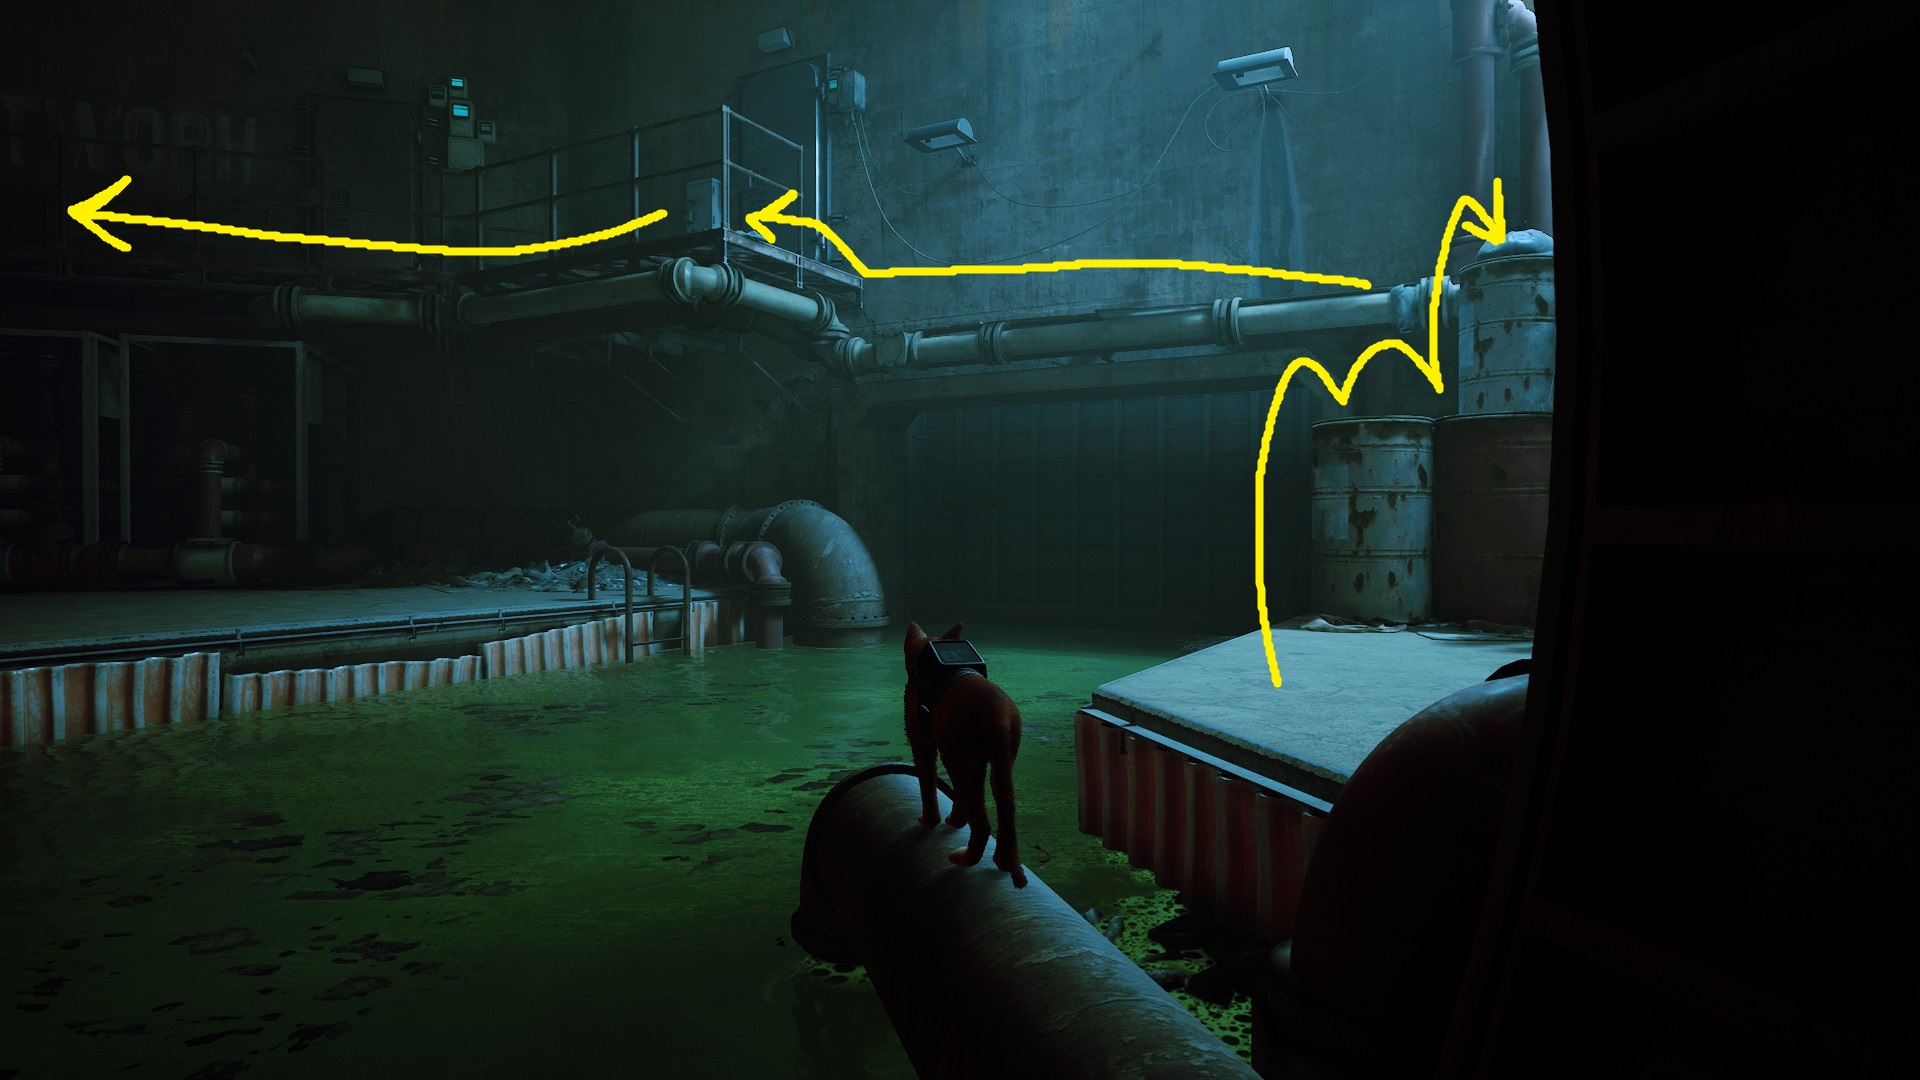
There’s a lever on the other side of the canal, but you’ll have to do a series of jumps to reach the other side of the canal. Additionally, there are a bunch of Zurk eggs in between you and the lever.
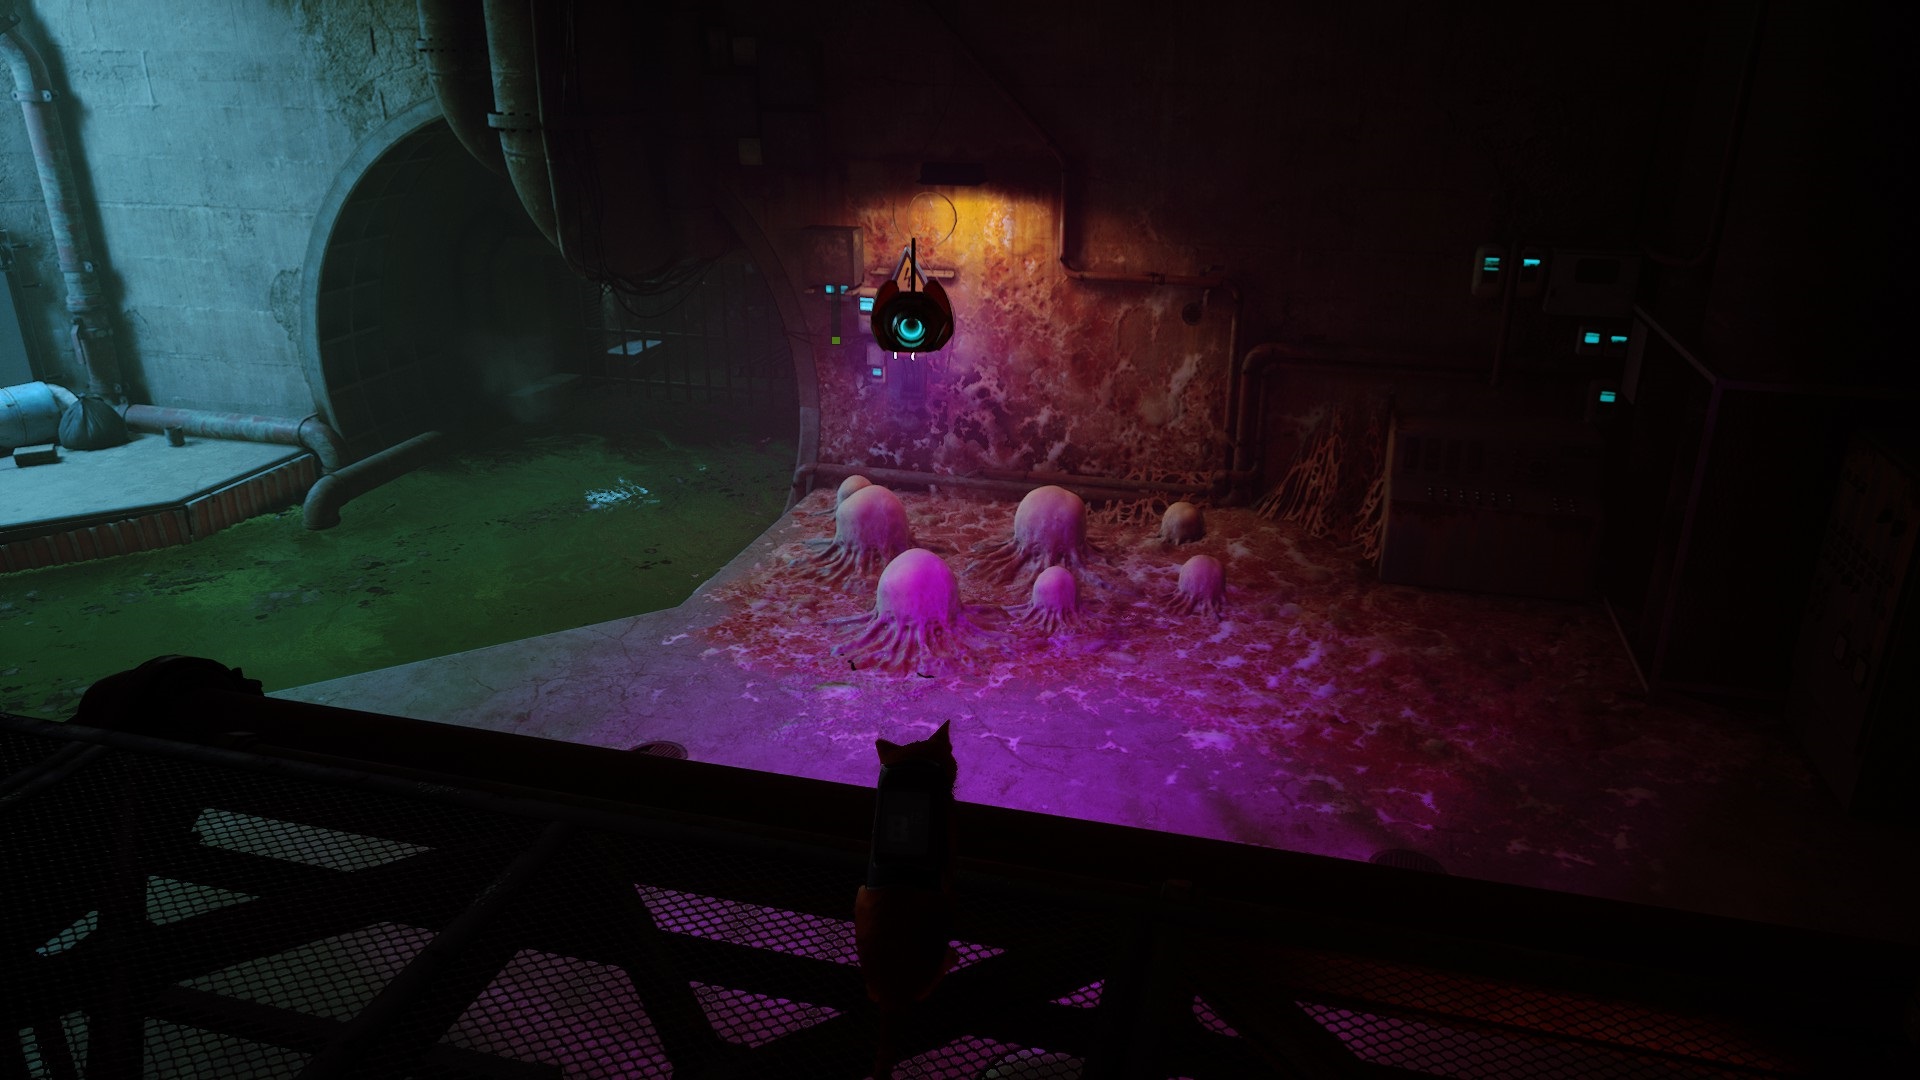
If only there was a safe place to deal with the Zurks…
You can use the Defluxor from the high ground and pop the eggs/kill the Zurks without ever being in danger.
Once the Zurks are all dealt with, hop down and pull the lever, then get back on the raft. After another leisurely ride, Momo will paddle the raft to a door panel and try to activate it — it’s old and busted, however. Speak with him and he’ll decide to open the door manually. While he walks over to the manual controls, hop out onto the barrels in the canal, and then slip under the door once Momo gets it open.
Wave goodby to your friend as you slip under the door, then continue forward into the tunnel. You’ll soon need to hop up onto a catwalk and then turn left and head into the bright white room. Turn right and then continue down the stairs and into the narrow passage. You’ll quickly reach a junction where you can turn left, but the way ahead is blocked by Zurk eggs.
This is an optional path that leads to a Memory — if you want to go grab it, you can use the Defluxor to pop the eggs, then run away while it recharges and pop the Zurks with it. Then head down the passage and jump up into the narrow pipe. Follow it to a large chamber, hop up on the guard rail, and inspect the Memory. That done, you can go back the way you came, jump out of the pipe, and turn left at the junction to continue forward.
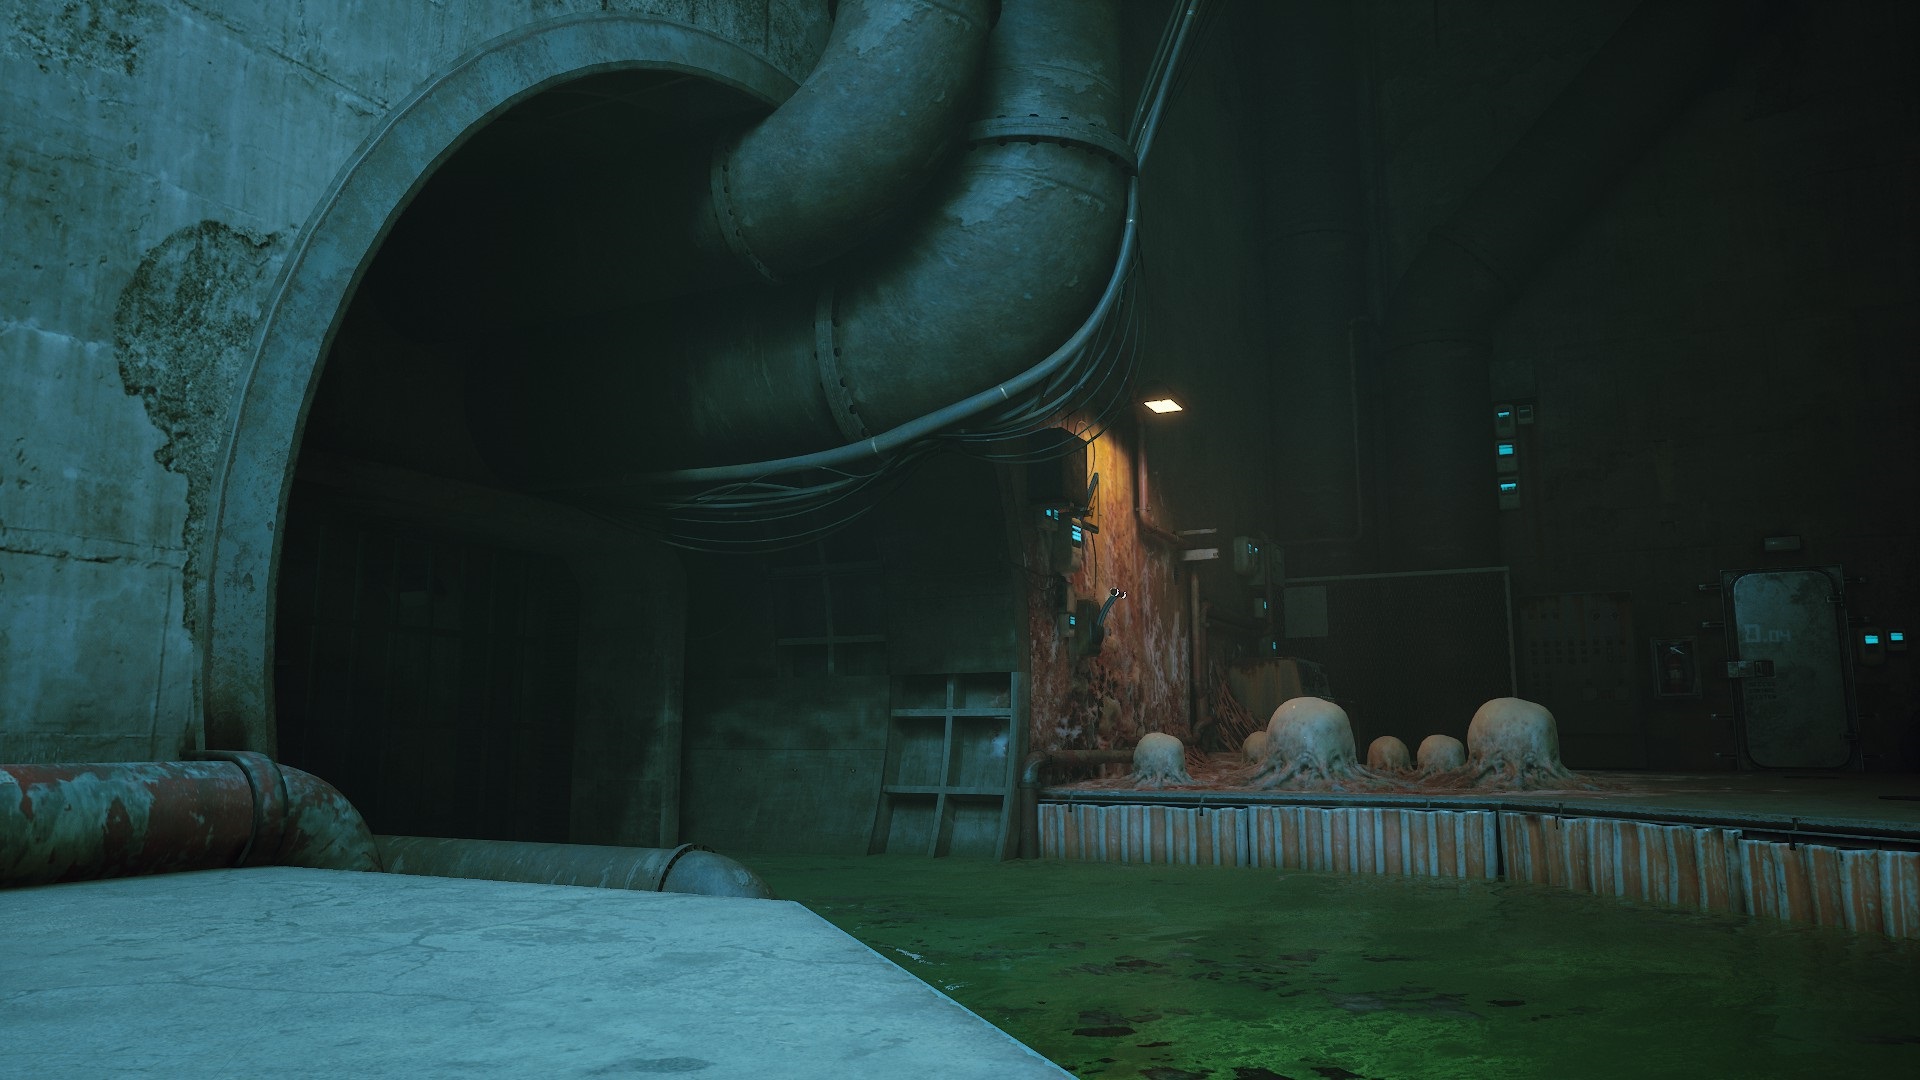
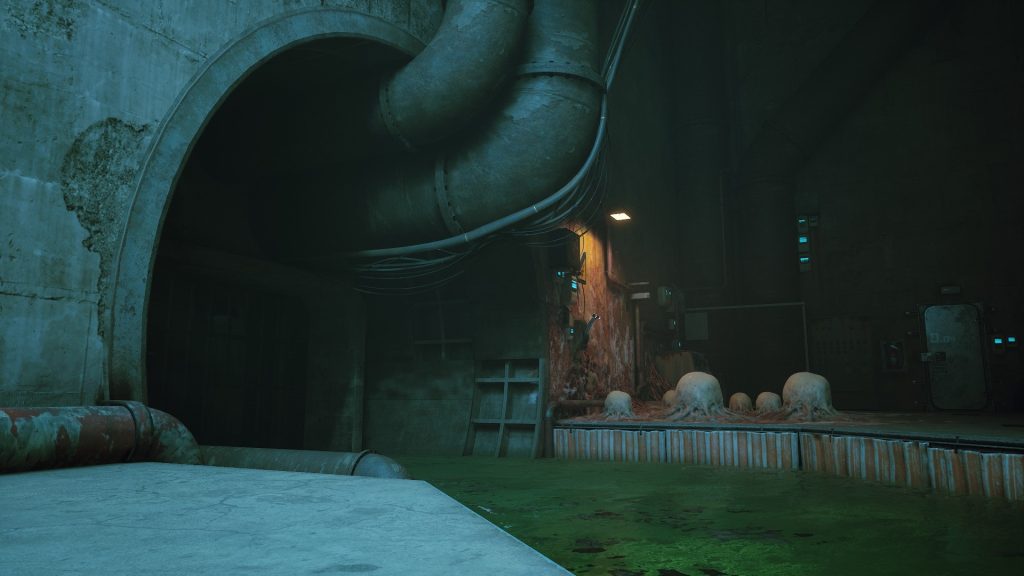
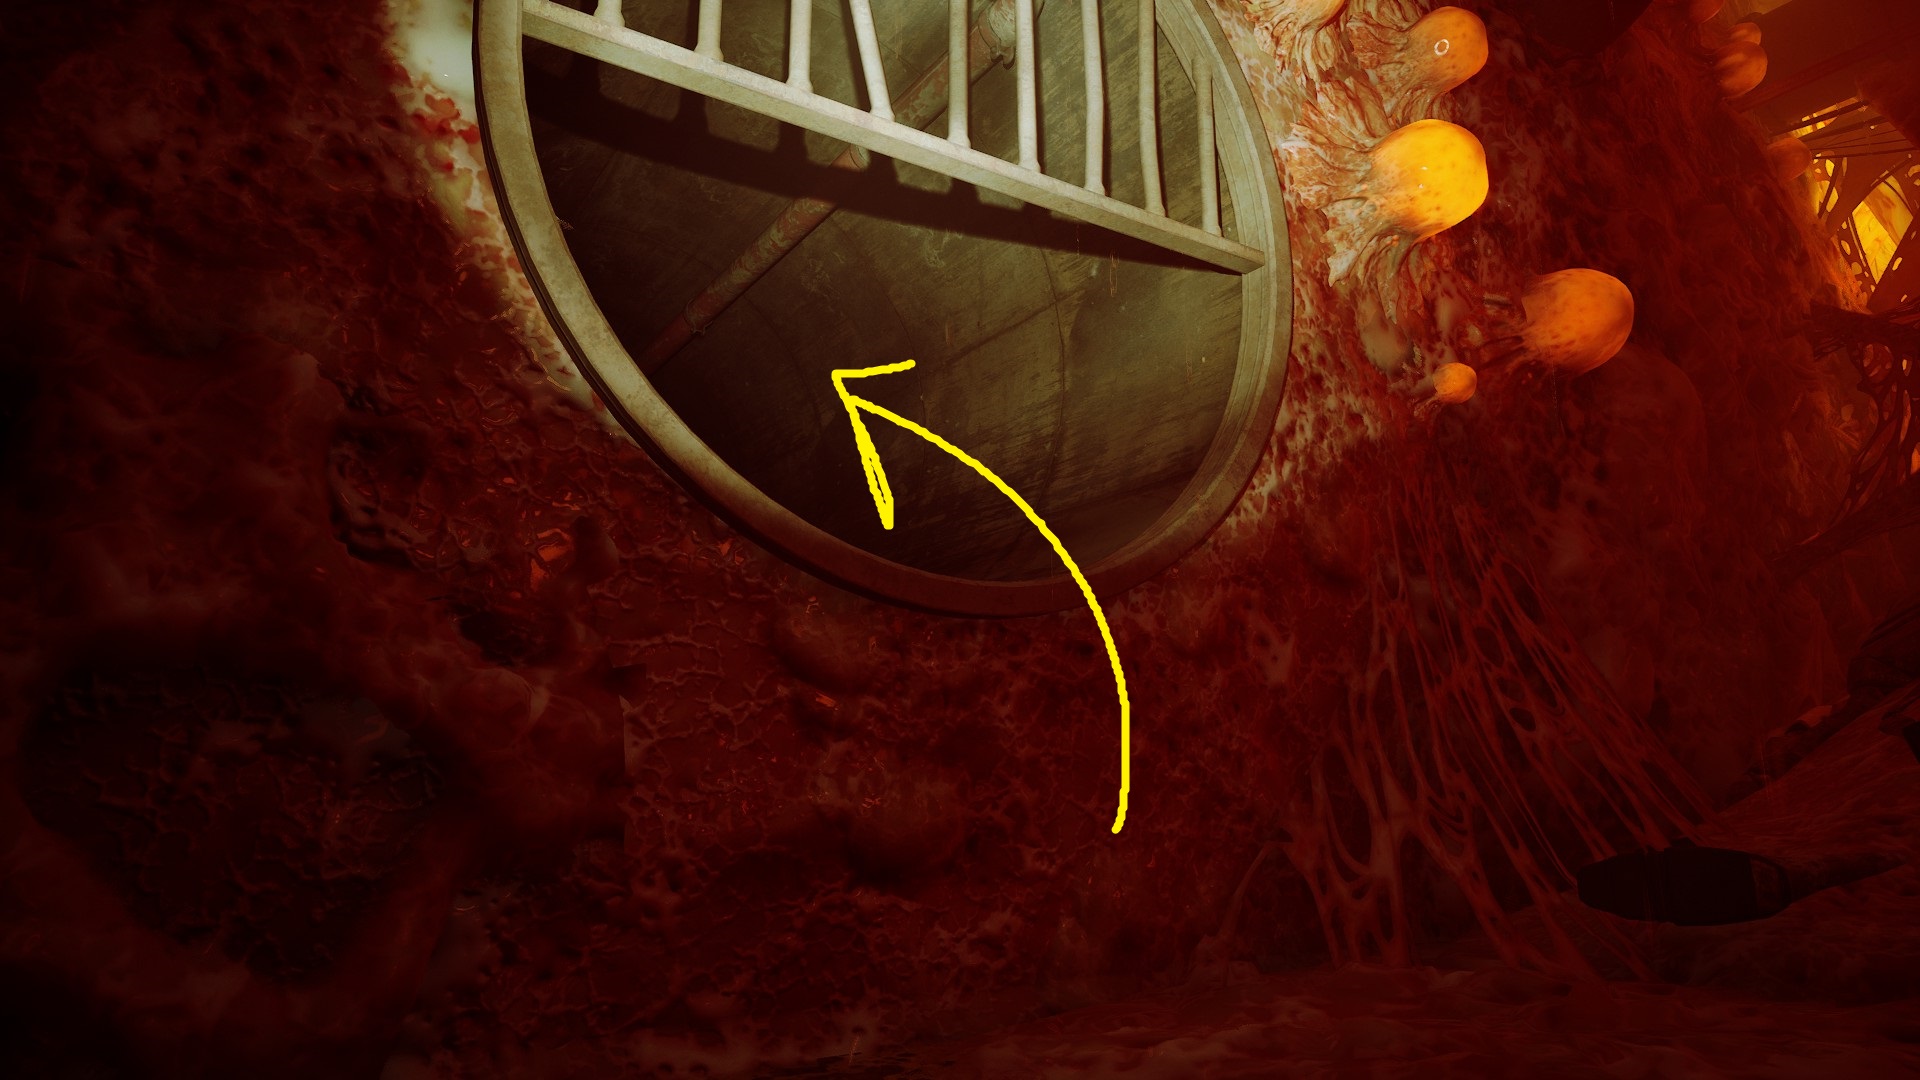
You’ll reach a spot where you need to jump to a catwalk — do so and head down the stairs, then jump to the pipe, and keep jumping pipe to pipe to continue forward. Eventually, a pipe will curve left, and you’ll need to jump up into another large pipe to continue forward. You’ll enter a chamber full of Zurk eggs — these will pop if you get too close, so give them as wide of a berth as possible, and be ready to Deflux them if they do emerge. On the other side of the chamber is a closed gate and a lever — pull the lever, and be ready for some Zurks to come swarming towards you. You’ll need to carefully run away from the Zurks while also avoiding the eggs.
If you die multiple times trying to do this, the other option is to clear a good amount of the Zurk eggs near the lever before you pull it, giving you more room to maneuver.
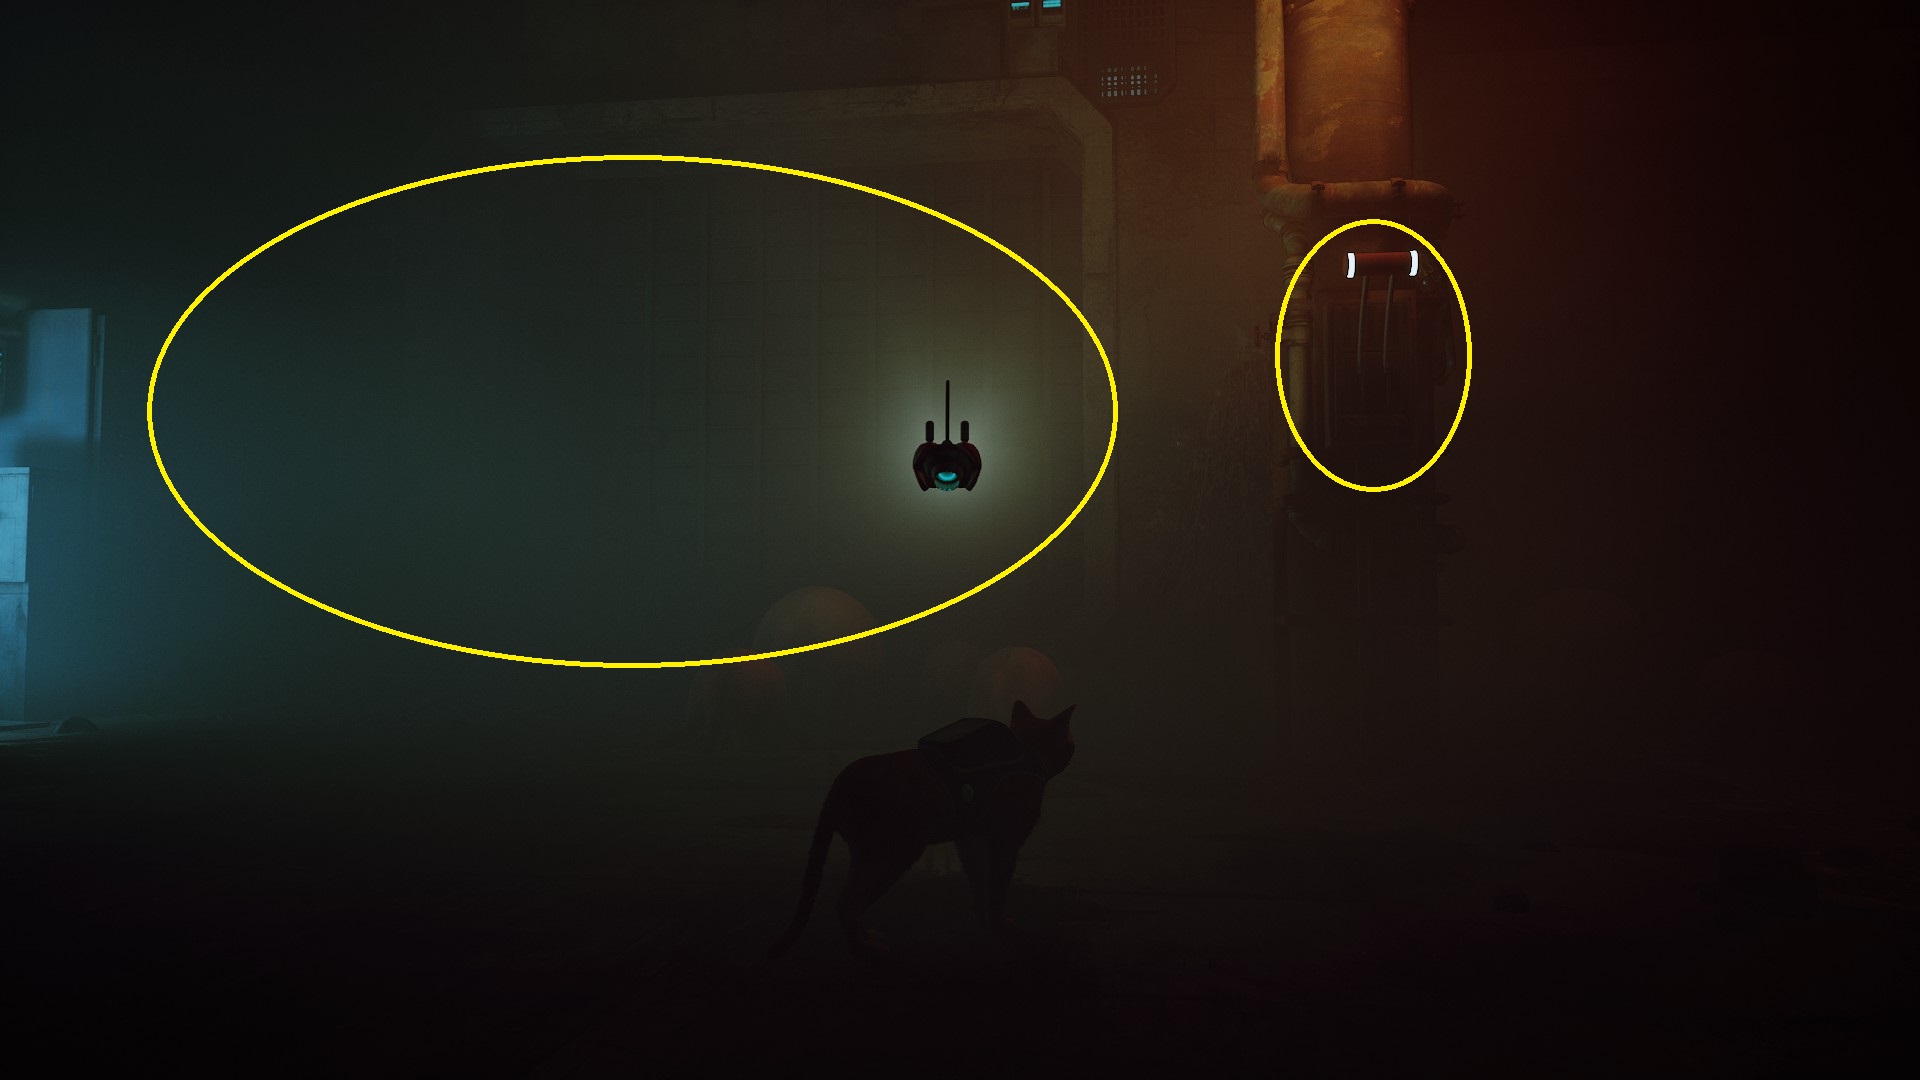
The lever and the door it opens
Head through the now opened gate and continue forward towards the brightly-lit tunnel. As you enter it, a single group of Zurks will come around the corner, but they’re easily dispatched. Keep going forward, up the stairs and through the open door. You’ll enter a fairly disturbing room and be attacked by two more small groups of Zurks.
Once they’re all popped, you have a choice between slowly clearing eggs and Zurks, or just running past everything. You’ll have to avoid a lot of eggs and Zurk packs, and you’ll have to turn a few times, but the way forward is obvious. Don’t forget you can use the Defluxor on yourself if Zurks jump on you! Eventually, you’ll enter a short hallway that dead ends, and you can jump down onto a pipe — at this point, you’re safe from Zurks and you can catch your breath.
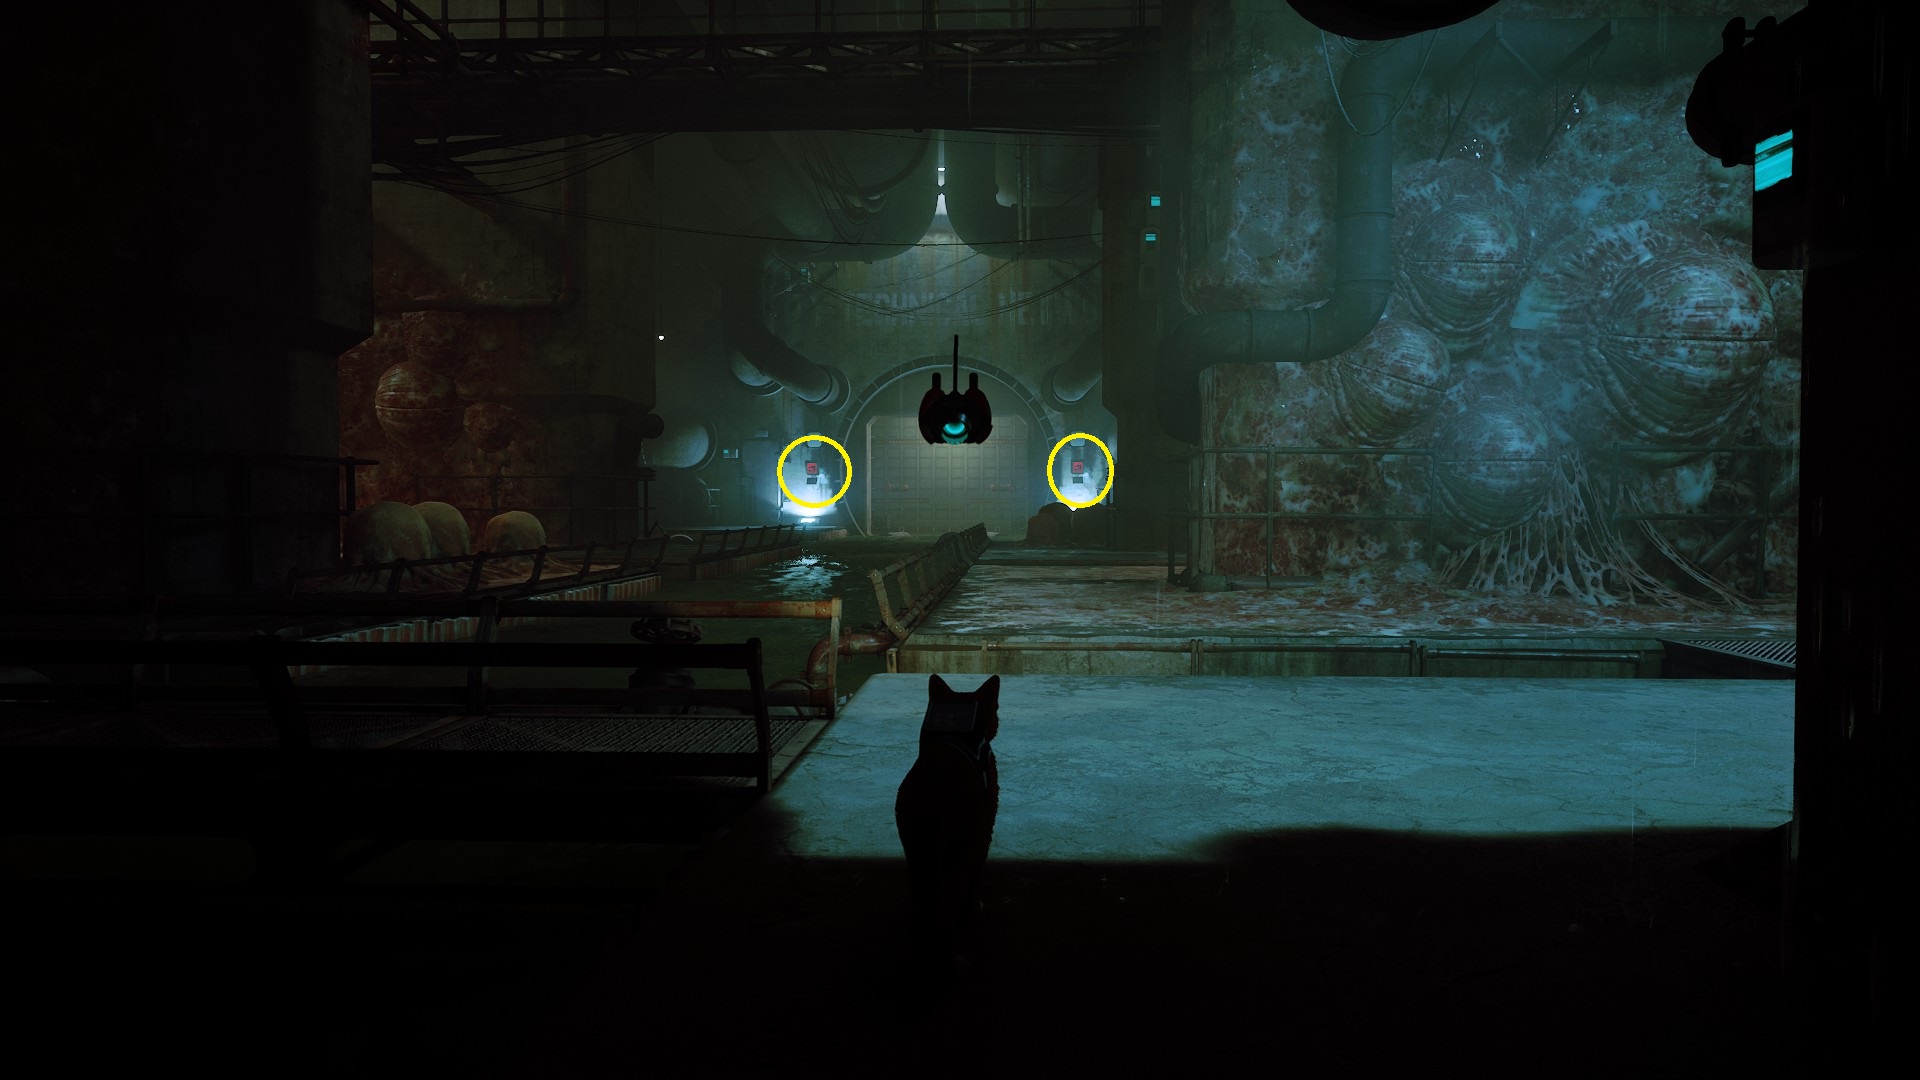
Turn right and head across the pipe, and you’ll soon be able to jump left into another pipe that leads into a large chamber. Once again, do your best to avoid the eggs as you make your way across the room to either of the two door panels (it doesn’t matter what order you do them in).
After activating the first panel, you’ll be attacked by packs of Zurks as you make your way across the room to the other panel. Each time the room shakes, another group of Zurks will spawn. Despite the music and intense rumbling, you’re actually better off going slow — each time the room rumbles, wait patiently for the Zurks to come to you, and calmly take them out. It’s also important to wait for your Defluxor to recharge before proceeding. The last time the room shakes two packs of Zurks will spawn — watch out for the second group so that it doesn’t surprise you.
Once you’ve activated both panels, you can hop onto the barrel near the opening door, and then from there to the passage beyond. Continue forward, following the black arrow on the wall, and you’ll find an even grosser room — head further inside and a cutscene will begin. When it ends, you’ll begin another running sequence, so start holding the sprint button and keep moving forward.
The Zurks will get very close to you in this sequence, so make sure you’re dodging left and right to avoid them clinging to you – don’t forget that you don’t have the Defluxor anymore! The route forward is a bit more confusing than the previous ones for this kind of segment, but it’s still fairly obvious, and as long as you generally head across each room, you should be fine. Once you make it under the closing door, you’ll be able to interact with B-12 — paw at him a few times and he’ll wake up and start talking to you. When he’s done talking, hack the ventilation system and head through the now-still fan blades.
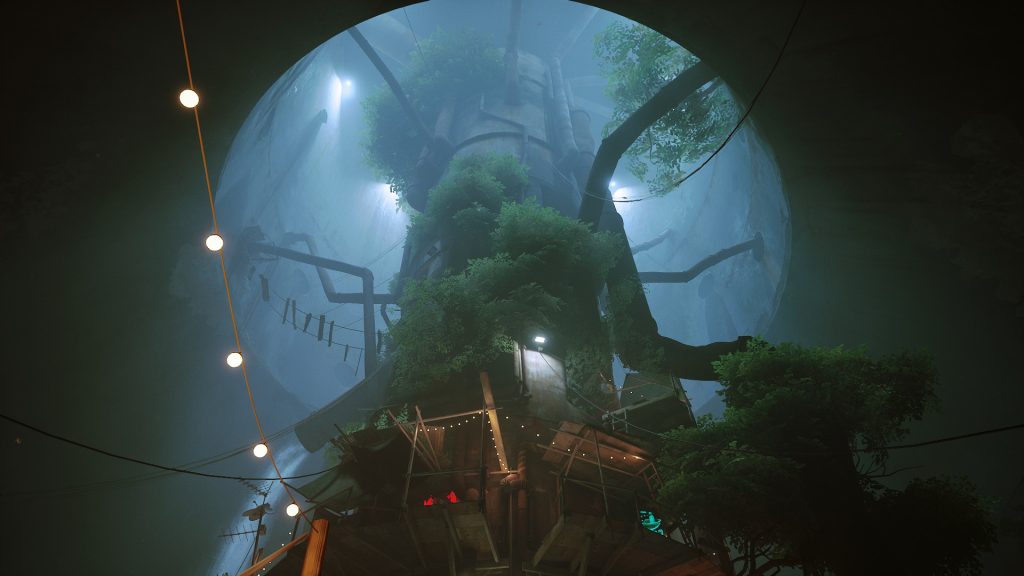
Continue through the ventilaion tube, and hop out the other side. There’s only one way forward, so head that direction and you’ll soon reach a barricade with a perfectly cat-sized hole. Slip through and continue forward to reach Antvillage!
Unabashed FromSoftware fanboy still learning to take his time with games (and everything else, really). The time he doesn't spend on games is spent on music, books, or occasionally going outside.