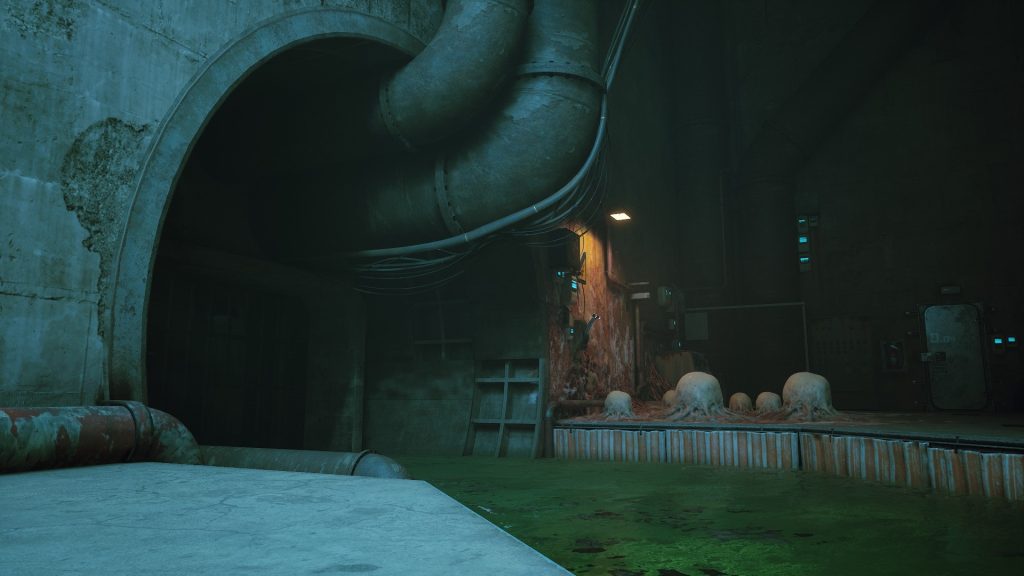
After falling, you’ll find yourself in the sewers. Walk forwards, and you’ll start limping around (don’t worry, it’s temporary). After a few steps forward, you’ll collapse, and a brief cutscene will play. Once you regain control of your character, you’ll want to keep heading forwards, towards the doorway that you saw open slightly in the cutscene — slip under the door and continue forward.
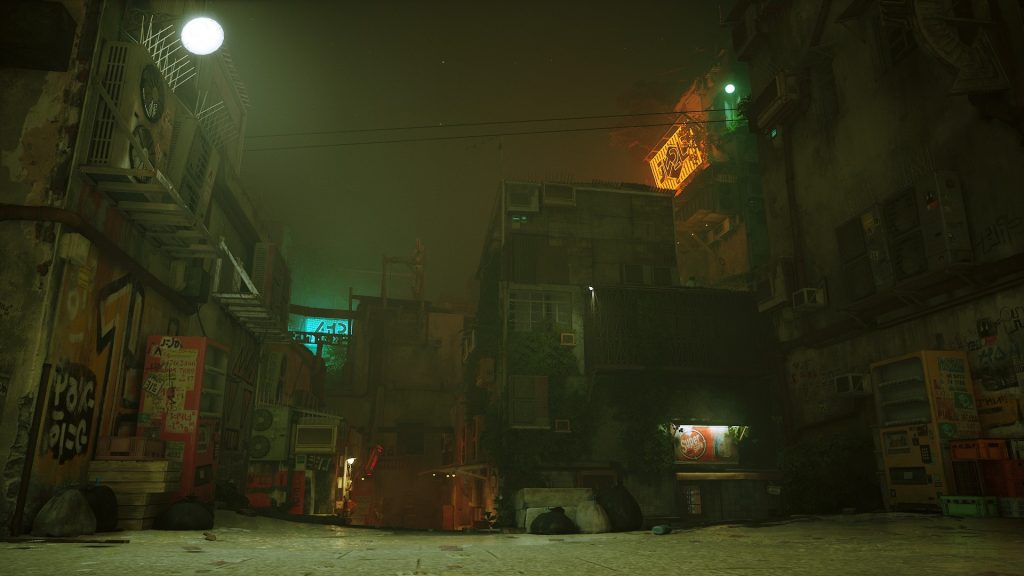
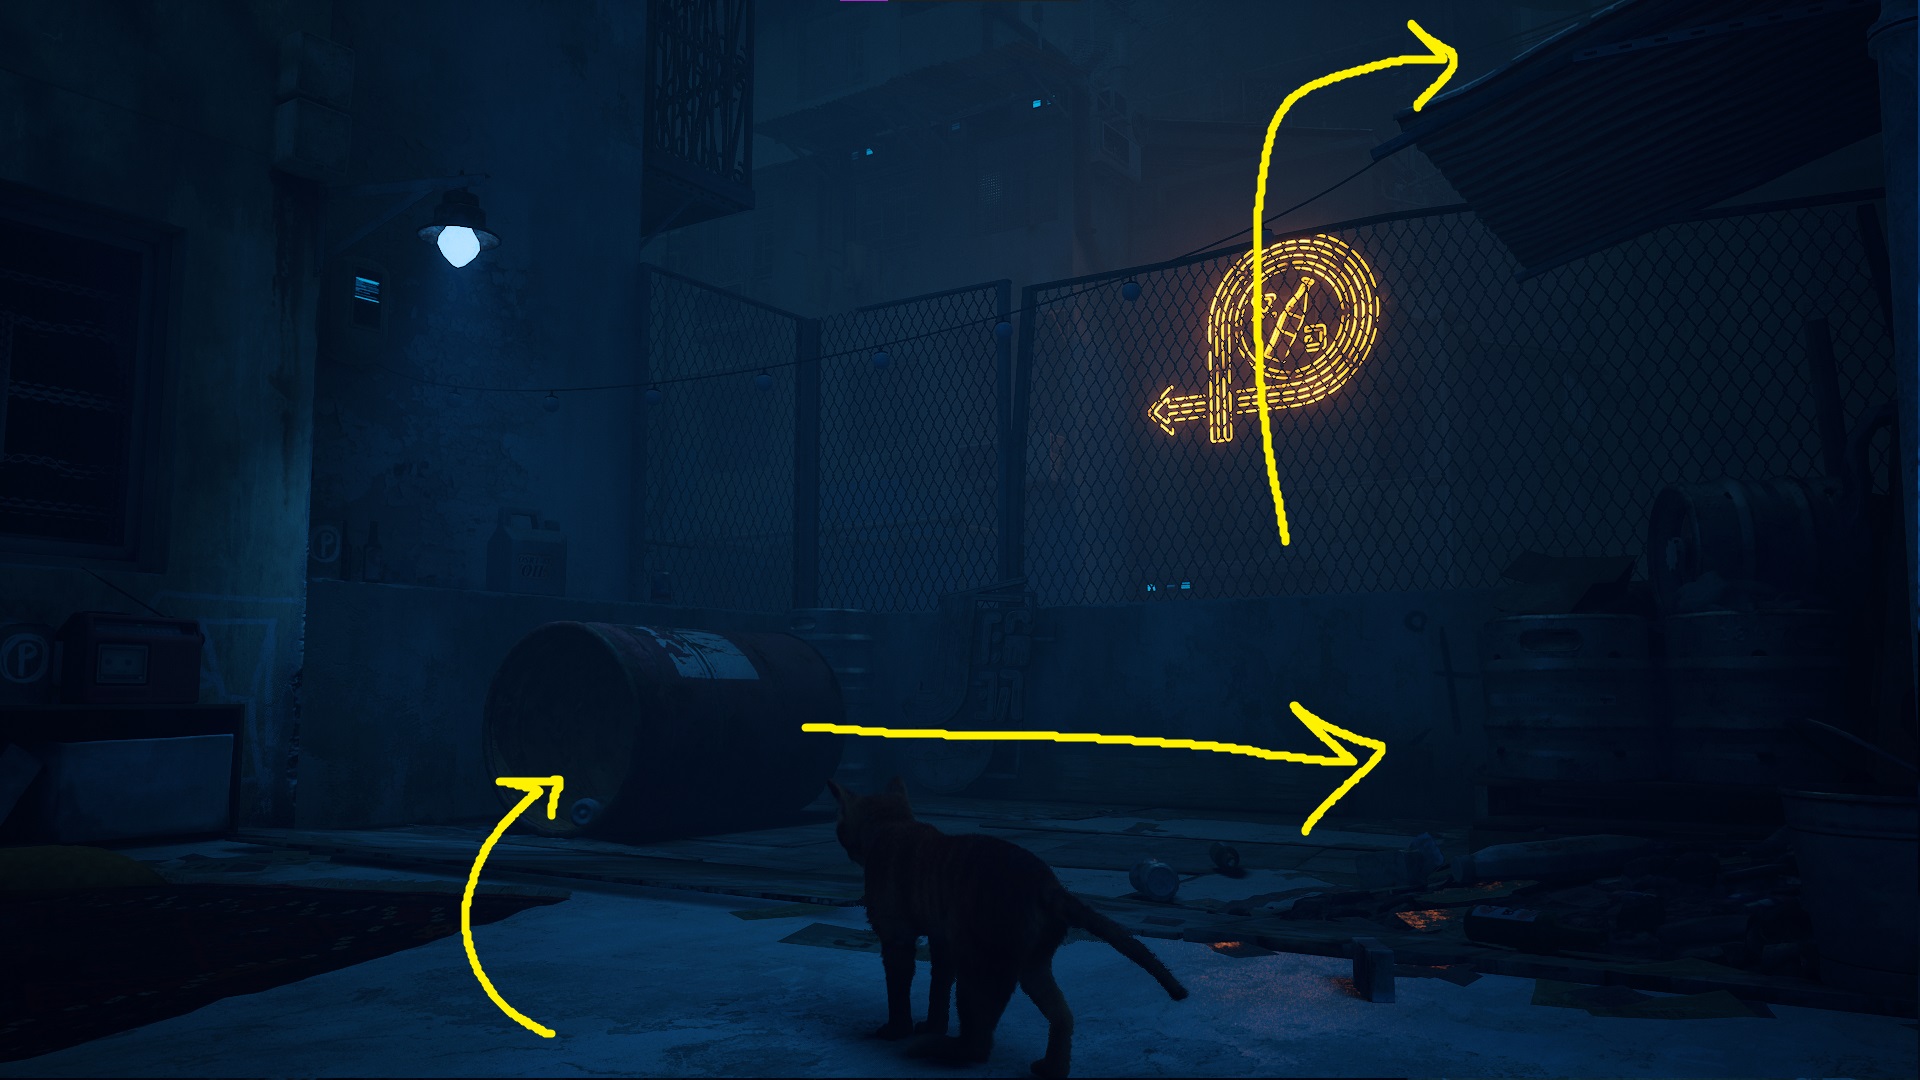
Keep going straight towards the chain link fence, and hop up on the green dumpster. This will allow you to jump up onto the metal awning above you, and from there you can go straight and then jump down onto a box and then to the street. Keep going forward until you reach a spot with some green water. Here, you’ll need to hop from barrel to barrel, and then to an air conditioning unit. Continue jumping to pipes and the other A/C unit to make it back to dry land, then turn left (following the video monitors’ arrows) and jump through a hole in the wall to enter the next room and find your first puzzle!
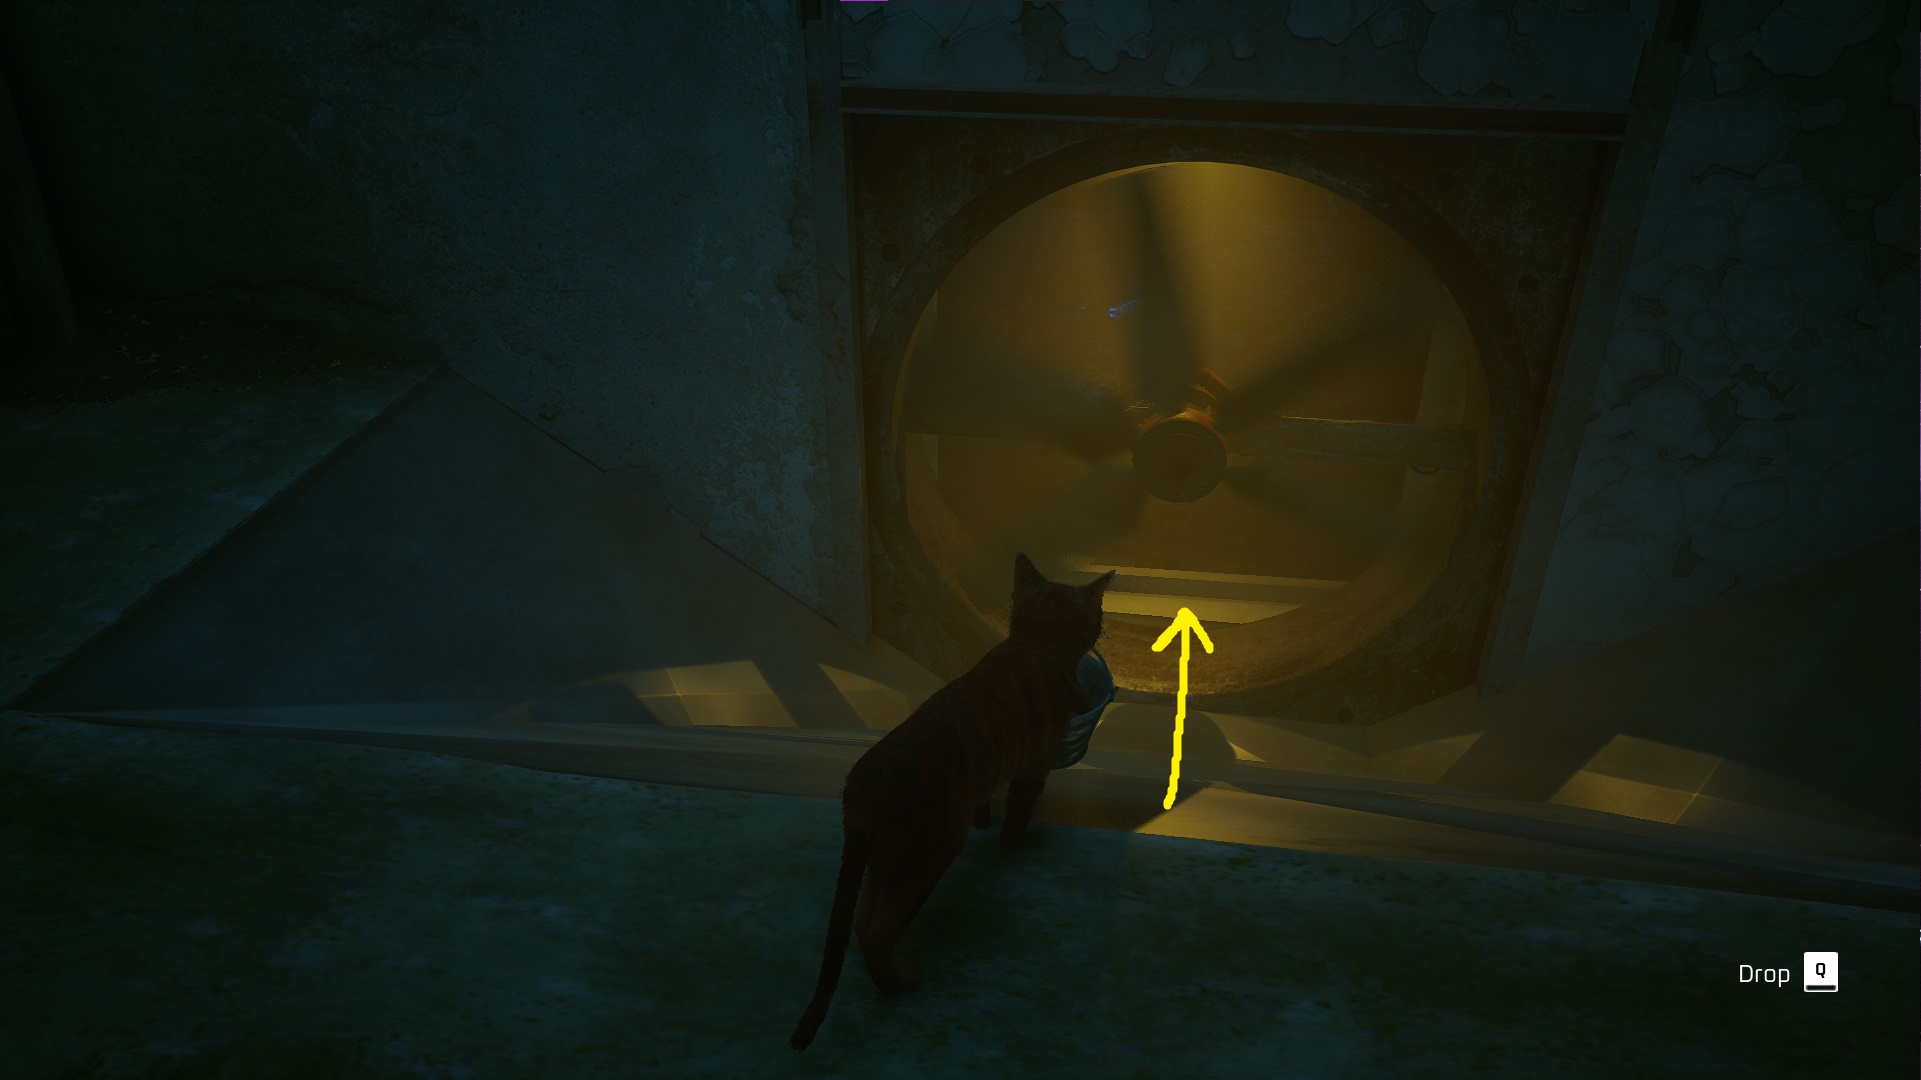
You need to use an object on the lower section of the room to progress.
After entering the room, you first need to pick up the bucket on the floor. Then, jump up the pipes on the left side of the room and walk into the fan — the bucket will make the fan get stuck, and you can continue through the fan.
In the next room, you’ve got another environmental puzzle to solve.
You’ll need to knock paint off of ledges multiple times to progress through this room.
First, jump down to the lower platform on the left side of the room, and knock the paint out of the way until you can jump to the AC unit across the gap. Then, jump up to the highest part of the room, and knock the paint can there off the ledge — it will break the window, and you’ll be able to hop down and through the newly-opened hole.
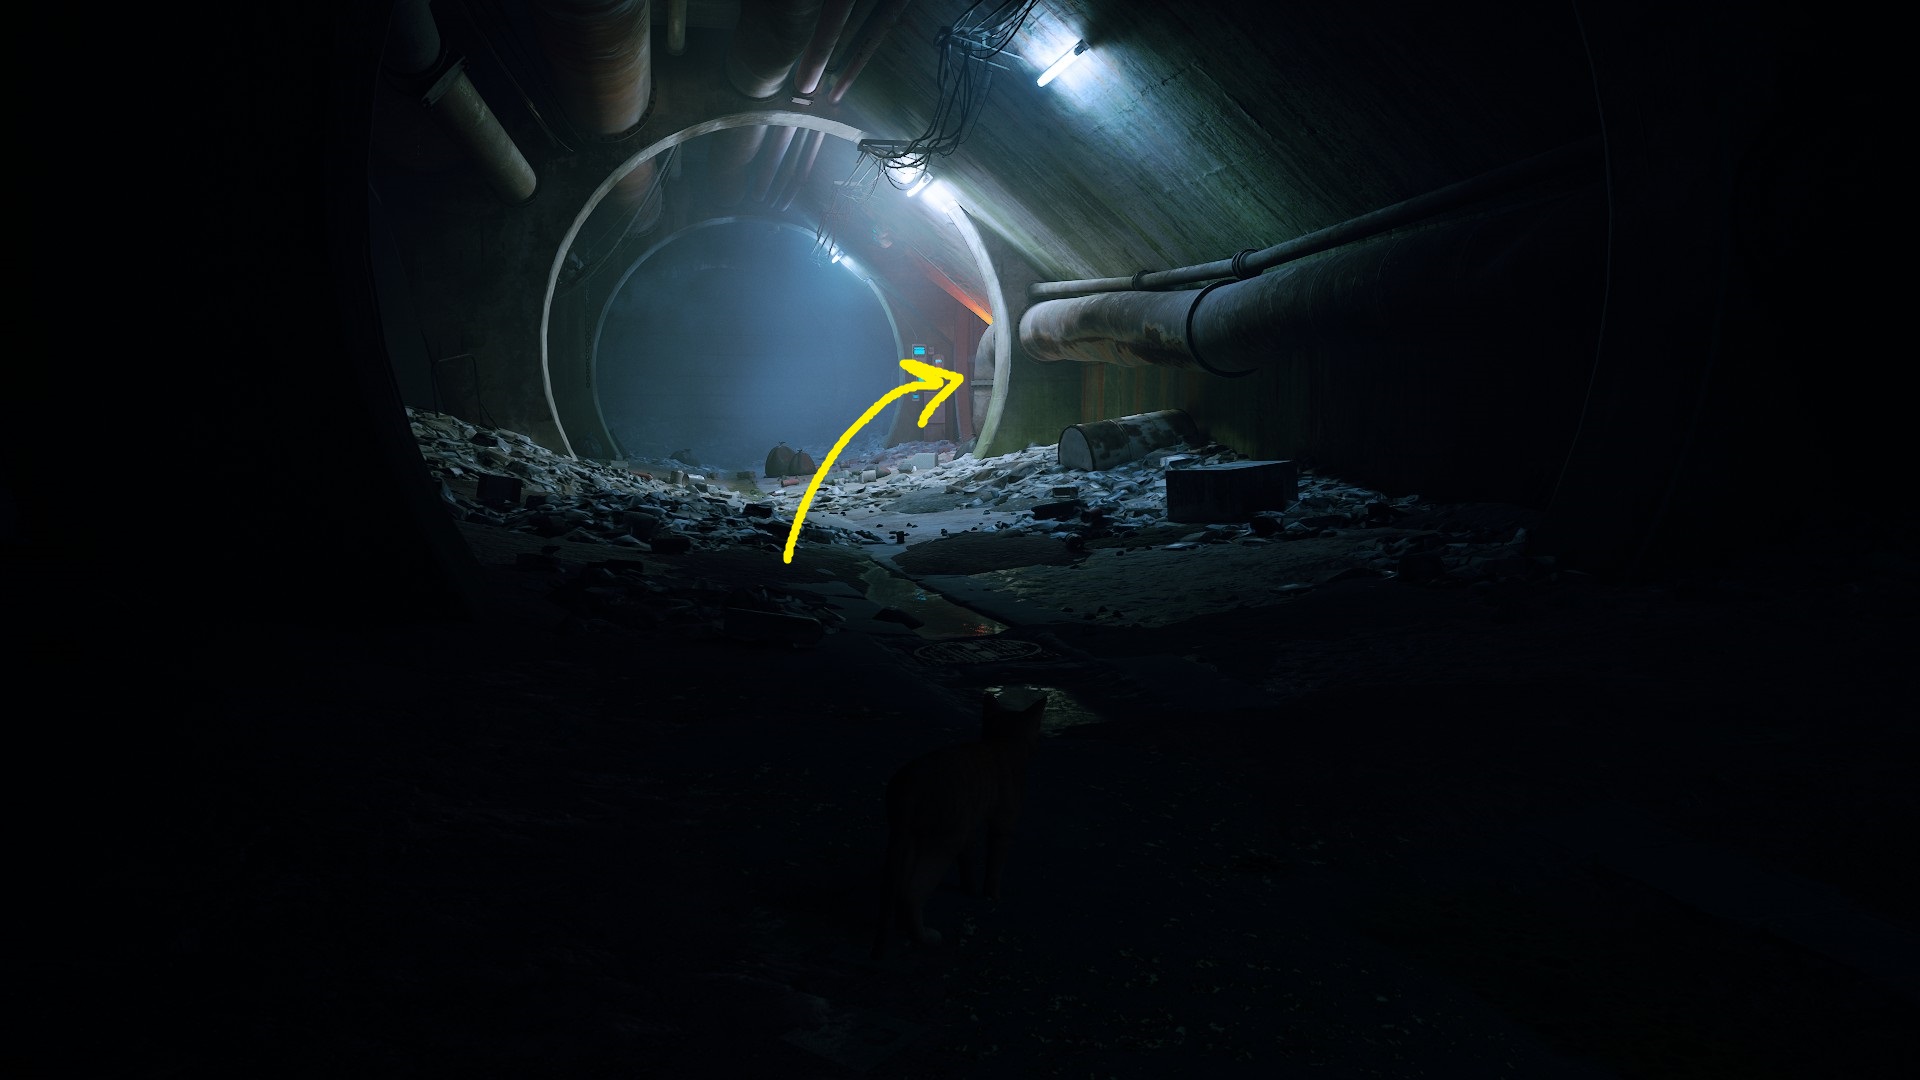
In the next room, just follow the arrows — they’ll lead you to a narrow gap between some wood planks covering a door. Once back outside, hop in the bucket and ride it down, then jump out and continue following the glowing signs. After passing a dying robot, you’ll have to hop up on a dumpster to continue forward. Keep following the only available path, and you’ll soon be treated to another cutscene.
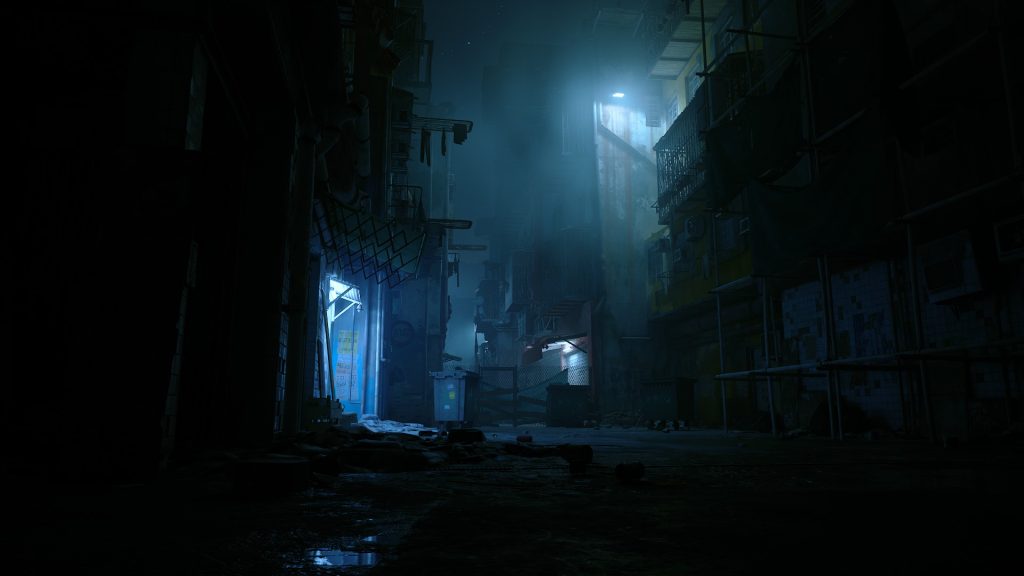
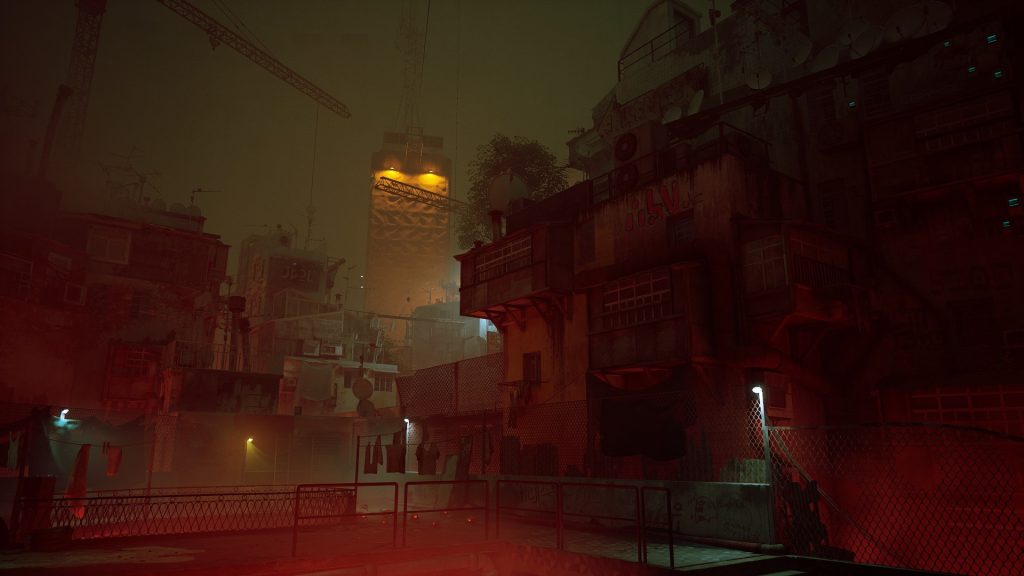
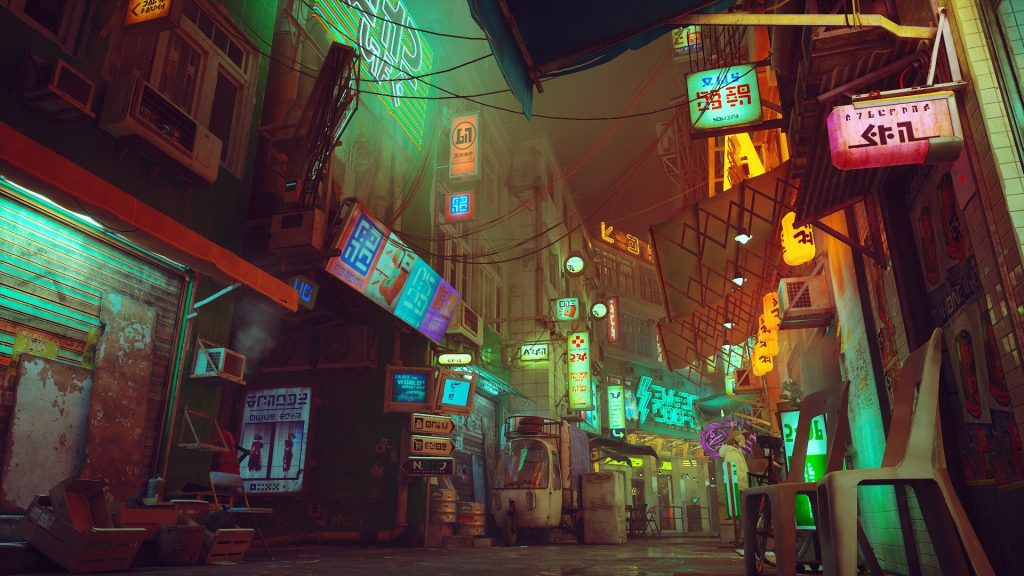
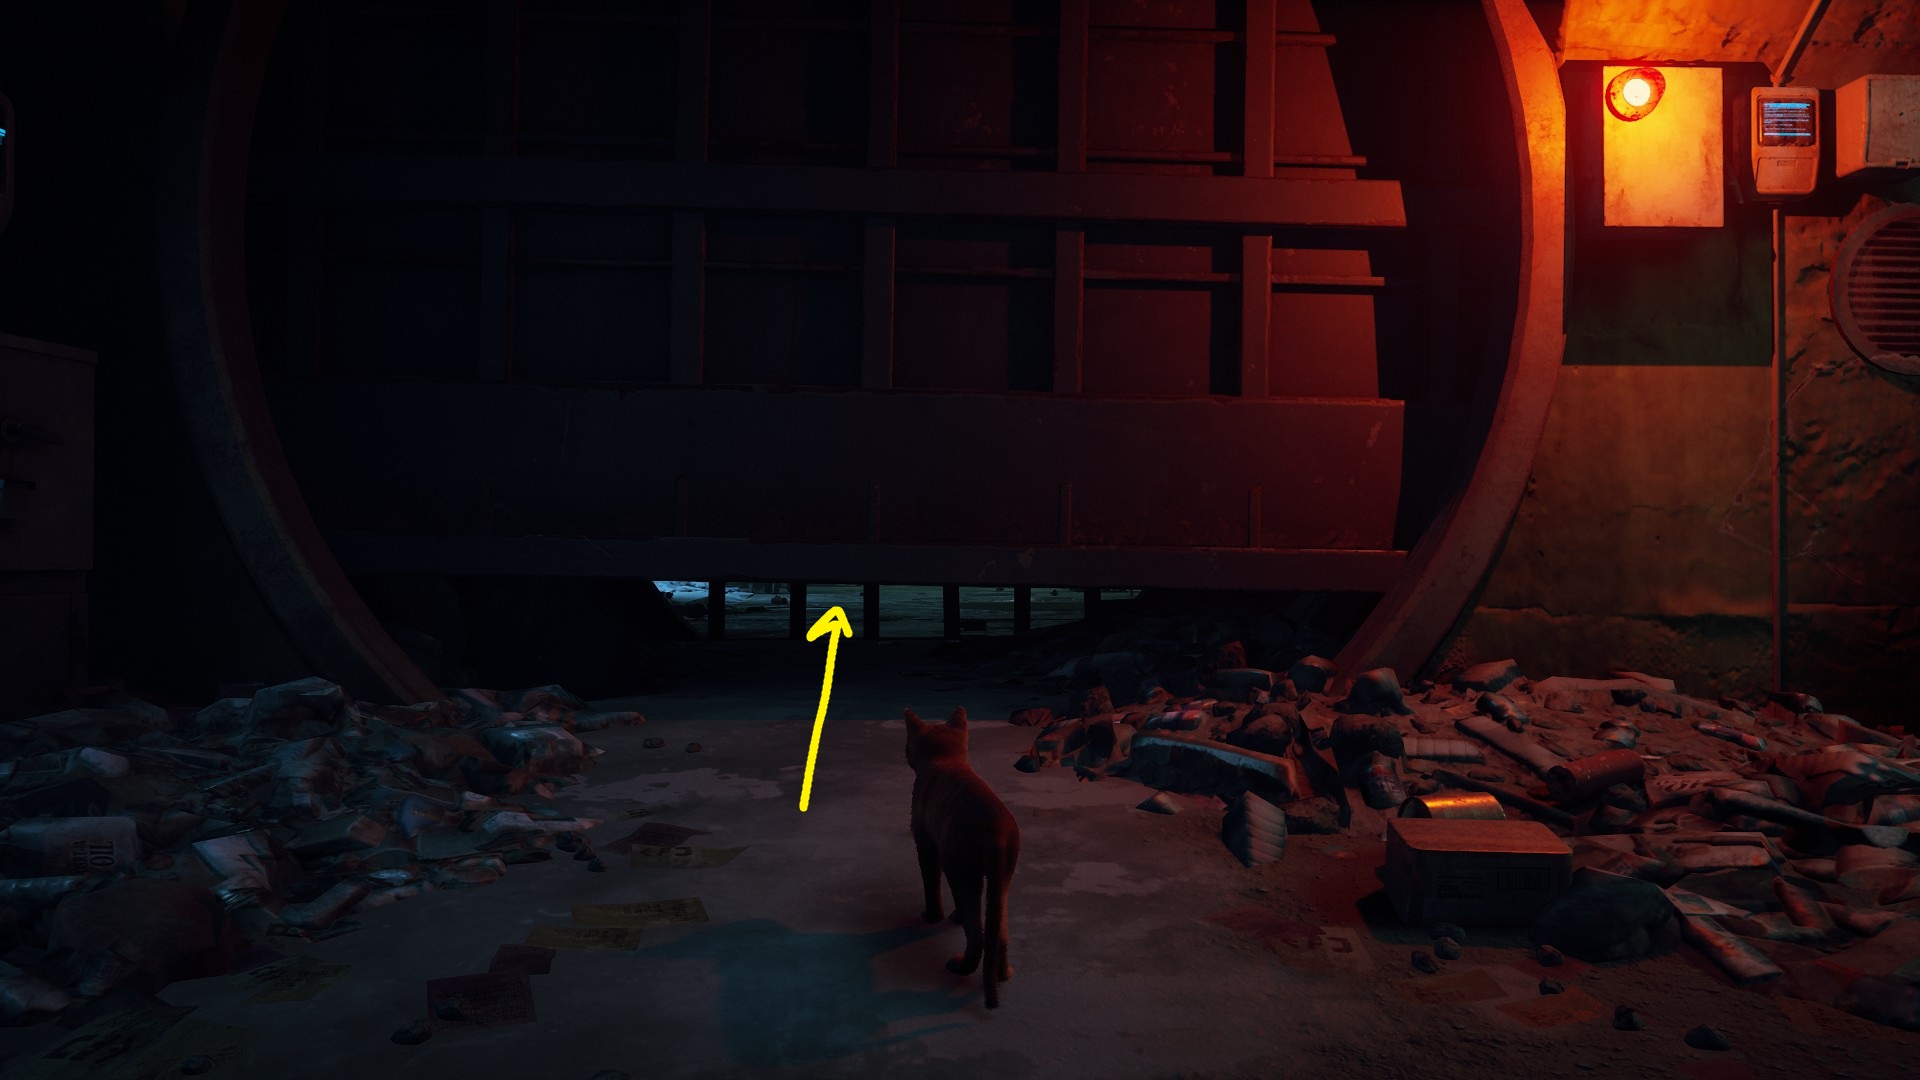
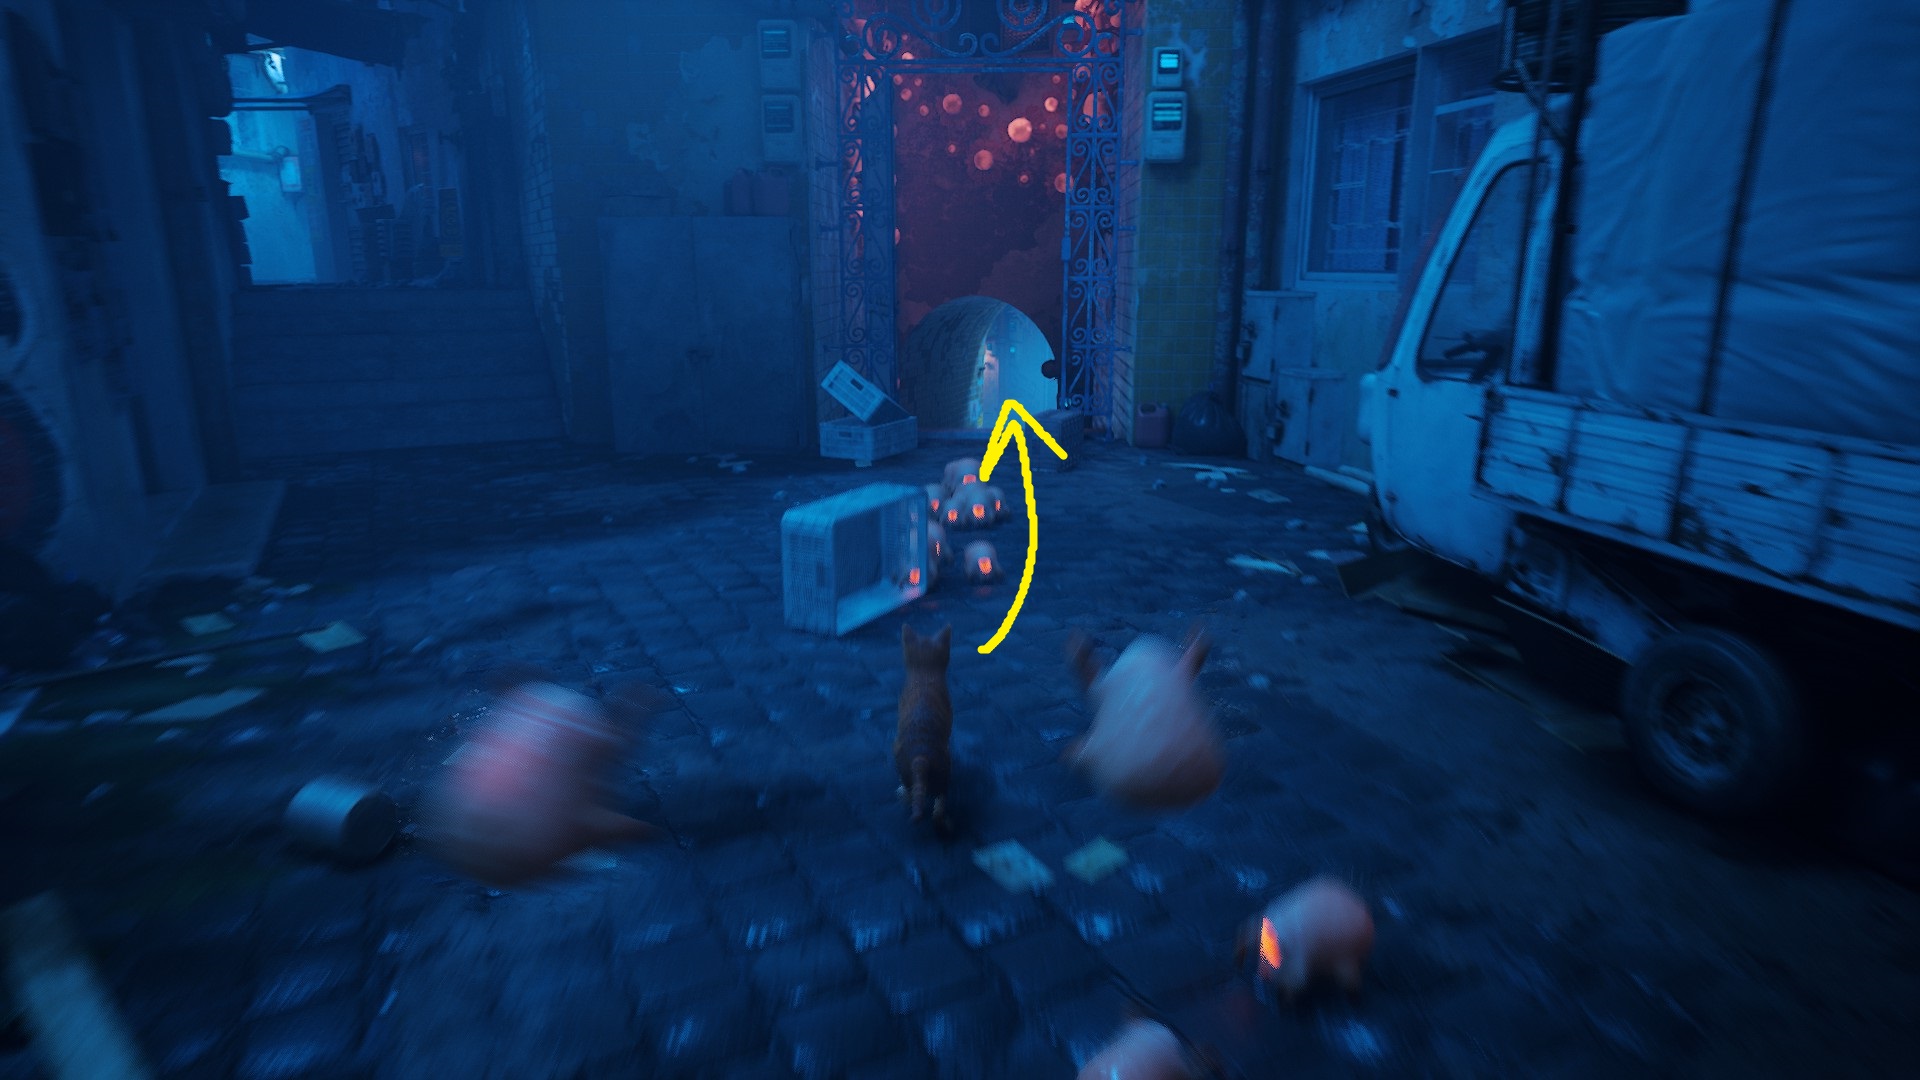
Once the cutscene ends, you’re going to need to hold the run button as you make your escape from the little scurrying enemies (Zurks). The path forward is basically always the straighter option, for the most part (although you will have to take multiple turns) — just stick to the center of the street and pay attention to where the glowing signs with arrows are indicating the path is. The smaller passageways and alleys the enemies pour out of are not where you want to turn, basically.
The only spot that’s kind of tricky is when you can go left or right, as seen below — go right.
Try to avoid the Zurks, and if they jump on you, mash the indicated button to remove them. You can also zig-zag back and forth while they chase you — this will help you avoid them landing on you. Don’t feel bad if it takes you a few tries!
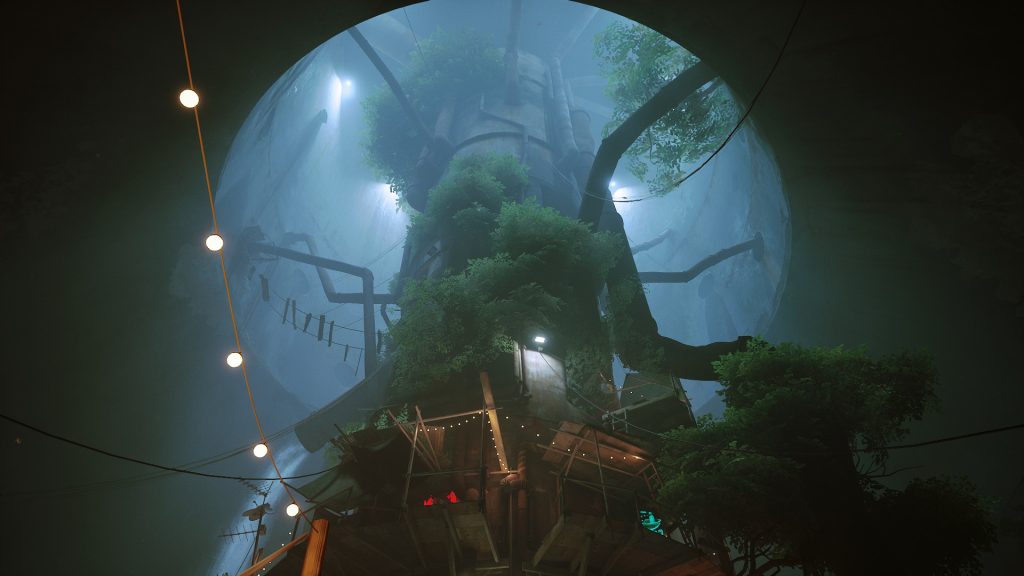
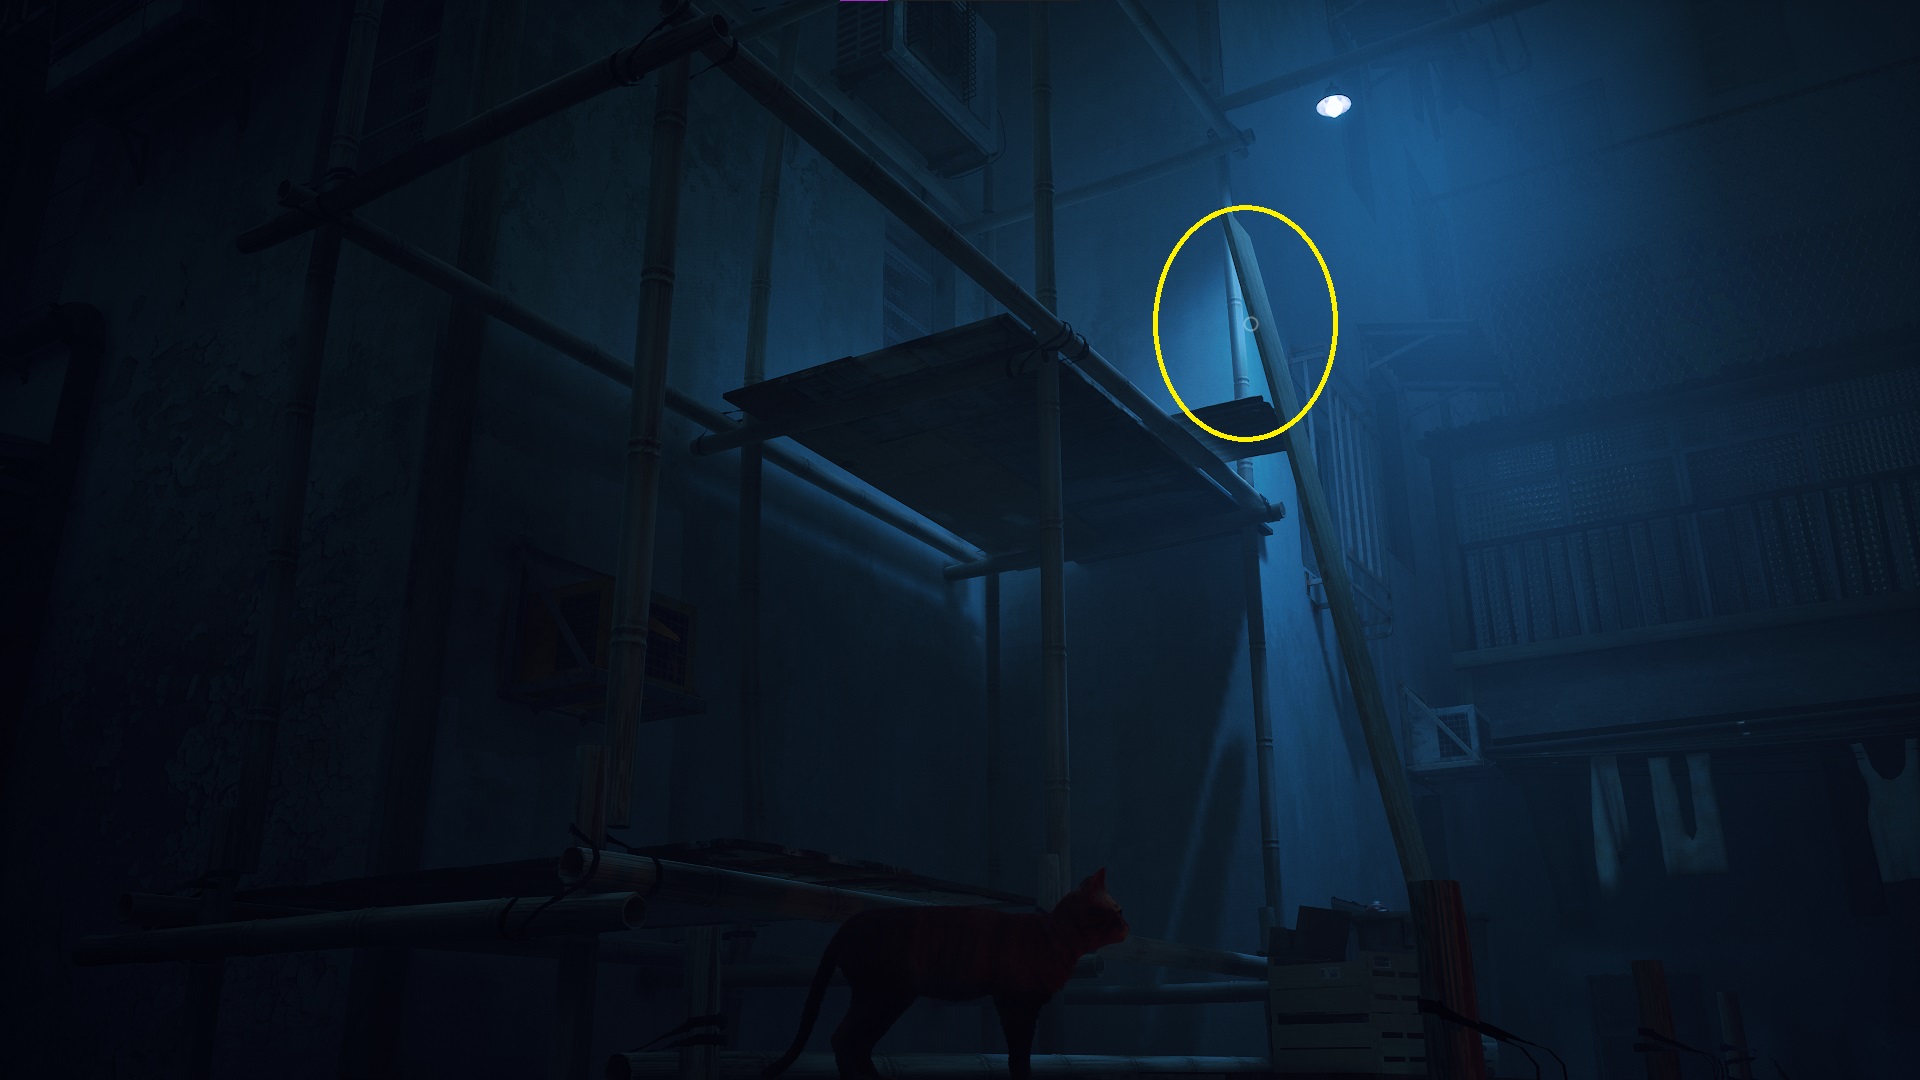
You’ll eventually find a gap with an arrow pointing across it — jump towards the window and you’ll be treated to another cutscene of you entering the building. When it finishes, head up the stairs and you’ll be taught how to meow. In a few spots in the next section, you can meow to make strings of lights indicate the path forward. Make your way out onto the roof, and then head in the direction of the neon sign by hopping on the awnings and pipes. Keep following the signs, and eventually, you’ll need to push over a wooden board, and you’ll then be able to jump to it to continue across the gap.
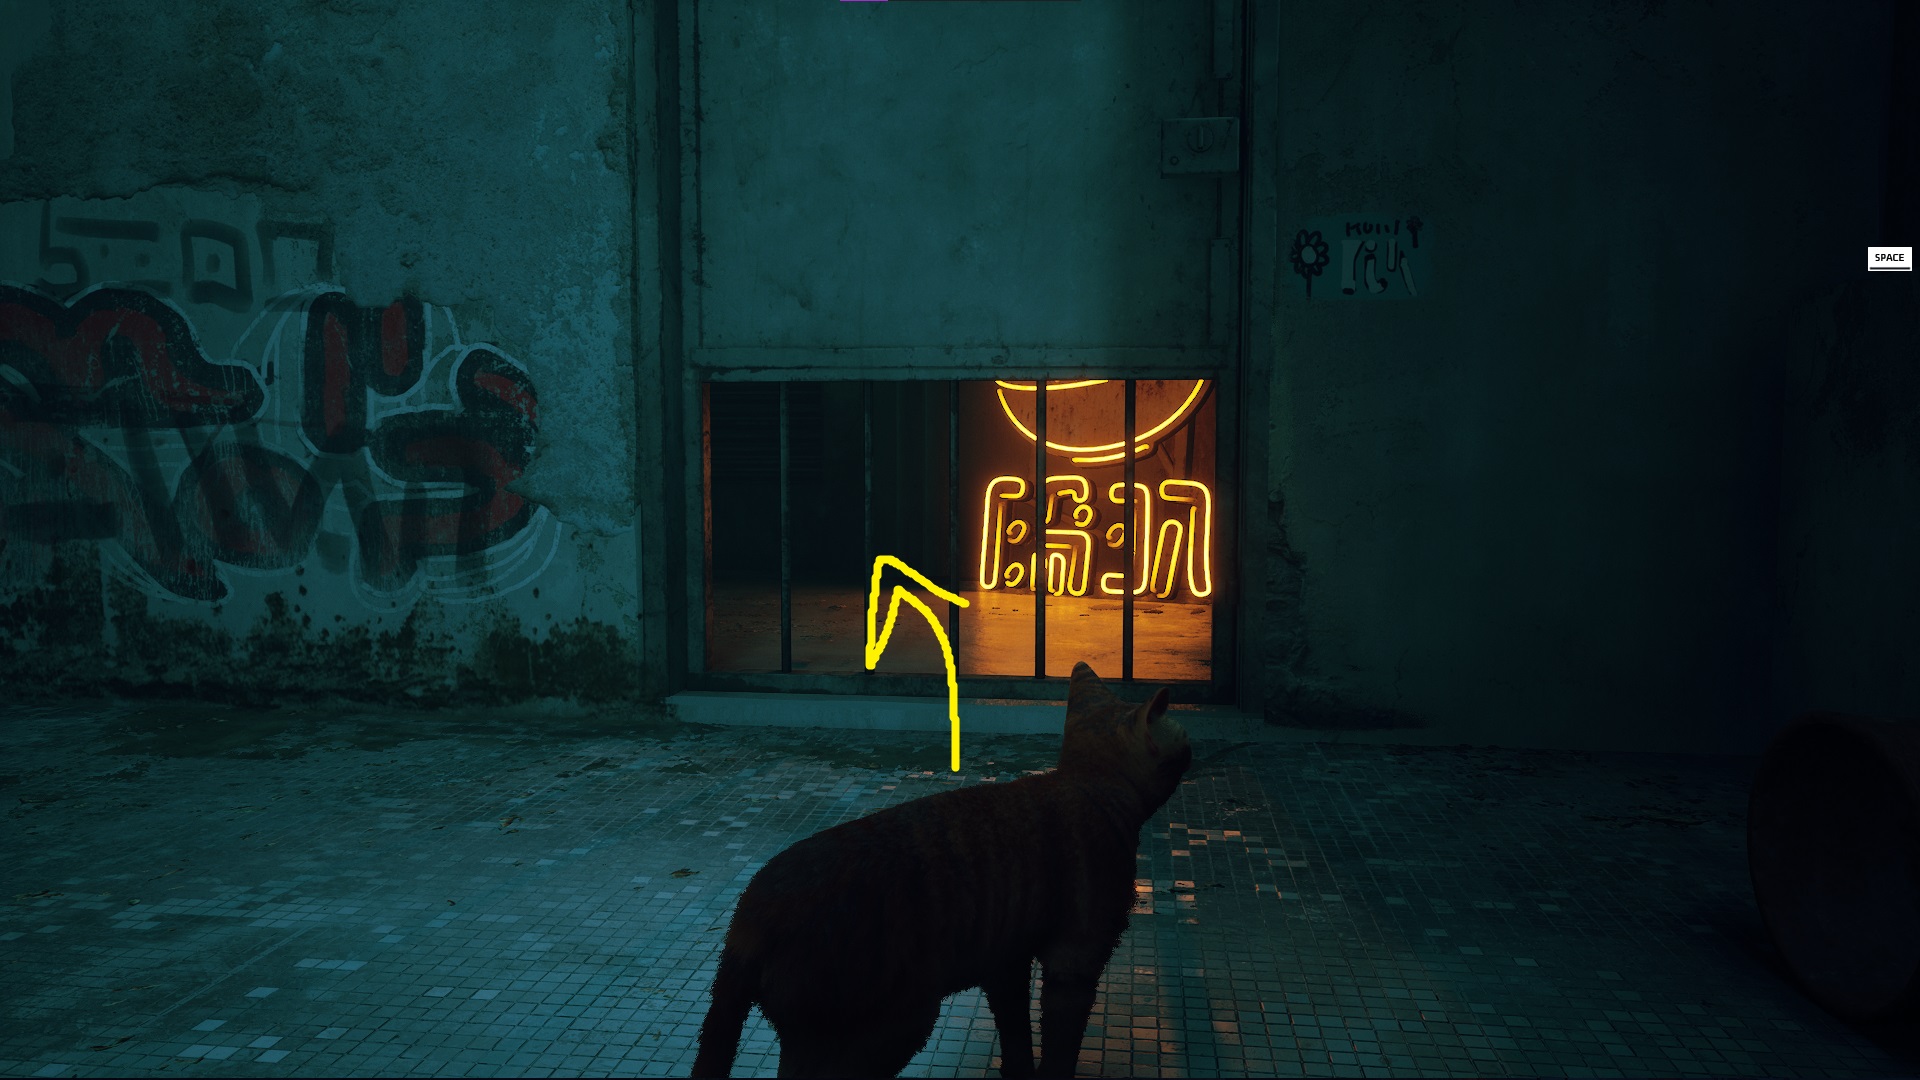
On the other side, a (confusingly non-neon) sign points to a window — jump to the windowsill and then make your way through the window. Continue through the apartment, and once you’re back outside you’ll be confronted with a new style of puzzle.
Try walking around while inside the barrel.
Walk into the barrel, and then walk towards the nearby awning to roll the barrel beneath it. You can then exit the barrel and use it to jump up to the awning.
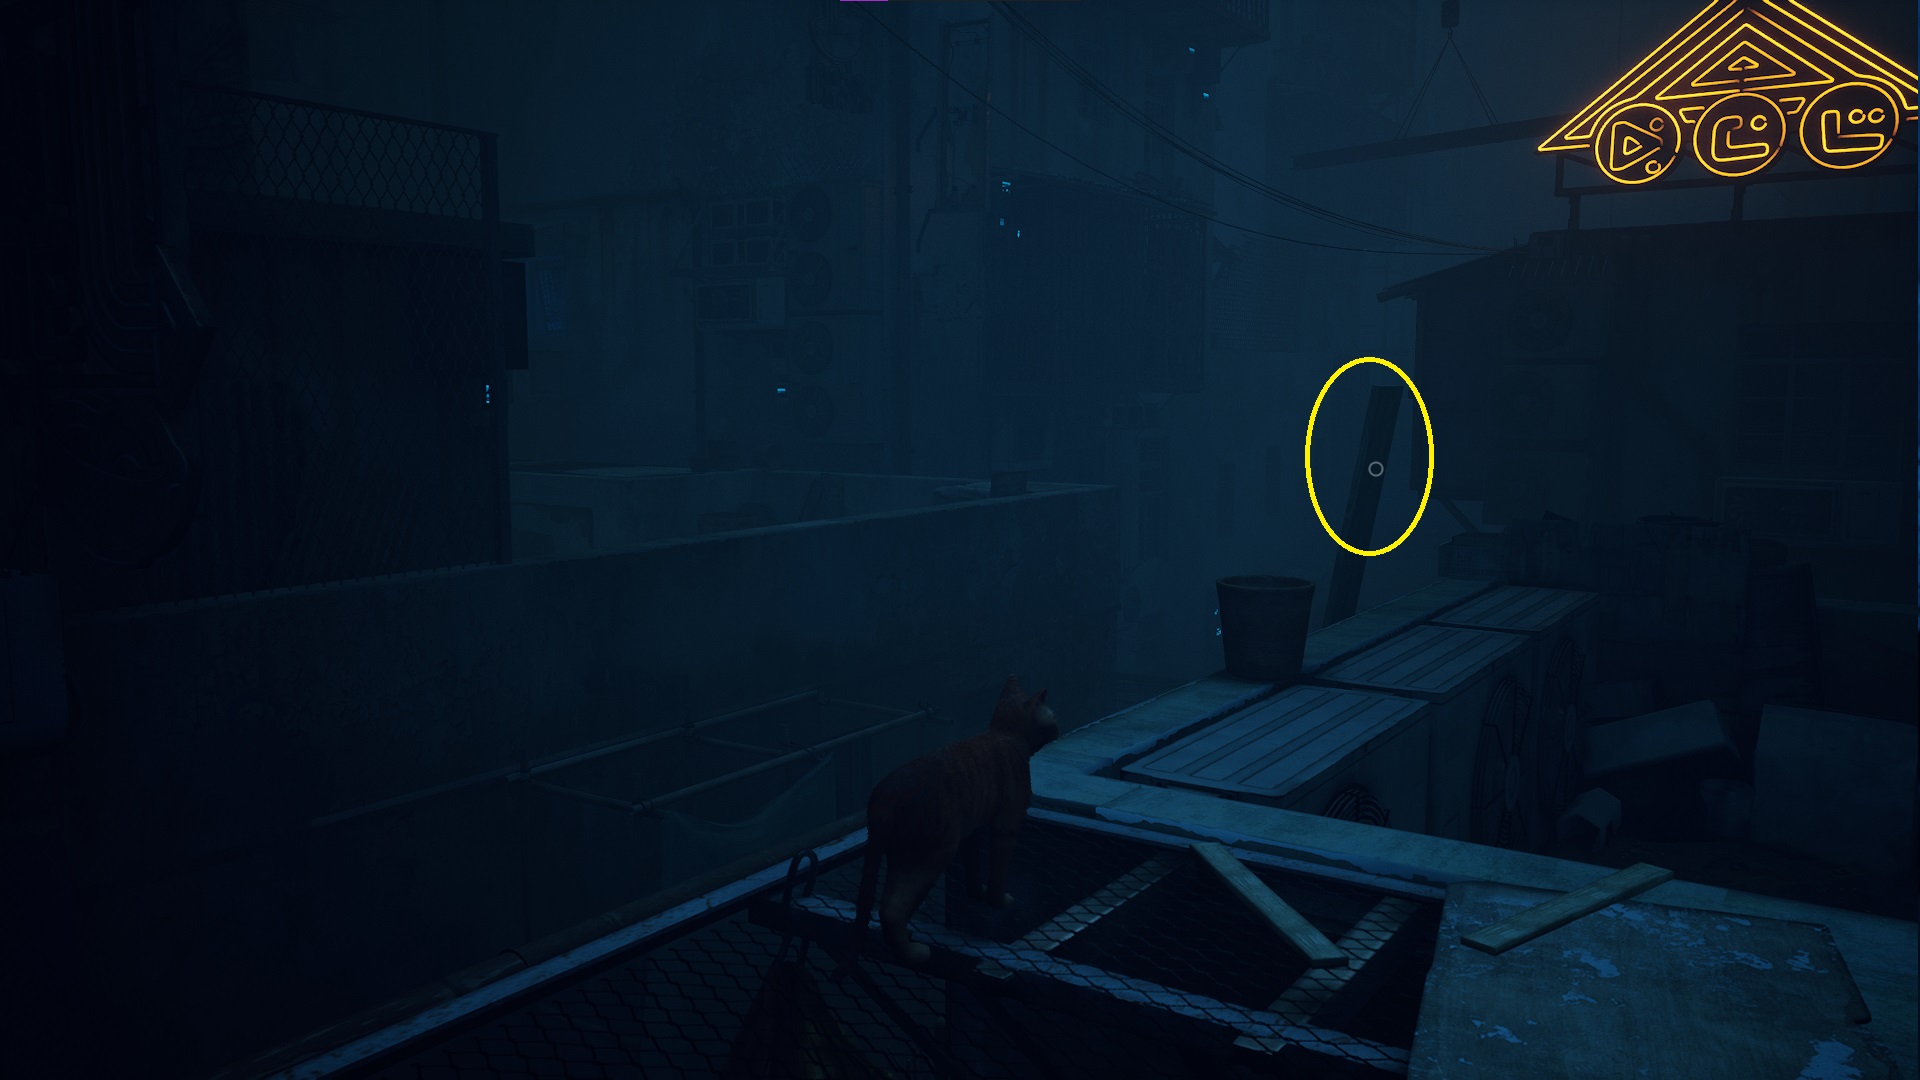
Next, jump to the steel girder to continue forward, and head in the direction of the glowing neon $ sign. You’ll end up falling from a board at one point, but that’s scripted and unavoidable. After you fall, another neon sign with an arrow will guide you forward — you’ll actually need to walk across the sign. Next, you’ll have to push over another board to continue.
Keep following the signs (and the meow-activated strings of lights) as you make your way higher and higher. The only tricky bit is after you reach the second balcony — the way forward is a small passage through the bottom of a door.
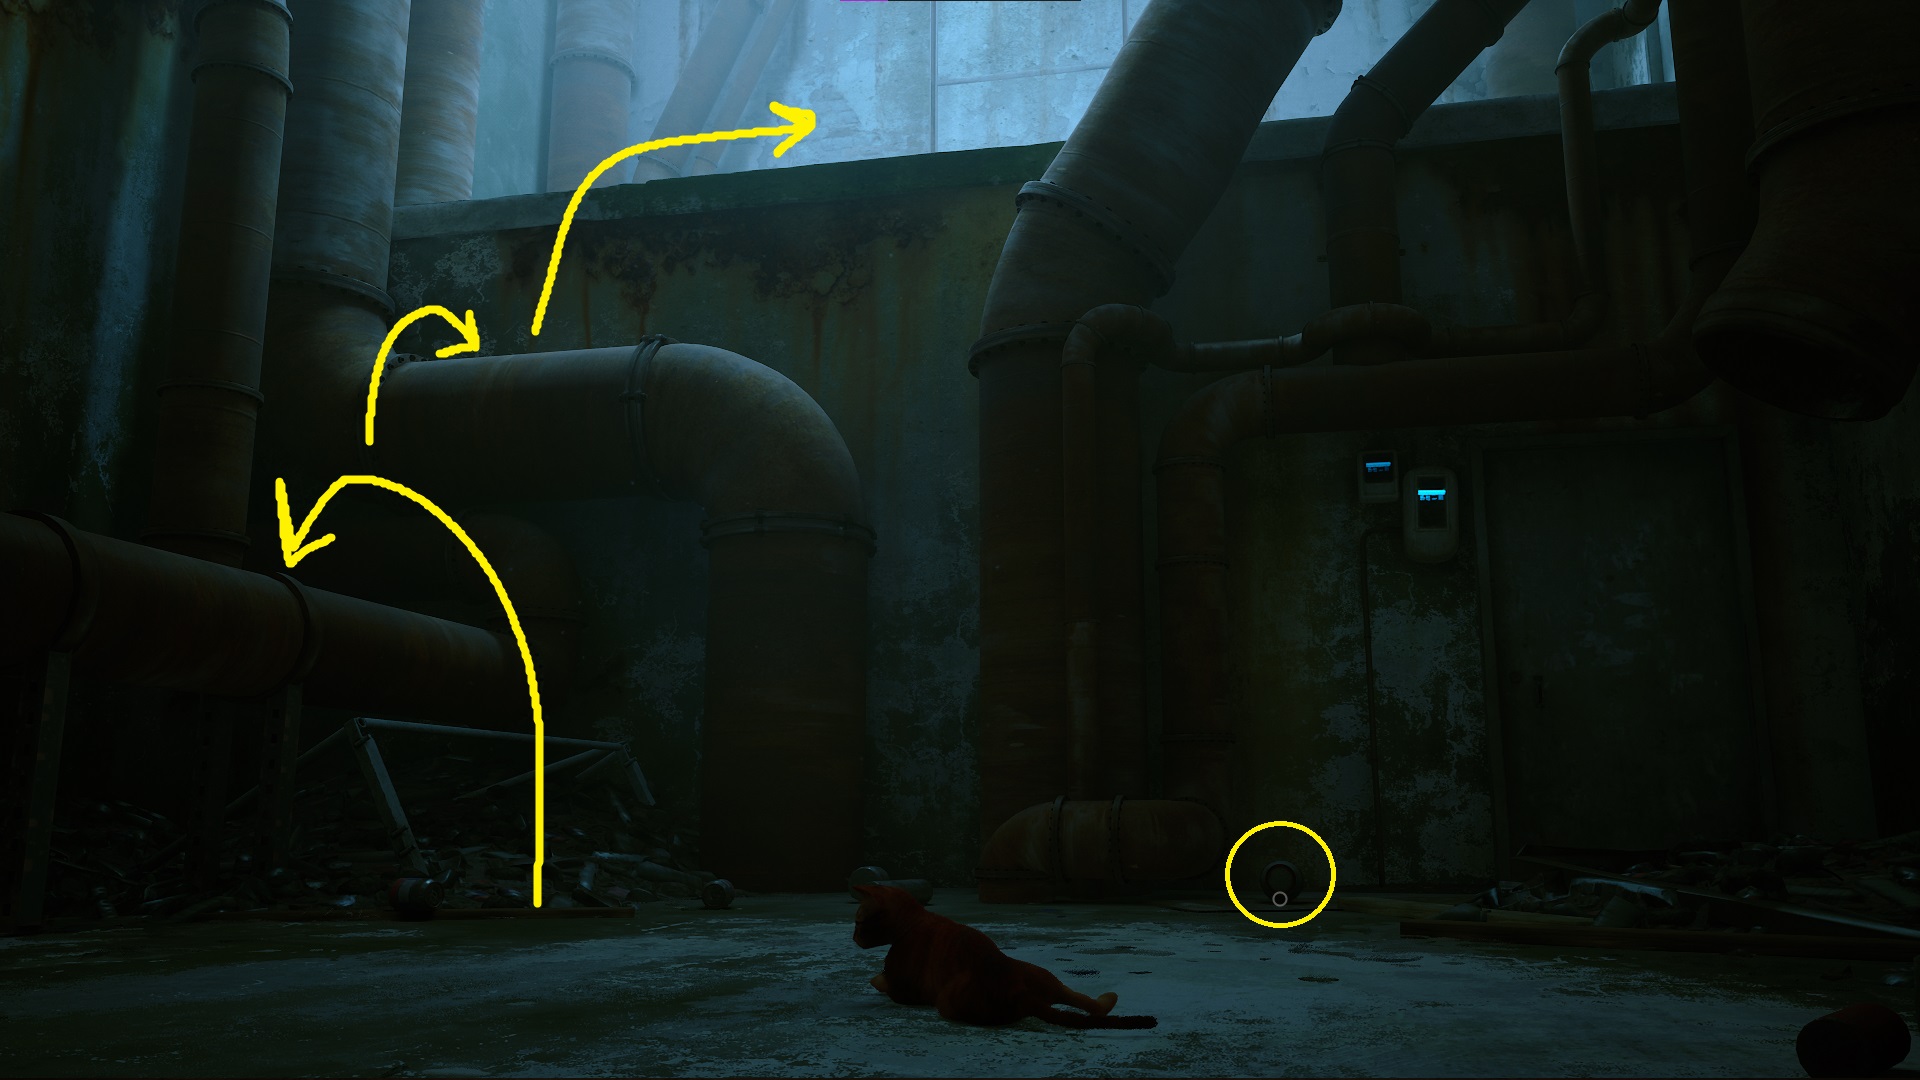
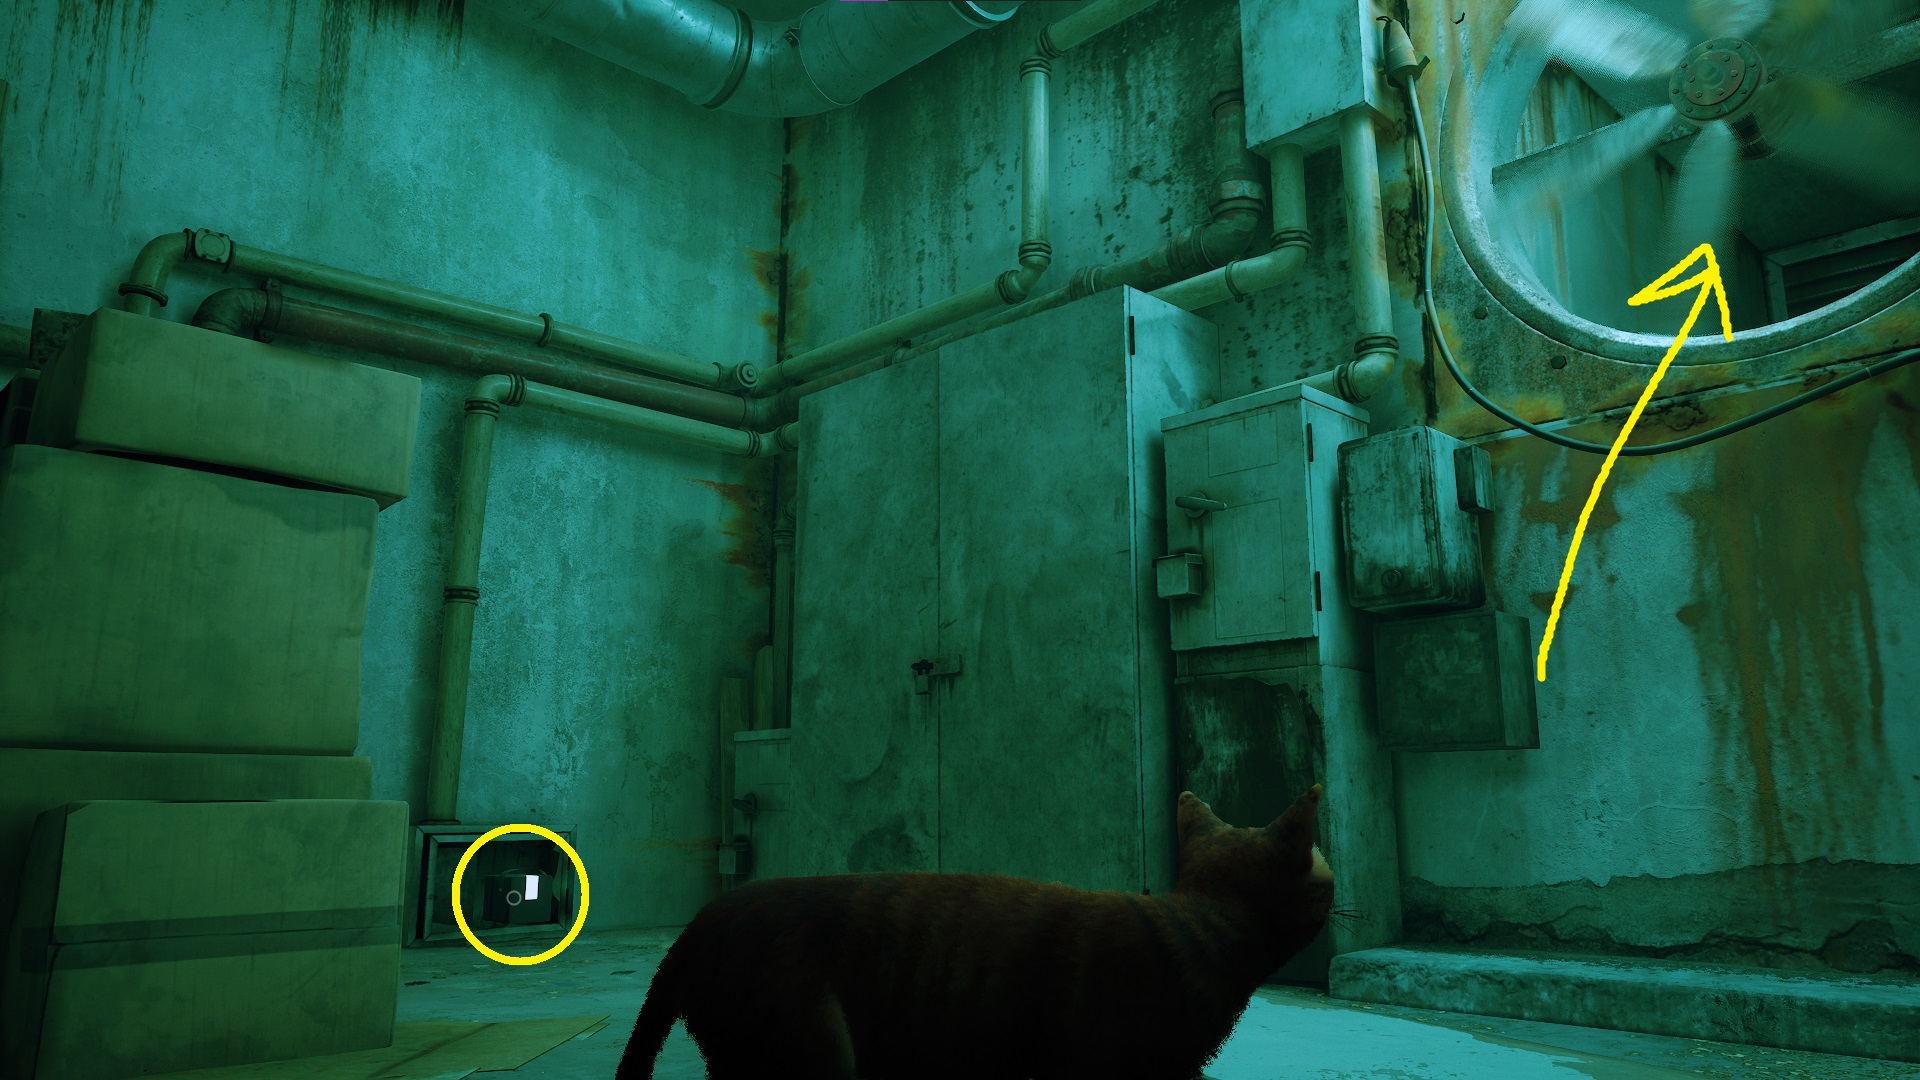
Make your way to the room with a fan, where another puzzle awaits (although this is probably the easiest “puzzle” in the game.
There is a way to stop the fan in this room.
Unplug the power pack against against the wall, and the fan will stop, allowing you to jump up and enter the ventilation shaft.
Continue through the ventilation shaft and you’ll enter The Flat!
Unabashed FromSoftware fanboy still learning to take his time with games (and everything else, really). The time he doesn't spend on games is spent on music, books, or occasionally going outside.