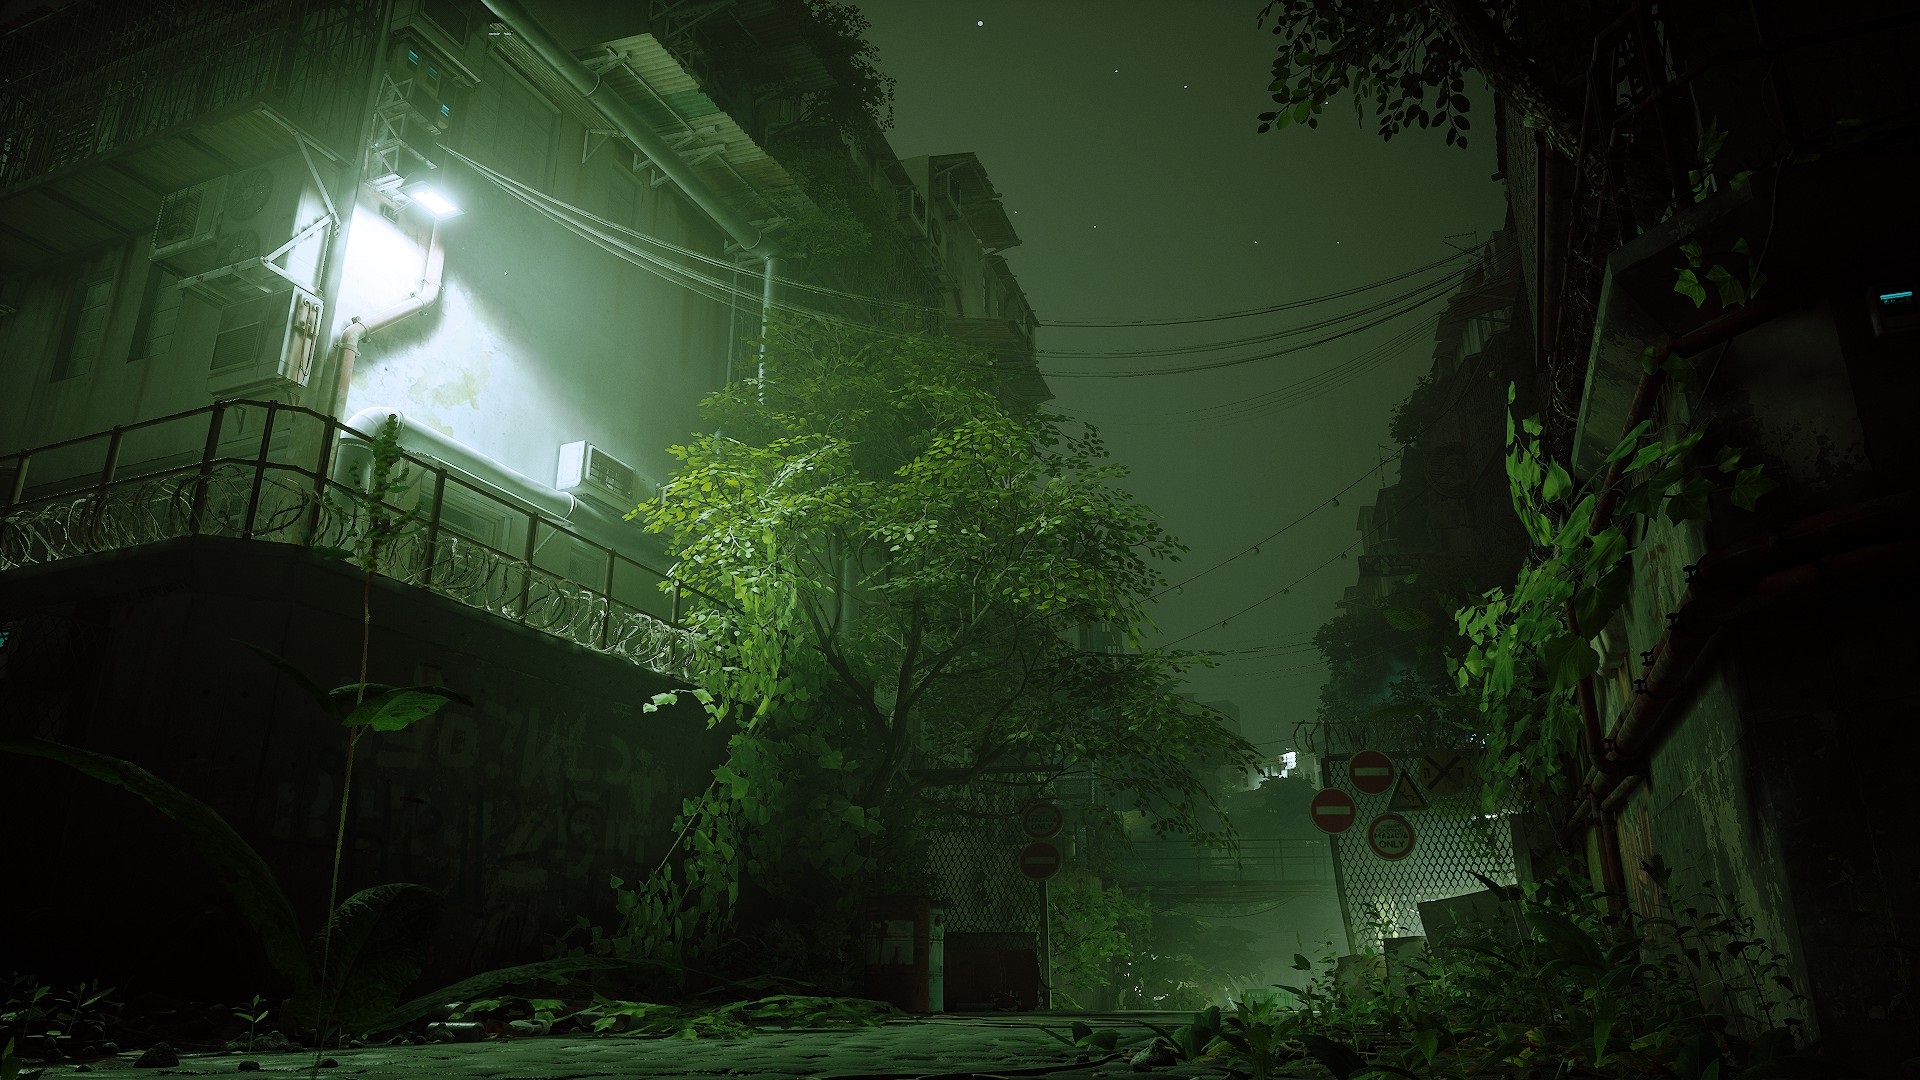
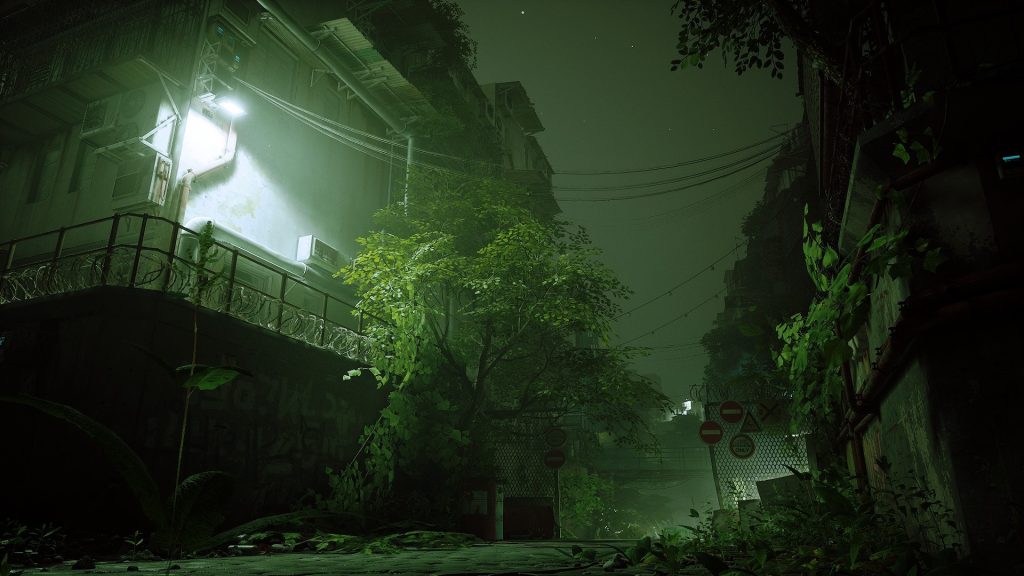
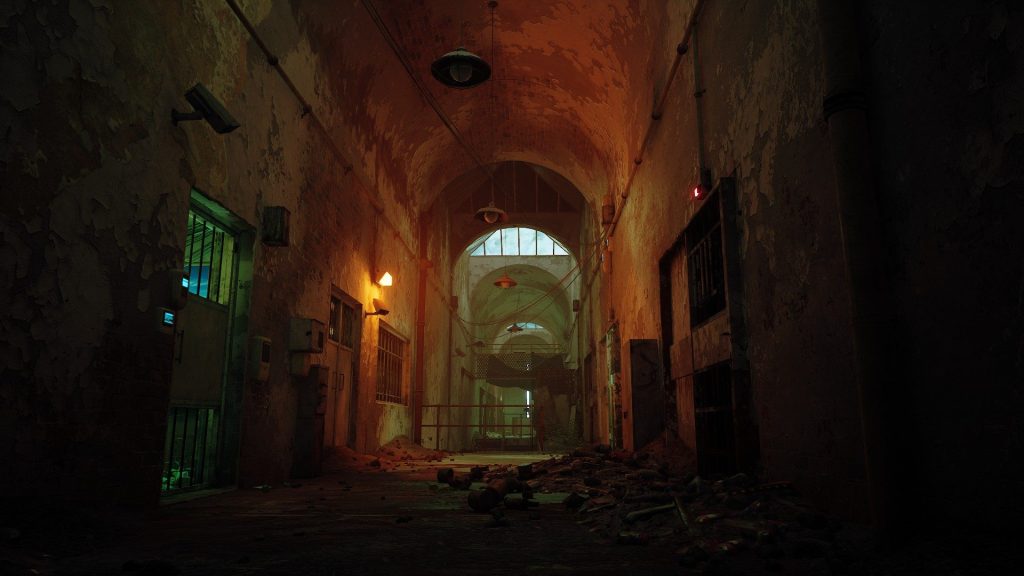
You should be standing in front of an open concrete culvert. Once you slide down, you’ll start another sequence where you need to run forward while avoiding Zurks, so make sure you’re ready before you head down into the culvert.
The point of no return
The name of the game is simple: don’t die. Make sure you’re holding the sprint key the whole time, and keep moving forward. There are multiple spots where you can jump over small ledges or obstacles to avoid upcoming groups of Zurks, so make sure you’re looking ahead and planning accordingly. There are a few spots where Zurks will pour out of holes in the wall — the temptation may be to move away from the holes, but you’re actually safer closer to the wall they’re coming out of.
The only truly tricky part comes near the end of this chase sequence, and it’s something of a logic puzzle.
Sometimes the way forward isn’t where you want to go first.
Because the Zurks are blocking the low path under the stairs/landing, you need to lead them up the stairs and around the landing. One loop should be enough to clear the way forward, but if there are still a lot of Zurks in your way, feel free to do the loop once more to make sure you’re safe to head into the hole.
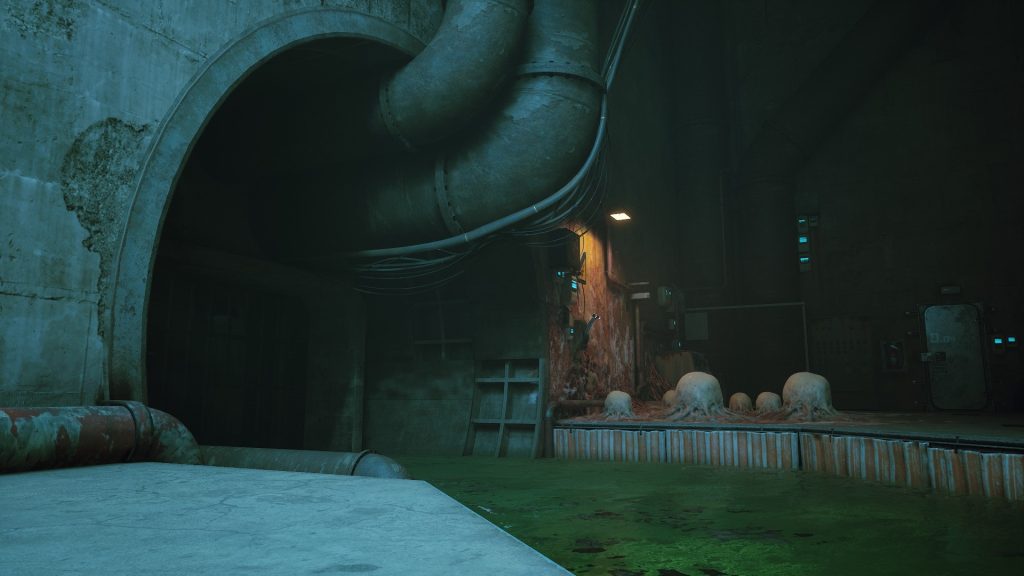
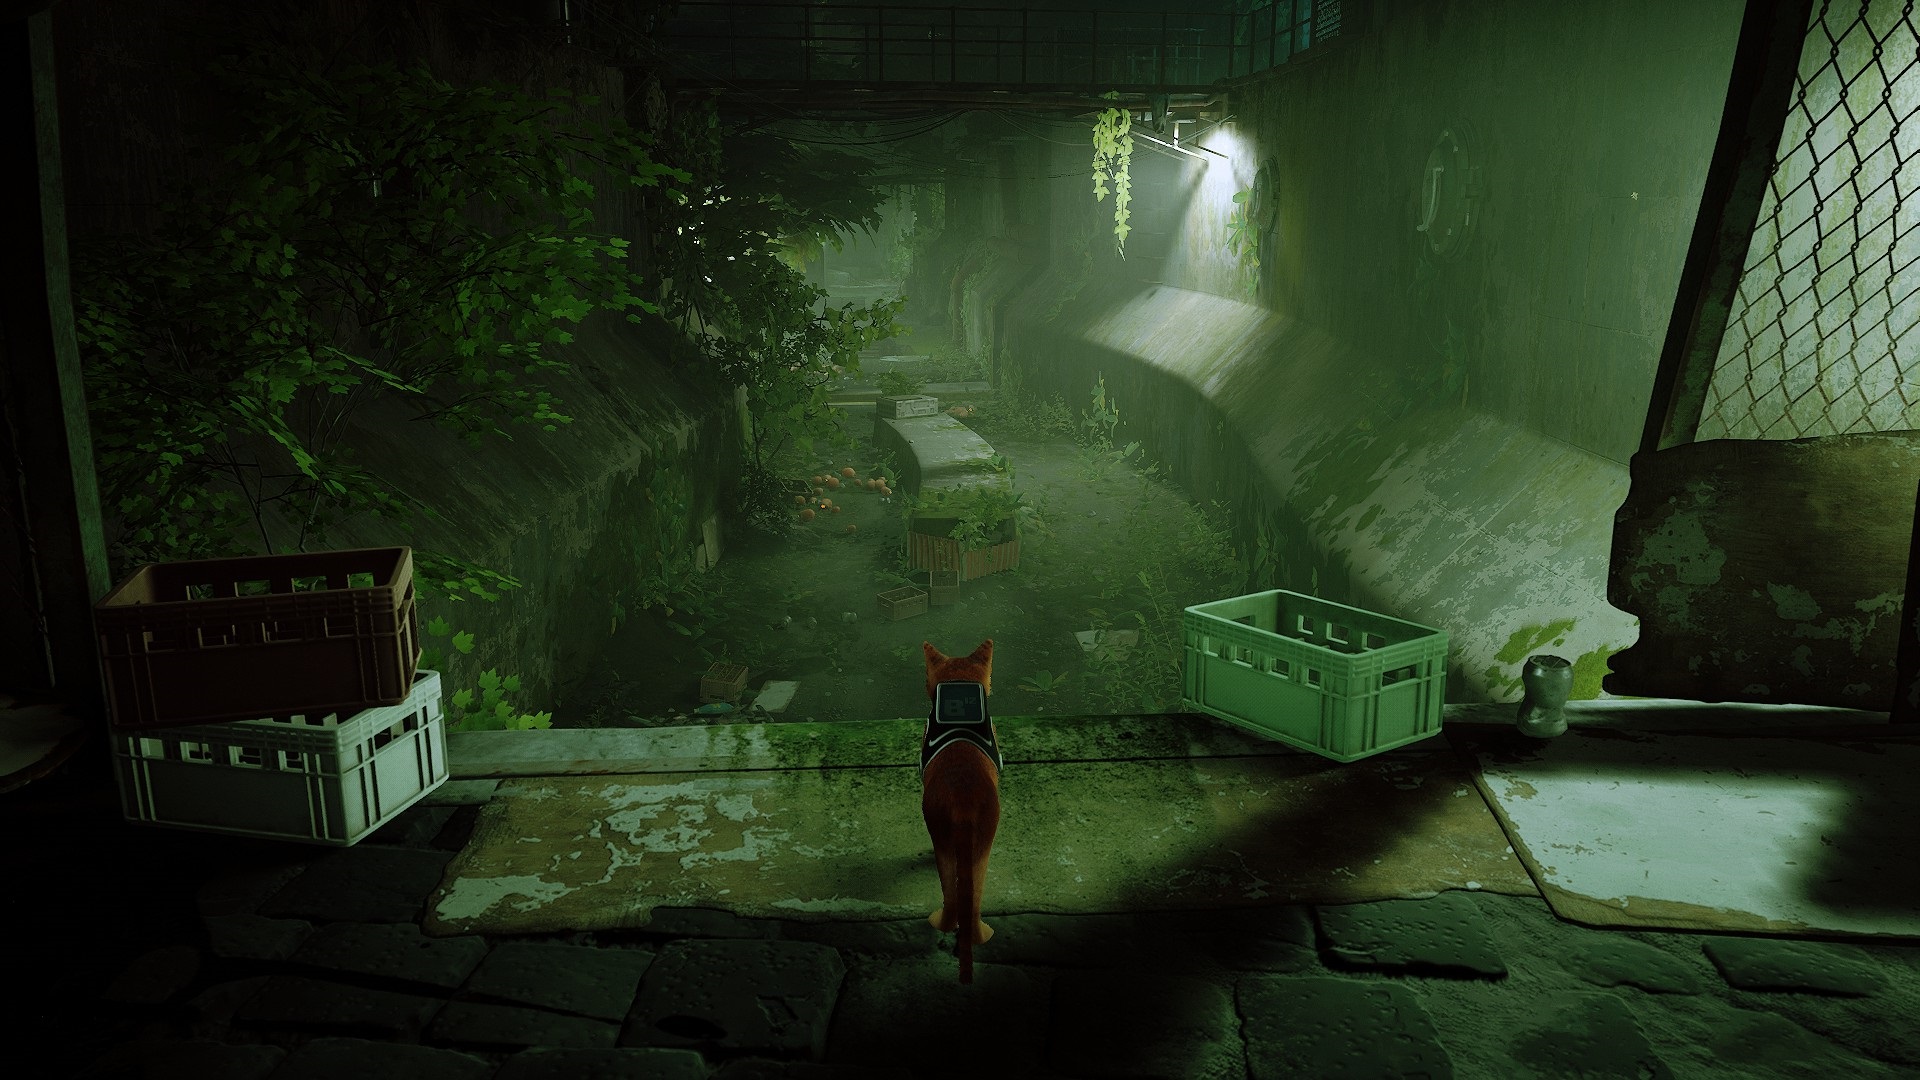
Once you’ve made it under the stairs, you still aren’t safe! Keep going until you’ve jumped up onto the ledge that overlooks some scummy green water. Here you can catch your breath as you examine the girder puzzle ahead of you.
Sometimes the way forward isn’t where you want to go first.
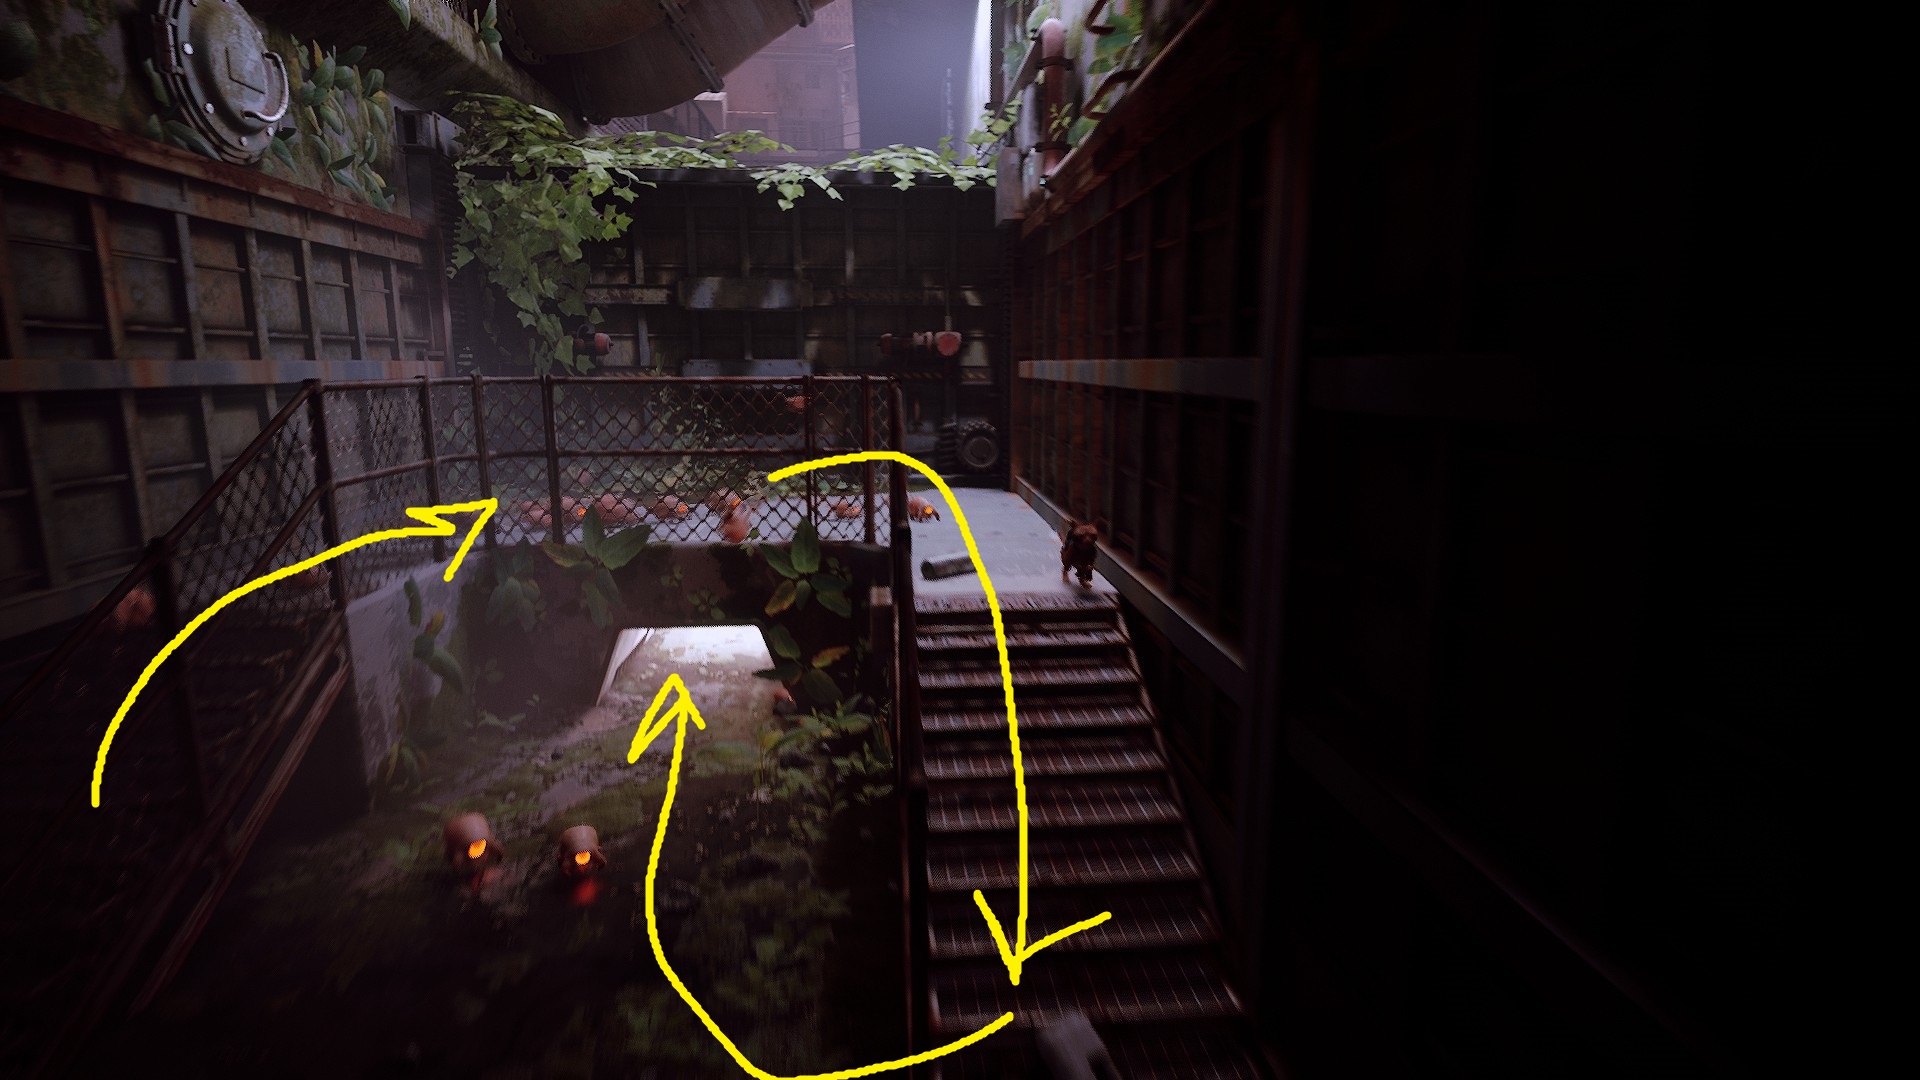
The diagram below may look confusing at first, but it isn’t too tricky — Yellow first, then red, and finally orange. The directions are color coded to match the arrows below them.
You’ll need to first jump onto the swinging girder, and from there to the pipe below. Then jump to the nearby girder jutting out from the wall — it will swing towards the pipe in the right of the image below, and you can jump to it.Then jump back to the same girder, and it will swing back the other way. As it does so, jump back to the first pipe you landed on.Finally, jump to the girder one more time, and it will swing far enough for you to jump to the pipe on the far side of the room.
Once you’re on the pipe on the far side of the room, follow it until you can jump to some barrels floating in the water, and use those to reach a series of girders. Jump across them and you’ll find yourself over another culvert — this time you won’t have to do any running, just hop down onto the cart and it will crush Zurks as it barrels down the culvert.
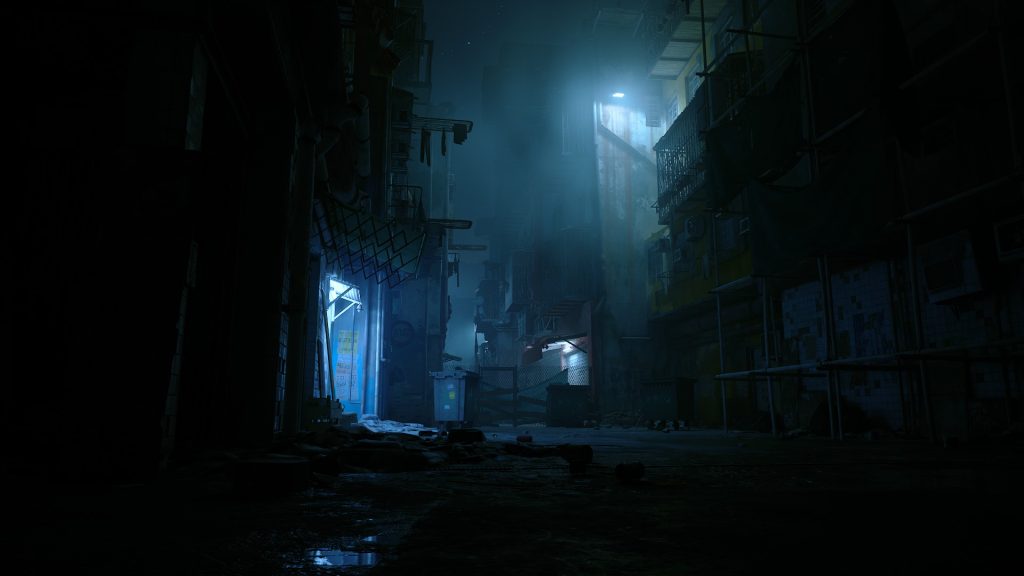
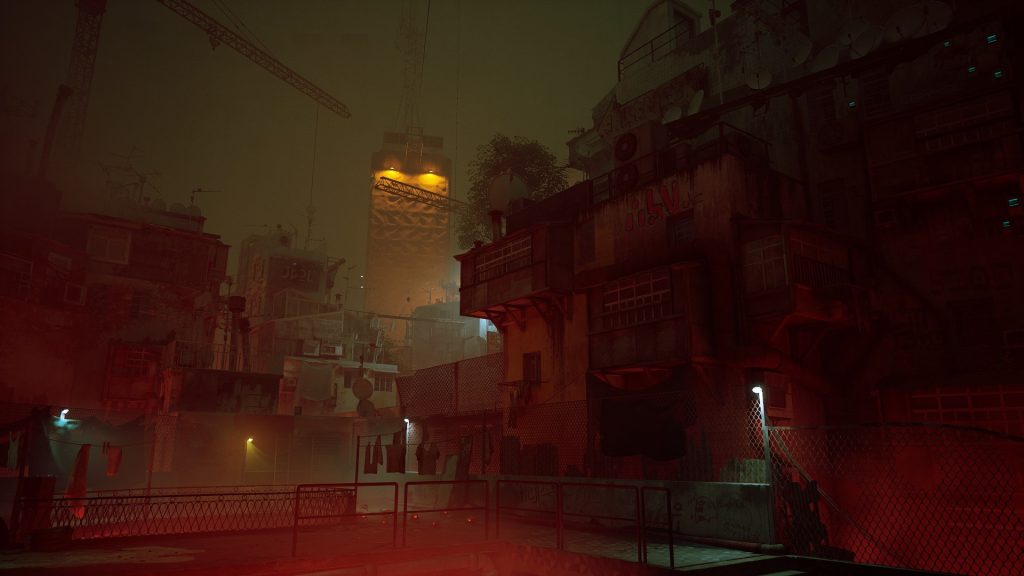
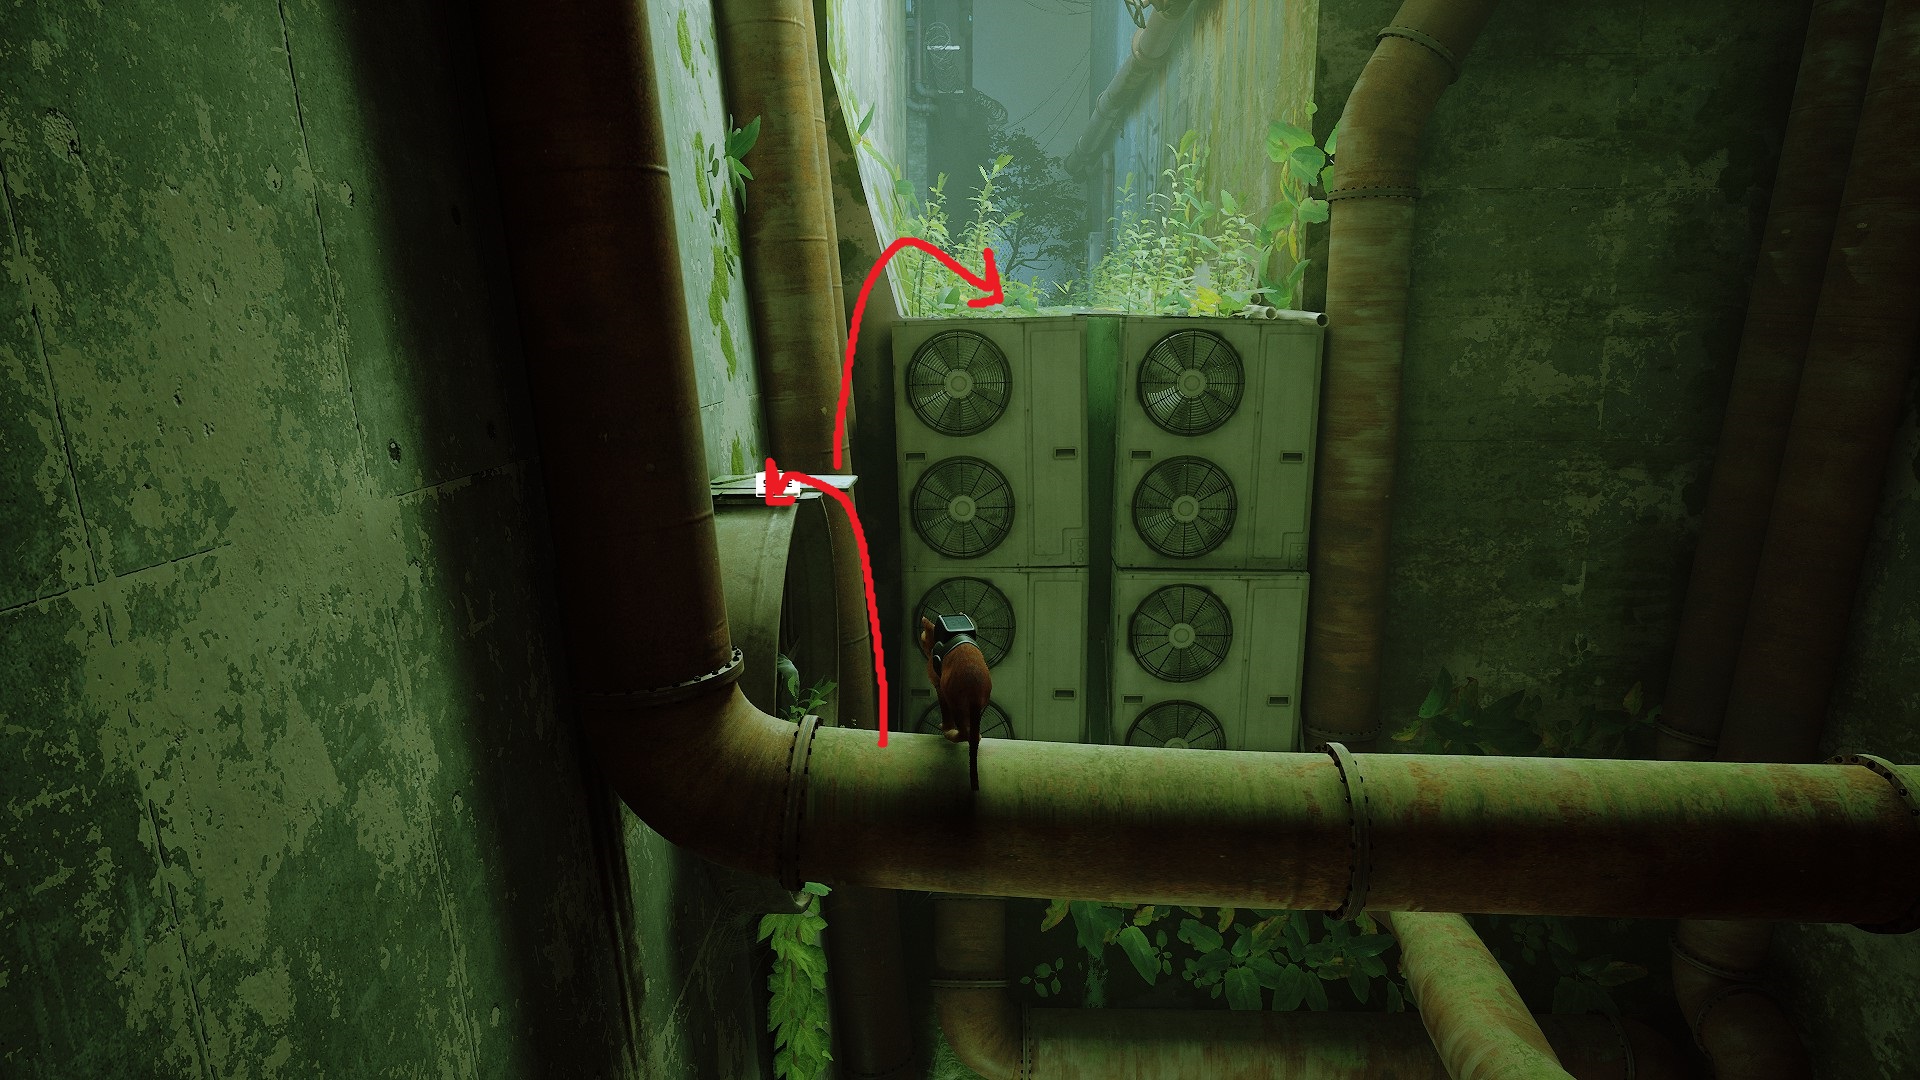
After your “landing”, head towards the bright light, and jump up on the vehicle next to it to reach the pipes above. Keep using the pipes to climb higher, and then cat parkour over to the nearby culvert with the waterfall that’s running through what appear to be air conditioners.
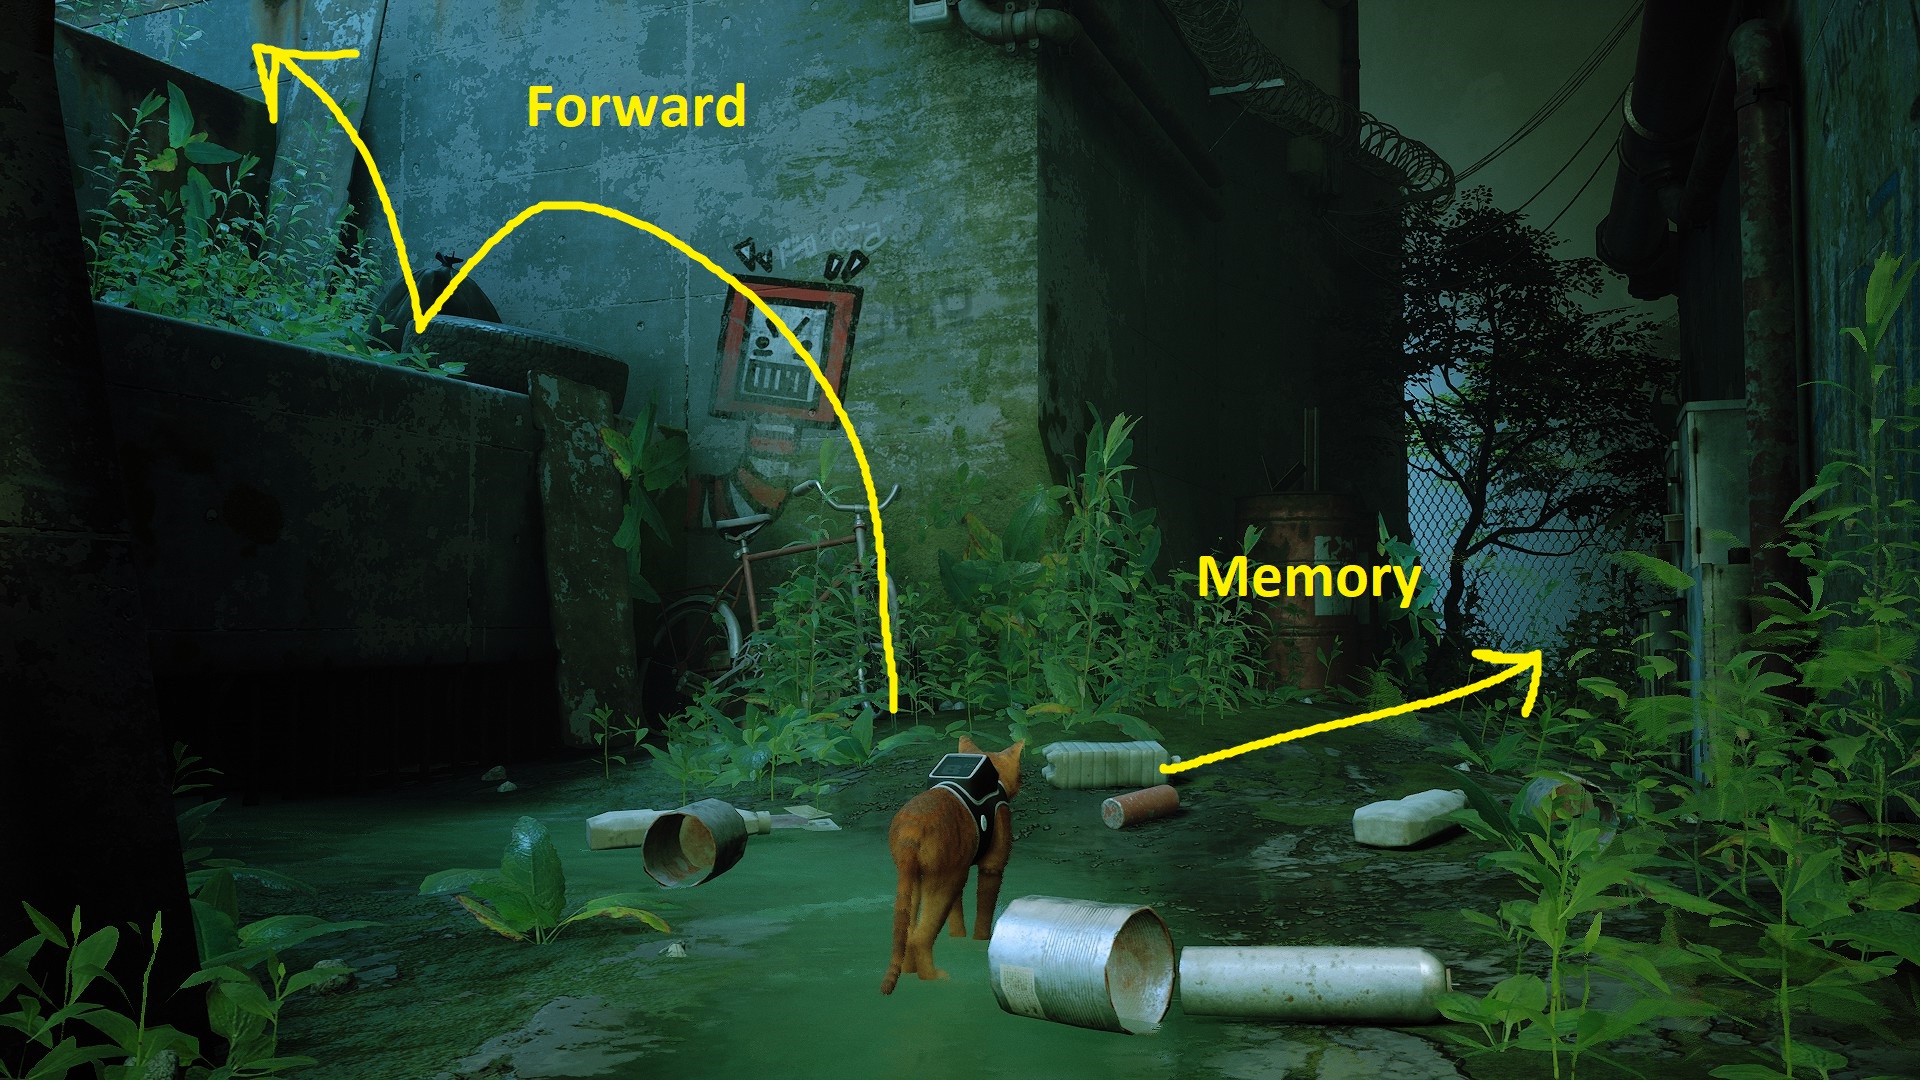
Continue forward, and you’ll reach a spot where you can turn left and jump up a ledge. This is the way forward, but first you can find another memory by continuing straight and slipping through a small hole in the fence, then turning right and jumping to the corpse of the robot.
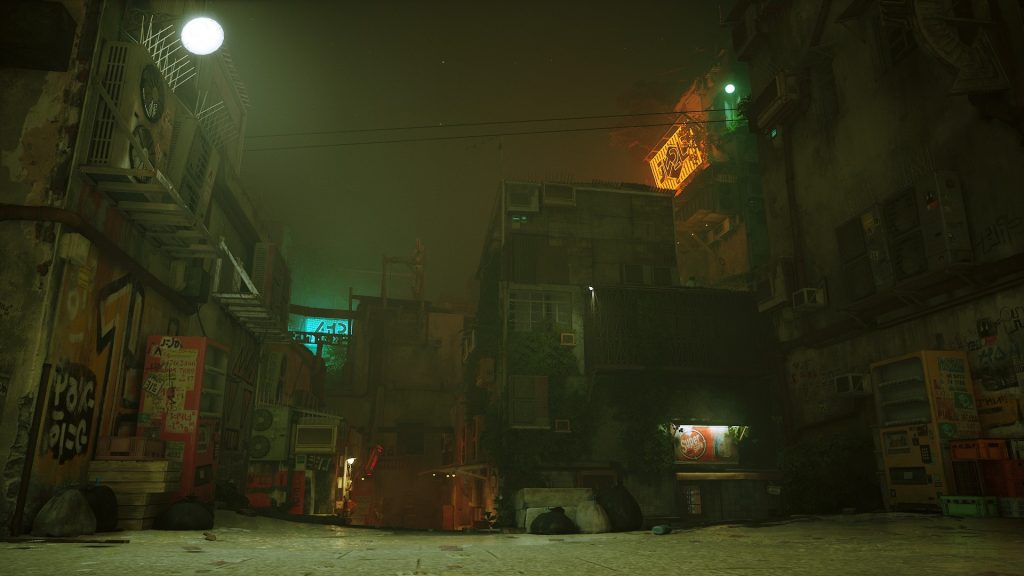
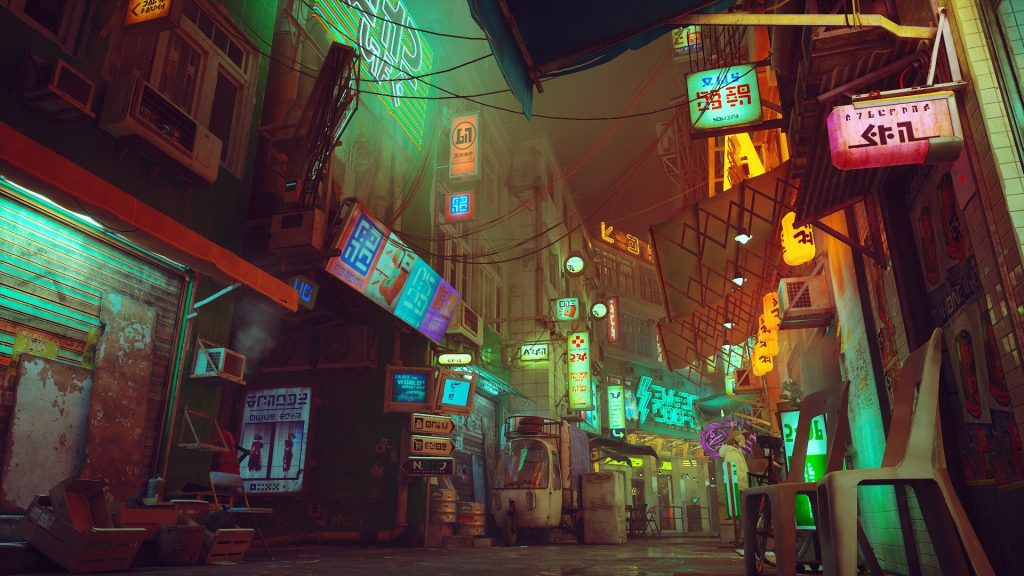
Once you’ve grabbed the memory, go back to the junction and this time jump up the ledges, and then to the top of the fence (by way of AC unit). Hop down into the dirty courtyard, and head to the orange-lit alleys across the canal. Jump across the broken bridge, and then go down either alley. Both alleys dead end, and you can jump up towards the higher ground between the two alleys. Once there, head through the window with the cables coming out of it.
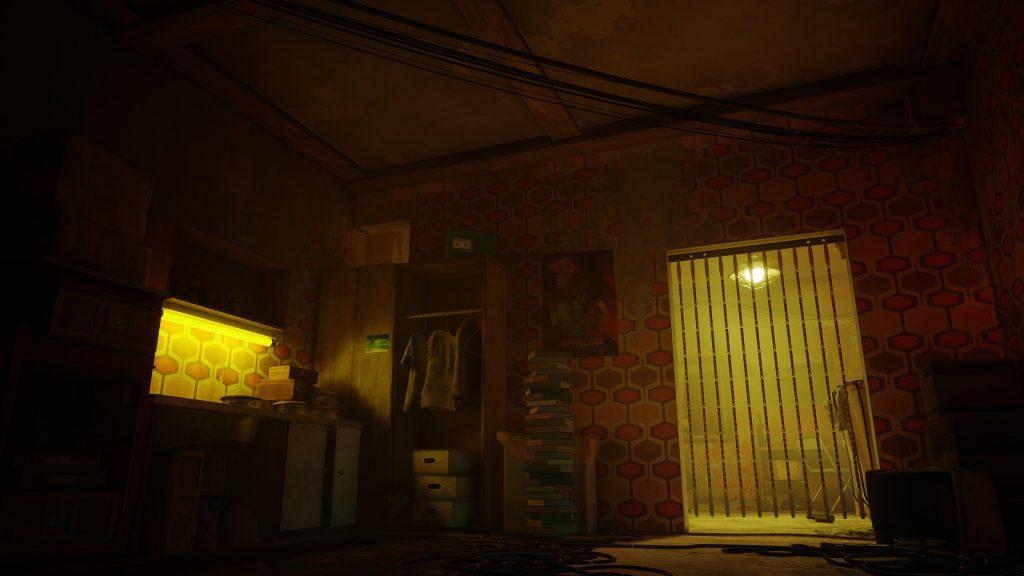
Head down the stairs and you’ll meet Doc. After you’re done speaking with him, you can grab a memory over by the couch covered in garbage. Then you’ll somehow need to convince him that he can save himself…
Explore Doc’s apartment and mess with stuff until Doc notices what you’re doing.
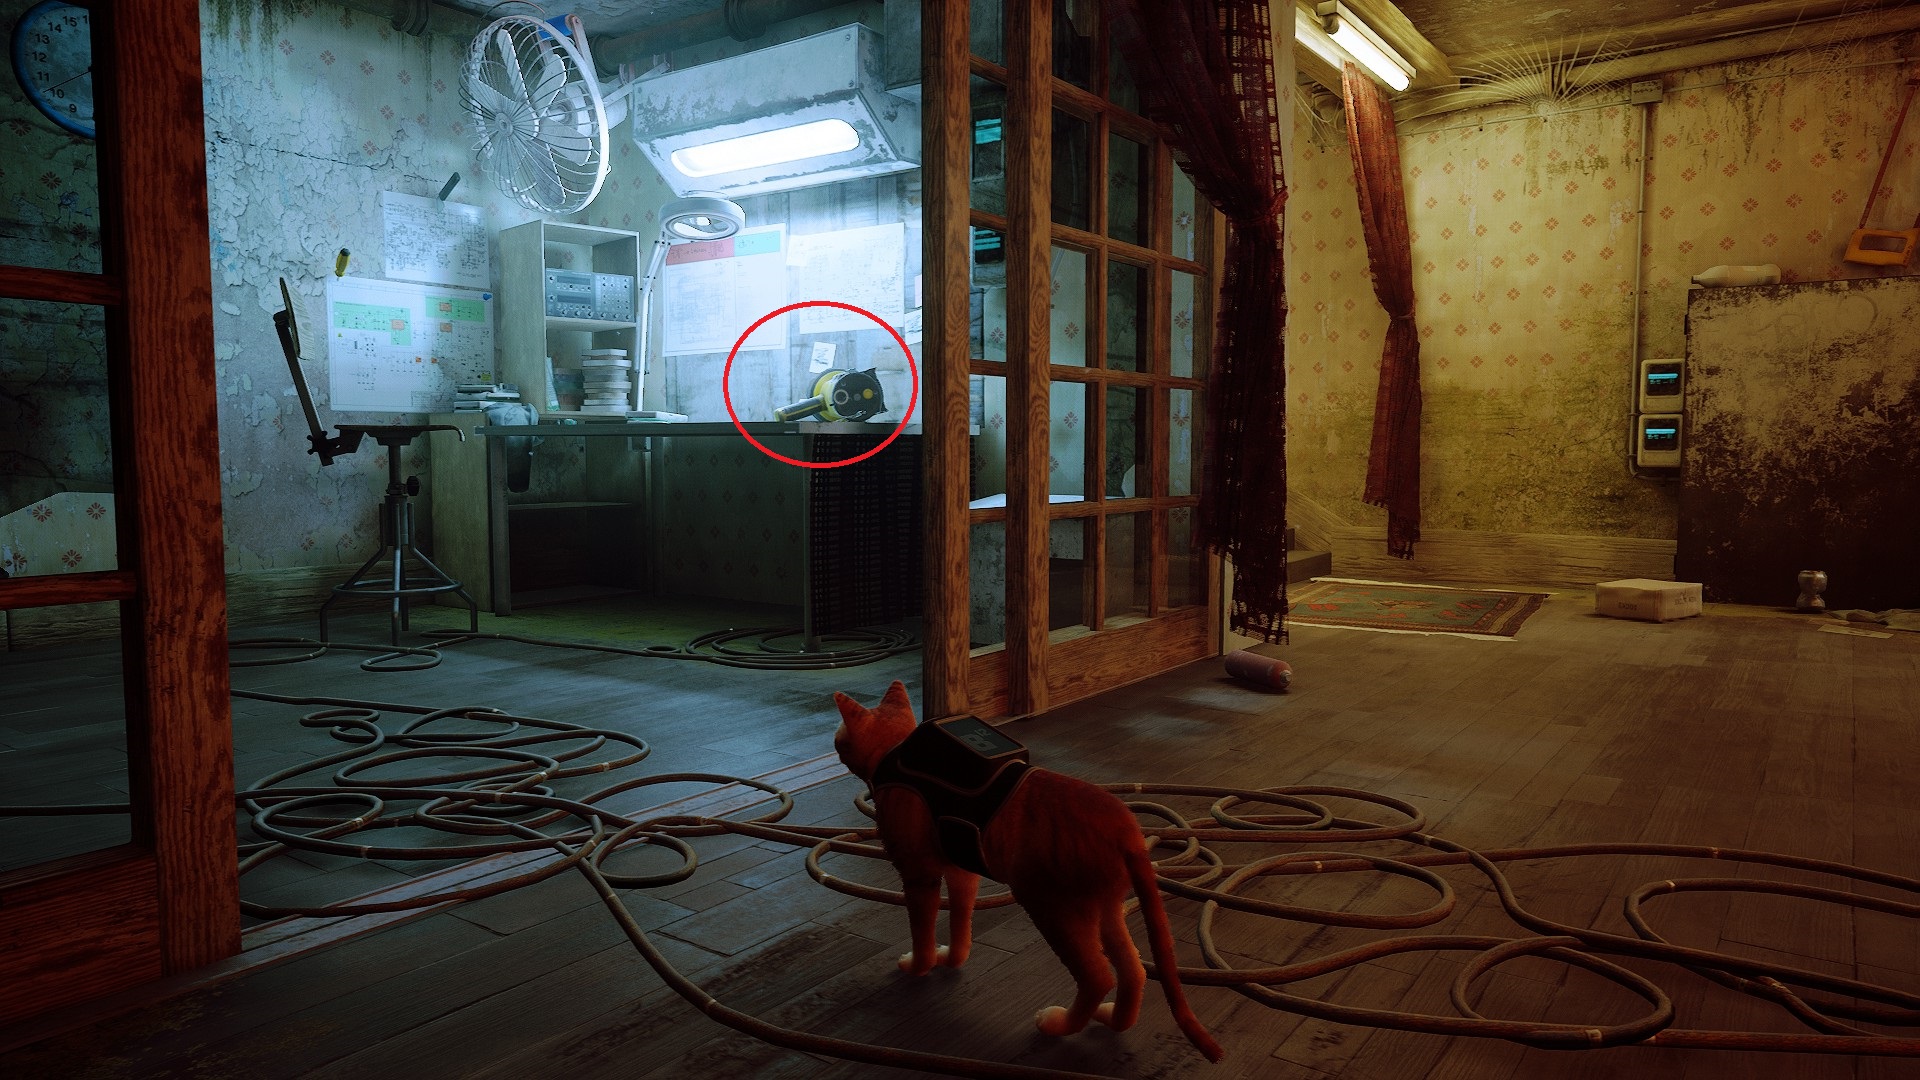
Head into the study (the room with the glass doors) and hop up on the workbench. Interact with the gun/flashlight-looking thing on the table, and Doc will come over and tell you not to mess with his Defluxor.
Once Doc realizes you can help him get the item charged, he’ll tell you to follow him. Go back upstairs, and head over to where he’s waiting by the window. He’ll give you a Fuse to put in the generator, and open the window for you. It’s easy to find the generator, since you can follow the yellow and black cables the whole way. Once there, you can use the Fuse on it to start the generator, but be ready — once you insert the fuse, you’ll be attacked by a large swarm of Zurks. You’ll need to be clever like a cat to stay alive!
Find a route you can run that will make it hard for the Zurks to follow you while Doc picks them off. Be careful, as you may run into more Zurks even after you think they’re all gone.
Near the generator, you can run in a small loop as indicated below, and the Zurks shouldn’t be able to catch you. Note that after the initial wave is gone, you’ll need to head back to Doc, but you’ll run into another group along the way — as long as you run away from them, Doc should pick them off without you even needing to run the route again.
Once the area is clear of Zurks, head back through window (follow the cables if you’re lost) and you’ll speak with Doc again. He’ll mount the Defluxor on B-12, and then you can follow him out of the apartment. Outside, you’ll find a bunch of Zurks trying to get through a fence, and you’ll learn how to use the Defluxor to kill Zurks.
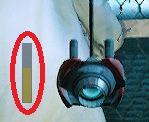
Note the meter next to B-12 when you use the Defluxor — if it fills, it will overheat and you won’t be able to use it.
Defluxor meter
Because the Defluxor overheats fairly quickly, and you do not want it to overheat while Zurks are chasing you, make sure you always let it cool down before the meter fills. The best way to accomplish this is to always walk (or run) away from Zurks while you’re fighting them — this buys you a lot more time to let the Defluxor cool between uses.
Finally, it’s useful to know that the Defluxor doesn’t hurt you, so feel free to target yourself directly if Zurks are close (or attached to you).
Once the Zurks are all popped, Doc will open the gate and you can follow him across the bridge, where Doc will discover that the way ahead is blocked. You’ll have to find a way to restore power to the gate…
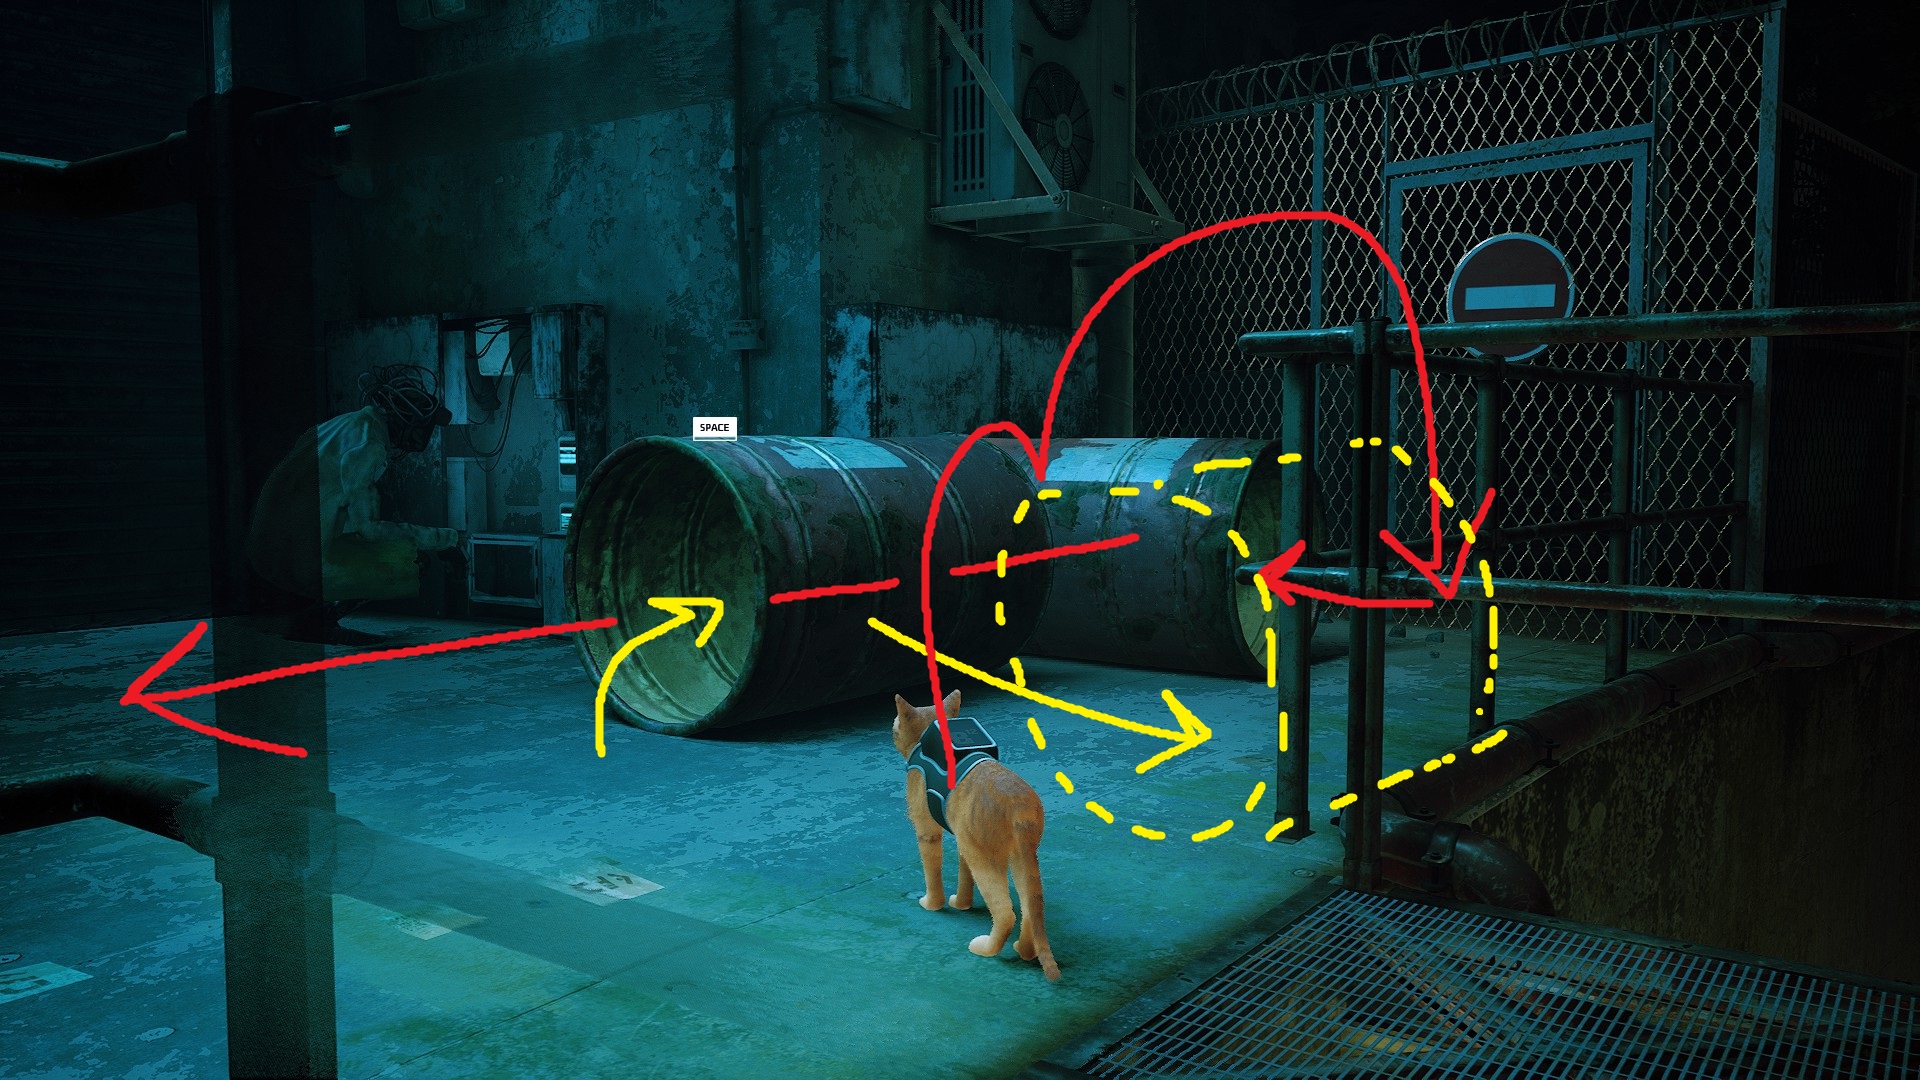
Nearby (on this side of the bridge) is a passage you could fit into. However, you’ll need to move some stuff around in order to reach it.
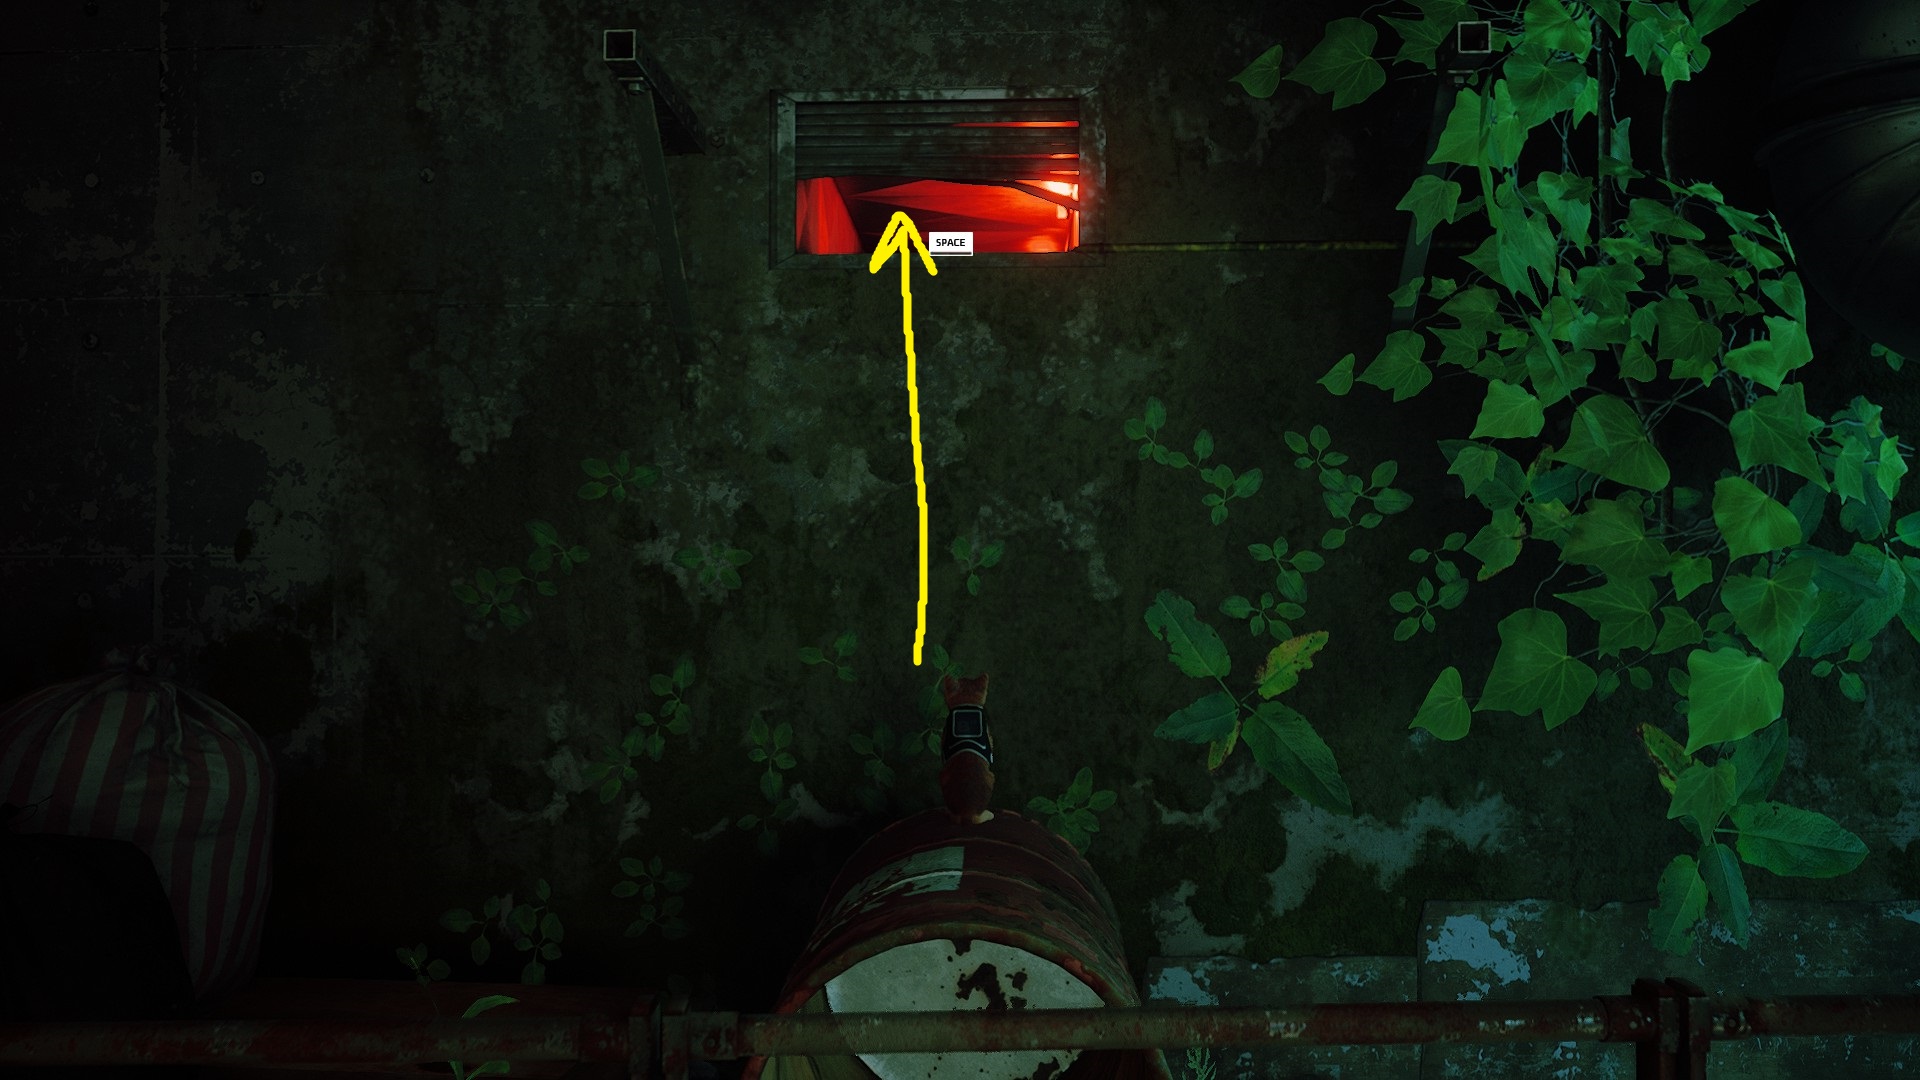
There are two barrels nearby. You’ll need to roll the closer one out of the way of the far one, and then jump onto and over it to enter the second barrel. Roll it across the platform until it stops, then hop out and use it to reach the red-lit ventilation shaft above you.
Yellow arrows first, then red
You’ll find yourself on a metal platform in a narrow room — hop down and pull the switch in the middle of the room. This will open a door at the far side of the room, and you can head through. Turn right as you exit the doorway, and be prepared to use the Defluxor on the two groups of Zurks waiting for you. Once both groups are toast, continue to the gate, which will open as you approach. Doc’s being attacked by Zurks, so use the Defluxor on him (it doesn’t hurt robots) to free him, and he’ll scramble inside and close the gate.
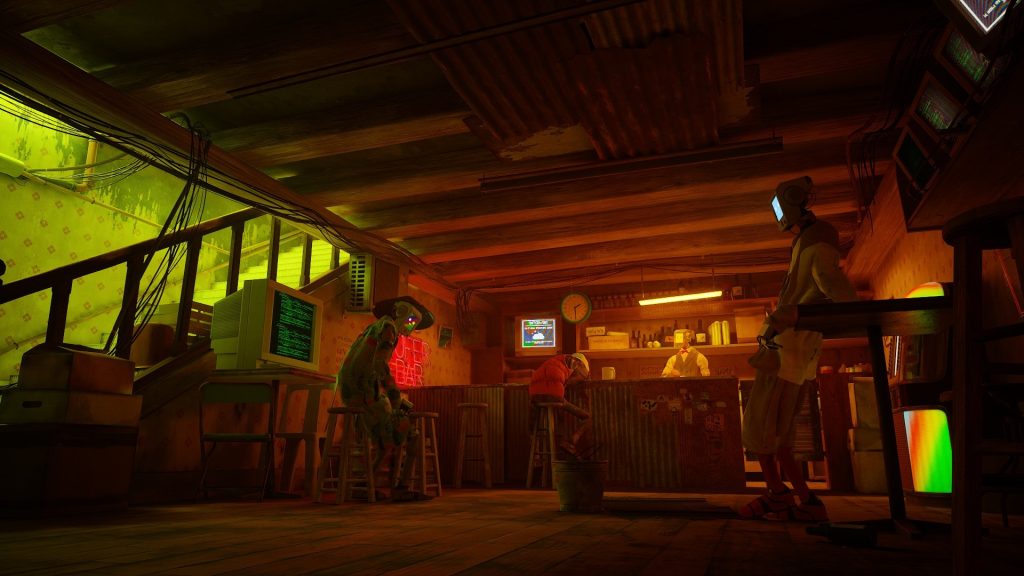
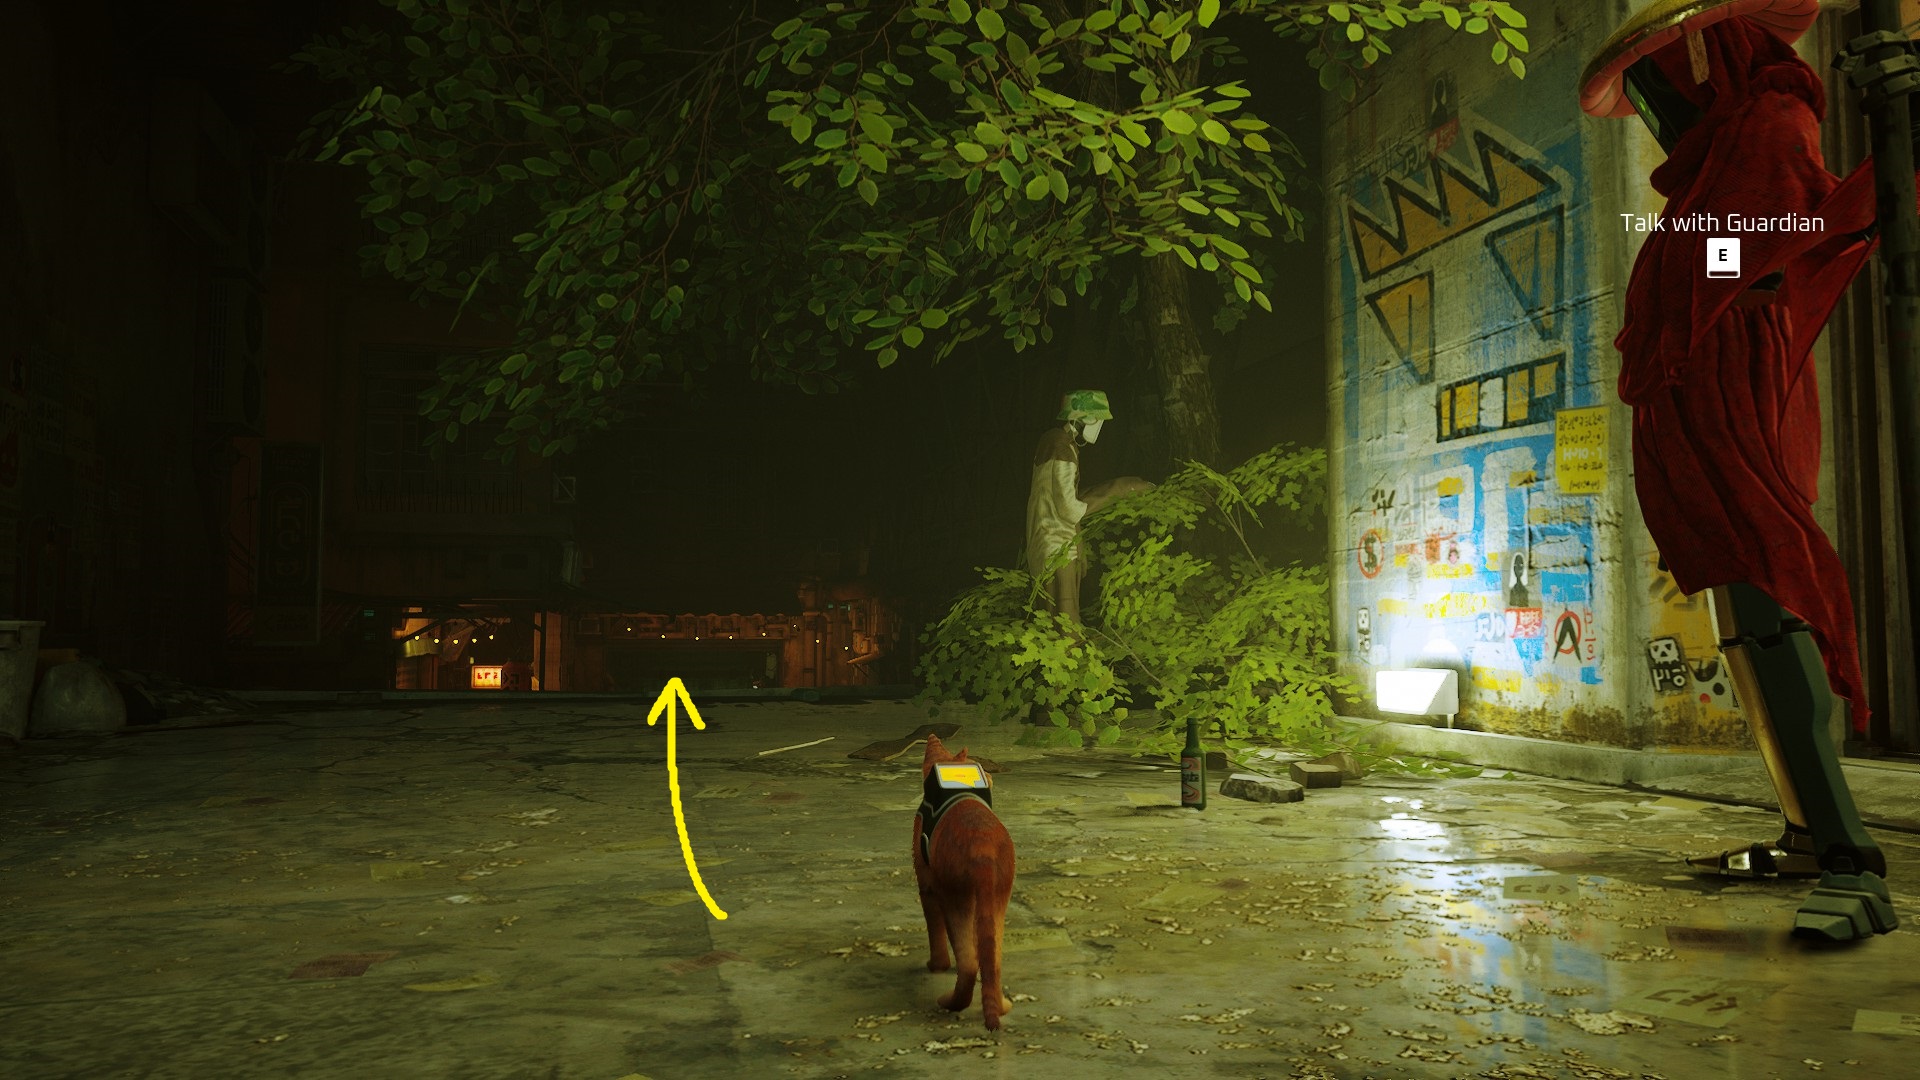
Clean up any remaining Zurks, then follow Doc. He’ll open another gate — continue with him into the next hallway, and at the other end he’ll open up a sealed door. A cutscene will play, and then you’ll be back in the Slums! From here, you can continue to The Sewers, but you can also explore the Slums some more if you arent ready for a dangerous, lonely adventure. When you’re ready to leave this area, head the direction the Guardian indicated, down the stairs, then down the next set of stairs to the docks.
While this is technically a point of no return, you can always restart the Slums chapter at any point if you want to finish collecting all the Memories or otherwise check out stuff you missed.
To the SewersTo the Sewers
Follow the wooden walkway to the window, then hop through it. On the other side of the docks you’ll see Momo waving to you from a raft — make your way to the far side of the docks, and then hop onto the raft to head to The Sewers!
Unabashed FromSoftware fanboy still learning to take his time with games (and everything else, really). The time he doesn't spend on games is spent on music, books, or occasionally going outside.