Welcome back, Warrior, and thank you for joining us as we continue our coverage of Stranger of Paradise’s Main Mission walkthroughs. For this guide we will cover ‘To Remember,’ which will take you through an area based on the floating ruins in Final Fantasy V. Along the way, we will point out the secrets on the level and provide tips for defeating the Mission’s challenges.
Let’s get started!
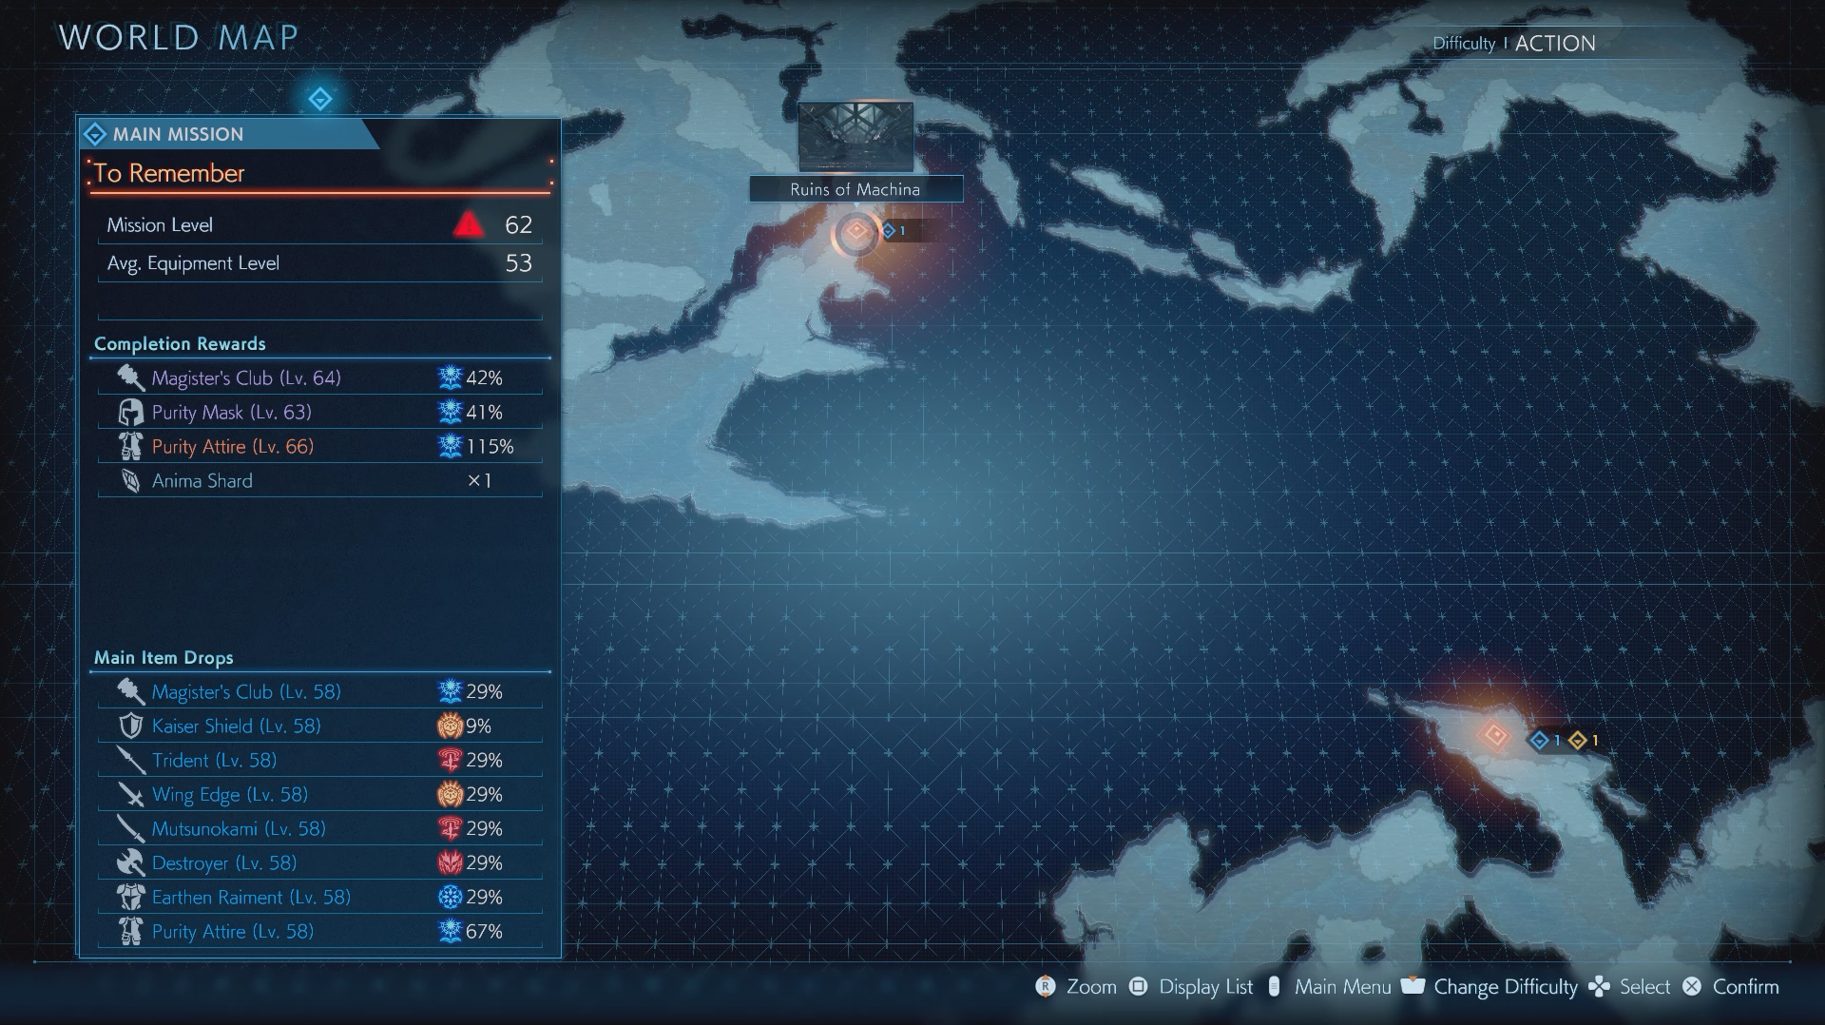
When you’re ready to begin the Mission, head to the Ruins of Machina to begin ‘To Remember.’
Traveler’s Trek
In the first room, you will see a locked door with a panel in front of it that you can’t press. Go to the path on the right side of the room and you will find a lever. Pull it to activate the panel in the previous room, but be mindful of the turret that gets activated along with it. Open the door and continue forward.
Turn right on the split and, after you find and walk down a set of stairs, turn left at the bottom to grab a purple orb. Turn around and continue forward — there will be another locked door at the end of this room, so turn to the left and jump down the ledge.
Continue forward until you find another lever at the end — pick up the chest on the way there. Pull the lever, turn around, and make your way back to the ledge you dropped down from (be mindful of the turrets and Soldiers that got activated by pulling the lever). Turn to the left when you’re able to: you will be led back to the locked door, which you can now open by pressing the panel. Ride the elevator ahead of you to be taken to the next Cube.
Conflux of Worlds
As you go forward, pull the lever you see on the way, then continue through the path until you climb two ladders. Take care of the turrets here and grab the purple orb in the center. Then, you will face a split. Take the left path to find a room with a Tonberry and a turret. In the same room you will find two chests, as well as a ladder that will be a shortcut to a previous area.
Turn around and keep moving forward until you climb down two ladders. Then, continue forward to open the locked door and go down another elevator.
Monument to Fallen Warriors
You will shortly run into a Dark Vent that will spawn a Sapphire Coeurl and an Earth Elemental. After taking care of it, continue going forward, and grab the Lufenian Log 03_1413 on the way. You will find a ladder at the end of the path, which will lead to the next Cube.
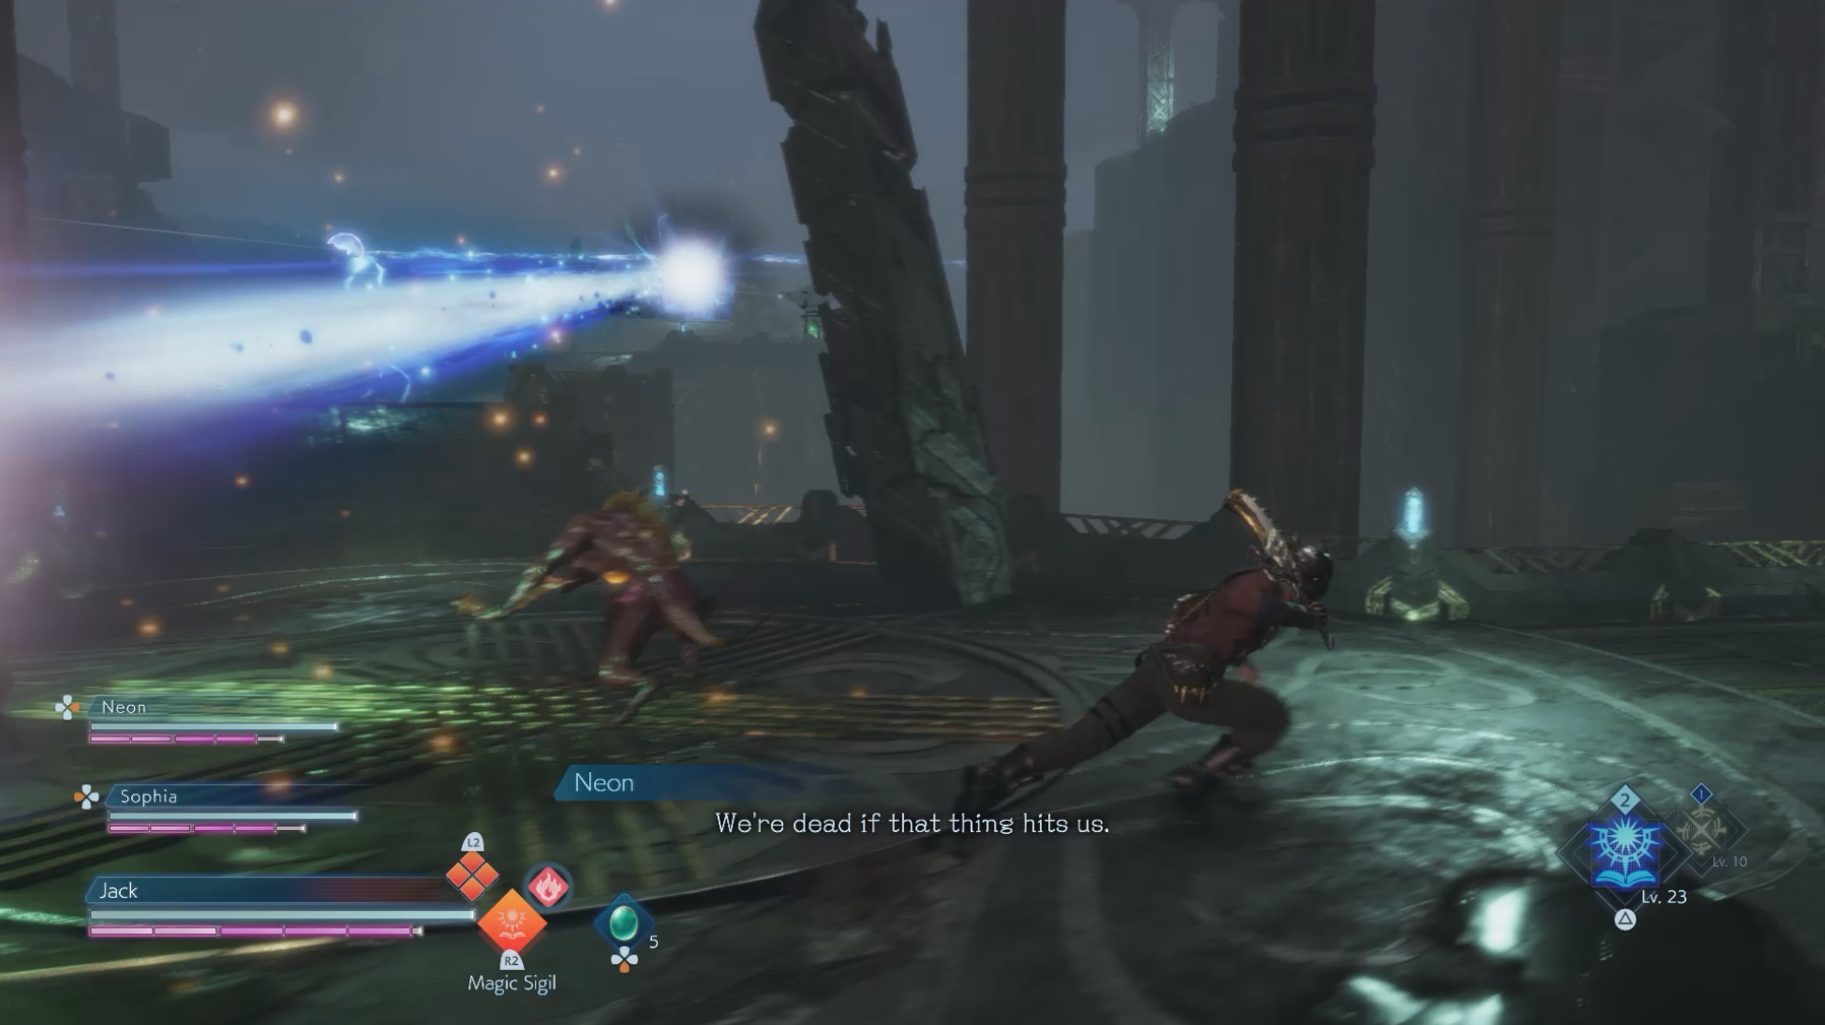
This next room will feature a large cannon — one that will look familiar to Final Fantasy V fans. This cannon will periodically shoot a beam in your direction, which is powerful enough to kill you in seconds if you get hit. Your goal in this room will be to disable and destroy this cannon. Keep in mind that the beam from this cannon can kill your enemies as well.
Destroying the Two Cores
Grab the chest to the right immediately after entering the room, then continue forward until you find a split. Take the path on the right and climb up the ladder you find. Take the branch-off to the left to grab a chest, then continue going forward on the path. At the end of it, you will find one of the two cores that power the cannon. Destroy it, then turn around and continue forward — you will soon see a ladder to climb up. Once you’re at the top, take a right at the split to find a chest, then turn around and continue forward until you jump down a ledge.
Grab the chest on the right side, then turn around and climb up the ladder in front of you. Take the branch off to the right to grab a purple orb, then continue down the path until you find a ladder to climb down. Turn left once you’re at the bottom, and take the path to the right you will see there to grab a purple orb. Continue forward until you reach a split. Take the left path to grab a chest, then turn around and take the other path to destroy the cannon’s second core.
Now that the cores are destroyed, the cannon will no longer shoot at you.
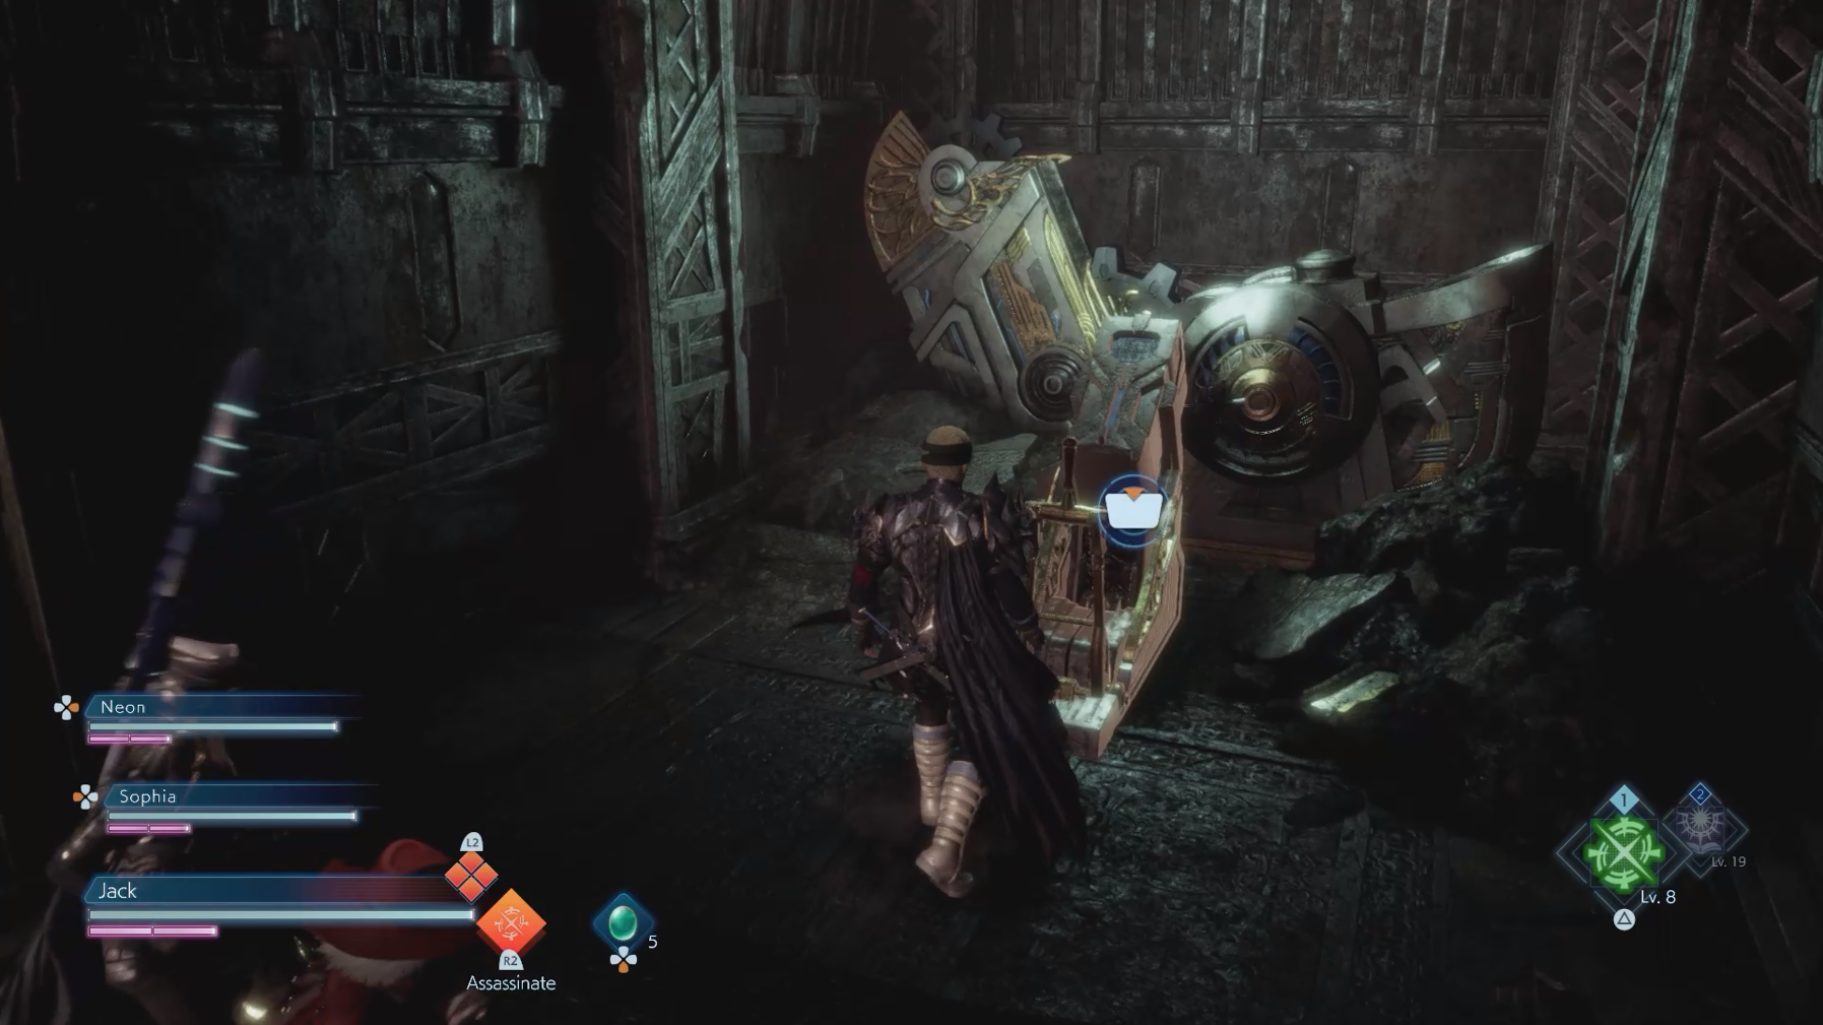
Turn around and continue forward until you climb down a rope, and there will be a small opening you can go through to jump down a ledge. Grab the purple orb before jumping down, and then you will be back at the beginning of this room. Run towards the cannon, and after going up a ramp, grab the Memory Memento on the right to unlock the Side Mission ‘Coral Memories: The Greedy.’
There will be a Dark Vent once you reach the cannon, this one spawning a Piscodaemon and a Wraith. Destroy it to open the path forward and find a Cube. When you’re ready, go through the doors ahead to fight this Mission’s boss.
Cray Claw
Phase 1
The Cray Claw has a wide array of attacks for both melee and ranged combat. He is also capable of creating gravitational fields with his core.
- The Cray Claw can do a pincer attack on you with both of his claws
- He can also slam at you with either his claws or his tail, up to two times
- He also has a spinning attack that will damage anyone around him
- Attraction Field will have the Cray Claw throw an orb on the ground nearby, which will pull you towards its center
- Repulsion Field will do the exact opposite, creating an orb that will push you away if you’re nearby
- Missile Barrage will have him shoot two missiles in front of him, twice (this can be stolen with a Soul Shield)
- Wave Cannon is his most powerful attack, shooting a powerful beam. There are two variations of this attack:
- The first one will be a large beam directly in front of him
- The second will shoot many smaller beams in a cone in front of him instead
Since the majority of his attacks will be in front of him, attacking the Cray Claw from either his sides or from behind him will be the safest way to deal damage. He is pretty easy to stagger — you can do so by dealing enough damage to his claws, legs, or tail. On top of that, he is weak to Water, so take advantage of that if your build allows it.
Once you brought his HP down to half or fully depleted his Break Gauge, Soul Burst him to destroy his gravitational device and begin Phase 2.
Phase 2
The Cray Claw will lose most of his attacks from the first phase, but will become more aggressive in his physical attacks.
- He will now slam at you with his claws or tail, up to four times
- The Cray Claw can also use Optical Camoflauge, which will make him temporarily invisible
- Rocket Scissors is an unblockable attack where he will try to grab you
- Giga-Graviton is an unblockable two-part attack — he will start by lifting himself off of the ground and creating a large field that will pull you in. Then, after a short delay, he will slam on the ground, targeting the center of the field
The same strategy you used during Phase 1 will work for this phase. Just stay on his sides or his back, and be ready to run out of his range quickly when he starts casting Giga-Graviton.