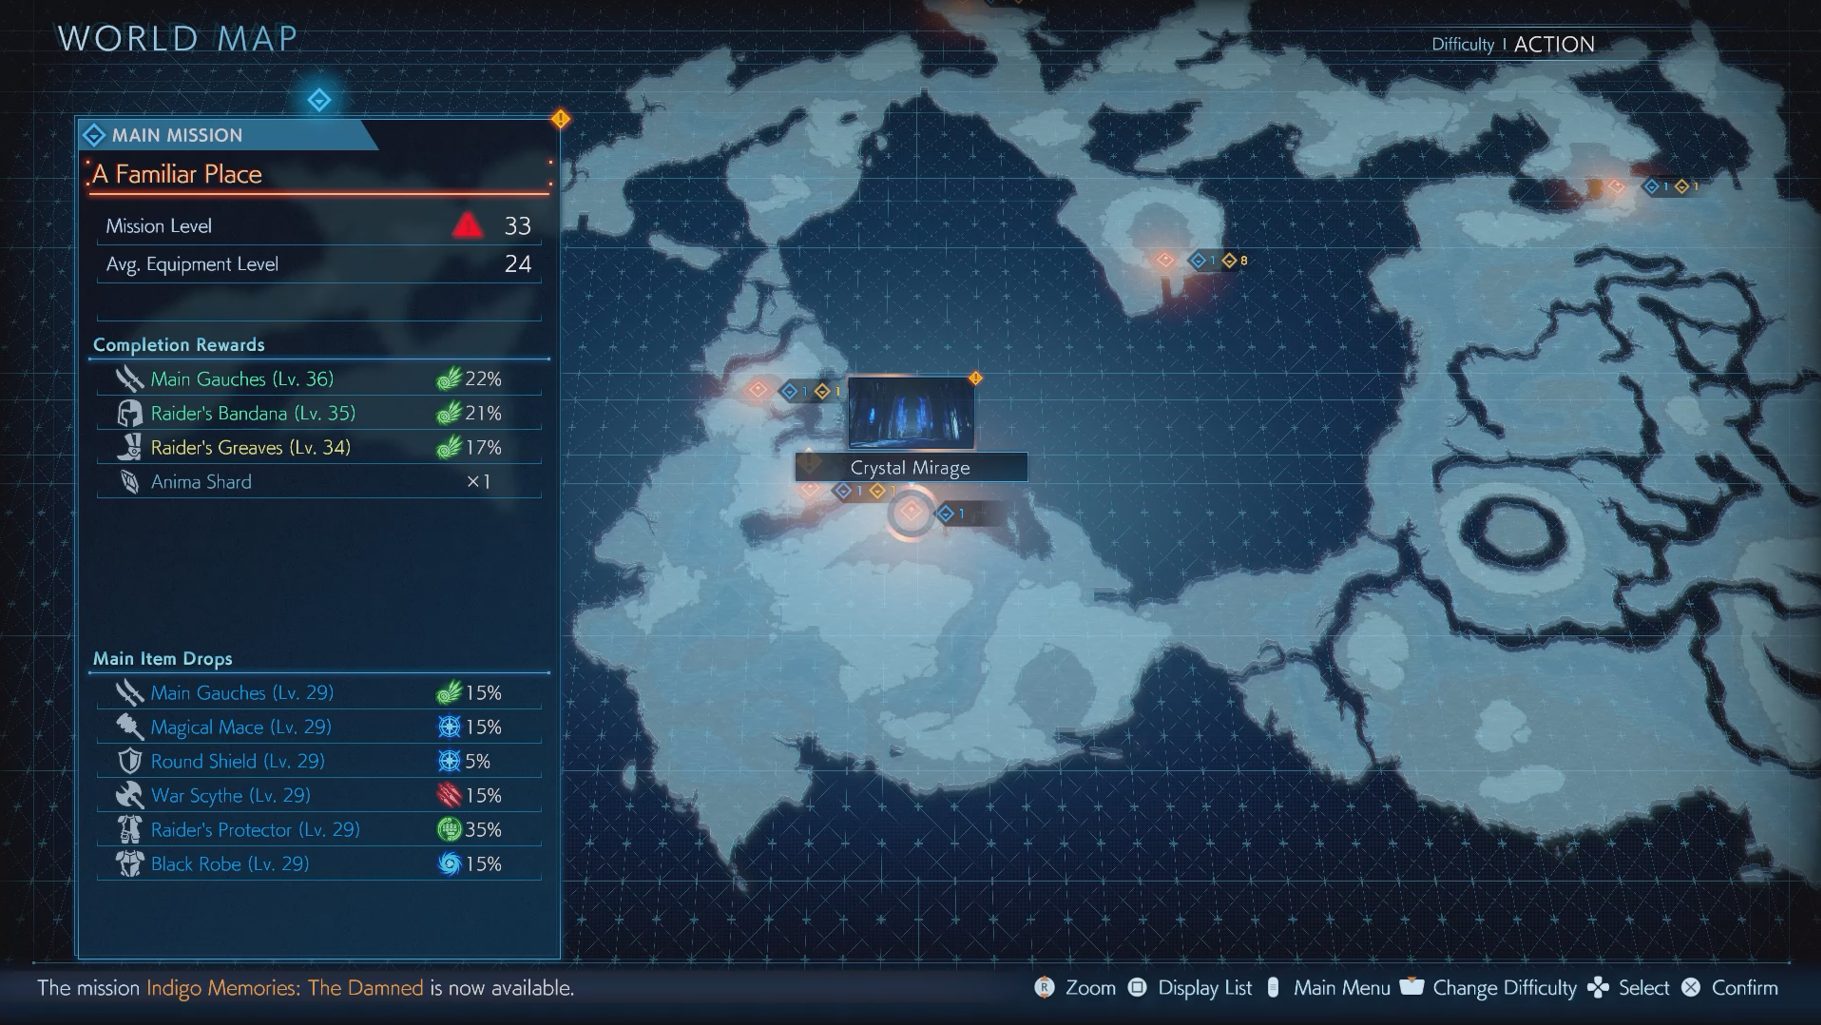
Pleasure seeing you again, Warrior of Light. Welcome to our fifth Stranger of Paradise main mission walkthrough, ‘A Familiar Face,’ which takes place in a tower modeled after the final dungeon in Final Fantasy III. As usual, you can expect us to cover some secrets from this level, and offer some tips!
Let’s get started!
Once you’re ready to begin the Mission, go to the Crystal Mirage and begin ‘A Familiar Place.’
Hall of the Worthy
Go up the steps heading right, then immediately turn right to find a chest. Then, turn around and take the next right to find another chest. Leave this room and go straight ahead to continue. Grab the chest in the center of the next room, then head up the stairs.
Antechamber of Radiance
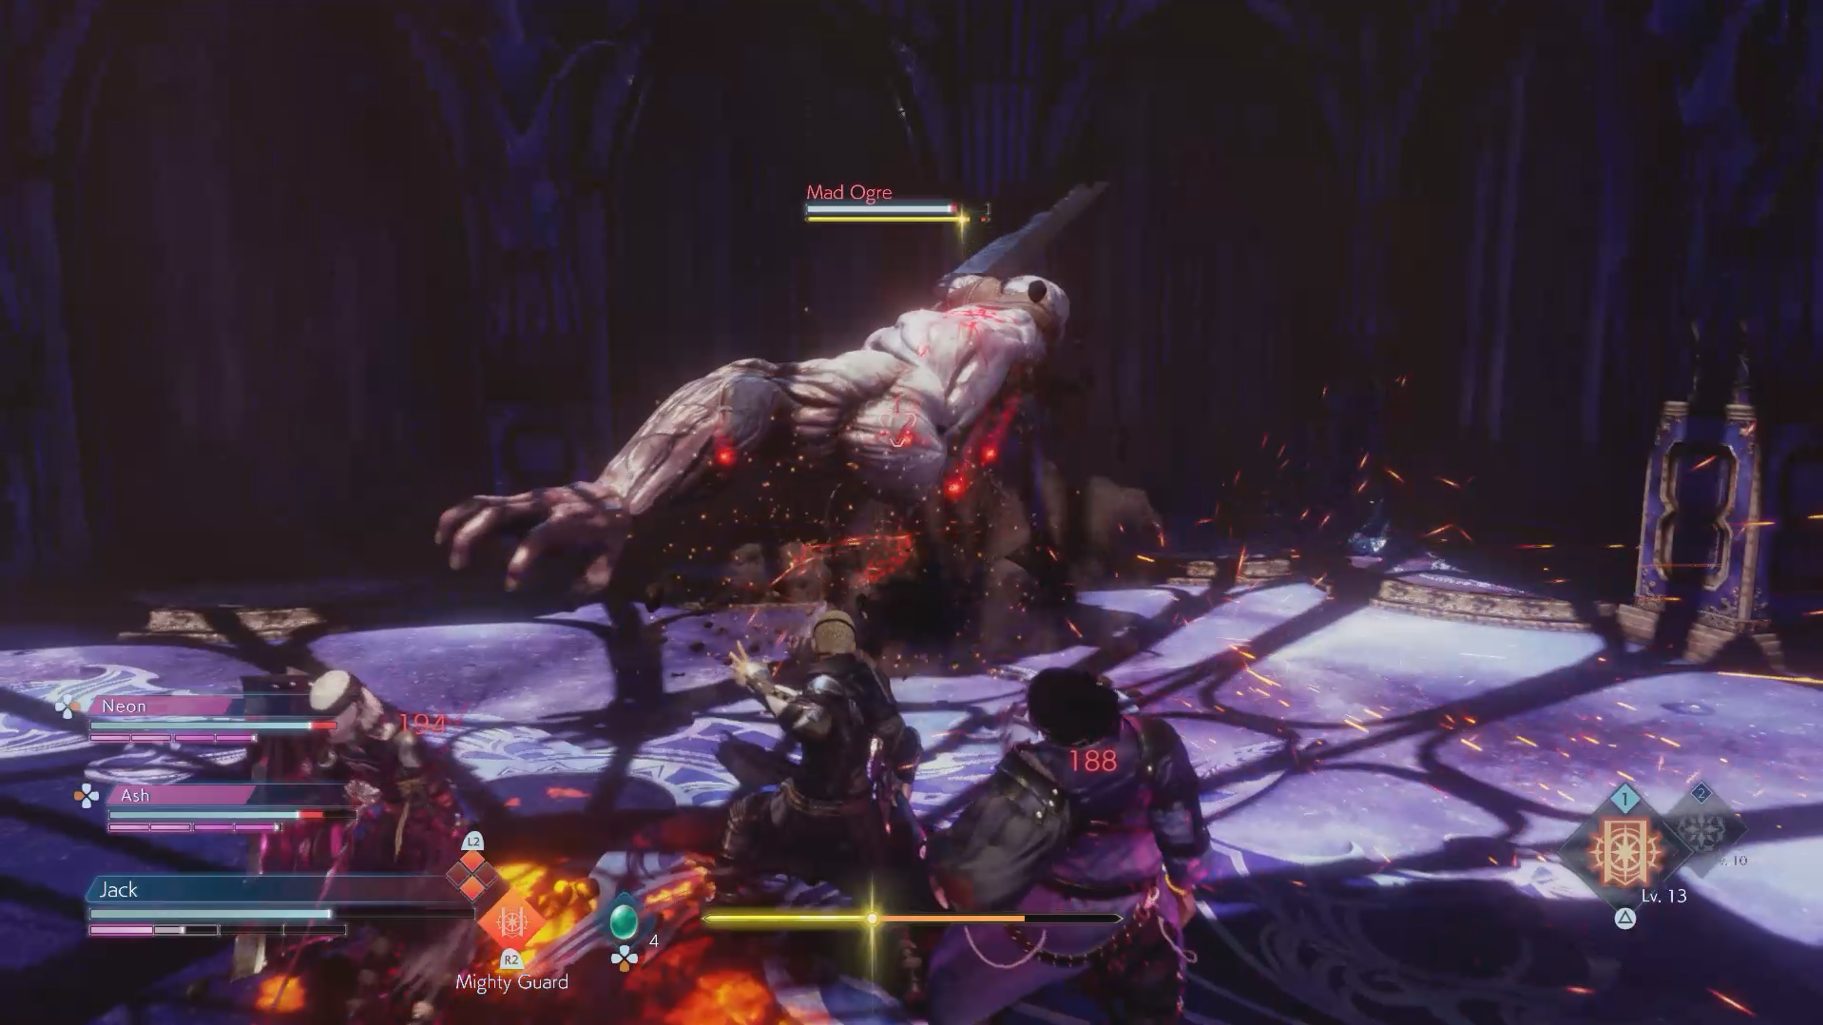
Shortly after reaching the top, take the branch-off to the right to find another chest. Then, continue down the main path. Keep going until you walk up another set of stairs, then turn immediately left and grab a chest. Turn around and continue, and you will find an elevator. If you ride this elevator, you will be taken back to the Cube at the beginning. In the next room you will have to fight a Mad Ogre.
Ogres are large and powerful enemies that can be tough to take down.
They have a few swinging attacks, which have good range due to their large sword.
They also have two unblockable attacks: Grand Slam has an Ogre try to grab you, while Power Attack has it jump towards you and slam on the ground with its fist.
If you try to keep your distance, they can either charge at you or use Whirl Slash, which is a spinning attack in your direction.
Their back is their weak point — if you hit it enough, you will stagger the Ogre. Use Resonance to your advantage so you can get behind the Ogre easier. Just be careful, as the Ogre can quickly turn around and hit you while you’re trying to stagger it.
Once you defeat the Mad Ogre, it will drop a Proto Cube. Use it on the pedestal right next to the pink platform to activate it. Then, walk onto the platform to be taken to the next area.
Hall of the Brave: Lower Floor
In this area you will find objects called Magic Prisms.
When hit by any type of magic, a Magic Prism will shoot a beam of light that will damage anyone that it hits.
If you interact with a special part located on one of the sides of a Magic Prism, you will be able to rotate the Prism, changing the direction where it shoots.
There will be a lot of Prisms you will need to activate to progress, so you may want to consider using a magic-based Job for this area to make things easier. However, there will be a plenty of chances to Soul Shield enemies to gain the magic you need, and Combo Abilities with an element attached to them will activate Prisms as well, so it’s not necessary.
It will also be very easy to fall off of the ledges throughout this area, so be careful of where you’re standing while fighting.
You will soon find your first Magic Prism, as well as an orb that explains how they work next to it. Rotate it, then activate it to destroy a crystal, which opens up the path forward. After going up the new ramp and a set of stairs, you will see a purple orb. Grab it, then keep walking forward on an invisible bridge (you will see little specs of light where the bridge is). Turn right to walk across another invisible bridge and find two chests, then turn around and make your way back to climb up the stairs and continue. Just before the winding set of stairs, turn right to find a chest, then turn around and walk up them.
Hall of the Brave: Ground Floor
Keep going forward until you see a branch-off to the right. This will take you to an elevator that leads to the previous Cube. After opening the shortcut, continue forward and go up a small set of stairs. If you turn left, you can go up an invisible ramp — attack the crystal there directly to break it and activate the path forward.
Continue down the main path until you see a Dark Vent that spawns an Ogre. If you destroyed the crystal yourself, you can ignore this Vent entirely. Otherwise, destroy it, and once it’s gone, walk through the path it was blocking to reach a Magic Prism. Rotate and activate it to destroy the crystal, then continue through the newly opened path.
Before going up the next set of stairs, look down to the right of the stairs and you will see a ledge you can jump down. Hop down to grab a chest, then jump down to the left to reach another platform, then do it again to find a purple orb (make sure you can see the platform below you before you jump down). After grabbing the orb and jumping down one more time, make your way back to where you were. Now go up the stairs to continue.
When you see the next Magic Prism, rotate and activate it to open a small path leading to two chests. After you grab them, turn around and walk past the Prism to continue. Once you reach the next winding stairs, turn right before going up them. When you reach the dead end, turn right and look down to find another ledge to jump down. You will find a chest here.
Then, jump down to the right two more times (again, make sure you see the platform before jumping down). You will then find another Memory Memento, this one unlocking the Mission ‘Scarlett Memories: The Savior’ in the Western Keep. Afterwards, jump down one more time. Then, make your way back to where you were and go up the stairs.
On the right you can see the platforms that you can jump down on
Hall of the Brave: Top Floor
When you see another Magic Prism, you can either rotate and activate it, or you can walk up the invisible ramp to the left of it to destroy the crystal yourself. After going up the ramp you will see another Magic Prism, this one requiring you to turn and activate it. Once the path has opened, continue forward to find an elevator that will take you back to the Cube. There you will also find a set of stairs that you can walk up to continue.
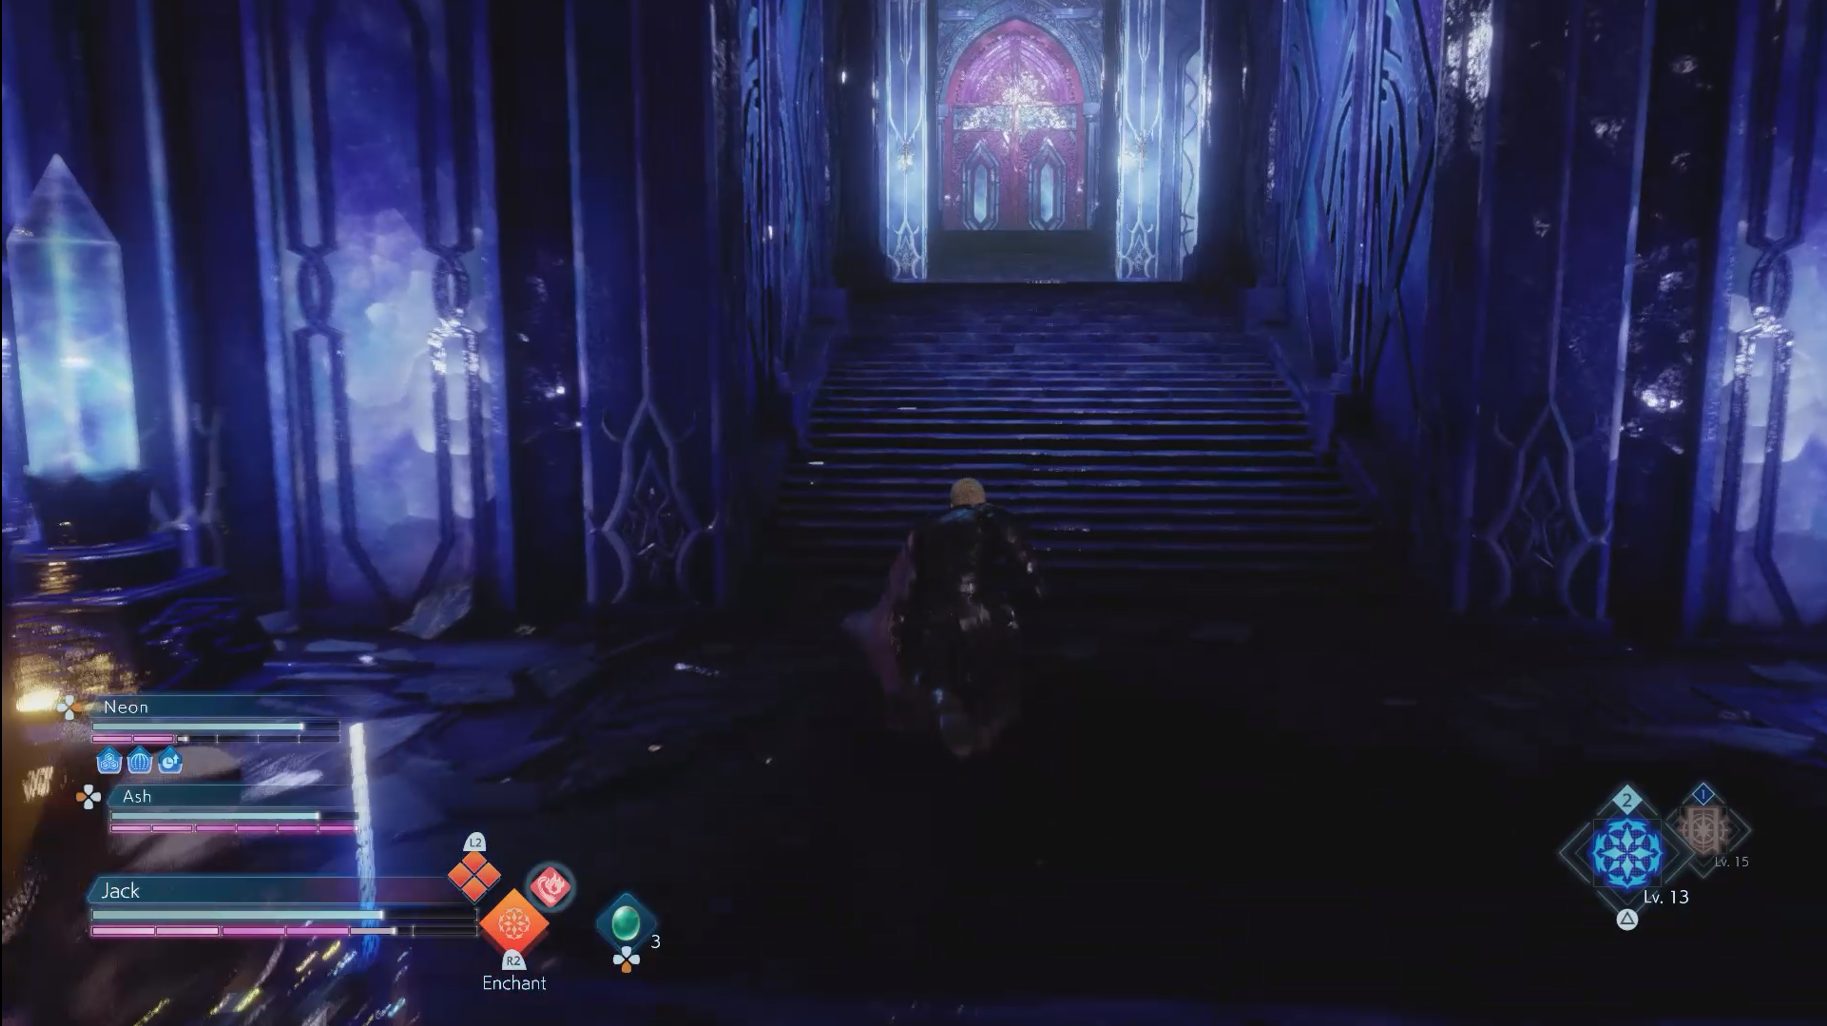
The Conduit
Once you reach the top of the stairs, go forward immediately at the split to find a chest guarded by a Tonberry. Afterwards, turn around and turn left to continue until you see a Dark Vent. This one will spawn various enemies, including an Ogre. Once it’s taken care of, grab the chest to the left of where it was. Then, turn left immediately after walking past where the Dark Vent was to find the Lufenian Log #10.
You can see the Lufenian Log on the left
Continue forward until you reach a Cube and, when you’re ready, go through the doors to fight a boss.
Chimera
Phase 1
The Chimera is a quick enemy that can be hard to get close to. In addition to his own attacks, his tail (the snake head) has its own set of attacks it can use. The snake head will make an attack while the Chimera does one as well, meaning you’ll have to protect yourself against two different attacks. You’re also going to experience a new type of attack during this fight — the Gaze attacks.
When being targeted by a Gaze attack, you will see an eye over your head just before it hits you
These attacks cannot be Guarded or Evaded. However, they can be Soul Shielded.
The current in-game description is wrong when it implies that you are unable to Soul Shield a Gaze attack.
Another way of avoiding them is to quickly move out of the enemy’s line of sight (by going behind them, for example)
The Chimera has a mix of physical and magic attacks to use against you:
He can swipe at you once or twice, with each swing having a quick followup attack with one of Chimera’s wings, making it tough to Soul Shield
Dark Breath shoots out a cone of Dark magic in front of him
Dark Cannon shoots out a Dark projectile at you (this move can be stolen if you Soul Shield it)
Chimera has access to the Thundara spell, which he will cast up to three times in quick succession (this can be stolen with a Soul Shield as well)
Thunder Roar shoots out four pillars of Lightning in different directions
Thunderous Deluge summons six Lightning bolts which completely surround the Chimera
When using Body Slam he will briefly levitate before slamming himself back to the ground
The Chimera will periodically begin flying as well. He can still use the Dark Cannon Ability when doing so, as well as charging at you while spinning. When he is ready to land, he will use Earthbreaker to slam on the ground, which is an unblockable attack.
The snake head (the tail) has only two attacks. Note that it will not use any attacks while the Chimera is flying:
Snake Breath works in almost the same way as the Chimera’s Dark Breath, except that this one will shoot behind the Chimera. This is one of the two attacks it can use when the Chimera uses Dark Breath.
Silencing Stare is the boss’s Gaze attack, which will Silence you if it lands. The snake head will use this whenever the Chimera uses either the Dark Cannon or Dark Breath (if the snake head doesn’t use Snake Breath instead)
With attacks coming from both the Chimera and his snake tail, it can be difficult to get close to the boss to attack. If you attack the tail enough times, however, you will disable it temporarily, meaning it will no longer attack you. However, the boss will eventually use Regenerate, replenishing the tail and allowing it to attack once again (Chimera will also use an effect similar to Thunderous Deluge when using this). If you attack the Chimera’s head and/or wings enough times, you will stagger him.
An incredibly easy way to stagger the Chimera is to keep your distance and use his Dark Cannon against him. When you stay out of range, he will use this Ability a lot, as he does not have a gap-closer while on the ground. He uses this Ability so much, that you can force a Dark weakness on him by only using this Instant Ability. On top of this, if you’re far away enough, you will even be out of range of the Silencing Stare. This is a very safe way to stagger the boss, and once he is, you can go in and get a lot of damage on him.
If you wish to get into melee range to fight him instead, the sides will be the safest spot to be in. In this case, be ready to defend against his Lightning attacks.
Once you bring the Chimera to half health or deplete his Break Gauge completely, Soul Burst him to remove his wings and begin Phase 2.
Phase 2
Since his wings are gone, the Chimera can no longer fly or use Body Slam. However, he more than makes up for this with the two new heads that take their place: a dragon head and a goat head. Just like with the snake head, these two heads can attack when the Chimera itself attacks.
The dragon head has Dragon Breath, which works similarly to the other Breath attacks during this fight, shooting Water magic in a cone to the side of the Chimera. The dragon head also has Dragon Bite — an unblockable attack where the head will lunge at you
The goat head has access to Flame Breath, where it will shoot two Fire projectiles at you (this can be stolen if you Soul Shield it)
The Chimera himself gains two new Abilities as well: Deadly Chorus and Sourcerous Chorus. Both attacks will cause all four heads to use a magical attack in all directions.
If you attack any of the heads enough, they will become disabled until the Chimera uses Regenerate. As the Chimera still uses Dark Cannon during this phase, keeping your distance and shooting it back at him is still an effective way to stagger him. On top of this, the goat head will occasionally use Fire Breath when you’re at a distance, giving you more magic attacks to shoot back.
Alternatively, you can stay very close to Chimera and attack one of his sides until you disable a head, while being ready to defend yourself against his various AoE attacks.
You can steal the goat head’s Fire Breath during Deadly Chorus
Share this article:
KainHighwind27
I'm a huge gamer who especially loves the Final Fantasy series. I will play just about any game, especially if it has anything resembling a Dragoon.