The Equipment system is central to the Stranger of Paradise: Jack will find a wide variety of both weapons and armor throughout the game, and there are many properties to look out for in every piece — if you open up the Battle Settings menu, you might find yourself confused by the variety of item colors, ratings, and the icons associated with them.
So, in this guide, we will go over how to find equipment, its different types, slots, and who can equip them, as well as the various properties to look out for (like the Item’s Level, Rarity, Equipment Effects, and Affinity).
Finding and Using Equipment
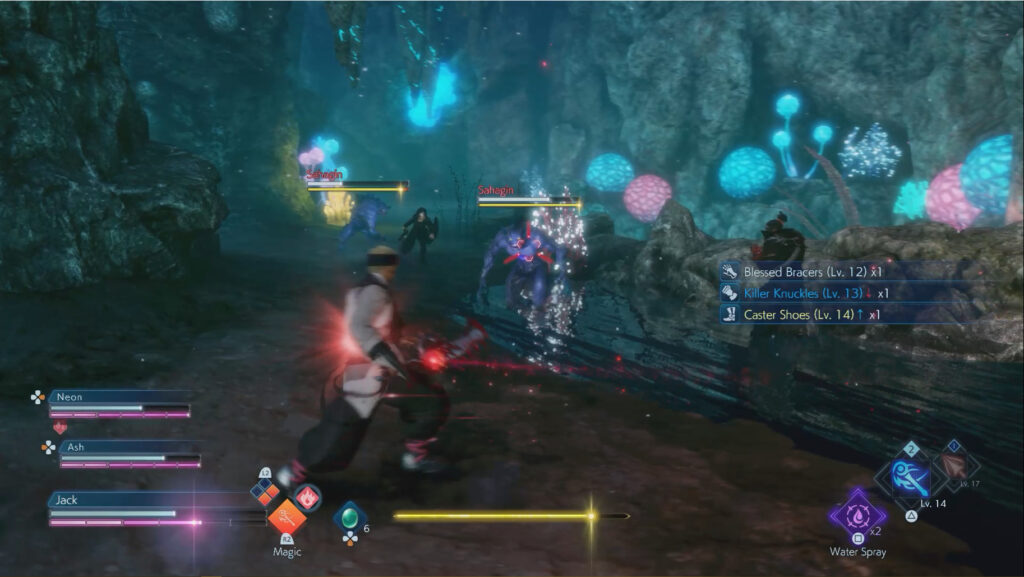
The main way to find equipment is by defeating enemies and opening chests that are scattered throughout levels. But, you will also earn equipment when completing missions. To look over what you have, open the Battle Settings menu: you will see a ‘!’ next to any new equipment that you haven’t looked at yet.
Getting new equipment from defeated enemies
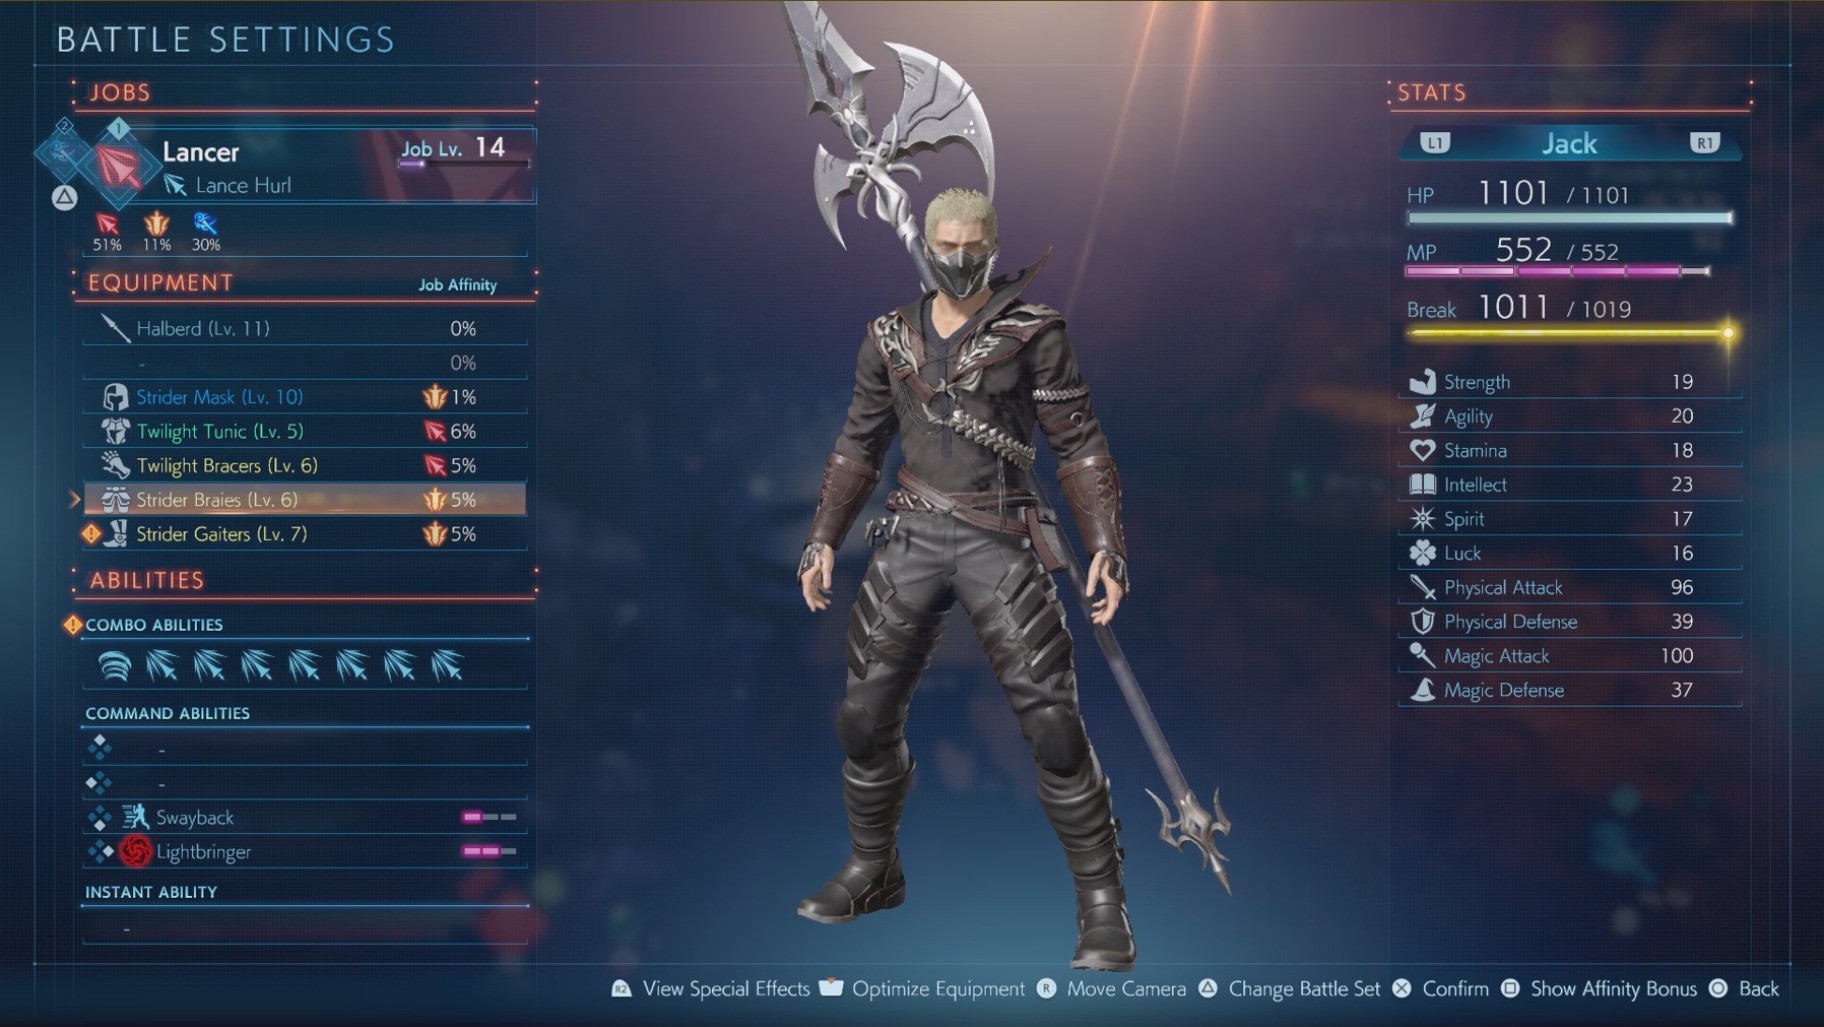
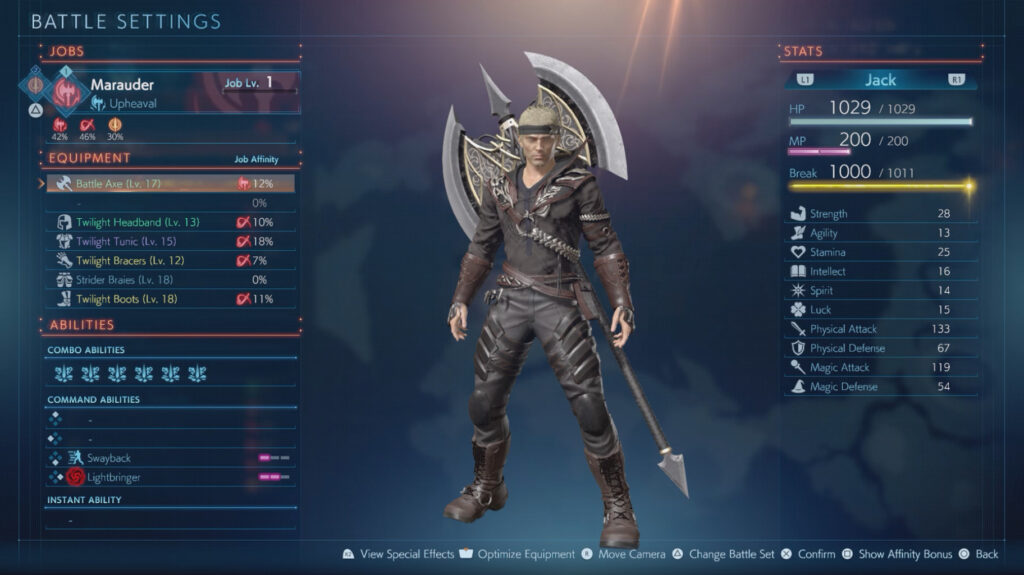
In fact, you can access the Battle Settings menu at any time to both view and manage the equipment pieces you find. Within the menu you are free to customize the equipment for every character in your party, and Jack can have two separate sets of equipment (one for each Battle Set).
Types of Equipment
There are seven types of equipment you can find, designed to fill seven equipment slots: Weapons, Shields, Head, Body, Hands, Legs, and Feet. In most cases you can have one piece of equipment in every slot, but there are a couple of exceptions to this:
Shields can only be equipped while using a Sword or a Mace.
Multi-Slot equipment takes up 2 slots (for example, one piece of equipment could take up both the Body and the Head slot). The trade-off for this type of equipment is that it will have higher stats than the two separate pieces of the same level.
Jack can equip just about any piece of equipment, with the only restriction being the weapon(s) that his Jobs are locked into. His allies, however, are restricted to only using certain equipment in each slot. When examining a piece of gear, you will see letters representing each character on the bottom-left corner of the picture: a lit letter means the corresponding character can equip that piece.
Item Level and Rarity
The first thing you’ll notice when looking at a piece of gear is the Item Level and Rarity.
The Item Level will be shown next to the name (for example, ‘Greatsword (Lv. 3).’) The level determines how high this equipment’s stats will be, as well as the strength of its Equipment Effects.
The Rarity of a piece of gear will be indicated by the color of its name, also reflected in the item’s star rating when you examine it by highlighting it in the menu:
1-Star equipment is Blue
1-Star equipment with an Affinity will be a darker Blue
2-Star equipment is Yellow
3-Star equipment is Green
4-Star equipment is Purple
5-Star equipment is Red
An item’s Rarity will help determine how high of an Affinity Bonus it will have.
Once you complete the main story and unlock the Chaos difficulty, you will be able to start finding Artifact equipment in it. Gear with this rarity will have Affinity for two different Jobs.
As you can see, Item Level and Rarity are tied closely to the Equipment Effects and Affinity — which we will discuss in the next section!
Equipment Effects and Affinity
All equipment you find will have Equipment Effects, and many of the pieces will also have an Affinity with a Job.
Equipment Effects
Equipment Effects will give various passive boosts to the character while they have it equipped. You can check what Effects any given piece has by examining it in the menus. There’s a wide range of these effects: from boosting a stat a certain amount (like Stamina +1), to increasing damage or reducing damage taken for certain types of attacks. Gear you find will have 3 different Equipment Effects.
If you equip allies with any gear that has Equipment Effects that affect Lightbringer (such as increasing the duration), they will instead affect the Resonance for that ally.
Equipment Effects can be upgraded at the Smithy through the Crafting system. The dismantling process at the Smithy is a part of this system and it’s also how you can get rid of your excess gear!
Item Affinity
Pieces of gear can also boost the Affinity of one Job while equipped. This property can also be checked in the menus — you will see an icon representing the Job affected, and the % of Affinity that will be raised. Increasing Affinity has a few benefits (which will affect both Battle Sets), allowing you to get stat bonuses, passive boosts, as well as letting the Job gain EXP even when you’re not using it.
Once you start giving your Jobs Classes, you will find equipment that has Evocation and Ultima Affinity. These Affinities accumulate separately from the ones for Jobs, and will unlock new bonuses. — these are new Equipment Effects that will only activate when you have a high enough Class Affinity.
Jack’s Affinity with the Ronin Job is at 46% from his equipment alone
Combo Abilities on Weapons
Some weapons can have one or two Combo Abilities attached to them. If they have one, the name of the Ability will be yellow above the Equipment effects. These Combo Abilities cannot be learned by any Job. Combo Abilities attached to weapons mostly work the same way as every other Combo Ability, with the main difference being that these Abilities can only be used if you have that specific weapon equipped.
The roles served by the item properties should definitely be considered when examining new gear: while a new piece of armor might give you better defensive stats, you may lose some Affinity or some Equipment Effects that are useful for your Job in return, and the latter might end up having a more serious effect than the benefits the item seemed to originally offer.
Having a good balance of Item Level, Equipment Effects, and having multiple pieces of equipment with matching Affinity to stack your % will give you the best results towards supporting your playstyle.
Something to keep in mind is that if you press the touchpad while in the Battle Settings menu, the game will automatically optimize your gear for you. The optimization automatically equips you with the piece of gear with the highest item level in each slot. This will get your Average Item Level as high as possible and can save you some time with new gear. However, this also ignores every other property of your equipment (such as stats and Affinity). If you simply want to get your Item Level up quickly you can use this. However it is highly recommended that you instead go through the gear yourself, and see what truly is the best for your character.
Accessories (Trials of the Dragon King)
If you have the Trials of the Dragon King DLC, you can also find Accessories. Accessories have the same Rarities as the rest of your equipment (excluding Artifact), however, they do not have any item levels or Affinities.
These pieces of gear will allow you to equip an Instant Ability from an enemy into any Combo Ability slot, and they will either increase the damage done to, or reduce the damage taken by a certain enemy (it will be the same enemy the Instant Ability came from). The rest of the Equipment Effects from Accessories have the same possibilities as the rest of your equipment.
Share this article:
KainHighwind27
I'm a huge gamer who especially loves the Final Fantasy series. I will play just about any game, especially if it has anything resembling a Dragoon.