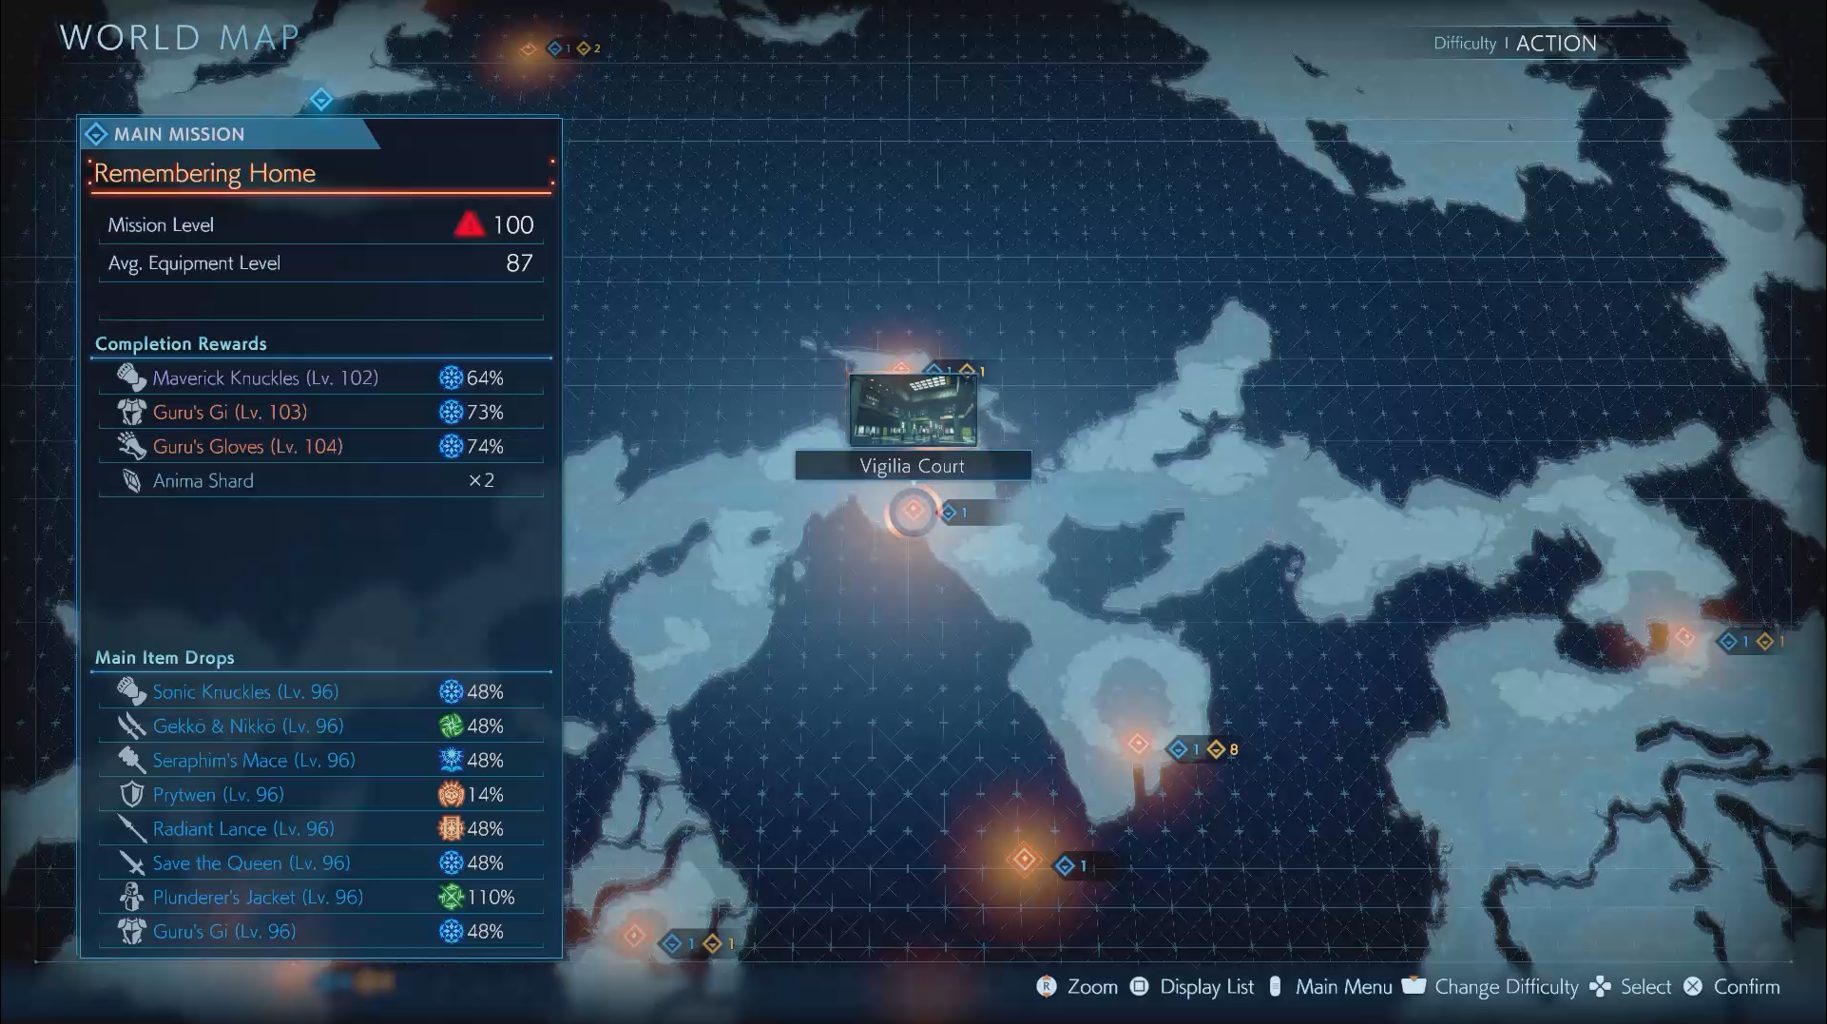
Welcome back, Warrior, and thank you for joining us as we continue our coverage of Stranger of Paradise’s Main Mission walkthroughs. For this guide, we will cover ‘Remembering Home,’ which will take you through an area modeled after a royal palace from Final Fantasy XV. As always, we will point to any secrets in the Mission, as well as provide tips for its challenges.
When you’re ready to begin the Mission, head to Vigilia Court to start ‘Remembering Home.’
Gateway to Betrayal and Salvation
Throughout the level, you will find glass containers with an element inside — if you destroy them, they will release an explosion of the corresponding element.
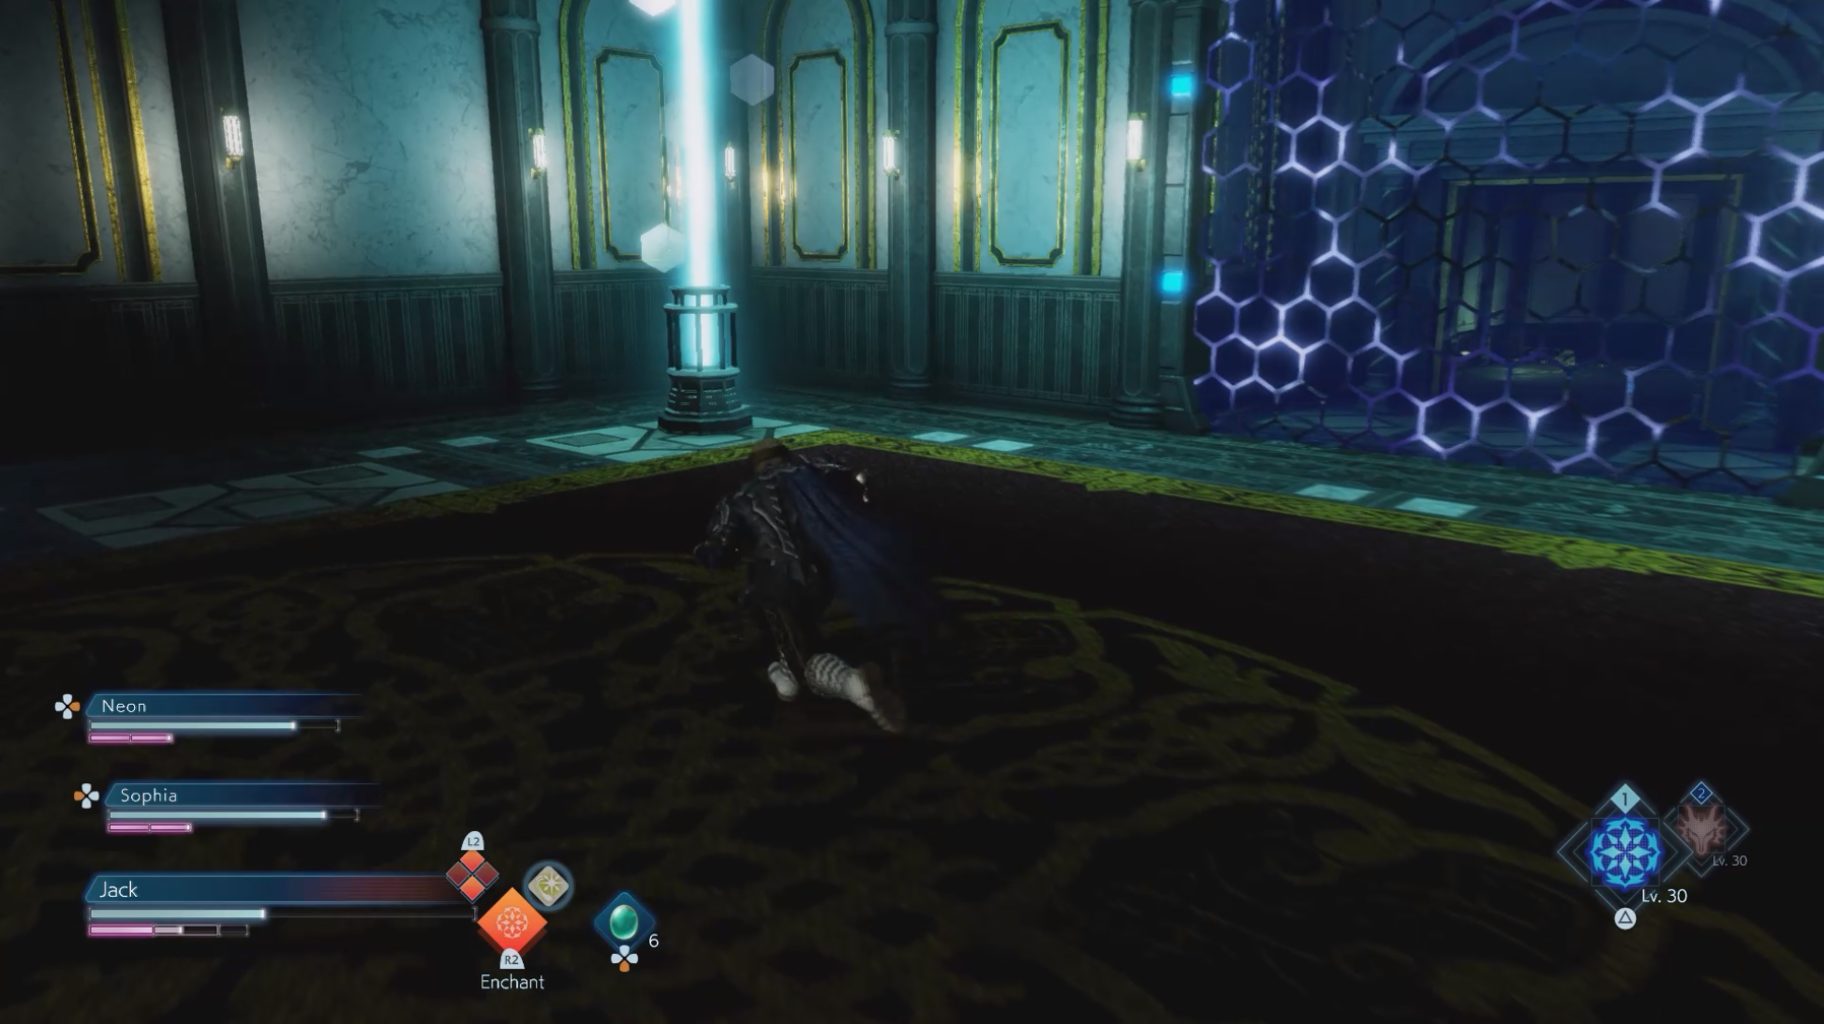
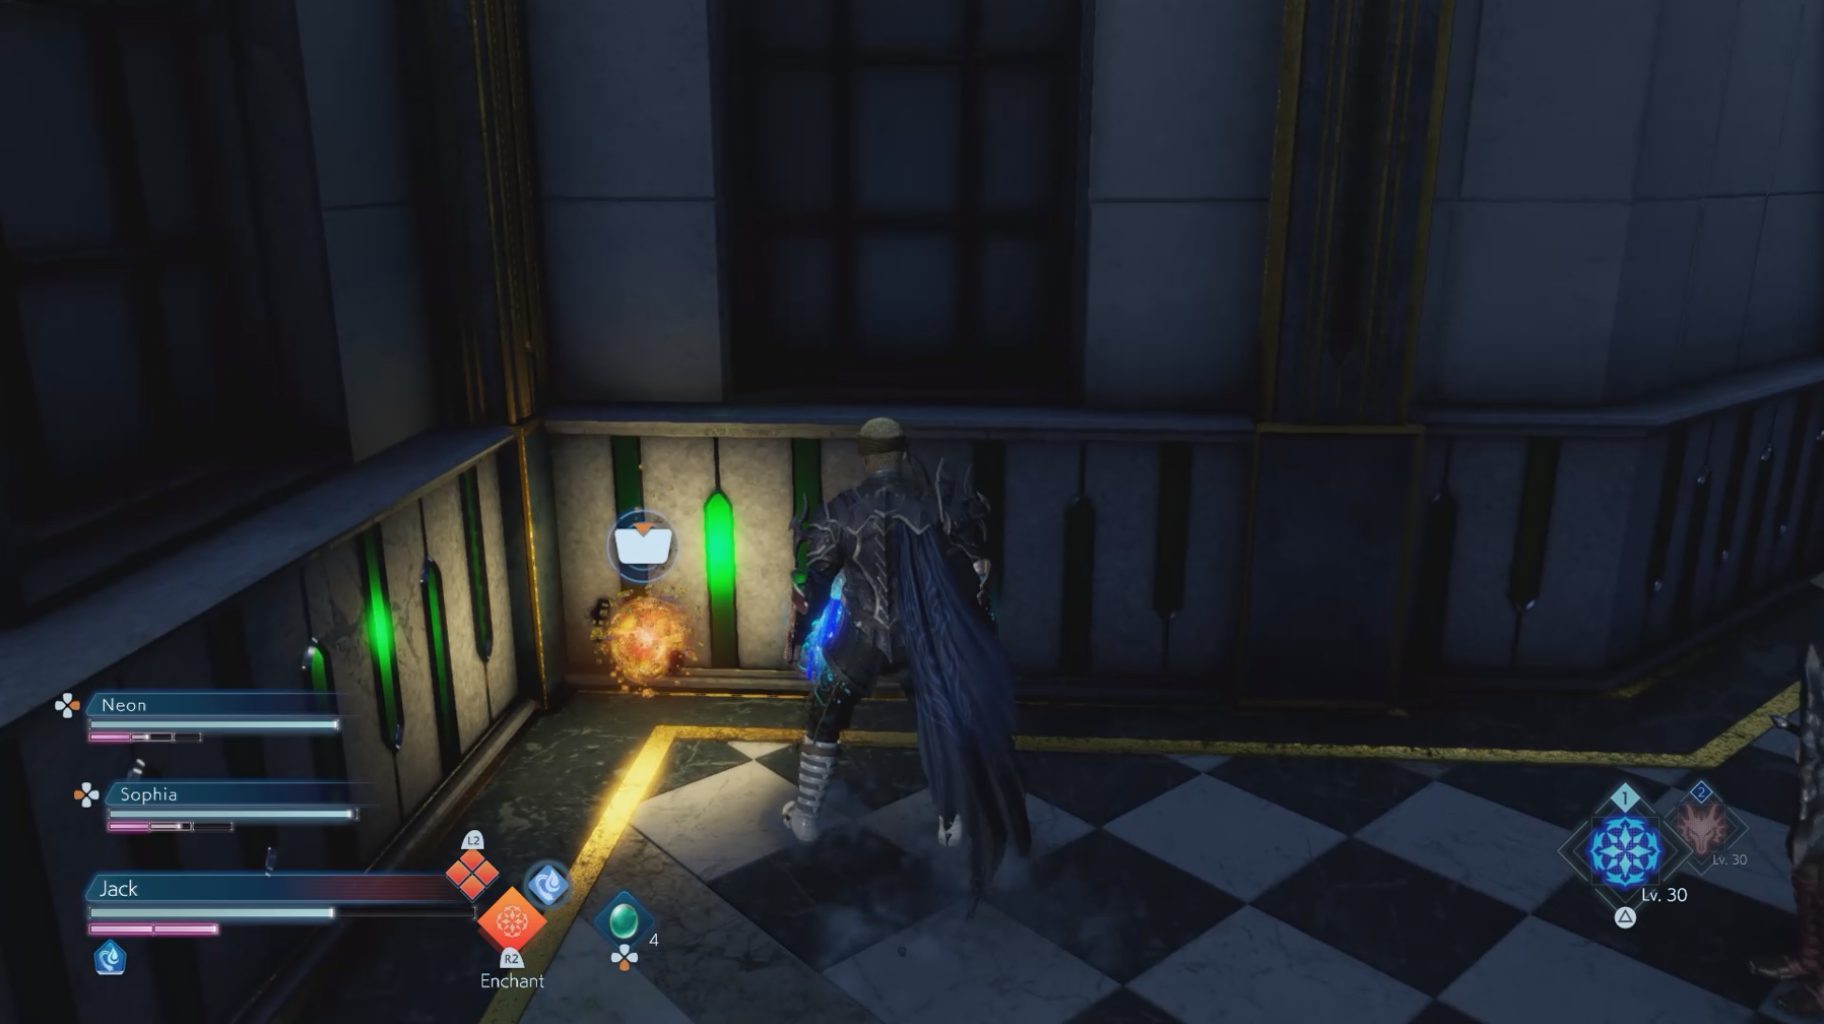
Turn right in the first room to grab a chest, then turn around and go straight ahead. In the next room, grab the chest to the right, and you will notice a Pillar of Light next to a barrier — destroying a Pillar of Light will deactivate any barriers on the floor that match the Pillar’s color. Destroy this Pillar to bring down the barrier next to it, and continue forward.
In the next room, you will find a red barrier blocking two paths — for now, just turn left. When you reach a split, take the left path and destroy the door to find a chest. Afterwards, turn around and turn left to continue until you reach a three-way split. Take the right path to find a purple orb, then turn around and take a right at the split — there will be a red Pillar of Light here.
Once the pillar’s destroyed, turn around and go back to the previous room. Now turn left to grab a chest, then turn around and take the left path to find an elevator to take (running past it will take you back to the first Cube).
Vassal’s Quarters
You will find a Cube as soon as you get off of the elevator. Continue forward (ignore the branch-off to the right for now) until you reach a split. Turn left and go to the end of the path to find the Lufenian Log 18_0258. Turn around and run forward to find a red Pillar of Light. Destroy it, then destroy the door to the right to find a chest.
Now head back to the branch-off you ignored earlier, grab the chest inside, then take the path on the left. At the end of this path, you will find a ledge — grab the chest nearby and jump down. From here, continue forward until you see a Dark Vent guarded by Sirens and a Wind Elemental. Destroy it, then walk up the fallen statue to continue forward — grab the chest you see before walking up the second set of stairs.
When you see a branch-off to the left, take it to grab a chest, then continue down the main path. Before going down the next set of stairs, grab the chest to the left of them, then head down to the next area. At the end of this path, you will find a blue Pillar of Light. Destroy it, then open the door just past it to create a shortcut.
Run straight forward to find a room with four purple Pillars of Light. Once you destroy all of them, turn around and turn left (where the purple barrier previously was — easily noticeable in the previous room), and you will find an elevator that will take you to the next Cube.
Garden of the Light Thief
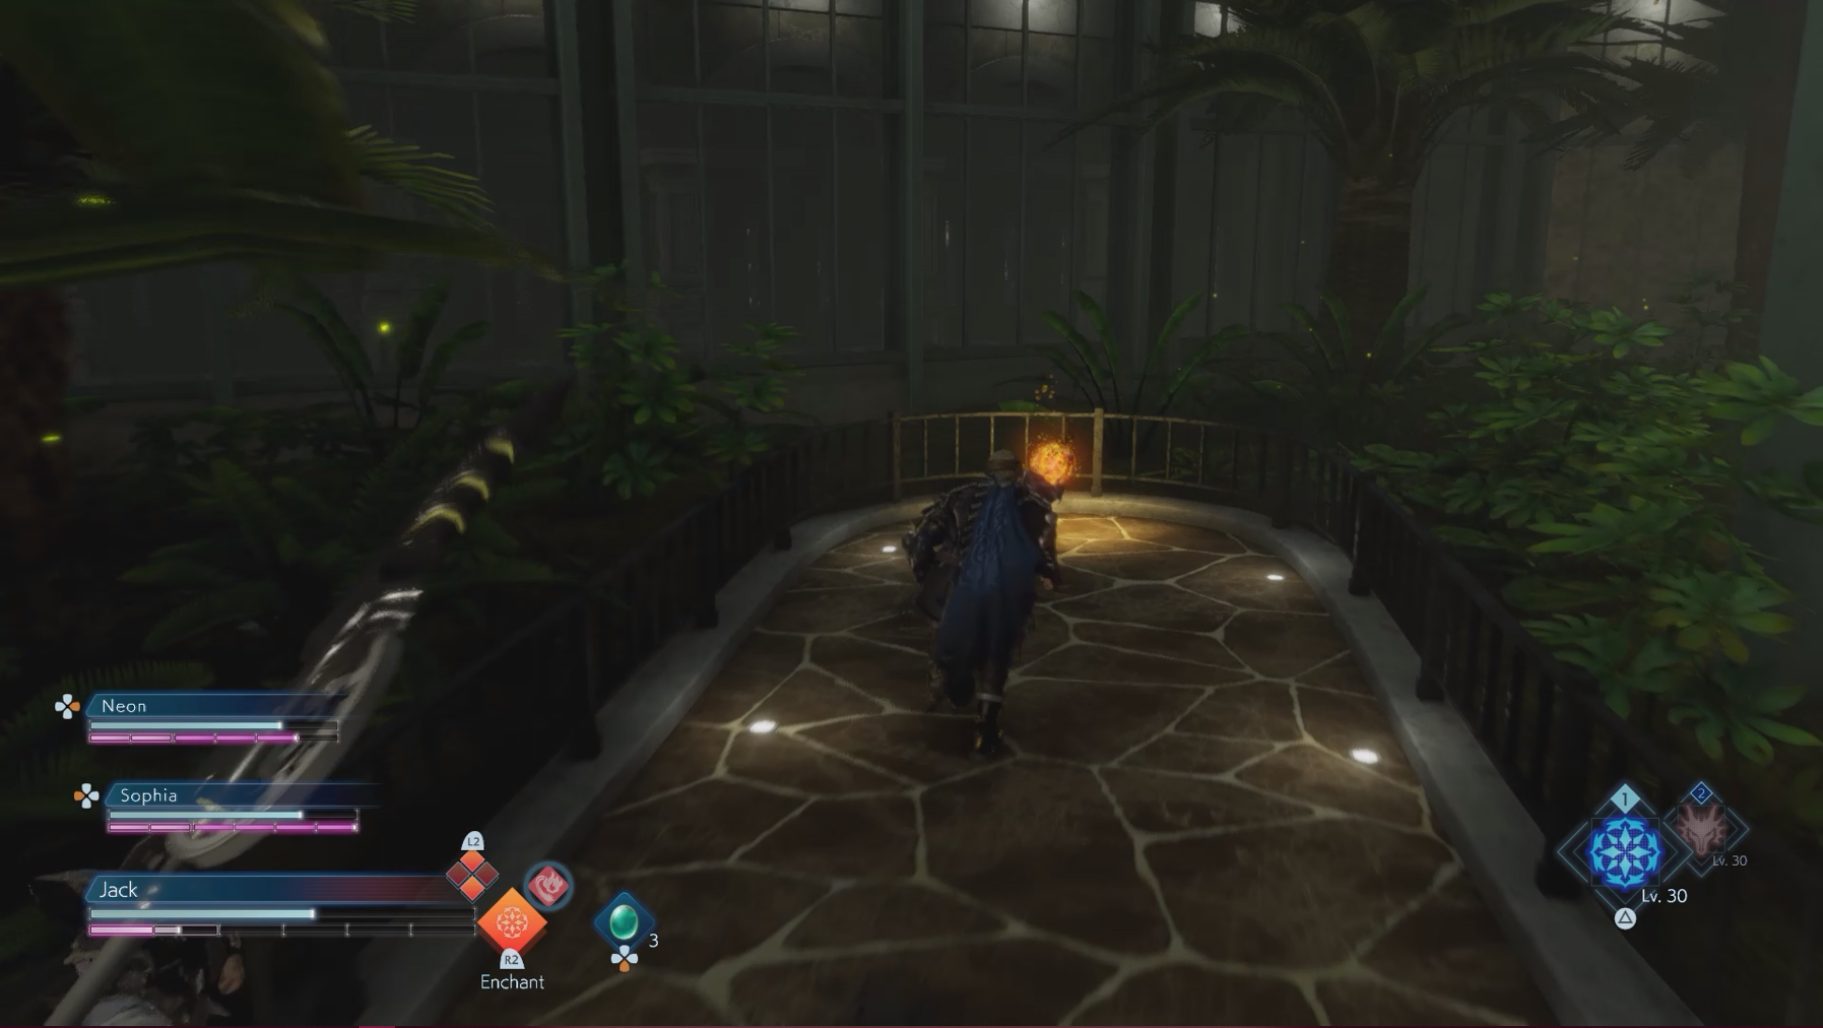
When you reach an outdoor area, immediately turn right to find a chest, then continue down the main path. In the next room, open the door to the right to create a shortcut to the Cube. In the corner of the flower field next to the stairs, you will find a purple orb. Then, turn left and grab a chest on the right side as you’re leaving this room.
In the next area, grab the chest on the other side (you can ignore the ladder here). Then, turn around and turn left — on the next left you will find the Fool’s Missive XXIX. From here, turn around and turn left to find a Dark Vent guarded by two Tormented Souls and an Earth Elemental. Once it’s destroyed, continue forward until you reach a split.
The path on the right will create a shortcut to a previous Cube. Once it’s unlocked, turn around and continue forward until you find an elevator to ride.
Hall of the Chosen Ones
Continue down the path until you reach a room with three Dark Vents, spawning a variety of enemies. The Vent in the middle will spawn a Hill Gigas, so taking care of that one first will make the rest of the fight easier. Once all three are destroyed, take the path to the left from the entrance to find a chest and a blue Pillar of Light. Once the Pillar’s destroyed, turn around and run forward until you reach a red Pillar of Light — destroy this one as well. Then, turn around and take the right path.
When you reach the top of a set of stairs, turn left to grab a chest, then go to the Cube. When you’re ready, open the doors ahead to fight the boss.
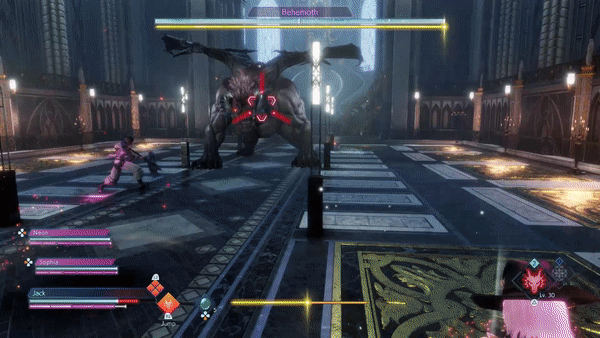
Behemoth
Phase 1
The Behemoth has a variety of both physical and magical attacks, making it a dangerous monster.
He can swipe at you up to two times with his claws and horns
The Behemoth can do a spin attack, turning himself around and swiping at you with his tail
Heave is an unblockable attack where he will try to gore you with his horns
Rush is another unblockable attack, which will make him run over to the other side of the room, damaging anyone he makes contact with
Lightning will have him cast several thunderbolts all around him (this can be stolen if you Soul Shield it)
Comet will drop a small meteorite directly on top of you (this Ability can also be stolen)
Meteor is a two-part spell
First, it will rapidly drop comets on top of you
Then, a large meteor will fall on top of you in a similar fashion
Since his most powerful attacks are directed in front of him, attacking from the sides or rear will be the safest way to deal damage to the Behemoth. Take advantage of Resonance to make this easier, and be ready for the occasional tail swipe or Lightning.
Once you bring his HP to half or fully deplete his Break Gauge, Soul Burst him to crystalize him, and begin Phase 2.
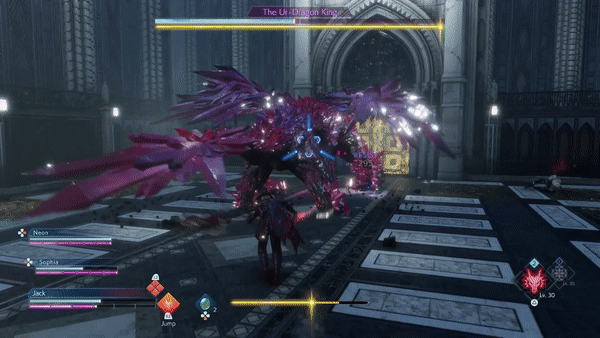
Phase 2 (Ur-Dragon King)
Now, as the Ur-Dragon King, the boss is slower but more powerful than before. He also has access to new attacks (along with everything from Phase 1)
He can now slam one of his claws to the ground to release a line of crystal pillars in front of him
Soulpillar is a new unblockable attack, where the Ur-Dragon King will raise crystal pillars around him
Soulshot will have him expunge many crystalized projectiles out in front of him
Megaflare is another unblockable attack, and his most powerful one — he will stand on his hind legs while charging the move, then release a devastating beam in front of him once it’s ready
Despite the new attacks, the fight isn’t much different than it was in Phase 1. The main thing to be on the lookout for here is Megaflare. Once he stands up to start charging, hit him with everything you’ve got — if you deal enough damage, the spell will be interrupted and he will get staggered.
Attacking from the sides or behind is still the safest way to deal damage
Completing the Mission will unlock the Side Mission ‘Scarlet Memories: The Fallen.’
Share this article:
KainHighwind27
I'm a huge gamer who especially loves the Final Fantasy series. I will play just about any game, especially if it has anything resembling a Dragoon.