Welcome, Warrior of Light. We appreciate you taking us along on your journey: this guide will be covering the Prologue and the Main Mission 1, Illusion at Journey’s End, in Stranger of Paradise: Final Fantasy Origin.
We will start by discussing the various difficulty settings in the Stranger of Paradise and what they mean, followed by the game’s Tutorial, and then we will help you with directions and tips all the way through the Chaos Advent battle. Let’s get started!
Before the game begins, you will be asked to select one of the three available difficulties: Story (easy), Action (normal), or Hard. The difficulty you choose will determine how tough the enemies will be, what your mission rewards will be, and the quality of your equipment. There are a few things to note about the difficulties:
If you choose Story, you can enable Casual Mode, which adds a few extra things to make the game even easier:
This includes decreasing Break Gauge consumption, allowing you to keep your Max MP if you die, allowing fallen allies to revive automatically, and allowing unblockable attacks to be blocked.
If you choose Hard difficulty, there will be an extra gameplay mechanic:
If you die with the Hard mode on, your Max MP will return to its initial value (it normally just decreases from what it was before you died).
However, if you lost enough MP, the lost MP will stay as a vestige at the spot where you died, which you will be able to pick up to restore it (in a boss room you will get it automatically).
If you die again before claiming it, the vestige will disappear.
You are able to change your difficulty at any time in the World Map or while interacting with a Cube (you cannot raise the difficulty at Cubes, however), so if the game starts to feel too easy or too hard, know that you can change it to give yourself a better experience.
Prologue (Tutorial)
Once you gain control, you will find yourself in a battle against Tiamat, and the screen will have tutorial text showing you how to attack, Guard, and Evade. You cannot die here, so simply keep attacking Tiamat and get a feel for the controls. Once you depleted her HP or Break Gauge (the yellow bar under her health), press to finish her off and you will be taken into a cutscene.
Once you’ve regain control, you will be in the full tutorial for the game’s combat system. Here you will learn how to perform various attacks, Guard, Evade, and do Soul Shields/Bursts. You cannot die here either, so take your time to understand each step of the tutorial, as they will all help you with battles in the game.
All of these mechanics are described in more detail in our Beginner’s Guide to Combat — we have something for you whether you are still struggling to understand the basics, or would like to hear some tips about using these various mechanics together in battle.
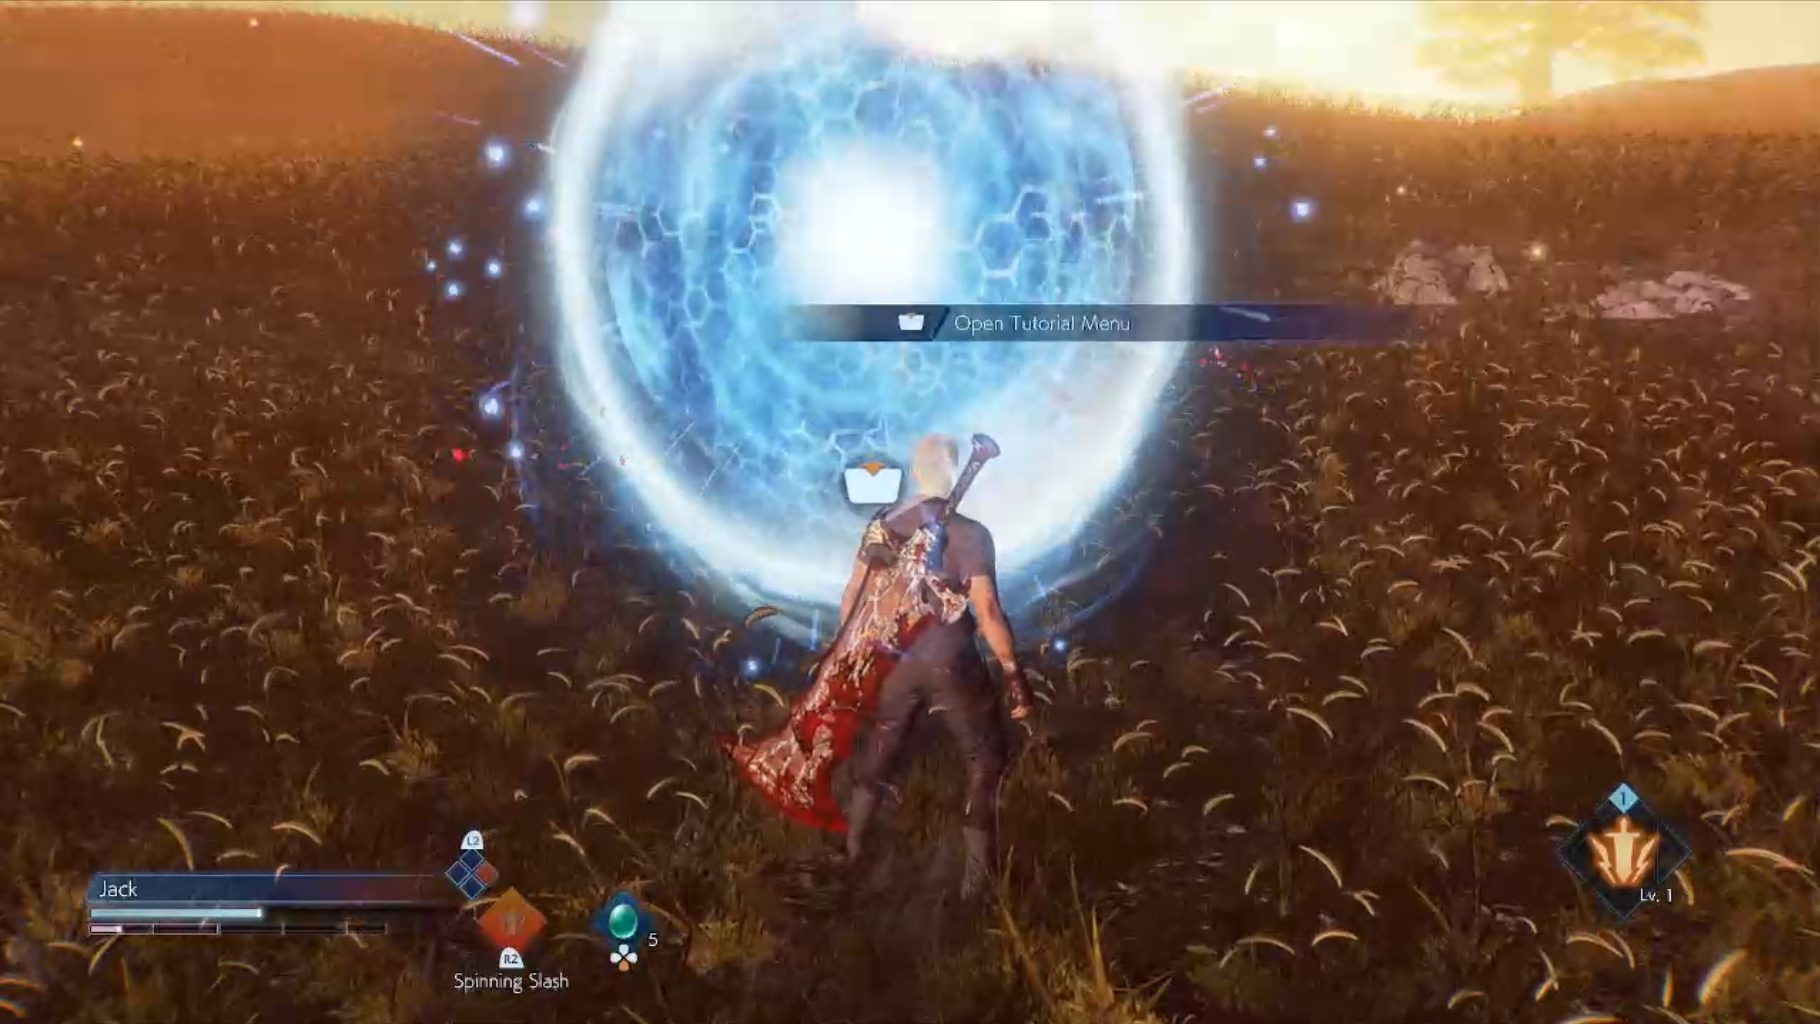
Once you finished the five parts of the tutorial, you will see a large blue portal. Interact with it to either redo any step of the tutorial, or leave this area and continue.
Once you regain control, you will be inside the castle of Cornelia. Talk to anyone there, if you would like to. Otherwise, just leave the castle. After a cutscene, you will be taken to the World Map. This is where you will pick your missions to tackle in the game. You will also have the option to go to the Smithy in the main menu, which is where you will dismantle and upgrade your gear, and talk to citizens of Cornelia (though talking to them serves no purpose).
When you’re on the World Map, you can go to the area marked ‘???’, and press or to find tutorials on the current weapon types you have: Greatsword, Daggers, and Knuckles. These tutorials will help you gain a better understanding of the unique fighting style of each weapon, as well as learn about some of that weapon’s basic combos. As you unlock new weapon types throughout the game, this area will also unlock new tutorials for these new weapons.
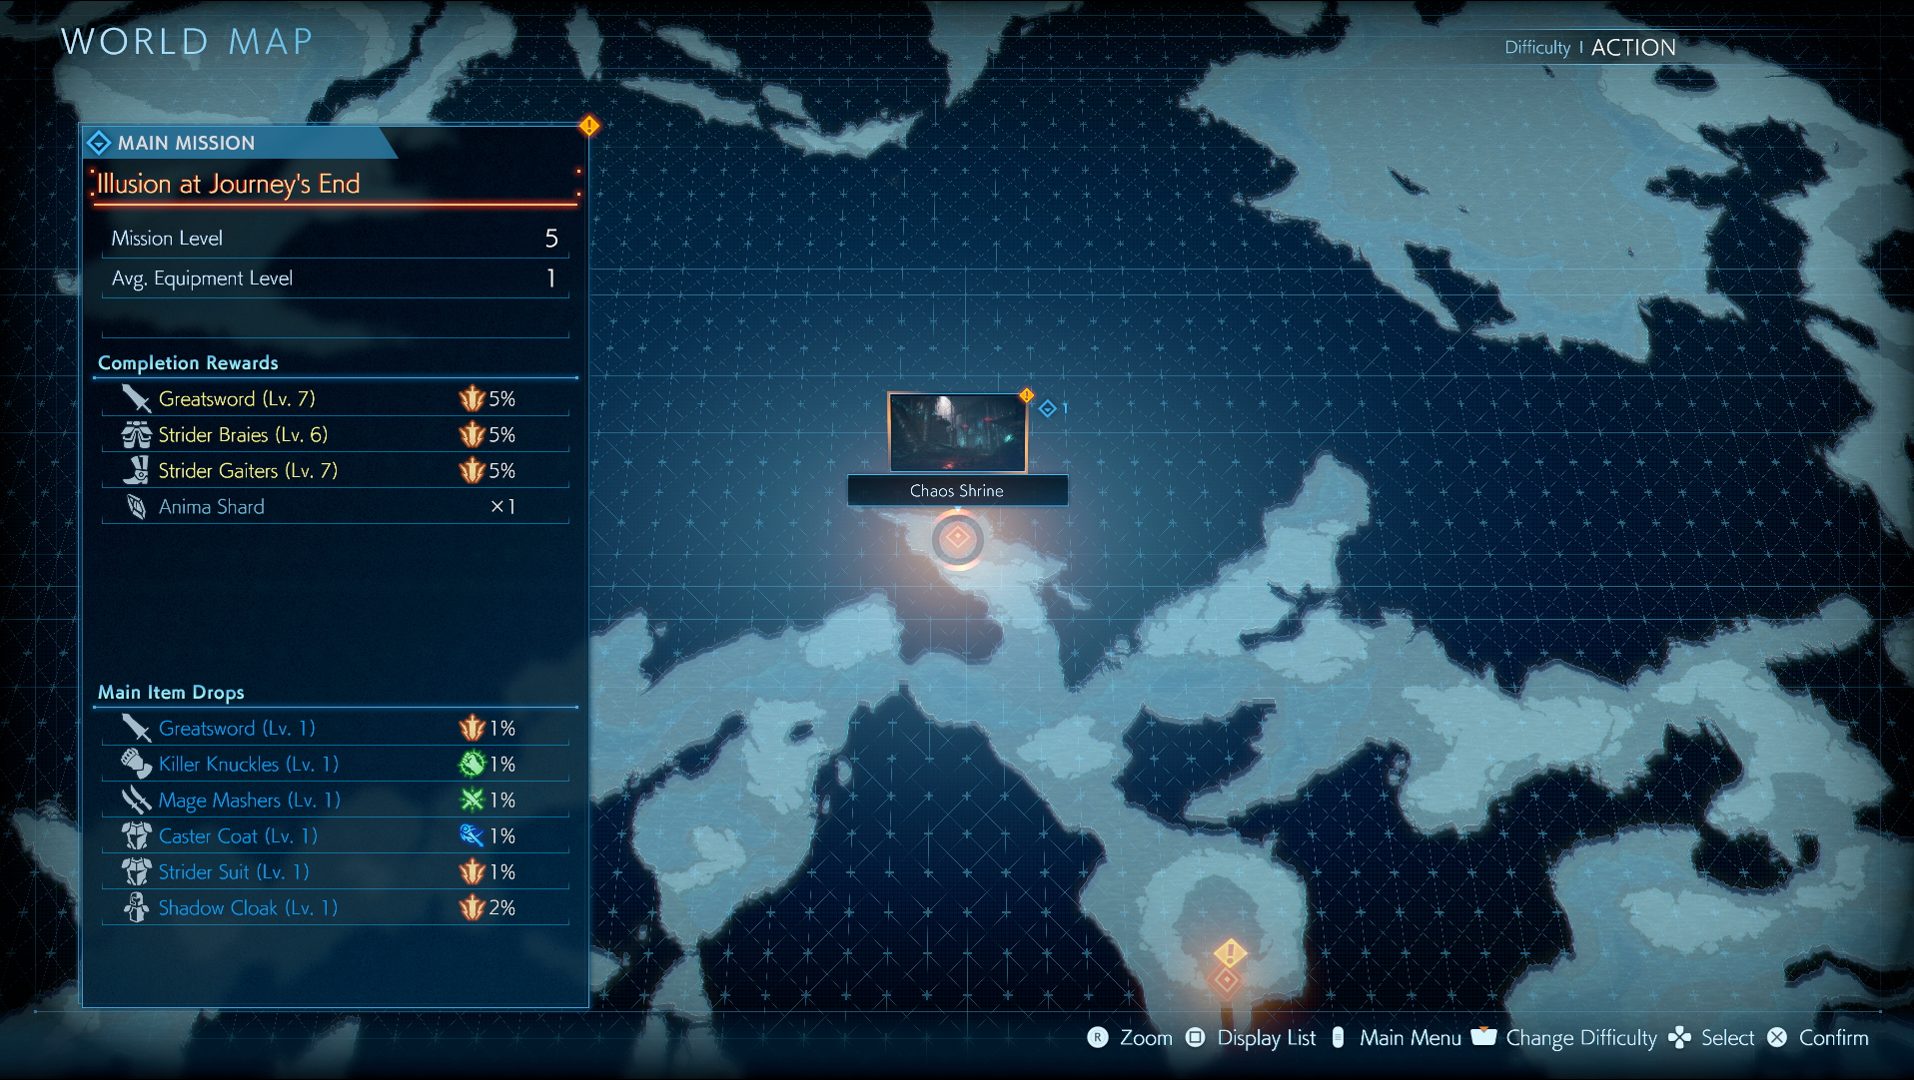
When you’re ready to begin your first mission, go to the Chaos Shrine and begin the ‘Illusion at Journey’s End’ mission.
Note on the Mission Level: You will notice that every mission has a ‘Mission Level’ — this is what the game recommends your Average Equipment Level to be for that mission. You don’t have to worry about this too much, as you will find equipment of the appropriate level inside the mission itself. Just know that if you are starting below the Mission Level, it will be easier for enemies to break your Break Gauge, and harder for you to break theirs (until you upgrade what you have).
Illusion at Journey’s End
Once you begin the level, you will see a Cube in front of you. Cubes like these act as checkpoints in the game. So, if you fall in battle, you will be taken back to the last Cube you were at. They will restore your HP/MP, and refill your Potions. This is also where you will be able to spend Job Points once you begin leveling. Something to keep in mind — when you use a Cube (or die), almost all enemies will respawn and any equipment you haven’t picked up will disappear.
Jack will start off with his Jobs set as a Swordsman and a Duelist (which you can switch between at any time by pressing ). However, you can go into the Battle Settings and switch either Job to a Pugilist, if you want.
Shortly up ahead, you will see a yellow orb, which will explain the Resonance mechanic when you interact with it (this allows your allies to act more aggressively with their Abilities by pressing and/or ).
Once you reach the first split, turn left and up the stairs, and along the way you will find a chest. Once you reach the top of the stairs, grab the yellow orb for an explanation on changing Battle Sets, then jump down the ledge. Grab the yellow orb when you land for an explanation on staggering tougher enemies. Soon after you will find a Dark Vent.
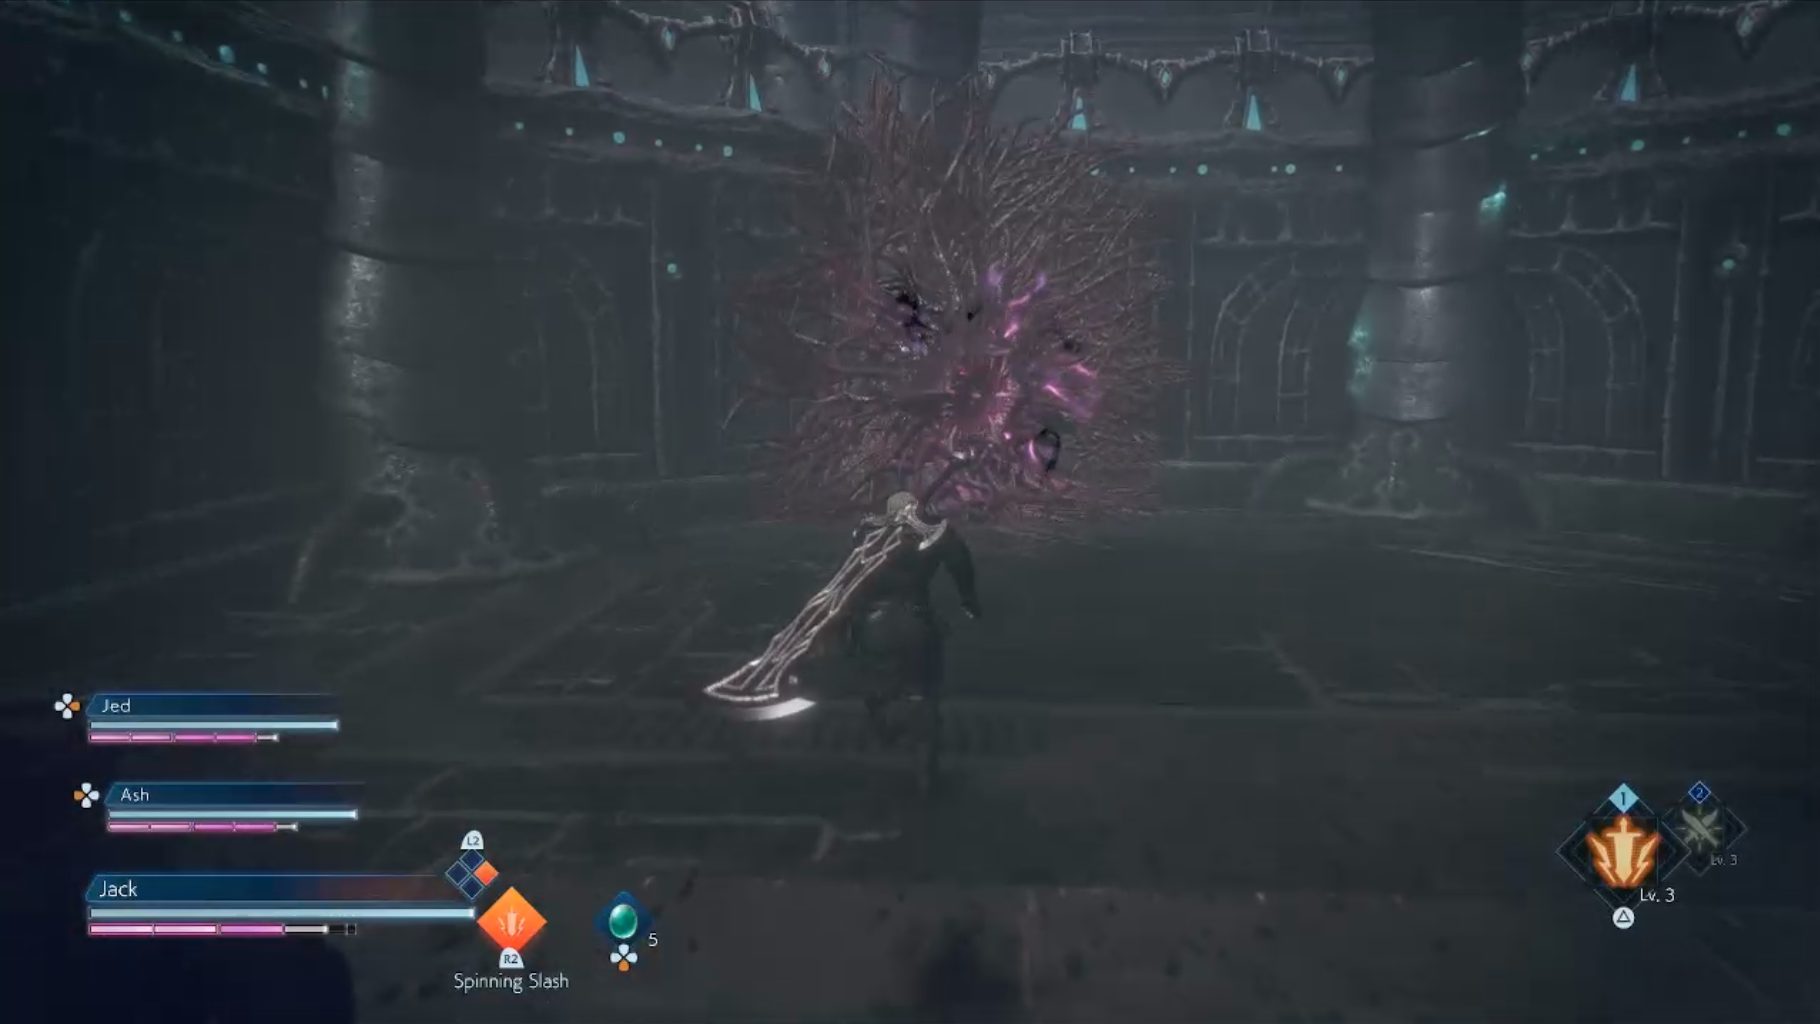
Dark Vents will not attack you directly, but will almost always consistently spawn enemies until they are defeated. You must deplete their Soul Gauge completely and Soul Burst them in order to defeat them. There are two ways you can go about this:
Method 1: Ignore the enemies and attack the Dark Vent directly — defeating the Vent will instantly Soul Burst any enemy that it spawned
Method 2: Defeat the enemies as they spawn — each enemy defeated will lower the Dark Vent’s max Break Gauge, making it easier to finish off
You can also combine both methods, defeating enough enemies to allow you to focus on the Dark Vent without much trouble
This Dark Vent will spawn a Goblin Guard, who is a larger and tougher version of the Goblin, and cannot be interrupted as easily. So, be careful while fighting it. Once you defeat the Dark Vent, the path forward will open up. Continue forward and you will find a Cube.
Walk down the stairs next to the Cube to find a chest, then head up the stairs located next to the Cube to continue. At the top of the steps, you will find a yellow orb explaining how Guarding against Magic works, as well as inflicting Status Ailments. Soon after you will find your first Bomb enemy. While these enemies can attack you from a distance and be annoying in groups, there’s a very quick and easy way to defeat them:
If you Soul Shield their Fire attack and gain it as an Instant Ability, shoot it back at the Bomb three times to force it to use Self-Destruct, killing it instantly.
You will eventually get access to your own Fire attacks, and will not have to rely on stealing one from the Bomb to use this technique.
Continue forward until you see a split. If you look to the left, you will see a wall covered in vines. If you burn the wall with Fire (or have a Bomb do it for you), the wall will disappear and you will find a chest. Whether you choose to continue forward or to the right from here, you will get to the next Cube at the end of the path. However, the encounters you have will be different within each path:
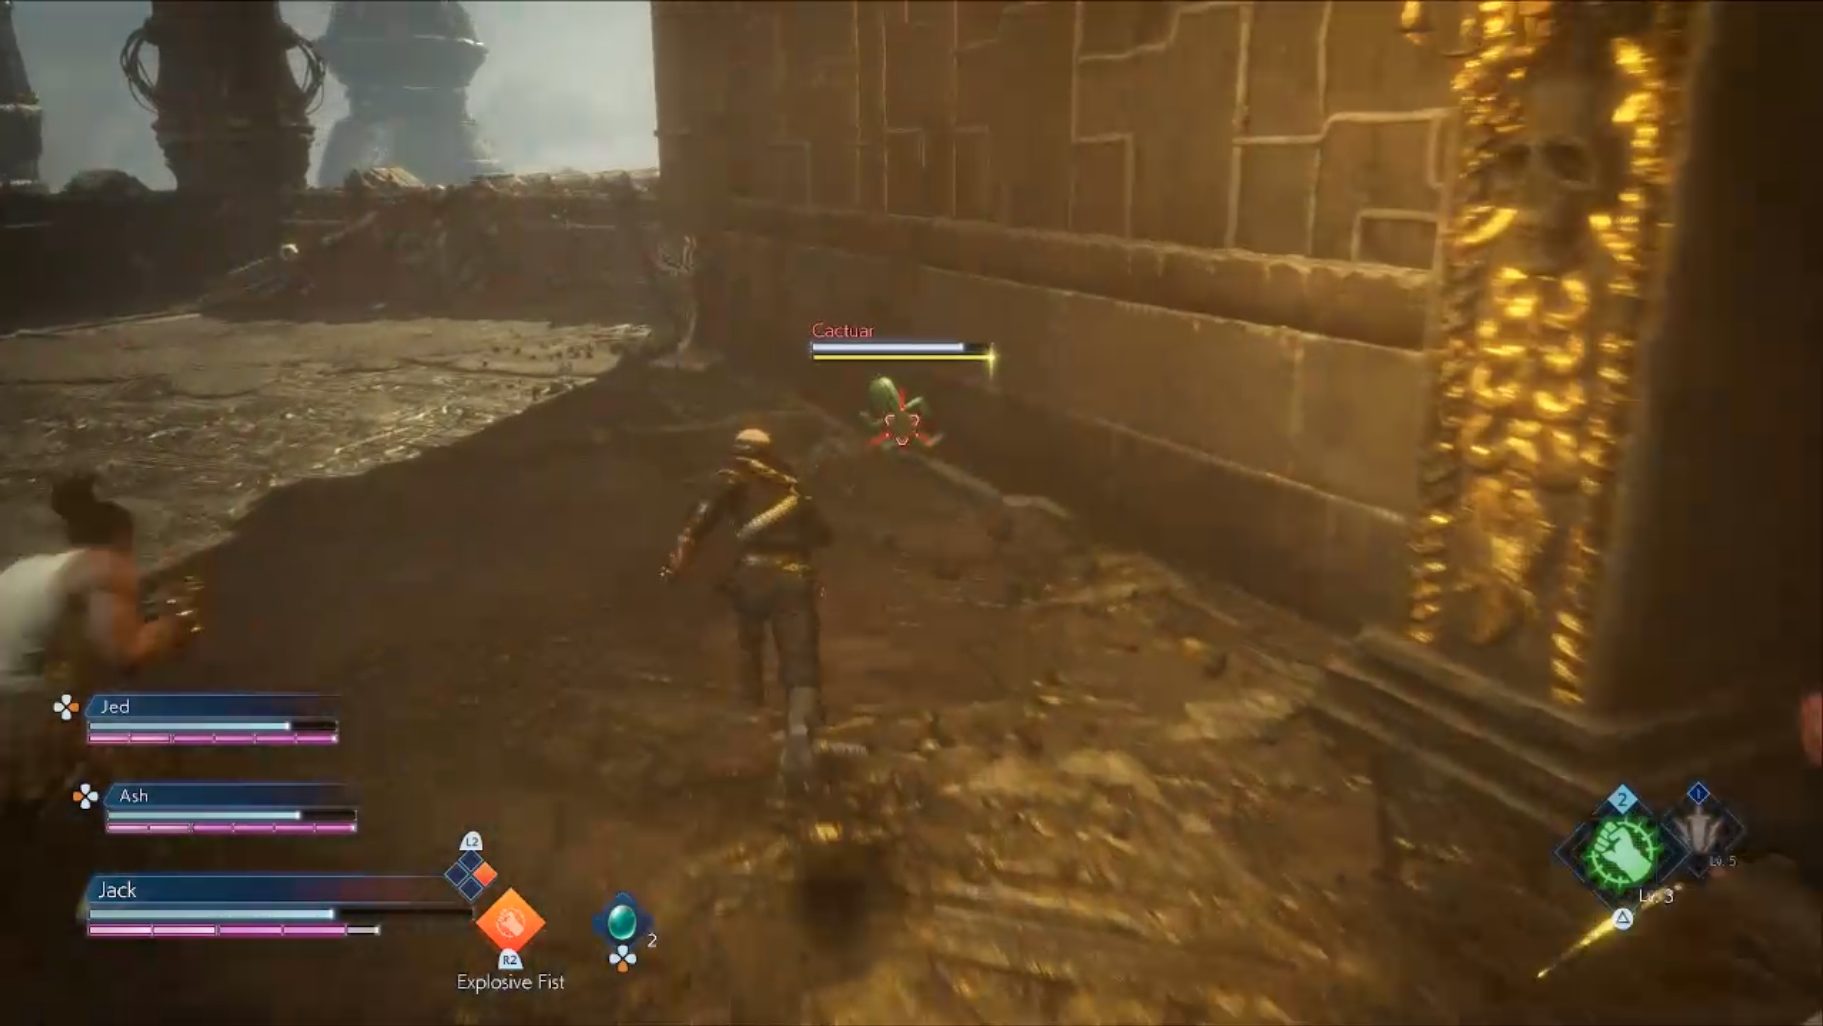
If you take the right path, you will find two Dark Vents along the way. Aside from that, you will primarily be fighting Goblins. At the end of this path, you will find your first Cactuar.
Taking the path forward, on the other hand, will lead you though battles that primarily feature Bombs. At the end of this path (just before the door) you will find a chest.
Cactuars have a random chance at showing up during any mission in the game. If you defeat one before it runs away, you will get a lot of EXP and loot, so they’re worth going after if you happen to spot one. If you wish to get both the Cactuar and the chest, you can take either path to the end, then go to the end of the path from the other side once you reach the Cube, to either grab the chest or defeat the Cactuar you missed.
Once you’re ready to move on, grab the chest just past the Cube to find your first Mace — get it to unlock the Mage Job. Grab the yellow orb to get a brief explanation on Maces and Mages, and then you will have to switch to the Mage Job for one of your Battle Sets to continue (this is the only time in the game you will be forced to use a specific Job to continue). Once you’ve switched to the Mage Job, hold and cast a Water spell on the Fire wall to complete the objective (you will no longer need to use the Job after this if you wish to change back).
Run past the door to grab another chest, the open the doors to continue.
Shrine of Bygone Light
When you enter, you can press the touchpad when prompted, if you want to get a better view of the whole room. Otherwise, head down the right set of stairs to discover a Dark Vent (this one will spawn no enemies). Destroy it to open a path to a chest.
Then head back, run past the entrance, and run up the stairs to find a lone Bomb. If you just hit this Bomb, it will fall off of the ledge, exploding and dealing a lot of free damage to the Wolves below (and even killing some), making the upcoming battle with them much easier.
Head back down the stairs, and down the other set of stairs next to them to finish off the rest of the Wolves. Then, run just past the stairs on the other side of the room to find a chest, and head up the stairs to continue.
Temple of the Dead
Once you open the large set of doors, head left to lower the ladder and create a shortcut to a previous Cube (there will also be a yellow orb at the top of the ladder explaining ladders and shortcuts). Now walk back up the ladder and walk towards the next set of doors. Just before you open the door, grab the chest to find your first Lance and unlock the Lancer Job. Then, grab the yellow orb to get a brief explanation on Lances and Lancers.
Pathway to Rebellion
Cross the bridge and head up the stairs, and at the top you will find two different paths going right. Take the further path first to find a chest at the end of it, then turn around and go through the other path to continue. Near the end of this bridge you will find a yellow orb explaining the Canceling mechanic.
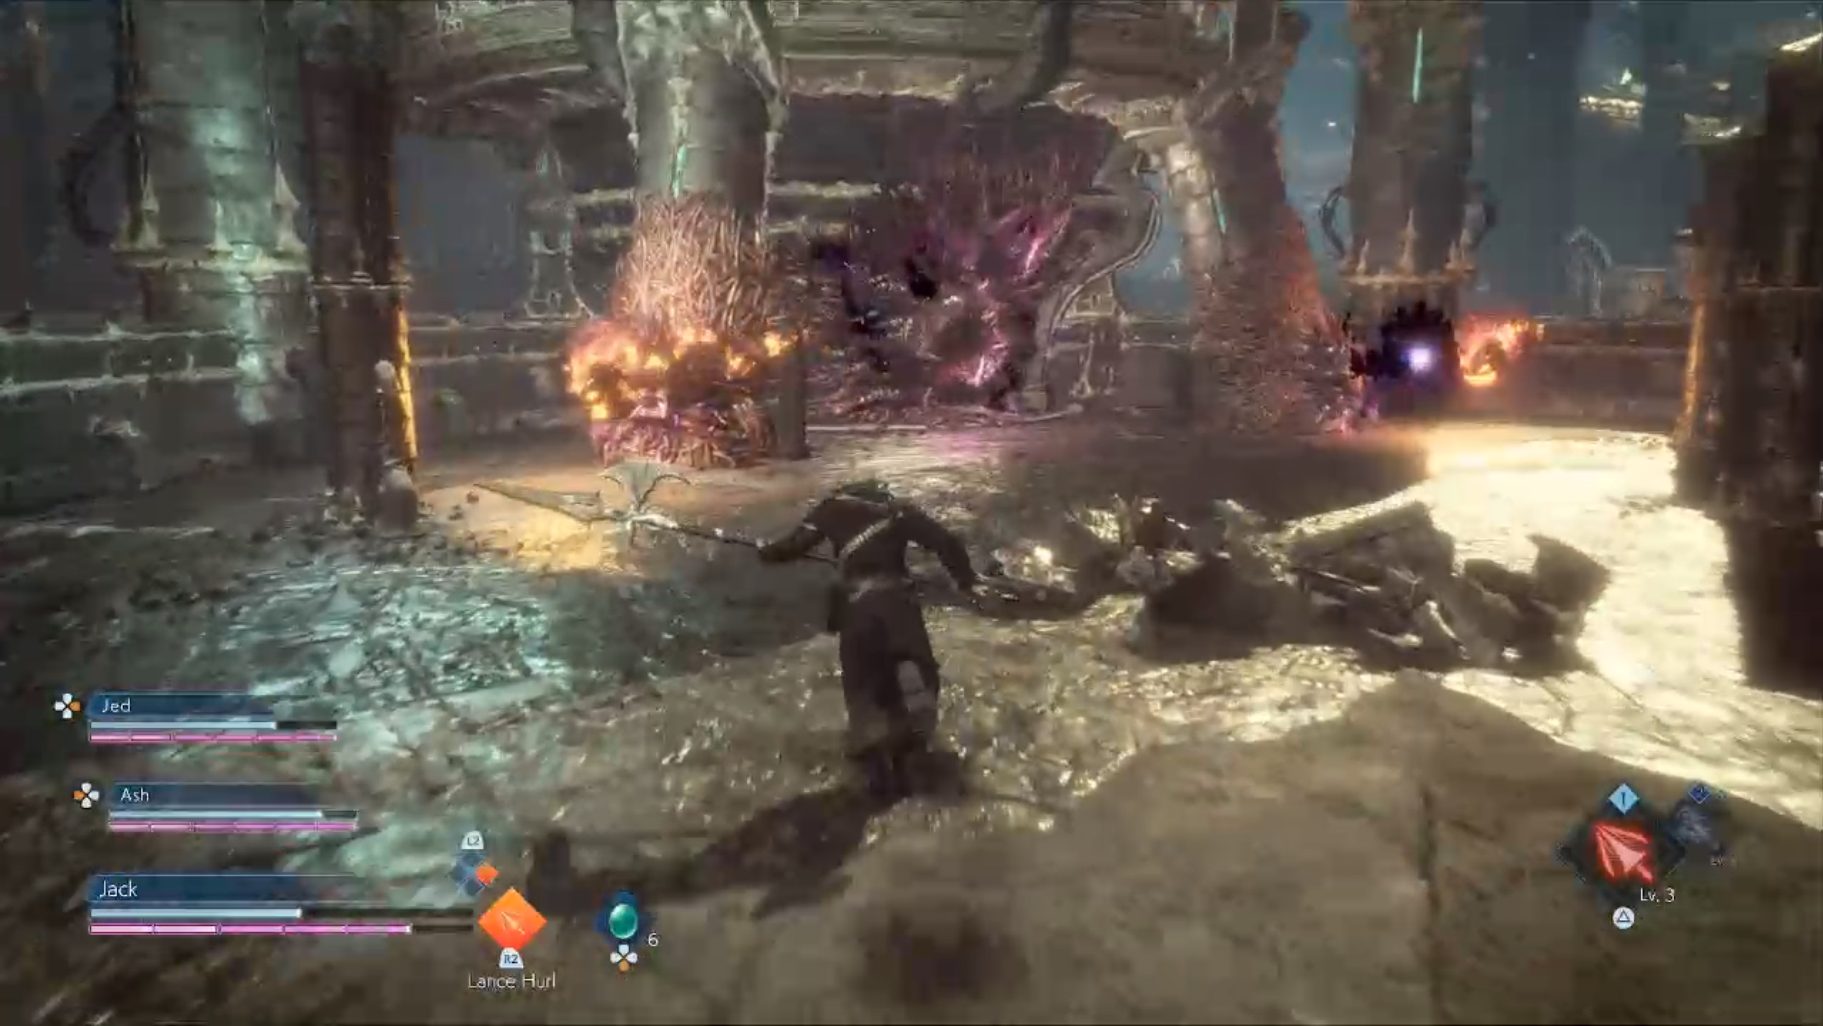
At the other side of the bridge you will find three Dark Vents (two smaller ones, and a large one), and a variety of enemies coming from them. Take out the smaller ones first to make less enemies appear, then defeat the large one to open a path to continue forward. (Note that you can also choose to defeat the large one first, which will automatically defeat everything after, including the smaller Dark Vents.)
At the top of a set of stairs, you will find a Cube and another yellow orb explaining Chain Cancelling.
When using the Cube, you will obtain your first Anima Shard. These items essentially give free EXP to a chosen Job, and can be used within the Job Trees. Grab the chest on the left side of the stairs, then open the doors in front of you to continue.
Tower of Fate
In this room, you will fight your first Skeletons, and will likely be dealing with your first unblockable attacks. When an enemy is using one of these attacks, the attack name will be red and they will get a red aura around them temporarily. You will have to Evade these attacks to avoid taking damage.
After the battle, go left from the entrance to enter a large corridor.
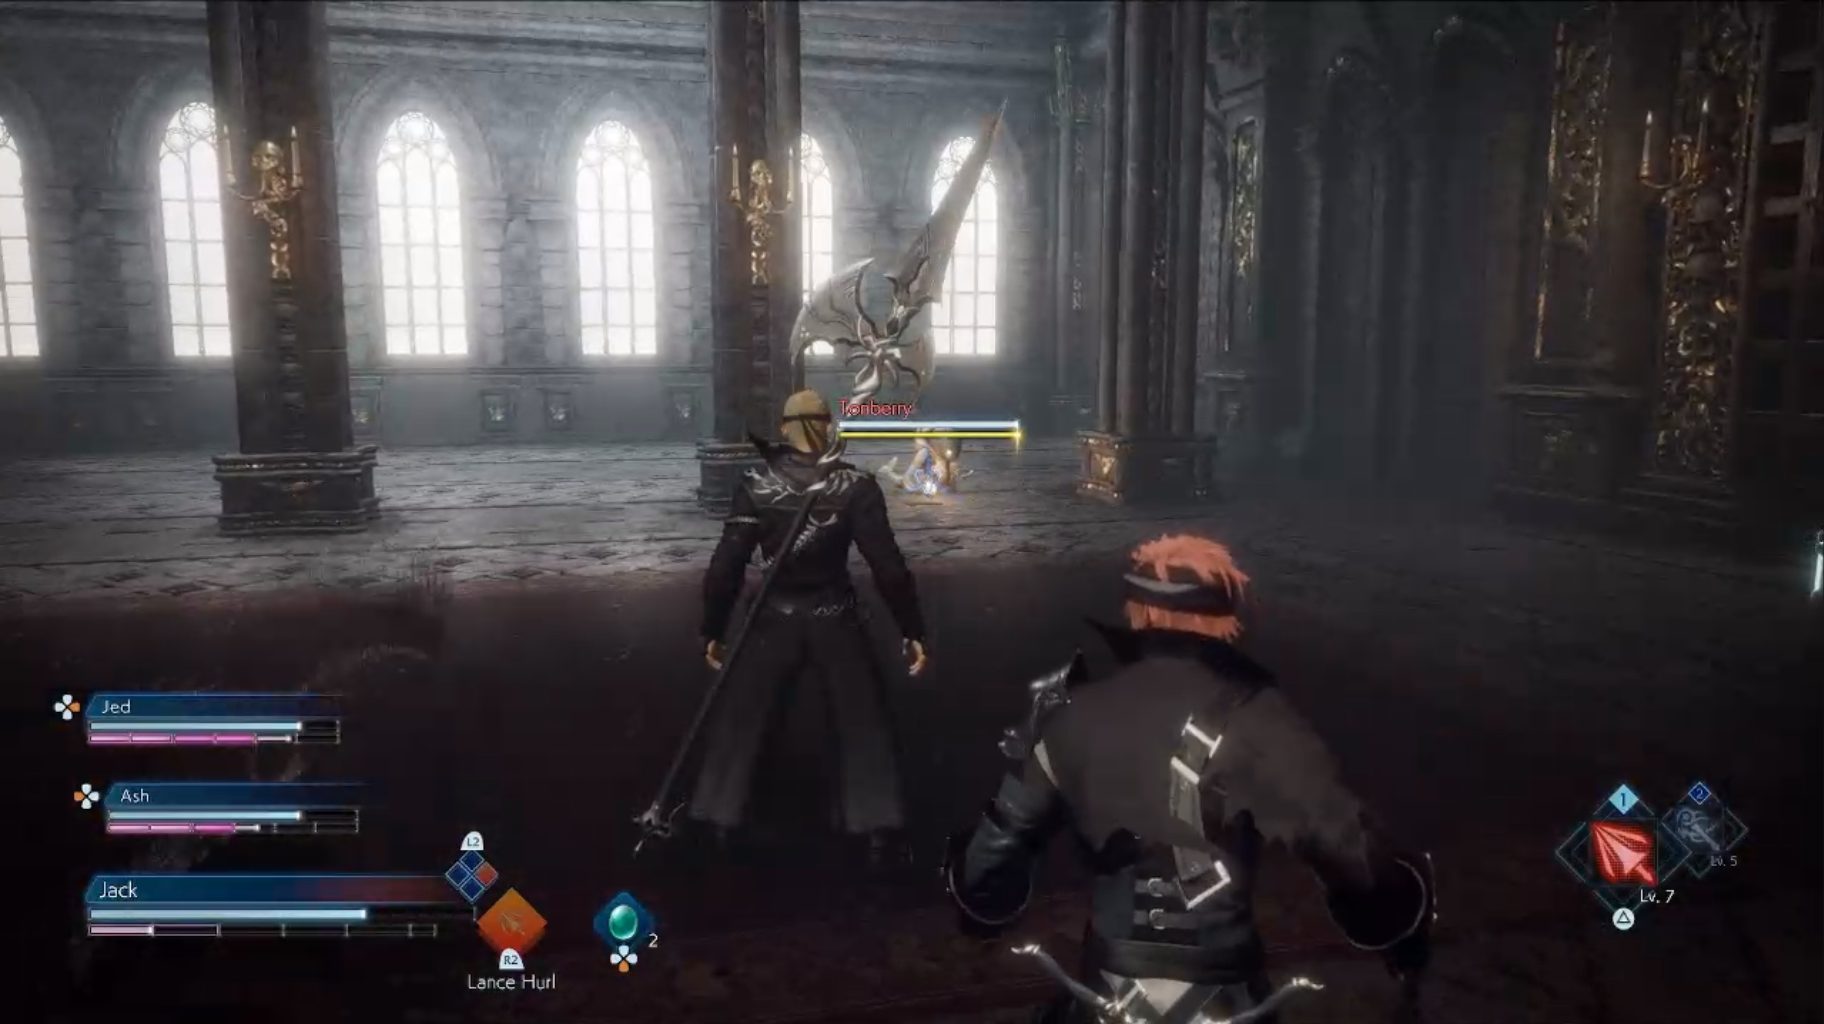
Head straight forward when you enter to go through another set of doors, and you will find a chest containing the Key to Fate’s Doors. As you try to leave, a battle will trigger with Leech Bats and Skeletons — they can overwhelm you if you’re not careful. Once you’re back in the corridor, go to the opposite side of the room, and enter the room to the right of the large set of doors. Here you will find your first Tonberry.
Tonberries are very dangerous enemies that you will find in many missions throughout the game. Their Chef’s Knife attack hits almost instantly if you’re close enough to it, and can easily kill you in one or two hits even if you have good gear. They also have many attacks that will disable you in various ways:
Doom and Gloom will put a purple circle around the Tonberry and, if touched, will instantly Paralyze you
Hush will surround it with white orbs. If you get hit by a couple of these, you will be Silenced
Numb will have it send multiple yellow orbs at you. Getting hit by a couple of them will Paralyze you
Leadfoot will surround it with purple orbs. If you get hit by a couple of these, you will be Slowed
On top of these abilities, it can also use Deathwish, which will teleport the Tonberry to you. An attack that’s as dangerous as Chef’s Knife is Everybody’s Grudge: the Tonberry will shoot high-damaging projectiles at you and, if you get caught in them, will kill you very quickly. Note that if you Soul Shield this, you can steal it as an instant attack. However, your version will not deal nearly as much damage.
When fighting them, pay close attention to what attacks they are doing, and make quick attacks when you see an opening (but always keep in mind how quick the Chef’s Knife attack is). Take advantage of Resonance from your allies to keep some of the attention off of you.
Once the battle is over, you will find a chest in this room. Then, go through the large doors (these will use the Key to Fate’s Doors you found earlier).
Before going up the stairs, go to the left of them to find the Fool’s Missive XXVI. The Fool’s Missives are hidden documents you can find throughout the game explaining some of the lore in Stranger of Paradise. Use the Cube at the top of the stairs, then turn right to find a chest. Once you’re ready, go through the large doors past the Cube to get into your first boss battle.
Chaos Advent
Phase 1
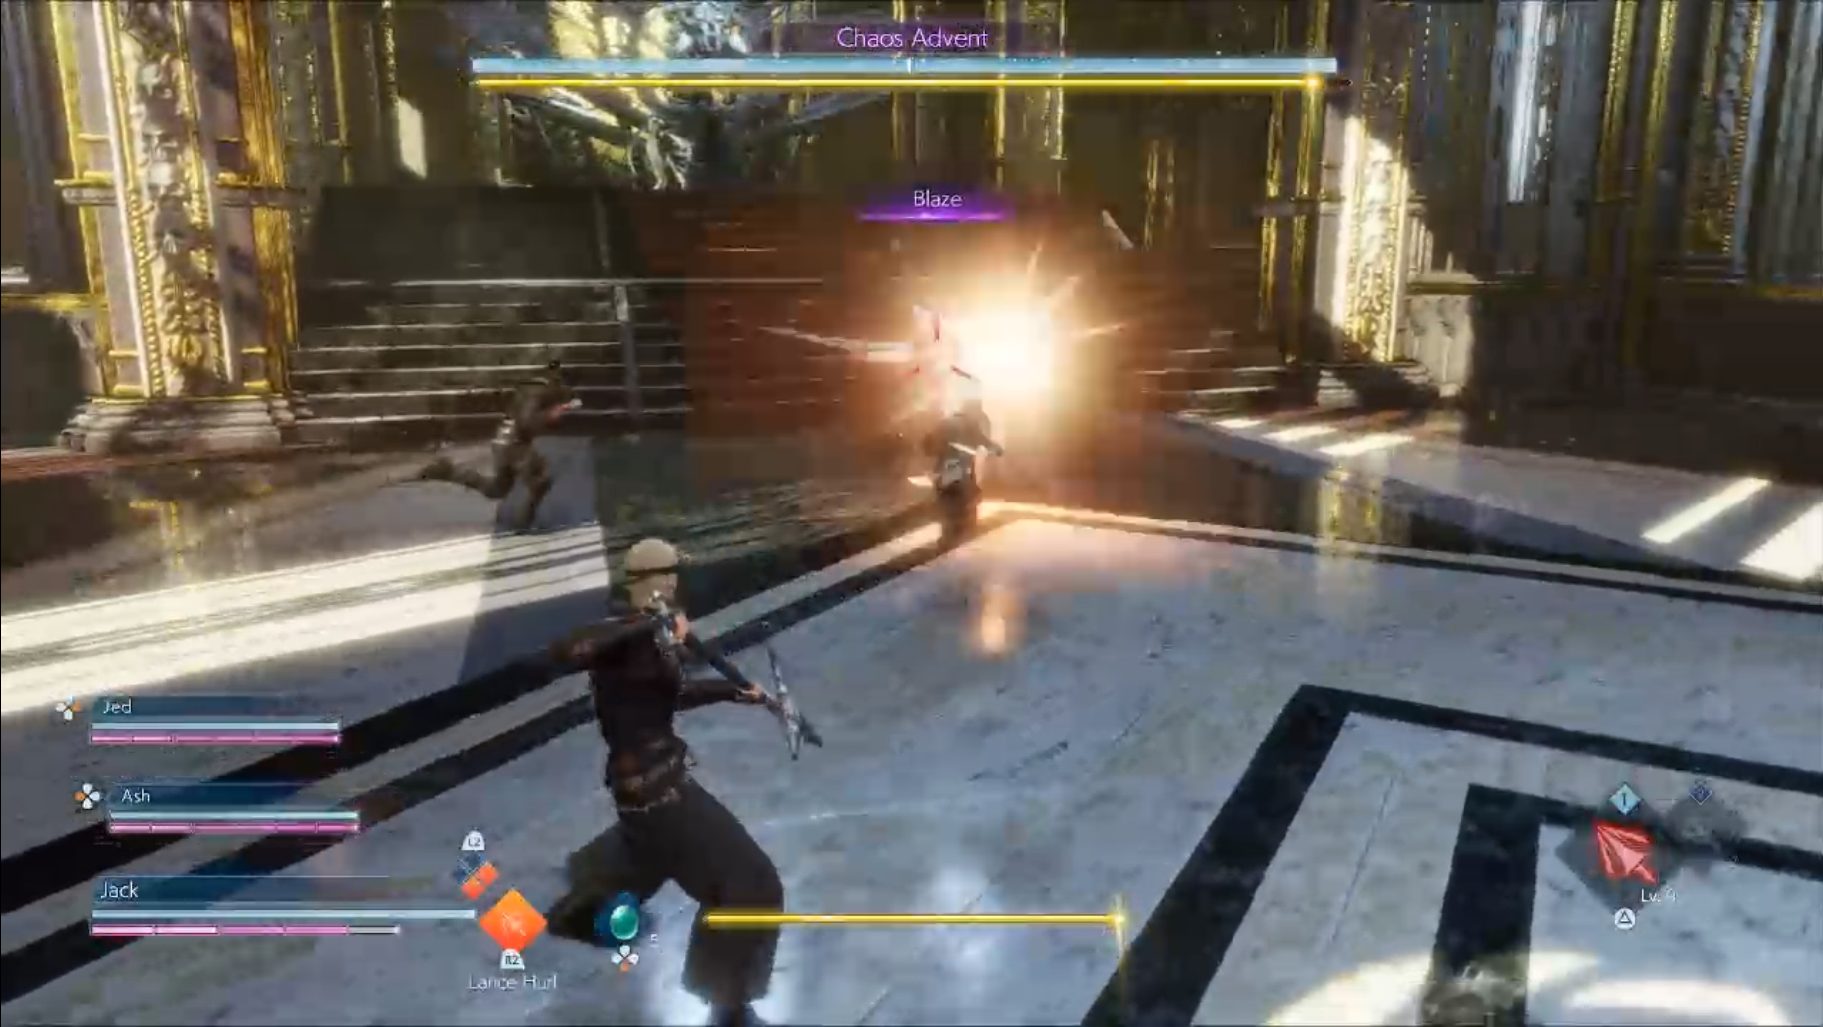
The Chaos Advent has several slashing attacks with his sword, and is able to close the gap between the two of you quickly. He is also is able to leap back and throw ice shards at you. Luckily, his attacks are fairly easy to read — you can learn the timing of all of these attacks and use Soul Shield to quickly raise your MP.
He also has access to some elemental attacks. Along with the previously mentioned ice shards, he can use Blaze to shoot two fireballs at you (which you can steal as an Instant Ability), Inferno to deal a large AoE* attack, as well as Firebringer, which will temporarily enchant his sword with Fire, making his attacks more powerful.
*AoE = “Area of Effect,” meaning it affects all enemies within the attacks’s area.
The Mage Job is very useful in this fight. If you combine Blaze with the Job’s own Fire magic, you can quickly force a Fire weakness on Chaos Advent, allowing you to deal both more damage and more break damage. Mages are also able to neutralize the effect of Firebringer if you hit him with their Water magic.
Once you’ve depleted his HP to half, or fully depleted his Break Gauge, Phase 2 will begin when you attempt to Soul Burst him.
Phase 2
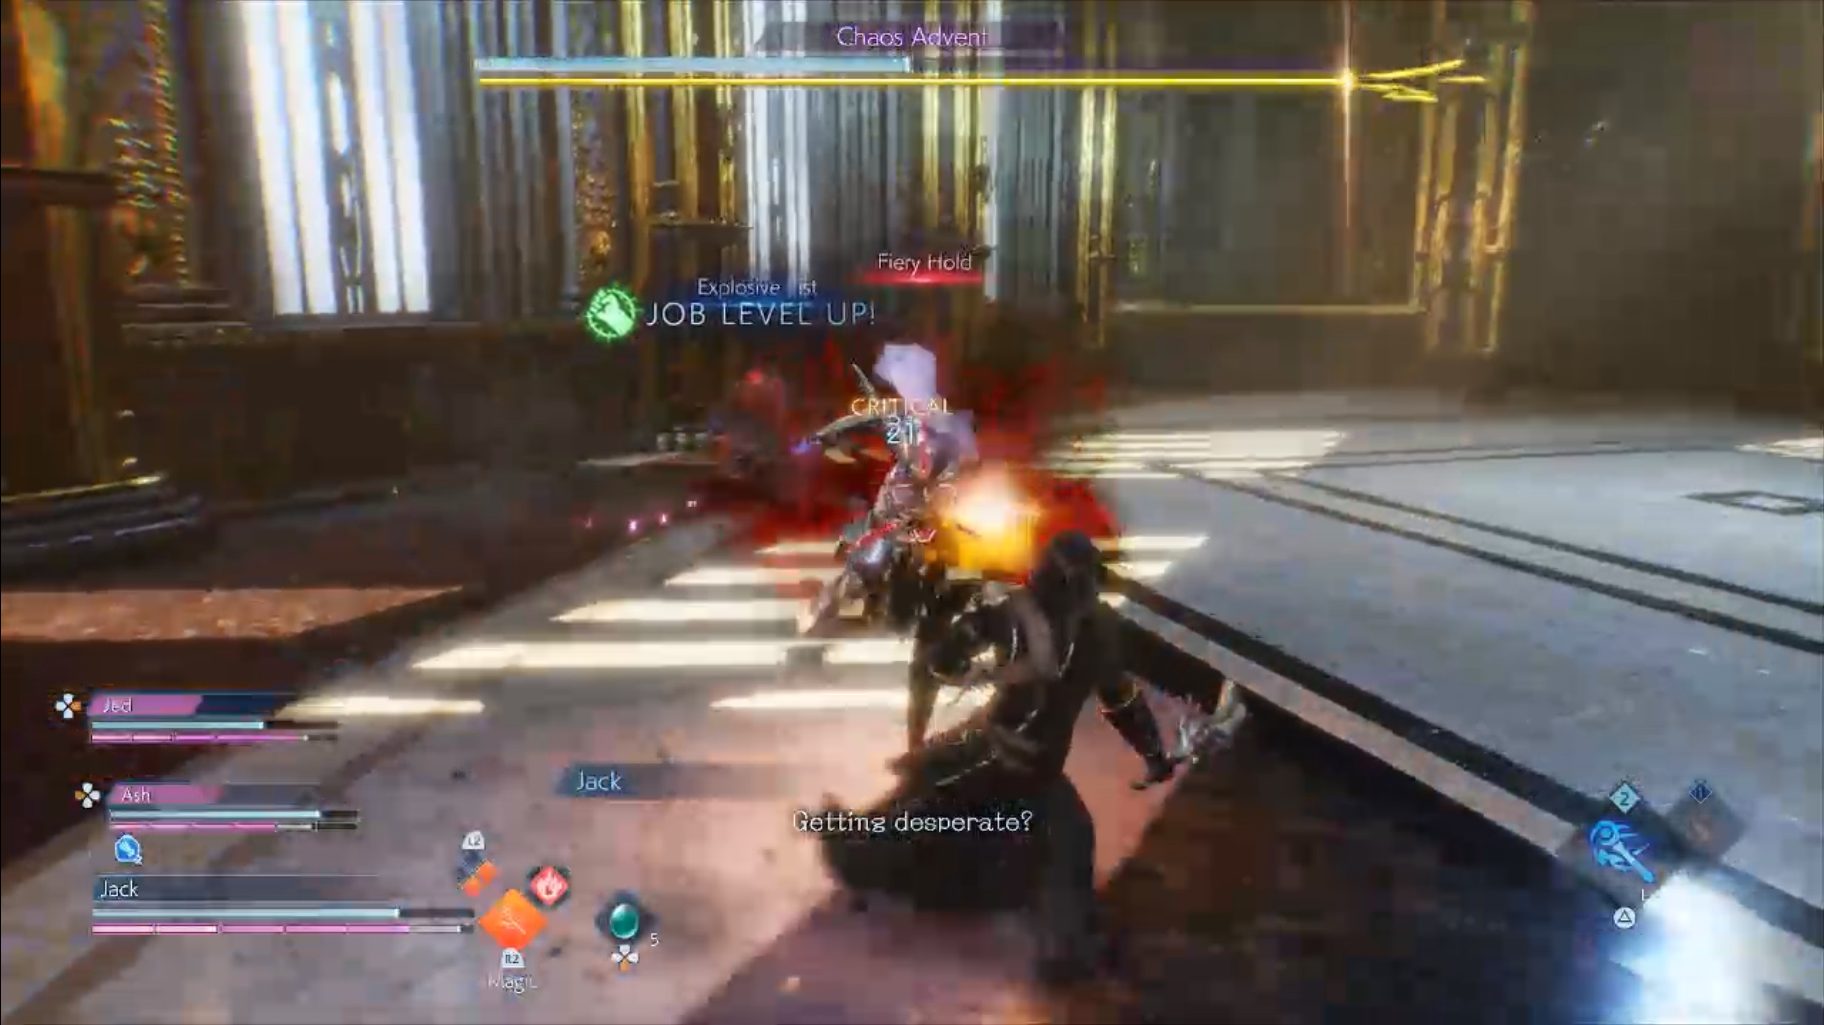
The Chaos Advent will lose his sword, but he is still a dangerous foe if you’re not careful. He gets new physical attacks during this phase (one of which will end with a Lightning attack), and can still quickly close the gap on you if you’re at a distance. He now also has access to Fiery Hold, which is a powerful unblockable attack in which he will charge at you and grab you — so, make sure you’re ready to avoid this.
While you’re close to him, he has a chance of using Chaosbringer, a powerful AoE attack, as well as Blizzaga, another AoE attack with an Ice element. But, his most dangerous ability is probably the Ice Sword. When he uses this ability, he will temporarily gain a sword made of Ice and begin using his attack patterns from Phase 1. However, the attacks will now include an extra Ice attack, making it more difficult to block and allowing the Chaos Advent to do a lot of damage, quickly.
For the most part, you can use the same strategy in this phase as you did for Phase 1, as his attacks without the sword are still fairly predictable. Just like with the Firebringer move, you can neutralize his Ice Sword attack by attacking him with Fire magic — note that he still uses Blaze in this phase as well, which can help get rid of the Ice Sword quicker.
Just be ready to dodge out of his Fiery Hold or his powerful AoE attacks when you’re up close, and the fight should go smoothly.
Once the battle is over, you will gain Neon as a party member, and you will unlock the Swordfighter Job.
Share this article:
KainHighwind27
I'm a huge gamer who especially loves the Final Fantasy series. I will play just about any game, especially if it has anything resembling a Dragoon.