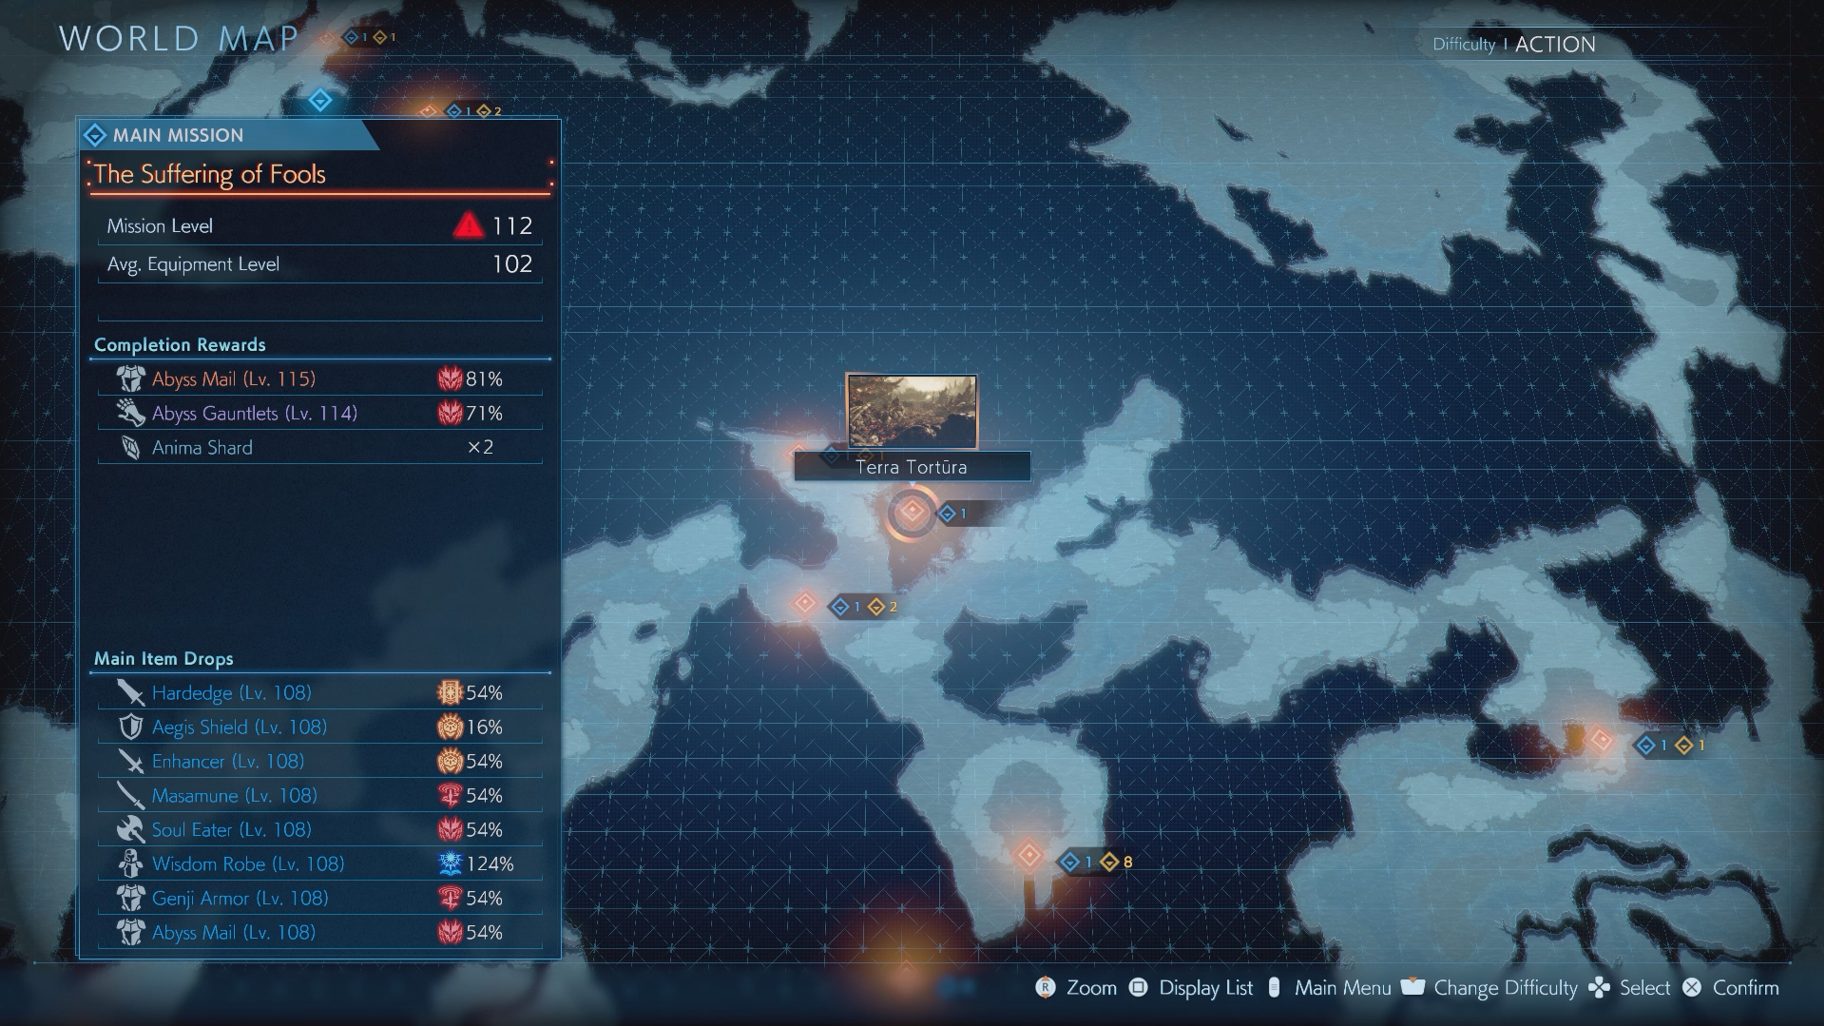
Greetings, Warrior! Welcome back to our coverage of the Main Missions in Stranger of Paradise. For this guide, we will be covering ‘The Suffering of Fools’ — this mission takes place in an area modeled after a very important floating continent in the world of Final Fantasy VI. As always, we will point out the level’s secrets, and provide tips for its challenges.
When you’re ready to begin the Mission, head over to Terra Tortura to start ‘The Suffering of Fools.’
The Jester’s Causeway
When you reach the Cube, you will notice a purple barrier off in the distance. In order to remove the barrier, you must destroy three Dark Vents that are spread throughout the level — these Vents will be attached to statues that Final Fantasy VI fans will likely recognize. Each Dark Vent will be in one of three main areas of this level and can be handled in any order, making this the only level in the game that does not have a linear progression.
You will know you’re in one of the areas when you pass through a gateway, and the general color of everything changes. Here are the directions to all three areas, using the Cube as the starting point for each one:
Path of the Forlorn (Green) – It will be on the left path from the Cube; take the first gateway to your left
The Devoted’s Path (Blue) – For this one, take the left path from the Cube, but skip the first gateway. Instead, keep going forward and turn right at the barrier to reach the gateway
Path of the Undaunted (Red) – This one will be on the path to the right side of the Cube
Throughout the level, you will also encounter bone traps — these will come up from the ground to stab you if you touch them. Just attack the traps to destroy them whenever you see one, ideally before they get triggered; it’s possible to dispatch them with melee attacks without getting hit.
Path of the Forlorn
In the first area, go to the right to grab a chest, then walk up the ramp. Head to the center of the next area to grab a chest, then turn around and continue forward to cross a bridge. Watch your step in this area, as there are many holes you can fall down, scattered throughout — falling through will take you to a lower floor. Go to the first hole on the right side to and jump down to find a Memory Memento — This one will unlock ‘Indigo Memories: The Stabbed.’
Jump down the ledge, turn left, and climb the rope you see there. Then, turn left and continue on. Grab the Lufenian Log 18_1025 on the way, and grab the chest at the end of the path. Turn around and go back to the rope, climb down it, and continue forward. Just before the path, turn right, and you will find a breakable wall — break it to find a chest. Turn around and continue through the path until you find a Cube. Then, a little further forward you will find a teleporter to step onto.
Here you will find one of the three Dark Vents. This one will spawn a Mindflayer and a Siren, and will cast Flare on you periodically. Once you destroy it, quickly run back to the teleporter to leave this area, then step on the teleporter in front of you to be taken back to the first Cube.
The Devoted’s Path
Before you walk past two purple pillars, turn left and make another left. In this area, go to the right to find the Fool’s Missive XXXVI (you will have to walk over a patch of Fire). Now head to the end of the room to grab a chest, then turn around and make your way back to the purple pillars to continue. Once you reach a more open area, walk up the ramp on the other side — break the wall there to find a chest down a ledge.
Climb the nearby rope and jump down the ledge here, then turn right and continue forward to find a Cube. At the end of the path, you will find a teleporter to step on.
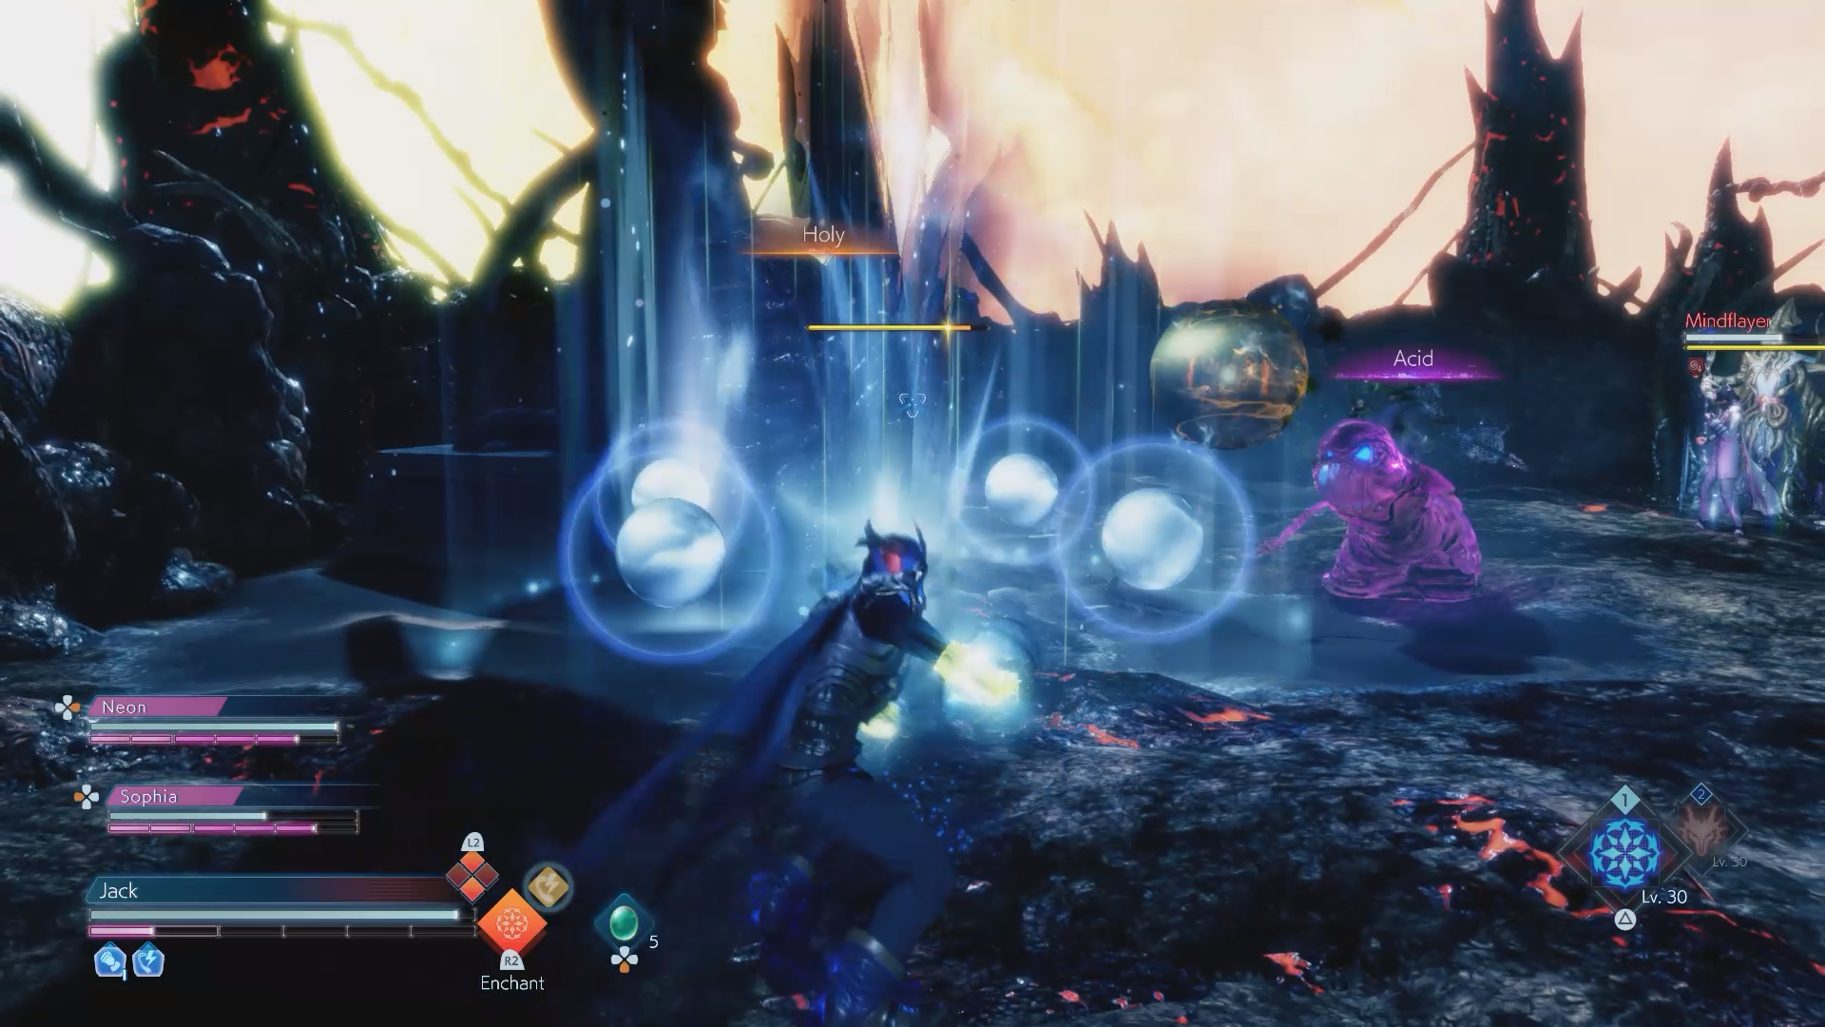
Here you will find one of the three Dark Vents. This one spawns a Mindflayer and a Flan Princess, and will cast Holy on you periodically. Once you destroy it, quickly run back to the teleporter to leave this area, then step on the teleporter in front of you to be taken back to the first Cube.
Path of the Undaunted
Continue through the path until you see a large hole in front of you — go to the right side of it to find a rope, and climb down. Grab the chest in this area, then climb back up the rope and continue forward. Once you cross a bridge, turn right to grab a chest, then turn around and continue forward to find a Cube. At the end of the path, you will find a teleporter to step on.
Here you will find one of the three Dark Vents. This one will spawn an Ahriman and a Roundworm, and will periodically cast Meteor. Once you destroy it, quickly run back to the teleporter to leave this area, then step on the teleporter in front of you to be taken back to the first Cube.
The Jester’s Causeway Revisited
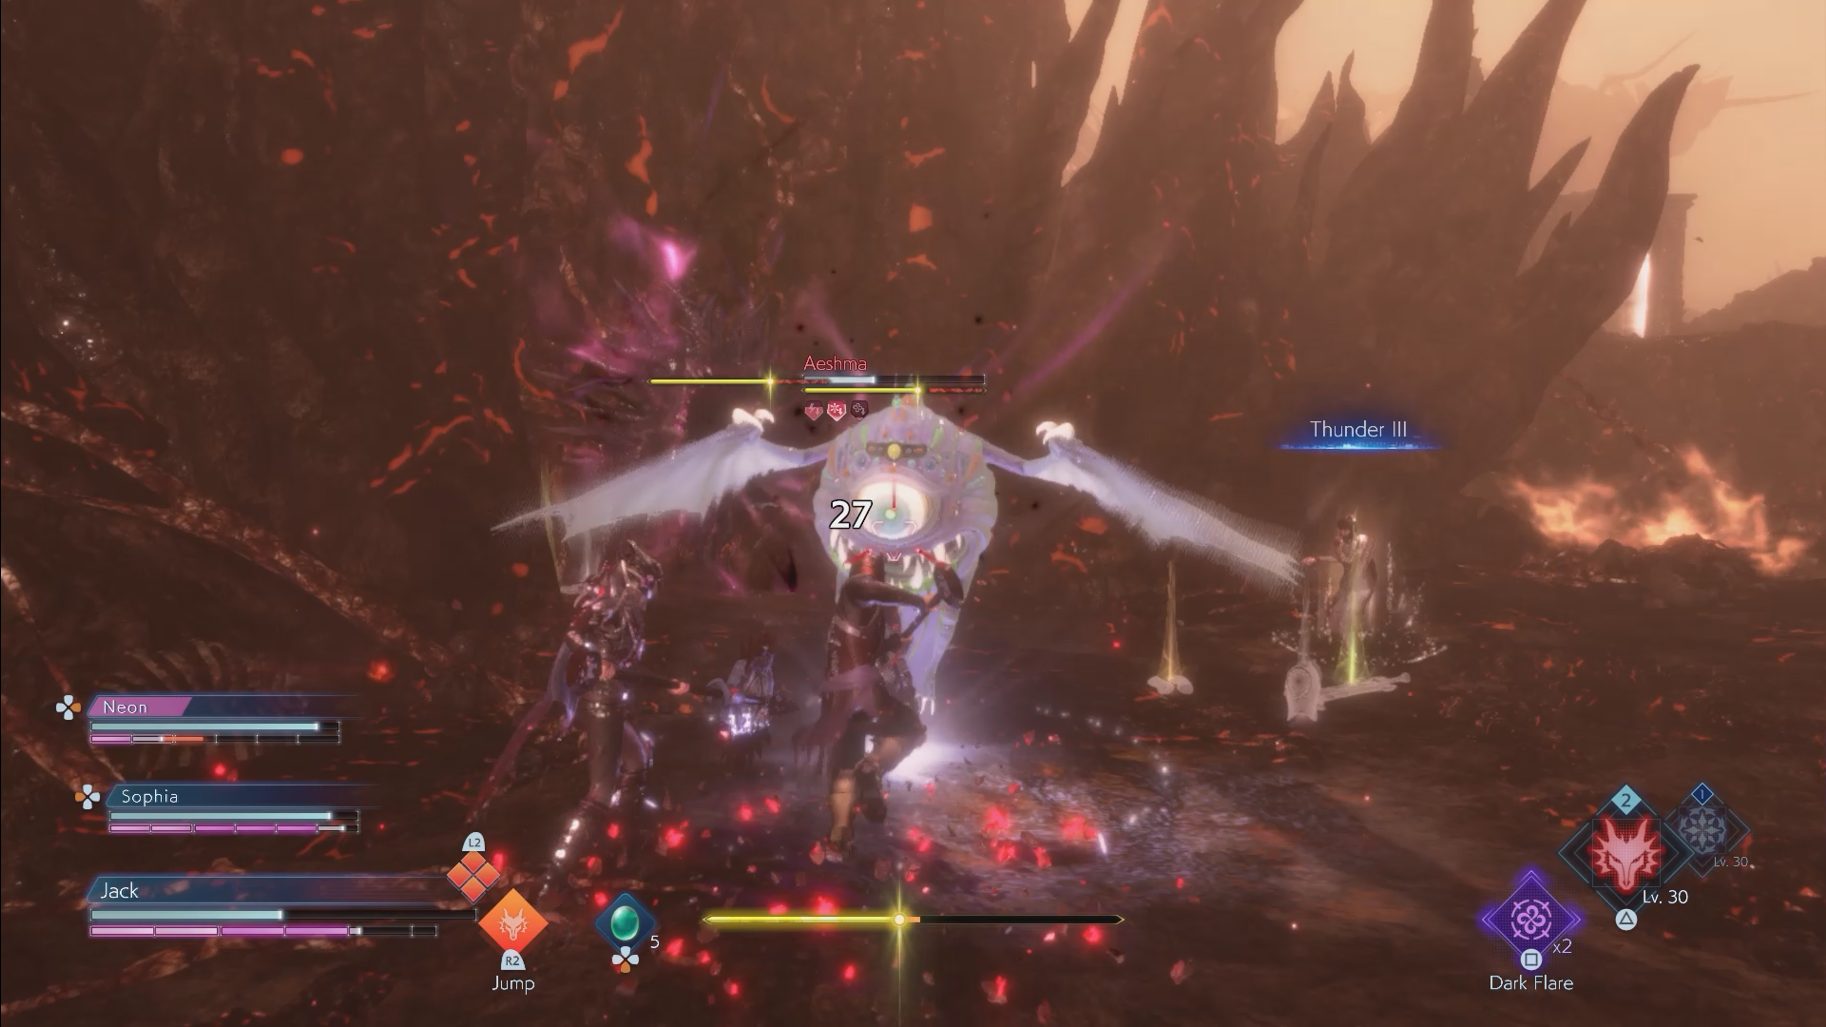
Once all of the three Dark Vents are destroyed, make your way to where the barrier was, and you will soon find another Dark Vent. This one will spawn an Aeshma — it is a tougher version of an Ahriman, which is able to cast Meteor and Dark Flare. Once it’s destroyed, you will find a Cube. When you’re ready, continue forward to fight the Mission’s boss.
Astos
Phase 1
Astos is a very evasive enemy that specializes in using Dark magic. He will teleport around the arena and use a variety of physical and magic attacks.
He can kick you up to two times
Dark Hammer is an unblockable attack that will have Astos jump in the air and create a large Dark hammer to slam on you
Cremation will create an area of Darkness around him, damaging you if you touch it
Dark Slash has him create a Dark sword and swing it in an arc in from of him
Dark Surge is an unblockable attack that will briefly stun you if it hits
When using Dark Revolution, Astos will create a Dark blade and spin it around him, damaging anyone it hits
Dark Thrust will have Astos summon six Dark projectiles above him. He can fire these in one of two ways (this Ability can be stolen as an Instant Ability either way):
He can fire them all at once towards the ground, in a circle around him
He can also shoot them at you directly, releasing two of the projectiles three times
He can also cast Thundaga, Blizzaga, and Dark Flare (all of these can be stolen with a Soul Shield)
Primordial Frost will have him summon many Ice projectiles and fire them directly at you
Primordial Bolt has Astos summon four Lightning projectiles, which will create lightning bolts and move forward in a line towards you
Keep an eye on the black aura around Astos. This is an indicator of his Dark powers, allowing him to use most of his attacks. If you deal enough damage to him, he will lose this aura — this will make him easier to stagger. He will eventually use Dark Matter to restore this power, so you will have to do it multiple times. While his teleporting and various attacks can make this hard, try to stay on top of him and attack him rapidly to get rid of his Dark powers.
Without his Dark powers, Astos can be staggered with a Soul Shield
Once you bring his HP down to half or fully deplete his Break Gauge, Soul Burst him to make him transform and begin Phase 2.
Phase 2 (Ultima Weapon Origin)
With Astos transformed into the Ultima Weapon Origin, this will now become a completely different fight. He will now have access to both powerful physical and powerful magical attacks.
He can swipe at you with his claws or stomp on you up to two times
Dark Calamity is an unblockable attack where he will swipe up to attack you
When using Crossover, Ultima Weapon Origin will swipe at you with both of his claws at once
Full Power is another unblockable attack, where he will charge at you
Shadow Flare will have him breathe a Dark gas in a cone in front of him
Shimmering Rain will summon a few rain clouds around him that will briefly leave puddles. Standing in them for too long will inflict Curse
Calamity Bolt will cause Ultima Weapon Origin to shoot out a wall of Lightning bolts from both of his sides
Energy Emersion is an AoE attack, where he will push back anyone close to him
Void Sprout will summon a patch of Darkness that will move towards you and try to sprout from underneath you
Antimatter will have him shoot several Dark projectiles at you
When the ring on the back of the Ultima Weapon Origin is glowing a bright purple, he will be able to use one of his two most powerful attacks — both of which are unblockable
Flare Star will shoot a massive beam in front of him for massive damage
Ultima Origin is a devastating AoE attack with a wide reach
Many of Ultima Weapon Origin’s attacks are effective in melee range, so attacking from a distance will generally be safer. Some of his attacks (such as Shimmering Rain) will leave him open during the animation, giving you windows to deal damage. Keep an eye on his ring at all times. When he uses one of his most powerful attacks, there will be very little delay before they go off — meaning you will have to be ready to dodge immediately.
Take advantage of Resonance and the openings his attacks present to bring him down as quickly as possible.
Share this article:
KainHighwind27
I'm a huge gamer who especially loves the Final Fantasy series. I will play just about any game, especially if it has anything resembling a Dragoon.