Welcome back to our walkthrough of the Stranger of Paradise: FF Origin Main Missions! We will be covering ‘Memories of Fire’ in this guide, which takes place in an area that will be familiar to fans of Final Fantasy VIII. Along the way, we will point out the secrets on the level and provide tips for defeating the Mission’s challenges.
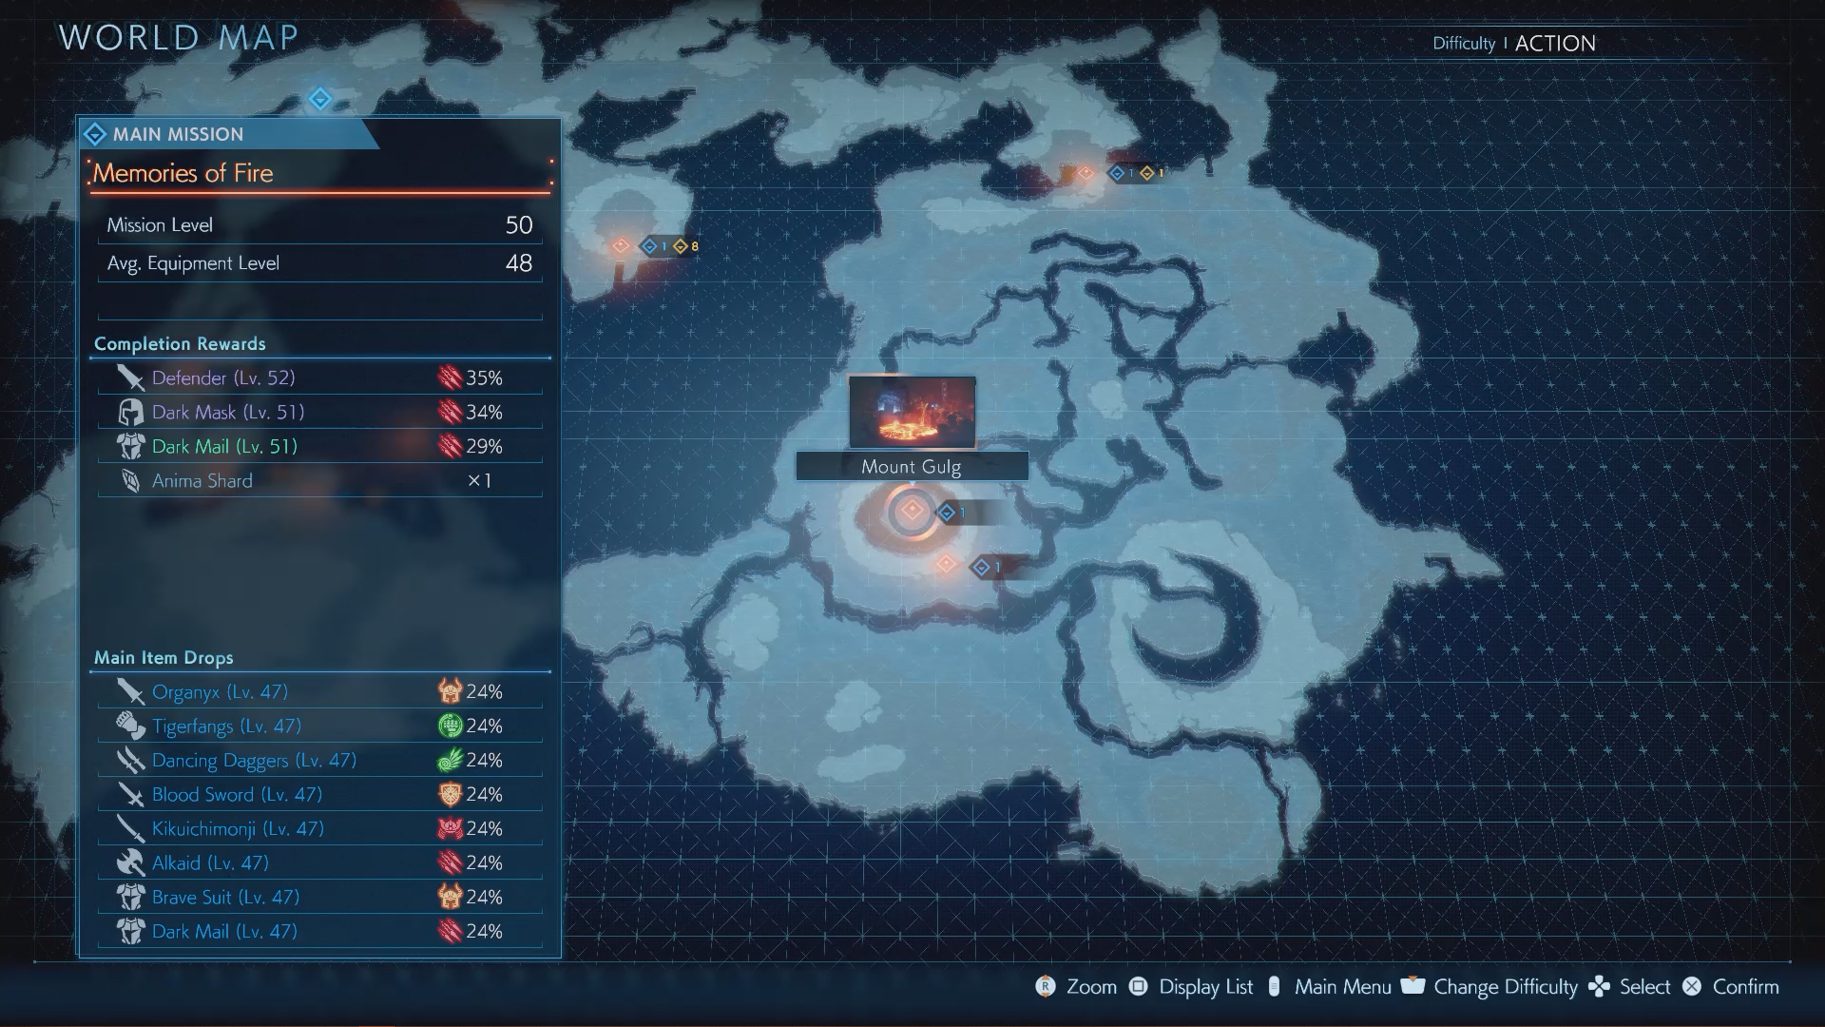
When you’re ready to begin the Mission, head to Mount Gulg and start ‘Memories of Fire.’
Chamber of the Lonely Lion
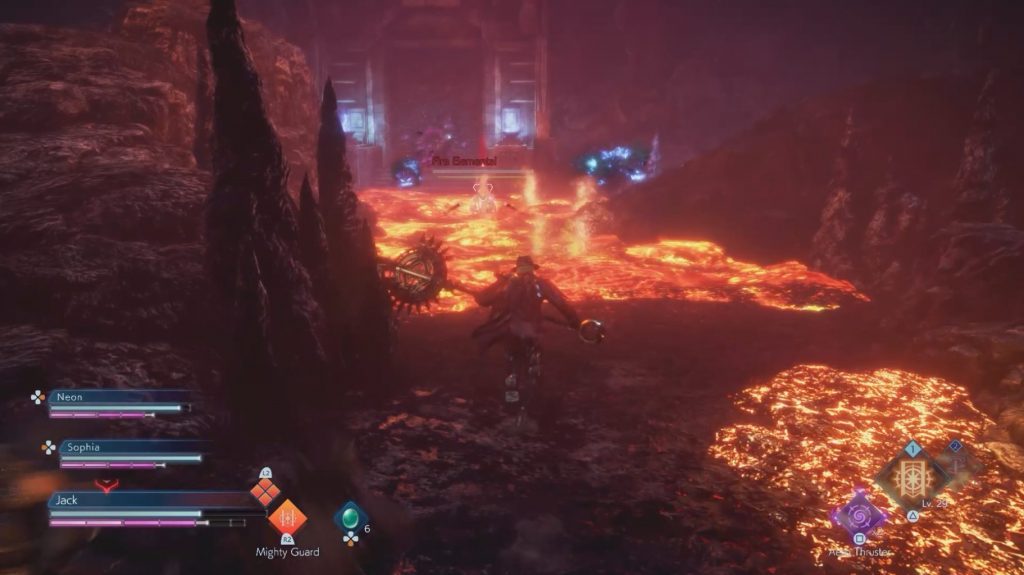
Throughout this level, you will find Pools of Magma. Standing in Pools of Magma will deal consistent damage, and eventually make you vulnerable to Fire damage. If you use a Soul Burst near these pools, the shockwave will dissipate them.
Immediately after the first Cube, turn right and go down the slope to grab a purple orb. Then, turn around and continue forward down the path. Eventually, you will encounter a Lava Pool. Unlike the Pools of Magma, Lava Pools can only be dissipated by destroying a nearby statue, and standing in them will kill you in seconds. Run up the stairs to the right of this Lava Pool to find a statue. Destroy this statue to get rid of the pool, then walk through where it used to be. Now, walk through the large doors to continue.
To the right of Jack is a Pool of Magma, while in front of him is a Lava Pool
Path of Trials
Grab the chest immediately to your left, then continue forward. You will soon find a Dark Vent that will spawn Silver Lobos and Fire Elementals. Destroy it, and there will be a Cube on the other side. Continue forward until you run up a ramp, and then go forward on the split to grab a chest. Turn around and turn right to continue onward until you find another split. Take the right path, and you will find a wall that you can break at the end of this area. Destroy this wall and climb the ladder to find the Lufenian Log 07_0012.
Jump down the ledge, grab the purple orb you find, and make your way back to the split, this time going left to continue. Once you reach an open area, grab the chest on the right side. Then, run up the stairs (watch out for the boulder rolling towards you here), and destroy the statue to get rid of the lava pools. Make your way back to the first Cube, and you will now have access to another Dark Vent, this one spawning Grenades and Fire Elementals. Once it’s destroyed, go through the path it was blocking to continue.
Path of Destiny
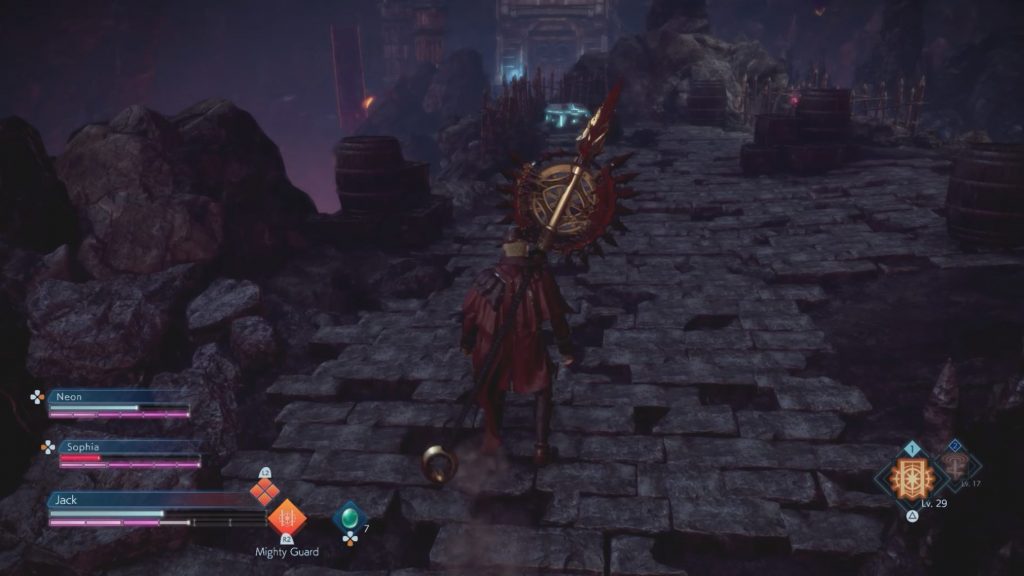
Grab a purple orb to the left (it will be hidden behind some barrels), get the chest you spot along the path, then immediately be ready to dodge another rolling boulder before continuing. Once you go up a set of stairs and see a chest, jump down the ledge to the left. At the end of this path, you will find a Memory Memento, this one unlocking the Side Mission ‘Indigo Memories: The Deceived.’
Jump down the ledge to the left to find the Memory Memento
Jump down the ledge, then go back to where the first ledge (the one you jumped down from) was, only this time go right to continue. When you reach a set of stairs, turn around and go down a ramp to find a purple orb hidden in a pot. Turn around and continue up the stairs, and make your way to the next statue to destroy it. Once it’s destroyed, jump down the ledge and continue forward to find a Dark Vent — this one will spawn a Bucephalus and Grenades. Once it’s taken care of, continue forward and climb up a ladder to find a Cube.
Cavern of Dreamers
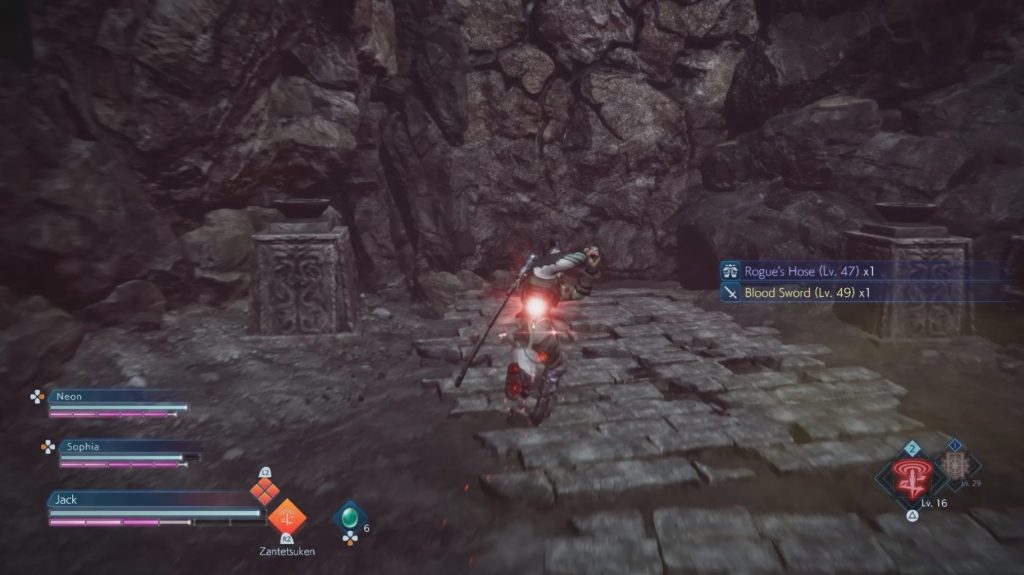
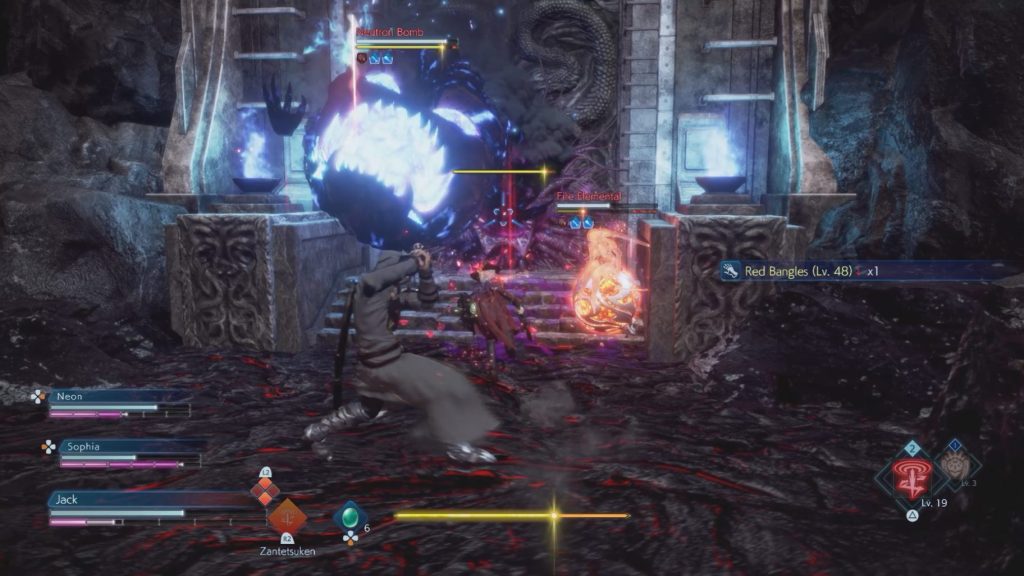
When you reach a set of stairs, look to the right to find a breakable wall, which will reveal a chest. After grabbing it, turn around and head up the stairs, and simply continue through the path until you find another statue. Grab the chest next to it and destroy the statue, then jump down and turn right to grab another chest. Turn around and continue forward until you find another Dark Vent, this one being guarded by a Neutron Bomb and Fire Elementals.
The Neutron Bomb is a much more dangerous version of the Grenade. After growing several times, instead of using Self-Destruct like the normal Bomb enemies, the Neutron Bomb will cast Flare around it; furthermore, it does not die in the process (this Ability can be stolen if you Soul Shield it).
After destroying the Dark Vent, continue forward (mind the boulder that will roll at you), and climb a ladder. At the top, grab the chest to the right and find a Cube. Then, continue forward to fight a boss.
Marilith
Phase 1
As the Fiend of Fire, Marilith is a very dangerous boss. She is agile and will be very aggressive in her attacks, and she will be using her six arms — meaning many of her attacks will hit multiple times, making Soul Shielding difficult.
She can do a combo of up to four attacks with her swords. These sword attacks will hit twice
She can interrupt this combo with one of two attacks:
Raining Swords will cause Marilith to rapidly stab at you with all six of her arms
Lunging Slash will have her slash in an arc in front of her
She also has a two-hit combo with her tail. She will first spin around with her tail extended, then she will slam it on you. These attacks will do heavy break damage
Rakshasa Slash will have Marilith do two arc attacks in front of her
Stone Gaze is a gaze attack, which will inflict Petrification if it hits
Asura will have Marilith shoot out a series of projectile slashes (these can be stolen by Soul Shielding)
She will occasionally use Blade Dance, which will temporarily buff her physical damage
During this phase, Guarding will be a good move against her sword attacks, as they deal low break damage. If you deal enough damage to her (especially to her tail), you will stagger her, giving you an opening to use more powerful attacks. As this could be hard to do with how aggressive Marilith is, take advantage of Resonance to keep some of the attention off of you. She is also weak to Water, so take advantage of this if your setup allows it.
Once you bring her HP down to half or completely deplete her Break Gauge, Soul Burst her to begin Phase 2.
Phase 2
Marilith will permanently imbue herself with Fire when this phase begins. This means that all of her attacks will do extra Fire damage, so they will now do damage if you try to Guard them, and you will be inflicted with a Fire weakness if you get hit enough. In addition to all of her previous attacks, she will have access to two new ones:
Flaming Fury will have Marilith quickly charge across the area
Inferno will cause multiple pillars of Fire to burst from the ground
Because all of Marilith’s attacks now deal extra Fire damage, a combination of Soul Shielding and Evading will be better for avoiding damage during this phase. Her attacks will be quicker now, but her more powerful attacks (like Inferno) will leave an opening, giving you a chance to deal damage and stagger her. Take advantage of these openings and Resonance as much as possible to bring her down.
Once the battle’s over, you will be transported back to the Flying Fortress. Speak to Astos, then interact with the panel to finish the Mission. If you chose to do the Fire Crystal before the Earth Crystal, your next Mission will be ‘Phamtoms of the Past.’ If you did this one after doing the Earth Crystal first, the next Mission will be ‘To Remember’ instead.
Completing this Mission will unlock the Side Mission ‘Indigo Memories: The Trapped.’
Share this article:
KainHighwind27
I'm a huge gamer who especially loves the Final Fantasy series. I will play just about any game, especially if it has anything resembling a Dragoon.