Welcome back to our walkthroughs for the Stranger of Paradise’s Main Missions! This time we will be covering ‘Memories of Earth,’ which takes place in an area modeled after a certain Tomb from Final Fantasy XII. As always, we will point out the secrets on the level and provide tips for defeating the Mission’s challenges.
Let’s get started!
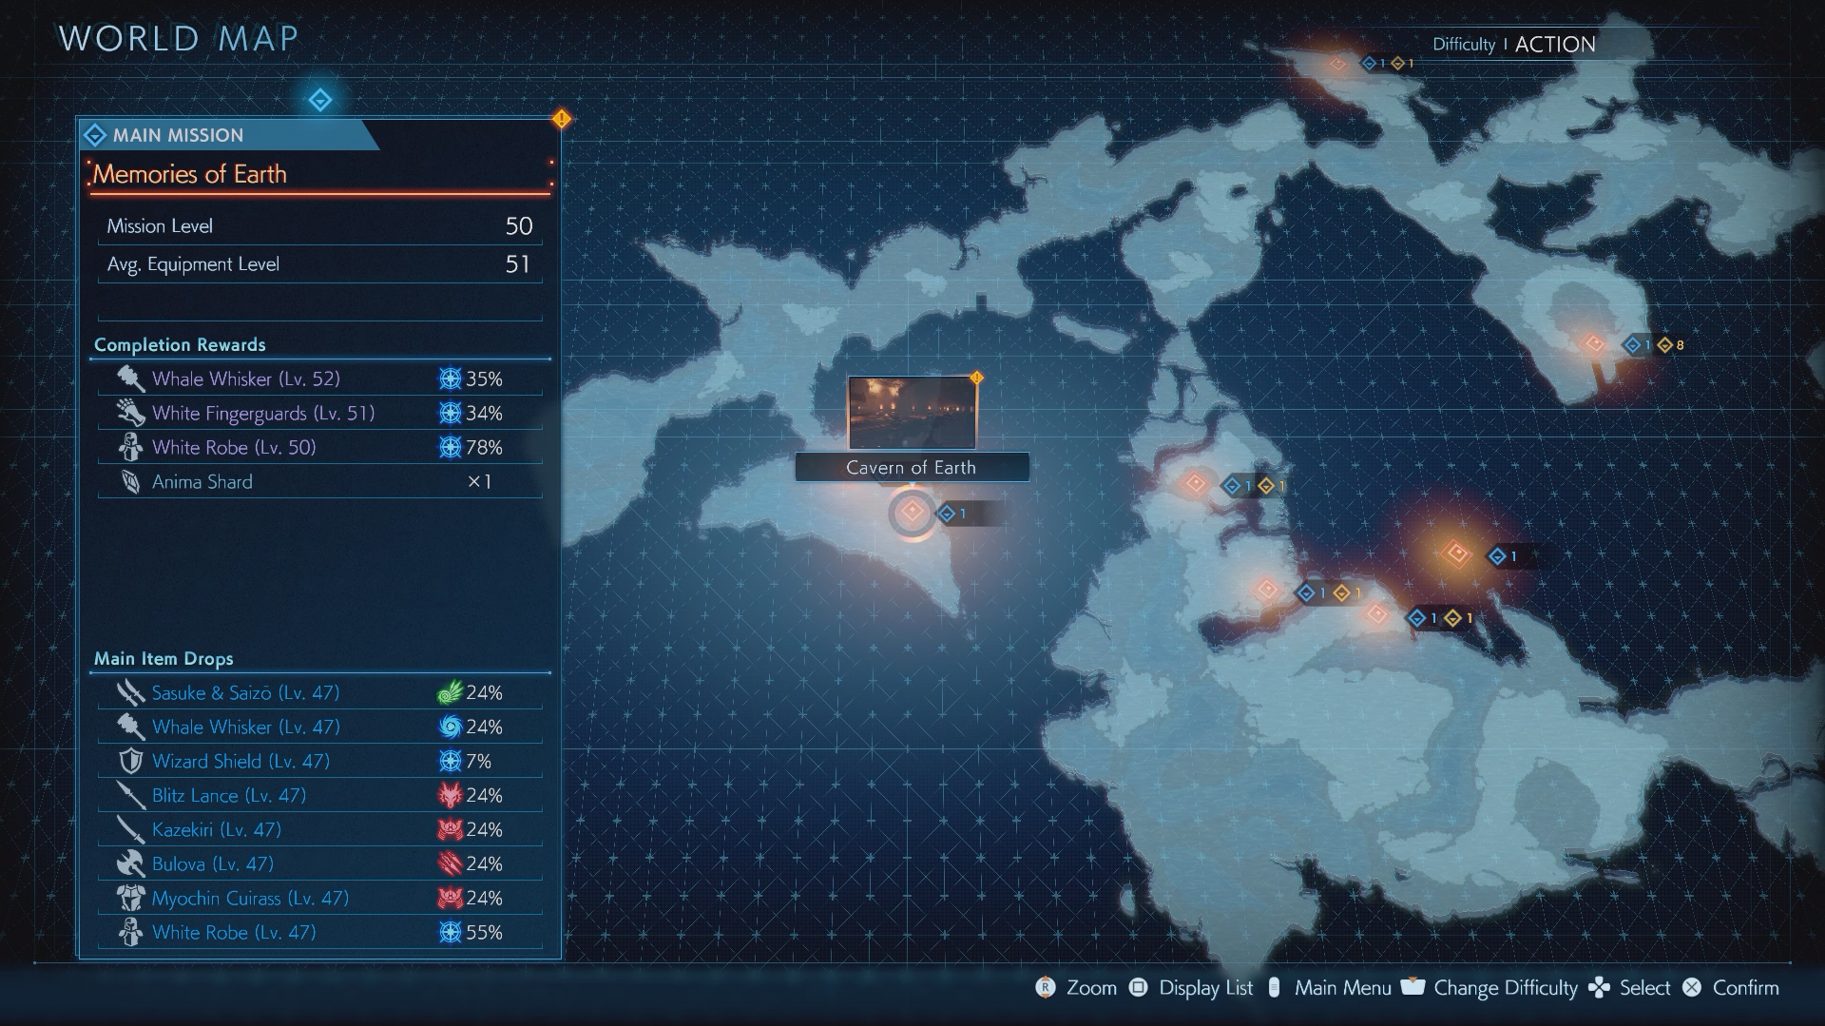
When you’re ready to begin the Mission, go to the Cavern of Earth to begin ‘Memories of Earth.’
Threshold of Despair
You will find coffins throughout this level. They can be broken by using any attack on them, and many will have purple orbs hidden within them.
In the first room after the Cube, break the coffins to find two purple orbs, then continue forward until you see a bridge to your left. Run past it to grab a chest, then make your way across the bridge.
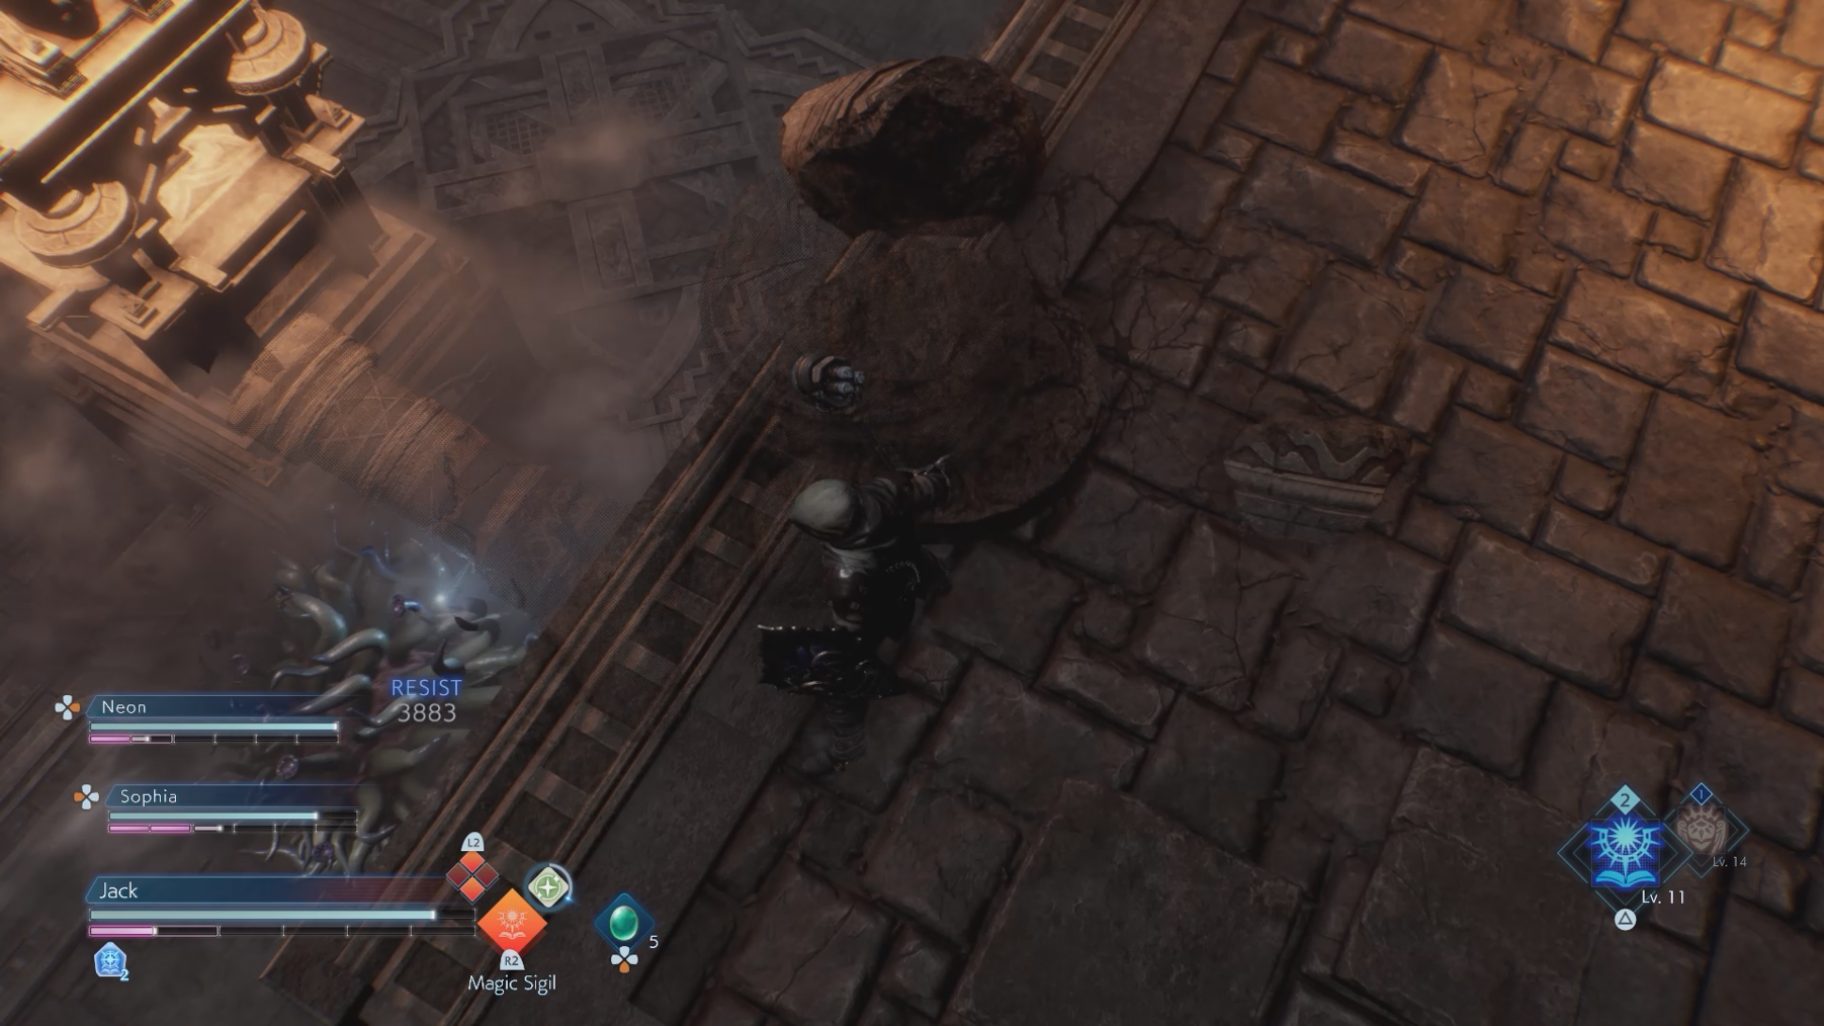
From here on, you will begin seeing traps on the level. There will be Red Buttons on the floor in various areas — stepping on the Buttons will cause three Fire Arrows to shoot in the direction of the Button. You will also see three Red Circles lined up on some walls. If you come close to these, spears will come out of the Circles to stab you. Be mindful of these traps at all times, as enemies and allies can activate them as well.
Sophia activating a nearby trap
Grab the two purple orbs in the large room, then walk up the stairs to create a shortcut to the first Cube. Once you go back down the stairs, take the path on the left side that leads to a ledge to jump down. Grab the chest there and destroy a nearby coffin to find a purple orb. Then, take the left path at the end of the room.
Once you reach a room with a split, destroy the coffins there to find two more purple orbs. Then, take the path leading you down a set of stairs to locate another chest. Climb back up the stairs and turn left, then continue running forward until you find a large room that has two sets of stairs to go up.
Mausoleum of Heroes
Take the left set of stairs, then climb a ladder; ignore the path on the right side after you reach the top. Instead, continue until you climb down another ladder. Continue through the path until you reach another ladder to climb up. Once you see a split, go to the left to grab the purple orb, then turn around and continue forward. In this area, you will find pillars that look breakable. If you attack these, they will fall to the first floor of this room, damaging any enemy that they land on.
At the end of this room, you will reach a split. If you take the right path, it will allow you to skip the upcoming enemies and Dark Vent entirely, and go straight to the next Cube — skip to the next section of this walkthrough (‘Bridge to the Future’) if you take this path.
Otherwise, turn left and open the door, climb up the ladder, and make your way to the center of the room. There will be a Dark Vent guarded by a Malboro and some Silver Lobos here. Once the Dark Vent is destroyed, grab the chest in the center of the room, then turn left to find a breakable wall hiding another chest. Turn around and go to the other side of the room to grab a purple orb, then go to where the Dark Vent was and continue forward until you reach a Cube.
In the next room, jump down either ledge, and the wall ahead will begin moving towards you. You will need to destroy this wall before it pushes you off of a ledge — fans of Final Fantasy XII will likely recognize this mechanic. Once the wall is destroyed, continue forward until you jump down a ledge. Here you will have to break another moving wall, then continue forward until you find a ladder. Climb up it to find a purple orb, then open the door to create a shortcut to the last Cube.
Afterwards, climb down the ladder and go down the nearby stairs to continue.
Bridge to the Future
Defeat the Cursed Griffon in the next room (this will be a tougher version of the normal Griffon) to receive the Key to the King’s Tomb. Then, use it to open the doors on the other side. Once you reach the bottom of the stairs you find, take the path on the right to find a chest and a lift — this lift is a shortcut that will take you back to the first Cube. Afterwards, turn around and turn right to continue.
Jump down the ledge and destroy the moving wall. Then, you will find a three-way split. The path on the right just takes you back up the ledge you jumped down, so you can ignore this path and go forward to grab the chest. Turn around and turn to your right to continue on the path.
Aspirant’s Hallway
In the next room, you will see an open area to the right with some holes to jump down. Grab the chest at the end of this section, then jump down. From here, take the open path to the end to find a chest, then turn around and climb up the ladder around where you dropped. Once you reach the top, continue through the room and you will soon see two more paths. Take the path on the right to find a purple orb, then turn around and keep going forward until you find a Cube.
Turn around and take the path to the left when you’re able to, and you will find a ledge. Once you jump down this ledge, you will have to break a moving wall and jump down another ledge three times. There will be a chest hiding behind the first and third walls.
Once you reach the bottom, look to the left when you reach the next room to find a breakable wall. Behind it, you will find a Memory Memento — this one unlocking the side quest ‘Azure Memories: The Stymied.’ After you grab it, turn around and continue down the path until you jump down a ledge and reach a three-way split.
Go forward on this split to find a chest, then turn around and take the right path to find an open room with a Tonberry. Destroy the coffins in this room to find two purple orbs, and continue forward — ignore the branch-off to the right you will see on the way, for now. Once you reach a split, take the left path to find the Lufenian Log 01_0239, then turn around and go forward if you wish to go back to the last Cube. Otherwise, turn right and continue forward until you can take a left. Destroy the coffins you find in this next room to find two purple orbs, then go down the stairs nearby.
Once you reach the bottom, go behind them to grab a purple orb, then continue forward to find a Dark Vent that will spawn a Malboro, Dark Skeletons, and Earth Elementals. Once it’s destroyed, continue forward until you reach a split. Go forward to ride a lift, which will take you to a chest, and will lead you back to the room where the first Dark Vent was if you open the door.
Now ride the lift back down and turn left at the split to find a Cube. Continue forward to fight the boss.
Lich
Phase 1
The Fiend of Earth, Lich primarily focuses on using magic and inflicting status ailments during the fight. He will often cast two of his spells in succession. Unlike most bosses, he will not use combos in melee range during this phase, instead opting to teleport away from you.
He will periodically use Call of the Underworld, knocking you back and summoning Dark Skeletons to fight with him
If you kill these adds, Lich will absorb them and, once he has absorbed enough of them, use the energy to cast Flare (this can be stolen if you Soul Shield it)
Bone Nails will have Lich extend his fingers to stab the ground towards you, Poisoning you if hit
If you’re in melee range, he can attack you with his wings, pushing himself back
Curse will have him shoot three projectiles in your direction, which will inflict Curse if hit (this can be stolen with a Soul Shield)
Judgement will surround you in a circle of Lightning, which will deal periodic damage when standing in it
Gaia’s Wrath will create a circle around Lich that will spike up to deal Earth damage
Ice Dust will shoot five Ice projectiles at you
Felflame will summon balls of Fire in a cone in front of Lich, which explode after a short delay
Earthquake has a long cast time, but once it’s done charging, there will be several eruptions from the ground dealing Earth damage
Bindga is an unblockable attack, in which the Lich will try to grab you from a distance
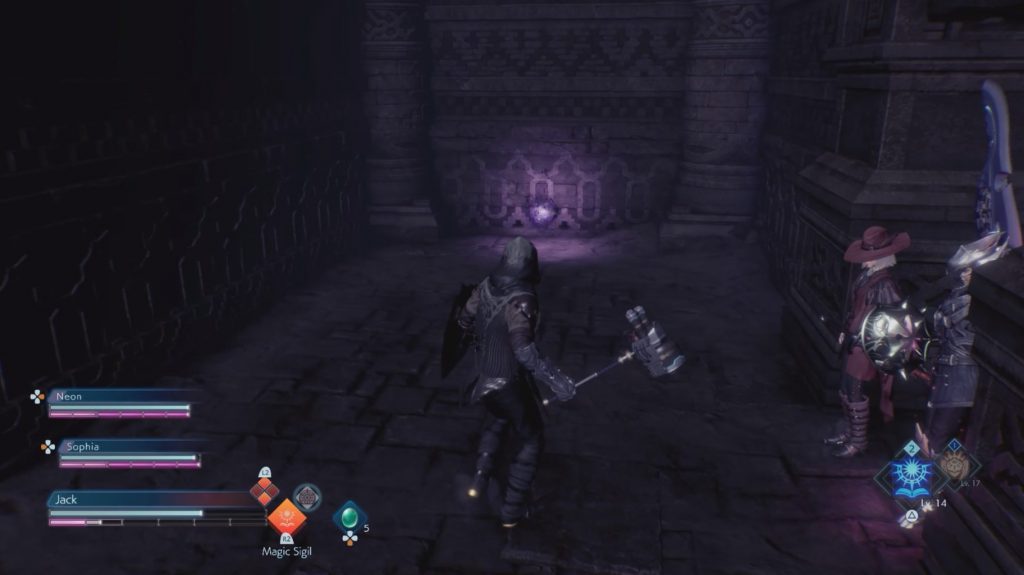
Stay in melee range as much as possible during this fight, as you will avoid the majority of Lich’s attacks just from being so close to him. He is also vulnerable to Wind damage, so take advantage of his weakness if your setup allows it.
Avoiding both of Lich’s spells by simply being close to him
Once you bring his HP down by half or fully deplete his Break Gauge, Soul Burst Lich to destroy his arms and begin Phase 2.
Phase 2
With the loss of his arms, Lich will lose access to most of his attacks from the first phase (minus Curse). However, he will now become much more dangerous in melee range to make up for it.
Lich will now swipe at you up to four times using his wings. He will use this combo as a gap closer if you’re far away
Putrid Ground creates a large pool around him — which will inflict both Poison and Curse if you stand in it for too long — while also summoning Dark Skeletons
Terrifying Embrace is an unblockable attack in which Lich will try to grab you, and will inflict Malediction if he succeeds
Malediction is an enhanced version of Curse, reducing your max Break Gauge by 3/4 instead of the usual 1/2
During this phase, keeping your distance from Lich and using Aero spells will become the safer way to fight him. If that isn’t an option for you, take advantage of Resonance to keep some attention off of you, run away when he uses Putrid Ground, and make sure you’re always ready to dodge Terrifying Embrace.
Something to note: Lich’s swiping attacks will also damage his own Dark Skeletons if they get caught in it.
After the battle, you will be taken back to the Flying Fortress. Interact with the Panel to finish the Mission. If you chose to do the Earth Crystal before the Fire Crystal, your next Mission will be ‘Memories of Poison.’ If you did this one after doing the Fire Crystal first, the next Mission will be ‘To Remember’ instead.
Share this article:
KainHighwind27
I'm a huge gamer who especially loves the Final Fantasy series. I will play just about any game, especially if it has anything resembling a Dragoon.