Greetings, Warrior! Thank you for joining us once again as we cover the Main Missions in Stranger of Paradise! This guide will cover ‘Schemes of the Past,’ which takes place in a tower that should feel familiar to players of Final Fantasy XI. We will be pointing out the Mission’s secrets, as well as providing some tips for its challenges.
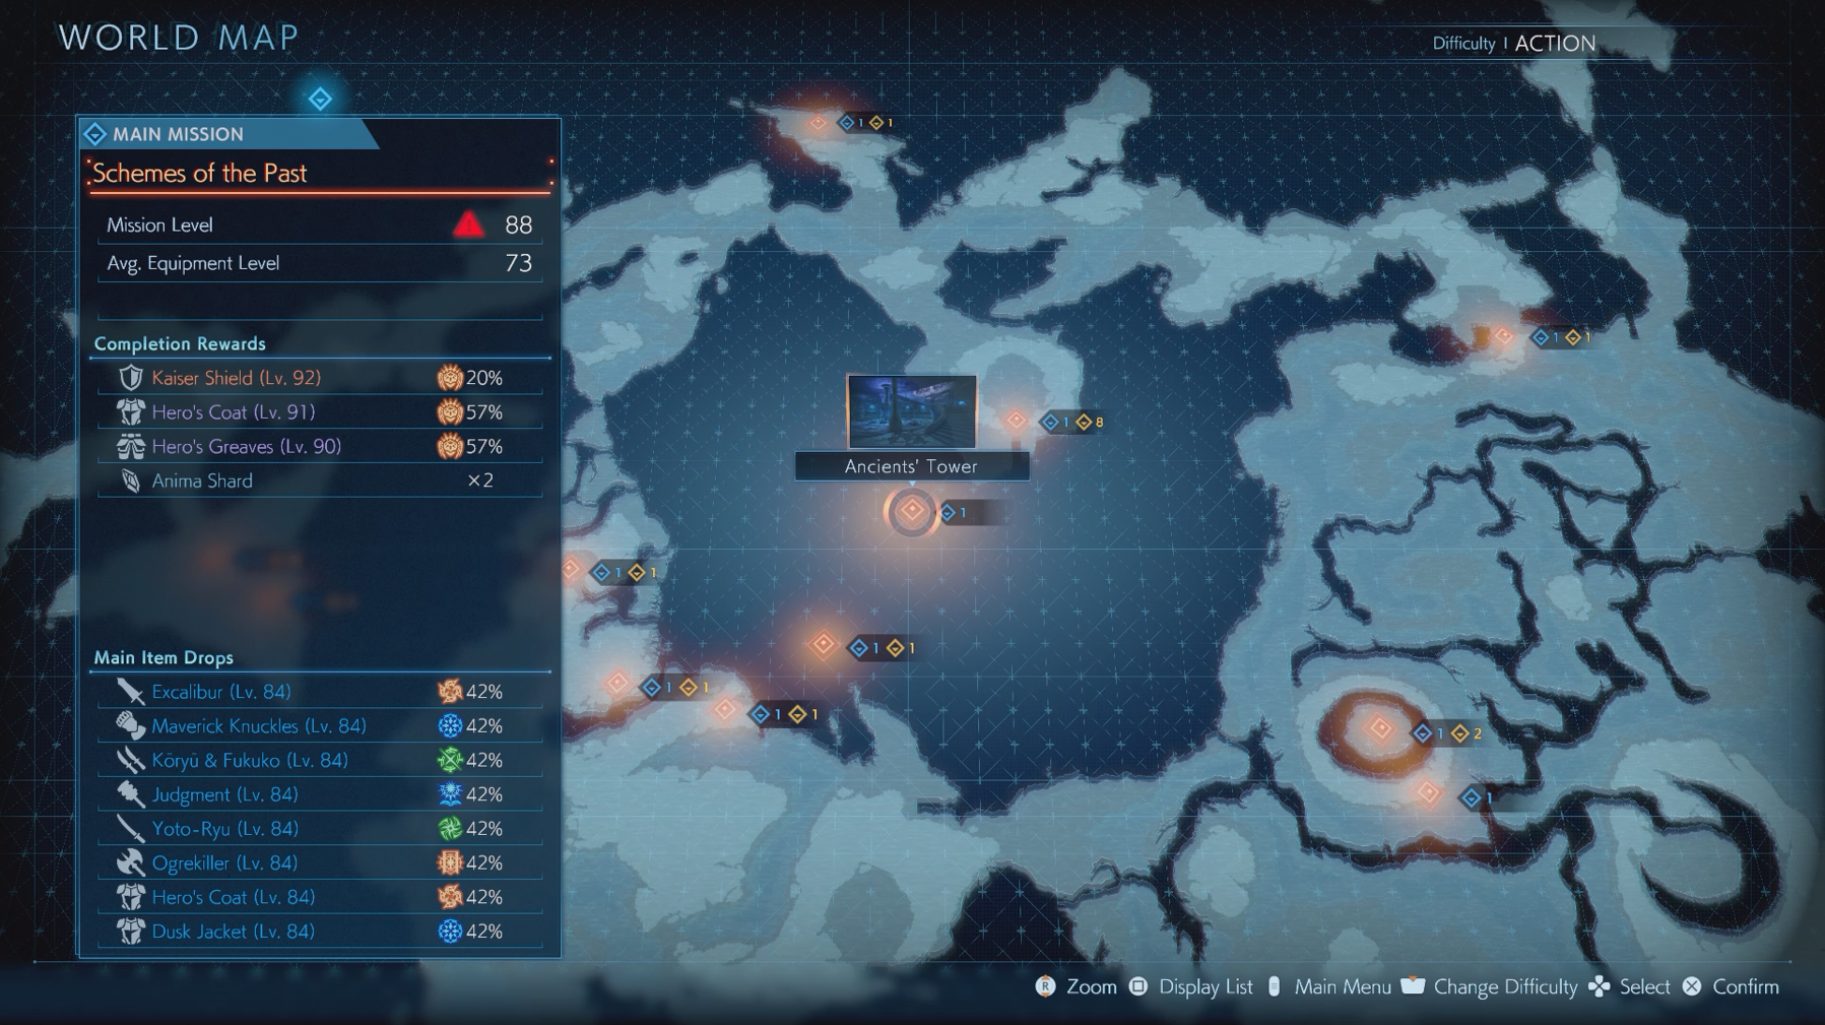
When you’re ready to begin the Mission, go to the Ancients’ Tower to start ‘Schemes of the Past.’
2F: Chamber of Dreams
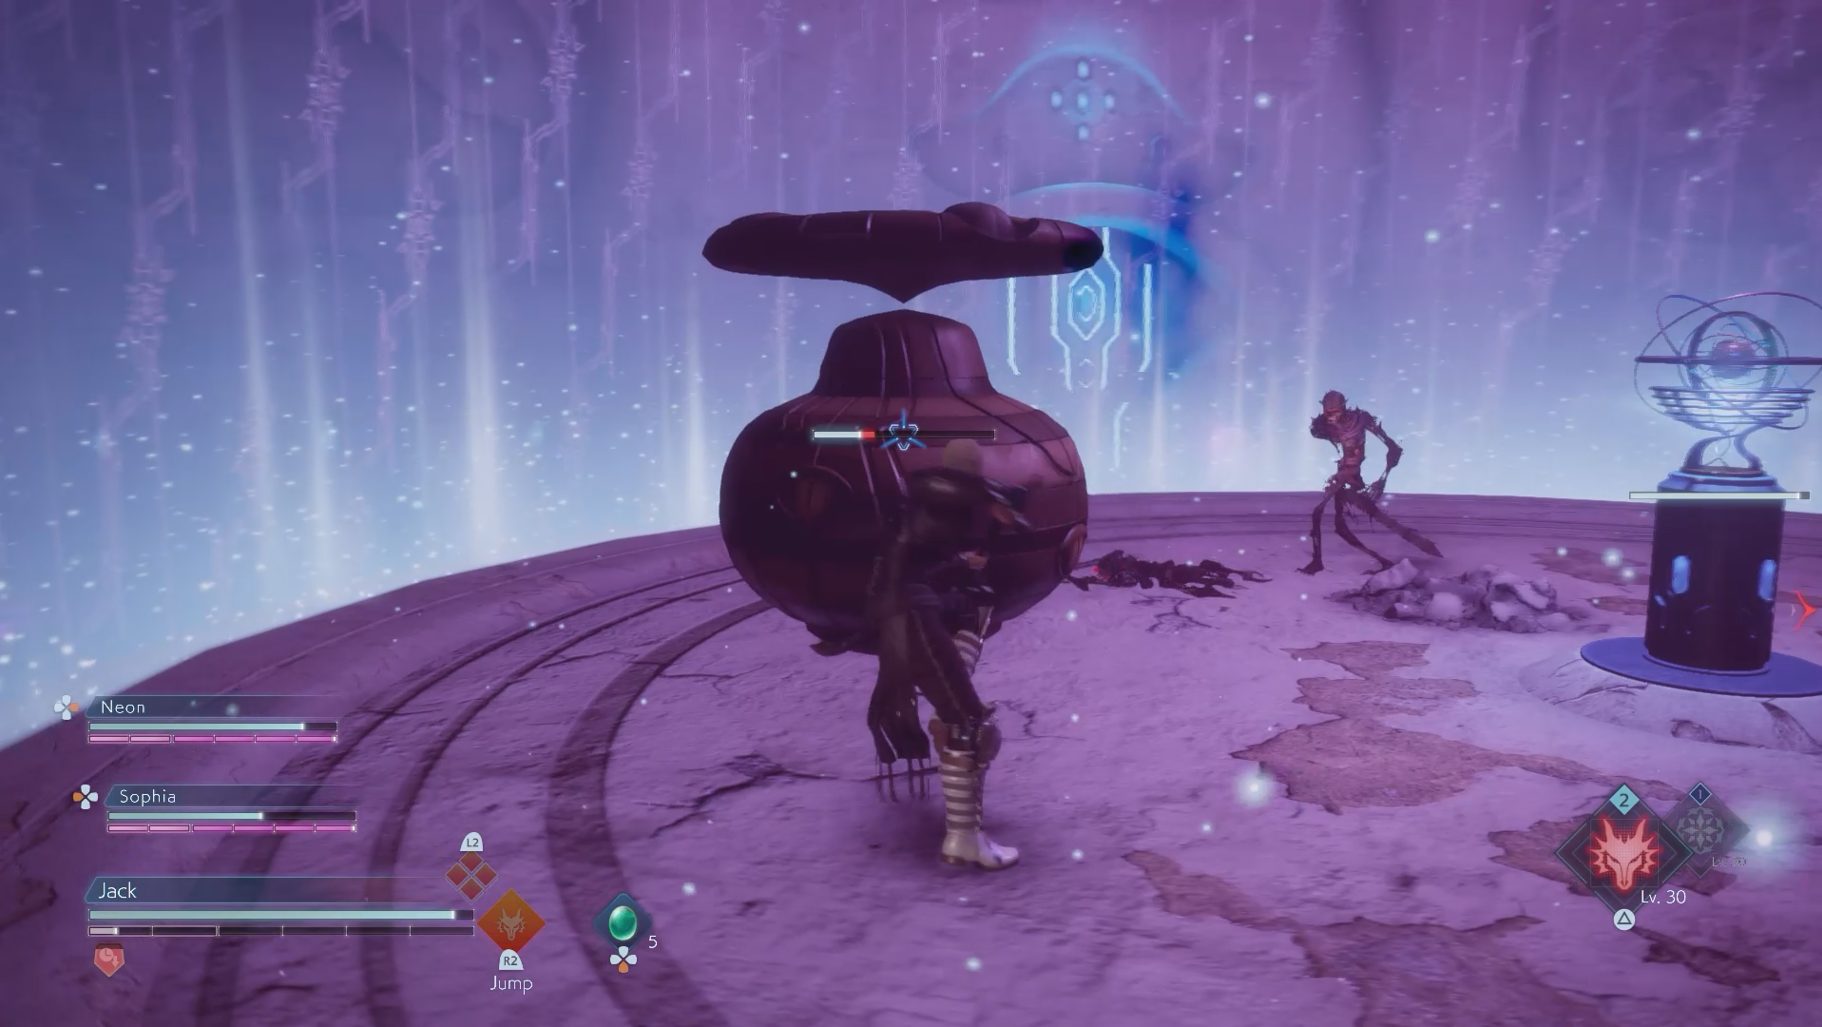
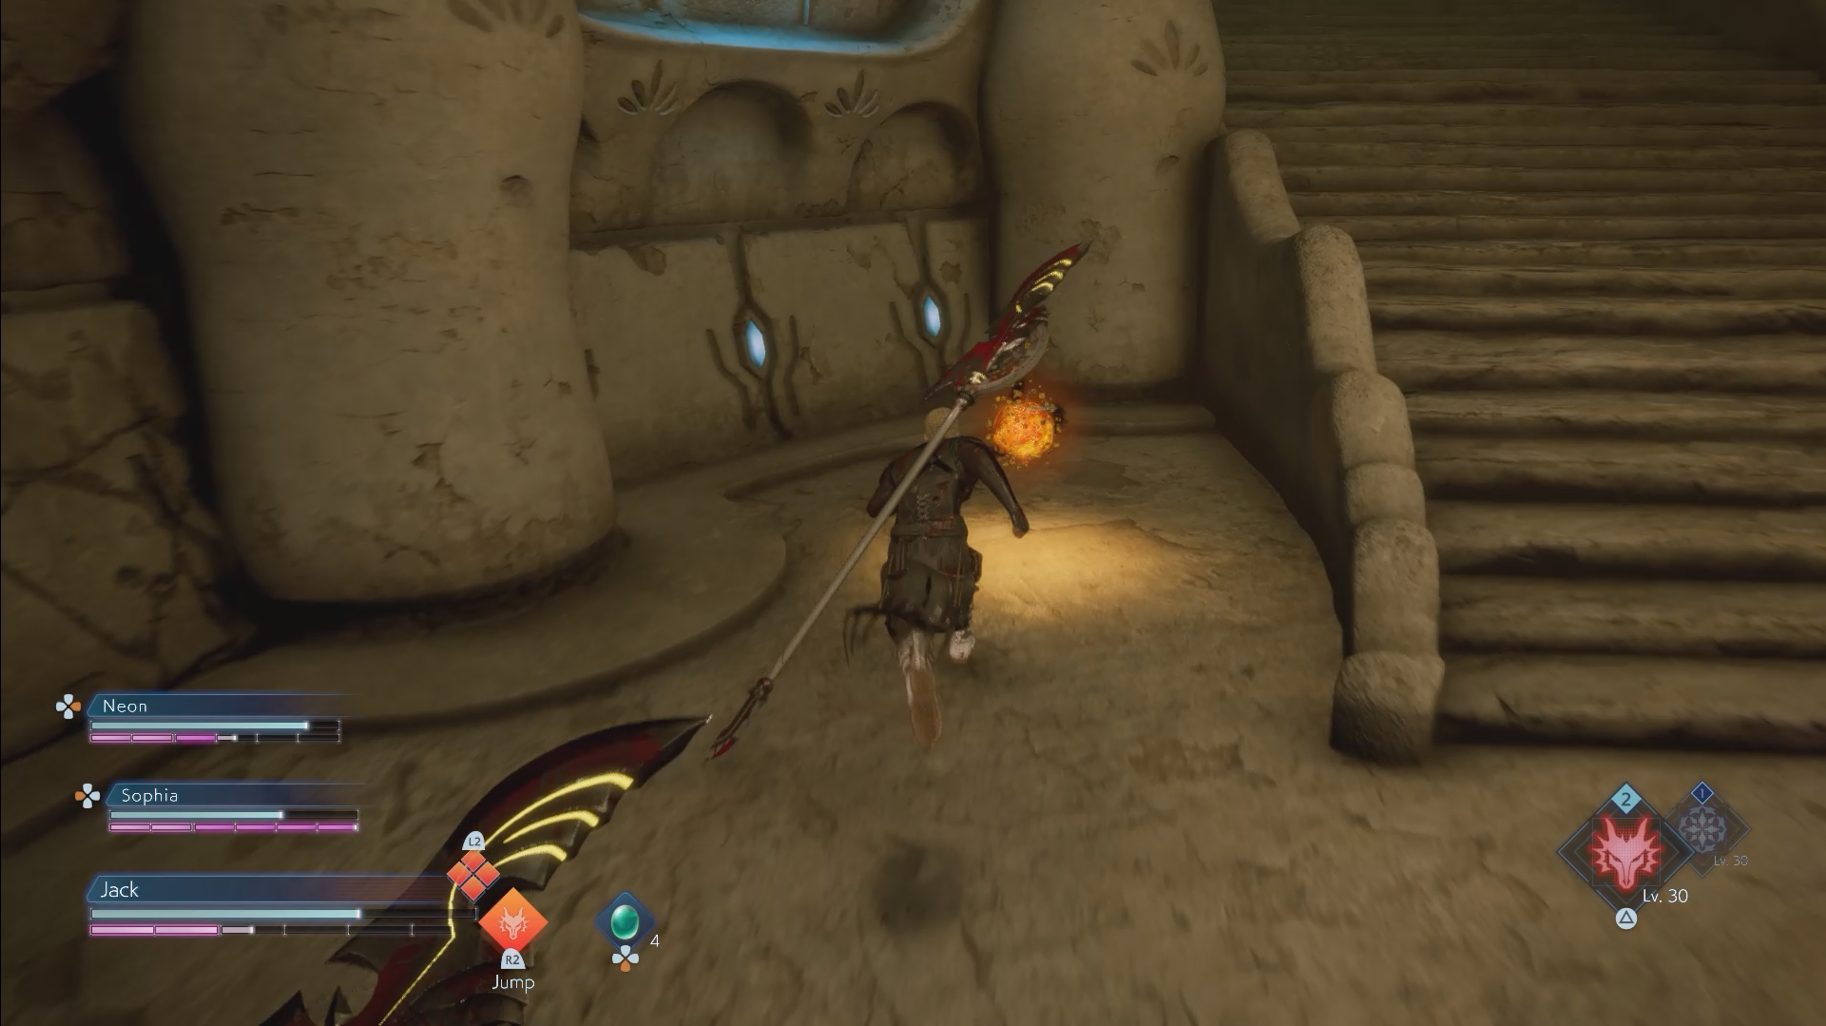
Throughout the level, you will occasionally see large floating objects in battles. These objects periodically release a purple gas that will Slow you if you stand in it long enough — take care of these as soon as possible to avoid getting inflicted.
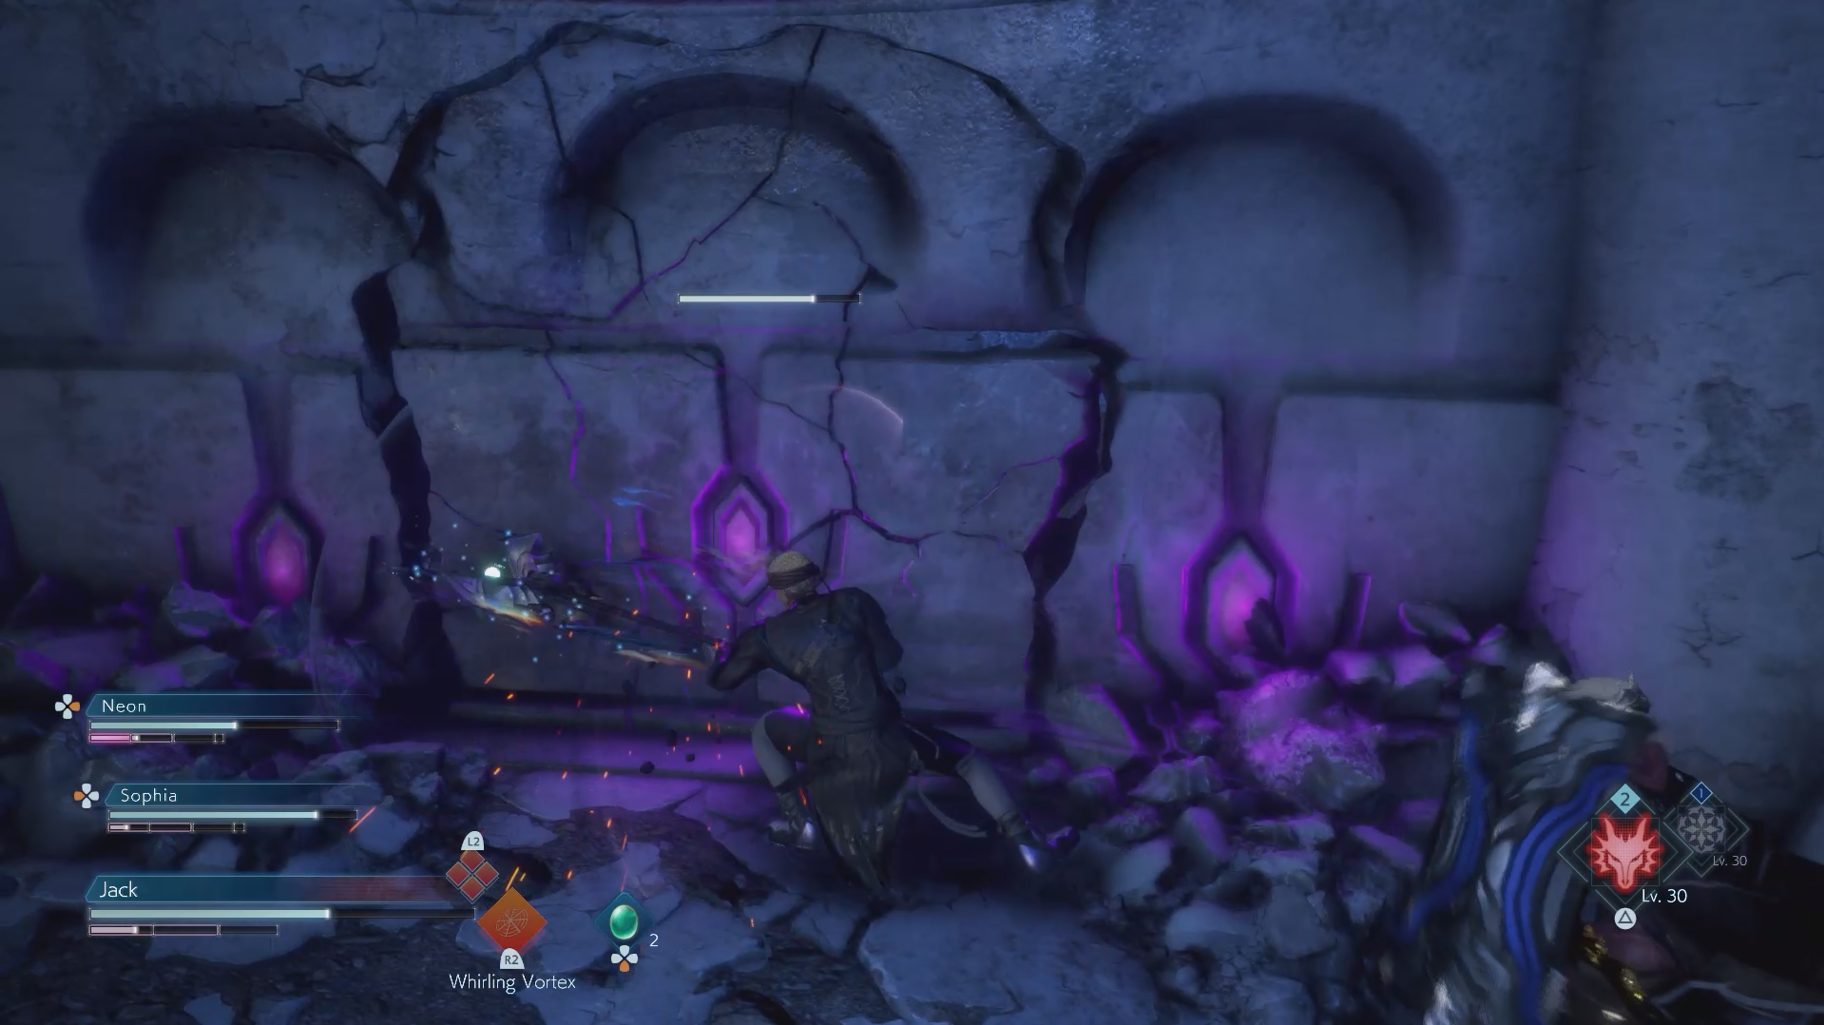
Once you go up a set of stairs, you will see a split. Grab the chest that’s on the left, then continue through the right path. Shortly after, you will notice a wall section with a purple glow. Walls with this glow will be breakable, so keep an eye out for them.
You can ignore the first one you see (unless you just want a shortcut to the next area), but continue forward and you will quickly find a second Purple Wall. Break this one for a chest, then continue to find a teleporter to step on.
3F: Chamber of Hope’s Champions
You will soon find a Purple Wall to your left. Break it to reveal a chest, and continue forward from either side of the wall until you find the next Cube.
4F: Chamber of Stories Retold
In the next room, break the Purple Wall to the right to reveal a chest, then turn around and continue forward. You will soon see a circular area with a sphere-like device in the middle — if you step inside the circle, a wall will get raised up to surround the area. The only way to get rid of this wall is to destroy the device in the middle.
From the room where you first find this trap, turn left and go up the stairs. Here you will find a chest with the Key of the Worthy. Now, go back to where the wall trap was to open the locked door using the Key of the Worthy — you will find a chest. Turn around and turn left to go back up the stairs, only this time go up the second set of the stairs to continue.
6F: Chamber of Ancient Wisdom
Once you reach a three-way split, turn right and you will find a chest that’s guarded by another circular wall trap. Deal with the trap and grab the chest, then turn around and continue forward to jump down a hole.
5F: Chamber of Prayers
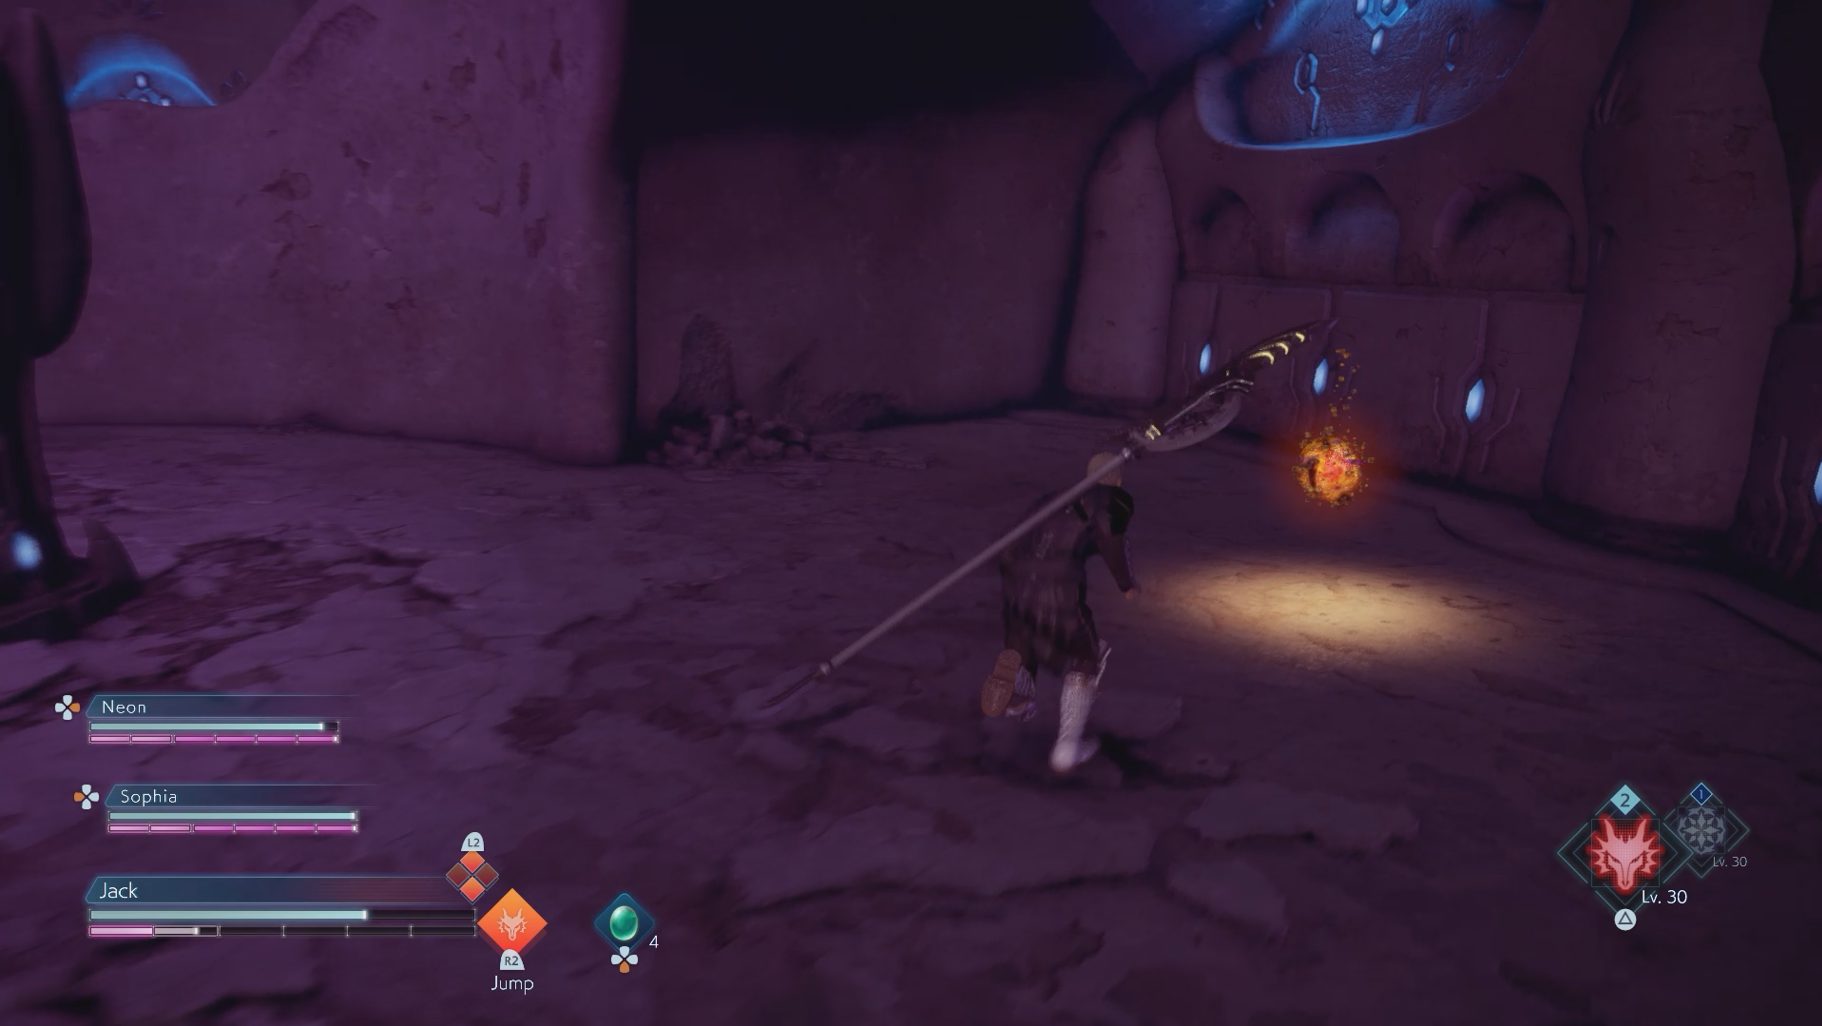
A little bit down the path, you will find a Purple Wall to the right that’s hiding a chest. Grab it, then continue forward until you see a set of stairs. Go under the stairs to find the Fool’s Missive XXX, then climb the stairs to find a teleporter. Step on it to continue.
7F: Chamber of Hidden Illusions
The first thing you will see when reaching this floor is a Tonberry. Take care of it, then continue forward until you reach a split. Grab the chest to the right, then turn around and continue forward to find a Cube. Make note of the locked door here, then climb up the stairs to continue.
8F: Chamber of Woven Radiance
Here you will find another circular wall trap, along with a Mad Gigas — this enemy will be tougher than the Hill Gigases you’ve been fighting throughout the level. Take care of it and the trap, then walk on the teleporter to continue.
9F: Chamber of Unveiling Light
In the next room, you will see a yellow crystal and a deactivated teleporter. In order to activate it, you must activate this yellow crystal, along with two other crystals, blue and red (you will come back here after finding them). Grab the chest in this room for the Maiden’s Key, then go down the elevator ahead.
Once you’re down, run forward until you go down a set of stairs — grab the Fool’s Missive XXV to the right of them. At the end of the path you will find a chest with the Key of Phantoms. Then, turn around and go back up the stairs. From here, turn left and open the door using the Maiden’s Key — grab the chest you will see on the way. In this room, you will find a Dark Vent spawning a Water Elemental. Take care of it, and in the next room you will find a blue crystal to activate.
Now head back to the Cube where the locked door was earlier (we asked you to make note of it in section 7F), and use the Key of Phantoms to open it. Go down the elevator it reveals to find the red crystal, and activate it — break the Purple Wall on the right to reveal a chest as well.
Now that all three crystals are activated, the teleporter in the room where the yellow crystal was will be active. Head over there and step on it to continue. You will find a Cube in the next room.
When you’re ready, go through the doors ahead to fight this Mission’s boss.
Iron Giant
Phase 1
The Iron Giant has powerful moves with a wide range which is granted by his large sword. He also has access to some elemental attacks.
He can do up to two sweeping attacks with his sword
Great Wheel will have him spin in a circle, damaging anyone around him
Smite and Savage Blade are essentially the same attack. Both will have the Iron Giant slam his sword into the ground towards you
Savage Blade is more powerful, but leaves the Iron Giant open for longer — the opportunity is presented when he is attempting to pull the sword out of the ground after the attack
Frost/Wind/Fire Blade will make him stab the ground with his sword, and briefly imbue it with the respective element
While Frost Blade is active, he can use Frost Slash, which is an upward slash attack that will leave ice blocks on the ground (this can be stolen with Soul Shied)
All of his attacks are pretty easy to read since they’re slow, so Soul Shielding as much as you can will be a good option for this phase of the fight. The Iron Giant is weak to Lightning, so take advantage of that, if possible. If you deal enough damage to his arms, you can briefly stagger him, giving you more room to attack. Even if he is focused on your allies, stay attentive — because of his large sweeping attacks, it’s very easy for him to hit you even if you’re not the target.
Frost Blade will give additional effects to a couple of the other Iron Giant’s attacks
Once you bring his HP down to half or completely deplete his Break Gauge, Soul Burst him to destroy his sword and legs, and begin Phase 2.
Phase 2
With the loss of his sword and legs, the Iron Giant goes into a rage and becomes much more aggressive. He will have a whole new set of attacks during this phase.
He can swipe at you with his arms
He will also quickly spin around and hit anyone close to him
If you are behind the Iron Giant, he can fall back on top of you
Electric Body will create a Lightning field around him and briefly imbue his body with electricity
Spiral Rush will have the Iron Giant rapidly spin towards you
Lightning Spiral is a more powerful version of this, making him spin across the area twice and deal Lightning damage
Storm Cycle will cause the Iron Giant to spin and release four tornadoes that will surround him
Thunderbolt is a two-part attack:
First, he will create a Lightning field around him and shoot many lightning projectiles across the floor towards you
He will then shoot a large Lightning projectile towards you (this can be stolen with a Soul Shield)
Debris Missile will have the Iron Giant shoot many projectiles made of metal towards you
Ice Shards will have him shoot many shards of Ice in a cone in front of him (this can be stolen with a Soul Shield)
Flame Barrage causes him to shoot three Fire projectiles towards you
With his electrical fields and various spinning attacks, getting close to the Iron Giant could be dangerous. Staying at range isn’t much safer, as he has many projectiles and can quickly close the gap with his Lightning Spiral.
He will leave a brief opening after all of his attacks, however, so take advantage of these. Combine this with Lightning attacks to deal damage quickly. You can steal his Thunderbolt to get some extra damage against his weakness and, just like before, you can stagger him if you deal enough damage to his arms.
After the battle, speak to Astos to complete the mission.
Completing the Mission will unlock the Side Mission ‘Azure Memories: The Rebel.’
Share this article:
KainHighwind27
I'm a huge gamer who especially loves the Final Fantasy series. I will play just about any game, especially if it has anything resembling a Dragoon.