It’s good to see you once again, Warrior. This time we will be helping you through the second Main Mission in the Stranger of Paradise, ‘The Journey Begins’ — Which takes place in an area that Final Fantasy XIV players will recognize from their early adventures. We will be pointing out little secrets and offering some tips along the way. (Did you know we have a dedicated guide for the tips and tricks?)
Once you finish ‘Illusion at Journey’s End,’ you will only be able to go to Cornelia from the World Map, so head there to continue the story.
Cornelia
Once you gain control, speak to Lagone (and anyone else that you want), then simply leave the castle. You will then be back to the World Map, this time only being able to pick the Cornelia Bridge location. Go here to watch a cutscene.
After this cutscene, you will be taken back to the World Map — you can now choose your Missions freely again. If you want to have Neon in your party right now, you should use the ‘Edit Party’ option within the Main Menu, which will let you swap or remove your allies.
You will also unlock your first Side Mission (whenever a new Side Mission unlocks, there will be a ‘!’ icon at the location of the Mission). This one will be ‘Azure Memories: The Betrayer,’ located back at the Chaos Shrine.
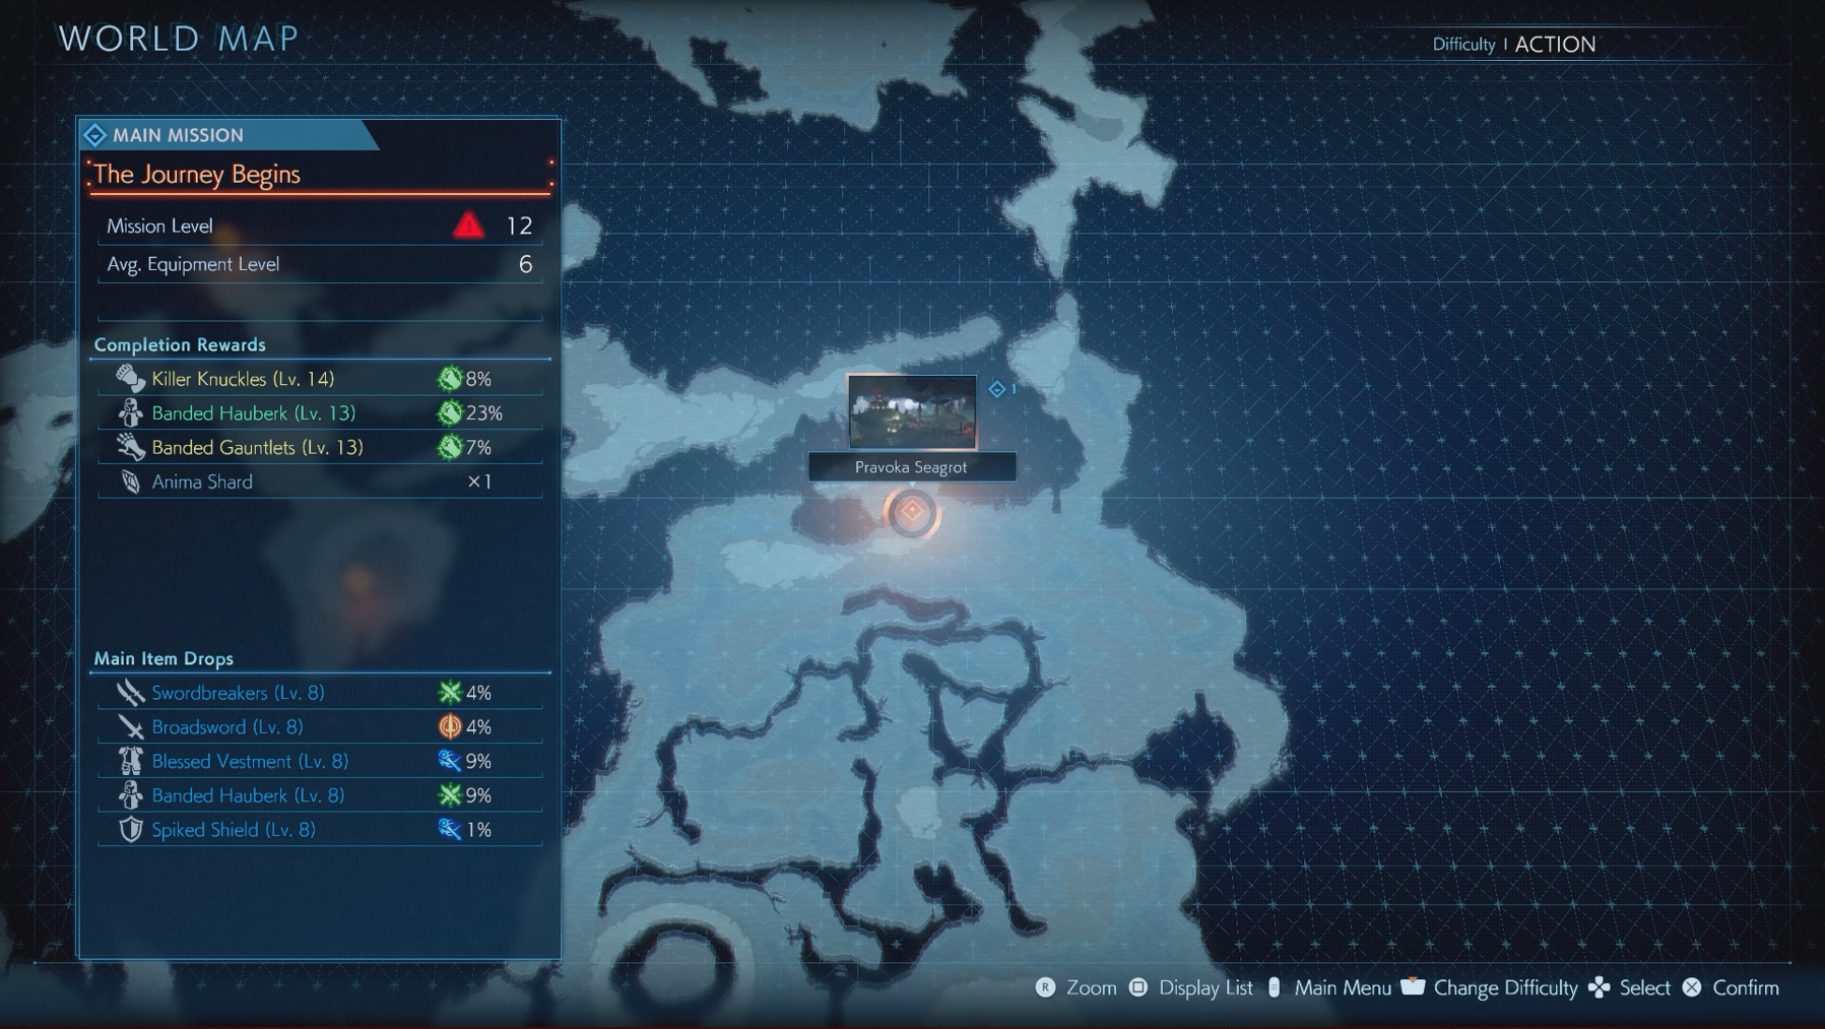
Once you’re ready to continue the story, go to the new location, Pravoka, and select the Mission, ‘The Journey Begins.’
The Journey Begins
In this mission, you will occasionally see walls made of spider webs.
More often than not, there will be a Black Widow or two positioned near the top of these webs. They will not do anything until the web is broken. To break the webs you can either attack them or just walk into them.
Black Widows will attack you when the webs are disturbed. Be ready to take them out when that happens.
You will also find some red barrels throughout this area.
If hit with a Fire attack, they will explode and deal Fire damage to anyone close by.
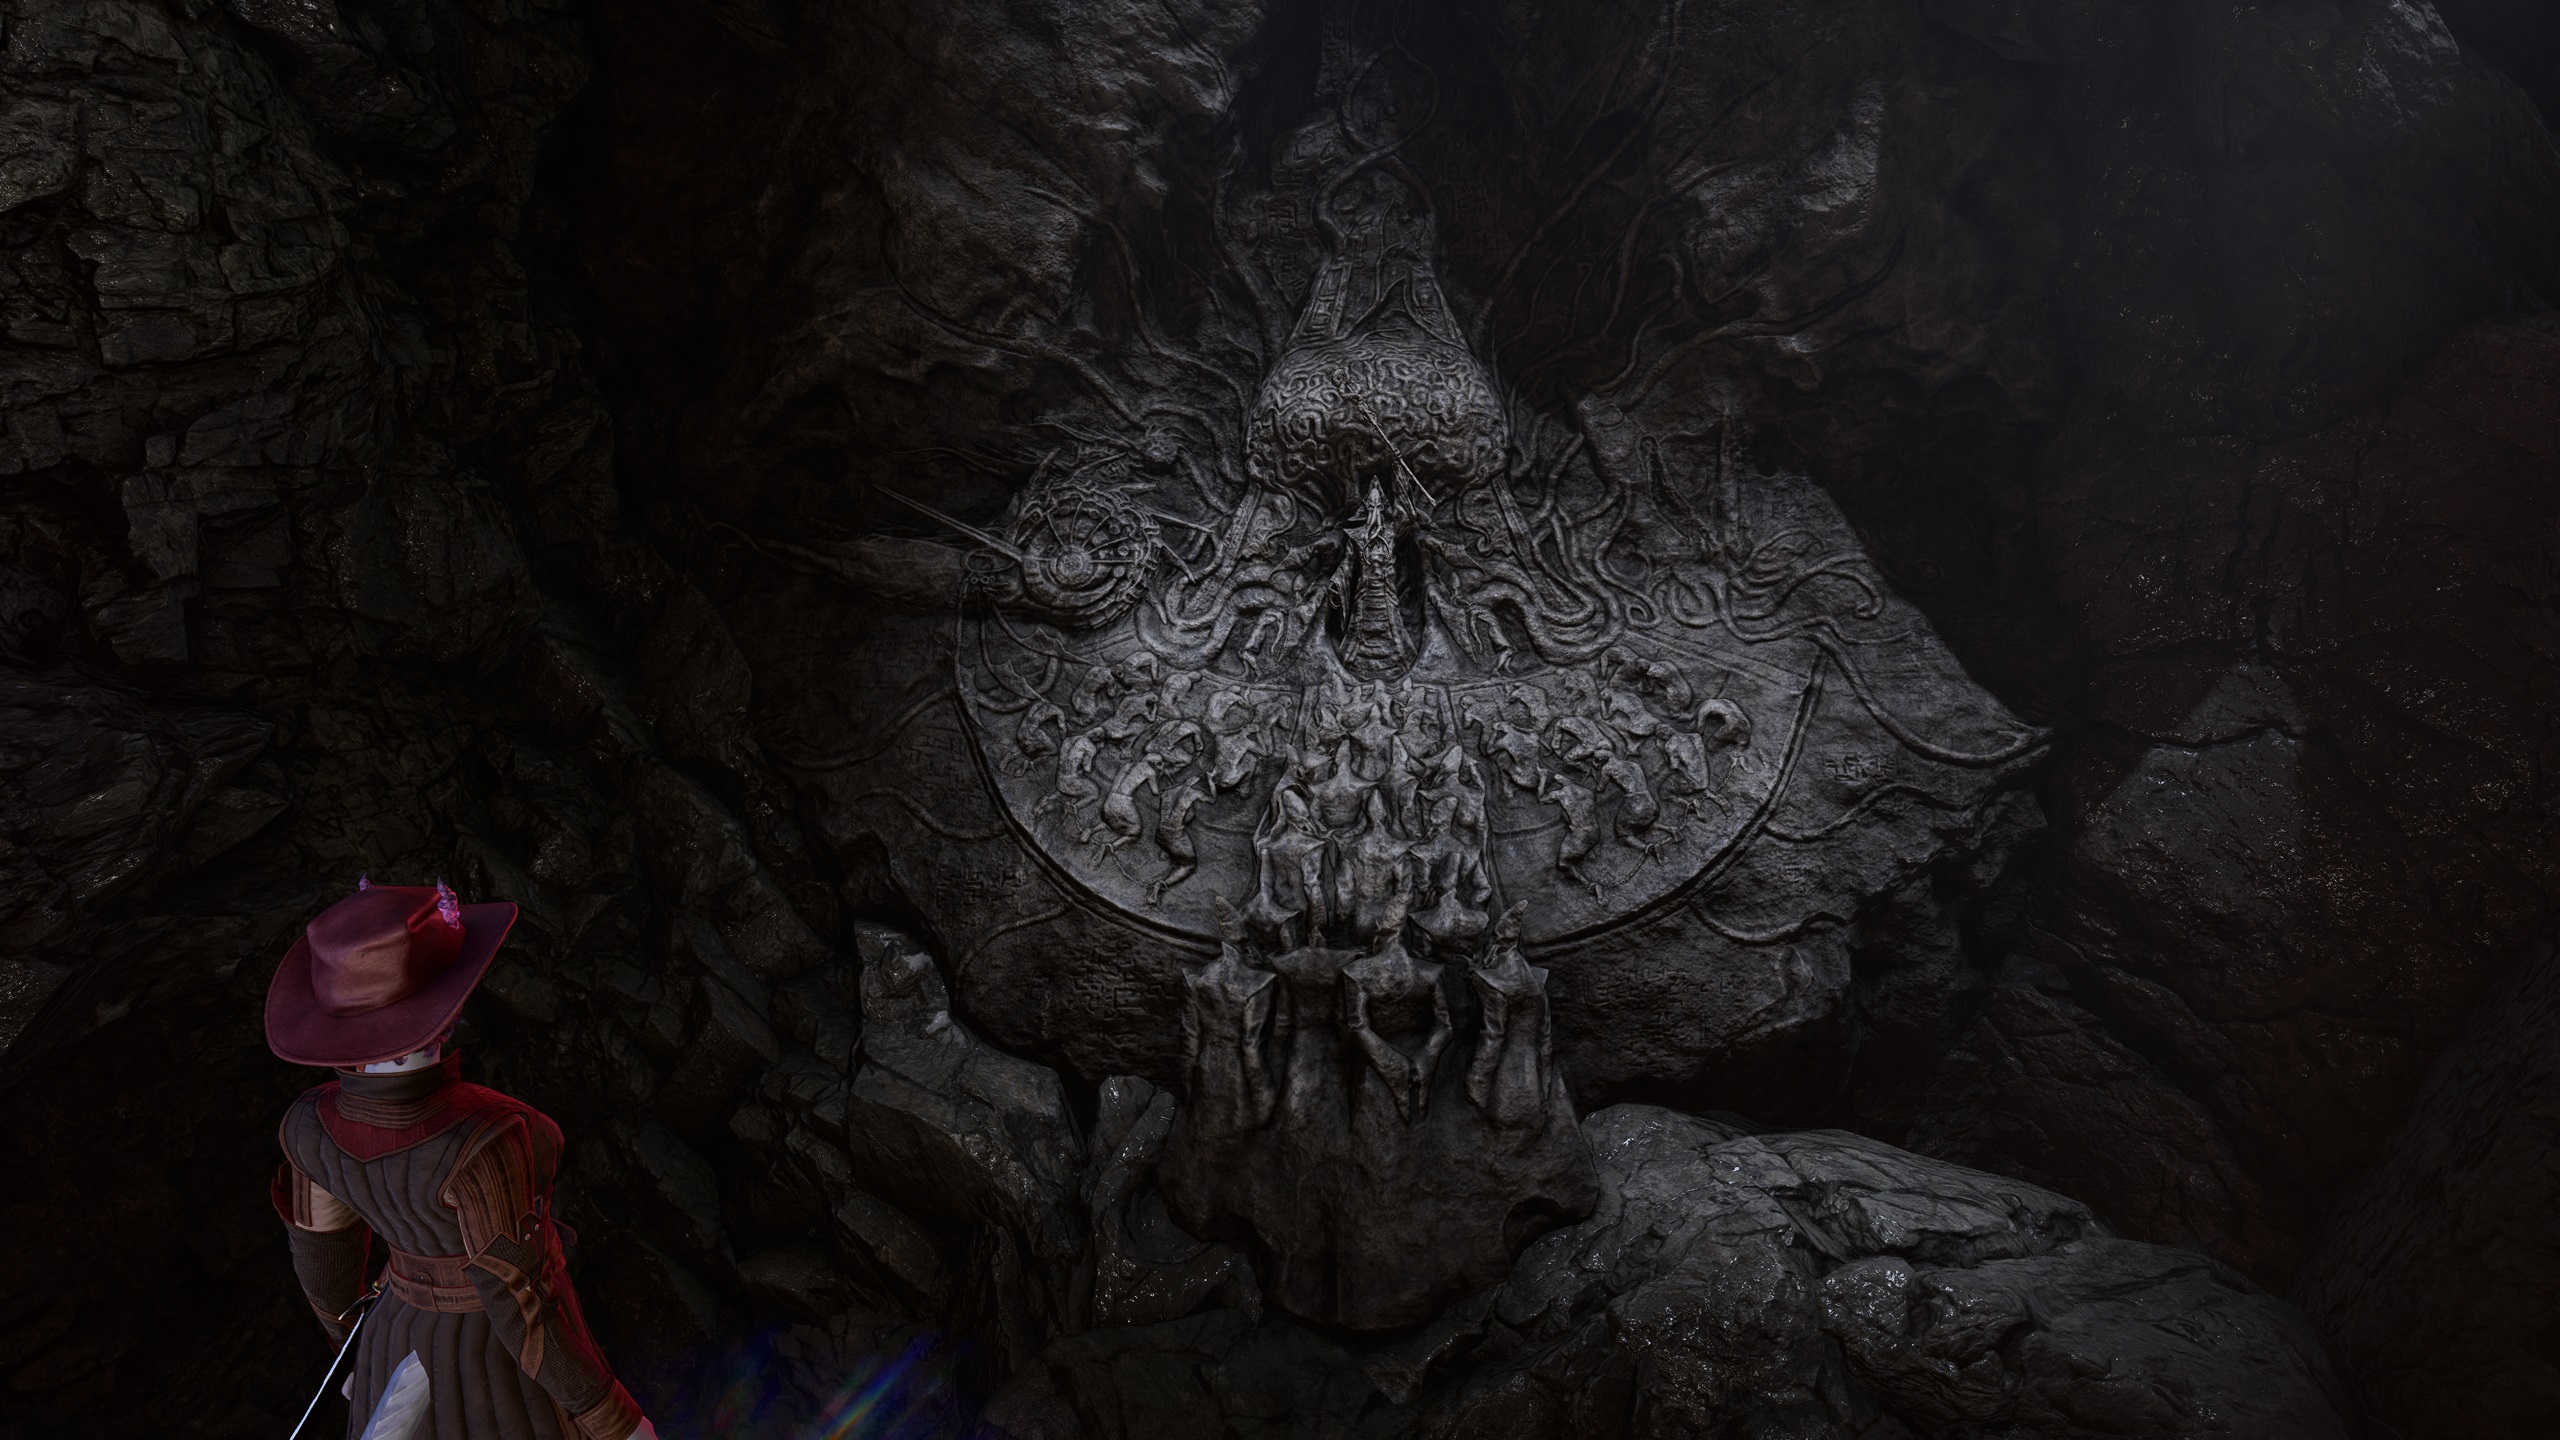
A little bit into the path, you will see a branch off to the left. Go there to find a chest, then turn around and continue on the main path. The main path will remain linear until you find the next Cube — just continue forward until you reach it.
Plunderers’ Promise
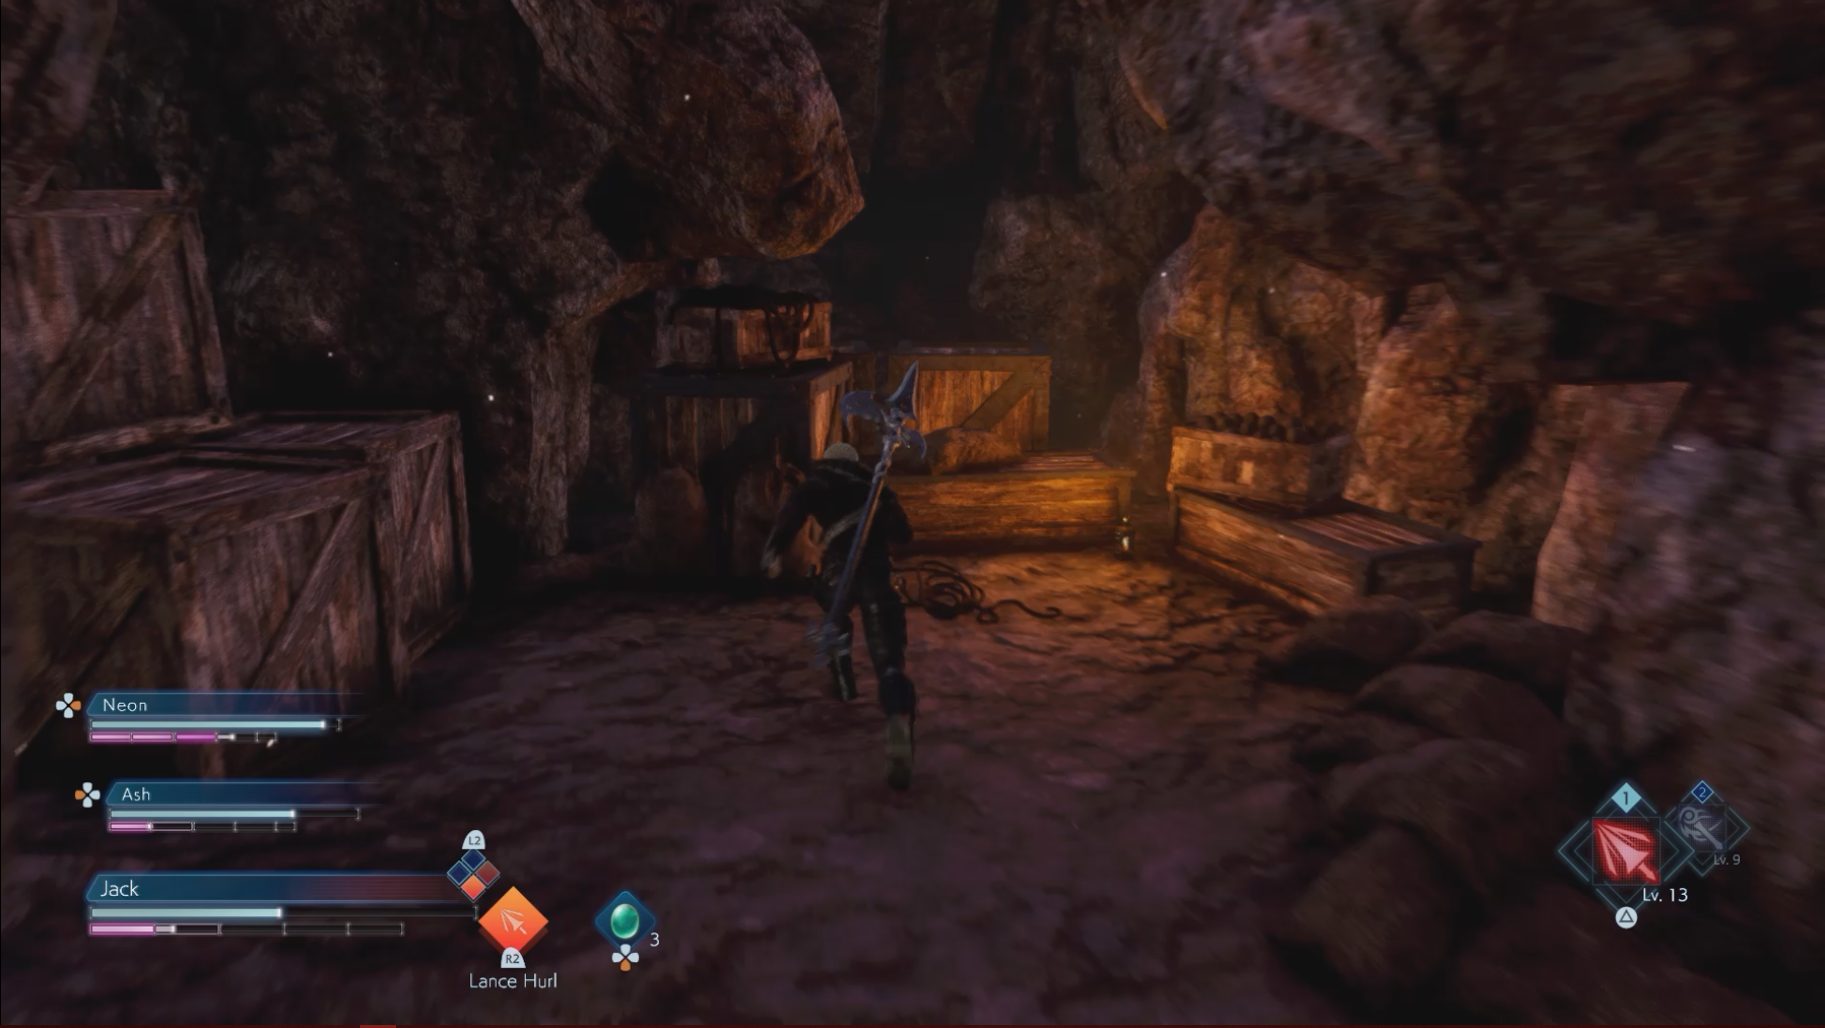
Once you open a set of doors, turn to the left: at the end there will be a wall of boxes you can break to keep going forward. Just before another wall of boxes, you will find a chest. Break through the second wall of boxes to continue.
Once you reach a split, keep going straight to find a chest just before a ledge — do not jump down. Instead, turn around and go back to the split, this time turning left. In the next room you will find a Tonberry with two Skeletons. Once you defeat them, open the chest in this room, and jump down the ledge just past this room. From here, turn left, and continue forward to get back on the main path.
Break the boxes to the leftto reveal a path
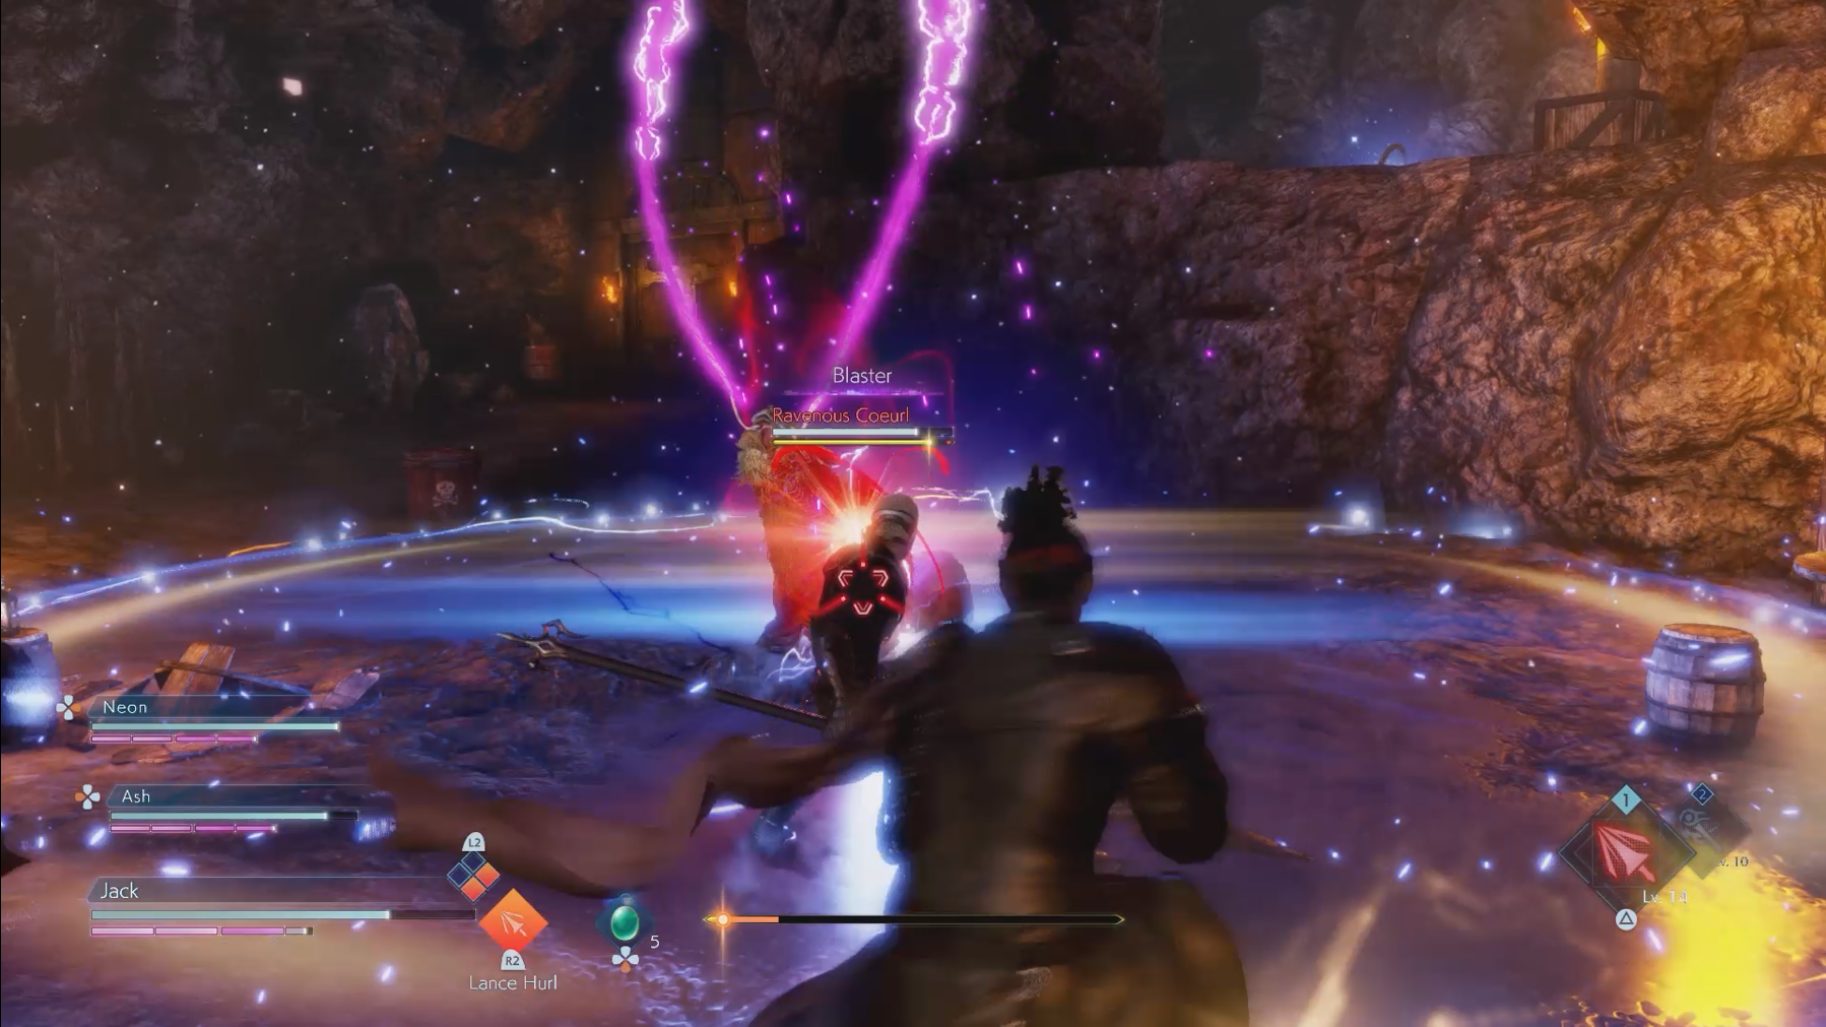
It will be a straight path from here to the next Cube, so just keep going until you reach it. The door will be locked, so jump down the ledge. When you do, you will get into a fight with a Ravenous Coeurl.
Coeurls are resilient enemies, and not easily staggered.
If you try to get out of range of them, they will start using Thundara on you (which can be taken as an Instant Ability).
If you get close to them while they are casting it, they will usually use Blaster (which can also be taken).
Blaster is an AoE attack that will Paralyze you if you’re caught in it.
It also has access to Bounding Strike, which is an unblockable attack that allows the Coeurl to leap towards you and grab you.
You can break their whiskers to stagger them and reduce their max Break Gauge. Remember to also steal their Blaster attack to use it against them.
Once you defeat the Coeurl, you will gain the Pirate’s Key and will be able to open the previously locked door, if you want to heal up back at the Cube (the Ravenous Coeurl will not respawn when you use it). If you are not sure where it is, face the cage and then head to the right.
In the cage where the Coeurl was, you will find an orb explaining enemy weak spots. In the other side of this room, there will be another cage that has two Wolves and a chest (the Wolves will break the door down when you get close).
Go through the set of doors (using the Pirate’s Key) to continue. A little bit down the path, there will be a branch off to the left blocked by boxes. Break through them and grab the chest, then turn around and continue on the main path.
Azure Anchorage
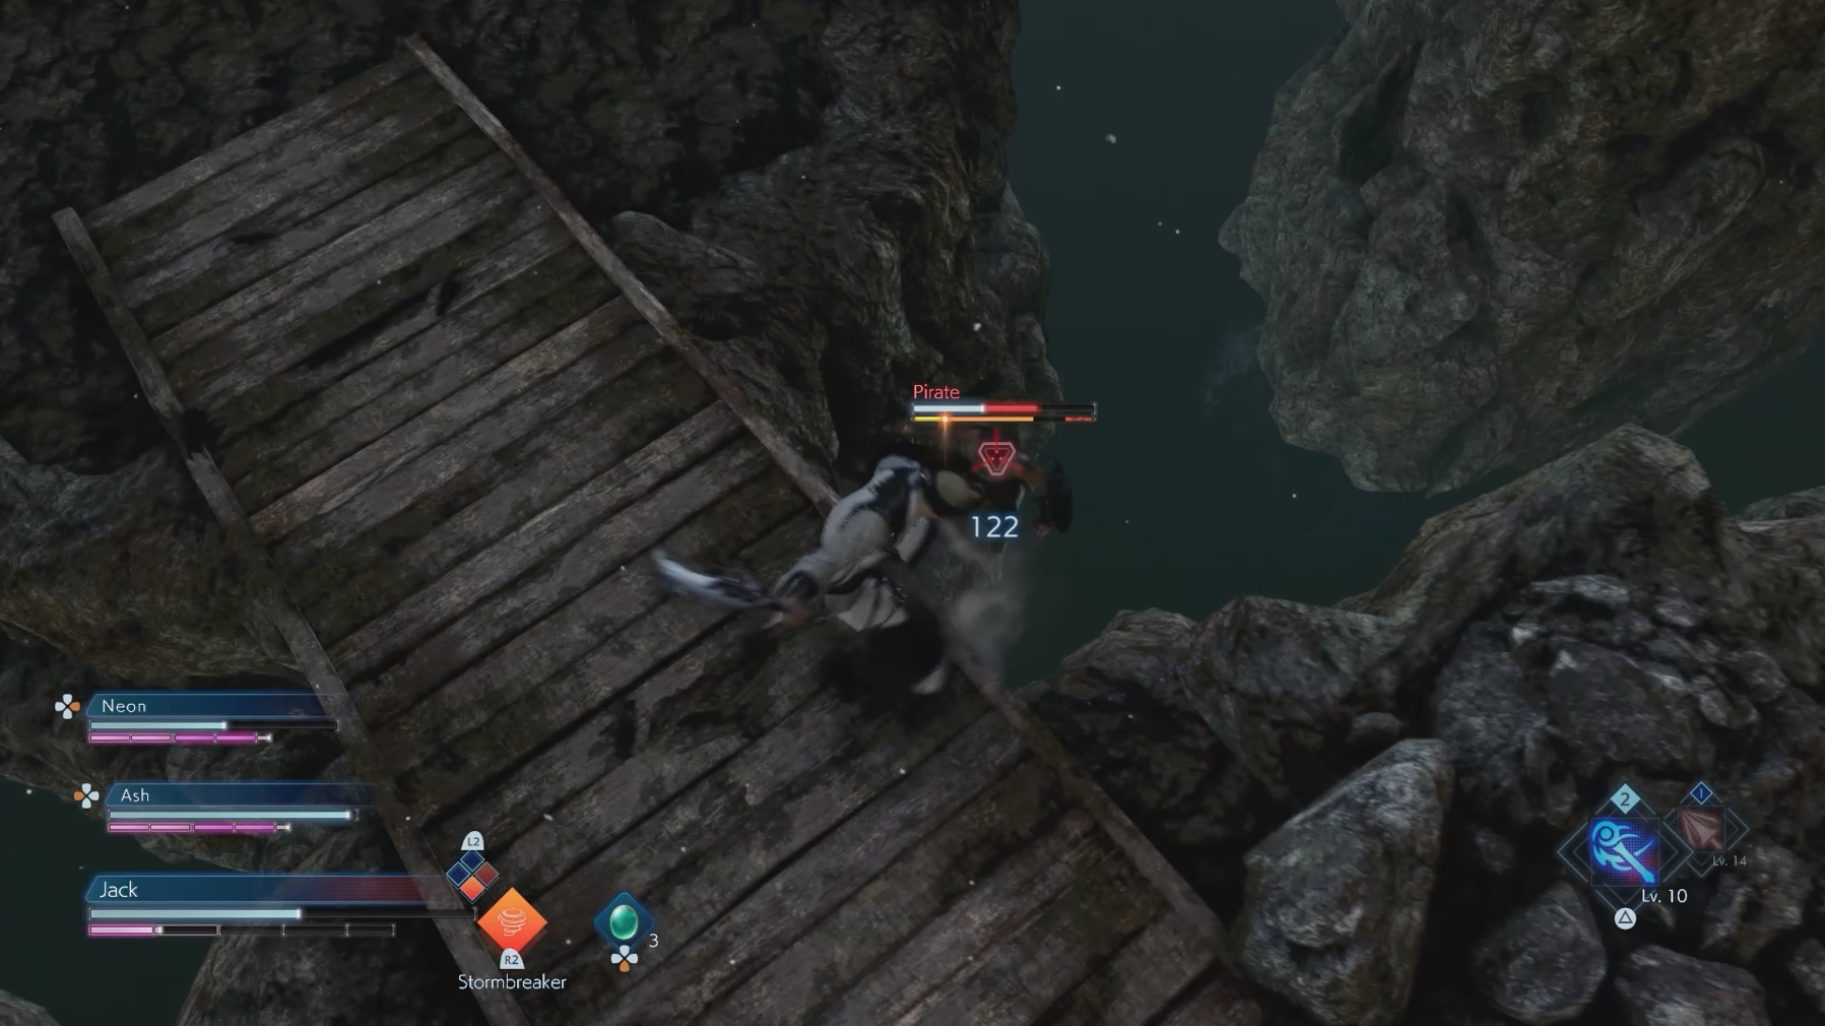
Once you reach the end of the cave, you will see a large ship in front of you. From here, turn right, and head for the bridge you see. At the end of it you will find a chest. Then, turn around, make your way back, and go to the cave on the left. At the end of this cave you will find another chest. Now, turn around once gain, and continue straight on the path until you find a Cube. You will also find a chest here containing your first Katana, unlocking the Ronin Job.
You can knock enemies off of bottomless ledges to kill them instantly, but be careful not to walk off of them yourself!
Coral Lane
Continue until you reach a split and head left (the path on the right will only lead to a Black Widow). Immediately after, there will be another split. Turn right to grab a chest, then turn around and go through the other path. On this path, there will be a branch off to the left, which will lead to another chest. Turn around from here, go back to the main path, and walk forward to continue.
When you reach the end, you will find two Dark Vents that will spawn Leech Bats, Black Widows, and Skeletons. Once they’re defeated, a wall will open up behind where they were. Walk through it to continue.
Continue forward — just before the next Cube there will be a chest to the right. Once you reach the Cube, turn to the right of it and walk on the lake towards the purple tree, and you will find the Fool’s Missive IX.
Turn right from here for the Fool’s Missive
Go back the Cube, then climb the rope next to it, as well as the next two ropes. The path here will be linear, so just keep going until you are out of the cave, and back at the Azure Anchorage.
You will soon see two different Dark Vents. Defeat them, and they will both cause a pillar to fall, making a bridge to different locations. The pillar from the first Dark Vent will be a shortcut to a previous Cube, while the pillar from the second one will lead you to the boss.
Bikke
Bikke is one of the few bosses in the game without a second phase, meaning that his attack pattern will never change during the fight.
Bikke’s Two Adds
Bikke will be accompanied by two Pirates at the start of the fight, so take them out quickly so they don’t distract you from the boss (Lightbringer will be helpful in making this go quicker). Once his two henchmen are down, Bikke will periodically call for two more Pirates to come out and help him with the Assist move. Just take them out as they’re summoned.
Bikke’s Own Attack Pattern
Bikke himself has several attacks with his axe.
Aside from his regular combo attacks, Upheaval and Moon Slash will have him jump a small distance towards you (and Moon Slash will be two attacks).
Ground Pound will have Bikke slam the ground with his axe — the axe strike also causes the ground in front of it to come up, giving it surprising range.
Spin will have Bikke start spinning towards you, dealing multiple hits until he loses balance.
All of these attacks are very slow, so learning the timing to Soul Shield or Evade them should be quick. In addition, you should be able to find a plenty of openings to attack him. However, all of these slow attacks are very powerful as well, so he can still take you out if you’re not careful.
The boss also has the Molotov attack that the normal Pirates use. It functions the exact same way, and can even be stolen if you Soul Shield it, giving you some free damage.
His most dangerous attack is Yo Ho Ho, as this is an unblockable attack in which Bikke will lunge at you and grab you.
Since Bikke’s attacks are slow and he leaves plenty of openings, Jobs that use quick weapons (such as Duelist or Pugilist) can get in a lot of hits quickly. Also, since he doesn’t have a quick gap closer, Jobs with ranged attacks (such as Mage and Lancer) will be able to fully charge the attacks easily to do great damage.
Notice the opening Bikke gives before and after his Spin attack
Once the battle is over, an Axe will be a part of the loot. It will unlock the Marauder Job, meaning you will now have access to every Basic Job in the game. In order to unlock more Jobs, you will need to go through the the Job Trees of these Basic Jobs. (Check out our Jobs Guide for some help and tips!)
Completing this Mission will unlock the Side Mission ‘Azure Memories: The Believer,’ which is located in Pravoka.
Share this article:
KainHighwind27
I'm a huge gamer who especially loves the Final Fantasy series. I will play just about any game, especially if it has anything resembling a Dragoon.