Welcome back to our walkthrough guides for the Main Missions in Stranger of Paradise! This time we are covering ‘Memories of Wind,” the sixth Main Mission in the game — this one will take you through a flying dungeon that will look familiar to fans of Final Fantasy IV. Once again, we will be helping you spot the level’s secrets and we will be offering you some tips for defeating the mission’s challenges.
When you’re ready, head to the Flying Fortress and begin the Mission ‘Memories of Wind.’
Proudfeather Gate
Go through the path until you see an elevator — you will spot a crystal next to it. You will be seeing these crystal switches throughout the level, and they will affect the electrical network within the level when interacted with, activating or deactivating certain things. Red means that the crystal’s deactivated, and it will turn Blue once activated. Activate the crystal now to turn on the elevator, and ride it to the next floor.
Sanctum of the Triumphant
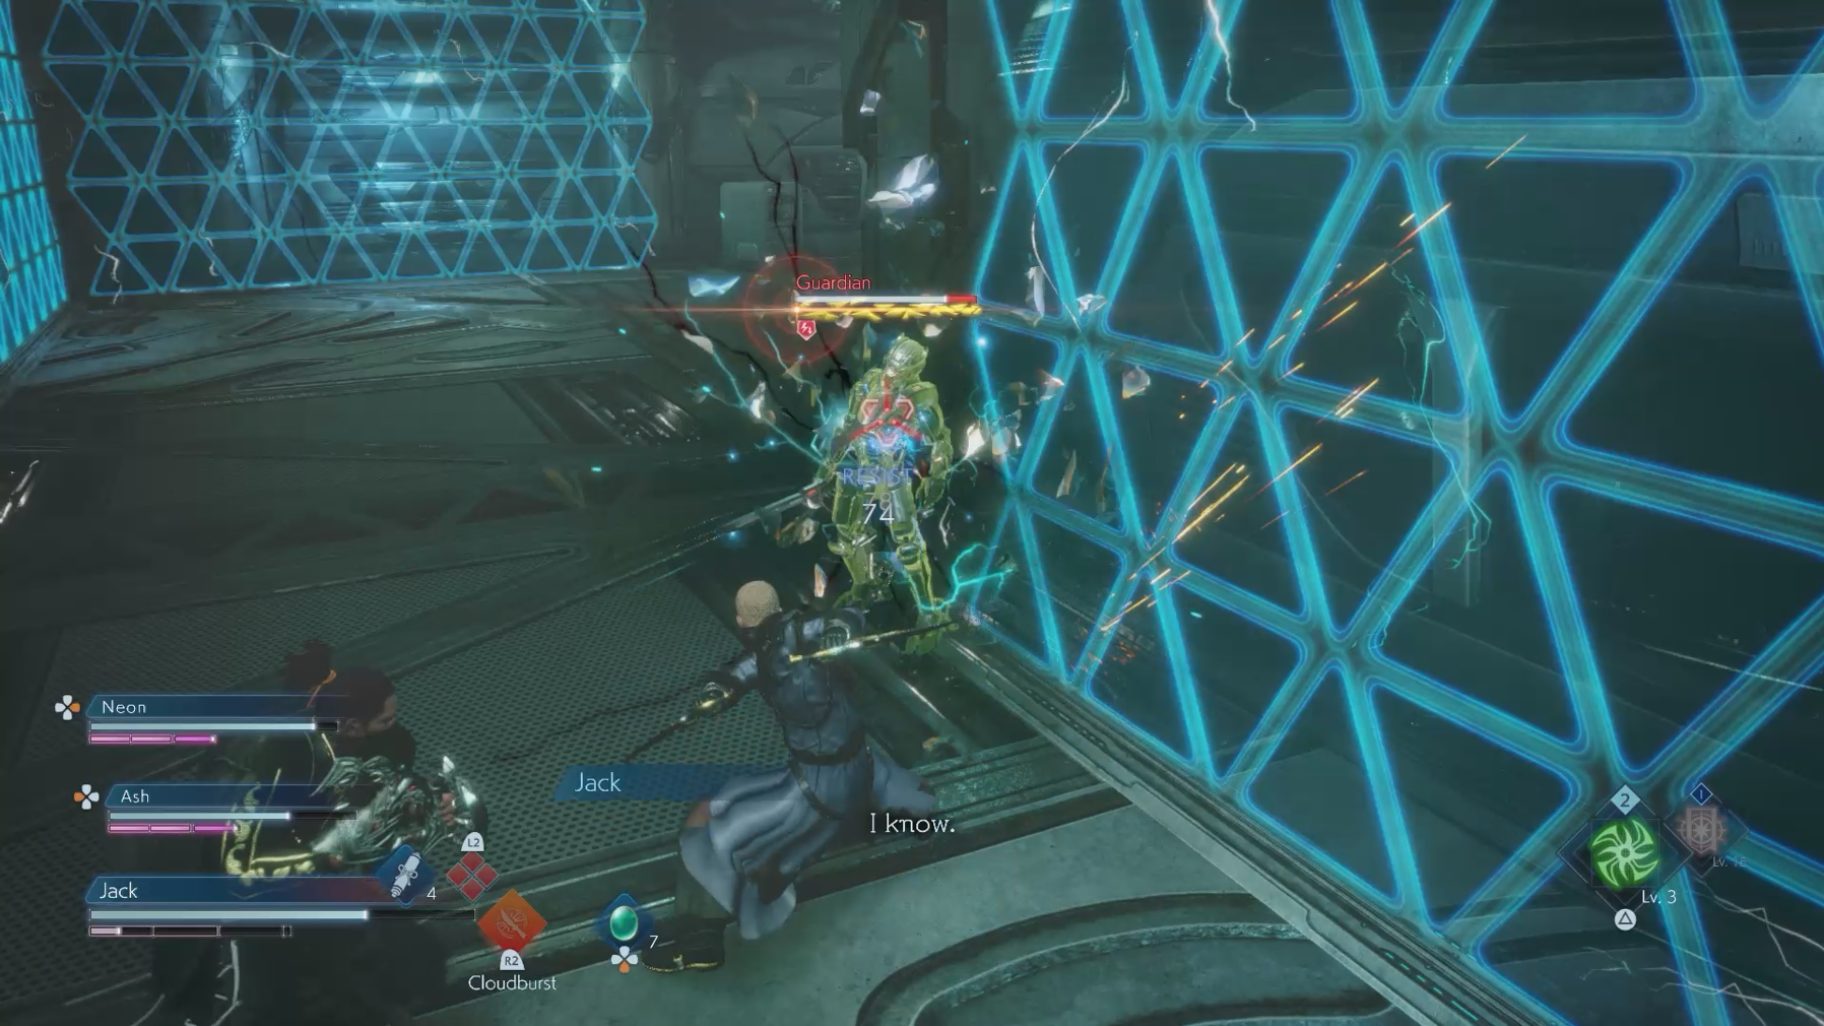
For the rest of this level, you will periodically see electrical walls. When touched, they will deal electrical damage and heavy break damage. Knock enemies into these when you can to get easy Soul Bursts (they’re especially effective on the Guardian enemies). But, be careful not to get hit by these yourself.
Continue forward until you reach another crystal switch, and deactivate it to bring down the electrical wall in front of you to continue. Keep going forward until you reach the end of the path and see another crystal switch. Activate this one to turn on the elevator you passed, but be ready to take out the turrets that get activated as a result. Take the elevator to the next floor and find the next Cube.
Den of Light and Dark
In the next area you will fight your first Flans. These enemies are resistant to physical attacks, so make use of your magic attacks if you have access to them with your setup (Wind attacks, in particular). Flans’s Acid Ability (which can be stolen with a Soul Shield) lowers their own defense when used against them, which is helpful in defeating them as well.
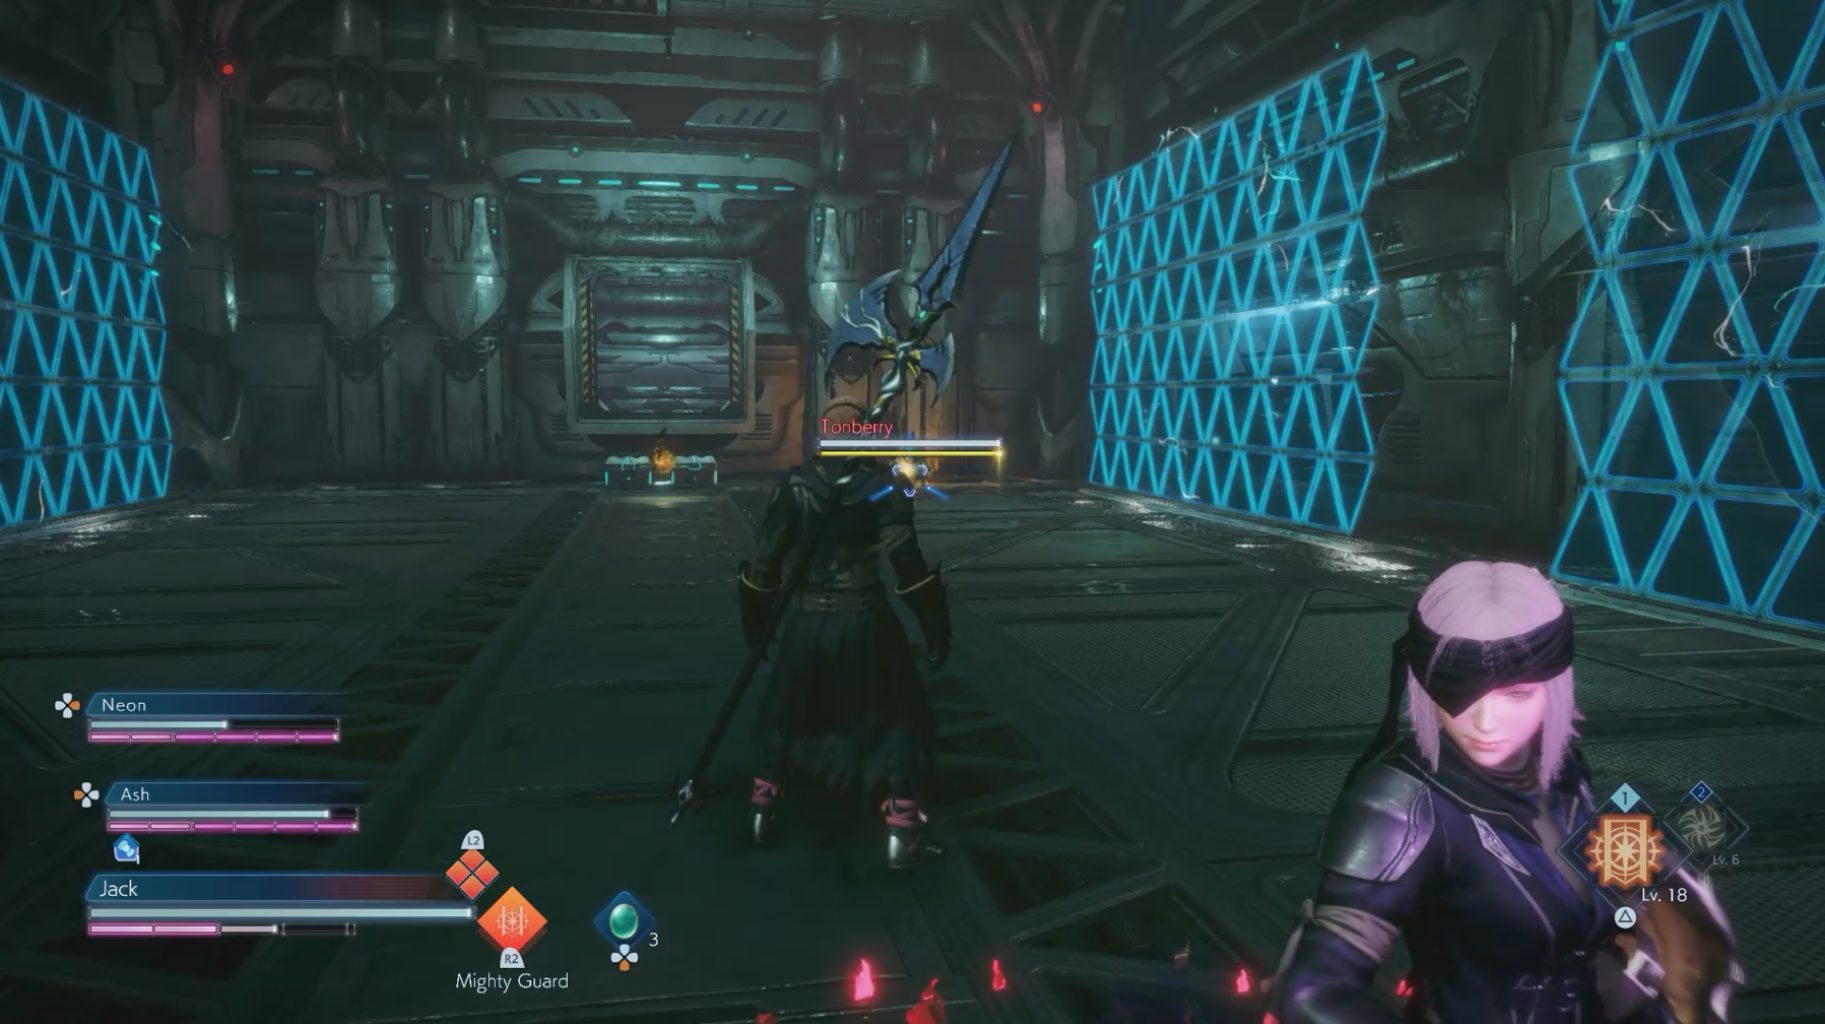
Continue down the path and pass the next crystal switch — you can ignore this one, unless you don’t want the electrical walls active around the Flans you will encounter soon after. Keep going until you reach a split; to the right you will find an elevator. If the crystal switch is blue, you can go down it to get into a battle with six Guardians (being a mix of sword and hammer types), as well as a Tonberry. There’s also a crystal switch here, but you can ignore it unless you don’t want the electrical walls to be active during the fight. At the end of this room you will find two chests and the Lufenian Log 01_0125.
Once you have everything, take the elevator back and run forward until you find a crystal switch. If it’s deactivated, there will be a shortcut to the previous Cube here. However, you will need it activated to continue, so make sure it’s blue right now. Then, continue forward until you find an elevator, and take it.
The Spiteful Barrow
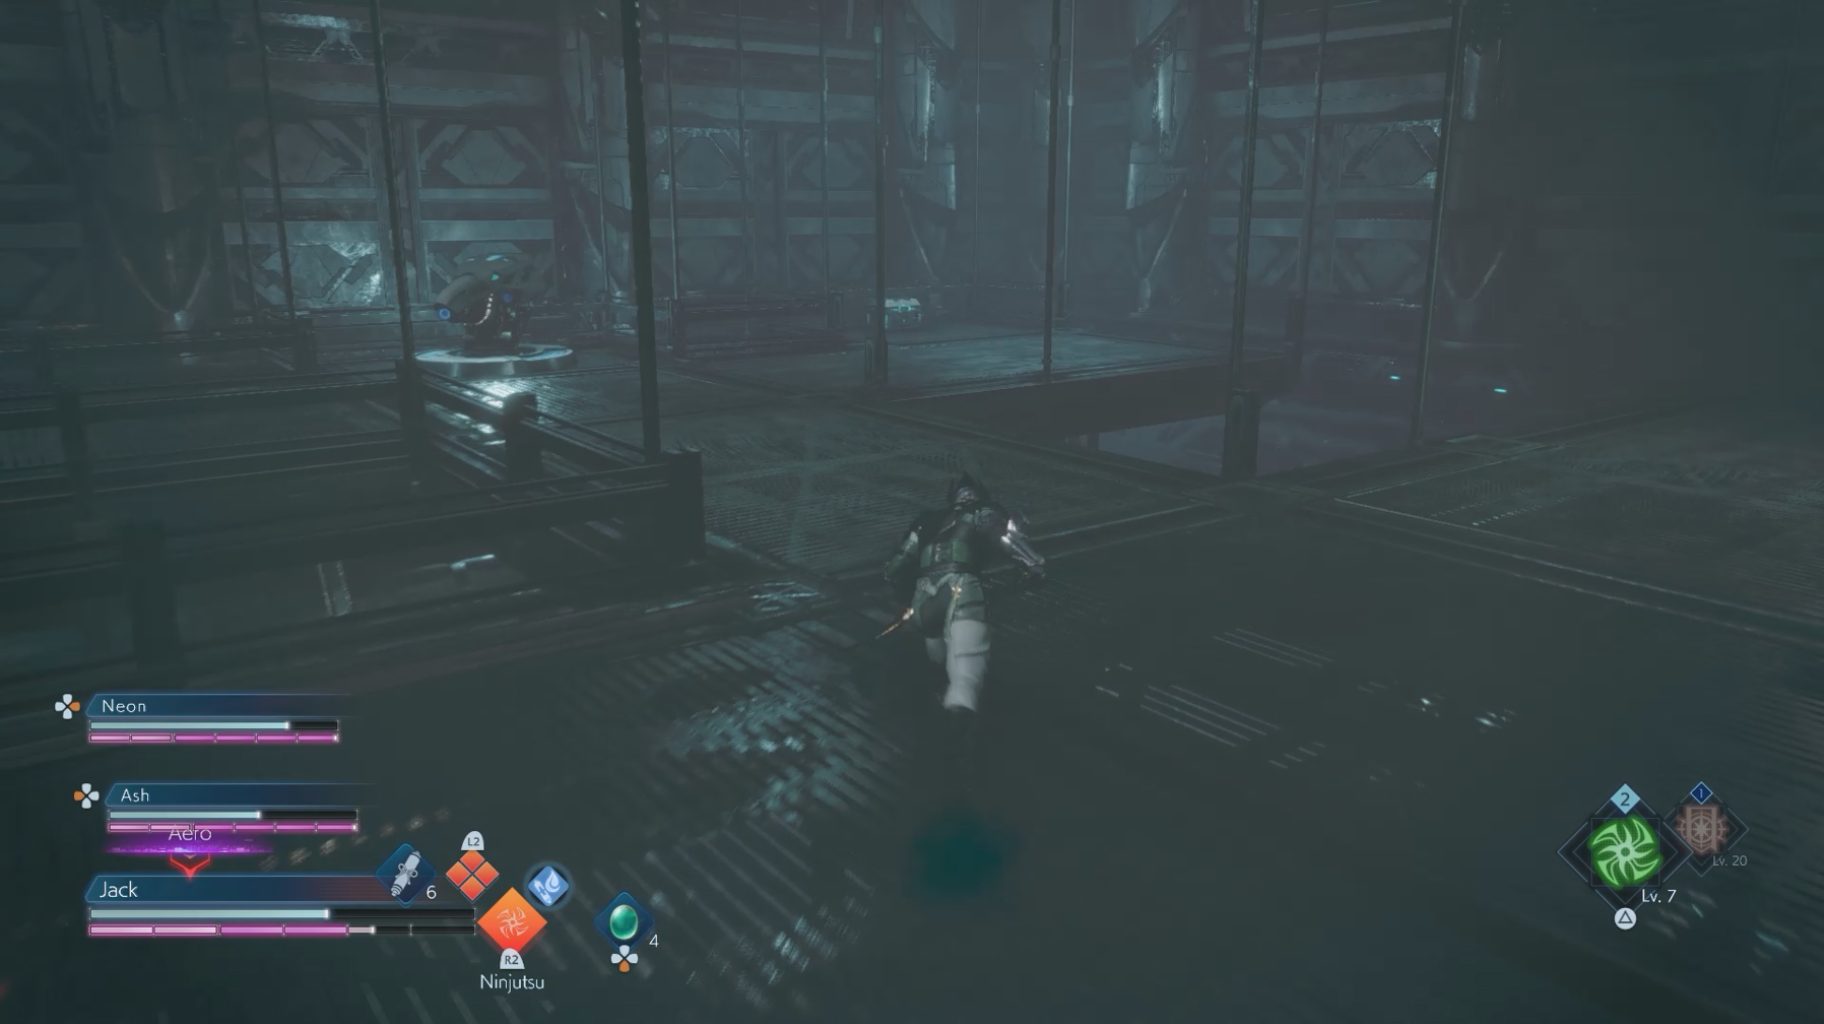
Here you will find a Dark Vent that spawns a variety of enemies. Once it’s taken care of, it will create a ramp to run up onto and continue forward. Keep going until you reach another crystal switch — deactivate it to jump down. After the battle, activate the crystal switch in the center of the room and ride the elevator to find another Cube.
Chamber of Acceptance
In the next area, be careful not to fall off of the ledges, as it will take you back to where the Dark Vent was (if you don’t die from fall damage). Make your way over to the crystal switch and deactivate it to reveal a chest ahead of you. Grab it, then turn around and go to the left path on the split to reach the next area.
Go to the right from where you entered, and you will find a switch to lower the platform next to it. Use it to create a shortcut to the crystal switch, then activate the switch, then go back using the previously lowered platform. Now go and take the elevator straight ahead. Then, find another Cube (be mindful of the turrets you have activated).
Satellite Boulevard
Run around the elevator to find a chest behind it. Then, when you’re ready, get inside of it and step on the red button to be taken to the next boss fight.
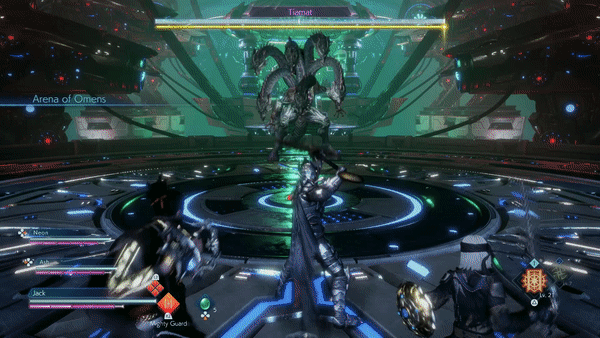
Tiamat
Phase 1
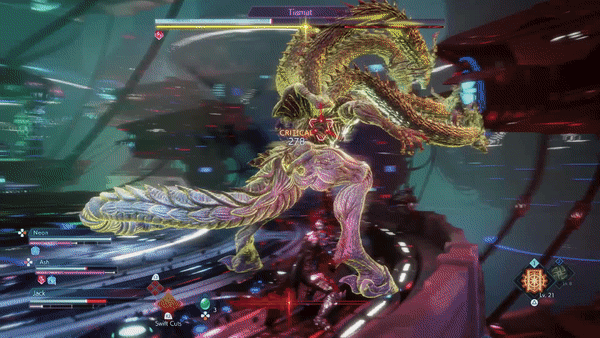
You’ll remember this fight from the very beginning of the game, only now you’re fighting this boss for real. Tiamat is a very dangerous boss — she is very quick and all of her heads are able to attack you when you’re in melee range. She also has a wide array of attacks, having access to both Wind and Poison magical attacks.
Tiamat can swipe at you up to two times with her heads
If you’re at a distance, she can jump towards you to close the gap. At close range, she can jump up and land for AoE damage
If behind her, she can swap at you with her tail
Breath causes four of the heads to shoot either a Wind beam (green) or a Poison beam (purple) towards the ground, while Tiamat spins
Whirlwind will summon three Wind tornadoes around her, which will rotate around her while moving outward
Isle of Dragons will give her a brief defensive stance, where she will take less damage and can counter you with an AoE if hit
When using Tempest, Tiamat will jump back and shoot a few Wind projectiles in a cone in front of her (this can be stolen with the Soul Shield)
Poison Gas is effectively the same attack as Tempest, only here Tiamat will shoot out Poison projectiles (this Ability can be stolen as well)
Macro Burst will shoot five Wind or Poison beams, beginning on the ground, then moving up to hit you
Tiamat is weak to Ice, so take advantage of this if you have access to Ice magic or Abilities with your setup. On top of this, attacking her heads (especially with Slash attacks) will eventually destroy them, making her less dangerous and lowering her max Break Gauge.
If you have unlocked the Void Knight Job by this point, they are extremely effective during this fight. You can Runic all of Tiamat’s ranged Abilities (Macro Beam in particular), and then shoot it back at her to deal massive damage to her and all of her heads.
Once you depleted her HP by half or fully depleted her Break Gauge, Soul Burst Tiamat. You will see a brief cutscene before starting Phase 2.
Phase 2
Tiamat only becomes more dangerous during the second phase. She has access to all of her previous Abilities and gains access to some new ones, adding Lightning to her arsenal of magic types. Any of her Abilities with Lightning damage can Paralyze you if they hit you enough times.
Breath and Macro Burst will now have a Lightning version that Tiamat can use (these Lightning versions will be yellow)
Wind Blast is a large, very quick Wind projectile that she shoots at you
Tri-Disaster combines Wind, Poison, and Lightning, shooting a large beam directly at you
During this phase, you will want to break her Break Gauge to defeat her, rather than killing her directly. This is because whenever Tiamat’s HP starts to get low, she will use Regenerate, which will restore her HP back to the halfway point and restore any heads that you have destroyed.
The same strategy you used in Phase 1 will work here, just be mindful of the new attacks. Void Knights become even more effective during this phase, as Tri-Disaster does many hits on you, giving you a lot of damage to store up with Runic.
Staying on top of Tiamat during Breath is an effective way to be safe and get easy damage
Once the battle is over, talk to Sophia twice, and you will be given a choice of whether to go to the Fire Crystal or the Earth Crystal first. The choice you make will determine what your next Mission will be. Once you’ve made your choice, the Mission will end and Sophia will join your party.
Completing this mission will unlock a new Job for all of your allies. Jed will gain Samurai, Ash will gain Berserker, Neon will gain Knight, and Sophia will gain Dragoon. You will also unlock the Side Mission ‘Scarlet Memories: The Erudite’ in the Crystal Mirage.
If you chose the Fire Crystal first, your next Mission will be ‘Memories of Poison.’ If you chose the Earth Crystal first, it will be ‘Phantoms of the Past‘ instead.
Share this article:
KainHighwind27
I'm a huge gamer who especially loves the Final Fantasy series. I will play just about any game, especially if it has anything resembling a Dragoon.


Thank you I do have one question I have yet been unable to answer but is there an ally affinity bonus in this one?