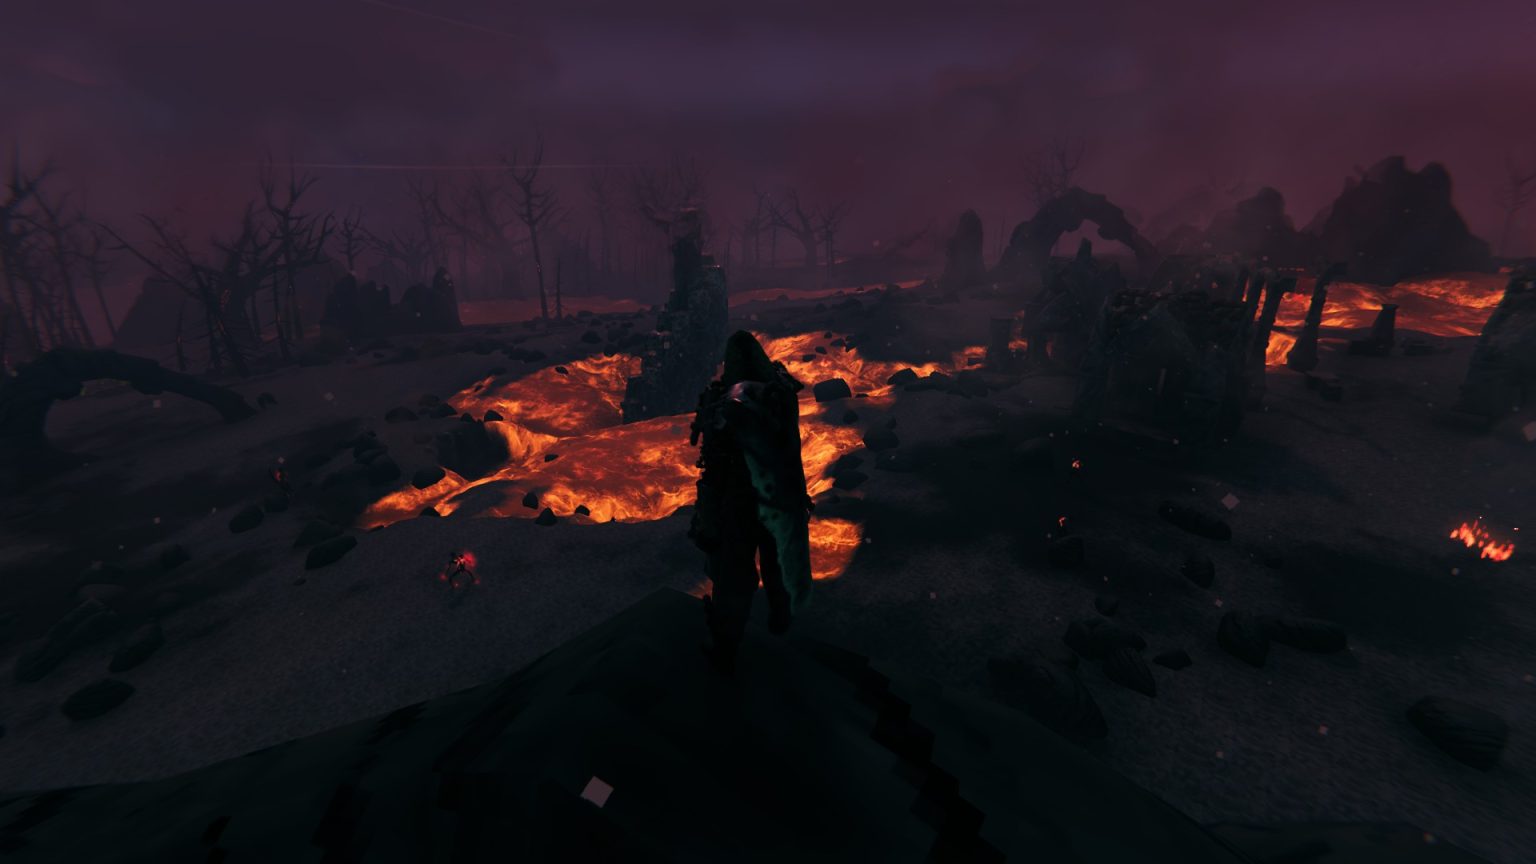
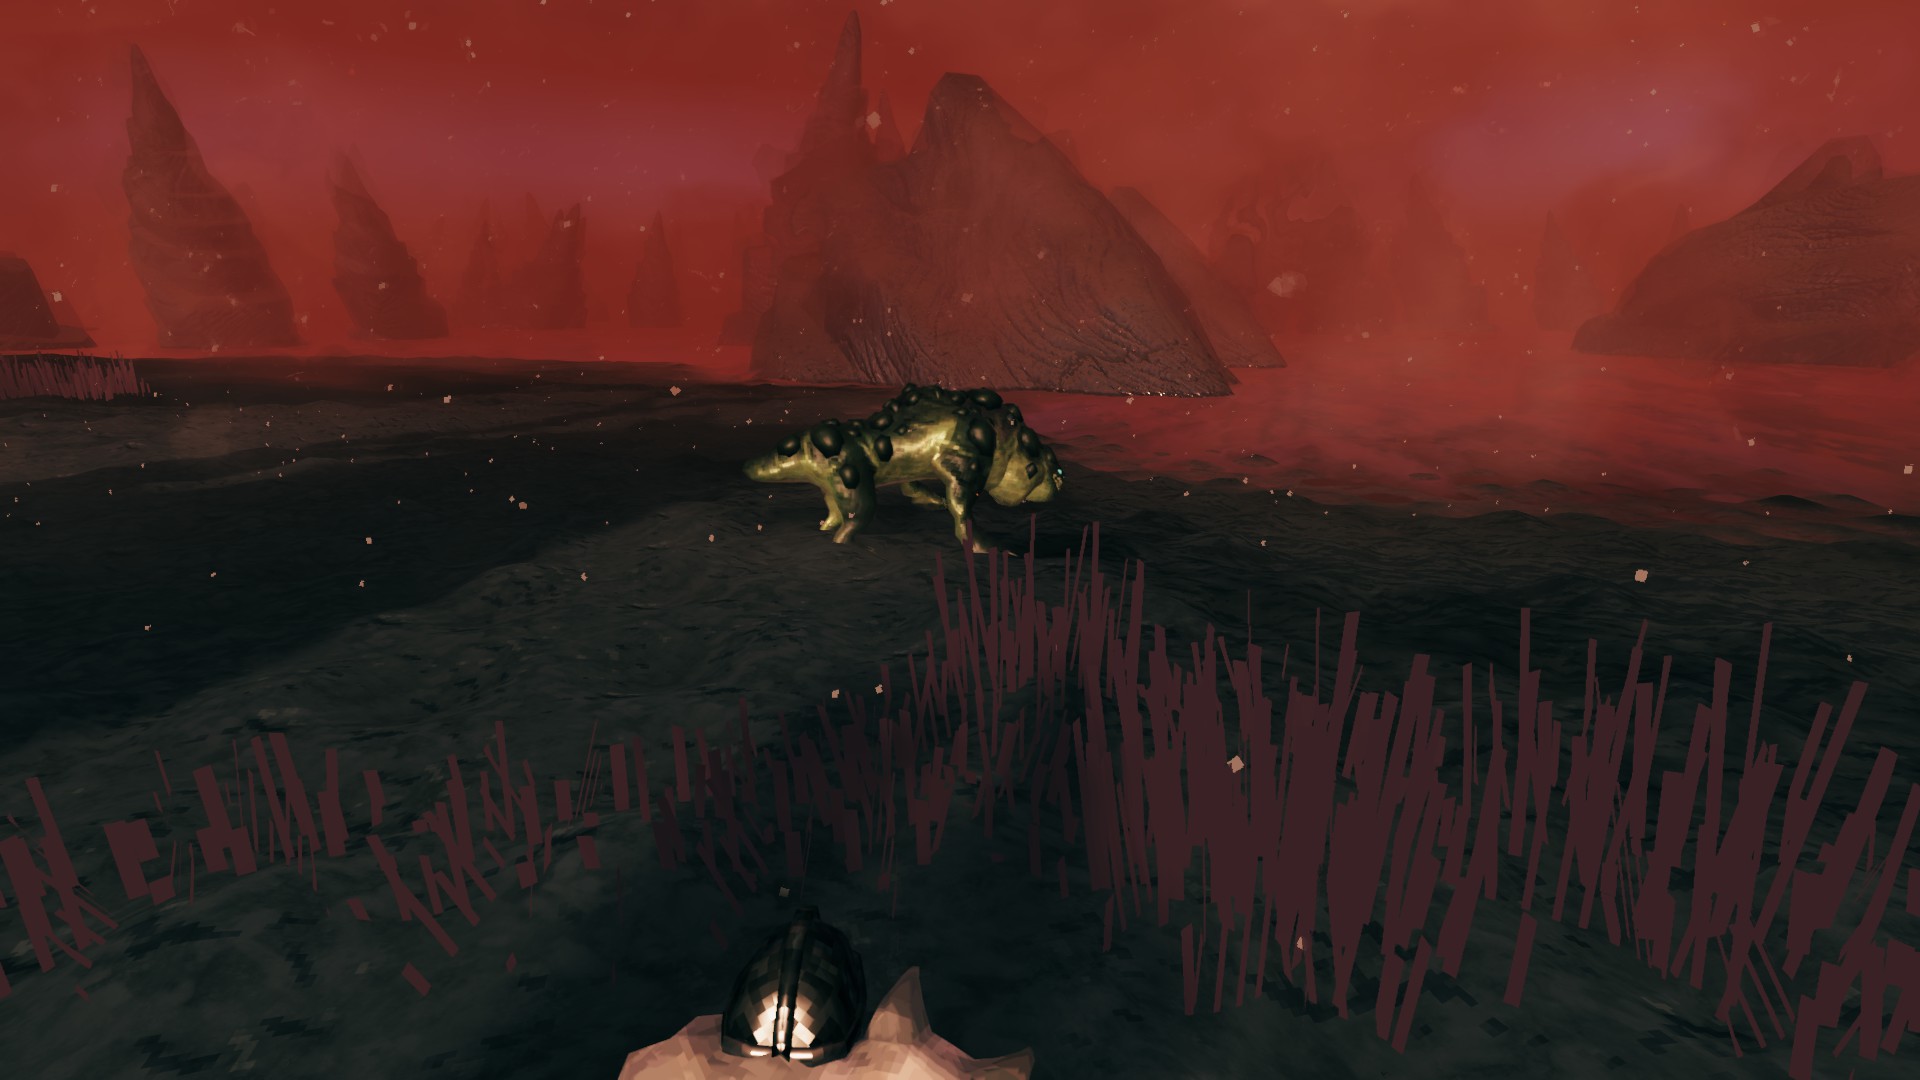
Ashlands is perhaps the most inhospitable of Valheim’s biomes. It combines relentless enemies, frequent spawns and harsh environmental hazards with a great distance from the rest of the game’s biomes. That last part makes failing in the Ashlands especially harsh. As such, this guide will share 10 tips that will help you survive in the fiery biome.
Ashlands Tips
Create an offshore outpost
Only disembark during daytime
Protect your base with walls and Shield Generators
Prioritize creating a Stone Portal
Destroy enemy spawners
Make good use of magic
Craft some Basalt Bombs
Carry a Torch to defend against Voltures
Use rock formations to attack enemies from a distance
Raid Charred Fortresses for resources and to convert one into a base
Offshore Outpost
Creating a Drakkar is expensive. Preparing for the trip and sailing it to the Ashlands takes a while. Environmental hazards, surprisingly shallow waters, and relentless Bonemaw serpents will make things difficult once you get there. You’ll want to make sure your ship, and the resources stored in its hold, survive. So, before you disembark on the Ashlands shores, you should look for the rock outcroppings in the waters around them.
Park your Drakkar around one, and build a Workbench there. This will allow you to repair your ship with a Hammer. You can also place a temporary portal there, outside of the reach of the enemies waiting for you on the shore. This will give you some breathing room to get your bearings or wait out the night while making sure you don’t lose your stuff.
A temporary offshore outpost
Chasing Daylight
It’s a general rule of Valheim that biomes get more dangerous at night. But when it comes to the Ashlands, the biome is already deadly during the day. As such, you should avoid exploring it during nighttime at all costs. When making your initial landing, make sure to do it as close to dawn as possible. And when night is approaching, make sure to hop into bed and skip it altogether.
You can roughly estimate the time of day by looking at the sun. When a new day dawns, you also get a message on your screen announcing its arrival. And if you’re using console commands, you can simply type in time and know the exact time.
Learning the exact time through console commands
Protecting Your Base
Once you’ve landed on the Ashlands shores, you’ll want to clear out that initial area and construct a shelter. Alternatively, you may want to take over a spacious local ruin or a Dvergr base. Because of environmental hazards like fiery rain, you’ll want to protect your builds. And you’ll want to make sure no enemies can walk past your defenses.
This means you’ll want a wall, plenty of light sources like standing torches, hearths and campfires, and a Shield Generator. For your walls, you’ll want at least stone walls, or alternatively, you can use the Hoe to raise the ground and make it impassable for the enemies. Either way, you’ll need a large quantity of Stone for it.
Raising a wall with a Hoe
A Shield Generator will protect your base from various environmental hazards. You can build one after you’ve defeated the Mistlands Queen and created an Artisan Press. To craft a Shield Generator you’ll need:
Iron x5
Copper x5
Shield Core
And for the Shield Core, you’ll need:
Black Core
Surtling Core
Ceramic Plate
Once you have a generator running, you’ll need either Bone Fragments or Charred Bones to fuel it.
Operational shieldFueling the generator
Creating a Stone Portal
With how long it takes to reach the Ashlands, sailing back and forth between the fiery biome and your main base is not viable. This means one of the first thing you’ll want to do after establishing an outpost is create a Stone Portal. These portals allow you to teleport with items regular portals won’t let you carry, like biome-specific ores. To build a Stone Portal you’ll need:
Greydwarf Eye x10
Grausten x30
Molten Core x2
You should have Greydwarf Eyes in abundance from the earlier biomes. Grausten is the stone most Ashlands buildings are made of. Destroy them with your pickaxe to mine it. Molten Cores are the most precious resource here. While you can find them inside Charred Fortresses or Mysterious Locations, you’ll usually go there during the later stages of your Ashlands journey.
So, the main way to get those early Molten Cores will be through raiding Putrid Holes. These mini dungeons are all over the biome. They resemble dark cave entrances and oftentimes have bones scattered in front of them.
A Putrid Hole entrance
You’ll find some Molten Corse inside. Not every Putrid Hole will have them, but they’re not too rare. You’ll also find a Morgen monster that will pop out of the ground after you get deeper. If you’re not confident in your ability to defeat the monster, just quickly dash through the cave and grab the Molten Cores before exiting.
Molten CoreMorgen in a hole
To actually place a Stone Portal, you’ll also need a Stonecutter (Wood x10, Iron x2, Stone x4). So make sure to grab some Iron bars before setting sail for the Ashlands.
Stone Portal in the Ashlands
Destroying Spawners
Even at the best of times, Ashlands tend to swarm with highly aggressive and tough enemies. But to make matters worse, sometimes you’ll see an obelisk called a Monument of Torment or an X-like structure called an Effigy of Malice. These act as monster spawners. Whenever you see these, it’s in your best interests to destroy them right away.
Monument of TormentEffigy of Malice
Using Magic
Up until the Mistlands biome, the choice of playstyle boiled down to going either melee or ranged. Mistlands introduced Eitr as a new resource and together with it a magic-focused playstyle. And since Ashlands is the next biome after that, it makes sense to give the new magic its time to shine.
Using magic in the Ashlands will allow you to trivialize many of the biome’s challenges, like using the Staff of Embers to bombard a Charred Fortress from a safe distance. But even without resorting to such tactics, magic will make your Ashlands journey much smoother.
Bombarding a fortress with a Staff of Embers
Staff of Frost will work great against enemies with low Frost resistance, and its slow effect will be good in general. Staff of Protection will greatly increase your survivability. And Dead Raiser will give you some convenient summons to distract the enemies. Later on, Trollstav will allow you to summon trolls that will clear most encounters by themselves.
Staff of FrostStaff of ProtectionDead RaiserTrollstav
So, even if you’re ordinarily a melee Viking, having access to magic in the Ashlands is great. But if magic is decidedly not your thing, then an upgraded Mistwalker sword is your best bet for an Ashlands-worthy weapon.
Basalt Bombs
One of the big obstacles in the Ashlands is lava. Not only are you often in danger of being pushed into it, at times you simply need to navigate it to get to the juicy Flametal veins. We have an entire guide dedicated to traversing lava in the Ashlands. But at the very least, you want to have at least a few Basalt Bombs with you at all times. When you throw one in lava, it creates a platform for you to stand on.
Basalt Platforms
To craft them, you’ll need:
Asksvin Hide
Asksvin Bladder
Proustite Powder x3
You get the Asksvin bits from the Asksvin monsters in the Ashlands. They look like larger dark versions of the Neck monsters from the Meadows. And Proustite Powder can be obtained from Lava Blobs and unstable lava rocks.
AsksvinLava BlobUnstable lava rock
Defending Against Voltures
Voltures are a very annoying enemy type in the Ashlands. These birds stay out of reach, attack from unpredictable angles, and are too fast to outrun. At the same time, they really hate fire, despite living around so much of it. What this means is that you should always have a Torch (Wood, Resin) on you in the Ashlands. Equip it when Voltures are near, and they’ll leave you alone.
Voltures won’t attack you with a torch out
Staying Out of Reach
There are plenty of rock formations in the Ashlands. You’ll mainly see them as giant arches. They work as a great spot to engage in ranged or magic combat with your enemies. Once you climb a rock, monsters will have trouble pathfinding their way after you. This will allow you to snipe them from afar. And if they do find a way to follow you, they’ll usually be separated and alone, allowing you to easily deal with them.
Rock formationRepeatedly jump to climbAnd you’re up
Raiding Charred Fortresses
Charred Fortresses are among the key landmarks and main challenges of the Ashlands biome. We have a dedicated guide for how to find and clear them out. But what’s important to keep in mind is that once you do clear a fortress out, it can then become your perfect Ashlands base. This means you’ll preferably want to defeat the enemies inside from a distance, using something like the Staff of Embers, then go over the outer wall without breaking it, and place a portal inside. This will give you a secure base impenetrable by any of the biome’s foes.
An unlooted Charred FortressStairs to get insideOr launch yourself in
Beyond that, Charred Fortresses are a great source of Ashlands resources like Flametal, Molten Cores, and even gemstones that will let you imbue your weapons with special properties.
Share this article:
Val Hull
Resident role-playing RPG game expert. Knows where trolls and paladins come from. You must fight for your right to gather your party before venturing forth.