Black Forest is the first Valheim Biome where things get real. The Meadows are essentially a prolonged tutorial. Once you step outside it and experience what the Black Forest has to offer, you might find yourself overwhelmed. If that happens, this guide’s got you covered with 10 tips to help you conquer the Black Forest.
Black Forest Tips
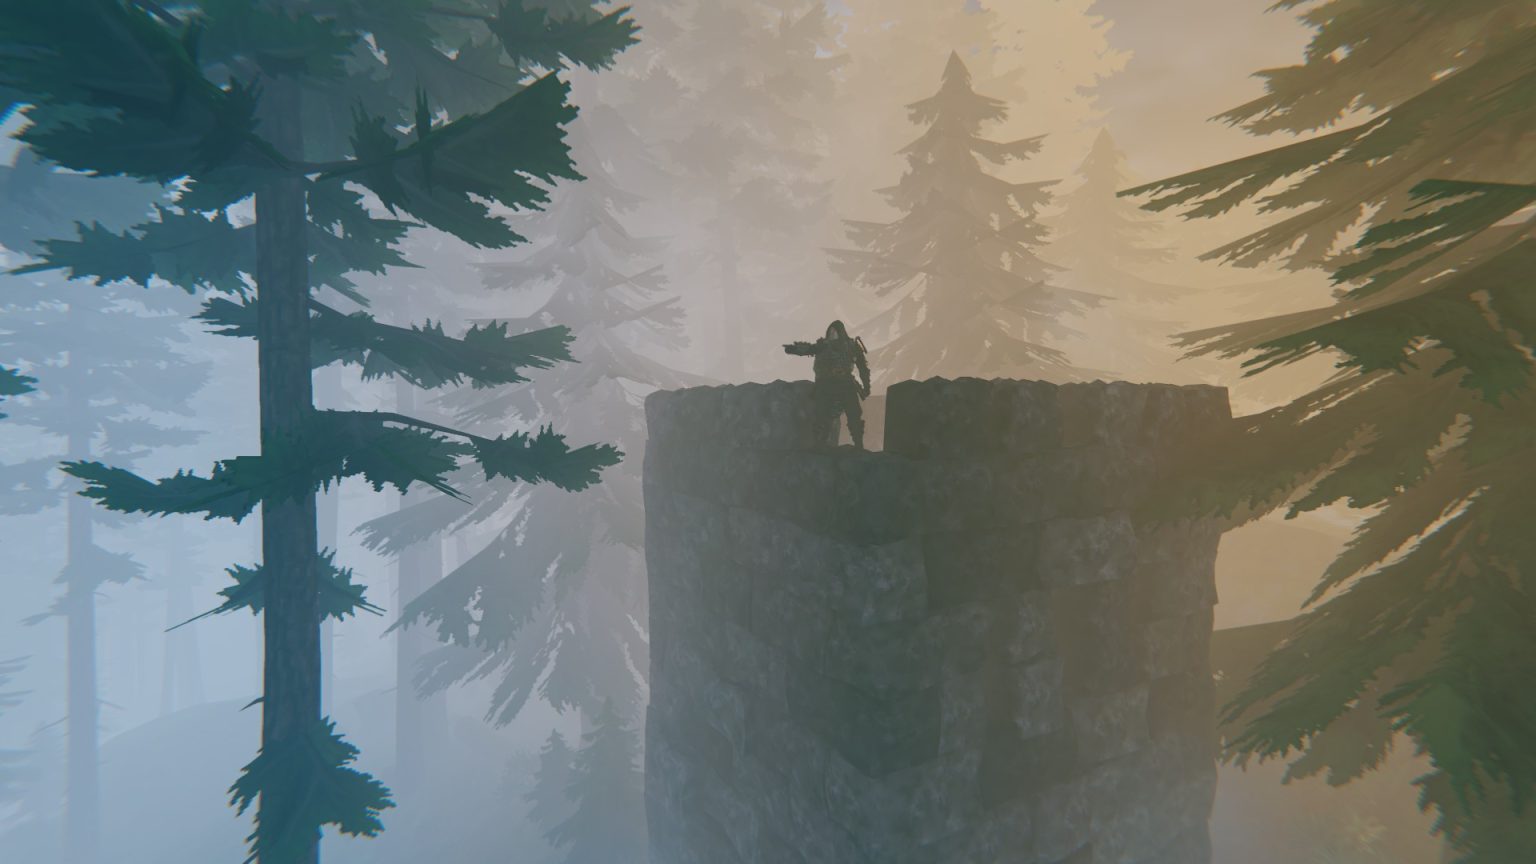
Don’t go in there at night
Learn enemy weaknesses and use fire
Mark ore deposits and dungeons on your map
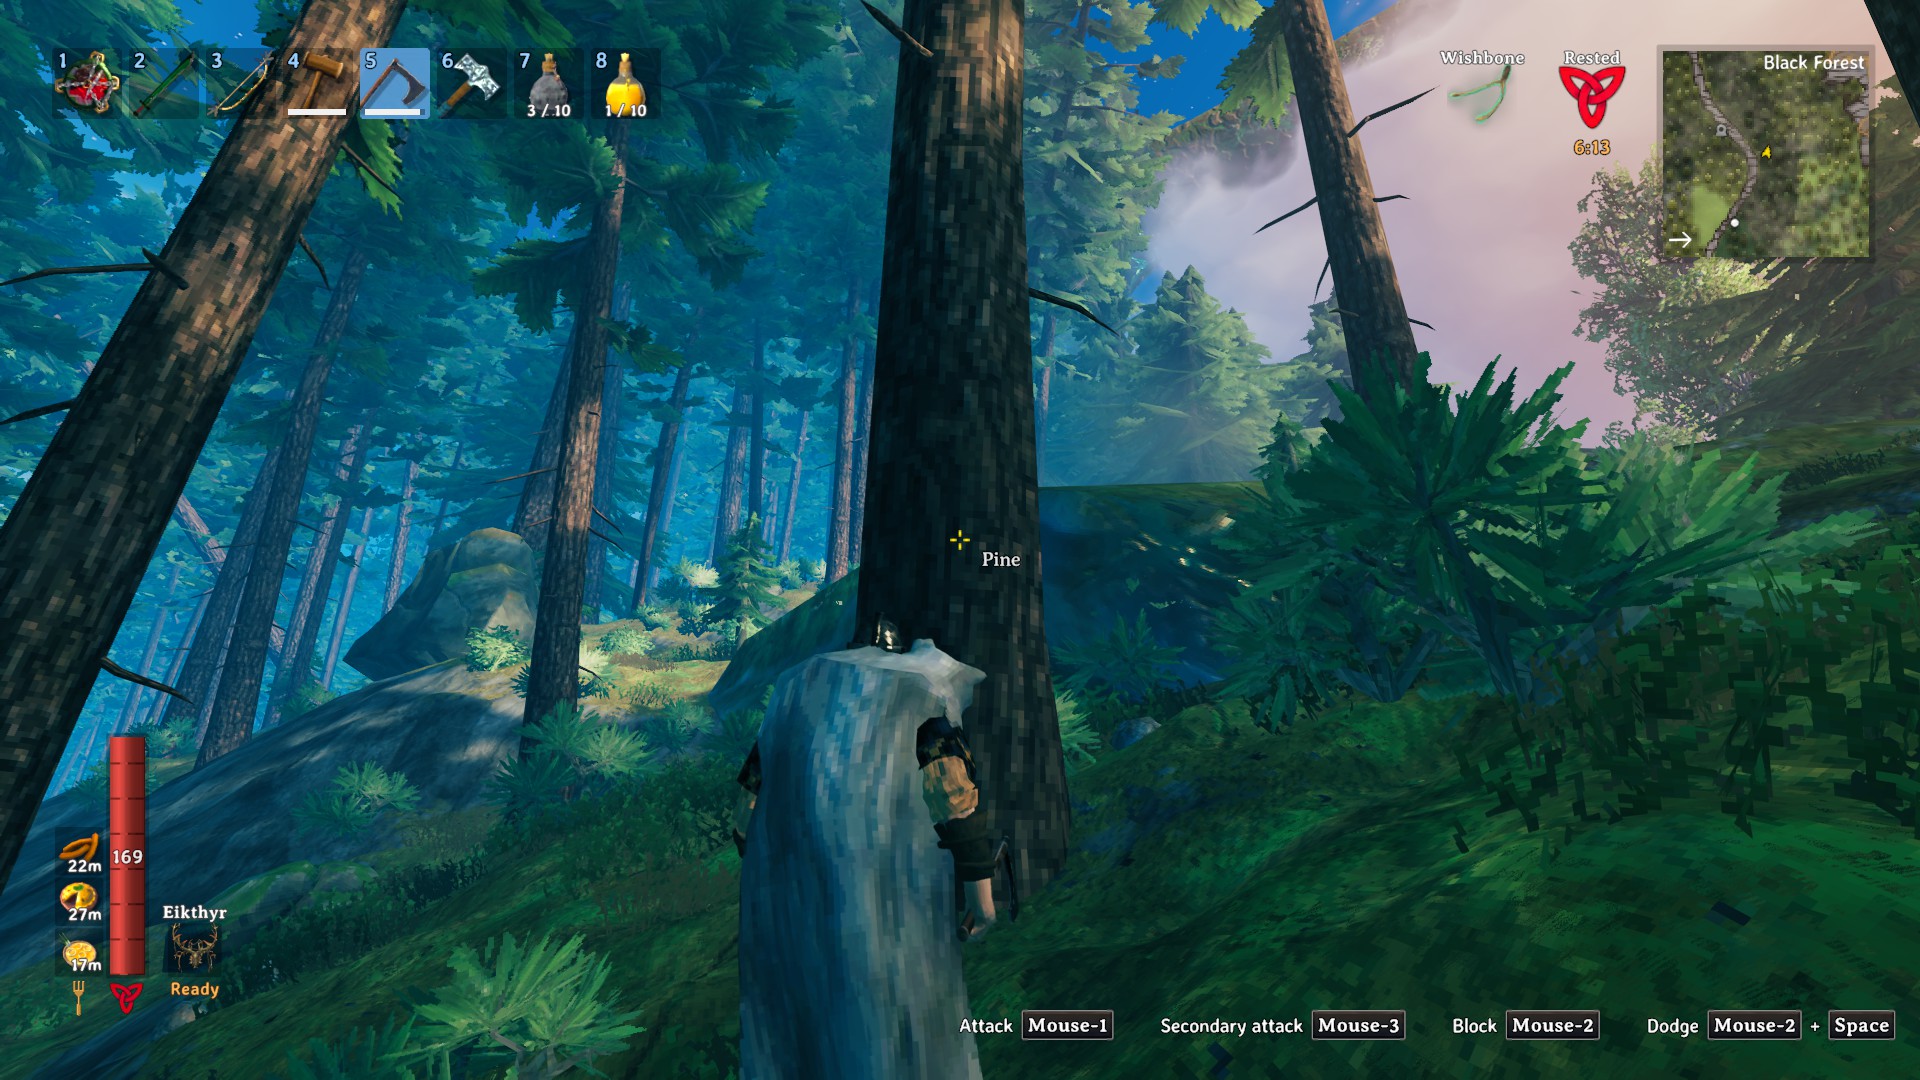
Chop Pine trees to get Corewood
Be on the lookout for carrots
Upgrade your diet
Learn to use the Cart
Prioritize upgrading your weapons and armour
Explore dungeons and master portals
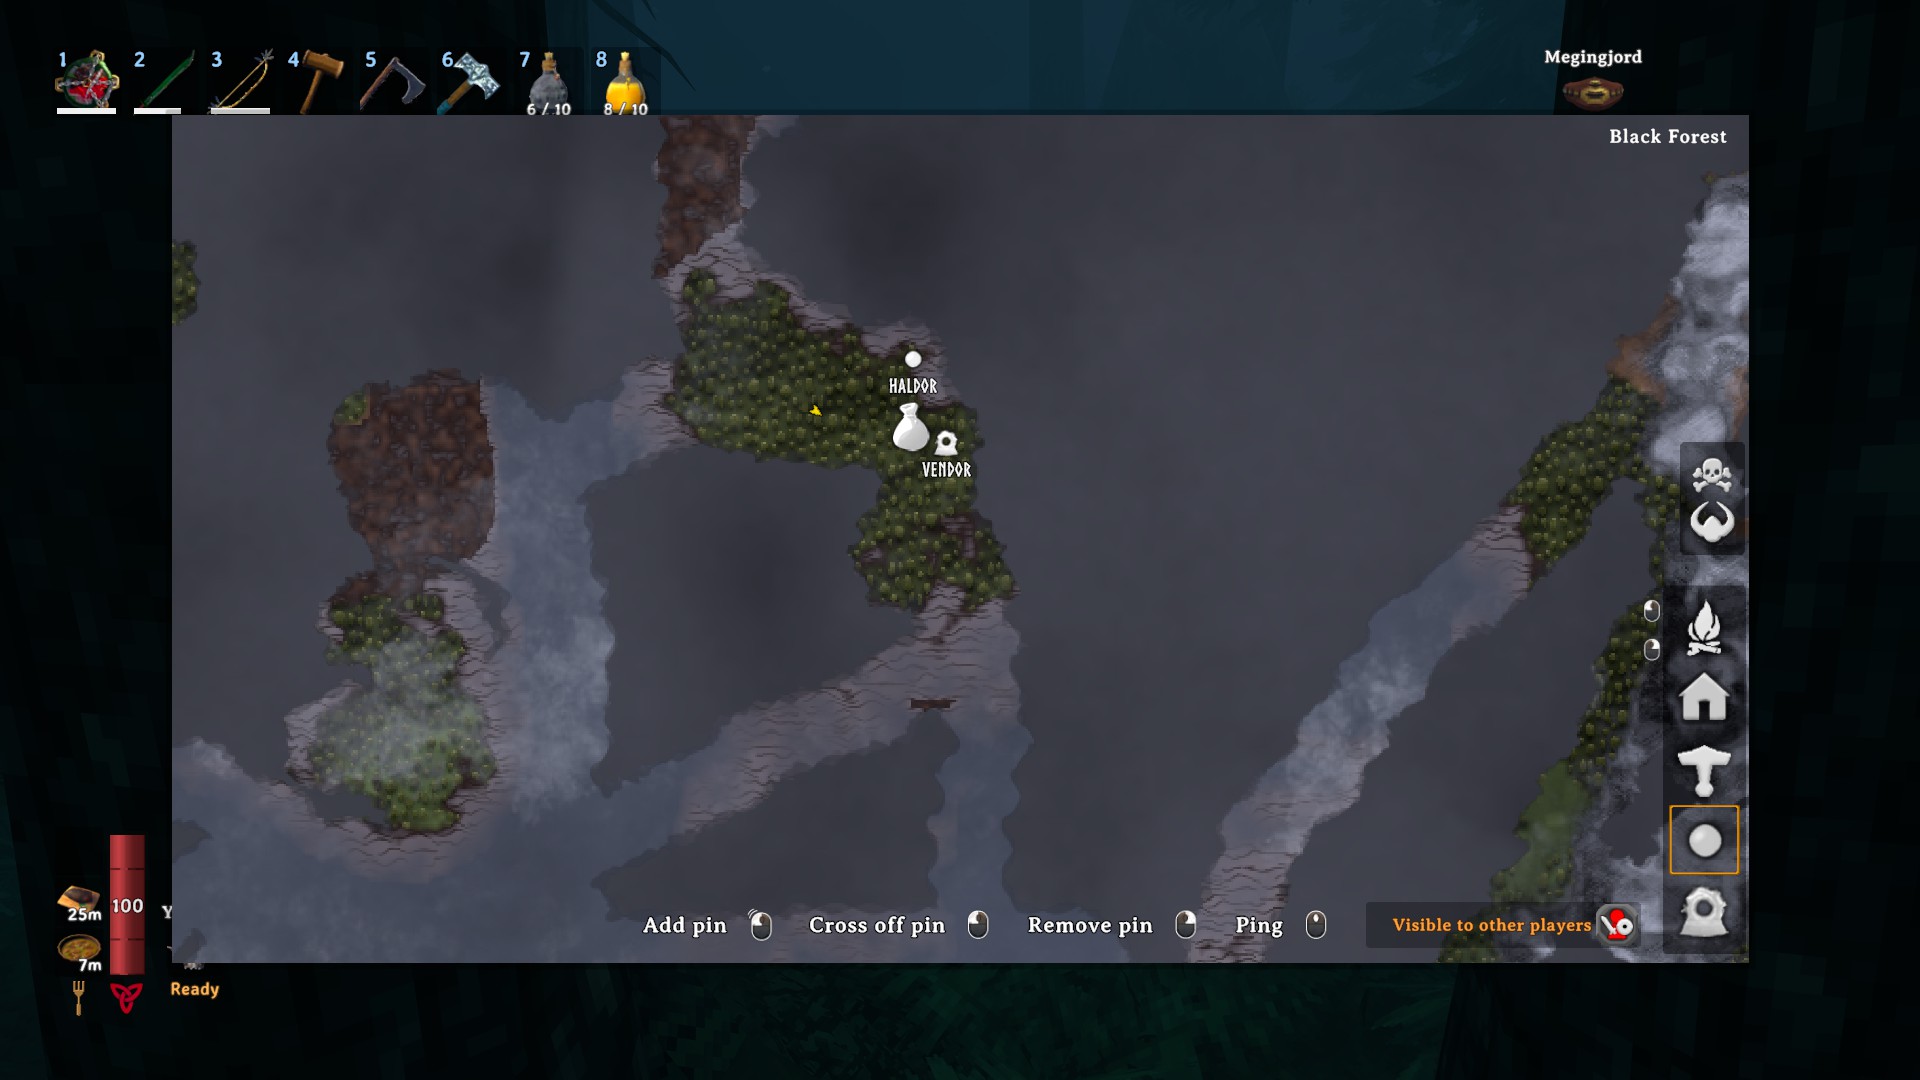
Keep an eye out for Haldor the merchant
Avoiding the Dark
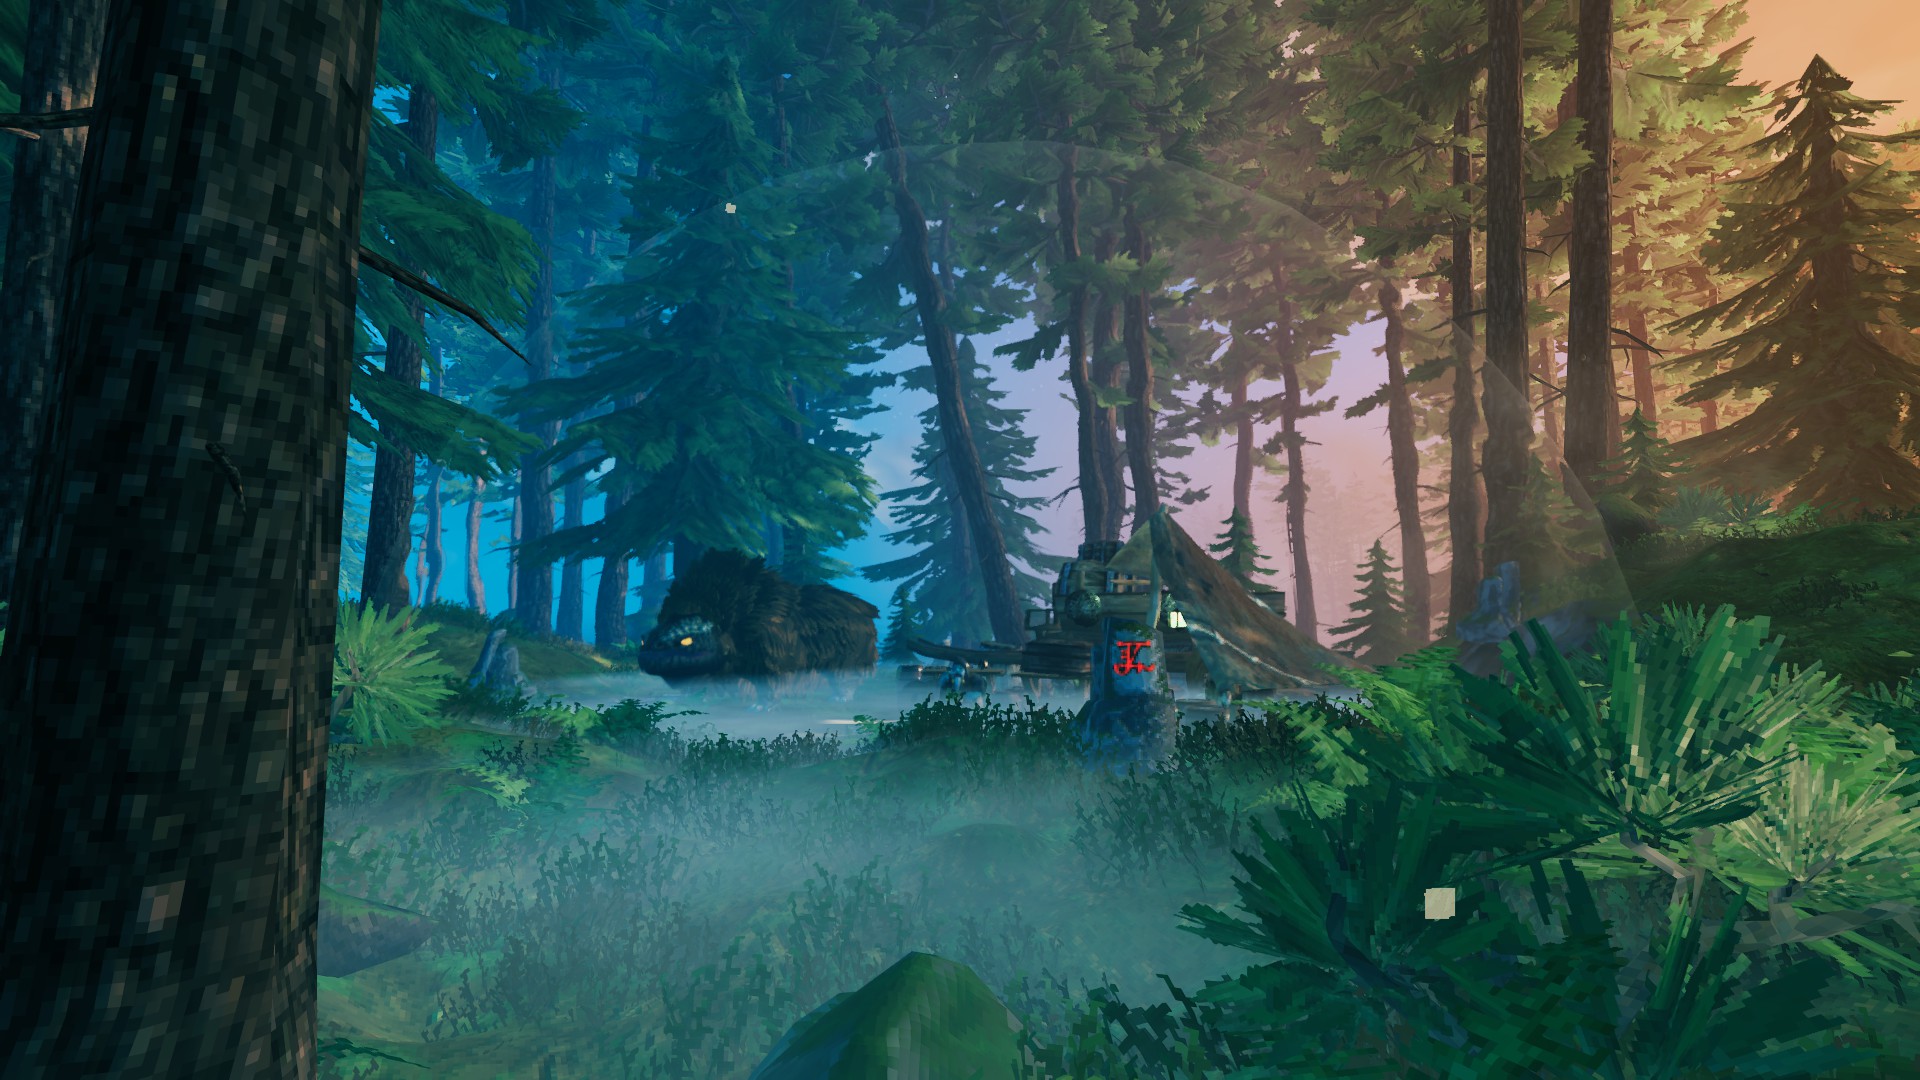
While this tip can be applied to any biome, it truly becomes relevant when you graduate from the Meadows to the Black Forest. When all you have is your Meadows equipment, the Black Forest already poses a considerable challenge during the day. At night, monsters spawn with higher frequency and can feel relentless.
On top of that, during the night, you’ll start seeing monsters with stars around their health bars. These are more powerful versions of regular enemies. They generally have better drops, but also increased stats. Which makes them hard to fight for a character fresh out of the Meadows.
Scary things roam the Black Forest at night
Make sure to only explore the Black Forest during the day early on. When night comes, go back to your base and sleep. This will not only skip the dark hours, it will also ensure you have the Rested buff. Our Meadows tips mention why that buff is so important, but in short – you never want to leave your base without it.
Exploiting Enemy Weaknesses
In the Meadows the enemies you face are easy enough where you can use any weapon and come out on top. Black Forest ups the challenge with varieties of Greydwarfs that work together, resilient undead, and huge Trolls. This is where using the right weapon for the job becomes very helpful.
Trolls take increased damage from Piercing. When dealing with them, your best bet are either bows or spears. Once you get the rhythm of dodging Troll attacks, you’ll be able to roll away in time, retaliate with a few spear pokes and repeat until the beast is down. This makes fighting Trolls easy regardless of the tier of your gear.
Massive bow crit on a Troll
Skeletons and Rancid Remains you find inside the Black Forest Burial Chambers dungeons are vulnerable to Blunt damage. Using clubs will help you defeat them with ease.
And easily the most important damage source for the Black Forest is Fire. At that point in the game, your options for fire damage are limited to using a Torch as a club and Fire Arrows (Wood x8, Resin x8, Feathers x2). Despite that, fire damage is very effective against all types of Greydwarfs, and even the biome’s boss – The Elder. Other enemies like Bears and Skeletons are also vulnerable to fire. And while the rare Ghosts don’t have a fire vulnerability, they’re resistant to all other damage types you have at that point, so hitting them with your Torch is easily your best bet.
In fact, fire is so good in the Black Forest, some enemies like Greydwarfs and Bears are actively afraid of fire. This means just having a Torch in your hand will make them rethink attacking you. Another way to use this fear is placing campfires around an area you want to defend from enemies, like a juicy ore vein. That way you’ll be able to mine without being disturbed.
Torch scares enemiesCampfires work too
Marking the Map
When exploring a new biome like the Black Forest, chances are you won’t be able to tackle its challenges right away. This will lead to a lot of running around to grab some early resources and get ahead. In this rush you won’t be visiting dungeons, mining ores, or chopping trees.
But later on, you’ll want to do all that. Since the biome is quite expansive and easy to get lost in, even if you don’t intend to stop by a Burial Chamber or exhaust a Copper or Tin deposit – mark them on your map for later whenever you see them.
Chopping Pine Trees
Back in the Meadows you had two types of wood – Wood and Finewood. Black Forest introduces another type – Corewood. You’ll want to use it for certain cool builds and other crucial recipes. You get it exclusively from the Pine trees growing in the Black Forest. Make sure to chop some down whenever you get a chance.
Searching for Carrots
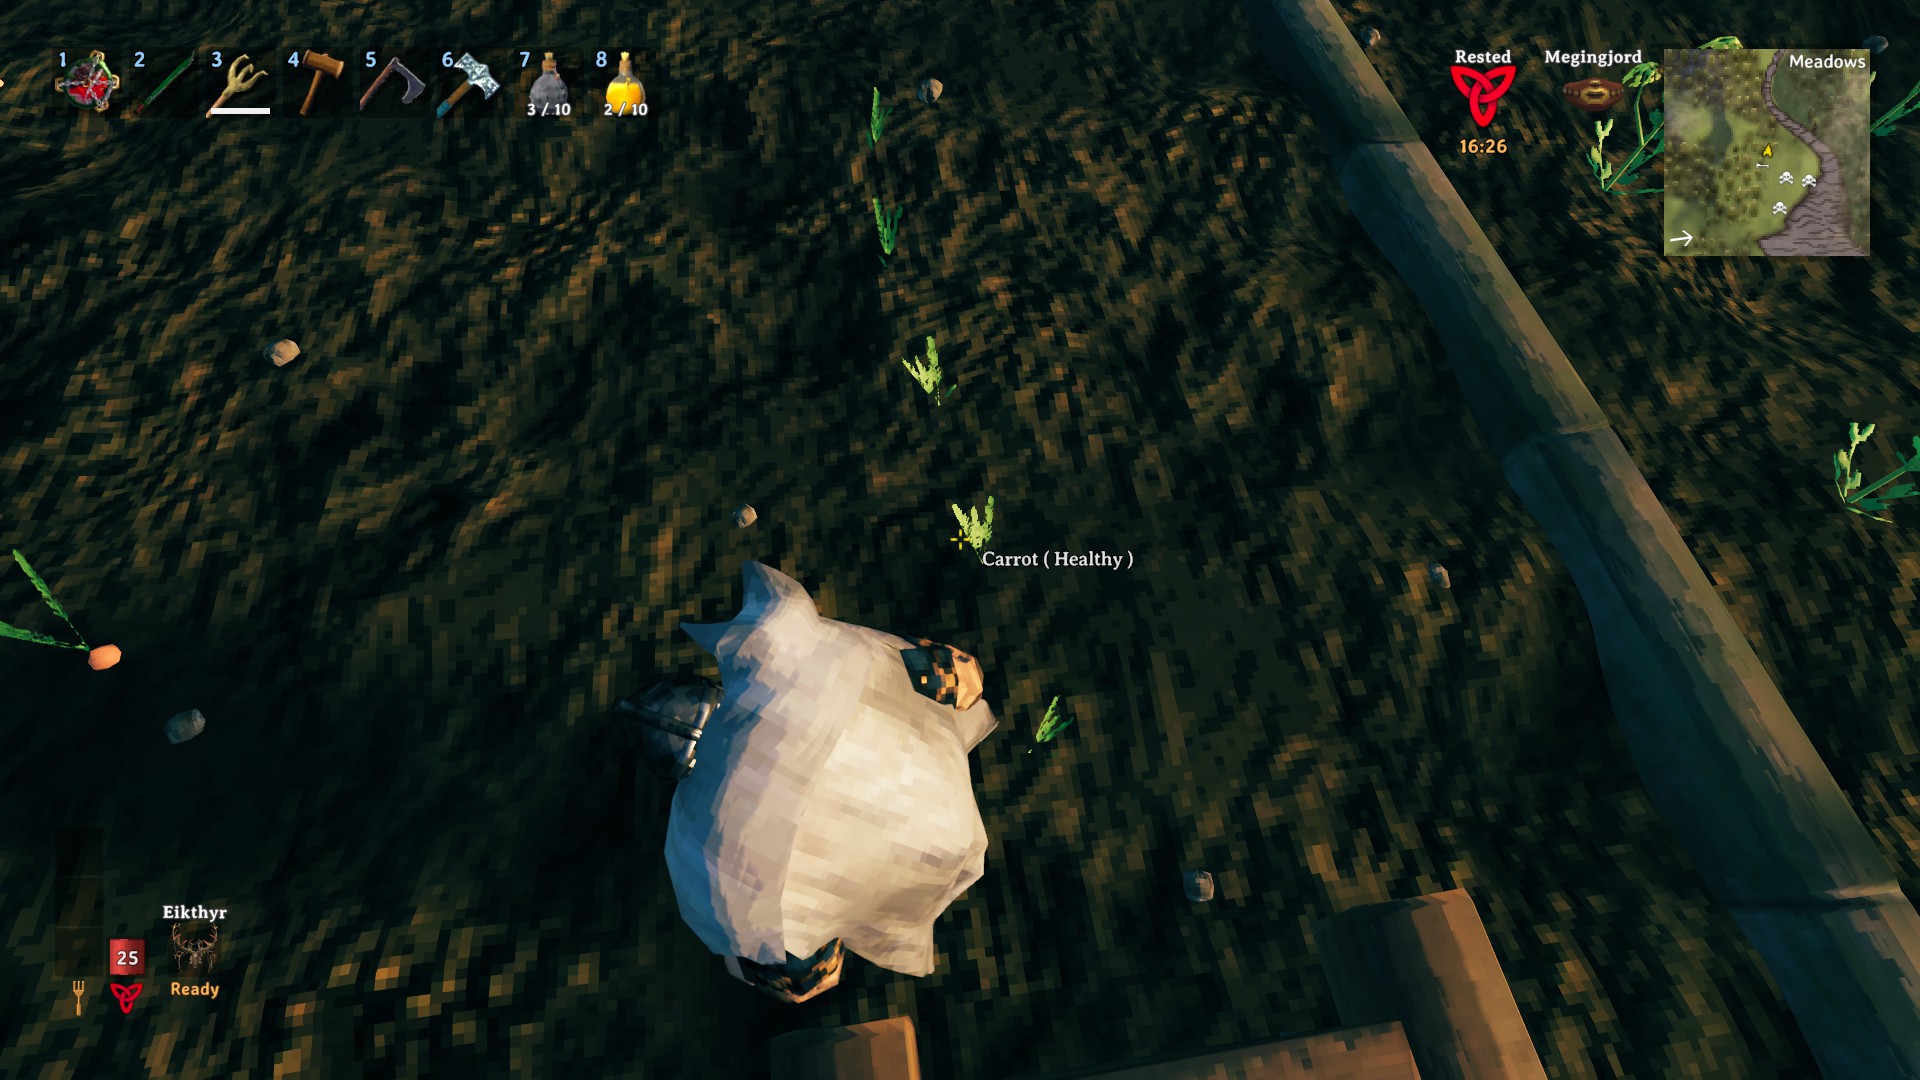
After reaching the Black Forest you’ll be able to stop living a hunter-gatherer lifestyle and instead learn the joys of farming. The first notable crop you’ll be able to cultivate in Valheim are Carrots. They’re used in a wide variety of recipes and can serve as your intro to Valheim’s farming.
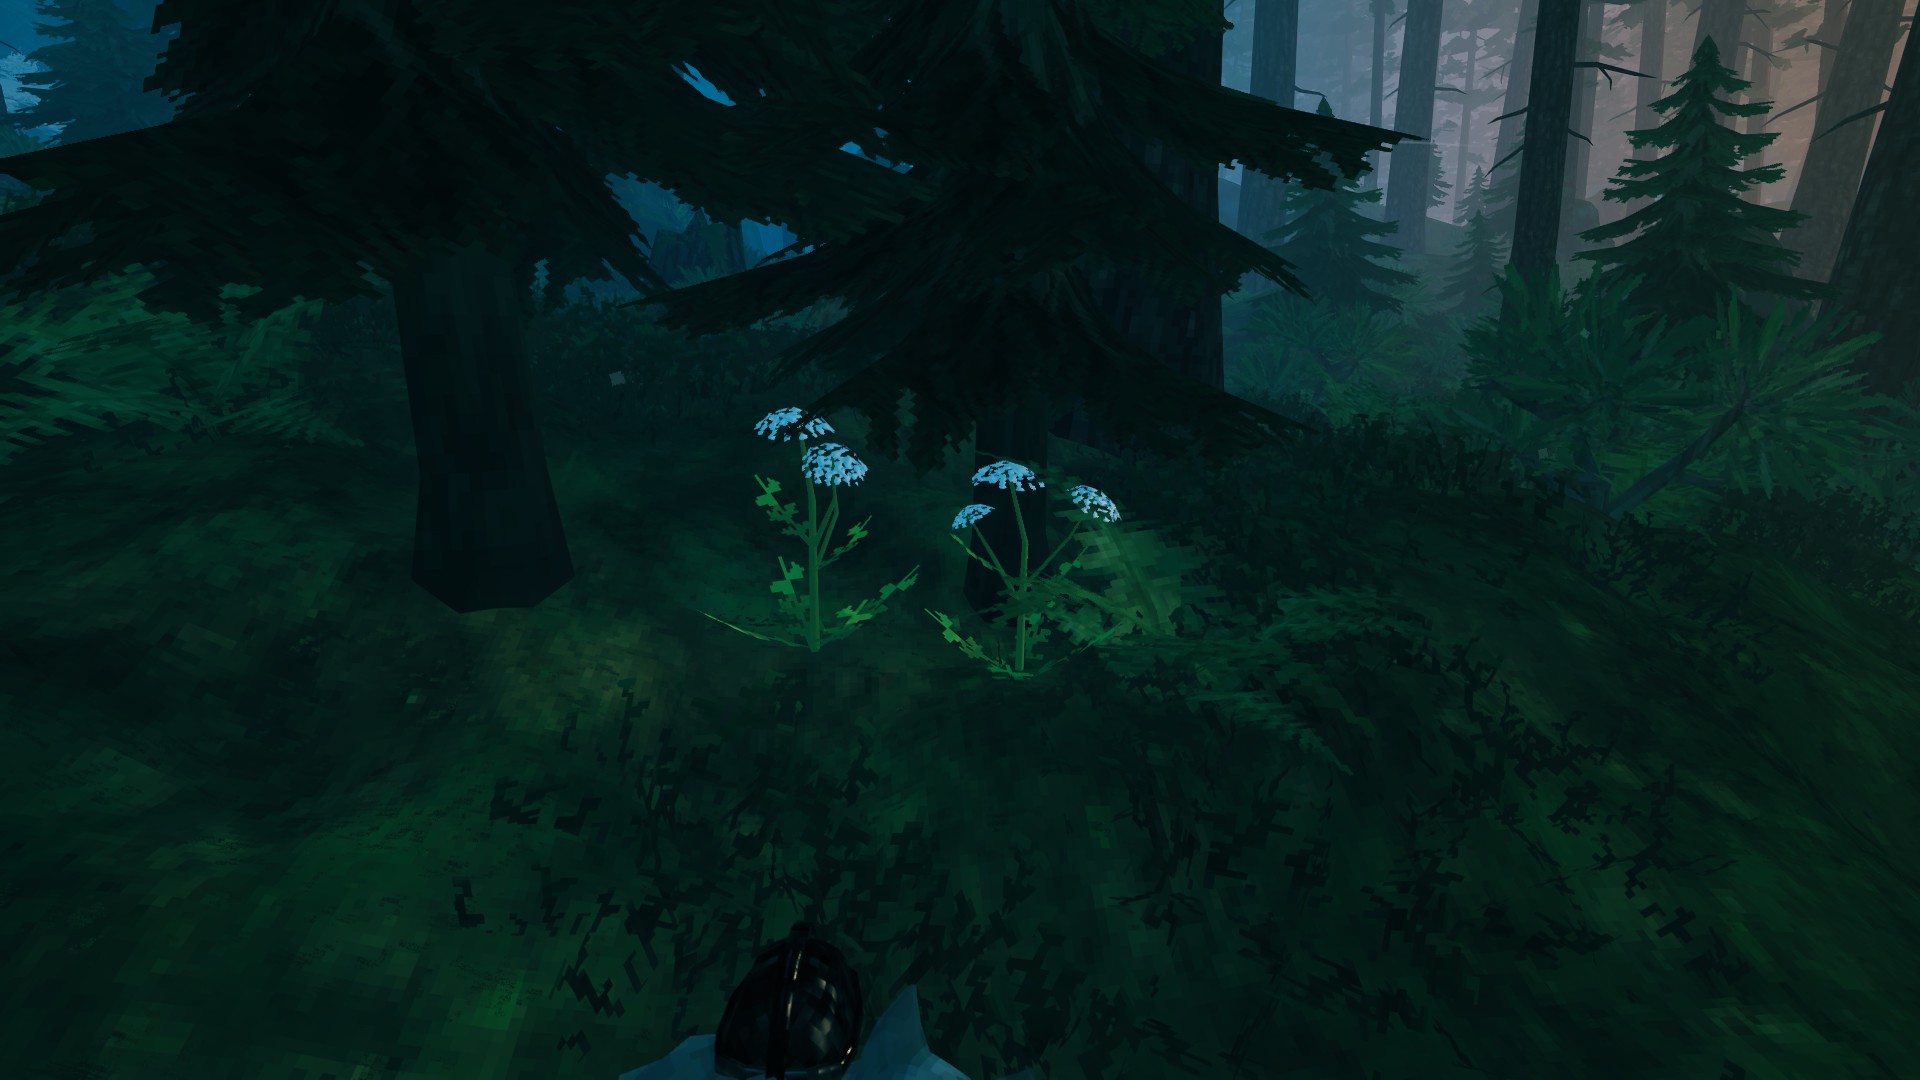
To start farming Carrots, you’ll need a Cultivator tool, and some Carrot Seeds. You find the seeds by harvesting wild carrot plants growing inside the Black Forest. Be on the lookout for their signature white flowers.
Wild CarrotsGrowing Carrots
Upgrading Your Diet
New biomes in Valheim come with tougher enemies that hit harder and require more exertion to defeat. This means you’ll want to have bigger health and stamina bars. Once you reach the Black Forest, you’ll want to stop eating berries and plain roasted meat of the Meadows, and instead prioritize better food.
We have a guide listing best foods per biome. A couple of great options for the Black Forest include Deer Stew and Carrot Soup. Both of these require Carrots to cook, highlighting the usefulness of the previous tip. In the Black Forest, Carrots are king.
Using the Cart
The Meadows allowed you to build your base and craft your gear with little friction. Just grab the resources, bring them to your crafting stations and you’re good. The Black Forest introduces another key aspect of the game – venturing away from the safety of your base to gather biome-specific resources, and then figuring out a way to get them back to your base.
One way to circumvent this is building a crafting outpost in every biome. But this has its own hassles. If you want to mine the ores you’ll find in the Black Forest (Copper and Tin), then take them to your home base for processing, your best option is using the Cart (Wood x20, Bronze Nails x10). The Cart allows you to load it up with up to 18 slots worth of loot. Keep in mind that if you load it up to the brim with heavy items, you won’t be able to pull it. Another thing to note is that using a Cart might be less intuitive than you expect.
Loading a CartUsing a Cart
For starters, to start moving the cart, you’ll need to stand precisely between its arms and then press the interact button. Once it’s done and you’re attached to the cart, you’ll be able to start moving it. If you’ve ever used a Cart in real life, this may trip you up. If you try to move it in a sensible way, where your character is positioned between the Cart’s arms and you push it forward, you won’t get very far.
Instead, once you’re attached to a Cart, you’ll want to turn around and look away from it. Then you’ll want to drag the Cart behind you, like it’s a plow. This will not only help you navigate better, it will allow you to clear a path for yourself. Valheim’s Carts are very finnicky when it comes to terrain. They get stuck on just about everything. To minimize this issue, you’ll want to have a Hoe (Wood x5, Stone x2) with you. As you move with a Cart attached to your back, have a Hoe out and use its Level Ground feature to create a path for yourself as you move.
Dragging a CartHoe Level GroundLeveling groundEasy leveled path
Getting New Gear
The gear you get from the Meadows biome is too weak for the challenges of the Black Forest. One of your first tasks should be improving your weapons and armour. This means getting your hands on a Finewood Bow and a Bronze weapon of some sort. And then you’ll also want a new armour set. Your options in the Black Forest are:
Troll Set
19 Armour
15 Sneak skill
Bronze Armour
24 Armour
Bear Set
21 Armour
Berserk passive (extra regen and deal more physical damage but also take more physical damage)
These are the stats for the basic version of these armour sets. You’ll then be able to further upgrade them by building new crafting station improvements and using the Upgrade tab of the crafting menu. Before you start thinking about challenging the biome’s boss or really delving into the dungeons, you’ll want to make sure your gear is up to par.
Upgrading at a Forge
Exploring Dungeons and Using Portals
One of the main activities in the Black Forest are its Burial Chamber dungeons. They’re full of miscellaneous loot and treasures. But more importantly, they’re where you’ll find your first Surtling Cores. You’ll need them to set up some important crafting stations. You’ll also need them to start making portals.
When heading inside a Black Forest dungeon, you’ll want a light source like a Torch, some strong, preferably Blunt weapon to deal with the undead inside, and a mostly empty inventory. Explore the winding corridors, bash the skeletons, and keep an eye out for closed doors and assorted treasure chests. As you do, stay on the lookout for Surtling Cores. You’ll want more of them than you think.
Dungeon entranceSurtling CoreDoors can be easy to missChests too
Once you’ve set up your Charcoal Kilns (Stone x 20, Surtling Core x5) and Smelters (Stone x 20, Surtling Core x5), you’ll be able to use your spare cores to build Portals (Greydwarf Eye x10, Finewood x20, Surtling Core x2).
Solid Kiln and Smelter setup for a 1-2 player world
You’ll want at least 2 portals for quick travel – one in your base, and one somewhere around the map. You’ll want to name both your portals the same to connect them. After that, simply step through and you’ll instantly jump between them. Some key resources, ores most notably, can’t be moved through a portal. But for everything else, having a portal network is crucial.
Tagging a portalWorking portals
Finding Haldor
When out exploring the Black Forest, one of they most important yet easy to miss points of interest is Haldor the merchant. He’ll exchange your Coins for some very important items. These include the Megingjord belt that will greatly increase your carry weight, a Fishing Rod and Bait, a helmet that acts as a permanent light source, and more.
Haldor can’t appear too close to the world’s center where you first spawn
Haldor only spawns in the Black Forest
When you approach Haldor, a white bag symbol will appear on your map
Haldor sells trades for Coins, but you can also sell your gems and jewelry to him
Haldor’s map iconHaldor’s shop
Share this article:
Val Hull
Resident role-playing RPG game expert. Knows where trolls and paladins come from. You must fight for your right to gather your party before venturing forth.