Advancing to the next biome in Valheim always comes with a difficulty spike, but this is especially true for the Ashlands biome. This smoldering landscape has a difficulty level that’s considered excessive by many players, thanks to a combination of tough and relentless enemies, numerous environmental hazards, and distance from the starting area. Our guide will help you reach this inhospitable biome, and give a better chance for your initial landing to succeed.
Ashlands Checklist
Unless you’re planning to sequence-break or use cheats, the only way to get to the Ashlands is to craft a heat-resistant Drakkar ship. Losing it on a failed expedition will be quite costly, so you’ll want to make sure you’re well-prepared for what the biome has in store.
Here’s a quick overview of what you’ll need to do if you want to ensure a relatively painless journey to the Ashlands:
Defeat the Queen in the Mistlands
Build a Drakkar ship
Equip the best Mistlands gear
Prepare the best Mistlands food and mead
Gather materials and tools to secure your Ashlands base
Defeating the Queen
The Queen is the big boss of the Mistlands biome. When you defeat her, she drops a Majestic Carapace. You’ll need it to create an Artisan Press, an upgrade for the Artisan Table crafting station. This upgrade will allow you to create the Ceramic Plates you’ll need to construct a Drakkar. It’ll also let you make a Shield Core. These cores are used to craft Shield Generators, which are extremely useful in the Ashlands.
This means defeating the Queen is not optional. We have a detailed guide that will tell you how to locate and actually defeat the Queen. And below you’ll find a short version that will simply help you get to her.
Locate an Infested Citadel in the Mistlands
Collect 9 Sealbreaker Fragments
Craft a Sealbreaker at a Galdr Table
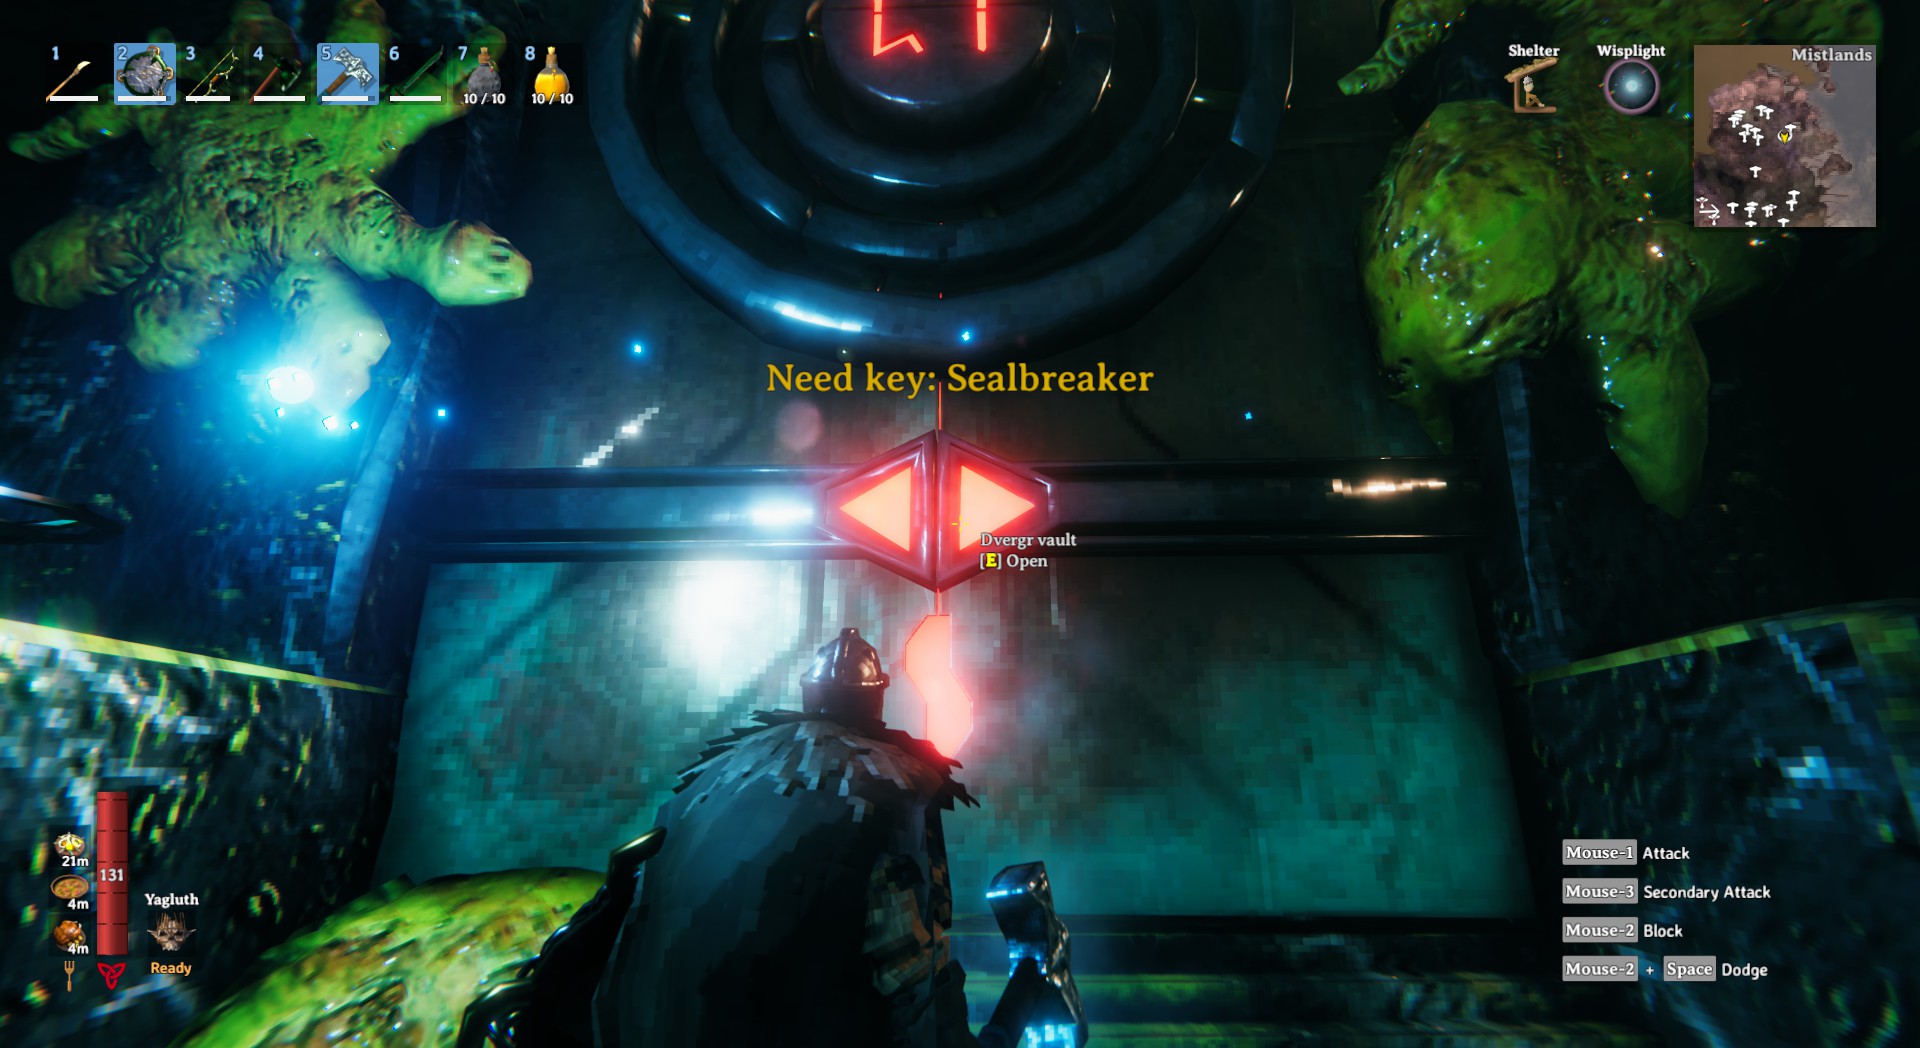
Unlock the Infested Citadel with the Sealbreaker
Go inside and fight the Queen
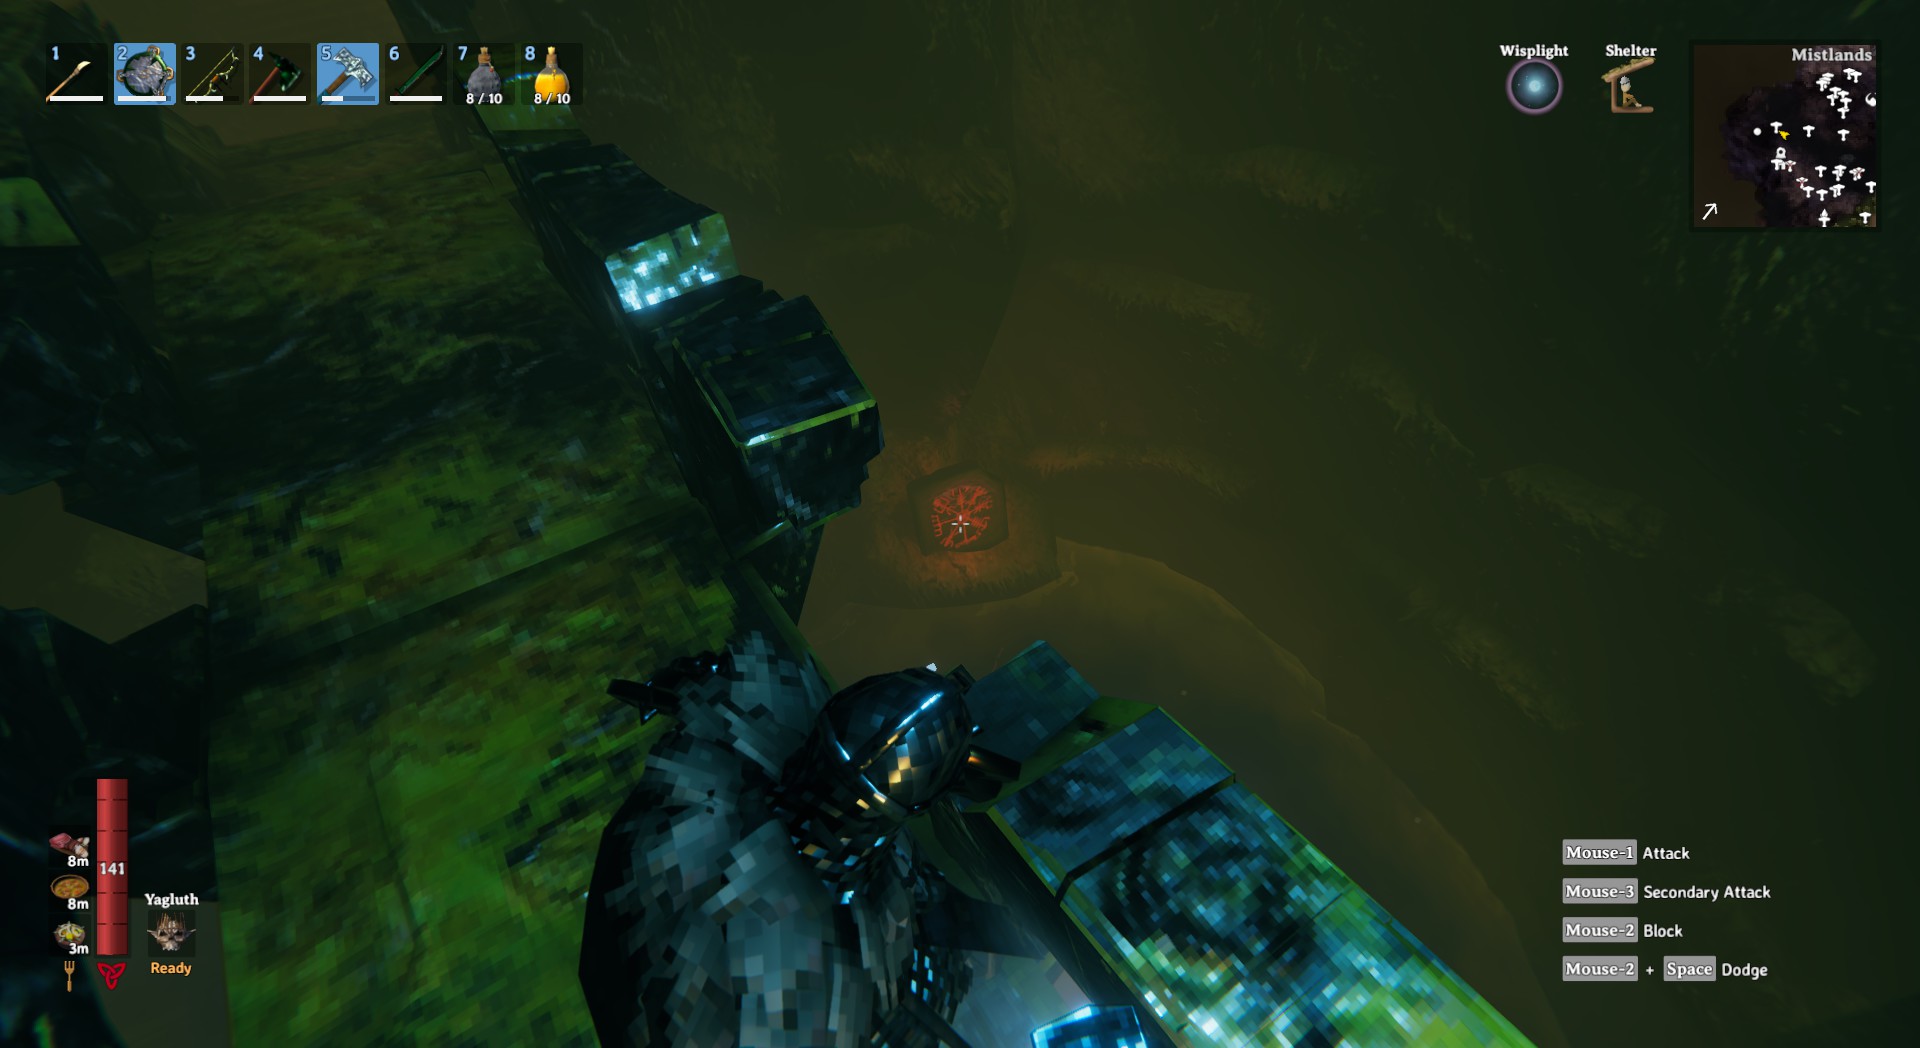
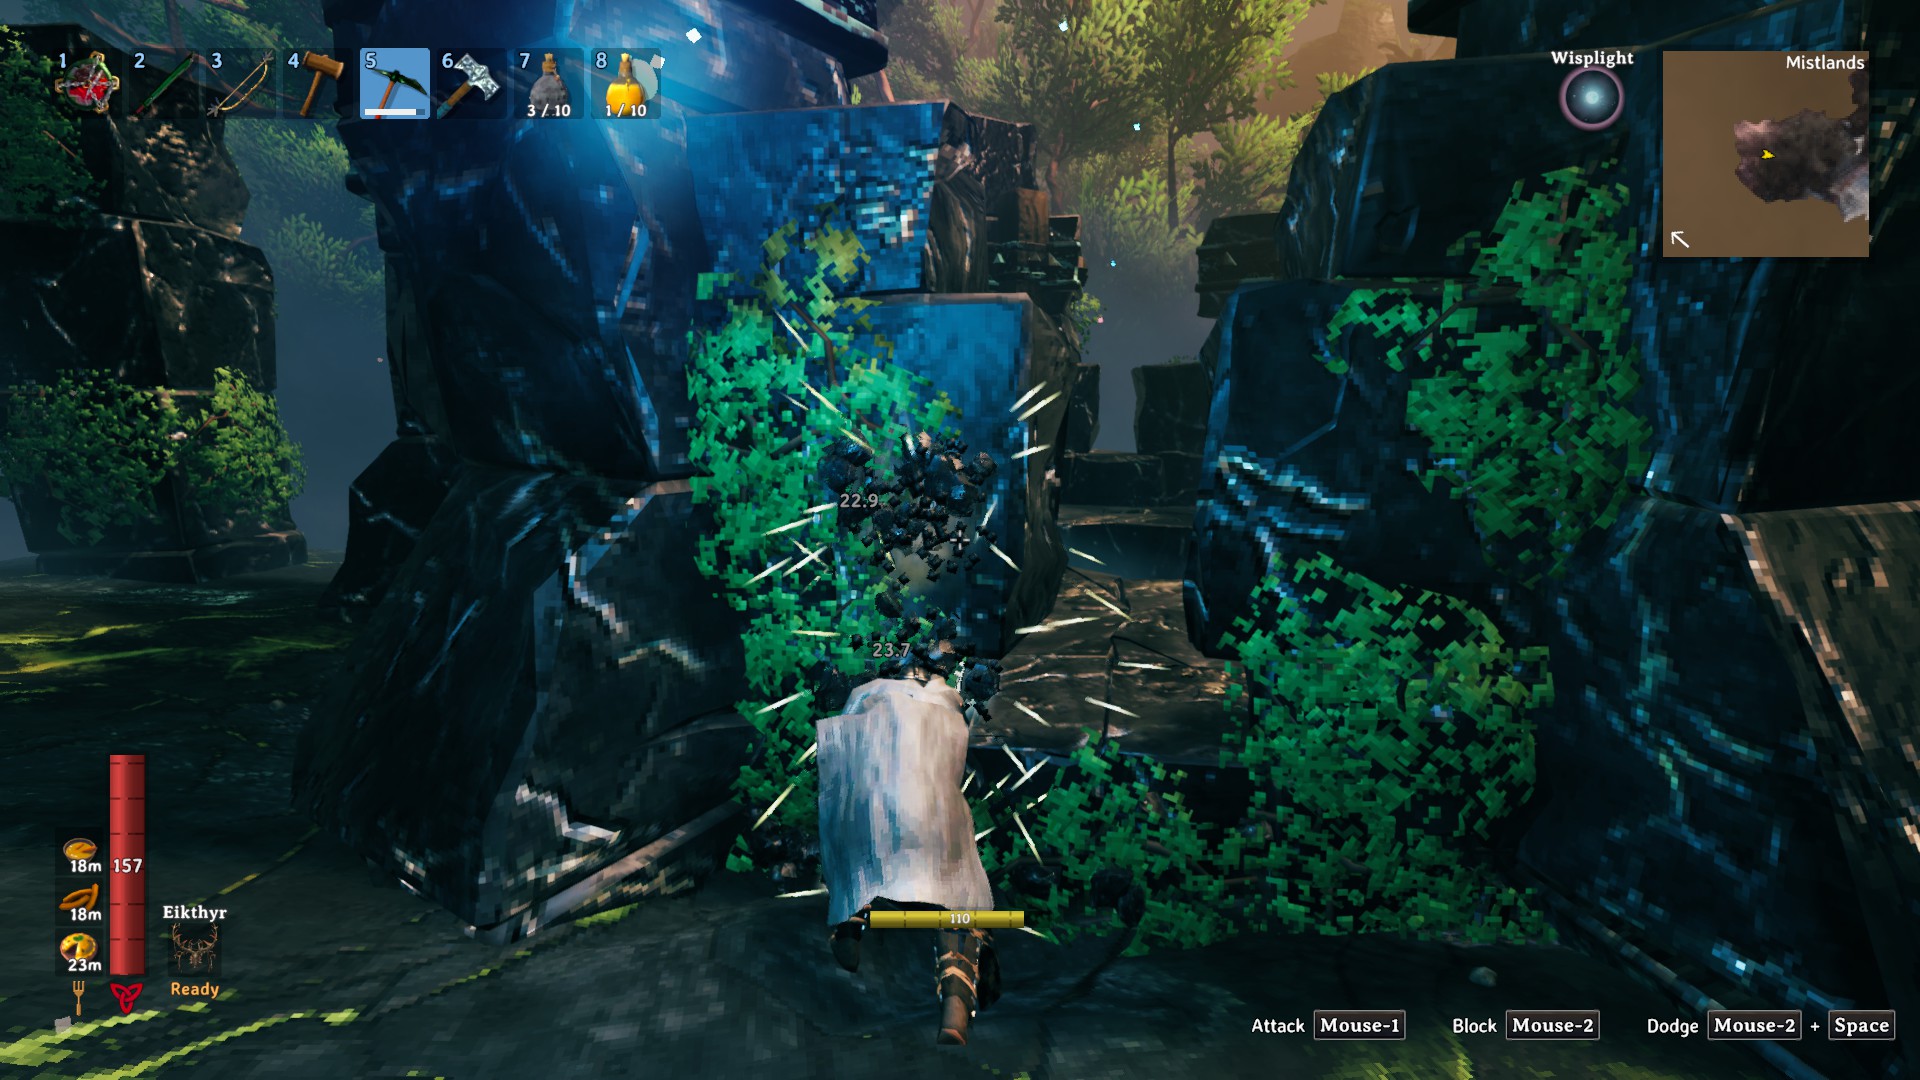
The Mistlands biome is confounding by design. Its thick mists and terrain full of jagged cliffs and easy to miss nooks make navigation a challenge. When you do learn to get around the biome, you’ll eventually start exploring its Infested Mine dungeons. Inside of those, you’ll find the glowing Vegvisir stones. These will point you to an Infested Citadel where you’ll find the Queen. When you get there, you’ll find the gates sealed. To get past the seal, you’ll need to craft the Sealbreaker.
Infested MineMistlands VegvisirSealbreaker needed
In order to craft a Sealbreaker, you’ll need to collect 9 Sealbreaker Fragments. Luckily you should already know where to find them – inside the Infested Mine dungeons. The fragments are located inside glass cases. Break them with a weapon and loot the fragments.
Sealbreaker Fragment and 2 Black Cores
You’ll need a Galdr Table (Black Metal x10, Yggdrasil Wood x20, Black Core x5, Refined Eitr x5) to combine 9 fragments into a Sealbreaker. The Galdr Table is the main crafting station for magic-related gear in Valheim, so chances are you’ll already have it anyway. In case you don’t, the materials to craft it are mainly resources from the Plains and Mistlands biome. The one exception are the Black Cores. Much like the Sealbreaker Fragments, they’re artifacts found inside Infested Mines.
When you have the Sealbreaker, unlock the entrance to the Infested Citadel, go in and fight the Queen there. After you defeat her, don’t forget to loot the Majestic Carapace.
Building a Drakkar
The Drakkar is the only ship that can take you to the Ashlands biome. The biome’s waters will deal constant damage to any other ship. If you’re interested in amore general overview of how ships work in Valheim, you can check out our dedicated ships guide. But here’s what you’ll need to create a Drakkar specifically:
Iron Nails x100
Ceramic Plate x30
Finewood x50
Yggdrasil Wood x25
Iron Nails are created at a Forge, with a single bar of Iron producing 10 nails. Which means you’ll need 10 Iron bars for a Drakkar.
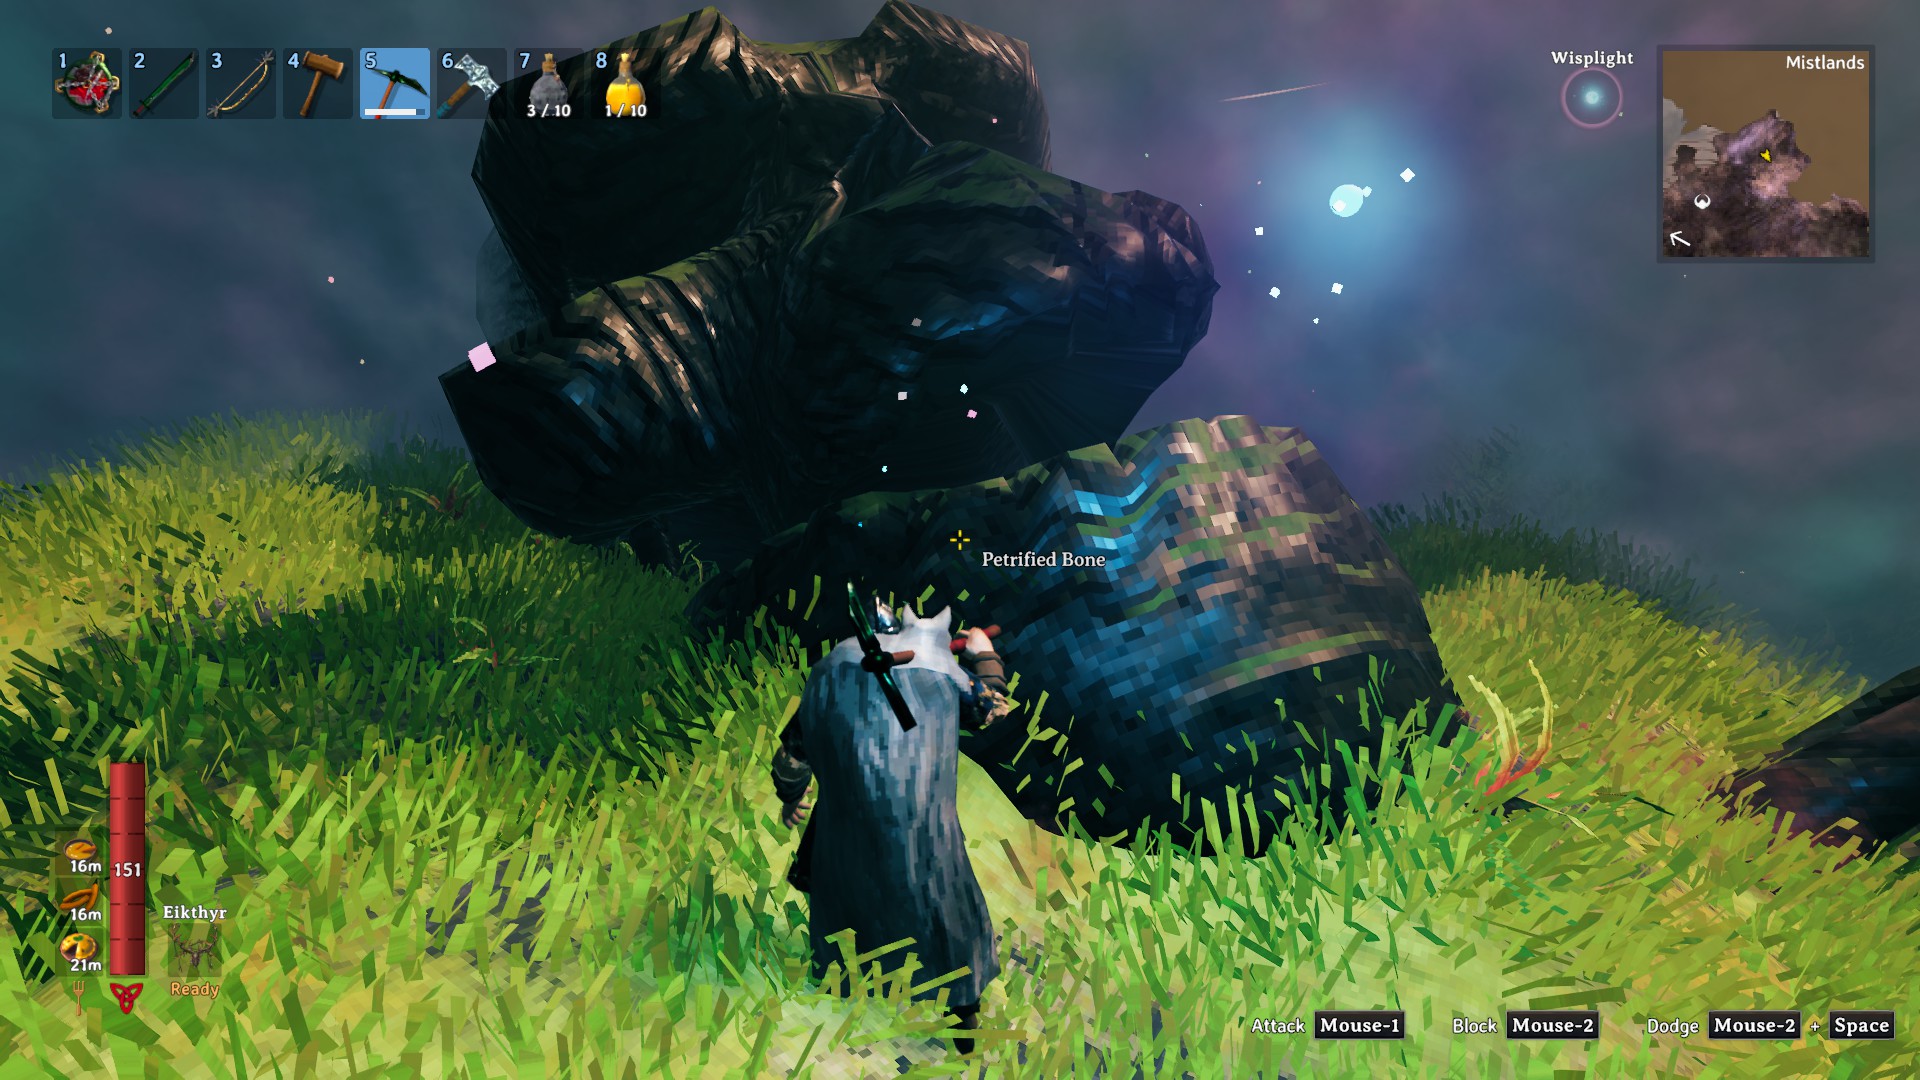
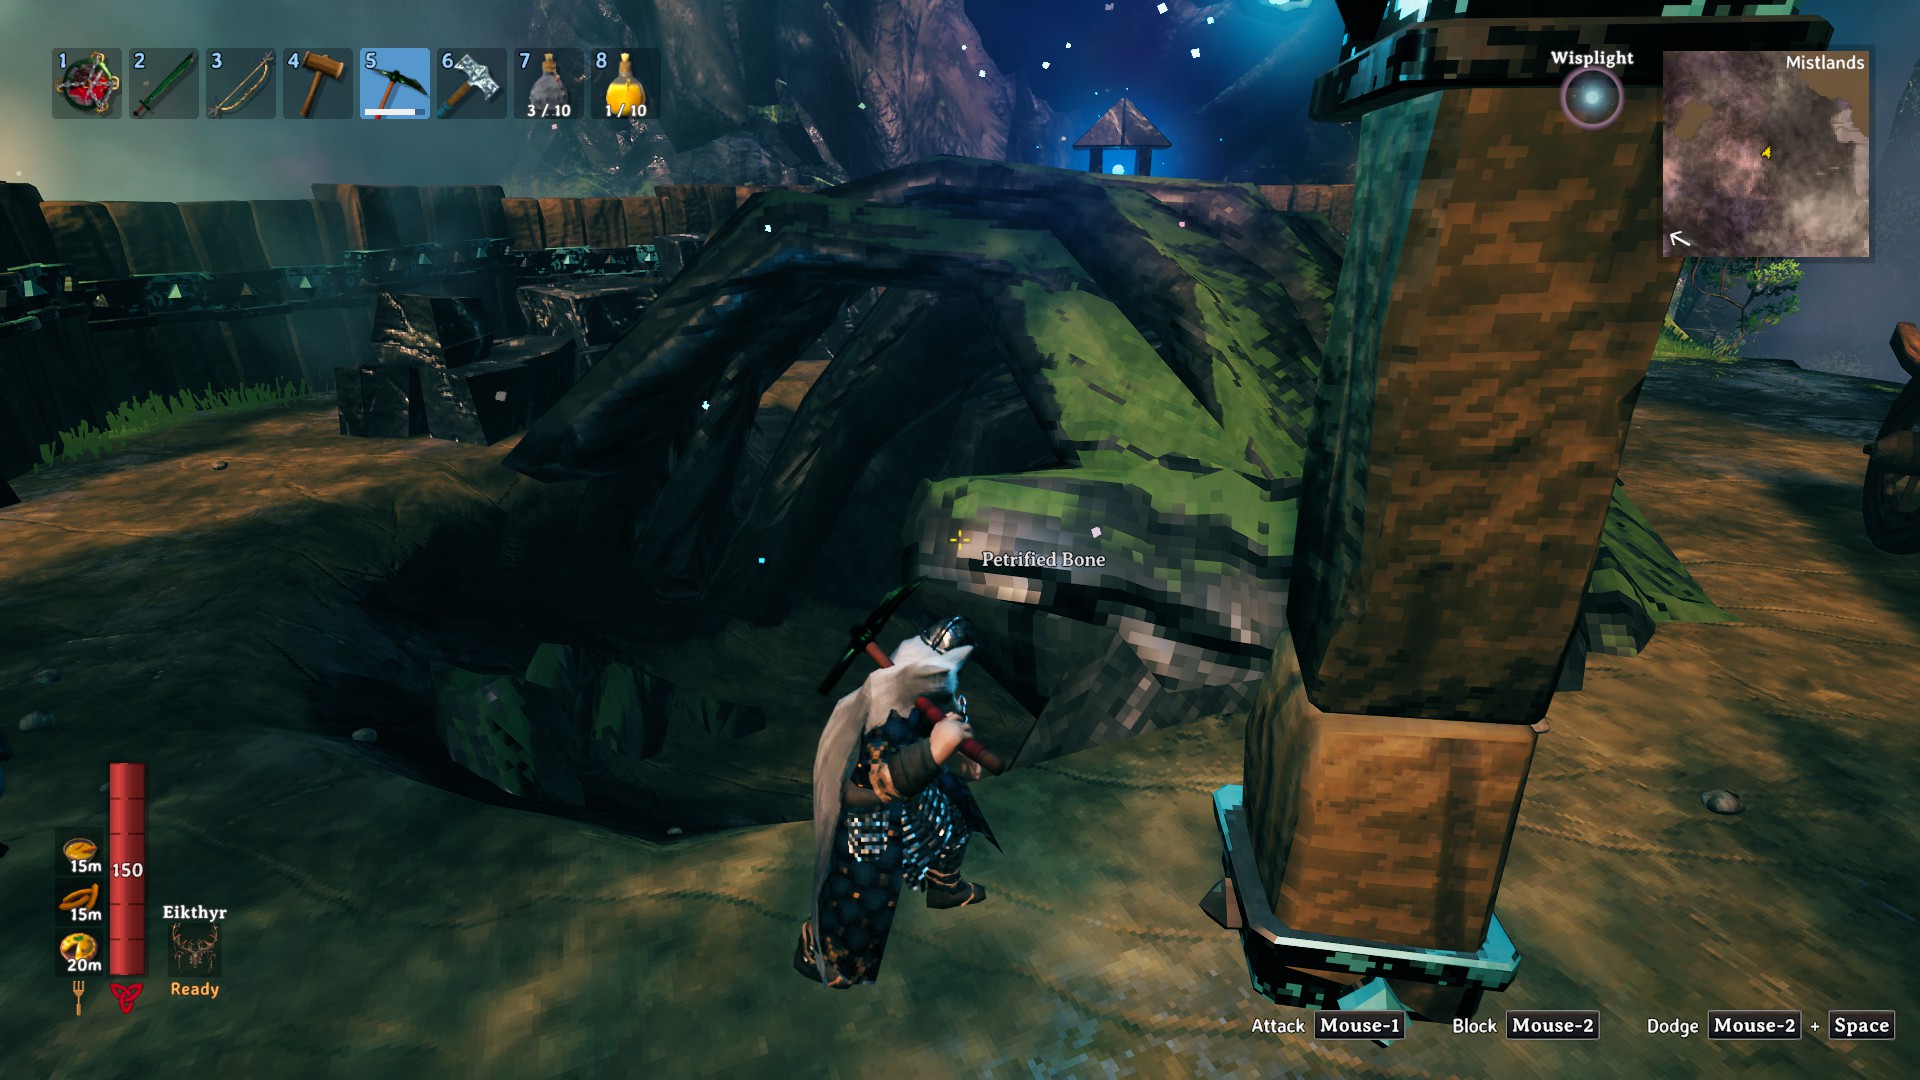
Ceramic Plates are why you needed to defeat the Queen. You can only craft them at an Artisan Table upgraded with an Artisan Press (Black Marble x5, Bronze x5, Majestic Carapace). This setup will allow you to turn 5 pieces of Black Marble into 5 Ceramic Plates. You’ll mainly mine Black Marble from petrified remains and various structures in the Mistlands Biome. You will need a Black Metal Pickaxe to dismantle these structures.
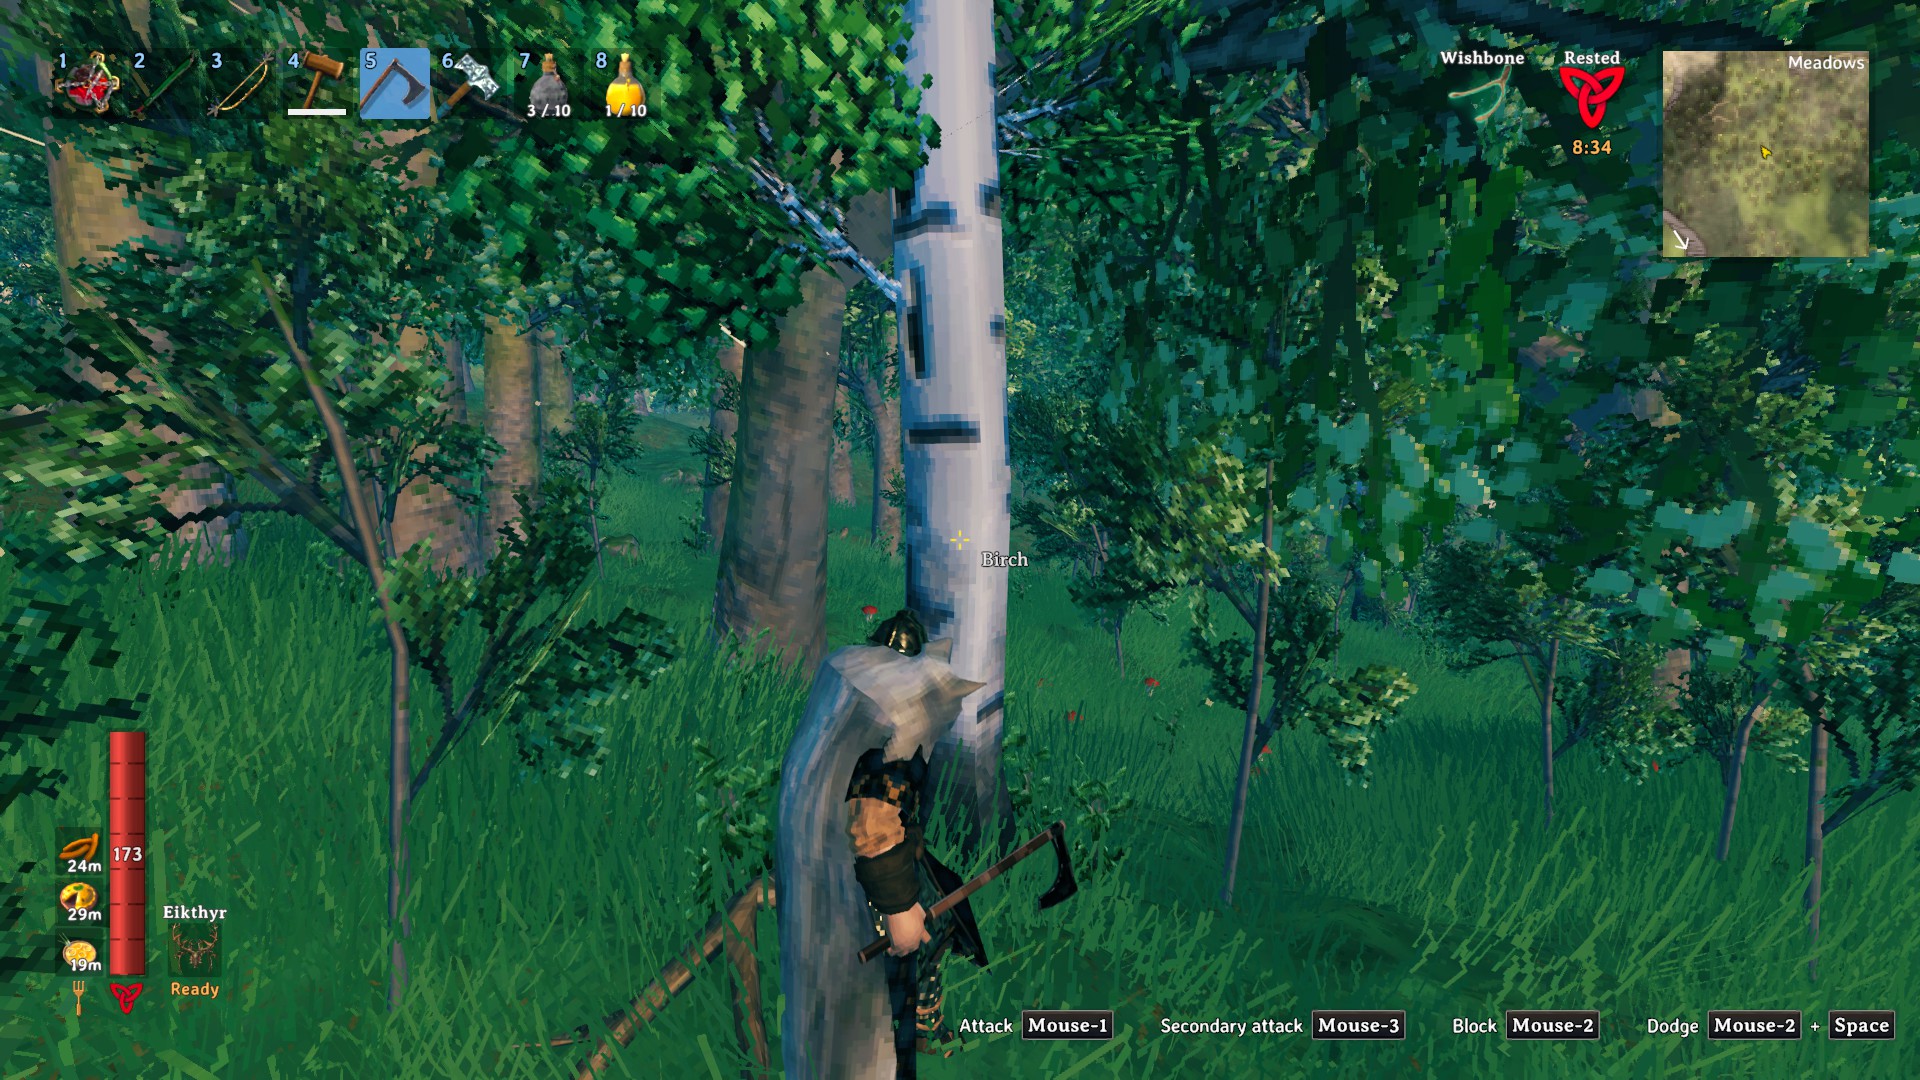
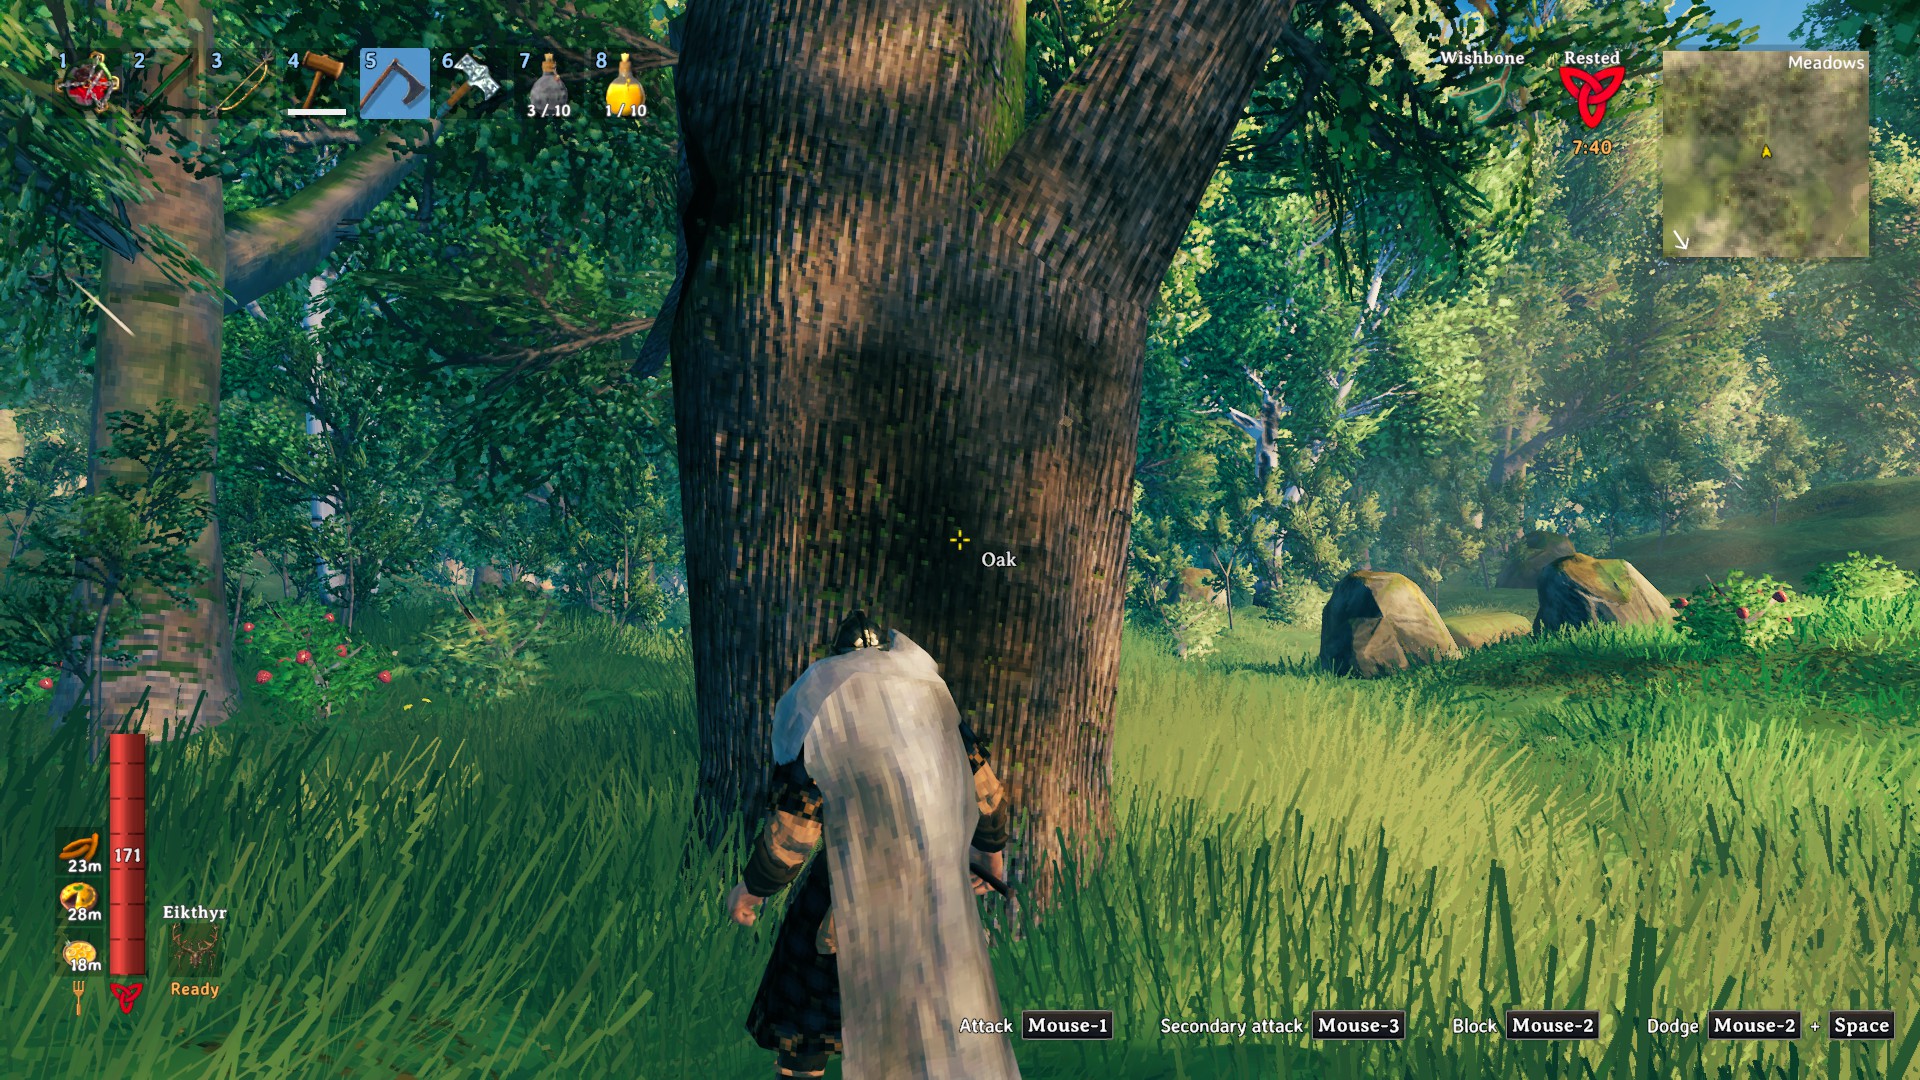
Finewood is obtained by chopping down Birch and Oak trees found within the Meadows and Plains biomes. Yggdrasil Wood is collected from Yggdrasil Shoots in the Mistlands. You’ll need a Black Metal Axe to chop through them.
BirchOakYggdrasil Shoot
With all these resources collected, go into your Hammer Misc. crafting menu and crate a Drakkar. This mighty ship has 32 total slots in its hold. So if you’re playing solo, you’ll be able to use it to store all the resources you’ll want to have with you when sailing for the Ashlands.
Drakkar’s hold
Preparing Mistlands Gear
In order to have a good chance of succeeding in the Ashlands, you’ll want to have the best available Mistlands gear. This means crafting and upgrading weapons and armour. With the crafting station improvements available in the Mistlands, you’ll be able to upgrade your gear to level 3 before setting out for the Ashlands.
You have two options when it comes to armour. They are the Carapace set and the Eitr-weave set. Here’s what they’ll get you at quality level 3:
Carapace Set
108 Armour
Eitr-weave Set
60 Armour
Eitr regen: +100%
Because the challenges of the Ashlands biome are varied, it’s best to have both these sets ready. For your initial landfall, the Carapace set is recommended. And when later dealing with Charred Fortresses, the Eitr-weave set will serve you well.
Another piece of armour you can get from the Mistlands is the Feather Cape. This cape completely negates fall damage. On the flipside, it makes you take double damage from Fire. This makes the Feather Cape a good item to have on you for those times when you expect to fall down deep pits. But switch it for any other cape otherwise, since Fire damage is so common in the Ashlands.
You’ll want a Feather Cape for moments like this
Much like with armour, there are two standout weapons in the Mistlands, and you want to have both of them with you in the Ashlands.
Mistwalker
Finewood x3
Iron x15
Refined Eitr x10
Wisp x3
Staff of Embers
Yggdrasil Wood x20
Surtling Core x4
Refined Eitr x16
Mistwalker is a sword that, when upgraded, deals Frost and Spirit damage on top of the usual Slash. This makes it a fantastic weapon against most of the enemies found in the Ashlands. In fact, it’s a better melee weapon than many of the Ashlands-tier weapons. As such, even if prior to the Ashlands you prioritized another weapon type, you will want to have the Mistwalker with you.
Thanks to its range and area of effect, the Staff of Embers is a fantastic choice when you want to deal with enemies from a safe distance. It’s the artillery option and is much better for bombarding enemy fortifications than an actual Catapult. If you want to storm a Charred Fortress, you’ll want to have a Staff of Embers.
Staff of Embers in action
Preparing Food and Mead
To tackle the challenges of the Ashlands, you’ll want your character to be as strong as possible. This means ensuring you have the best buffs available. When it comes to food, you’ll likely want to start with the setup of two health foods and one stamina food. You can find out more about those in our dedicated best food guide. But in short, you’ll likely want to stock up on these foods when sailing for the Ashlands:
Stuffed Mushroom – Max Health +25, Max Stamina +12, Max Eitr +75
You’ll also want to make sure you have plenty of mead with you. This means you’ll want the best healing, stamina, and Eitr potions available. An extra source of Fire resistance and the ability to carry more items are also always welcome. You can learn more about mead in our dedicated guide. But here’s a quick list of meads you’ll likely want to have on you:
Your first arrival to the Ashlands will likely make the opening sequence from Saving Private Ryan look like a pleasant stroll in the park. That’s why it can be a good idea to set up a temporary base on one of the many jagged cliffs surrounding the biome’s shores first. If you’re feeling bolder and hit dry land right away, you should still look for natural shelter to take over, like the many ruins dotting the biome, or maybe even a Dvergr outpost.
Offshore portalDvergr outpost
Whichever way you go about it, you’ll want to have plenty of resources with you when you land. Powerful enemies will keep coming, and the environment itself will damage most of your structures. If you simply create a portal and leave it unattended, there’s a good chance it’ll get destroyed at some point. You’ll want to establish and fortify your base right away. And for that, you’ll need tools and materials.
Portals
Establishing a portal connection back to your main base is crucial. That’s why when setting out for the Ashlands, you’ll want to have an unconnected named portal back at your home base. And you’ll want the materials to build a new portal in the Ashlands with you.
After you establish a base in the Ashlands, and start collecting the biome’s resources, you’ll want to replace that first portal with a stone one. A Stone Portal uses the resources only found in the Ashlands, but it allows you to teleport ores and other items regular portals won’t let you.
You’ll find Grausten and Molten Cores in the Ashlands. And you can always dismantle your original wooden portal to get the Greydwarf Eyes for the new stone one. Keep in mind that you’ll need a Stonecutter (Wood x10, Iron x2, Stone x4) to build a Stone Portal. Make sure you have that Iron with you when you set sail.
Stone Portal in the Ashlands
Tools
You’ll need tools to collect many of the biome’s resources. Since it may take you some time to establish a reliable connection to your main base, it’s best to have them all with you. The tools you’ll want are:
Any Axe
Black Metal Pickaxe
Hoe and Stone
Hammer and Wood
You’ll want an axe to chop down the scorched trees in the Ashlands to collect Ashwood. Your axe tier doesn’t matter. The trees aren’t picky like that. You’ll also want at least a Black Metal Pickaxe. You’ll need it to collect Grausten and break through the walls of certain structures, like Charred Fortresses.
A Hoe is invaluable in the Ashlands. Its ability to raise or lower ground will help you create a natural wall around your base, provided you have enough spare Stone with you. It will also help you get around lava, or inside enemy fortifications. And once you start using Battering Rams, a Hoe will ensure you can actually reach your destination without getting stuck on terrain.
Create a wallLift yourself higherLevel ground
You should never leave base without a Hammer and some Wood, and since it’s quite a long trip to reach the Ashlands, you should make sure you do have one with you.
Shield Generators
When you defeat the Queen and create an Artisan Press, one of the new things you’ll be able to build is a Shield Core (Black Core, Surtling Core, Ceramic Plate x5). This makes it clear you’ll want to craft some before heading into the Ashlands. This Shield Core will then allow you to craft a Shield Generator at a Workbench. You’ll need:
Iron x5
Copper x5
Shield Core
When constructed, a Shield Generator will protect a wide area from damage, most notably the fiery rain prevalent in the Ashlands. It will allow you to actually construct a base that doesn’t get destroyed by the elements. Keep in mind that while a shield will protect your base from damage, it won’t stop the enemies already inside.
Shield Generators require bones to work. They take either Bone Fragments or Charred Bones. You’ll have no shortage of Charred Bones in the Ashlands, as they’re dropped from the Charred enemies. But for the early stages of your Ashlands journey, make sure you have enough Bone Fragments with you to power your generators early on.
Powering a generatorShield bubble
Share this article:
Val Hull
Resident role-playing RPG game expert. Knows where trolls and paladins come from. You must fight for your right to gather your party before venturing forth.