The Plains biome in Valheim is deceptively peaceful. In some ways it resembles the starting Meadows biome. The two even share some of the same trees. In reality, the moment you arrive there, you’ll find yourself assaulted from all sides by hostile creatures that deal a lot of damage. And with how distant the biome tends to be from your starting location, getting back there, should you fall to one of those foes, can be a nightmare. To help you deal with the challenges of the Plains, this guide will share 10 helpful tips.
Plains Tips
Secure a safe base on the edge of the biome
Make sure you eat high-health food
Bring a shield to deal with Deathsquitos
Brew some Anti-sting Concoctions
Use a bow to snipe Fulings and Frostner to fight them up-close
Use the Bonemass Forsaken Power
Raid Fuling villages for Flax and Barley
Prioritize crafting Padded Armour and Black Metal Shield
Create and secure a farm for Flax and Barley
Avoid tar pits
Securing a Base
The Plains biome tends to generate a fair distance away from your starting location. This means you’ll likely need to sail to get there. Once you arrive, you may discover that the Plains enemies deal a lot of damage compared to what you’re used to. It’s very easy to fall to them when you’re still unfamiliar with their patterns. If that happens, you’ll need to build a new boat, sail all the way there again, and then hope you can retrieve your gear without any good armour.
To avoid this, you want to set up an outpost with a portal as soon as you land. However, with how hostile the Plains enemies are, you might not get the chance to do it. While you’re still fresh to the biome, it’s advisable to land in a biome adjacent to the Plains, like a Swamp or Black Forest, and build your portal and shelter there. A quick jog to reach the Plains is preferable to sailing there all the way from your main base. And once you feel more comfortable in the biome, then you can move your outpost inside.
An outpost just outside the Plains
Eating Healthy Food
Unlike in some other biomes, the main challenge in the Plains comes from its enemies. They tend to deal a lot of damage even to characters in upgraded gear from the Mountain biome. Some of them can easily drop you in one or two hits. Because of that, it’s important to have a lot of health while exploring the Plains. Your best bet for the Plains is to eat 2 health-boosting foods and 1 stamina food. You’ll still need good stamina to fight back against the monsters. We have a guide listing the best food per biome. As one example, your food setup for the Plains should look something like:
The above foods will become available after you’ve explored the biome somewhat. When you’re just heading there for the first time, you’ll want something like:
The Plains Deathsquitos are extremely dangerous. These bugs are fast, difficult to hit, and they tend to stay out of range right until they swoop down on you, dealing ridiculously high damage. The single worst thing you can do when you spot a Deathsquito is trying to run. The bug will chase you down and, true to its name, sting you to death. The second worst thing you can do is trying to shoot them with bows or swinging your weapons wildly, wasting all your stamina.
What you want is to have a good shield. Since chances are you’re entering the Plains after beating the Mountain biome, you’ll have access to a Silver Shield. This shield may prove insufficient when dealing with the other Plains enemies, but it will serve you well against the Deathsquitos. Whenever you see one, simply stop, face the bug flying around you, and raise your shield. Wait for it to attack you and bounce off the shield, then immediately counterattack with a melee weapon. Deathsquitos are glass cannons and have very little health, so a single swing will usually be enough to deal with them.
Wait for it to attackAnd hit it right after
Drinking Anti-sting Concoction
Even with a shield, Deathsquitos can be annoying. Especially when you’re trying to do something else, like farming or fighting the biome’s other enemies. Luckily, there’s a way to ensure they never attack you at all. You can brew a special mead in Anti-sting Concoction. While it’s active on you, Deathsquitos will stop attacking you for 10 minutes. To brew Anti-sting Concoction, you’ll need:
Cloudberries x10
Grouper x3
Fragrant Bundle
This will produce 6 portions of the mead, ensuring a full hour of Deathsquito-free action. We have a dedicated guide for brewing mead, so consult that for additional details.
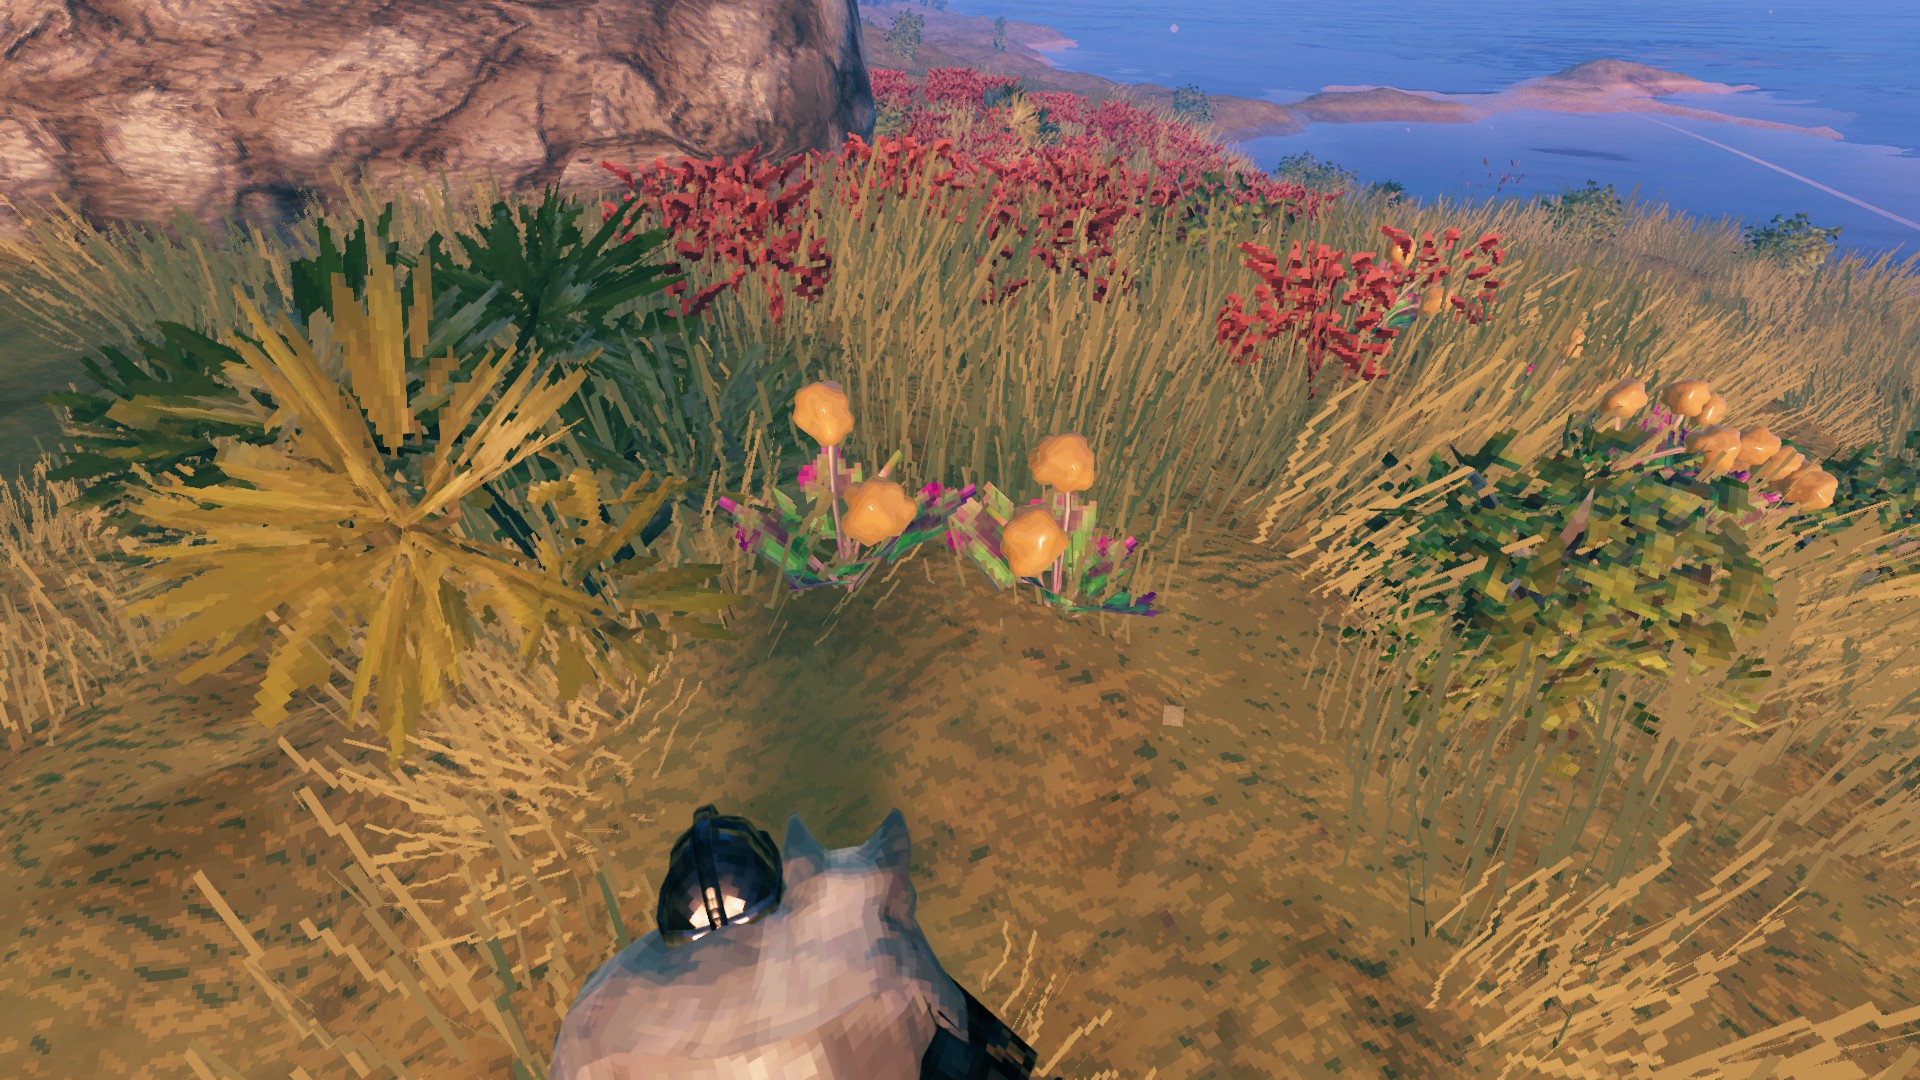
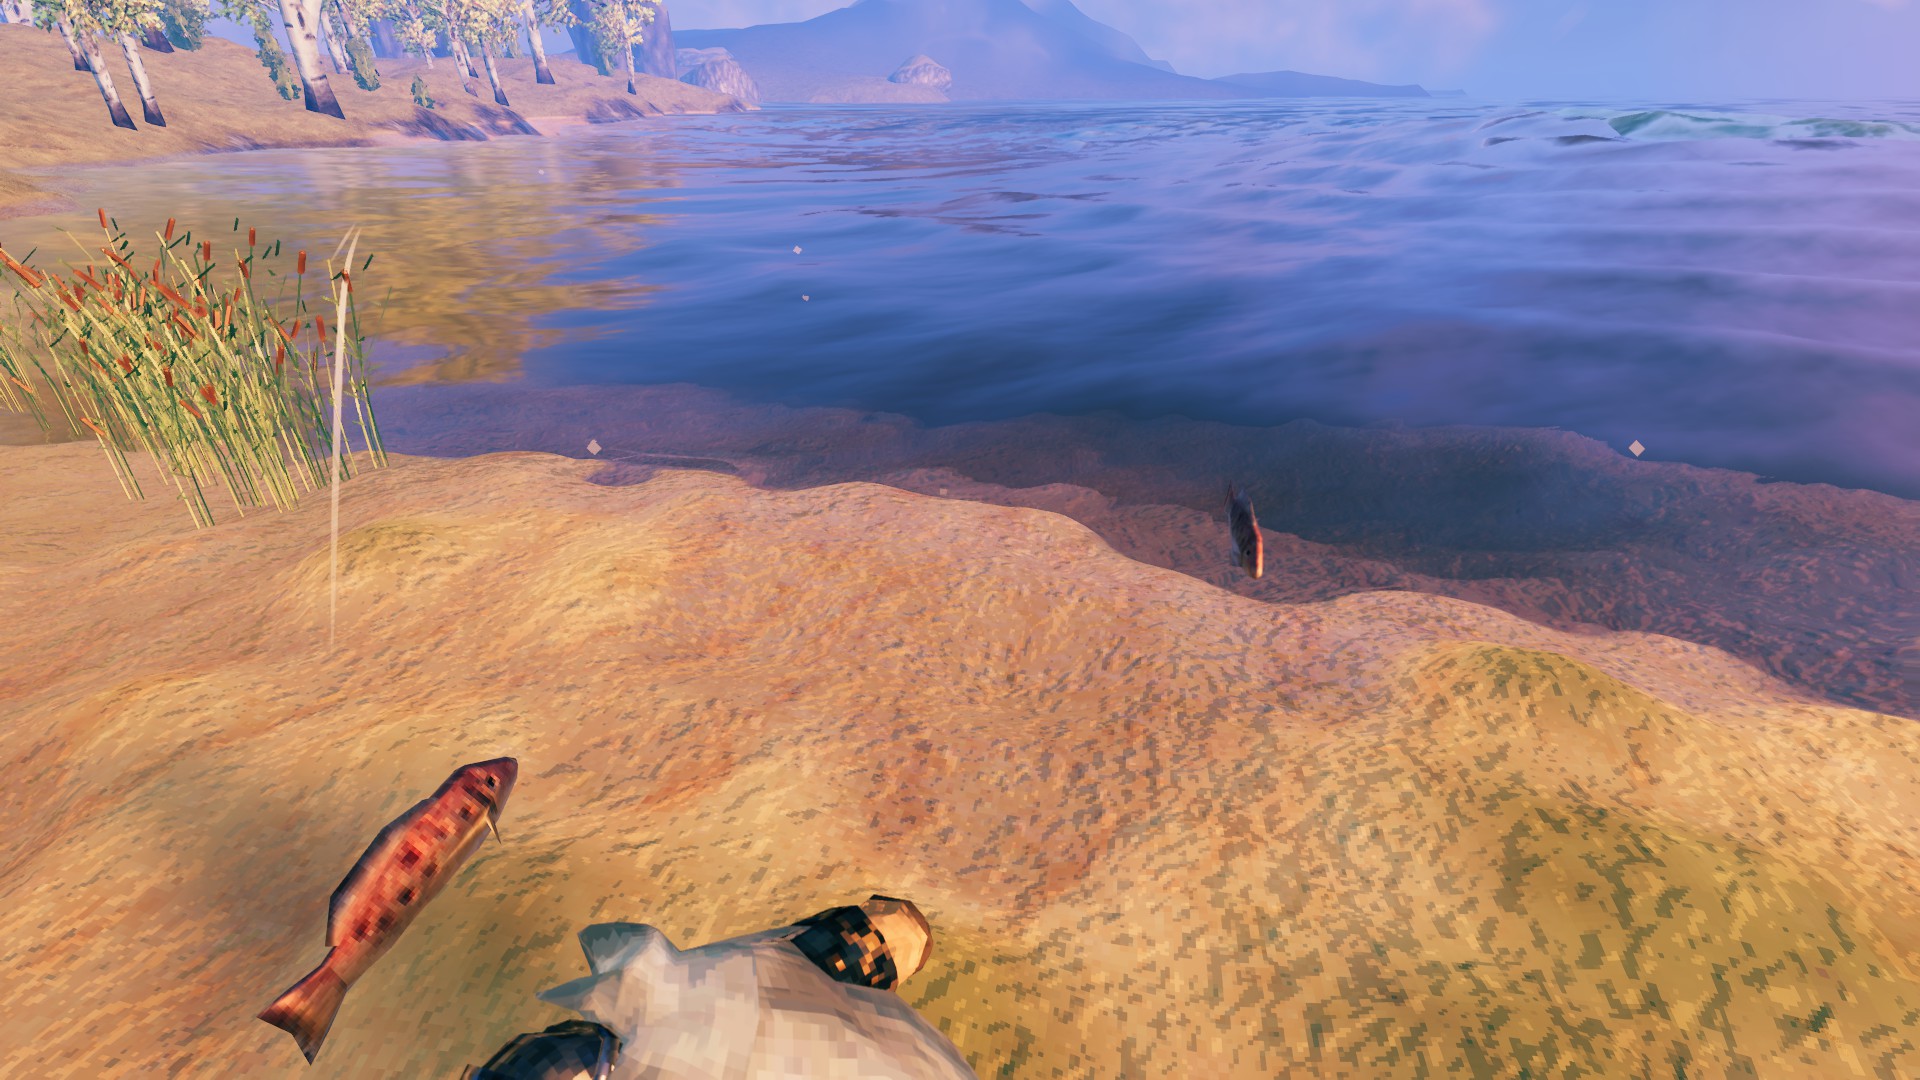
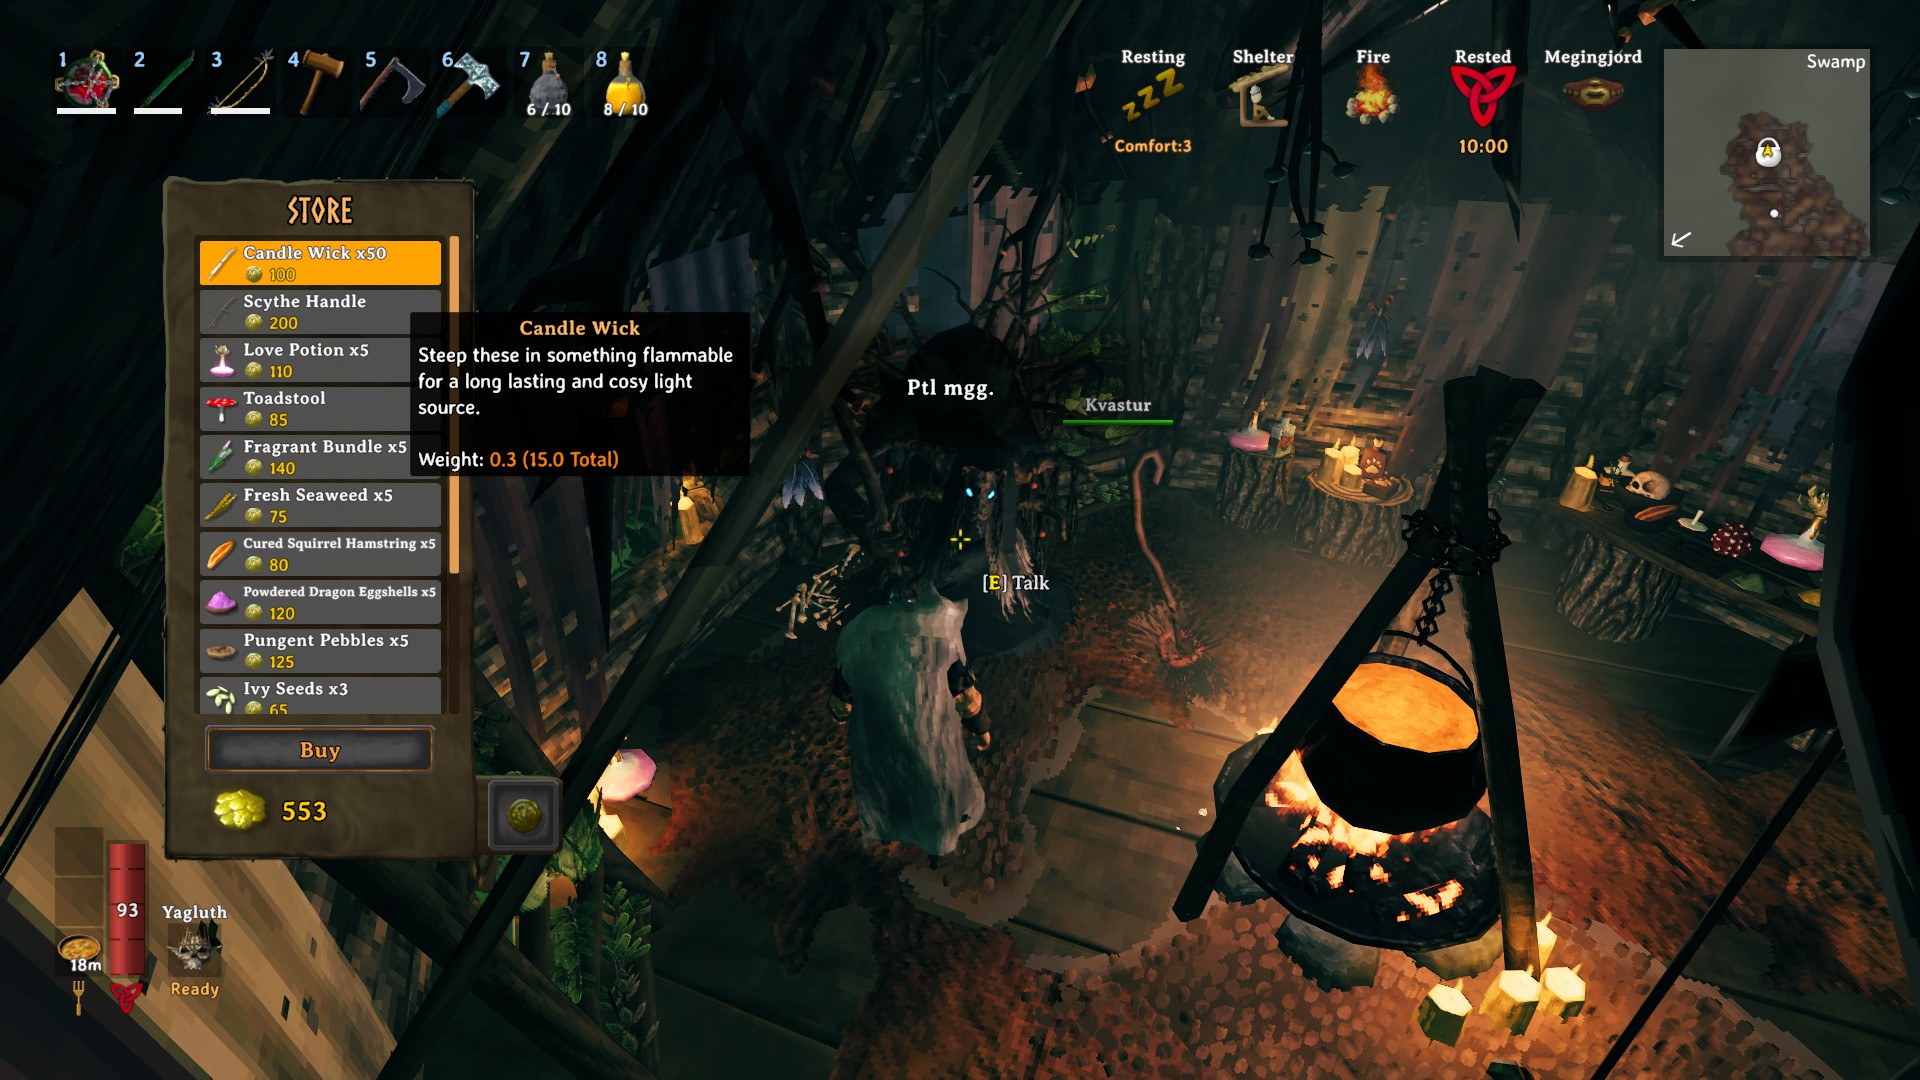
As for the ingredients, Cloudberries grow all over the Plains biome and shouldn’t be an issue. Grouper is a type of fish you can catch around the Plains using a Stingy Fishing Bait. (If you’re not familiar with how to fish in Valheim, we have a guide for that as well.) Fragrant Bundles are sold by the Bog Witch trader who lives in the Swamp. Chances are you already know where she is by the time you’re exploring the Plains. And if you don’t, we have a guide that will help you locate her.
CloudberriesGrouperBog Witch shop
Fighting Fulings
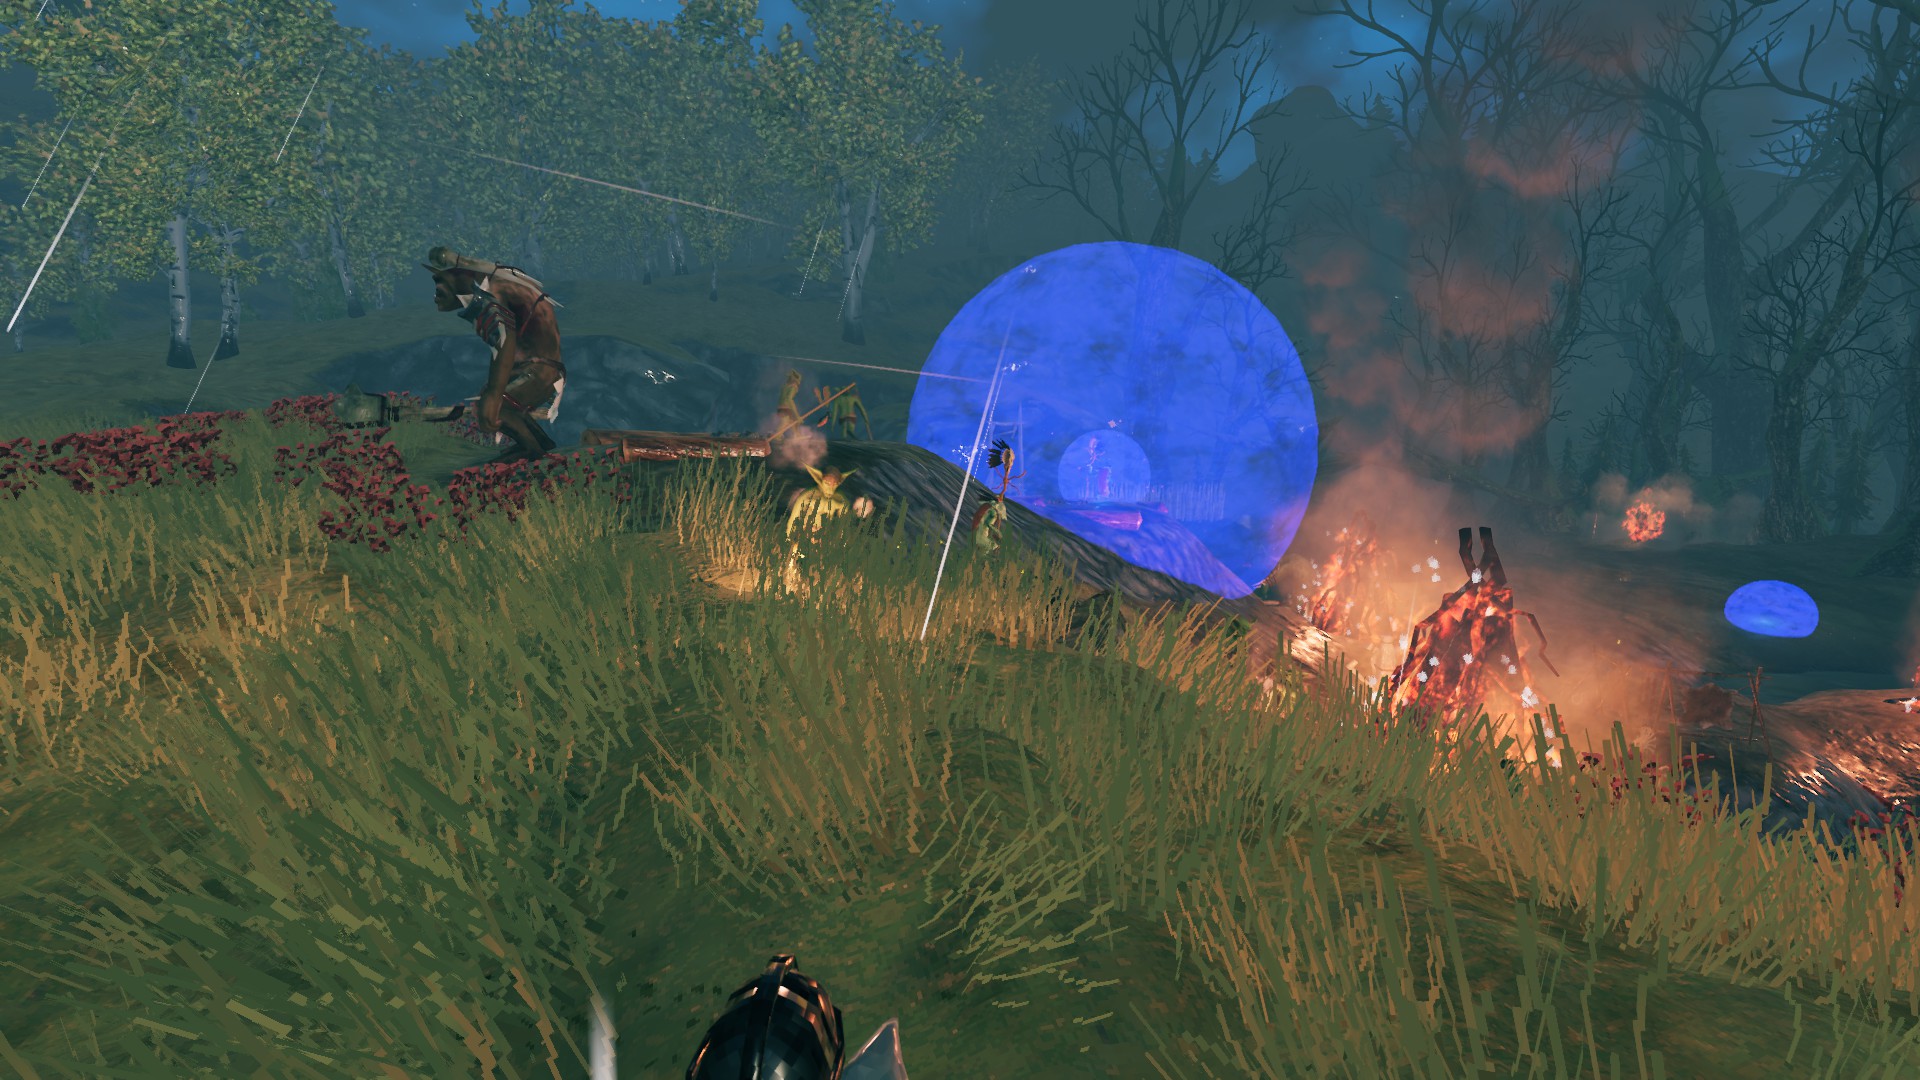
Fulings are these goblin creatures inhabiting the Plains. Even a single one can pose a challenge for a character who’d just arrived to the Plains. But most of the time they travel in packs, making them even more dangerous. As you keep exploring the biome, you’ll also encounter Fuling Shamans who cast shields and shoot fireballs at you, and Fuling Berserkers who are huge and deal a lot of damage.
Fulings are the main source of the biome’s new ore – Black Metal. Their villages, tightly packed with Fulings of all types, will be where you find the biome’s new crops. And their totems are what you’ll need to summon the biome’s boss and progress through the game.
This means you’ll be fighting a lot of Fulings as you progress through the Plains. While they’ll eventually become a joke enemy, early on they’ll be really tough to deal with. You’ll want to have a good bow for them, like the Draugr Fang (Ancient Bark x10, Silver x20, Deer Hide x2, Guck x10), preferably with Frost Arrows (Wood x8, Obsidian x4, Feathers x2, Freeze Gland).
Sniping Fulings from a distance is a good way to open a fight. The slowing effect of Frost Arrows is also invaluable and makes fighting them significantly easier. Once Fulings get close, your best bet is to have a Frostner (Ancient Bark x10, Silver x30, Ymir Flesh x5, Freeze Gland x5). This mace comes with a slow effect, good knockback, and decent area coverage, allowing you to easily deal with Fuling patrols.
Using the Bonemass Power
Since everything deals a lot of physical damage in the Plains, anything that makes you more resistant to it is good. Which is why the Forsaken Power of the Swamp boss, the Bonemass, is your best option for the Plains. Upon activation it will grant the following effects for 5 minutes:
Slightly Resistant (-25%) VS Blunt, Slash, Pierce
Block Stamina cost: -100%
Block Stamina return: +5
The damage resistance is already great. But the block improvements are what make it truly fantastic. Blocking and parrying Fuling attacks is actually the easiest way to defeat them. Only the shields you have access to upon reaching the biome aren’t strong enough to withstand them. With the Bonemass power active, blocking Fulings will get much easier.
Raiding Fuling Villages
The Plains biome introduces two new crops – Flax and Barley. Having access to them is crucial to your Valheim progression. The gear and food you can make with them will transform the Plains from a deathtrap into a pleasant chill area.
FlaxBarley
Technically you should obtain these resources fairly late in your Plains adventures. Both of them grow inside Fuling villages, surrounded by dozens of the creatures. Clearing out a village to get to its resources can be quite a challenge. But nothing’s stopping you from running in, stealing the crops the Fulings are growing, and getting out without fighting any of them.
When doing this, it’s advisable to ensure you have an easy way to return should something go wrong. Another trick you can use when dealing with Fuling farms is hitting their crops instead of harvesting them manually. That way you’ll still get the Flax and Barley, but you won’t slow down to pick them. And if you use a weapon with an area attack, you’ll be able to harvest entire plots in one swing.
Atgeir works best for this. A single spin attack harvests most of the plot
Crafting New Gear
Perhaps surprisingly, the new armour set you get in the Plains doesn’t require the biome’s Black Metal ore. You’ll only need Linen Thread and Iron. Iron comes from the much earlier Swamp biome. And Linen Thread is made from Flax. Which means that if you manage to steal some Flax from the Fulings, you’ll be able to equip yourself in the best armour available for this stage of the game. This should make your journey through the biome significantly smoother.
At level 1, a full Padded set will grant you 79 armour. And once you upgrade it to level 4, which again only requires Iron and Linen Thread, you’ll have a round 100 armour. This is more than enough for the Plains.
And if you want a shield that can withstand the attacks of the enemies you’ll be facing in the Plains, you’ll want a Black Metal Shield (Finewood x10, Black Metal x8, Chain x5). This shield will require you to fight some Fulings for Black Metal Scrap. Since Frostner is good enough for most foes in the biome, this shield should be where you use your first Black Metal.
Padded armour, Frostner, Black Metal Shield. This Viking is ready for the Plains
Creating a Flax and Barley Farm
The tricky part about Flax and Barley is that they can only grow in the Plains. This will require you to have a separate farm in this inhospitable biome. You’ll need a lot of both these crops if you want to beat the Plains and progress through the following biomes. Some important Mistlands and Ashlands recipes will require Linen Thread, while Barley will be used in a number of important recipes, like the Fire Resistance Barley Wine.
This means there’s no avoiding farming in the Plains. While the basics of farming there are the same as anywhere else, where you’ll be using the Cultivator to prepare the soil and plant the crops, security is the real issue. With the Deathsquitos and Fulings all over the place, it’s important to make sure your farm is protected from monsters.
To get there, you’ll want to erect a stone wall around your farm. Alternatively, you may want to dig a wide moat around the farming area. Surrounding the place with fire sources is also a good idea. As is having a portal nearby. When you move your Plains outpost from an adjacent biome into the Plains, make sure you place it around a nice flat plot of land you’ll turn into your farm.
Avoiding Tar Pits
Tar pits are no good. They’re packed with slime-type enemies called Growths. These are significantly tougher and more dangerous than the other slimes you’ve encounter up to that point. They deal a lot of damage, some of it poison, which makes them dangerous even to experienced Plains adventurers.
The best way to deal with them is to avoid them. When you see bubbling tar in the Plains, simply turn around and go somewhere else. Especially since the Growths don’t really drop anything too useful. The Tar you get from them is primarily used to create Darkwood decorations. Meaning the only reason to fight them is to build a fancy-looking house. This can wait until you’re overpowered for the biome.
Let’s not go to the tar pit. ‘Tis a silly place.
Share this article:
Val Hull
Resident role-playing RPG game expert. Knows where trolls and paladins come from. You must fight for your right to gather your party before venturing forth.