Charred Fortresses are the place to be when you’re out exploring the Ashlands biome. They’re a great way to obtain valuable Ashlands resources, like Flametal and Molten Cores. Raiding them is the only way to get gems like Bloodstone, Iolite and Jade. Moreover, exploring these fortresses is how you locate the biome’s boss and get the means to summon him. And once you clear a fortress out, it will become a great base for you in the inhospitable biome. This guide will teach you how to enter Charred Fortresses.
Finding a Charred Fortress
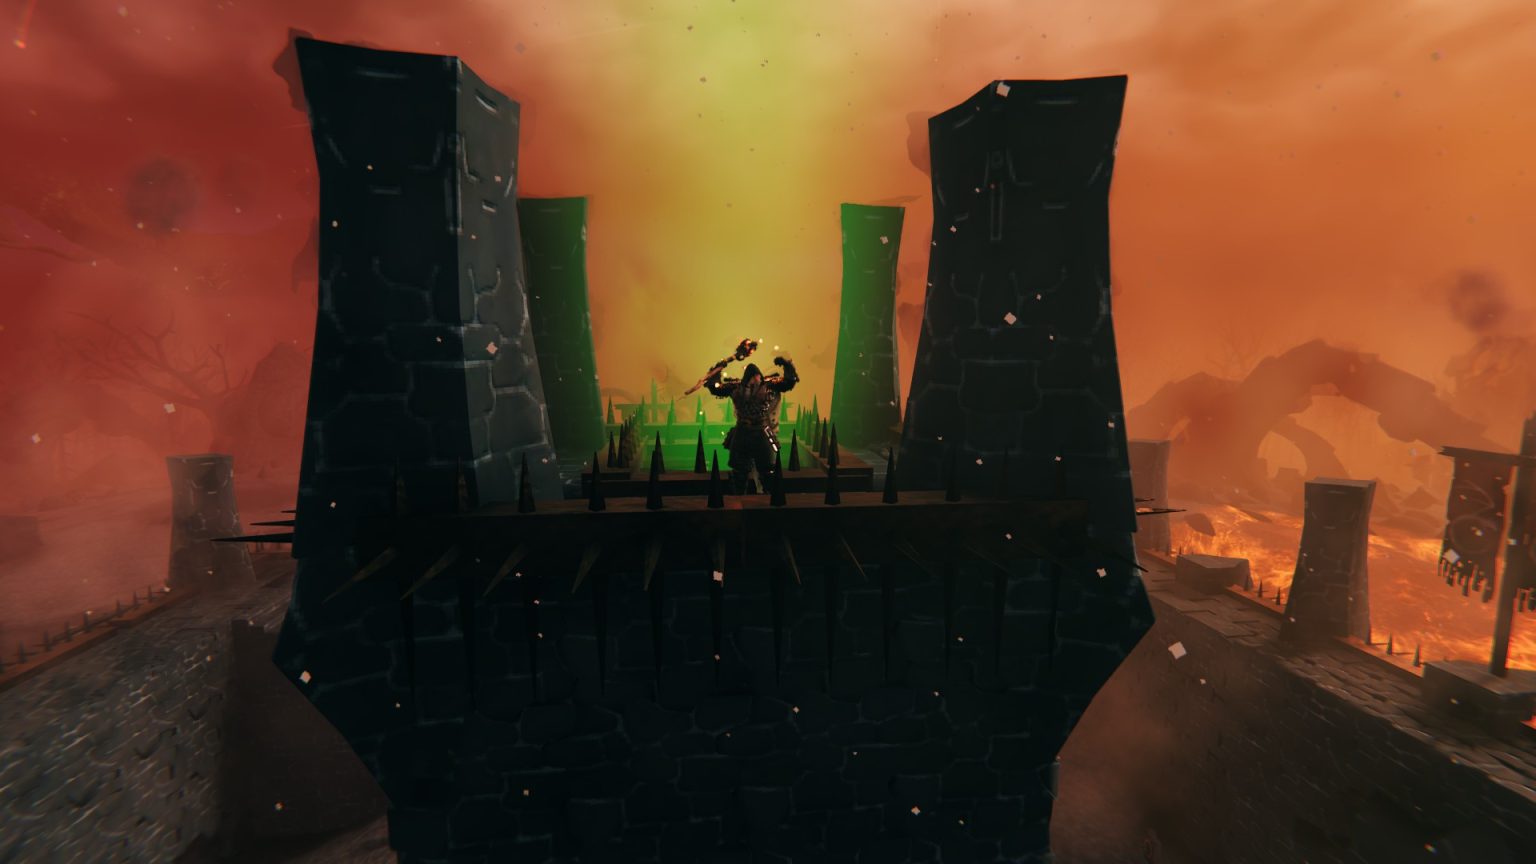
Charred Fortresses are massive square structures with tall walls and a tower in the middle that shoots a beam of green light into the air. You’ll find them naturally as you explore the Ashlands biome. They’re usually located further inland away from the biome’s shores. Simply check the sky for that signature green beam and you’ll know you’re going the right way.
An unlooted Charred Fortress
Clearing the Enemies
Attacking a Charred Fortress head-on can be a nightmare. They contain powerful Charred enemies, both melee and ranged. They also house Charred Warlocks that shoot exploding projectiles at you and summon Charred Twitchers.
On top of that, the walls are usually protected by long-ranged bone ballistae called Skuggs. And inside, you’ll find several Effigies of Malice that periodically spawn more enemies.
A Skugg ballistaEffigy of Malice spawner
Because of that, we highly recommended you use ranged weapons to deal with all that from afar. Even better if you have access to an Eitr-weave armor set from the Mistlands, and a Staff of Embers (Yggdrasil Wood x20, Surtling Core x4, Refined Eitr x16).
If you do, find or create an elevated position and pelt the fortress with fireballs until all the Skuggs, spawners, and Warlocks are cleared. Then, feel free to go in and finish off the remaining basic foes. Using the Bonemass Forsaken Power is recommended for this assault.
Natural elevated archStaff of Embers bombarding
After you’ve cleared out a Charred Fortress or two, you’ll get access to Bloodstones. These will allow you to craft a Trollstav (Charred Bone x15, Troll Trophy, Flametal x3, Bloodstone). This staff completely trivializes the enemies inside a Charred Fortress.
Approach a fortress wall, use the staff to summon a couple trolls inside, then wait for them to defeat everything there with no danger to you whatsoever. Occasionally, the trolls can even break the fortress walls and create an opening for you, but it’s not a reliable way of getting in. Keep in mind that the trolls will be hostile to you as well, so be ready to dispose of them after they’re done clearing the fortress.
A BloodstoneSpot to use a TrollstavSummoned troll
Getting in a Charred Fortress
After you’ve cleared a Charred Fortress, there are several ways to get inside.
Using a Battering Ram
Using a Catapult
Using a Pickaxe
Building platforms
How to Use a Battering Ram
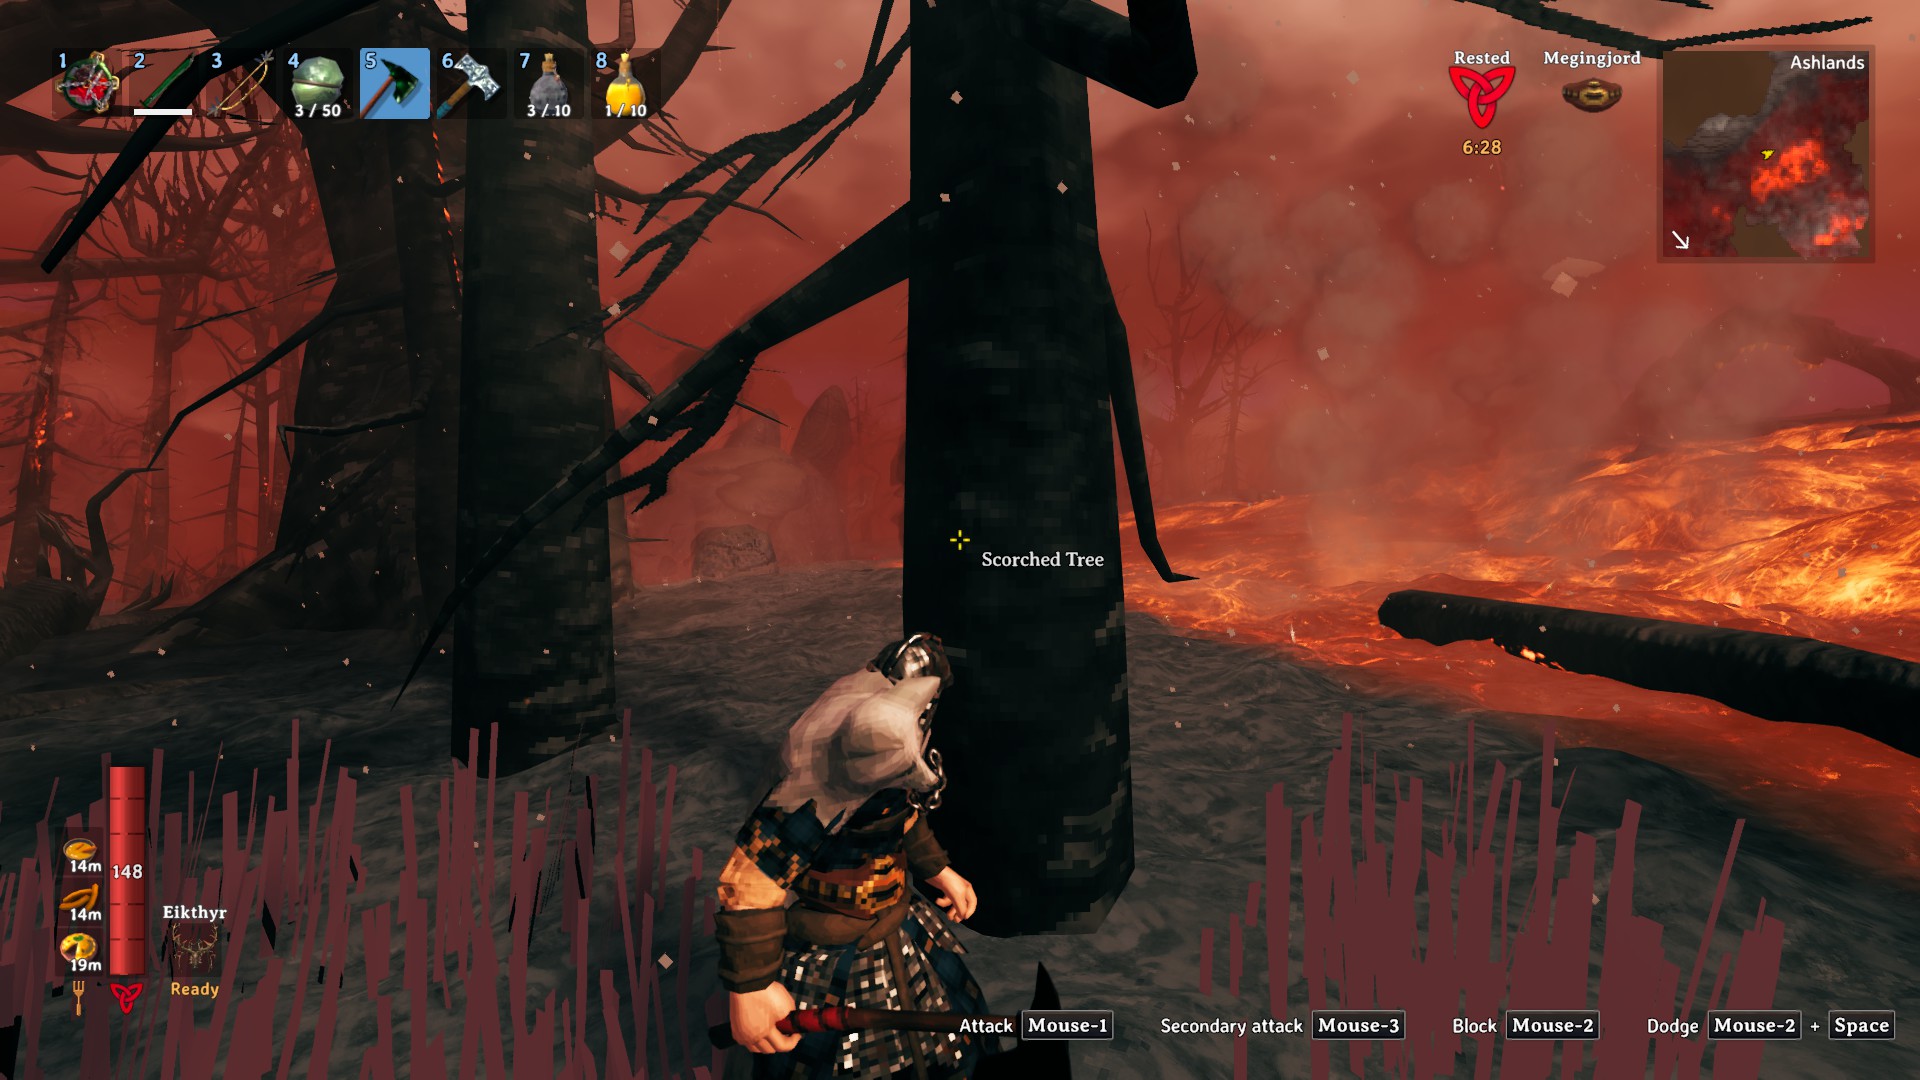
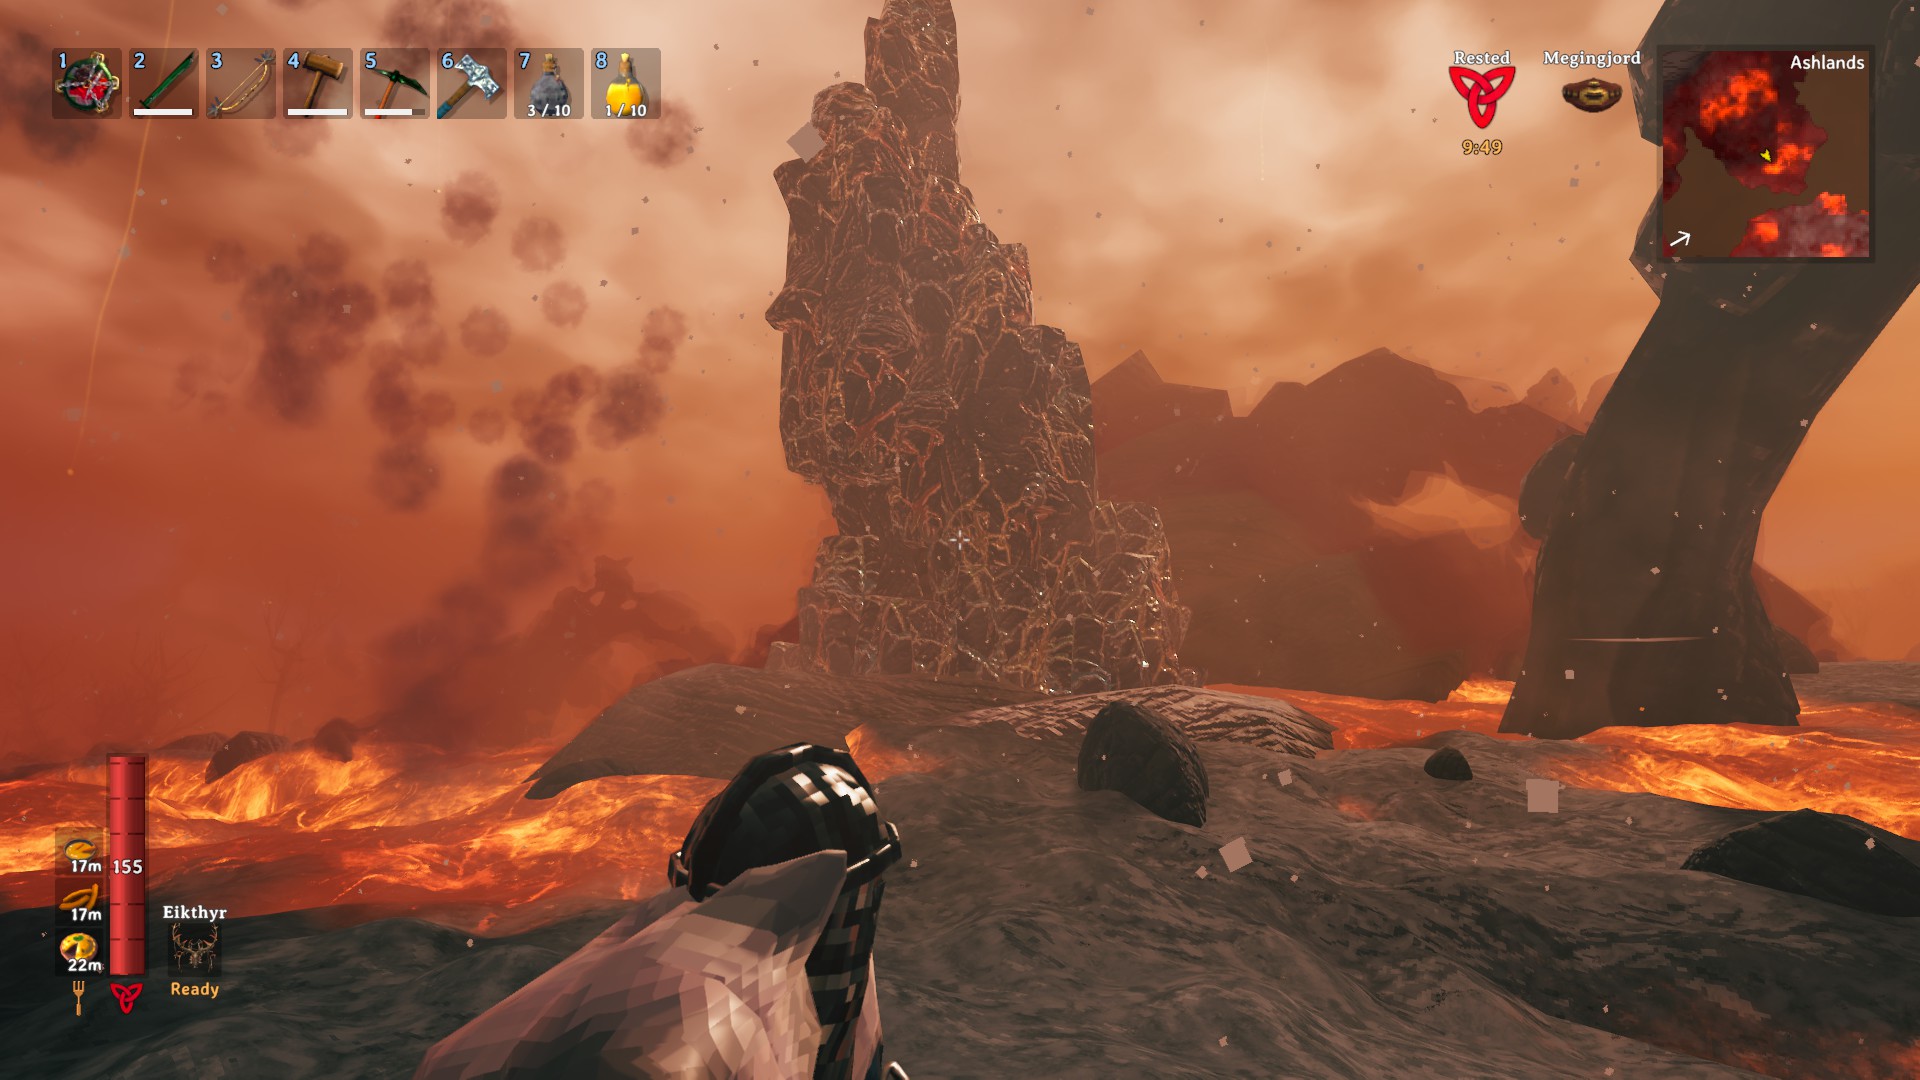
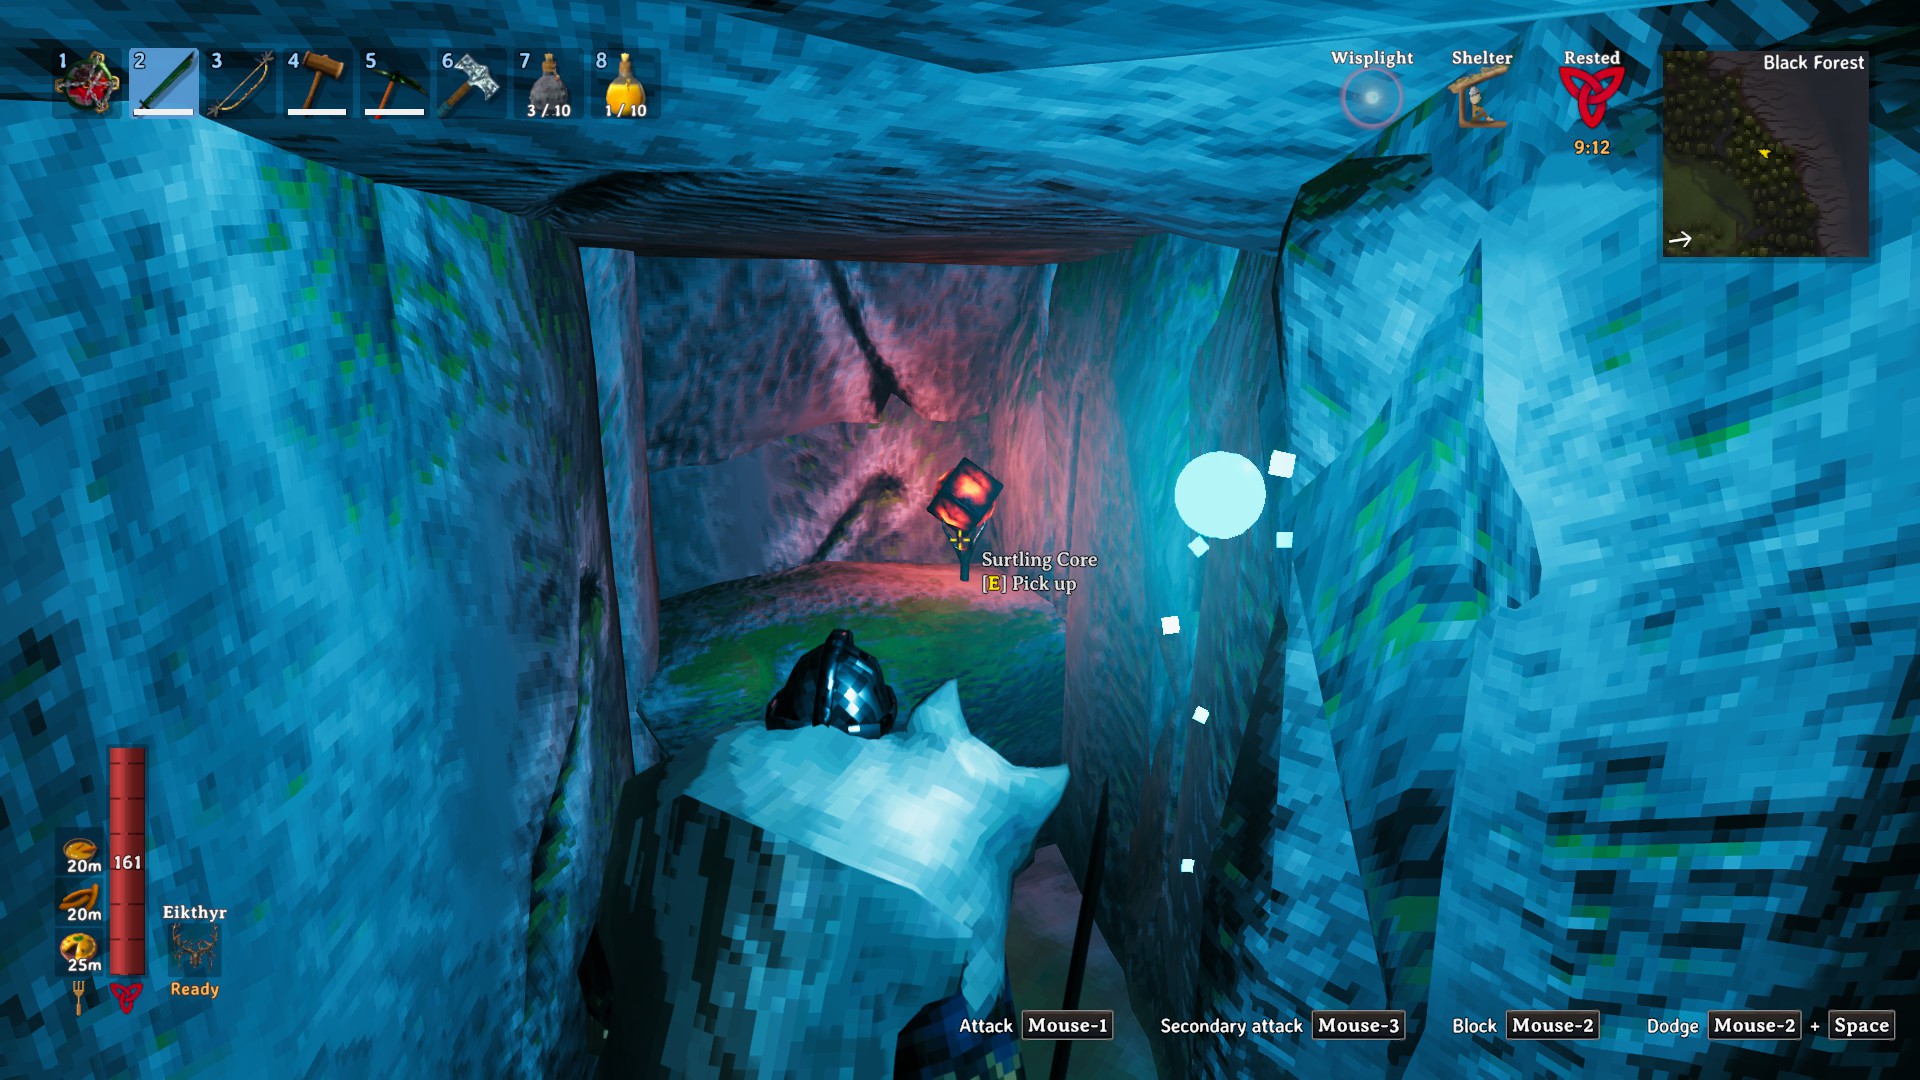
The intended and easiest way to break into a Charred Fortress is to use a Battering Ram (Ashwood x10, Flametal x10, Surtling Core x2). You can find all the materials to build one without entering a Charred Fortress. You get Ashwood from the trees in the Ashlands biome, Flametal can be mined from Flametal Ore veins usually found inside lava pools, and Surtling Cores are a common ingredient found in the Black Forest and Swamp biomes.
Ashwood TreeFlametal OreSurtling Core
You can construct a Battering Ram by having a Workbench nearby and building it from the Misc. tab of your Hammer crafting menu.
Building a Battering Ram
Once you have a ram, you need to fuel it. Approach its front side and feed some Wood into the furnace there. Once it’s going, run around and stand precisely between its two arms at the back and Use the ram.
Fuel the ramUse the ram
It can be clunky to find the right spot but after you’re attached to a ram, you can spin around without issue. Which is helpful because for some reason, the front end of the ram doesn’t actually deal any damage. The only thing that does damage are the back ends of a ram’s arms.
This means you’ll want to point the ram’s back end at a wall or the fortress door when it’s fueled, and get as close to it as you can. The ram will start hitting the wall automatically. It deals a lot of damage to structures and will break through in no time.
The terrain in and around Charred Fortresses is often uneven, which makes piloting a ram challenging. Have a Hoe with you and use its Level Ground function as you drag a ram to create a path for yourself.
Ram workingLeveling ground to move
After you breach the outer wall, move the ram up to the tower in the middle and repeat the process. Once you break the tower’s wall, you’ll have full access to the loot inside the fortress.
How to Use a Catapult
While cool and amusing, Catapults only have a theoretical use in breaching the Charred Fortress walls. To build a Catapult you’ll need Flametal x10, Charred Cogwheel, Ashwood x20. And you only get Charred Cogwheels by defeating the Skugg ballistae inside the fortresses.
What’s more, Catapults are extremely inaccurate, clunky, and to shoot them, you’ll generally want special ammo: Grausten Payload (Grausten x10) or Explosive Payload (Sulfur x2, Proustite Powder x3, Asksvin Hide x2). You can load anything into a catapult, but it won’t help you breach the walls like the actual payloads.
Still, if you want to use a Catapult to get inside a Charred Fortress, you can build one the same way you do a Battering Ram. You need a Workbench nearby, and then you can craft a Catapult from the Misc. tab of your Hammer menu.
Building a Catapult
After you craft a Catapult, you can move it around by getting between the two planks around its back end. This is essentially the only way to aim a Catapult. You place it down where you think it will hit the desired target, and then you shoot it and hope for the best.
Another thing you can do with a Catapult is extend its legs to stabilize it. This makes it less prone to sliding and slightly increases the range.
Moving a CatapultStabilizing a Catapult
When a Catapult is set up, approach its basket, place an item you want to shoot on your hotbar, then press the associated button. This will load the item and automatically shoot the Catapult. You can use this to bombard a fortress from a safe distance. Occasionally, this will break open a wall or destroy some enemies.
Loading a Catapult
Another somewhat amusing way to use a catapult is to climb into the basket yourself, load it with some random item, and then have it send you over the wall. If you’re willing to use this move, it’s best to equip a Feather Cape (Feathers x10, Scale Hide x5, Refined Eitr x20) from the Mistlands. Because otherwise you’ll lose all your HP to fall damage.
Stand in the basket……become a Viking cannonball
How to Use a Pickaxe on Fortress Walls
A very resource-light way to get inside a Charred Fortress is to simply mine through its walls with a pickaxe. You’ll need at least a Black Iron Pickaxe to do it. Simply approach a wall and start hitting it with the pickaxe. If you see white numbers on your screen, that means it’s working.
You’ll want that indicator to be sure, because it takes a lot of hits to crack open a wall this way. Chances are, your pickaxe will break halfway through and you’ll need to repair it before continuing. Since this takes forever, use this method only if all the others are currently unavailable to you.
Hit the corners for best resultsYour reward
How to Use Platforms to Get Inside
Charred Fortresses with their extremely resilient walls can serve as a great base for you in the Ashlands. Because of this, it may be desirable to get inside without breaking the outer walls. Keep in mind that you’ll still want to crack the middle tower after, which mainly means using a ram or a pickaxe on it.
Using a Catapult to launch you over the wall can be fun but is far from reliable. Instead, you can create a series of platforms for yourself.
The two main ways include building a wooden staircase that will take you right over the wall, or using a Hoe to create a pillar under yourself.
When building wooden stairs, it’s important to begin construction far enough so that you can reach the wall at the right height, but not so far where structural integrity becomes a problem.
With the Hoe, you want to have a decent amount of Stone on you. Take out a Hoe by the wall, point your camera down, then start using the Raise Ground function. This will create a stone pillar under you and allow you to jump inside once you reach the right height.
Wooden stairsLifting a pillarEnd results
Share this article:
Val Hull
Resident role-playing RPG game expert. Knows where trolls and paladins come from. You must fight for your right to gather your party before venturing forth.