The world of Valheim is huge, and getting around it by foot, or even by ship, can take a long time. To mitigate travel time, players can create portals to travel to between any two points near-instantaneously (there’s a loading screen, so we can’t call it instant). Setting up portals is fairly straightforward, but we’ve created a step by step guide to make it easy for you to collect the necessary materials and get your portals up and running.
How to Build a Portal
Materials Required to Build a Portal
x2 Surtling core
x10 Greydwarf eyes
x20 Fine wood
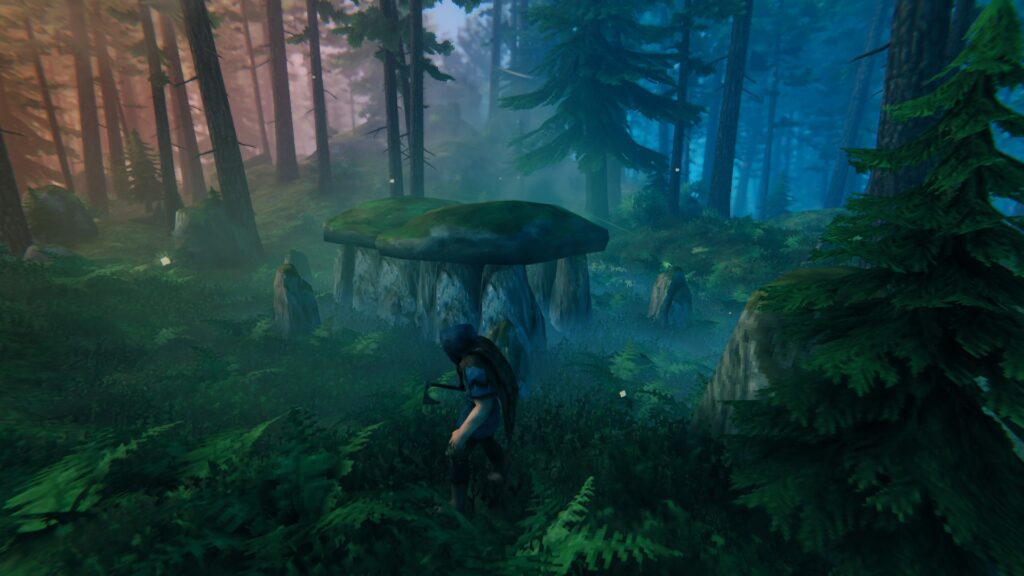
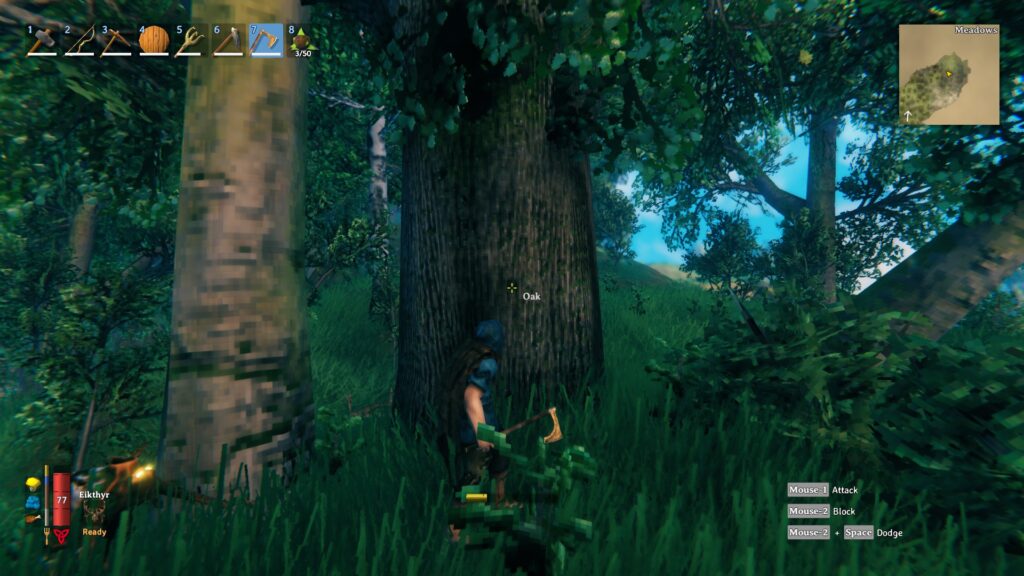
The Greydwarf eyes are easy to get, but Surtling cores and Fine wood require more effort. To get Surtling cores, you’ll need to go to the Black Forest and explore Burial Chambers to find Surtling cores in chests or on pedestals. To get fine wood, you can destroy shipwrecks (found in the Black Forest), or you can craft a Bronze axe and chop down Birch or Oak trees in the Meadows biome. Note: Before you’re able to craft a Bronze axe, you’ll need to make sure you know how to mine and smelt basic ores.
A burial chamber in the Black Forest
A Surtling core
Birch trees are a pale white, and easy to spot
Oak trees are harder to find, but give plenty of wood
Building Your Portal
Once you’ve gathered the requisite materials, you’ll simply need to pull out your hammer while near a Crafting station. Then, use right click to open the build menu, and go to the Misc tab to find the portal and place it.
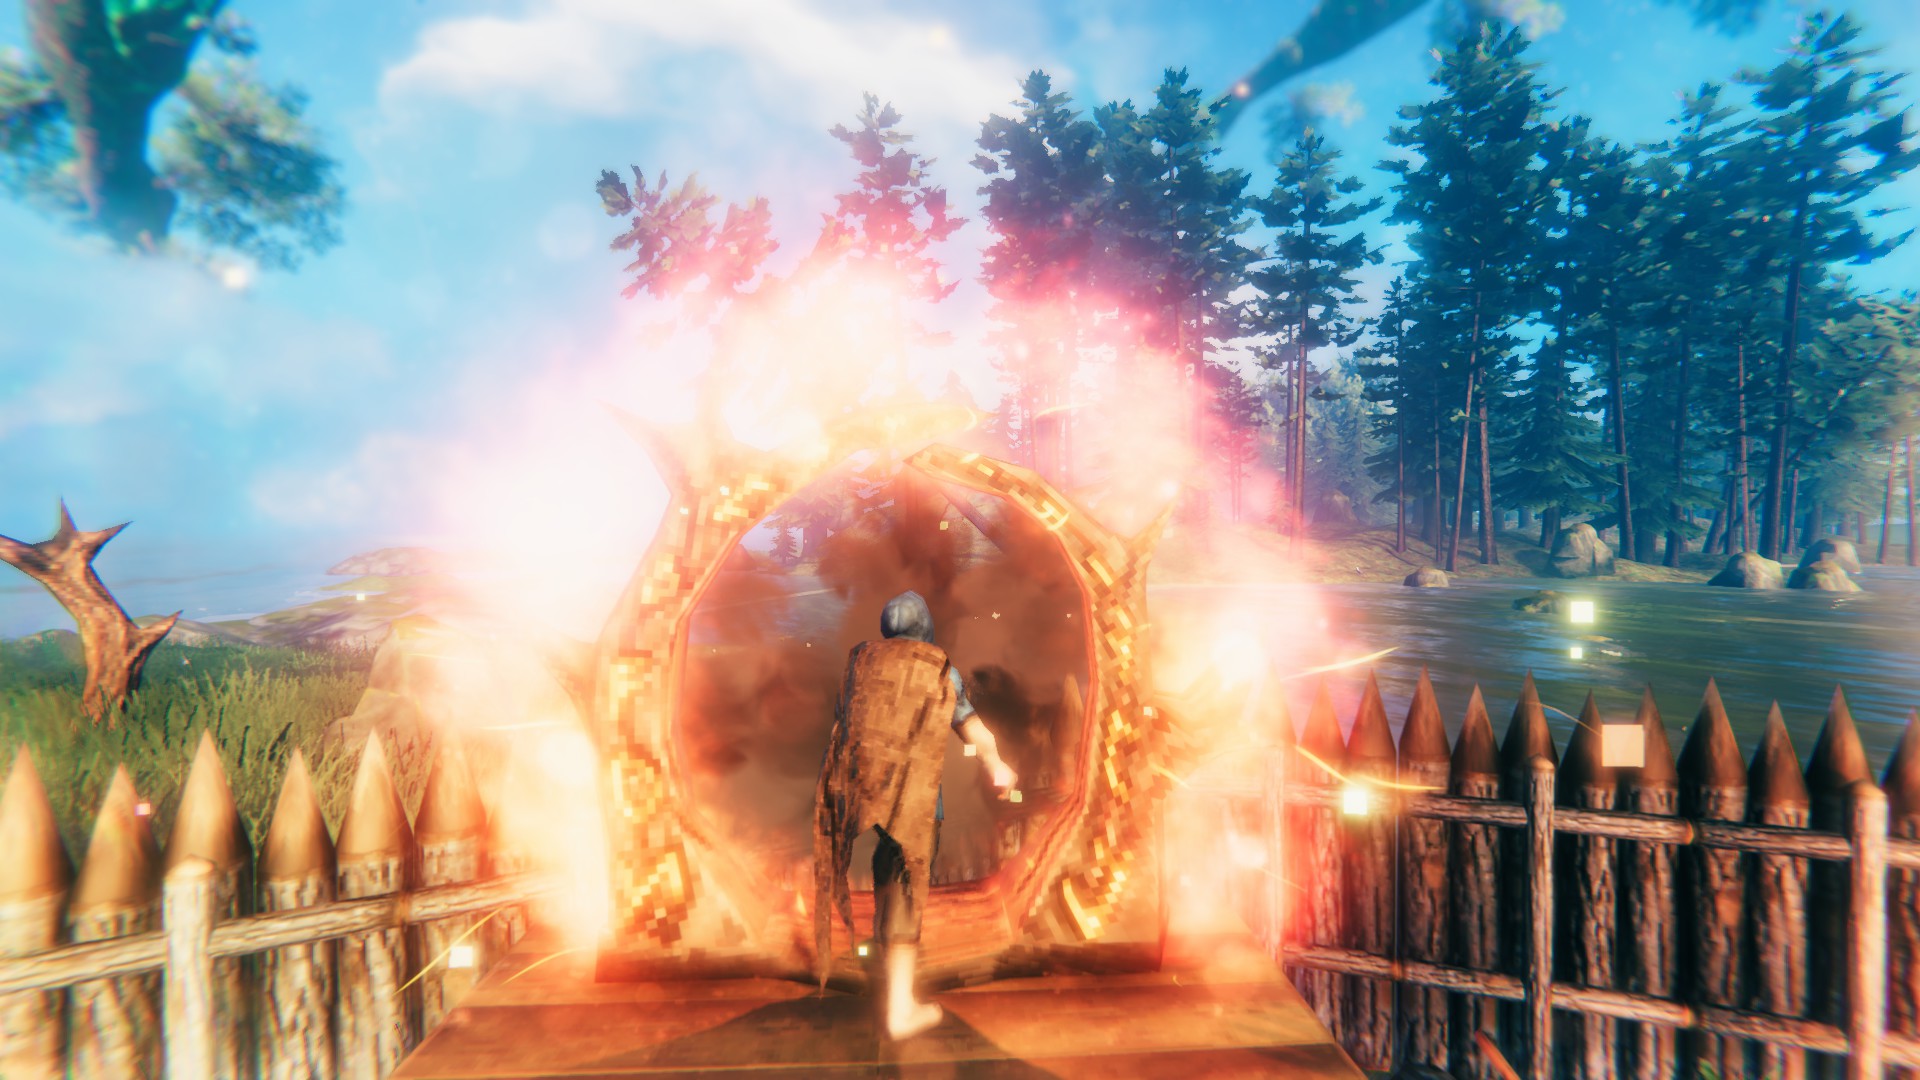
You’ll want to put your portal on a platform to give it its due grandeur
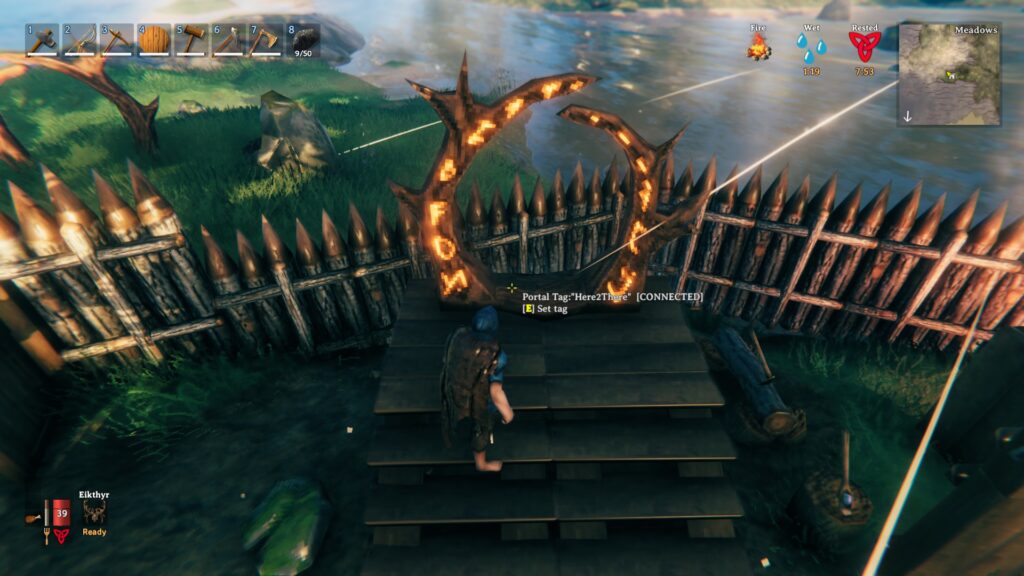
How to Set Up and Use Your Portals
Connecting portals is easy. If you don’t set a tag on a portal, once you build a second portal, those two portals will automatically link. If you have more than two portals set up, you’ll have to set tags on the portals in order to travel through them. We’ll run through a simple scenario to illustrate how it works:
You have 1 portal in your base, and 2 portals at two different outposts: a Meadows outpost and a Black Forest outpost.
You want to be able to travel between the 3 portals.
You can use the E key on a portal to “Set tag” on a portal. Give the portal a short, simple name like “B1”, “mOP”, etc.
Now, to travel from your base to your Meadows outpost, you’ll need to change the name of your base portal to “mOP”. This is because portal tags (names) must match in order to be linked.
You can now travel to your meadows outpost and back through your portal. To use a portal, just walk into it!
If you want to travel from your base portal to your Black Forest outpost, you’ll need to match the name of your base portal to your Black Forest outpost.
The above-listed method should work well for those of you who are short on Surtling cores. However, if you have the resources available, you can create two portals for each connection you want to create, making it so that you don’t have to change portal tags each time you want to go somewhere.
You should now be ready to use portals in Valheim! We hope this guide was helpful. For questions or suggestions, head to the comments below.
Share this article:
DanielD
Unabashed FromSoftware fanboy still learning to take his time with games (and everything else, really). The time he doesn't spend on games is spent on music, books, or occasionally going outside.
Why do the developers set it up so portals much match in pairs? Why not program in a kind of menu when you enter a portal from which you can choose which of your placed portals you want to arrive at? Makes much more sense and you would not need to build a danged portal room/building…


Why do the developers set it up so portals much match in pairs? Why not program in a kind of menu when you enter a portal from which you can choose which of your placed portals you want to arrive at? Makes much more sense and you would not need to build a danged portal room/building…