While the building in Valheim is fairly intuitive, one part of construction that can be challenging is getting a nice roof on your structure. For this guide, we’re going to assume you’re comfortable building a foundation and walls, and that the roof is what you’re struggling with. With that in mind, let’s look at a few simple methods for building roofs in Valheim.
Method #1 – Simple Roof
A few things to keep in mind as you follow this method:
Making a roof is much easier if you create a floorplan that uses even numbers — make your foundation 2×10 or 4×10, rather than 3×9, for example.
This roof utilizes 26° peices, so make sure you’re using those the whole time.
You’ll need to place ladders to reach your roof. Since deconstructing returns all your resources, don’t worry about spamming ladders everywhere, as you can destroy them when you’re done with them.
Once you’ve got your floor and walls up, start by placing corner pieces. Select the Thatch roof corner 26° from the Building menu of your hammer crafting menu, and place one on each corner.
Next, place Thatch roof 26° pieces in between the corners on all 4 sides.
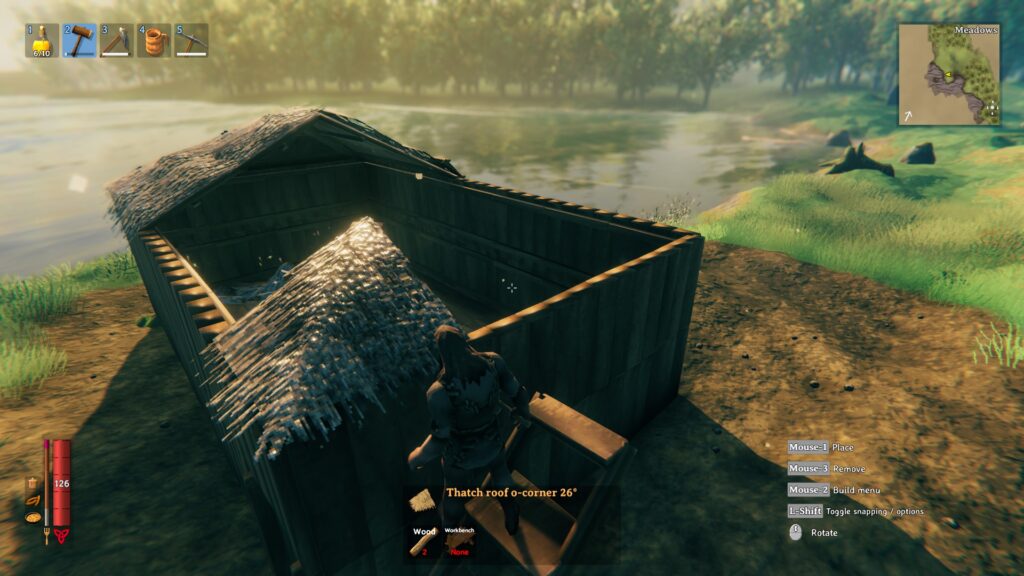
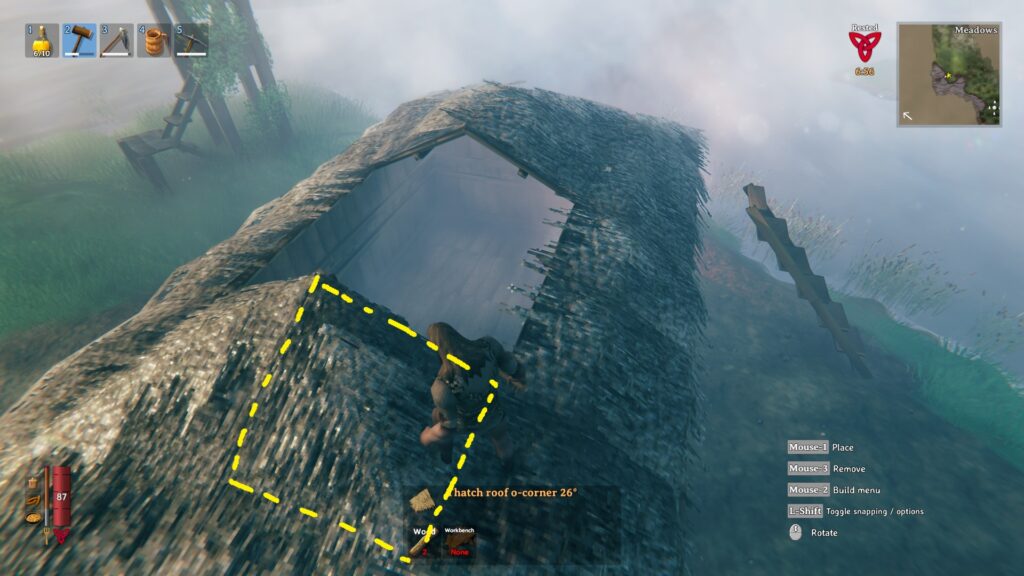
Now comes the part where some players get stuck: you’ll need to place more Thatch roof corner 26° pieces diagonally inwards from where you put your original corners, to form the upper edge of the roof (see image 3 below). Place 2 of these pieces as pictured on each end of your roof.
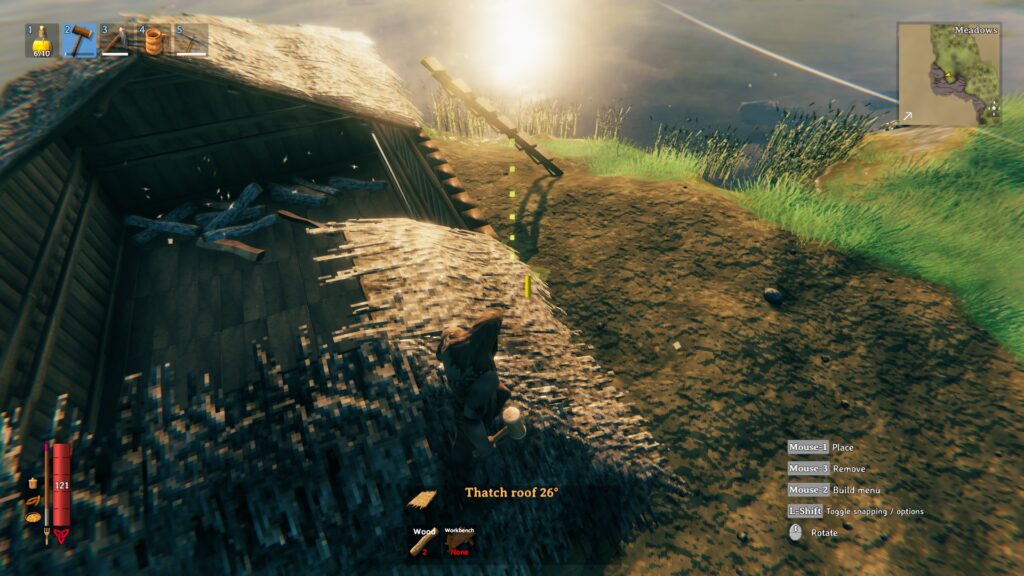
Next, fill in the gaps with Thatch roof 26° pieces.
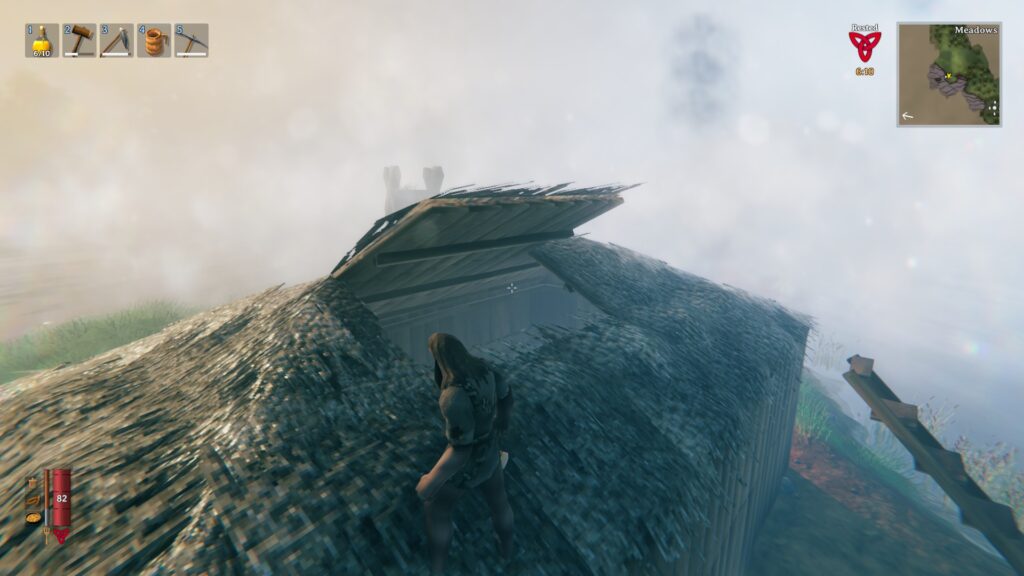
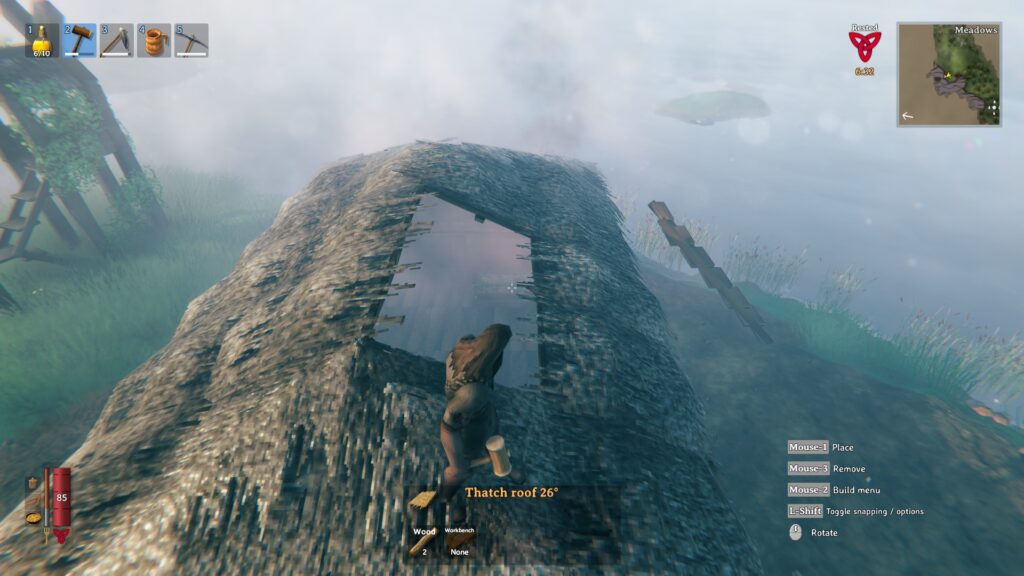
Once you’ve placed your fire near your bed inside, go back onto your roof and remove the roof section directly above the fire. Then replace that roof piece with one facing the opposite direction as the other tiles, to create ventilation.
Corners first
Then edges
Then a second set of corner pieces
Fill the gaps again
Add a chimney
Method #2 – Tall Roof
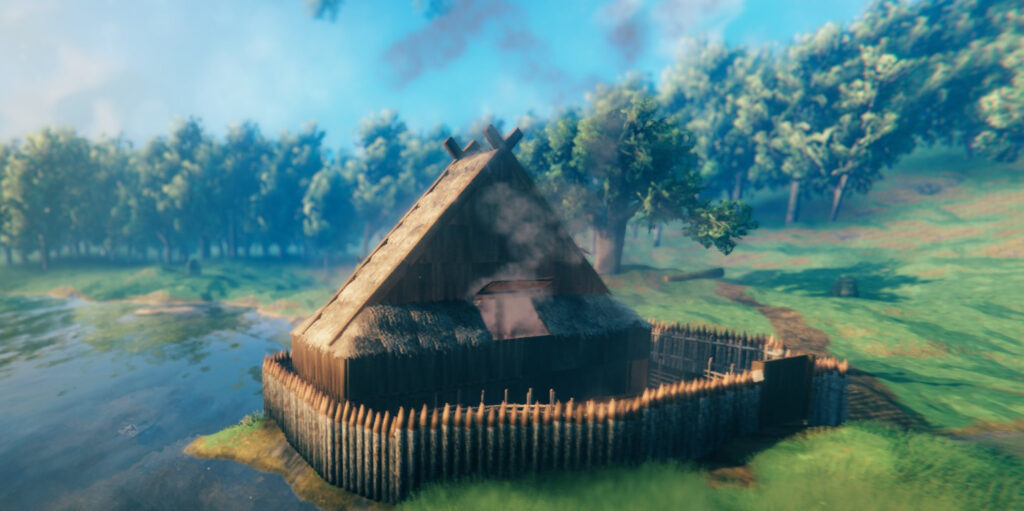
If you’re looking to build something a little more impressive, this method will teach you how to build larger, taller roofs for your structures. We’ll show you how to create the roof pictured above, as well as go over how to create support for taller structures.
A few things to keep in mind as you follow this method:
You can only place up to 5 pieces from the ground before the next piece crumbles — except for vertical beams. To create taller structures and support pieces that are falling, you simply need to build upwards with beams to create support pillars underneath the pieces that require more stability.
Making a roof is much easier if you create a floorplan that uses even numbers — for this specific roof, we created a floor that was 4×10.
This roof utilizes 45° pieces, so make sure you’re using those the whole time (although for the chimney you can use 26° tiles if you want.
You’ll need to place ladders to reach your roof. Since deconstructing returns all your resources, don’t worry about spamming ladders everywhere, as you can destroy them when you’re done with them.
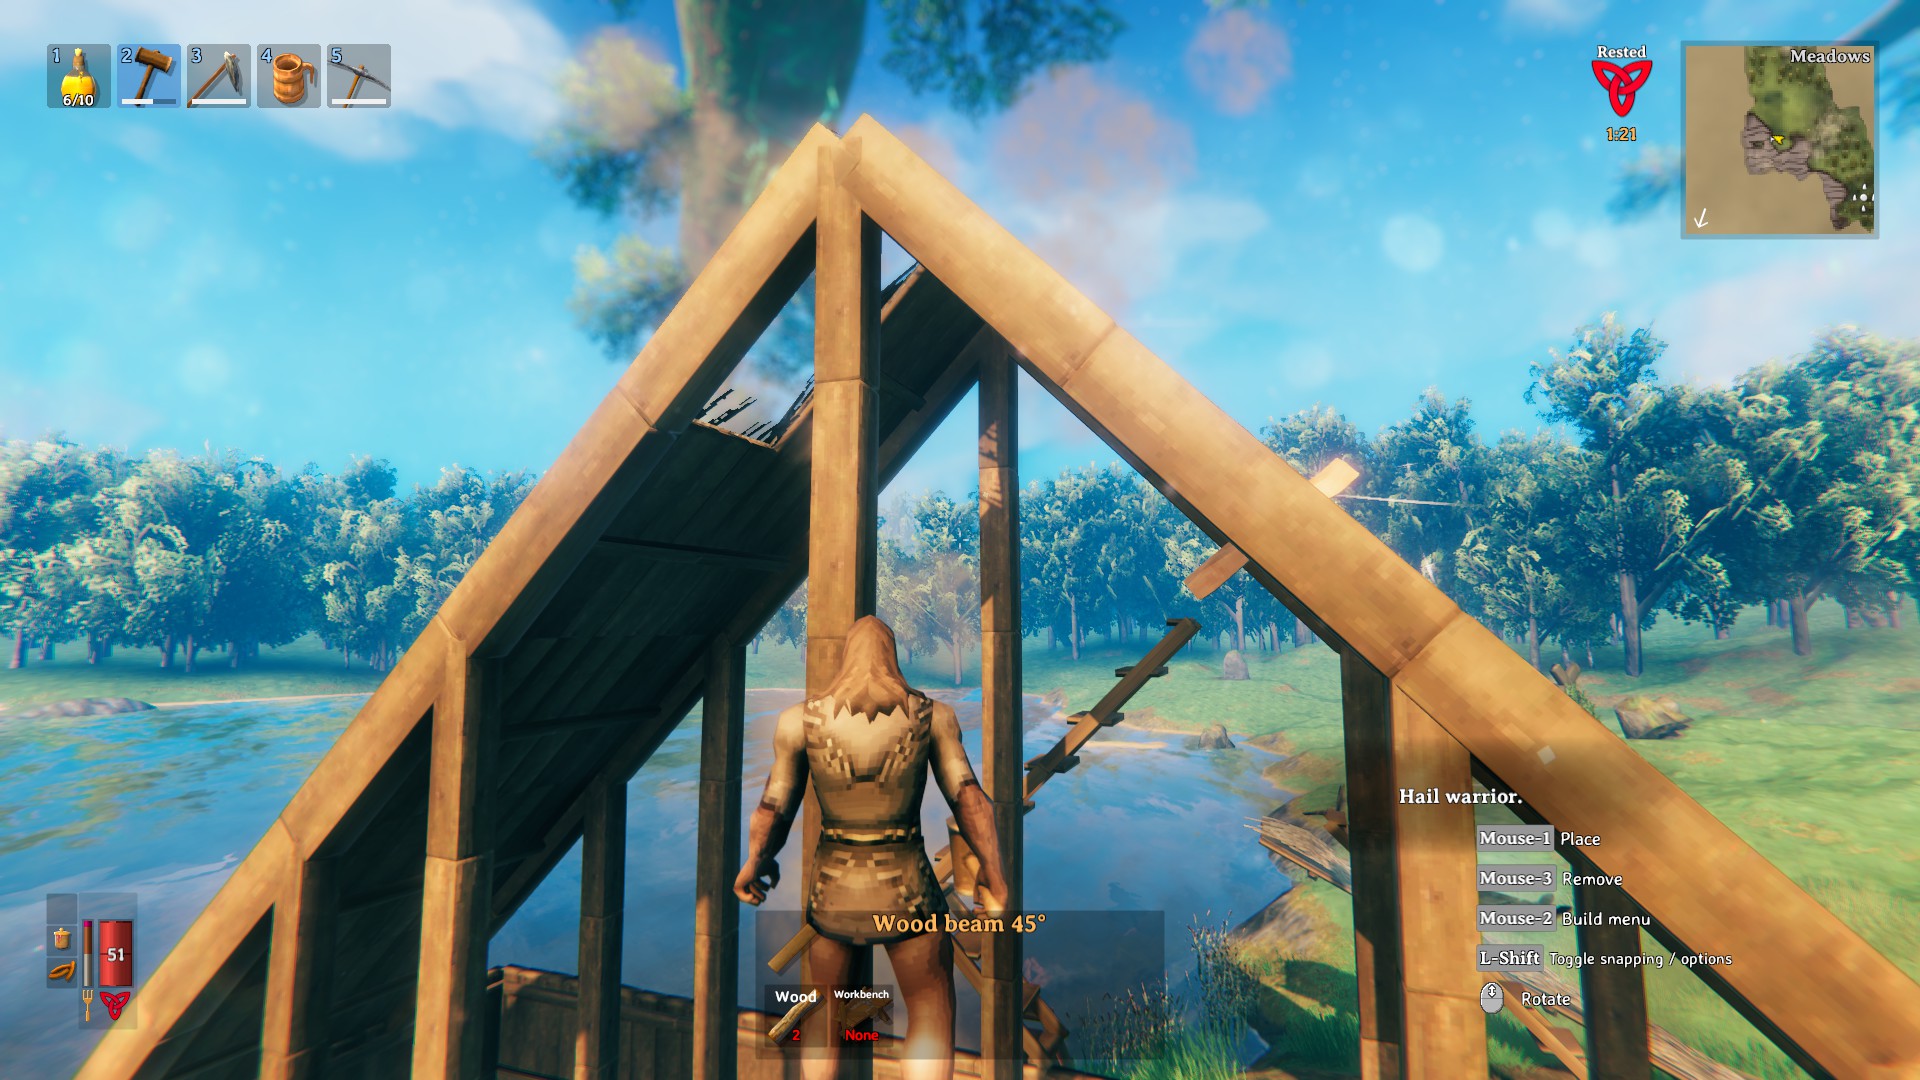
We’re going to start with the hardest part, which is the tall, middle section. Starting not from the corner, but from the 2 middle sections of the short end of your building’s rectangle, place 45° Thatch roof pieces one on top of the other until they crumble when you place them.
Add Wood beam 45° pieces on either side of the roof tiles.
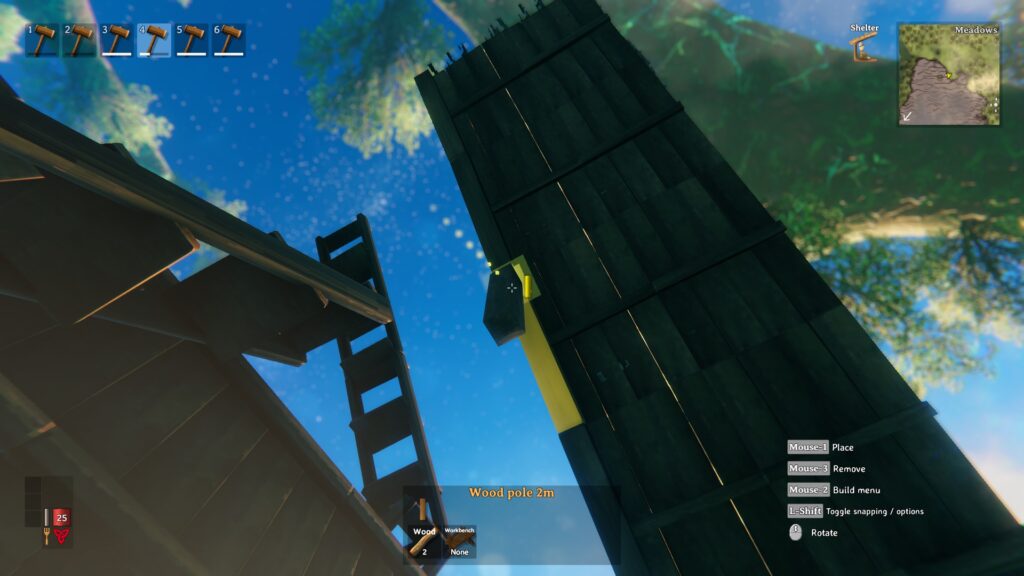
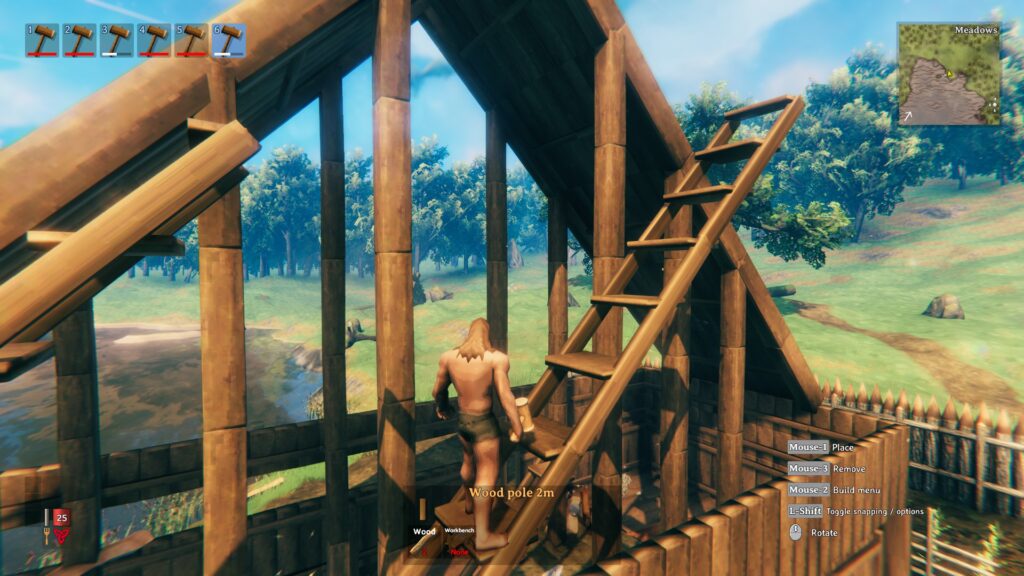
Now comes the tricky part: you’ll need to build vertical support columns using 2m Wood pole pieces from your foundation to your roof. The hard part is that it’s difficult to tell where to start on the ground, so we recommend you actually build downwards very quickly — it may collapse, but it will still give you an idea of where you need to start on the bottom. Some trial and error will almost certainly be required. Note that depending on what you’re ultimately building, you may need more or less support for your roof — in the images below, there is likely more support than needed.
Once your support beams are in place, you should be able to connect your roof tiles at the peak. Don’t forget to add the Wood beam 45° pieces to support the 45° Thatch roof pieces.
At the point where the roof sections meet, throw a Wood roof cross 45°on either side of the roof, to get that authentic-looking longhouse style.
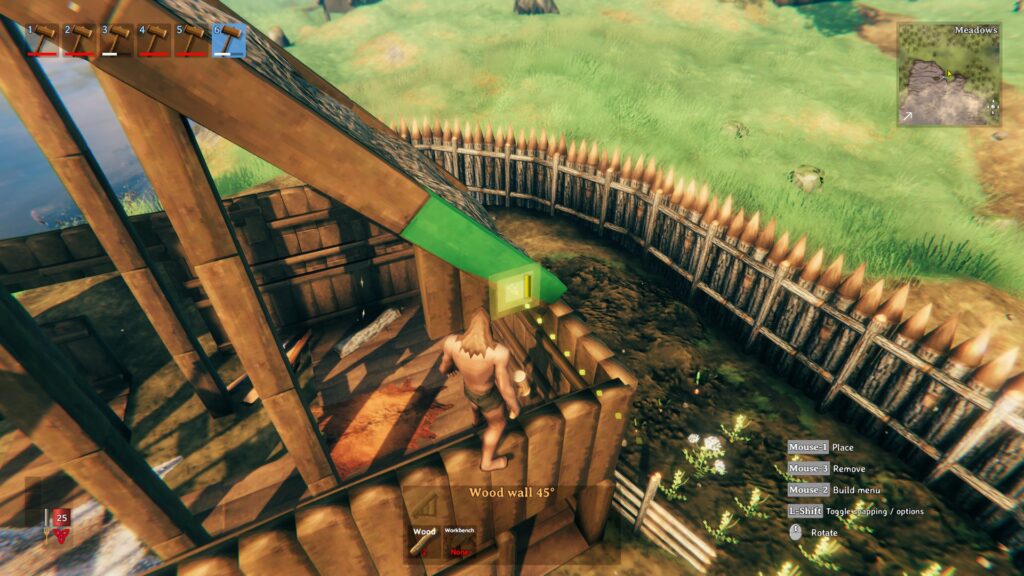
Now you can fill in the rest of the open sections on the side, using corner pieces at each corner, and walls wherever you like.
Start with the 45° roof sections
Then add 45° Wood beams for support
Add vertical wood beams for support
You should have something like this when you’re done adding support columns
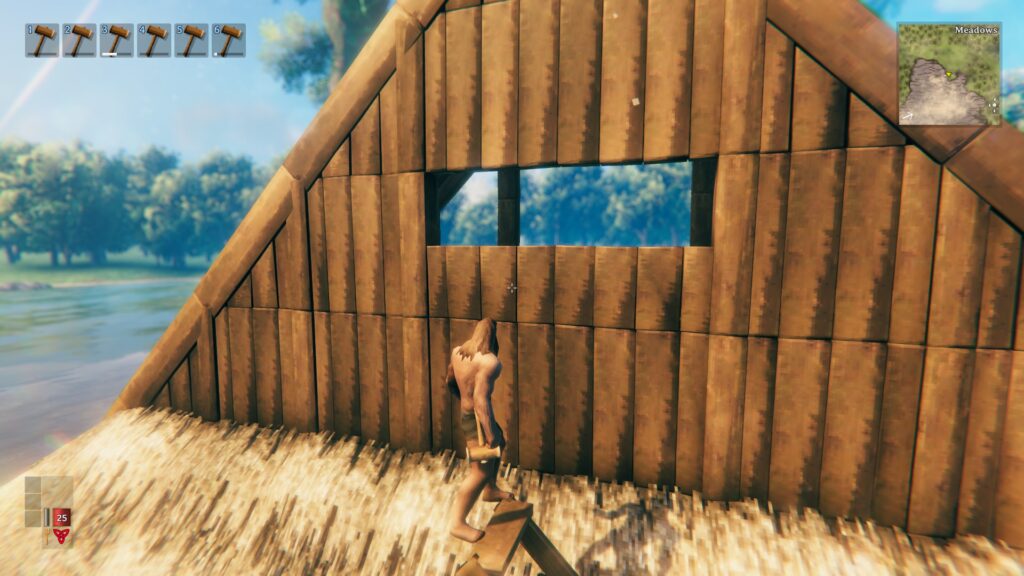
Fill in the gaps as you like, note you can utilize half-walls to create window spaces
We hope that this guide was helpful, and that your Viking is now warm and dry. Please let us know if there’s anything you think we missed, or if there’s other Valheim guides you’d like to see!
Share this article:
DanielD
Unabashed FromSoftware fanboy still learning to take his time with games (and everything else, really). The time he doesn't spend on games is spent on music, books, or occasionally going outside.