Radio Free Monarch is a main quest in the game and will progress you towards Phineas’s ending. It is probably the longest questline in the game and you’ll need to finish multiple side-quests to complete it. It is nearly identical to the Board’s version of the quest, Signal Point in Space, so both walkthroughs we offer for these games will be similar. Nonetheless, you can complete both quests at the same time to experience as much of the game as you can – all you would need to do is to contact the Board and follow with their questline (in that case you would have to, uh… make some changes if you didn’t help the Edgewater during Comes Now the Power… retroactively). This quest precedes The City and the Stars from Phineas’s questline.
Part One – Nyoka
- There are two ways to obtain this quest. You can either automatically pick it up when traveling to Monarch (i.e., if you helped out the Board) or by getting the Stellar Bay Navkey from Gladys during Passage to Anywhere.

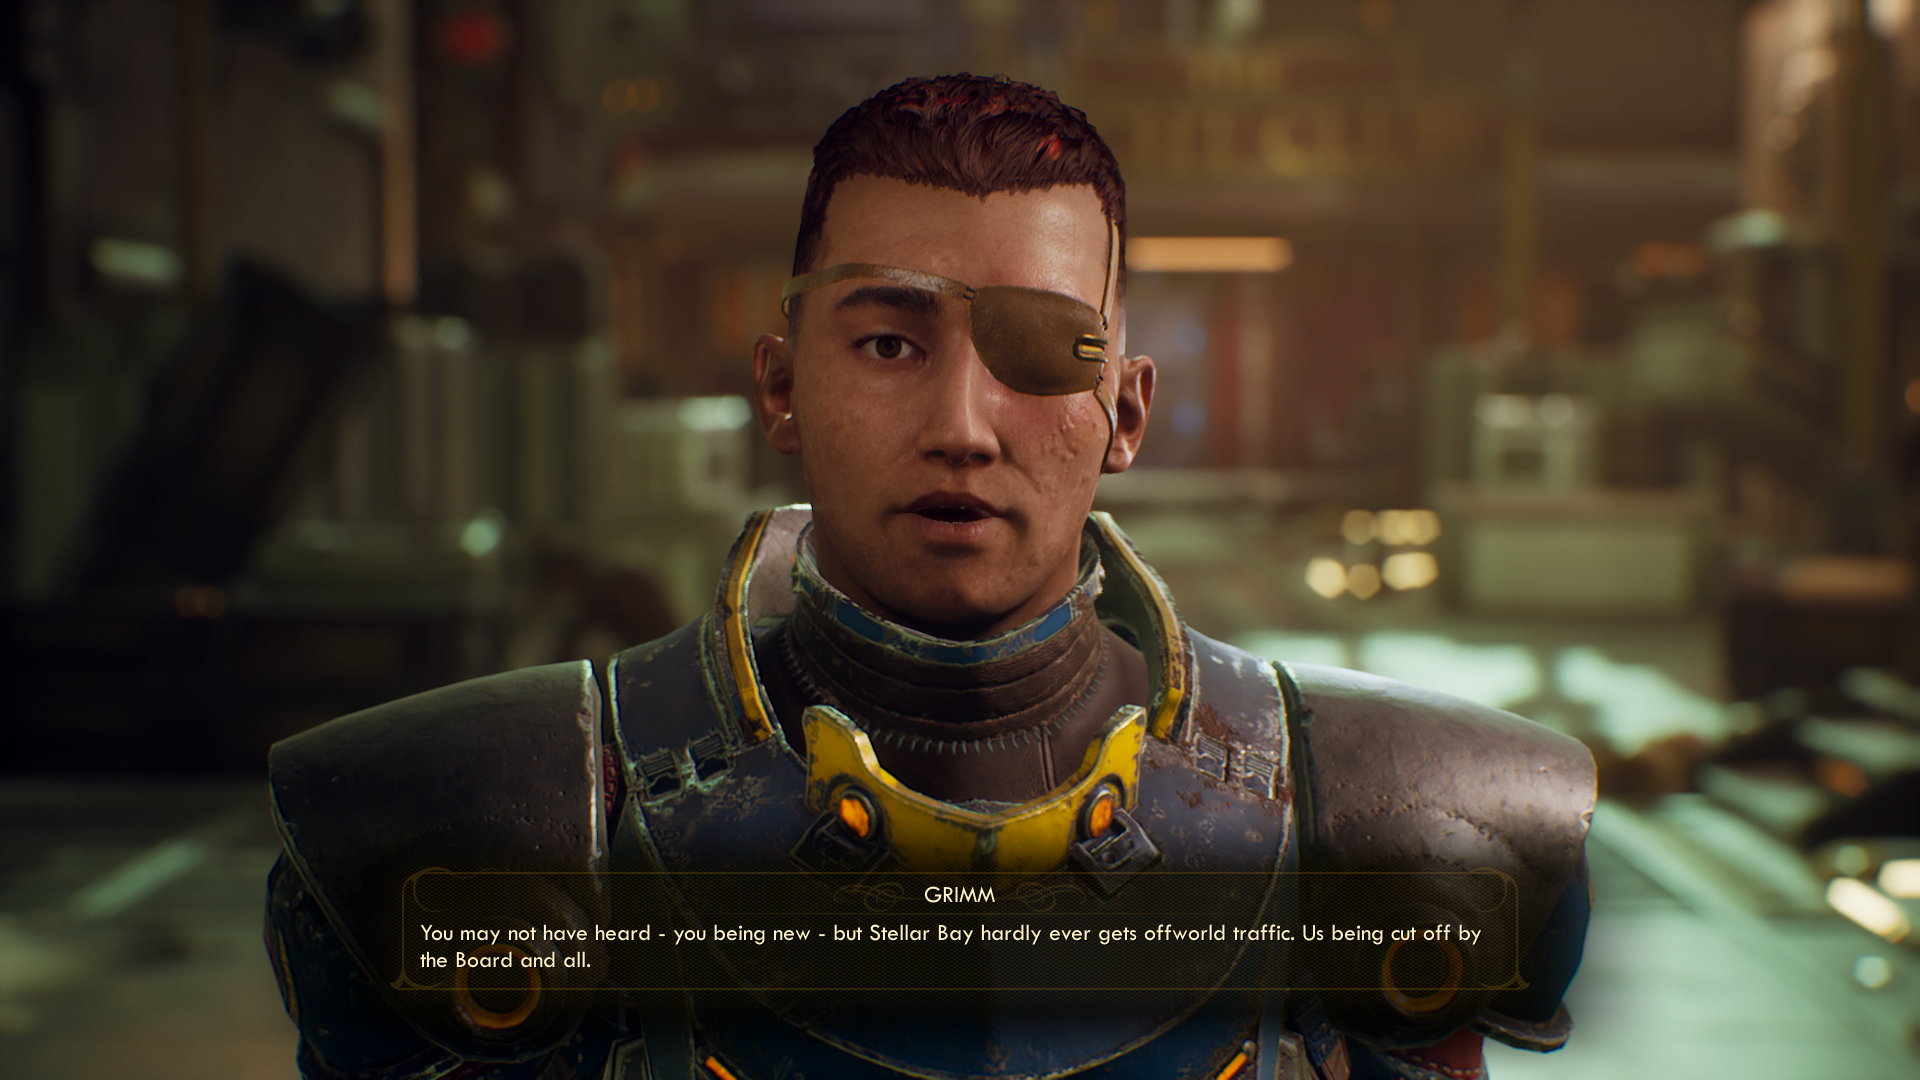
- Either way, head to Monarch and when you enter the town you’ll begin a dialogue with Grimm (his comments will demonstrate the general situation on Monarch and he will point you to the local governor). Accept his quest, The Grimm Tomorrow, if you’d like.

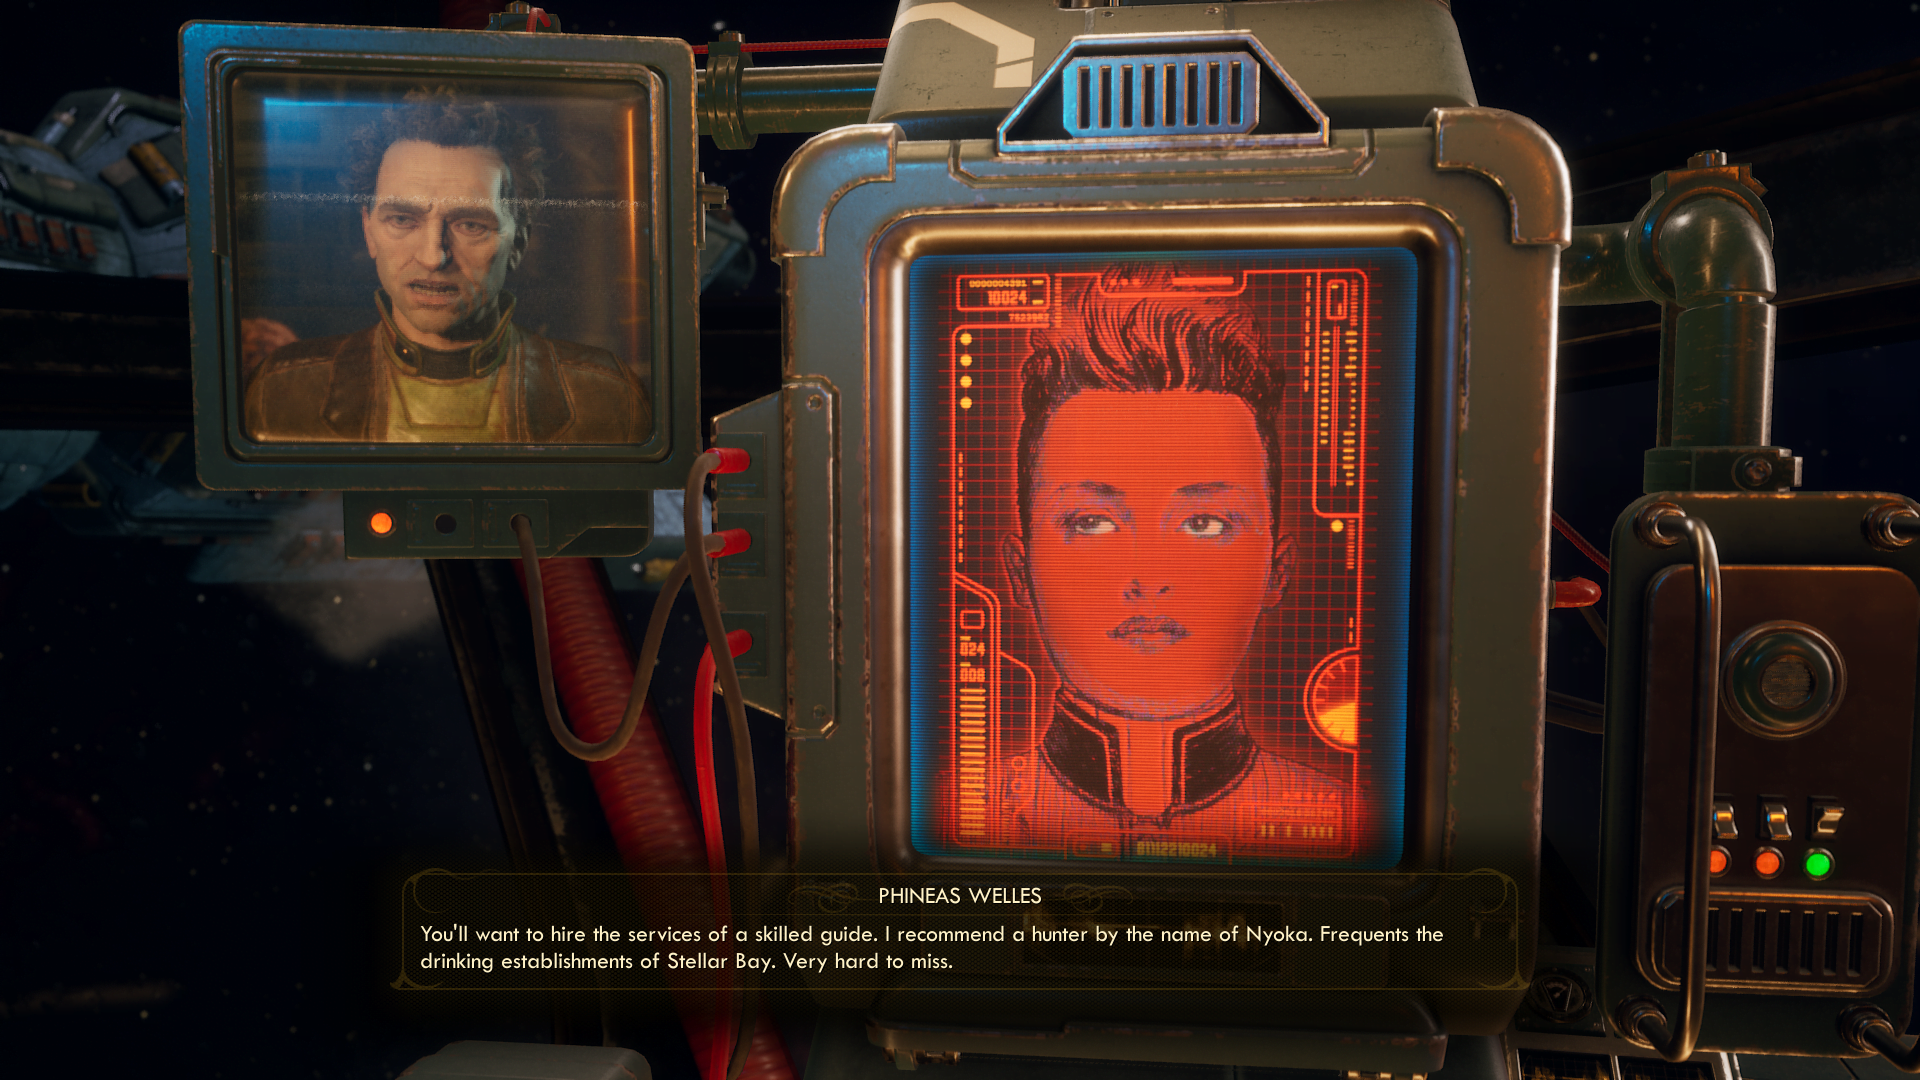
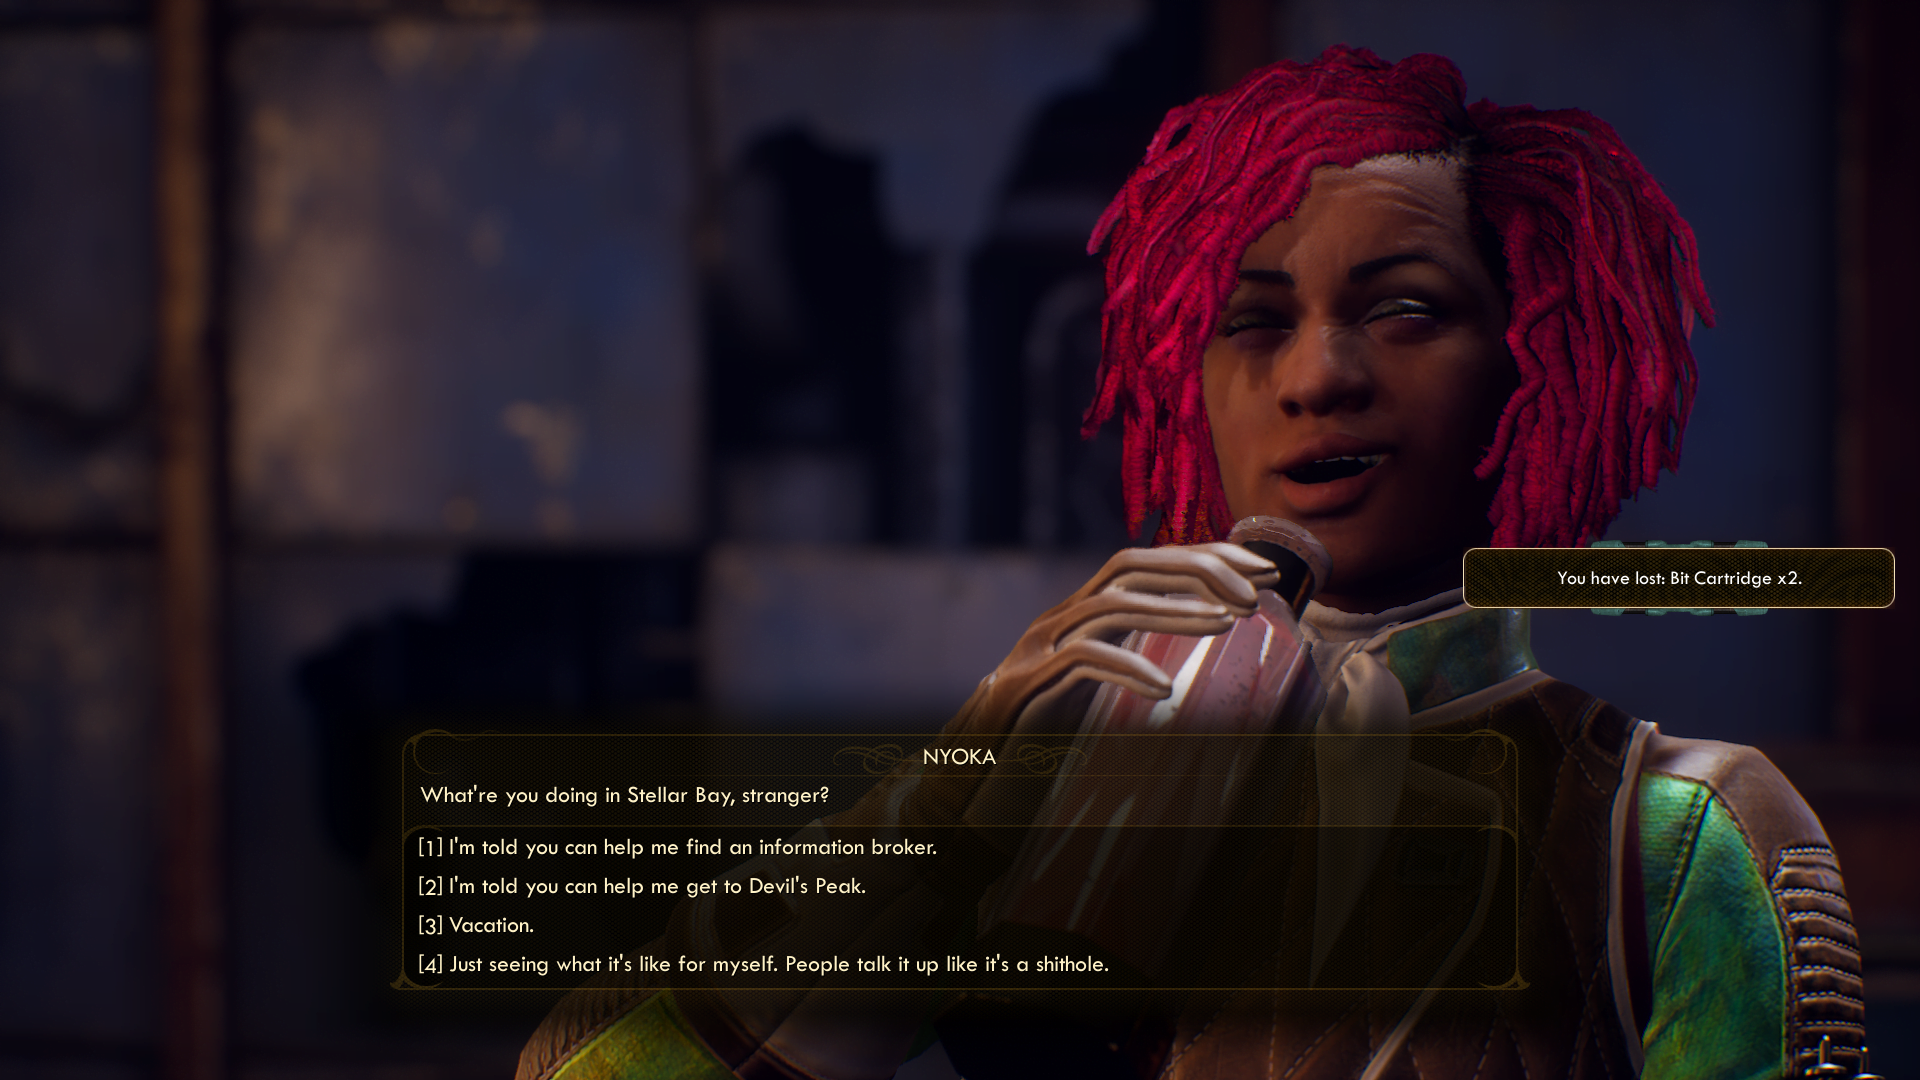
- From here, go to the Yacht Club (straight ahead) to find Nyoka. You’ll learn that she has a hangover that needs to be cured through the mandatory side quest, Passion Pills.

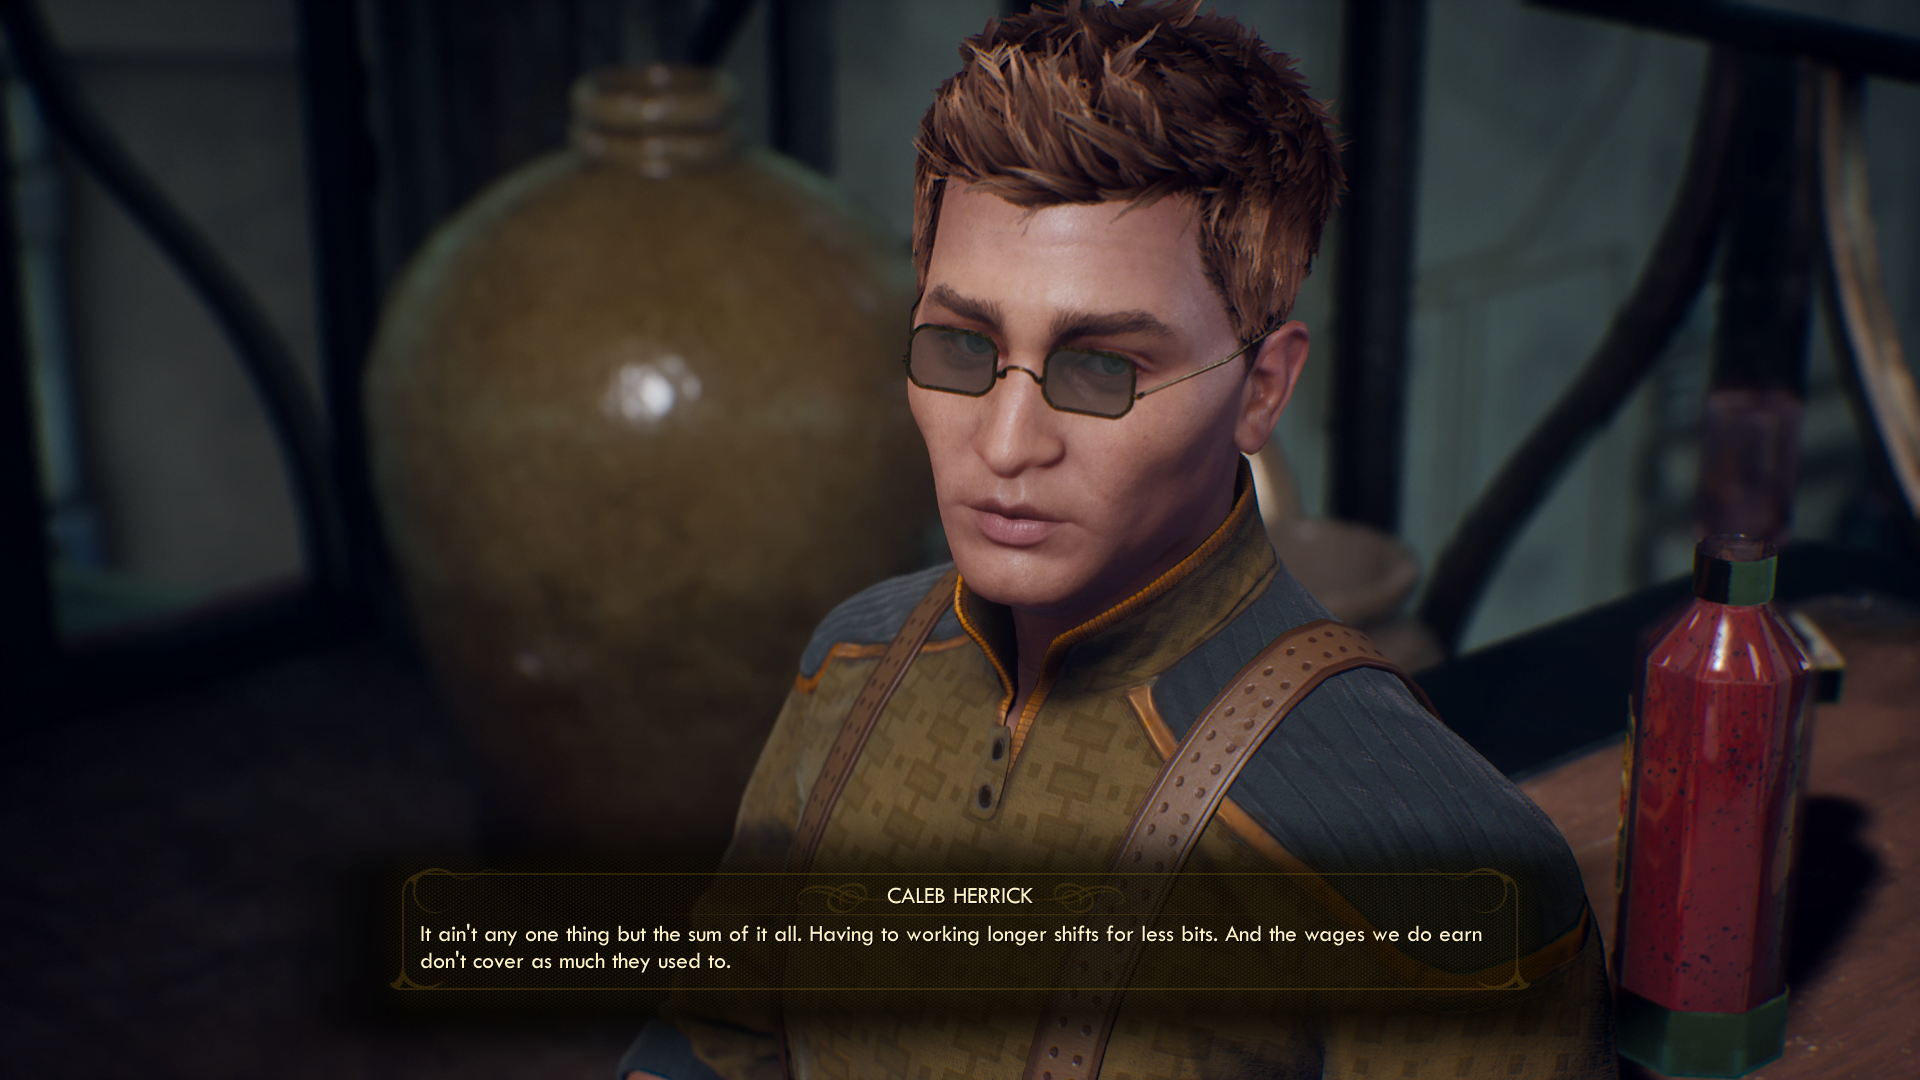
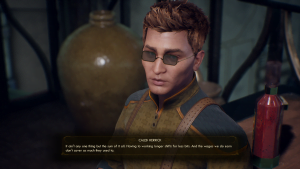
- Now you can speak with Caleb Herrick on the balcony if you want to get a side quest. If you see Talmadge Kerr calling out in distress on the streets, you can also pick up a task of investigating a murder in the local apartment building. Feel free to chat with Velma or talk to Sebastian Adams, seller of raptidon parts behind the Yacht Club, to either search for Mr. Pickett or to help Celia with her romantic confession.
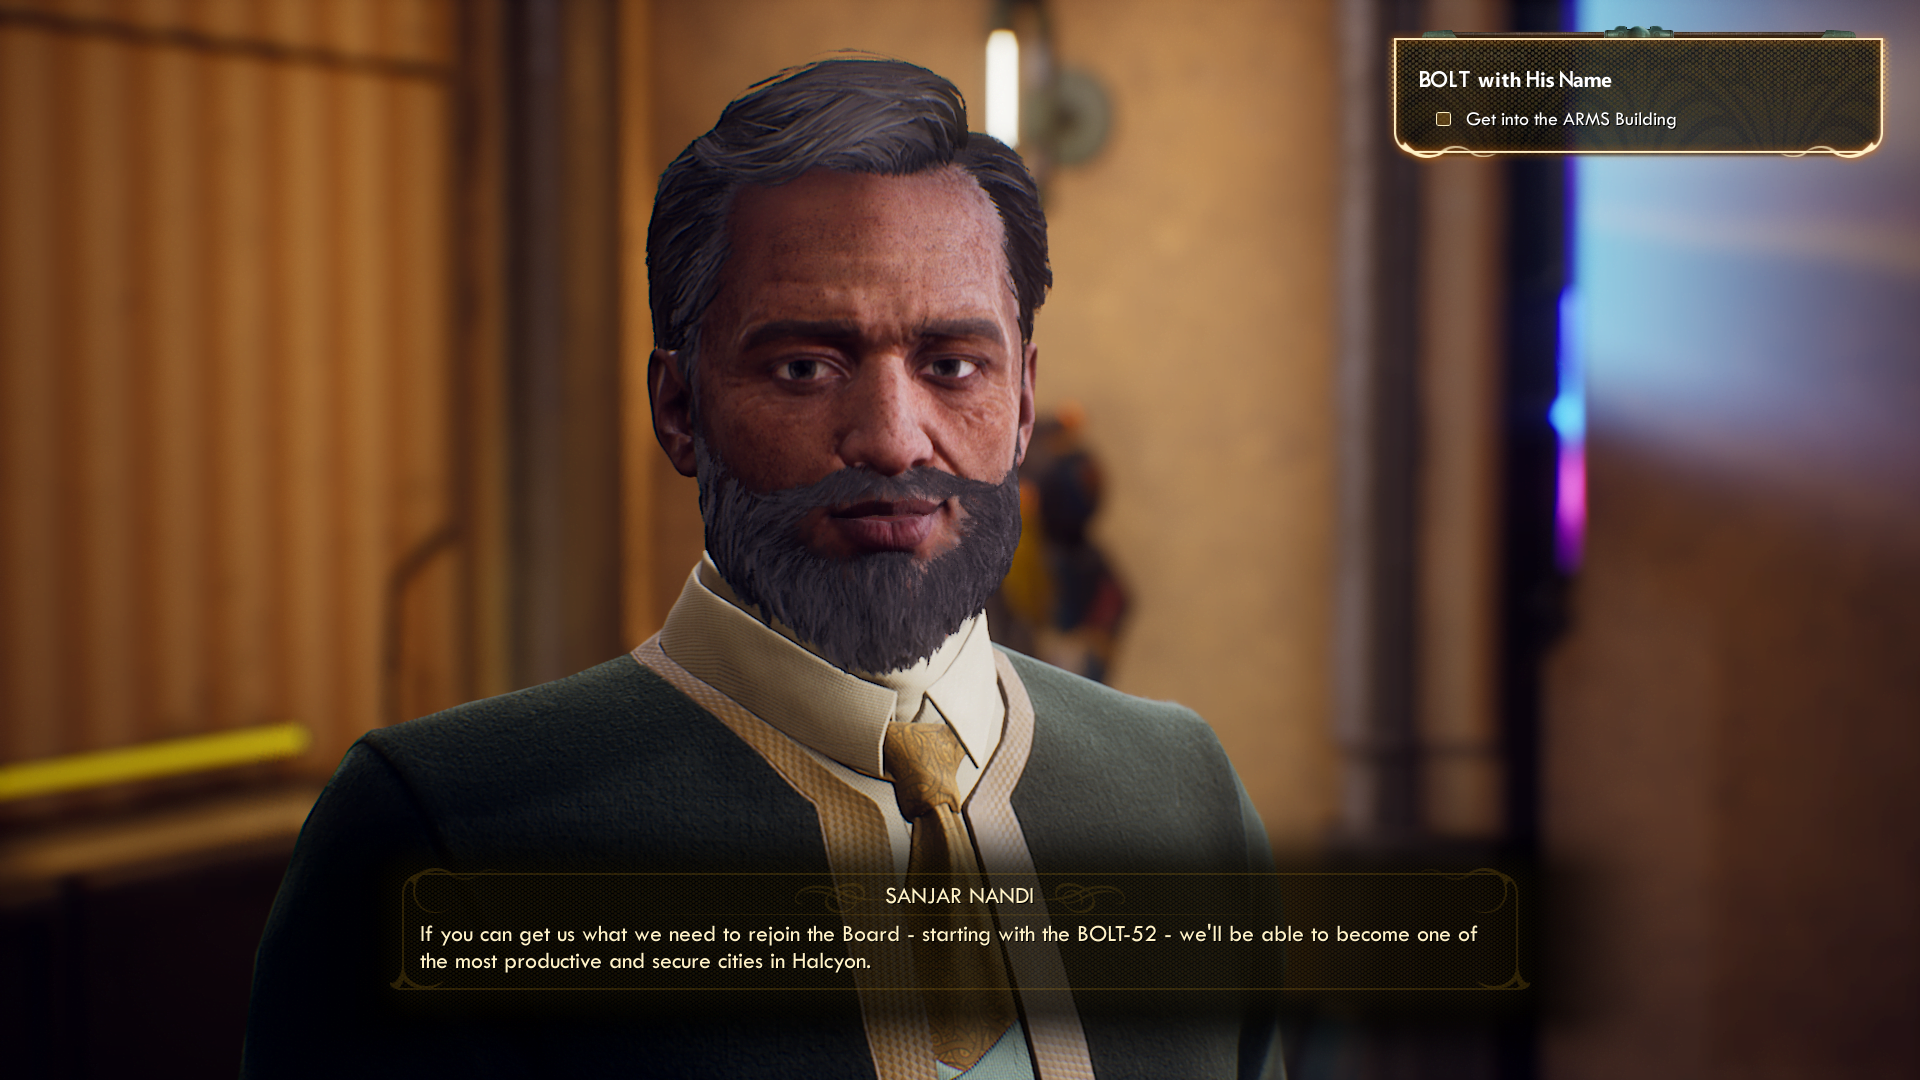
- Once you are ready, head to Sanjar’s office – down the west road under the Monarch sign, and speak to him and Celia. You will learn about MSI’s history, complicated situation, and pick up a mandatory quest we will handle later in the guide, BOLT with His Name.

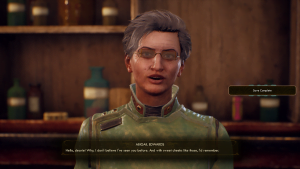
- Now, back to Nyoka’s quest. We will need to find Abigail Edwards, the local nurse, in the building that’s located on the west side of the Stellar Bay (it’s the building located next to the Saltuna Warehouse and in front of Left Field Tossball Betting).
- Ask Abigail about Caffenoid Supplements, after which you will have the option of passing an easy lie skill check for getting them for yourself or just admit that the supplements are for Nyoka. If you tell the truth, you will learn that Nyoka’s quota has been already depleted.
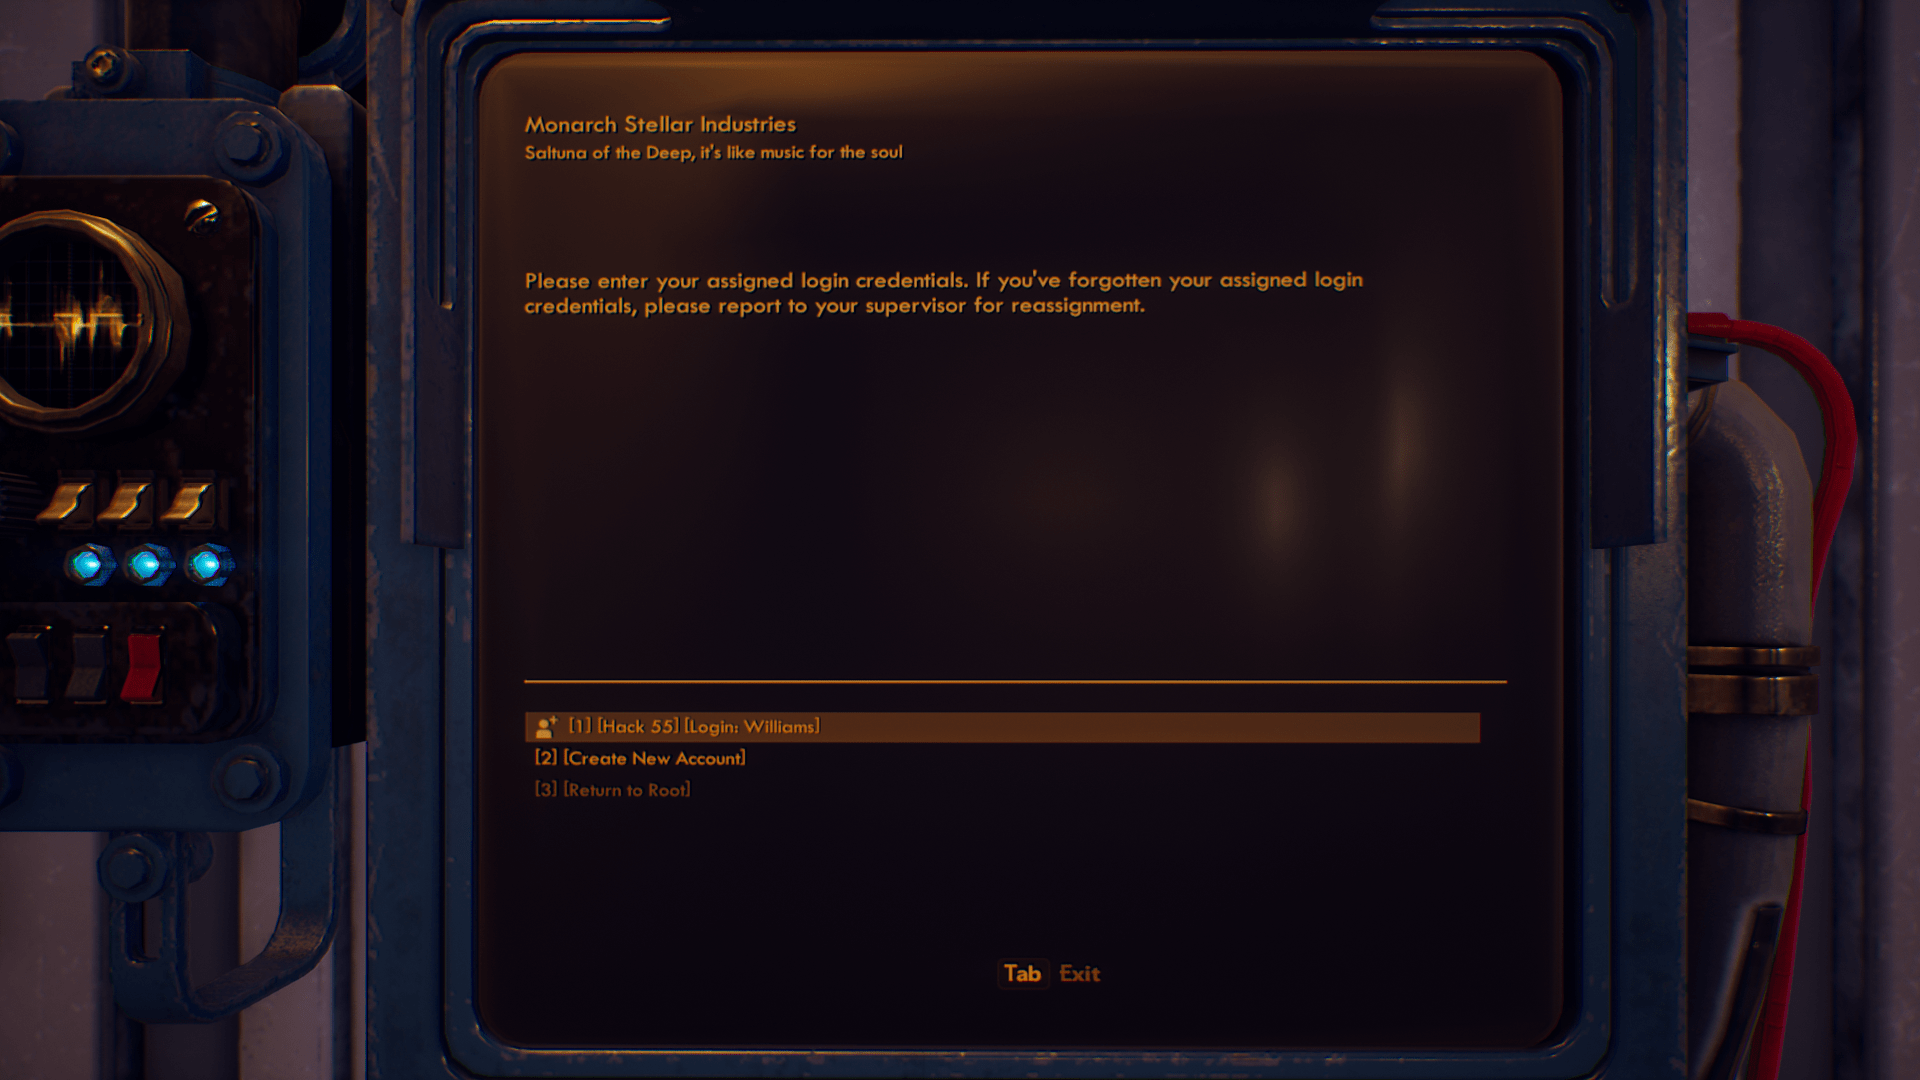
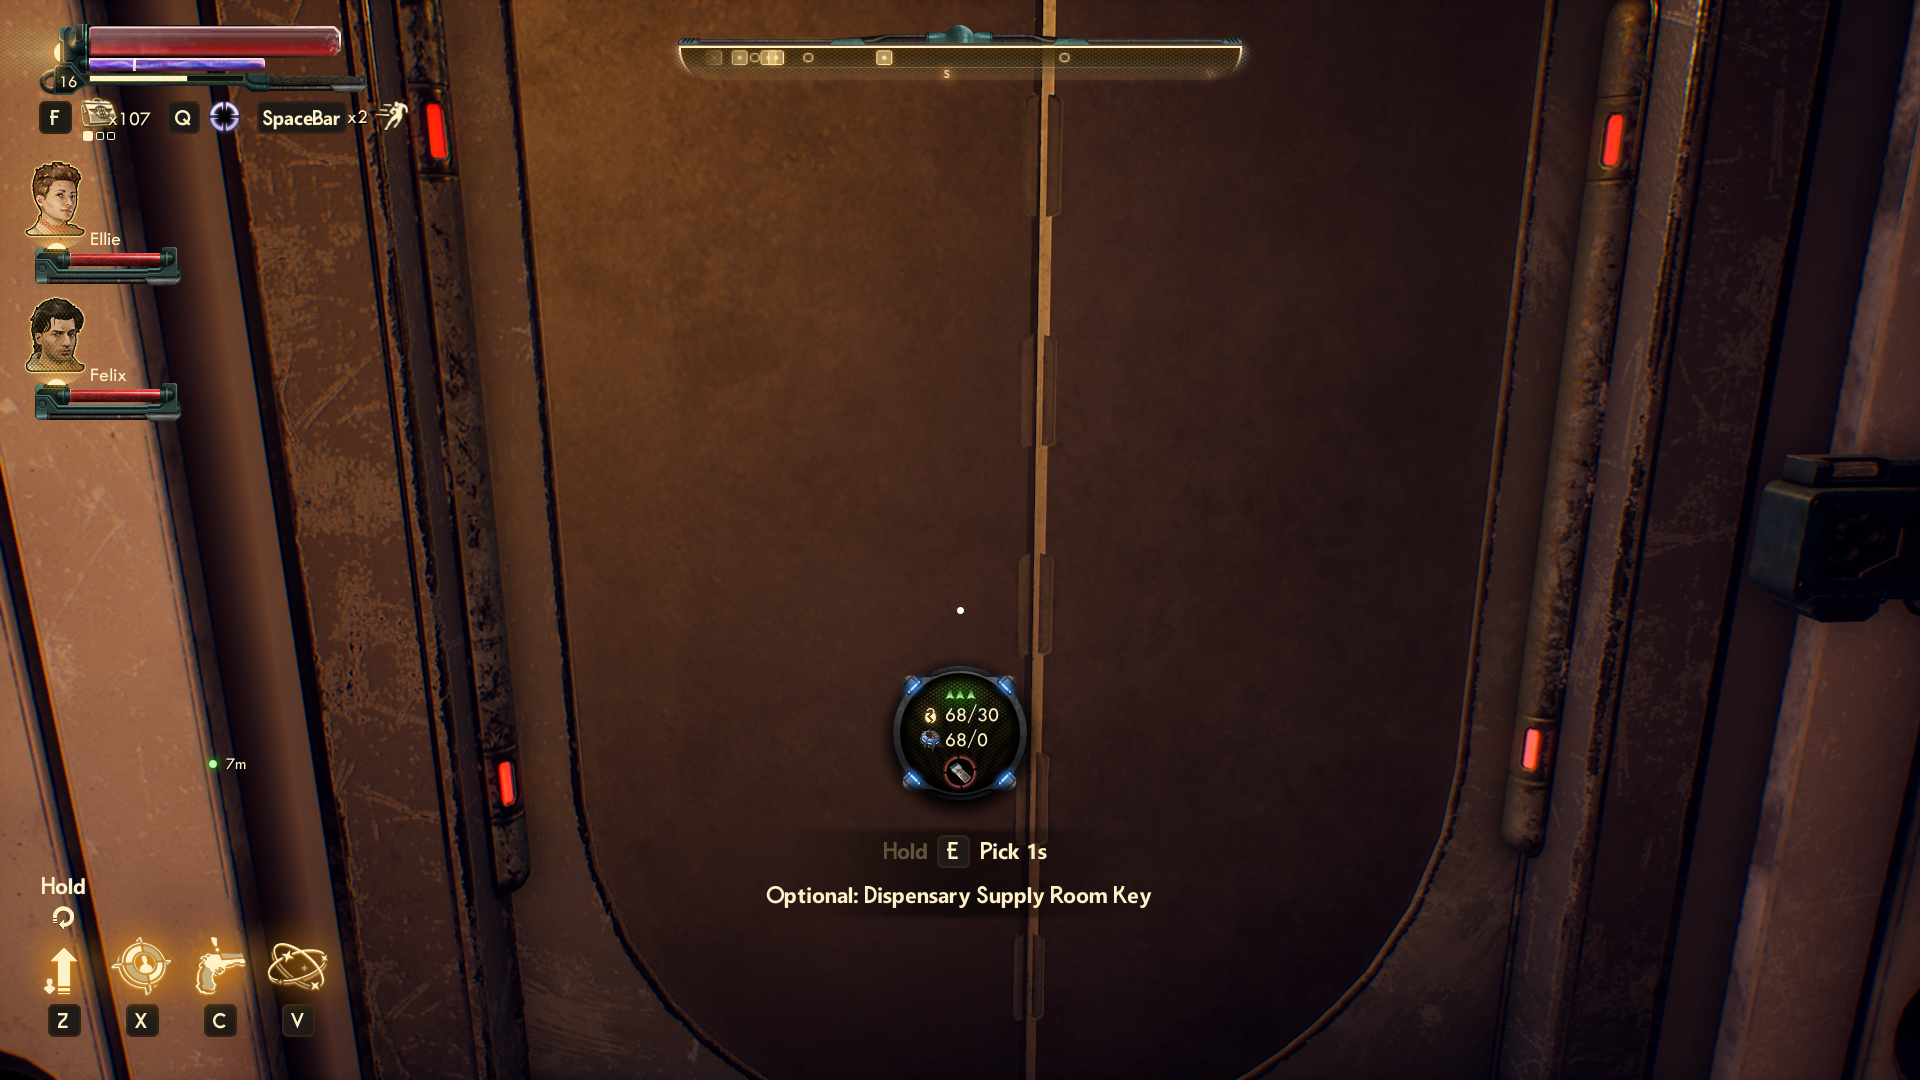
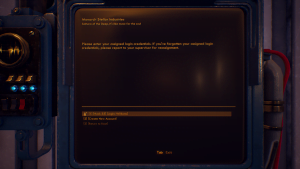
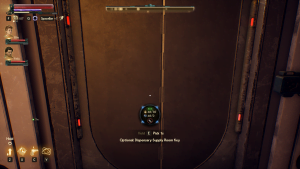
- Abigail will point you to Dr. Williams, the doctor who oversees prescriptions. However, you have easier options than locating Dr. Williams’s corpse in the graveyard to loot the Dispensary Supply Room Key. You can lockpick the same door with Lockpick 30 or hack the terminal with Hack 55 to increase Nyoka’s dose. In either case, the terminal and the door will be on the second floor of the building.
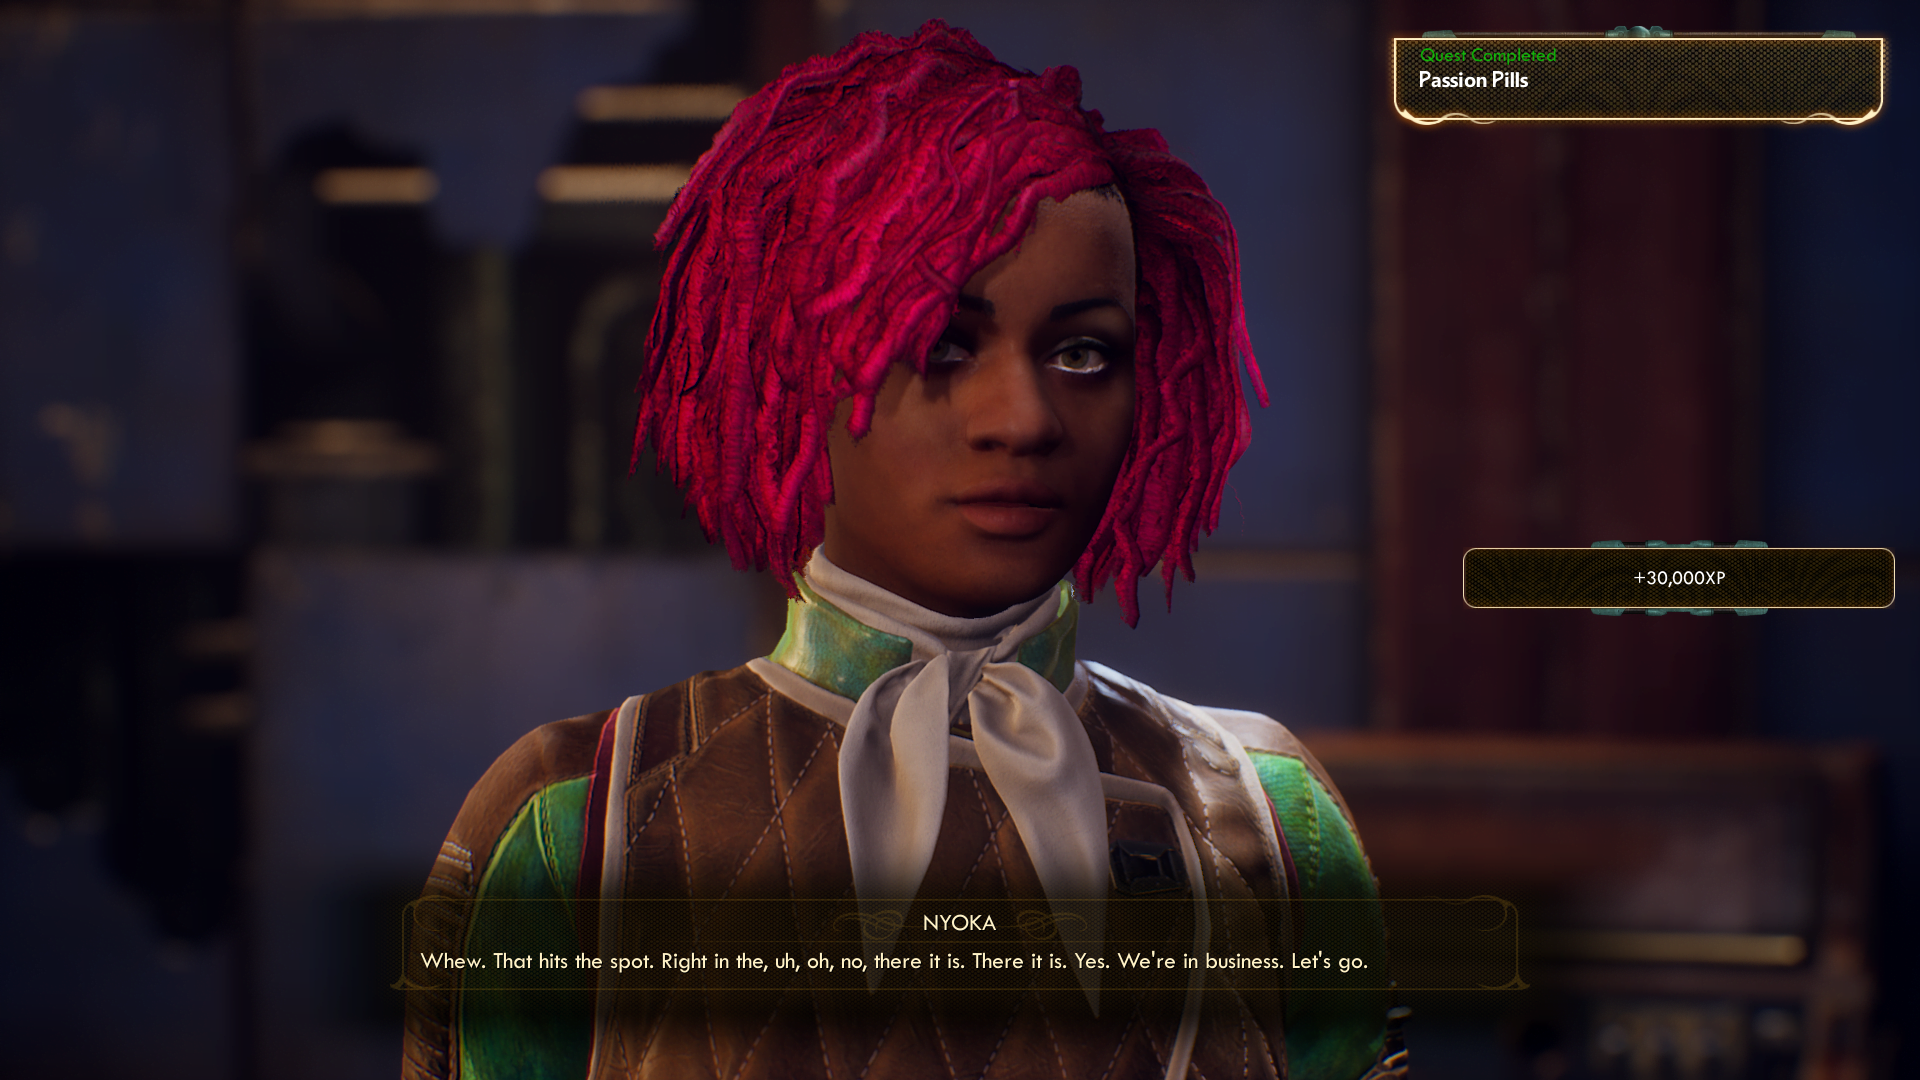
- After you get inside the supply room, pick up the Caffenoid Supplements and return to Nyoka at the Club.
- If you give her the drug, it will complete Passion Pills and recruit her for your party (if you want to use her as one of the companions). You can ask her about the Devil’s Peak to learn about your options in regards to the path, or just have her around for navigation comments.

Part Two – BOLT with His Name & Devil’s Peak
After finishing with Nyoka we will progress the MSI’s questline, travel to the broadcasting tower to learn our objective in regards to stopping the ceaseless broadcasts by MSI and Iconoclasts, and then complete Sanjar’s quests to complete half of our main objectives.
You will need to complete BOLT with His Name in order to progress Radio Free Monarch. We have prepared a separate guide to walk you through each step!
Overview:
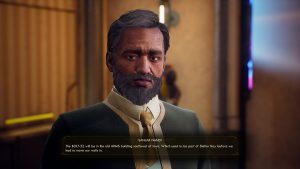
This quest will involve you getting into a locked room in the ARMS building located not far from the city’s south gate, handling Sanjar’s documentation, picking up the BOLT-52 Cartridge, and reporting back to Sanjar. When you submit the quest, Sanjar will direct you to Fallbrook with the next quest, Errors Unseen.
We will stop by Fallbrook as a part of the main quest, but we will handle Errors Unseen in its entirety later.
Devil’s Peak
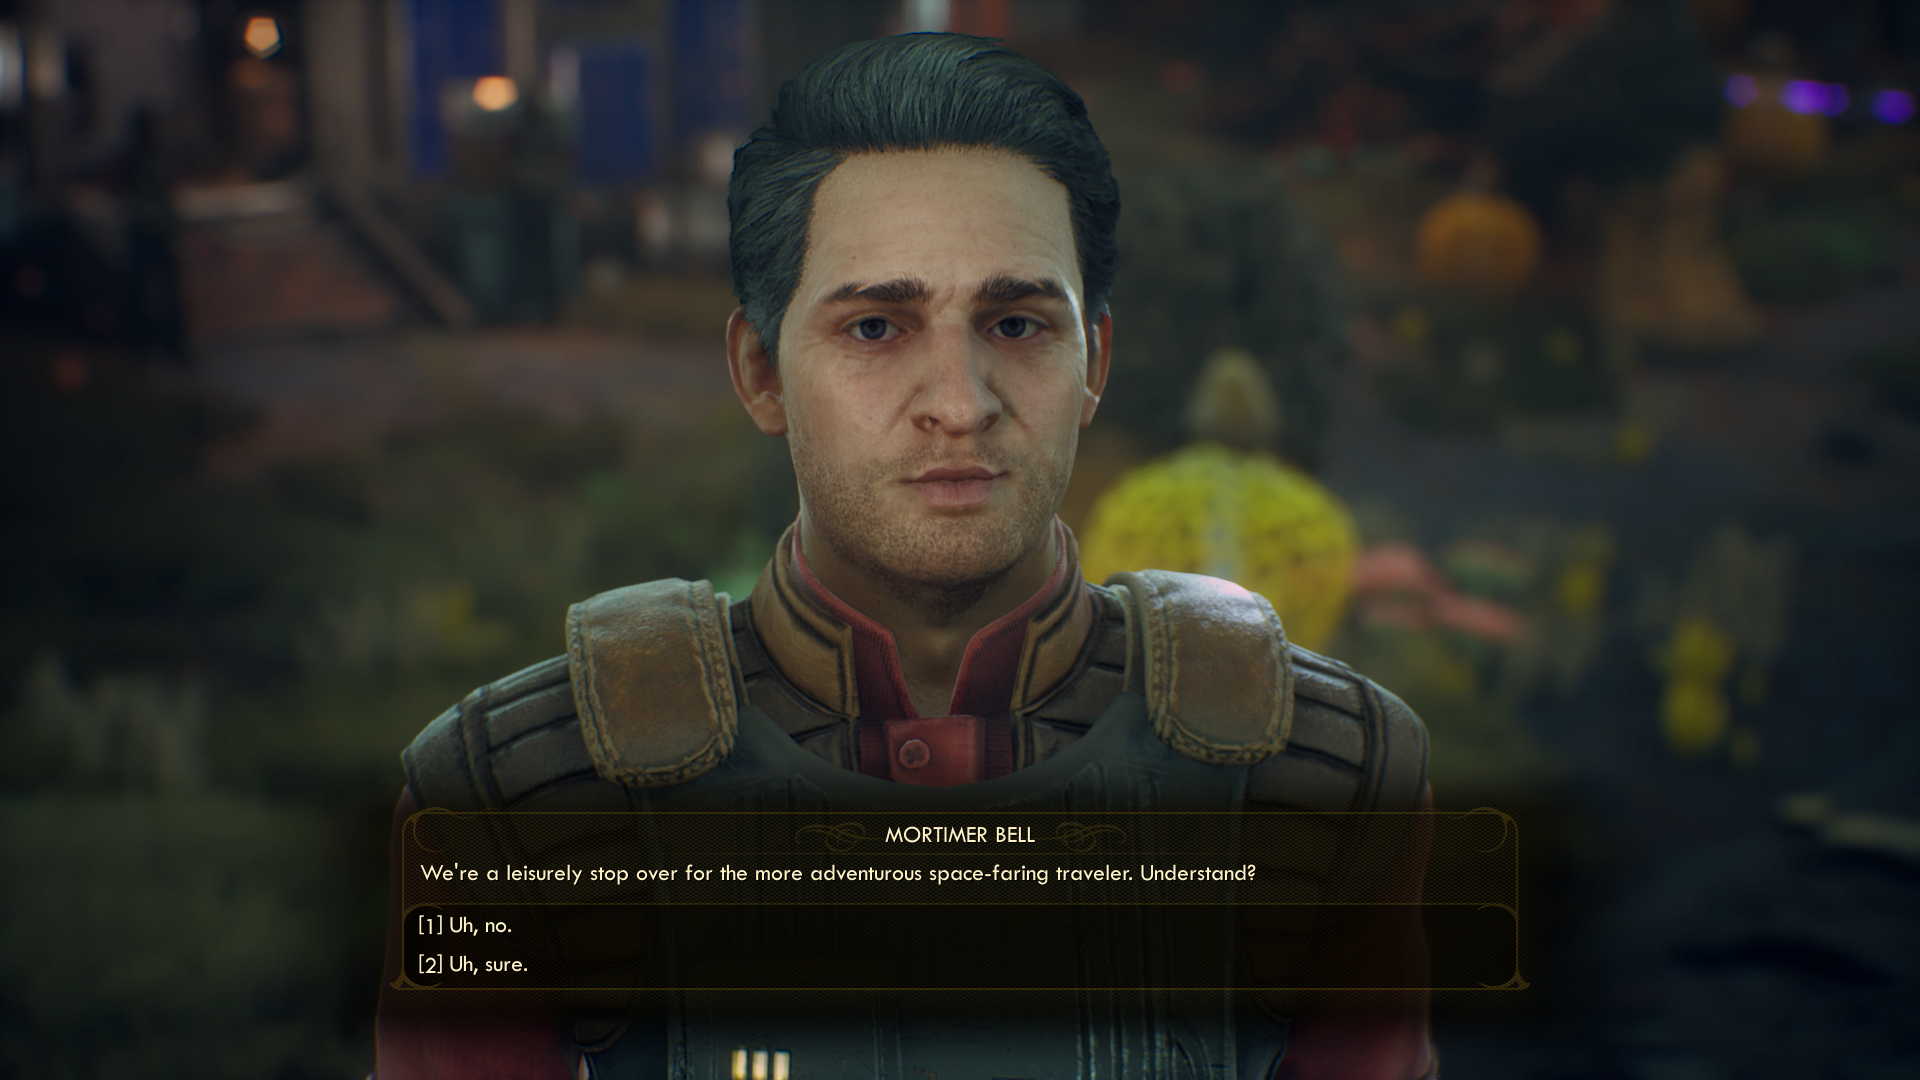
- Before we handle the Errors Unseen, we will get to the Devil’s Peak and speak to Hiram. We will make a stop in Fallbrook: head down the road that leads south, follow the Eastern half when the road splits briefly, then onto the crossroads, and finally inside the town that’s located at the southeast point on the map. Chat with Mortimer Bell and then pick up some side quests, if you want (try talking to Nelson Mayson nearby to get Spratkings.)

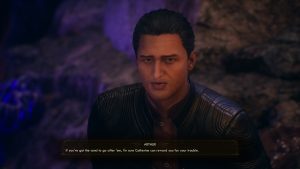
- For convenience, this would be a good time to chat with Catherine Malin at the Ante Up to progress the first step of the Errors Unseen, or do it as a part of our guide below.
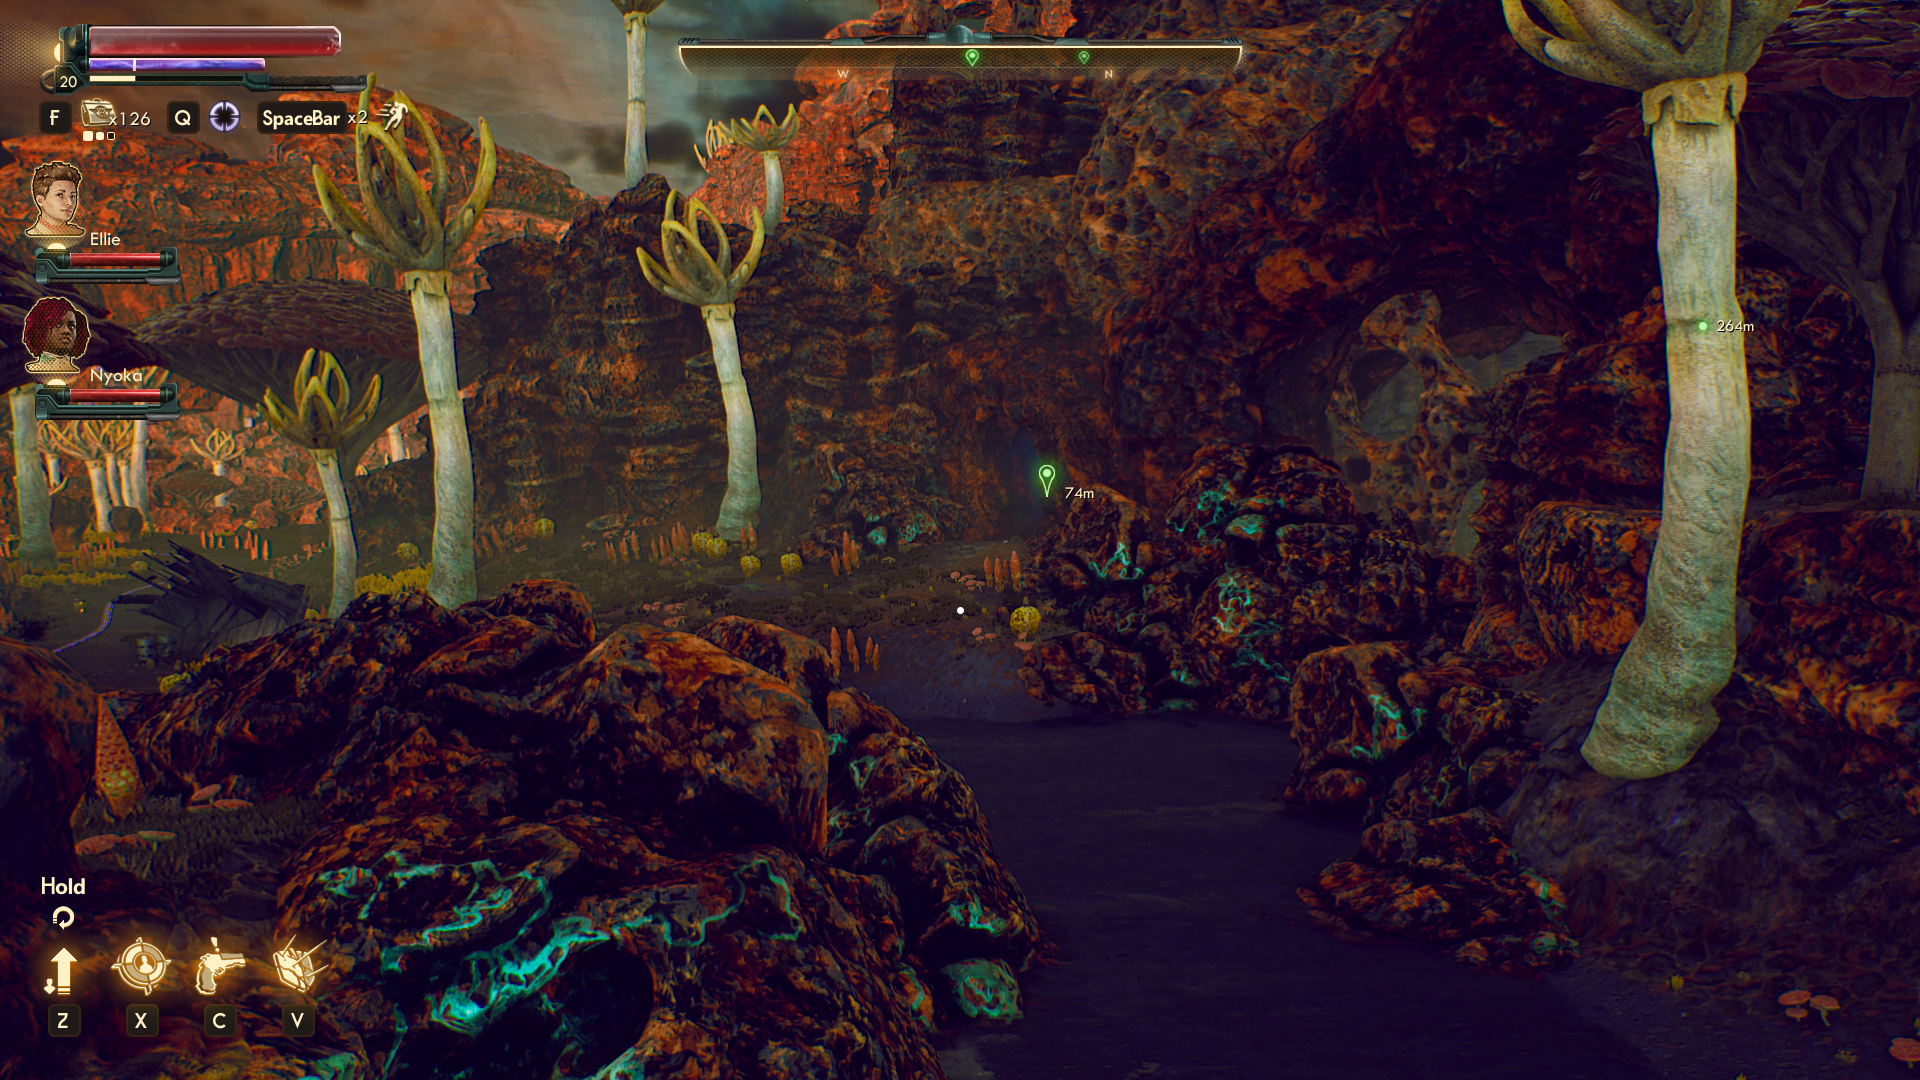
- Now, head out and continue on the road west until you get to the bridge going across the Rotting River, next to the Abandoned Safehouse. Immediately, Nyoka will point out what you can take an easier shortcut to the peak if you go through the cavern down from the bridge along the river (see shortcut). If you do, you will mostly encounter marauders, unless you want to fight a Mega Mantiqueen to help out a leader of mercenaries. To take the more difficult path in regards to combat opponents, follow the windy road up the north slope. (If you care to do so, help Nyoka locate her old friend’s grave not far from your current location to progress her companion quest, Star-Crossed Troopers, before you see Hiram.)

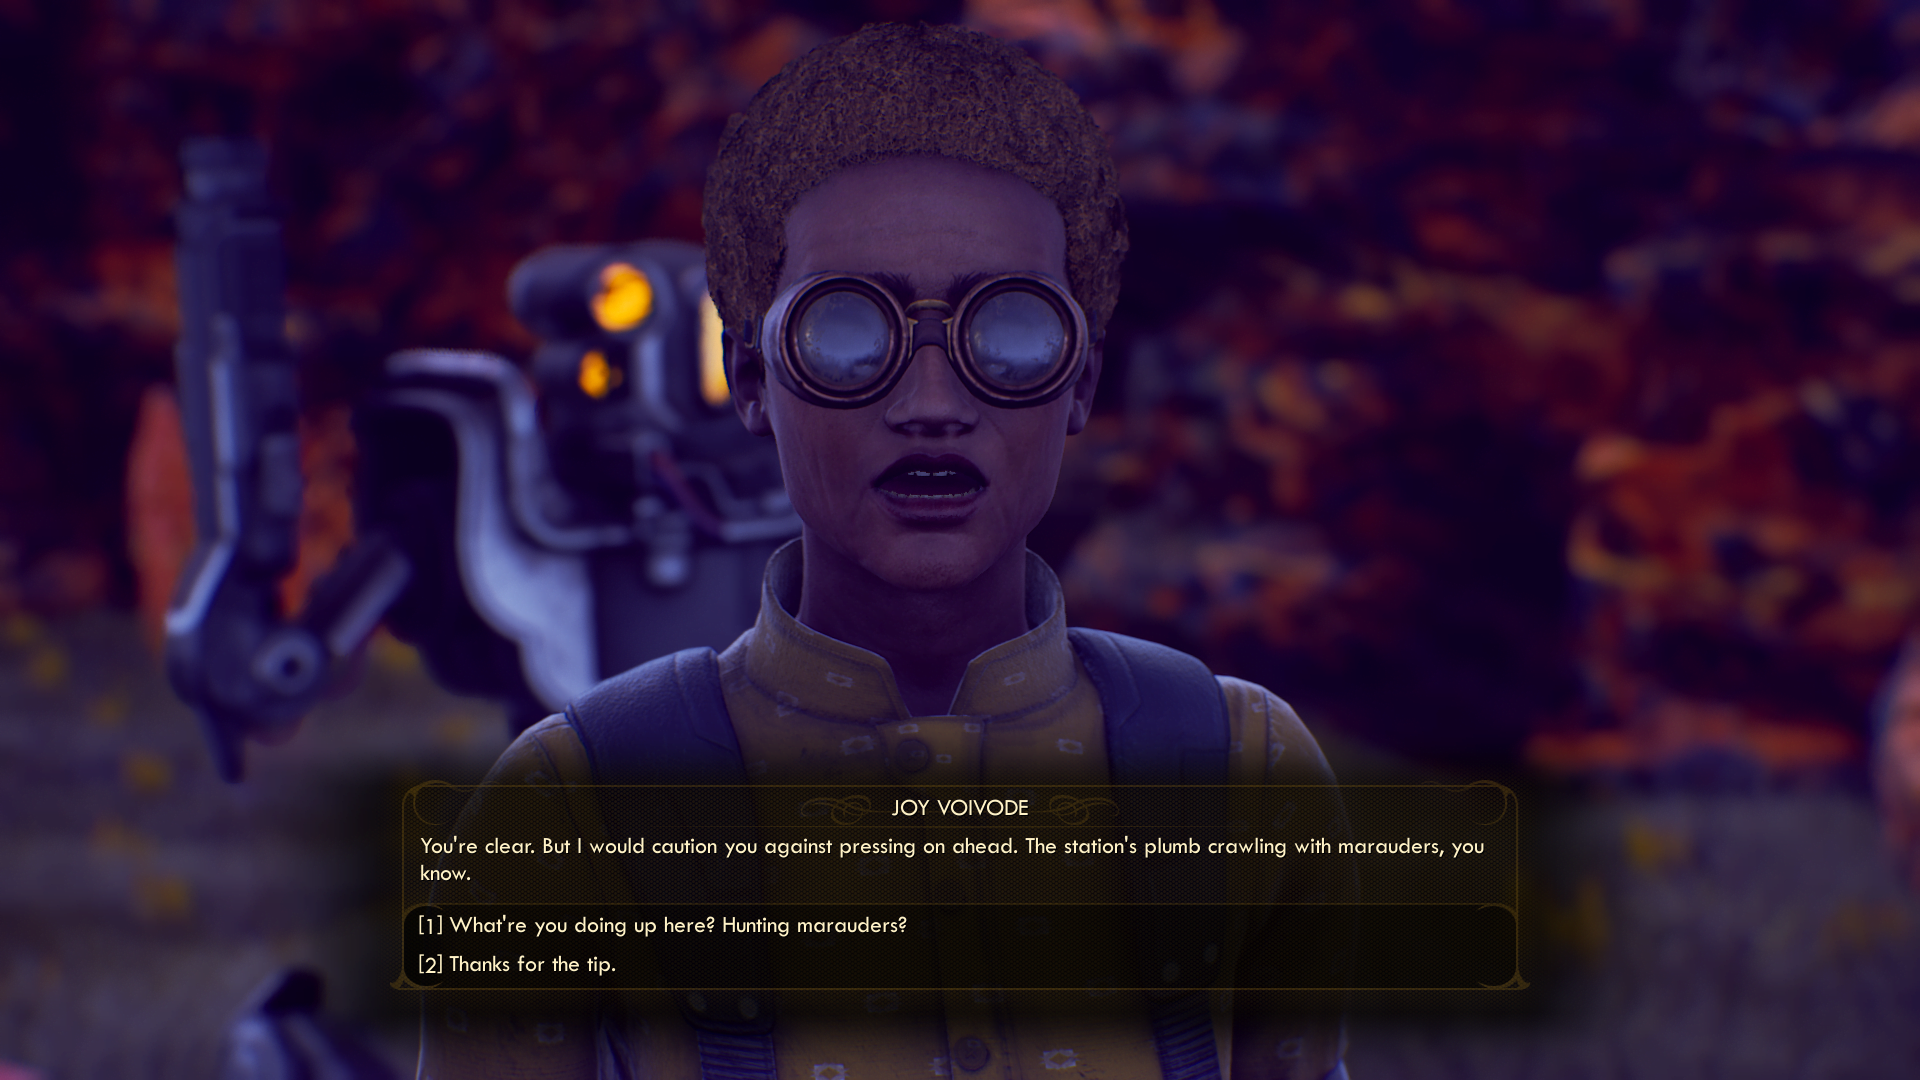
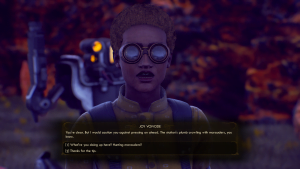
- When you reach the summit, Joy Voivode will notice you as you approach (if you took the direct path). She will inform you that marauders navigated through caverns and took over the radio station. You can recruit her and the rest of C3 to help you fight back, which will be easy to do if you helped their leader in the caverns.
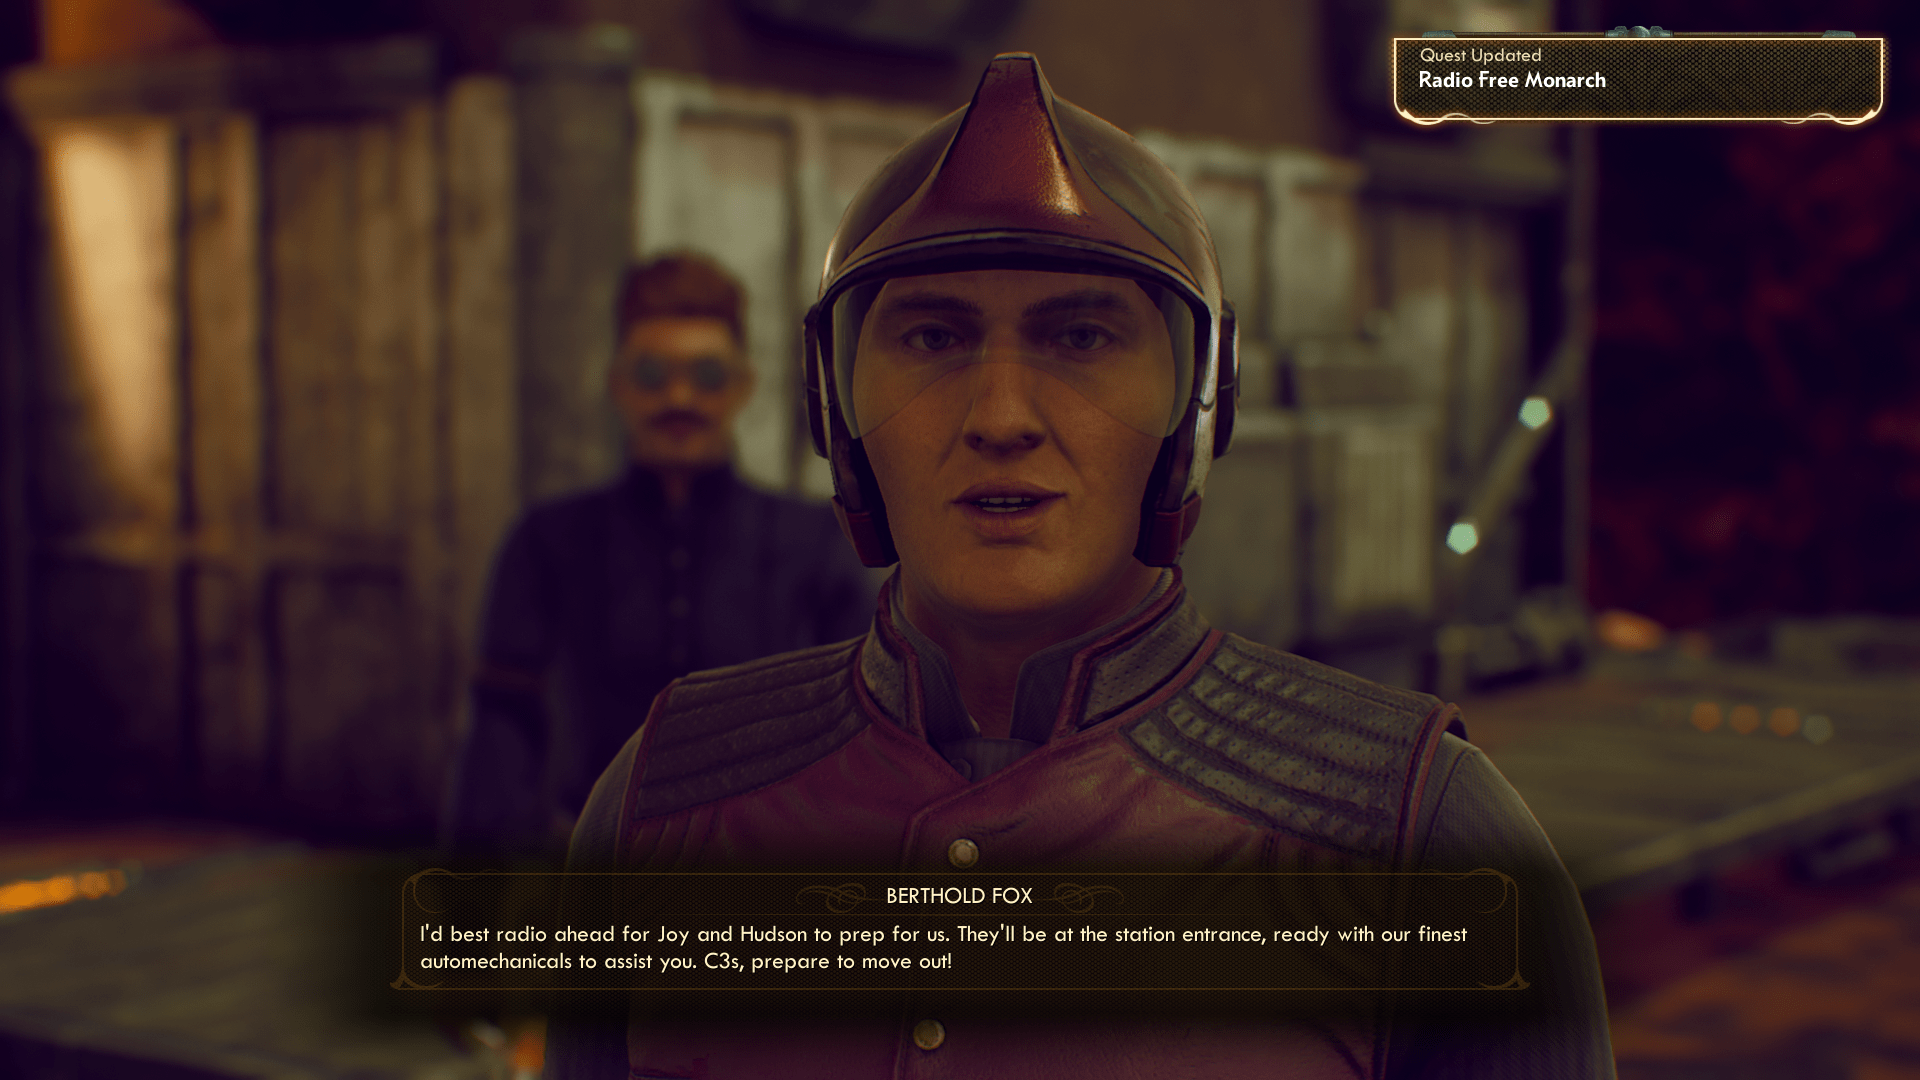
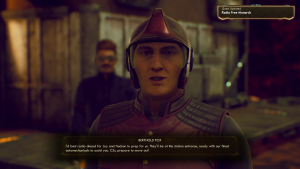
- If you don’t have Berthold with you, take the path down the hill behind Joy and find a small camp near the cliff. The group will be unsure what to do with you, but you can bribe them with ~680 bits or pass a 20 Persuade check to get them to hear you out. You can leverage Berthold if you helped him, or take a quick trip not far back into the caverns to get him out. You still have an option to push through without their help.
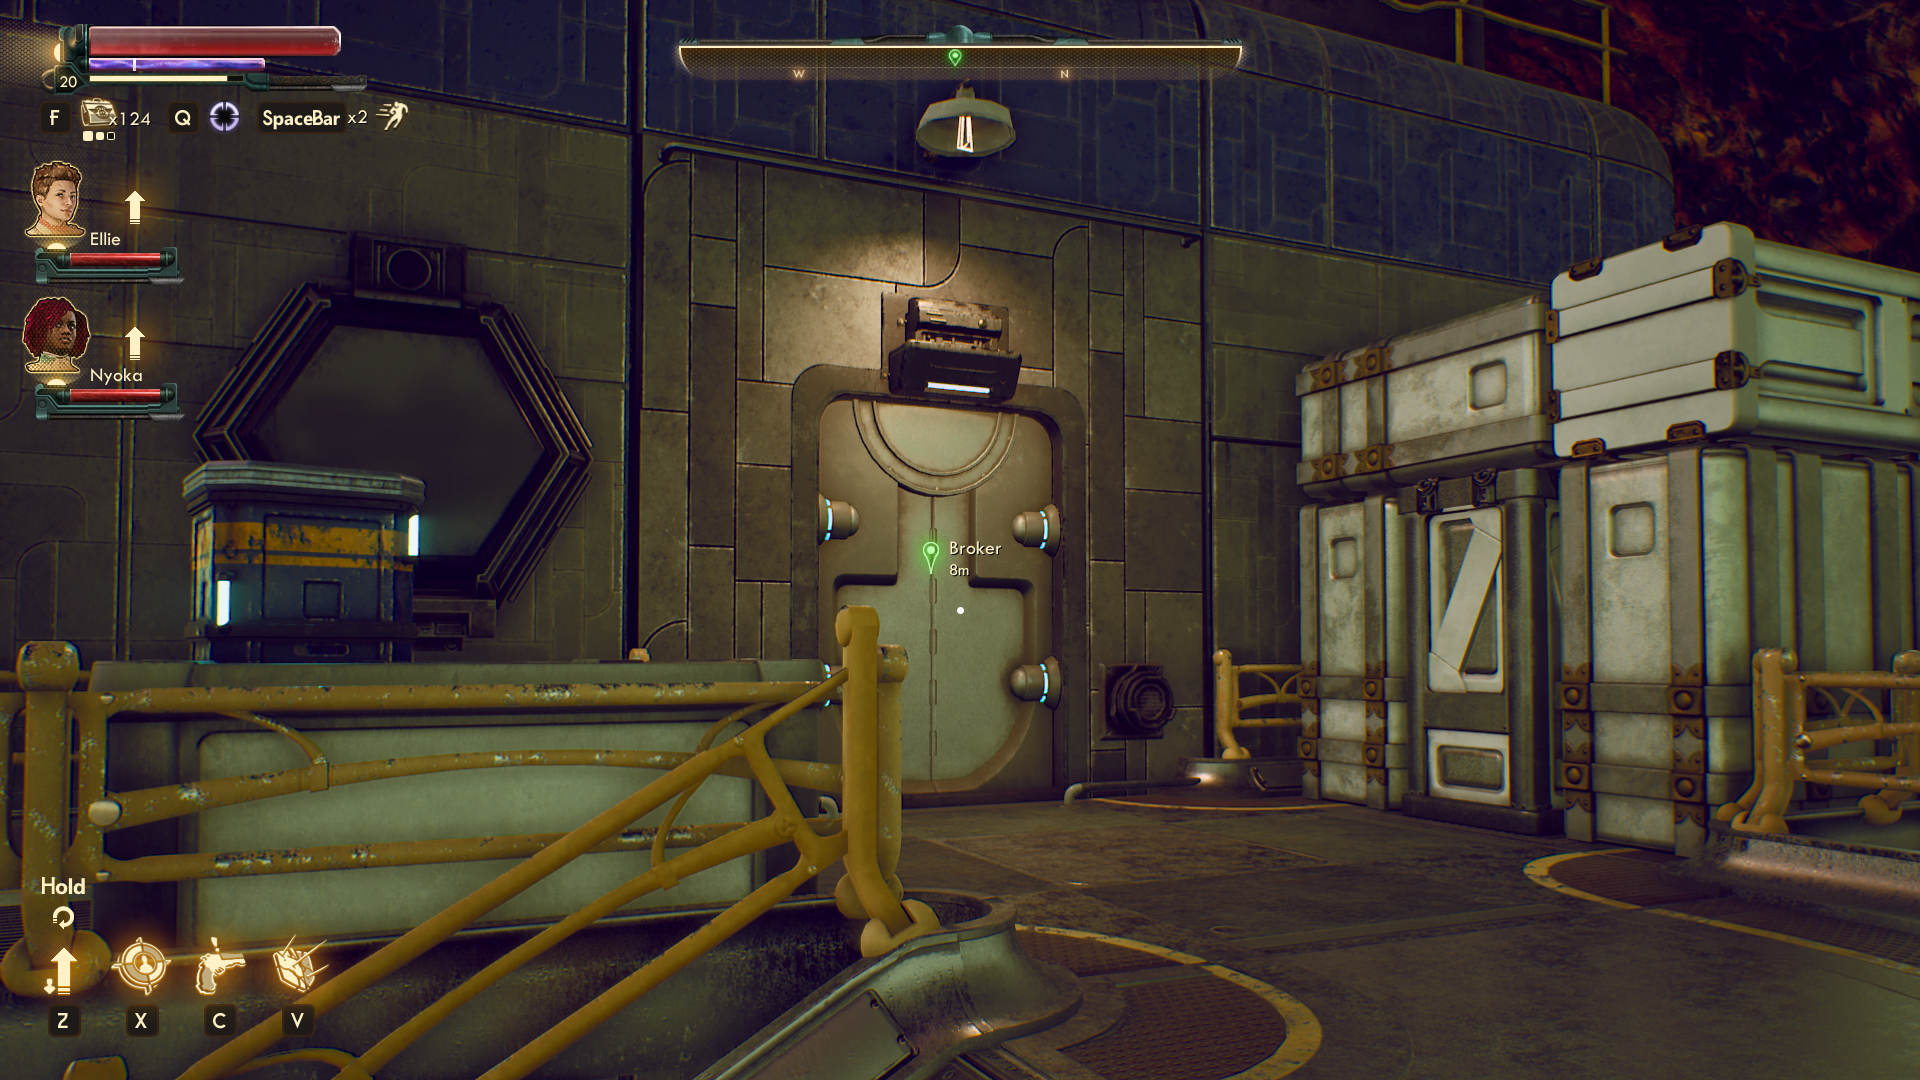
- Once you get to the main entrance, use the side door next to it to get inside. You will have to handle more marauders.

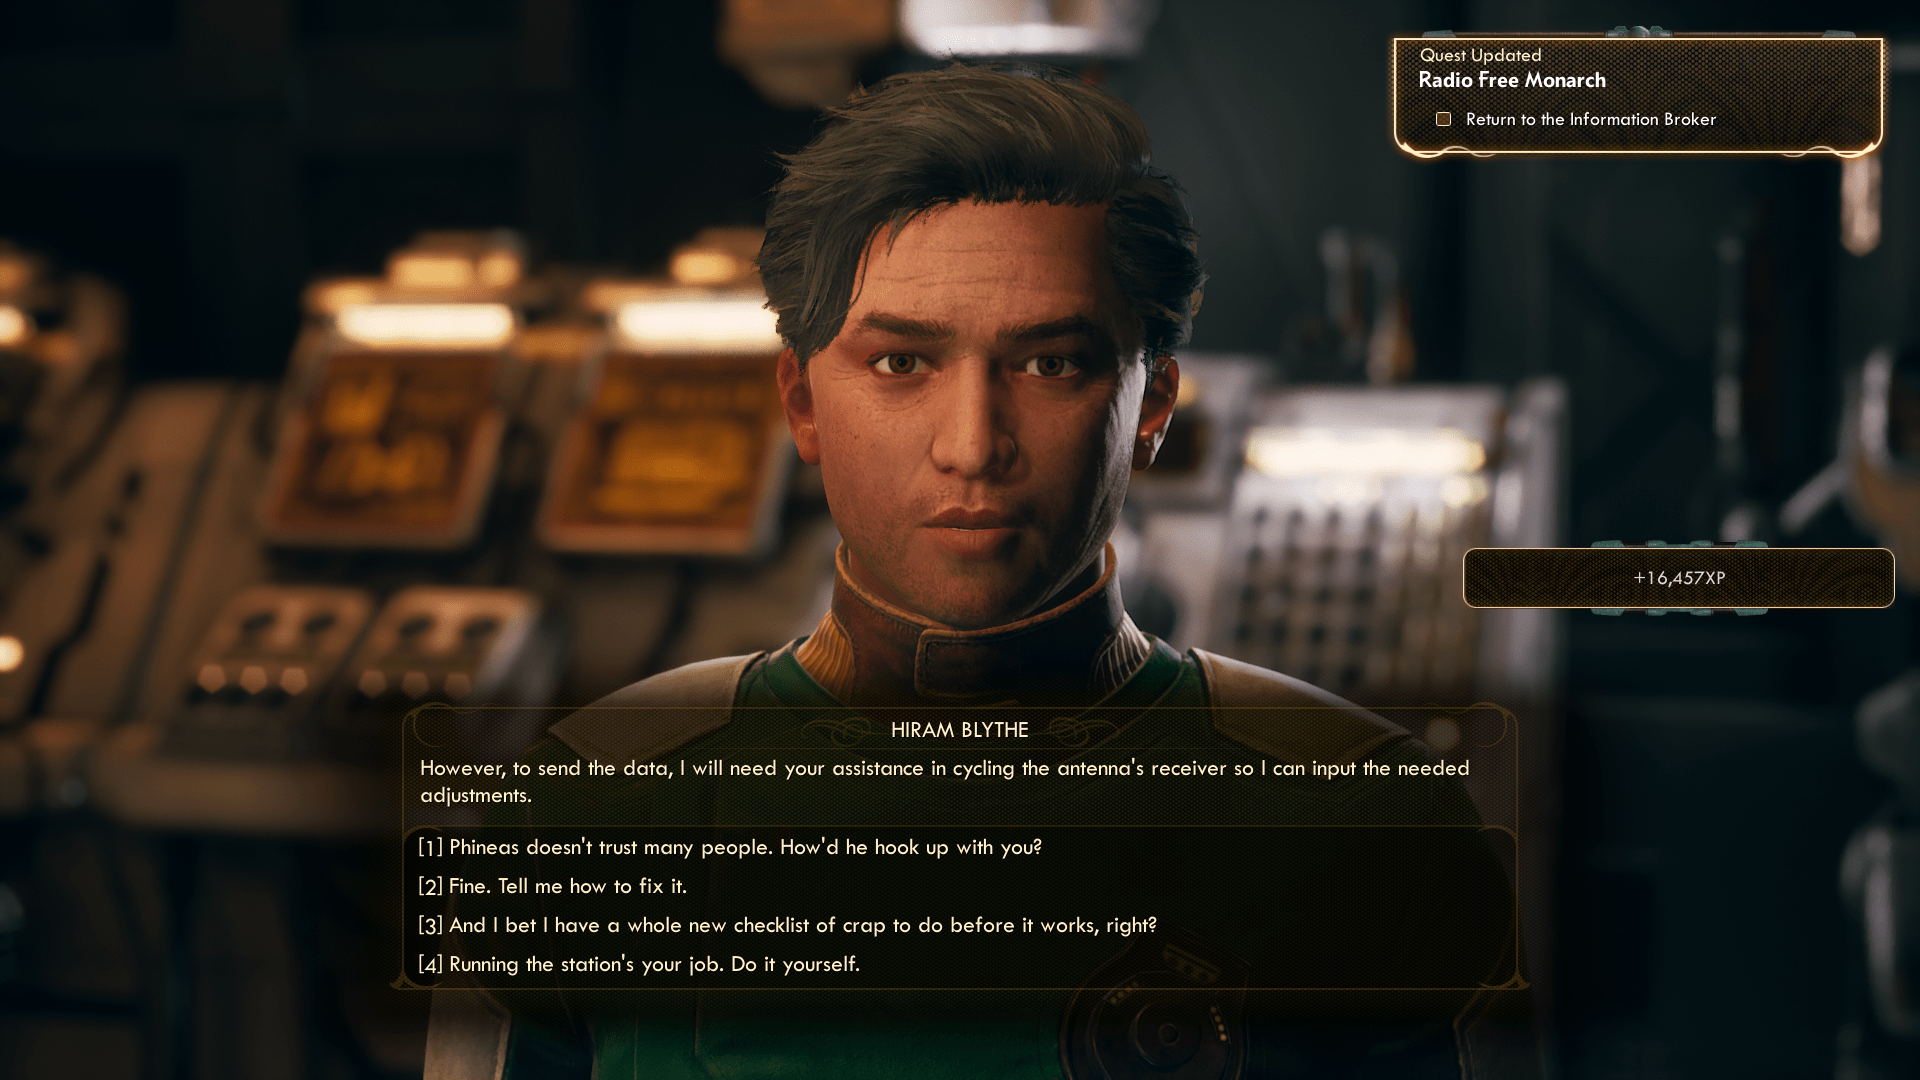
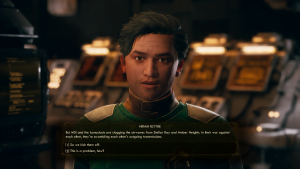
- Once inside the station, Nyoka could comment on the sealed doors and potential paths you can take. Locate the intercom further in – Hiram will tell you to communicate with him using it. He’ll ask you to clear out the rest of the marauders as you venture forth, and if you recruited C3 they can help you out with that.

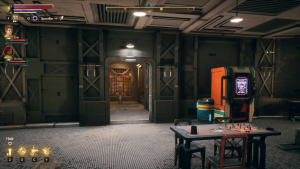
- If you agree to his terms he will point you to the elevator that is next to the vending machine in the first room you have entered. Hiram will turn the elevator on temporarily for you to go up.
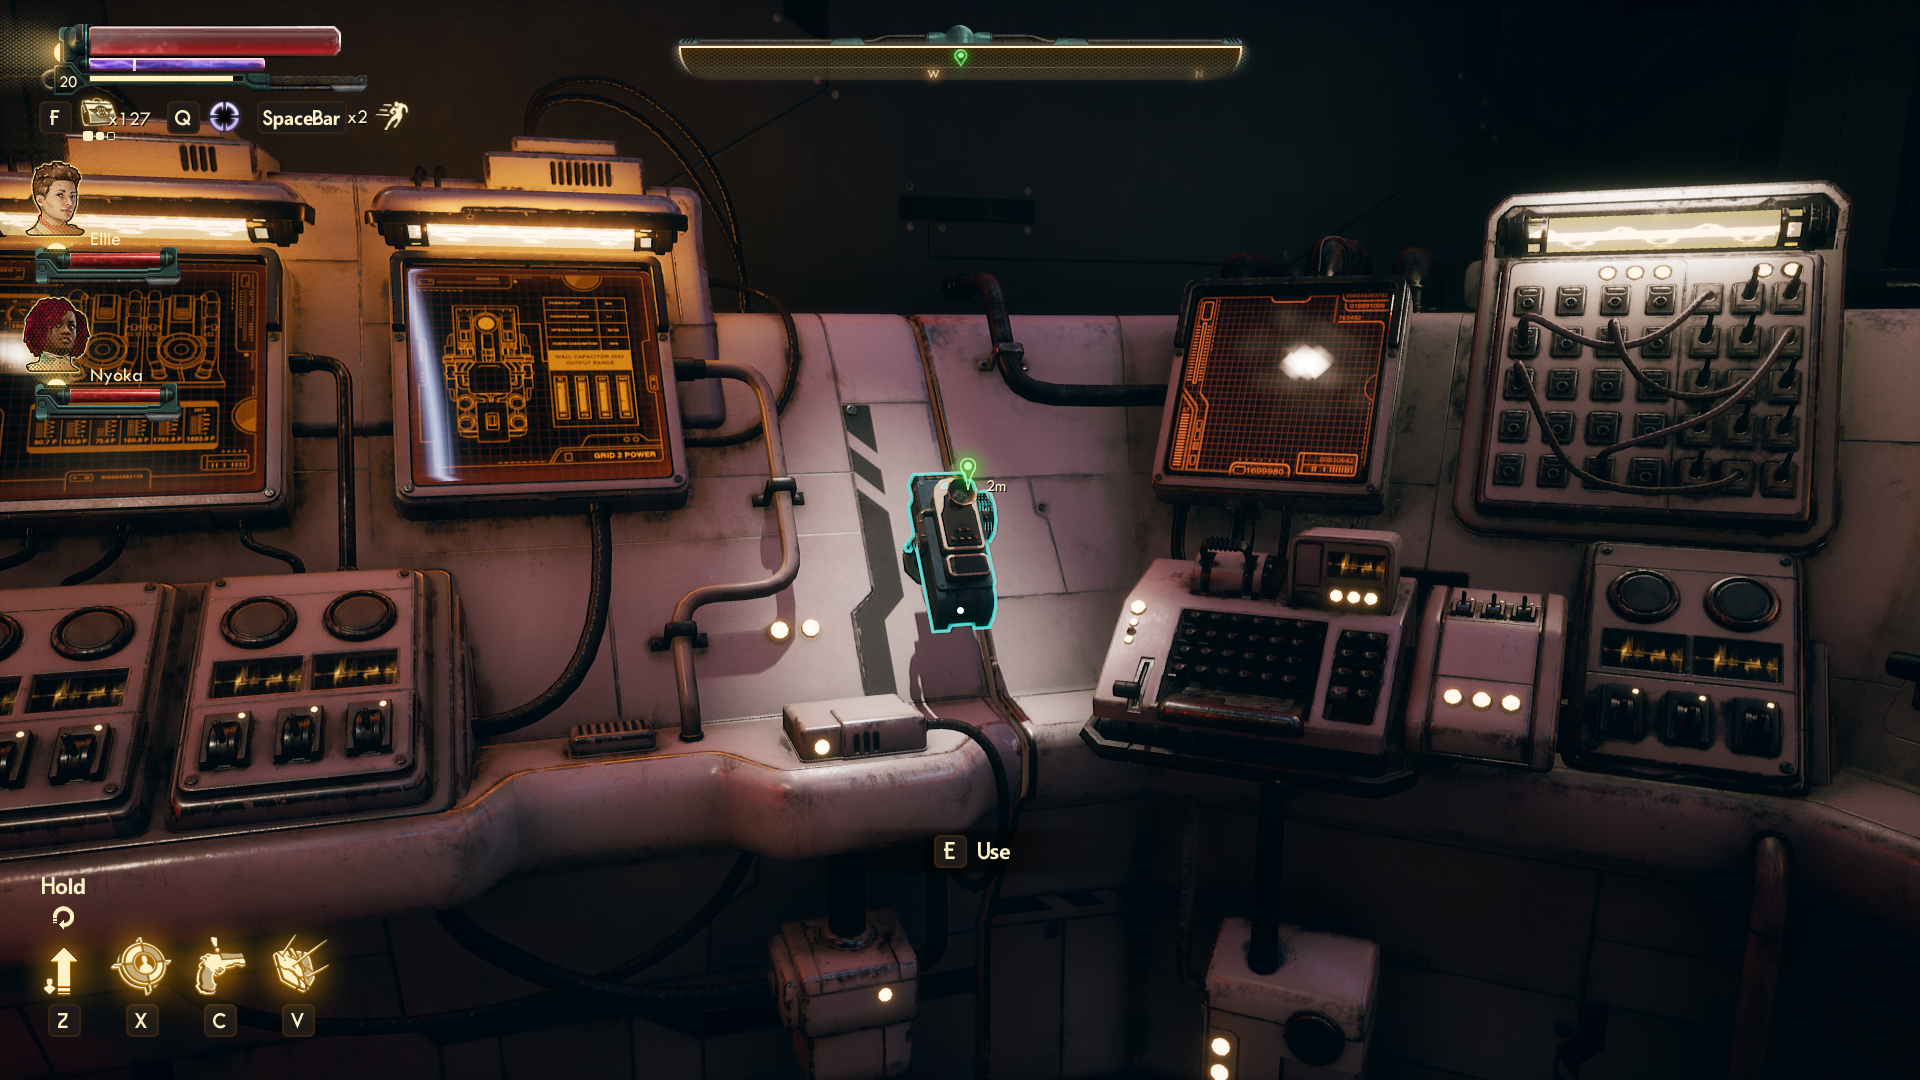
- Once you are done killing marauders, use the intercom located in the northwest corner of the floor, up the stairs, to communicate with Hiram again.
- Hiram will explain that his issue are the ceaseless broadcasts from the two opposing groups in the area, MSI and the Iconoclasts. You can do this by completing the Errors Unseen and helping out the Iconoclasts (The Commuter and Pay for the Printer), which we will be covering next. After you gain the trust of both factions they will find a reason to stop their transmissions. (By the way, if you completed the first step in Nyoka’s step you can now progress it with Hiram.)
Part Three – Errors Unseen
You will now need to complete Errors Unseen – we have a detailed guide that will help you through it!
Overview:
Sanjar, suspecting that one of the corporations is operating on Monarch illegally, will send you to Fallbrook to talk to Catherine Malin, which will in turn get you involved in a rescue mission of her supply team. The survivor of the ambush will point you to the UDL Lab overrun by marauders where you can obtain the research data for the quest, and the Gloop Gun science weapon for your collection. When you deliver this to Sanjar, MSI will no longer be bogging down the radio with their broadcasts.
Now we will need to work with the Iconoclasts to convince them to stop broadcasting.
Part Four – The Commuter & Pay for the Printer

We have a separate guide for you that deals with the details of this quest!
Overview:
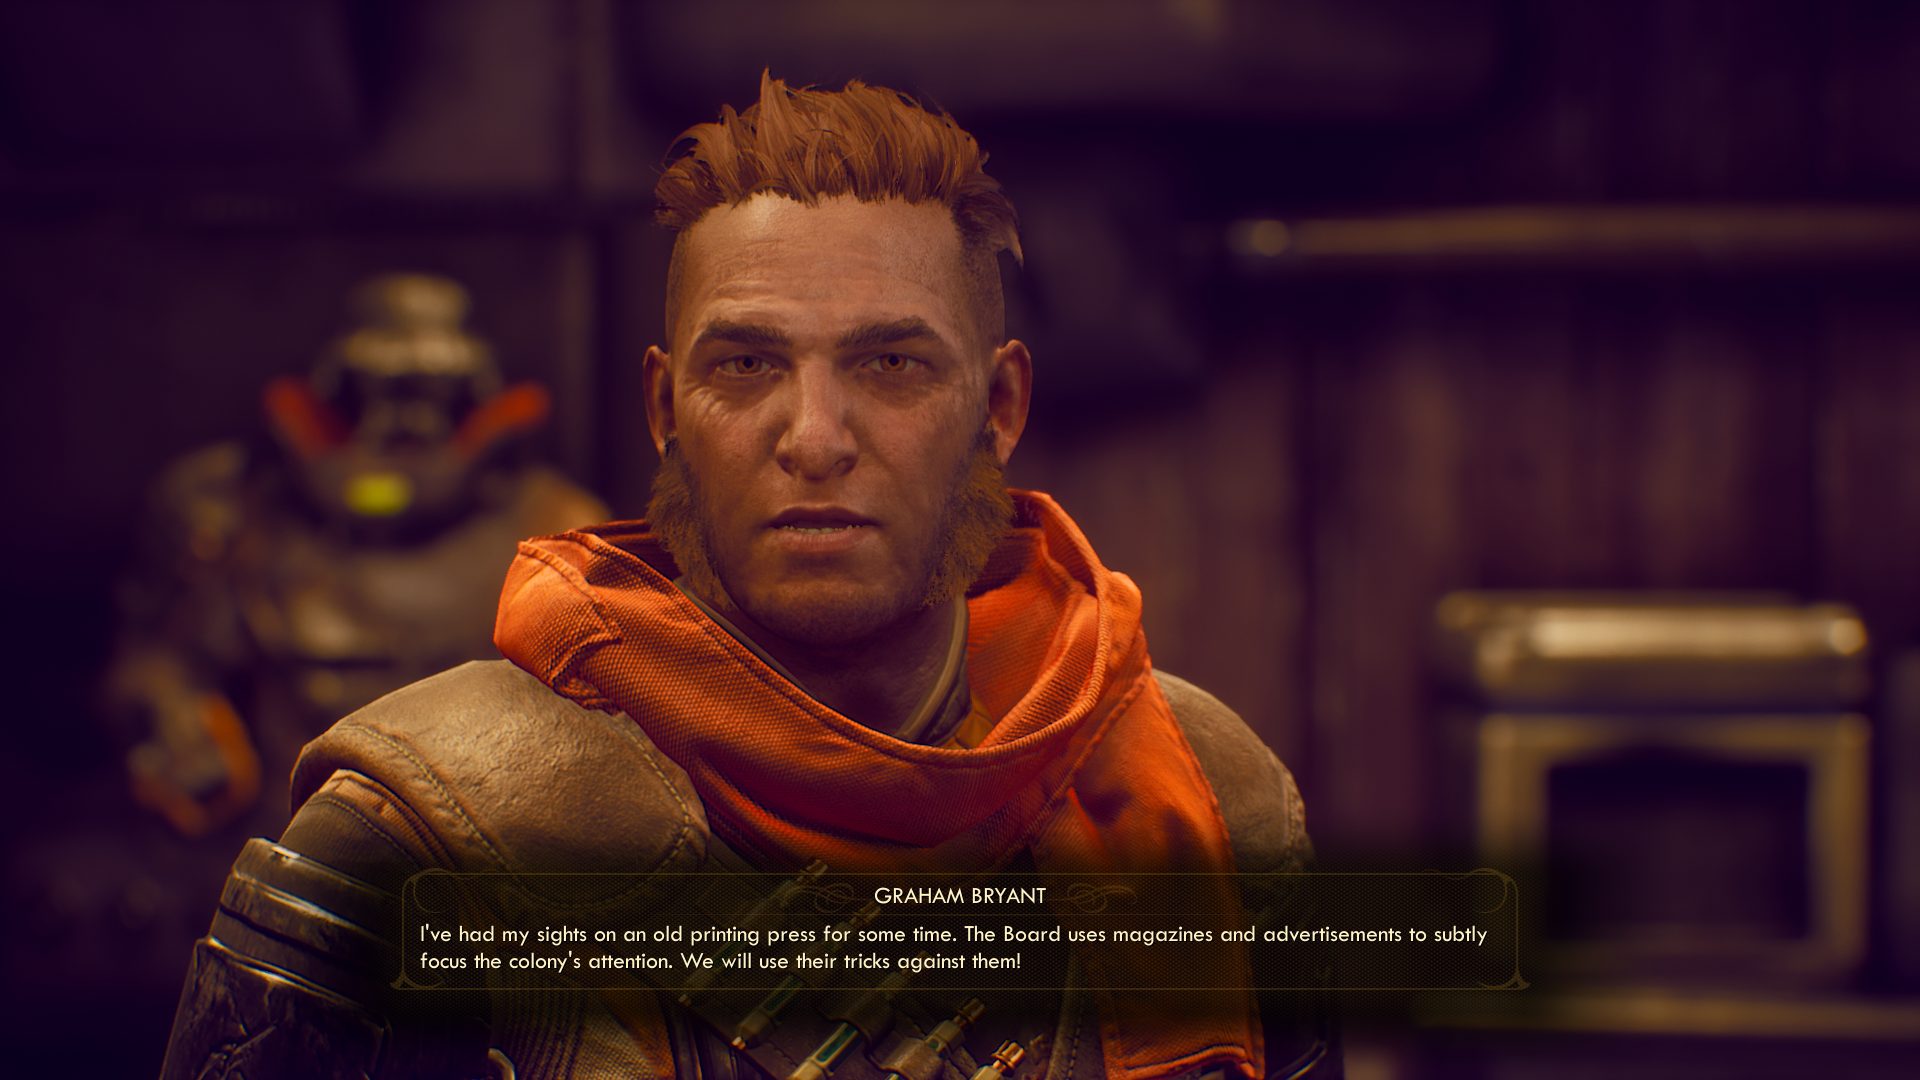
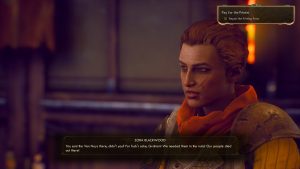
After you travel to Amber Heights to convince Graham that radio might not be the best option for him, he will entrust you with obtaining the printing press parts from Carlotta’s compromised warehouse to launch an alternative media for spreading of the Iconoclast ideology. You will have a choice of an additional supply that will determine your ability to mend things between MSI and Iconoclasts in the future. After you bring back bad news, the relationship between Zora and Graham will sour even further.
After you complete The Commuter, Graham will assign you Pay for the Printer, which we have a detailed guide for!
Overview:
While Graham will be concerned with you installing the rollers inside an abandoned Terra One Publications building, Zora will be far more concerned about her people. This time you can satisfy both leaders if you help out August and May Van Noy at the location of the printing press building. Graham will promise to stop broadcasting, but the situation will not be resolved completely just yet.
(You should now check with Zora and pick up her Sucker Bait quest to have the option of the best outcome of the quest Canid’s Cradle, which will come about later, but any of these actions will not affect the Radio Free Monarch.)
You have now completed both parts of the main objective!
Part Five – Return to Hiram
- Once you have completed all four faction quests, return to Hiram back at the Devil’s Peak Station. Help him power the tower up so that he can get you the information you came for.

- Head into the room directly behind Hiram, then take the door onto the roof outside, and interact with the switch on the relay.

- As a part of the cutscene you will witness a sudden crash of a space ship not too far from you. Both Graham and Sanjar will jump back onto the radio to check with Hiram and will then argue with each other, hoping to obtain the crashed ship’s targetting module. This will give you the Canid’s Cradle, unrelated to the outcome of the Radio Free Monarch.
- It will not be covered as a part of the Radio Free Monarch guide, but we highly suggest you to complete the Canid’s Cradle in order to resolve the situation on Monarch. In our detailed guide we will tell you how to get the most satisfying ending!
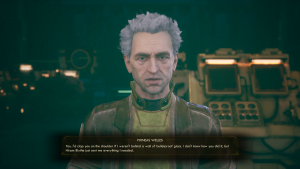
- After they’re done, you should talk to Hiram and head back to Phineas’s Lab. Speak with Phineas and finish up the Radio Free Monarch quest. You will get a Navkey to Byzantium and start The City and the Stars.