Canid’s Cradle is a faction quest in The Outer Worlds that you will receive after you handle all of the tasks for either the Radio Free Monarch or Signal Point in Space as they relate to Monarch. This quest functions as an optional opportunity for you to secure the future of Monarch by empowering the leader(s) you liked the most. You would do so by giving them the targeting module obtained from the crashed UDL gunship.
This guide will focus on navigating you to what can be judged as the best or most satisfying decision in regards to the situation between MSI and Iconoclasts. If you were to follow the obvious choices available to you, you would need to give significant advantage to one of the two factions in a situation that echoes the decision you had to make in the Emerald Vale. However, we will walk you through the more nuanced ending that will help as much of the Monarch’s people as possible!
Walkthrough
- This side quest will automatically start near the end of Radio Free Monarch (or Signal Point in Space). You can acquire it by activating the switch at Devil’s Peak Station and observing the crash of a UDL gunship. Both Graham and Sanjar will want the ship’s targeting module. Let’s pick it up.
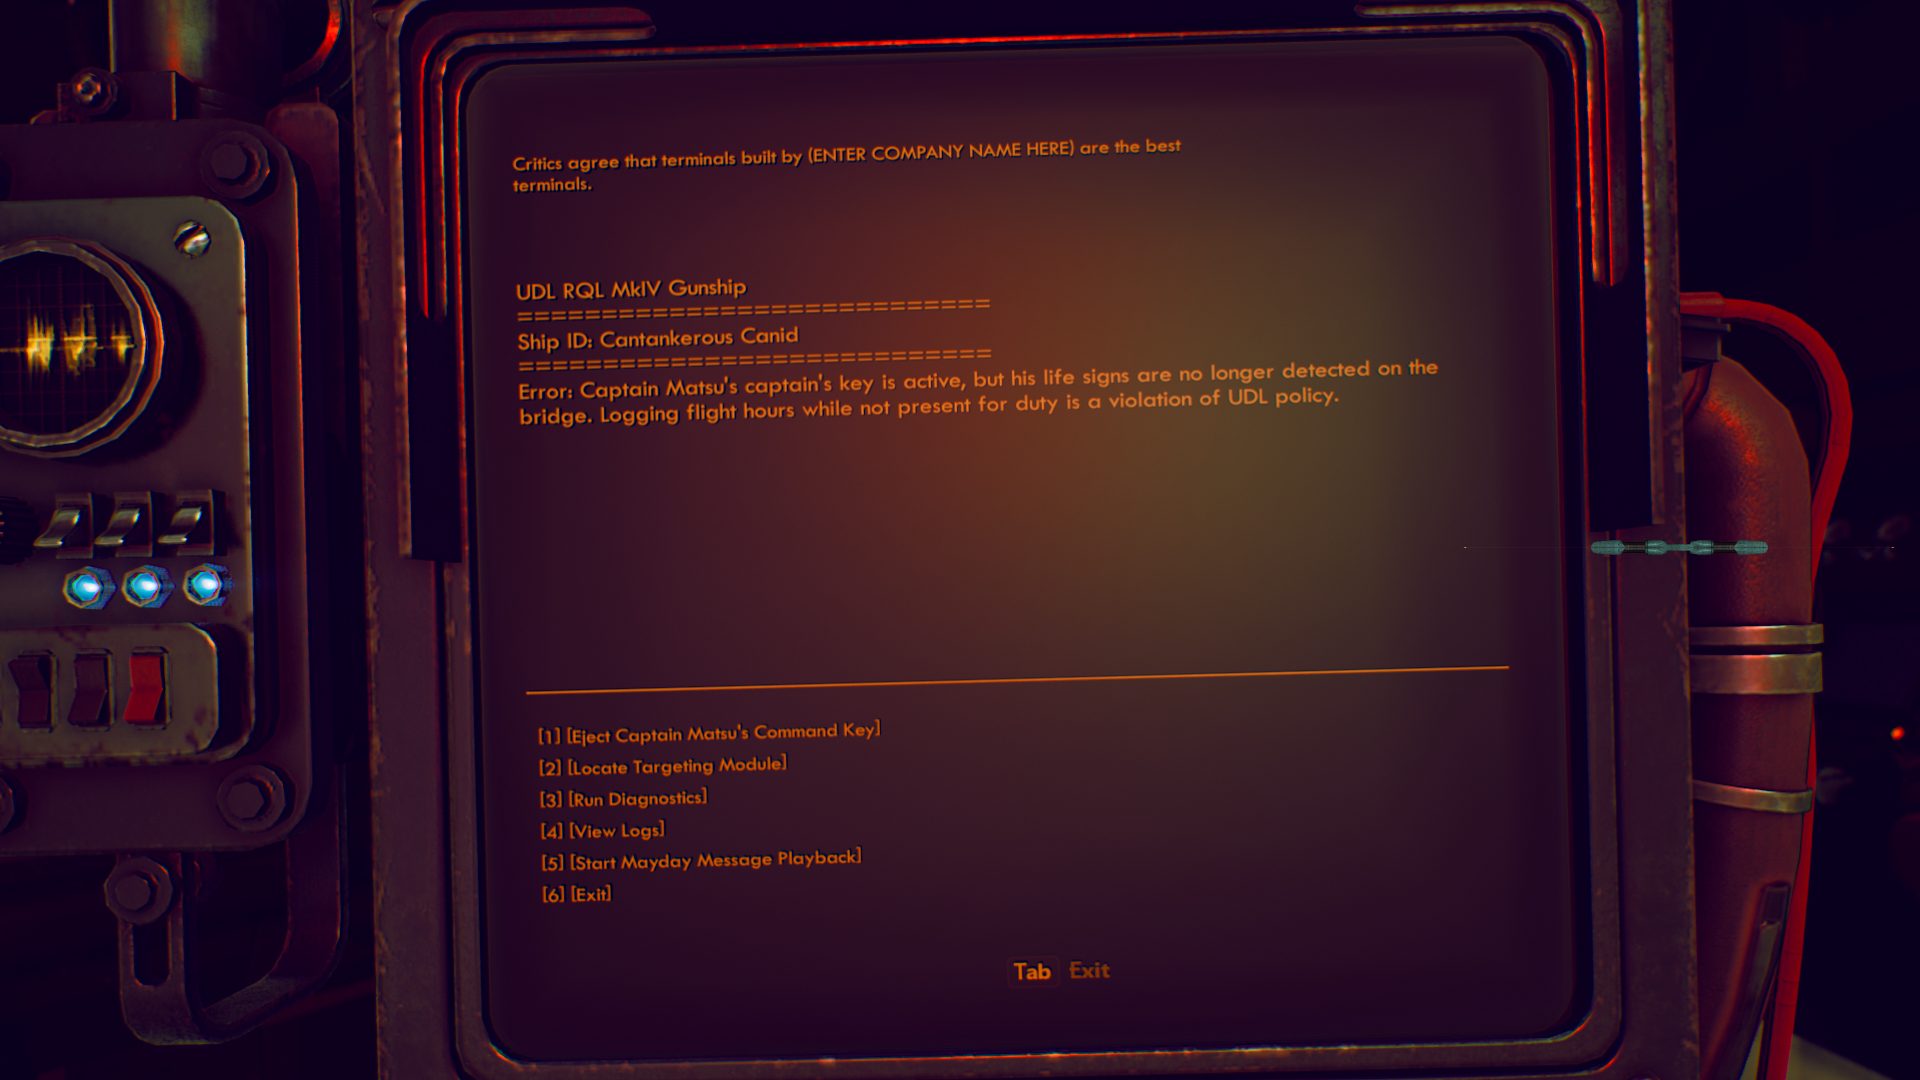
- One of your options is to get to the crash site from Terra One Publications building you visited during Pay for the Printer. Alternatively, if you have SubLight’s Space-Crime Continuum active, travel to the Cascadia to complete it to unlock Cascadia’s Landing Pad (or just land there with ADA.) Follow the road coming out of the northern gates of the Rizzo’s ruins. (This would be a good time to search the ruins for Zora’s Executive Review if you plan on encouraging the alliance between MSI and the Iconoclasts.) Regardless of the path you take, you will have to push through a good number of creatures. Climb inside the ship, interact with the terminal, and eject Captain Matsu’s Command Key.
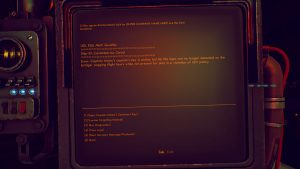
- After you learn as much as you want about Cantankerous Canid’s unfortunate crash, simply head further inside the ship and interact with the switches to release the Cantankerous Canid Targeting Module. Now you have an important choice to make regarding who you give the module to. We will not be giving a lot of attention to the standard endings, but we will briefly mention them below. After that we will tell you how to get the best ending.
Support MSI or Iconoclasts (Standard Ending)
- You can take the module straight to Sanjar and ally with MSI and their corporate-esque vision for Monarch.
- If you want to ally with the Iconoclasts, head to Amber Heights and speak to Graham.
- If you finished Zora’s Sucker Bait (see below), then you can help her take over the leadership position. Kill Graham and give her the module for her to take over.
- If you didn’t help Zora previously, then all you need to do is give Graham the module to support his vision of the future.
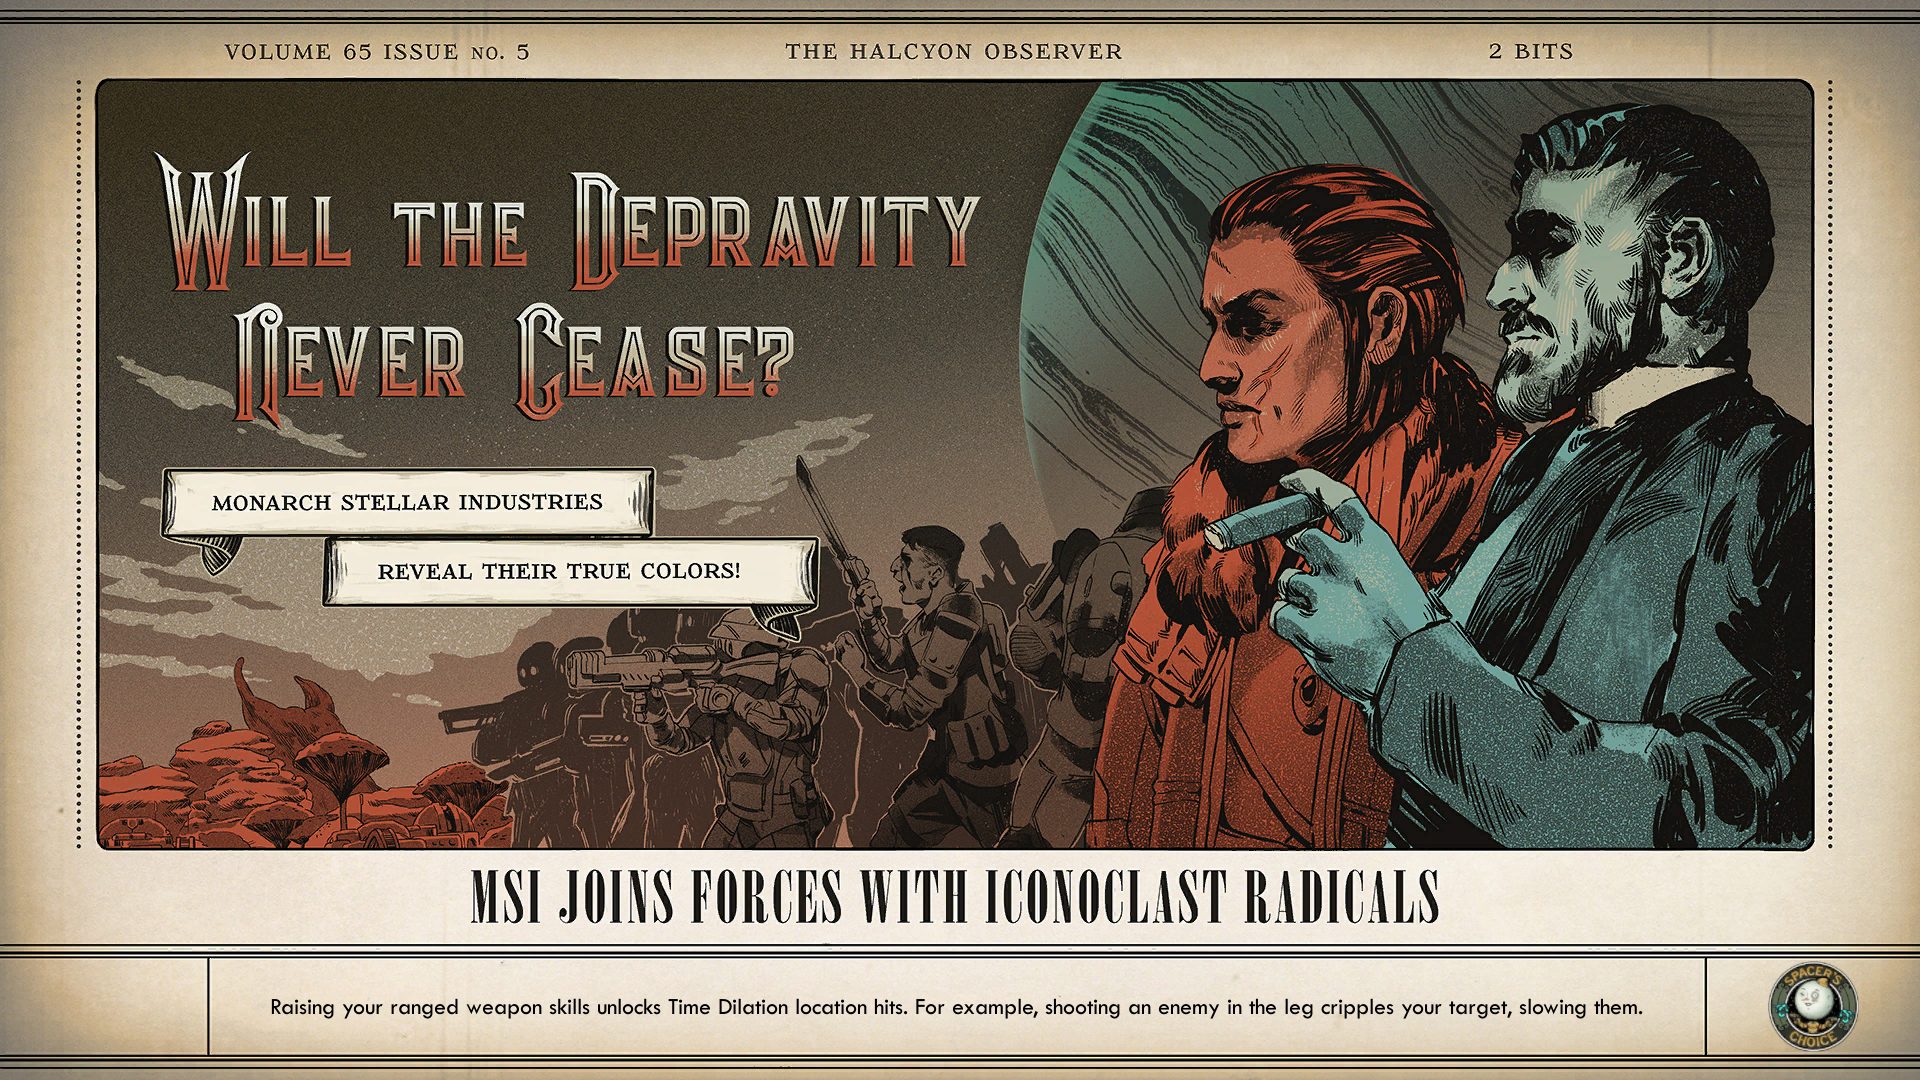
Unite MSI and Iconoclasts (The Best Ending)
- This option is our promised satisfying ending to the situation on Monarch. You will learn about Graham’s shocking betrayal and will then have to kill him. However, after Zora takes over you can convince her and Sanjar to join forces in overseeing the future of Monarch.
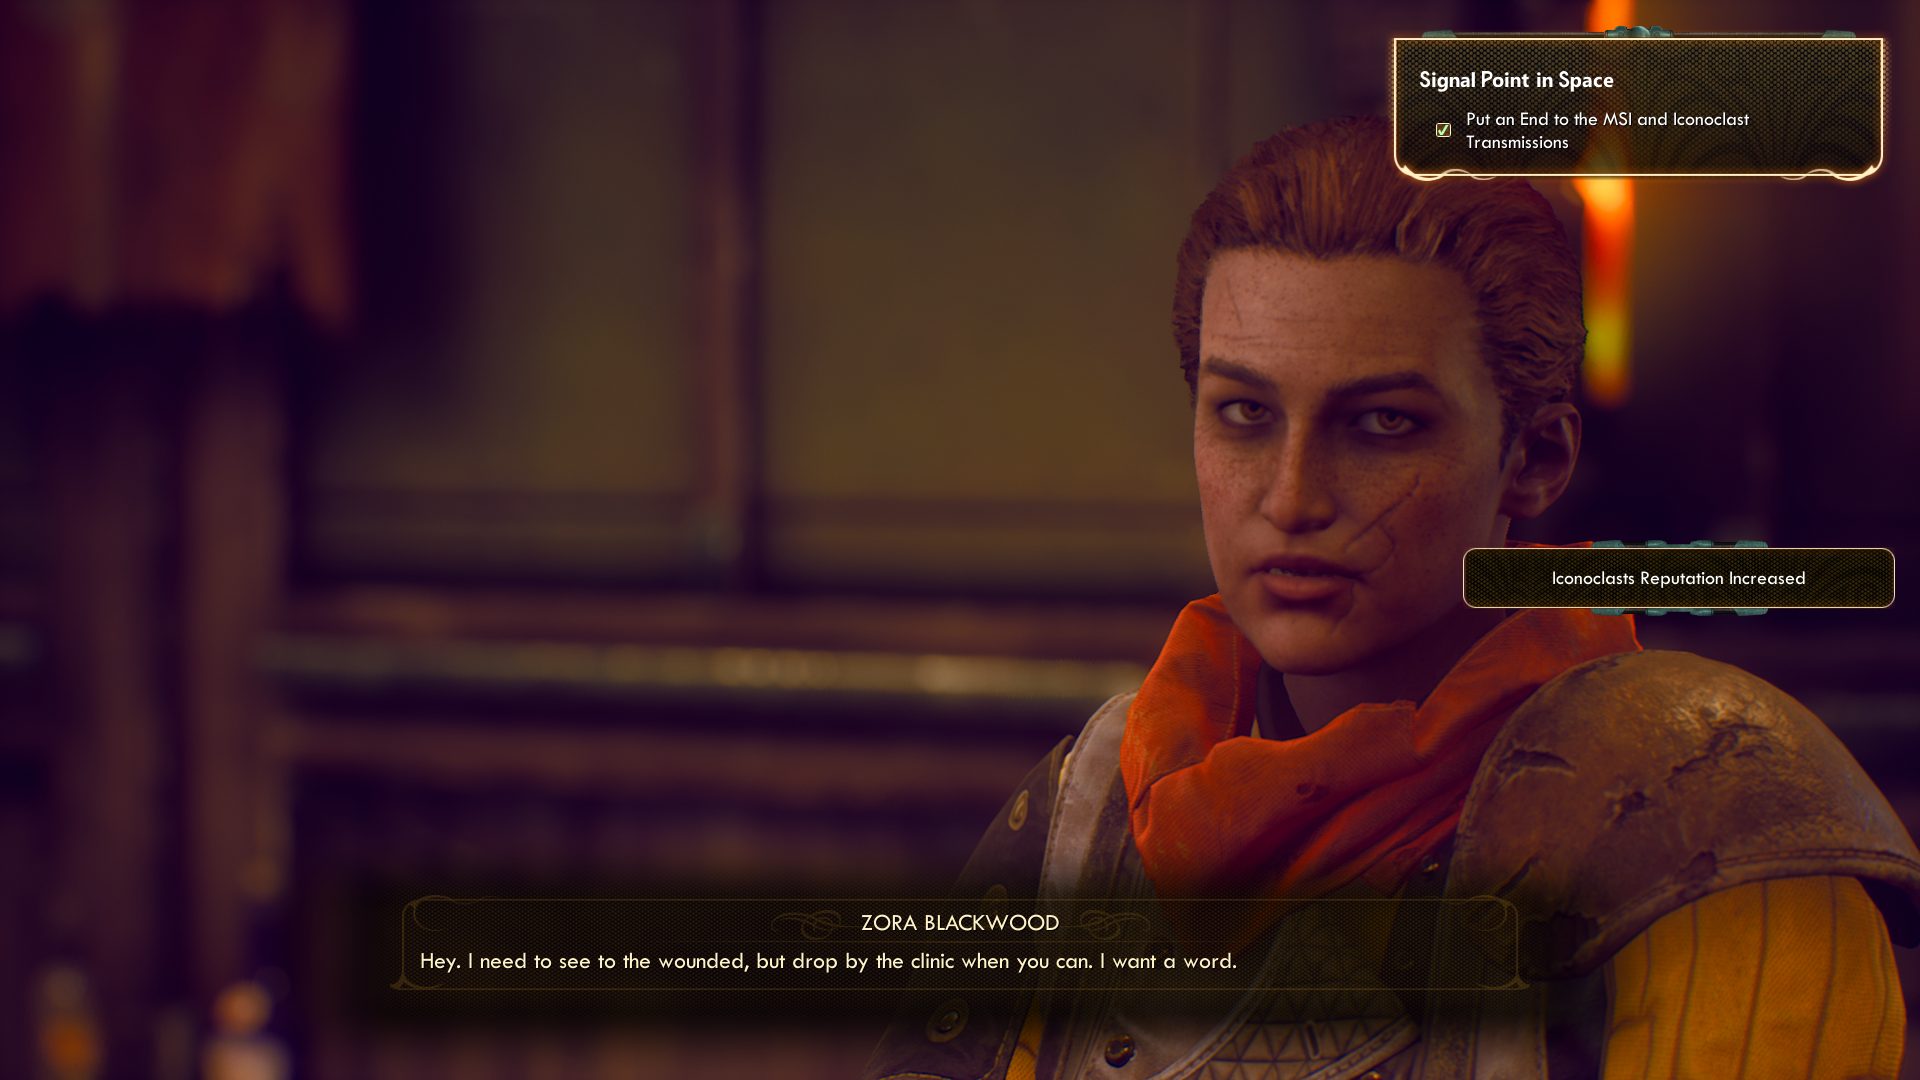
- If you chose to get extra food and medicine from Carlotta during The Commuter, Zora will ask you to drop by the Amber Heights clinic to see her after Pay for the Printer.

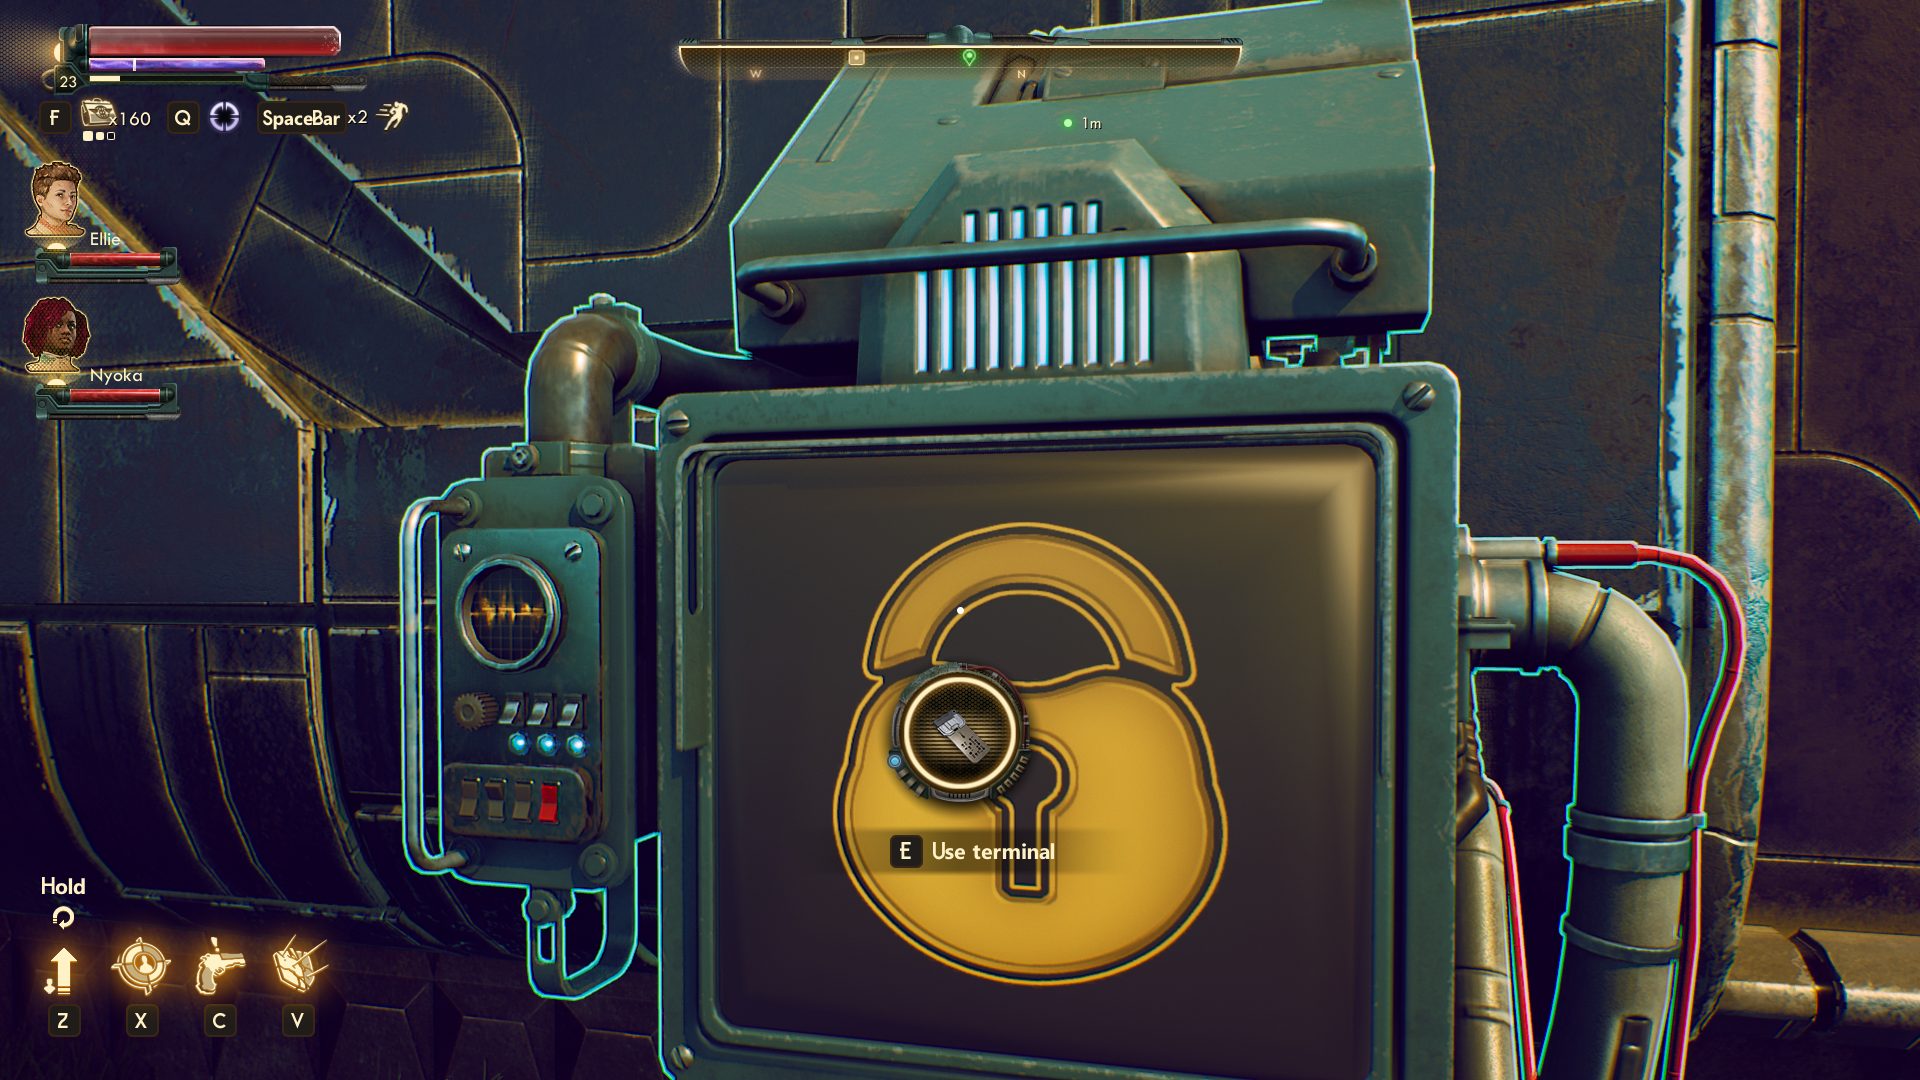
- If you check in with her there, she will want you to explore a relay station with a suspicion that the pirates that raided Amber Heights and sealed the unfortunate future of MSI knew someone on the inside. She wants you to use the access code to access the relay station to look around for the information, giving you the side quest Sucker Bait. Travel to the Abandoned Relay Station located west from Fallbrook (fast travel to Forlorn Crossroads and follow the “Outpost Access” map mark), and use the terminal to get inside the Records Room. Loot the area for an Old Data Cartridge. Beware that there are a few Mantisaurs that you will need to fight before you are able to enter (including a Mega Mantisaur).
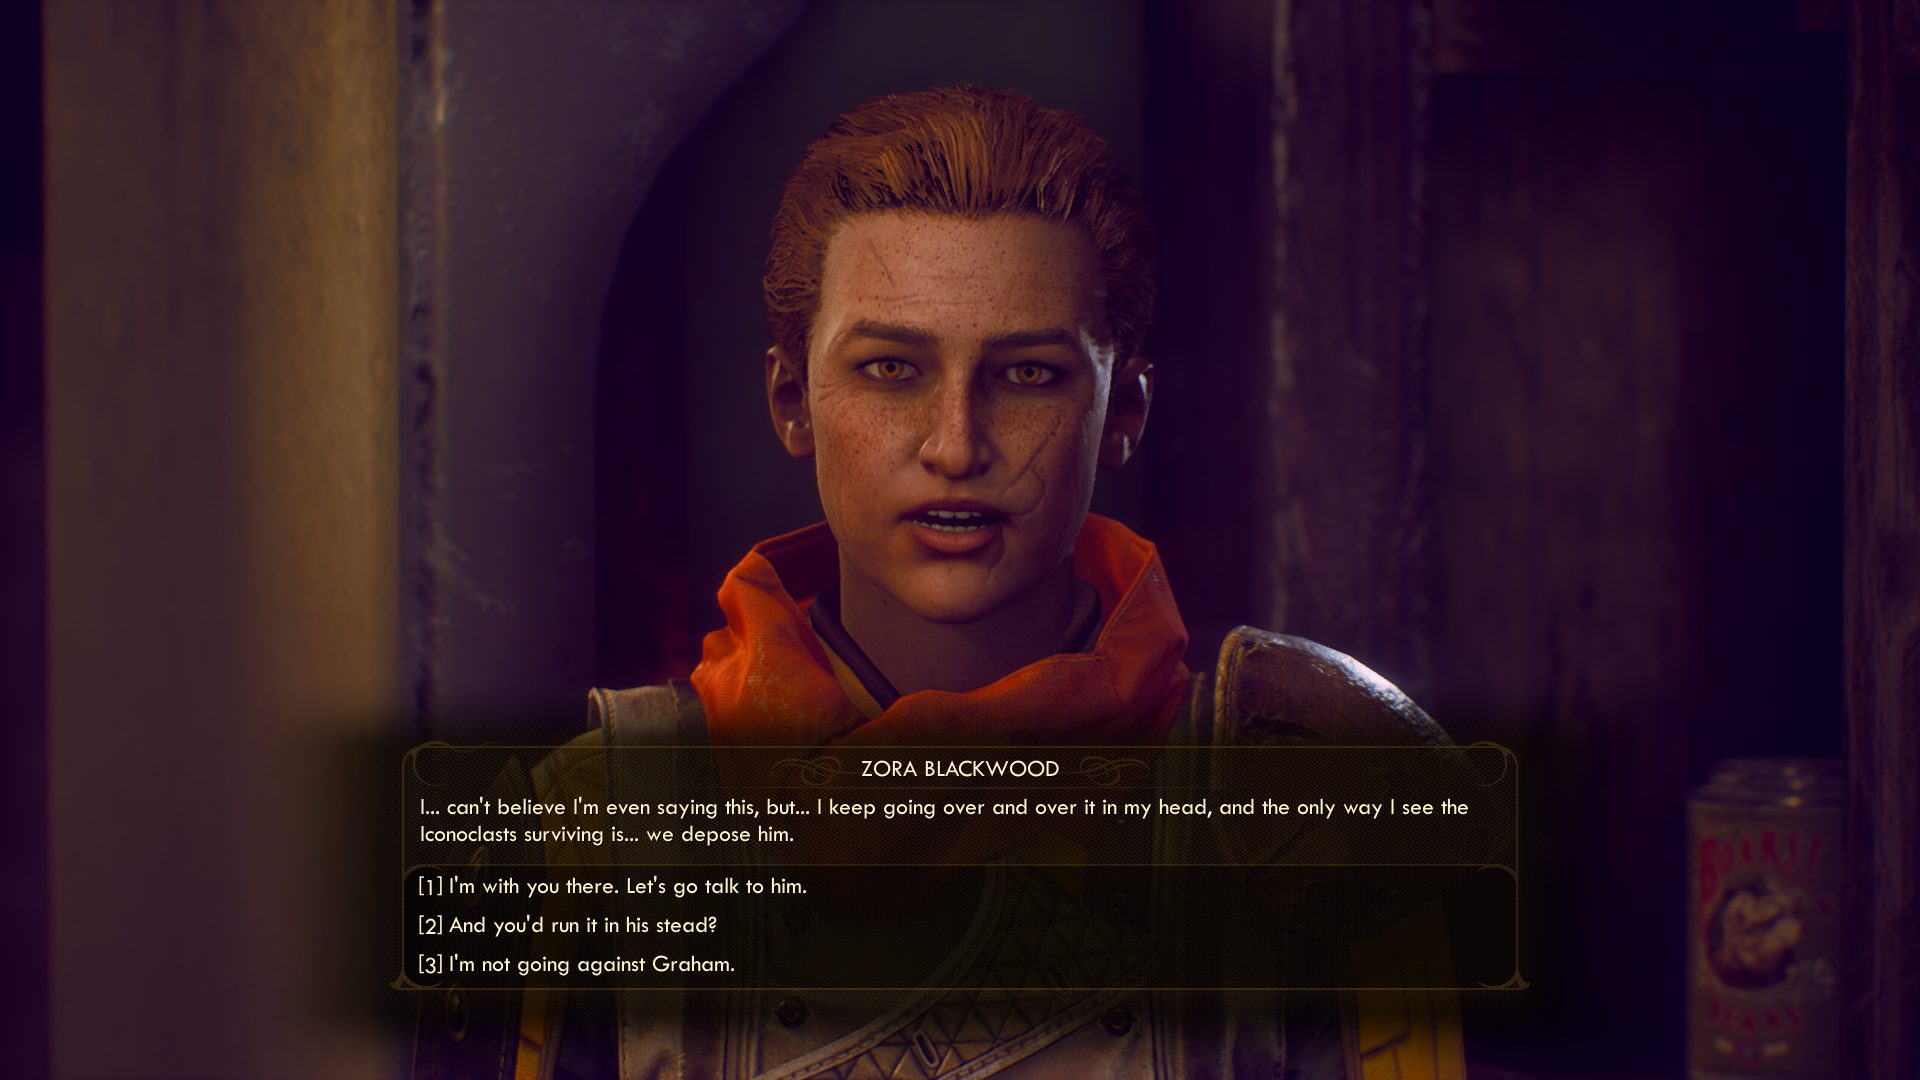
- After you give Zora the data she will be shocked to find that Graham was the person to provide the pirates with the gate codes. Zora will want to speak with you again after you receive Canid’s Cradle after powering Hiram’s radio station up. Once you do, however, Zora will inform you of her plan to depose Graham. Unfortunately, Graham won’t leave you any choice but to kill him.

- You can now convince Zora to ally with Sanjar if you can pass the Intelligence check, Perception check, Inspiration check (55), or Persuasion check (55). She will be willing to give this a chance, as long as Sanjar is willing to talk.

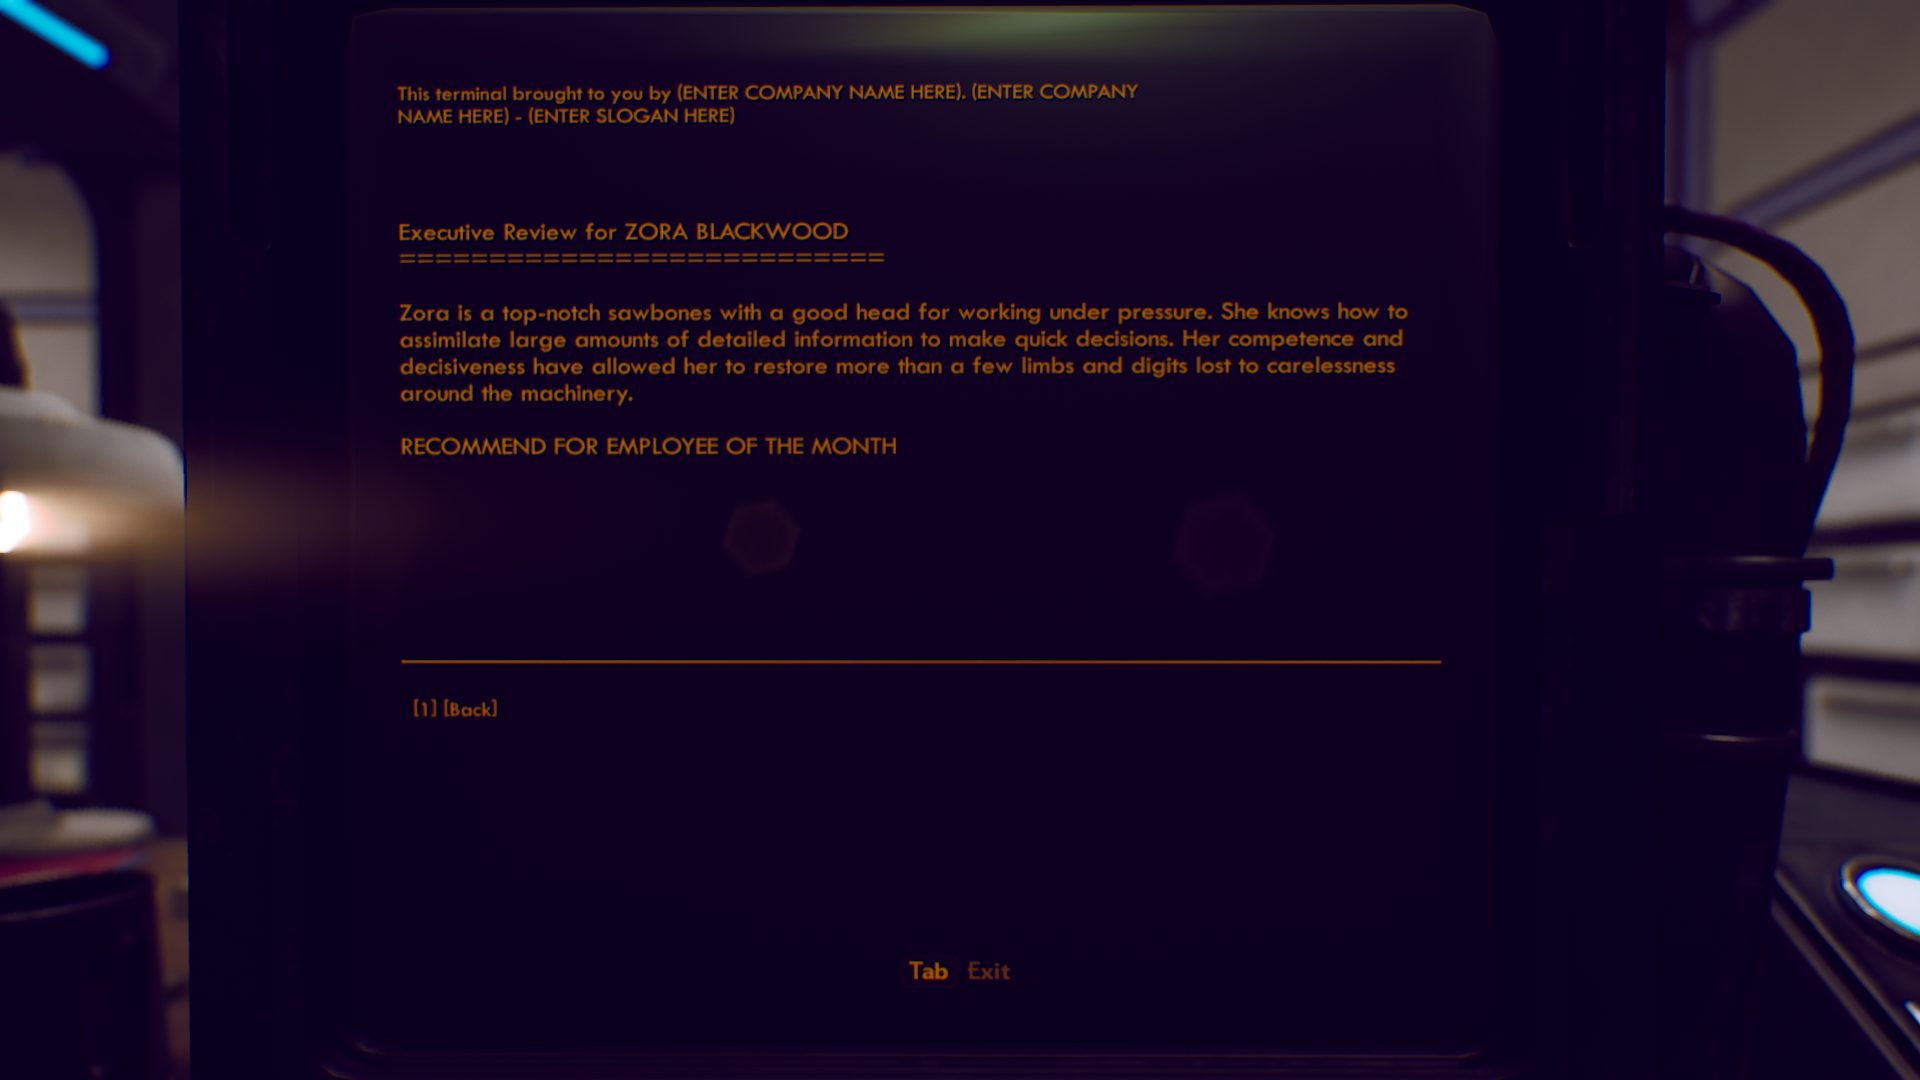
- The fastest way to convince Sanjar would be to head inside the Rizzo’s ruins right away, if you haven’t explored the area already. We will need to pick up Zora’s Executive Review from one of the buildings there. If you have the Cascadia’s Landing Pad in the southwest of the Monarch Wilderness you can use it and search through the ruins. The item will be on a terminal in one of the larger buildings. Use the terminal and export the data to pick up Zora’s Executive Review.

- Head to Sanjar back at Stellar Bay and, instead of giving him the module, ask him to work with Iconoclasts. You will have to rub more salt into his wound by bringing up the mixed review of his performance again. Since he will refuse to work with Graham, notify him that Zora is now the leader of the group. To settle his doubts about Zora, give him her performance review data.

- Sanjar will be willing to organize a meeting in the old OSI church amidst the ruins. Head there and oversee the negotiation between the two sides. You can intimidate Sanjar with Zora’s readiness for battle or offer that Iconoclasts can support Sanjar’s supply lines. Address Zora’s concern in regards to the shelter for her people. Feel free to inform Sanjar of Graham’s betrayal. Overall, just make sure that the conversation steers in the right direction.

- After both parties reach an agreement, the Canid’s Cradle will be completed. The eventual ending slide that you will get upon the game completing will demonstrate a lot of hope for the colony. You will also get an interesting perspective from the Board on this situation in the form of an unlocked loading screen.