Brave New World is the final main quest in the game and its course will already be determined based on which choice you made in Kept Secret But Not Forgotten. Now you just need to take care of some details. You’ll need to either finish off Sophia Akande and free Phineas (Welles ending) or kill Phineas and save Sophia (Board ending). Getting there is almost identical in either route and has minor differences in dialogue. You may also face a final boss if you can’t pass high dialogue checks, but overall this will not be a complicated quest to deal with.
Route One – Terra 2 (Welles Ending)
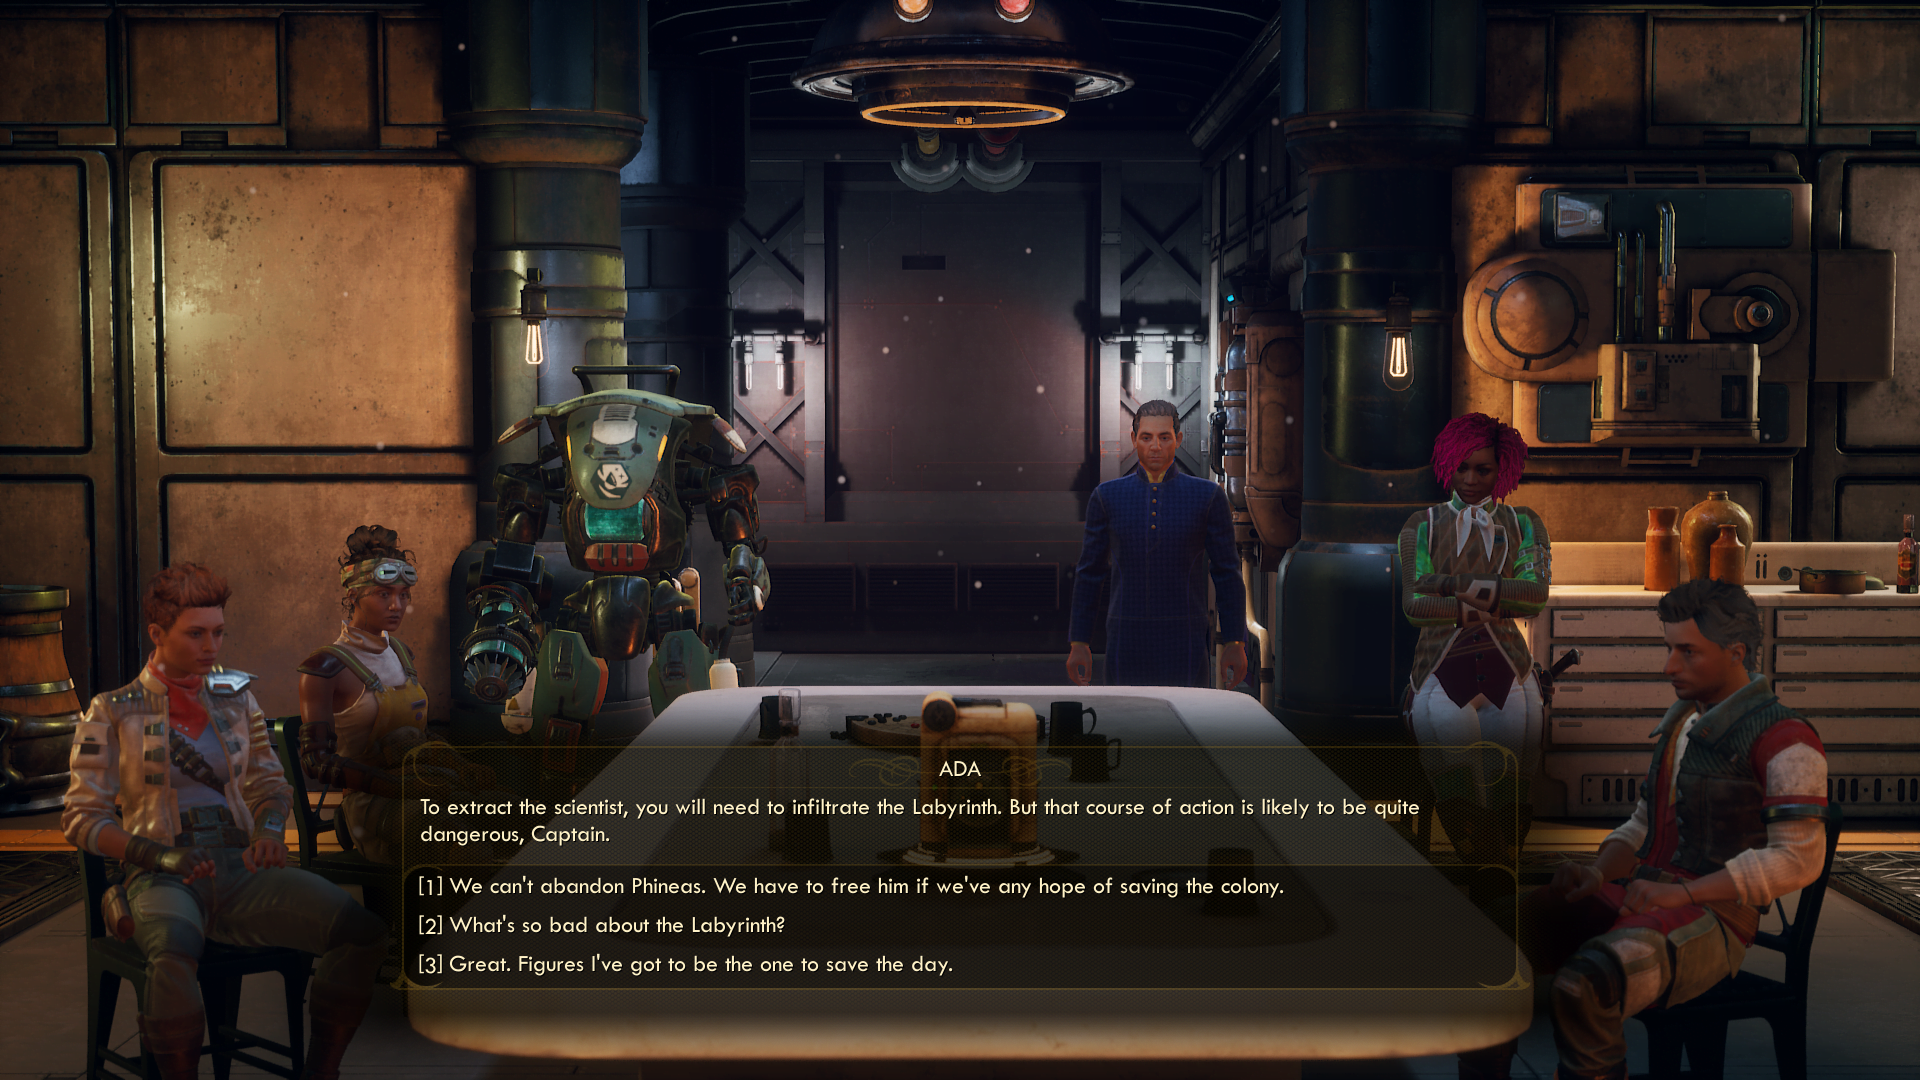
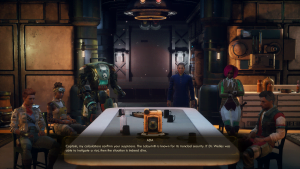
- When this quest begins, you should already be inside Phineas’s lab, having picked up his “emergency care package” that includes the Navkey to Tartarus. That’s where you will be heading next to rescue Phineas from the planet’s prison complex. Return to the Unreliable where ADA will gather the entire crew together to help you discuss your strategy.
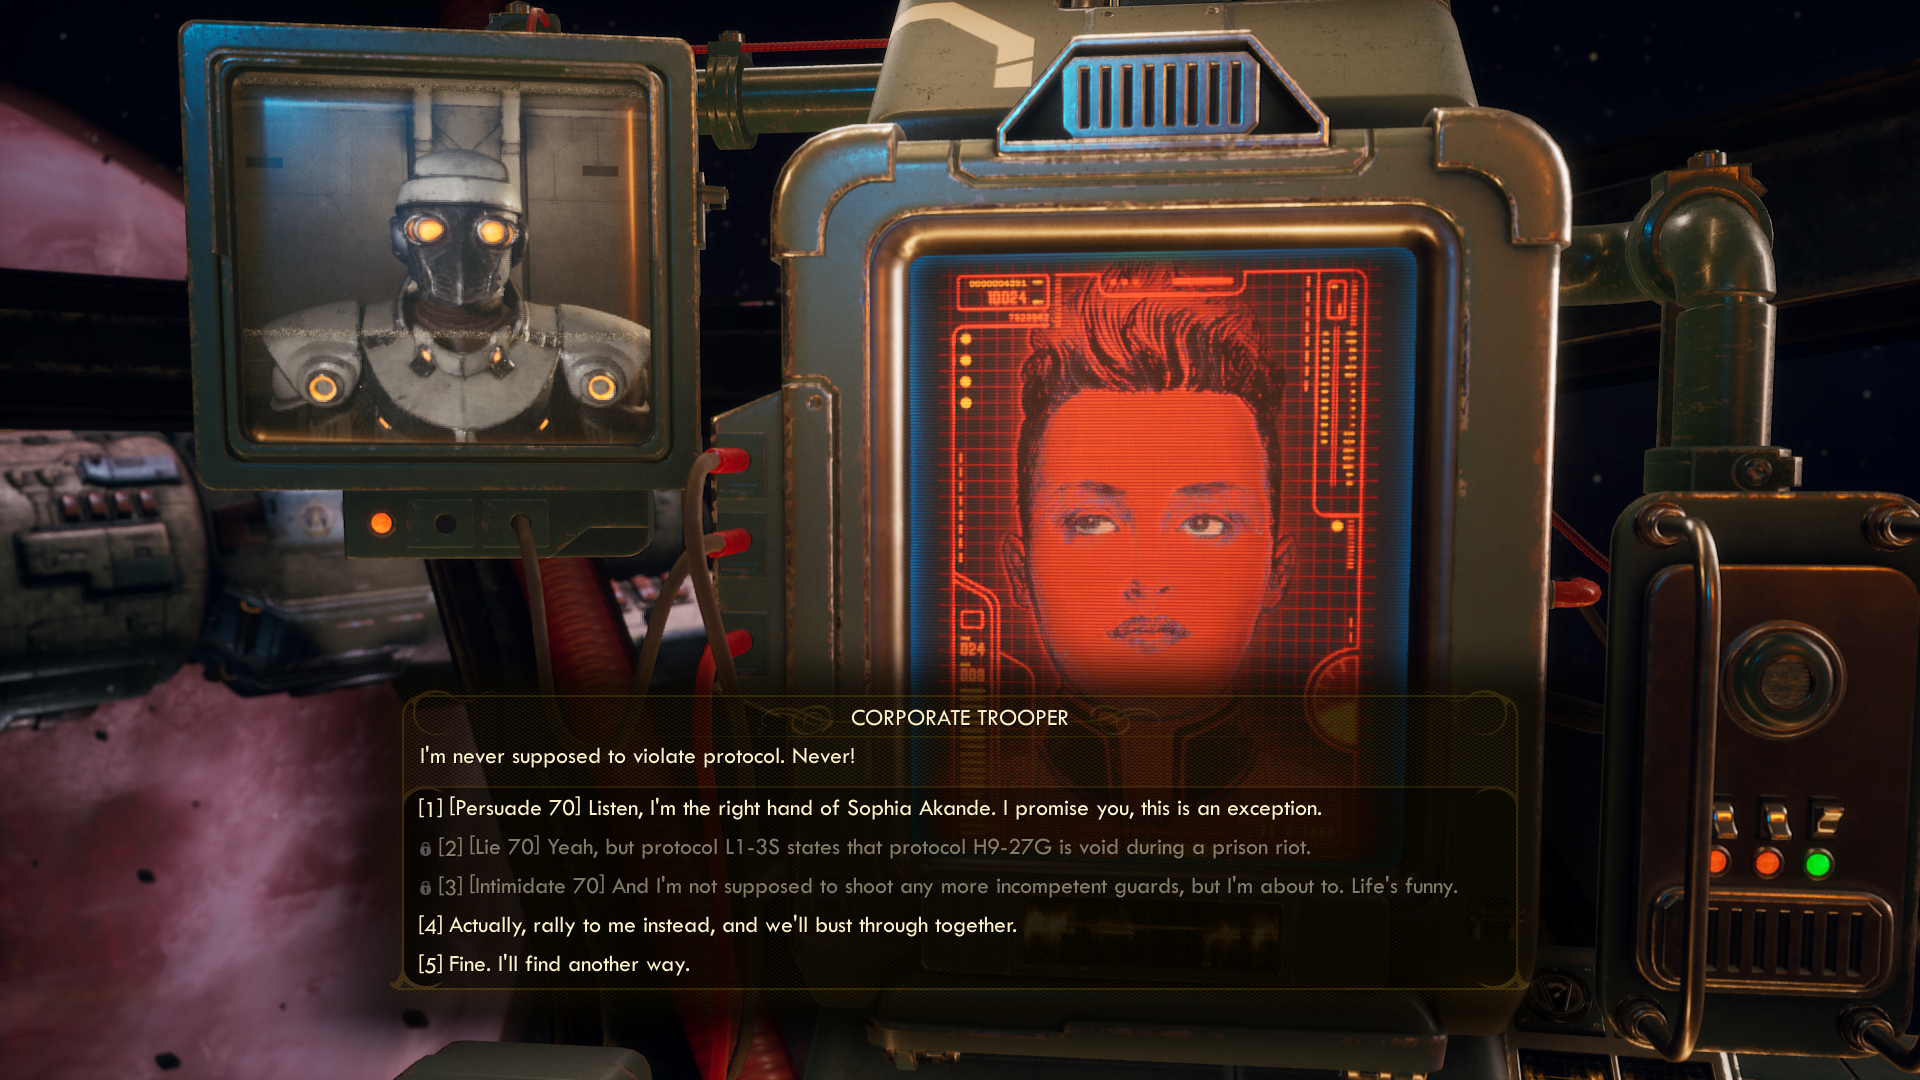
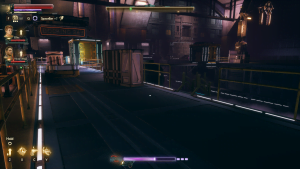
- Now, travel to Tartarus. The game will warn you in many ways that you are about to work towards the story’s ending. Upon your arrival a Corporate Trooper will contact you and label you as a trespasser. You’ll need to pass a high intimidate or lie test (~70, without companion assistance) to get him to give you a Labyrinth Security Personnel ID Cartridge (in the form of his Biometric ID).
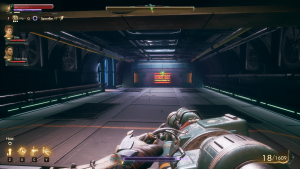
- Once you are at the docking facility, stealth or kill your way through inside. If you are keeping a low profile, a good way to cut across the platform is to take a ladder down right when you enter the restricted area. The tunnels will lead you to the other side.
- You can head straight through the gate, or lockpick (~80) your way through on the second-level bridge, by the cabin that overlooks the landing.
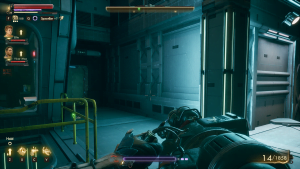
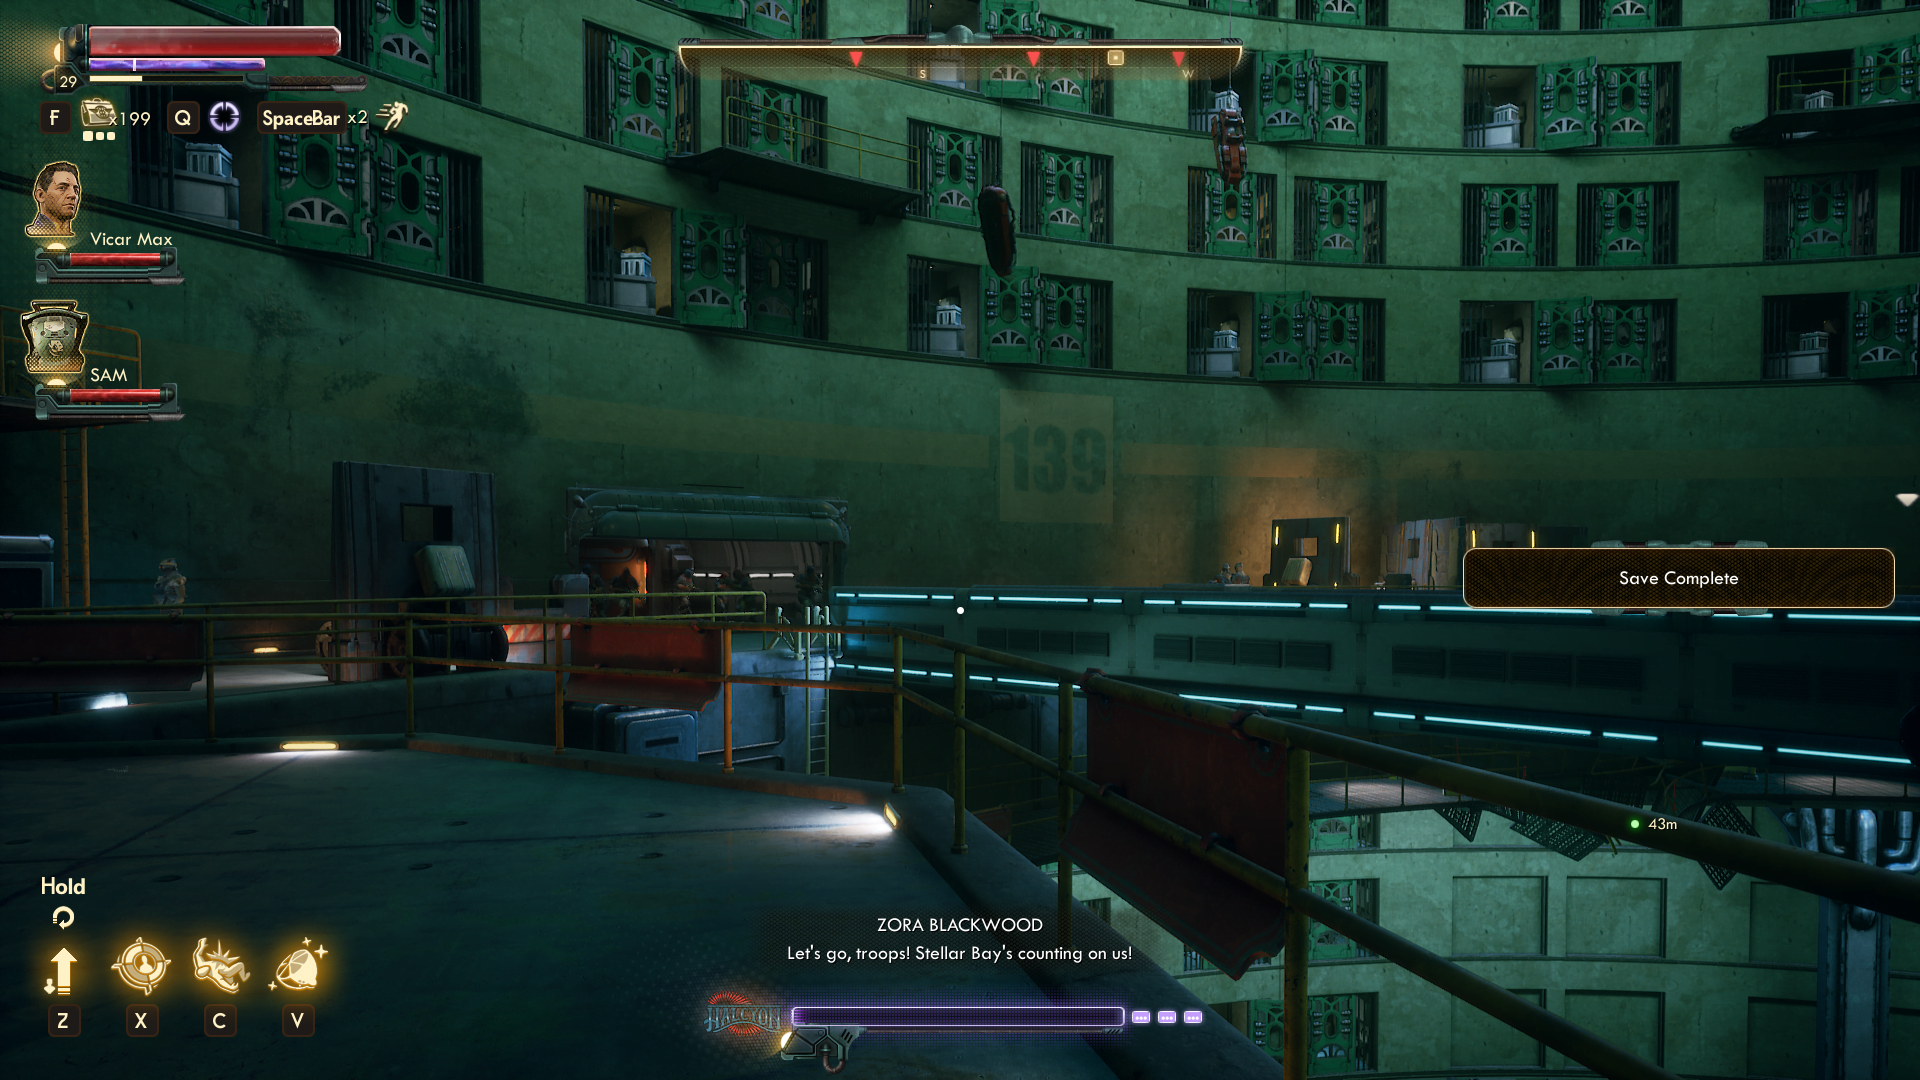
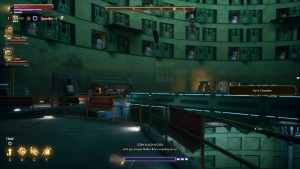
- Once you get through, ride the elevator down. Go into the restricted area move towards the Pit in the south of the building. If you start killing, guards from the entire area won’t pounce on you all at once, unlike in the docking area, so confronting them here is easier (but mind automechanicals). If you wish, kill all of the guards here and loot everything you see. If you entered the area on the higher level, you can use the ladder on one of the pods to get a better look over the area.
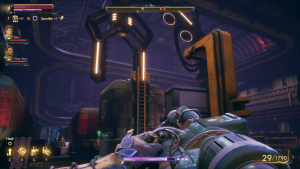
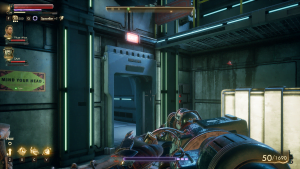
- Use ladders and try to attack the guards furthest away from the central section and behind visual obstacles. If you looted the Hope thoroughly, you don’t need to worry about picking things up on Tartarus. Focus on either making your way to the lift on the central bottom (then summon it from the second level), to the ladder on the southeast side, or a second-level pod on the southwest. If you have Hack 100, you can use the terminal to bypass the access code into the armory (they have items like the Plasma Launcher 2.0).
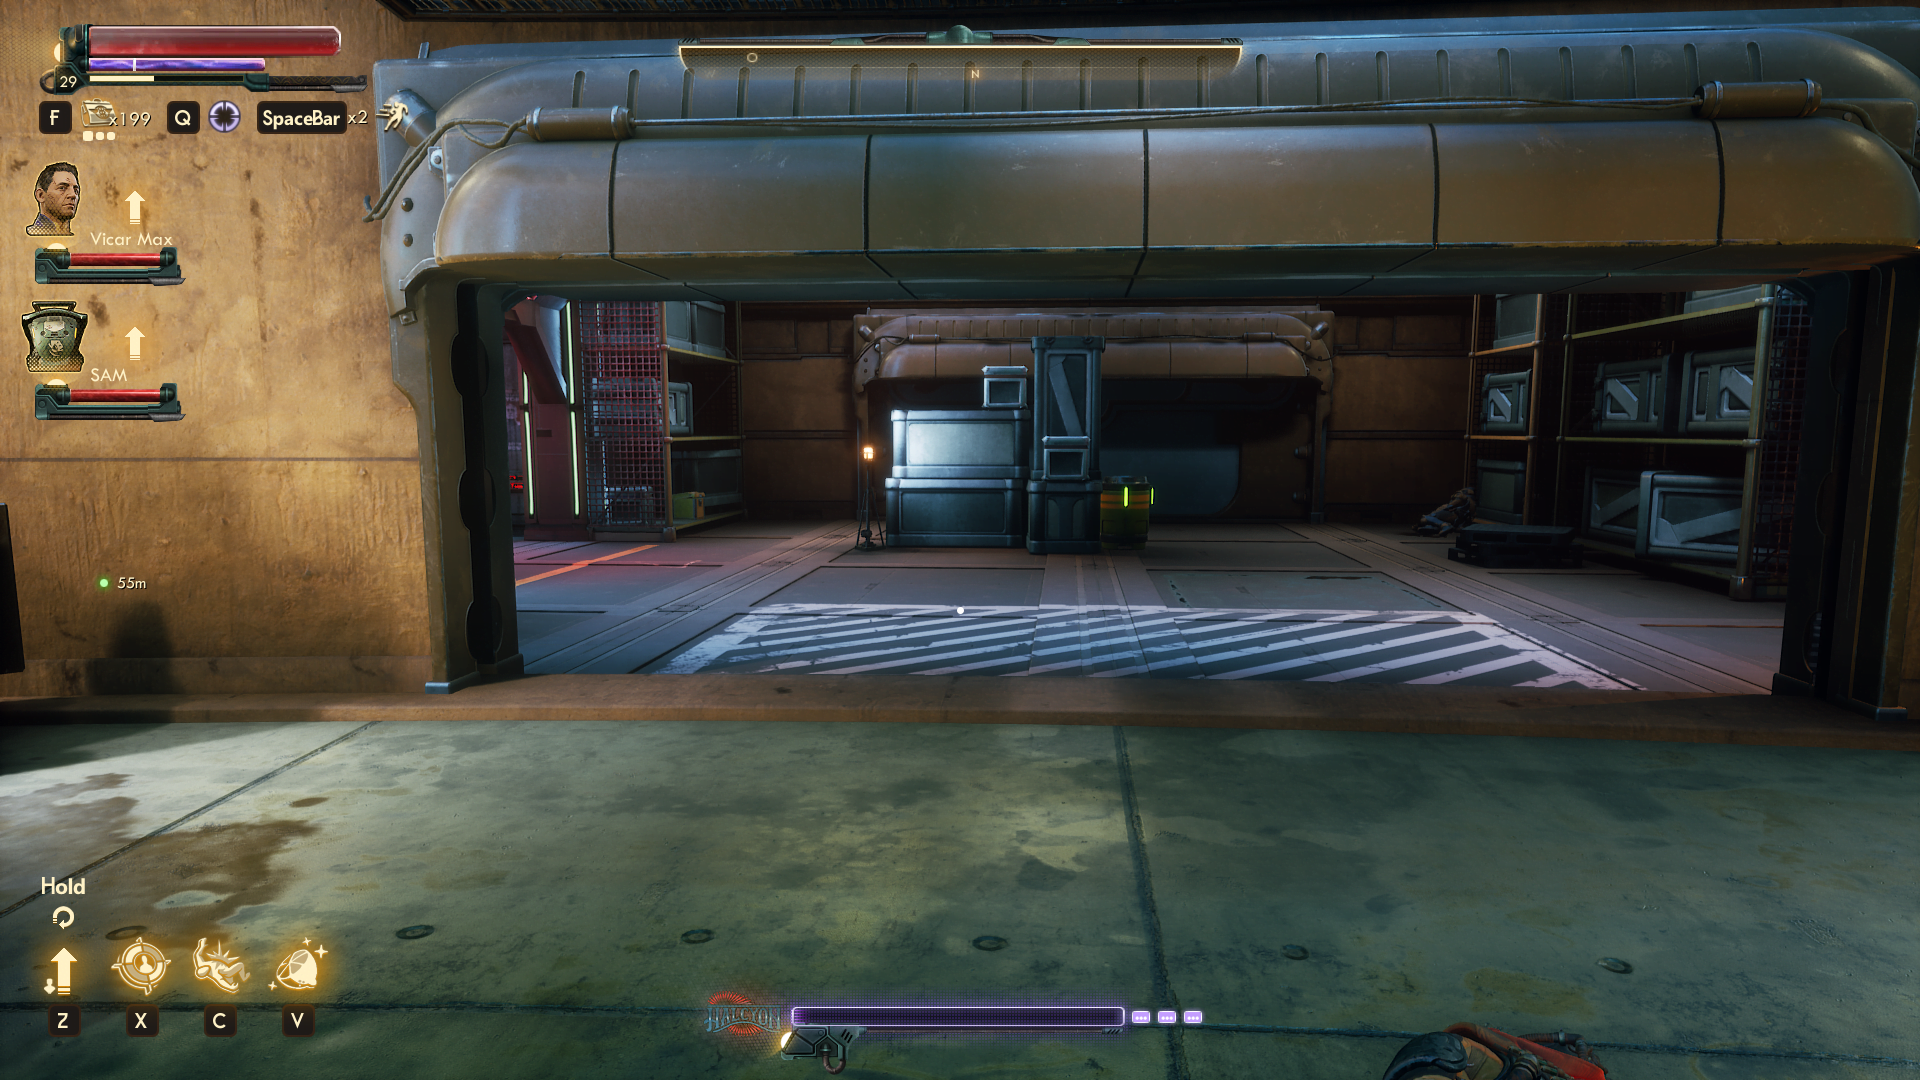
- Go through the gates on the south end, after you take the lift. From here, make your way to the Pit. Resupply in the room with the vending machines before heading forward, if you need to.
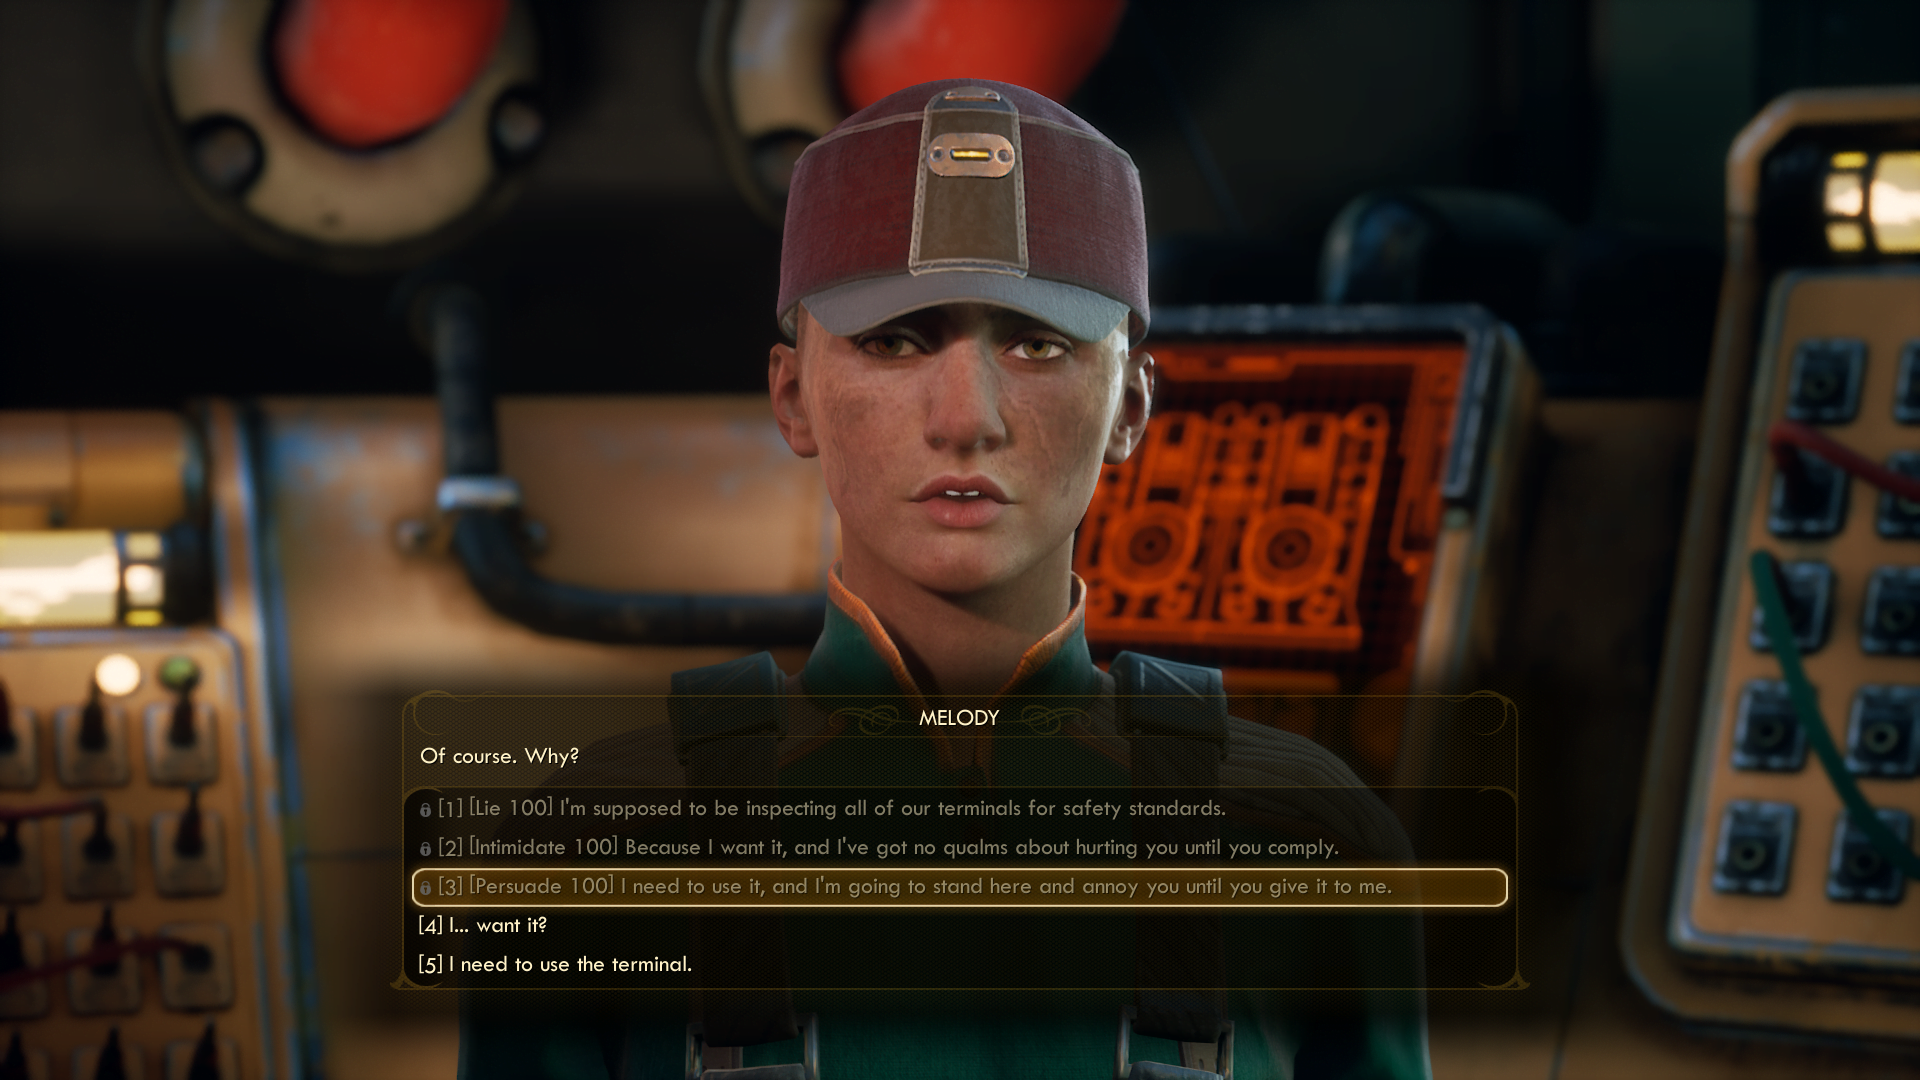
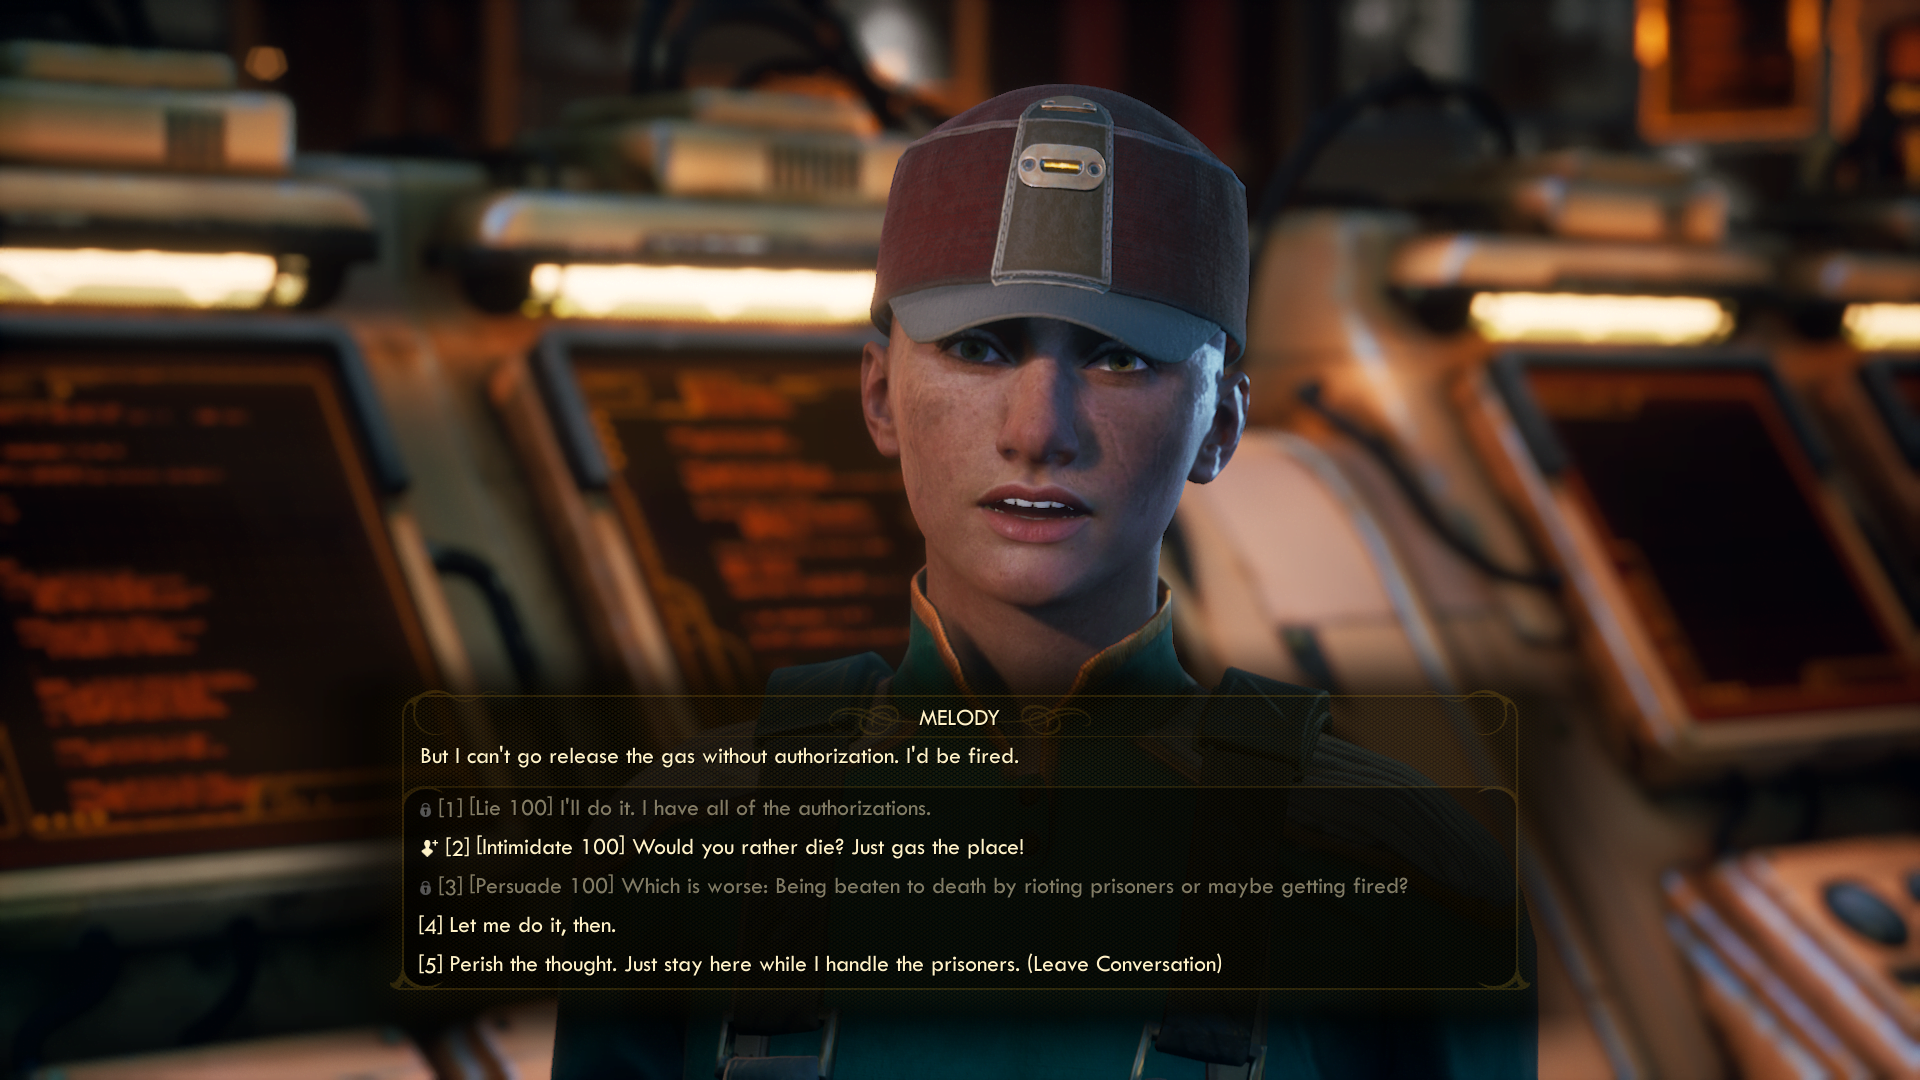
- Head through a locked door on your left (~lockpick 80) to use a terminal that tells you how the Pit functions with the hibernation plan of the Board. Open the door to continue going around the Pit. If you have 100 in any dialog skills you can take out all of the guards on the lower level. While your shroud lasts, continue walking past the lift (or take a lower ladder shortcut towards the opposite direction) until you go through the door of an office to locate Melody inside. Interact with the terminal and then convince her to give you the passcode (“tartarsauce,” by the way).

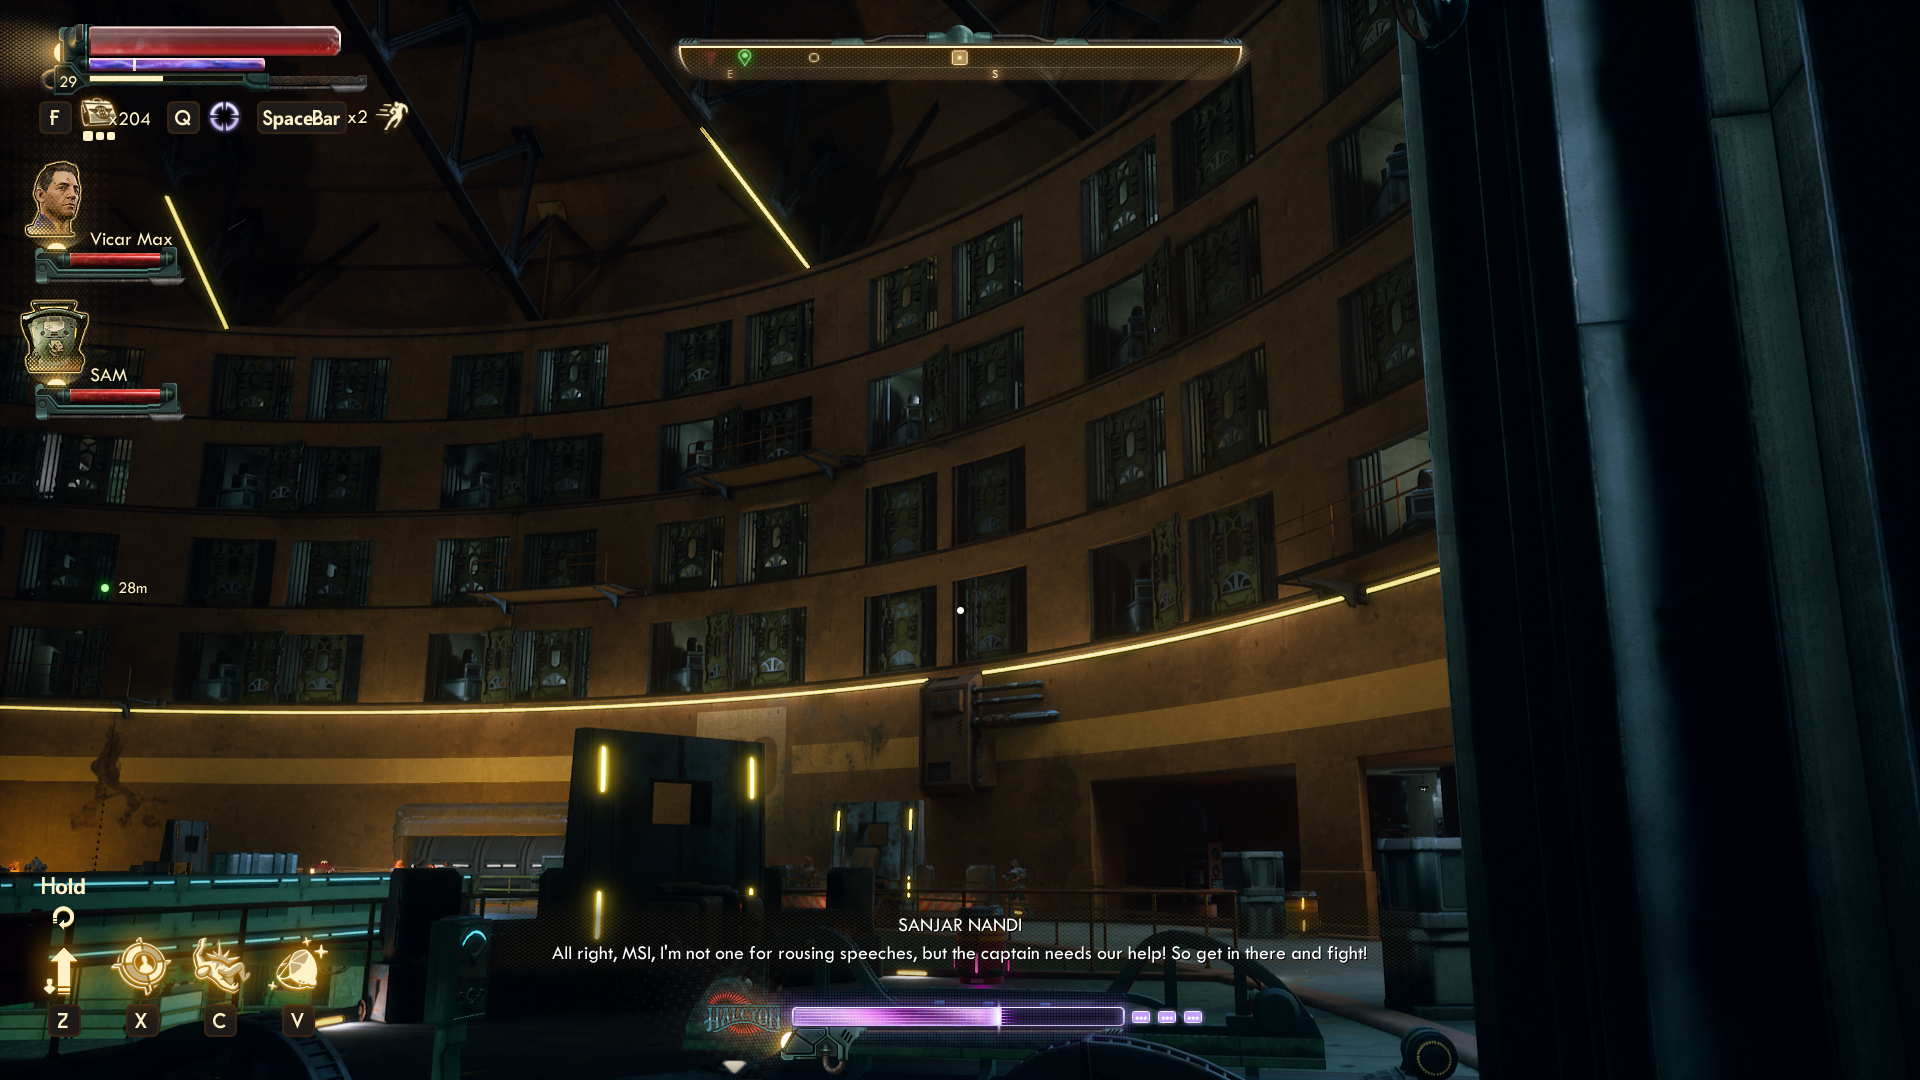
- Then, take the lift up. Allies like Zora from Stellar Bay (if you united MSI and Iconoclasts) might come to your assistance.
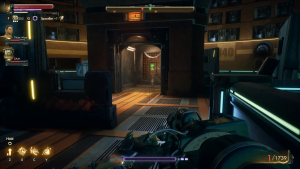
- Go through the northern gates once the area is clear. Head through to locate the Pit Exit. (Follow the arrows on the ground.)

- The exit out of the last barricaded room will be straight ahead, marked with “Exit”.
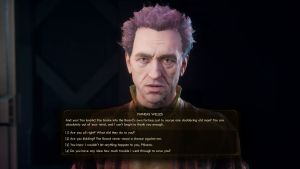
- Unseal the door using the terminal, and travel up using the elevator. Inside will be Chairman Rockwell. He will react to your party members. You’ll need to pass a high lie/persuade/intimidate check (~90) or high temperament to get him to help you after you escape (convince the rest of the Board of your plan, for example) or at least leave you alone.

- From here, head back to the restricted area. Take another lift to go up. This floor will not be clear – you will have to deal with more guards (admittedly, not too many), or get help from Sanjar.

- Make your way to the elevator in the middle of the Pit. Ride it up to get to Sophia Akande.
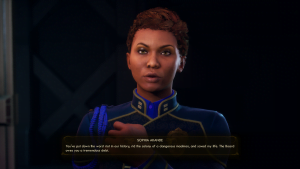
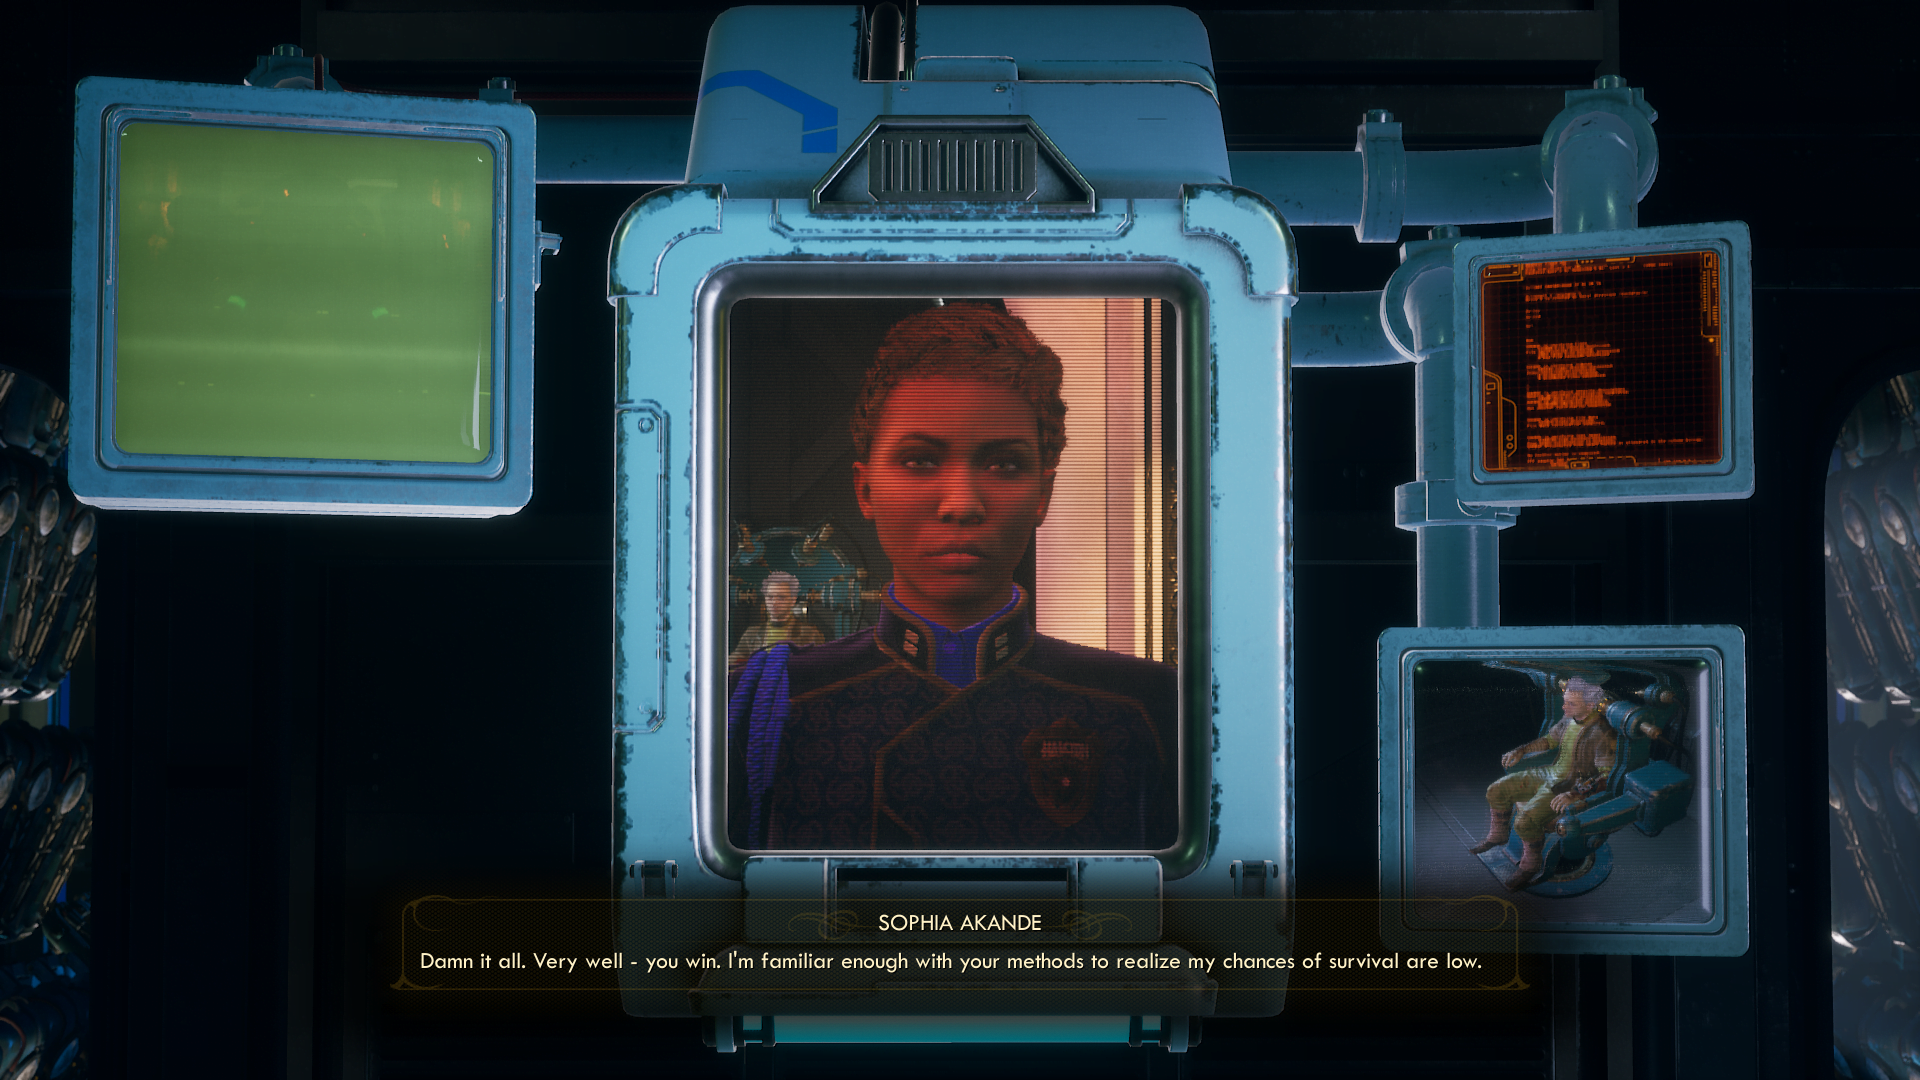
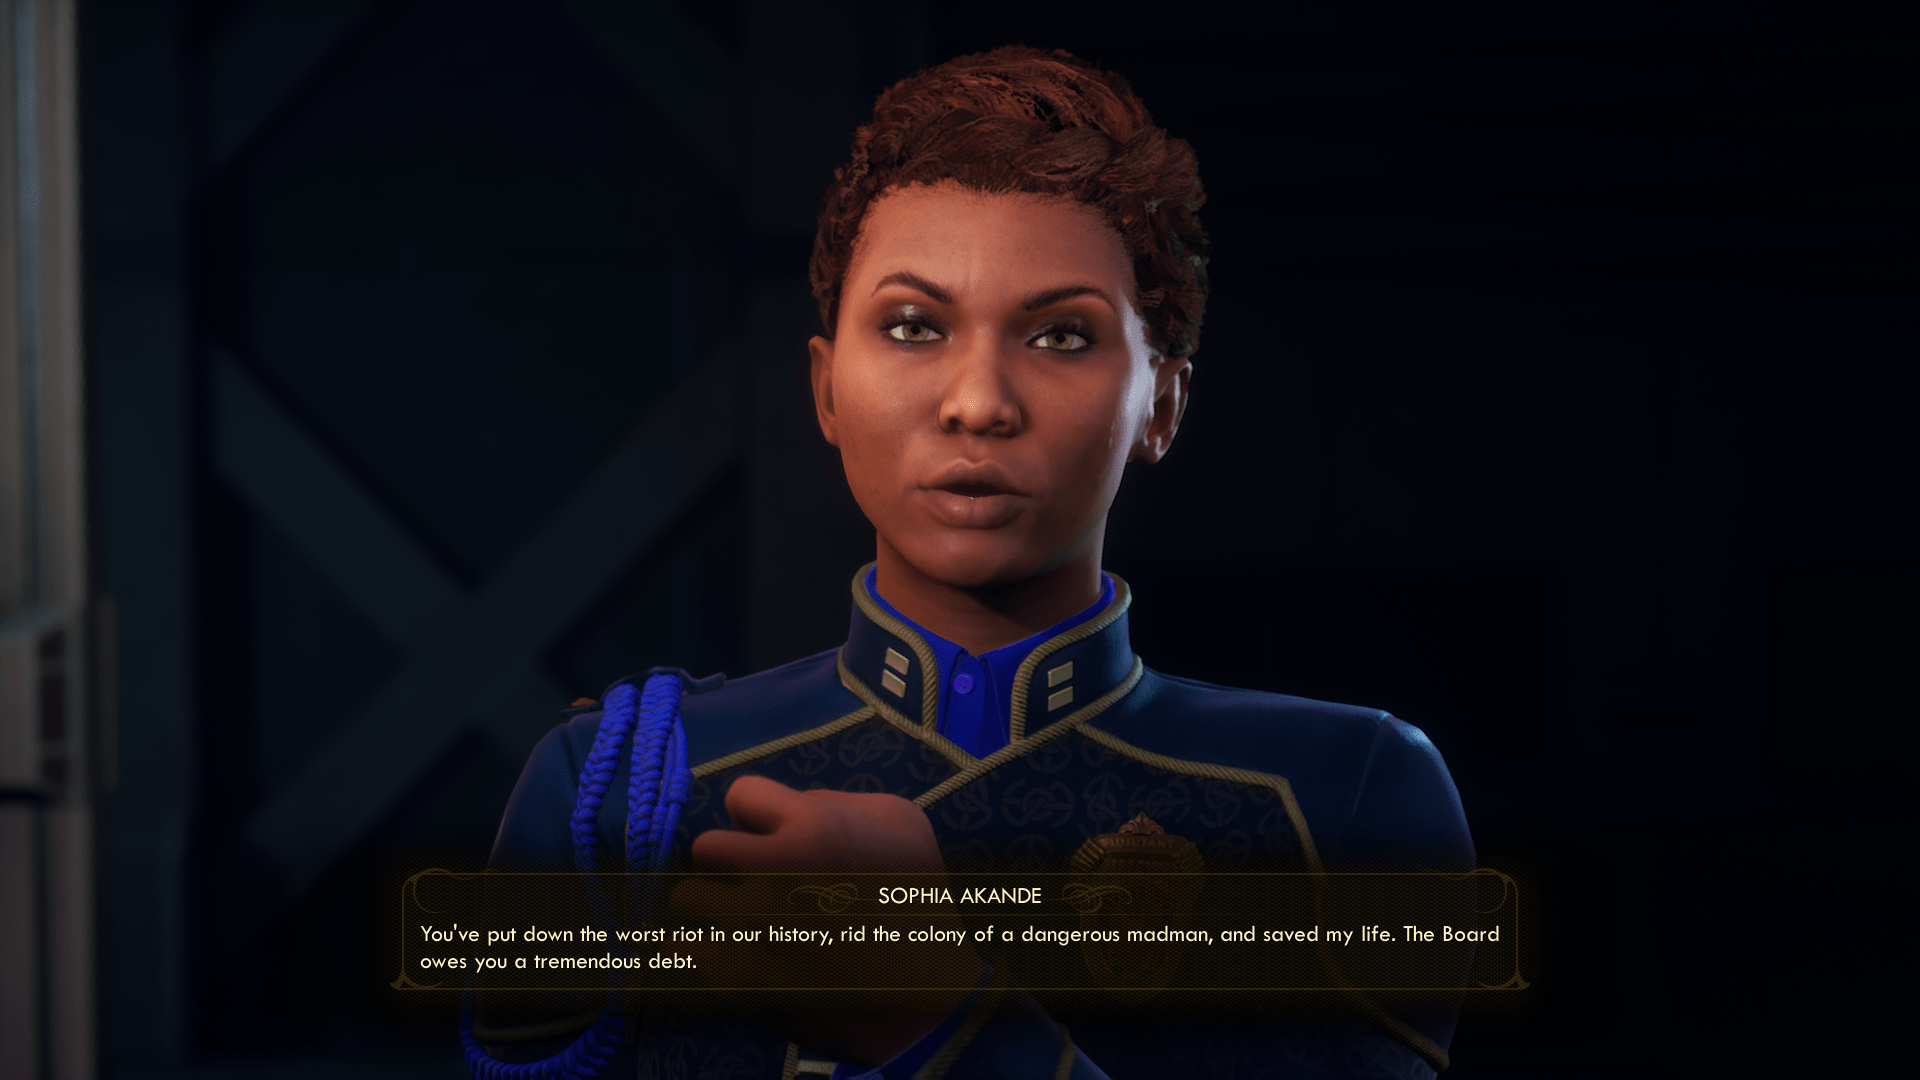
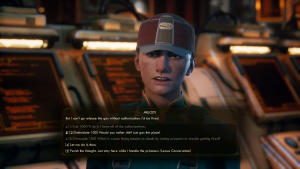
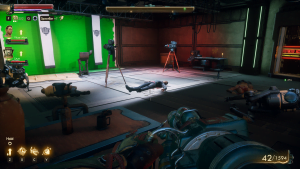
- There will be a series of questions that will follow from her, depending on whether you helped the Board in the progress of the game or not. In order to get a non-violent ending you’ll need to either use high persuade (~100)/charm or medium (~55) science/hack/engineering (or high heavy weapons (~55) and 2-handed melee (~90) if you are below average intelligence) to clear her first dialogue option. Then you’ll need to pass a high (~90-100) lie/perception/persuade/science test. Finally, a high (~90) lie and hack or temperament or (~100) intimidate test pass will be required. If you fail, you’ll face a final boss as the R.A.M. (you will then need to get the Hibernation Chamber Key and kill Sophia).

- Once you successfully clear Akande’s dialogue or kill her, follow the objective marker and pick up The Chairman’s Key from the table. Now free Phineas and the game will end with Welles ending and you will learn the fates of the different parts of the colony and your companions.
Route Two – Tartarus (Board Ending)
- When you return to the Unreliable you will get a transmission from Chairman Rockwell and learn that Phineas has staged a riot inside the prison after getting captured. ADA will gather the entire crew together to help you discuss your strategy before facing the danger.
- Now head to Tartarus. The game will warn you in many ways that you are about to work towards the story’s ending. Speak to the Corporate Trooper who will be very eager for backup. You can pass a high (~70) persuade/intimidate check to get him to give you a Labyrinth Prisoner’s biometric ID.

- You can head straight through the gate, or lockpick (~80) your way through on the second-level bridge, by the cabin that overlooks the landing.
- Once you get through, ride the elevator down. Go into the restricted area move towards the Pit in the south of the building. If you start killing, prisoners from the entire area won’t pounce on you all at once, unlike in the docking area, so confronting them here is easier (but mind automechanicals). If you wish, kill all of the prisoners here and loot everything you see. If you entered the area on the higher level, you can use the ladder on one of the pods to get a better look over the area.
- Use ladders and try to attack the prisoners furthest away from the central section and behind visual obstacles. If you looted the Hope thoroughly, you don’t need to worry about picking things up on Tartarus. Focus on either making your way to the lift on the central bottom (then summon it from the second level), to the ladder on the southeast side, or a second-level pod on the southwest. If you have Hack 100, you can use the terminal to bypass the access code into the armory (they have items like the Plasma Launcher 2.0).
- Go through the gates on the south end, after you take the lift. From here, make your way to the Pit. Resupply in the room with the vending machines before heading forward, if you need to.
- Head through a locked door on your left (~lockpick 80) to use a terminal that tells you how the Pit functions with the hibernation plan of the Board. Open the door to continue going around the Pit. If you have 100 in any dialog skills you can take out all of the prisoners on the lower level. While your shroud lasts, continue walking past the lift (or take a lower ladder shortcut towards the opposite direction) until you go through the door of an office to locate Melody inside. Convince her to give you the passcode (“tartarsauce,” by the way) and then use the terminal to vent the gas.
- Then, take the lift up. Allies like Zora from Stellar Bay (if you united MSI and Iconoclasts) might come to your assistance.
- Go through the northern gates once the area is clear. Head through to locate the Pit Exit. (Follow the arrows on the ground.)
- The exit out of the last barricaded room will be straight ahead, marked with “Exit”.
- Inside will be Chairman Rockwell. If he is dead, you can loot the area and his corpse. You can leave him alone if he is alive.
- From here, head back to the restricted area. Take another lift to go up. This floor will not be clear – you will have to deal with more prisoners (admittedly, not too many), or get help from Sanjar.
- Make your way to the elevator in the middle of the Pit. Ride it up to get to Phineas Welles.
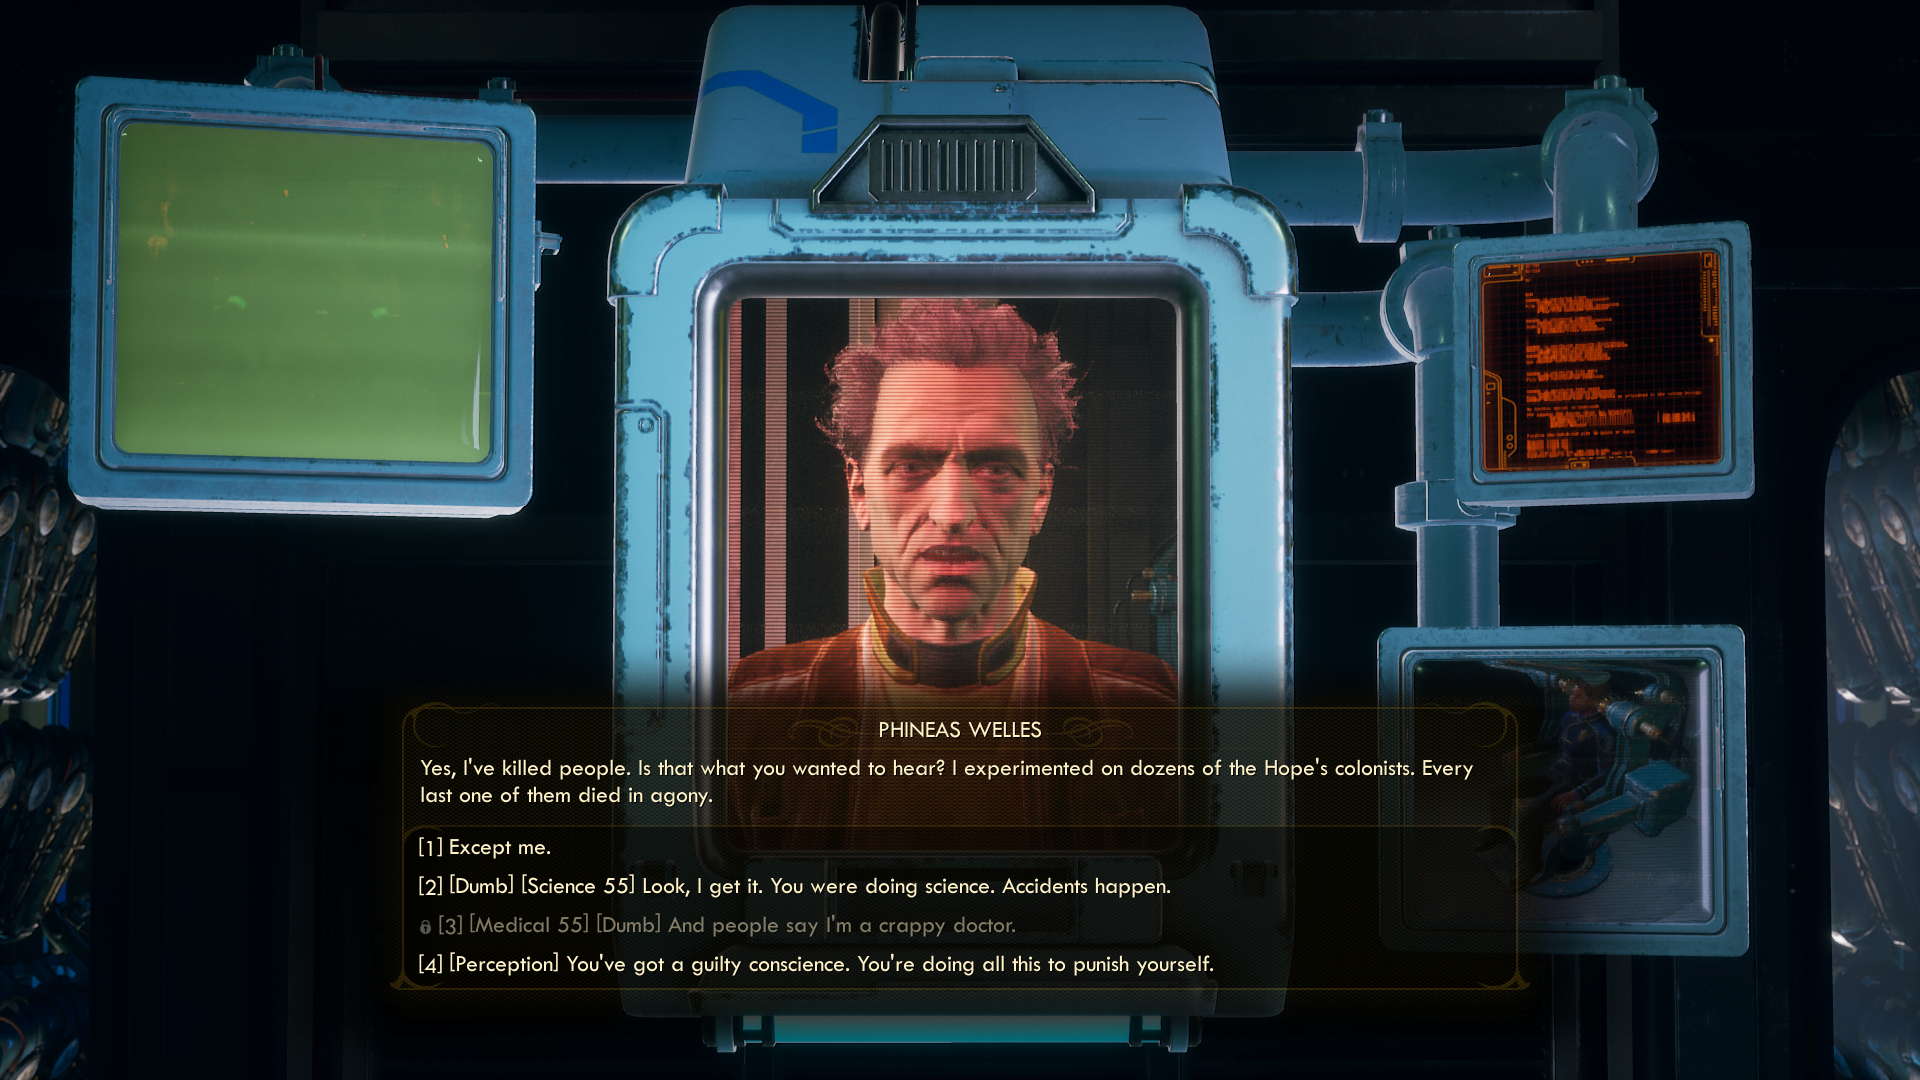
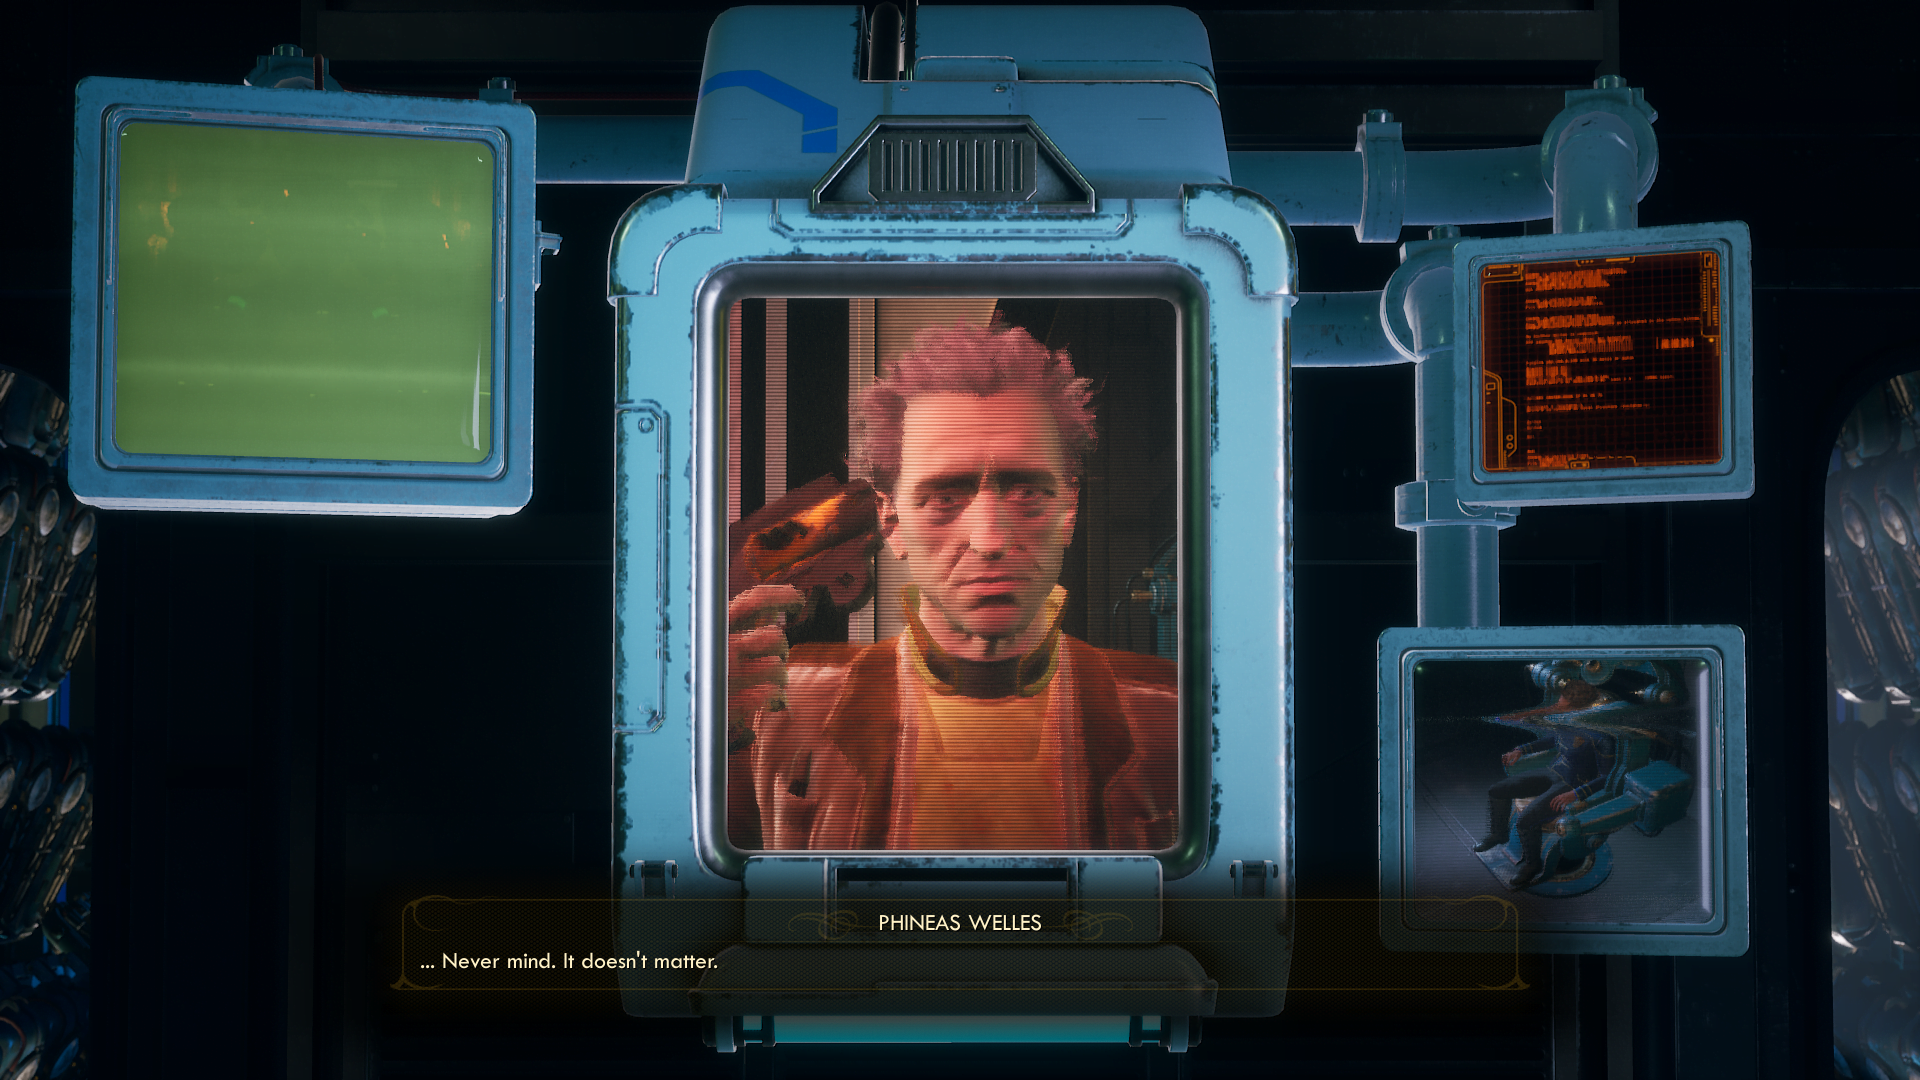
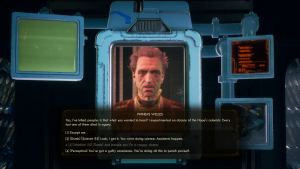
- There will be a series of defenses following from him, depending on what you know about Phineas’s failures in his experiments to revive people from Hope. He knows he will probably die and he will want to take Sophia down with him, but you can pass a high persuade and science (~90) or perception or high lie (~100) check to get him to pay attention to what you have to say. Then, you can pass a high (~100) persuade or intelligence or high (~90) intimidate and handguns check. Finally, you can pass a medium (~55) Science or Medical check if you are below average intelligence, a high perception, intimidate, persuade, medical or temperament to get inside his head.
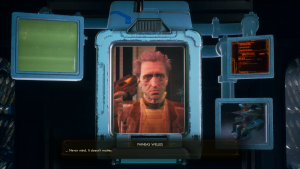
- If you fail, you’ll face a final boss, the R.A.M. If you succeed Phineas, a broken man, will shoot himself while he is still looking at you with his sad eyes.
- Once you successfully clear Phineas’s dialogue or kill R.A.M. (you will have to get the Hibernation Chamber Key and kill Phineas), follow the objective marker and pick up The Chairman’s Key. Now free Sophia and the game will end with Board ending and you will learn the fates of the different parts of the colony and your companions.