This guide is meant to walk you through The Doom That Came to Roseway quest on Roseway, Terra 2 in The Outer Worlds. It will guide you through your quest options and dialog summary in particular. This guide will summarize the general dialog options you have with each NPC you will encounter as a part of your quest, as well as some of the important information they would reveal to you if you chose to invest time into asking questions.
Please be warned that the guide ahead contains spoilers for The Outer Worlds, especially for dialog and plot development.
This quest is one of the quests branching out of The Distress Signal on Roseway. The Distress Signal quest concerns the overarching mission to investigate the call for help coming from Roseway with a choice to help different involved parties. You can check our guide for The Distress Signal quest first to acquire The Doom That Came to Roseway quest or, after you complete the quests on Roseway, to know what you can do with the acquired items.

Note: the walkthrough was done on a Below Average Intelligence character, resulting in some [Dumb] dialog options being substituted for some of the standard dialog options.
Very High Strength and Perception, however, allowed for the pursuit of other options in their stead.
This guide quotes from the game heavily, but in fragments. You can also use this guide if you feel you might have missed something in your dialog encounters, without reloading your previous save.
This guide will omit secret or interesting locations on the map and other Easter Eggs that are not directly related to the quest, since those deserve their own guide.
You can refer to the Table of Contents to navigate between the different parts of the quest more quickly: the guide is organized around the quest updates and key interactions.
The parts that relate to the progression more directly that others have been bolded for your convenience.
Did we miss anything particularly interesting? Tell us in the comments or on our Discord server!
Receiving the Quest
“A distress call from Roseway, a corporate township on Terra 2, was cut off mid-broadcast at the source. Investigate the call.”
You will need to follow the steps in The Distress Signal quest to acquire the coordinates for the Roseway landing pad. Follow The Distress Signal quest until you complete the “View the Distress Signal Recording on Your Ship” step. Our guide can walk you through that!
After ADA plays the message back for you, you will acquire The Doom That Came to Roseway quest, with the step to investigate the broadcast tower on Roseway.
Investigate the Distress Call
“The distress call must have originated from Roseway’s broadcast tower. Head there and find out what precipitated the call.”
When you are ready, use the navigation panel to travel back to Terra 2, the Roseway Landing Pad. A green quest marker will guide you if you are tracking the quest.
Chat with Ellie before heading out, she will be by the gate. She will express concern about the situation on Roseway and suggest caution against whoever it might be.
Nothing will ambush you when you step to the ground, but if you take Ellie with you she will astutely observe that there is no security to be seen. (If you walk around the landing pad on the ground, you can pick up a few items, including mods.) You will see some infrastructure in the distance – that’s the town walls of Roseway and the external settlement surrounding them. Head down the road.
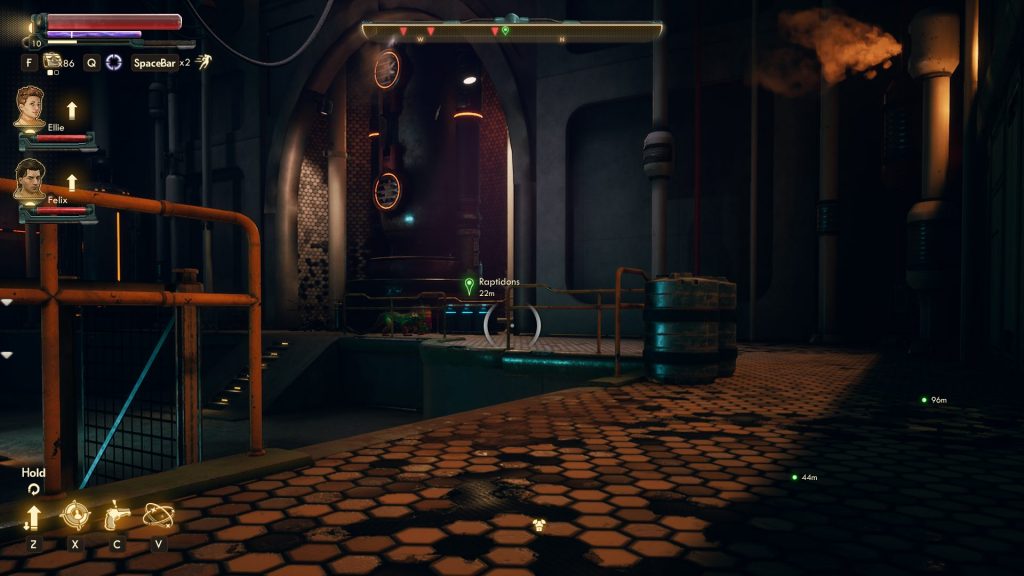
You will stumble upon a corpse of a corporate commander and then a stuck automechanical loader down the road and will quickly discover that the place outside the walls (“Roseway Gardens”) is in ruins and is overrun by raptidons. However, the abandoned buildings have a bit of loot to gather, including a few mods. You can sell those back at the vending machines, if you want some immediate cash. Also, some interesting stories of relocation and personal struggle told through digital records.
As you approach the gates of the large city, you will discover several corpses of scientists and raptidons coloring the cemented pavement. Felix might note that he is hearing gunshots coming from inside. Auntie Cleo’s cheerful jingle will add to the atmosphere.
Head inside Roseway to discover more of the familiar corpses scattered around. Still, the things will seem otherwise peaceful, despite the gunshots. If you wish to, you can talk to some of the (least useful) NPCs who might tell you where to go (one of them) and then absolutely nothing else.

Berke: Rapts “broke loose.” Ran inside the walls. Anton Crane is the boss, he is panicking inside the Comm Center. Did you have rapts caged? Won’t talk about that. Wish rapts tasted any good. What distress call? “Shit. They told me that weren’t allowed.” I was told not to do, I don’t do things I am told not to do. Yay Auntie Cleo! Endlessly repeated slogans!
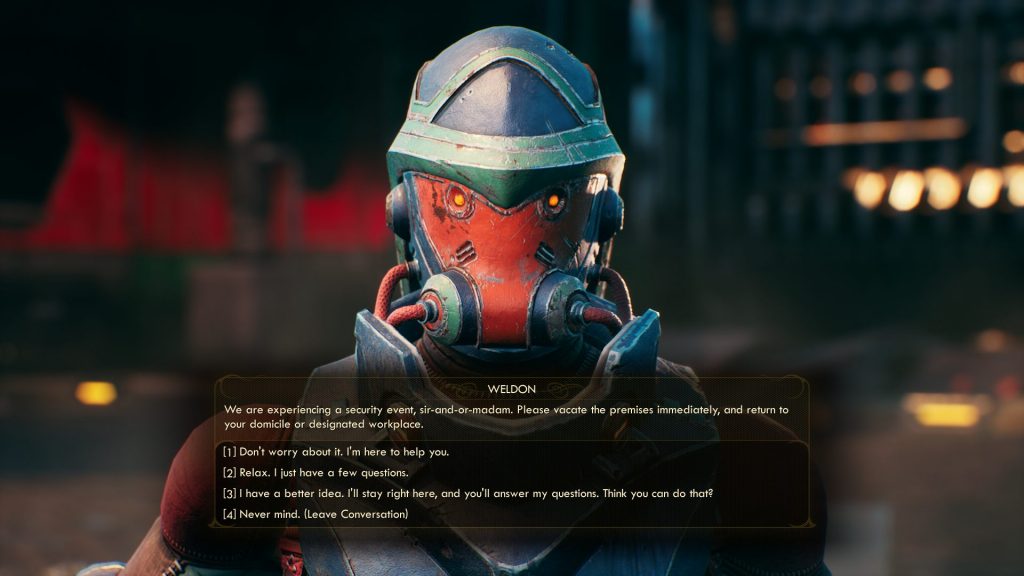
Weldon: “We are experiencing a security event, sir-and-or-madam.” Go be safe. Can’t talk about anything that happened here. Can’t tell who I am or what I do – submit a complaint. Roseway Lab is a classified facility. “I am not allowed to confirm or deny its alleged existence.” Thanks, Weldon.
Patrol: “I don’t have time for this.”
Scientist (talking to a guard): We need to close the vent shaft to contain the beasts in the lab, much important! Someone needs to do it! (No option to interact with the said NPC.)
Della Jennings (vendor): You aren’t supposed to be here… are you a corporate spy? Oh well, I can still sell to corporate spies. Even though I am technically not in business. Why are we called the “17th Bar?” We closed and re-opened that many times!
It is not a bad idea to loot corpses, even the raptidon ones. You can sell the raptidon meat to the vendor at a small price.
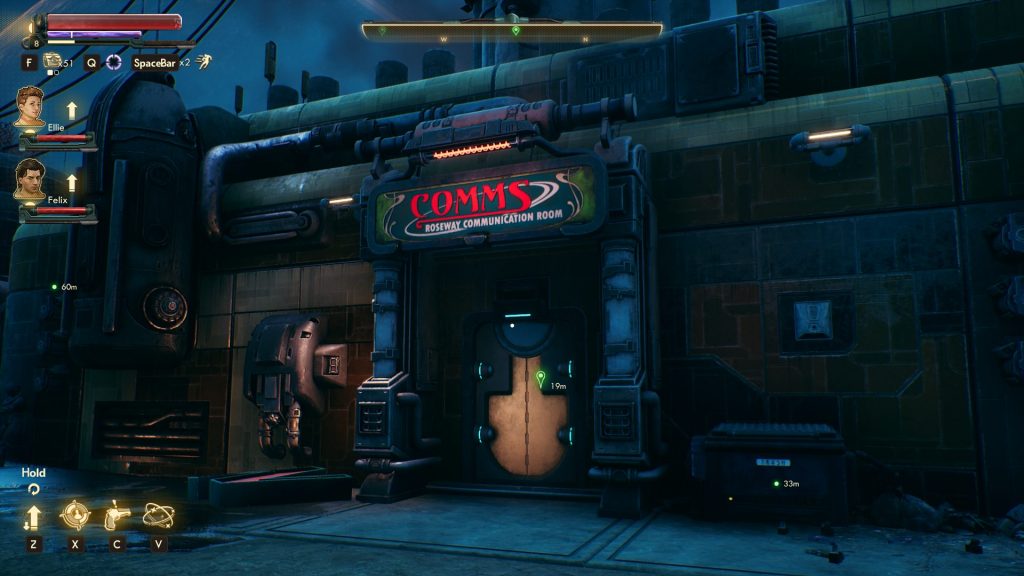
Head to the Communication Room when you are ready – building directly straight from Berke’s original location with red “COMMS” letters on the sign above. Anton Crane, the lead scientist of the operation will be messing with his tablet.

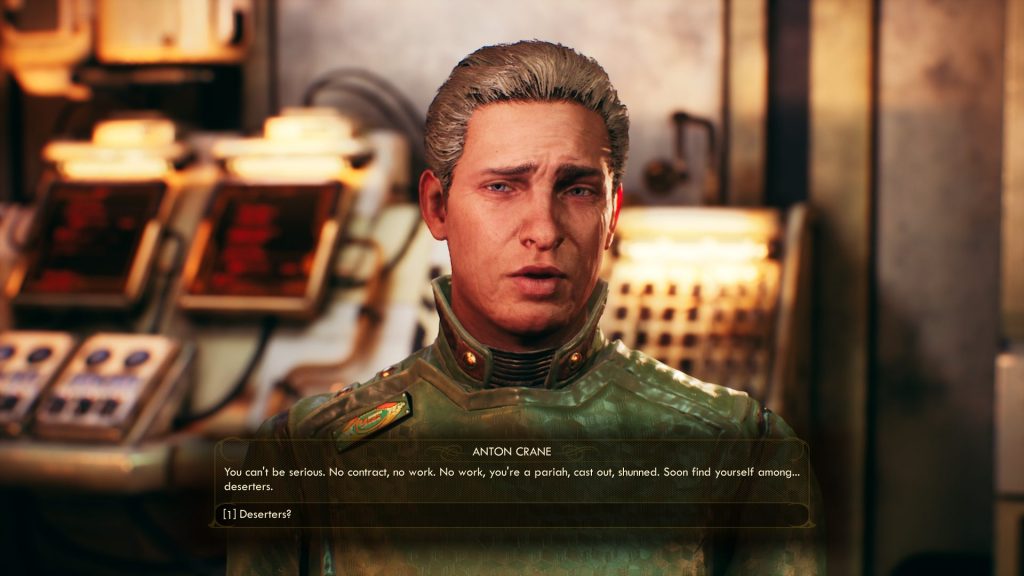
Anton Crane
 Start of Dialog
Anton still thinks he is in danger of being killed, but he quickly notices that you are not “one of them.” You can still attack him, if you have a dark sense of humor, but that will give you 11% negative reputation with Auntie Cleo and fail the quest (it will be hard for Anton to tell you what’s going on if you kill him.)
After introducing himself as a lead scientist, he will apologize for diverting you. “Everything’s under control now, though, truth be told.” Apparently, “a group of vicious malcontents” has raided the lab, releasing the raptidons, “our research subjects” and causing serious chaos, just hours ago. Apparently, Anton and his people were tasked with developing a new formula for a dental gel ([Persuade 25]). The success came when they discovered that the enzymes in the raptidons’ digestive systems are the most effective appetite suppressant. Anton is very proud of his project to create the “ultimate diet toothpaste,” appropriately… called, uh, “Appezap.”
Anton will need you to do a few things.
First, Anton wants you to deal with the attackers that raided the lab and retrieve his research from the safe in his office inside the lab (he will give you his code and a keycard). It will unfortunately get a bit more complicated than this after you investigate the situation. There is a reason why the entire step concerning the attackers has its own section in the quest tracker: “Eliminate the Outlaws.”
Secondly, you will need to deal with raptidons in the lab, but Anton would prefer it if you don’t harm their mother, since he needs her for the project. He suggests that the gas in the lab “somewhere” can be used to incapacitate all of them.
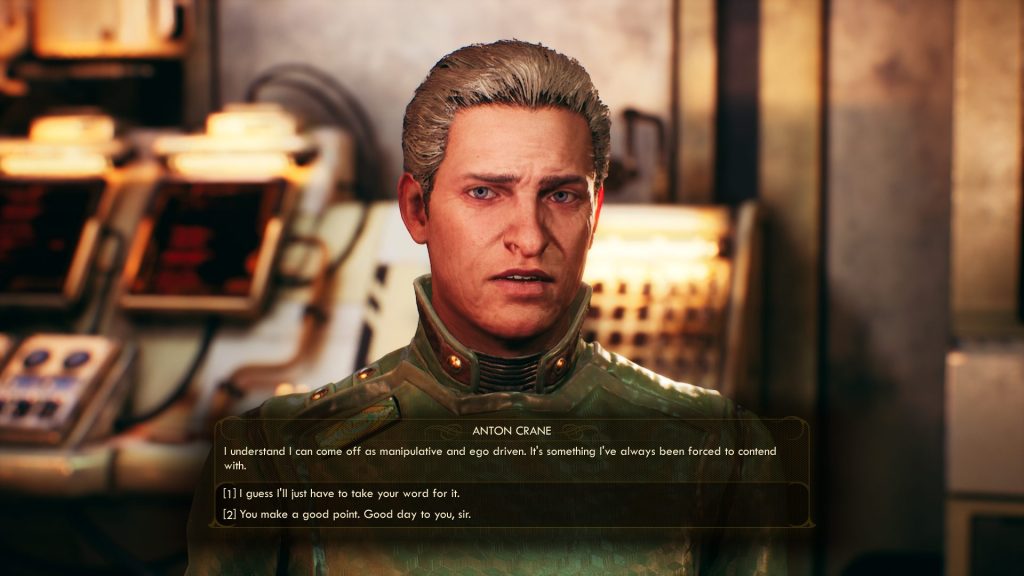
Also, Anton will suddenly remember that he left his protégé, Jameson, in the old Auntie-Biotics Lab lab (as opposed to the Secret Lab he is sending you to). Anton sent him to retrieve items for the project and then forgot about him. Anton will assure you that he cares about Jameson and other people since they have lost… well, there are “black marks” against his name and all of this is just too much paperwork. “If my colleagues refuse to take their lives seriously, why should I?” Somehow, Anton understands how he might come off as “manipulative and ego driven” nonetheless. “It’s something I’ve always been forced to contend with.”
Accept all quests and you will receive the updates to the quest The Doom that Came to Roseway and By His Bootstraps that will track the Secret Lab and the Auntie-Biotics Lab, respectively.
End of Dialog
This guide will not follow the By His Bootstraps, Vulcan’s Hammer, or The Amateur Alchemist, although completing these quests will provide you with a good number of bits, no matter if you return them to the scientists or Gladys.
We will focus on how to complete all of the parts of Anton’s quest, including the optional steps and your options regarding the outlaw leader inside the Secret Lab.
When you are ready, head out of the town.
Find Anton’s Safe
“You’ve been asked to recover research data from the safe in Anton Crane’s office.Anton’s office is in Auntie Cleo corporation’s Secret Lab, which lies at the end of the paved road south out of Roseway.”
The first lab you will hit when you follow the road is the Auntie-Biotics lab. You can rescue grumpy Jameson from a storage room upstairs. He will care more about the breach of protocol and Anton’s attitude than the raptidons…
You can head off the road around that area to find the Storage Facility (the only large building not connected to the main road) and locate the schematics (locked door on the first level), along with the Acid Steeper for SAM, located on the central shelves past the locked door. The schematic will be on one of the walls inside Orson’s Lab – just follow the quest tracker.
Southeast of the lab, in the corner of the map will be the raptidon pen, if you want to sneak past the land mines, on top of the ramp, and arm the electric fence using the terminal. After you take the beasts out you can pick up Lillian’s Cigarette Case to give to her outside of one of the entrances to the Secret Lab, if you want.
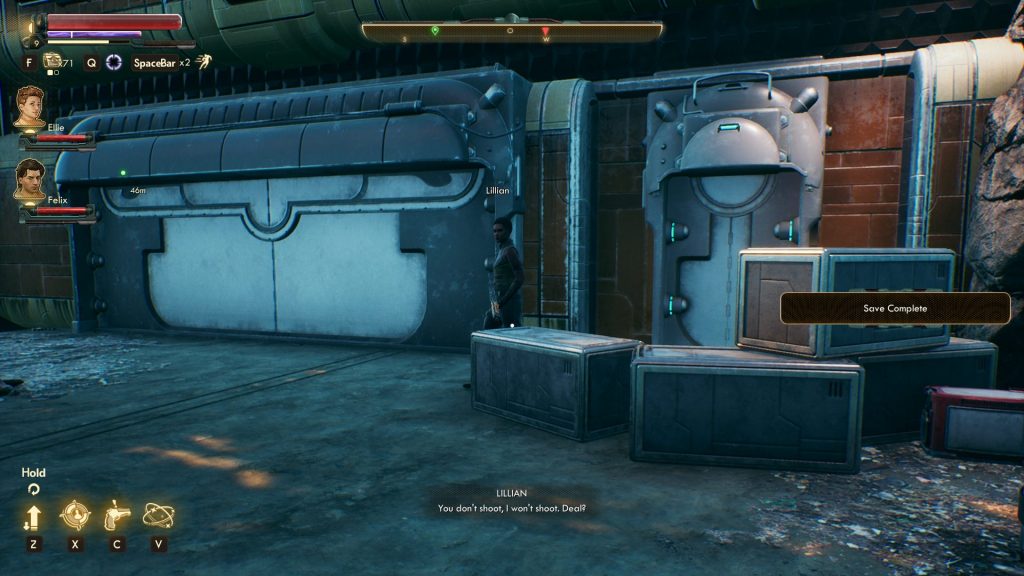
When you are ready to head into the Secret Lab, follow the main road to its destination in the south – two entrances into the lab. If you want, you can approach the one not suggested by the quest tracker, the one guarded by Lillian. She won’t fight you unless you want her to: she and her mercenaries were left here to handle corporate reinforcements but they got “pinned inside,” so doesn’t have much left to do. Her boss, Cassandra, is apparently held by those reinforcements on the lower levels of the lab.

Deal with the Raptidons (Optional)
The best entrance to avoid raptidons and corporate guards is on top of the hill behind Lillian. Go to the crossroads and up the dirt path: After you fight an outlaw with an automechanical, you should meet no further resistance.
 Once you are in, cross the bridge and unbar the door.
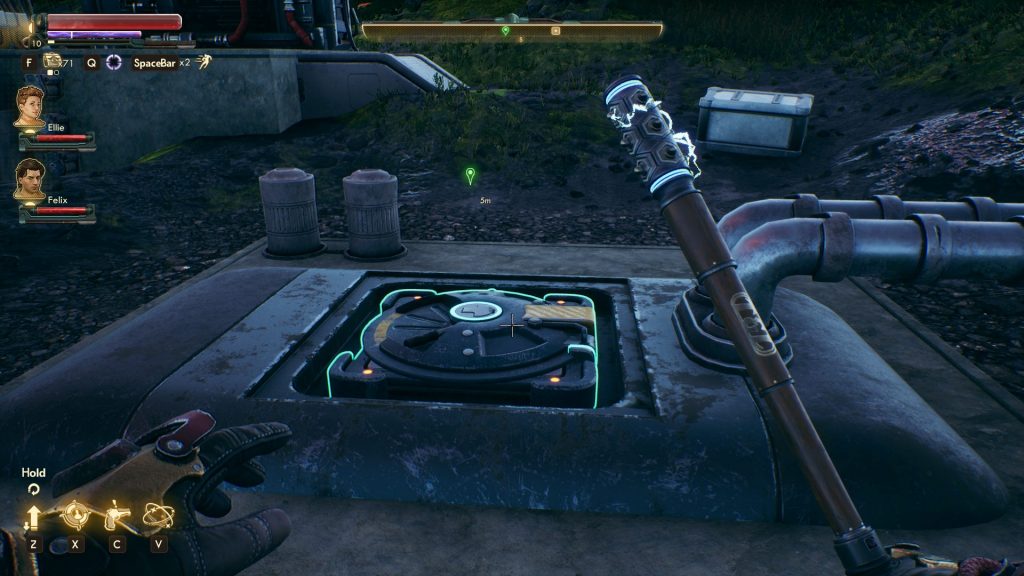
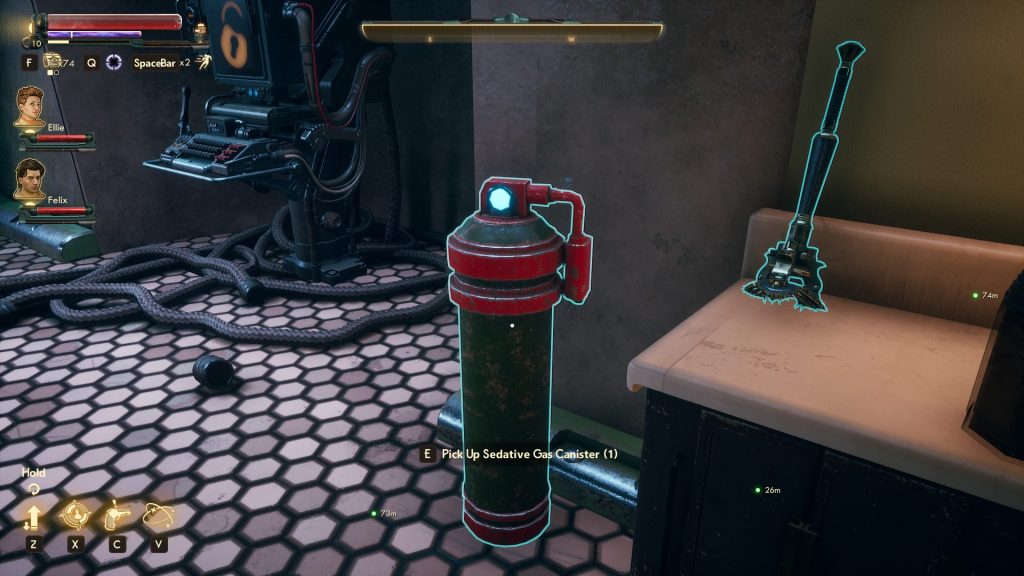
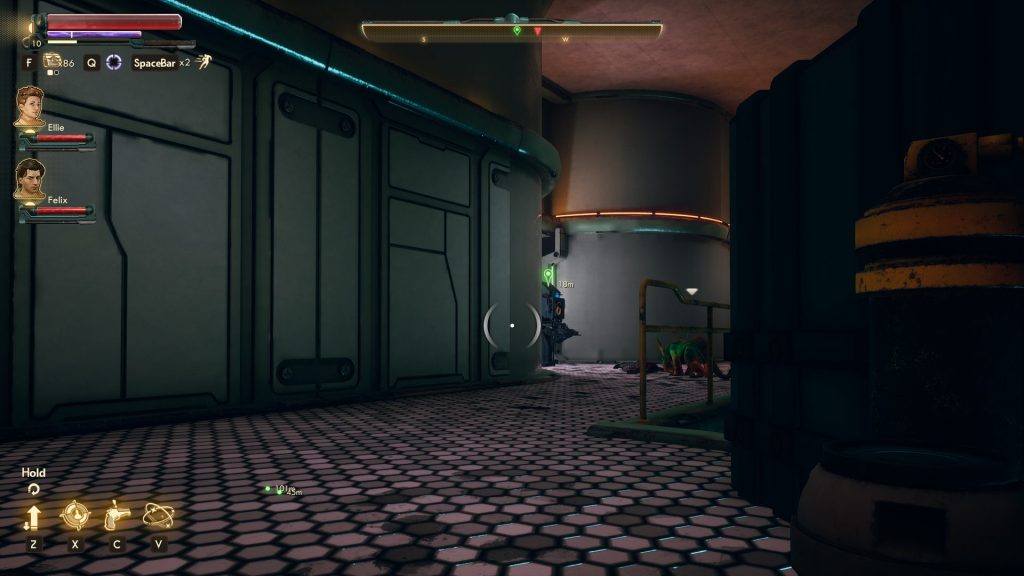
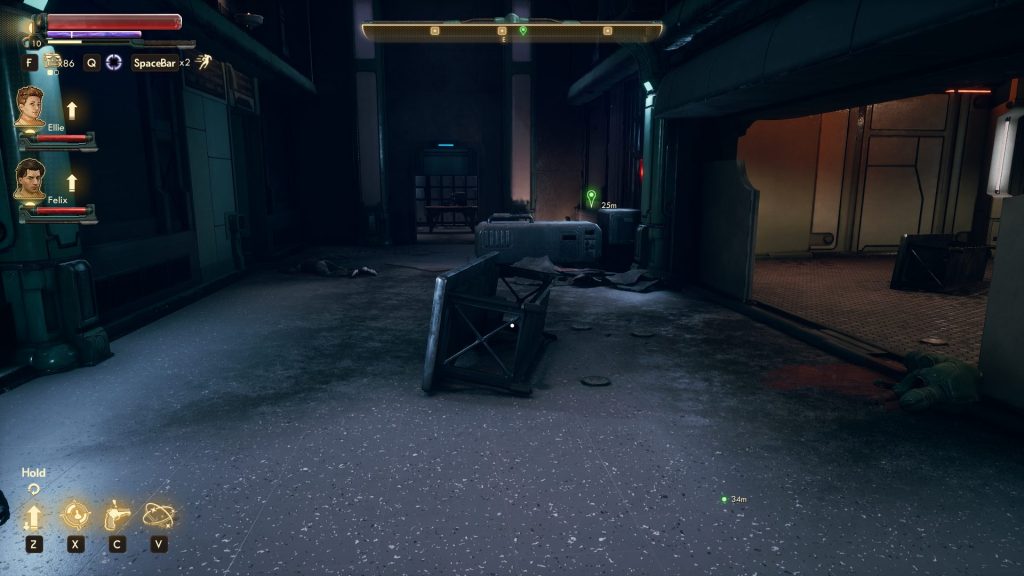
Carefully head to your right (there are raptidons on your left), open the door. Snipe out or ambush the outlaws from where you are standing. The first gas canister will be by the stairs, it will have a recognizable red frame (see the dead-center white dot on the screenshot below).

Don’t head down just yet, but remember the location, since you will be coming back here once you have all three canisters.
Head down the corridor and you can talk to Cassandra right away, if you want. We will continue collecting canisters for now.
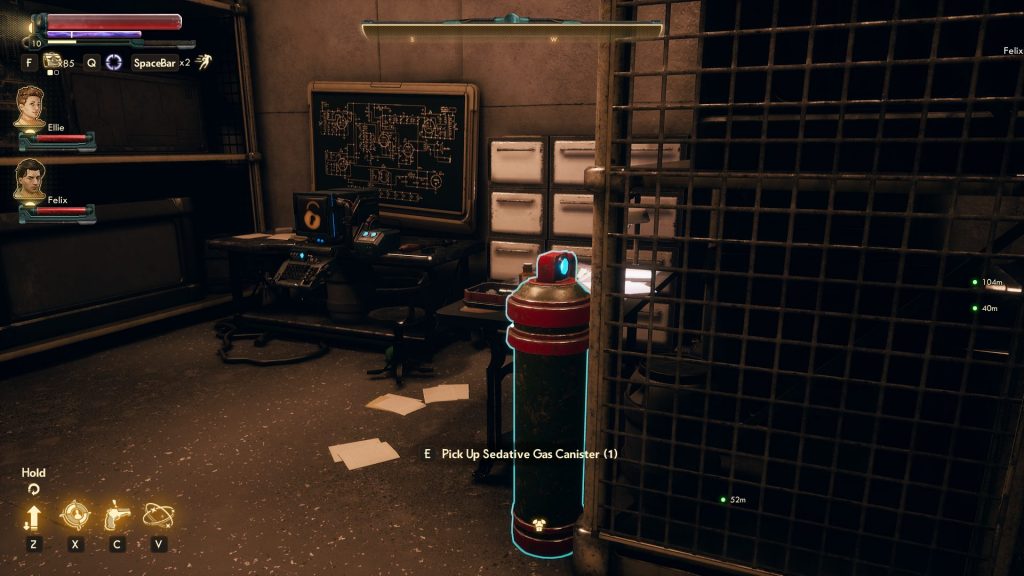
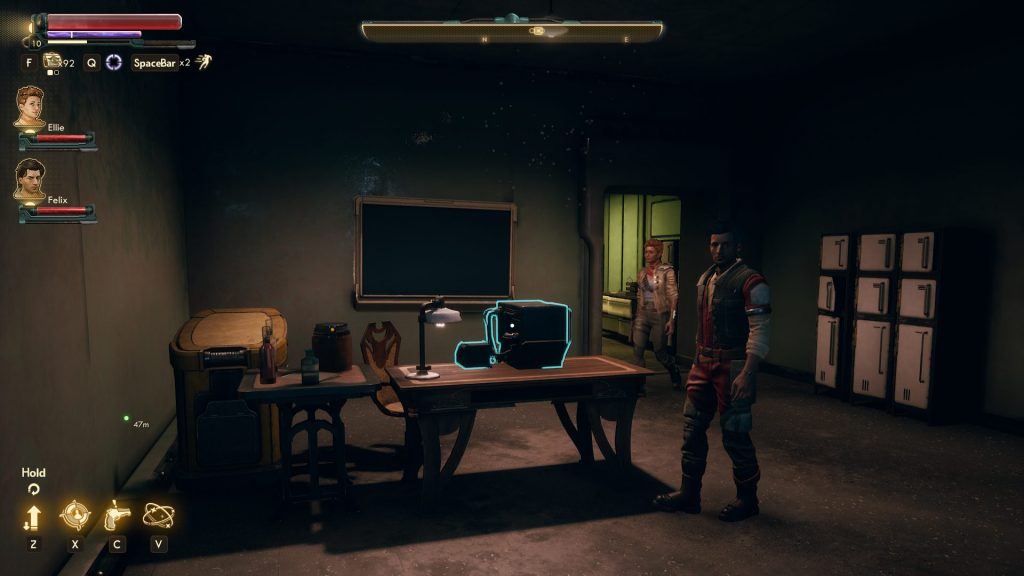
Directly across from her cell is the door that leads to Vaughn’s Lab, if you wanted to use [Science 40] to get twice the dose of the experiment or otherwise simply get what he asked you to. Otherwise, pick up the red canister by the terminal inside there.

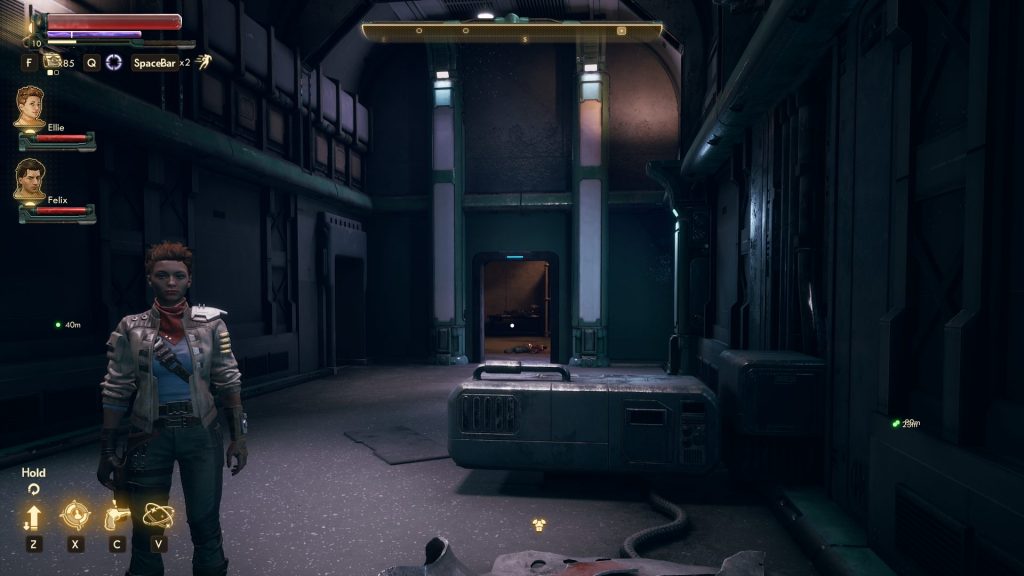
Continue down the hallway, sharp right when you reach a t-intersection and through the door at the end of the hall.

The last canister will be near the terminal inside.

Now head back into the hall, towards the first canister location. Down the stairs and into the raptidon incubation chamber. Probably leave your companions outside (use the location command, “Z” on PC) and sneak.
Sneak to your right to install the gas canisters. Watch out for the Raptidon Spitter – time your movements to avoid detection.

After you install all three, sneak back and around to the terminal. Time your movements with another raptidon that occasionally comes to it.

Once you are at the terminal, ventilate the gas. Don’t worry about the effects of gas on you, despite the terminal’s surrender of responsibility over any “brain damage.”
After this step, the optional part of the quest will be complete. You won’t have to worry about any of the raptidons inside the building, if you felt like exploring.
Recover Anton’s Data
You can technically talk to Cassandra, but the decision to help or kill her will be unavailable until you find the Covert Lab Security Card. We will also stop by Anton’s office to locate ourselves in the building more easily.
Go down the hall to the t-intersection, and this time turn left. Follow the curve of the hall to the end, past the vending machine area.

That will be Anton’s office. Not surprisingly, the safe has been opened (Cassandra has the research, obviously). The quest will update with a guess that outlaws probably have the data.
Head behind the cells to the left of the entrance to Anton’s Office to print the Covert Lab Security Keycard at the terminal.

Head down the hall, past Cassandra, to the area with the stairs and patterned glass windows to your right. There will be a door among those windows.

Head in and down the stairs.
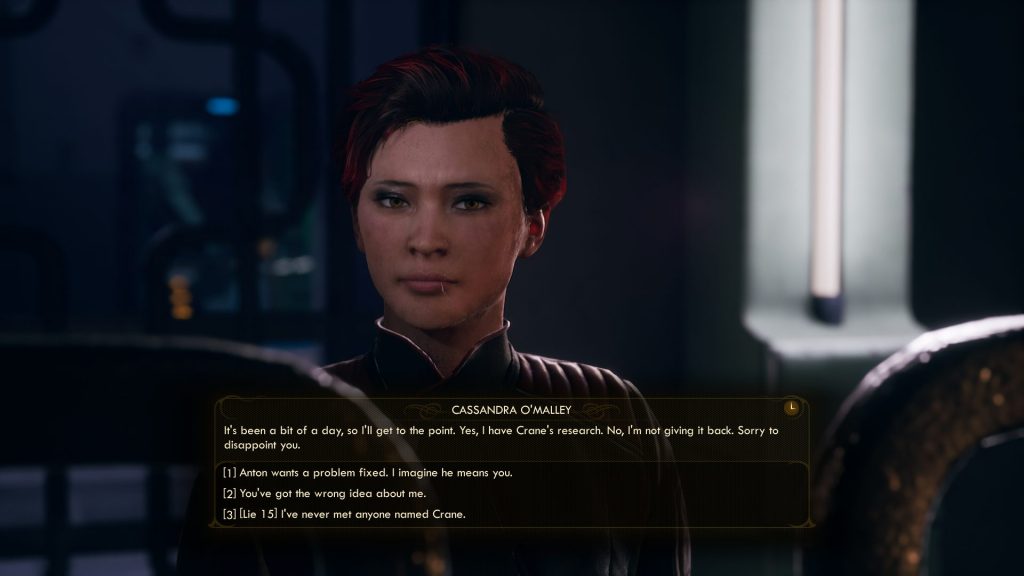
Cassandra O’Malley

Cassandra, upon you coming close, will step from her position facing the other room to where you are. Now you can talk to her and make the decision of whether to use the key and release her. Your options will be to either release or kill her – otherwise the guards and Cassandra will continue their stalemate.
Start of Dialog
If you helped Lillian, Cassandra will recognize you. She will admit that she has Crane’s research and that she won’t be giving it back. She will try to strike a deal with you – if you release her, she will “pay you for [her] life.” Since you have cleared out the raptidons you can agree to her terms and release her at any moment. The quest will update with Cassandra’s confession over stealing the research.
Why should you help her? “Because Crane is a tool. Because no good deed goes unrewarded. Because doing me a good turn is the honorable and decent thing. Take your pick.” Above all, Cassandra just wants to do her bit against the corporations, no matter how small. She refuses to be “boring and servile.” Her reasoning is, “Corporations expect us to work until the day we die. But they could not give a half-bit shit about our lives.”
End of Dialog
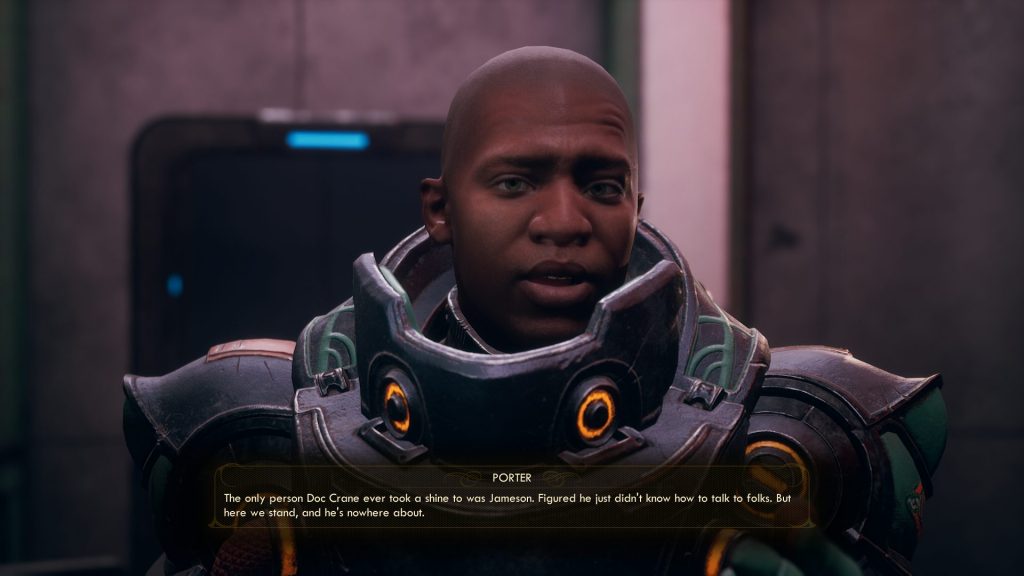
You can shoot Cassandra through the bars, albeit she will fire back and will not be very easy to kill. If you do so, you can pick up the research off of her body using the Security Keycard. Then, the optional step, “Eliminate the Outlaws” will complete. Head into the lift (see below) and past the barred door – Porter will thank you for your work. Apparently the rest of the gunhands began escaping. Porter will point you to Dr. Crane for the reward.
Alternatively, with all of the preparations complete, release Cassandra from the cell. If you accept to tell her, the quest to obtain Anton’s research will originally be failed, but there are options to convince Cassandra to hand it over below. You can tell her the guards are ahead but the rapts are down, and she will be fine with that. She will attempt to walk out, but you can talk to her again.
If you tell her that you didn’t save her life for free from the beginning you can use [Persuade 26] or [Intimidate 26] to get some bits off of her (about 600).
In order to convince her to hand over the research you will need to either use [Lie 45], [Intimidate 46], or [Persuade 26]. Ask her if it’s worth anything to her and you can use [Persuade 46] to have Anton pay her, if she is willing to wait. ([Persuade 26] is still available.) Then she will hand you the research. The outlaws, if you left any alive outside the lab, will no longer engage you.
Now, if you don’t want to pick up more rapt meat, head past the cells behind you to the cell door at the end of the room. Inside there will be a slightly slow elevator that will take you towards the entrance, where the corporate guards are camped out. Watch out for the acid mine – take it out with a gun before proceeding forward, probably from inside the elevator (might as well pick up the Inferno Scythe, too).
Porter will be quite annoyed with you, since he saw what happened on the security cameras. You can play friendly and use [Persuade 40] to convince Porter that “I convinced Cassandra to let you leave in peace. The lab’s a wreck. The staff’s half-dead.” (Otherwise [Lie 100]). From then, simply remind Porter that Anton cares about his reputation more than about anything that would be done inside the lab. Or that the company cares about the lab and research more than about human lives. Attack on Anton will sound like the most persuasive option.

The unit will pull out and… well, you can do a few things from now on.
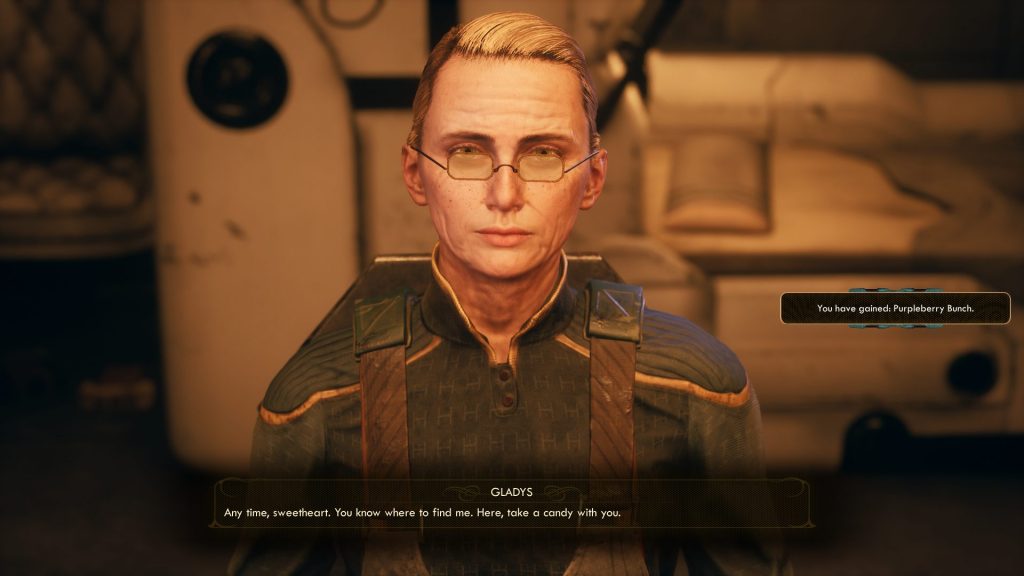
Handing the Research Over to Gladys: Return to Gladys on the Groundbreaker
 “You’ve acquired one of the company secrets that Gladys was talking about. You can return to her to sell it, or keep searching for more secrets.”
If you acquired all of the three items:
“You’ve acquired all of the worthwhile company secrets in Roseway. Head back to Gladys on the Groundbreaker.”
If you completed all of the side-quests, you have acquired a good amount of items to hand over to Gladys. (The schematic, the musk, and the research). If you want to do so, return to our The Distress Signal guide and proceed from there!
You can still turn in the By His Bootstraps quest to Anton, if you rescued Jameson.
If you want to speak to Anton, keep reading.
Speak to Anton
“You got Anton’s diet toothpaste research data. Head to Roseway and speak with him.”You do have the option to turn all of the collected items on Roseway to the scientists inside the town, if you want to help them and the survival of the abandoned outpost.
If you released Cassandra, you will walk in on Anton having an unpleasant conversation with Porter. Porter knows he will get fired, but the defense against raptidons, it seems, will be continuing in full stride.
Anton Crane
 Start of Dialog
Anton will also grump to you about their incompetence.
Tell him that Jameson is safe and that quest will complete, albeit there will be a hint at some remorse over Anton caring only about his research. Still, Anton hopes to retire in Byzantium.
You can turn Vaughn and Orson in, if you want, but Anton will be okay with what Orson is doing. You will lose the musk without any reward, if you do this right now.
If you freed Cassandra, you can tell him that you got rid of the outlaws via alternative means. Then, you can hand it in and Anton will give you almost 4,000 bits for his research.
You can also tell him that you gassed all for the raptidons for some extra reputation increase. Say “of course” and you can help Anton come up with a good selling point. With [Medical 25] you can point out the dangers. After that Anton will no longer be sure that what he cared about and wanted (release from his indenture contract and Byzantium) was right.
Otherwise you can tell Anton that you will be keeping his research (he will begrudgingly leave you alone) or, [Lie 15], that the outlaws got away with it (he will be depressed over there being no future for him). Your reputation with Auntie Cleo will not change.
The quest The Doom That Came to Roseway will be COMPLETED.
End of Dialog
Vaughn will give you almost 2000 bits for the musk. Orson will pay you almost 2000 for the schematics, plus a Ultimatun handgun with 198 DPS and a burn effect (313 sell value). Asking him to pay you for schematics will only get you 100 and decrease your reputation with the corporation. Surprisingly enough, whatever you get is about comparable to what Gladys will pay you for the information (but her bonus can make a solid difference).
Whether you choose to give the items back to the people in Roseway or to Gladys is up to you, your motives, and your interpretation of the situation – there is no one right answer to the situation and that’s the beauty of The Outer Worlds questlines.
Good luck on your future missions, Captain!
