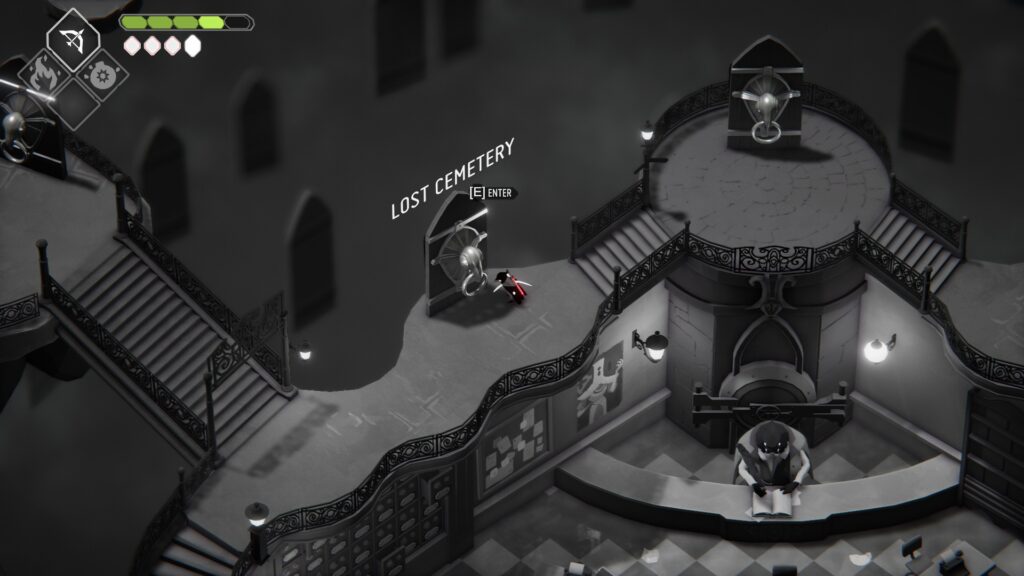
You should be in the Hall of Doors, in front of the door that leads to the Frog King’s Throne. Head up the stairs to the west, then take the elevator up and continue northwest, then west, to reach the door to the Lost Cemetery. This is also a good time to grab any upgrades if you have souls to spend!
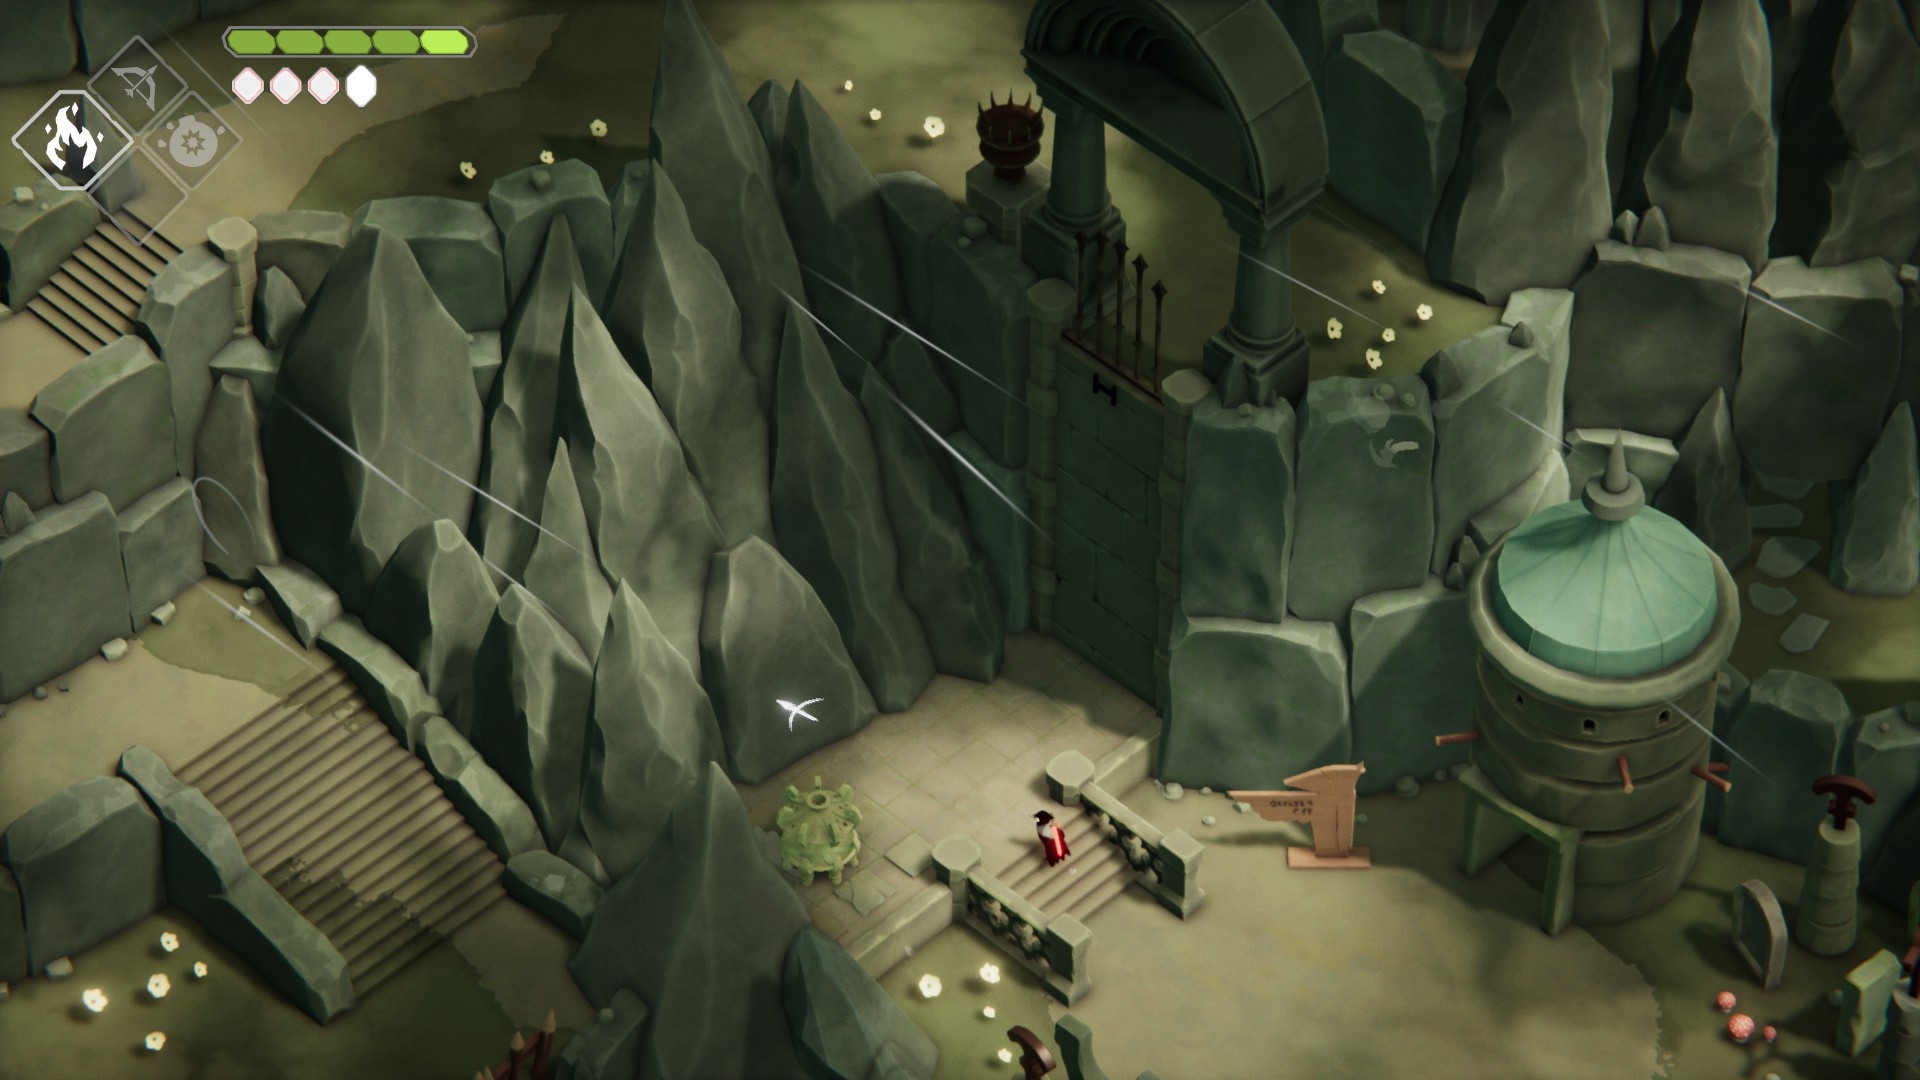
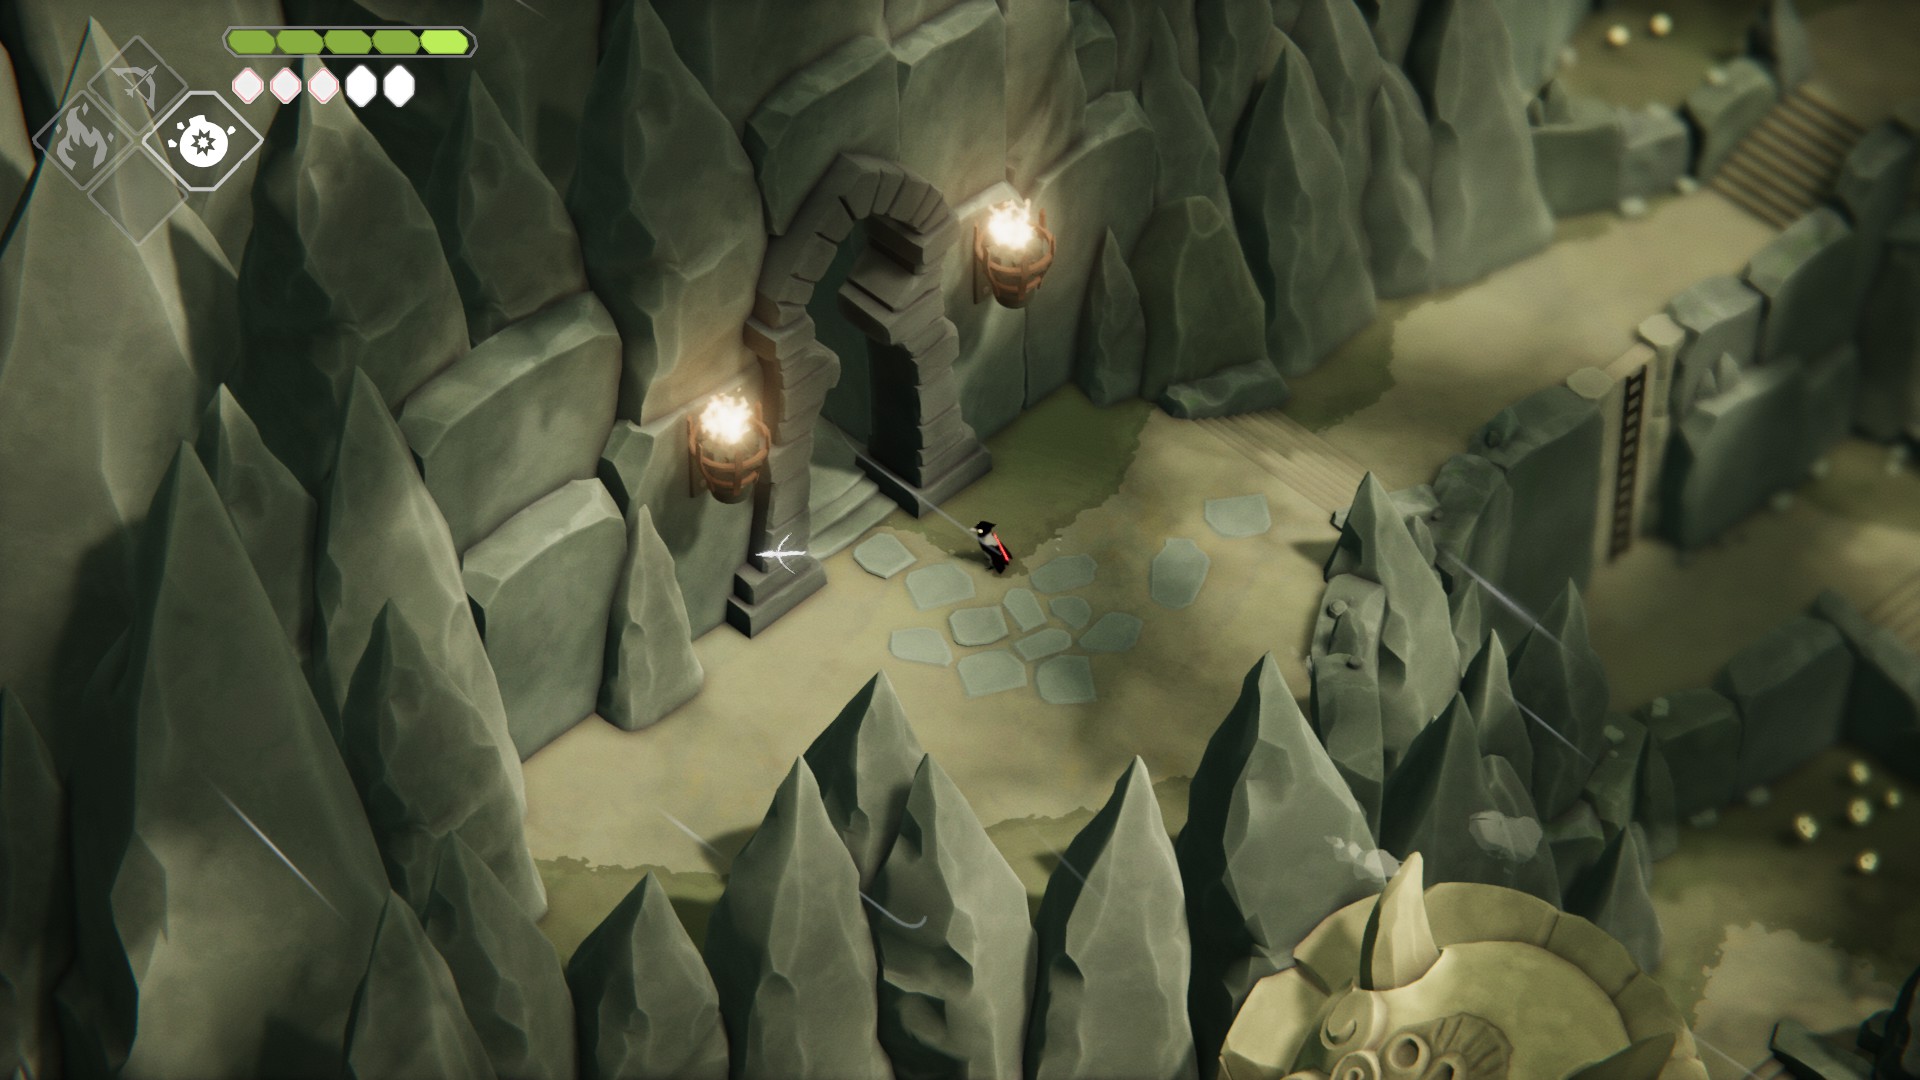
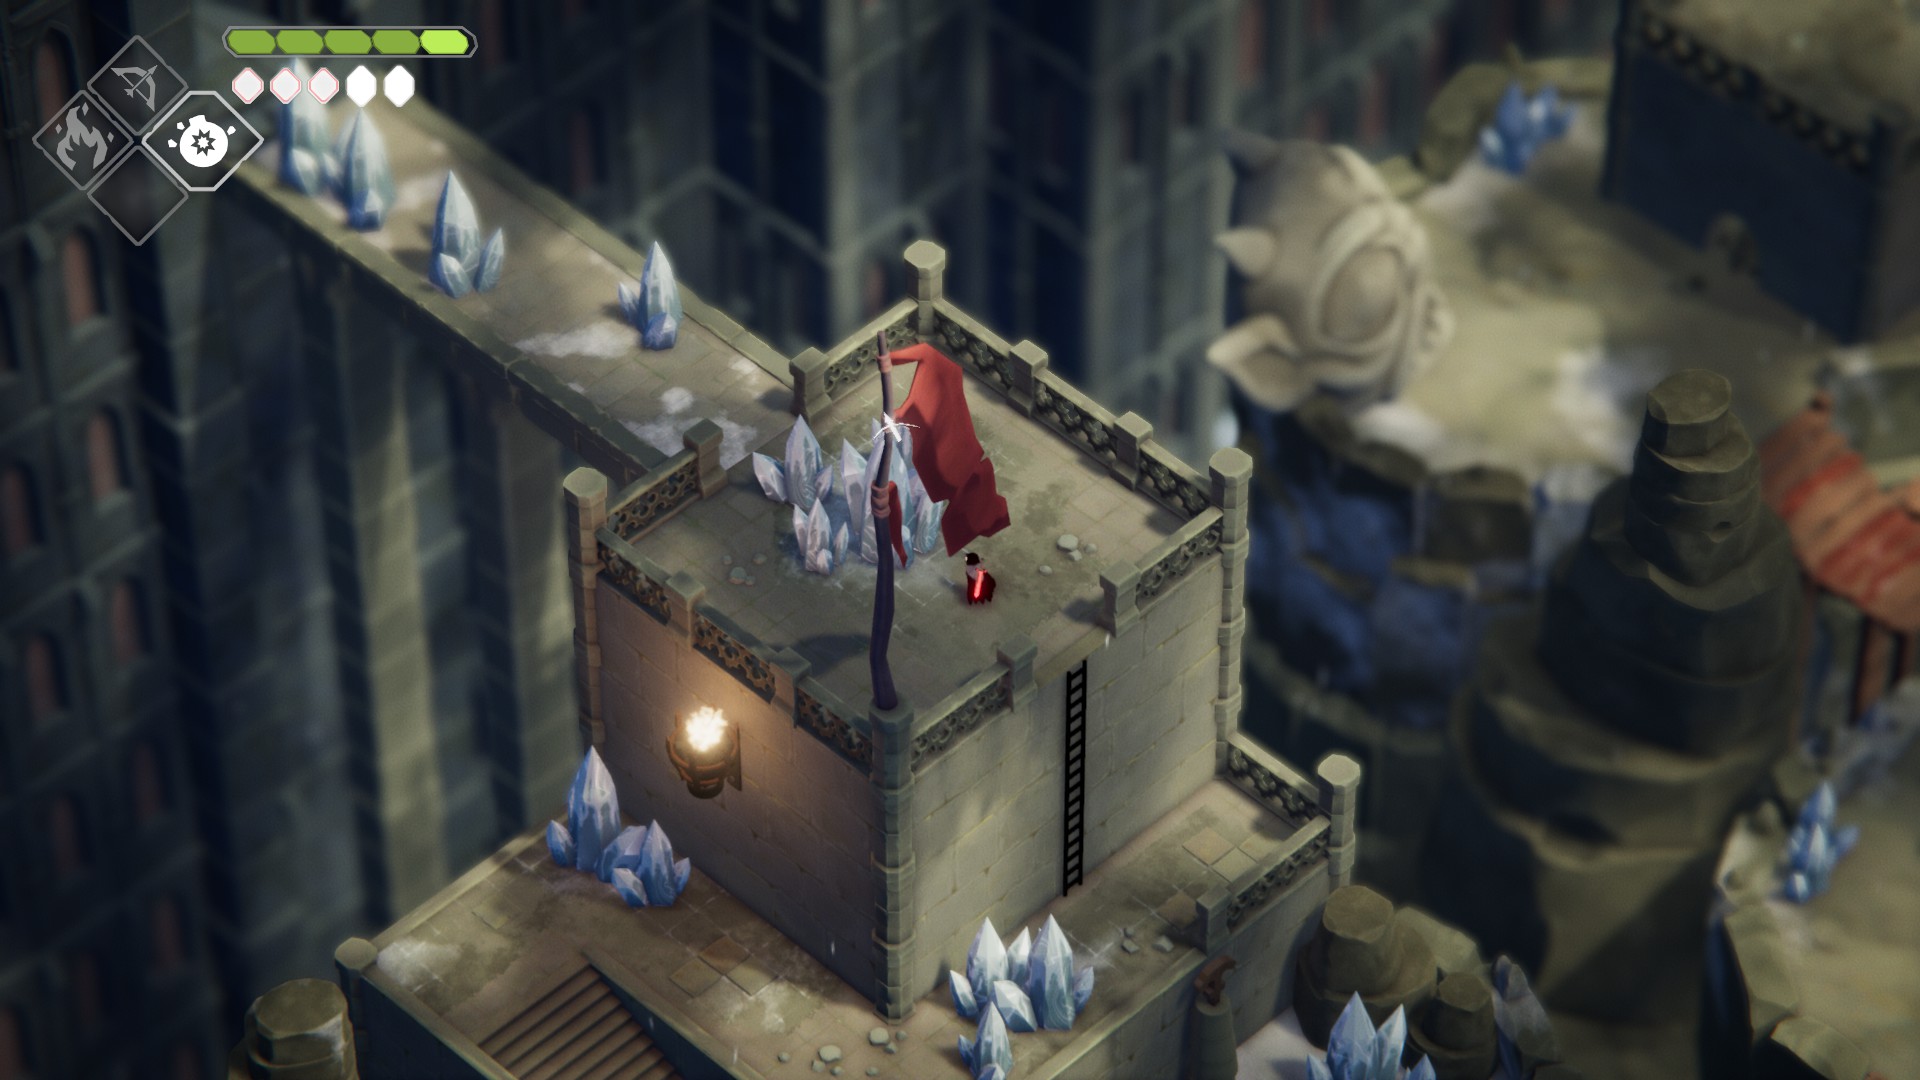
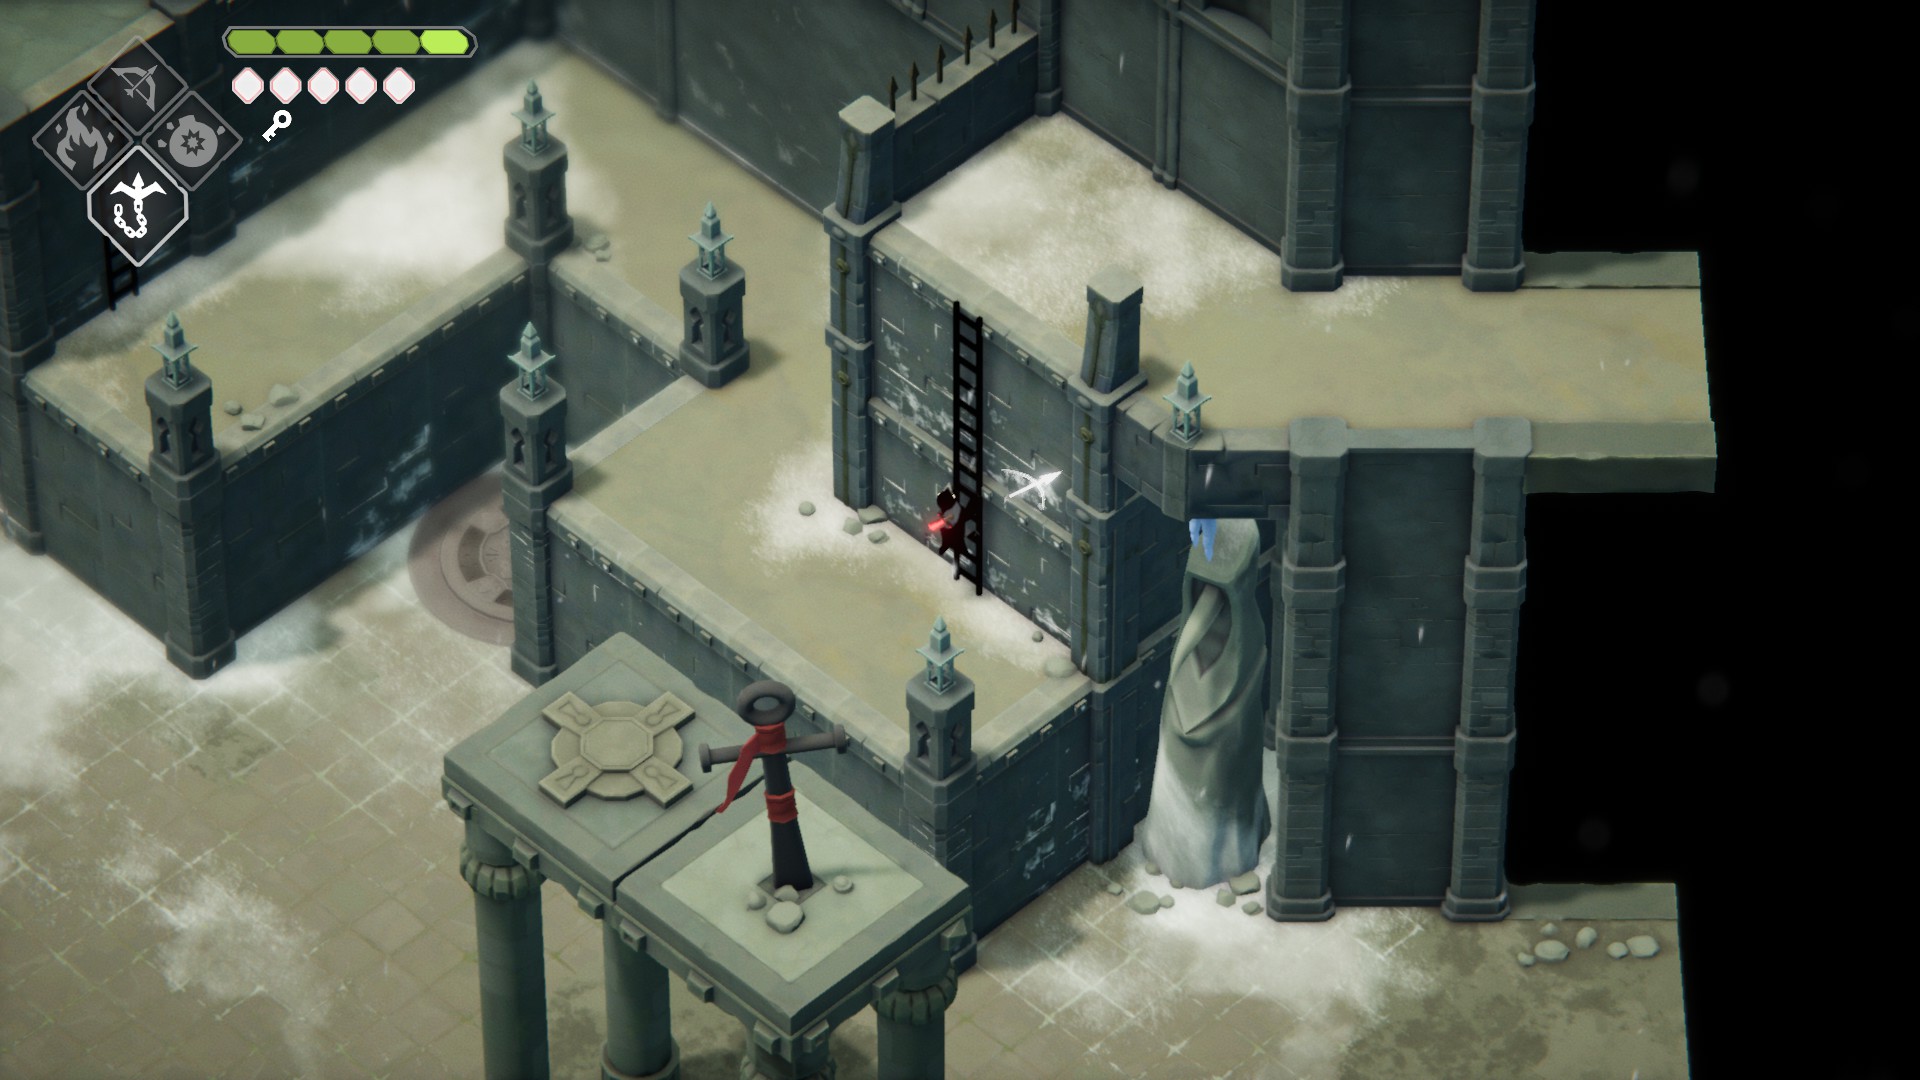
Once in the Lost Cemetery, head northeast up the stairs, then continue northeast through the open gate and up the ladder. Head north and up the next ladder, then continue north by way of the nearby stairs. Head northwest through the graveyard and take the ladder up, then continue west past the ladder here, then south at the fork and down the stairs. Head northwest and down the next set of stairs, then light the brazier that the wooden sign points to.
Climb up the ladder and continue west…
…until you find a ladder. Jump down, and continue down the mountainside down the stairs and the ladder, then continue until you come to a breakable wall. Use your bomb spell and head through. You’ll fight a larger version of the thicc knight you met way back in the Witch’s Garden. He’s easy to deal with, just stay behind him and roll if you think you’re going to get hit.
Once you defeat him, climb up the ladder and head out the room via the doorway to the southwest. Make your way up the series of ladders and pray at the shrine to gain your 4th Magic Crystal shard, raising your maximum energy capacity! Head back the way you came, then continue west once you climb the ladder you originally jumped down…
…and enter the nearby doorway.
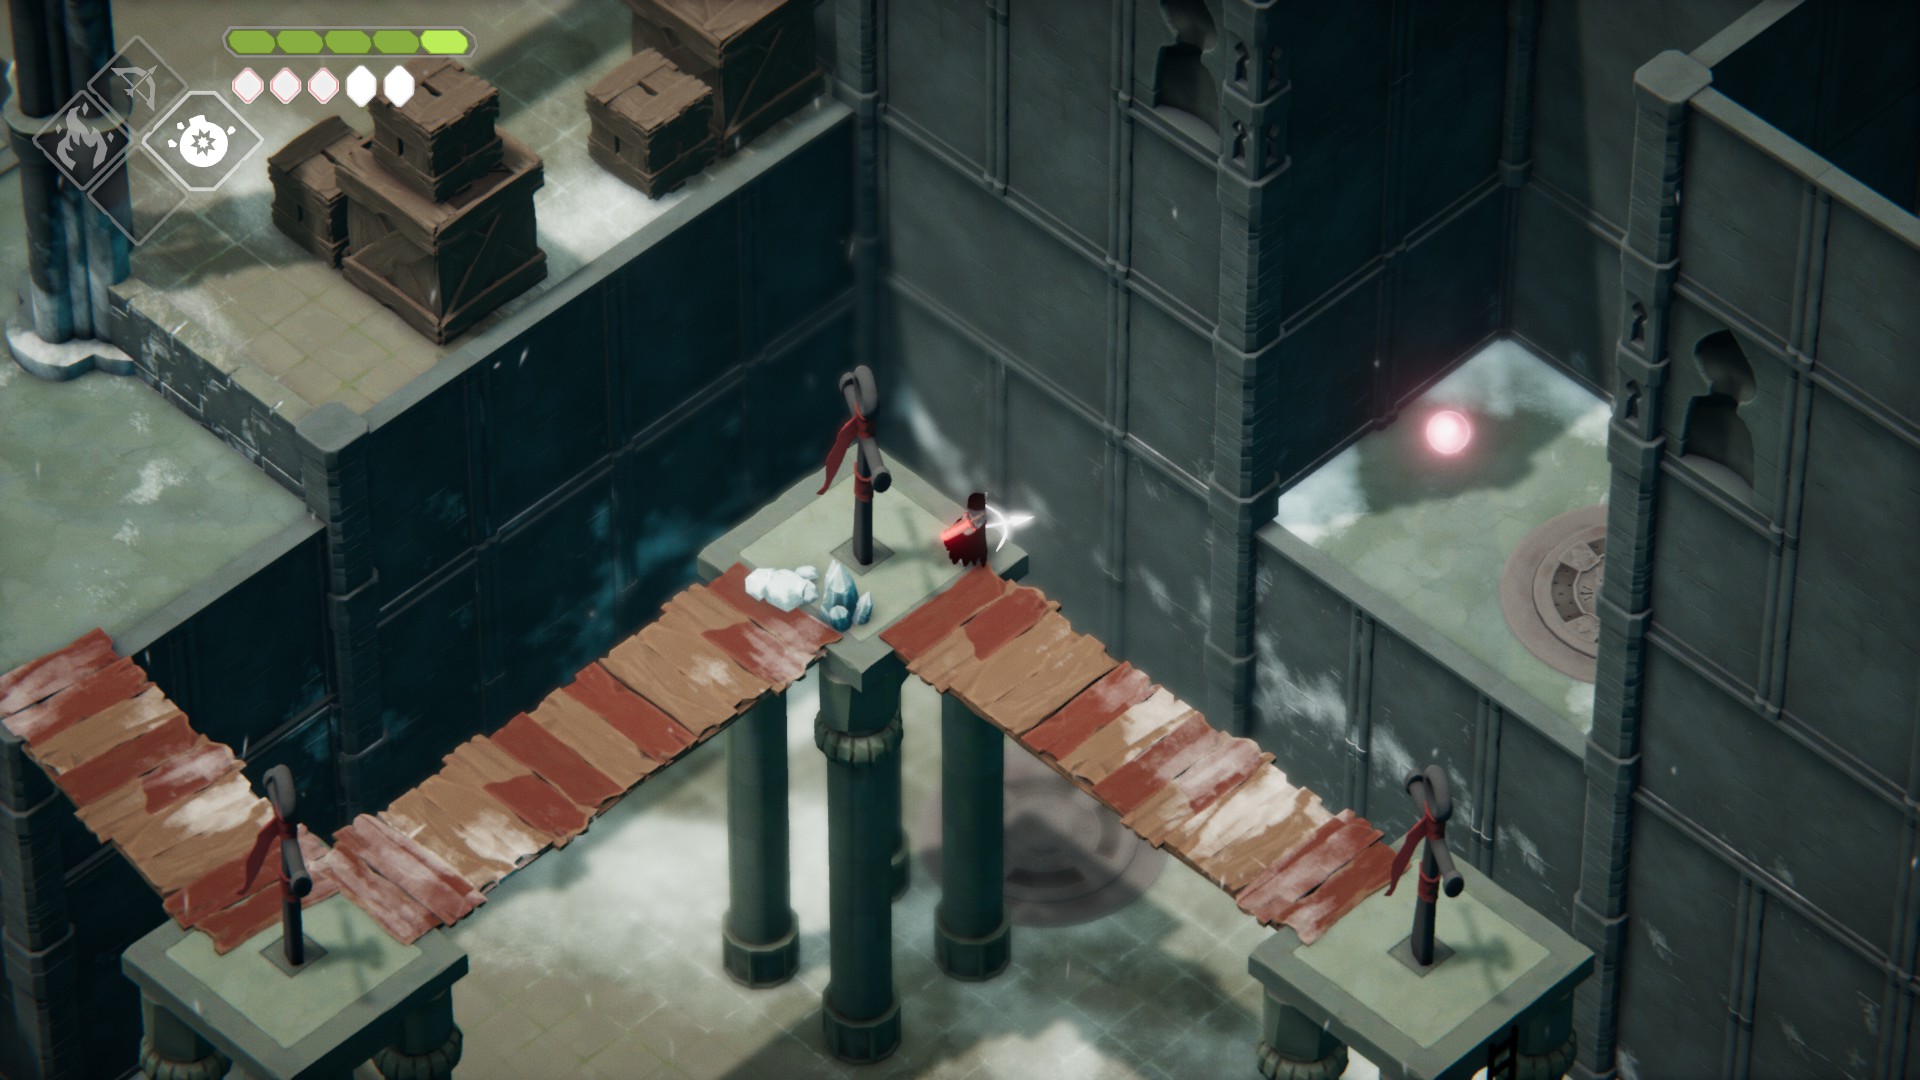
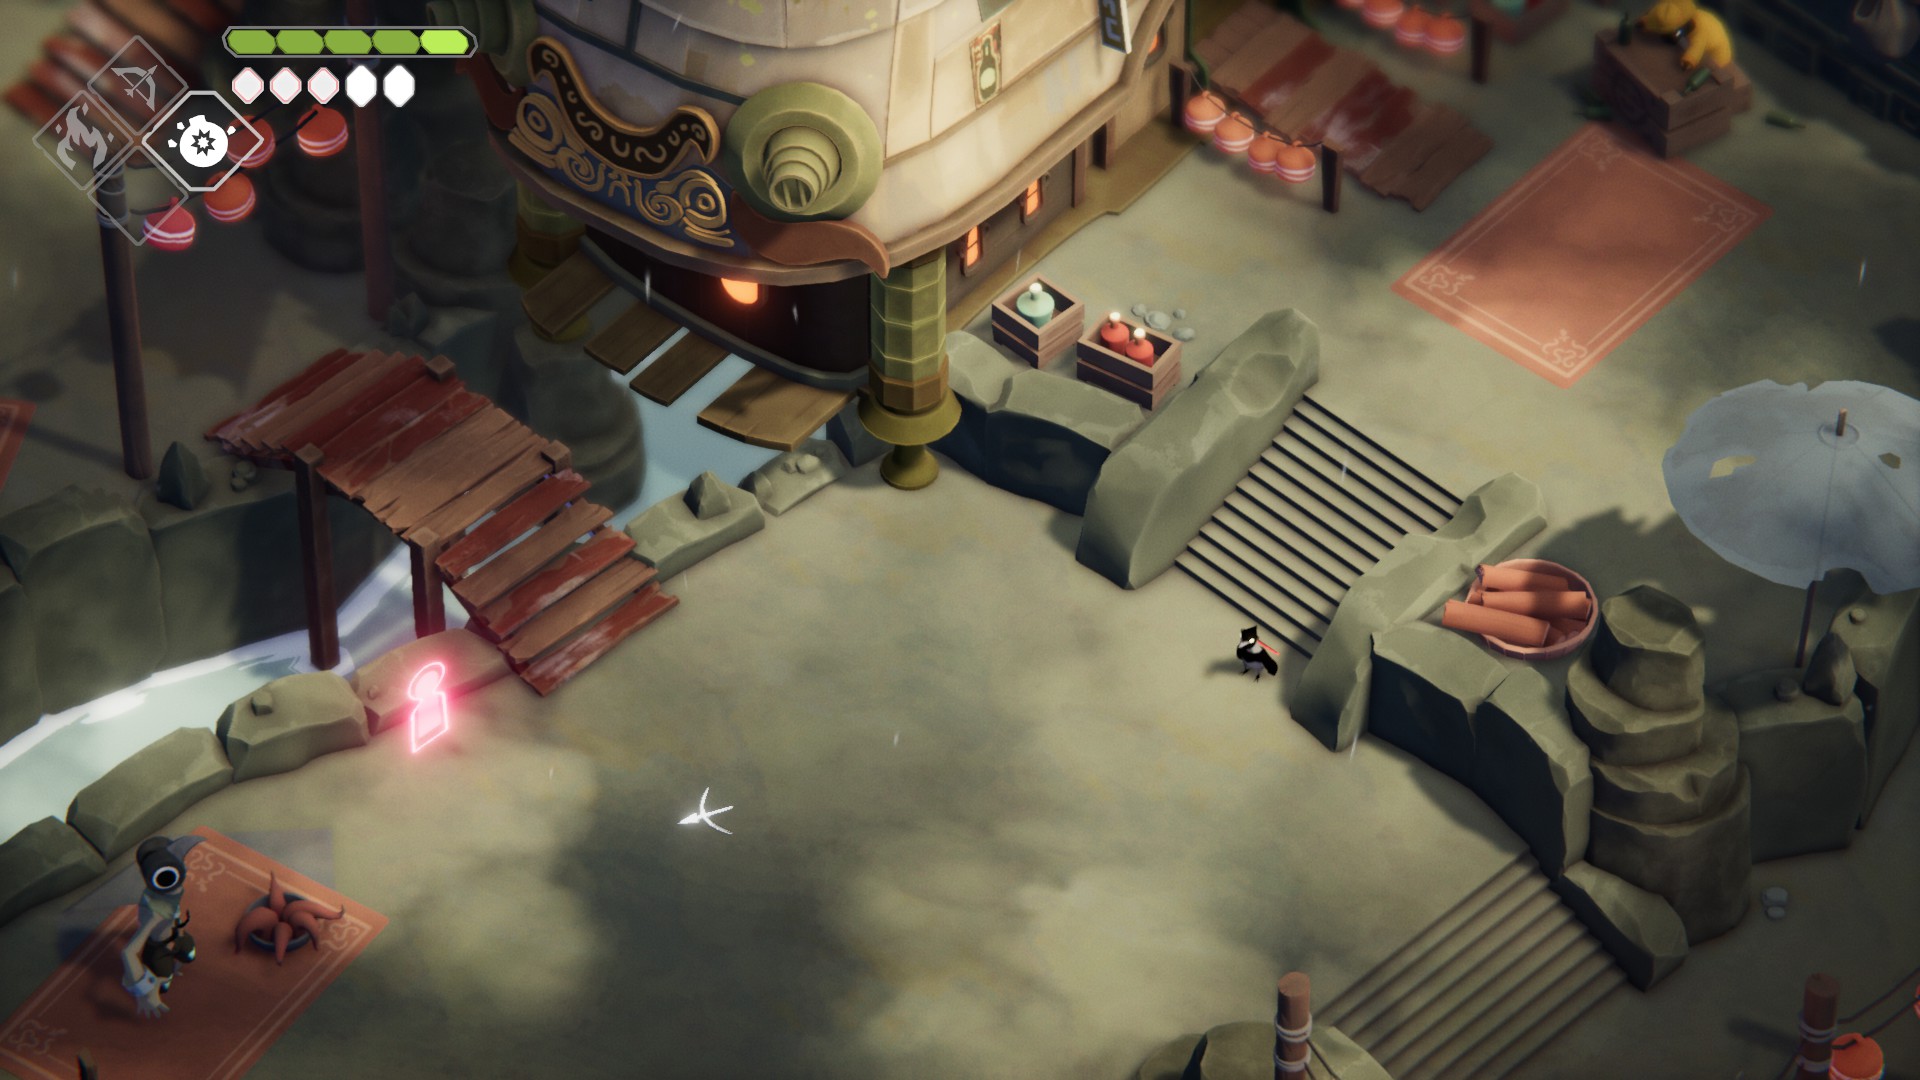
Go down the stairs and over the bridge, then break the boxes in the north of the room to uncover a Life Seed. Head southwest, jump down the two ladders, then go through the doorway west of the 2nd ladder. Cross the two bridges, then leave this area via the southwestern doorway. You’ll find yourself at the Stranded Sailor. Feel free to chat up the NPCs, and head inside the ship, but make sure you activate the doorway back to the Hall of Doors. Grab the Grunt’s Old Mask collectible, and get your thanks for the NPC you rescued from the Frog King’s dungeon.
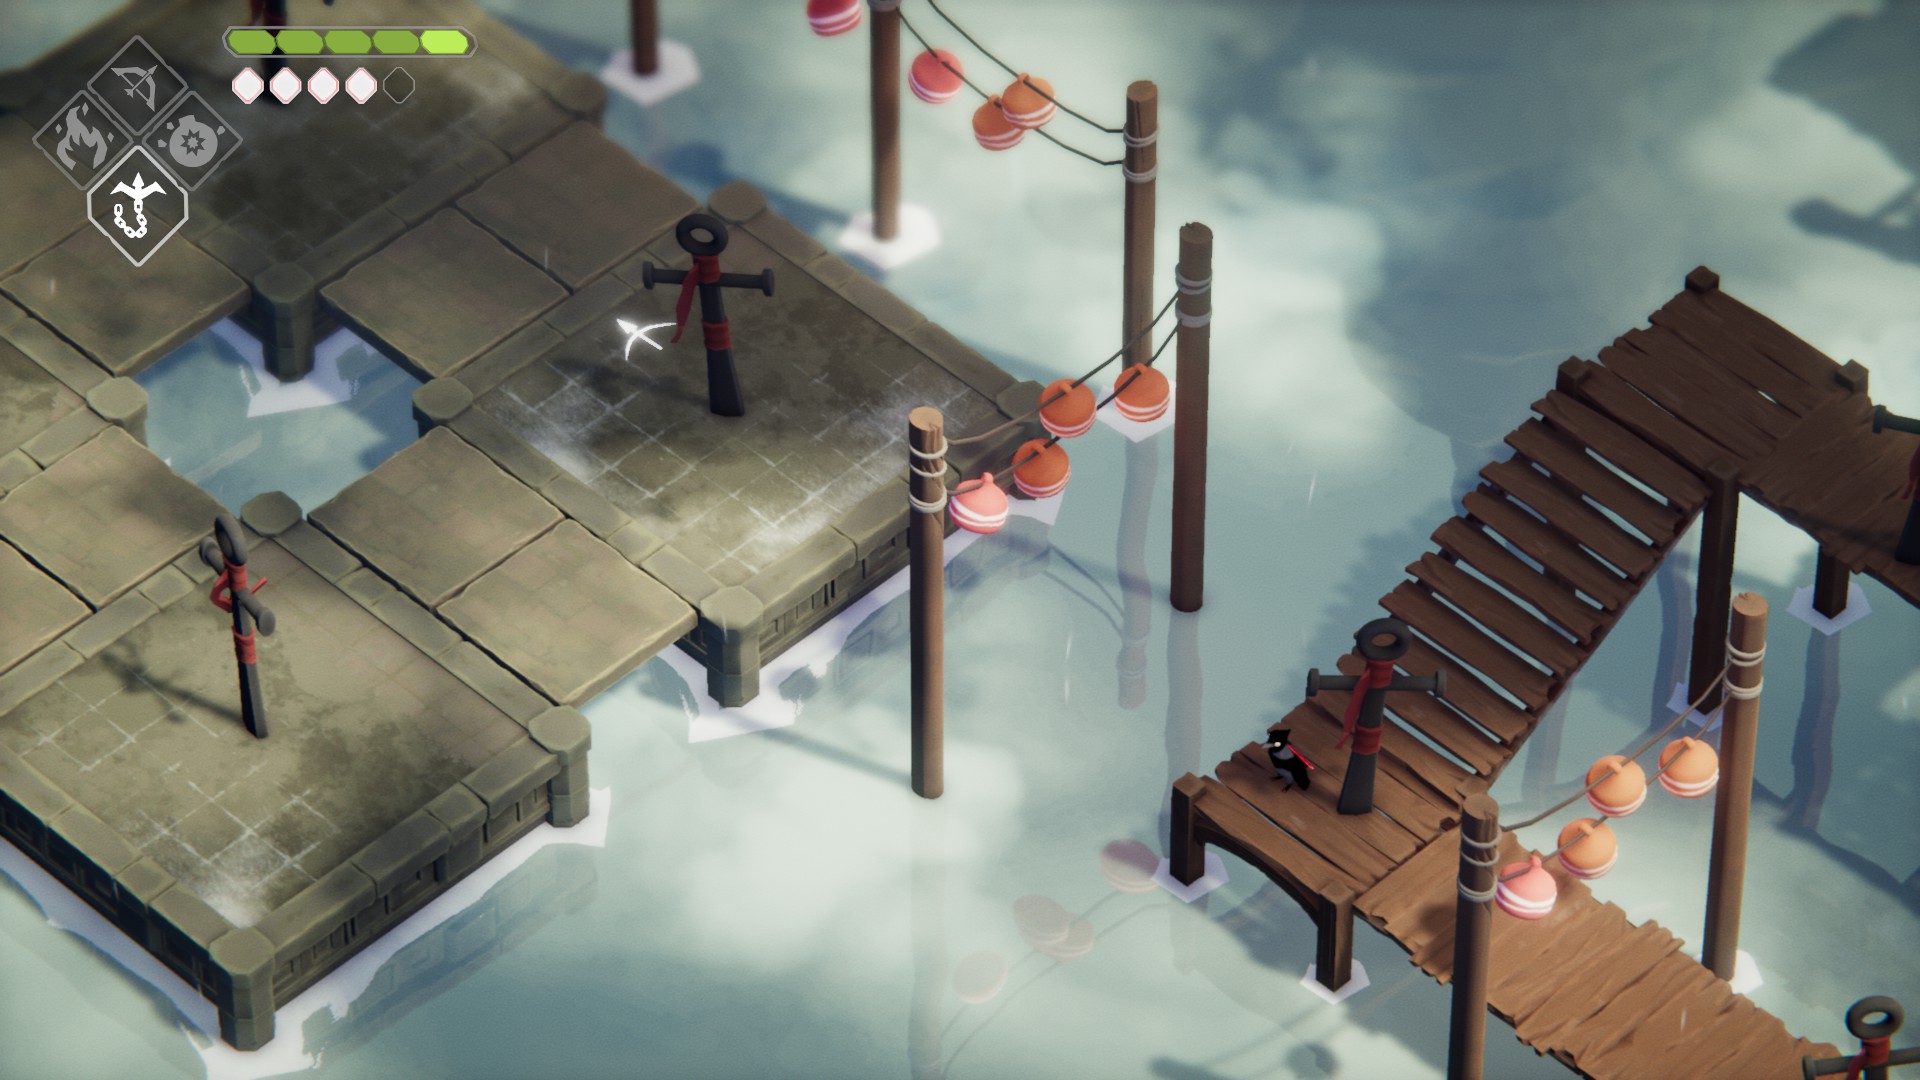
When you’re ready to move on, head over the bridge just north of the door.
Step 1 (of 4) to obtaining the Greatsword
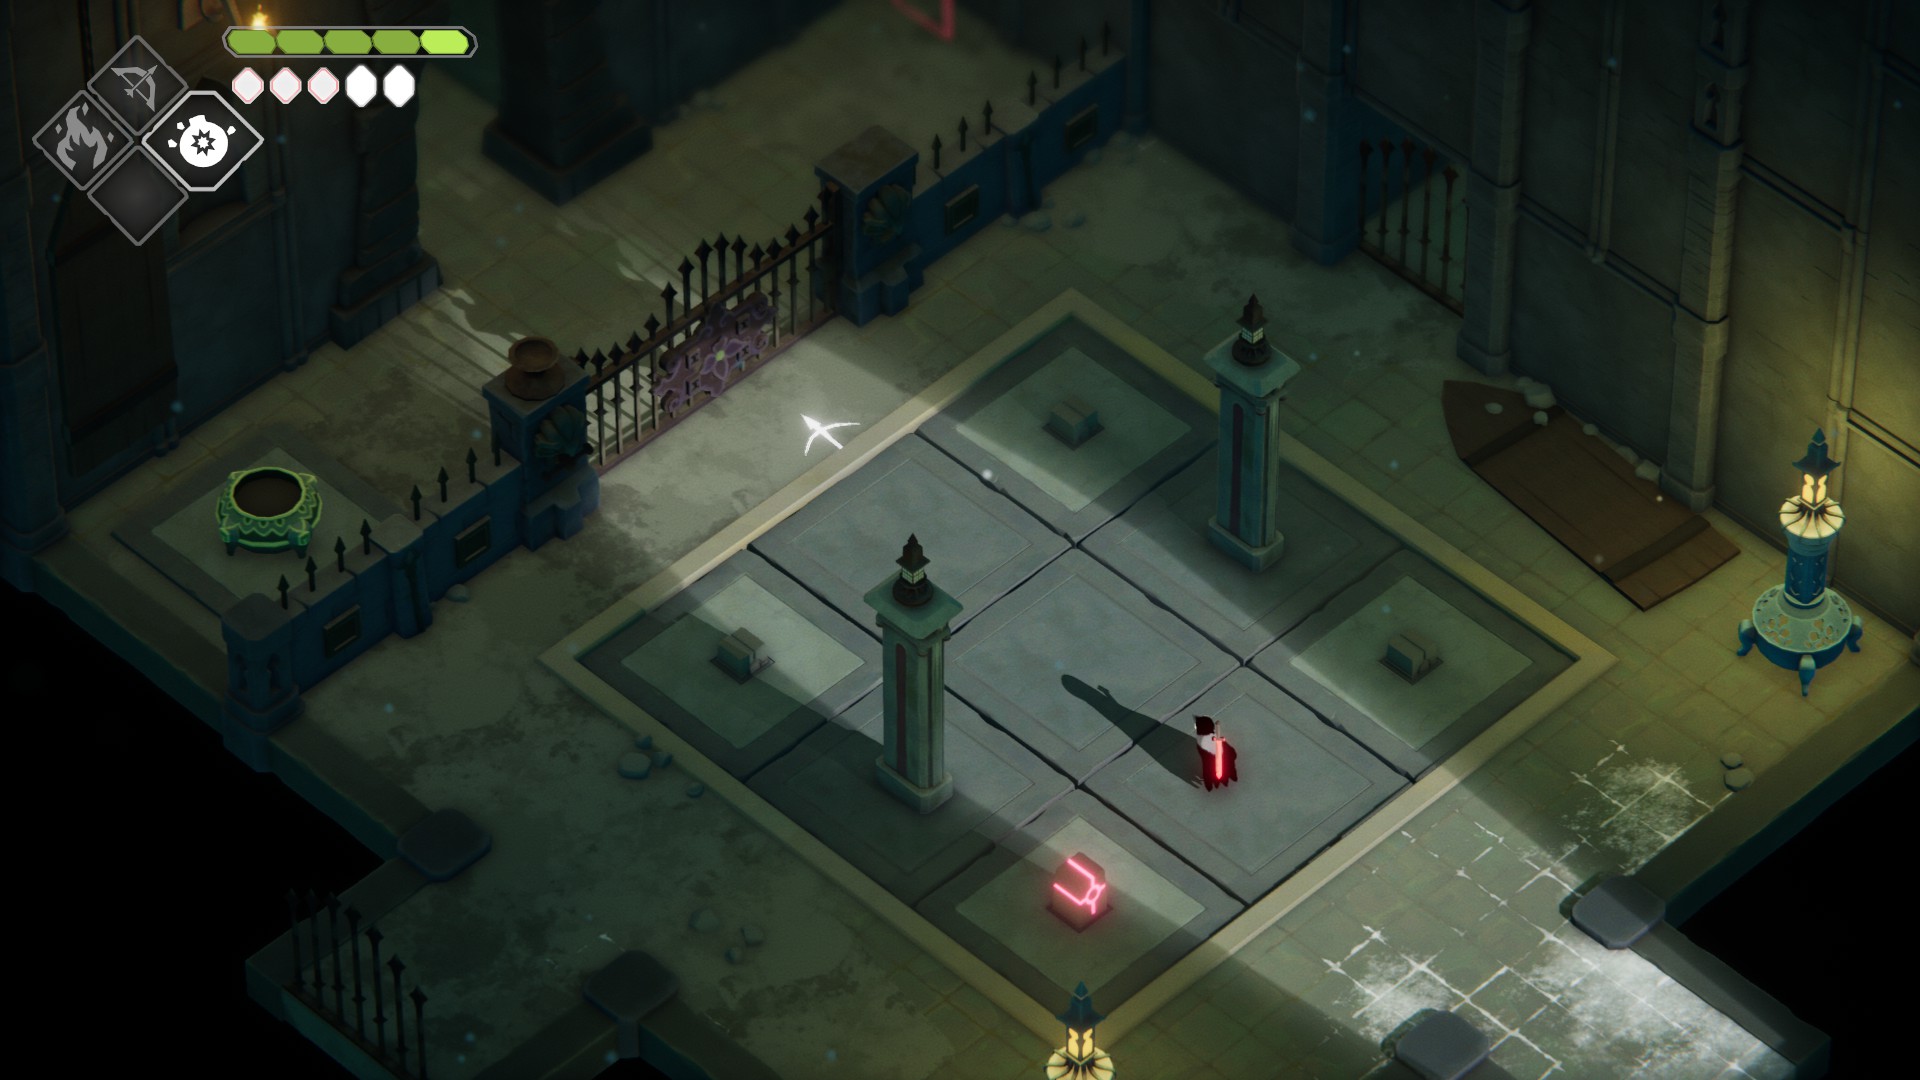
Go under the wooden stairs to the northeast and use your bomb and the wall there. Head inside the hole you’ve made and hit the pink cube there (this is the first of 4 cubes we need to whack to unlock the game’s final weapon).
Leave the small room and go up the stairs.
After a brief conversation with Barb the Bard, break the wall there and continue through. Head up the three flights of stairs, then go north and grab the Life Seed.
Steps 2 and 3 (of 4) to obtain the Greatsword.
Take the stairs just west of the Life Seed, and fire a bomb at the wall the huge stone head is facing. Head through the hole this creates, and hit the pink cube inside.
Exit and go back down the stairs, and head east and up the stairs there. Break the crystals and head north to rotate the camera — shoot a bomb at the wall under the gargoyle and head in. Whack the cube and leave, then drop down to the platform below. Push the lever, and drop off this ledge as well. Push the lever, and break the crystals to grab the Large Soul Mass.
The path to rotate the camera
Then climb up the ladder, and drop right back down while doing a plunging attack. Head through the secret passage to find another Magic Crystal shrine. Climb the ladder and head past the statue, then drop down. Head up the stairs to the northwest, then go southwest across the small wooden bridge. Look for the two pillars against the nearby wall, and use your bomb spell on the space between them to open up a hole.
Head in and hit the cube there, then exit the small room.
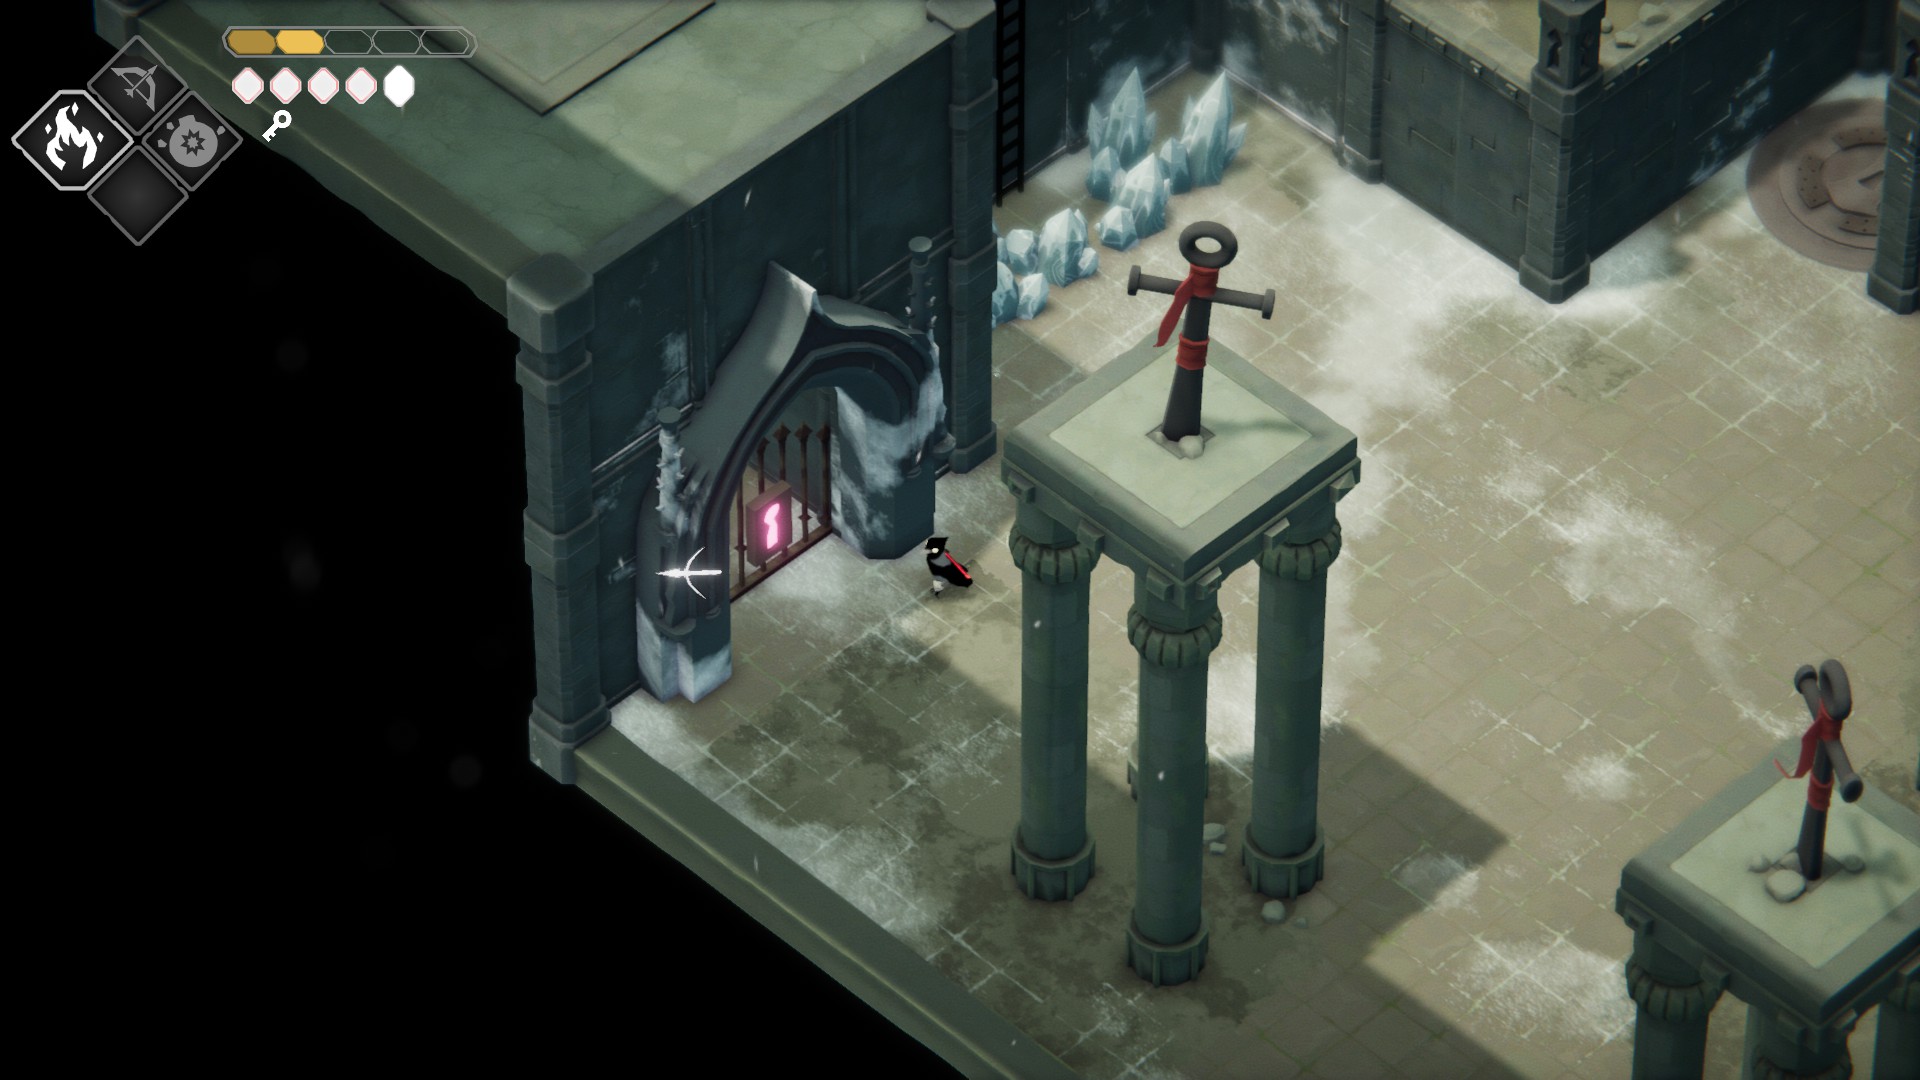
Head west and up the stairs, then break the crystals and climb the ladder. Head northwest across the bridge and enter Castle Lockstone.
The bridge to Castle Lockstone
Castle Lockstone
This first room exists to teach you how the wide gates in the castle work: hitting one cube will give access to the following cube — once you’ve hit all 4, you’ll be able to pull the lever and open the gate. Note that what this room doesn’t teach you is that if you take damage from a laser while doing the cube puzzles, the room will reset, so keep that in mind going forward. Once you’re through the gate, activate the doorway back to the Hall of Doors, then head through the doorway to the northwest.
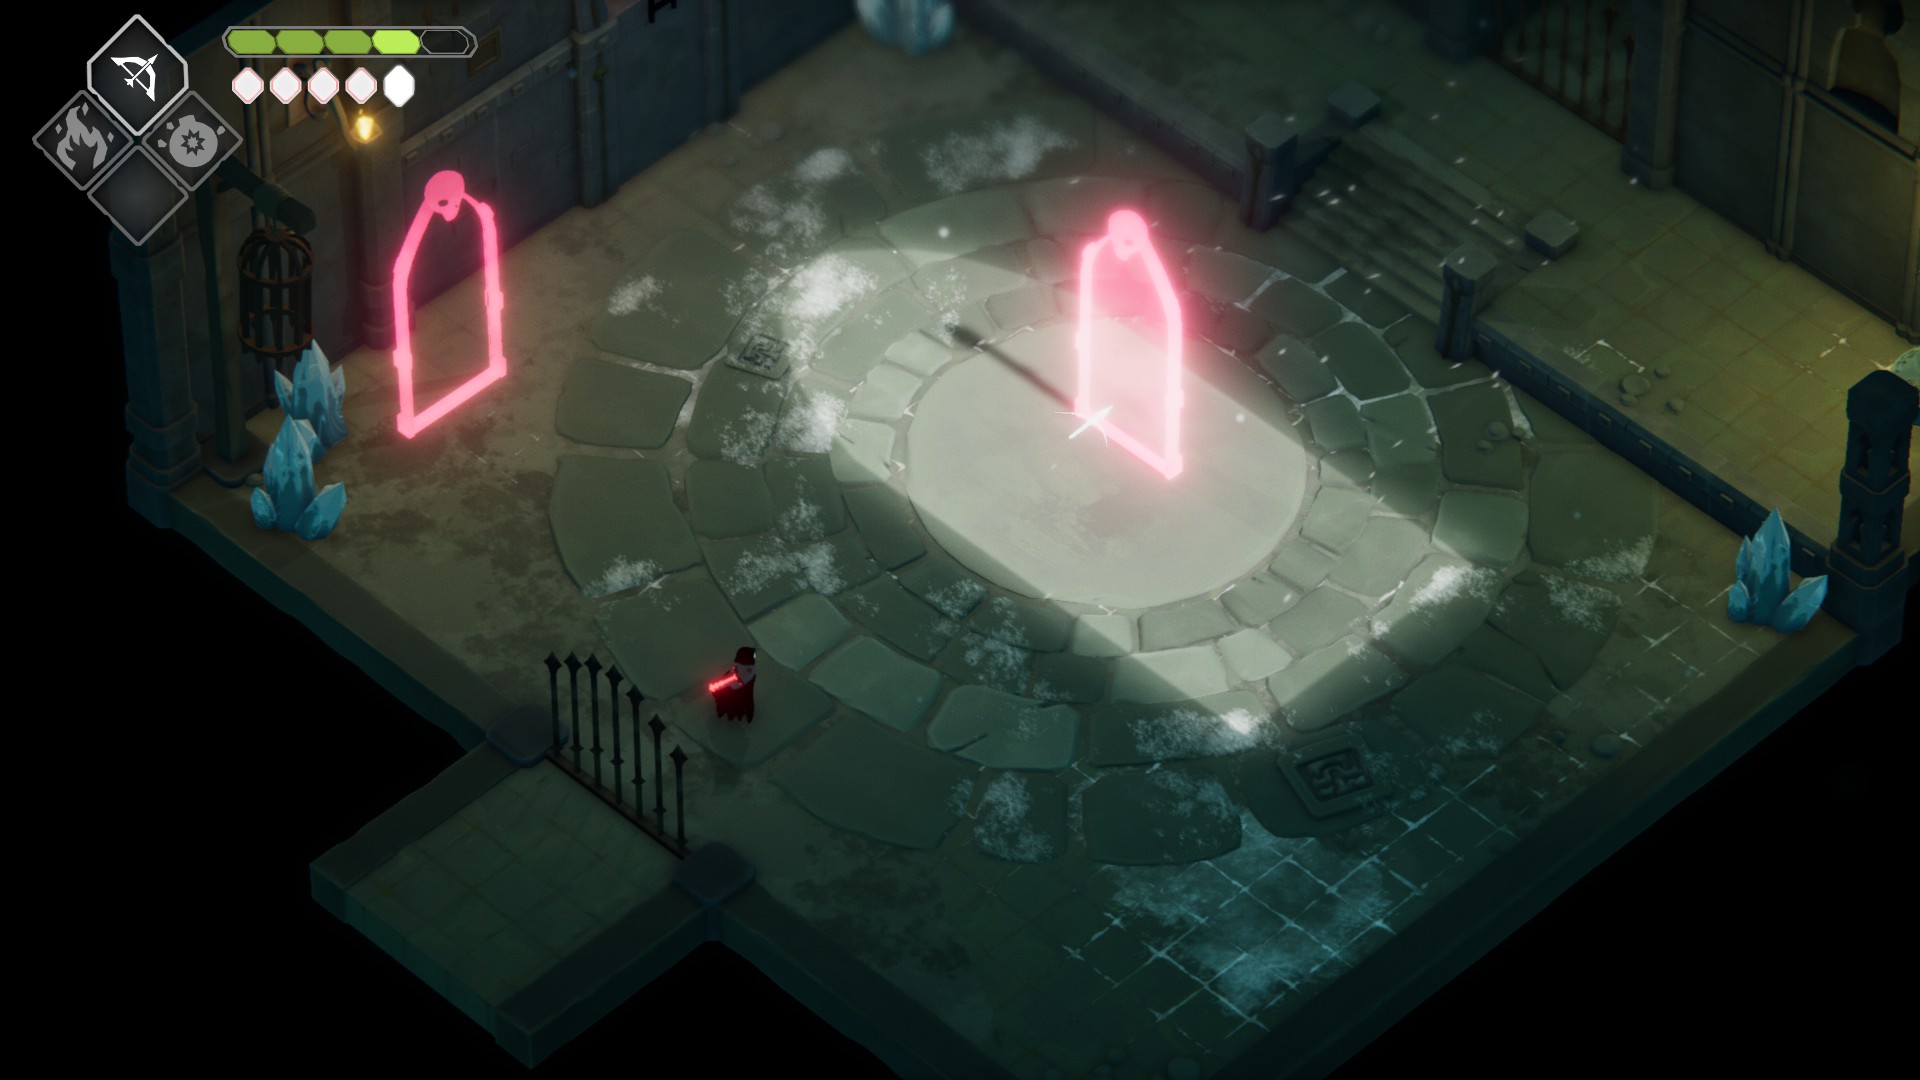
The large room you’re in will be referred to as the “main chamber” throughout the rest of this section.
The center of the main chamber
Say hi to Barb the Bard again, then head due north out of the room.
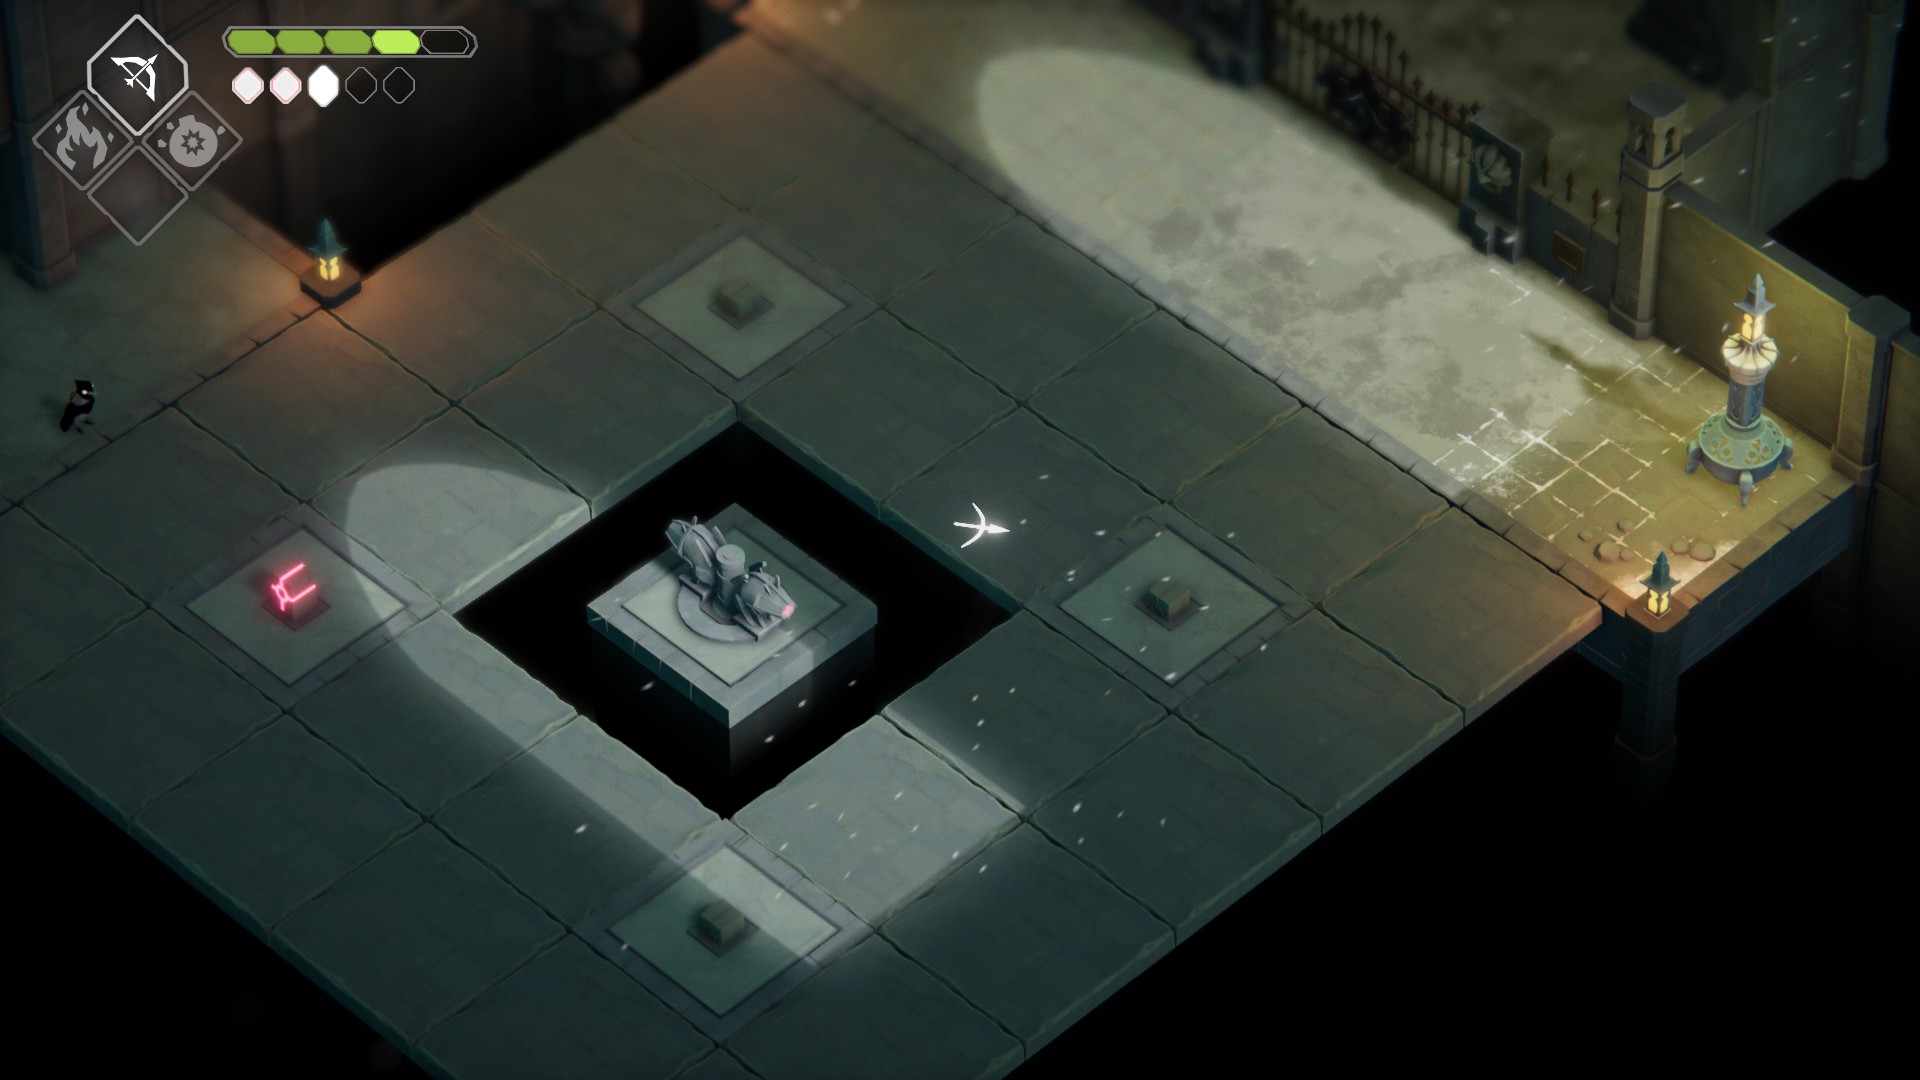
Climb the ladder, then drop off with a plunging attack as per the image below. Take the secret passage and make sure you stay northeast at the fork. Exit the passage and grab the Large Soul Mass, then return to the ladder and drop into the passageway again.
The drop downThe fork in the passage
This time, head southeast at the fork and follow the passage for a looong while. Eventually you’ll be able to exit; grab the Ancient Crown Collectible, then head down the boxes. Leave this room by heading southeast, and go through the next room the same way. Back in the main chamber, go through the northern doorway again.
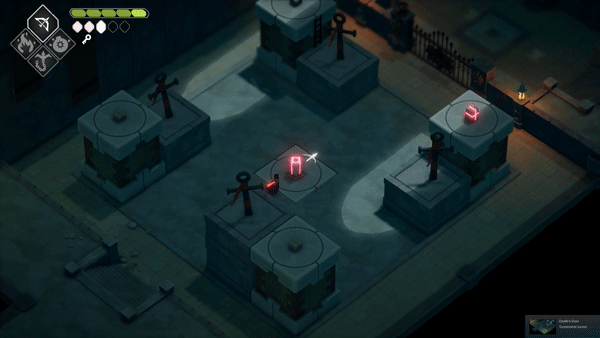
Climb the ladder, and make your way over the bridges to the grid with a lit cube. Hitting the first cube will activate a laser. To reach the next one, break the crystals behind the wall to your west, and head through. You’ll need to repeat this to activate all 4 cubes. Then open the gate and grab the key.
You’ll have to break the crystals each time you want to pass behind the wall
Leave this room via the doorway to the south of this room. Once back in the main chamber, head through the western doorway. Continue west, then break the crystals and climb the ladder. Break the boxes to the northeast to reveal a Life Seed, then drop down the ladder and continue southeast. Climb up the next ladder and head through the eastern passageway there. Push the lever, then go back the way you came. Do a plunging attack onto the passageway and follow it to find a Large Soul Mass.
The passageway that leads to the Large Soul Mass
Drop down, then head northeast up the stairs and through the doorway. There’s an arena fight in the next room — once you complete it, climb the ladder to the north and release the first soul of this area. Leave the same way you came in, then head south and drop down the ladder. Open the nearby locked door and head through, then continue past the Life Seed pot (heal here if you need HP) and through the next doorway.
The locked door
This room contains another arena fight, and another soul to release once you complete it. Once you release the soul here, head out the way you came in — hit the nearby crystals a few times if you aren’t full energy — and continue east to return to the main chamber. This time, head up the stairs to the south and leave the room via the southwestern doorway. Run across the tiles in the next room quickly, or you’ll fall!
Ignore the puzzle in the next room for now, and exit via the southeastern doorway. Hit the first cube here, then run counter-clockwise, avoiding the laser and hitting the cube that’s lit. Note that the tiles the cubes are on don’t fall, and so are “safe” zones. Once you’ve hit all 4 cubes, head through the gate and continue northeast. Another arena fight will begin — note that you can utilize the crystals in the corners of the room if you prefer attacking with magic. Once victorious, climb the ladder and free the soul, then exit the room through the northeastern doorway.
Ah shit, here we go again…
You’ll find yourself back in the entry hall — head back to the Hall of Doors if you need heals or upgrades, then go through the northwestern doorway back to the main chamber. Stick to the eastern wall, and head up the stairs behind Barb and through the northeastern doorway. You’ll need to roll to avoid the lasers in the next room — continue through them and into the next room.
You’ll find a slightly more complex version of the first big laser room you encountered. When you hit the first cube, the laser will start targeting you, so get ready to run clockwise around the laser and hide behind the wall in the northeast of the room. When you’re ready, run out from behind the wall counter-clockwise, hit the cube on your way, and continue around the clock until you reach your hidey-wall again. When ready, hit the nearby cube on your way out, and head to the western side of the platform to hit the final cube. Then pull the lever and continue out the room heading northwest.
Your first true laser challenge — try it with your eyes closed for extra excitement!
This room is much easier. You can hit the first cube, then use your bow to hit the cube to the northwest and then the one to the north. Then simply avoid the lasers to reach the final cube in the northeast of the room. You’ll need to cross the first lasers beam path, then wait on solid ground near the gate, in order to make it to the final cube. Once you’ve hit it, open the gate, and plant a seed and consume it if you aren’t full HP. Then continue northwest into the next room (and your final arena fight of Castle Lockstone).
Once you defeat all the foes here, climb the eastern ladder and release the fourth and final soul. Then head up the western ladder, up the next ladder, and then exit the room via the doorway in the southwest. Once outside, head southeast and break the boxes near the edge to uncover a Life Seed. Drop down and exit this area via the southern doorway. In the main chamber, go up the stairs and enter the doorway just west of the doorway you entered this room through.
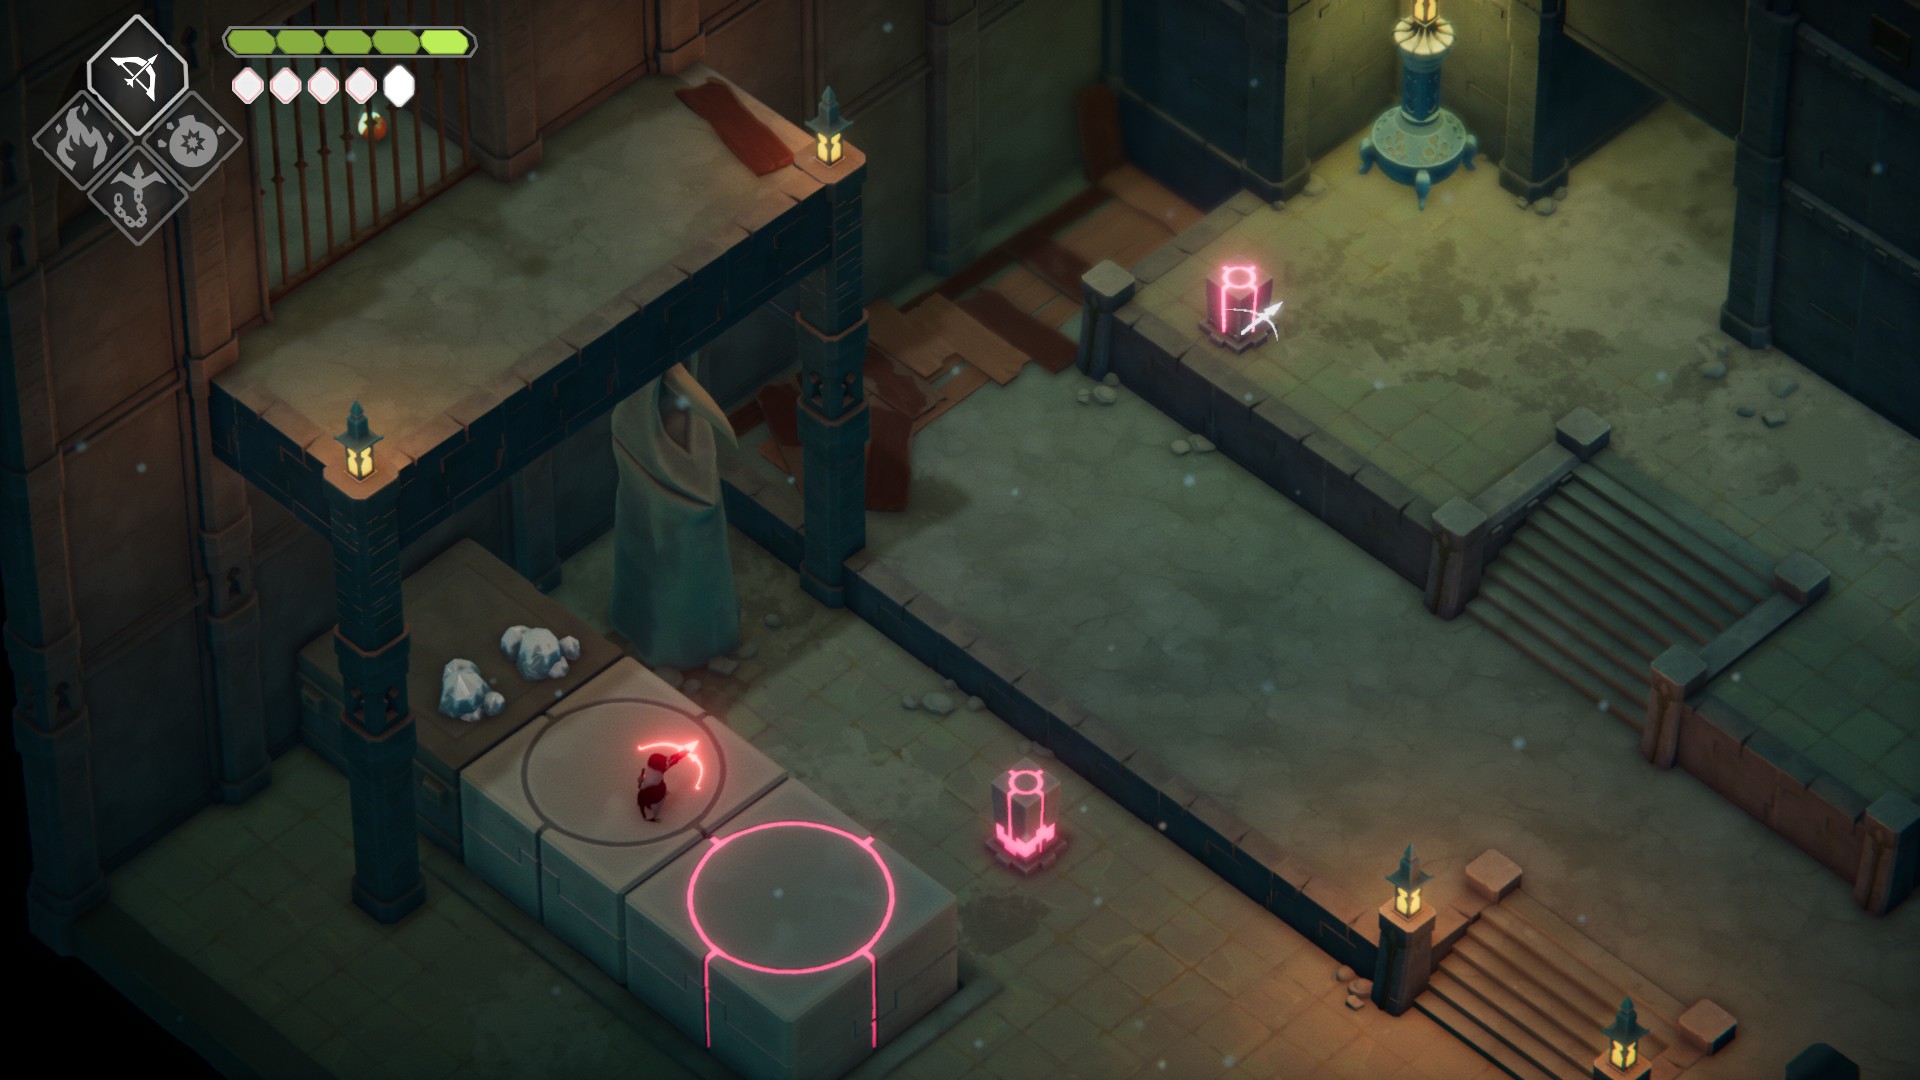
Continue northwest until you reach the Reaper Door, then break the boxes behind it and grab the Life Seed. Then, talk to the door, and enter it. You’ll find yourself in the Hall of Doors; head northwest and say hi to the big chest. As usual, it’ll gobble you up, and you’ll have a tough fight on your hands. Not much new here, but one thing to note is that it’s a good idea to focus down the big fire mage as soon as he spawns. Success will grant you your final magic spell – the Hookshot! It’s worth noting that the hookshot can be used on enemies — otherwise you can pretty much only use it on the ankhs with the red pennants scattered throughout the game.
Equip it with [4] or the D-pad, then head southeast and use it to grab the lamp-post across the gap.
Read the Reaper’s log-book, then use the hookshot to grab the lamp to the north and pick up the Large Soul Mass. Drop down and continue east by hookshotting to the lamp-posts. Eventually, you’ll find yourself at the bus stop you first arrived at. Make your way north and through the metal detector, then head up the western staircase once you reach the junction where all the stairs meet.
Note: If you want, you can now get the upgrades for both the bow spell and the hookshot spell (instructions here).
Head through the door to Castle Lockstone, then go northwest through the nearby doorway to reenter the main chamber. Head west and up the stairs, and through the southwestern doorway of the main chamber. Continue over the falling-tile bridge and into the next room. There, stand in the lower pillar in the southwest of the room, and use your bow to hit the nearby cube. This will raise the pillar — stand on the next pillar over, and use your bow to hit the cube across the room. Stand near the gate, and use your hookshot to grab the ankh to the northeast.
Raising the 2nd pillar
Head southeast from the ankh and out the doorway. In the next room, head south and hit the first cube. Then climb up the ladder, and use your hookshot and climbing skills to hit the rest of the cubes in sequence. When you’re done, head northeast to the gate, pull the lever, and head through the gate and then the doorway beyond. In the next room, light the large brazier with your flame spell. Once you’re done listening to the big man, jump through the now-open hole in the floor.
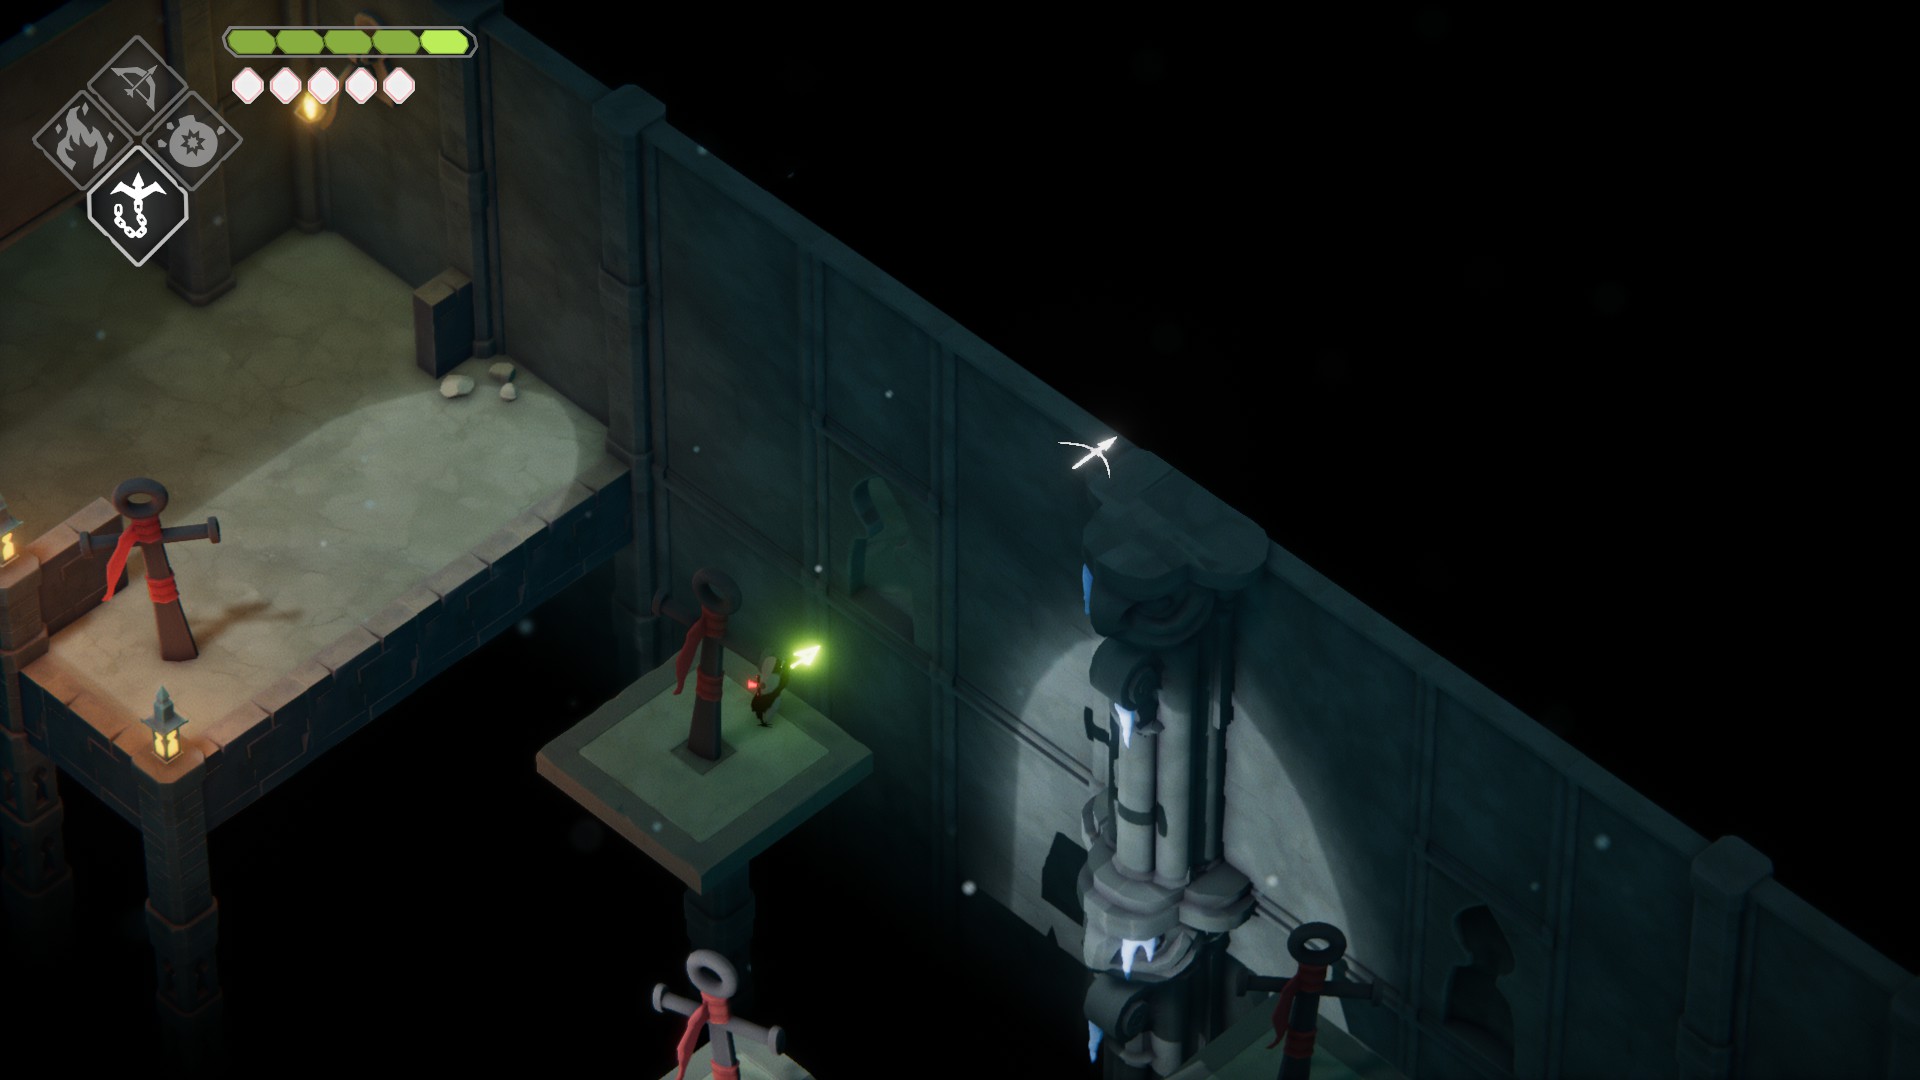
Head northeast out of the room you land in, then northwest to re-enter the main chamber. This time, head out of the room via the western doorway. Continue west and climb the ladder past the crystals, then stand on the ledge south of the ladder. Use your hookshot to grab the nearby ankh, then go ankh-to-ankh until you can get the key. Once you have it, roll northeast off the platform and climb the ladder, then head through the doorway to the east.
Hookshot from hereThe ladder
Stand near the lever and use your hookshot on the ankh to the northeast, then continue around the edge of the room until you reach the other lever — push it to drop the ladder, but don’t climb down. Instead, go through the doorway near the lever. In the next room, stand on the square by the lantarn and use your bow to shoot the cube across the room. Then climb the ladder that appears, and use your hookshot to grab the ankh to the northeast and head through the doorway.
This room can be kind of tricky: First, hit the cube in the center of the next room, and remain on its platform. Hookshot to the eastern ankh, and hit the cube there. Then hop down and climb the central ladder again. Hit the central cube again to move the platforms and immediately hookshot back to the eastern ankh. Then hookshot to the northern aknh, and climb the ladder, hit the cube. From the northern cube ankh, hookshot to the southern ankh and hit the cube there. Then return to the central cube, hit it again, and hookshot the the western ankh and hit the final cube. Now you can head through the gate, and go through the locked gate to the northwest.
Since this part is tricky, have a GIF!
The next room is easier than it looks. Simply hit the first cube, than hookshot around the room counter-clockwise to hit the rest of the cubes while avoiding the laser. Note that you won’t take damage from the laser while hookshotting (thanks to EIP user Bearcat for this tip!). Resist the urge to back-track — just go the same direction as the laser until you’ve unlocked the lever. Pull the lever to open the gate, and head through to the room beyond. Light the large brazier at the northwestern end of the room, talk to the spirit if you wish, then go back the way you came out of the room. Hookshot your way southeast through and out the following room, then continue southeast through the cube-puzzle room to the next doorway.
Go around the hole in the floor and exit through the southwestern doorway, then use your hookshot to traverse the falling-tile bridges in the next room. Continue southwest and you’ll find the third brazier — light it and jump through the hole that opens in the floor. Go north through the doorway behind the pile of doors, then make your way through the enemies in the narrow hallway and into the next room to grab another Collectible. Then go back the way you came, push the lever and head through the open gate.
The path to the collectible
Back in the foyer, head northwest through the doorway and re-enter the main chamber. Exit the main chamber via the large, western doorway, then continue west and climb the long ladder behind the crystals. Continue west, up the stairs and through the doorway. You should be in another crypt room; light the brazier, then go back the way you came to the main chamber.
Instead of leaving the crypt room the way you came in, leave southeast through the doorway. In the next room, hookshot to the first ankh, then hookshot through the keyhole to the northeast (see below). Move northwest a little and you should get the prompt to push a lever — do so, then hookshot your way to the southern side of the room, and leave via the southwestern doorway. Outside, head northwest a bit to pray at a Magic Crystal shrine, then go back inside and this time go through the southeastern doorway and grab the Life Seed. Now head back the way you came, through the crypt room, then east and back to the main chamber.
The path to the lever
Step 4 (of 4) to obtain the Greatsword
Secret: From the main chamber, head southeast through the doorway and go through the door back to the Hall of Doors, then take the nearby door to the Stranded Sailor. Cross the bridge to the north, then head southwest to the dock. Hook your way to the ankh to the northwest. Continue up the wooden stairs and hookshot across the water to the ankh to the northeast. Open the gate and head up the ladder to grab the fifth and final weapon, the Greatsword!
Secret cont: Hookshot back onto the wooden platform, head down the stairs and hookshot to the ankh further northwest. You’ll have to fight a couple boomerang-boys while dodging shots from a poison-grenade guy, once you take them out, a ladder to the northwest will drop. Hookshot southwest to the wooden platform, take the ladder, and the next ladder, and pray yourself up another Life Crystal shard at the shrine.
The path to the shrine
Head back the way you came (go southeast) towards the Stranded Sailor, and go over the bridge and through the door that leads back to the Hall of Doors. Head through the nearby door to return to Castle Lockstone.
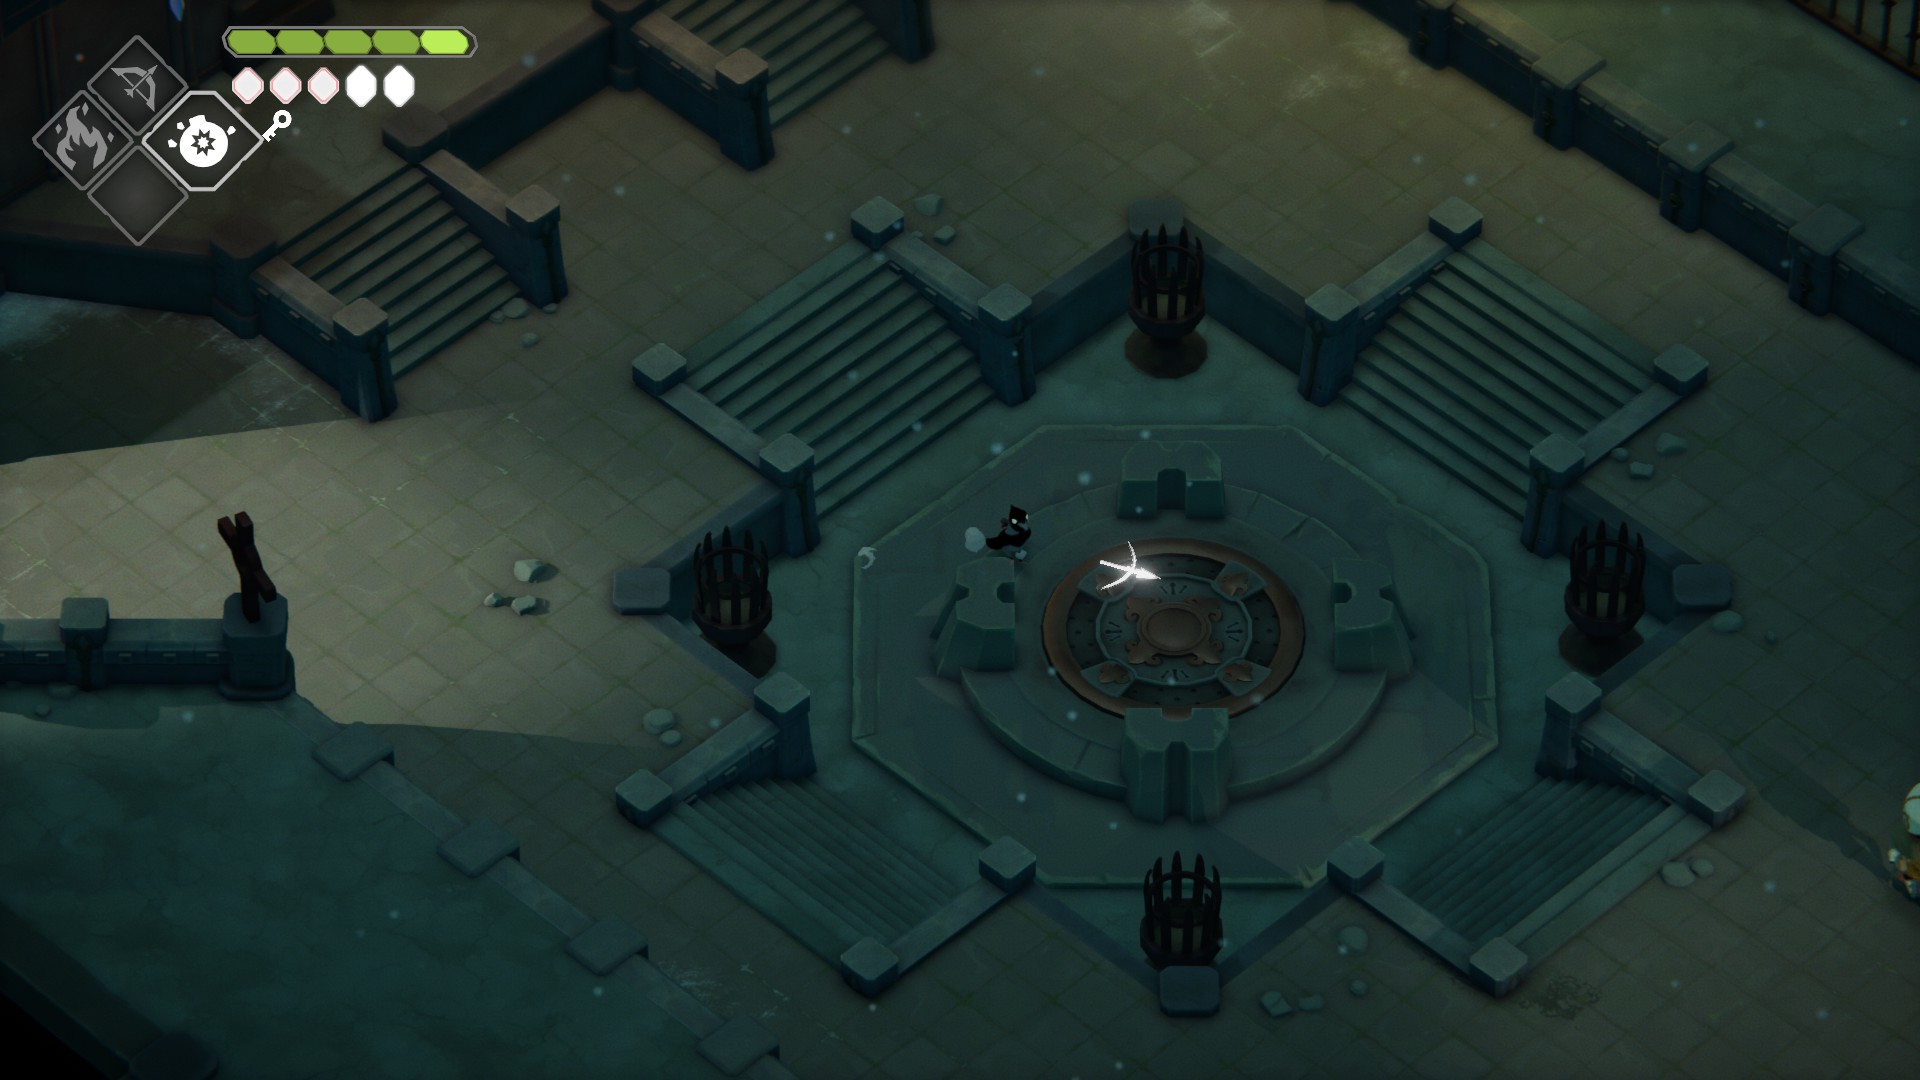
From the main chamber, continue north through the doorway there, and climb the nearby ladder and use your hookshot to grab the now-accessible Large Soul Mass. Then head south back into the main chamber. Listen to Barb’s song if you want, then take the elevator. Once it reaches the top, head southeast through the next room and you’ll find yourself outside once more.
Unabashed FromSoftware fanboy still learning to take his time with games (and everything else, really). The time he doesn't spend on games is spent on music, books, or occasionally going outside.
Great guide! Thanks for putting all this together. One trick I found is that during the laser rooms, if you hookshot through the beams it doesn’t hurt you. Makes some of the rooms much easier.


Great guide! Thanks for putting all this together. One trick I found is that during the laser rooms, if you hookshot through the beams it doesn’t hurt you. Makes some of the rooms much easier.
That’s a great tip, thanks Bearcat! I’ll add it to the guide 🙂
Thank you so much! This section had me LOST
I may or may not have gotten pretty lost myself while building the guide for this area.