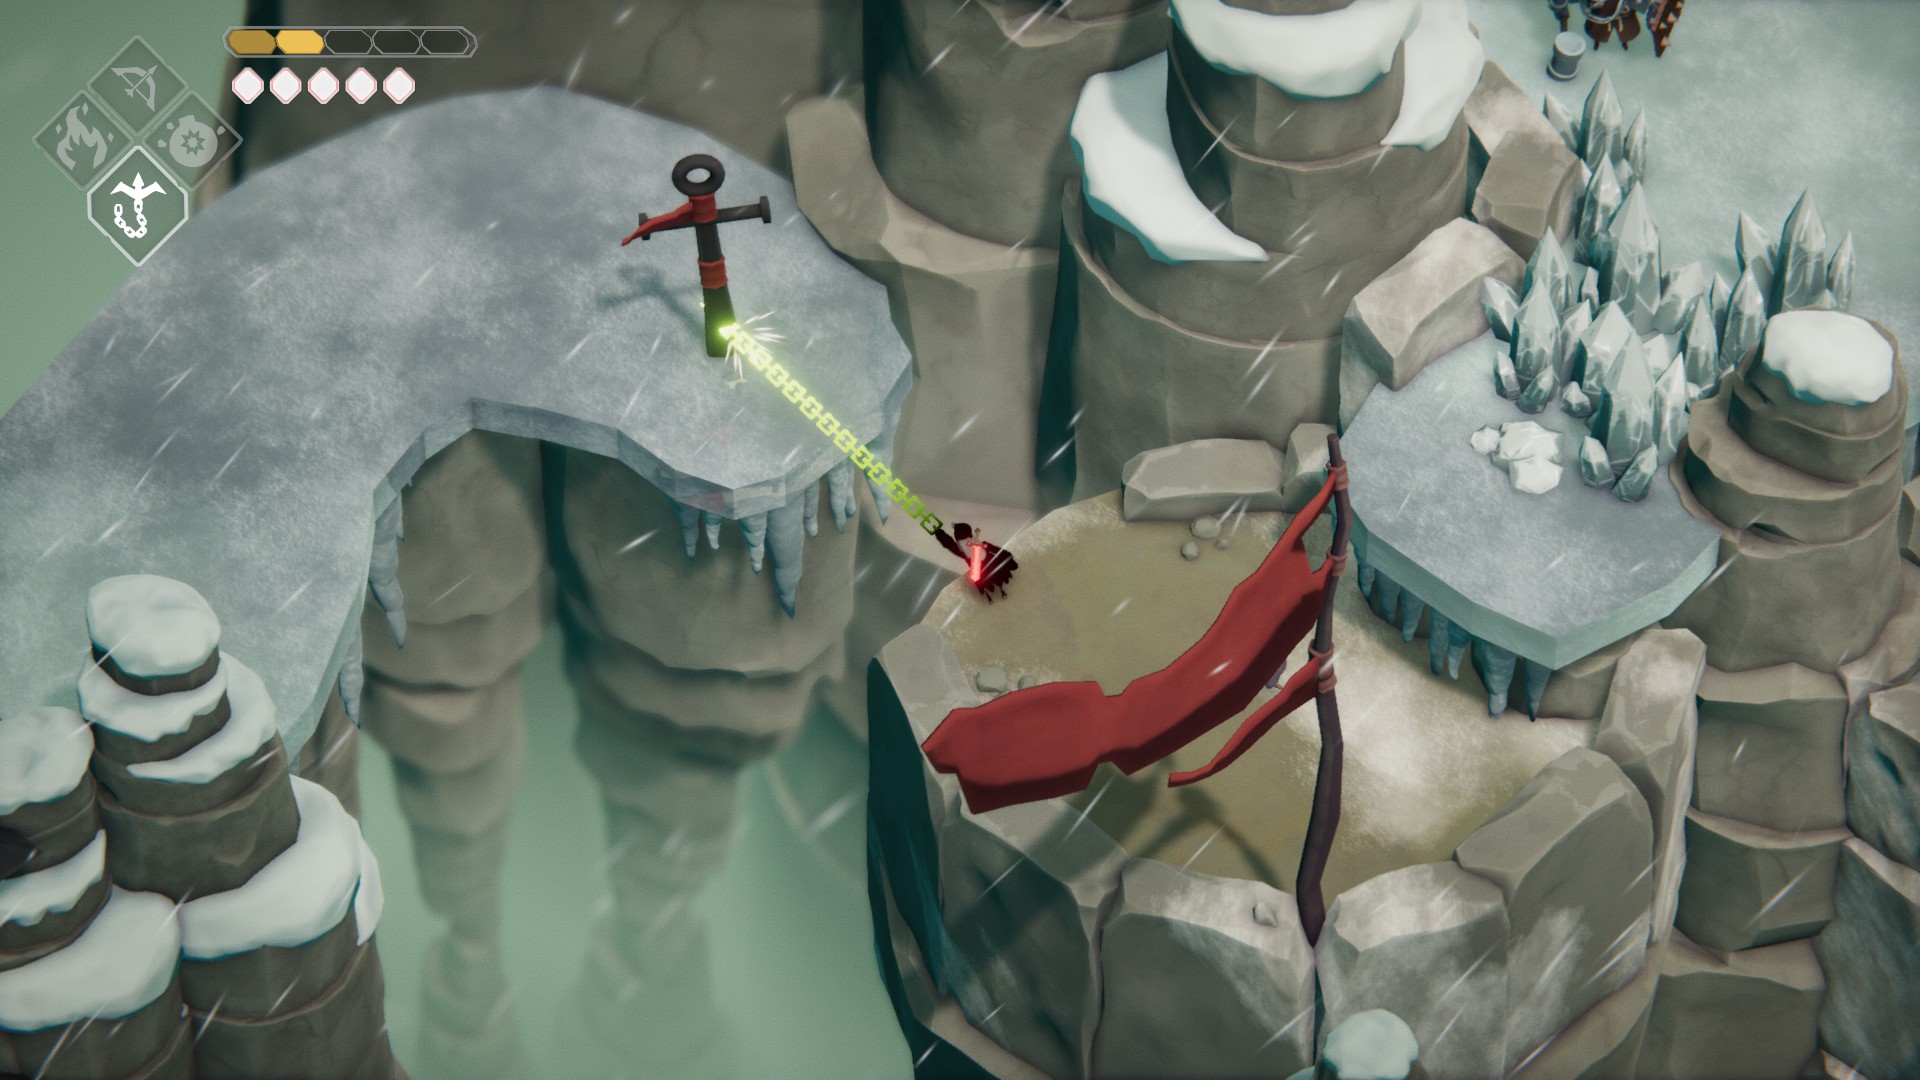
You should be outside on the parapet of Castle Lockstone. Head east past the wooden sign, stand near the ankh and hookshot northeast to the ankh across the gap. Go up the stairs, kill the guy with his back turned, and then climb the ladder. Head southwest and hookshot across the gap to grab the Large Soul Mass, then drop down and go back the way you came (across the gap and up the ladder). This time, hookshot northeast, and make your way up the stairs and ladder, and hookshot across the gap to reach the second ladder.
Climb it, fight the enemies here, then break the nearby boxes in the corner by the carpet to find a life seed. Continue northeast and climb the ladder, then head northeast across the long wooden bridge, and enter the doorway once you cross. Inside, continue northeast and climb the ladder, then go northeast a bit more and climb the second ladder to grab a Life Seed. Hop down and head northwest to the ankh there, then hookshot northeast to the ankh across the gap.
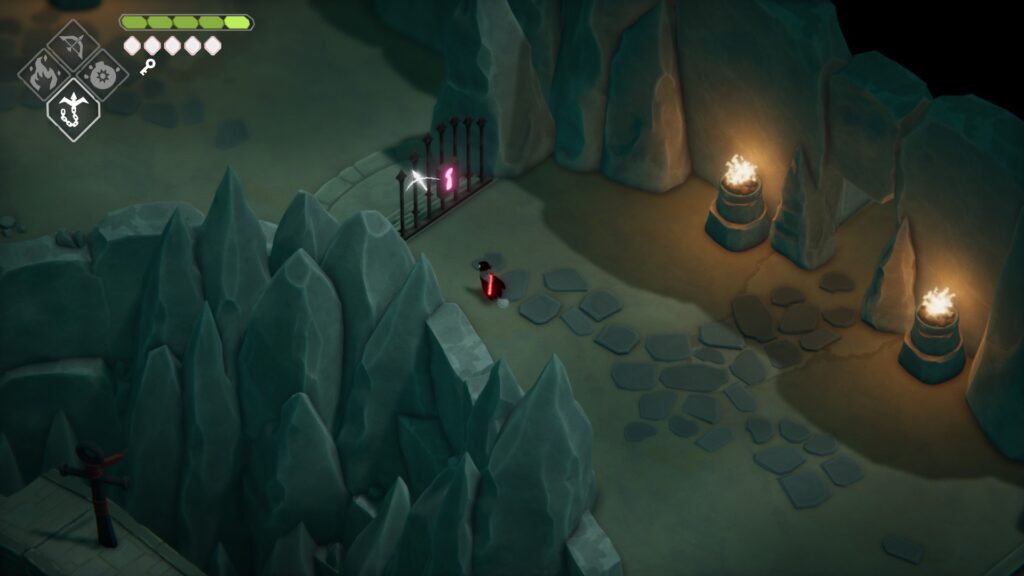
Activate the nearby doorway to the Hall of Doors, then continue northwest and enter the nearby doorway. You’ll find yourself in the Camp of the Free Crows — feel free to chat with the NPCs here, then grab the key when you’re ready and leave the way you came in.
Use your new key on the nearby locked gate, then head through and continue west until you see an ankh to the south. Hookshot to it, then continue southeast using your hookshot to grab the Large Soul Mass. You can’t go back the way you came, so hookshot further southeast to the first ankh in this room, then make your way back through the gate you unlocked.
I’m labeling this “Challenge” specifically because it’s a pain in the butt, but if you want 100% completion and/or a Vitality Crystal shard, you’ll have to handle this tough section. From the unlocked gate, continue west and down the ladder, then out the doorway to the southwest. You’ll need to hookshot your way onto the first big ice-platform, then use your bow on the cube to lower the pillar and quickly run/roll over it before it raises again.
Make sure you recharge your energy on nearby crystals, then start running northwest and aim your bow at the cube to the southwest, firing as late as you can (just before the rock would block your shot). Roll once northwest and then shoot the northeastern cube. Then roll southwest, and you should be able to run onto the first pillar. Once the first one rises, run onto the second one. The second pillar will rise, and you’ll be able to get onto the next platform.
Refresh your energy on the nearby crystals. As with the previous section, you need to start moving, then aim while sliding and shoot the first cube (the one south of the path) as late as possible. Once you do so, roll twice (once southwest, then once south), then shoot the other two cubes (northern one first), then roll once more and get first platform. Make sure you’re running southeast into the raised pillar so that you climb on it as soon as possible.
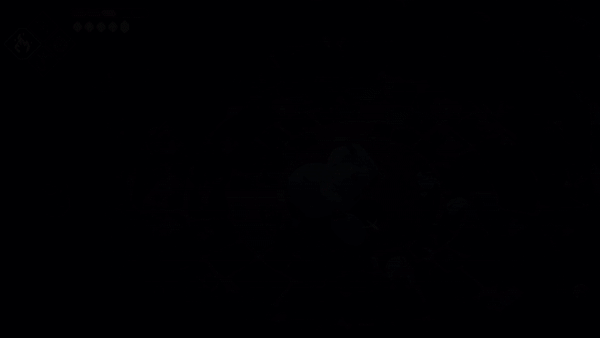
There’s another way to do this that requires better timing but doesn’t require you to move: stand just north of the first pillar (see image below) and you can shoot all three cubes. Make sure you wait ~1.5 seconds between shooting cube #1 and cube #2, or you won’t be able to climb up. (Thanks to EIP user Bus for this tip!)
Drop carefully down to the southeast, then continue southeast and drop down to the ice below. Stand near the skeleton to the southwest, and shoot the cube to the east. Equip your hookshot quickly and make your way south and then hookshot southeast across the chasm. Hookshot the ankh further north as soon as you can see it, then continue rolling/running across the lowered pillar.
Phew! Grab your Vitality Crystal shard and hookshot your way northeast and go through the doorway. Make your way back to the ladder by the unlocked gate.
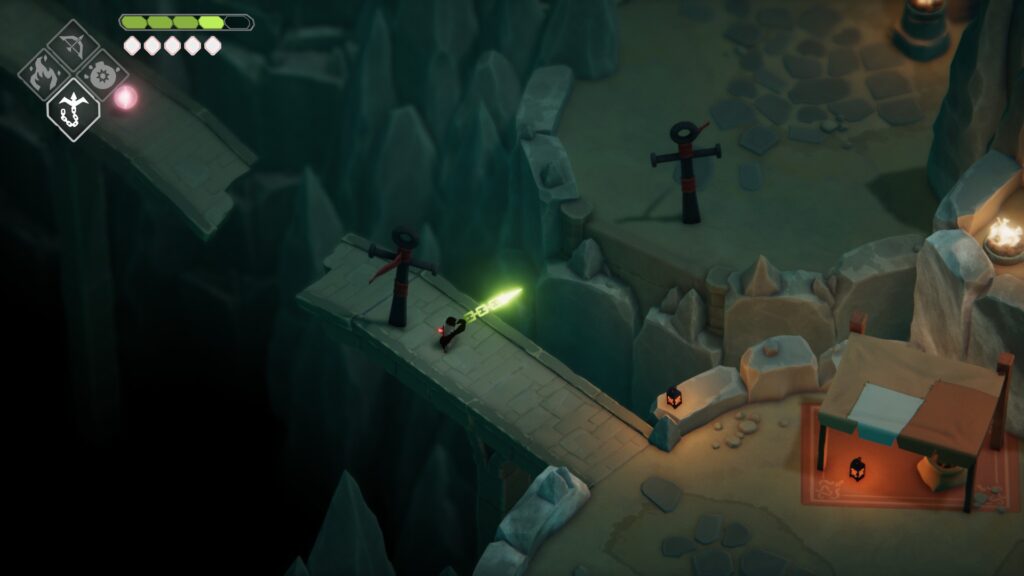
Climb the ladder just north of the unlocked gate, say hi to Barb if you want, then head northwest and take the elevator. Head southeast out of the elevator room, and climb one of the ladders. Climb the next ladder and activate the door back to the Hall of Doors, then hookshot to the platform northwest of you. Continue northeast across the wooden bridge, then drop down past the flag and break the boxes there to find a Life Seed.
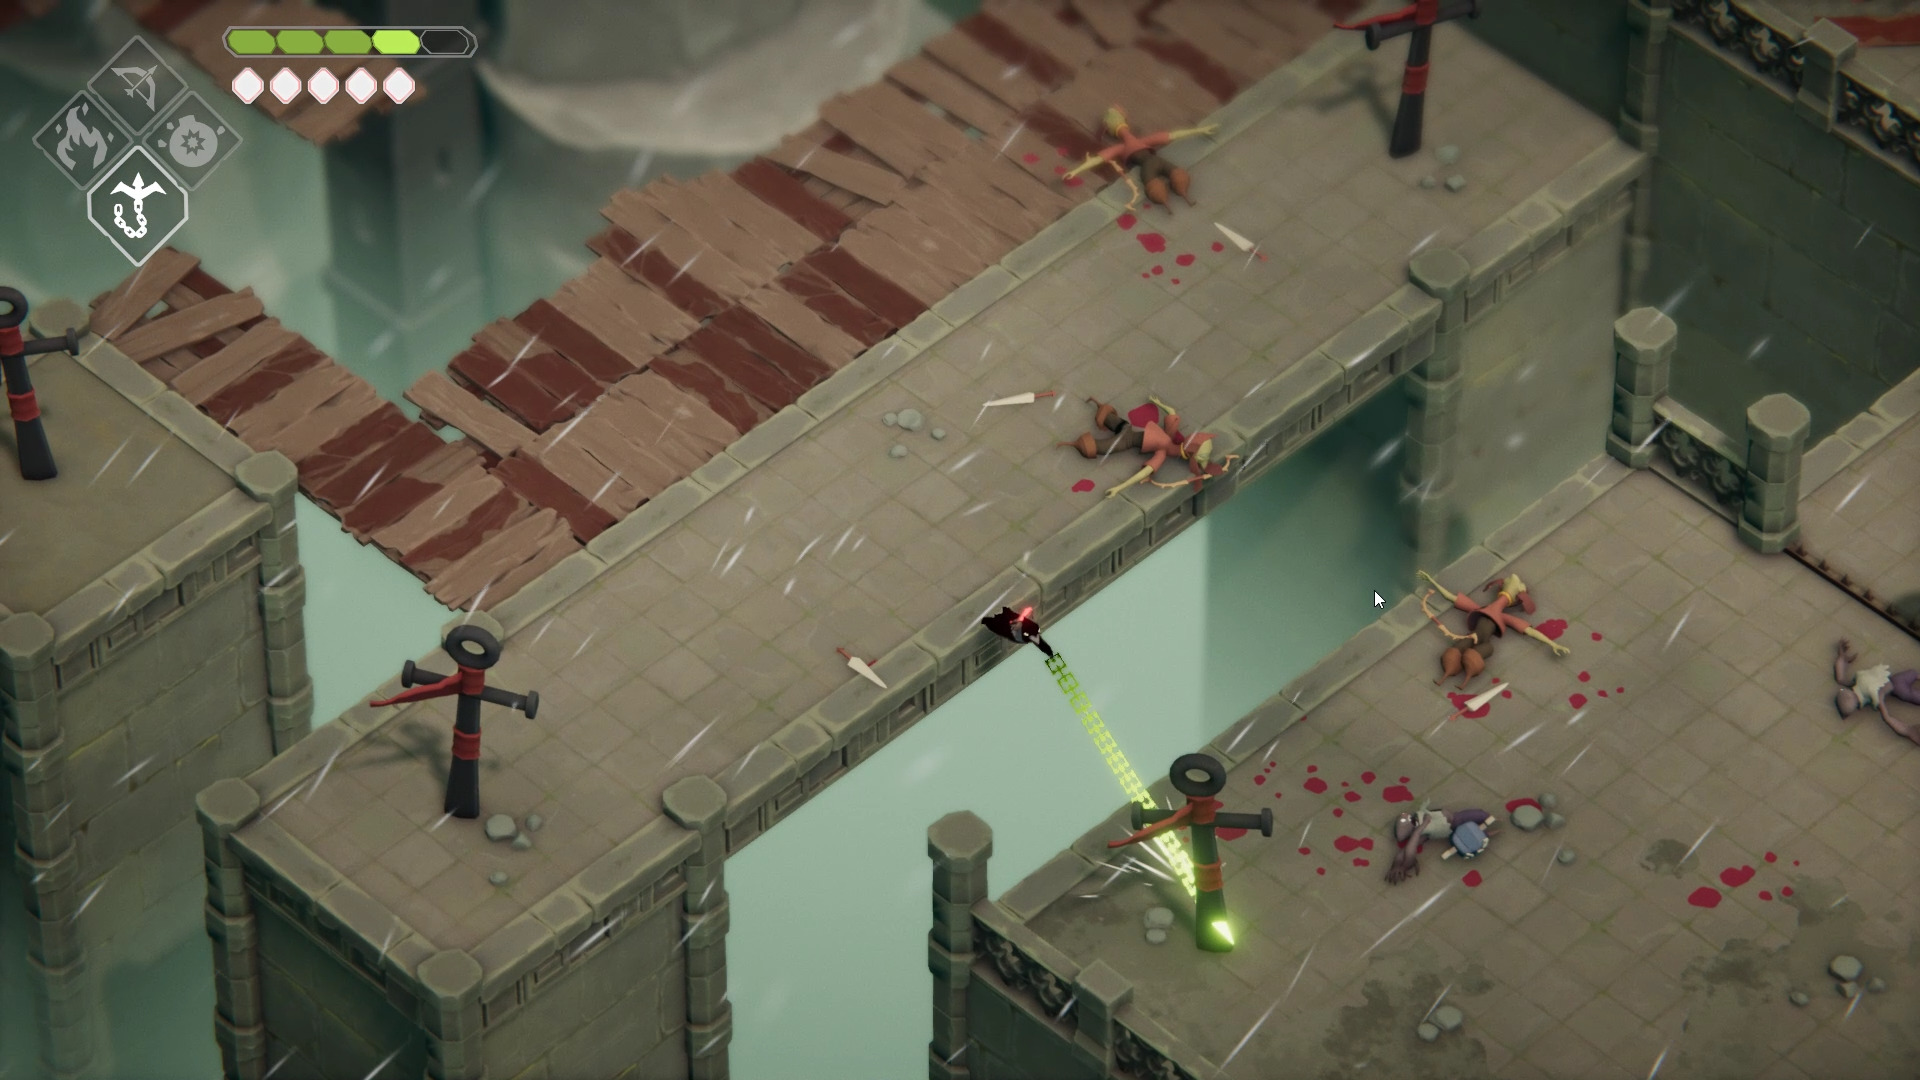
Make your way east and onto another wooden bridge, then hookshot to the ankh south of the bridge. You’ll have to fight a bunch of archers in the next area, so try to roll after every few attacks to make sure you don’t get peppered with arrows. You’ll need to hookshot across the gap southeast to take out the remaining enemies, then head through the gate that opens once you’ve slain the last of them.
Climb the ladder, then take out the archers before fighting the shield-knight. There’s lots of crystals here, so you can just kill him with ranged attacks if you want. Continue northwest and up the stairs to find one of the tough spearmen guarding the way forward. You can kite him to the crystals and kill him with ranged attacks (or just lead him away from the ladder and climb it) if you don’t want to fight this guy. Climb the ladder, then go northeast across the wooden bridge and grab the Life Seed.
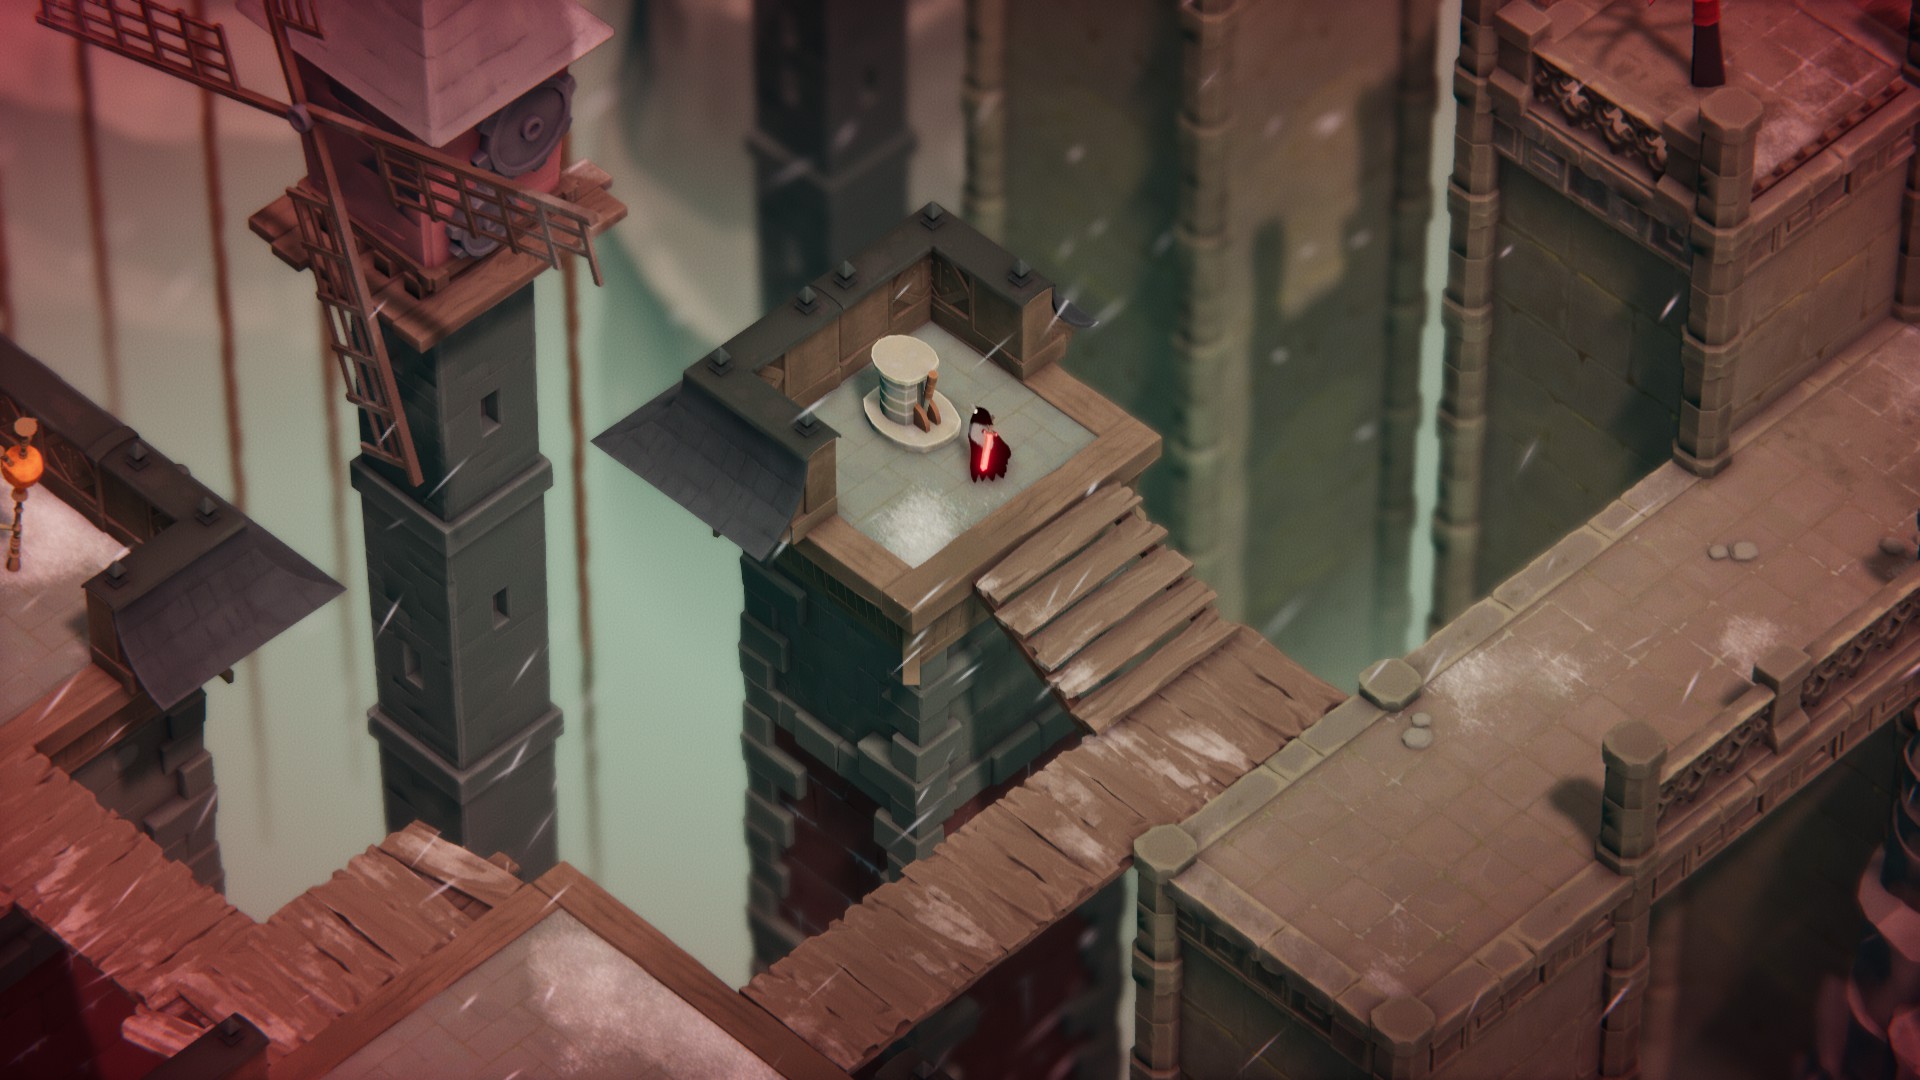
Head back southwest and drop down, then continue southwest to begin an interesting arena fight. A laser will track you until you clear the enemies, but there’s plenty of cover. You can use the laser to kill most of the enemies by simply running back and forth from cover to cover. Once you finish the fight, ladders will drop — climb the one in the north of the arena. Hookshot to the ankh to the southwest, and take on the two boomerang-guys. Then continue southwest and drop down just past the ankh, and go push the lever to the west, which will open a shortcut back to the Hall of Doors.
Head southwest from the lever, then go northwest at the ankh. Say hello to Barb yet again, then ride the elevator up.
Stand on the wooden bridge, and drop down to the narrow wooden platform below. Go around the corner to the north to find a Large Soul Mass, then go back around the corner and hookshot back to the elevator and take it up again.
Drop here, then go north around the corner
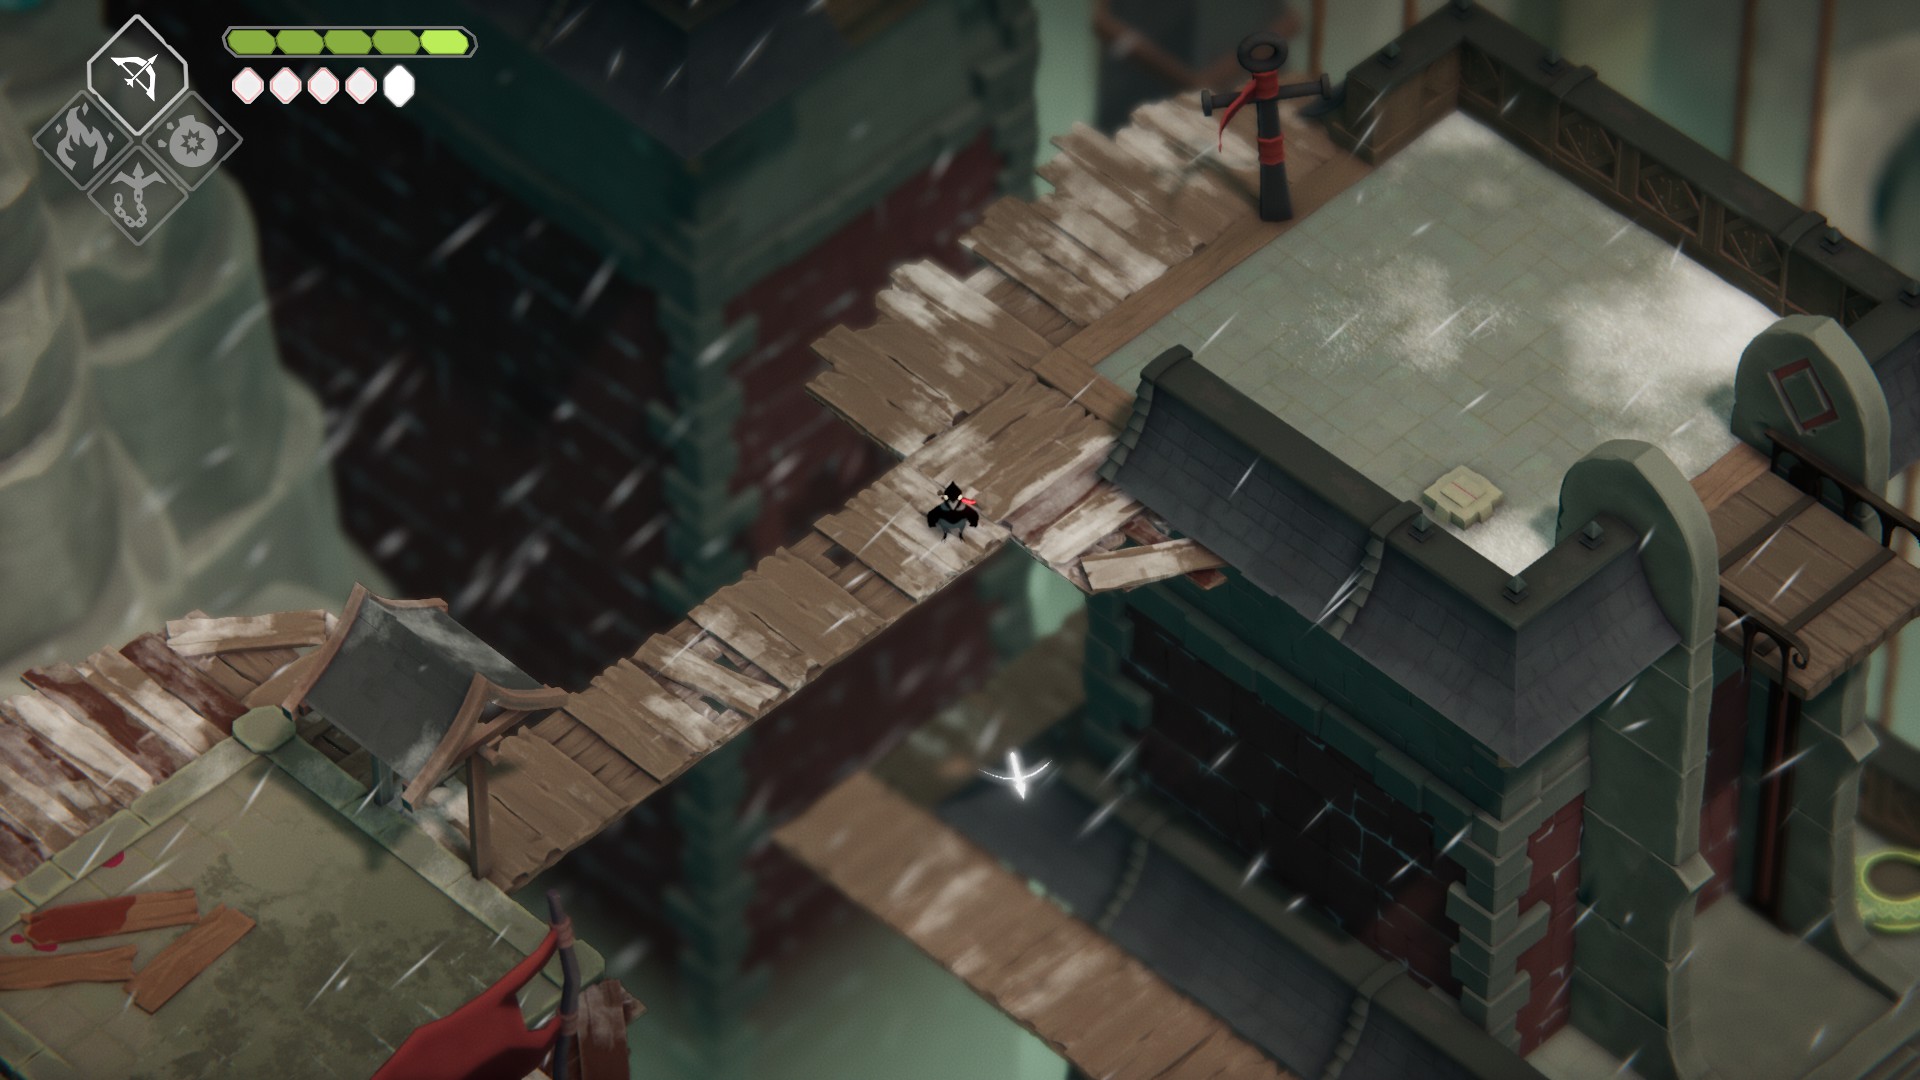
Head southwest across the wooden bridge, and continue that direction across the falling tiles. Take out the enemies, then head southeast to the next platform. See the archers to the northeast? Hookshot onto one of them, kill ’em, then grab the Life Seed and drop down. Make your way southwest and hookshot across the gaps, then go northwest to begin an arena fight. Use the lasers to your advantage, then continue through the gate and over the wooden bridge.
Take out the enemies here and then ride the elevator up. Go southwest across the stone bridge, then continue across the falling tile platforms, and hookshot across the 2 gaps that follow. Cross the wooden bridge northeast and take out the enemies here, then go southeast and push the lever, which will open another shortcut back to the door as well as the way forward. Drop down and head east out onto the wooden bridges, then go around the windmill and take the elevator to the northeast.
Make your way down the stairs and onto the ice, and continue east to drop onto a lower section of ice. Further east you’ll find an elevator; ride it up and hookshot your way northeast. After you hookshot the second time, a laser will activate and target you. Quickly follow the path forward, breaking the crystals with your sword. Try to break the crystals furthest away from the laser, so that the remaining crystals can protect you.
Once you pass through the crystal walls, you’ll drop down and continue southwest. You’ll encounter more enemies, but you can ignore them and continue on the ice until you can drop down to less slippery ground. It’s a brief respite, however — hookshot across the gap to the northwest and continue on the ice. Go north around the watchtower with the lever and grab the Life Seed to the west, then go up the stairs and push the lever.
Drop down, and go southwest from the Life Seed Pot across the wooden bridge, then go northwest through the now-open gate. Continue northwest across the bridge and you’ll find yourself in a slippery arena fight. Try to fight on the raised platforms without ice whenever possible, and take advantage of the elevation changes to use plunging attacks and/or avoid enemies. There’s also a mass of crystal in the middle you can use if you want to rely on ranged attacks.
Fleeing the scene of the crime
Once you defeat the last enemy, a ladder will drop to the northwest. Climb it, and continue in that direction to enter Betty’s Lair.
How to Defeat Betty, AKA The Beast
Don’t let the crow skeletons scattered about her lair intimidate you — Betty isn’t as tough as she looks, and if you were able to defeat the Frog King, you can handle Betty as well. She’s definitely tougher to take down, but her attack patterns are pretty easy to learn once you’ve died a few times. Betty has two phases, but the only apparent difference between phases is that she starts to throw snowballs, and snowballs start to fall from the sky.
I recommend using the Greatsword in this fight, since the attack windows tend to be small, and getting one strong hit in where we can is the strategy we’ll be using in this guide.
Phase 1
Leap Attack – Betty will jump into the air and smash the ground. If you roll once she leaps into the air, you can dodge this one easily, and then hit her a single time once she lands. Roll a moment after you attack to avoid her follow-up slap or ground punches.
Slap – After she lands from a leap, Betty will sometimes try to backhand you. If you are attacking her once after she lands, you can just roll immediately after attacking, and you’ll usually dodge her slap.
Ground Punches – Betty will punch the ground 2-3 times, starting with the side that’s closer to you. Start your roll once you see her hand come up, and try to roll behind her rather than towards her other hand. You can attack once immediately after you roll, then roll again — it should be possible to hit her between each of her ground punches. When she’s attacking with the hand further from you, it may not even be necessary to dodge.
Snowball Toss – Betty will raise both arms up into the air, then throw a snowball at you, As long as you’re moving perpendicular to Betty, this should miss you, even if you don’t roll.
Roll attack – Betty will jump into the air and tuck herself into a ball, then land and roll towards you. Once she hits a wall, she’ll jump into the air and do her Leap Attack. This attack can be hard to dodge, but once you know what to look for you can avoid it. The trick is to be ready for this attack every time she plants all four feet on the ground — that’s how you know it could be coming. Once you see her jump into the air and become a ball, wait a very short moment, then dodge roll. Any direction that isn’t directly into her should work.
This takes some practice, but if you pay attention to the animations that let you know this attack is coming, you’ll eventually learn to dodge it. Try to position yourself just out of the way of her landing zone, so you can hit her when she lands (if you time it perfectly, you can hit her once right as she lands and then once more before having to roll).
Phase Two
During Phase Two, snowballs will start falling from the ceiling. You can see where they’ll land by their growing circular shadows on the floor.
Betty will still do all of her attacks from Phase 1, plus one new one:
Ground Pound – Betty will raise both arms in the air, then slam them repeatedly on the ground. This also brings down a lot of snowballs from the ceiling. You should roll away as soon as you see her raise her arms, then keep an eye on the floor for shadows that indicate where a snowball will fall (and avoid them, naturally).
Once you defeat Betty, you’ll attend her funeral. You can chat with the NPCs here, then when you’re ready, return to the Hall of Doors via the doorway in the southeast of Betty’s Lair.
If you want the achievement “No Threat Detected”, now is a good time to do it. Once back in the Hall of Doors, you’ll see one of the cute little green/yellow flower guys hanging out either on a bench or on someone’s desk. Lead it south and through the metal detector to get this achievement.
Unabashed FromSoftware fanboy still learning to take his time with games (and everything else, really). The time he doesn't spend on games is spent on music, books, or occasionally going outside.
About the ‘challenge’ hall with the ice floors and triggered blocks.. For the shot with 3 blocks you need to shoot and then climb, if you position yourself at the X in this image(all blocks will be raised) you have clear line of fire to all 3 trigger blocks. First is the northernomst one on the right, second is the top one on the left, final shot is the bottom one on the left. You also need to pause for a moment between shots 1 and 2, or else both platforms rise too quickly to mount


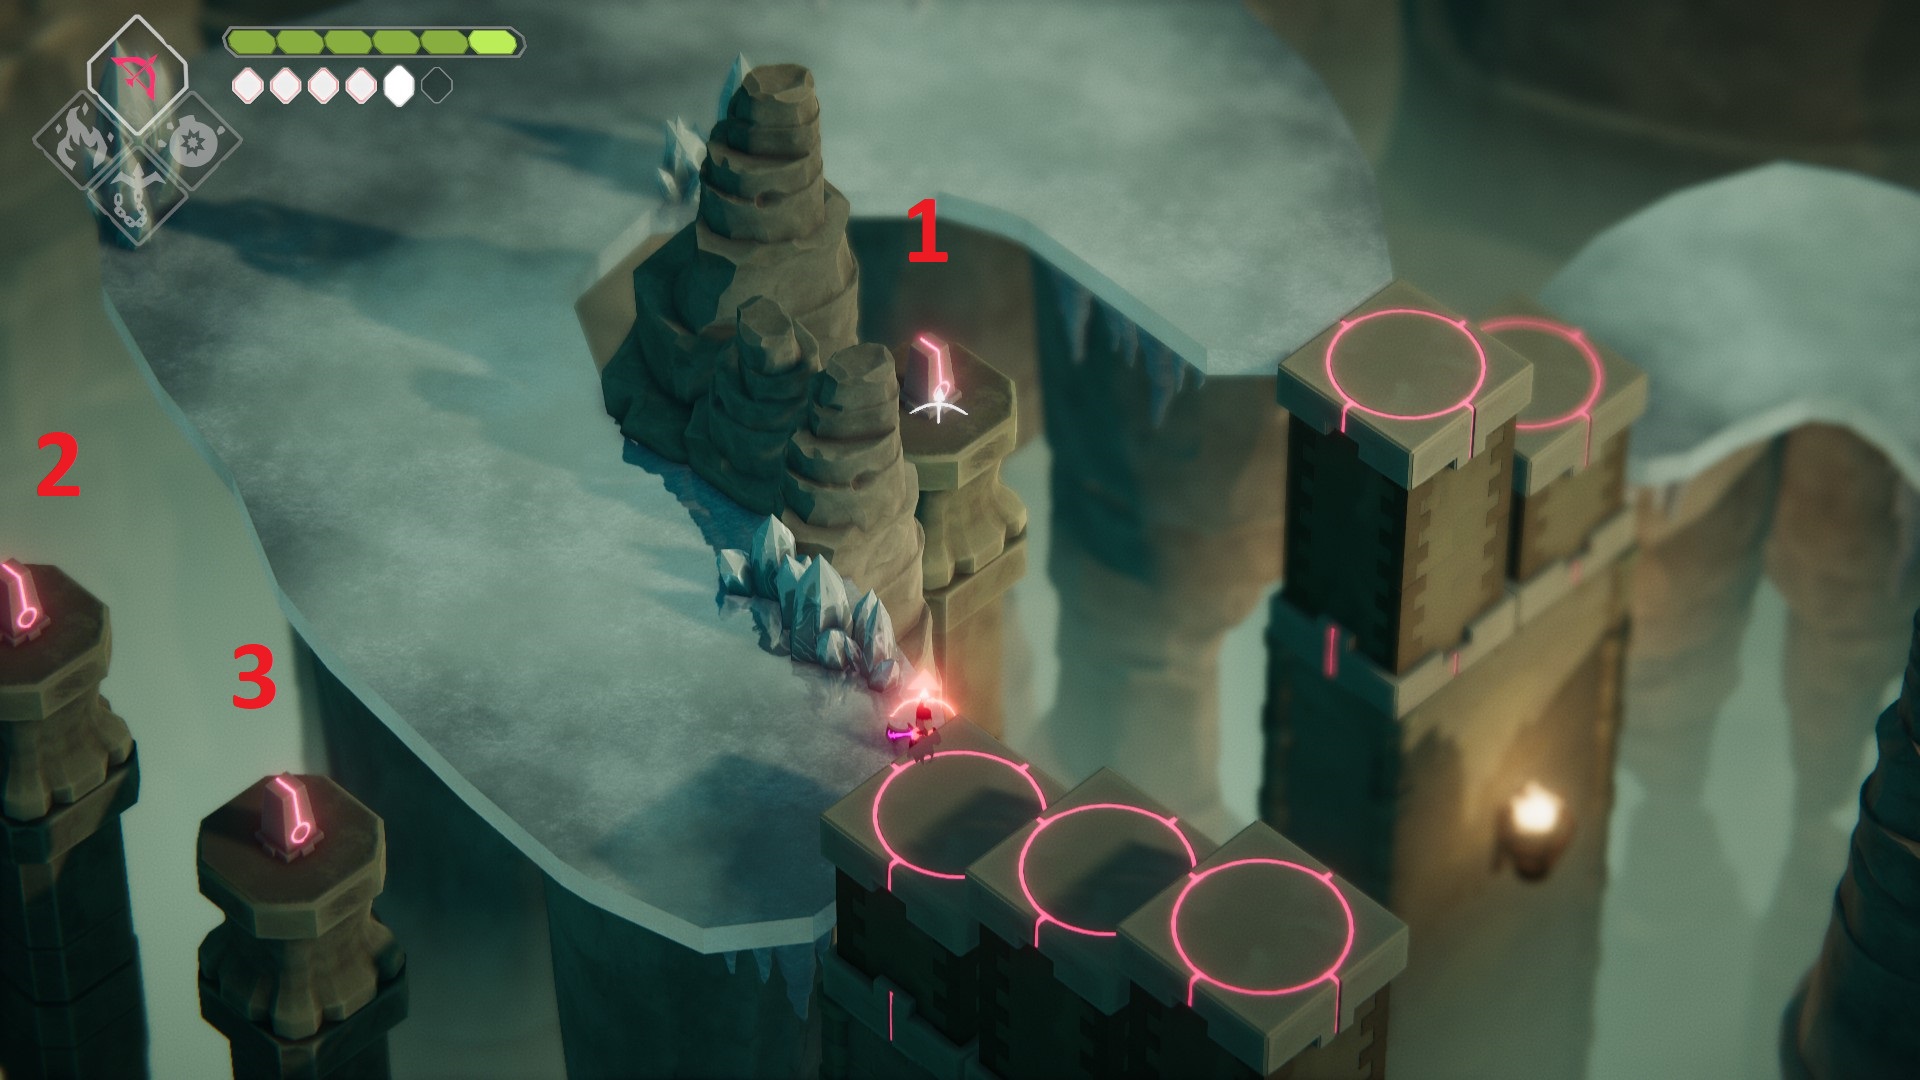

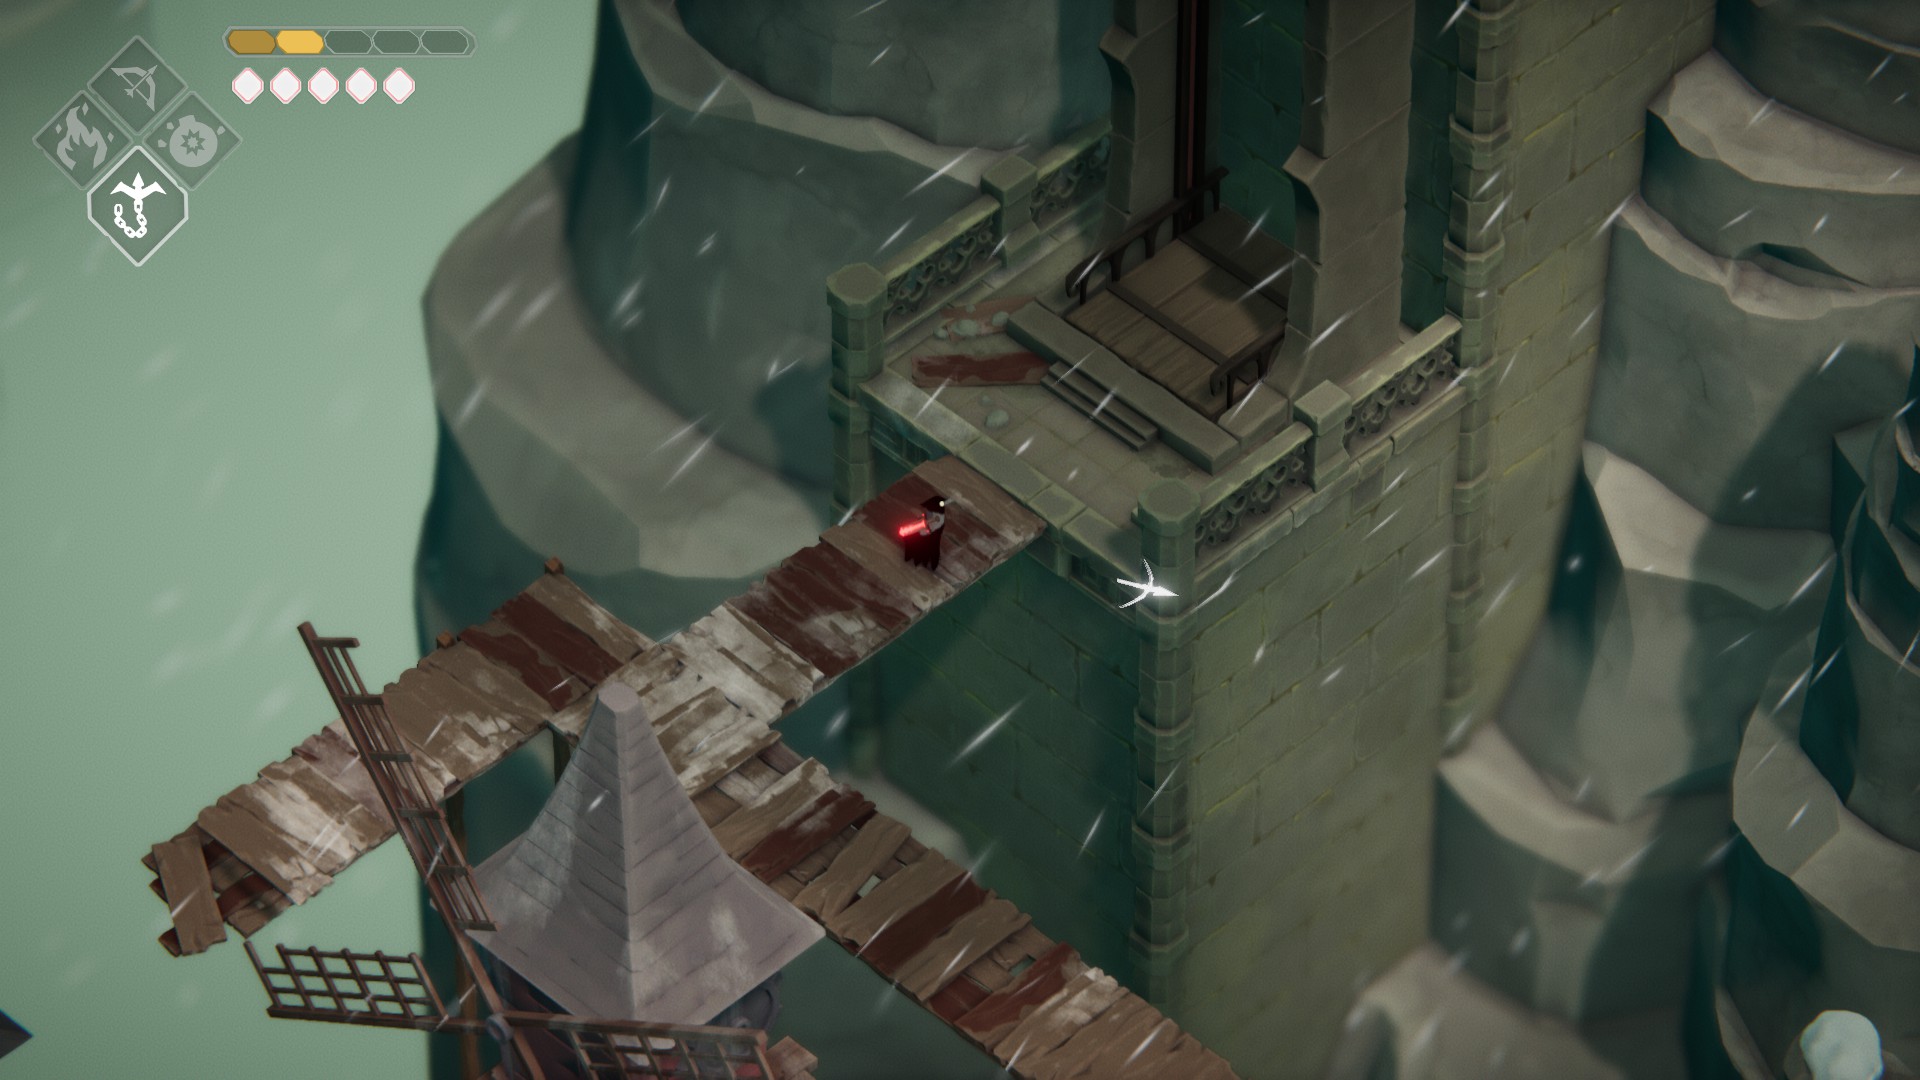


About the ‘challenge’ hall with the ice floors and triggered blocks.. For the shot with 3 blocks you need to shoot and then climb, if you position yourself at the X in this image(all blocks will be raised) you have clear line of fire to all 3 trigger blocks. First is the northernomst one on the right, second is the top one on the left, final shot is the bottom one on the left. You also need to pause for a moment between shots 1 and 2, or else both platforms rise too quickly to mount
Wow, that’s much easier… thanks Bus! I’ll test it myself and then add it to the guide if it seems easily reproducible.