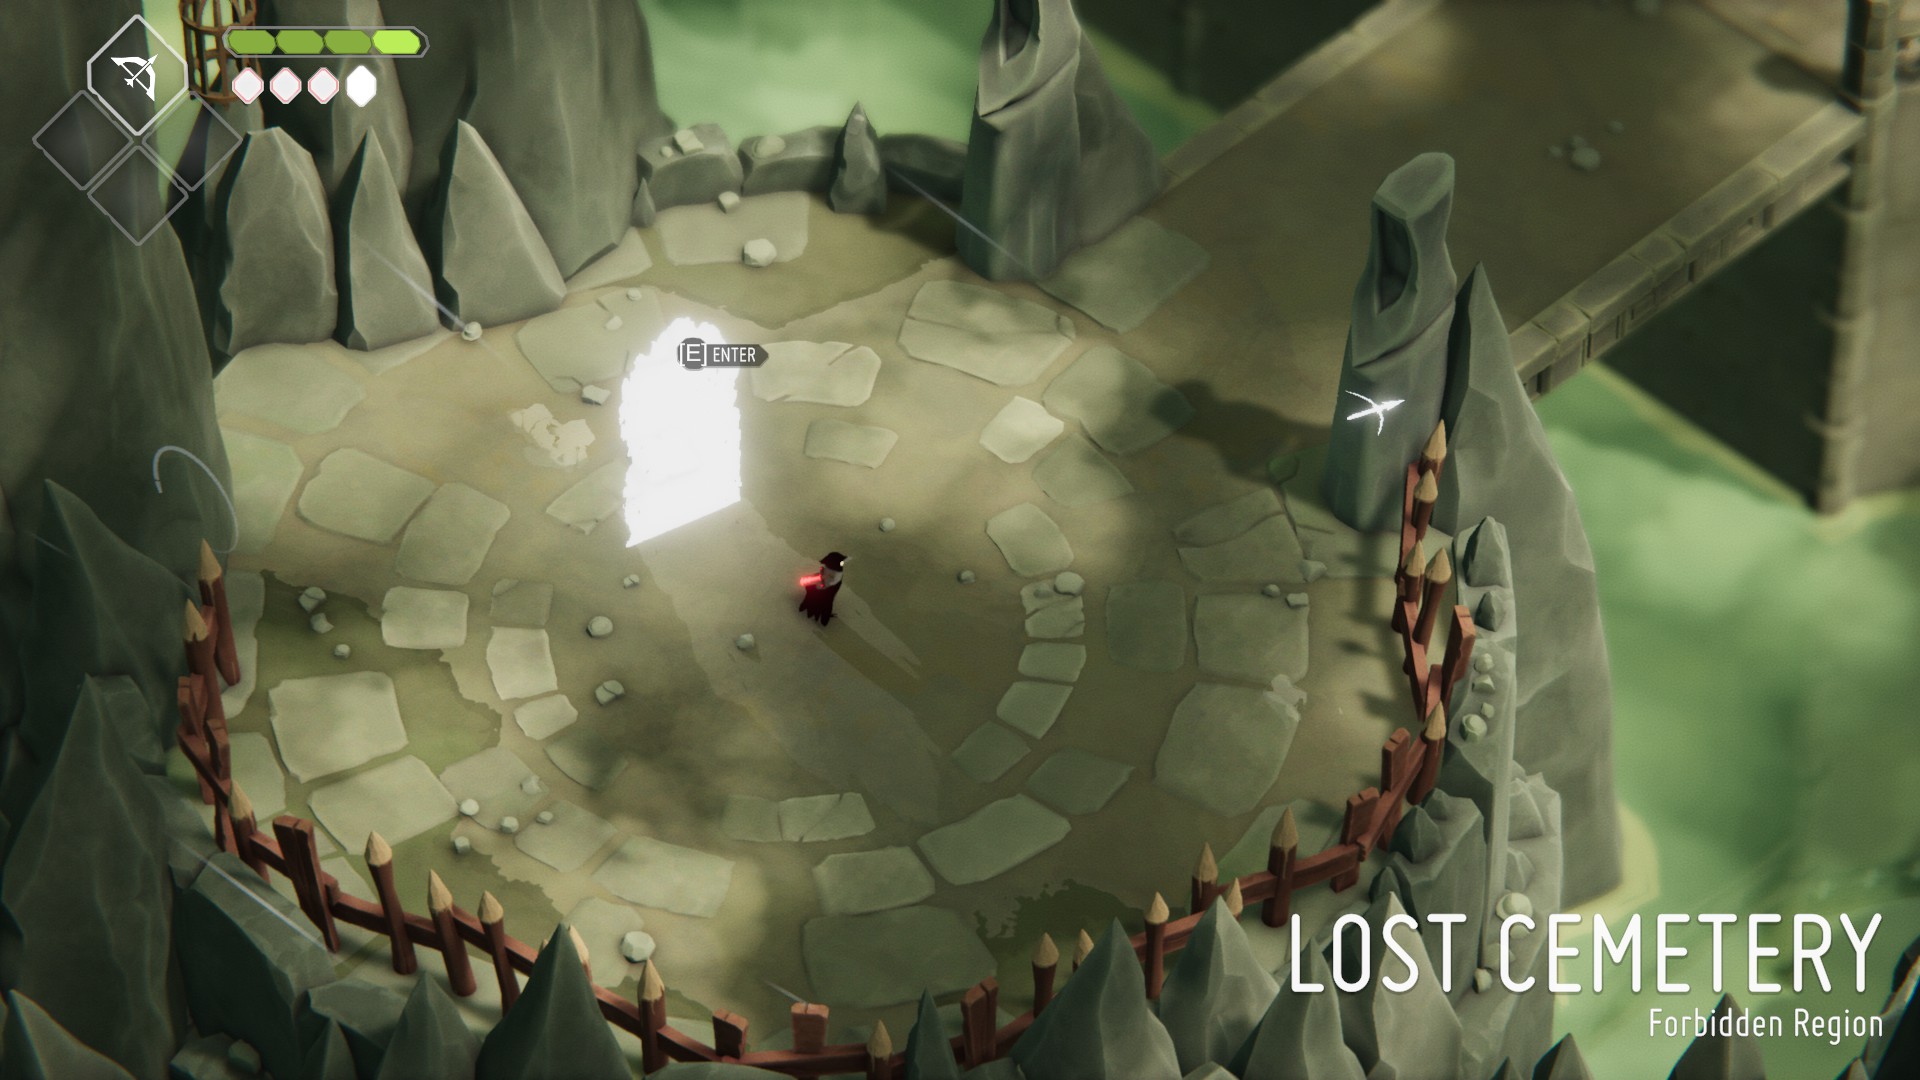
Head north-east (it’s the only way you can go), then hit the glowing cube to open the gate and continue up the path north-east. Once you cross under the bridge (and see the dude that took your Giant Soul!) go up the stairs and then go north-west and enter the doorway there. Go through the indoor area and then exit it to find your first Life Seed. Then head back the way you came, and go up the ladder.
The path to the Life Seed
Take a right at the top of the ladder and head down the multiple flights of stairs to find your first regular enemy by a locked gate. You can ignore these guys, but they give you Soul Energy, so it’s best to kill them. Go down the stairs, and make sure you activate the doorway back to the Hall of Doors.
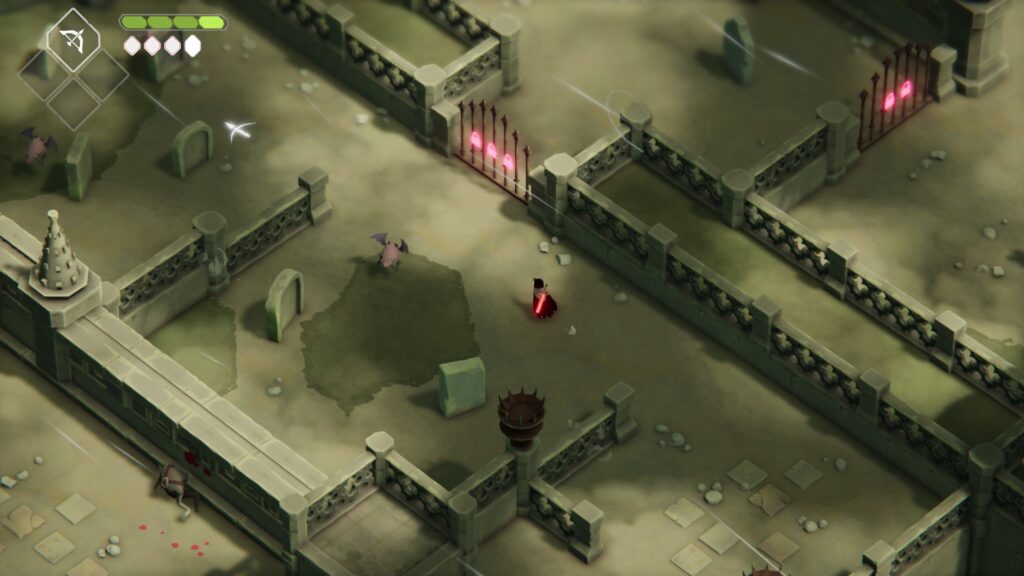
Enter the nearby doorway to find another Mass of Soul Energy. Then go up the ladder and grab the Life Seed up there. Then continue south-east until you reach a locked gate. The 3 icons on the gate indicate that you need to kill 3 nearby enemies to open it — do so, then continue through the gate, and do the same for the 2-enemy gate in the next area.
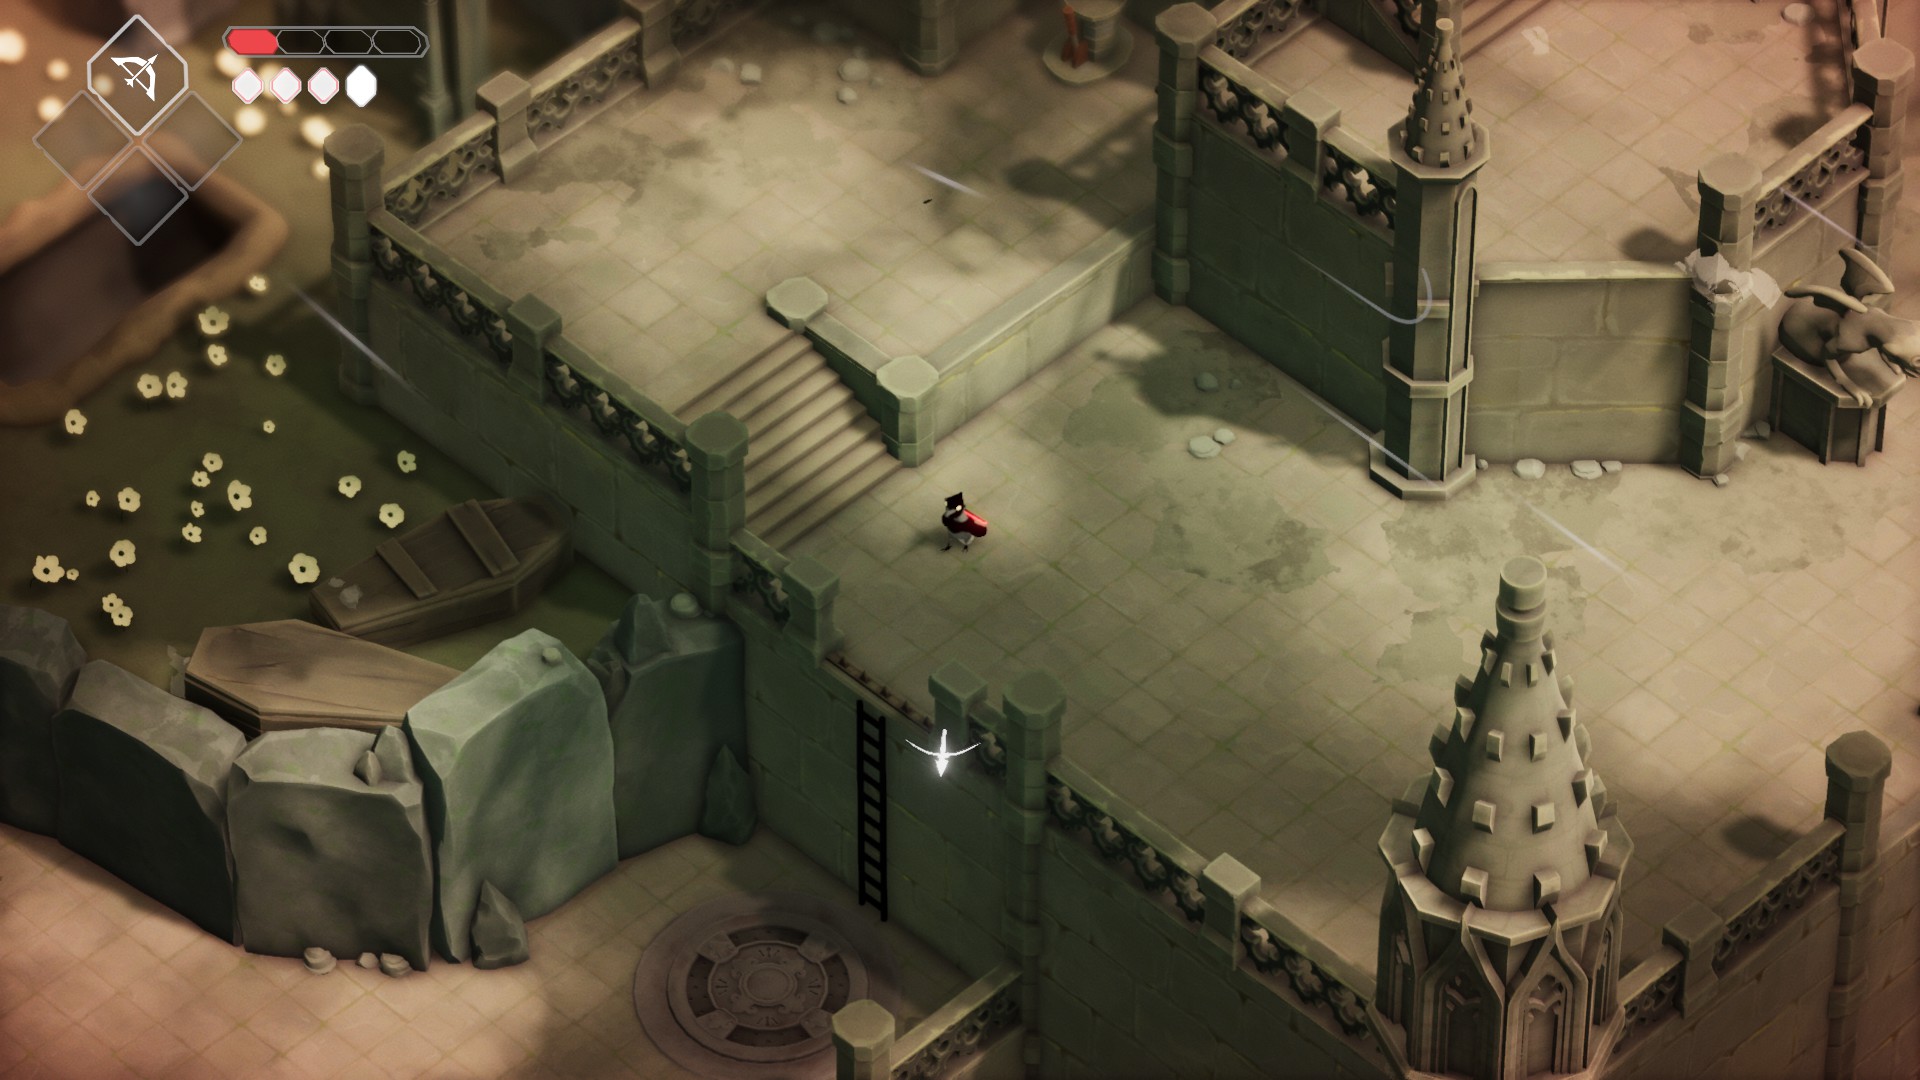
Kill the 3 enemies in the next area and the podium holding a key will lower. Grab the key and hit the glowing cube to drop the nearby ladder.
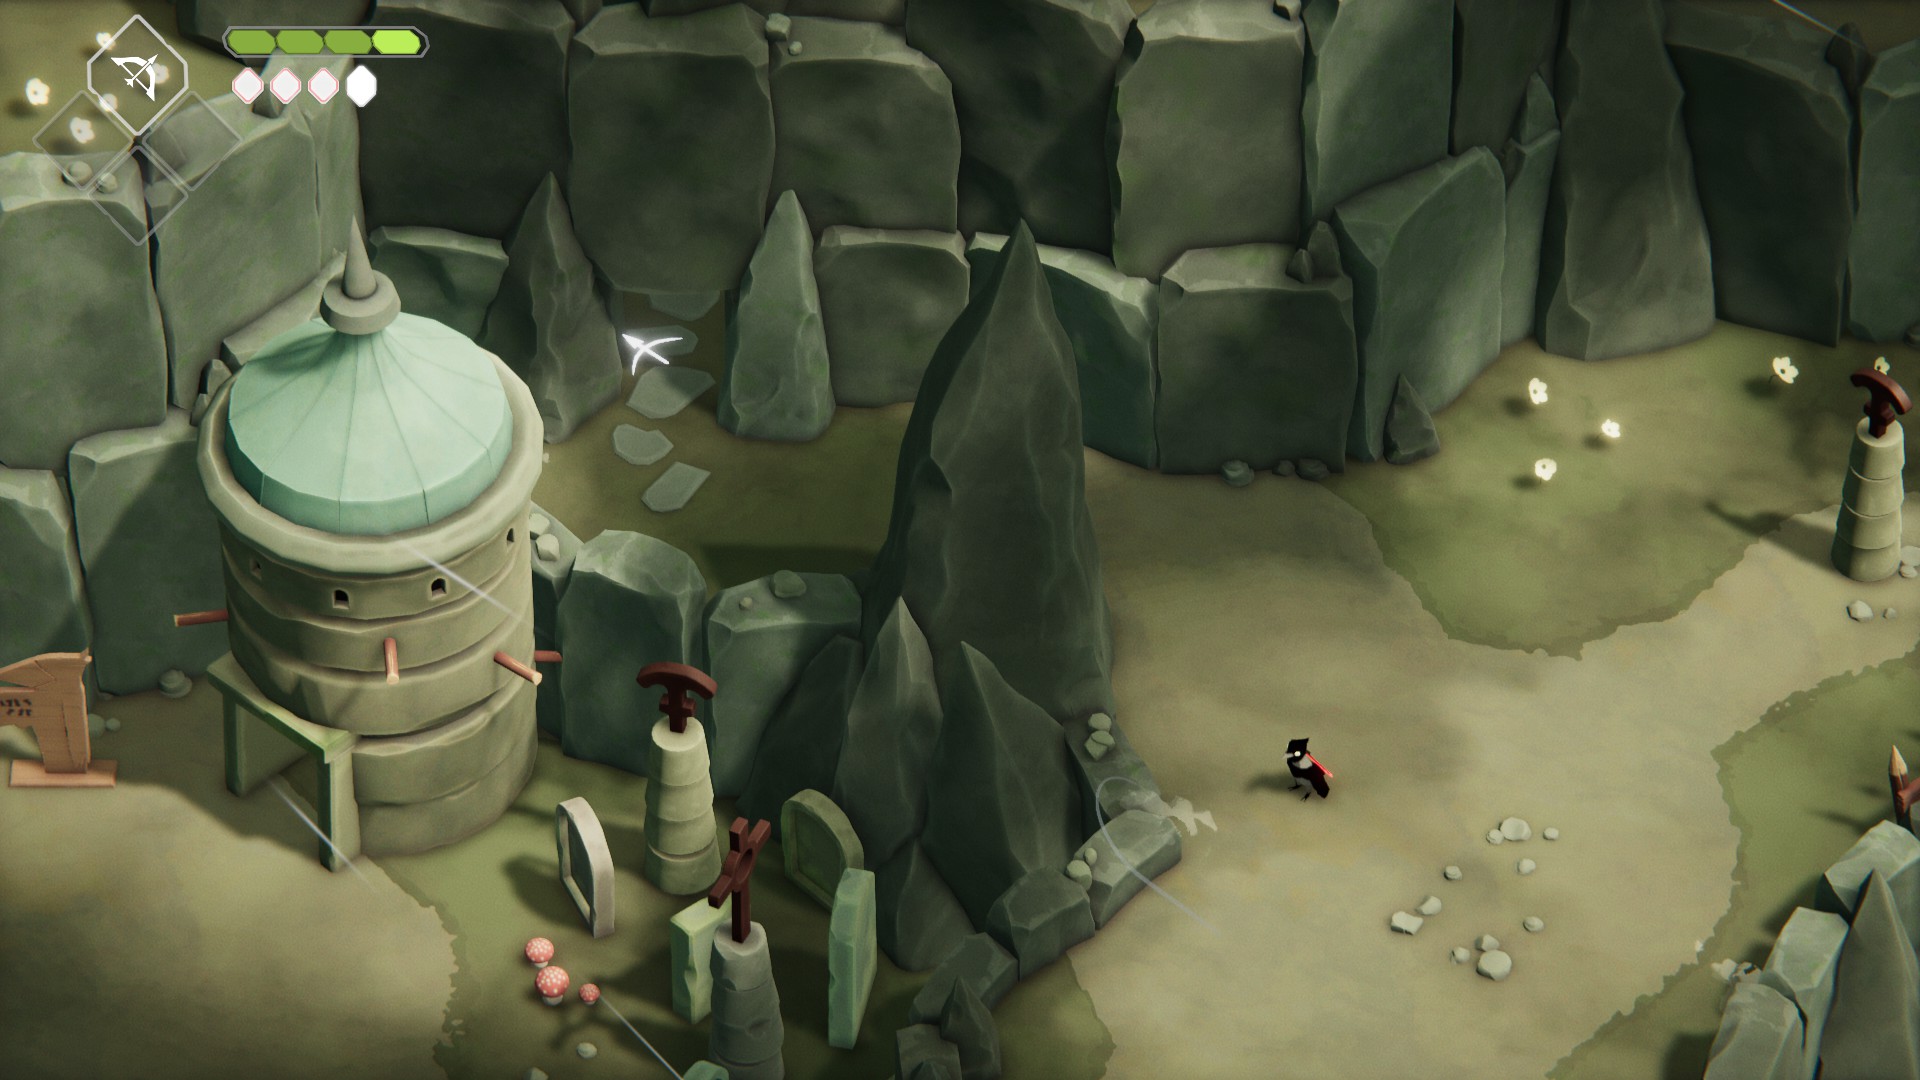
Before you take the ladder, head south to the small, green-roofed building. Get close enough, and the camera view will rotate, allowing you to enter the building and find your first collectible: an Undying Blossom. Leave the little building and go up the ladder to the north.
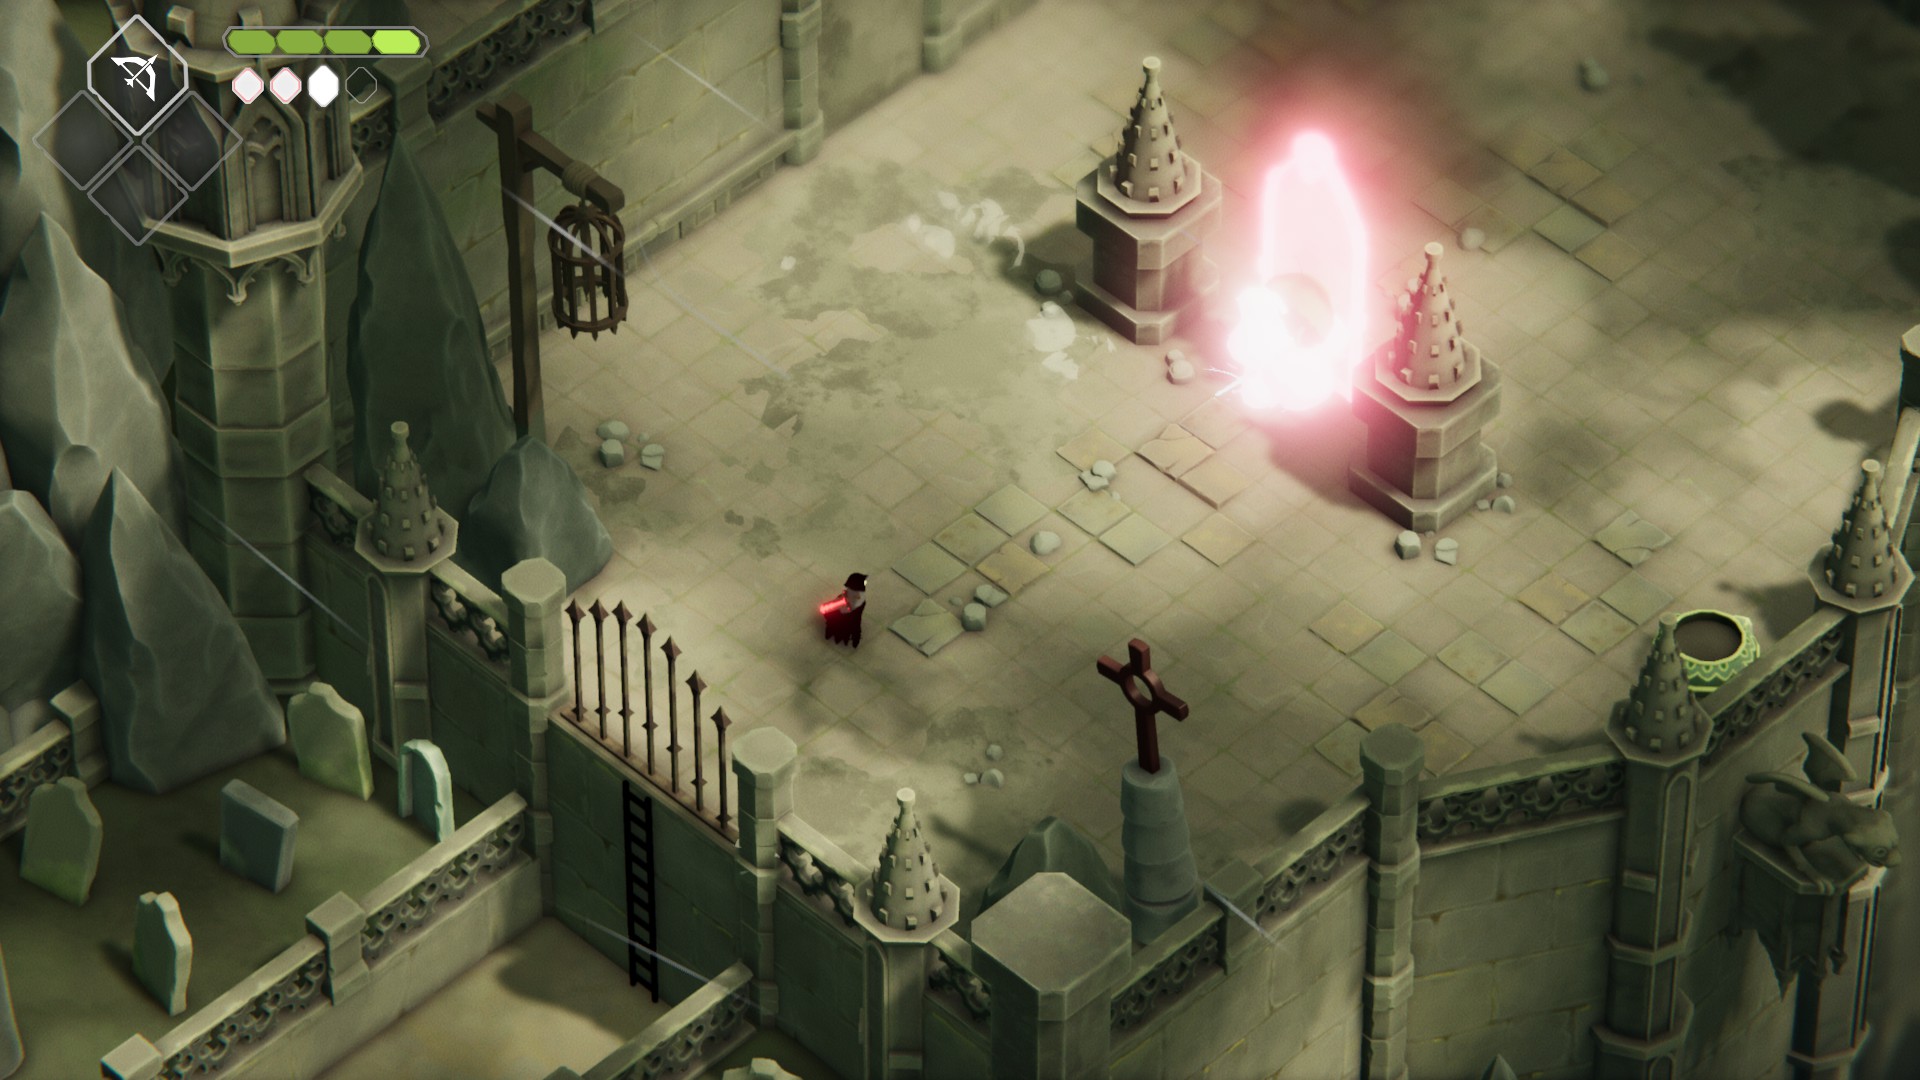
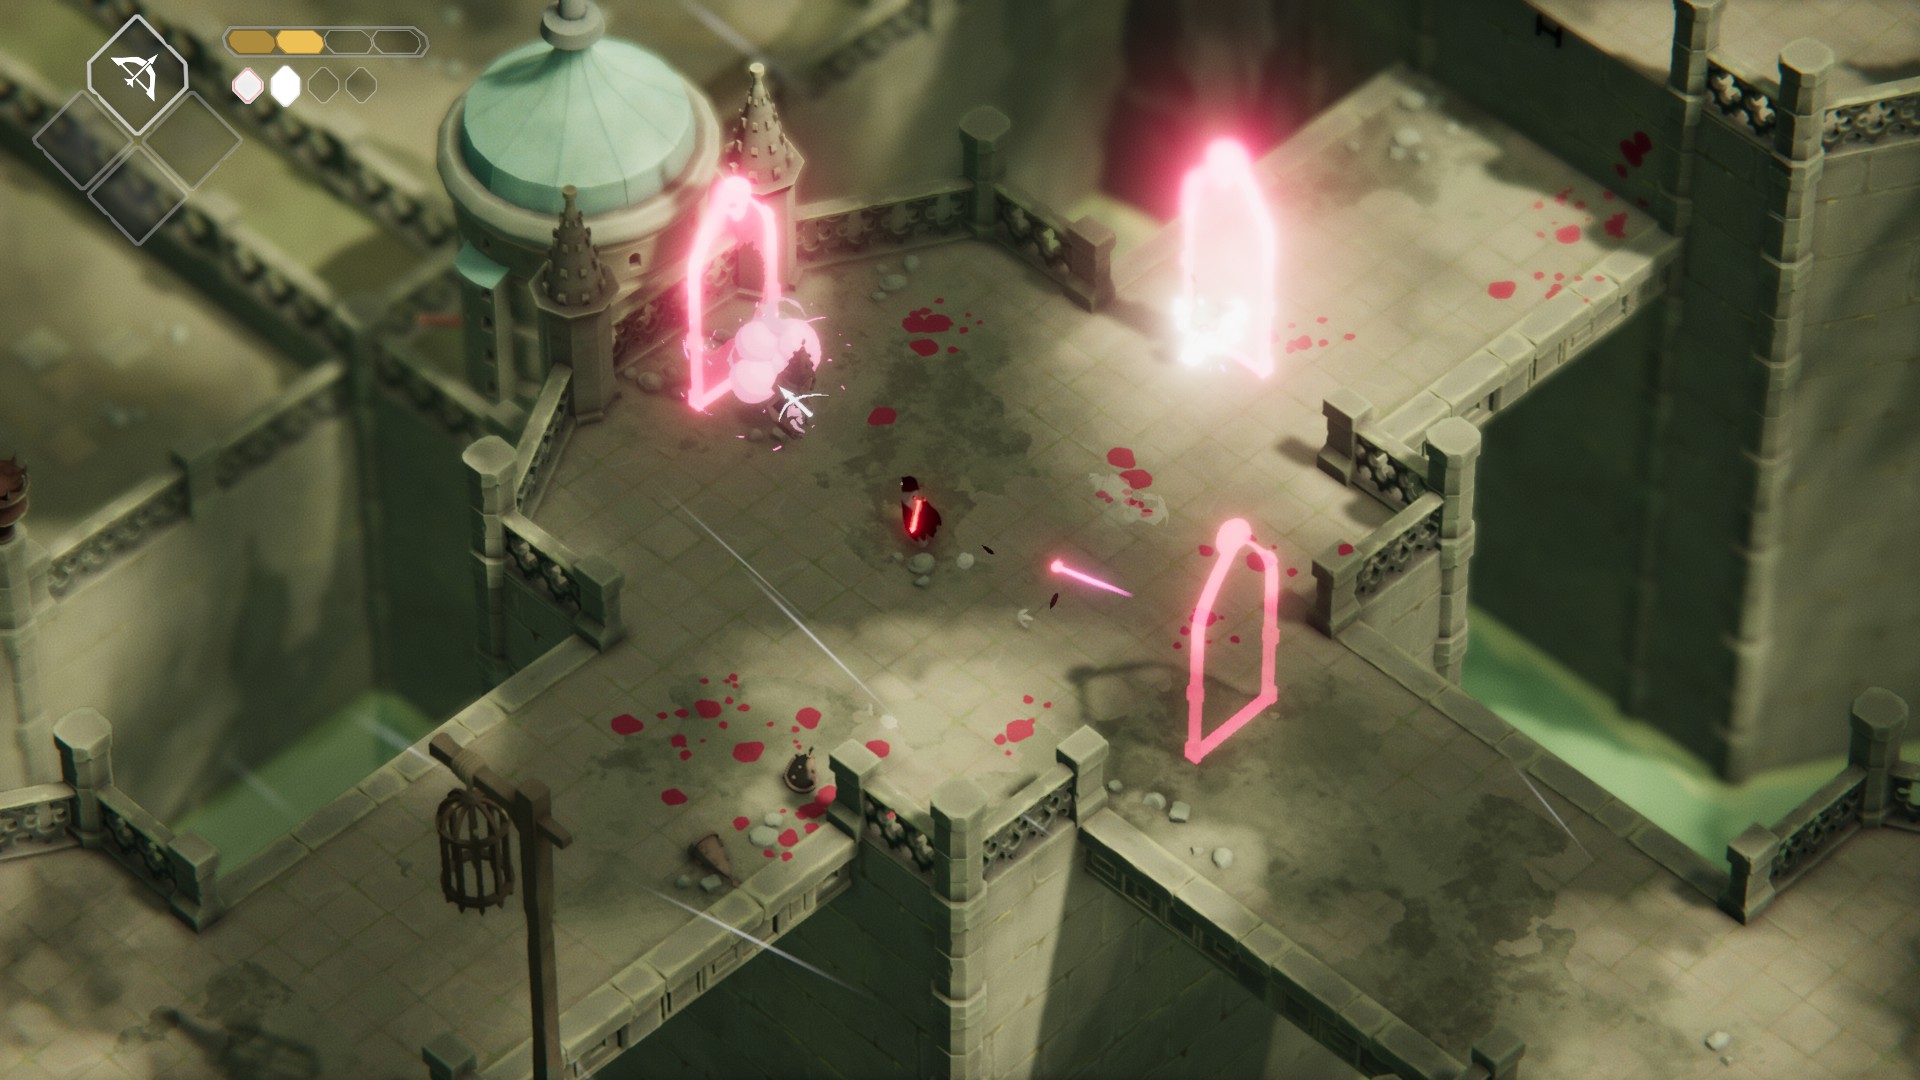
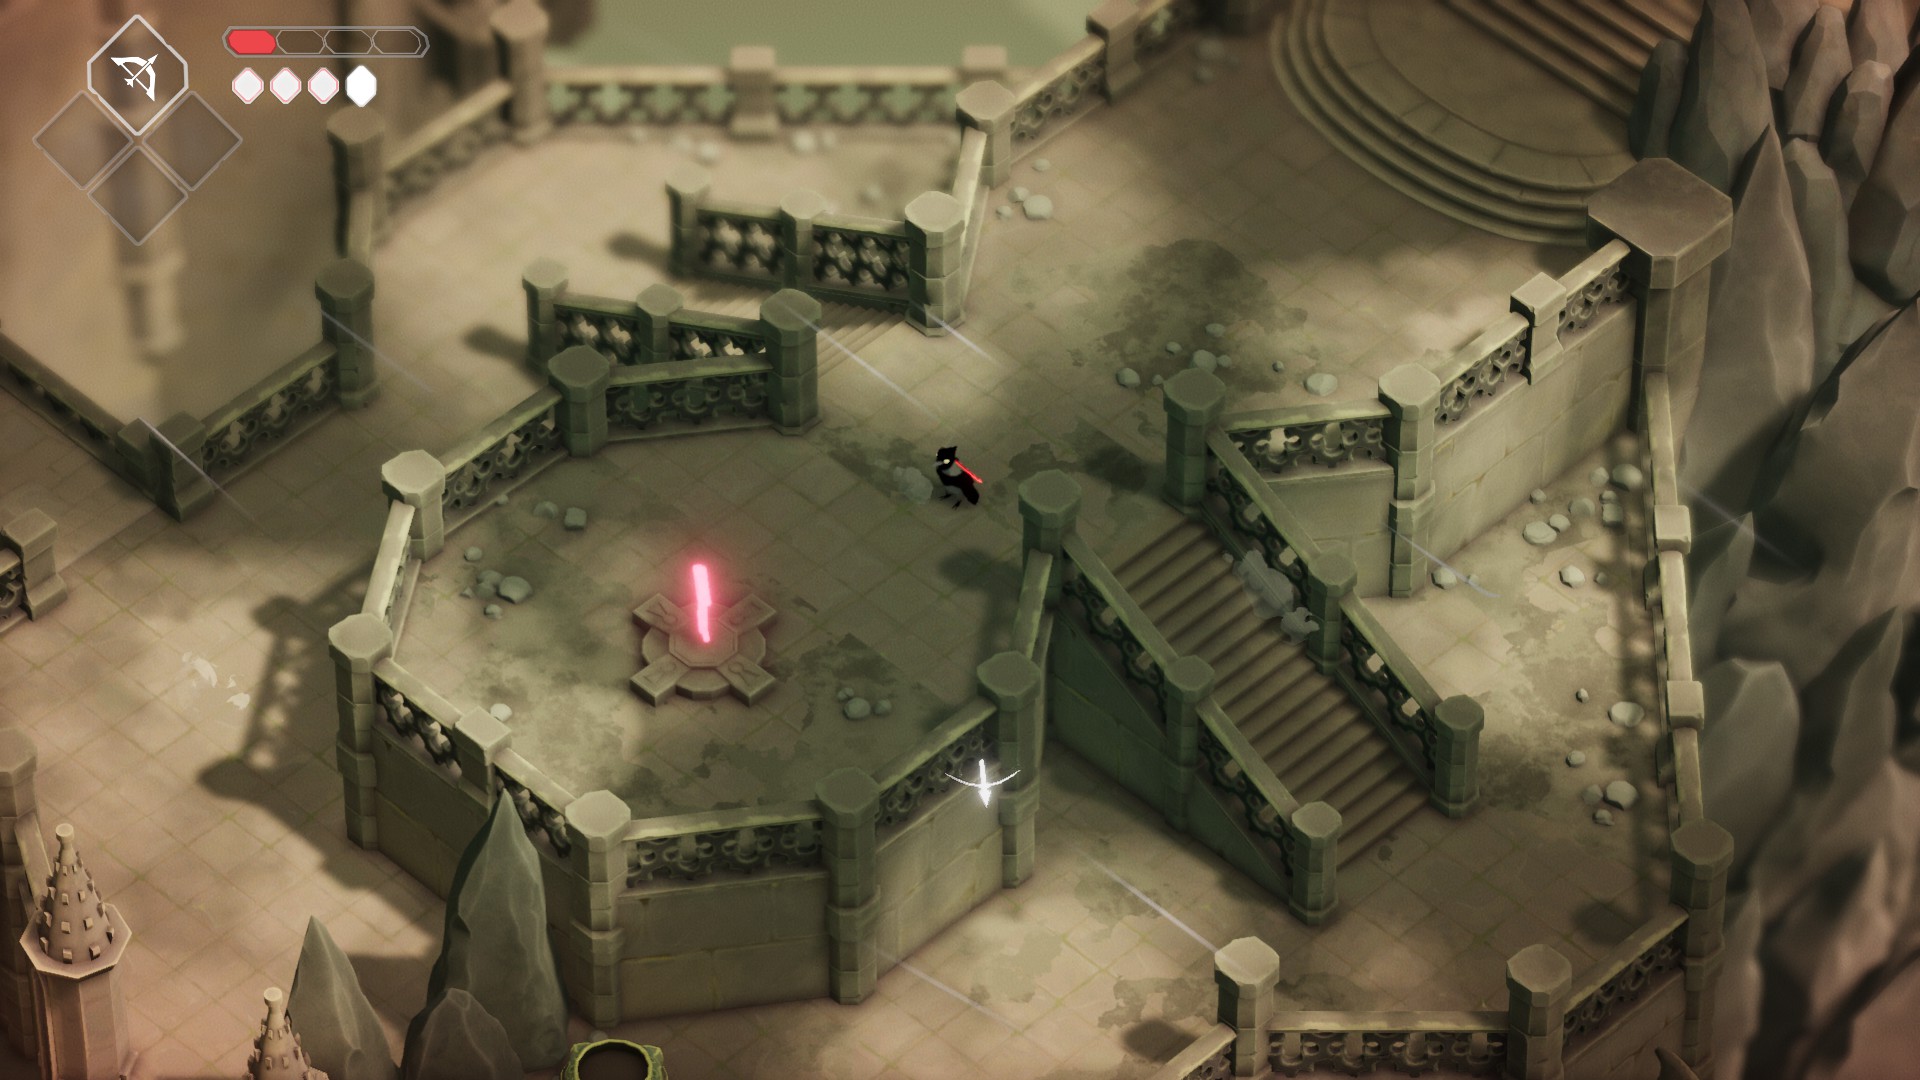
Go up the ladder, and grab the Mass of Soul Energy on your right, then head north-west to the locked gate and use your key to open it. If you aren’t full health, head south-west and use the door that returns you to the Hall of Doors. Once you’re ready, head north-east to through the gate you just unlocked, and then go up the ladder to start your first arena fight.
3 kinds of enemies will spawn from the portals. All will die in 3 hits or less, so you can attack enemies the moment they come through the portals when possible.
For the rolly-boys with the stone face on their back, keep your distance and let them roll at you. Dodge out of the way of their roll, and attack them once they hit an obstacle. Try to hit them from the front, and they’ll die in 3 hits. The cone-headed guys also only take 3 hits of your melee weapon, and the little flying guys will die in one hit.
Don’t forget that your bow will gain one charge with every successful melee attack, so keep yourself safe by using your bow as often as possible. If you’re struggling to clear this area without dying, don’t hesitate to plant a seed in the pot that sits on the south-east border of the arena — you can then heal there once per attempt.
If you can’t beat this after a try or two, use one of your Life Seeds in the pot
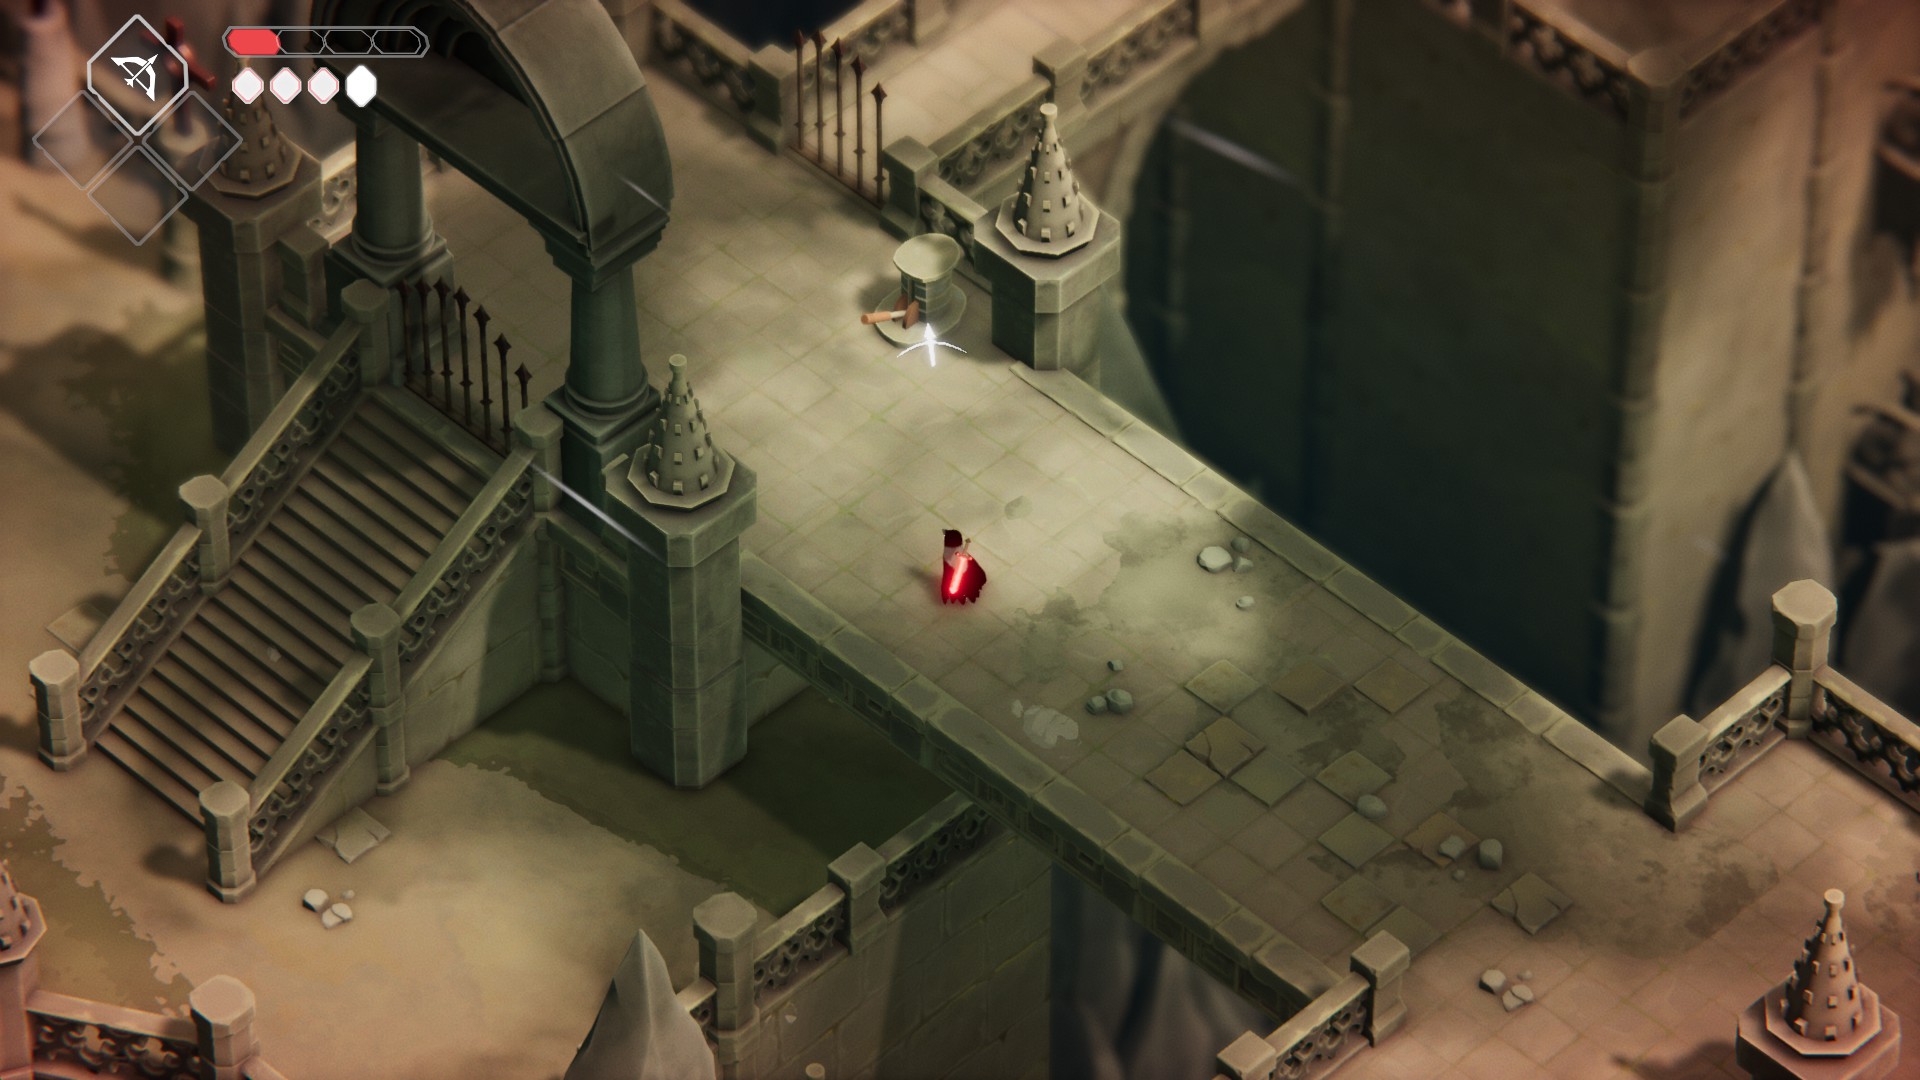
Once you kill all the enemies, a ladder will drop. Head up the ladder and head left to meet SteadHone the Gravedigger, who believes you’re there to kill him. Go ahead and try! In doing so, you’ll learn how to do a charge attack and a rolling attack.
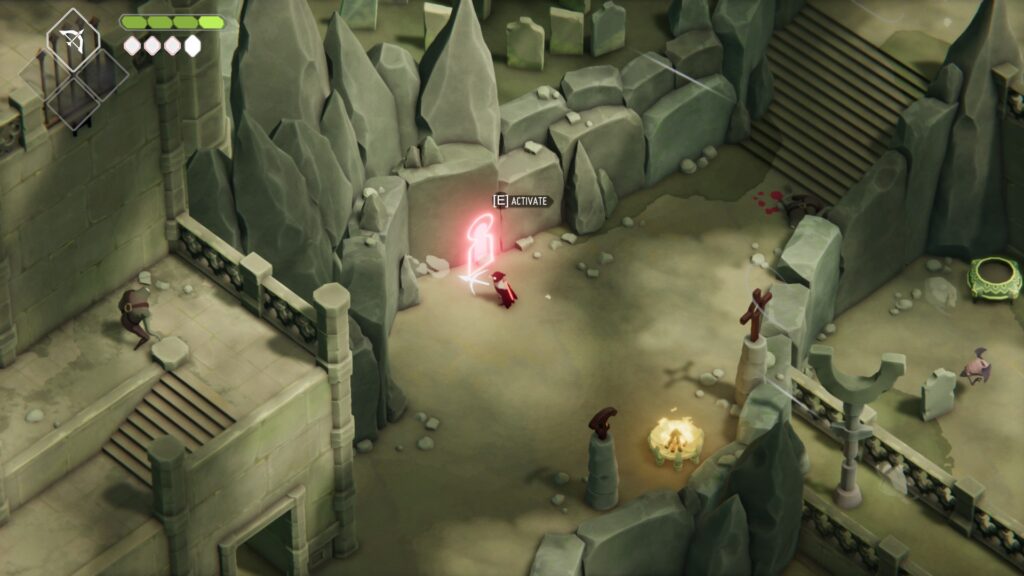
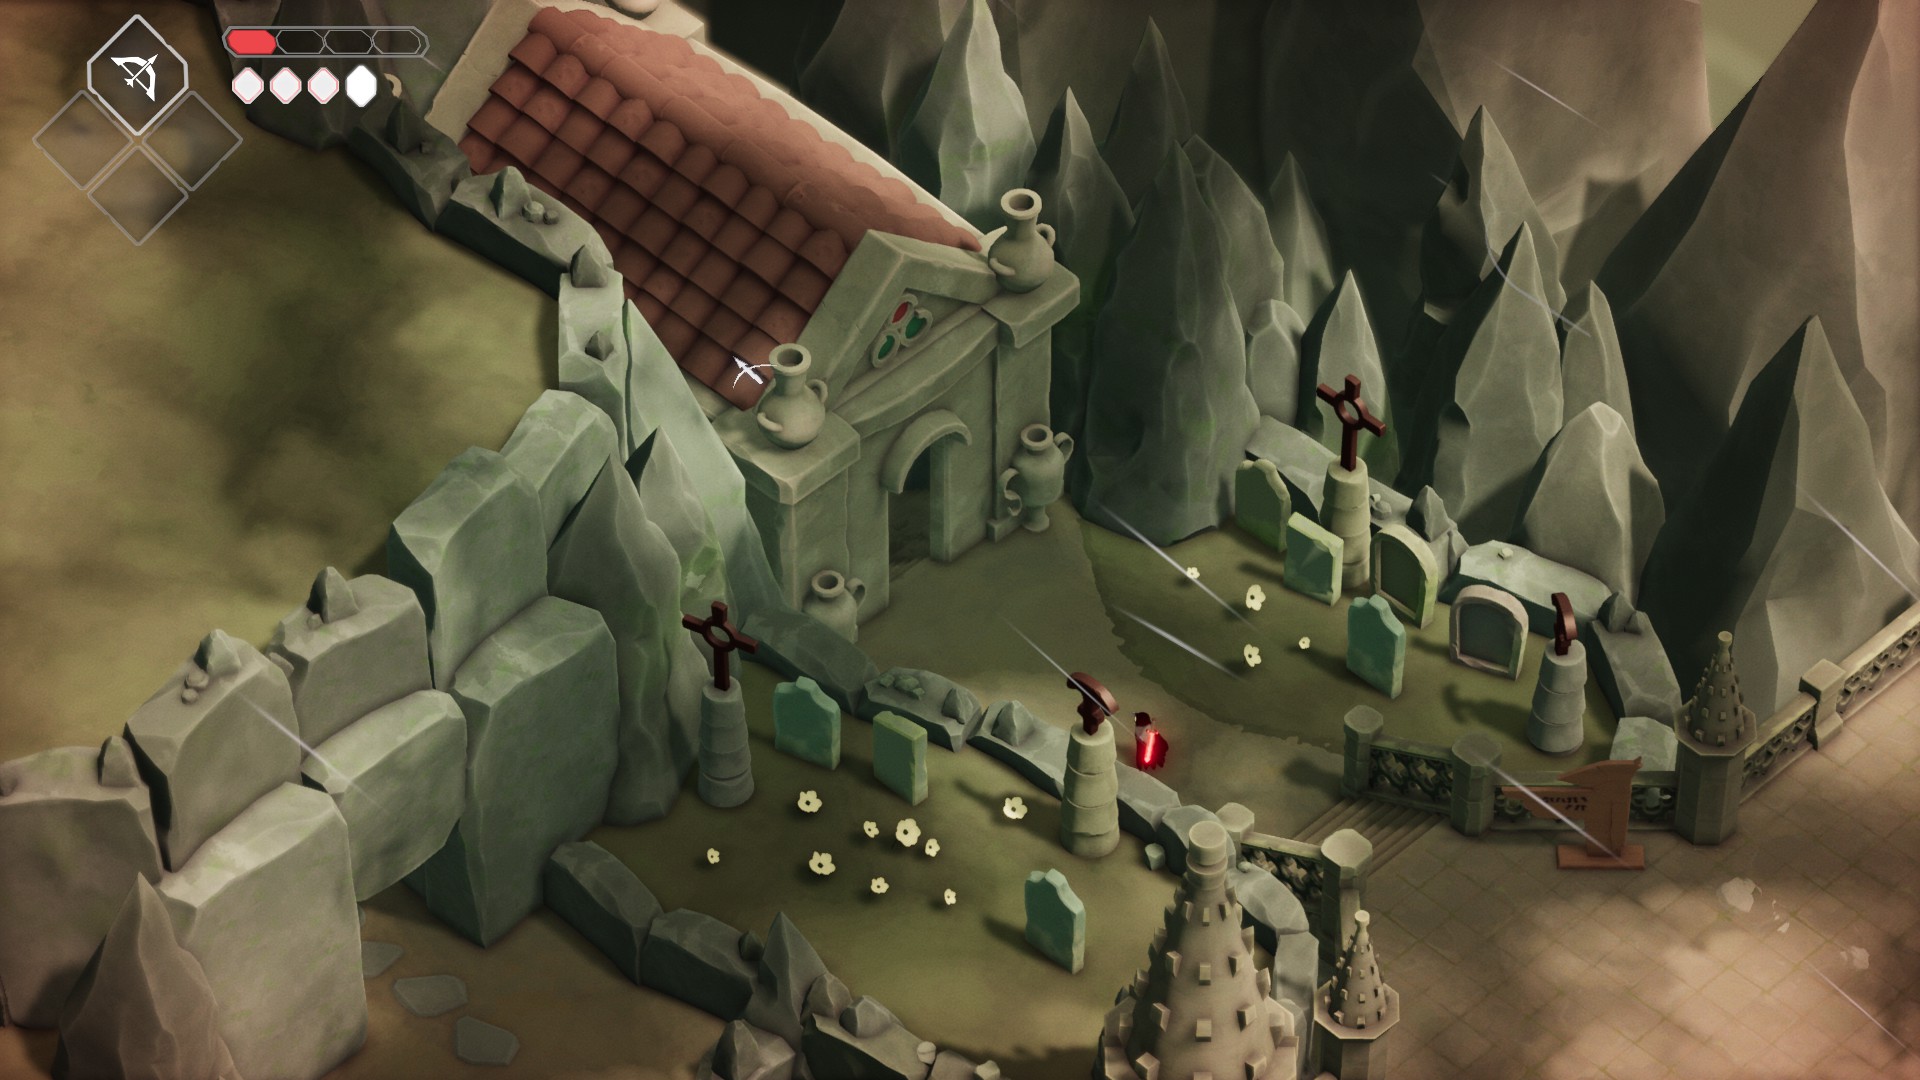
Head left past Steadhone and go up the ladder, then continue left. Once you see some buildings to the west, look for the stones on the ground that indicate a path that leads into the mountainside to the north. Go inside and follow the path to the end to find a Large Soul Mass.
The cursor indicates the doorway you want to take
Then head back out the way you came, and south down the stairs. You’ll have 3 paths you can take; first go south-east and grab the Life Seed. Then go back to the junction and this time head south-west. You’ll cross a bridge and then reach a lever. Pull it to drop both gates, and a ladder that leads back to the Hall of Doors door (boy, that’s awkward to say).
You should have at least 400 Soul Energy by now. If you want, you can jump down the ladder to the south and head back to the Hall of Doors, and speak with the big Crow behind the desk to upgrade your Strength, Dexterity, Haste, or Magic. It’s really up to you what you want to upgrade, but I recommend upgrading Strength first to make killing the upcoming boss a little faster.
Cntinue over the bridge heading south-west, and take the elevator down.
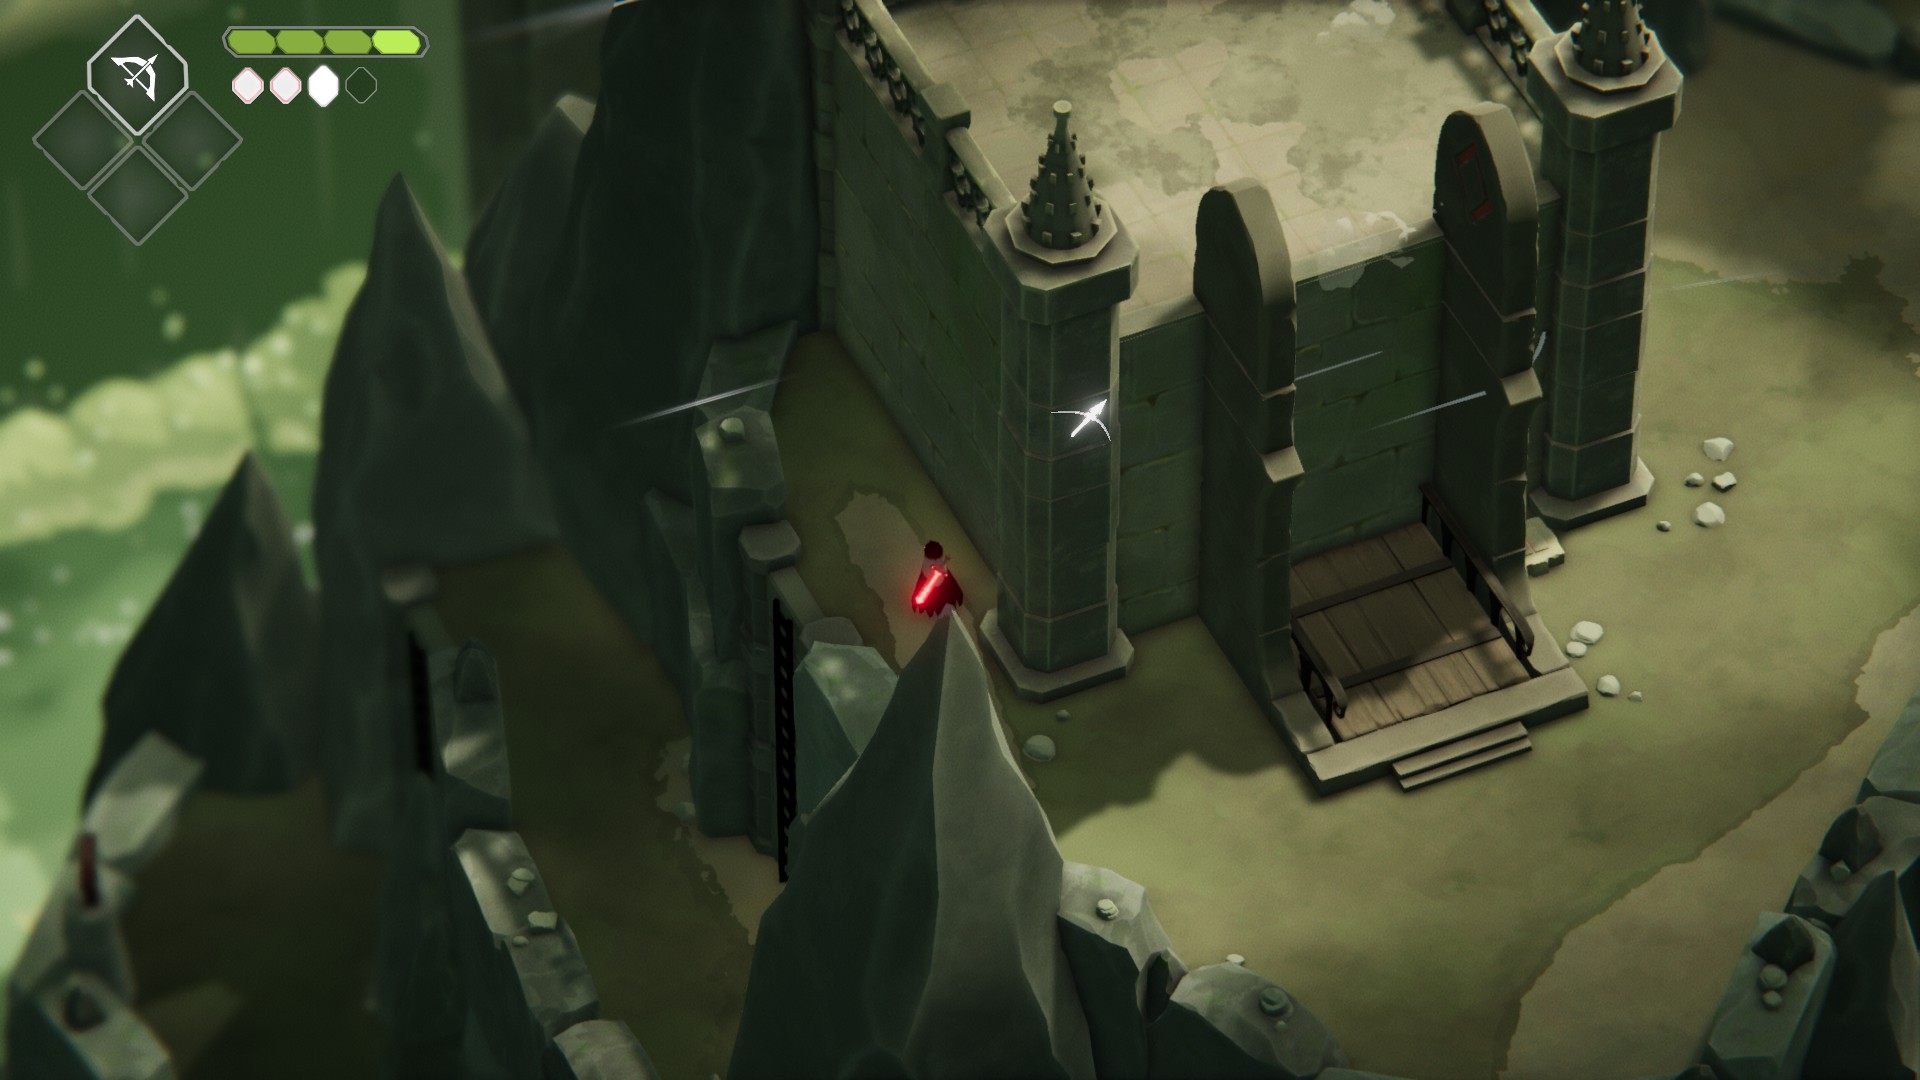
Go north from the elevator and around the wall there, and the camera perspective will swing around. Jump down both ladders and head in the doorway to pray at the shrine and receive your first Vitality Crystal Shard. Head back up the ladders, then go past the elevator and continue south-east.
The path down to the secret
Fight your way through the enemies and go down the first ladder, then head west to find another Life Seed. Ignore the area west past the Life seed, and instead go east and down the next ladder. Fight your way further east and head up the ladder to your next arena fight.
This fight introduces a new enemy, a floating mage. They take 5 hits to kill, and their projectile can be deflected with a well-timed melee attack. The best way to deal with them is to rush them as they spawn, and hit them immediately — this will send them spinning away, and they won’t attack you again until they’ve teleported away and reappeared. There is once again a flower pot in this arena should you find it difficult to clear.
Once you defeat all the enemies, take the ladder up and continue to the lever. Pull it to unlock a shortcut back to the Hall of Doors (south-west), as well as the way to the boss (north-east). If you want to heal/upgrade before the boss, go south-west down the stairs, then skip the ladder and continue west; you’ll soon find the doorway back to the Hall of Doors.
The western gate leads to the Hall of Doors, the north-eastern gate leads to the boss
The Guardian of the Door is big, but he isn’t too tough. You’ll mainly want to attack him after he does his spin attack — you can get 3 swings in, but just do 2 if you find yourself getting hit when you try it.
The Guardian will sometimes fly into the air, then land and blast you with a laser, or with a kind of artillery attack. While it’s possible to melee attack him during this phase, it’s usually not worth the risk. Instead, simply dodge the ranged attacks, and shoot him with your bow when you don’t need to dodge. To avoid the laser, try to dodge perpendicularly to it’s path when it gets near you.
Changing directions or dodging when the laser is about to hit you is key
Once the Guardian of the Door is down, a bridge will appear to the north-east — head across it, then hit the glowing cube to your left and go up the elevator. Go west from the elevator and pull the lever, which will drop a ladder that leads back to the door. Then go back east to the elevator and up the series of stairs.
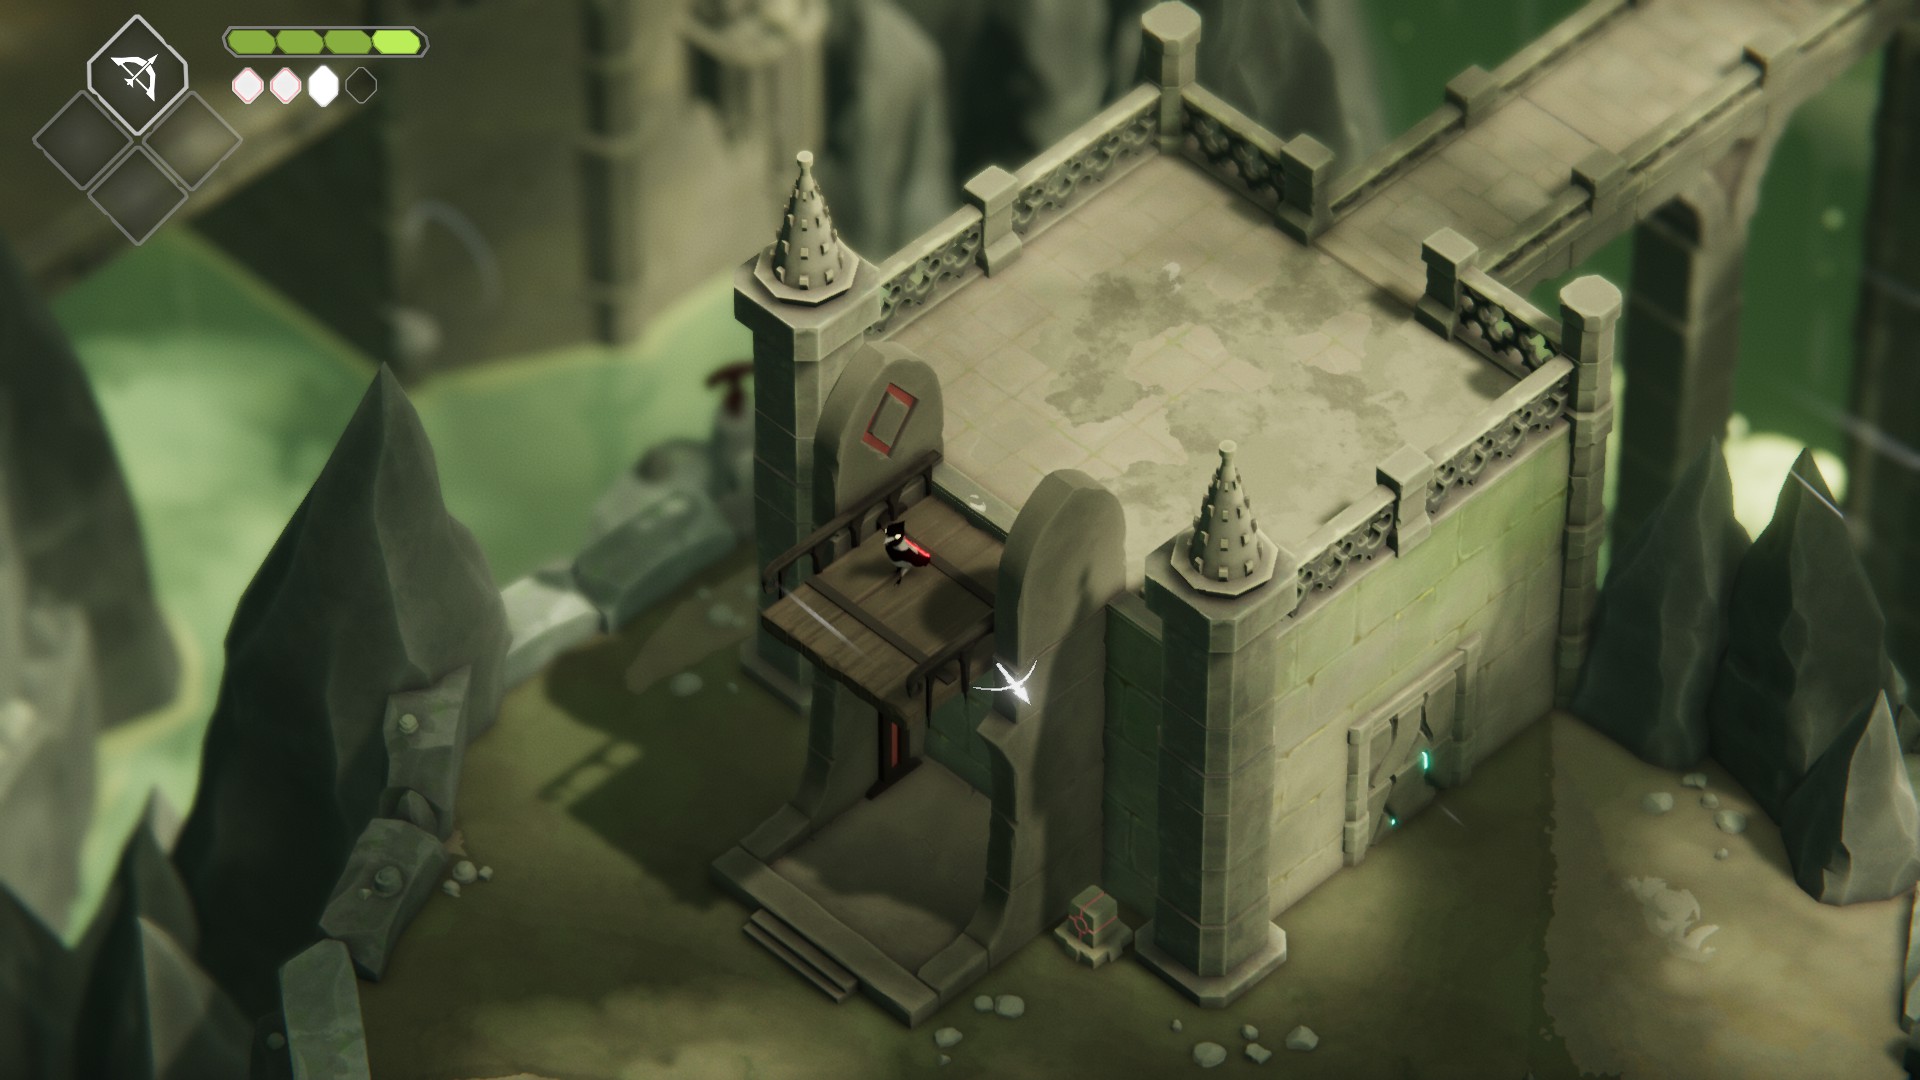
Head south to the newly opened gate, and do a plunging attack (simply press your melee attack button while falling) onto the metal circle on the ground at the foot of the ladder. Follow the path (you can see it outlined if you look carefully) and then hit your use key when prompted at the end of it; you’ll flip around to a Large Soul Mass.
Jump down from here with a plunging attack to find the secret path
Jump down and then go up the nearby stairs
You’ll cross a bridge, then take some more stairs up and find an unreachable key. Head north-east from the key to find the guy who stole your Giant Soul, and finally see the eponymous Death’s Door. After a brief exposition dump and 3 new objectives, head southwest back the way you came, and grab the now-reachable key.
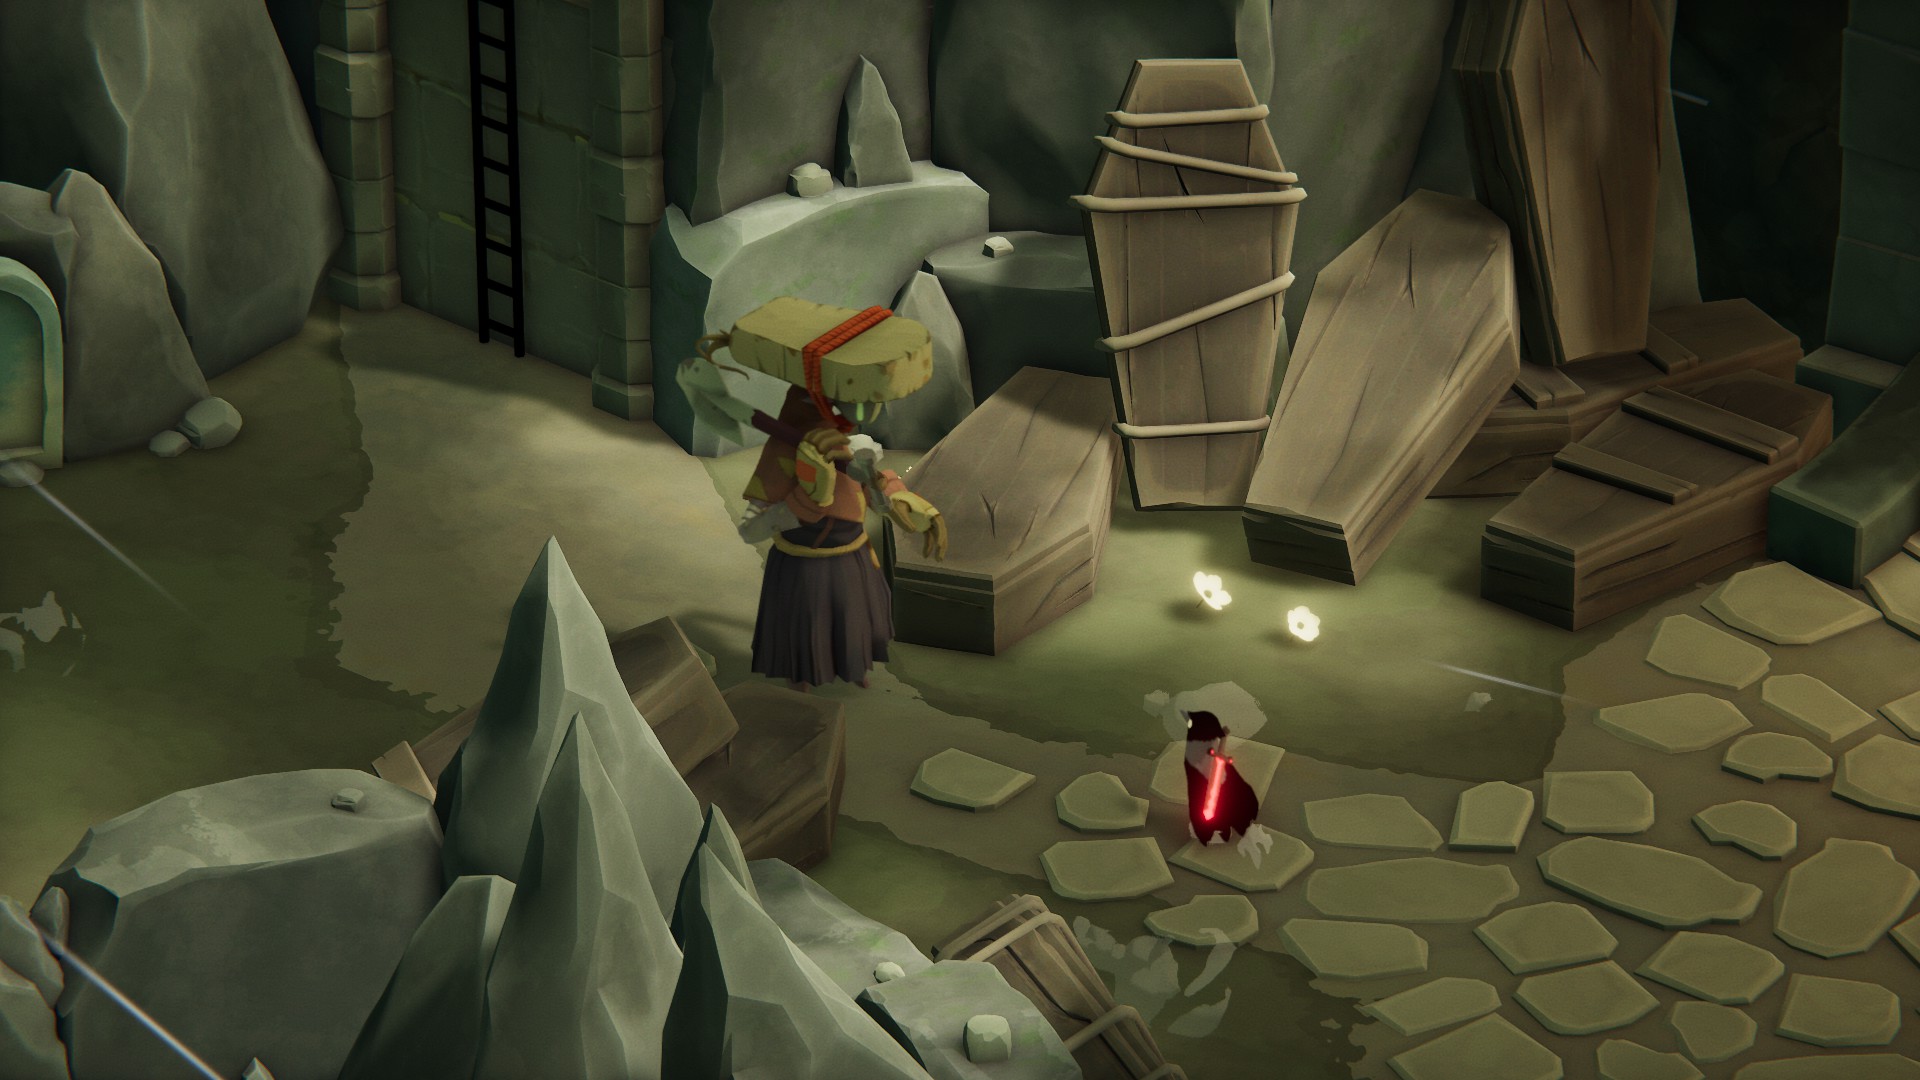
We’re gonna do just like the Big Crow told us and head North, but we’ve got a collectible to grab first. Go down the stairs north of where you grabbed the key, then head south to the ladder there. Jump down and then walk up the coffin lid to the south to grab the Incense Collectible.
Go back up the ladder, and head northwest over the bridge and unlock the gate. Then head down the stairs and south-west to the lever. Push that bad boy to open another shortcut, then follow the sign to the Urn Witch’s Mansion.
Unabashed FromSoftware fanboy still learning to take his time with games (and everything else, really). The time he doesn't spend on games is spent on music, books, or occasionally going outside.