Welcome to our Death’s Door Walkthrough! There’s lots of doors and lots to do, and this guide should help you find your way through the beautiful, but sometimes confusing, world of Death’s Door. If you’re looking for a specific weapon or upgrade, we’ve got guides for that too!
Note that this walkthrough aims to collect as much stuff as possible, while also doing as little detouring as possible. The path laid out below collects every weapon, but does not collect every collectible or weapon upgrade.
This guide is a work in progress, so please feel free to point out anything we missed, or any issues you have! If something is unclear, or you’re stuck in an area, drop us a comment on the relevant page and we’ll be happy to help you if we can.
Things to Keep In Mind as You Play
Dying and Shortcuts
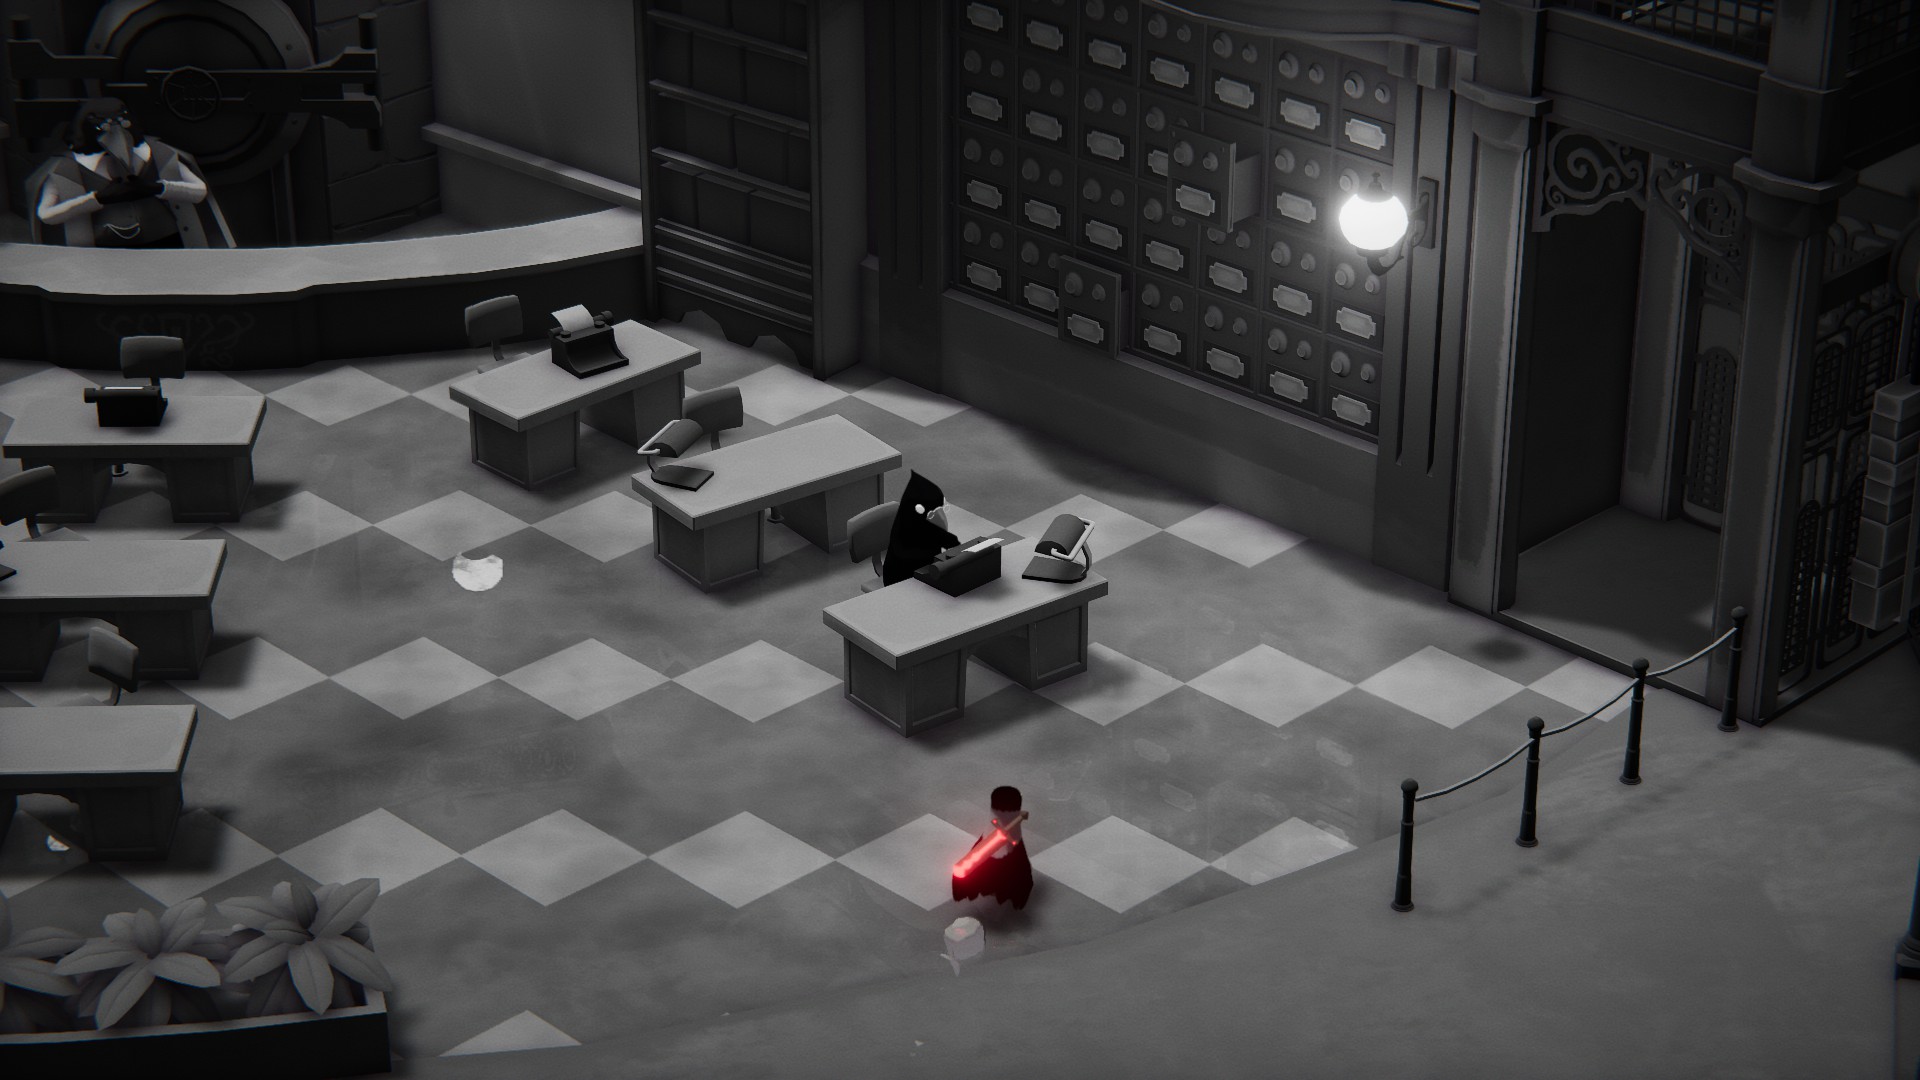
You’ll probably die at least a few times as you play Death’s Door, and sometimes you’ll die pretty far from your last door (to the Hall of Doors). You don’t lose progress (levers, opened doors, shortcuts), but enemies will respawn.
As you play, try to always keep in mind where you are relative to your door, to make it easier to find your way back to where you were. You’ll frequently open up shortcuts back to your door as you progress — if you ever push a lever, or unlock an elevator or other means of movement, and it isn’t immediately obvious where it leads, I encourage you to head through the shortcut and back to the door to familiarize yourself with the route. This will save you a lot of frustration if you end up dying.
If you ever want to go back to the Hall of Doors for upgrades or to head to a different area, you can open the menu and Exit to Title Screen — when you start your save file again, you’ll be back at the last door you went through.
You Don’t Have to Kill Everything
Your first time through an area, it’s good to kill all the enemies so you can take your time. If you’ve died and are trying to get back to where you were, however, you can frequently run past enemies. While most enemies will follow you forever, they won’t follow you through doorways, so you can usually ignore most mobs and just run through each room once you know the way.
Life Seeds
While you can always heal by heading back through the door to the Hall of Doors, healing is otherwise a limited resource, as there are only so many Life Seeds in the game. If you plant Life Seeds in every pot available, you’ll eventually run out. Instead, you should only plant Life Seeds in areas that you are struggling to clear without dying.
Try at least once to get through an area without a Life Seed before you plant one. The best places to use Life Seeds tend to be arena fights where you must kill enemies to progress, or else in stretches where there are a lot of enemies between the door and the next shortcut or door.
All that being said, there are apparently enough Life Seeds for every pot, so if you’re not finding it difficult to keep yourself stocked up on Life Seeds, go ahead and plant them in every pot if you want (it’s one of the steps for 100% completion anyway).
Note that pots you plant Life Seeds in will refresh on death, or when you return to the Hall of Doors, so you can use them once per “run”, so to speak.
Secrets
Secrets are hidden in these guides, so that if you want to find them for yourself, you can! Where the secrets are in the guide is a pretty big hint, so maybe you won’t need to peek.


Super thorough walkthrough. Thanks for making it so easy to read and all the way to 100%.
No problem Stan! Glad you found it easy to read.
Hi, i’m stuck at WItch’s mansion, there are 2 gates i can’t open because i have 0 keys
Hi Pepp! Our walkthrough of that level can guide you to both keys. Click here to go to the Ceramic Manor walkthrough.
I would love to give you a quick and easy answer here, but it’s kind of a complicated path you need to take to get the keys, so I think just using our walkthrough for that section is your best bet. Good luck, and please let me know if you need further assistance.
Hello. Sorry, my english is very bad. Waiting for the next part, because I have a problem and I don’t know if it is a bug. In the night graveyard, where the ghosts and statues, I have 6 activated, but the big door indicates that there are 7. I have a free ghost but I am not able to find a seventh statue.
Astorian my friend, your English is fantastic! Thank you for asking about the next part, and my apologies that it isn’t available yet — I have another project that I am currently working on.
However, since you sound like you need some help moving forward, I’m going to make sure I finish the Death’s Door Walkthrough Part 13 today so that you don’t have to be stuck in that graveyard for another night! I will edit this comment with a link for you once the section you need is ready.
I also want you to know that I had a hard time finding all 7 statues myself, so don’t feel bad for getting stuck.
Edit: Alright, it’s done! Click here for a guide showing you the location of all 7 statues, and just let me know if you need any other assistance.
Unfortunately, I think I have a bug. Let’s say I didn’t follow the natural order: I led a ghost away to a stake that touched a nearby one, though that shouldn’t matter. The fact is that I have 7 illuminated etsatuas, but 1 light is missing on the door (the fourth) and there is a free ghost. I don’t understand it, because checking I am sure I have all the statues activated. Thank you very much for the help and for the great guide.
That is very strange… I also definitely led the ghosts to statues that weren’t their “home” statue my first time through.
I would suggest the following: Try leading your free ghost to all of the other statues, and see if it will go into any of them. Otherwise yeah, it sounds like you might be stuck because of the bug, which would be a bummer.
Hi, thank you soooo much for this walkthrough. I don’t think I can ever beat the game without it.