Make your way to the Stranded Sailor via the Hall of Doors, then head east and down the staircase. Continue southeast and onto the dock, and keep going southeast to the end of the dock there. Hookshot across the water further southeast, then fight the thicc-knight here. Once he’s down, a ladder will drop — climb it and grab the Ink-Covered Teddy Bear collectible, then go back the way you came.
Hookshotting across the water
Once you’re back on the grey stone ground, immediately head northeast, going past the staircase but not up it. Continue through and around the bend of the passageway, and you’ll find an Adventure Journal collectible on the carpet once you exit the passage.
The path to the Adventure Journal
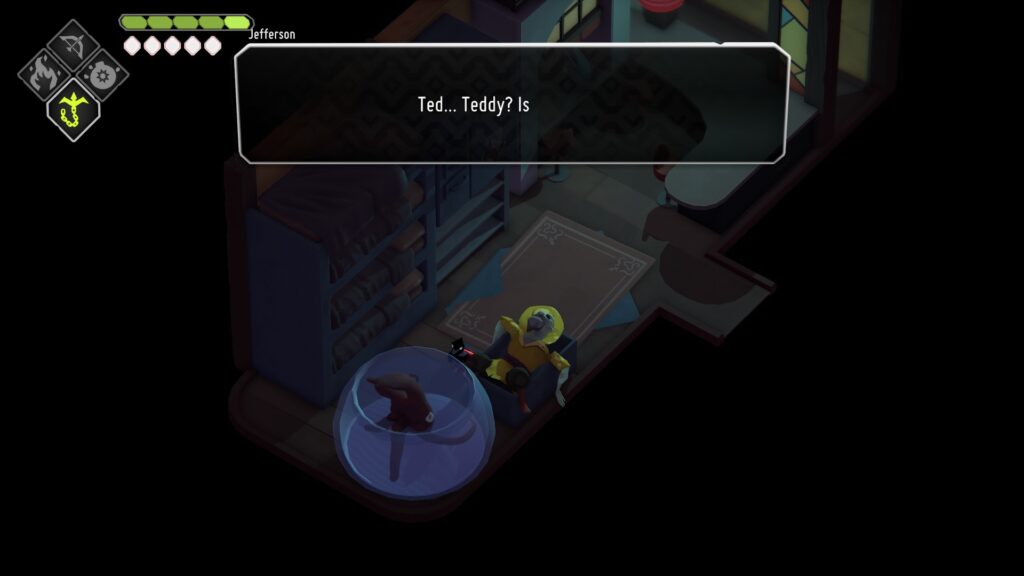
Now we’re ready to officially meet our chef friend! Head back towards the door, and then go up the stairs and into the Stranded Sailor (the restaurant). You’ll see the squid chilling in his tank — speak with him, and he’ll offer to guide you to a secret in exchange for keeping his “secret” safe. Jefferson (that’s the squids name) will hop onto your back. You won’t be able to use doors while Jefferson is on your back, so we’ll have to head to the Flooded Fortress on foot. It’s a little far, but never fear! You’ve got this guide to help you.
No, this is Crow
Note: If you quit the game with Jefferson on your back, he’ll be gone next time you load your save, so if you’re low on time, don’t do this now, or else skip the stuff like fighting Steadhone and completing the Avarice Chest and go straight to The Flooded Fortress.
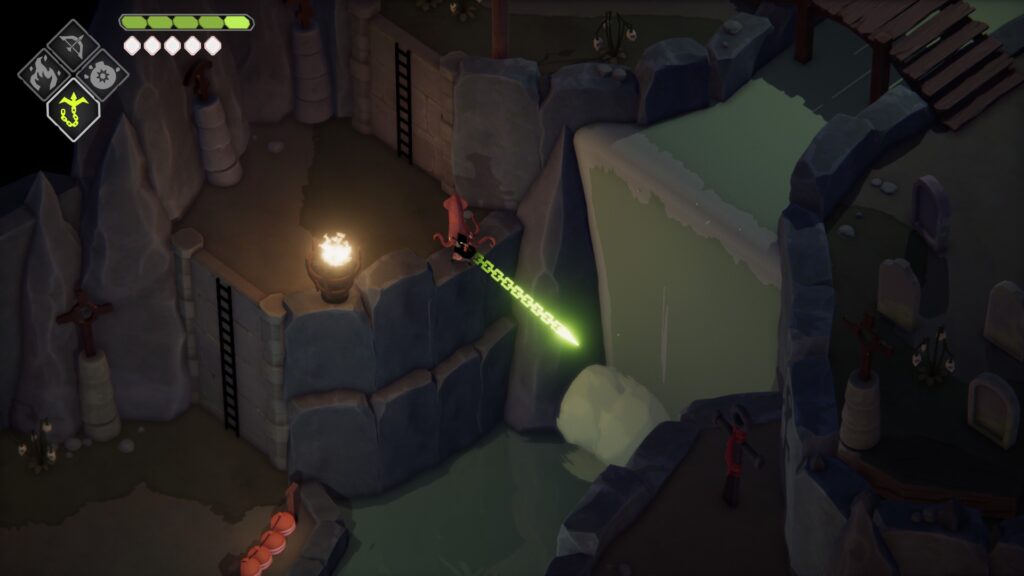
Exit the Stranded Sailor, and make your way down the two sets of stairs, then go northeast up the long stairs and enter the doorway with the anchor above it. Head over the two bridges in the next chamber and exit via the southeastern doorway. In the next room, climb the ladder, and hookshot southeast across the waterfall to grab the Token of Death collectible. Then drop down, and go across the bridge and back up the ladder.
Reaching the Token of Death
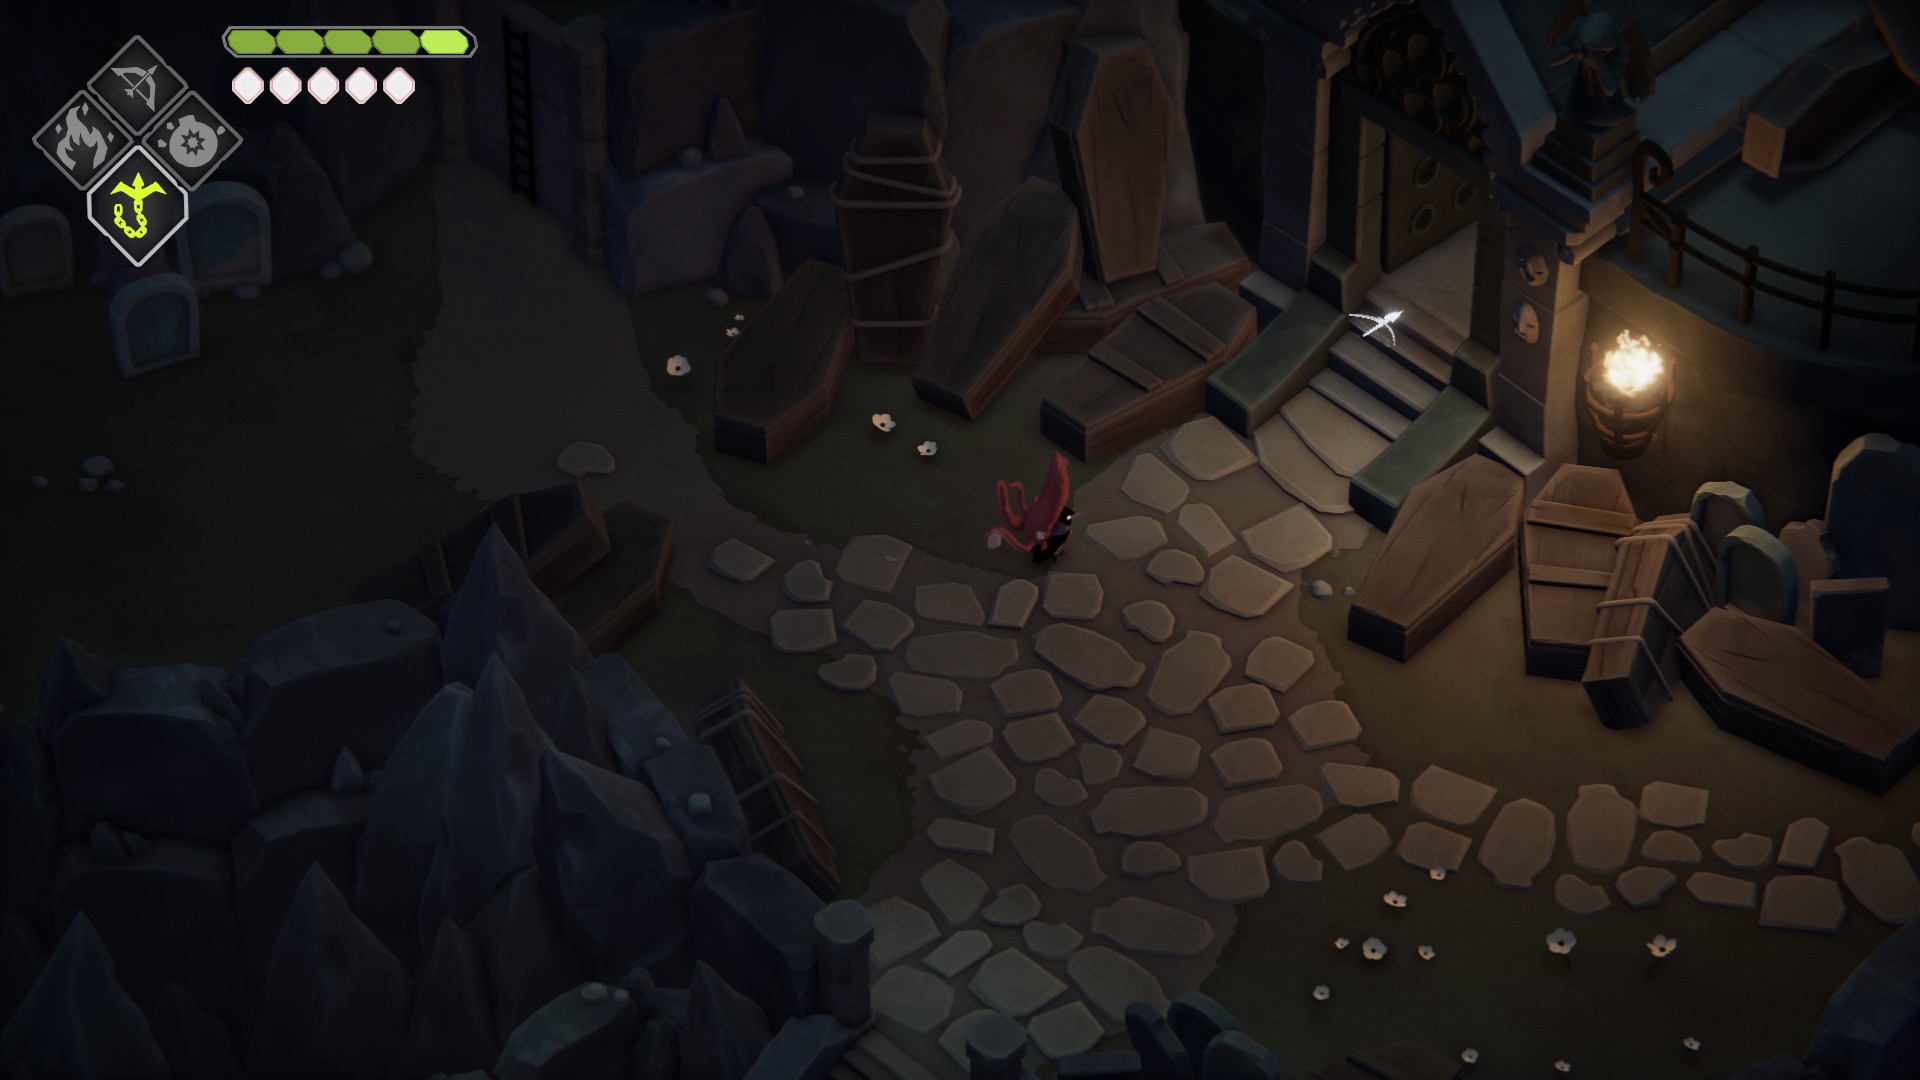
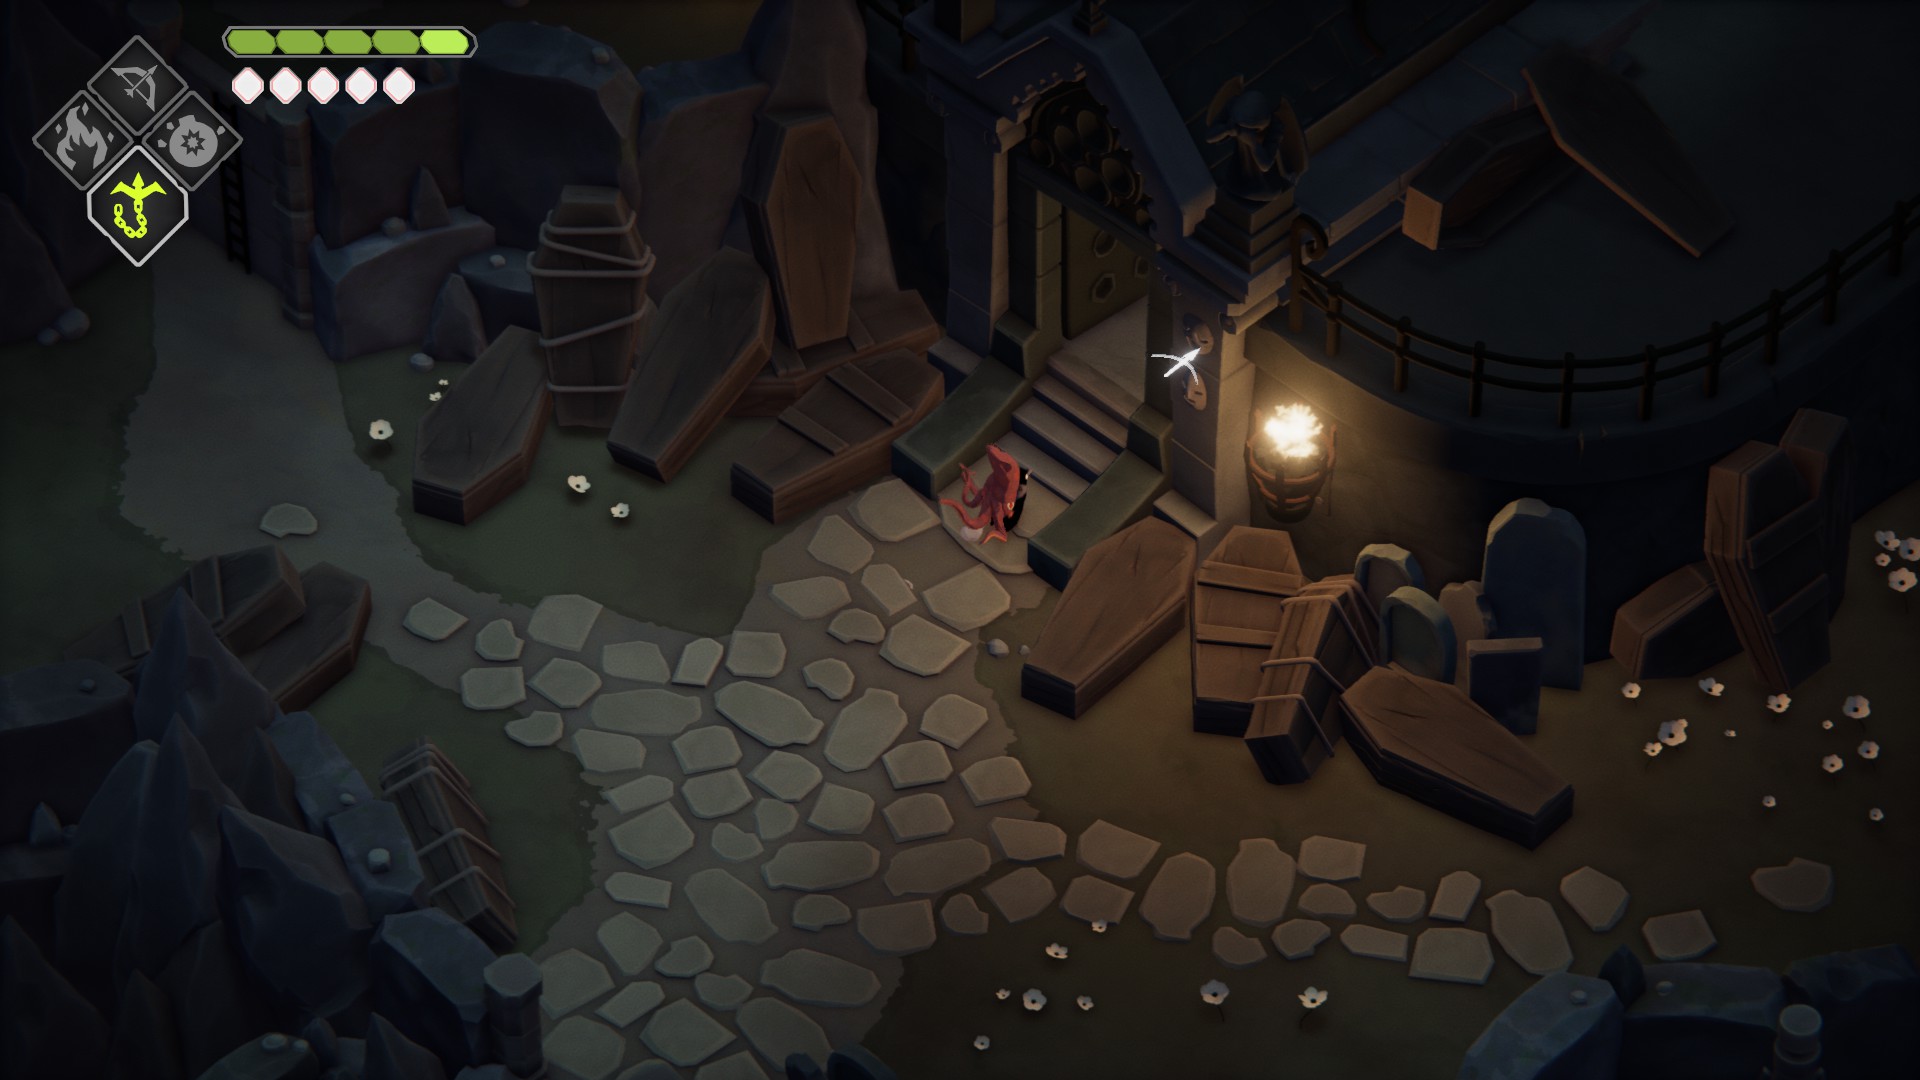
Climb the next ladder, continue across the bridge, and exit via the doorway to the southeast. You’ll find yourself in the Lost Cemetery; we’re going to head to the graveyard before we take Jefferson to the Flooded Fortress. Head northeast past the ladder, then continue on the path until you reach the long ladder under a large arch. Jump down, and head southeast and up the stairs to the 4-way junction.
At the junction, go east up the stairs, then continue this direction eastwards, past the first ladder, and then jump down the ladder that leads into the graveyard. If you found the Mysterious Locket in the previous section of this walkthrough, the door here will be open (if it isn’t you can skip this part for now and come back later). Head into the crypt to face Steadhone the Gravedigger.
How to Beat Steadhone the Gravedigger
Steadhone is a bit of a pushover for this stage of the game, but maybe it’s because he’s our friend, and he doesn’t really want to defeat us. Either way, here’s how to beat him:
Steadhone is different from other bosses in that you can frequently attack him before he begins an attack, rather than waiting to see what move he’s doing. You can also attack him after every attack he does, as long as you’re ready to dodge his Slash attack.
Note that while Steadhone can summon headstones to block projectiles, if you fire enough of them, he won’t be able to block every one.
Slash Attack – Steadhone will swing his shovel horizontally once or twice. This is his only attack without a long wind-up, and can be hard to reaction-dodge. Instead, you should try to always roll after attacking him to preemptively dodge this.
Triple Slam – Steadhone will slam his shovel at you three times. Each time, a puff of air will follow the line of his shovel. Run in a circle around him to avoid this attack. You can also roll to dodge it, and attack him in between the slams. Note that he’ll sometimes do a single slam instead (and sometimes do a running single slam) — you can deal with both moves the same way, by simply moving around him or rolling.
Jumping Slam – Steadhone will leap into the air and spin around, then stab his shovel into the ground — this will release a single puff of air in the direction he slams his shovel. Roll when he hits the ground and you won’t take damage. Sneak a few hits in once he lands, then roll to dodge the potential Slash attack.
Jumping Multi-Slam – Steadhone will leap into the air — without spinning — and stab his shovel into the ground. Run away from him, and it will be easy to dodge the puffs of air that expand outwards from him. Once you’re certain the puffs wont hit you, feel free to charge in and get a few hits off.
Summoning – Once you’ve dealt a bit of damage to him, Steadhone will sometimes summon some cute mini versions of him that chase you around. You can attack him while he’s summoning (wind will blow you back but you can roll towards him to negate it), then run away from the little guys and kill them once you’re safe from Steadhone’s attacks.
Once you’ve defeated Steadhone, there’ll be a Tablet of Ancient Knowledge on the ground — grab it, then exit the crypt. Head up the ladder to the west, then go north and up the ladder there. Then make your way northeast and up the stairs there. Continue southeast, up and down the stairs, and over the bridge. Continue down a few more flights of stairs, then go down the elevator. You’ll see the sign for the Overgrown ruins, follow it southeast and then jump down the ladder.
Make your way southwest a bit to the elevator, and ride it down. Head southeast a bit more, then walk up the southern set of stairs and use your flame spell to light the logs to the northeast. Hop on the gondola once it arrives, and you’ll be on your way to the Overgrown Ruins!
Unabashed FromSoftware fanboy still learning to take his time with games (and everything else, really). The time he doesn't spend on games is spent on music, books, or occasionally going outside.