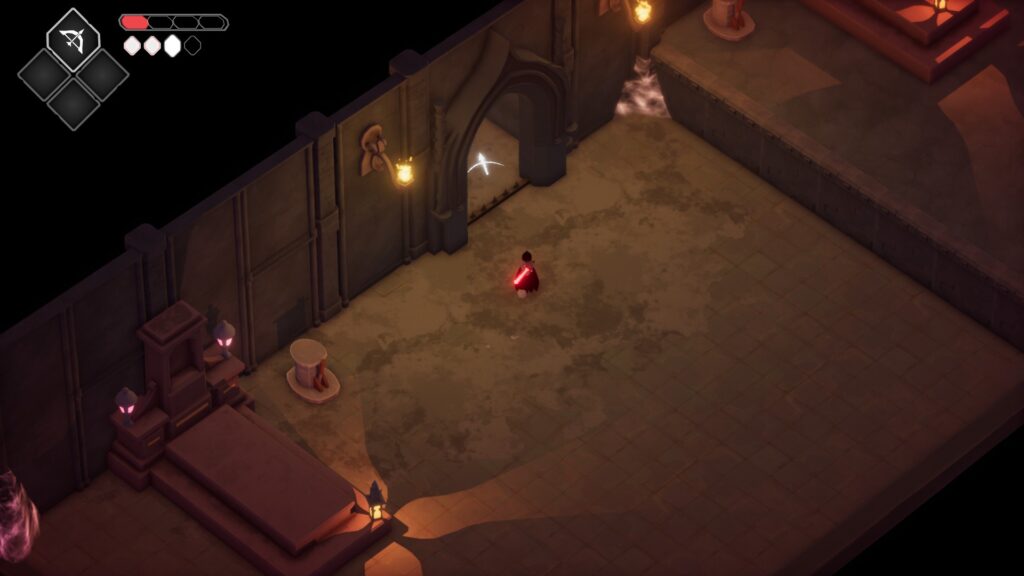
Go down the stairs, then head northeast and through the doorway. Continue up the stairs, past the weird crab-thing and through the next doorway. You’ll find a lever by the nearby grave, push it and then jump down. Push the other nearby lever, but don’t go through the gate it opens yet. Instead, head through the doorway to the south-west. Go south a little ways and grab the Large Soul Mass. Then go back the way you came to the doorway the two levers opened, and take the elevator down.
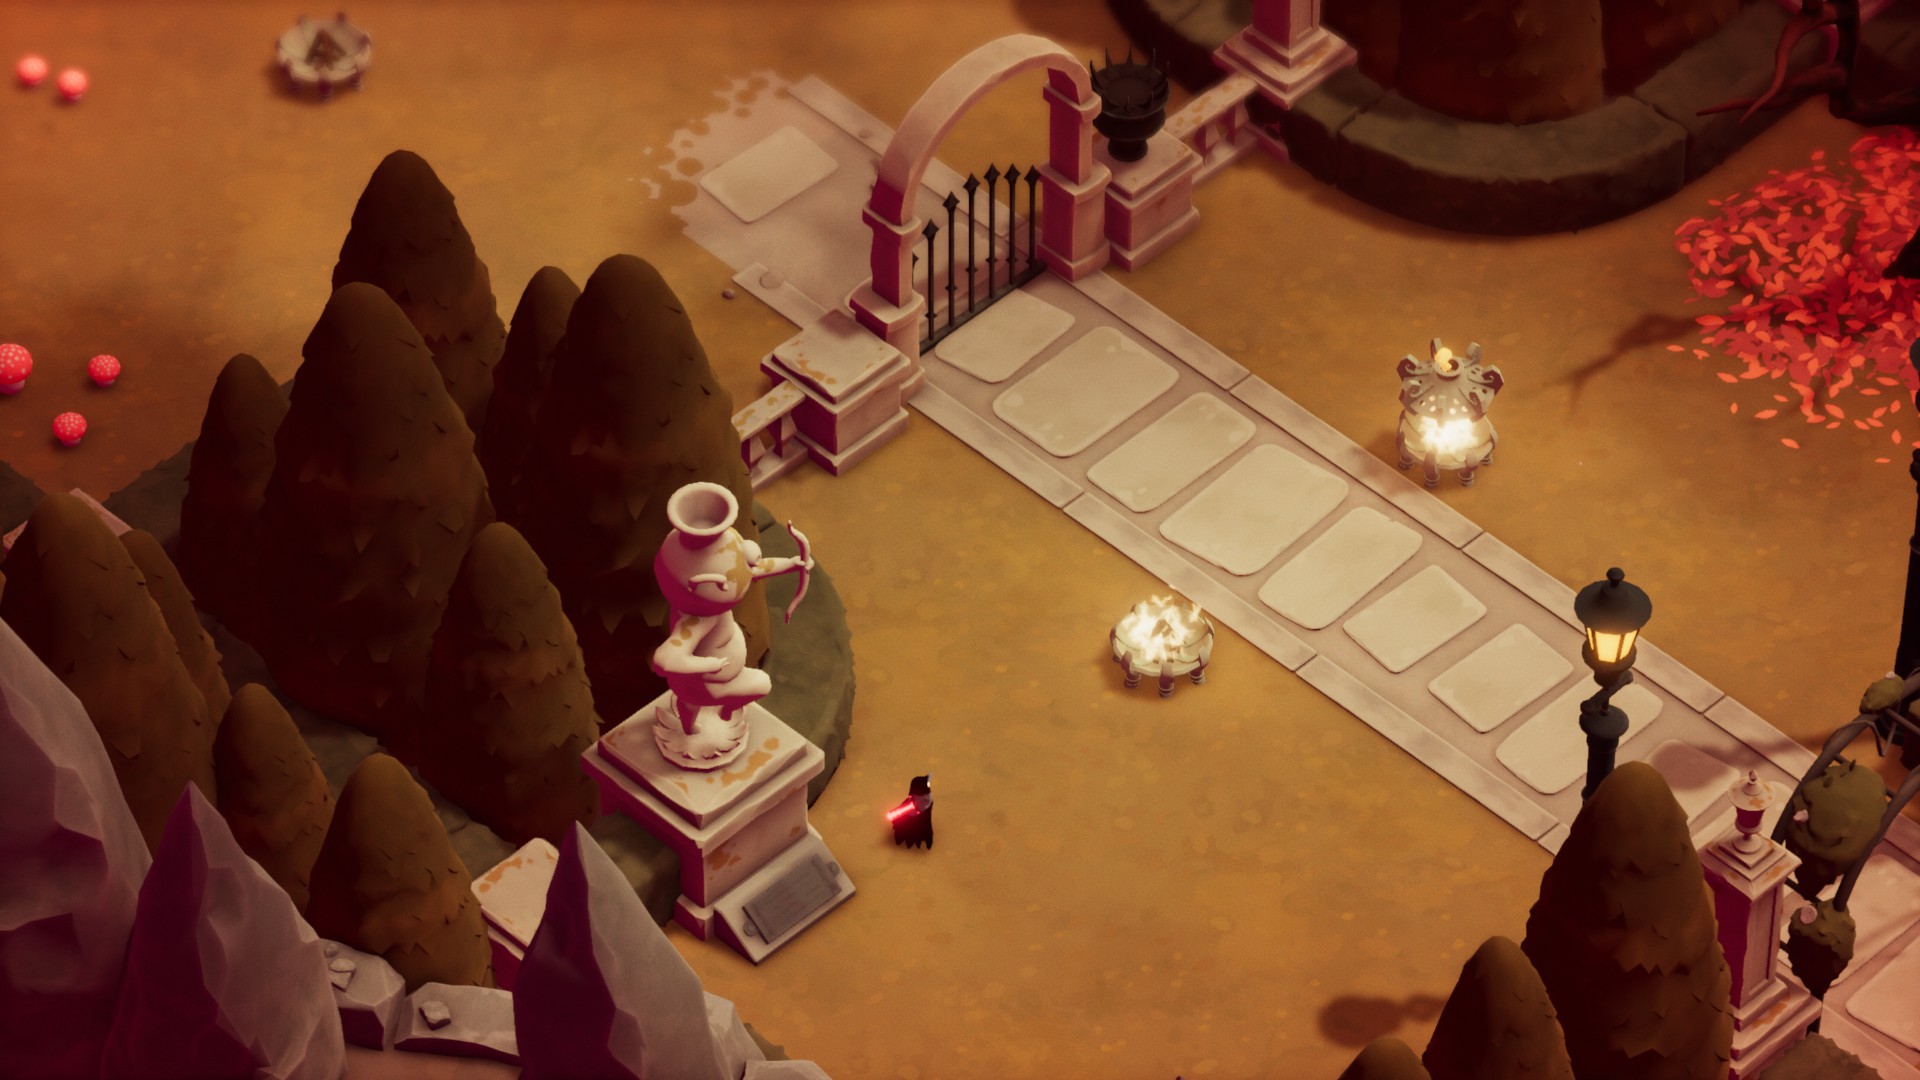
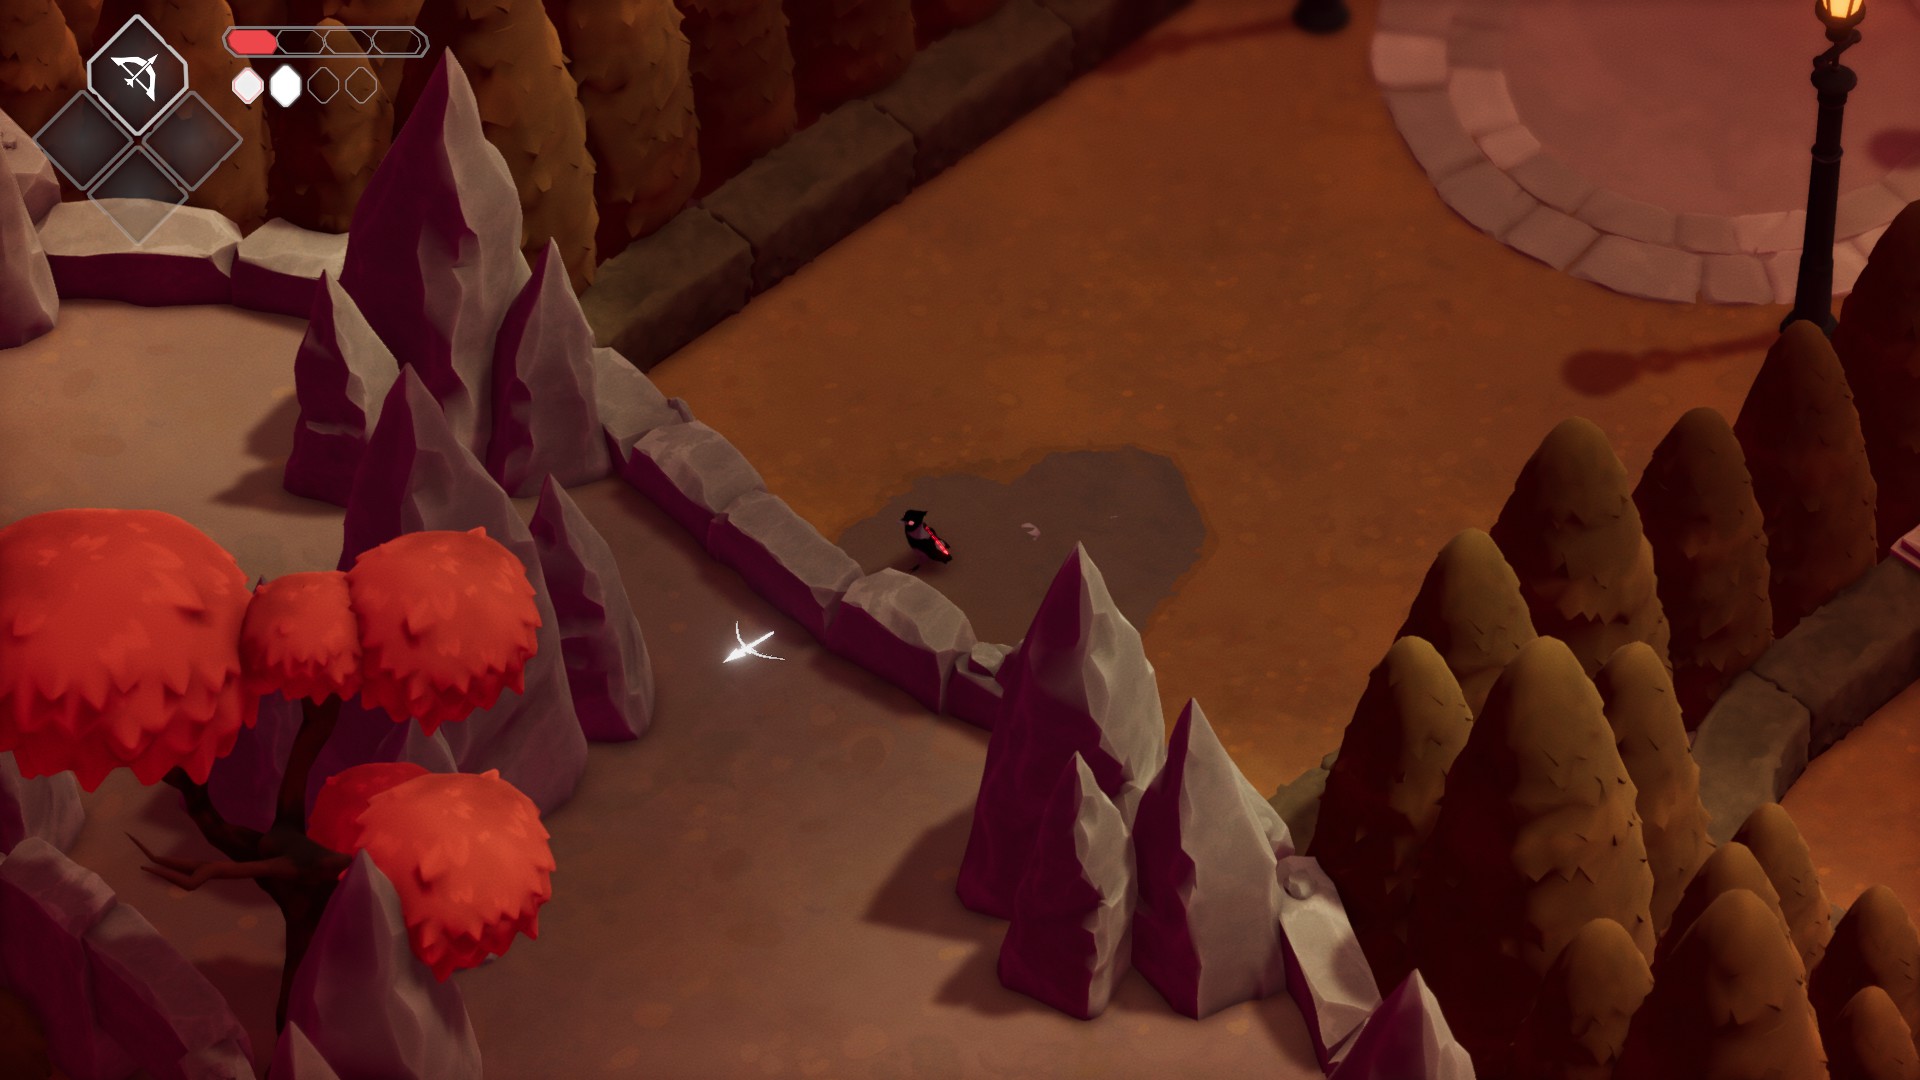
Leave the elevator and head out the leaf-filled doorway to the northwest. Head down the two flights of stairs, and go south to grab a Life Seed. Then head northwest until you reach a closed gate with a statue nearby. Stand by the statue and shoot your bow through the fire towards the unlit brazier. If you don’t have any energy for your bow, break some of the nearby pots or boxes.
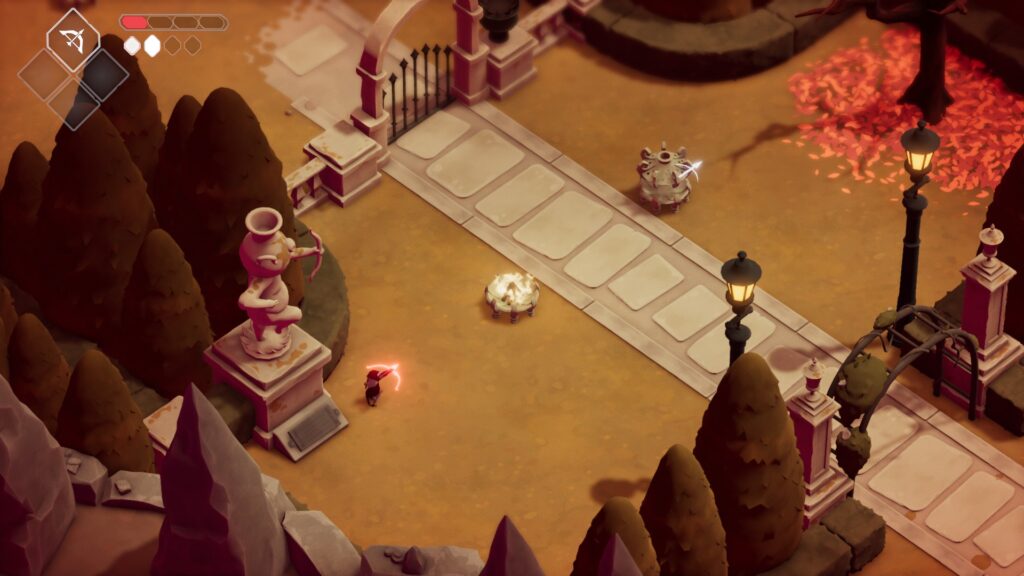
Go through the opened gate and use the first fire-pit to light the second, and light the brazier the same way. The nearby mushrooms will give you more shots for your bow if you need them.
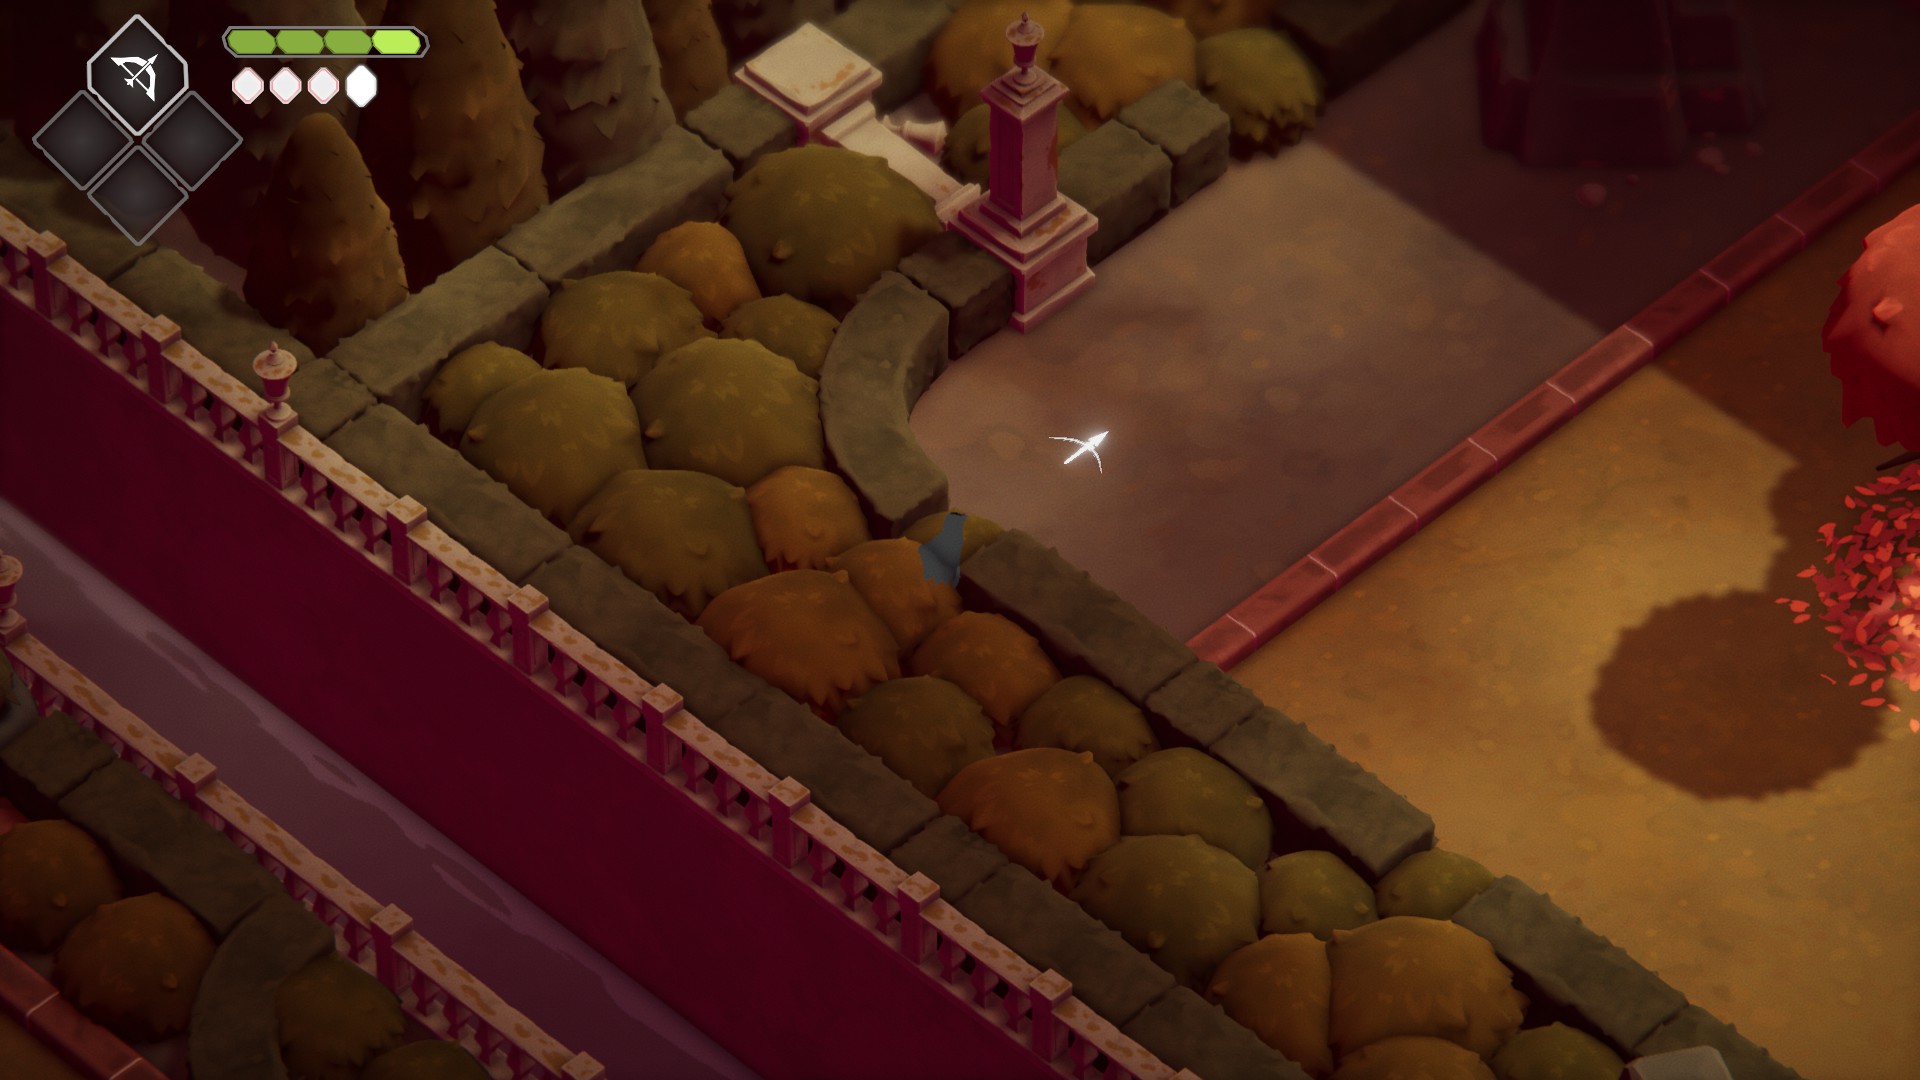
Go through the now-open gate, then head southwest under the bridge and grab the Large Soul Mass.
This path (which leads southwest) can be hard to enter, so run along the wall here until you slip in
Then go northeast and up the stairs to find another way back to the Hall of Doors — activate it before continuing on. Continue northeast to meet Pothead. He’ll let you know you need to light two lanterns to progress. I have a feeling this guy was inspired by a Dark Souls fan-favorite, but who knows! Note that you can always speak to NPCs after a cinematic, and they will frequently have a hint for you (but you’ve got this guide, so you probably won’t need them).
Hmm…. HmmmMMMmm…
Go northwest from Pothead, and then head west once you find the first unlit firepit to find a lit one. As before, use your bow to light the firepits in sequence, and then finally the brazier. Be ready for enemies to spawn after you’ve lit the second pit. Once you’ve lit the brazier, the nearby gate will open. Don’t go through it yet, but instead use your bow to light the firepit just past the open gate (there are mushrooms to the east if you need more energy). More enemies will spawn, defeat them and then continue through the gate.
Note the unlit firepit on the other side of the gate — you’ll need to light that once the gate opens
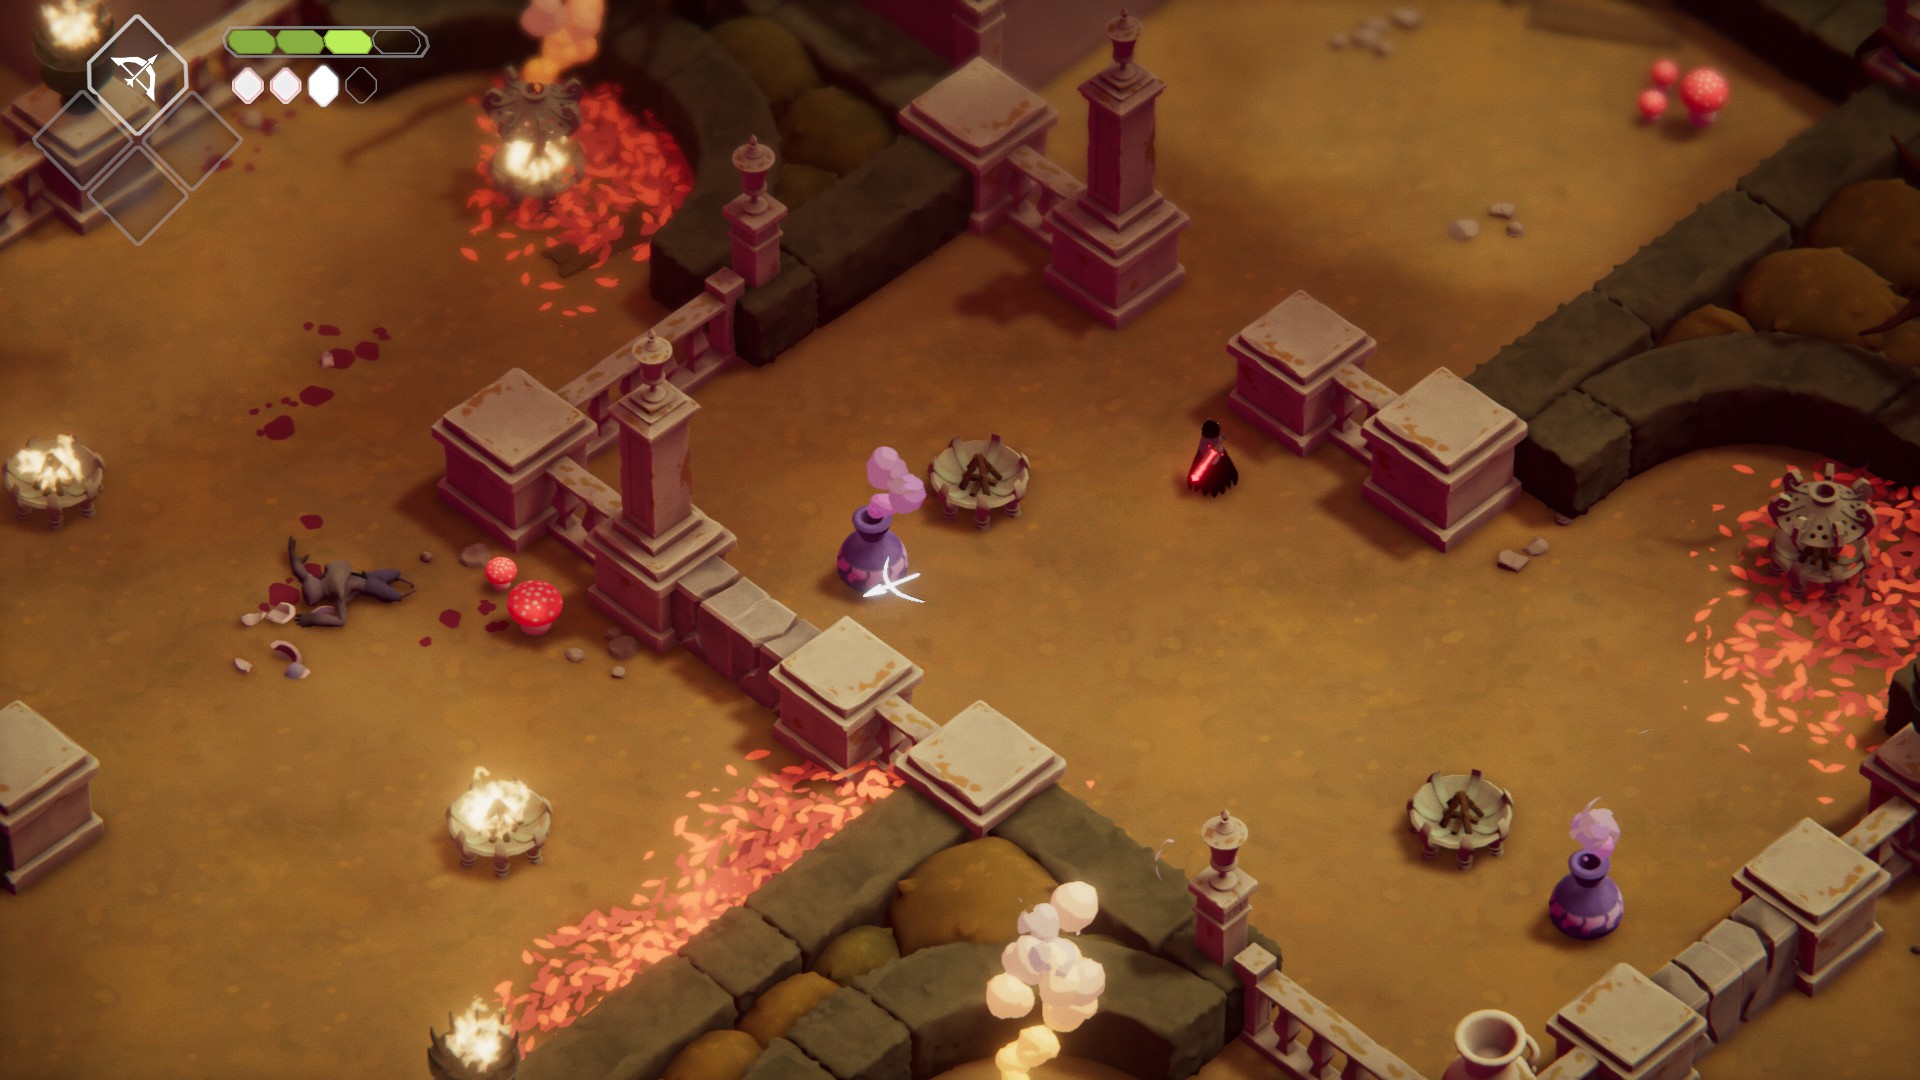
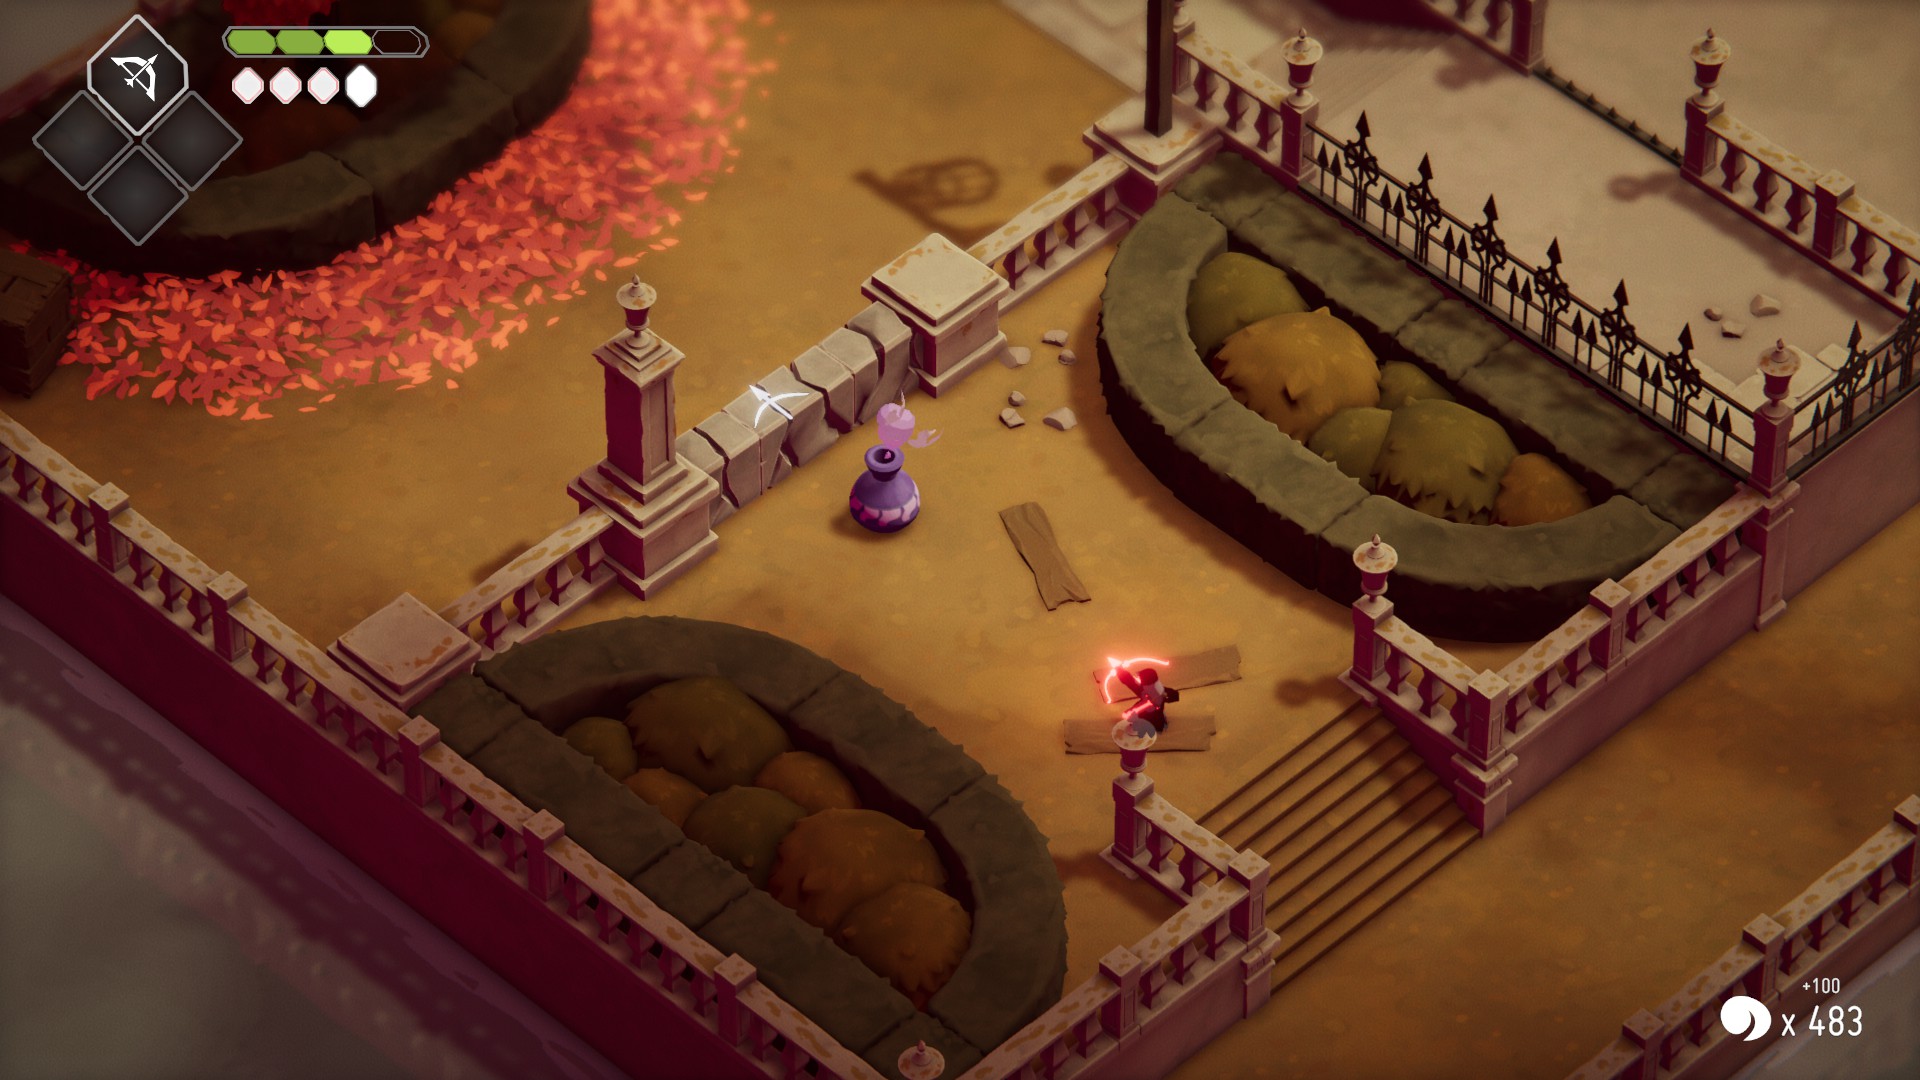
Continue lighting the firepits and dealing with enemies that spawn, and you’ll eventually light another brazier that opens another gate. Head up the ladder just past the gate, go past the statue and then jump down the nearby ladder. Just to the southwest you’ll see a purple pot near a breakable wall and a firepit — shoot the pot with your bow, and then head through the new passageway and light the firepit. Deal with the enemies, then use your newly lit firepit to light the next one, and then light the brazier.
The first purple pot you need to break
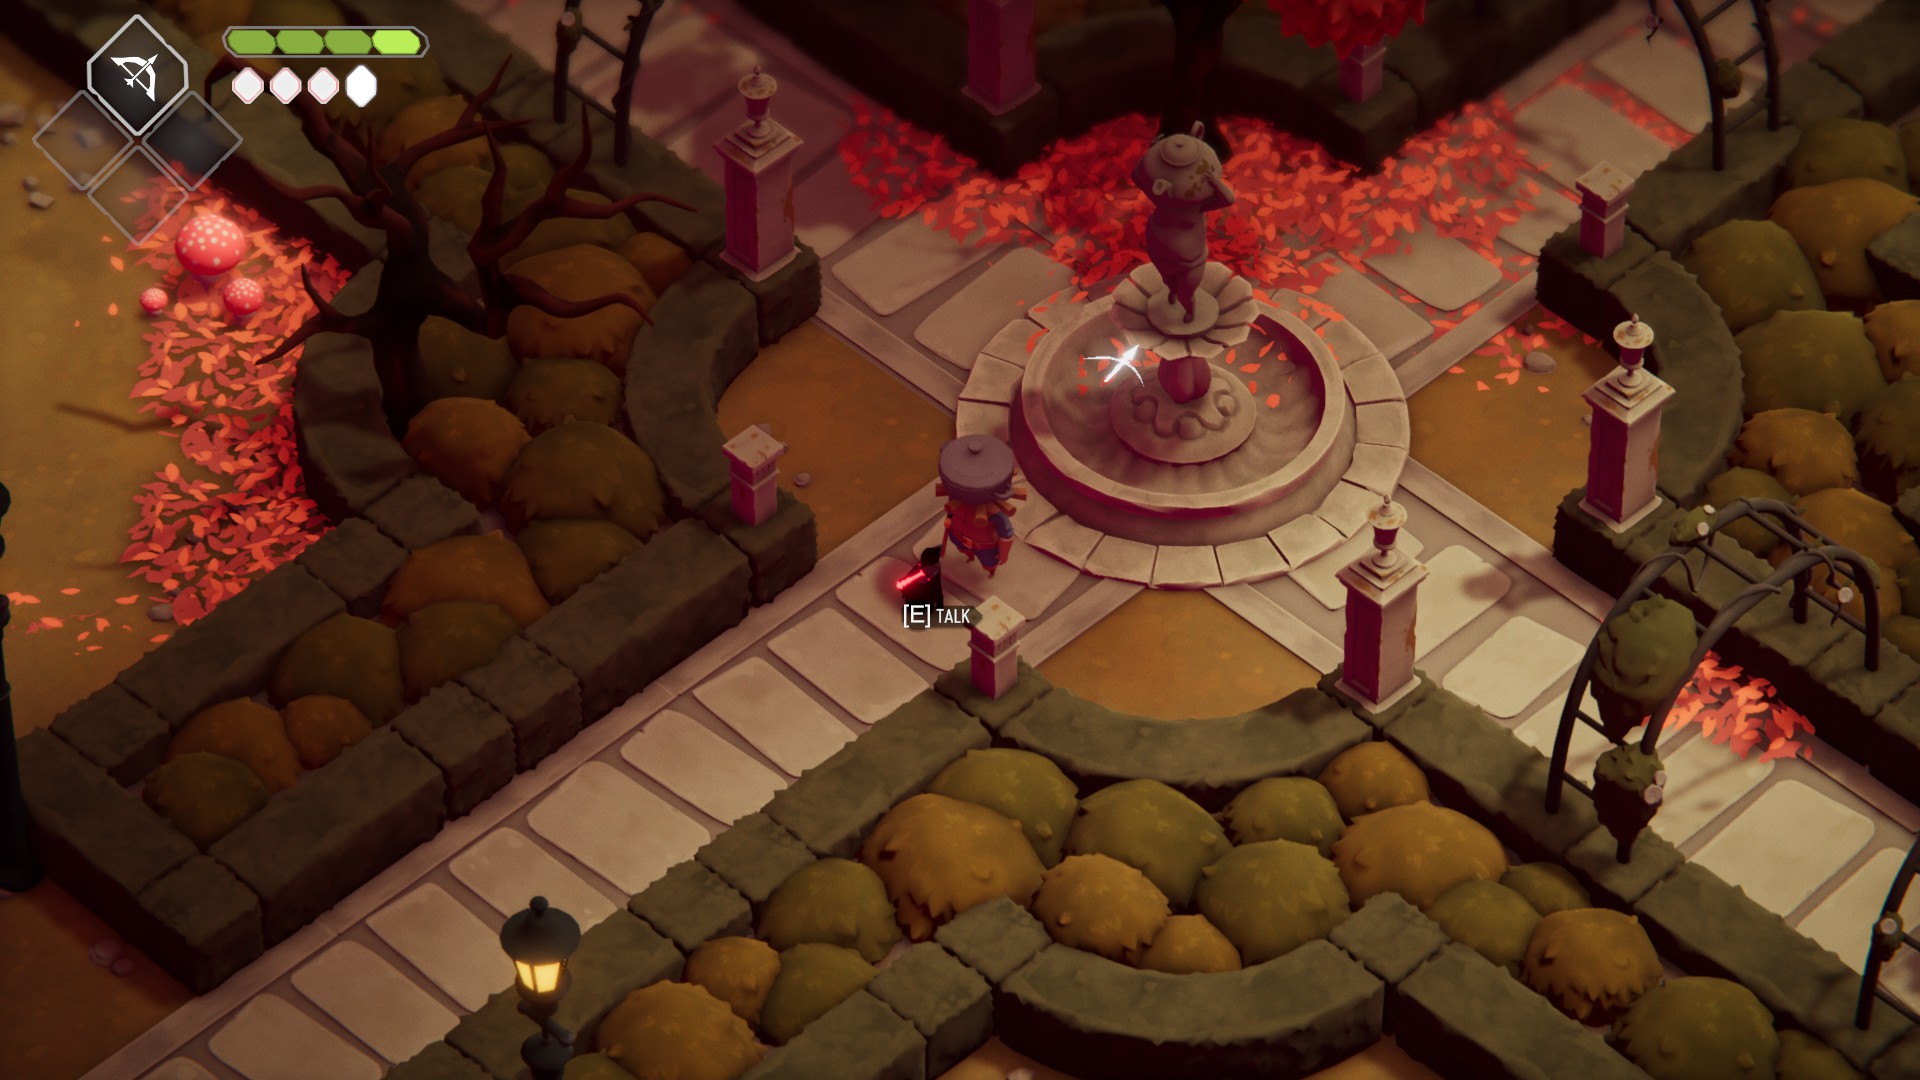
Go northeast through the gate that brazier opens, then head northwest at the fork to grab a Life Seed. Now go southeast back the way you came, and continue past the fork to find a lever that will light the first of the two lanterns. The lever will also open a gate — head through it, say hi to Pothead, and then go southwest back to where you first met him. At the fountain, go southeast.
The fork
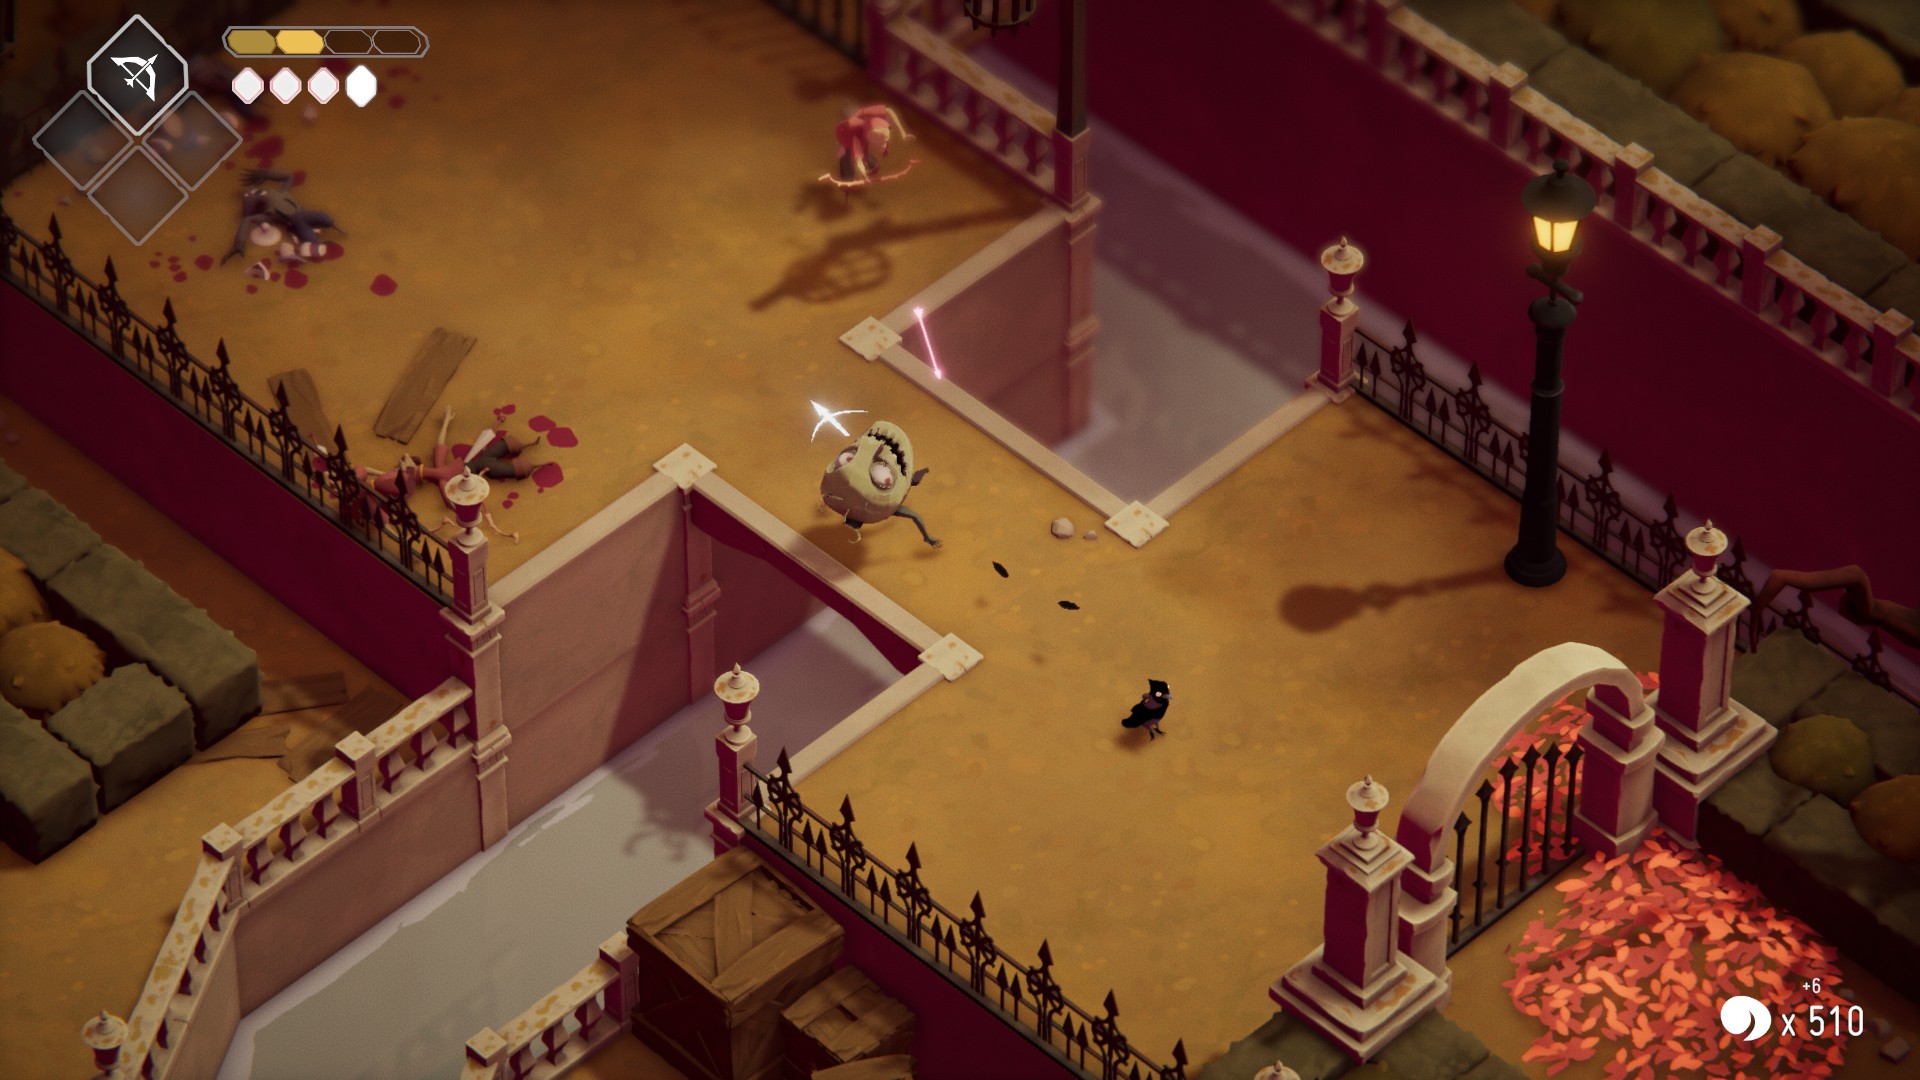
Continue until you reach another purple pot — shoot it, then take out the enemies past the now-broken wall. If you haven’t run through the fallen leaves for fun yet, this is a good time to do so. Continue southeast, break the next purple pot, and once you’ve defeated the baddies go up the nearby stairs. Kill the last enemy to open the gate.
Go down the stairs to the northeast, then quickly head west and use your bow to break the purple pot there — this way, if you die in this fight, you’ll have a quick way back here. Then dispatch the enemies to open the gate to the northeast. Be careful fighting the enemies in the next area; your best is to break the purple pots with your bow ASAP. Continue northwest through the enemies to find the lever — push it!
Head through the gate to find Pothead well pleased with your work. After a brief break, head northeast and break the purple pots to cross the bridge, but look out: the dark green pots will spawn a projectile if you break them. You can deflect this projectile (like many others) with your sword, so sometimes you can use them to take out enemies from a distance when you don’t have energy for your bow.
Once you cross the bridge, go northwest up the stairs and then jump down towards the moat. Head around the corner to find a Large Soul Mass, then push the lever to drop the ladder, and head back up it.
Drop down to here to find the secret around the corner
Go down the stairs, and then go northwest over the nearby bridge. Once you reach the chessboard full of pots, head west to find a Life Seed. Then go northeast and up the stairs, and follow the path until you reach a lever.
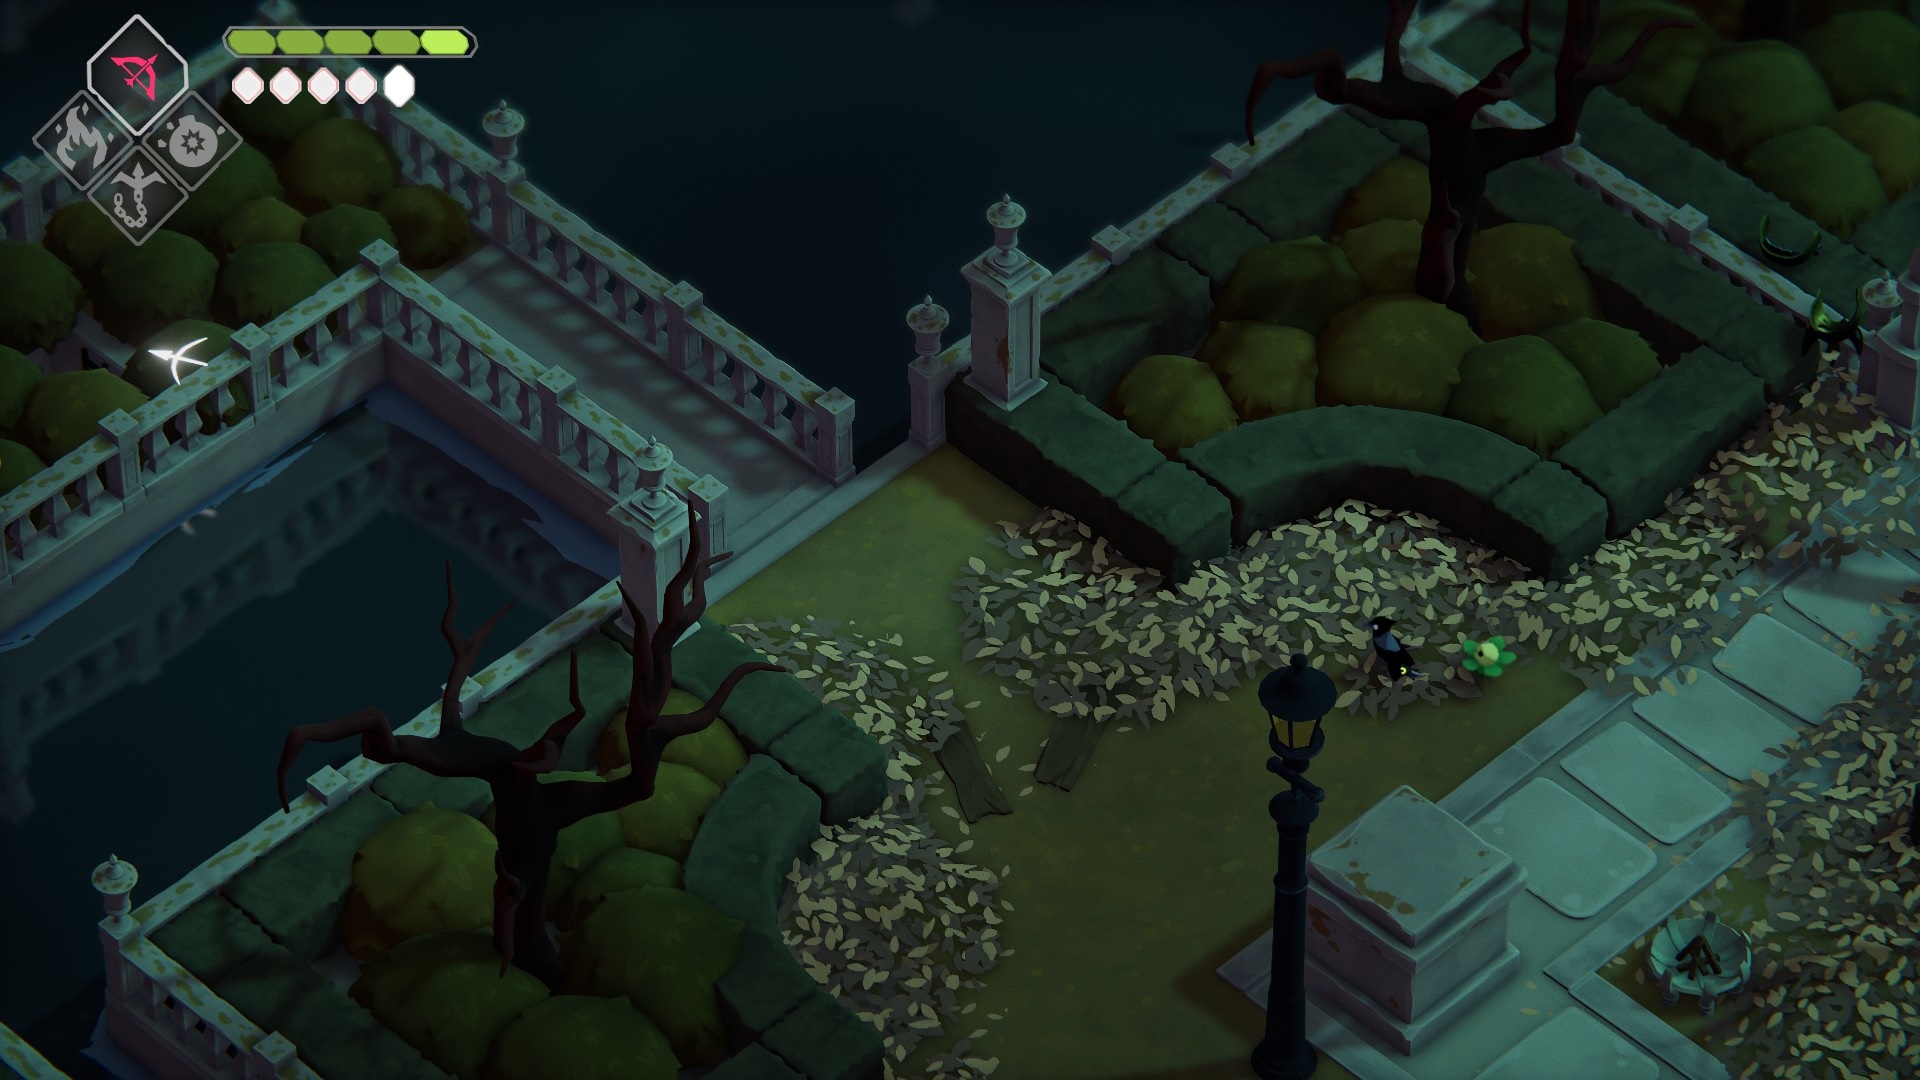
Head northwest and find this gap in the hedge:
Head northwest a little ways, then exit the bushes via the next gap in the hedge.
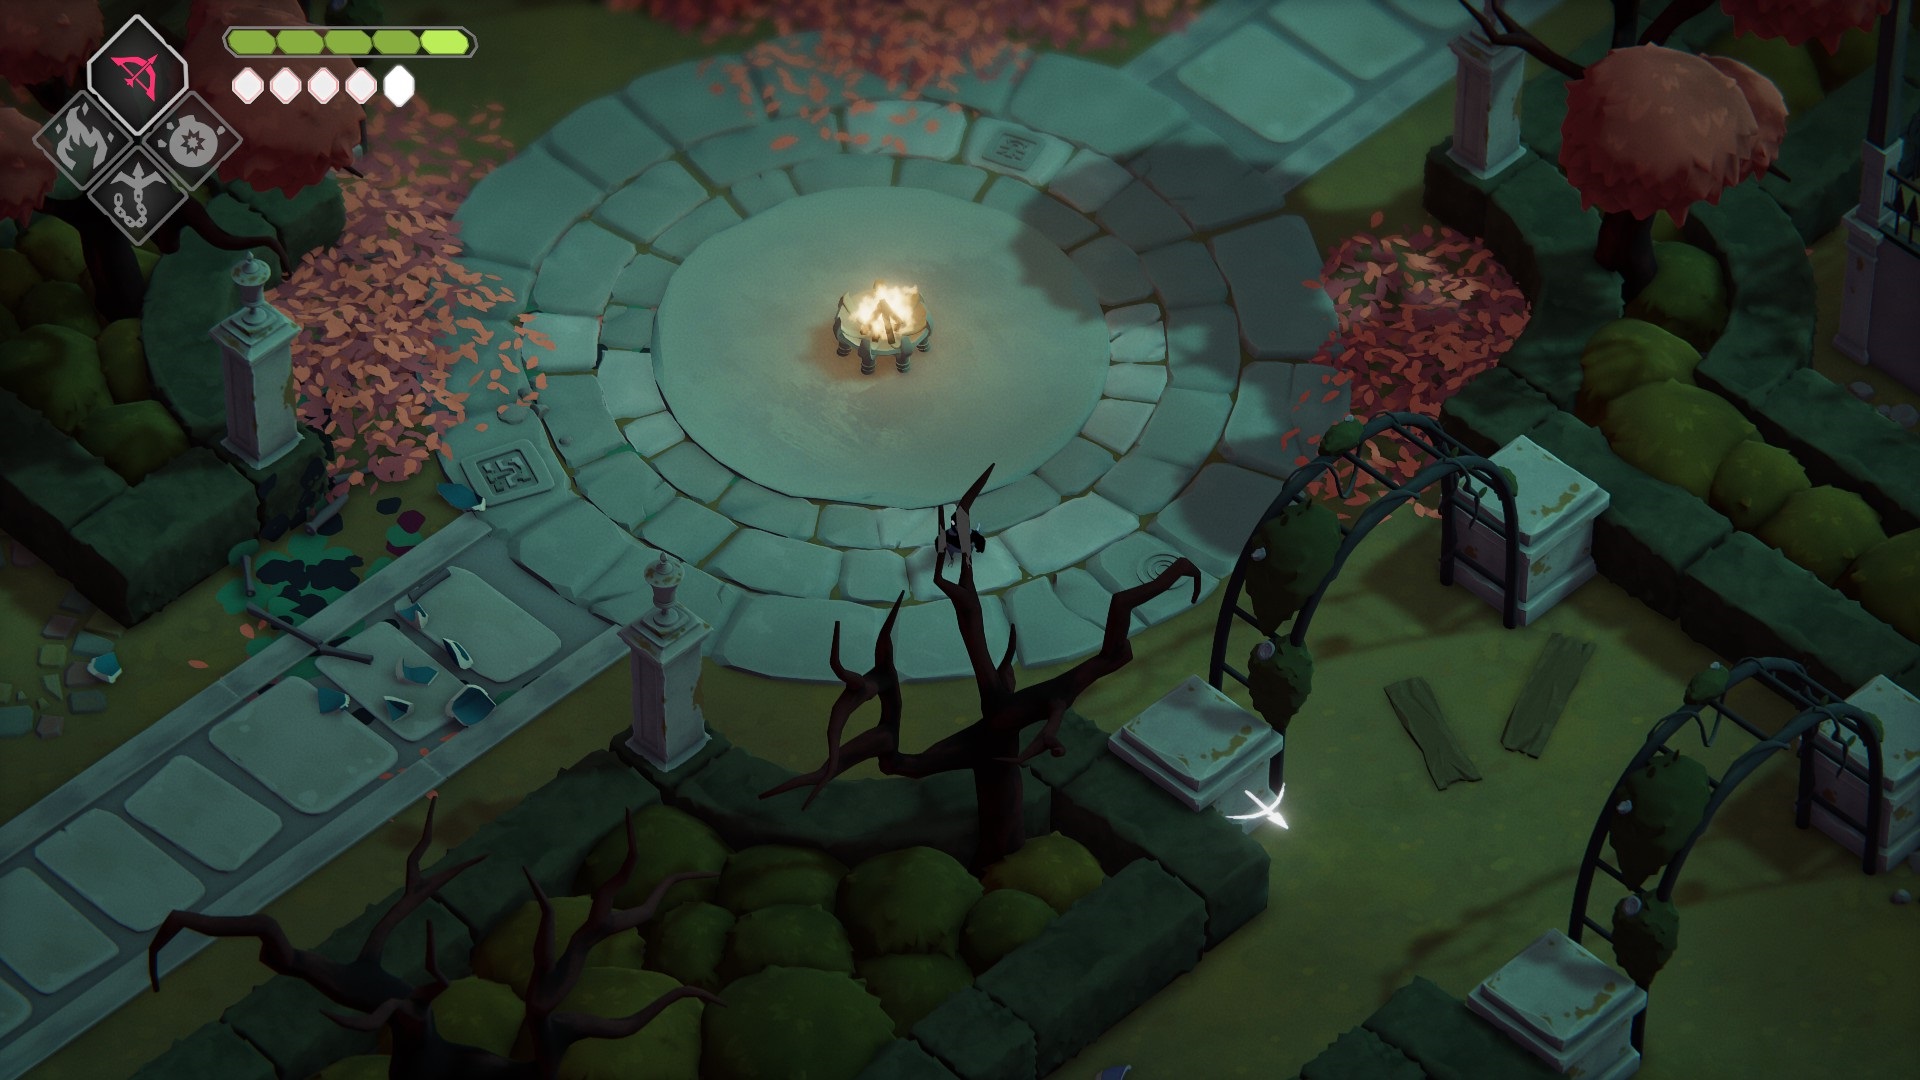
Enter the bushes one last time (I bet you can spot the final gap yourself) then continue forward to pray at the shrine and receive your first Magic Crystal Shard. Go back the way you came and get back to the lever.
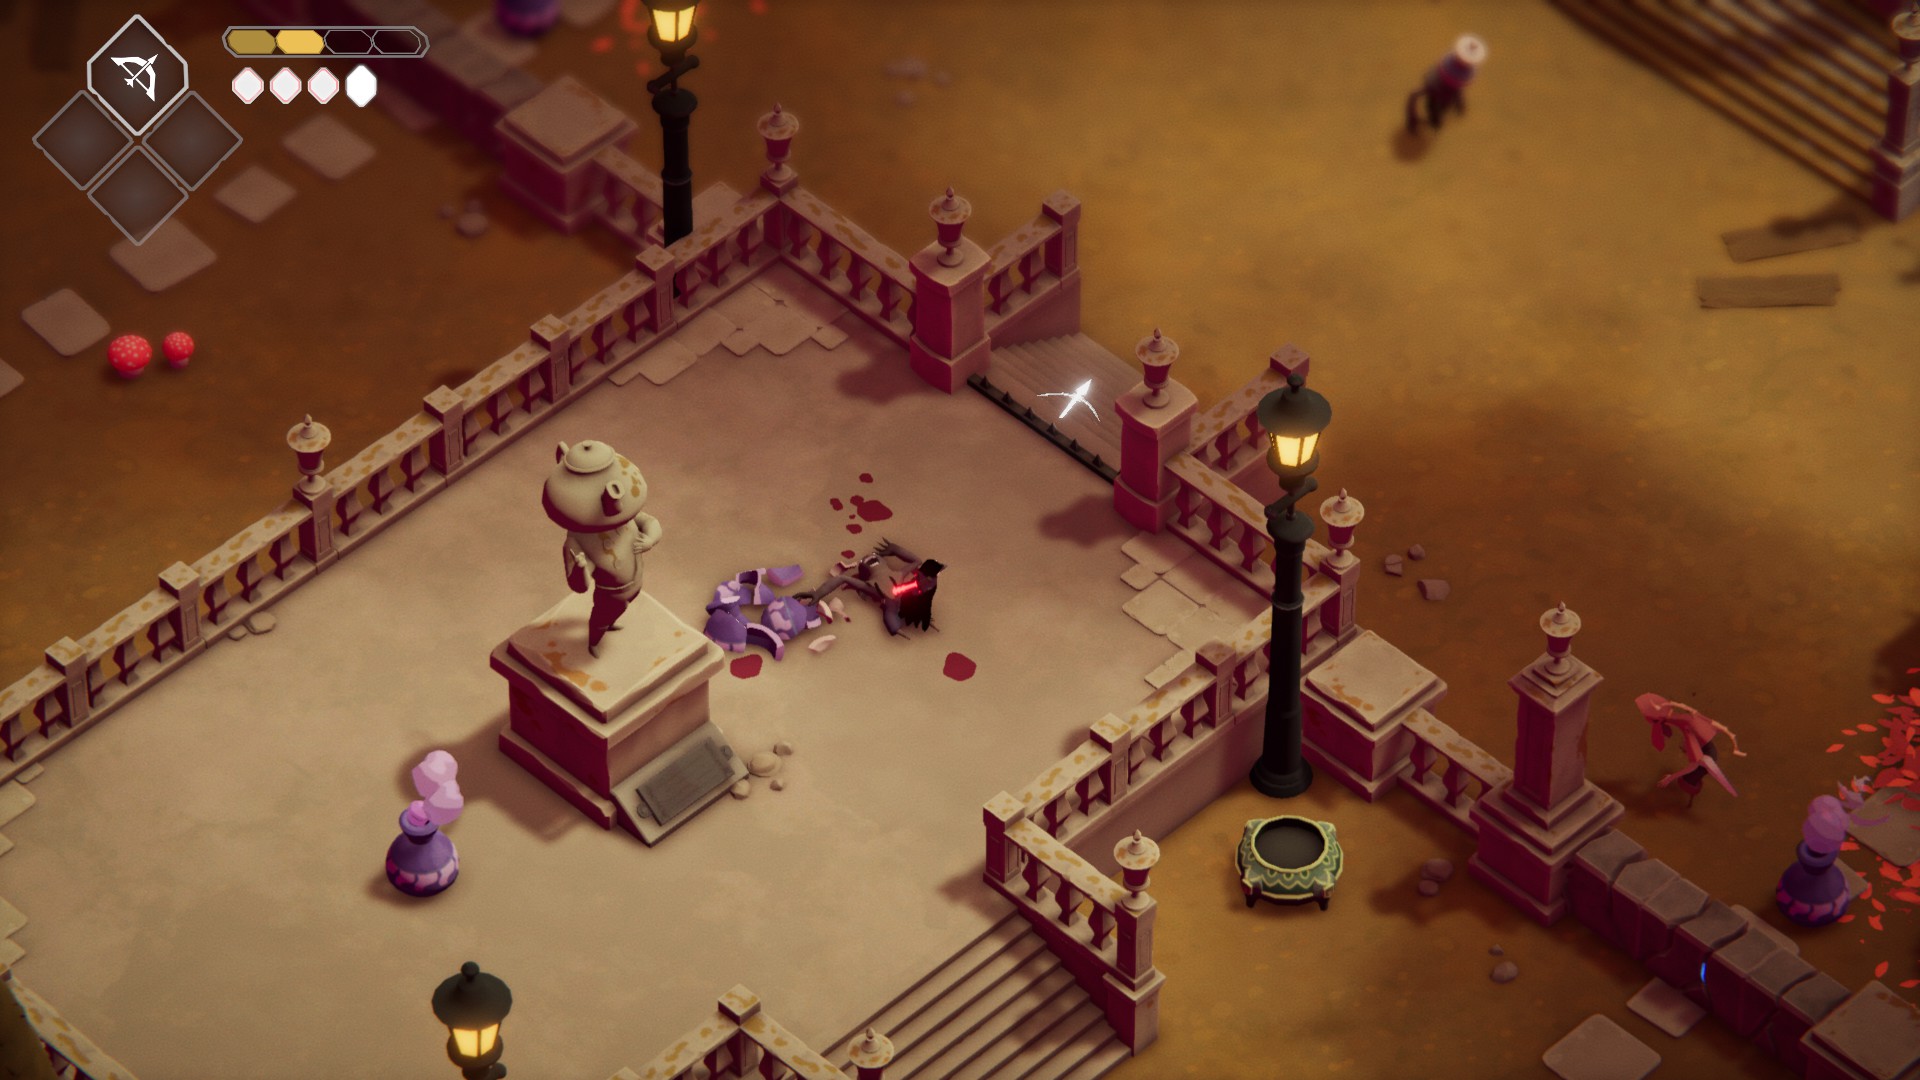
Push the lever, head through the now-open gate, then go south and then down the stairs. When you reach the junction with a firepit, go southeast and then south and cross the small bridge. Once you reach the open gate, get ready for a fight — you’ll get locked in here with a mini-boss once you enter.
The gate that leads to the mini-boss
This guy’s attacks can be hard to dodge, so instead you should try to not be in range at all when he’s attacking. His pattern is simple: if you’re far away, he will gap close with a running attack, then attack twice. If you’re closer, he’ll just attack twice. Once he’s attacked twice, run in and hit him twice, then roll away. As always, use your bow if you have energy for it to avoid taking damage.
Once you finish off the thicc-knight, jump down from the newly-opened gate, then go southwest and up the stairs. Grab the Large Soul Mass, and then break the purple pot with your bow to open up a shortcut. There are mushrooms by the bottom of the stairs if you need energy.
Now go back to where you jumped down from the boss fight, and go southeast across the bridge. Head southwest through the open gate, then southeast through the next open gate, which will lock you in and begin an arena fight. Once you defeat all the enemies, go northeast, push the lever, then shoot the pot to destroy the breakable wall, and head through.
Note: Make sure you light all the bonfires in this section — it will come in handy later.
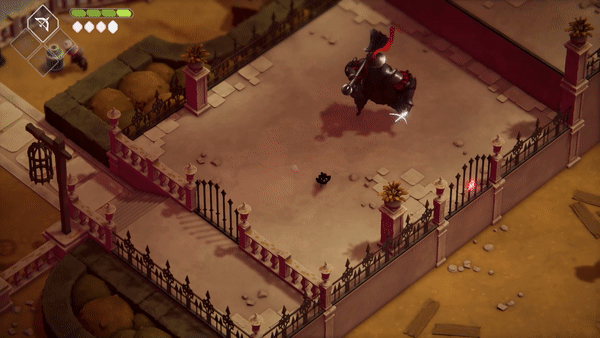
Head northeast through the gate and up the ladder, then northwest over the bridge. Once you pass through the open gate, another arena fight will start. This one can be tough because of the tight quarters, so be calm and patient, and don’t fall off the bridge!
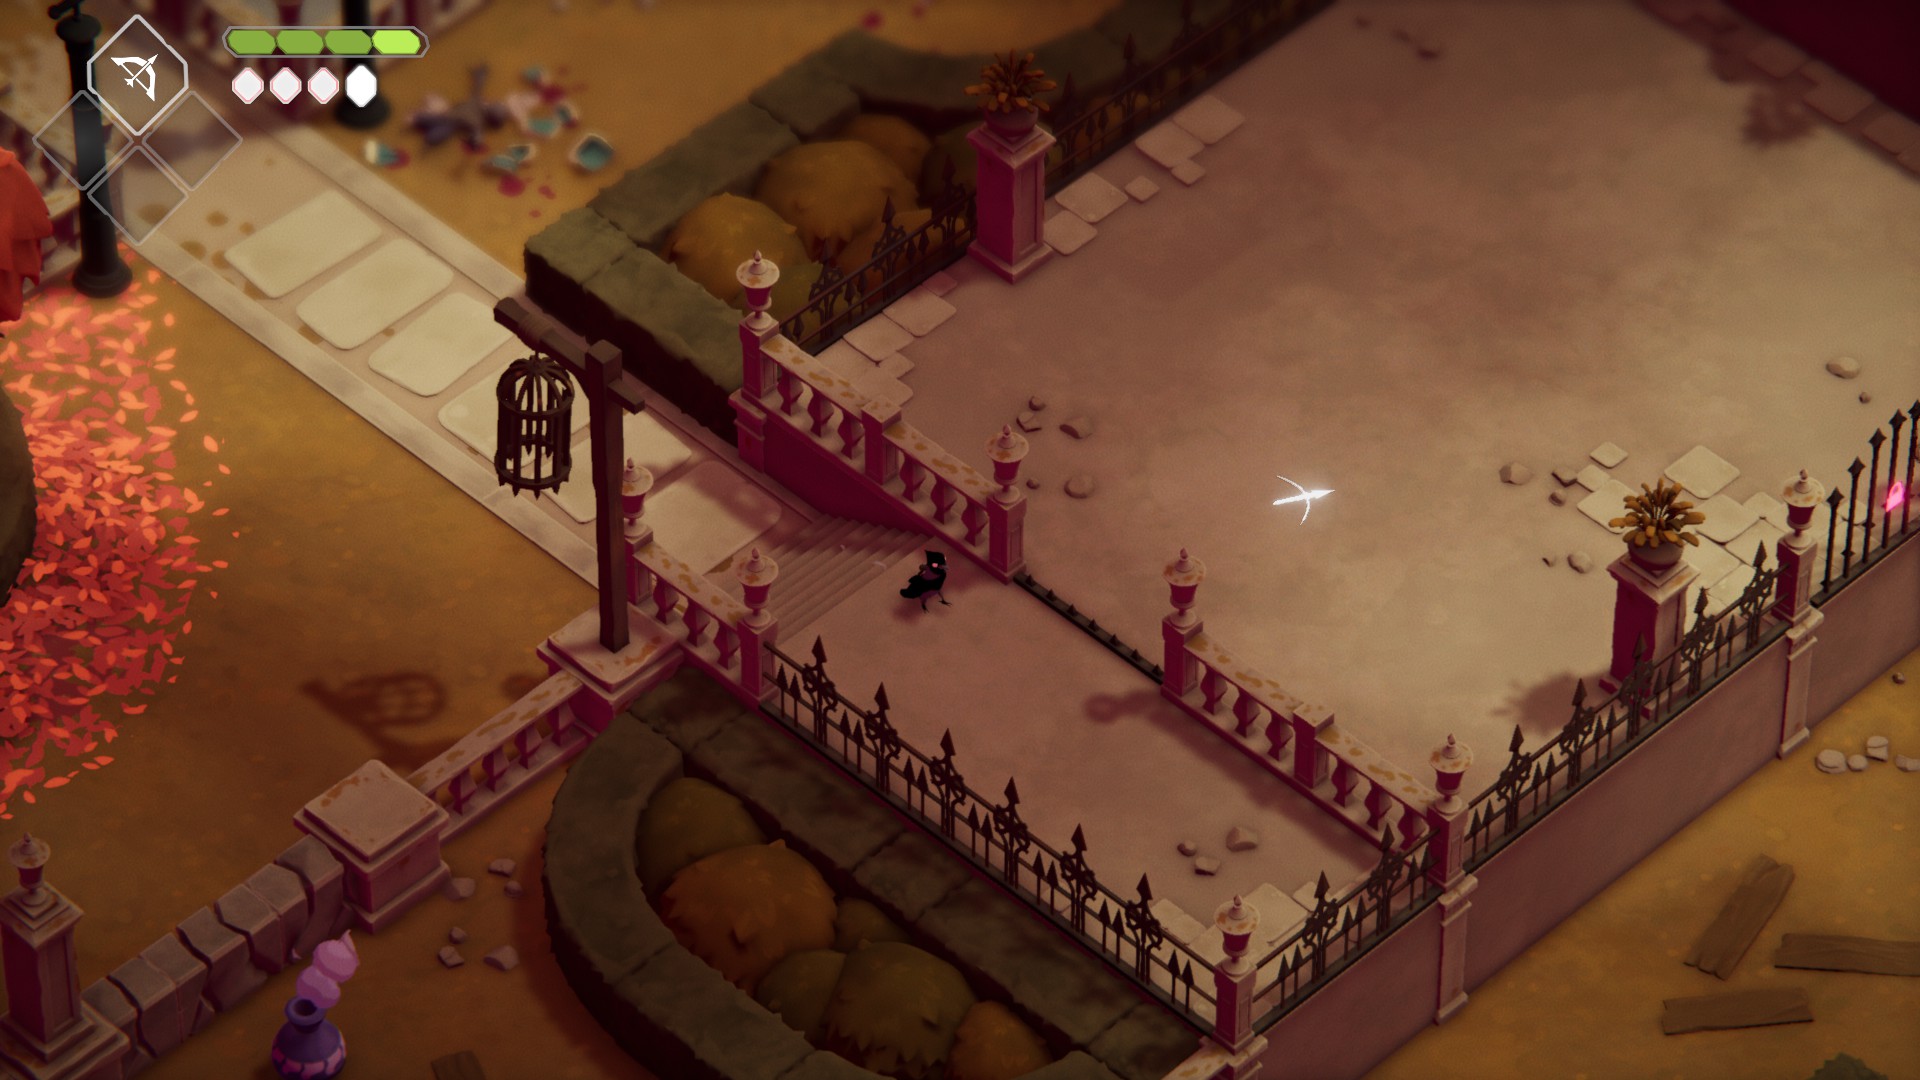
Once you defeat all the enemies, continue northeast to find your first new weapon, the Rogue Daggers! Push the lever to open the nearby gate, then you can head out the gate and go northeast into the Witch’s Manor.
Before you go into the Witch’s Manor, you can collect another Magic Crystal Shard by heading southwest from the entrance to the manor, down the stairs. When you reach the fire at the 4-way intersection (see below), go south and over the bridge that leads southeast.
Continue southeast to the statue that reads “Garden of Joy”. Cross the bridge here, then go southwest — to the west just ahead is a newly-formed bridge. Jump down the hole to find the shrine.
Unabashed FromSoftware fanboy still learning to take his time with games (and everything else, really). The time he doesn't spend on games is spent on music, books, or occasionally going outside.
There’s a magic shard near the locked main entrance to the mansion. Head left towards the tree and look south for a discoloration in the bushes, go through it follow path around to the left side of mansion where there’s a giant bird face that gives you a magic shard.
Thanks for the tip, Mystt. Is the shard you’re talking about the same one that’s described under the last secret in this guide?
Kel
1 year ago
there’s a life seed missed here. after you used the lever that will light the first of the two lanterns. the gate will open and you can see a nearby bush that you can go in to get the life seed.
Thanks Kel! I think I’ve got that one in the second part of the walkthrough (night), and it’s been so long that I don’t want to describe it incorrectly… I’m sure your comment will help some people though 🙂
Giff
11 months ago
I might be missing something. I didn’t get any new power. What is the reward?
Hey there Giff, not sure what power you’re referring to… is it possible you meant to comment on a different section of the guide? You unlock your first new power in the next section of the game, the inside of the Ceramic Manor.
The wizard of Oz
9 months ago
You’re missing a secret crystal shard.
At the very end of the guide, if you light up all of the bonfires in the area that grants access to the dagger (second last screenshot), a bridge will be built on the southwest where you can cross and enter the bushes to find the shrine.
Thank you for the correction, I’ll make sure to update the guide with that information ðŸ™ï»¿
Leon
3 months ago
I did everything I had to do (or at least I think), but after defeating the boss and the rest of the enemies and having unlocked the gate that leads to the villa, I went back but the bridge was not formed, something needs to be done in detail to unlock it?
If you’re referring to the bridge that leads to a secret shard, you need to light all the bonfires in the area before the bridge will form — the guide has been updated to clarify.


There’s a magic shard near the locked main entrance to the mansion. Head left towards the tree and look south for a discoloration in the bushes, go through it follow path around to the left side of mansion where there’s a giant bird face that gives you a magic shard.
Thanks for the tip, Mystt. Is the shard you’re talking about the same one that’s described under the last secret in this guide?
there’s a life seed missed here. after you used the lever that will light the first of the two lanterns. the gate will open and you can see a nearby bush that you can go in to get the life seed.
Thanks Kel! I think I’ve got that one in the second part of the walkthrough (night), and it’s been so long that I don’t want to describe it incorrectly… I’m sure your comment will help some people though 🙂
I might be missing something. I didn’t get any new power. What is the reward?
Hey there Giff, not sure what power you’re referring to… is it possible you meant to comment on a different section of the guide? You unlock your first new power in the next section of the game, the inside of the Ceramic Manor.
You’re missing a secret crystal shard.
At the very end of the guide, if you light up all of the bonfires in the area that grants access to the dagger (second last screenshot), a bridge will be built on the southwest where you can cross and enter the bushes to find the shrine.
First screenshot didn’t go through
Thank you for the correction, I’ll make sure to update the guide with that information ðŸ™ï»¿
I did everything I had to do (or at least I think), but after defeating the boss and the rest of the enemies and having unlocked the gate that leads to the villa, I went back but the bridge was not formed, something needs to be done in detail to unlock it?
If you’re referring to the bridge that leads to a secret shard, you need to light all the bonfires in the area before the bridge will form — the guide has been updated to clarify.