There are a lot of Killers in Dead by Daylight, and they all have their own powers and abilities. In this guide, we’ll explain how Killer powers and weapons work in order to give a clear, concise explanation of every Killer power in the game.
Killer Weapons
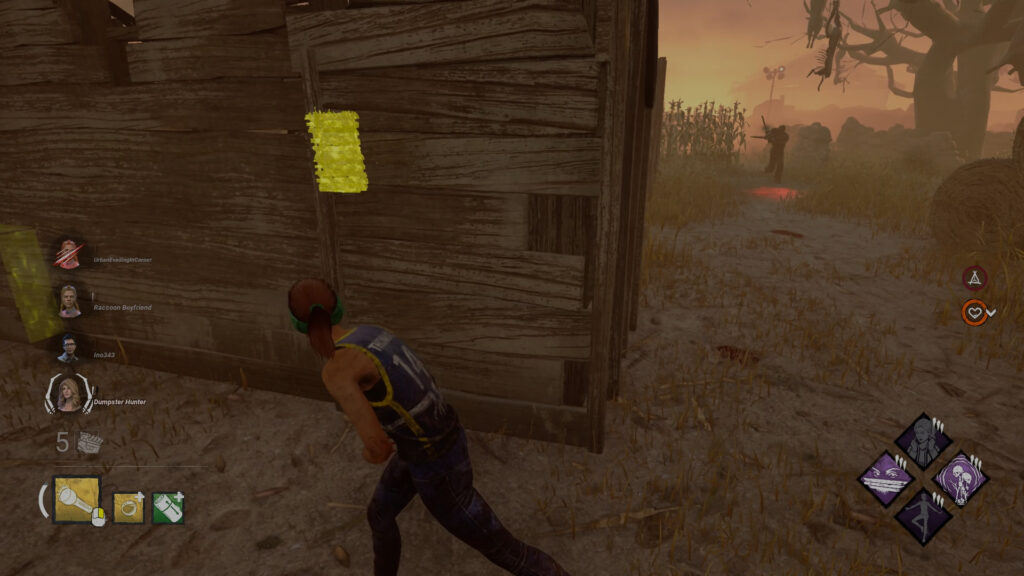
While each Killer has a unique weapon, they are all functionally identical. All Killers will swing their weapon when the attack button [Mouse 1 on PC, Right Trigger on console] is pressed. Killers perform a different attack depending on if the attack button is tapped or held:
- Tapping the basic attack button to basic attack. This attack is quick but short-ranged.
- Holding the basic attack button will cause you to lunge attack, temporarily increasing your movement speed for the duration of the lunge. Note that the lunge range is tied to your move speed pre-lunge, so you should try to build up a bit of momentum before lunging. Basically, don’t lunge if you’re standing still.
For both types of basic attacks, a successful hit has a 3-second cooldown, and a missed attack has a 1.5-second cooldown (hitting obstacles counts as a miss). Your movement speed is significantly reduced while your basic attack is on cooldown. These cooldowns can be reduced by using some perks.
Killer Powers
In addition to being able to basic attack and lunge attack, every Killer has their own unique Power they can use to help them catch and down Survivors. Some Killer powers can trap or injure Survivors, others allow Killers to move undetected or traverse the map quickly, and others help Killers locate Survivors or herd them to where the Killer can ambush them. These powers are incredibly diverse in nature, and as such, this guide does not examine in detail every single aspect of every power. Rather, the goal here is to give players enough of an understanding of each Killer’s power that you can play as or against them without being confused.
Killer Power Default Controls:
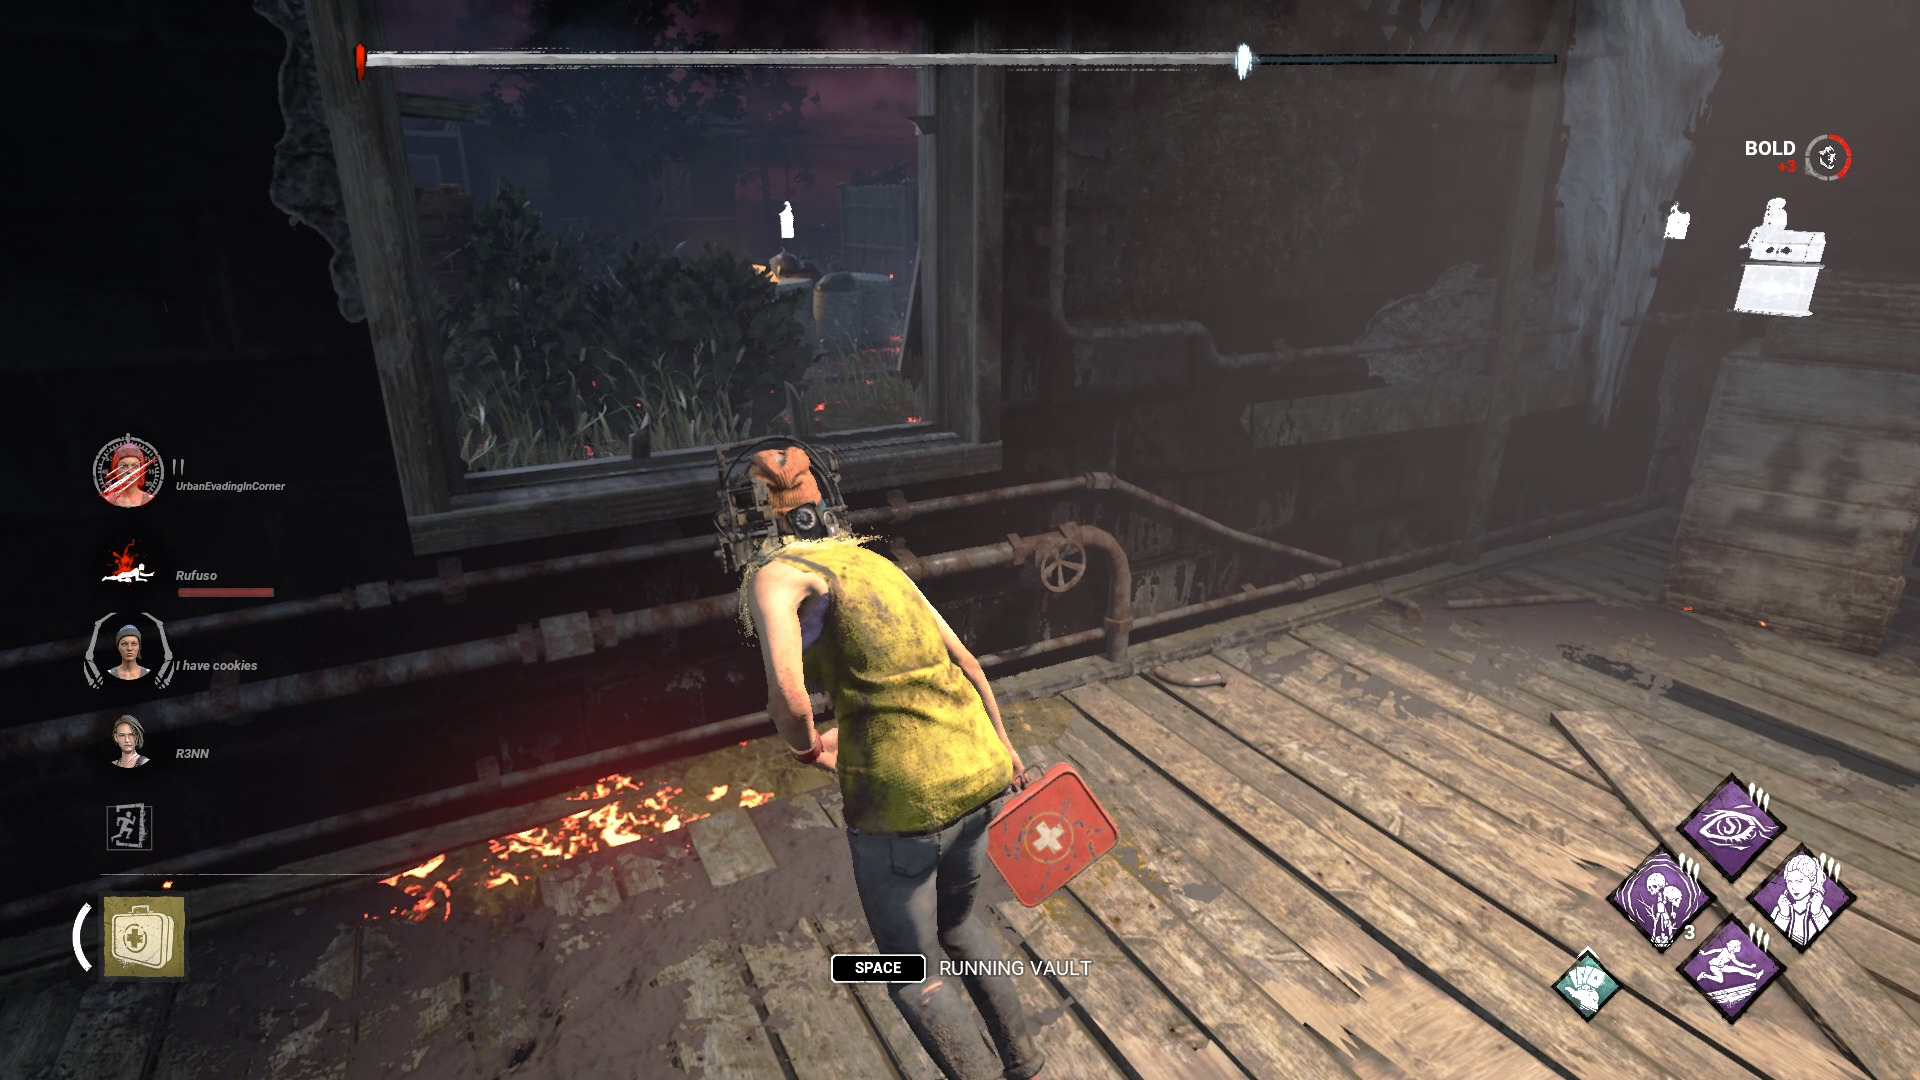
- Power – Mouse 2 on PC, L2/LT on Consoles
- Active Ability – Control on PC, LB/L1 on Consoles
- Attack – Mouse 1 on PC, RT/R2 on Consoles
- Interact – Space on PC, RB/R1 on Consoles
Glossary
Some terms used in the guide may not be familiar to all players:
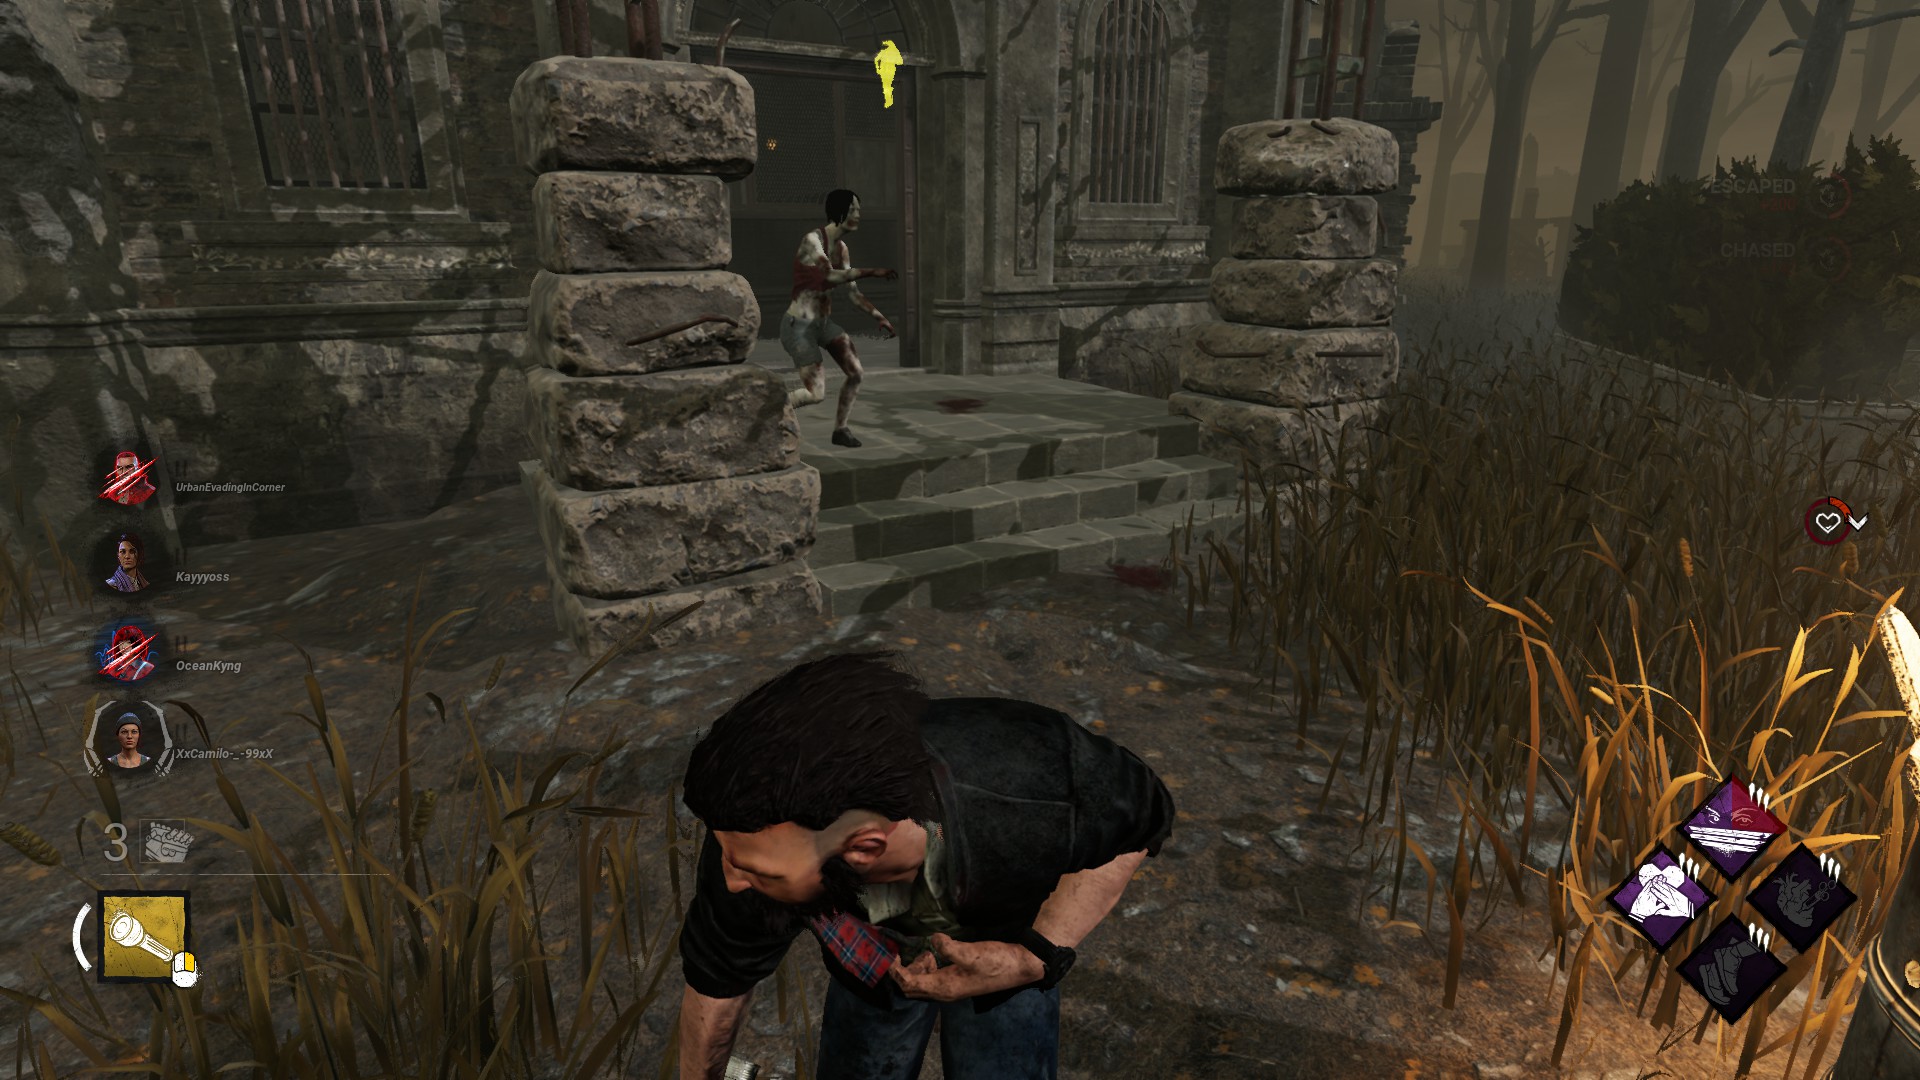
- Broken – Broken Survivors are unable to be healed.
- Dying – Dying Survivors are those who are downed. A survivor in this state is unable to do anything other than crawl on the ground and recover to 95%.
- Exposed – Exposed Survivors can be put in the Dying State with one Basic Attack, even when healthy.
- Incapacitated – Incapacitated Survivors are prevented from repairing gens, interacting with hooks, Survivors, or totems, and cannot use items.
- Oblivious – Oblivious Survivors cannot hear the Terror Radius heartbeat which indicates that the Killer is nearby.
- Power Gauge – The red-colored ring around a Killer’s power, generally indicating how close it is to fully charged/available.
- Undetectable – A status effect under which Killers do not have a Terror Radius and do not emit a Red Stain.
Now that we’ve gotten all that out of the way, let’s take a look at Powers!
Artist – Birds of Torment 
Blight – Blighted Corruption 
Cannibal – Bubba’s Chainsaw 
Cenobite – Summons of Pain 
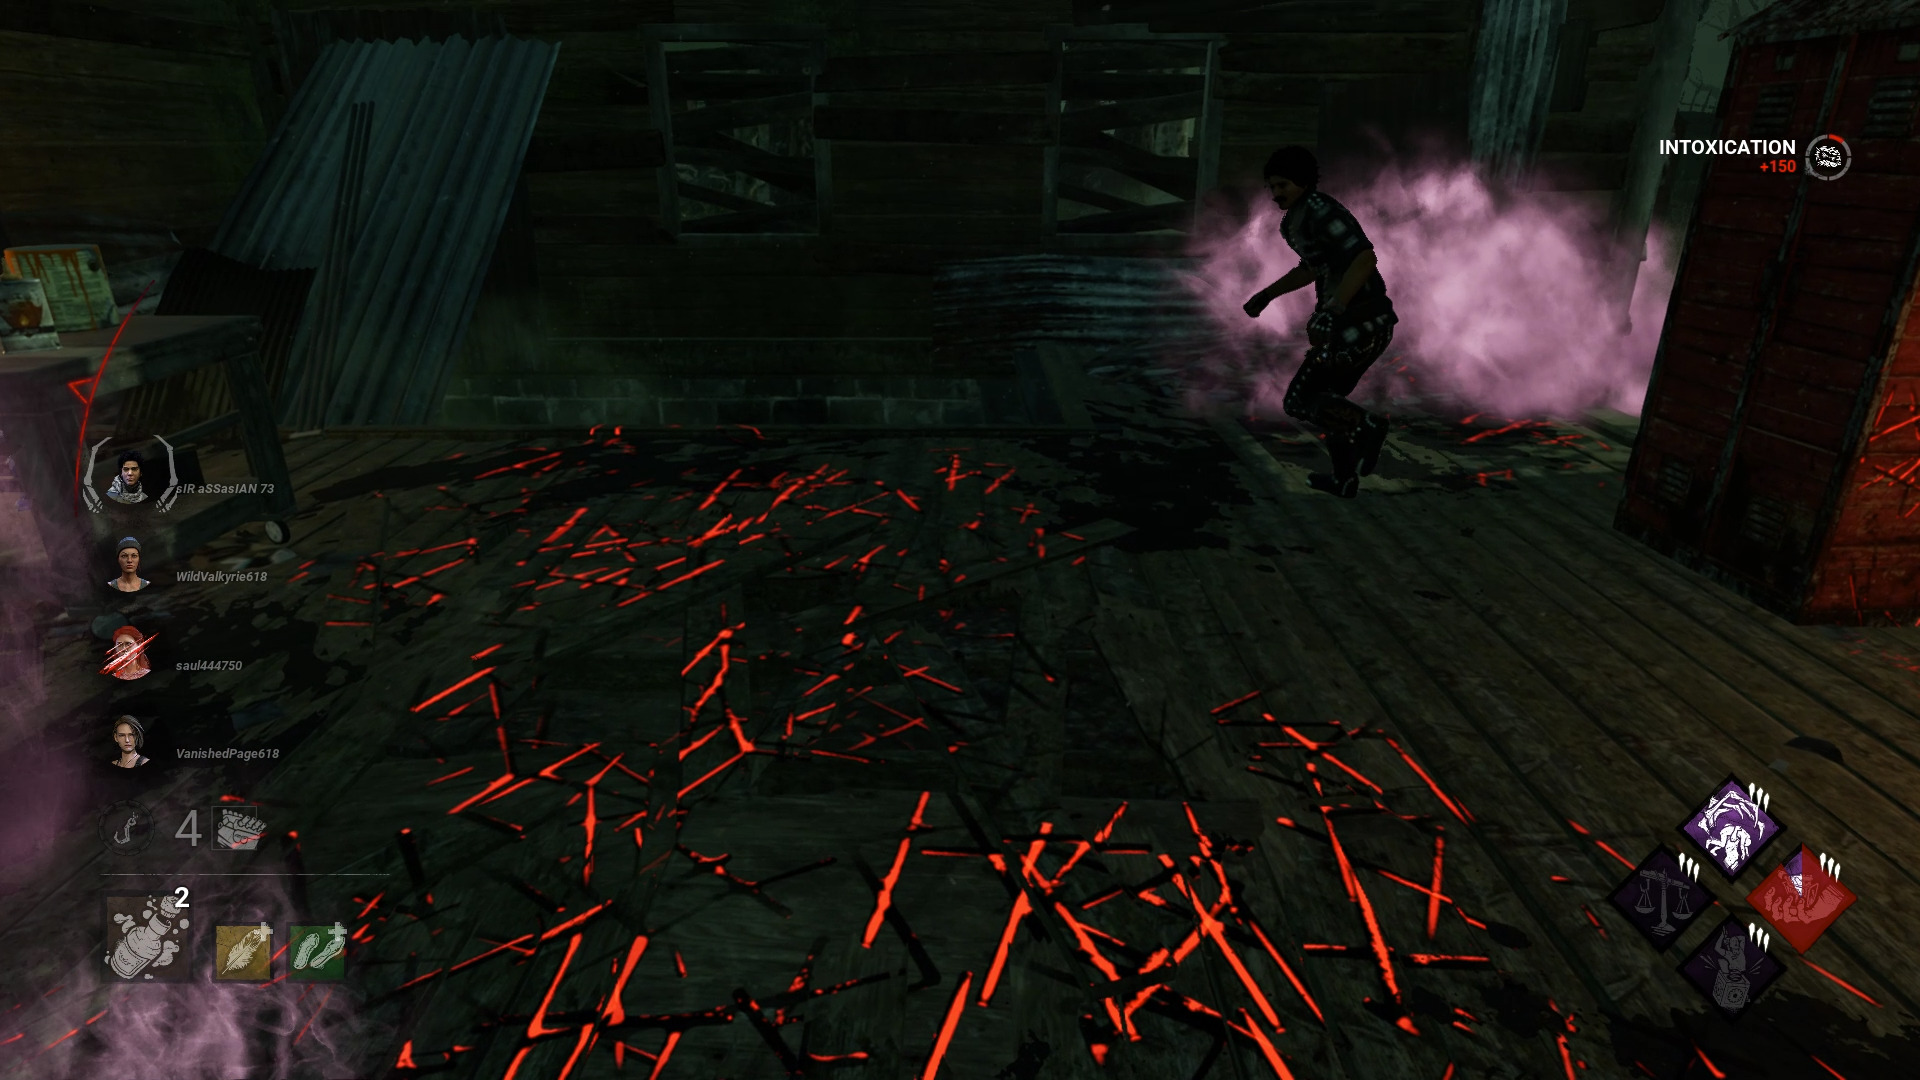
Clown – Afterpiece Tonic 
Deathslinger – The Redeemer 
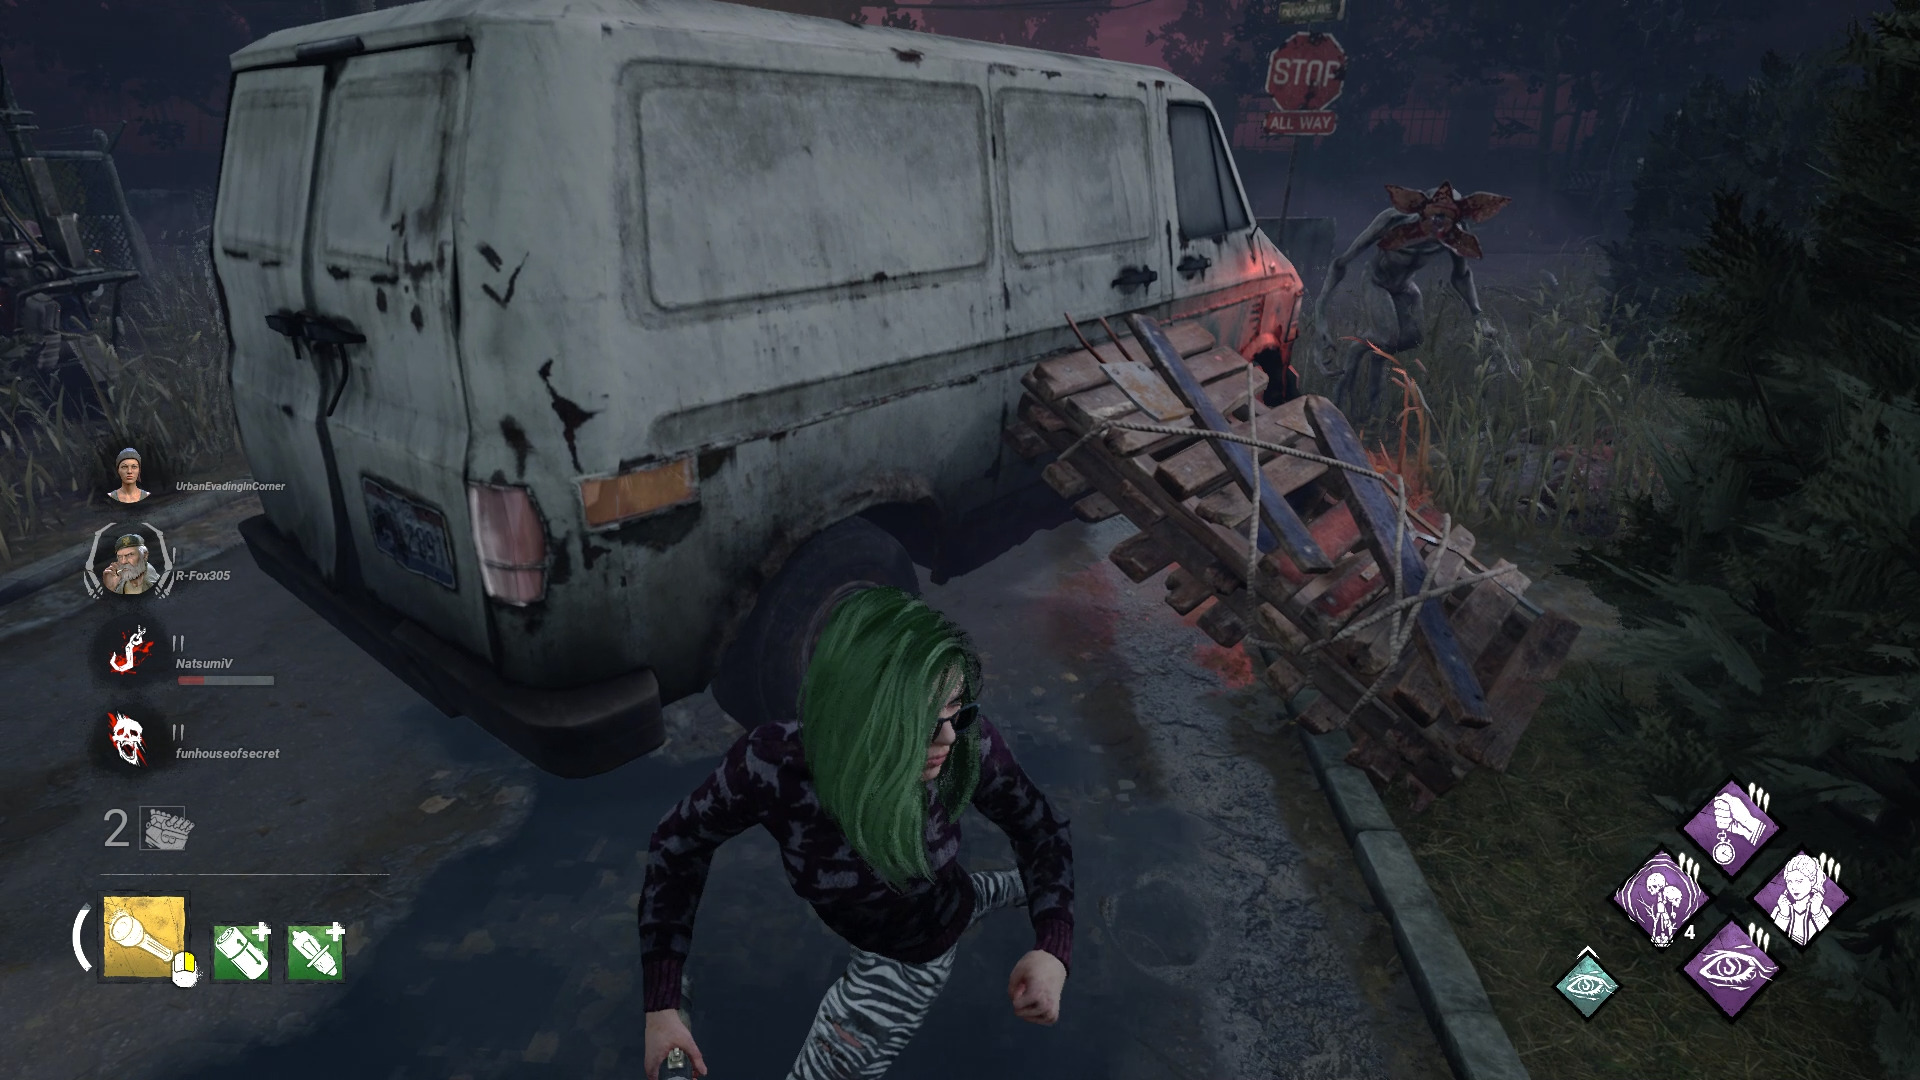
Demogorgon – Of the Abyss 
Doctor – Carter’s Spark 
Dredge – Reign of Darkness 
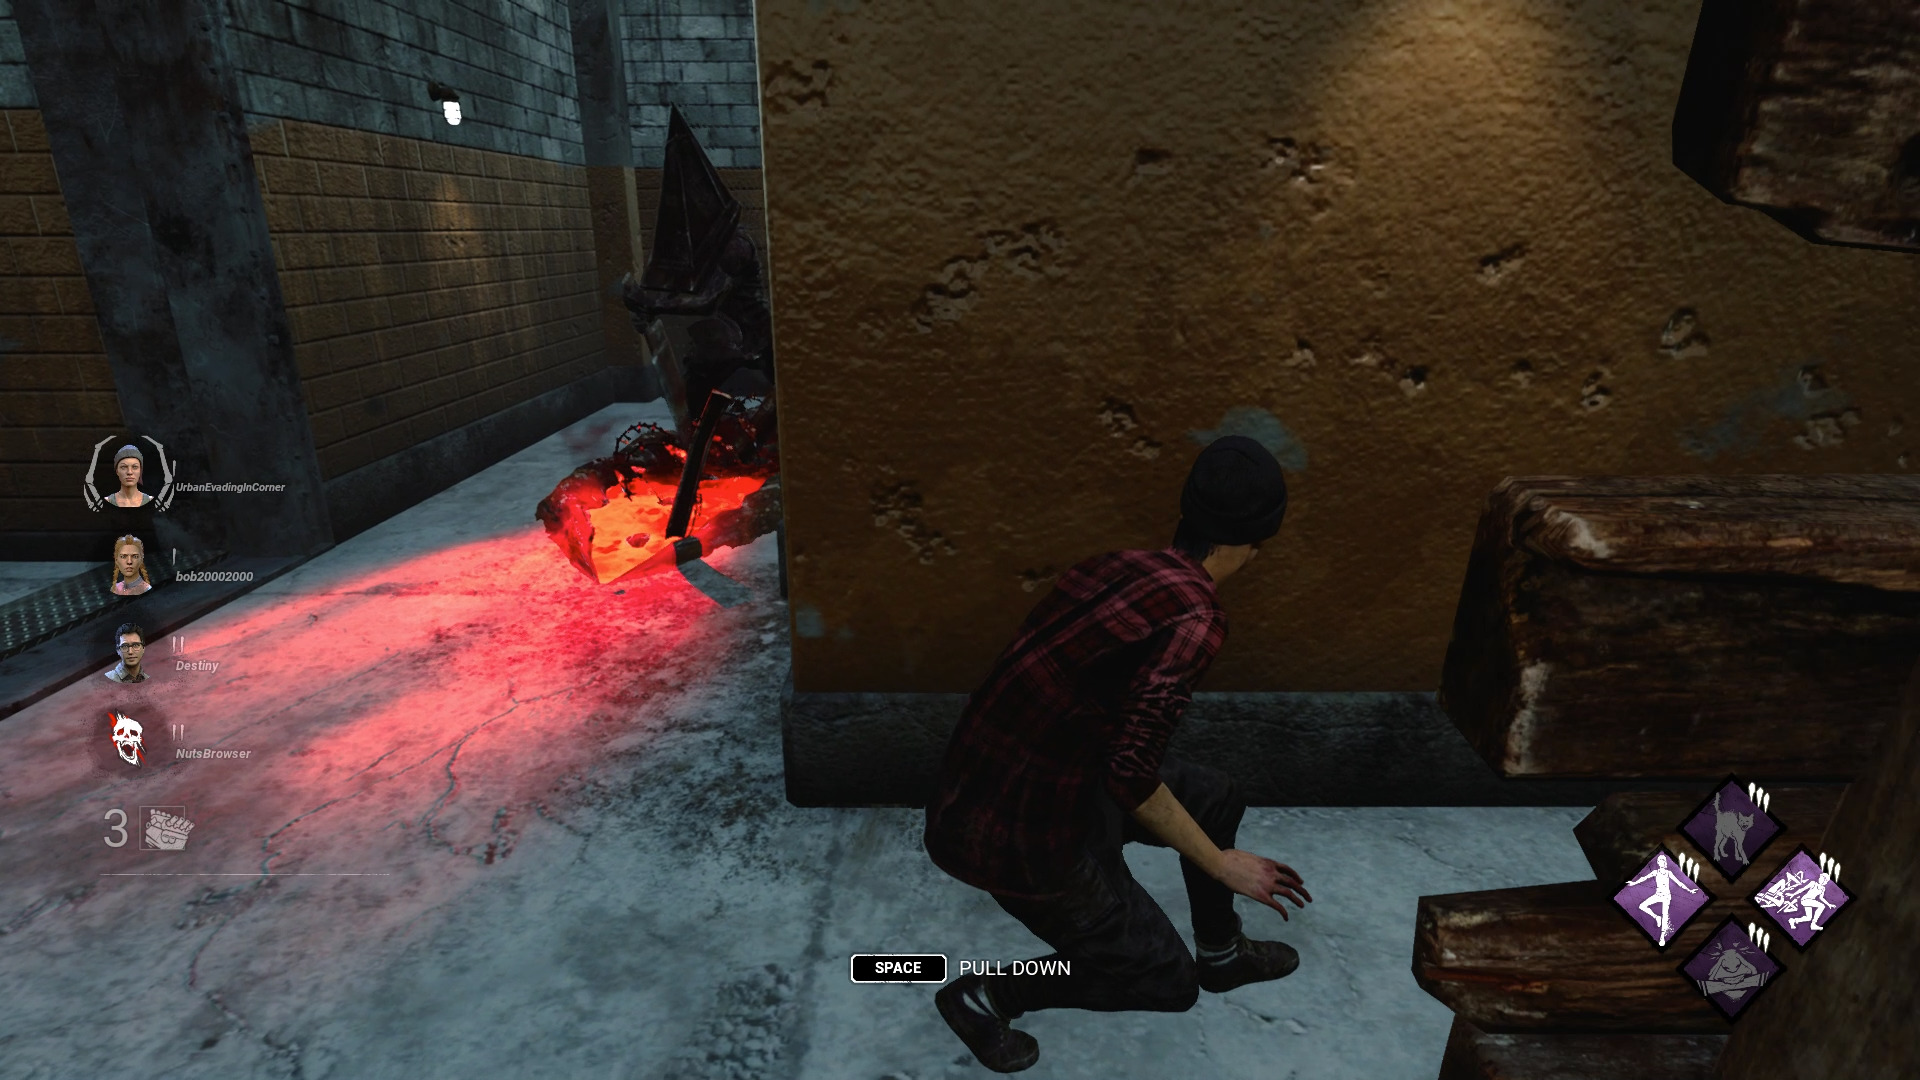
Executioner – Rites of Judgement 
Ghost Face – Night Shroud 
Good Guy (Chucky) – Playtime’s Over 
Hag – Blackened Catalyst 
Hillbilly – Chainsaw 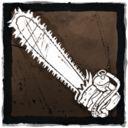
Huntress – Hunting Hatchets 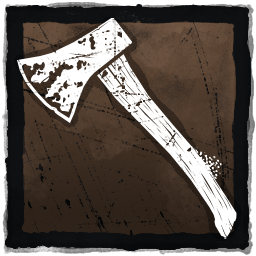
Knight – Guardia Compagnia 
Legion – Feral Frenzy 
Nemesis – T-Virus 
Nightmare – Dream Demon 
Nurse – Spencer’s Last Breath 
Mastermind – Virulent Bound 
Oni – Yamaoka’s Wrath 
Onryō – Deluge of Fear 
Pig – Jigsaw’s Baptism 
Plague – Vile Purge 
Shape – Evil Within 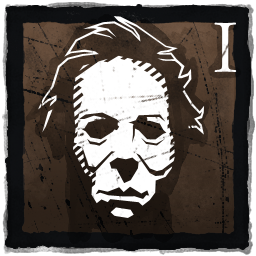
Singularity – Quantum Instantiation 
Skull Merchant – Eyes in the Sky 
Spirit – Yamaoka’s Haunting 
Trapper – Bear Trap 
Trickster – Show Stopper 
Twins – Blood Bond 
Unknown – UVX 
Wraith – Wailing Bell 
Xenomorph – Hidden Pursuit 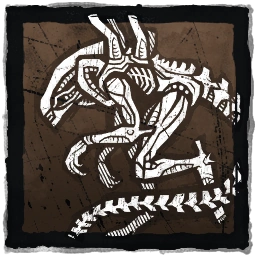
There’s a lot to learn about Dead by Daylight’s Killers, and what’s in this guide is only an overview. If you have any specific questions about Killer Weapons and Powers, or want to leave a suggestion, use the comments below!
Killer Power Icons and Killer Images sourced from https://deadbydaylight.fandom.com/