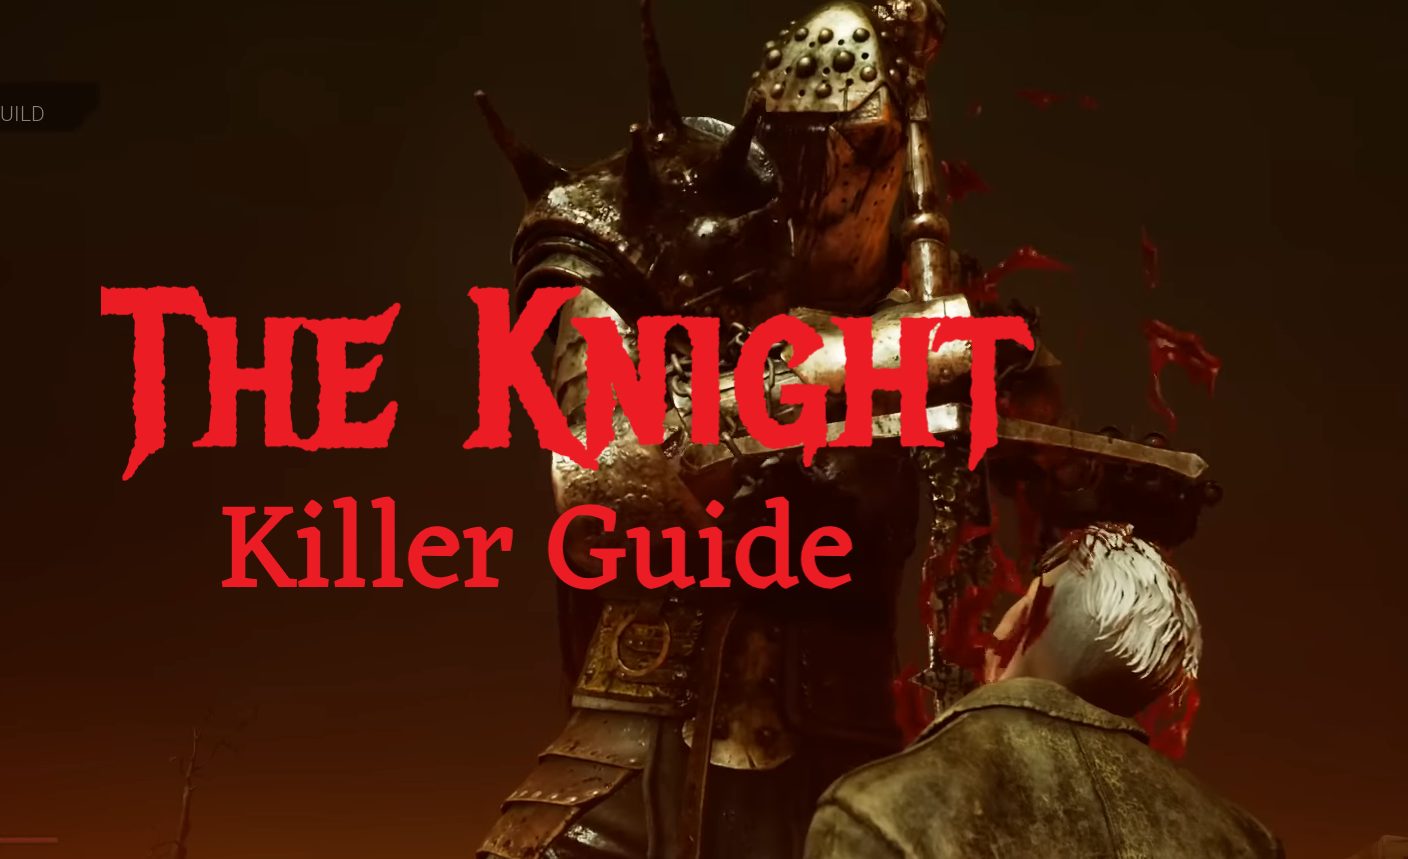
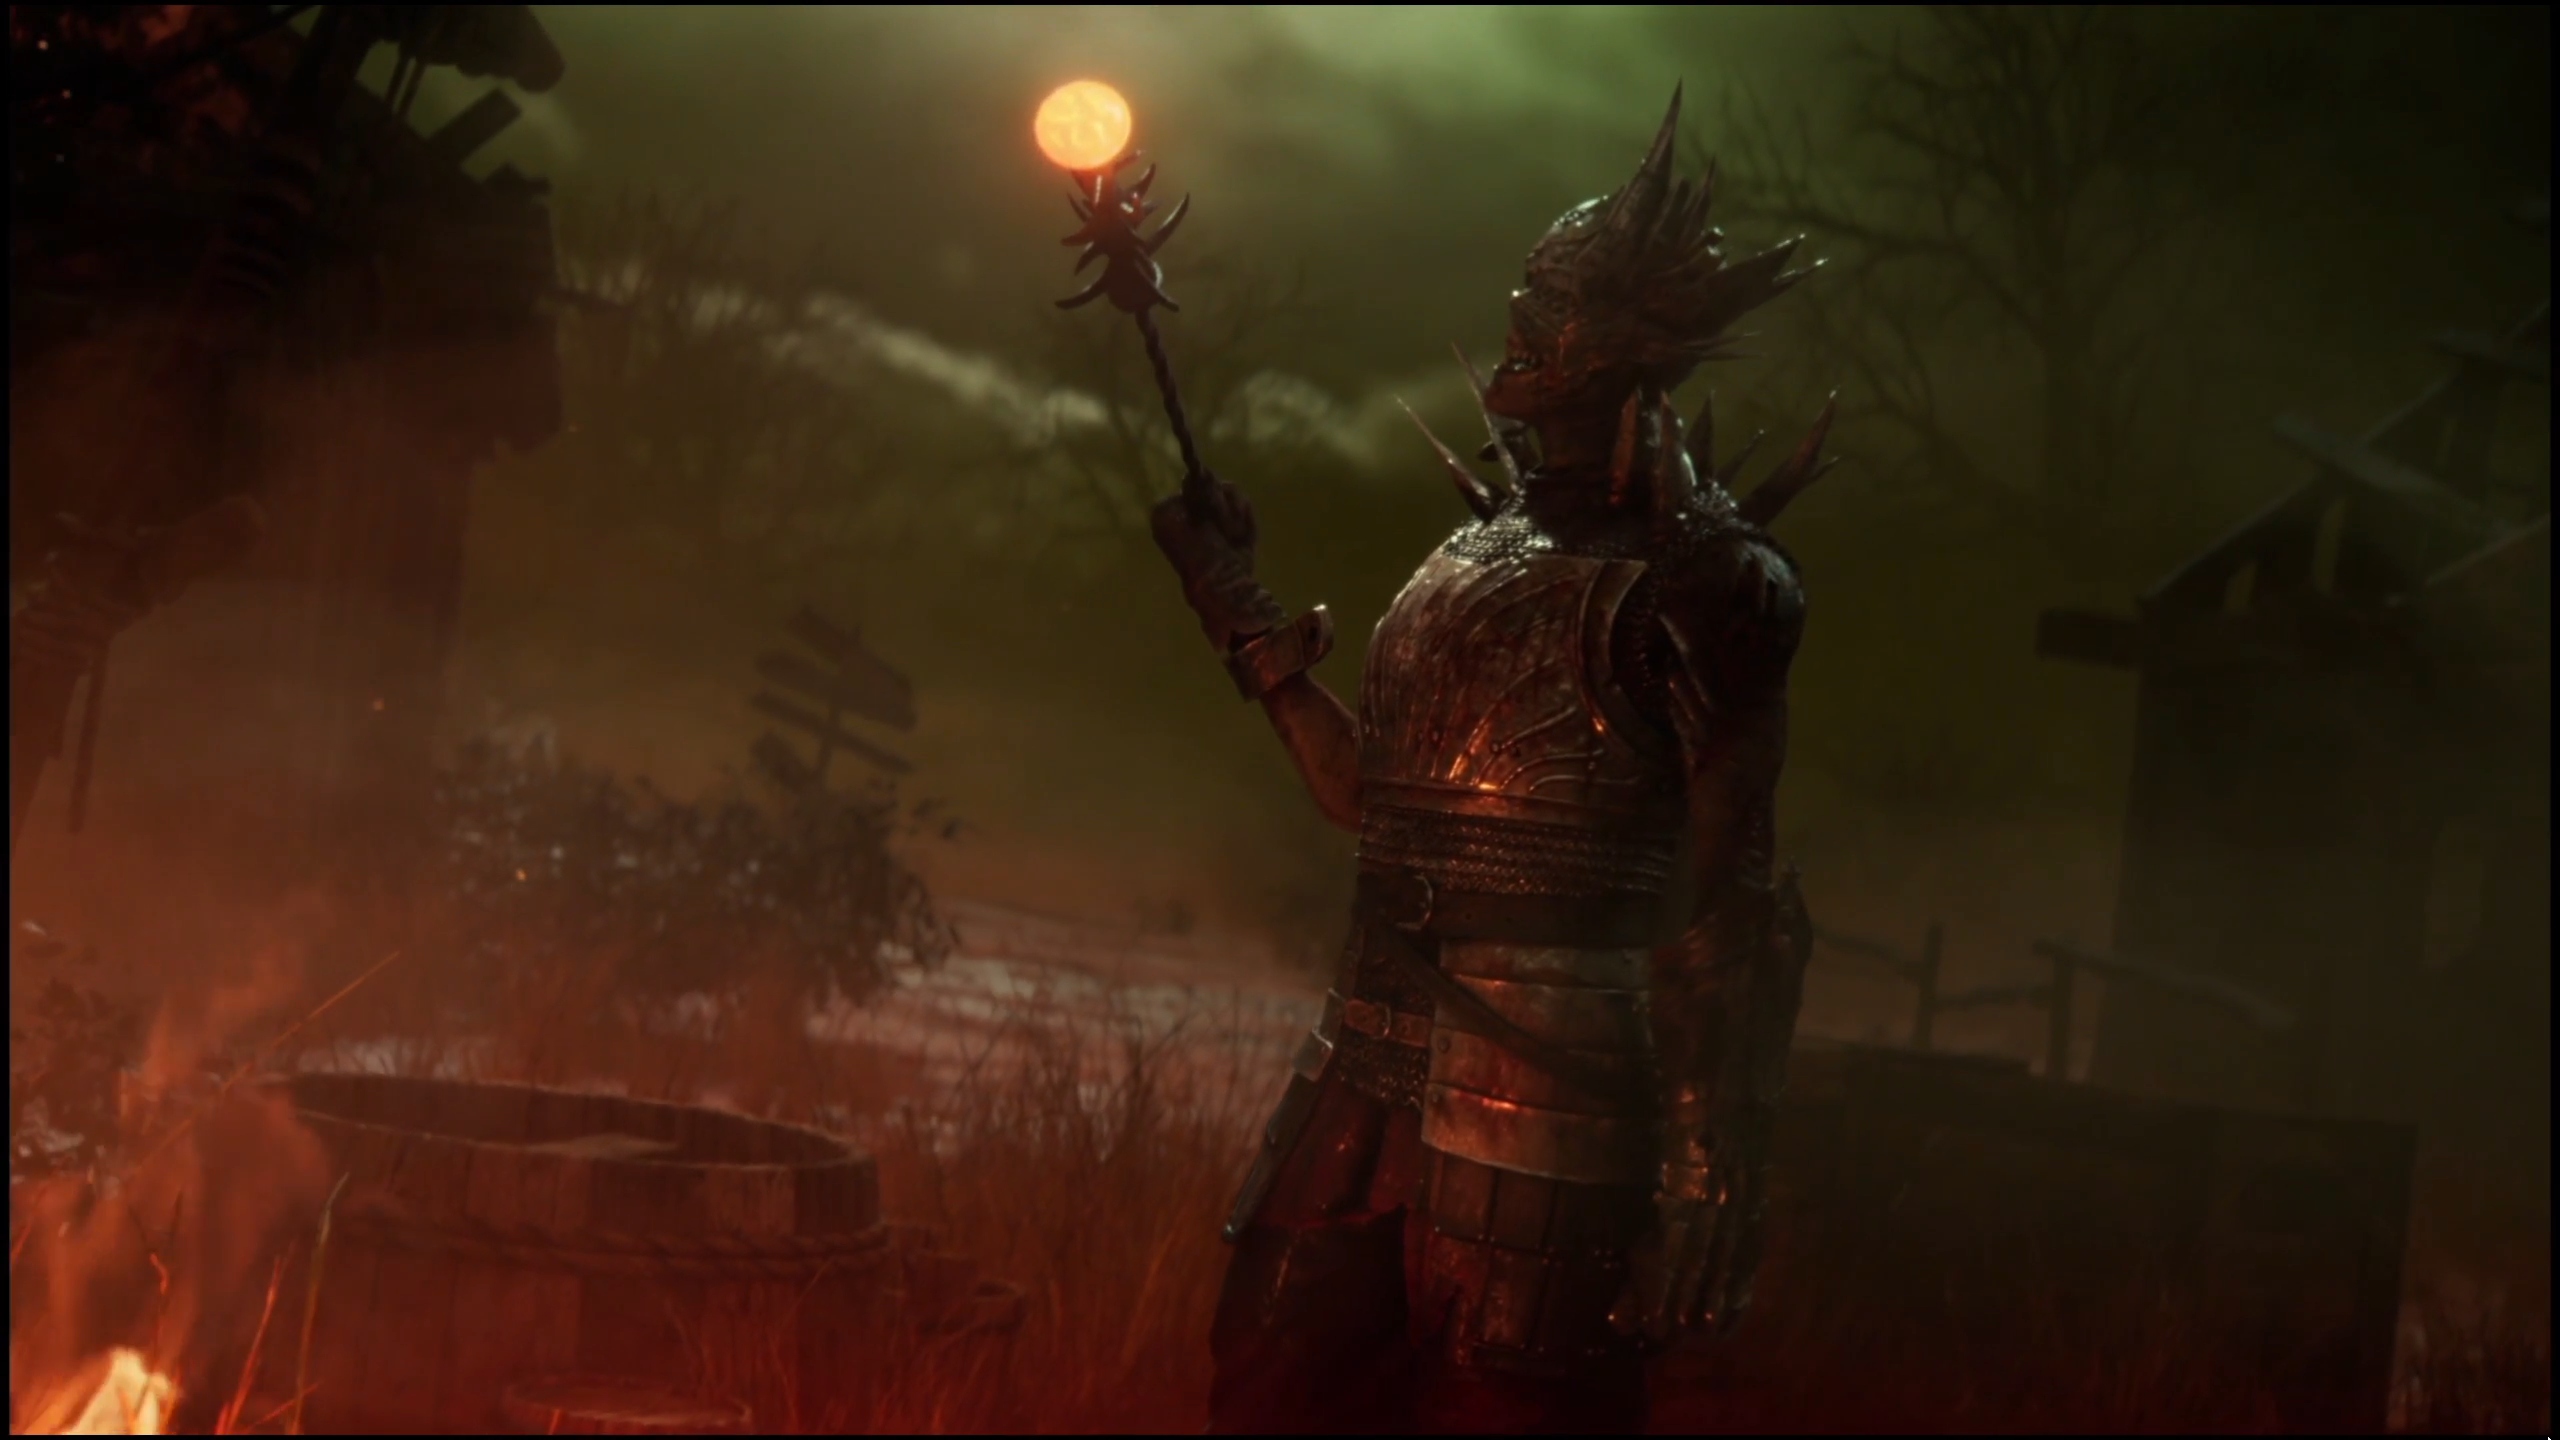
Added to the game in Chapter 26: Forged in Fog, the Knight is one of Dead by Daylight’s original Killers, although possibly inspired by the game For Honor. Wielding a Claymore and with the power to summon his loyal Guardia Compagnia, they rely on these allies to patrol and corner Survivors. In this guide, we’ll explain how all of the Knight’s powers and perks work, and cover basic tactics and strategies to help you succeed as the master of the Guardia Compagnia.
Use the contents button to find a specific section in this guide, or click one of the buttons below to navigate to our guides on Wraith’s best Add-ons and Perks.
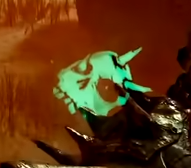
The next guard to be summoned will appear on your gauntlet.
You can press the Power Button to draw a patrol path for your currently equipped Guard, which can include performing certain tasks like damaging generators and breaking pallets. If they are not summoned to do an action, however, then they will go on patrol, following the route you traced until either their Patrol timer expires, or until they see a Survivor (180° in front of them and within their Vision Range). When they see a Survivor, they will plant a Standard and then switch to Hunt mode, where they will pursue the Survivor until they hit Survivor, their Hunt timer expires, or a Survivor picks up the planted standard.
This power cycles between 3 guards, each with slightly different stats. The cycle begins with the Carnifex, then goes to the Assassin, then ends with the Jailer. The symbol on your gauntlet will show who will be summoned next.
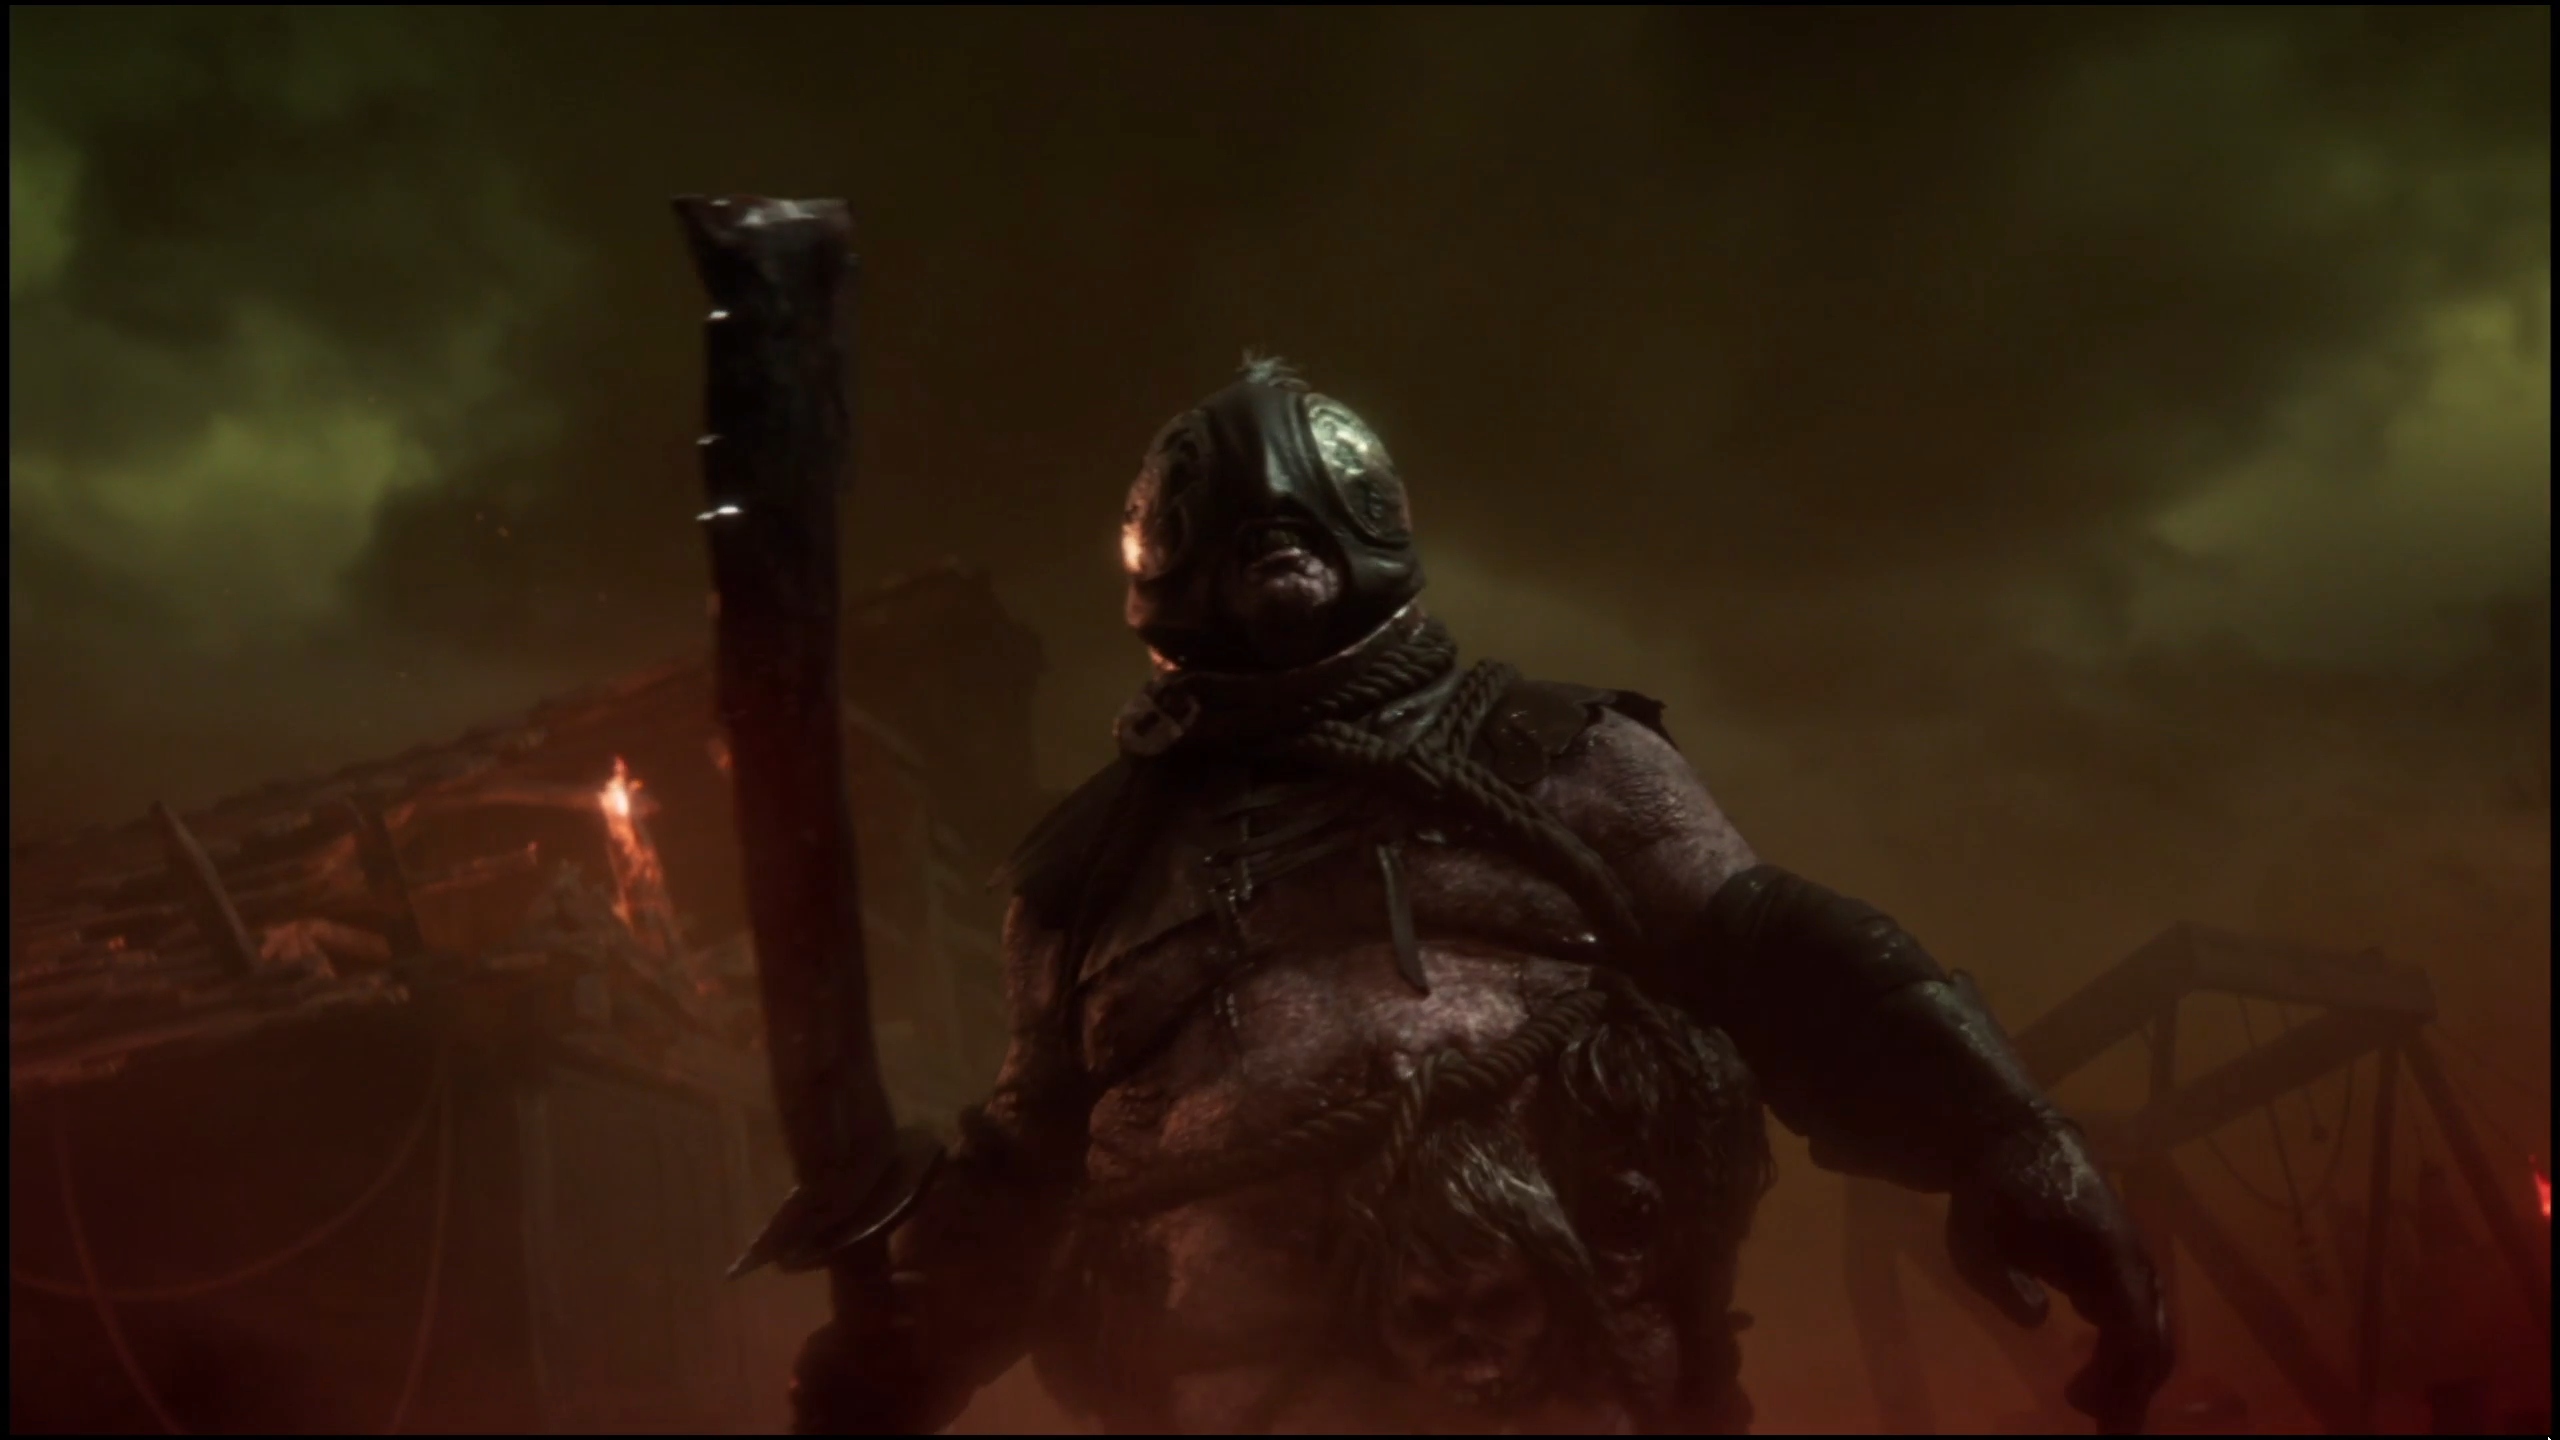
The Carnifex
The Carnifex damages objects in just two seconds (as opposed to the six seconds it takes the other guards), and his hunt phase is twice as long as the other guards.
This is the best to place on a patrol route ending with Generator Damage, since he can damage them faster, and since his longer hunt cycle will keep Survivors away from the Generator for longer if they approach. Don’t expect him to injure, but rather to distract and prevent access to a Generator.
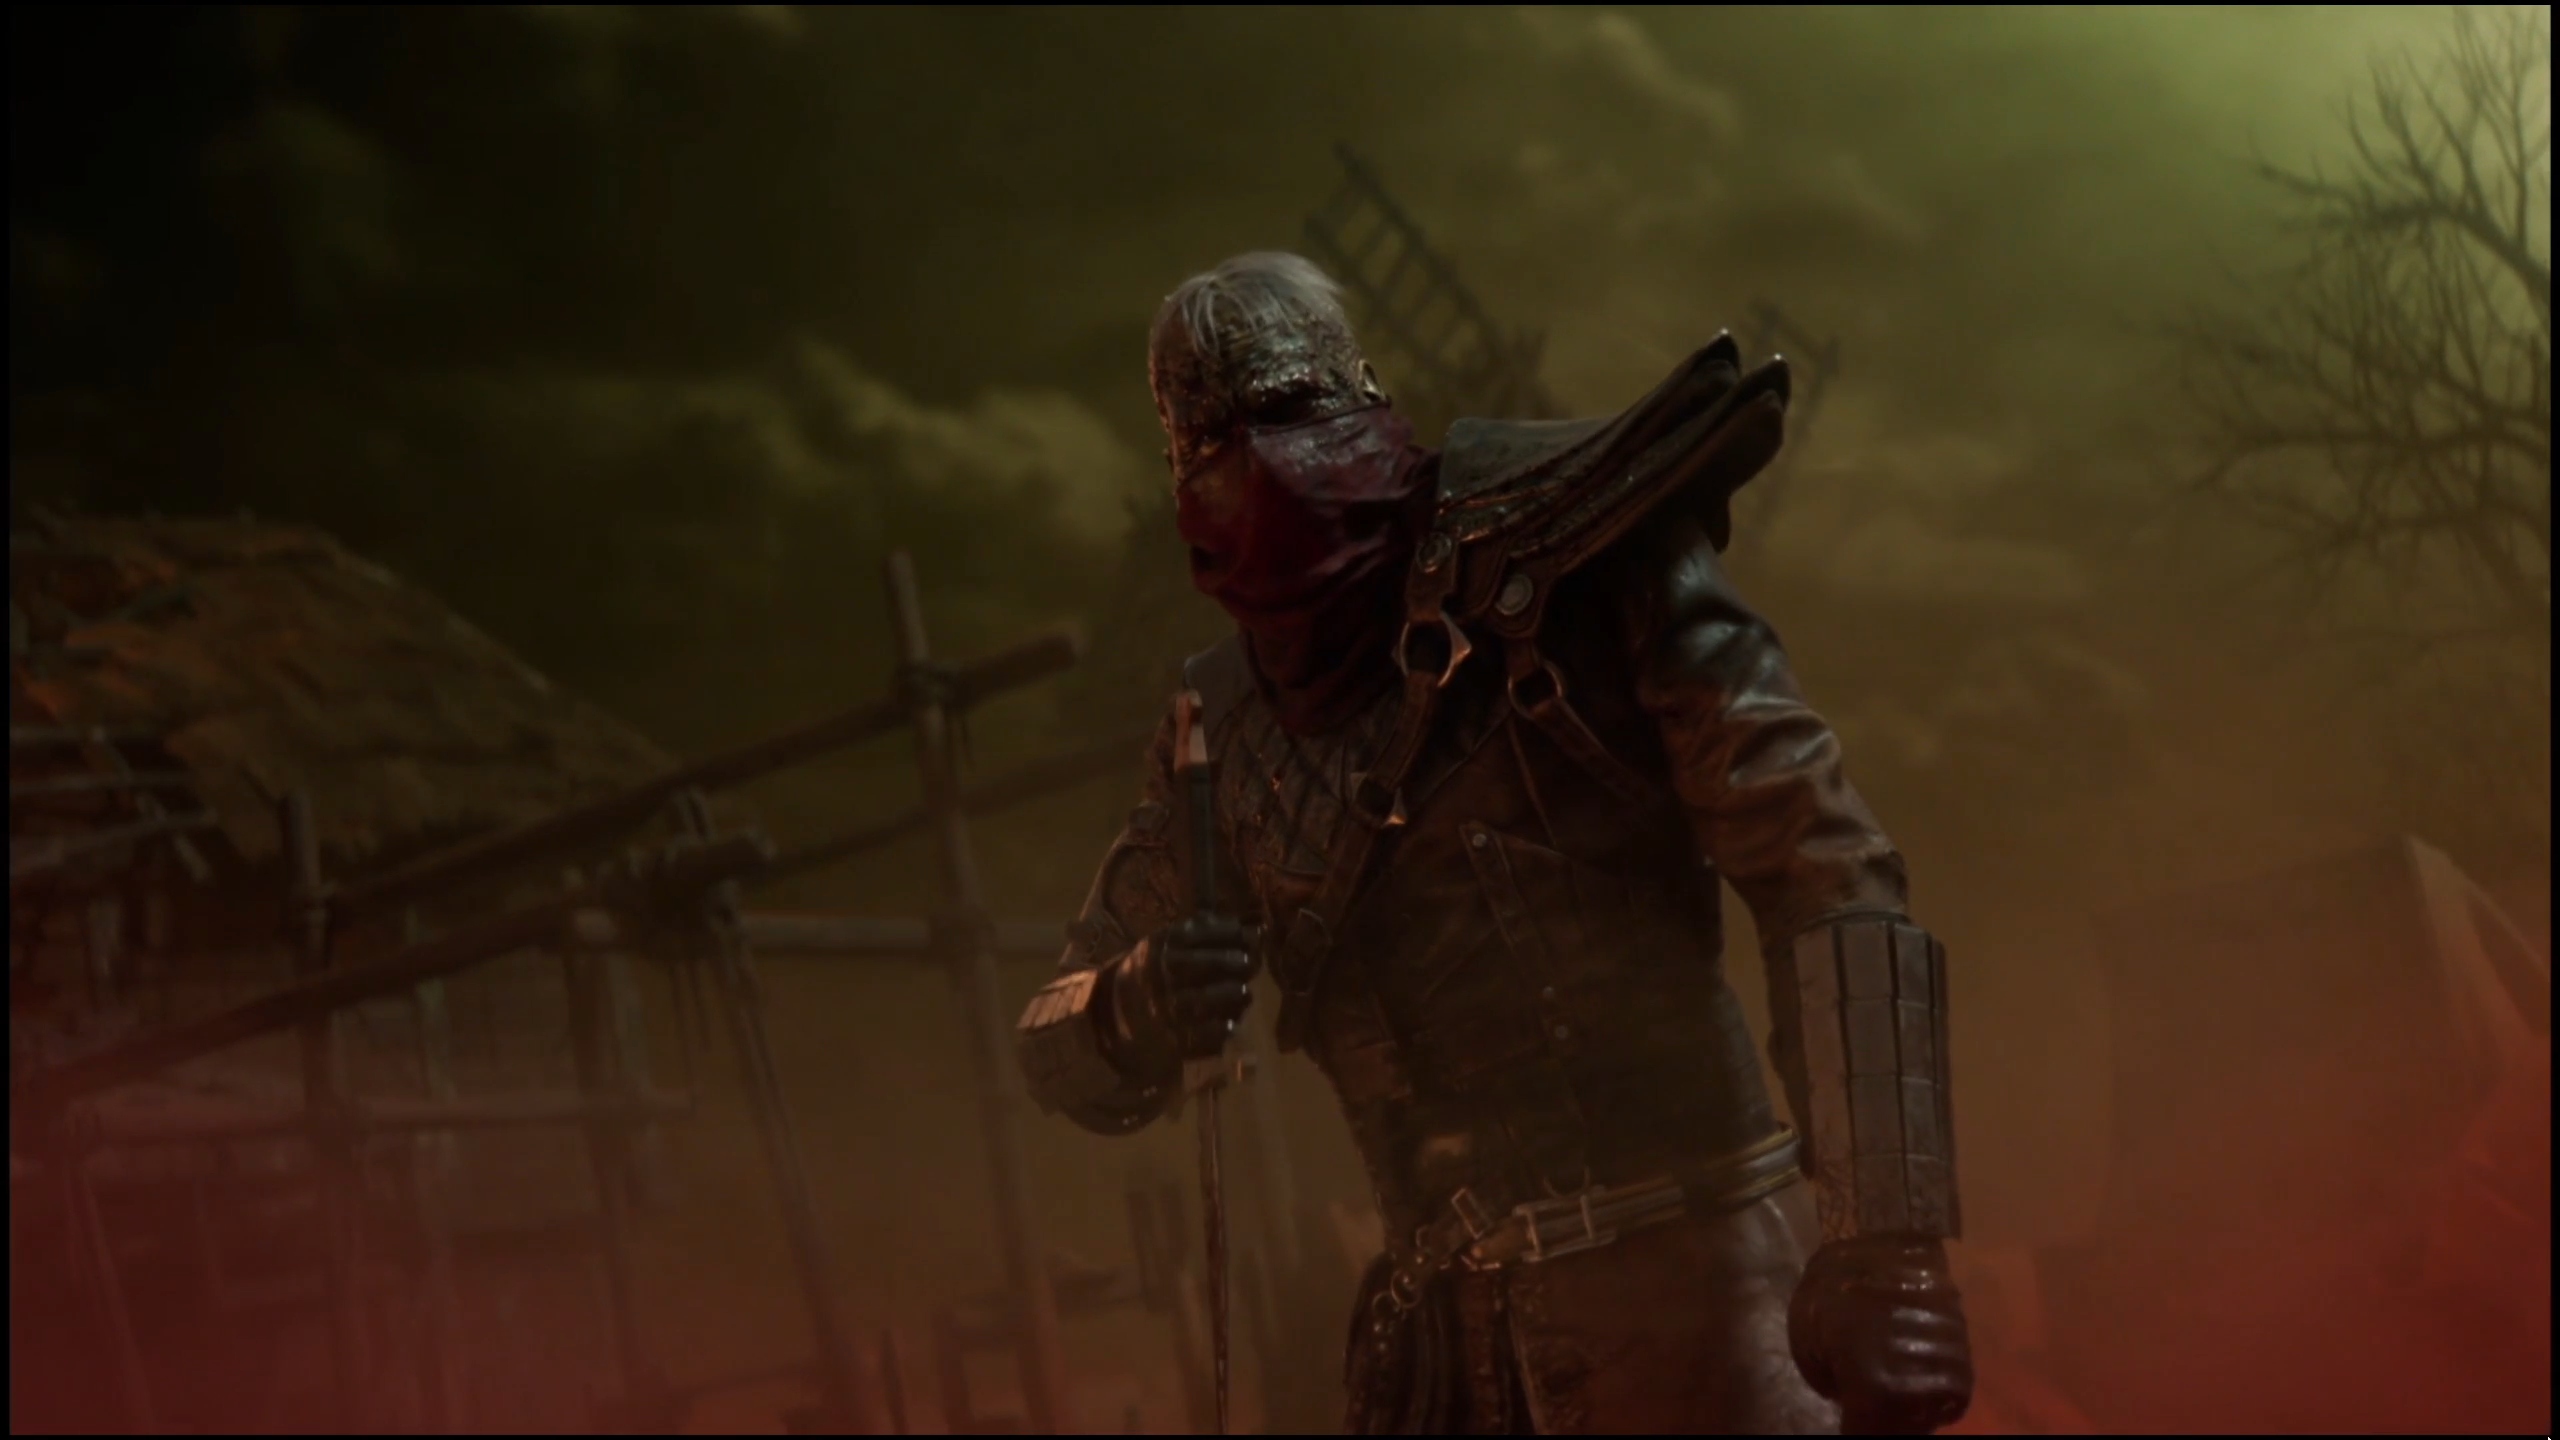
The Assassin
The Assassin has a faster Hunt speed, and deals Deep Wound when he damages a Survivor.
The Assassin is the best at actually injuring Survivors, and the Deep Wound can be especially brutal if you follow up with a Chase. Best to use near yourself to try to corner Survivors, especially in an enclosed space (like Indoor Maps or buildings). Can be placed at entrances to buildings or rooms you know Survivors are in. Not as effective to leave on patrol; he works best when the Knight and he are both chasing the target at the same time from different directions.
The Jailer
The Jailor has a faster patrol speed, a longer patrol phase, and a larger vision radius on Patrol.
The Jailer is best for limiting access to an area that you want to abandon. If you lose a Survivor in a hunt, or if they are going too far from the Generators, you can leave a Jailer to patrol nearby so you can return to hunt other Survivors. The increased detection radius also means he is better in more open areas, like main roads or other features in the middle of maps. Very effective at Area Denial, so can Patrol around a Generator, Exit Gate, or Hooked Survivor to prevent others from approaching for a while.
Perks
The Knight’s perks are diverse, each suiting a different build. Though each is powerful when paired with other perks, they do not synergize together well. To see more details about how to use these perks or which Killers they work the best with, see our guide on how to use the Knight’s Perks.
Nowhere to Hide
After you damage a generator, the auras of Survivors within 24 meters are revealed to you for 3/4/5 seconds.
Hex: Face the Darkness
Once you injure a Survivor once, a Dull Totem somewhere on the map will become a Hex Totem. While this Hex Totem is active, the Survivor you hit is Cursed, revealing their aura to other Survivors for 12/10/8 seconds. All other Survivors will periodically scream if they are outside of your Terror Radius, revealing their auras for 2 seconds. This effect persists until the Cursed Survivor is either downed or healed. If the Survivors cleanse its Hex Totem, the Hex is disabled for the rest of the match.
Hubris
Whenever you are stunned, the Survivor that Stunned you is afflicted with the Exposed status effect for 10/15/20 seconds.
How to Play the Knight
General Strategy
Using Your Guard Cycle
Generally, you should follow your cycle of Guards to decide what to do next, based on which guard is up next (as you can tell by looking at the symbols on your gauntlet or power gauge). Depending on which Guard is up next:
Carnifex: Focus on damaging a Generator. To decide which Generator to focus on, consider finding an efficient 3-Generator patrol.
Assassin: Run your patrol/Generators until you get into a chase. When you do, try to win it using Assassin
Jailer: If you won the chase, use Jailer to guard the hook for you. If you didn’t, use Jailer to block a Generator.
Repeat that cycle, either at the same generator or a different one (depending on where Survivor are). If you are using an add-on that causes a guard to appear twice, simply do the action twice, since you’ve chosen that as your focus playstyle.
When you approach the endgame, you will likely have to break this pattern in order to set all your guards on patrol to prevent escapes. As well, there are times when you should use your guards to corner a Survivor in a chase, even if you don’t have the Assassin selected.
Cornering Survivors
When you are in a chase (or about to be), you can use your power to block exits to buildings and loops. This works especially great in Killer’s Huts, but any building or room with two exits can essentially trap Survivors, since your Guardia acts as a multiplying factor for yourself.
It is also worth noting that yourspeed is increased greatly when summoning Guards, and that they spawn at the end of whatever path you draw, while you remain in place. This means that you can often chase a Survivor, use your power and get ahead of where you know they will go, and therefore sandwich the Survivor between yourself and your Guard.
How to Play the Early, Mid, and Late Games
When reading the sections below, it’s important to keep in mind that your perks will make a big difference in how you play each stage of the game. For example, if you’re running Hex: Ruin, you’ll want to commit less to chases and focus more on applying pressure. While running end-game perks like No One Escapes Death, you can worry less about defending specific Gens and focus more on getting as many hooks as possible. Therefore, the tips and strategies below are meant generally, and will not apply in every trial.
Early Game
Begin the game as normal, but do your best to hook a Survivor using your powers, using any of your Guards to help you win an early chase. Your goal is to hook a Survivor to get an early lead, and if you are running my “Expose” build, doing so should be an absolute priority, since easily downing Survivors is your main goal. Regardless, the very earliest gameplay of the Knight should be very similar to any other Killer.
Mid Game
After you’ve chased a few Survivors, you should figure out your patrol route. To do so, use your guard cycle to dictate what you’ll do next. This allows you to be a versatile killer that is always up to something different, and can be surprisingly hard for Survivors to read/predict. Because you’ll be alternating between regressing generators, focusing on chases, and guarding objectives, the Knight very easily becomes a high-pressure Killer, punishing cautious and safe Survivors the most.
To get the most use of your powers, this is the time to make use of your Guard Cycle, described above.
Late Game
If there are 2 Survivors or 1 Generator left, you should switch focus: all your energy should be on winning chases, and you should use all your guards to do so, rather than use them for area denial or generator damage. This means that the beginning and end of your games should be similar to each other, and allow you to play simpler and looser, whereas the mid-game will require tighter strategy and planning.
Now that you have a complete strategy guide for the Knight, including how to play them, their best perks and add-ons, and their best strategies, you have everything you need to win trials and earn iridescent medals with them. Have fun killing!
Share this article:
Graves
Graves is an avid writer, web designer, and gamer, with more ideas than he could hope to achieve in a lifetime. But, armed with a mug of coffee and an overactive imagination, he'll try. When he isn't working on a creative project, he is painting miniatures, reading cheesy sci-fi novels, or making music.
hi. The Knight does not belong to For Honor. He is an entirely original Killer by Dead by Daylight. Please correct your article, and doubly verify the information you share!
Thank you for the correction; the article has been fixed to reflect that the Knight was only inspired by For Honor, not directly from the game. Thank you!
Kessora
1 year ago
Brutal Strength: Vaulting windows and breaking pallets faster is always nice, and this perk also works well for damaging generators.
Vaulting windows? what?
Dragon’s Grip: Expose survivors that go back to damaged Generators, allowing you and your guards to corner and down them with one hit.
Remember: Exposed status effect dont apply on special attacks, like the guards do.
Thanks for the catch, Kessora! The description for Brutal Strength was indeed mixed up, and Dragon’s Grip was not clearly worded. I’m glad you pointed those out so we could correct them, thank you!


hi. The Knight does not belong to For Honor. He is an entirely original Killer by Dead by Daylight. Please correct your article, and doubly verify the information you share!
Thank you for the correction; the article has been fixed to reflect that the Knight was only inspired by For Honor, not directly from the game. Thank you!
Vaulting windows? what?
Remember: Exposed status effect dont apply on special attacks, like the guards do.
Good guide but watch out on these mistakes.
Thanks for the catch, Kessora! The description for Brutal Strength was indeed mixed up, and Dragon’s Grip was not clearly worded. I’m glad you pointed those out so we could correct them, thank you!